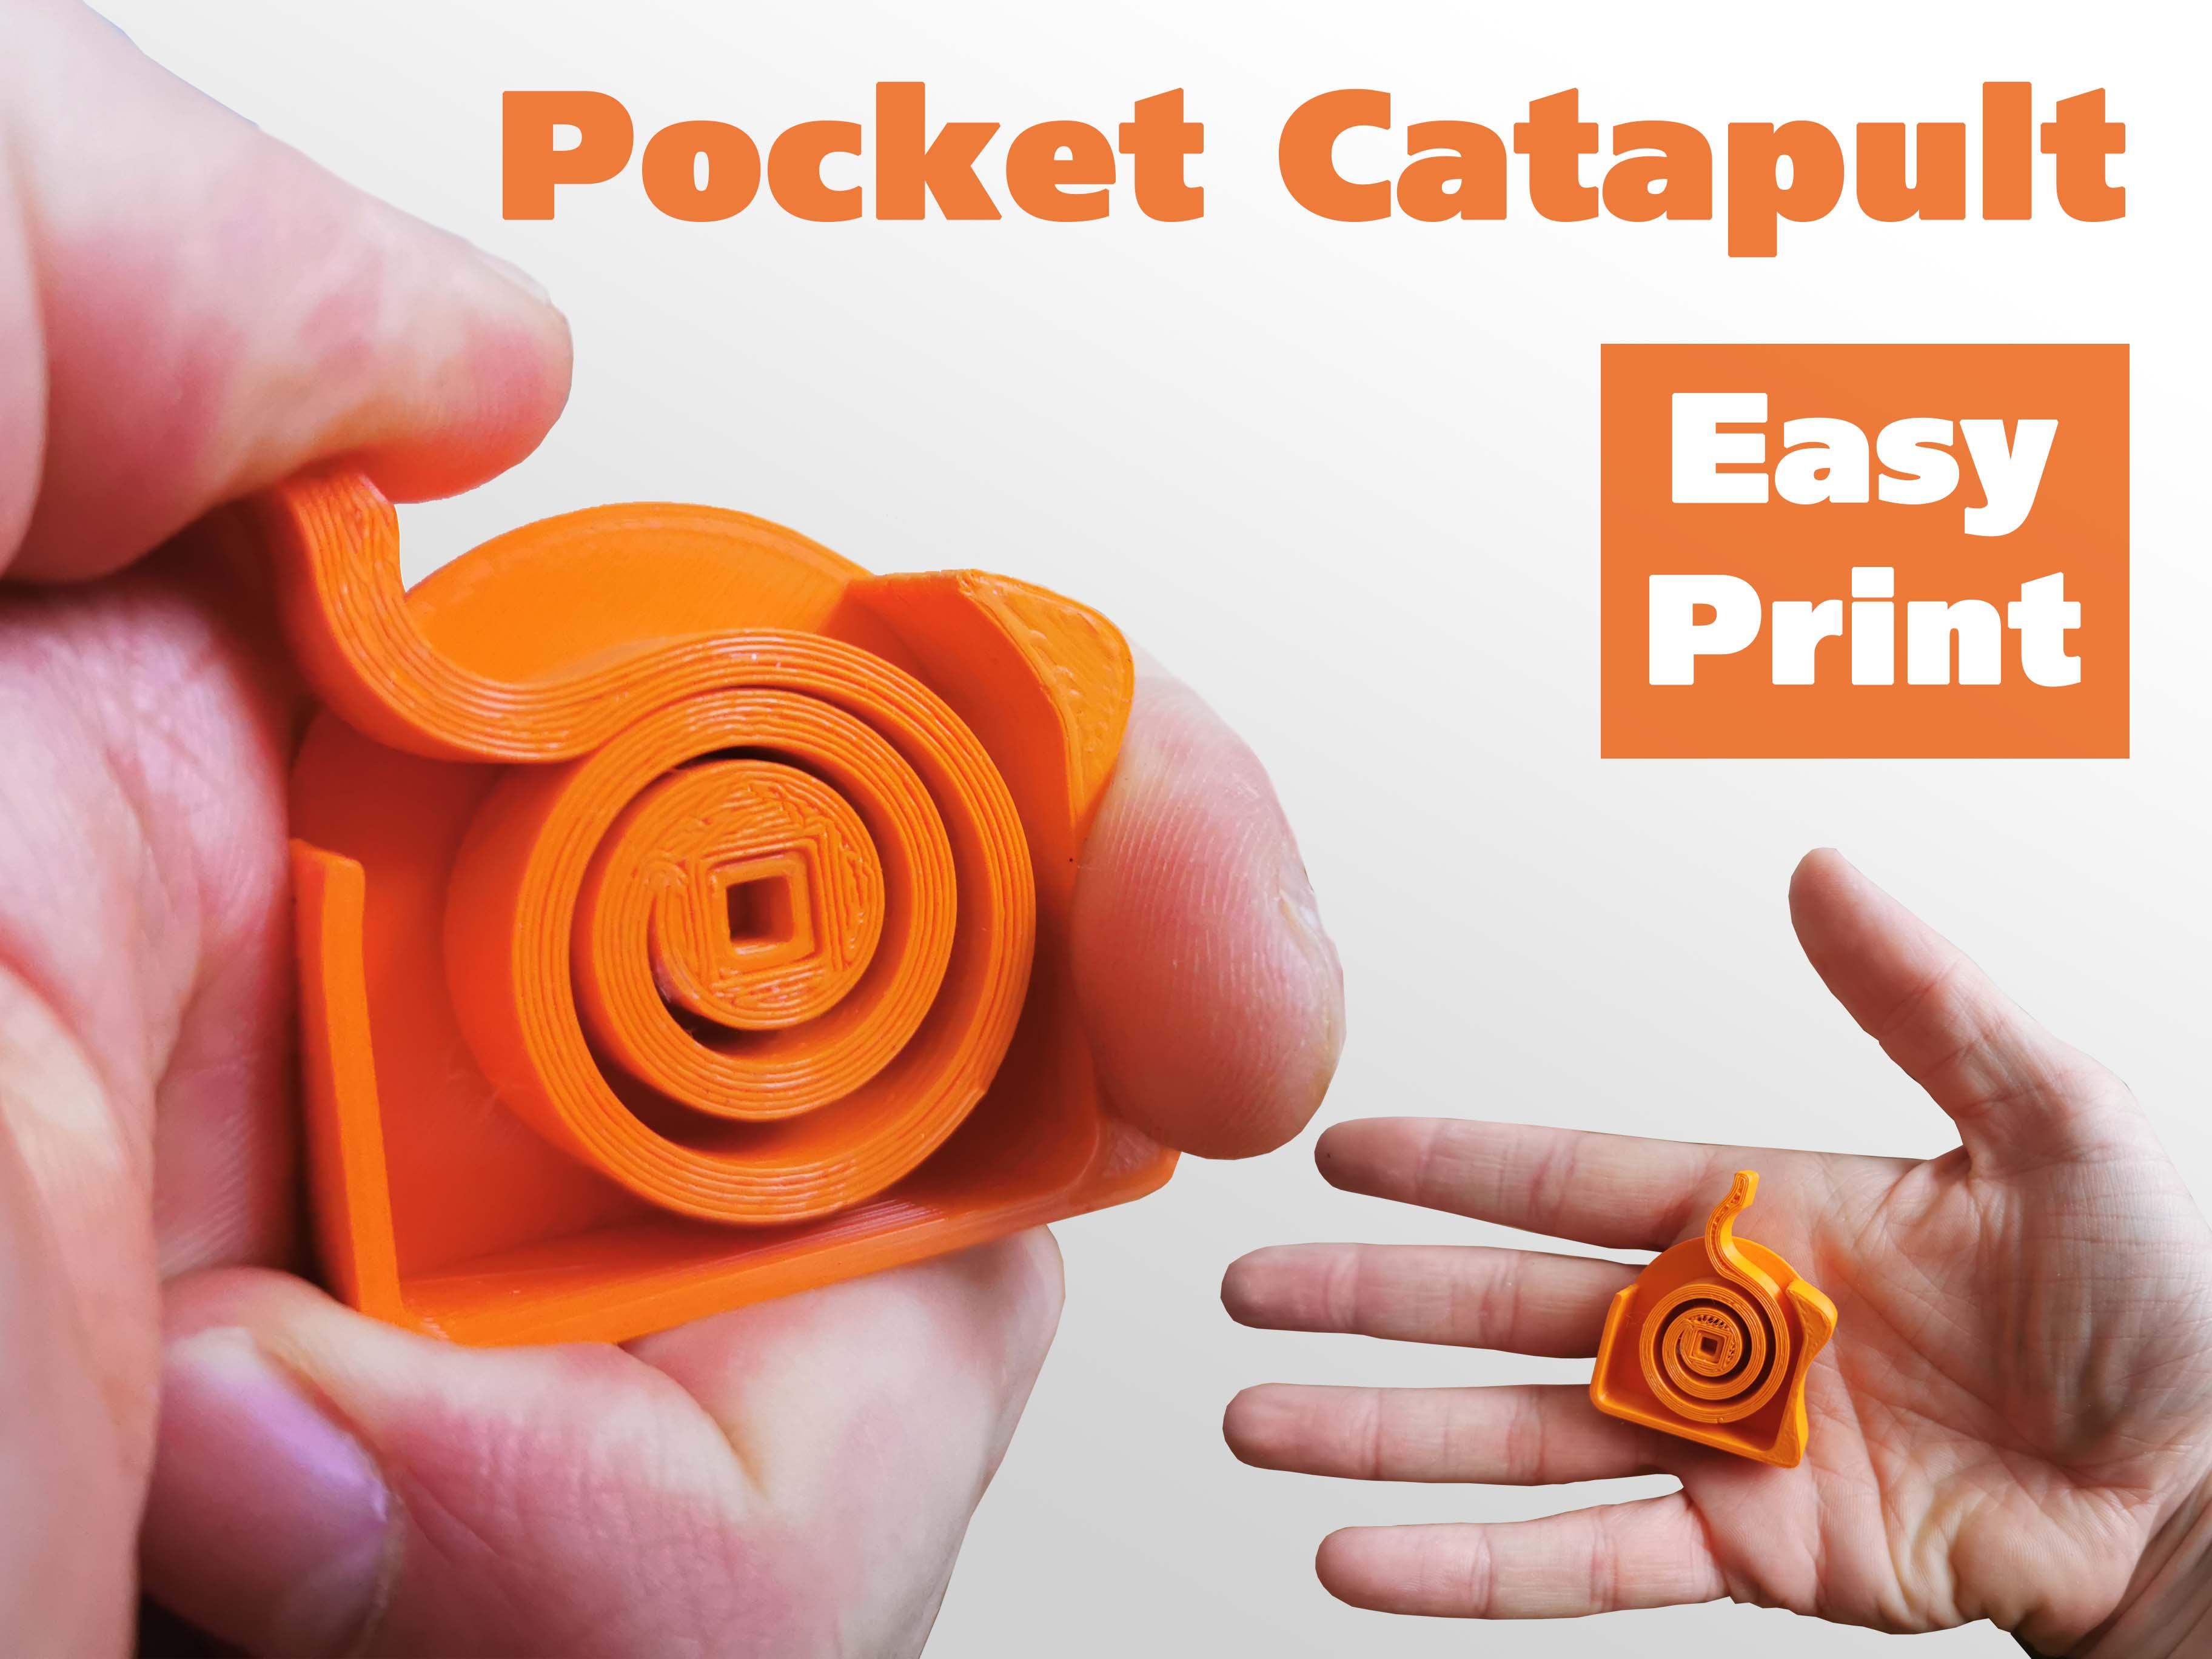
Pocket Catapult
This is the story of how I made a tiny catapult in Tinkercad and used Fusion 360 to make it 3dprintable for you all!
I used Tinkercad as a tool that I always have on hand because you can use it in your browser. Then after getting the concept down I went ahead and used Fusion 360 to make it printable and render out some nice pictures.
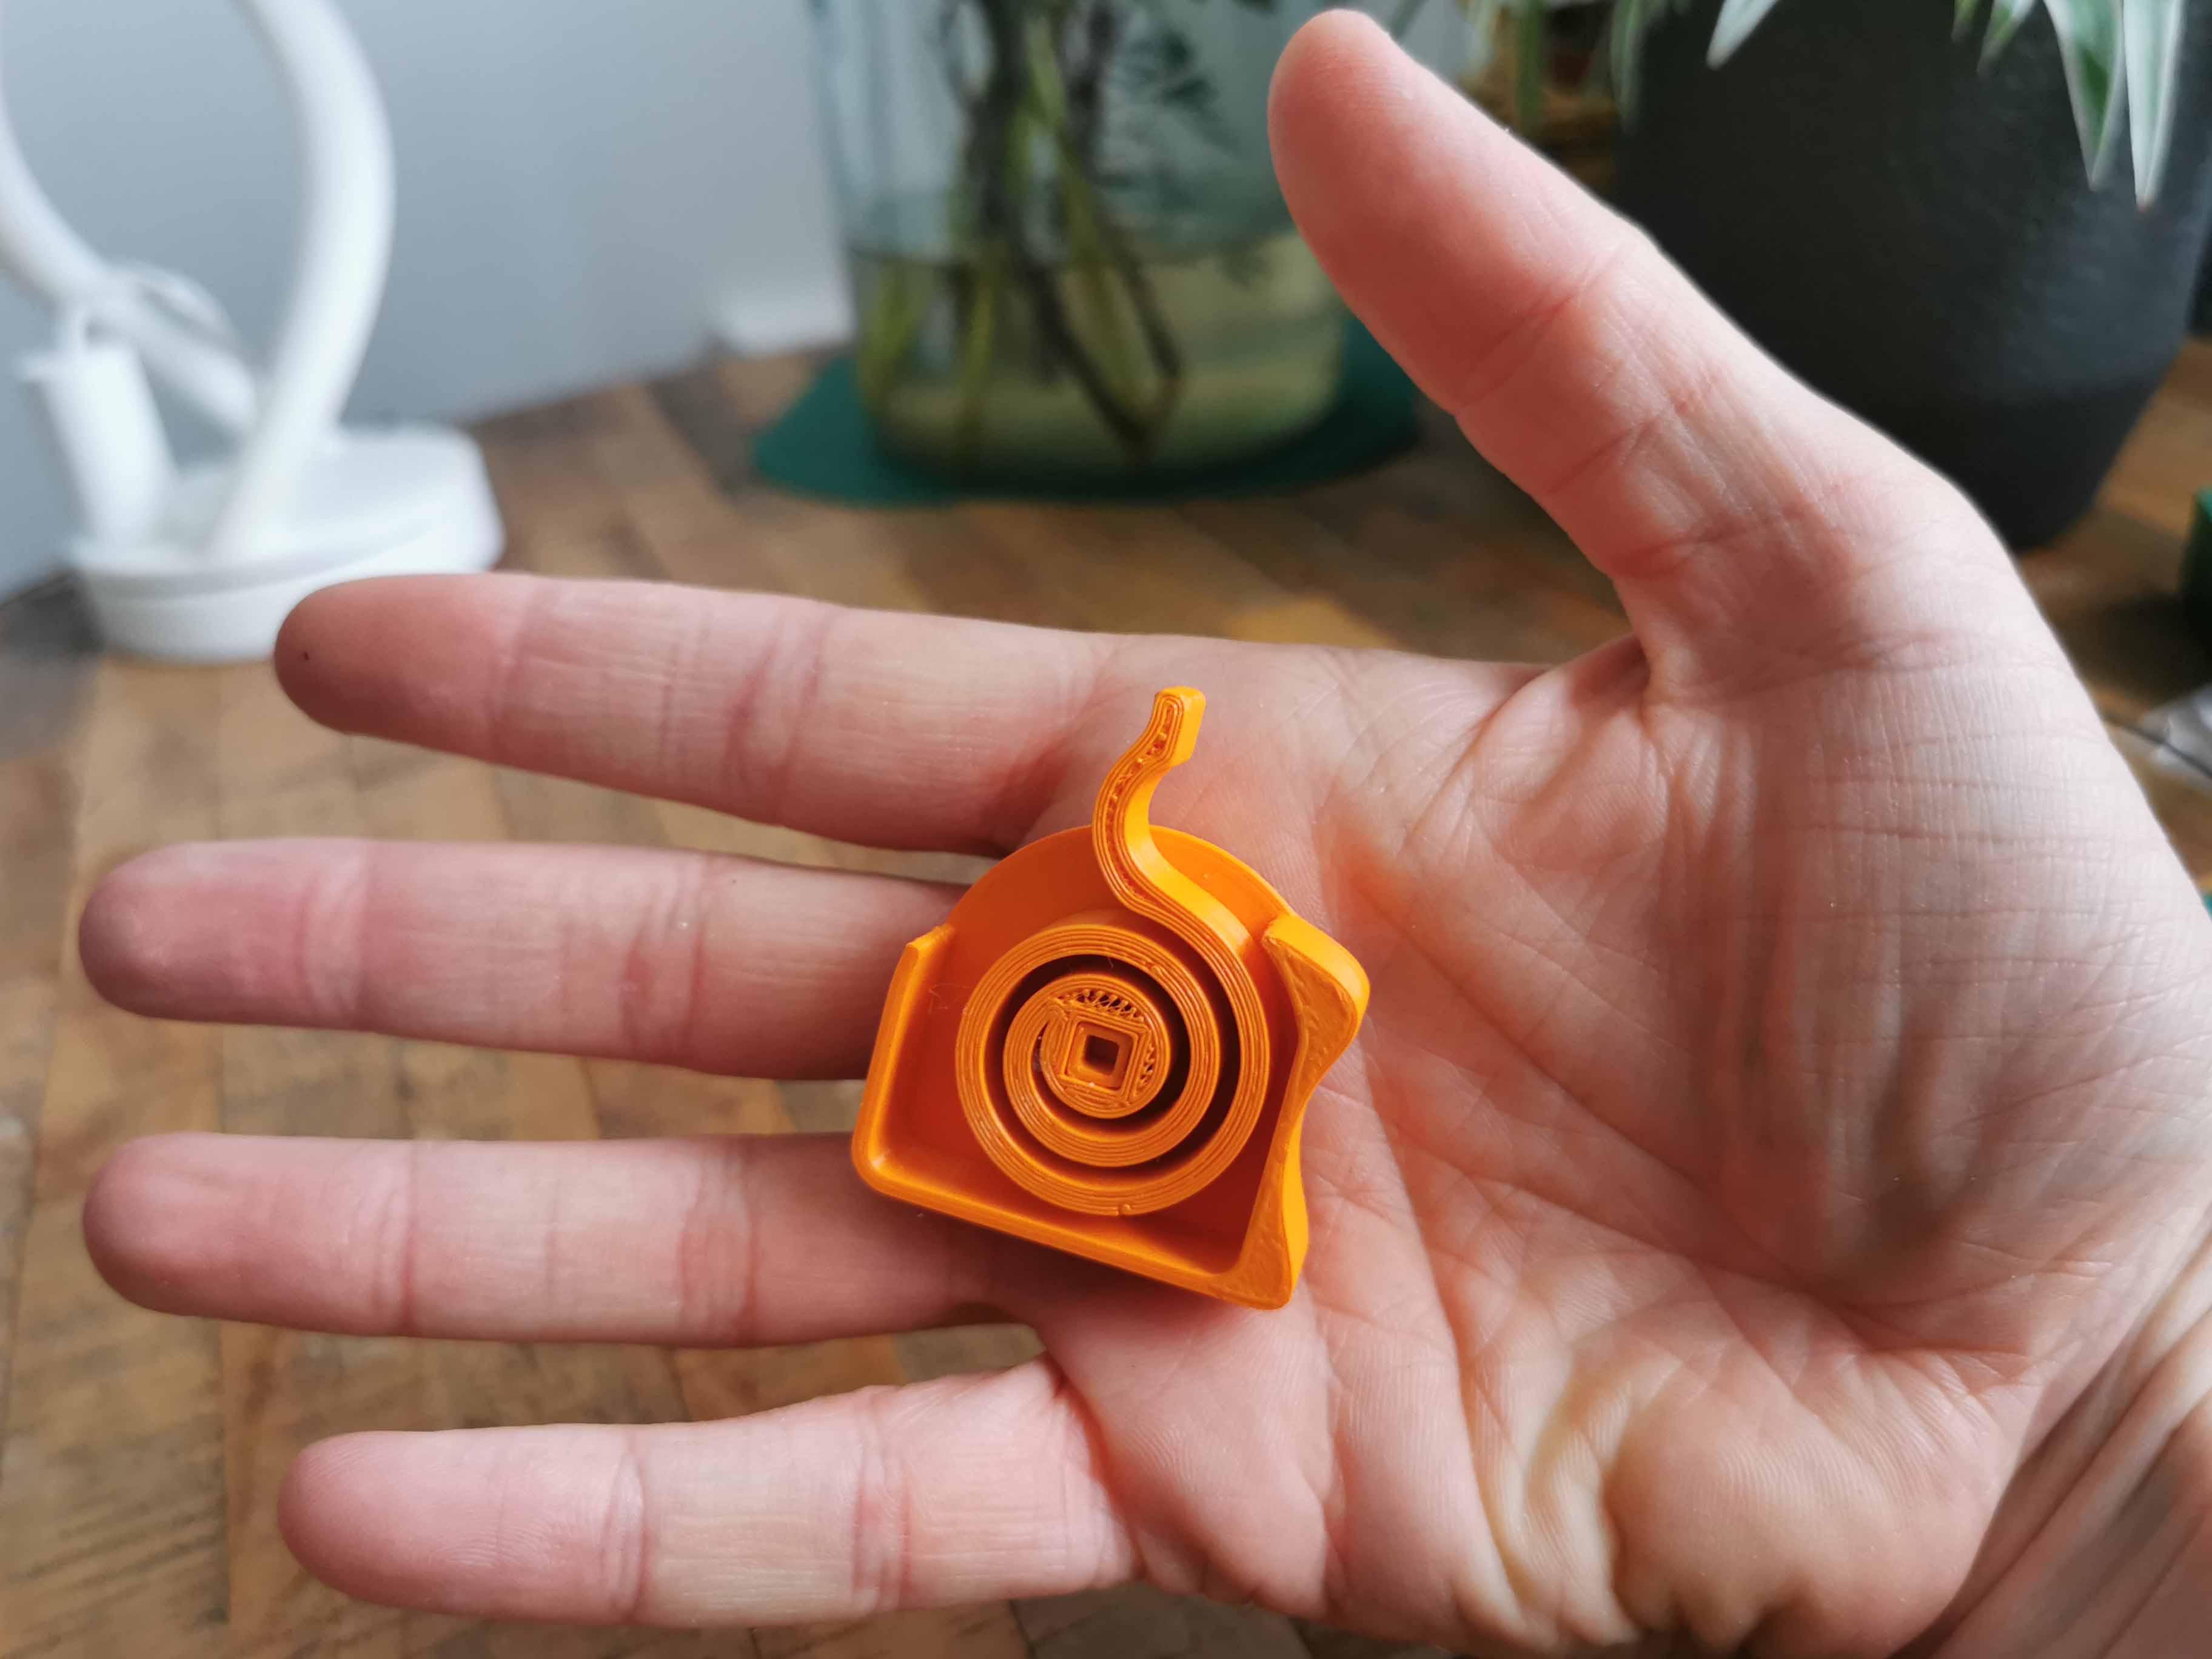
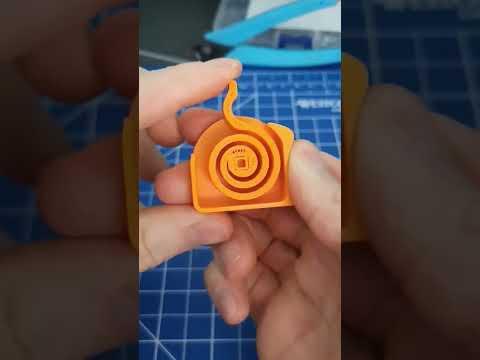
I wanted to explore the elastic properties of PLA that we can use to make a little pocket-sized catapult. Use a spiral shape that you can wind up with your finger and shoot small things across your room.
Supplies
- Fusion 360
- Tinkercad
- Computer
- 3Dprinter
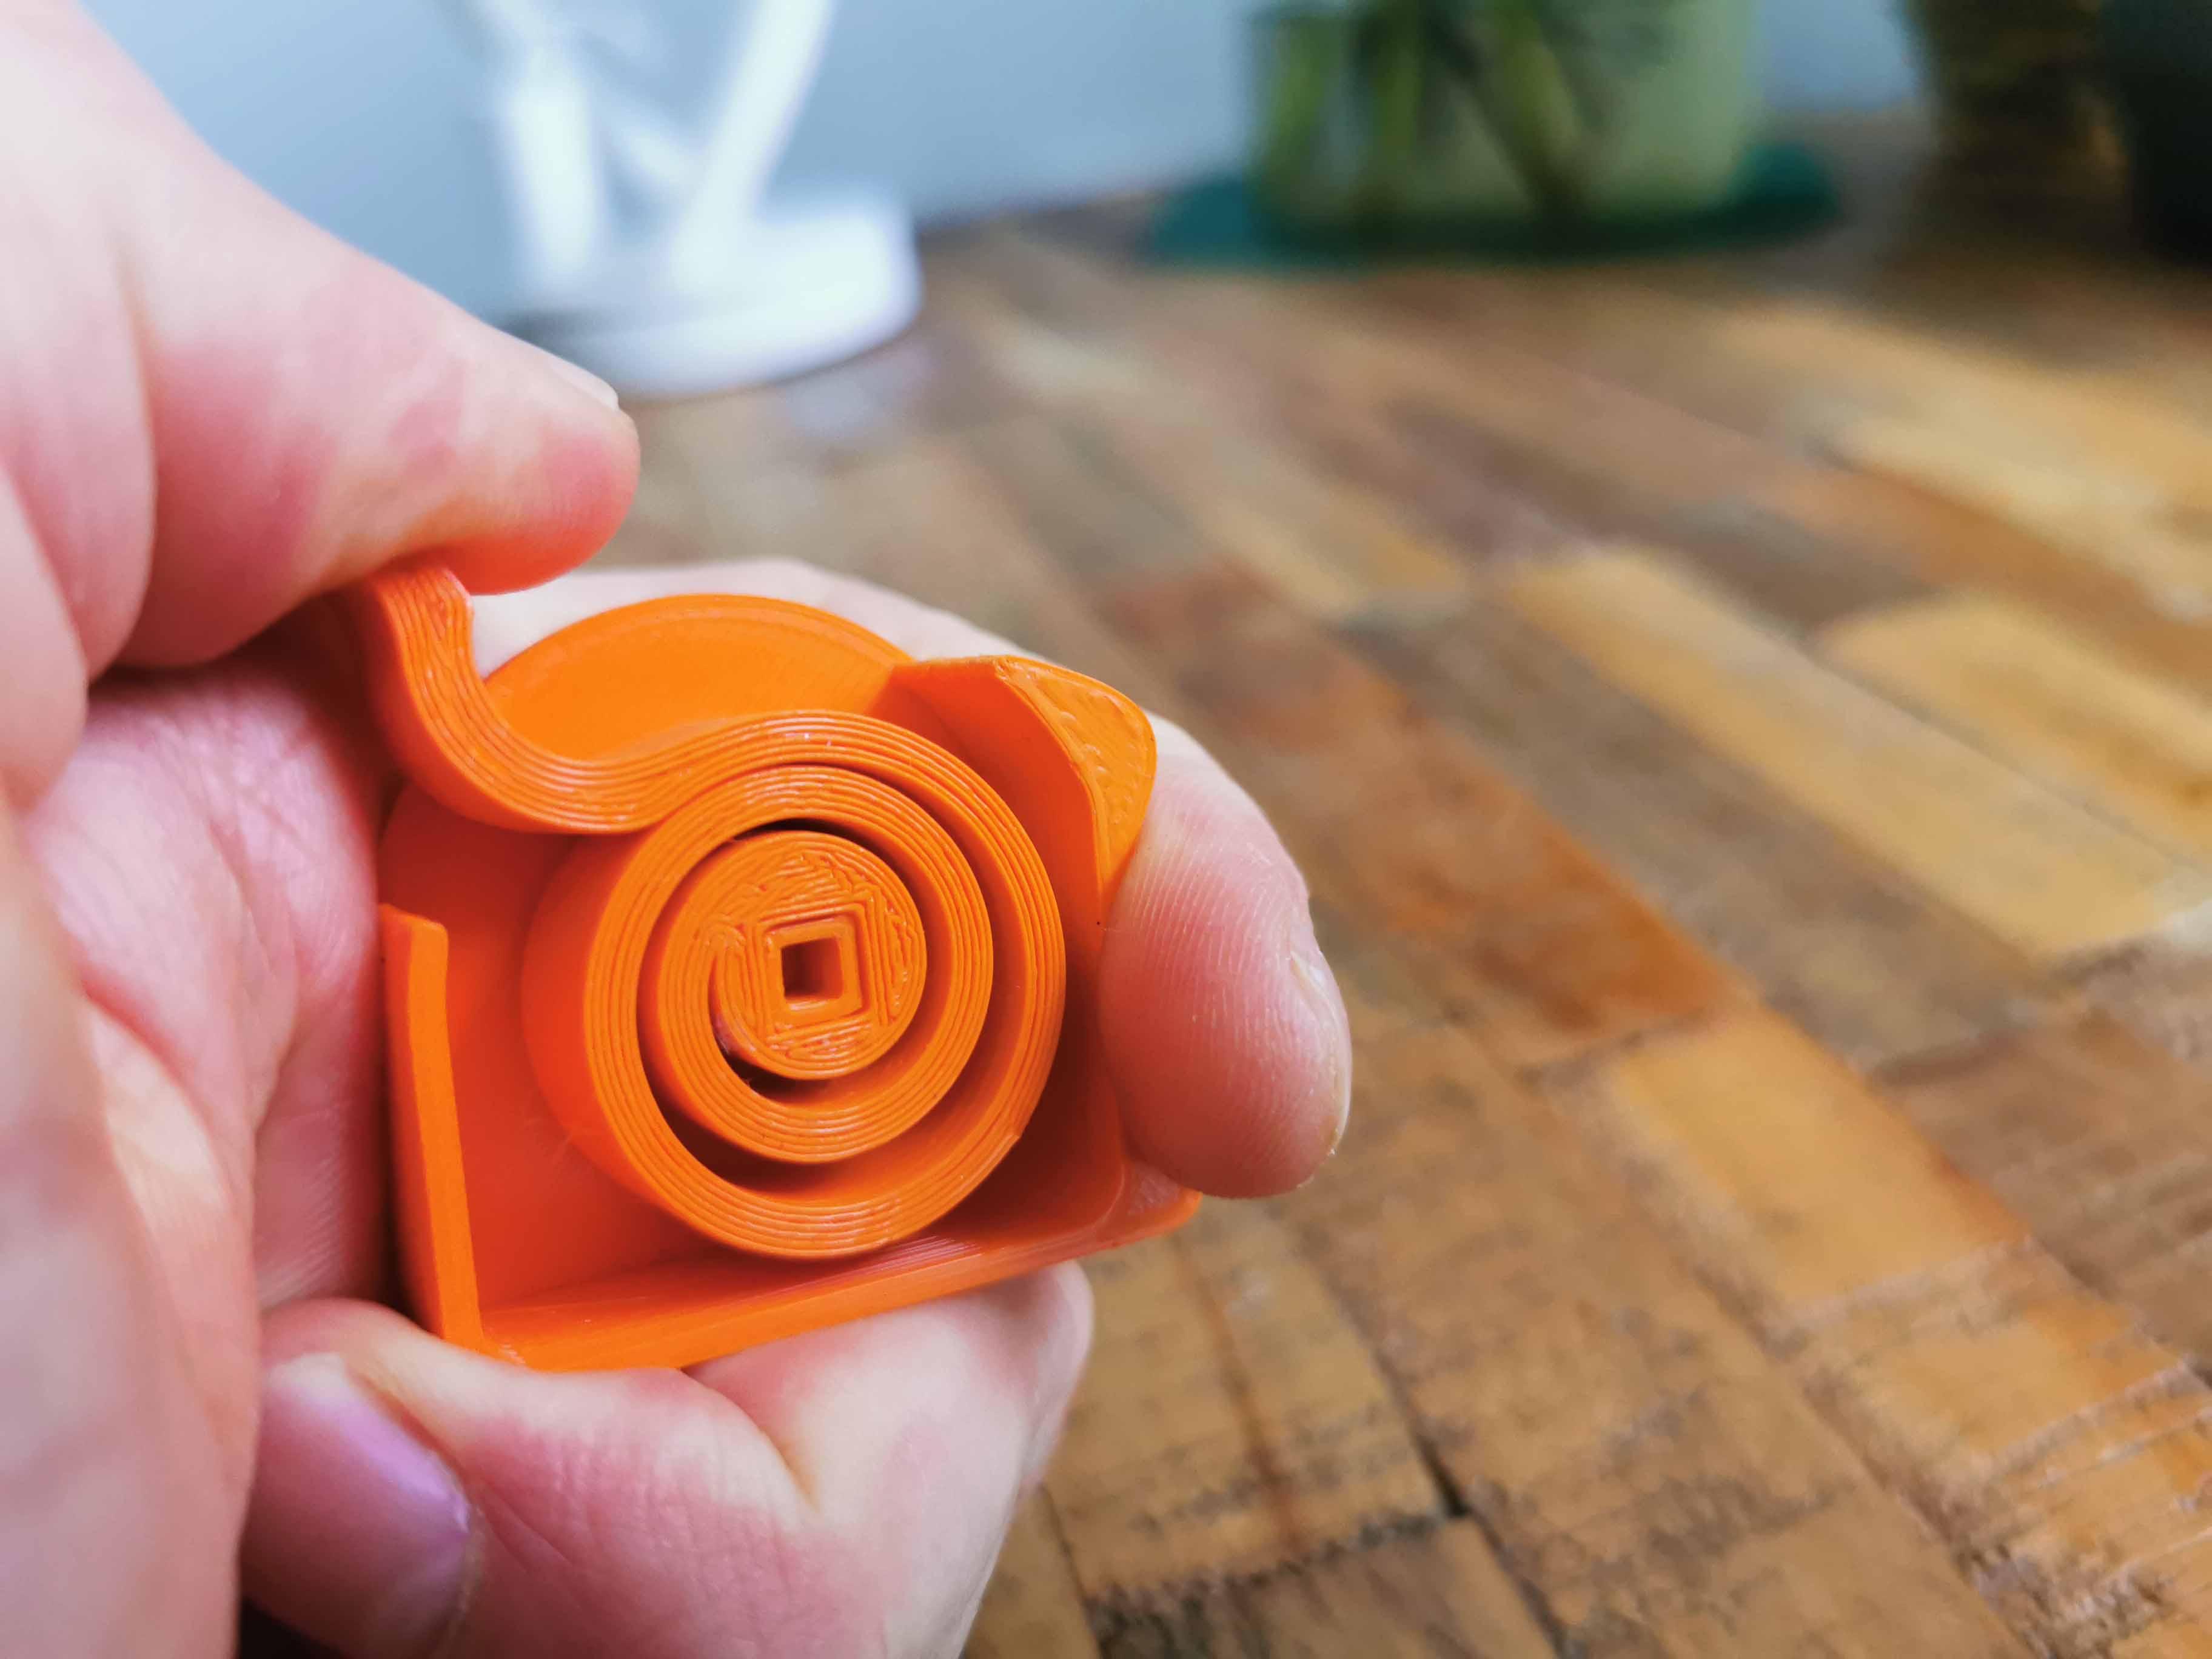
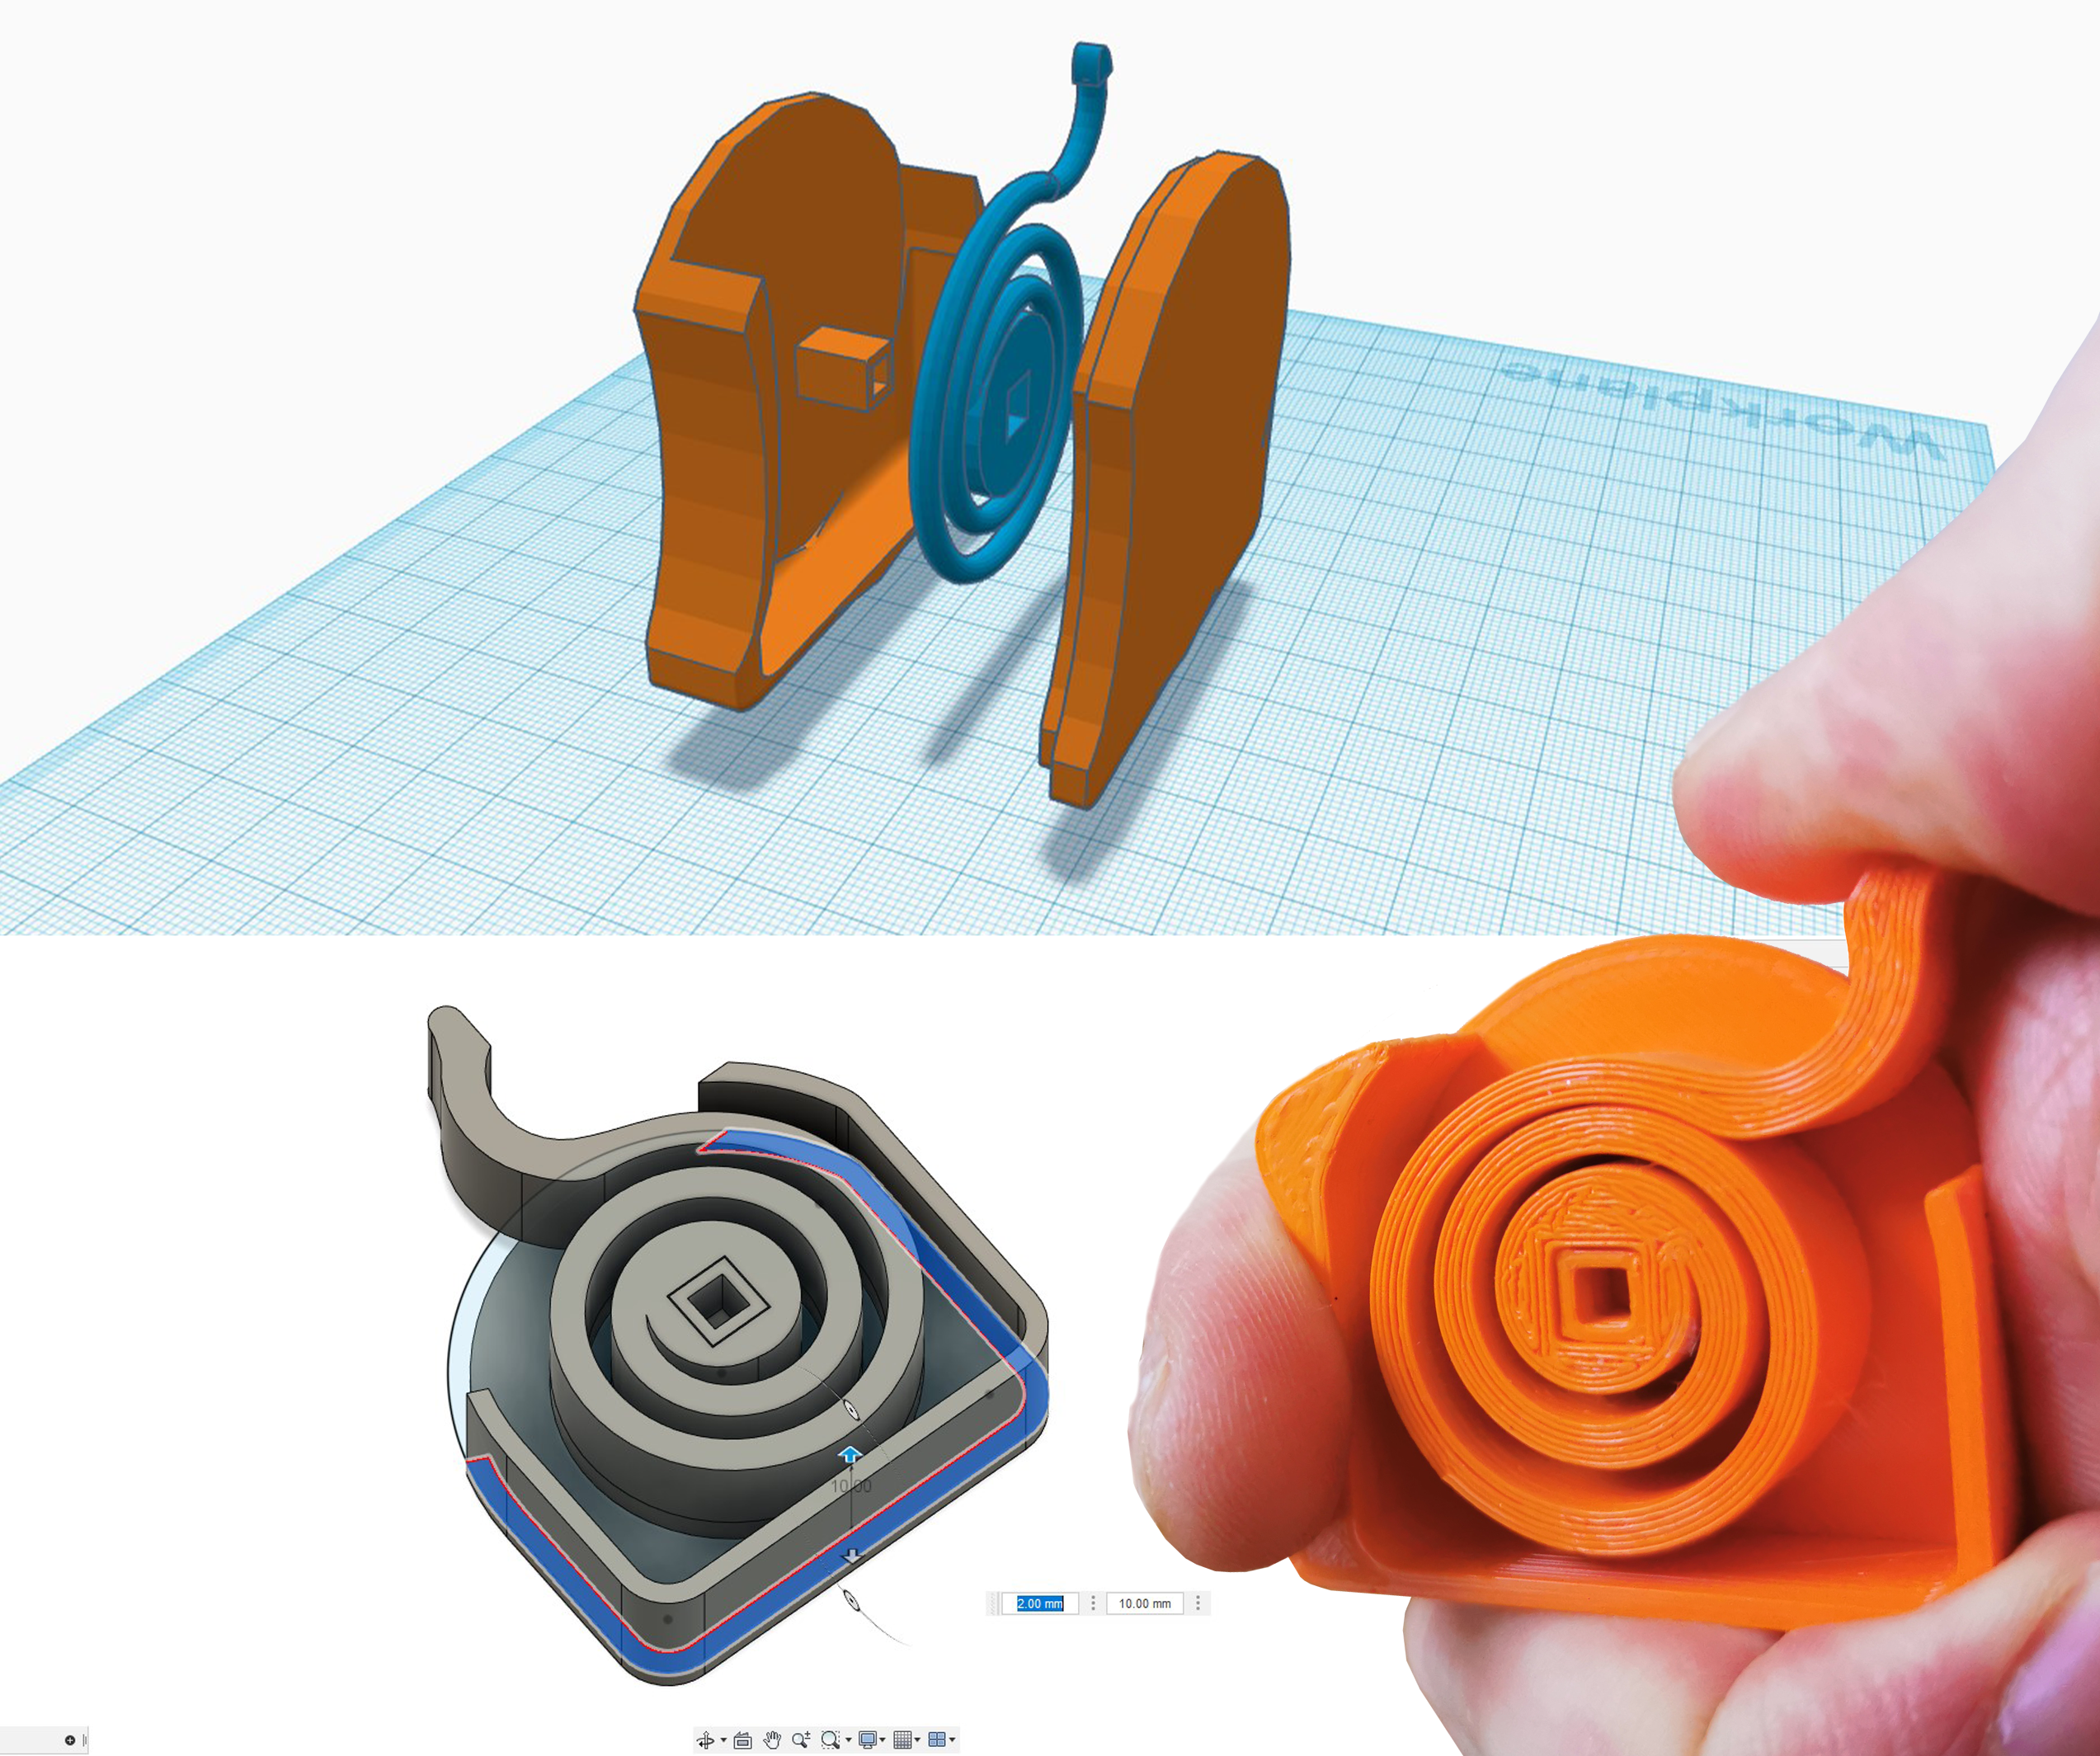
My Spiral in Tinkercad
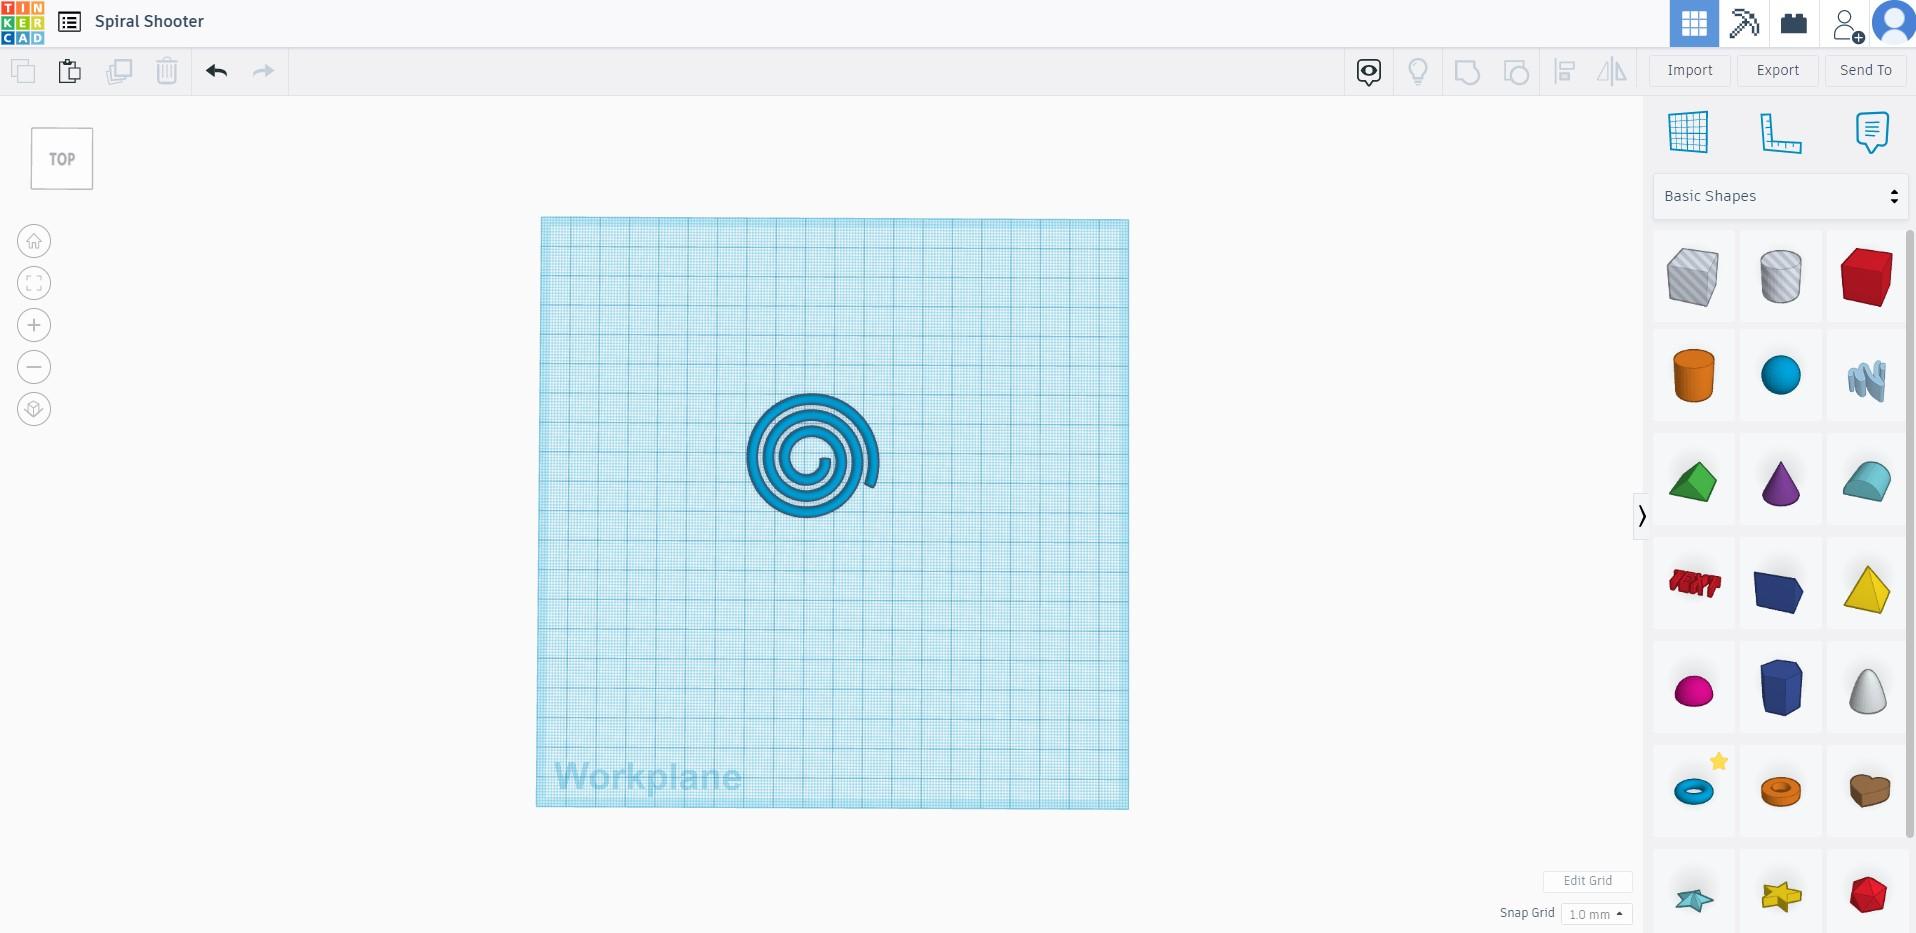
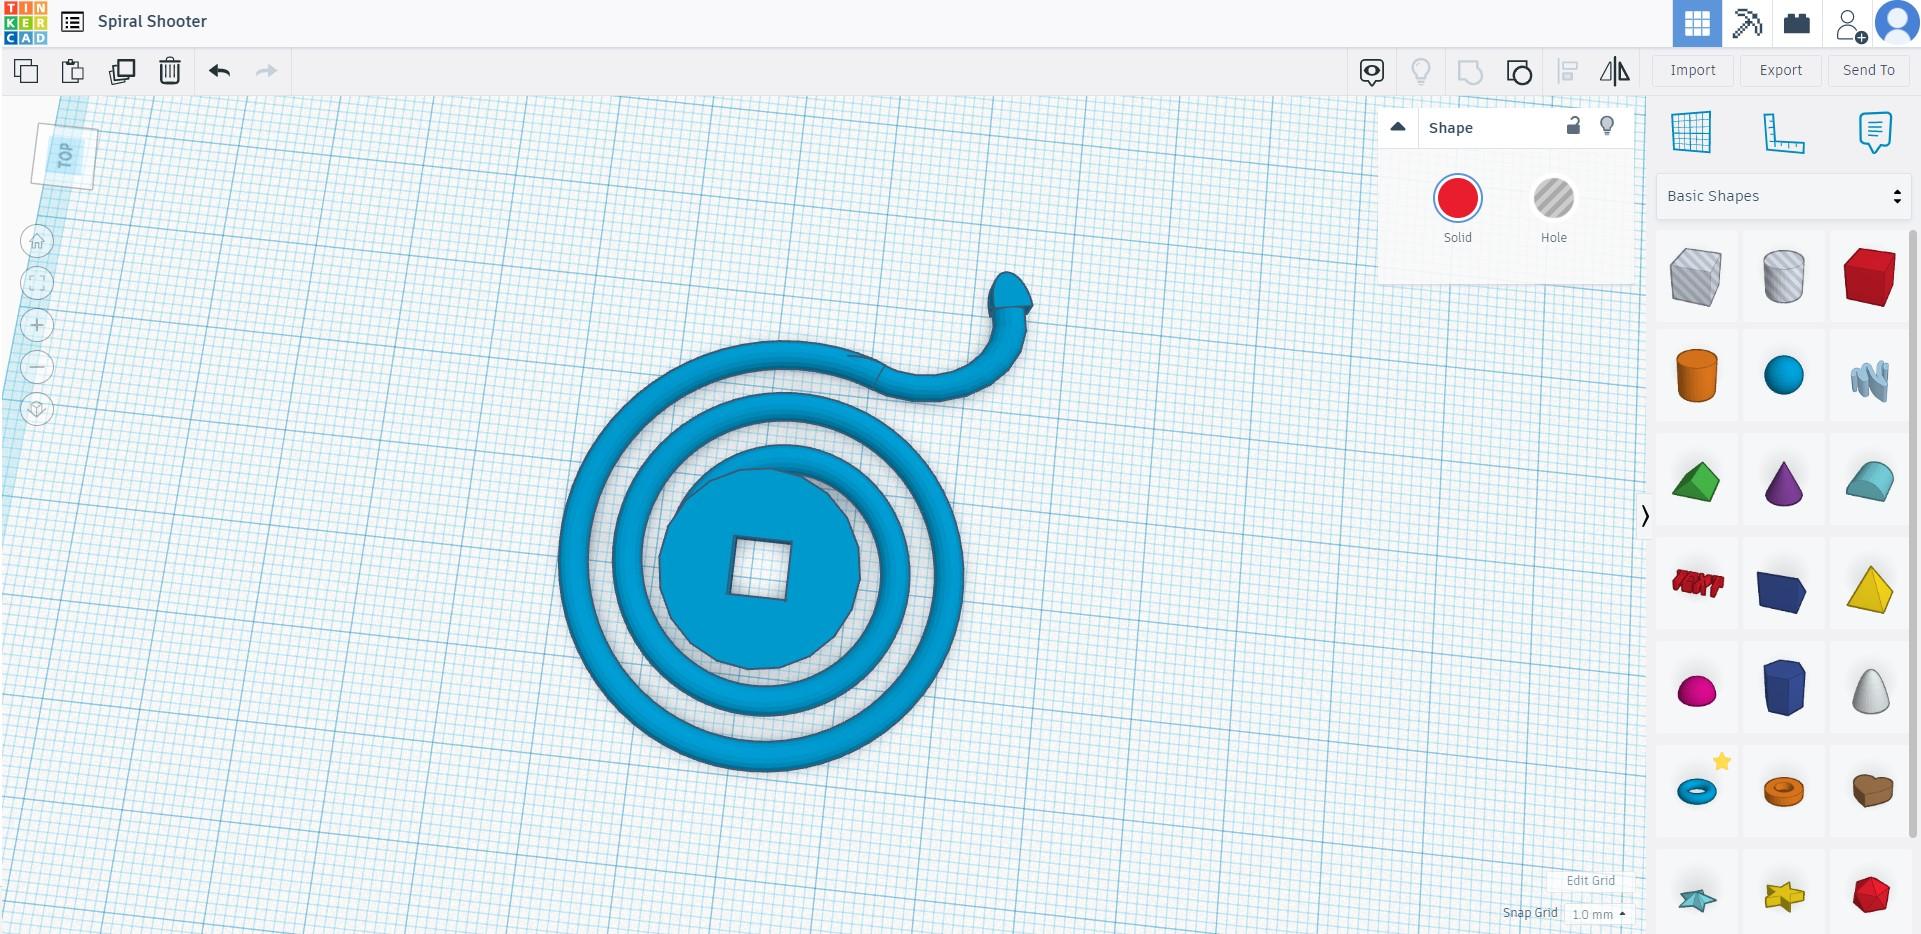
First I made a simple spiral in Tinkercad. Inside the spiral, I added a square that will attach this spiral to your casing so that you can print them separately for an easier 3dprinting experience.
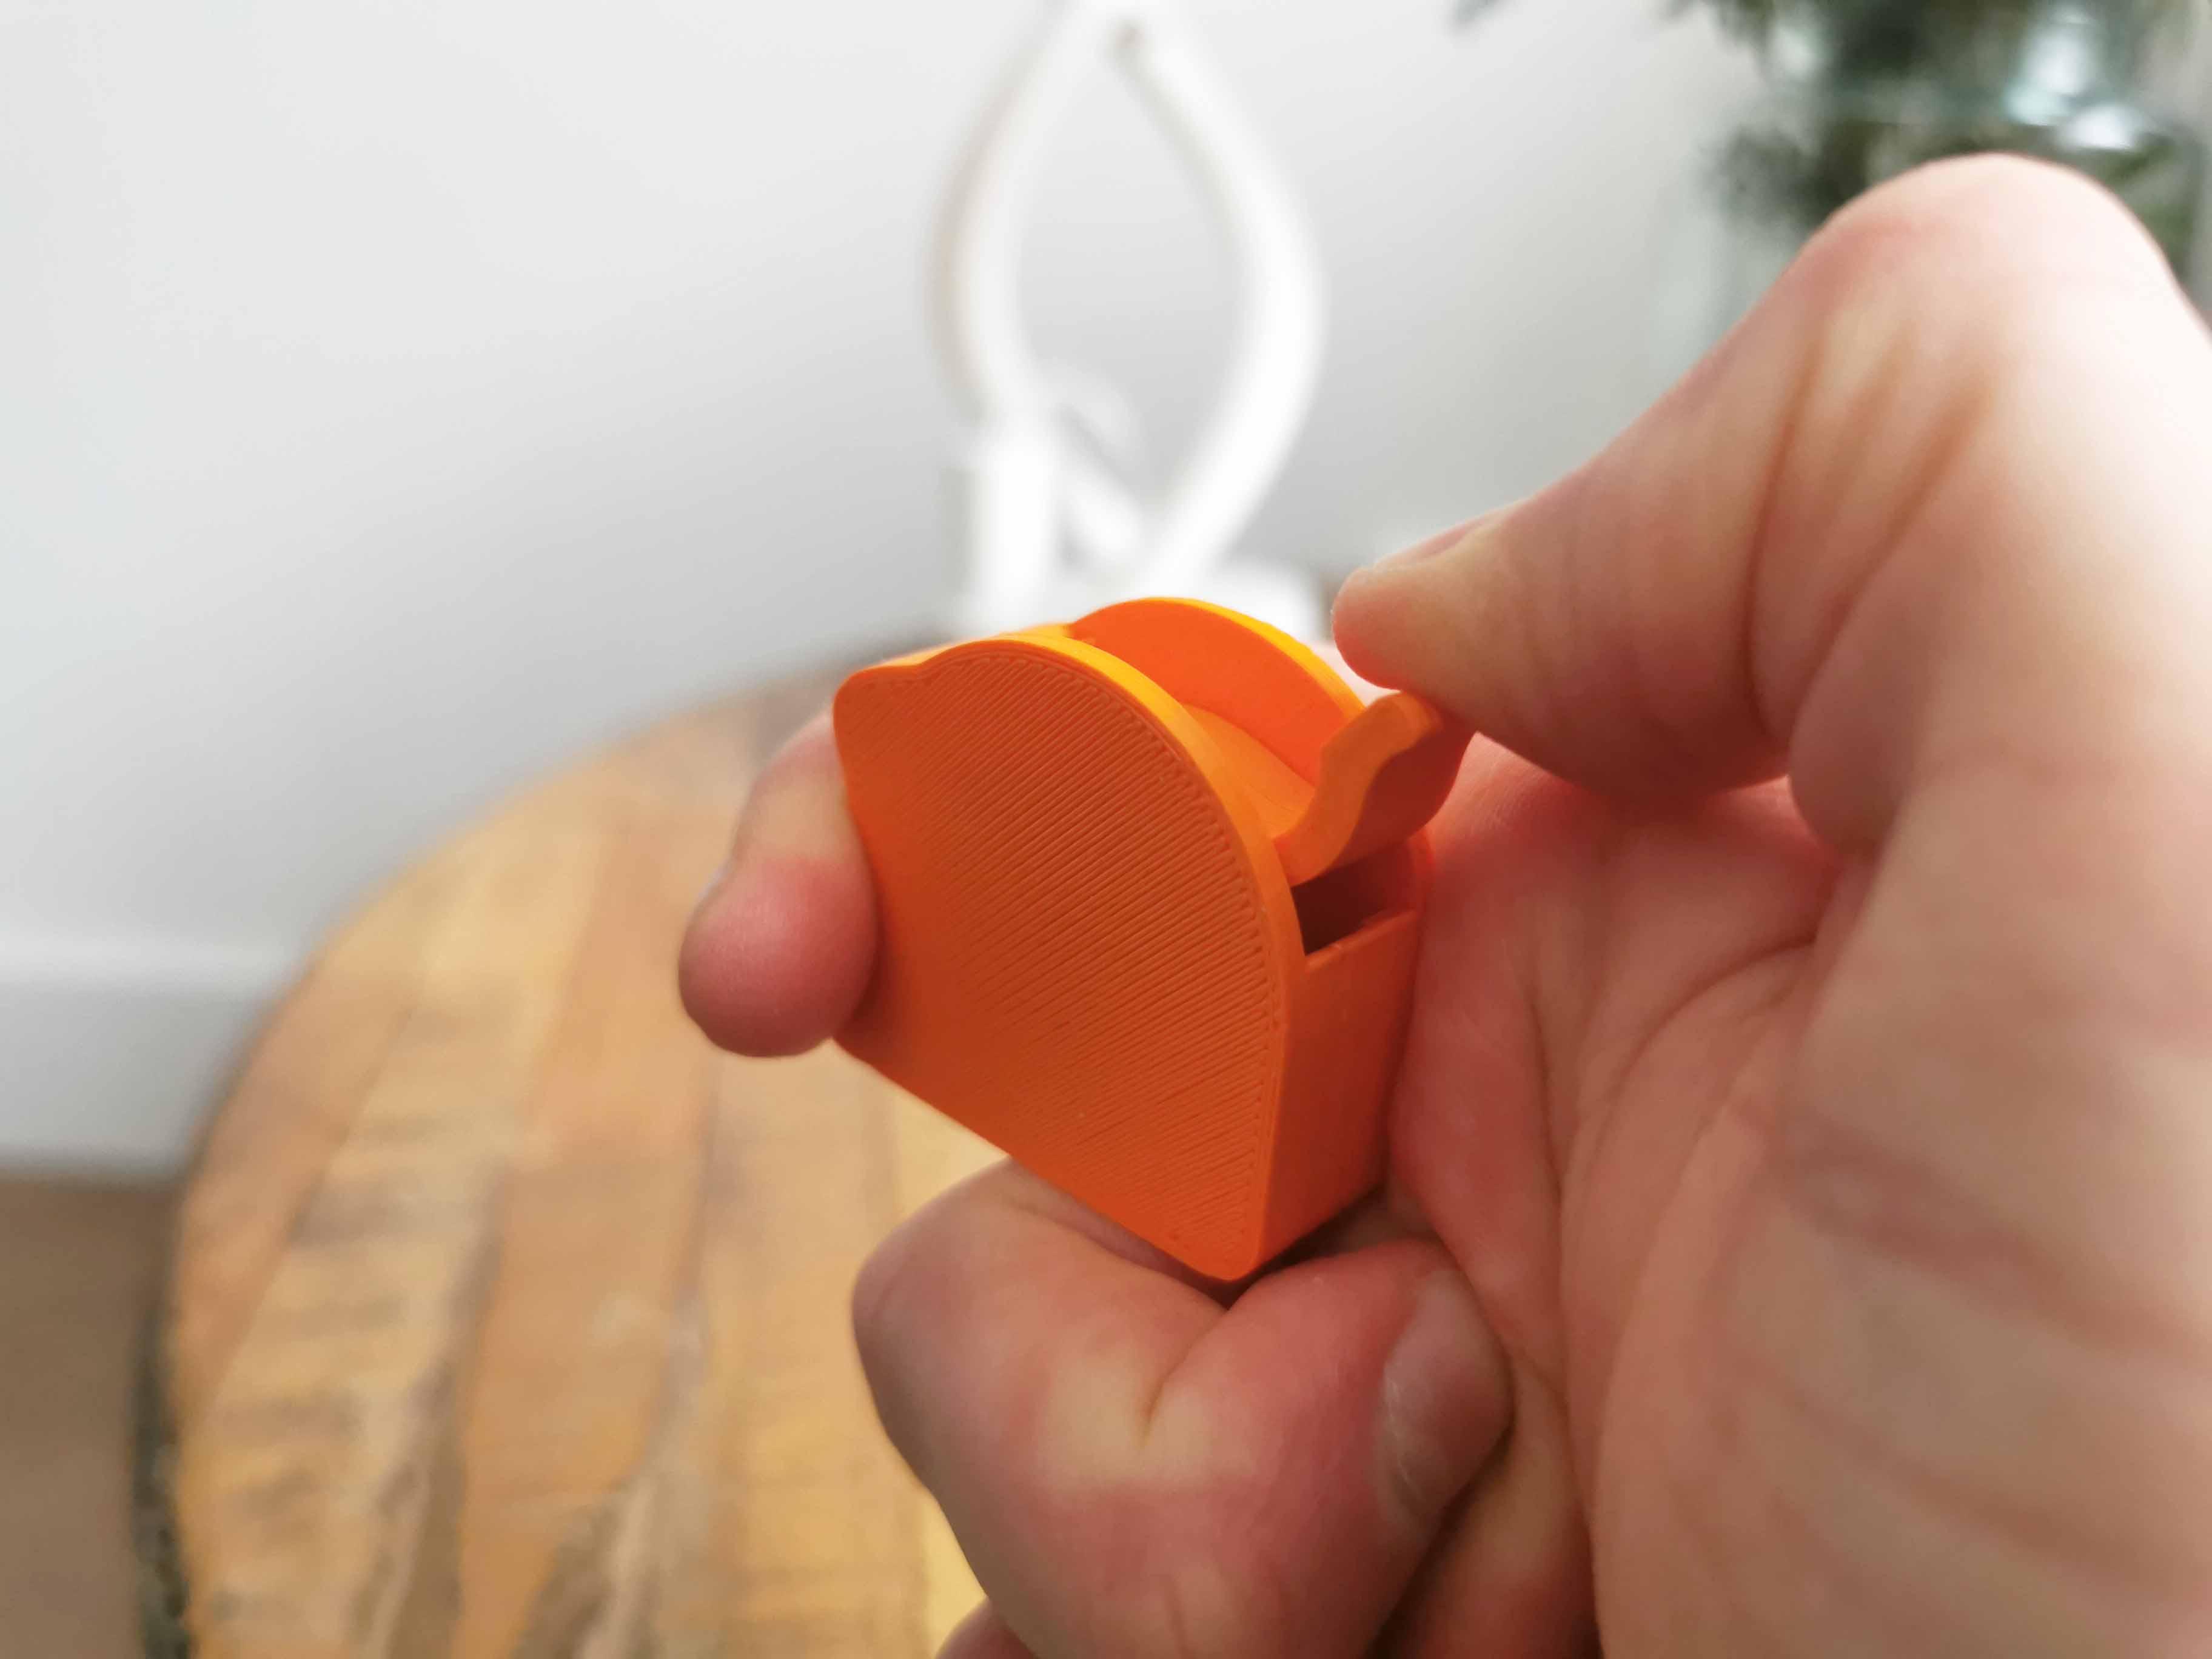
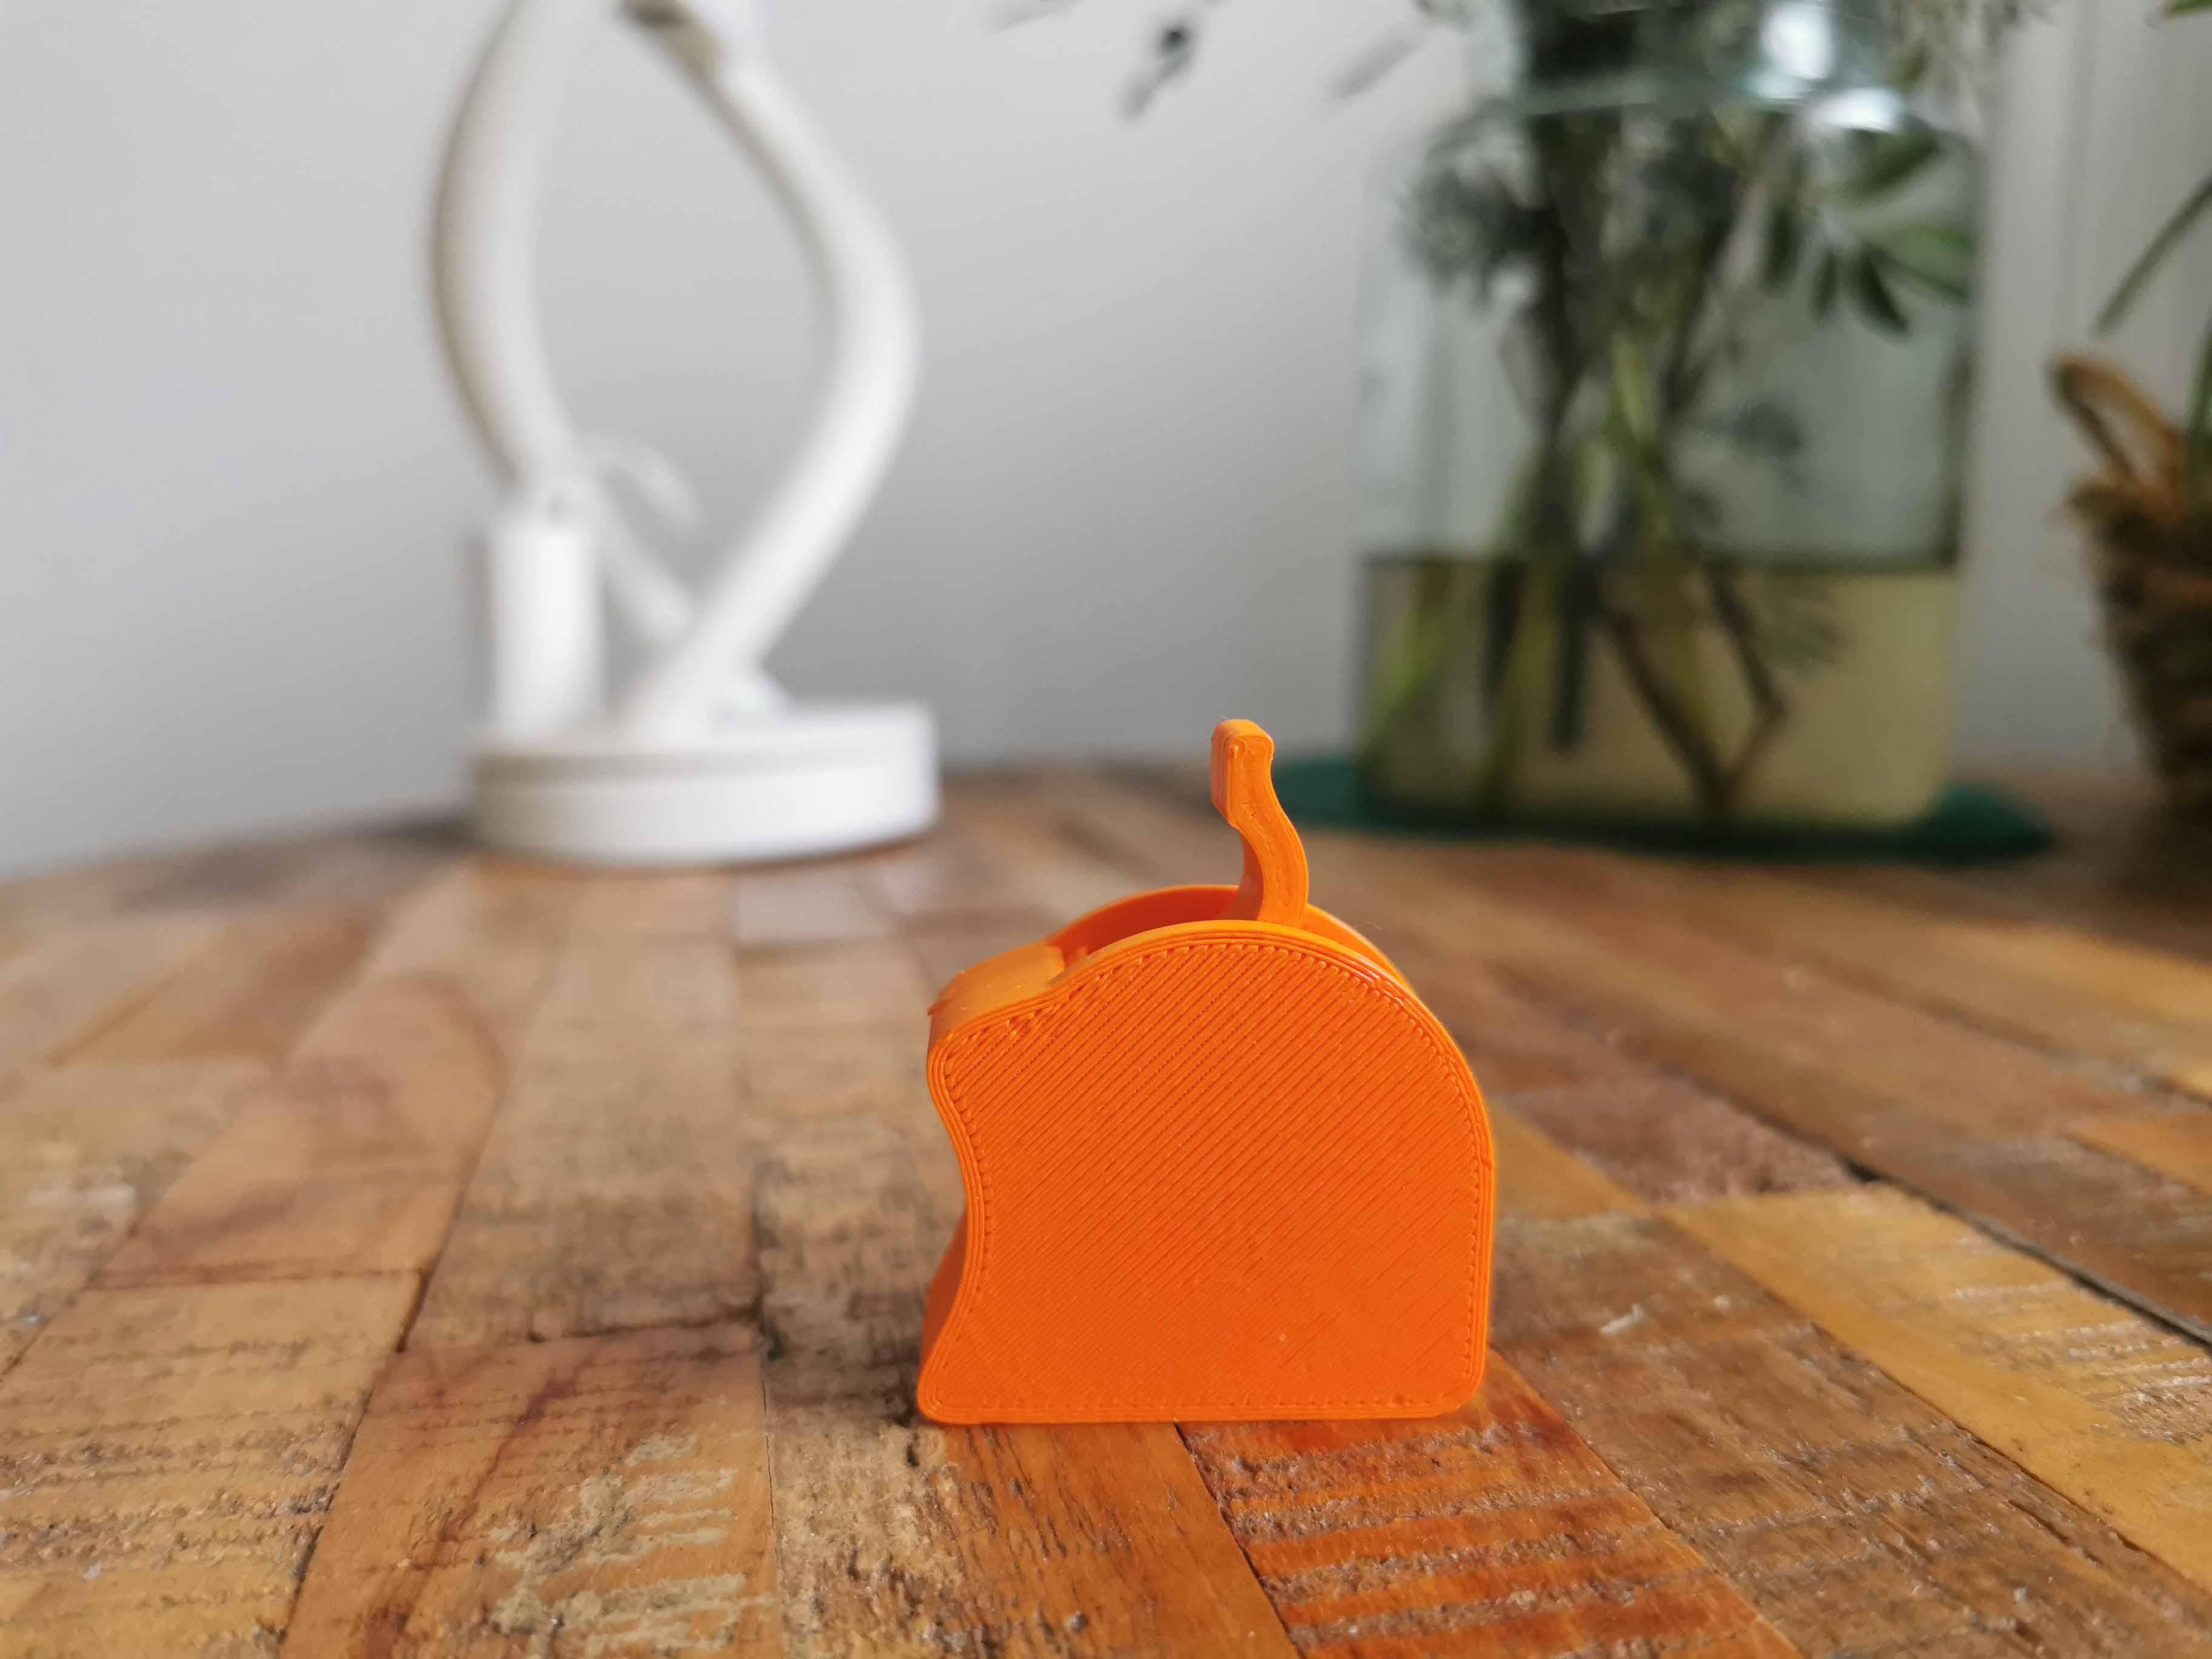
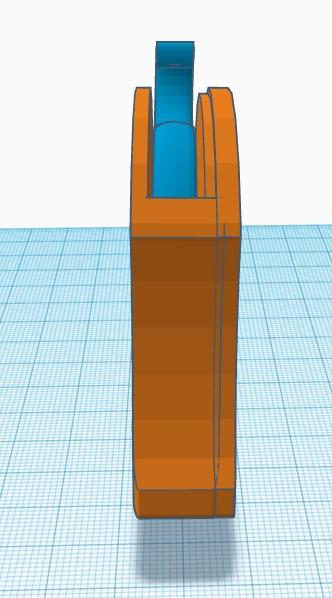
Building the Casing
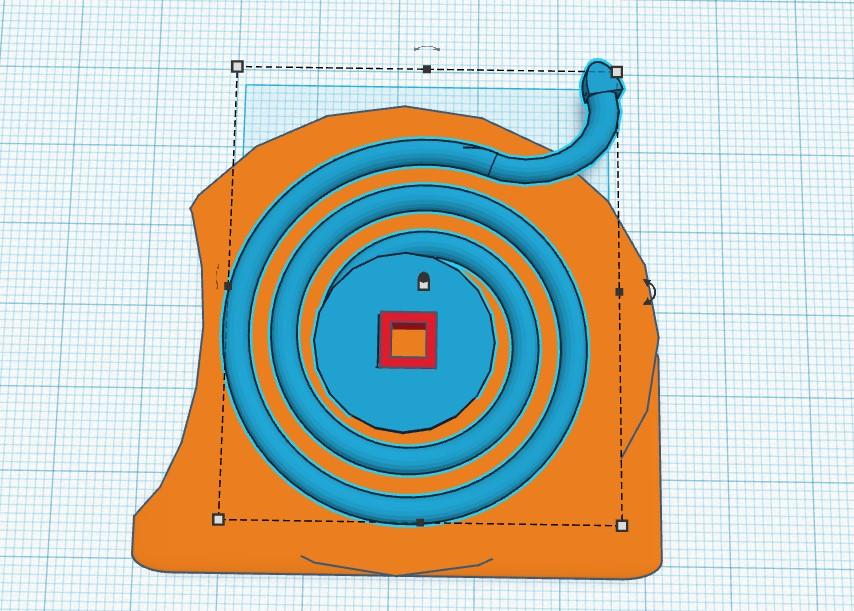
You can see that I made the casing around the spiral. The casing is a circle, square, and circle cut to make it better to grip with your fingers while winding up the catapult.
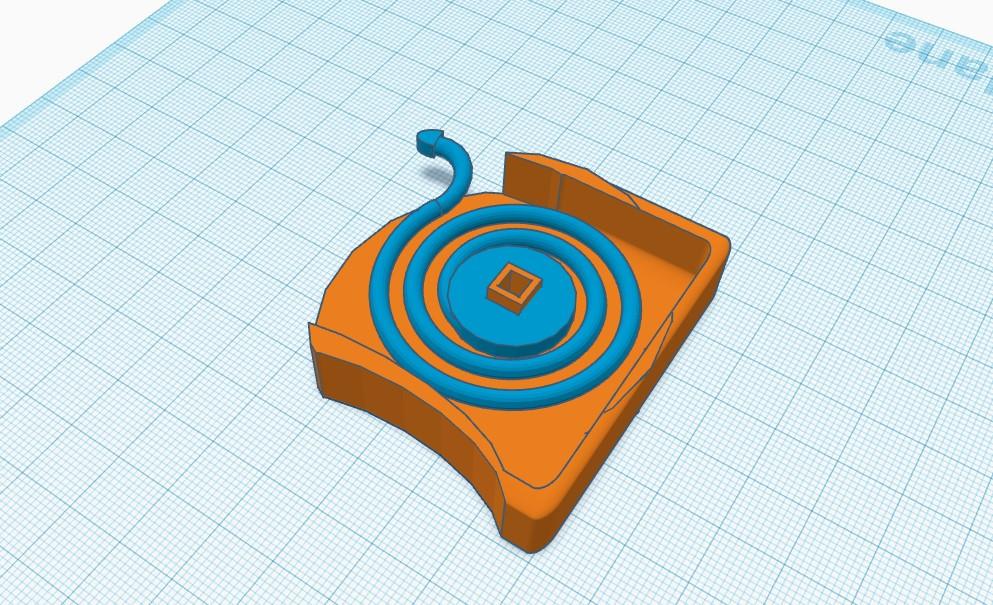
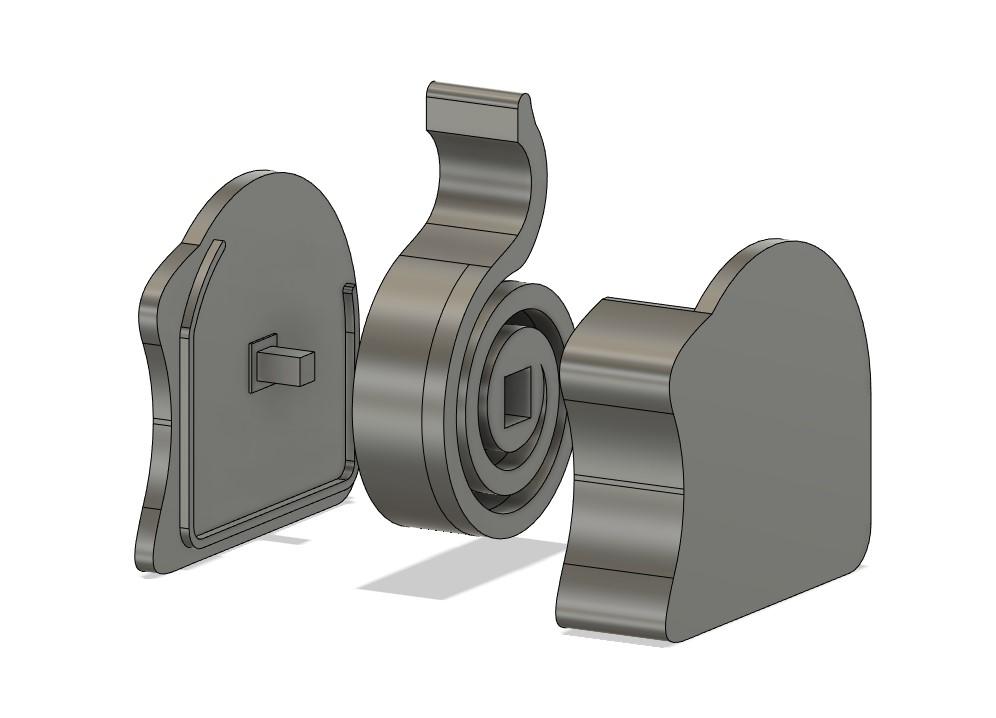
Full Overview
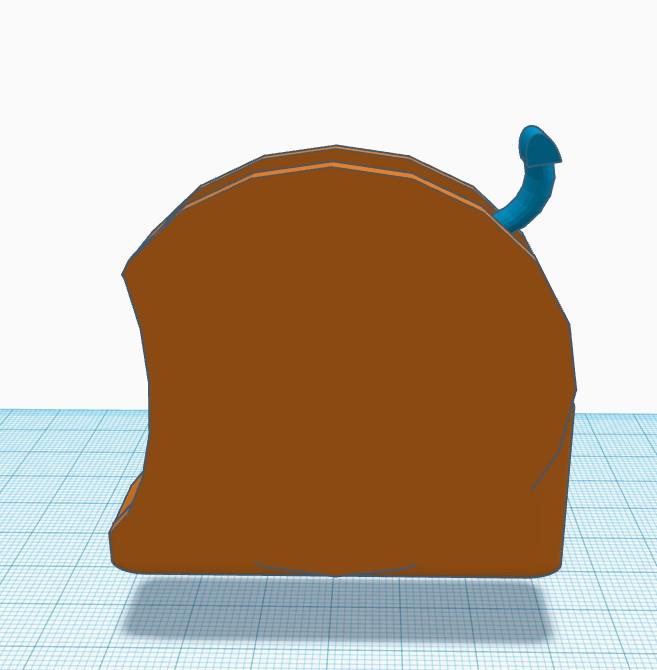
This is the full overview of the design that I made. You can see that I have a bottom and top casing. This is to make a clean finish of the pocket catapult.
You can Tinker this model yourself with this Tinkercad link:
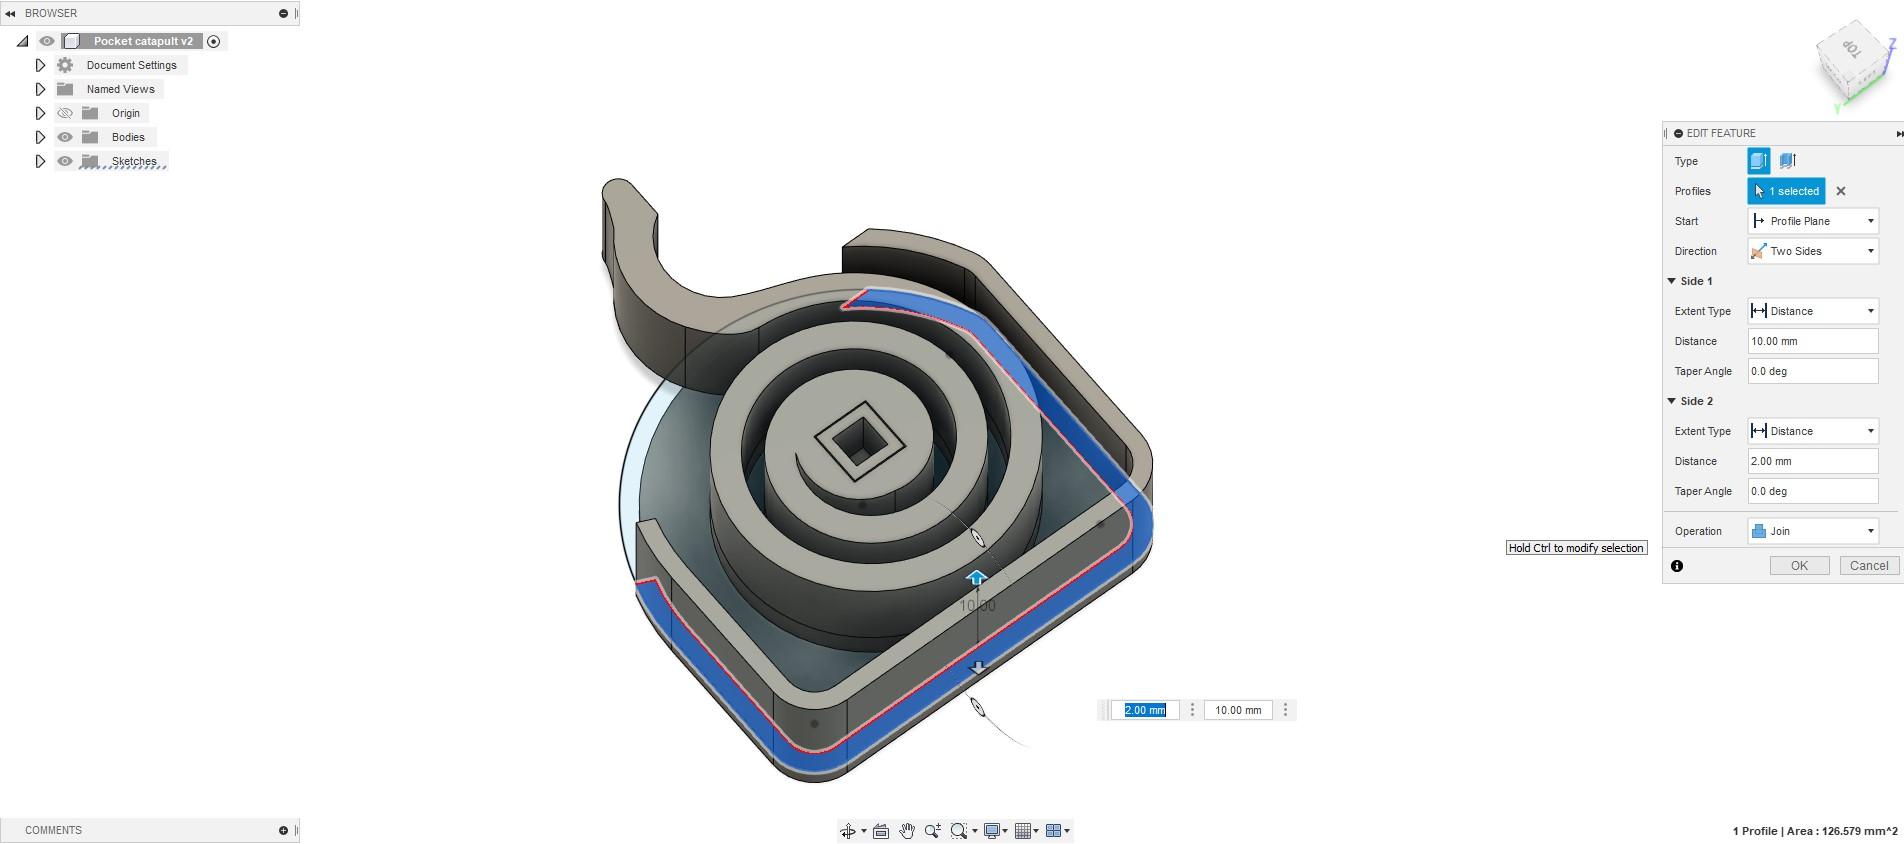
Making Spiral in Fusion


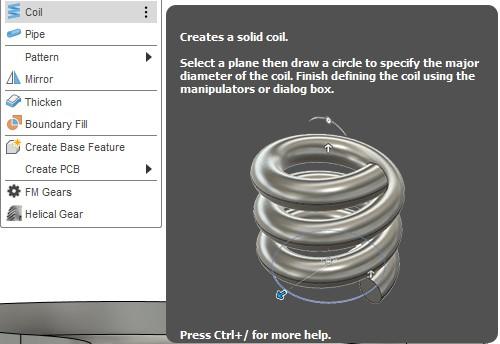
Inside fusion 360 I used the Coil function that is under Solid > Create > Coil. Then I selected Type > Spiral to make it flat. Before making this Spiral I had drawn a circle with the maximum diameter so that I could see if it would fit in the desired location. I also made the form of the spiral square to make it easier to work with.
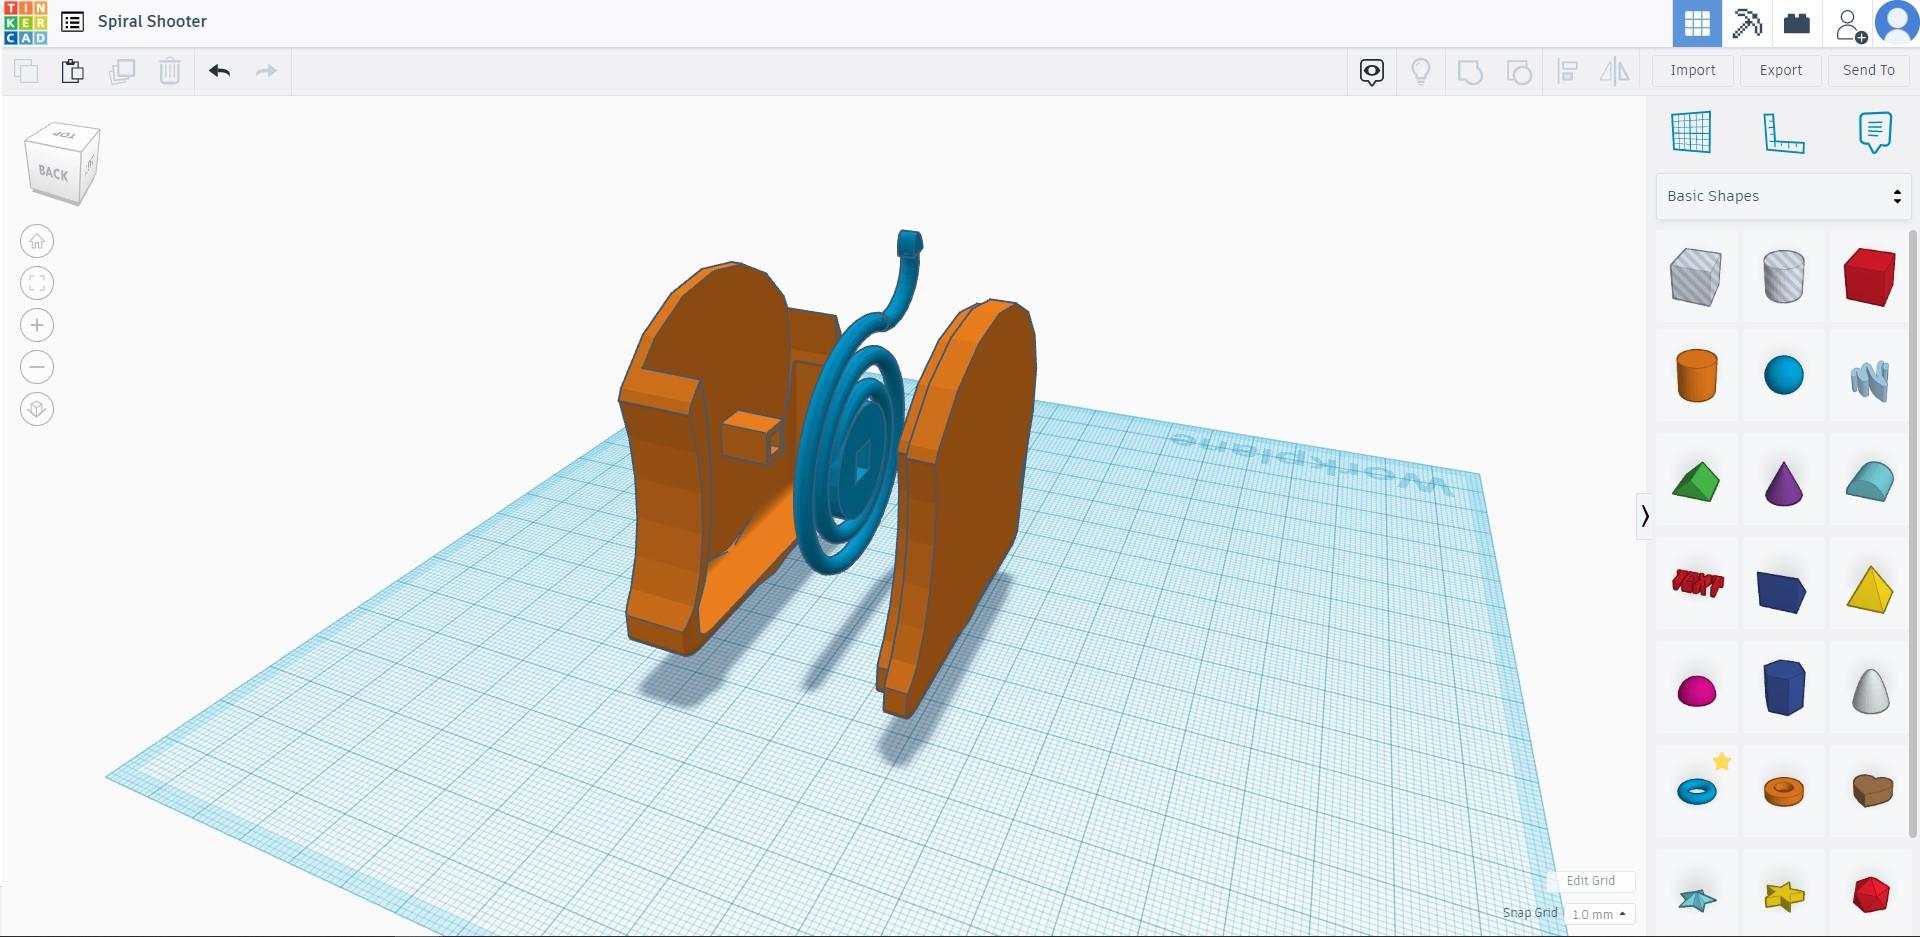
Casing and Overview

Rendering in Fusion

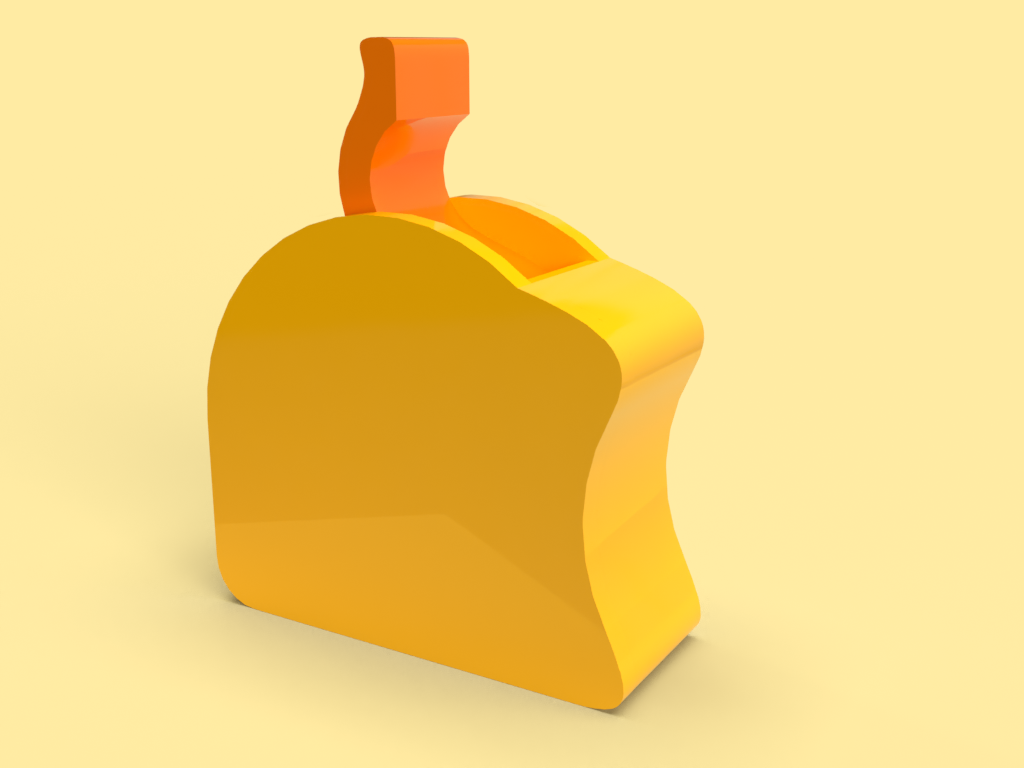
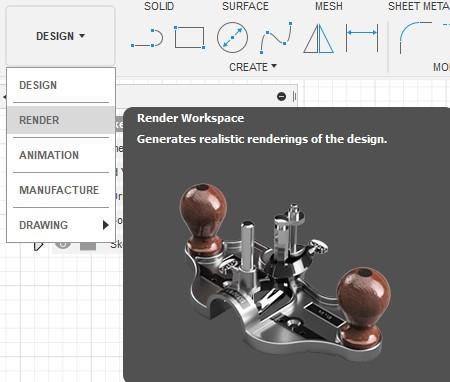
After I was done I went to the Render workspace of Fusion 360. This is an easy-to-use render engine inside your CAD software. I always use it to make a quick render for my designs to show to clients. I made use of the included material and changed them a bit with the appearance menu. After also using the scene settings to make the background and lighting correct I rendered them and exported the PNG photos directly to my computer.
Download My Files