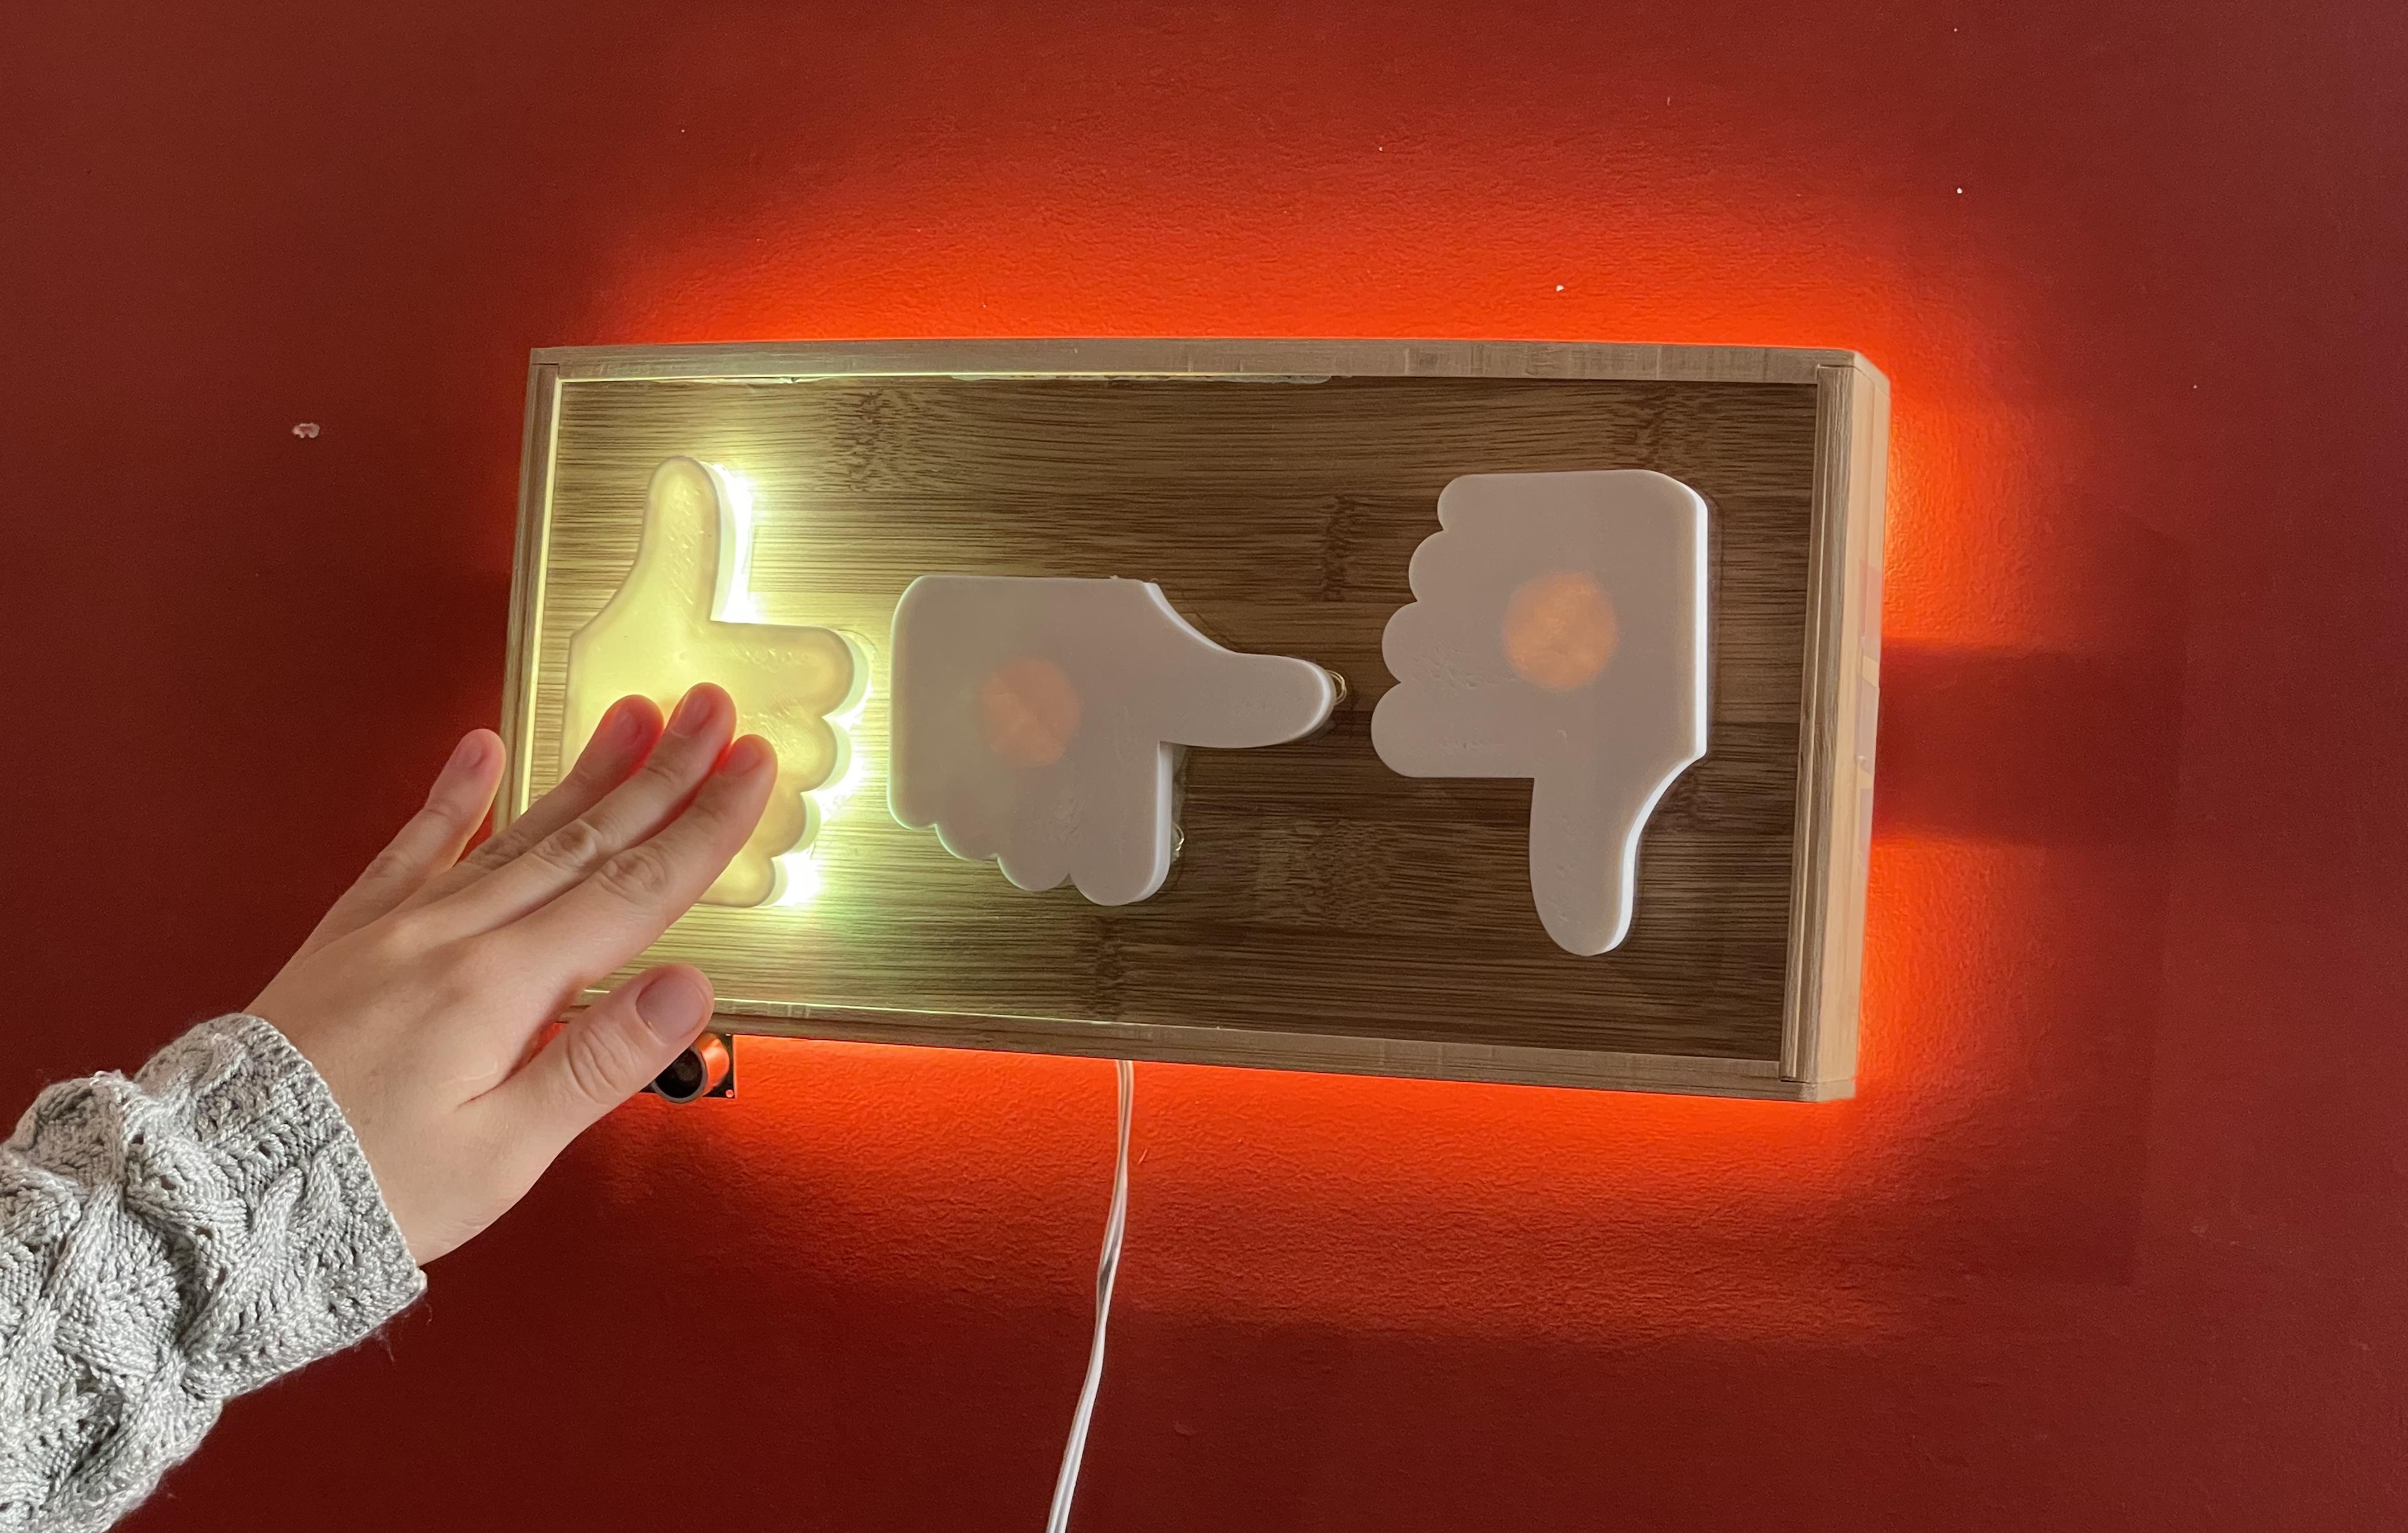
Internet of Things Mood Tracker for School or Work
by monacacha in Circuits > Arduino
6851 Views, 86 Favorites, 0 Comments
Internet of Things Mood Tracker for School or Work

Background
It is normal that school is challenging and, at times, deeply so! But sometimes things really do get out of control, and students, unable to communicate to their teachers and advisors how they are feeling, can fall over the edge. It is at this point–when students are burnt out, sleep deprived, and even physically ill, that the institution notices that it’s time for a change.
We think this is an issue of feedback delay. What if teachers and academic advisors knew before it is too late, that school life for students is going downhill? What if there was a way to stop the burn out and misery before it happened?
The mood tracker
This project is designed to help students track their mood with feedback sent to academic advisors to know how a student cohort is doing on a daily or weekly basis.
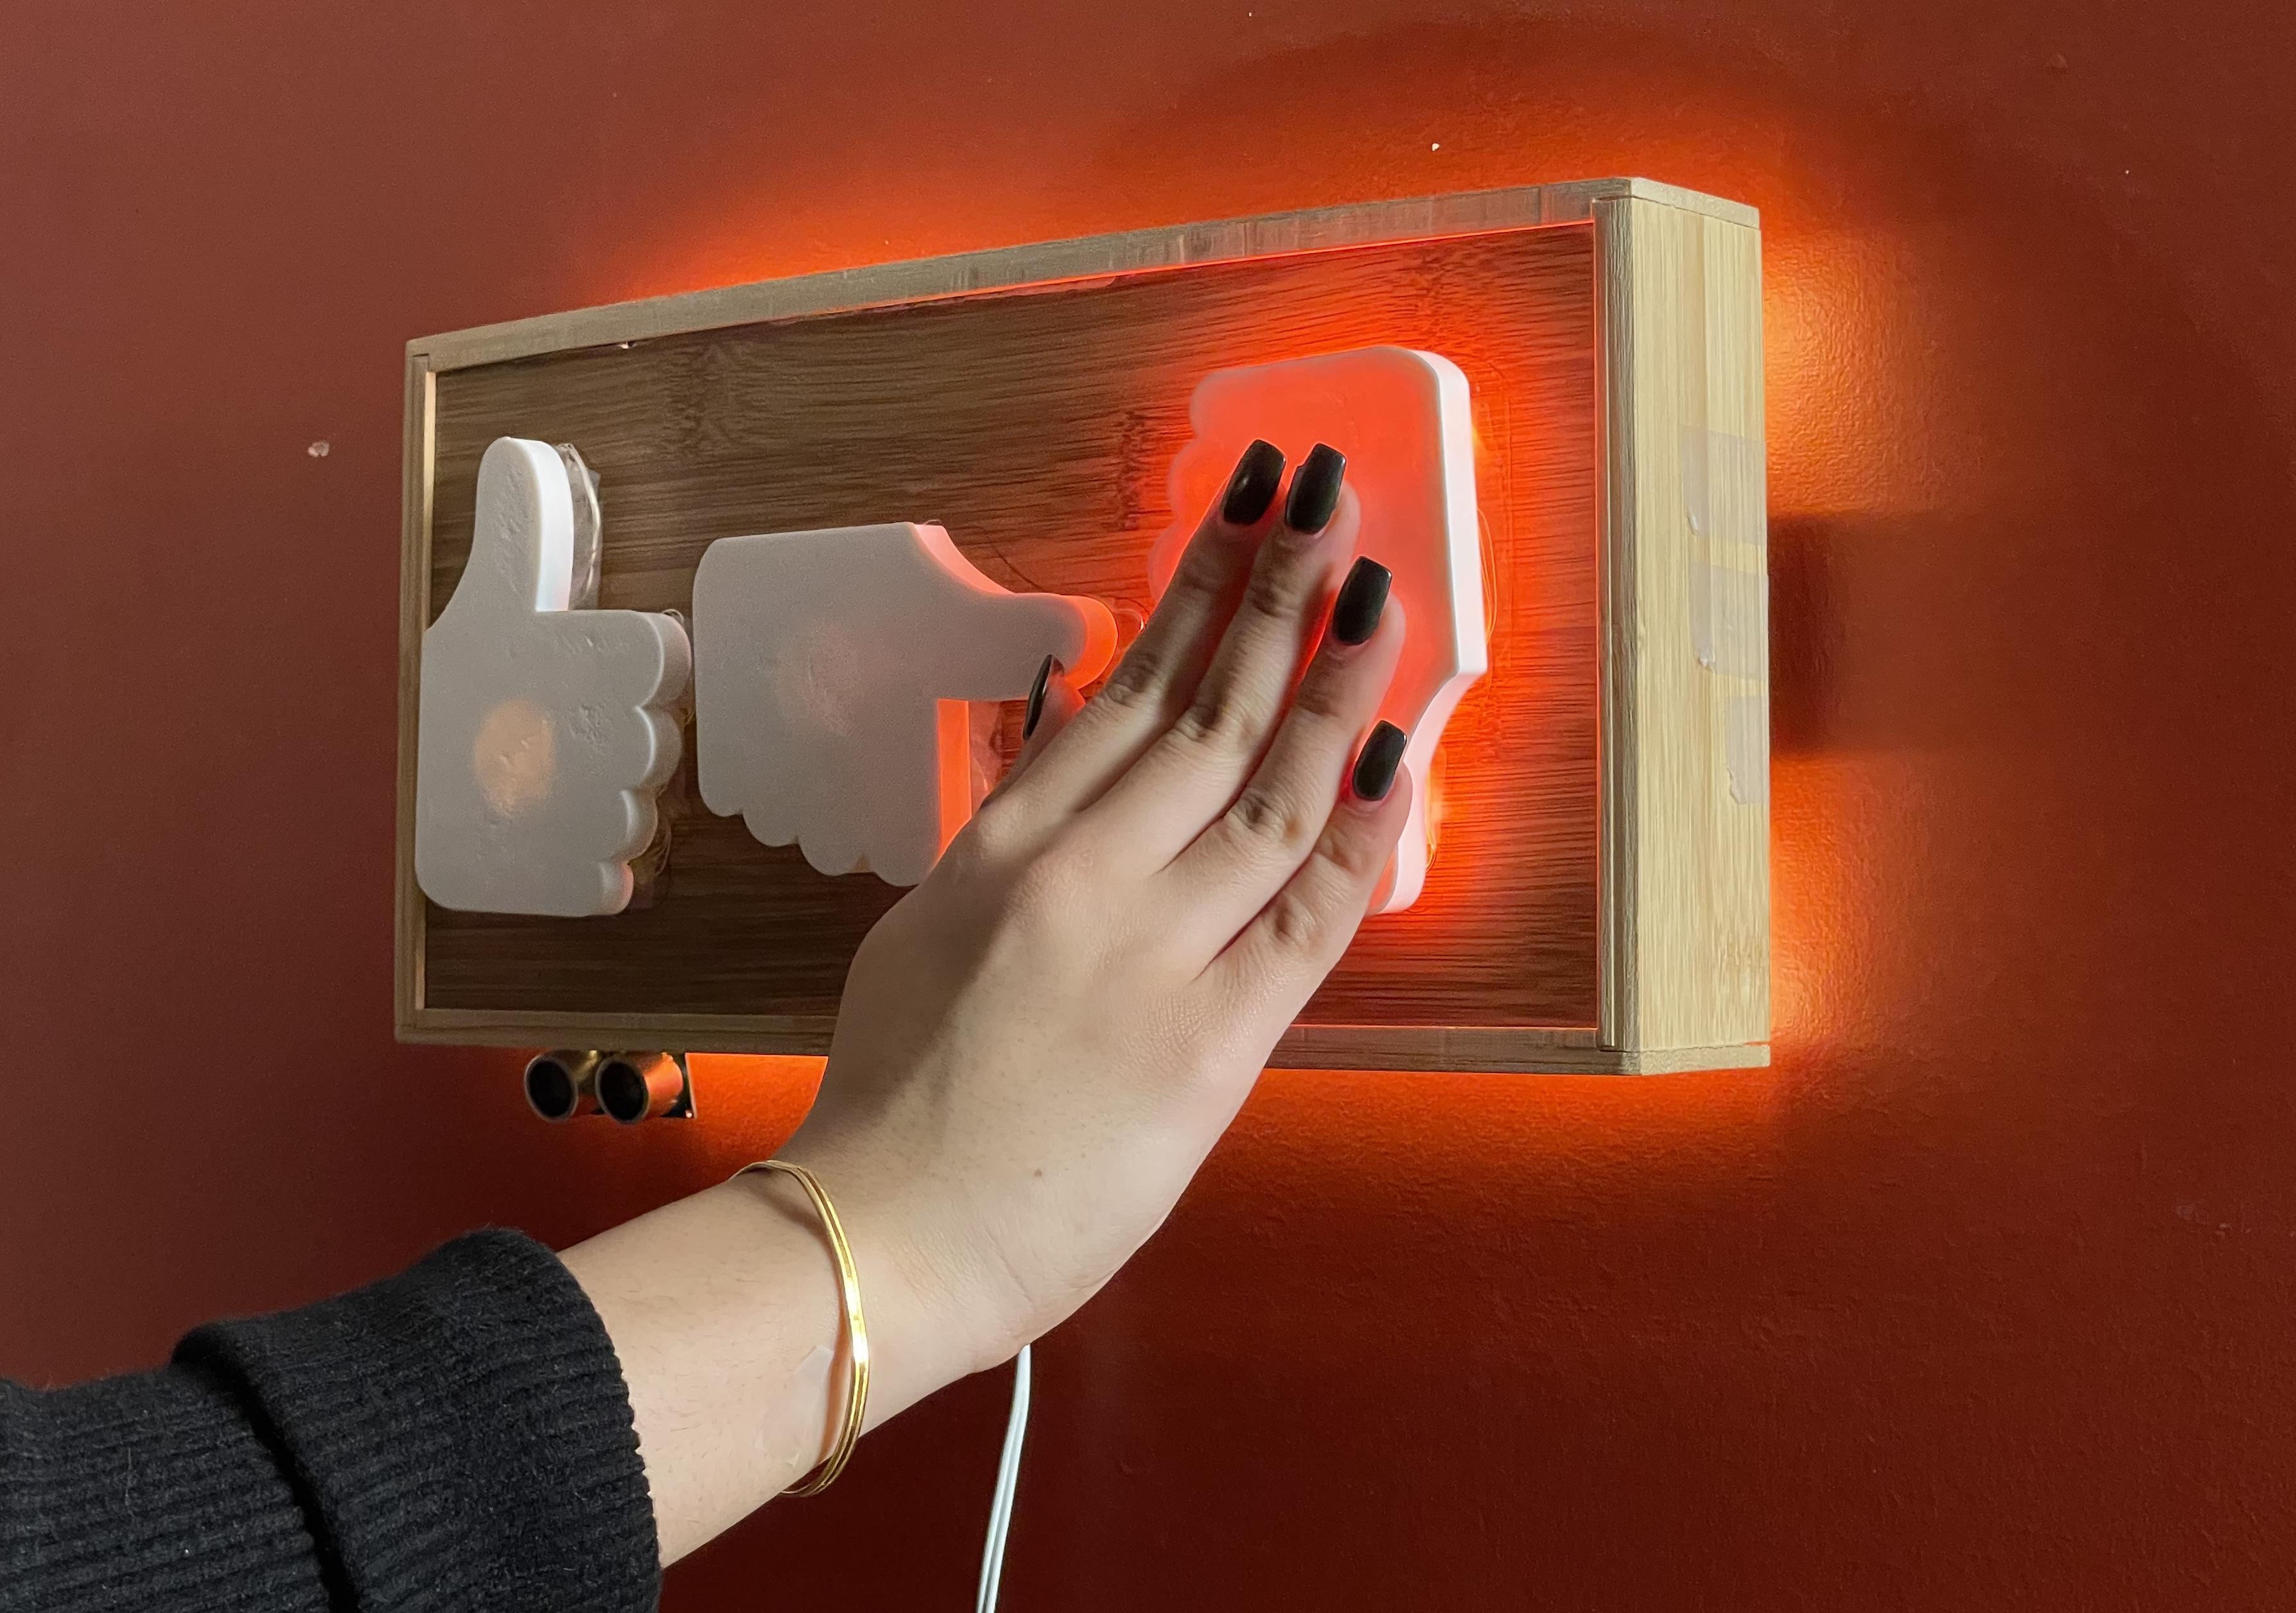
The mood tracker is inspired by the notion of checking in on how a group of people are doing using "thumbs" as a visual cue. An upward, side, or downward-pointing thumb signifies a good, ok, or bad emotional state, respectively 👍👎
When we pair the thumbs check-in with the 60’s practice of punching-in at work, the result is a daily mood tracker for students that would help the program serve them better.
Our mood tracker bears a core resemblance to the standing satisfaction booths in airport bathrooms and stadiums. However, our product goes further in that it is not so much an endless vessel for feedback, but an alert system that is triggered at specific moments to help educational institutions and staff know when to check in with their students.
Lastly, we use the thumbs similar to the iconic Facebook like since it is a familiar concept to a majority of our target audience -Millennials.
How does it work?
When a student punches in their mood on the tracker, the tracker tallies up the number of pressed buttons and sends email triggers. For example if 20 “thumbs down” were recorded, the IFTTT APP sends an email alerting the academic advisor of a perilous student status.
Supplies
Materials
- Adafruit Feather Huzzah
- Arduino Uno
- (2) Adafruit Perma-Proto Half-sized Breadboard PCB
- (3) Tactile Switch Buttons (12mm square, 6mm tall)
- (1) Ultrasonic Distance Sensor - 3V or 5V - HC-SR04 compatible - RCWL-1601
- (1) LED strip. We used the Ultra Flexible White LED Strip
- (1) Neopixel stripAdafruit Soft Flexible Wire NeoPixel Strand - 50 NeoPixels
- 12V Power supply
- PLA white filament
- Silicone coated electronics wires
- (1) Small piece of MDF wood ½” thick
- Purchase this 6 x 12 x 2” box or make your own
Tools
- Soldering machine and wire (VFL)
- Wire cutter
- Wire stripper
- X-acto knife
- 18” ruler
- Pencil and eraser
- Paper
- Measuring tape
- Transparent tape
- Hot glue
- Level
Choose the Location for Your Mood Tracker
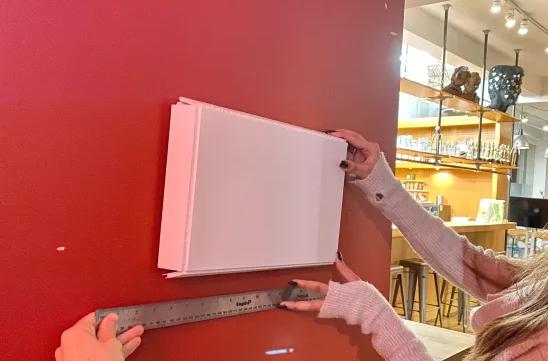
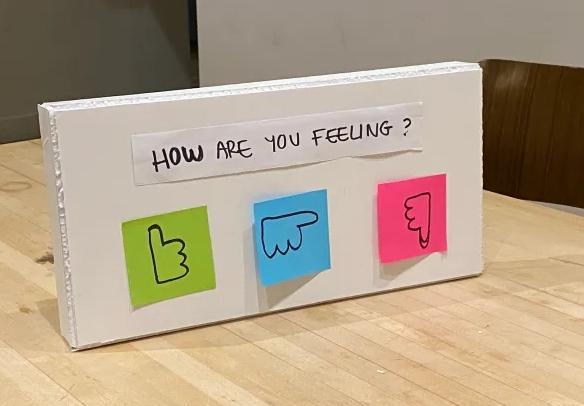
Decide where you wish to place your Mood Tracker. How wide or narrow is the space in front of it? Keep this in mind for later on as it will guide you when setting up your code.
Tip: Create a 1:1 sized low fidelity model to help understand the scale and to avoid any errors.
3D-Print the Thumbs
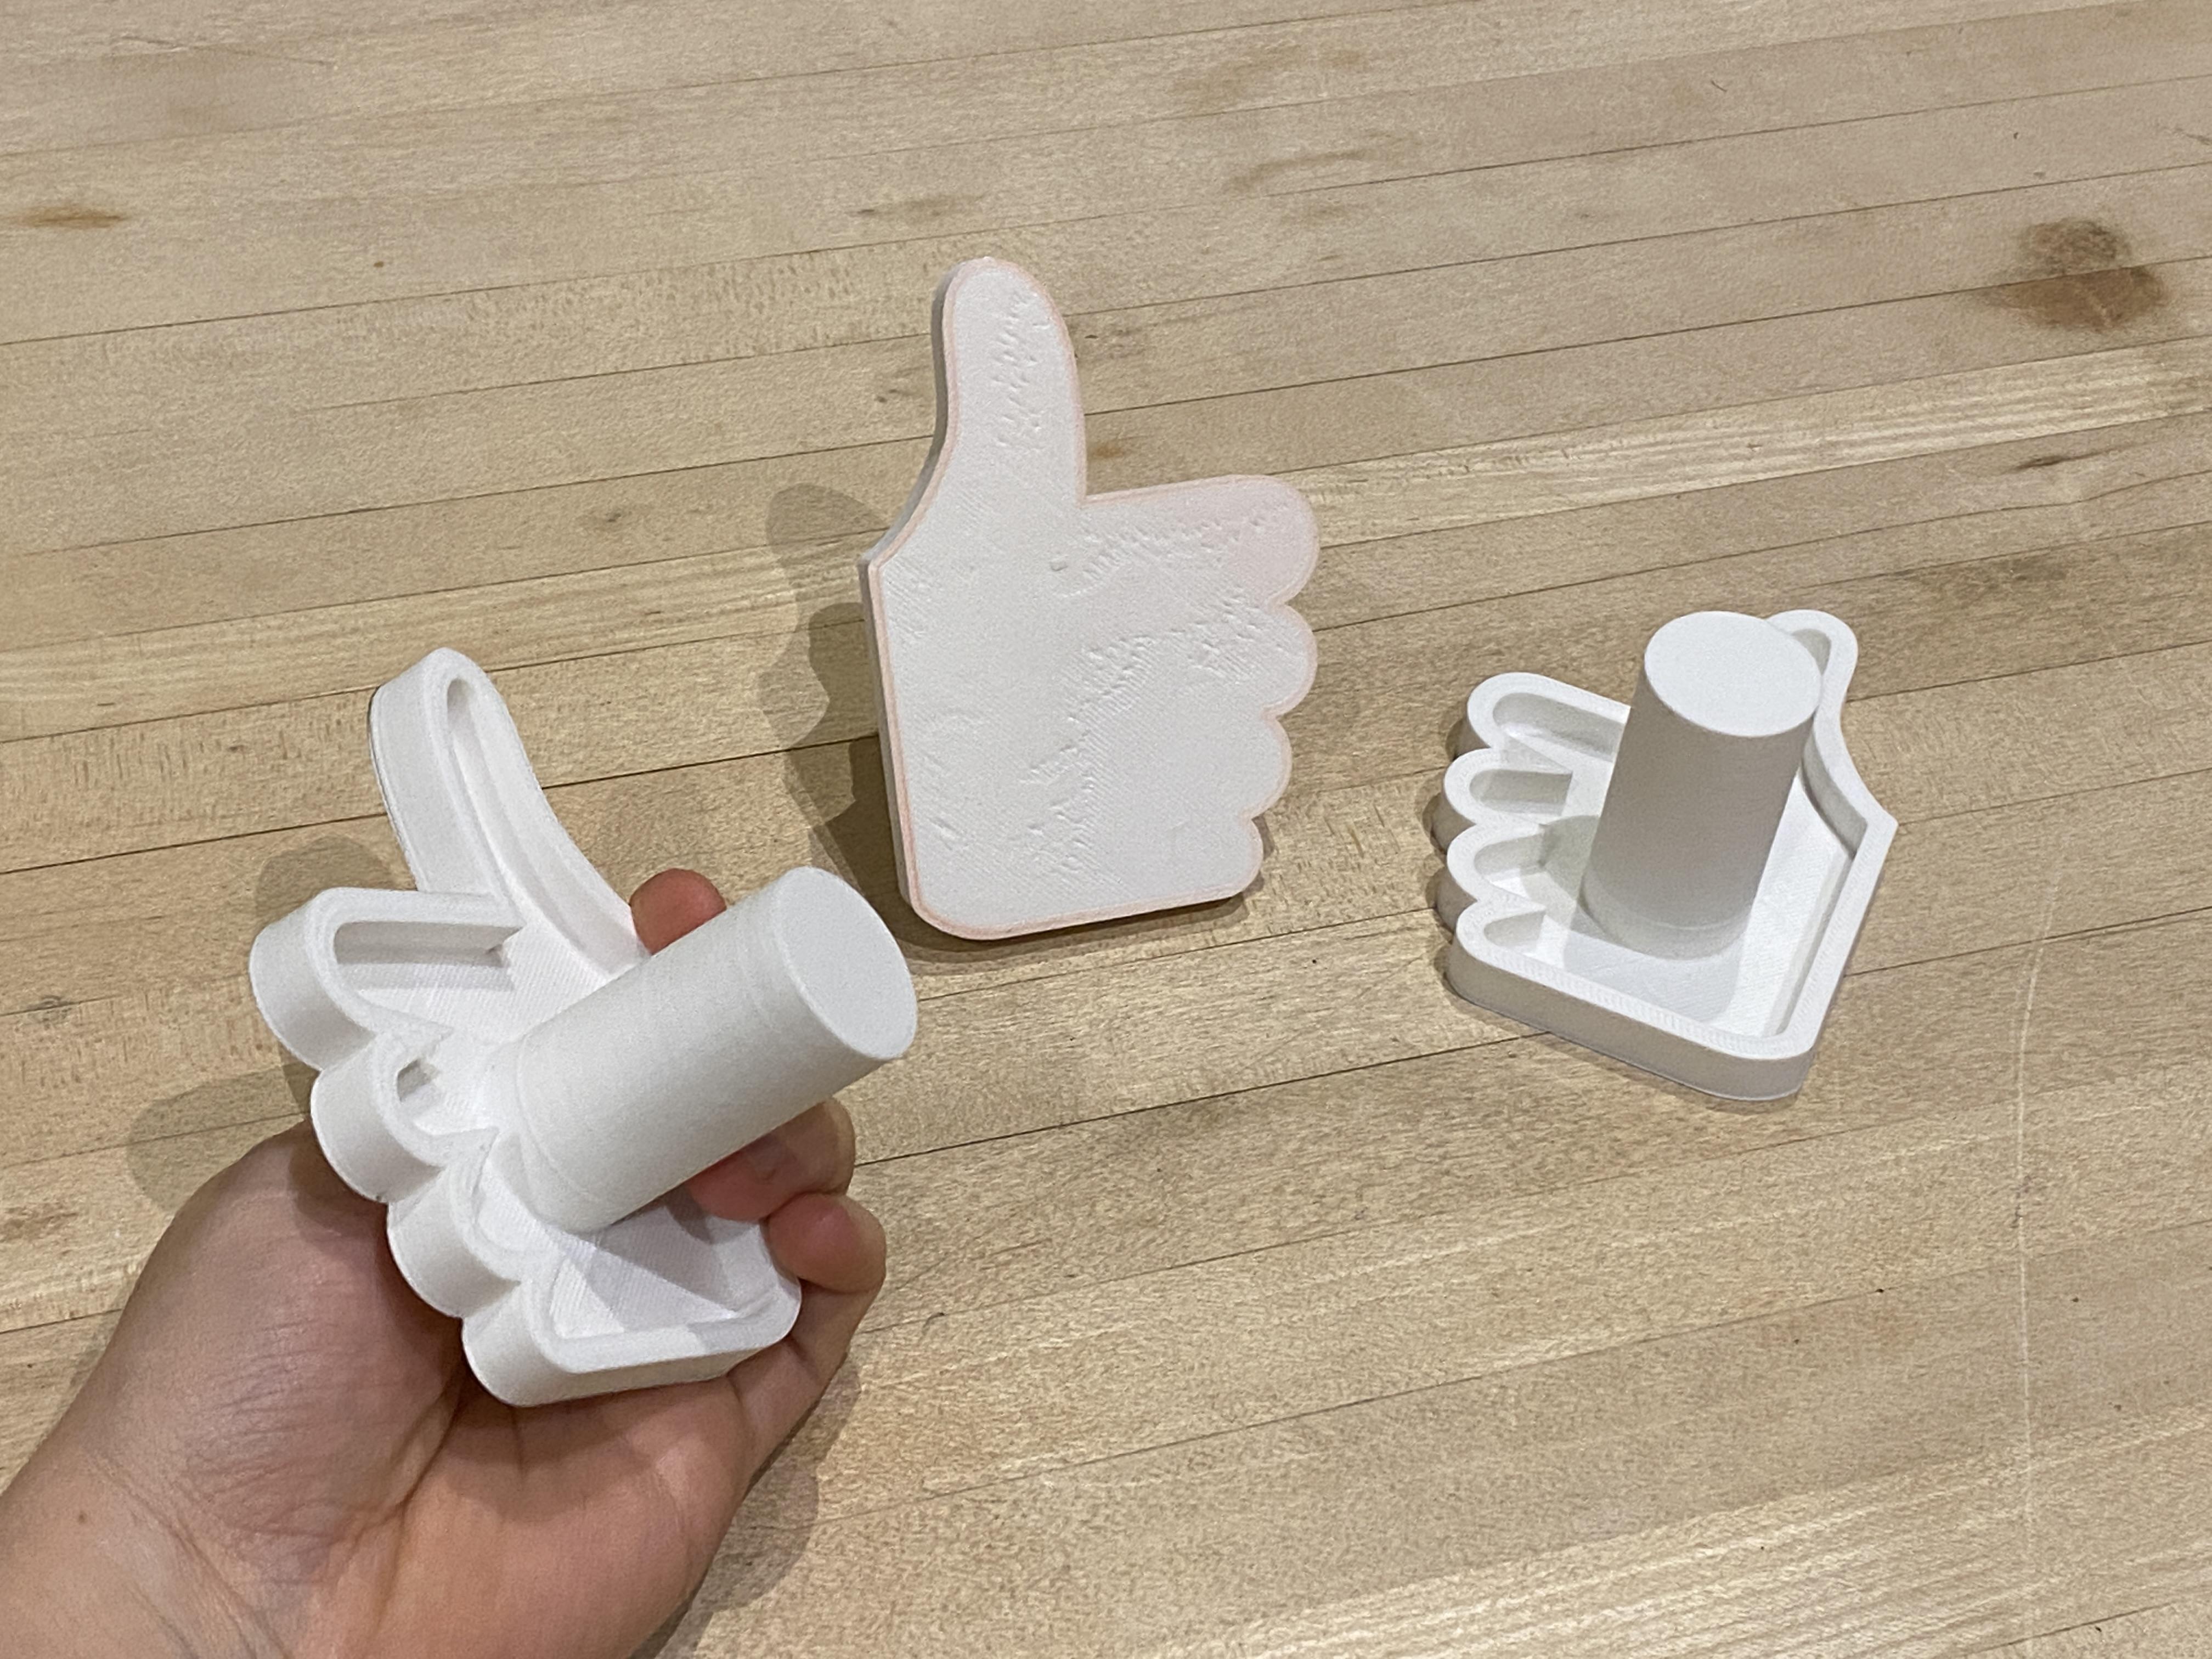
After understanding the scale of your box 3D-print three (3) copies of the attached thumb file using white PLA filament.
Downloads
Gather and Prepare the Wooden Box
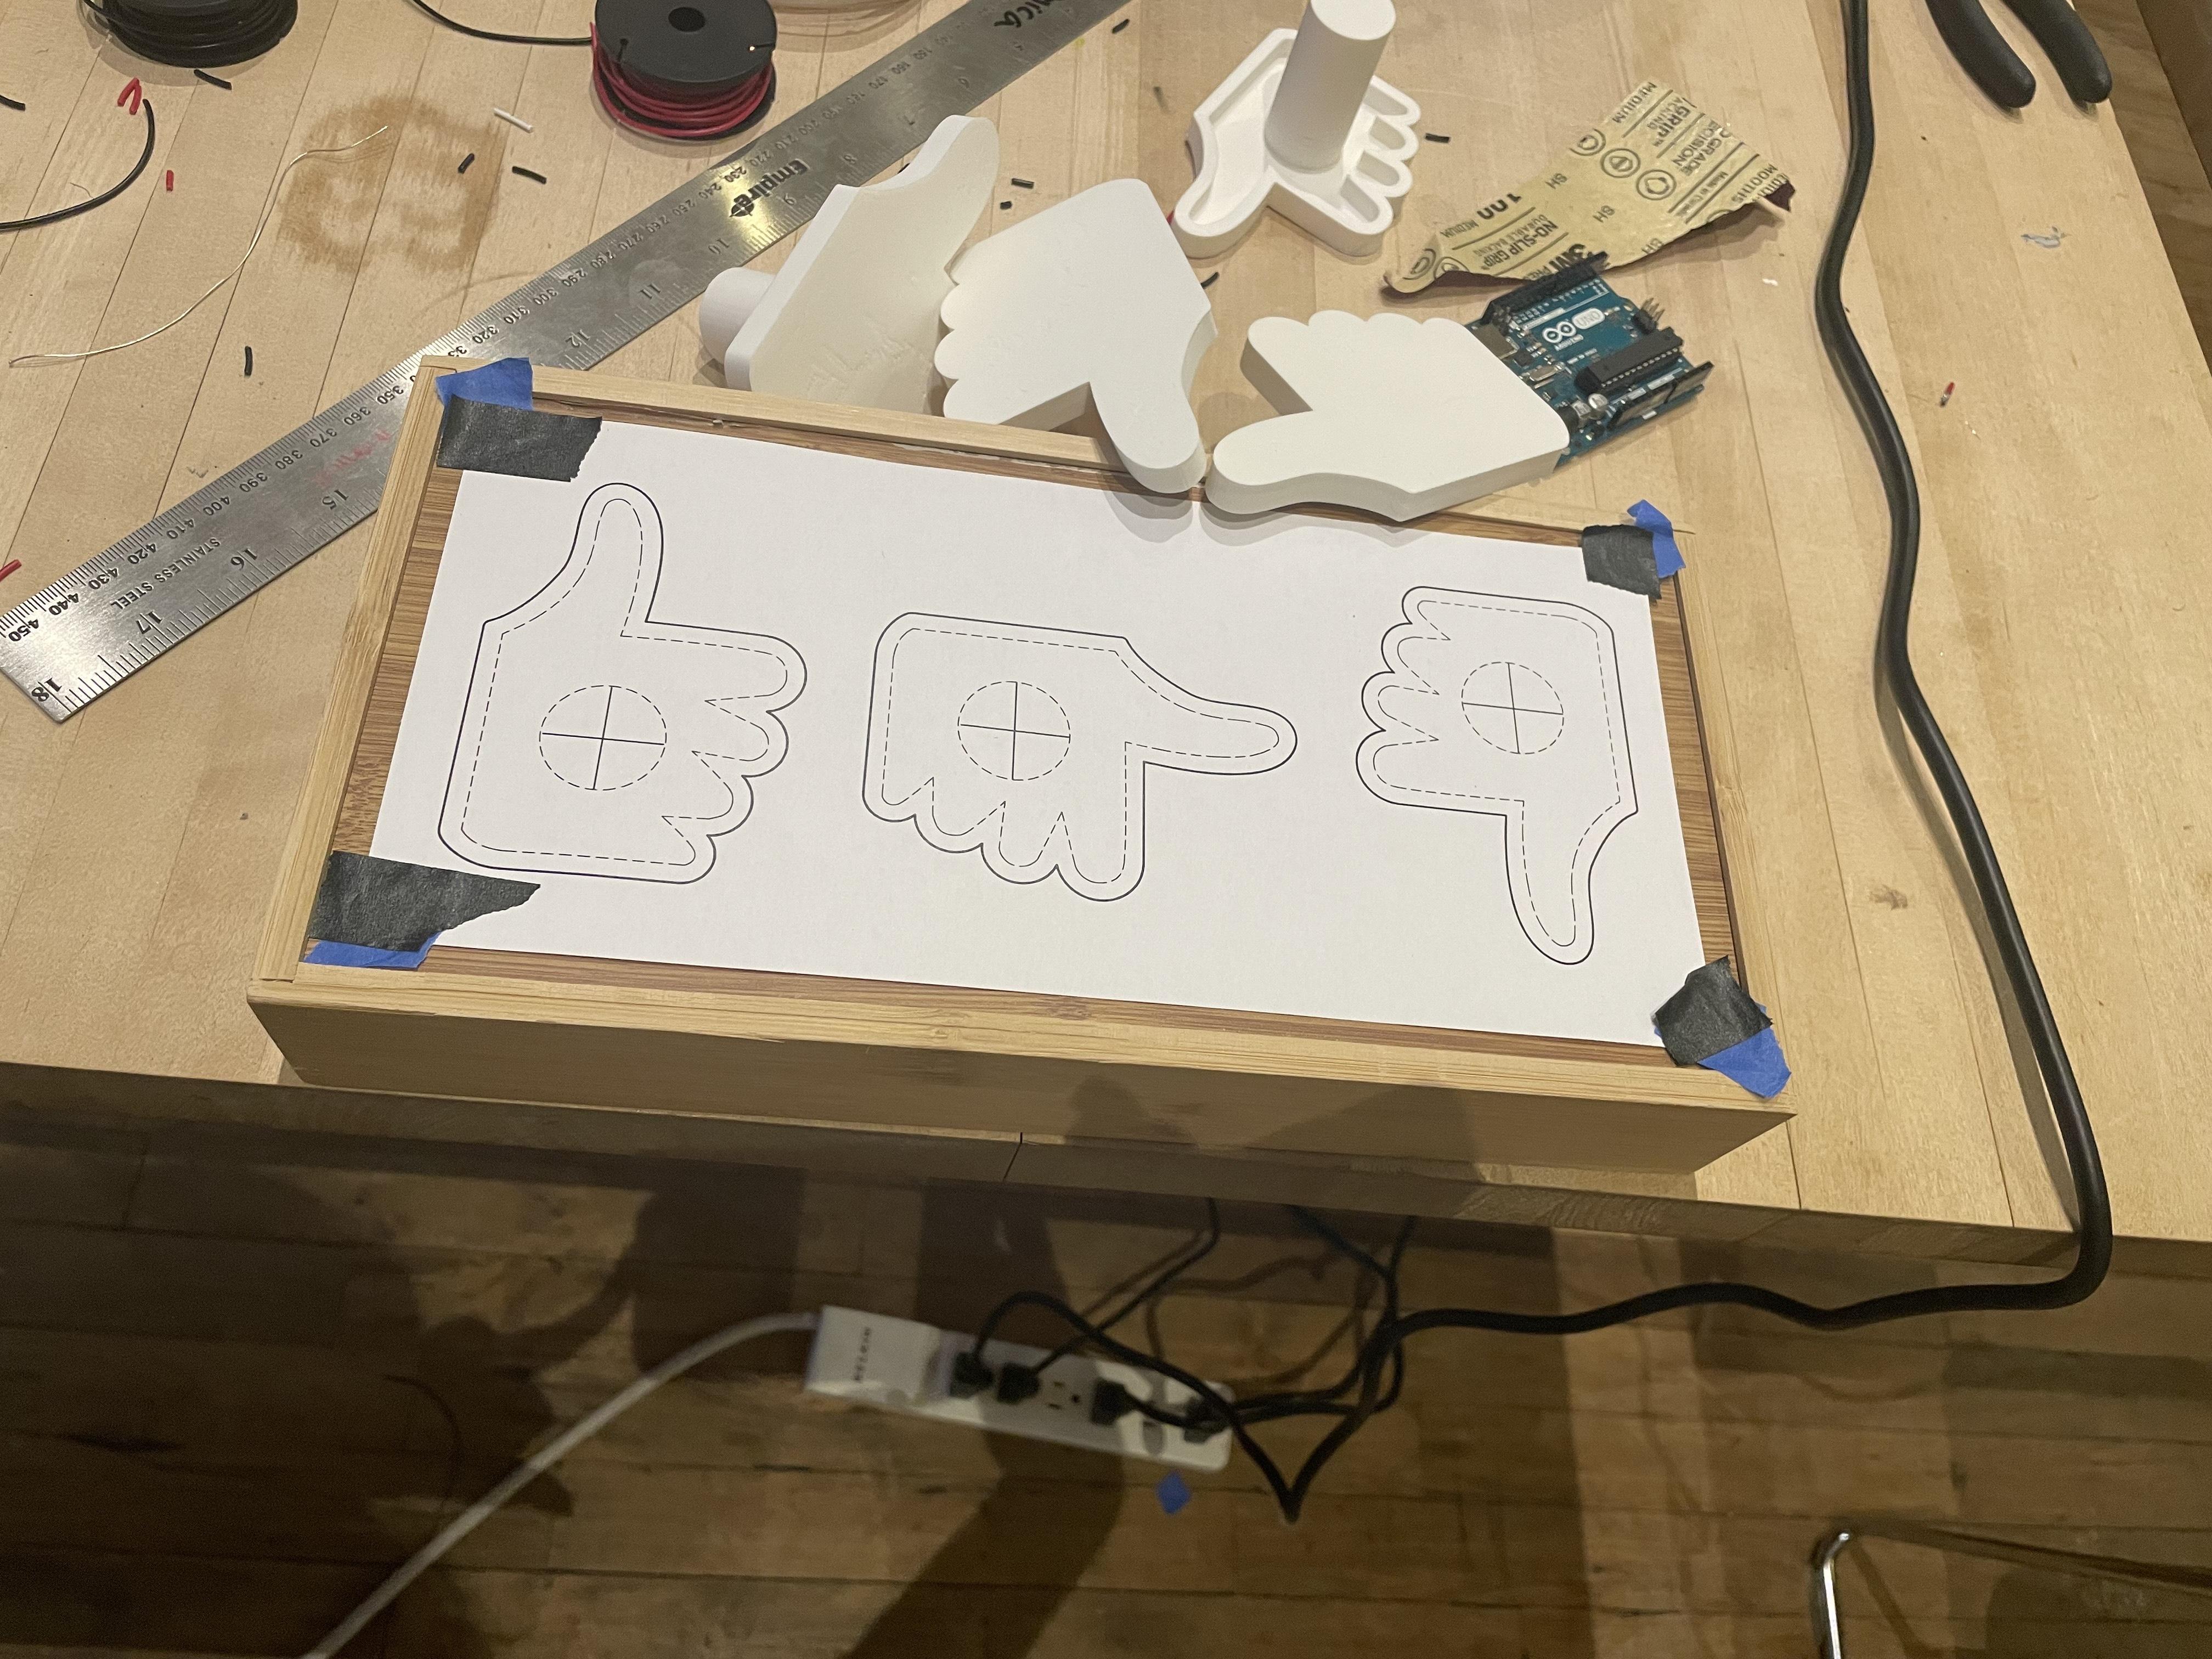
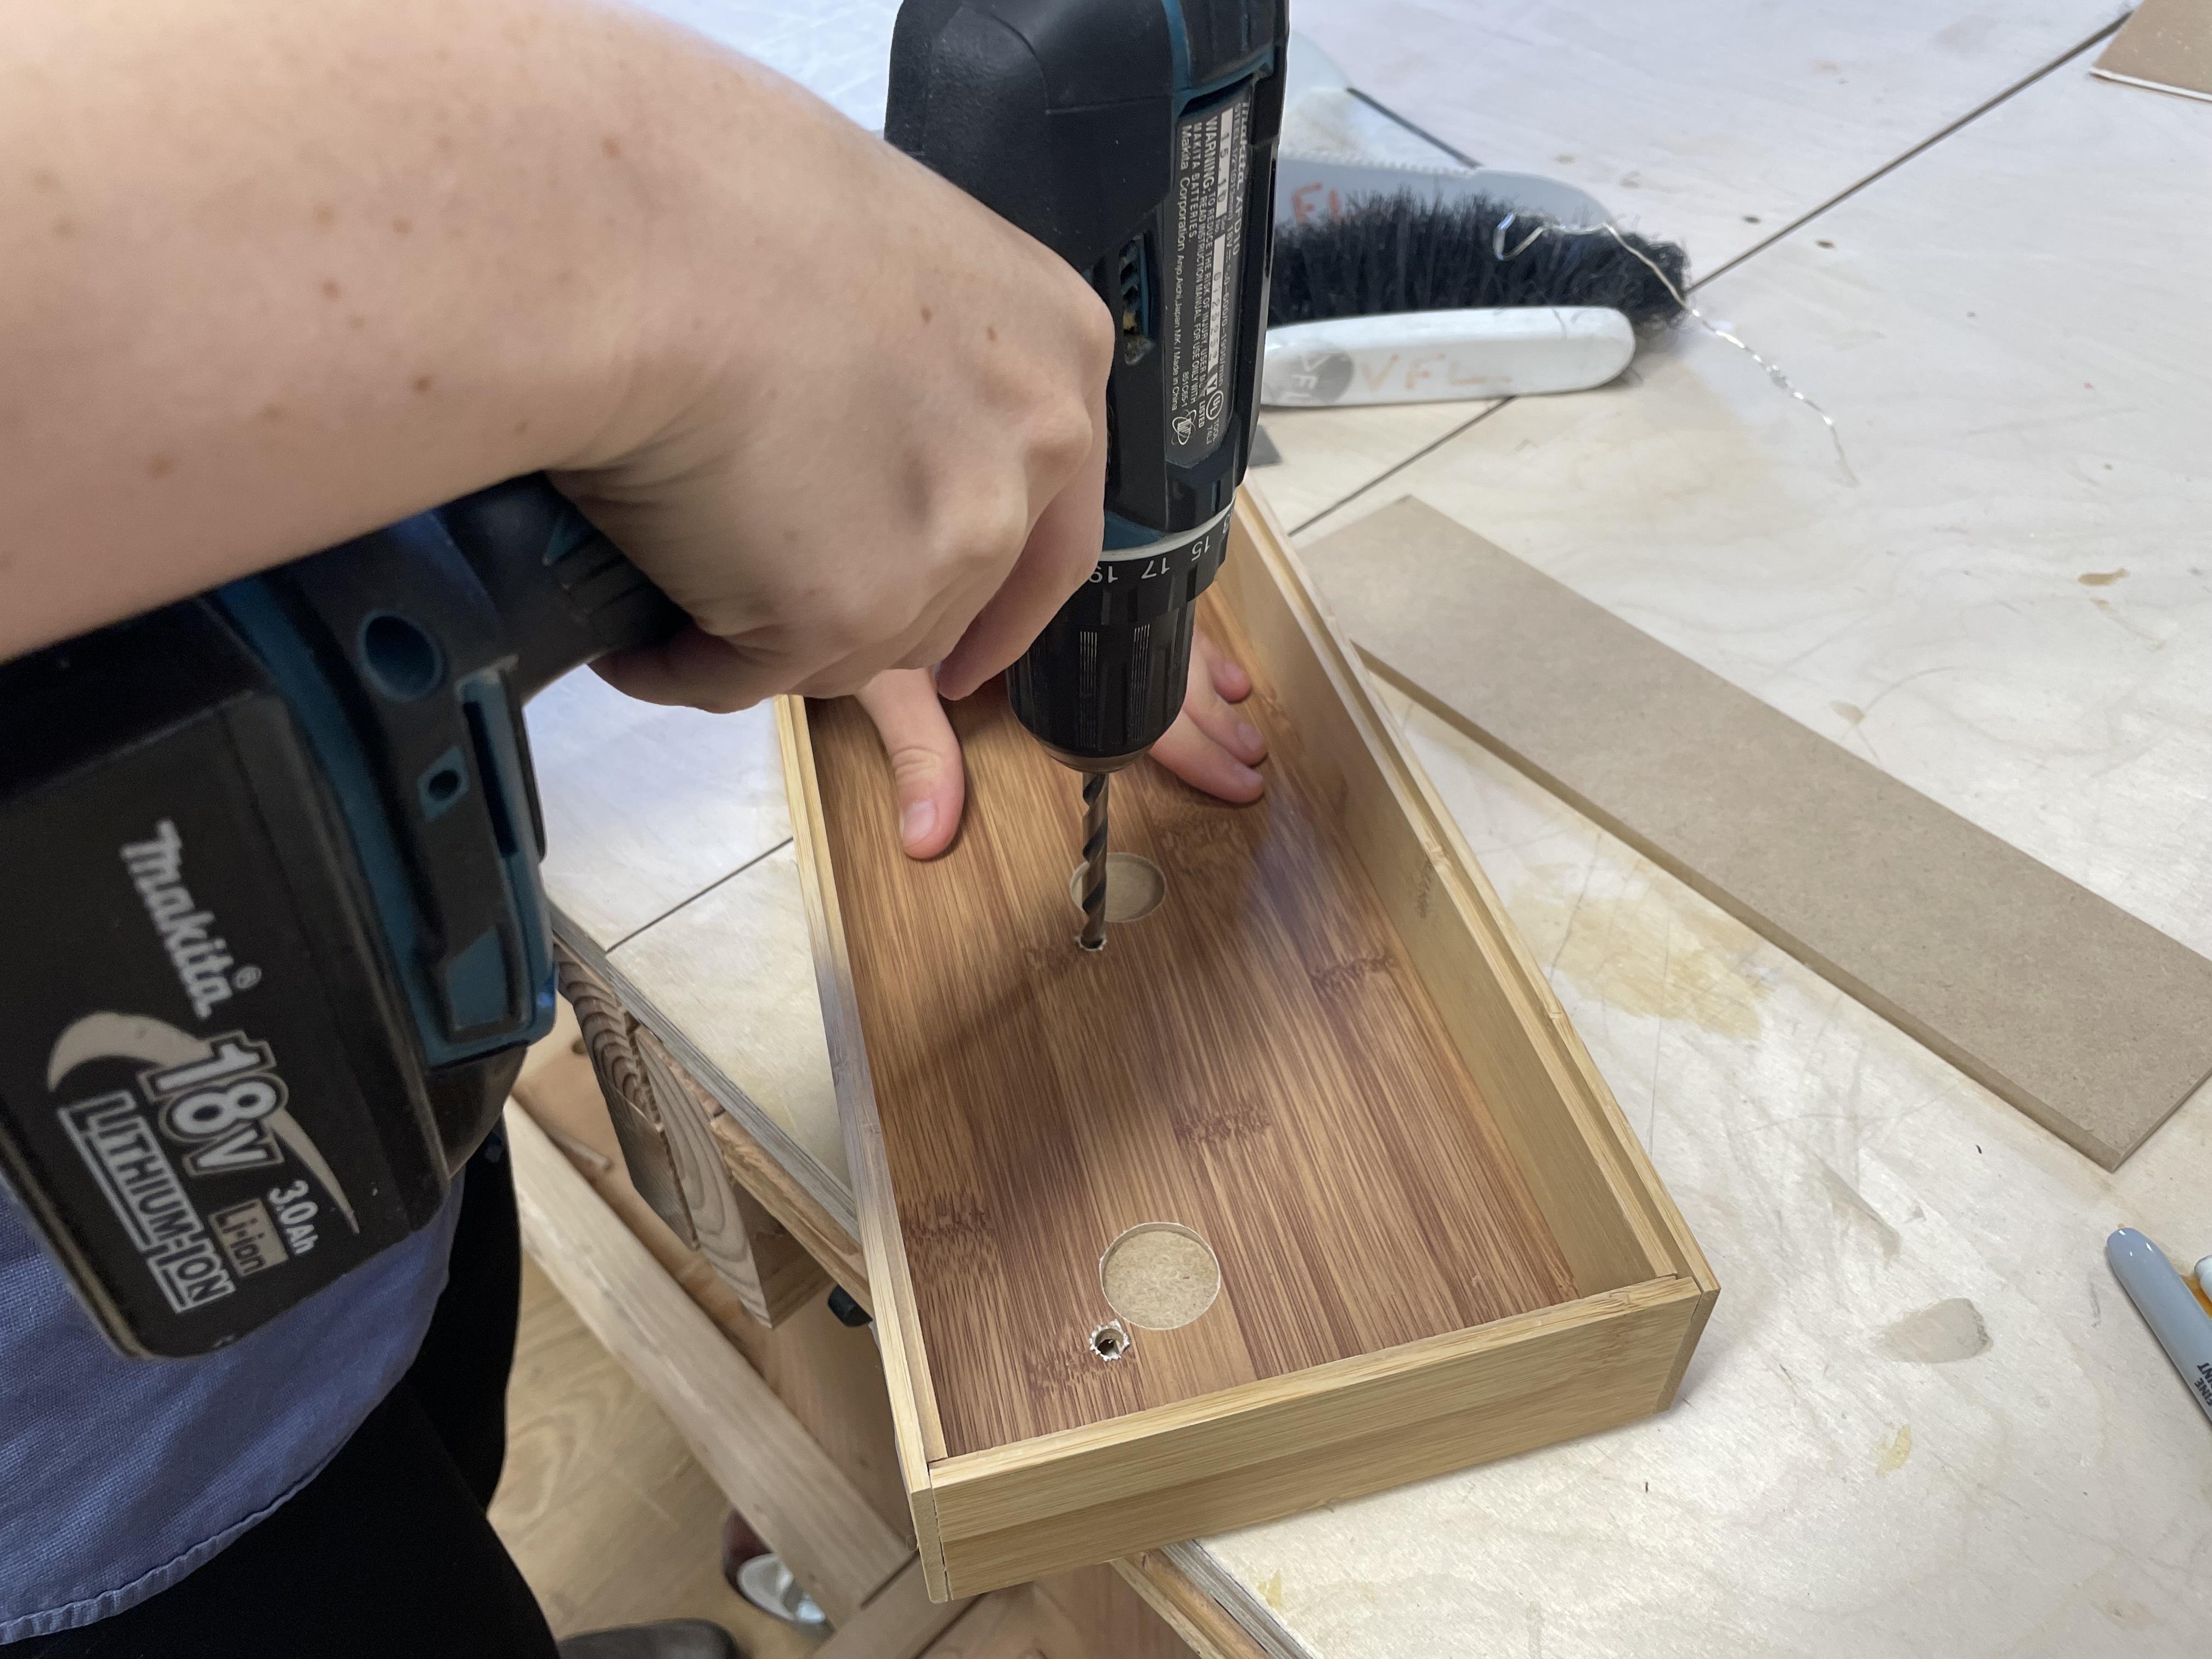
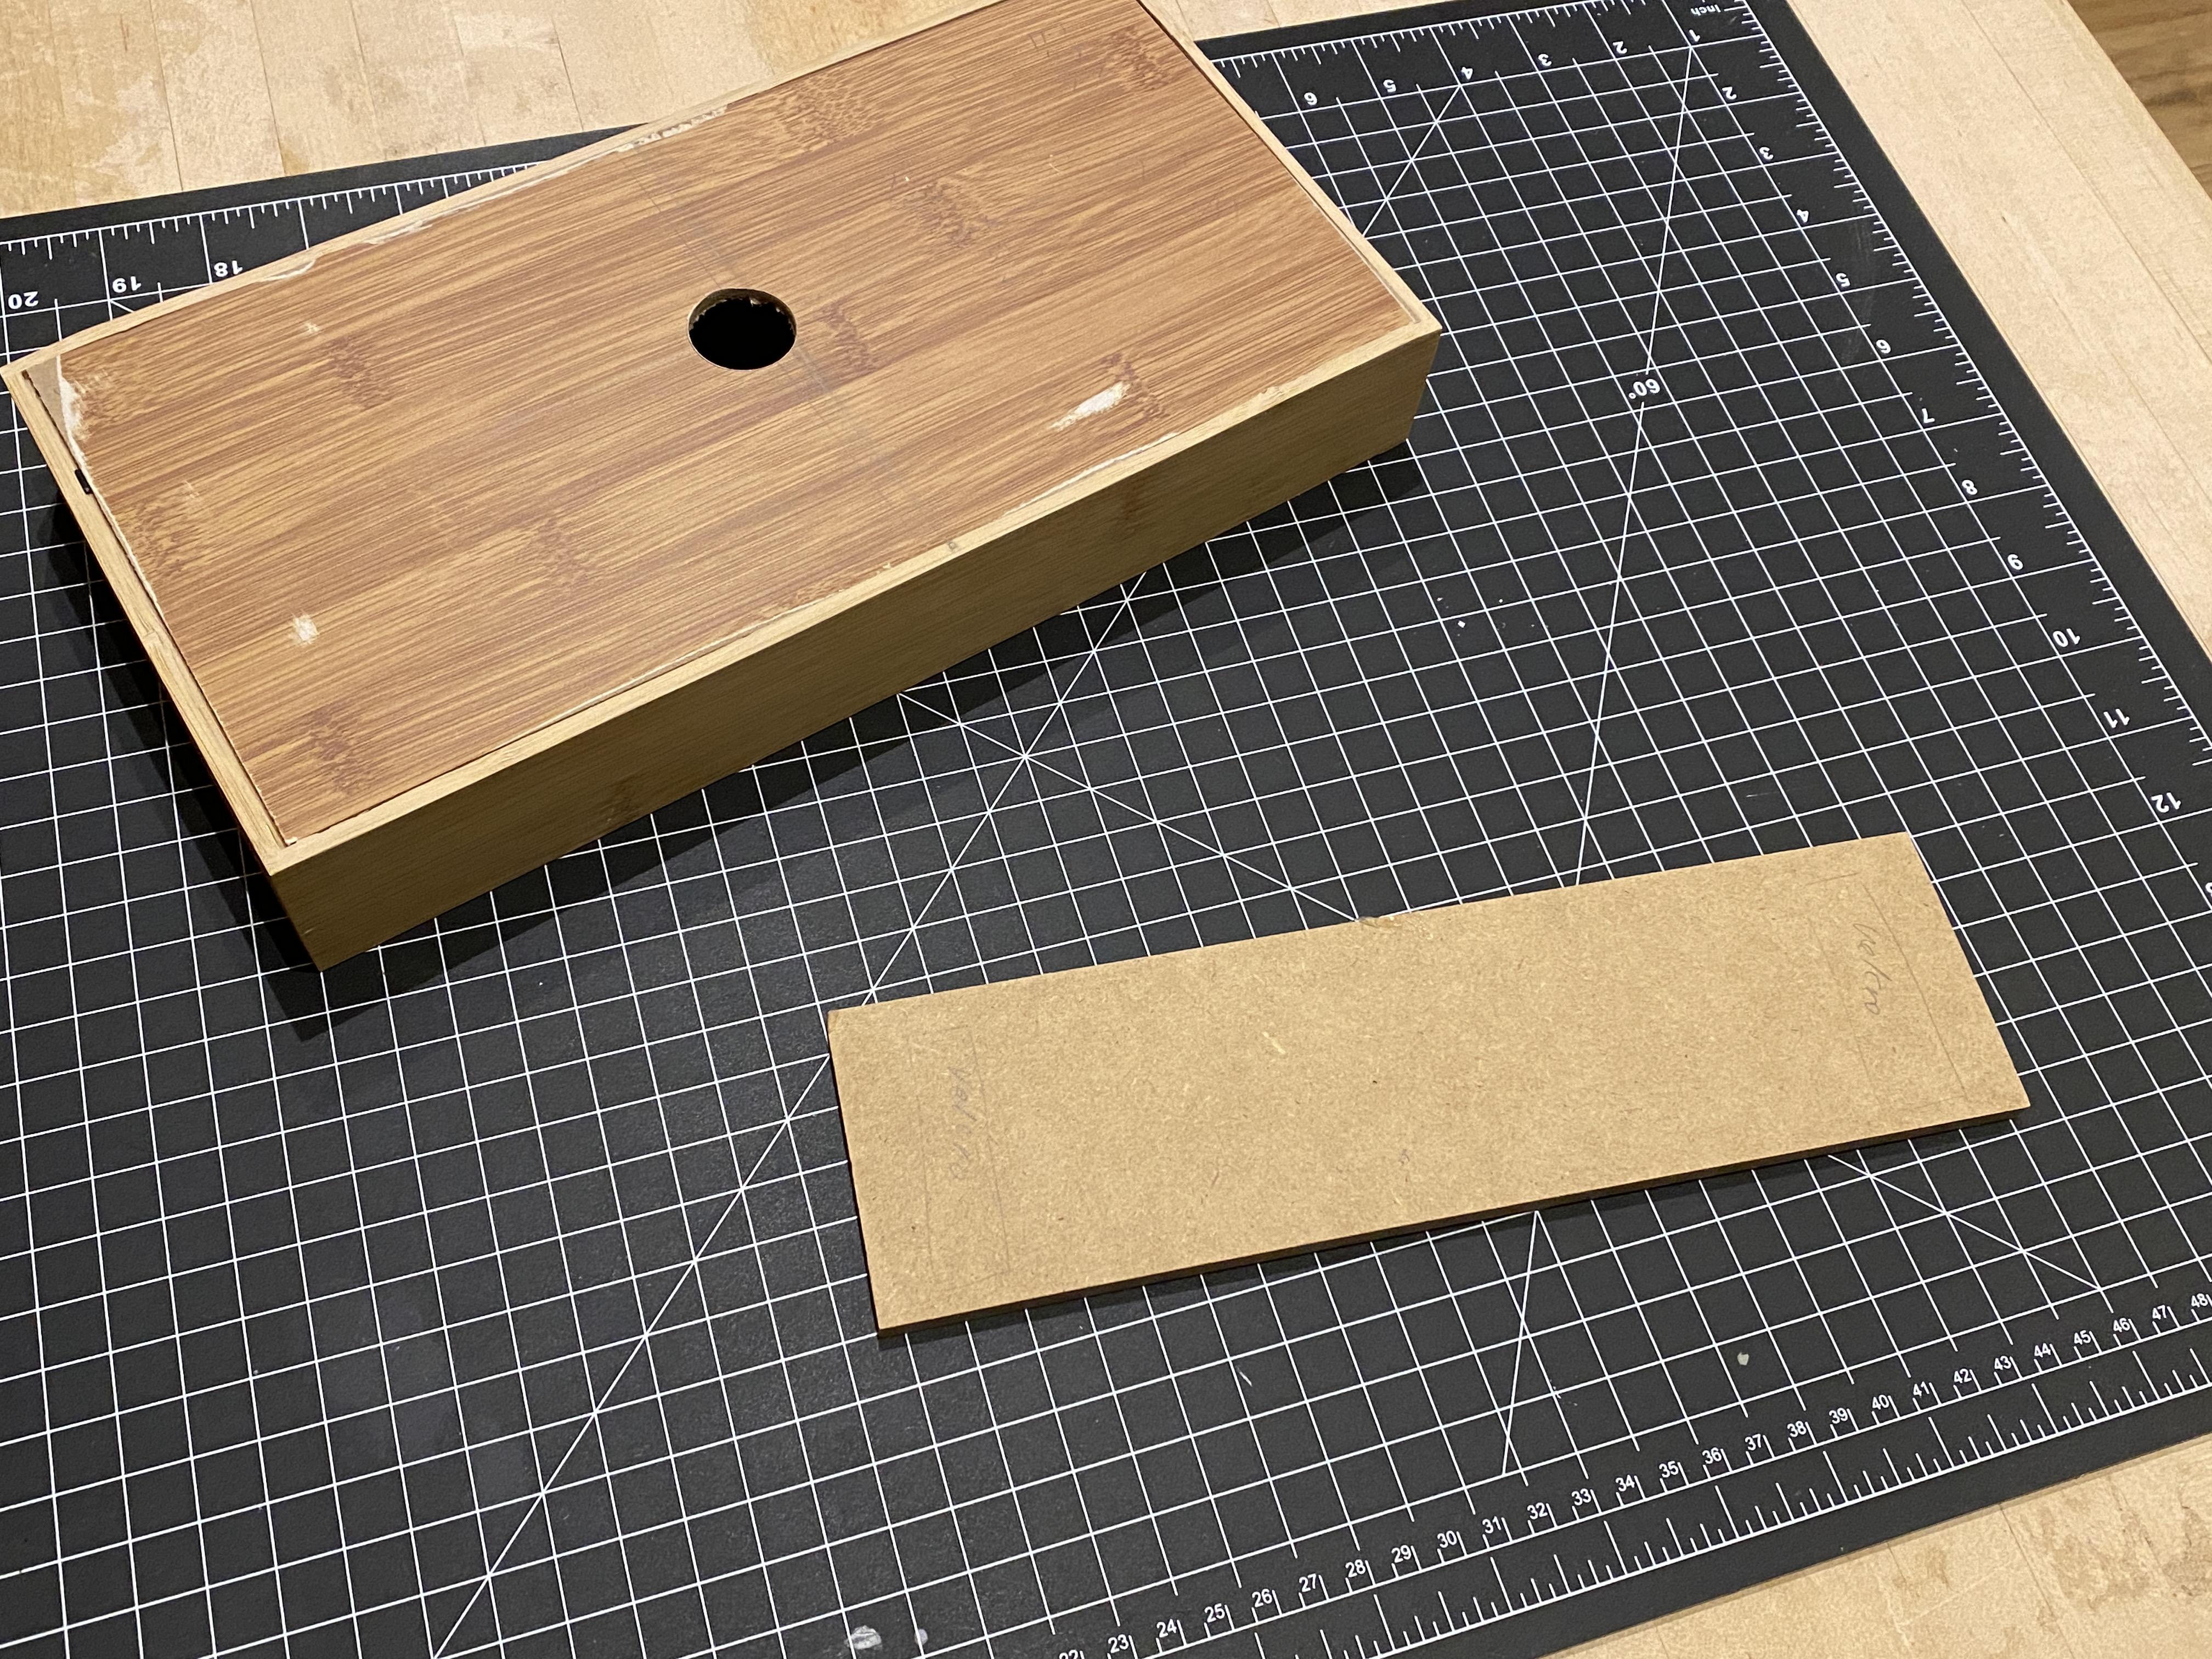
Gather a 5 3/4" W x 12 3/4" L x 2 D" wooden box. You can create it from scratch or purchase a ready one. Be sure to sand the edges as necessary.
Prepare a paper template for the placement of your thumbs and holes. Align the template on your box and tape the paper to it. Use a drill press to cut the three large 1" holes through the box. Make sure your box is well supported from the inside while you are drilling. Then, use a 1/4" drill bit and a hand-held drill to cut the three smaller 1/4" holes.
Cut one MDF rectangles that measure 11 3/4 x 3" and mark the midpoints of the buttons as illustrated.
Next, place two heavy-duty picture-hanging command strips separate from each other on one the back side of the MDF rectangle.
Downloads
Connect to the Internet
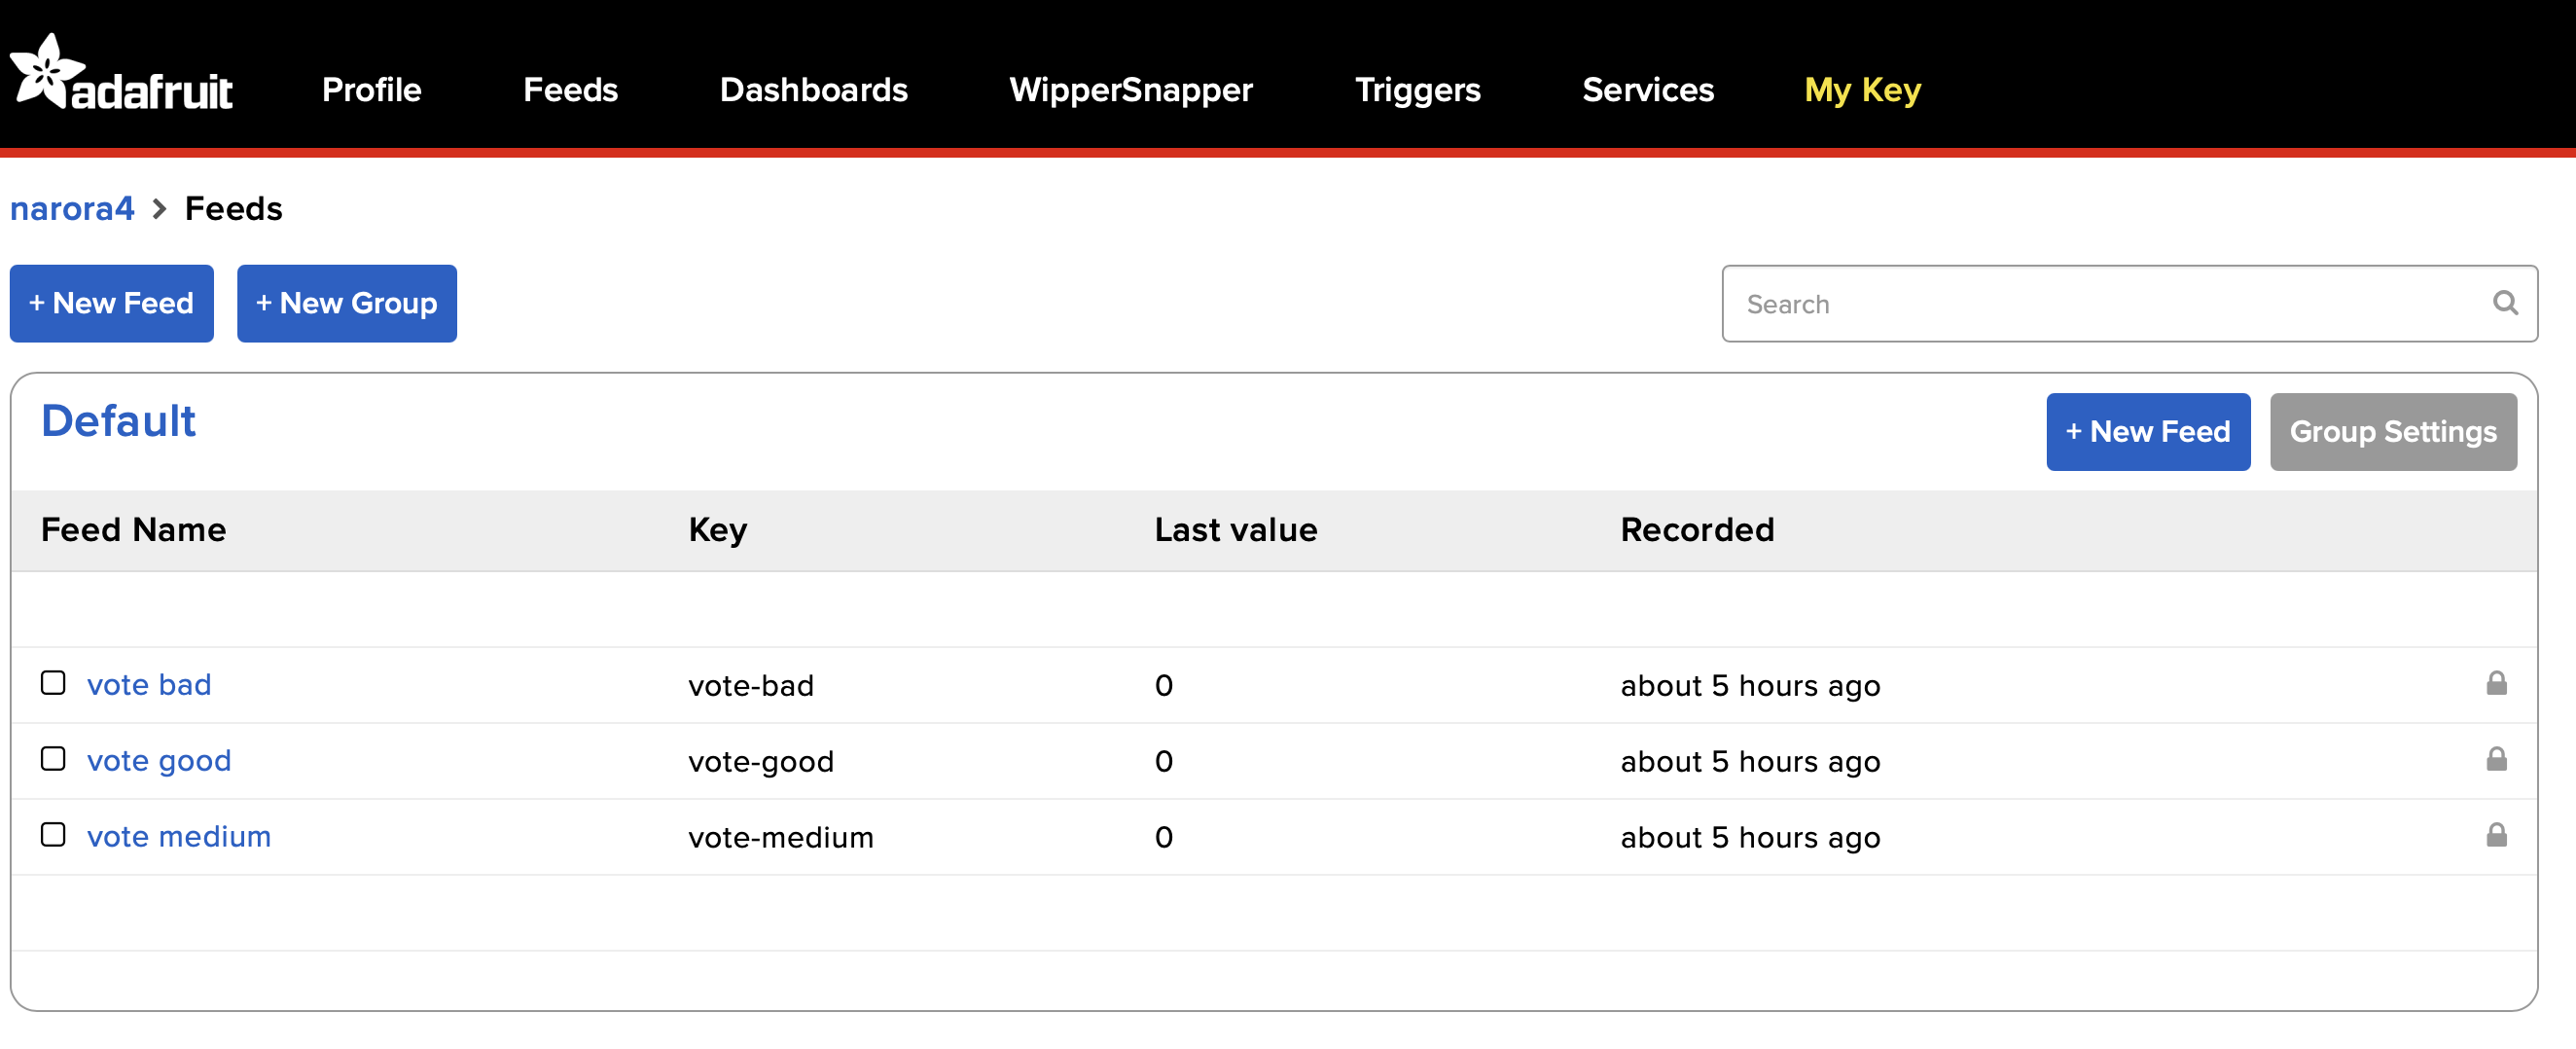
Create your Adafruit Feeds
Create an Adafruit IO account on Adafruit.com. Create three new feeds labeld "vote good" "vote medium" and "vote bad". Note: make sure you are creating new feeds, not dashboards.
If This, Then That
This is where it gets fun. Go to IFTTT.com and create an IFTTT account.
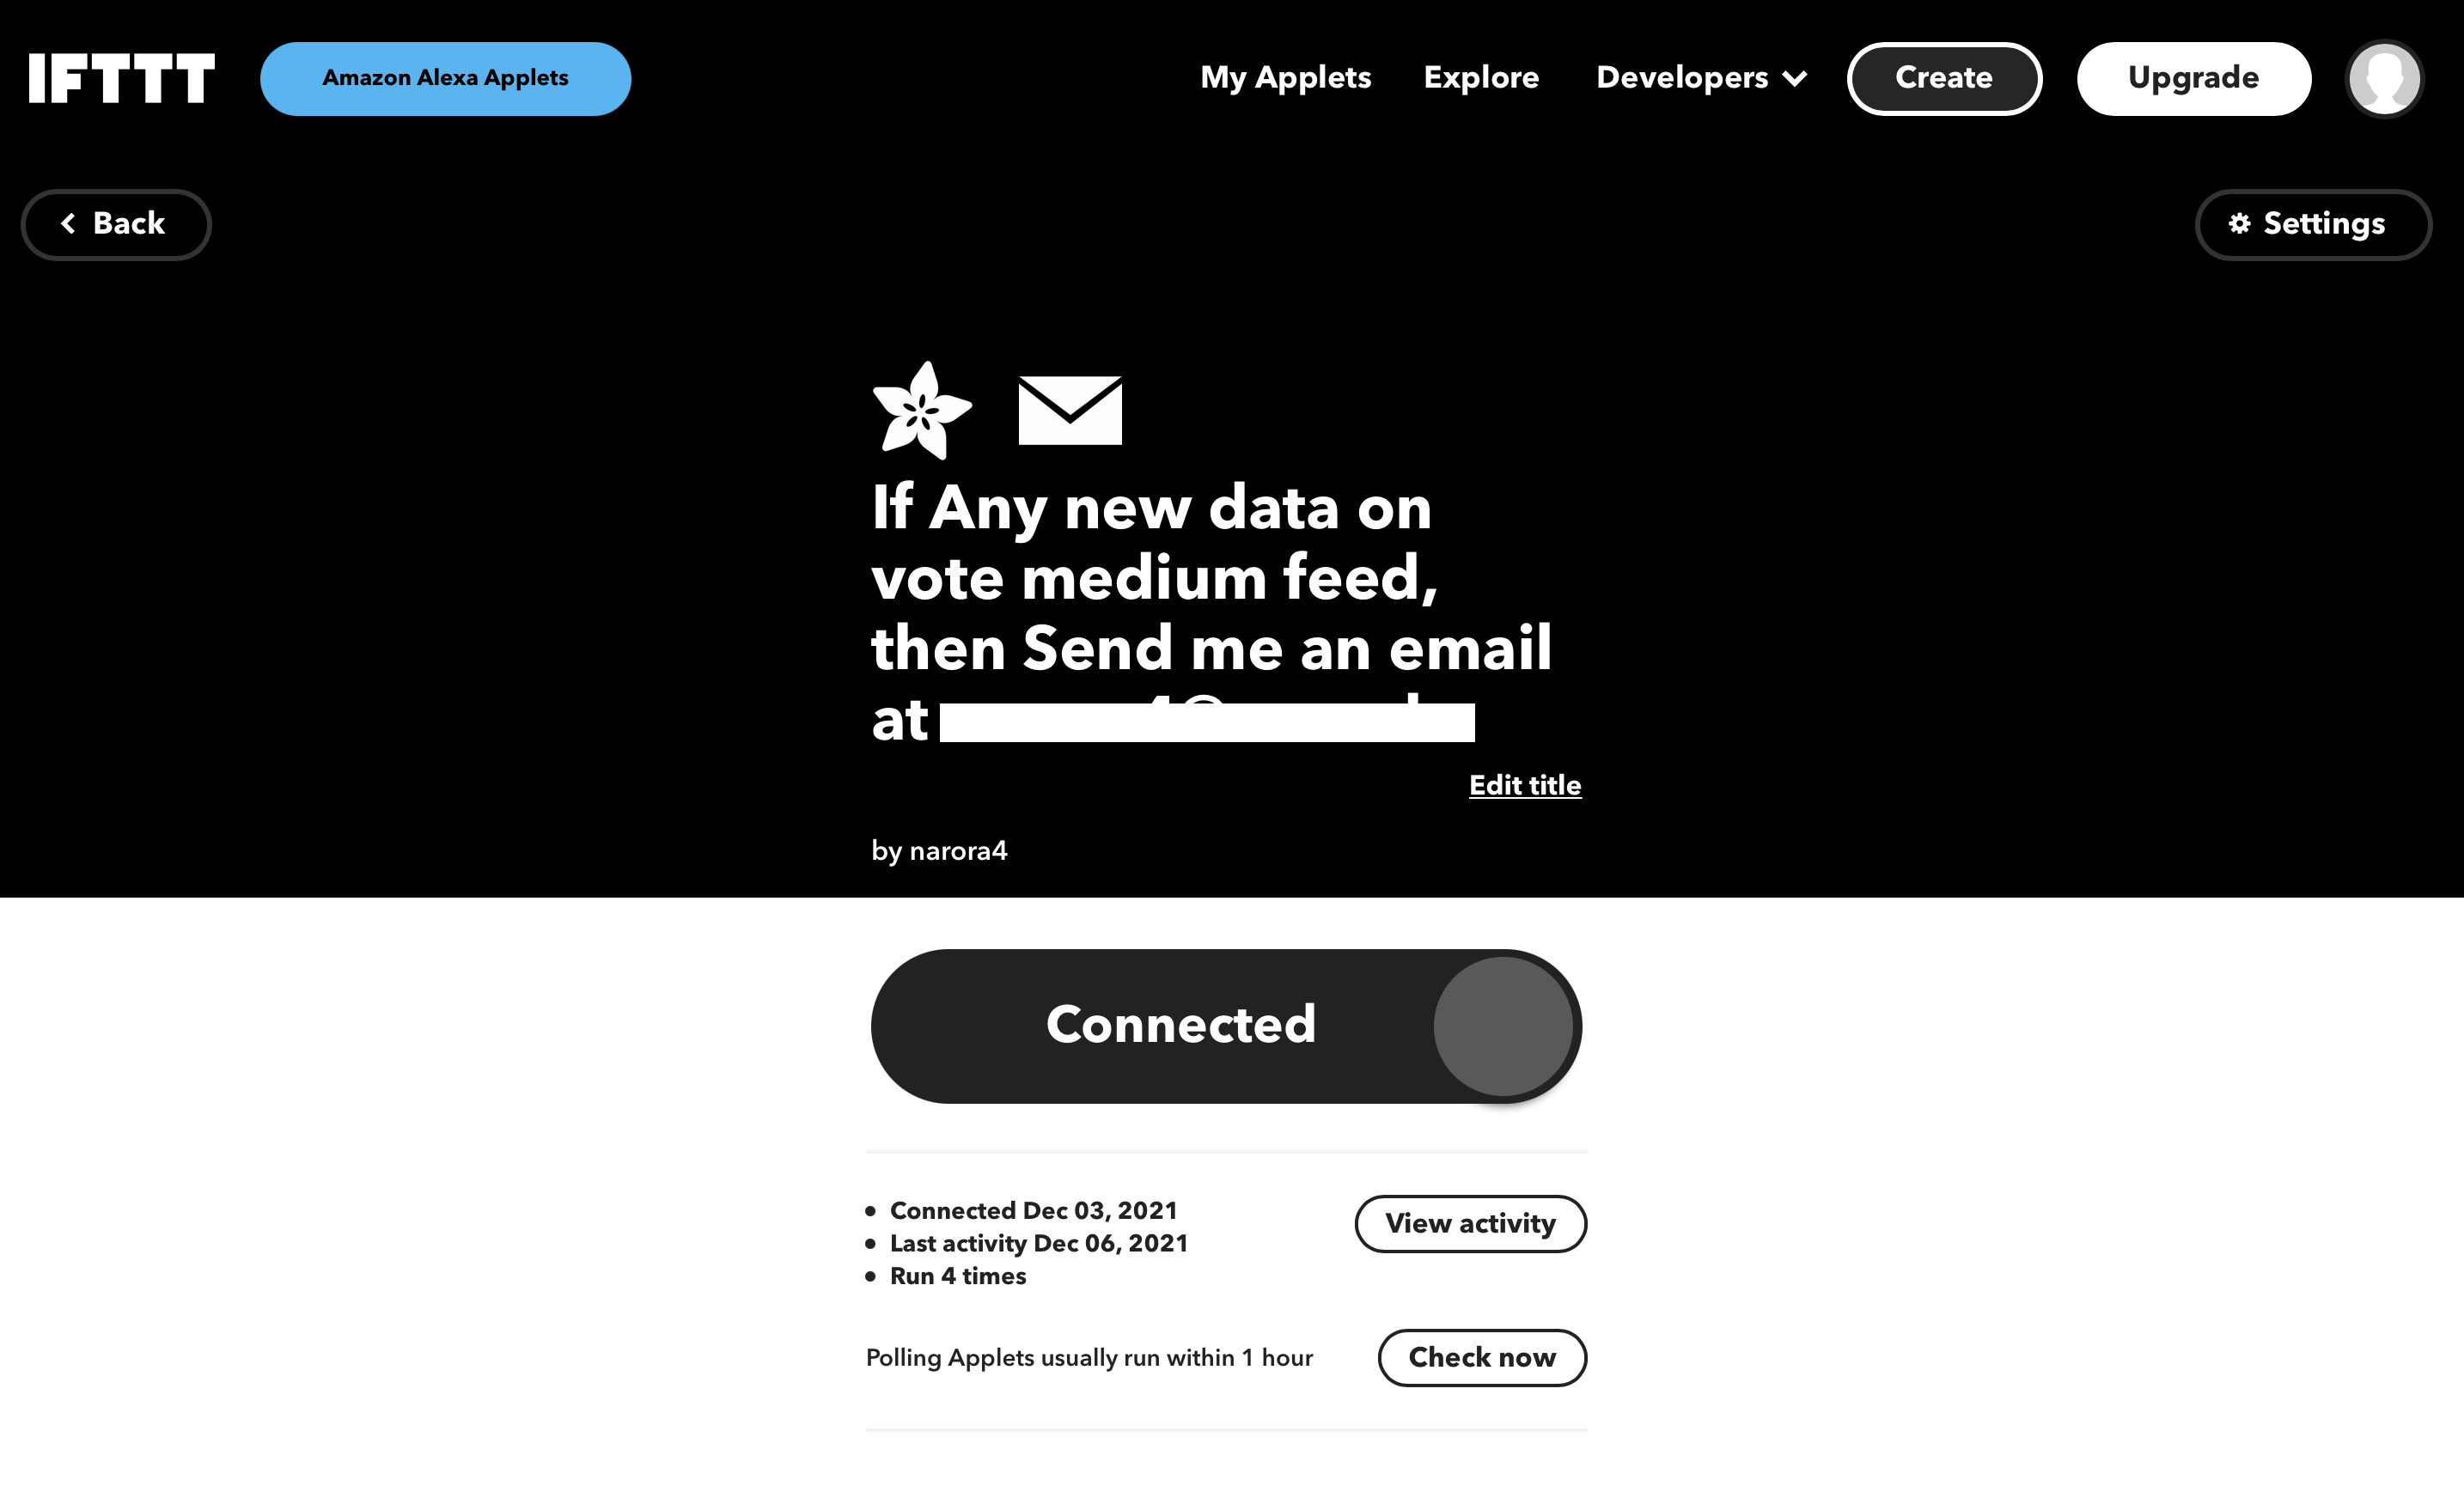
Click the "create" button on the top right corner to create a new applet. Click "If this" and type in Adafruit. Click on the Adafruit applet. Select "Any new data". Select the vote good feed from the drop-down.
Click "then that" and type in email. Click on the Email applet. Click on "Send me an email". Now, you get to compose the email you will receive every time the thumbs up button has been pressed several times.
For inspiration, see what we wrote on ours here.
Now, repeat this process to create two more applets, one for the thumbs medium and one for the thumbs down presses. Make sure they correspond to their respective feeds.
Create Your Push Button Circuit
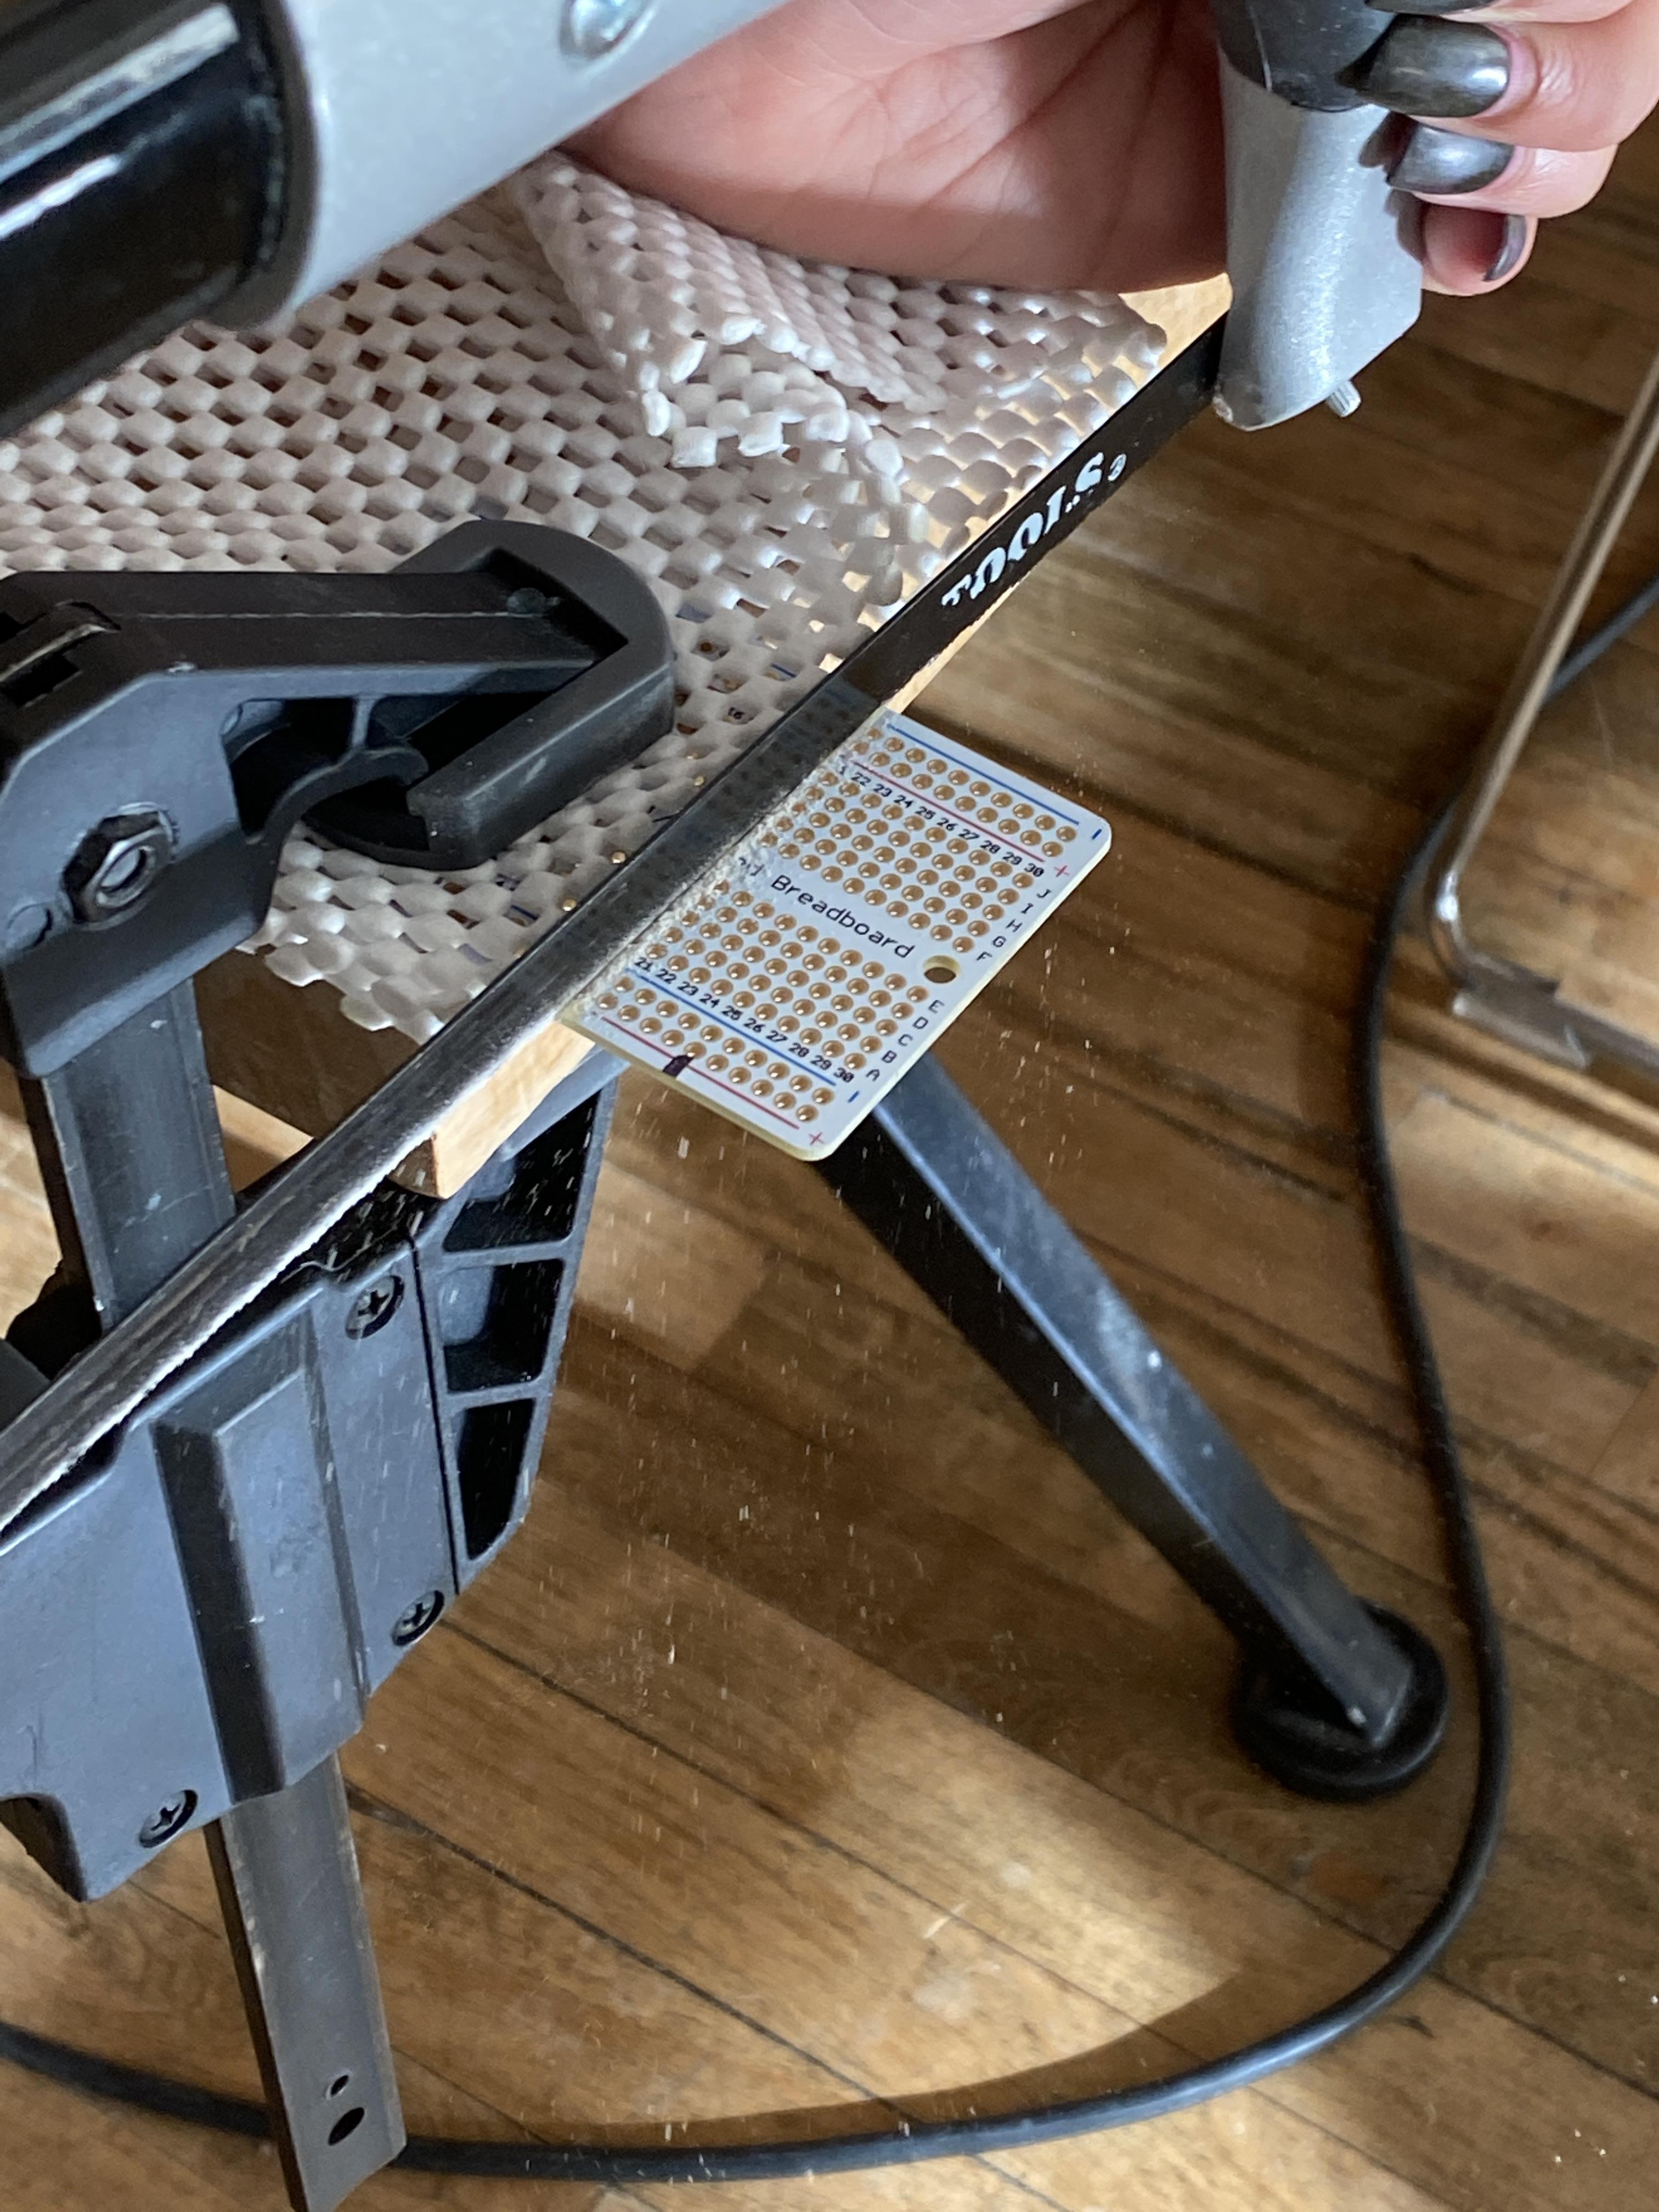
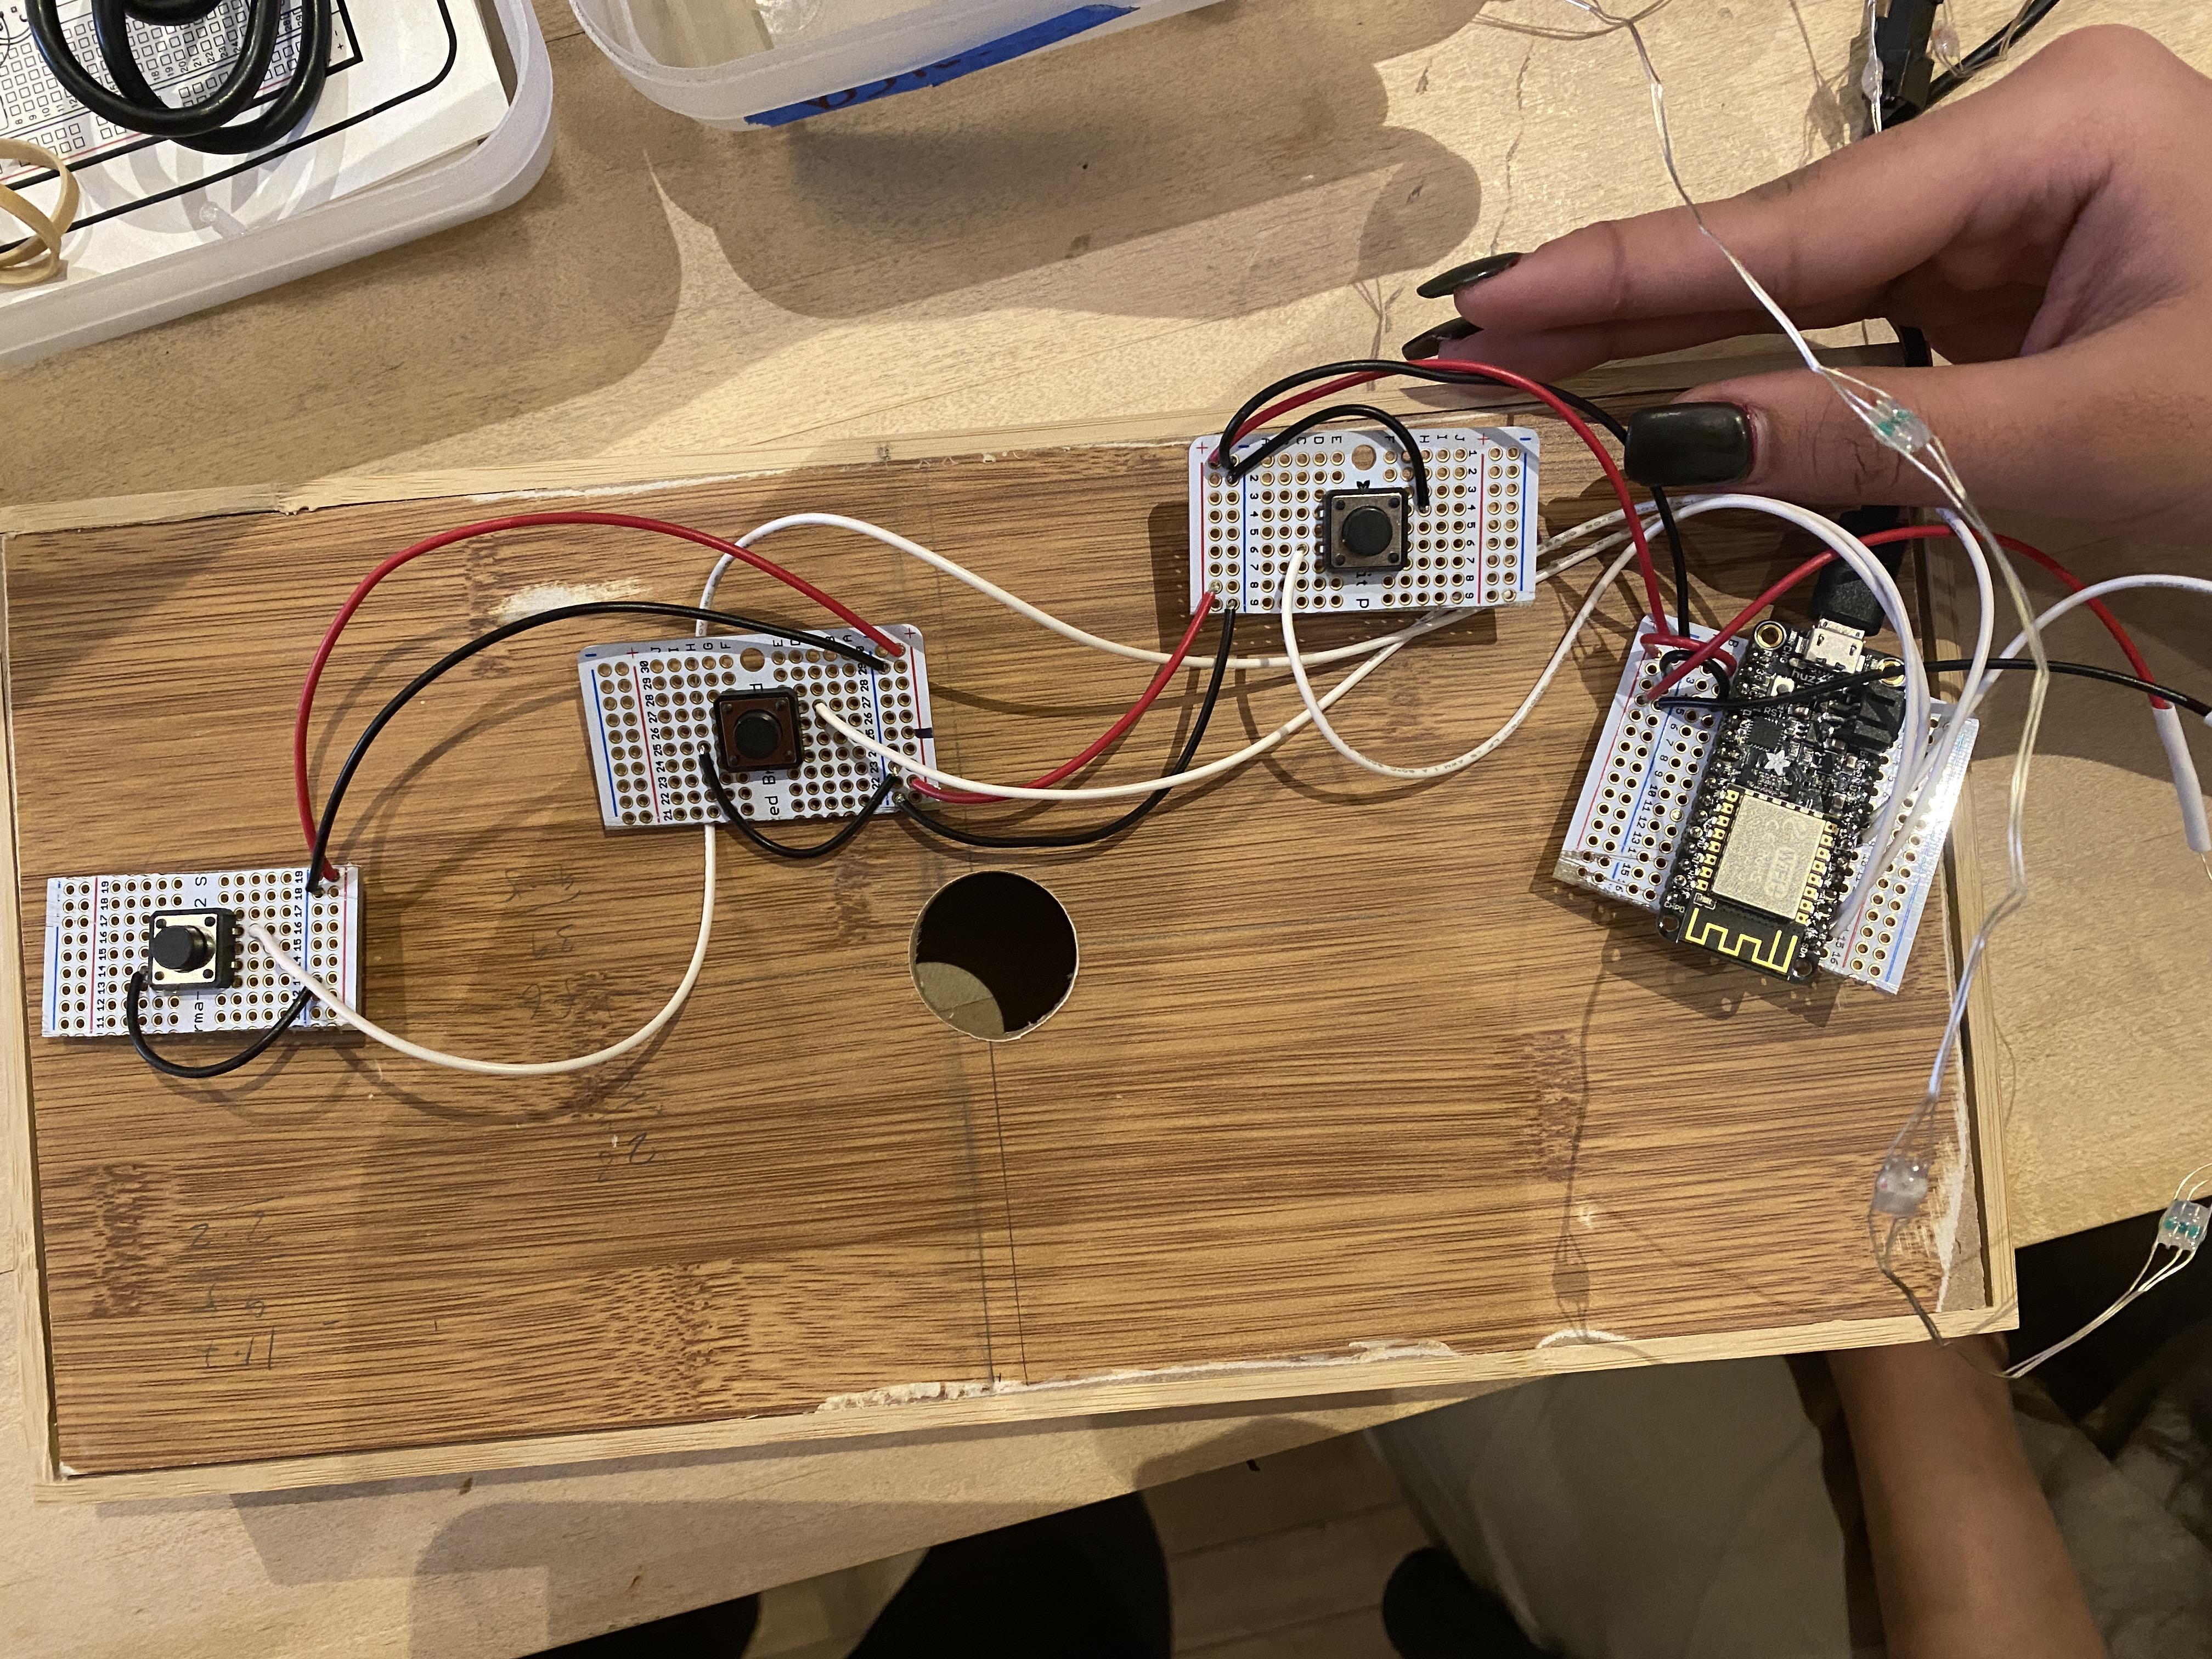
Cut your PBC breadboards
Use a saw to cut one of your PCB breadboards along lines 10 and 20. Cut your other PCB breadboard along line 17. Sand down any sharp edges after sawing. You should have five smaller breadboard pieces.
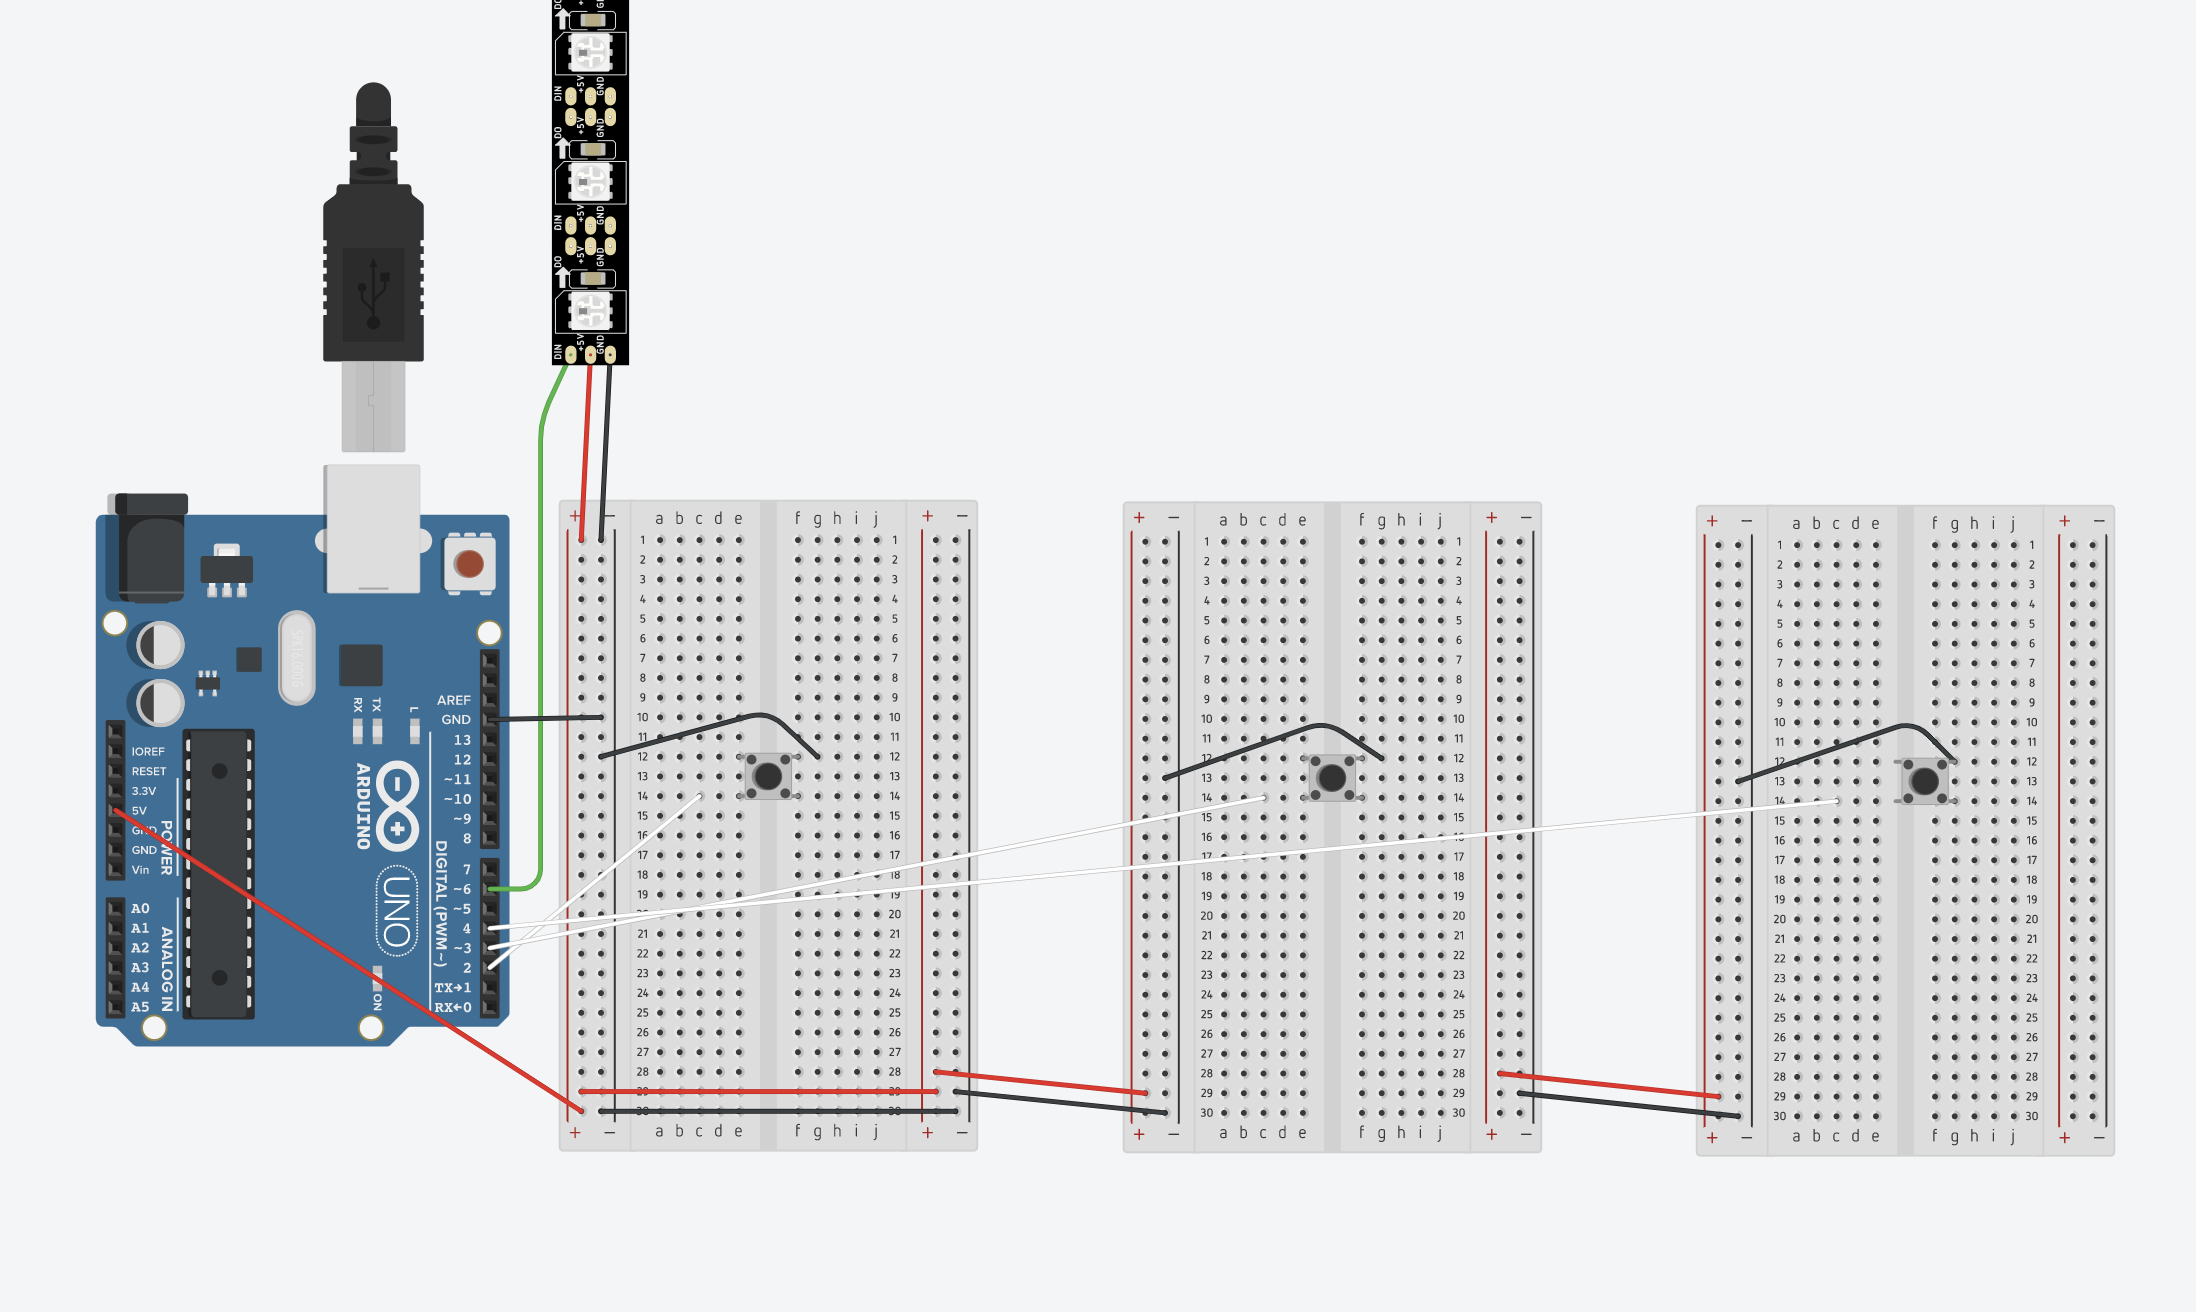
Wire your circuit
Use the diagram above and the breadboard parts you just cut to wire your three-button circuit. Note that you will be using a Feather Huzzah instead of an Arduino UNO. Your Huzzah will go on the breadboard that has 16 lines. The three push buttons will go on the three smallest breadboard pieces, about 10 lines long each.
The push buttons go onto pins 12, 5, and 2 of the Huzzah. The NeoPixel strip goes on pin 14.
Make sure you are not cutting your wires too short–it will be easier to assemble your pieces onto your box later on if you have a bit of wiggle room.
Set Up and Test the Button Code
Set up the button code
It's time to set up the code to your Huzzah and test if your circuit is working! Copy our code from this Tinkercad circuit and upload it to your Huzzah. You will need to insert your own Adafruit username in line 53 and Adafruit Key in line 54 of the code. You will also need to insert your 2.4G WiFi SSID on line 59 and your WIFI password on line 60. Note: your Huzzah will not be able to connect to a 5G internet.
You can customize the RGB color of the NeoPixels in lines 150 (for the thumbs up button), in line 198 (for the thumbs to the side button) and on line 246 for the (thumbs down button).
Test
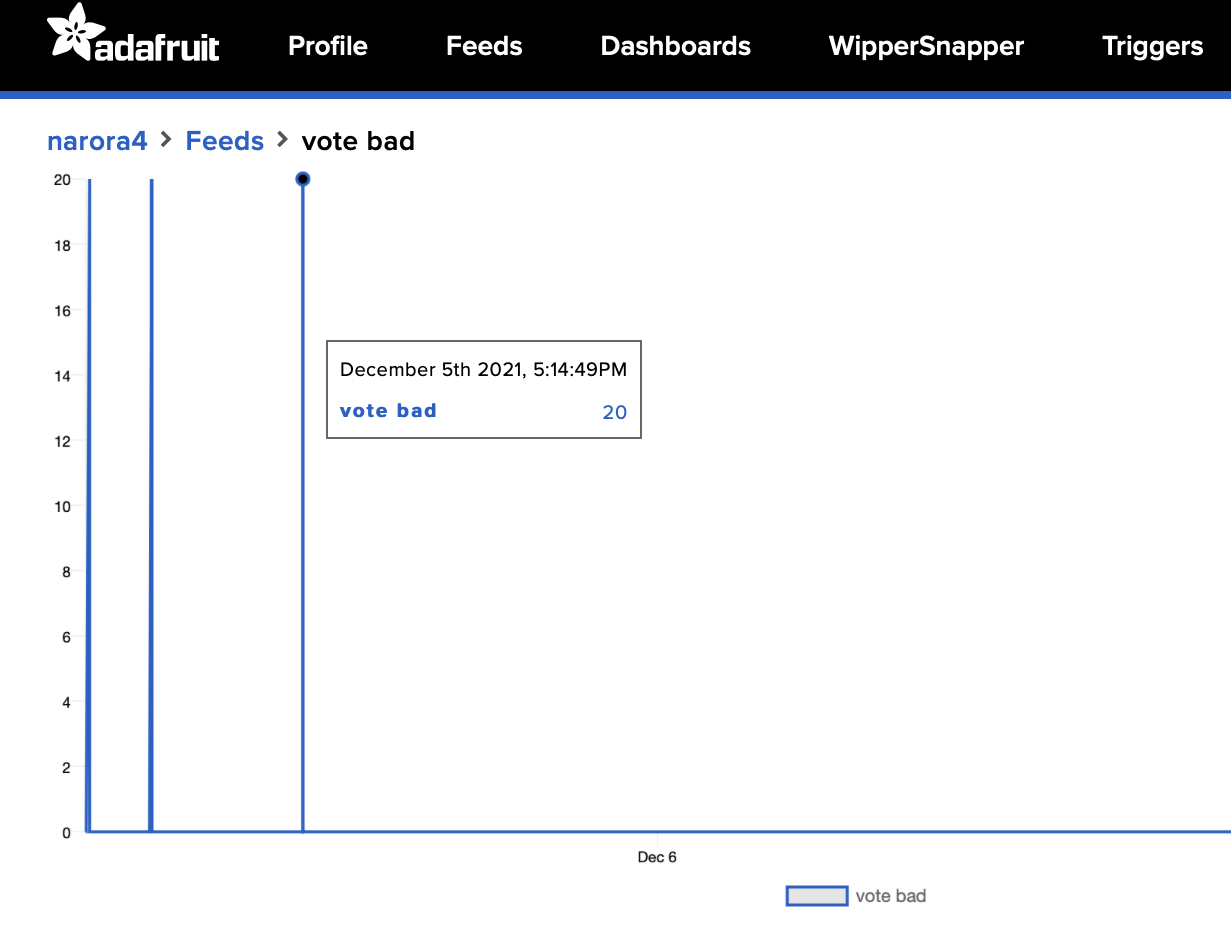
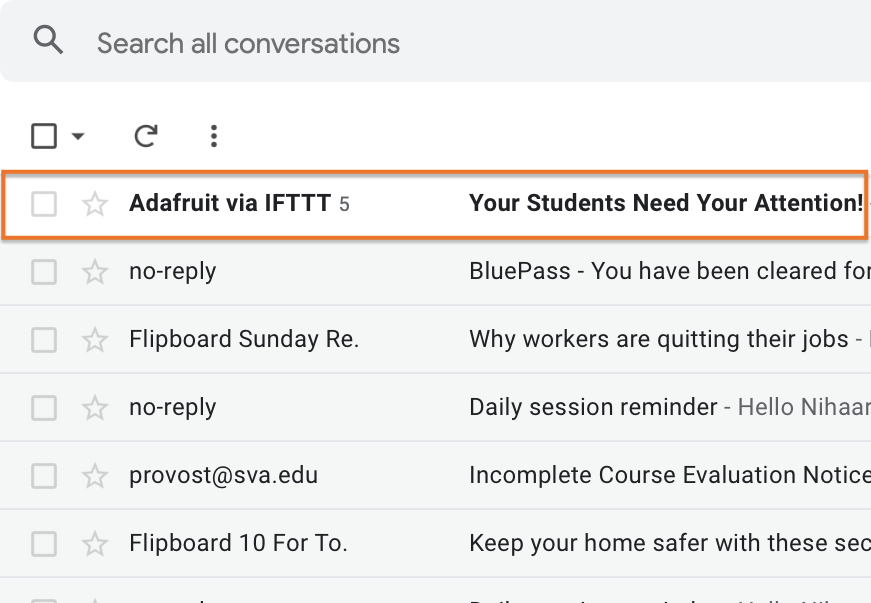
Upload your code to your Feather Huzzah and open the serial monitor on Arduino. If all is going well, you should see a message that says you are connected to the internet. When you press any of the buttons, the serial monitor should print a message that says how many times that button has been pressed. Press any one button 20 times. Now the serial monitor should print a message that says "button X has been pressed 20 times!". Check the feed on Adafruit IO of the button you pressed. It should have a spike, which signifies a point of incoming data. Now, check your email. You should have an unread email from Adafruit IO!
Create and Test Your Ultrasonic Sensor Circuit
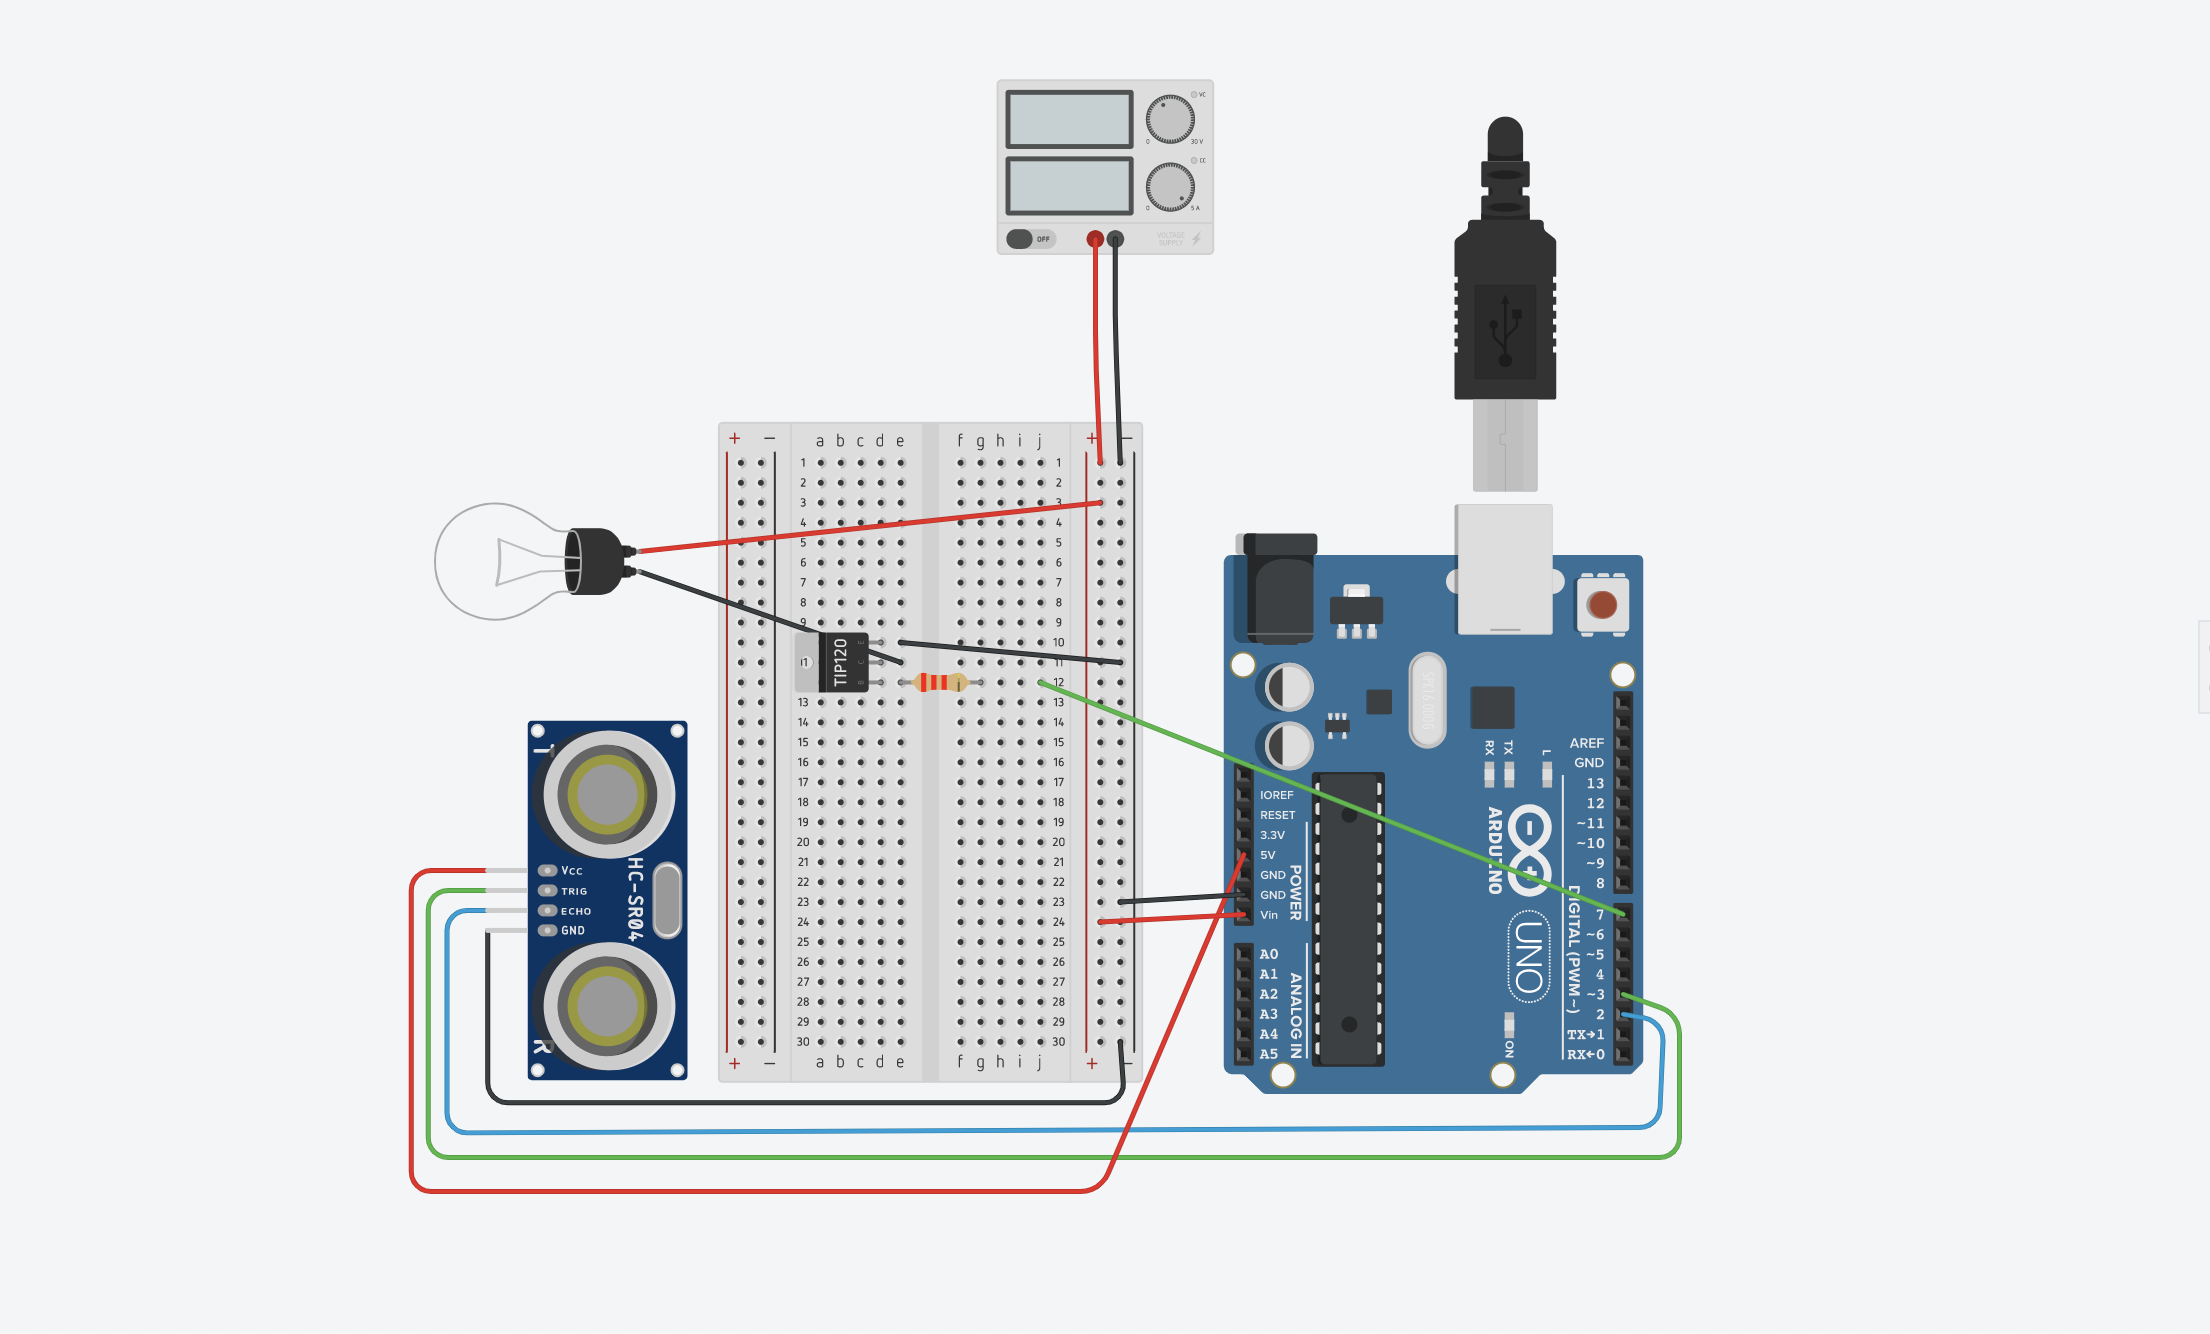
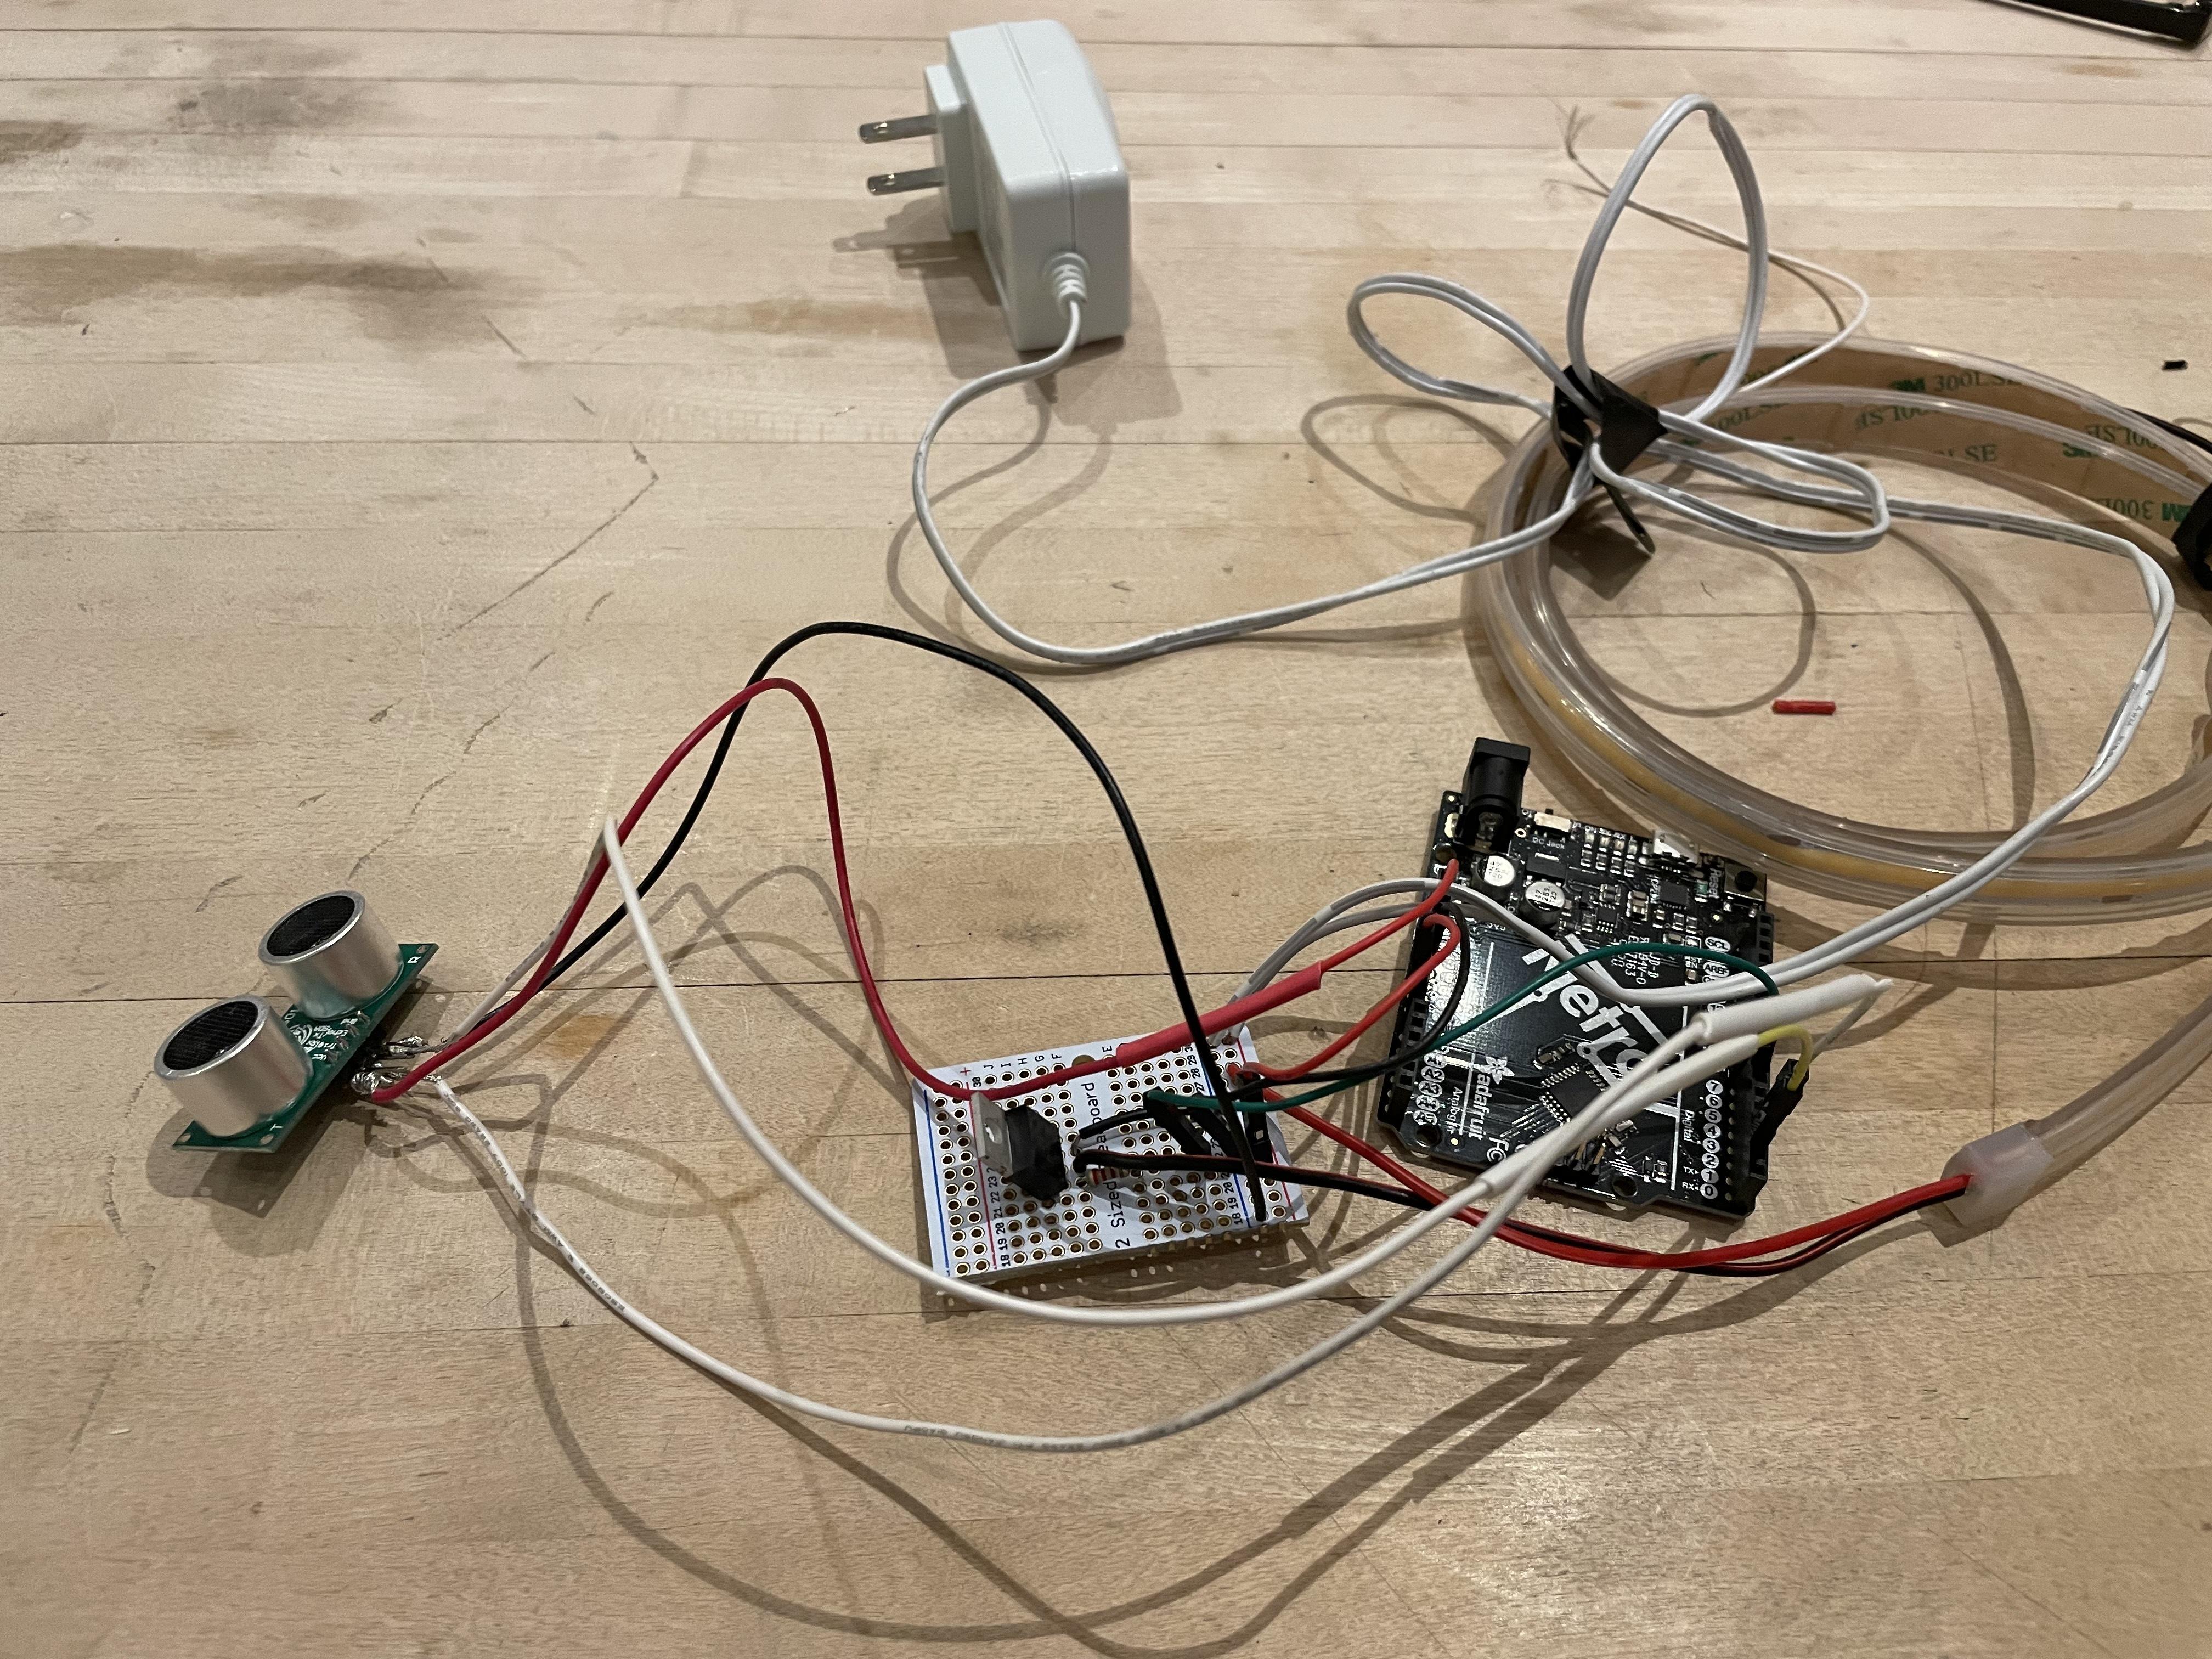
Use an Arduino UNO and a solderless breadboard to create your ultrasonic sensor circuit. Here are some important pins to keep in mind:
Ultrasonic sensor VCC to Arduino 5V
Ultrasonic sensor ECHO to Arduino pin 2
Ultrasonic sensor TRIG to Arduino pin 3
Arduino pin 7 to resistor, resistor to TIP120 B
Upload the sensor code
It's time to upload your sensor code to your Arduino and test if your circuit is working! Copy our code from this Tinkercad circuit and upload it to your arduino. Customize the distance at which the sensor will turn on the LED strip by changing the number on line X. A larger number means the sensor will pickup movement at a larger distance and turn on the LED strip.
Downloads
Solder Your Circuits
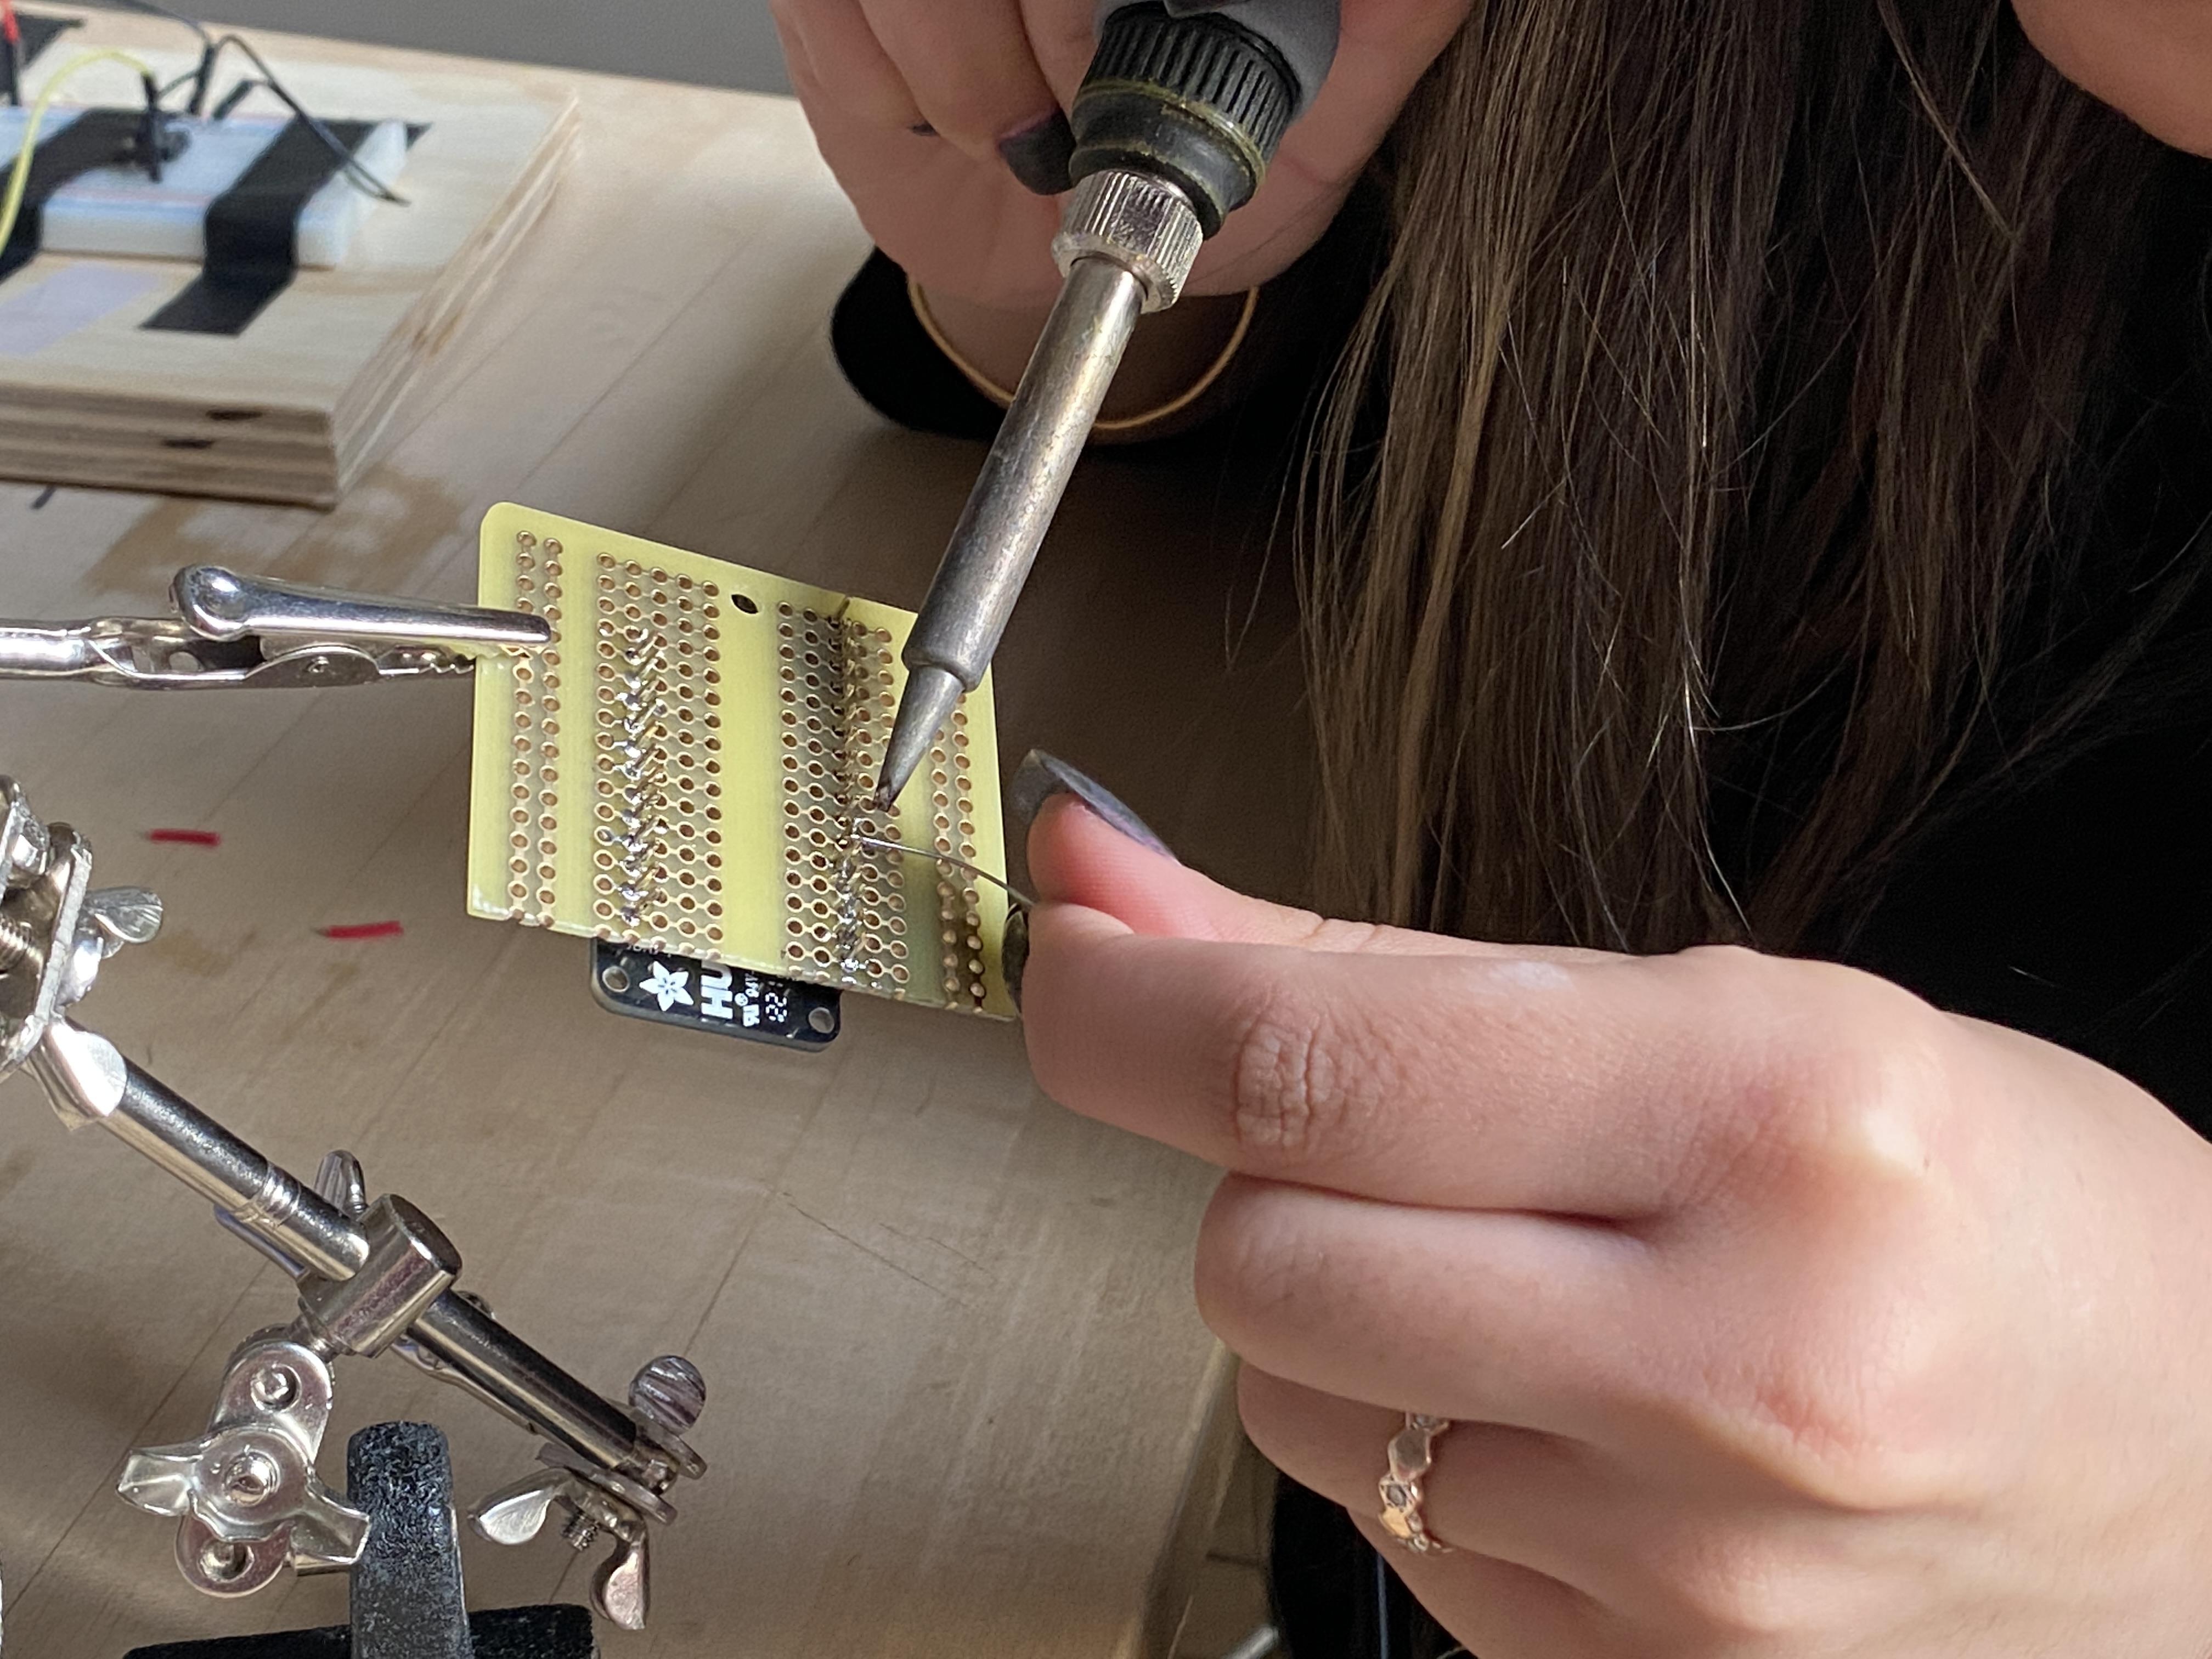
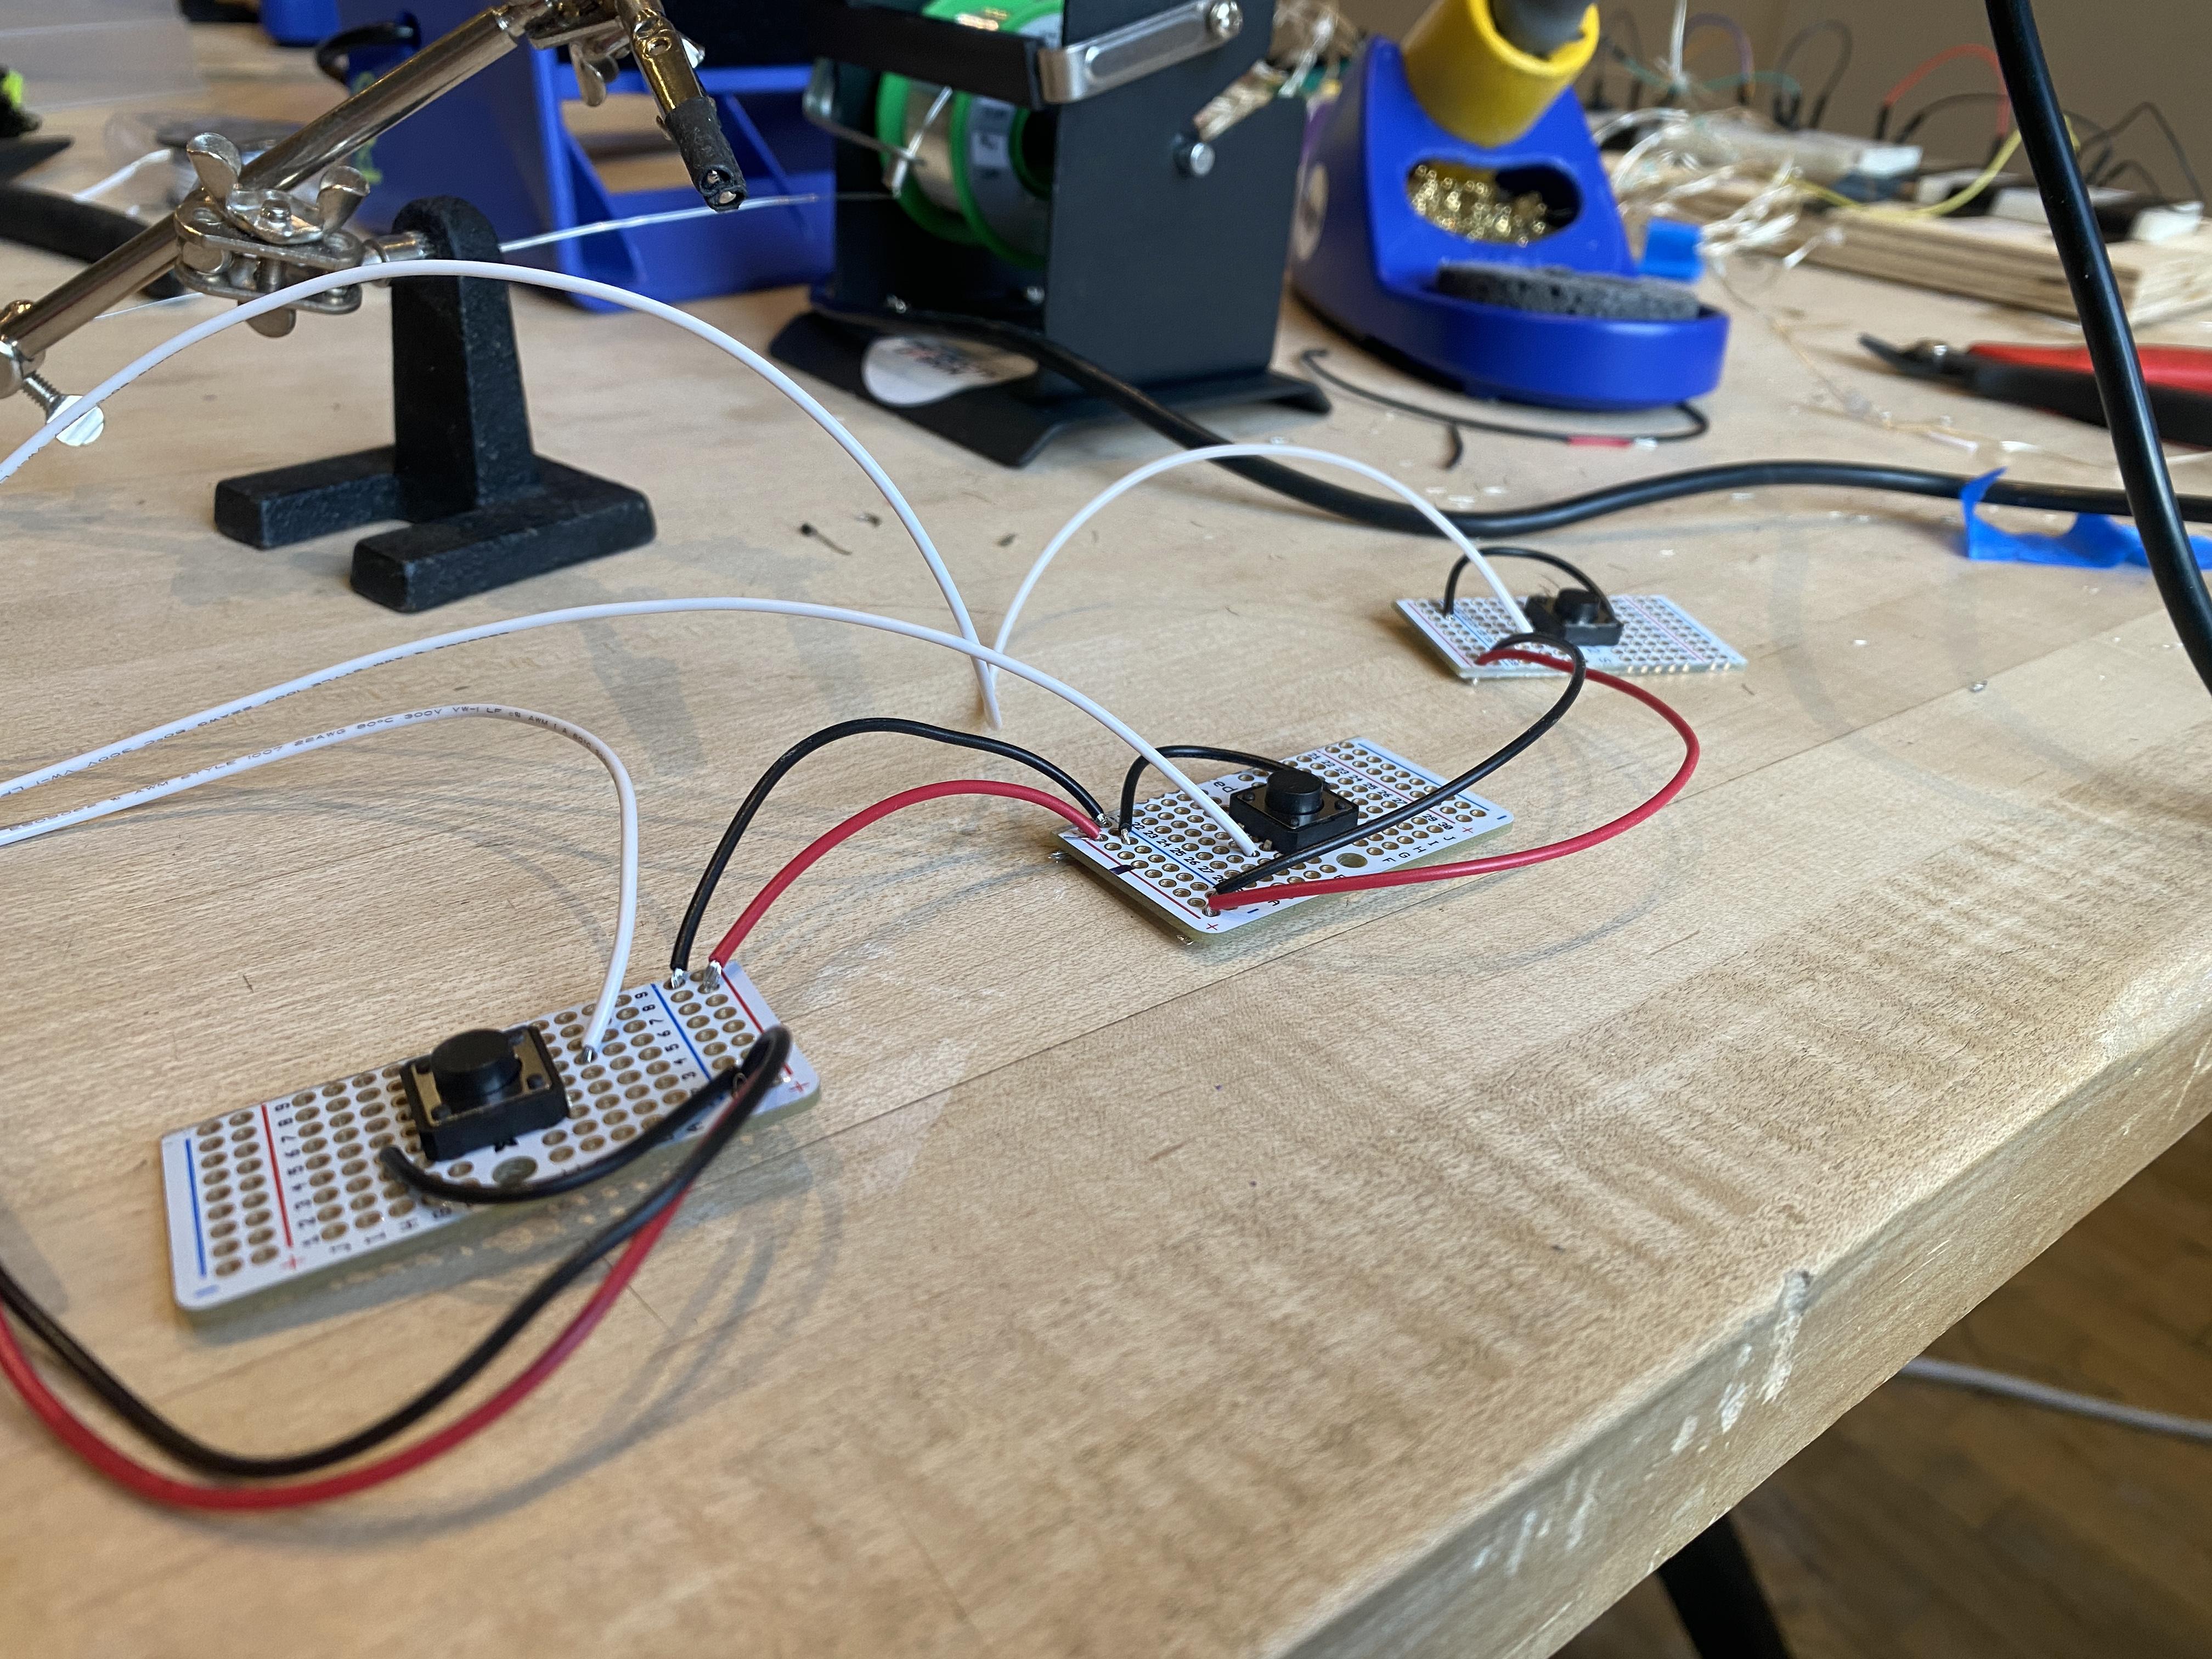
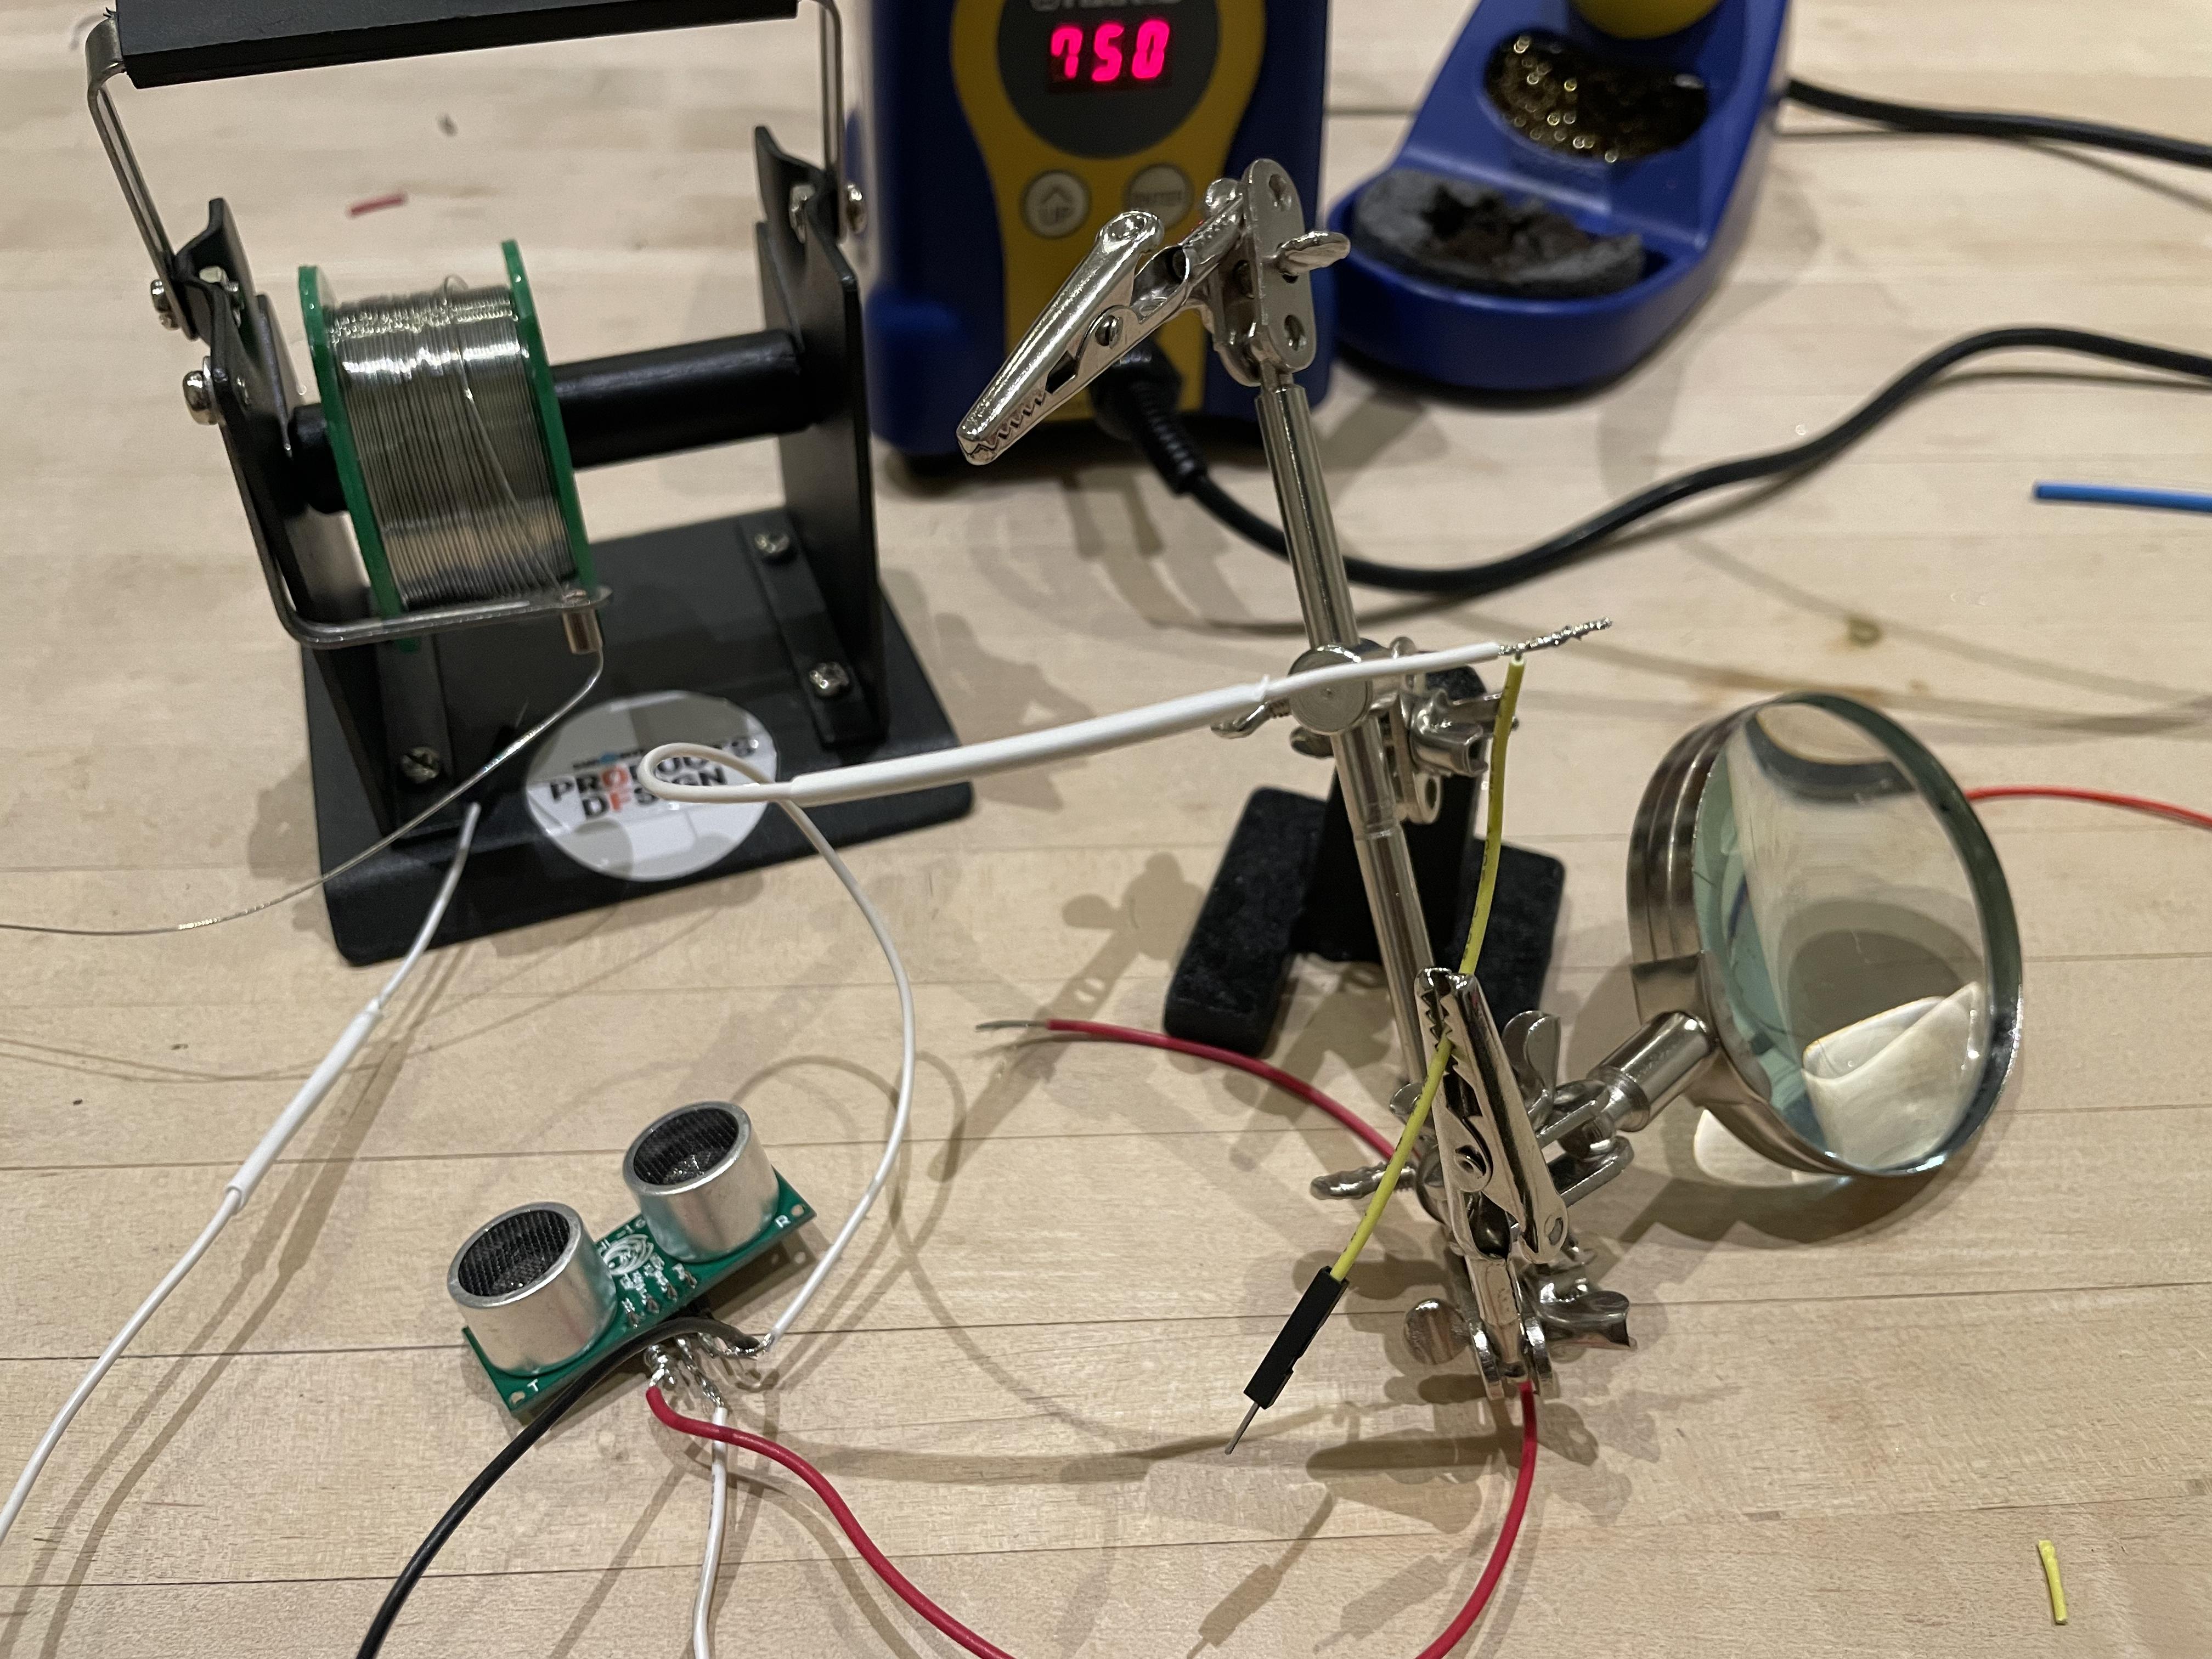
Congrats! If your circuits are working it's time to make them more secure by soldering them. Make sure no two cables are touching each other and use shrink tube where needed.
Plan Out Your Circuit Integration
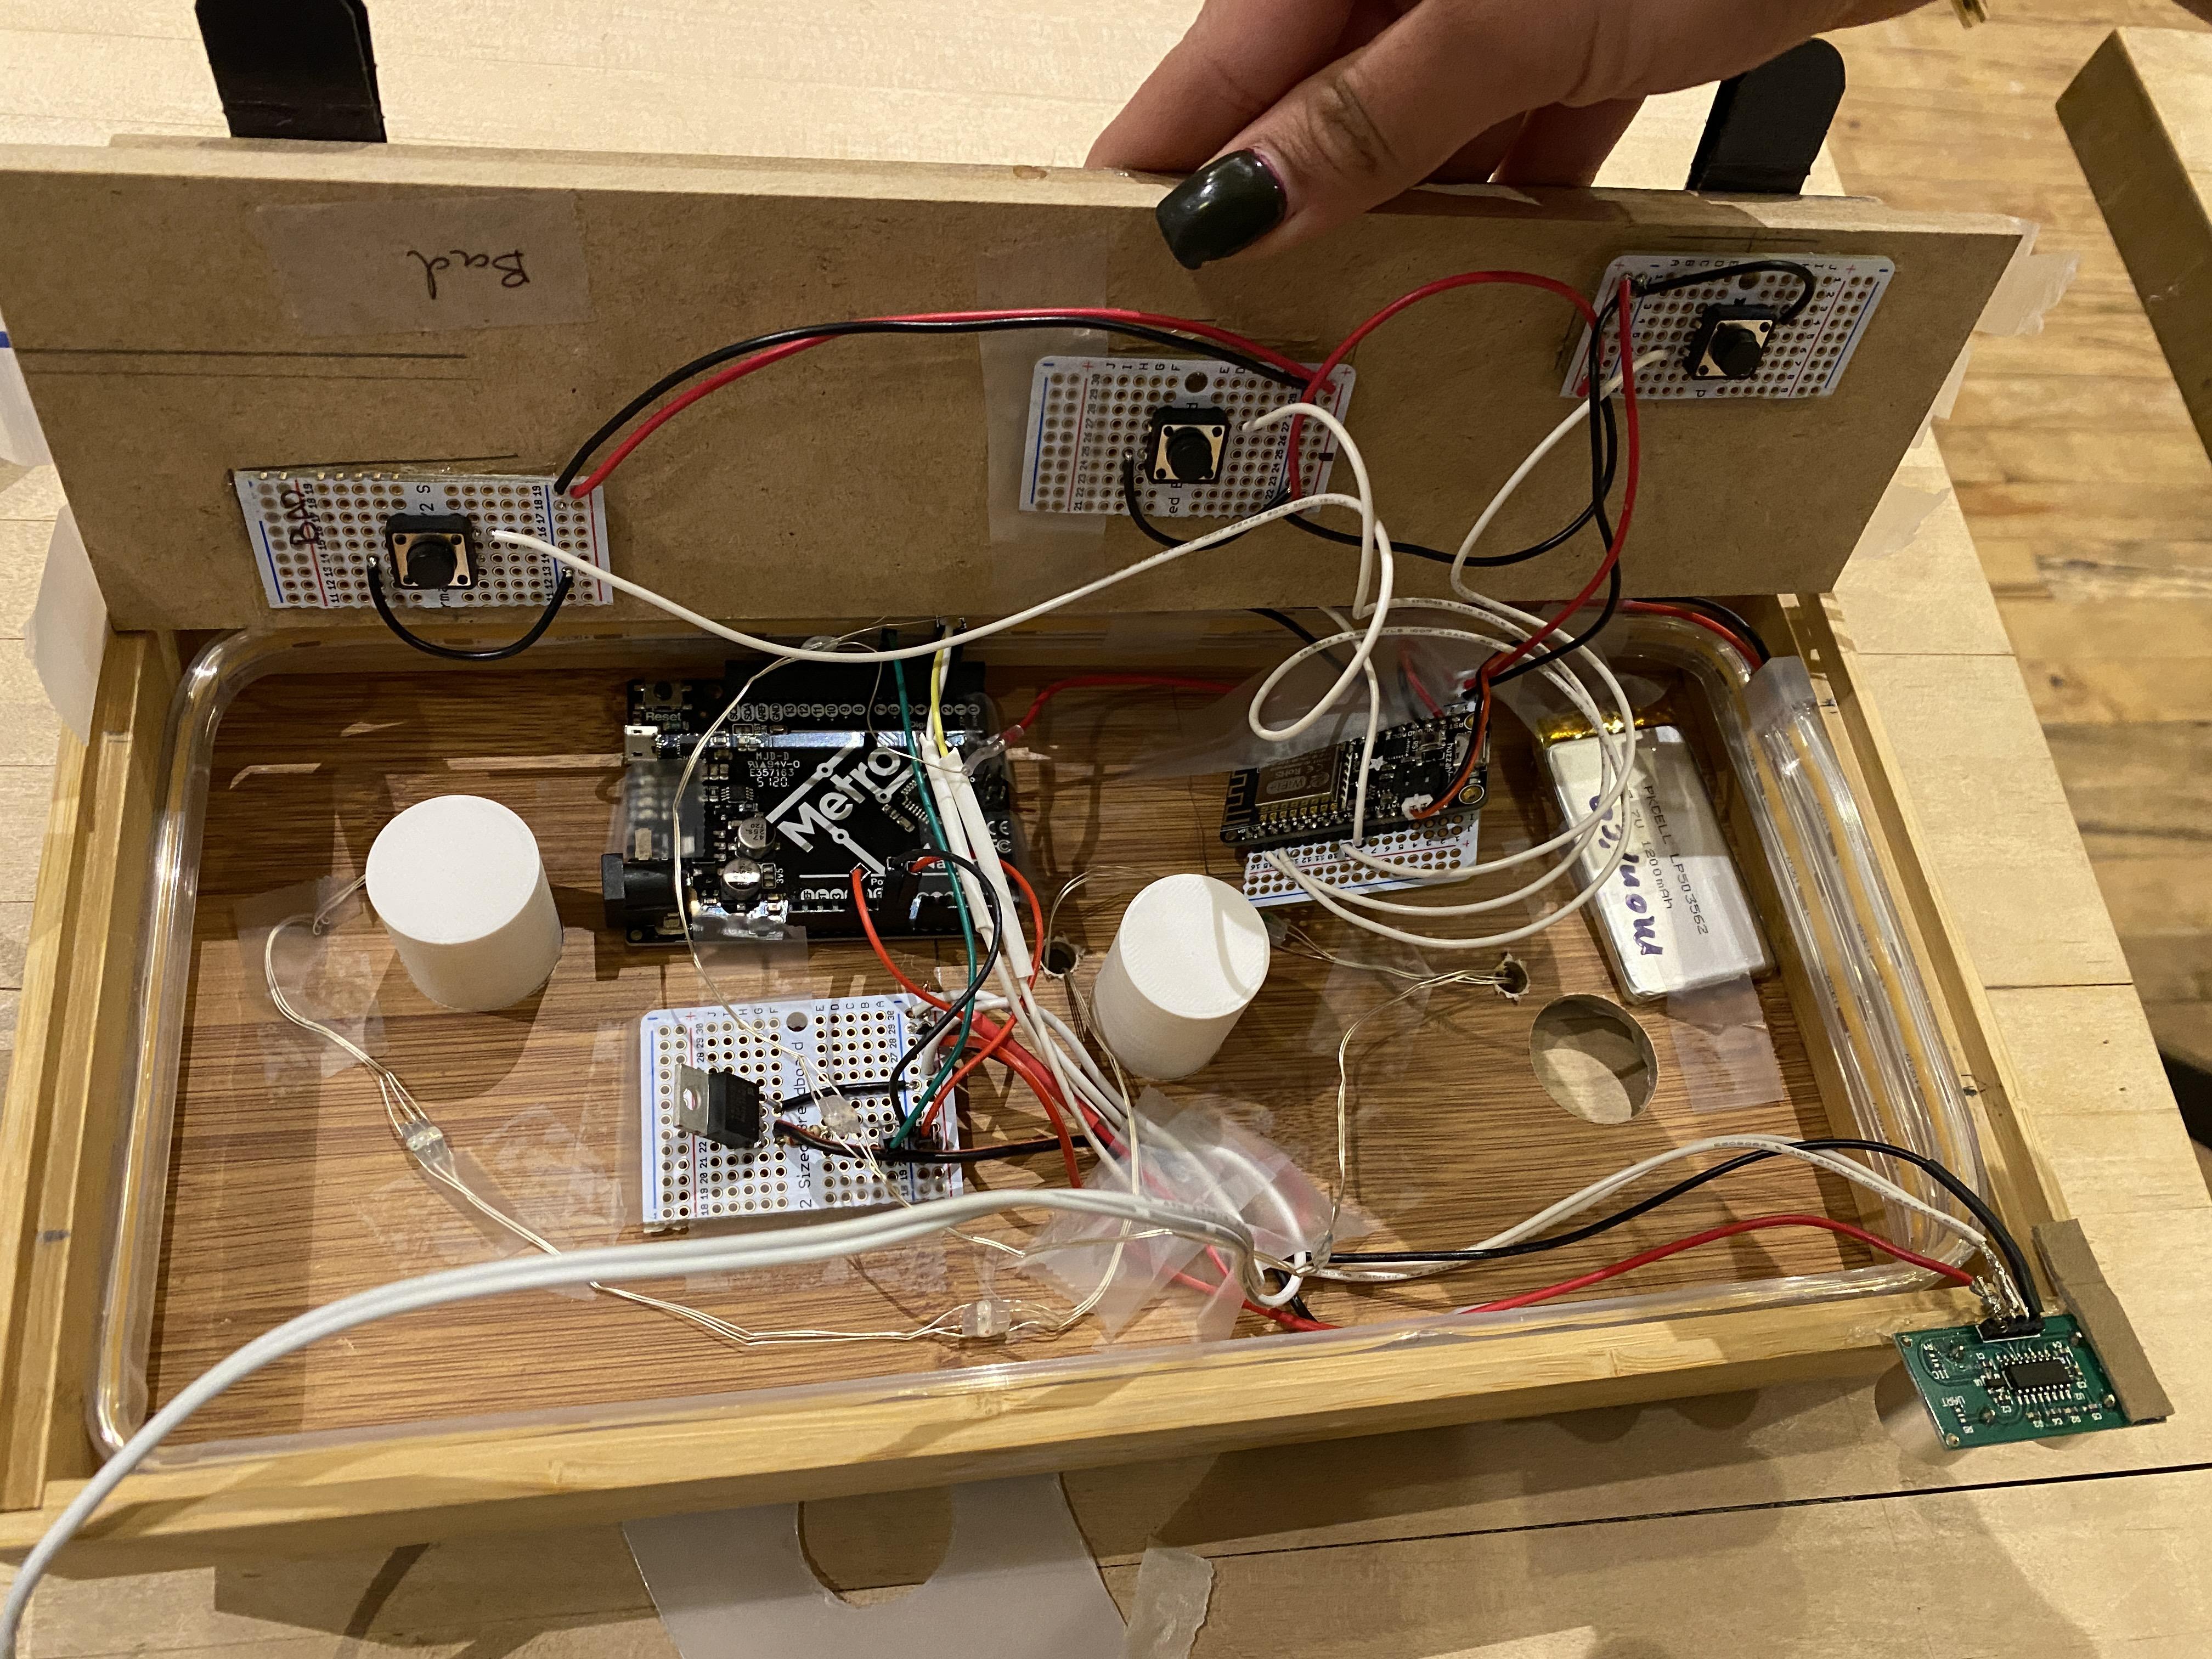
Proximity Sensor Circuit
Take your LED strip and wrap it around the inside of your box to see the exact path it would take. Use this opportunity to see where on the inside of the box you can place the Arduino and the breadboard with the transistor. Make sure that the Arduino and breadboard are not bumping onto the 3D thumbs. Mark where all parts (LED strip, Arduino and breadboard) would go with a pencil. Your motion sensor will need to be partially outside of the box, so that it can sense movement. Choose where along the edges of the box it will be located. Mark with a pencil.
3-Button Circuit
Thread the 3D buttons through their respective holes.
Take your Feather Huzzah and see where inside the box it would fit. Make sure it won't bump or rub against the 3D thumbs. Mark it with a pencil.
Use the paper template of the thumb buttons you used earlier and align it to your MDF rectangle and push buttons. Test pushing the 3D thumbs to see if the pushbuttons indeed get pressed. If it's working, you should hear a nice "click". Mark the exact location of the MDF rectangle alongside the edges of your box as fixing it on will be the last step.
Downloads
Set Up Your NeoPixels
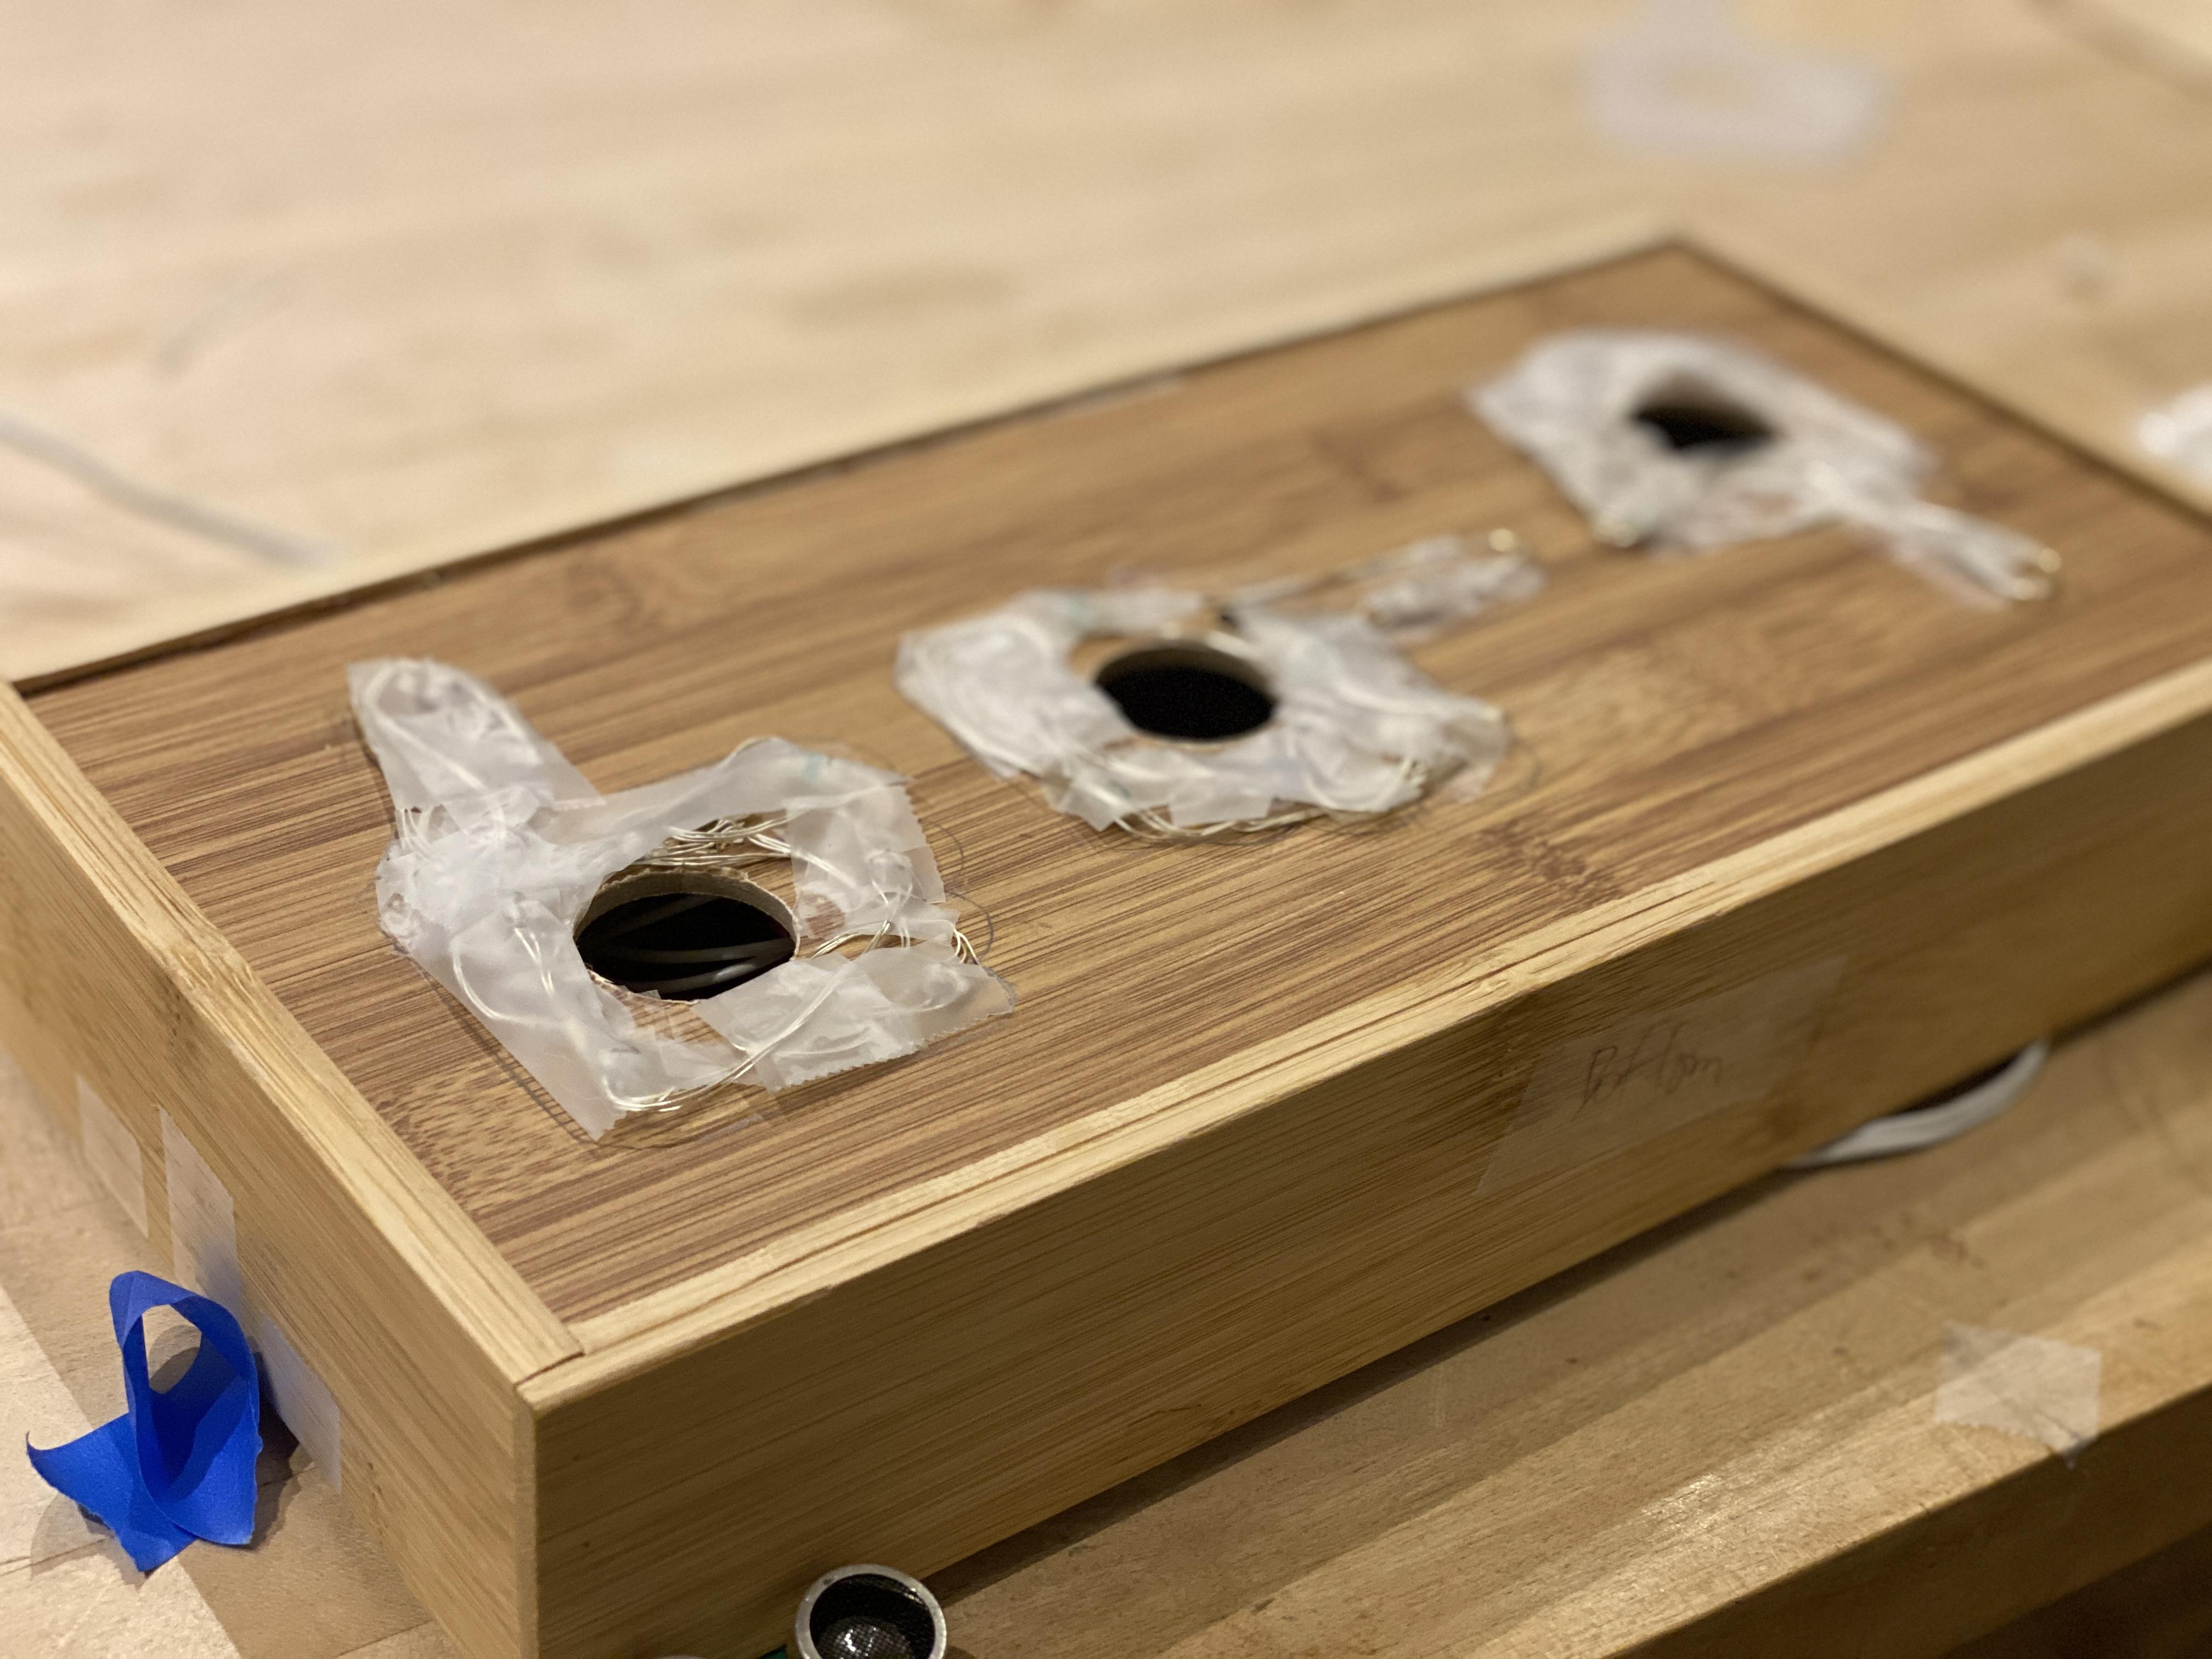
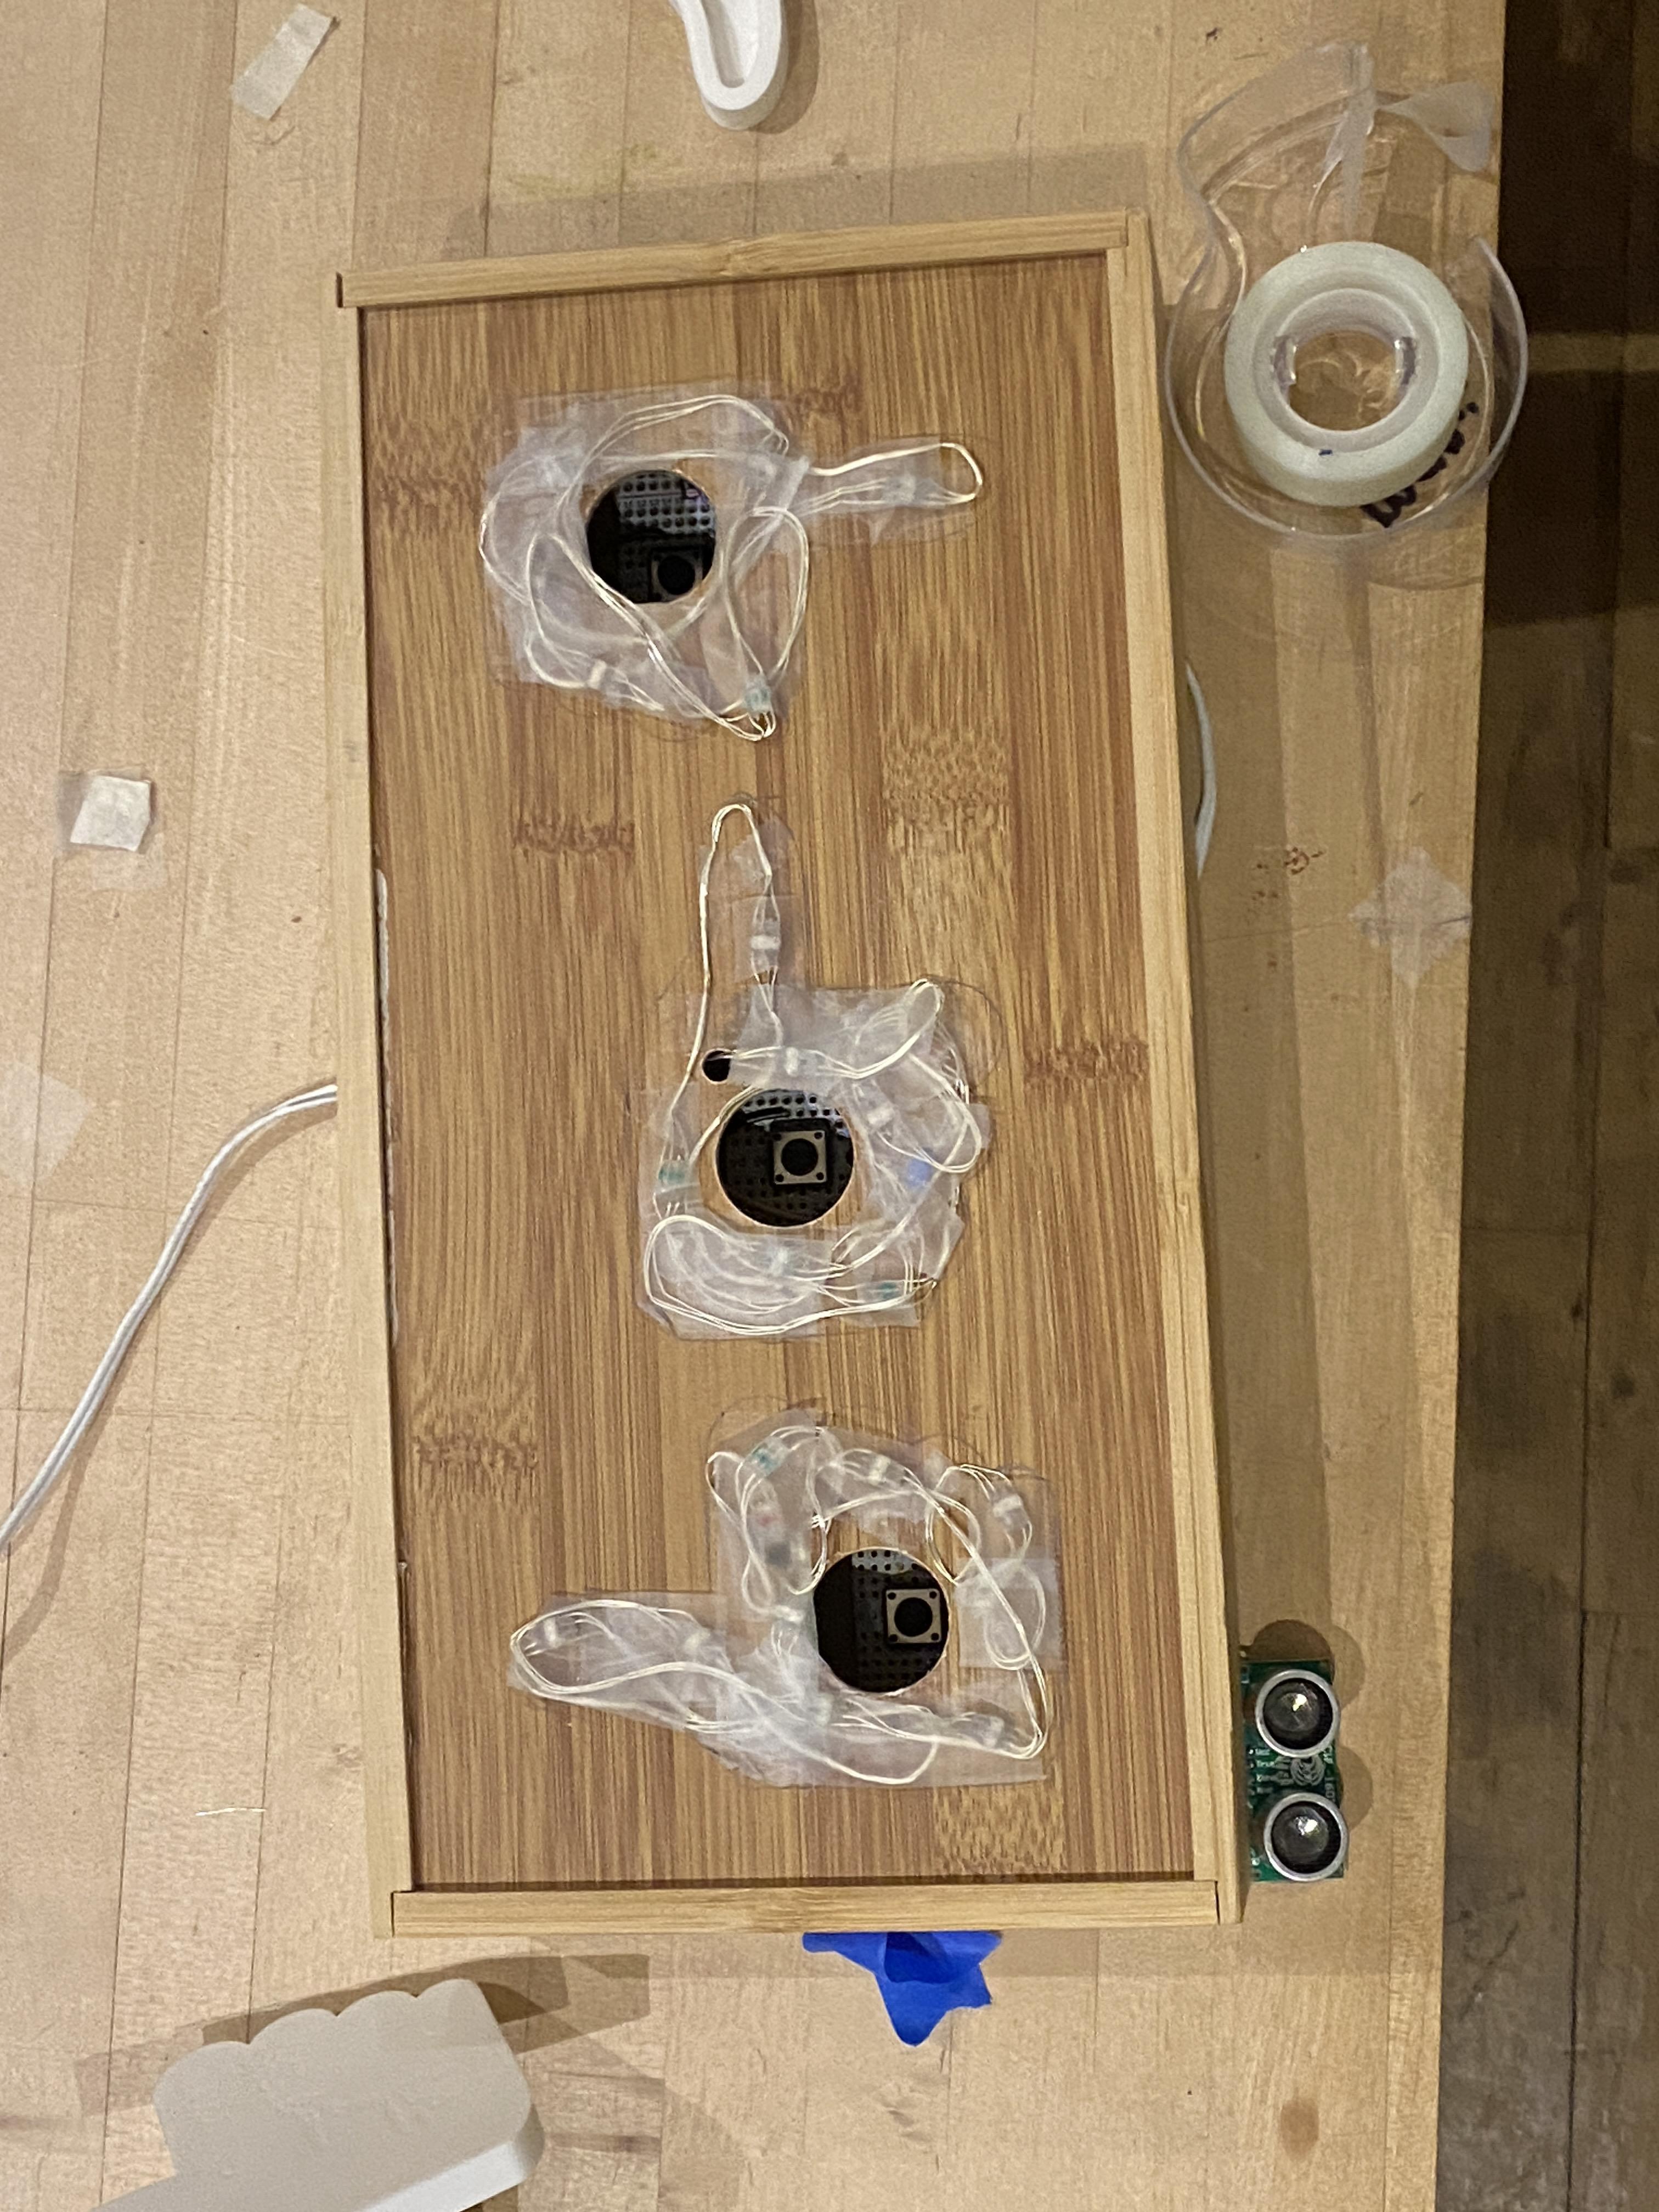
Push the 3D thumb buttons all the way and use a pencil to mark their outline on the front of the box.
Use tape to label each of the holes through which the three thumbs go through. Simply mark which hole belongs to the thumb that is "Up" "Sideways" and "Down". Do this on both the inside and outside of the box. It will make the process alot easier for the next steps. Now, remove the 3D thumbs.
Thread your NeoPixels
From inside the box, thread 8 NeoPixels through the small 1/4" hole near the large 1" hole that belongs to the "Up" thumb. Arrange them tightly inside the outline of the thumb that you marked on the surface of the box. Use clear tape to keep them in place.
Thread 7 NeoPixels through the small 1/4" hole near the large 1" hole that belongs to the "Medium" thumb. Arrange them tightly inside the outline of the thumb that you marked on the surface of the box. Use clear tape to keep them in place.
Lastly, thread 7 NeoPixels through small 1/4" hole near the large 1" hole that belongs to the "Down" thumb. Arrange them tightly inside the outline of the thumb that you marked on the surface of the box. Use clear tape to keep them in place.
Secure Your Circuits Onto Your Box
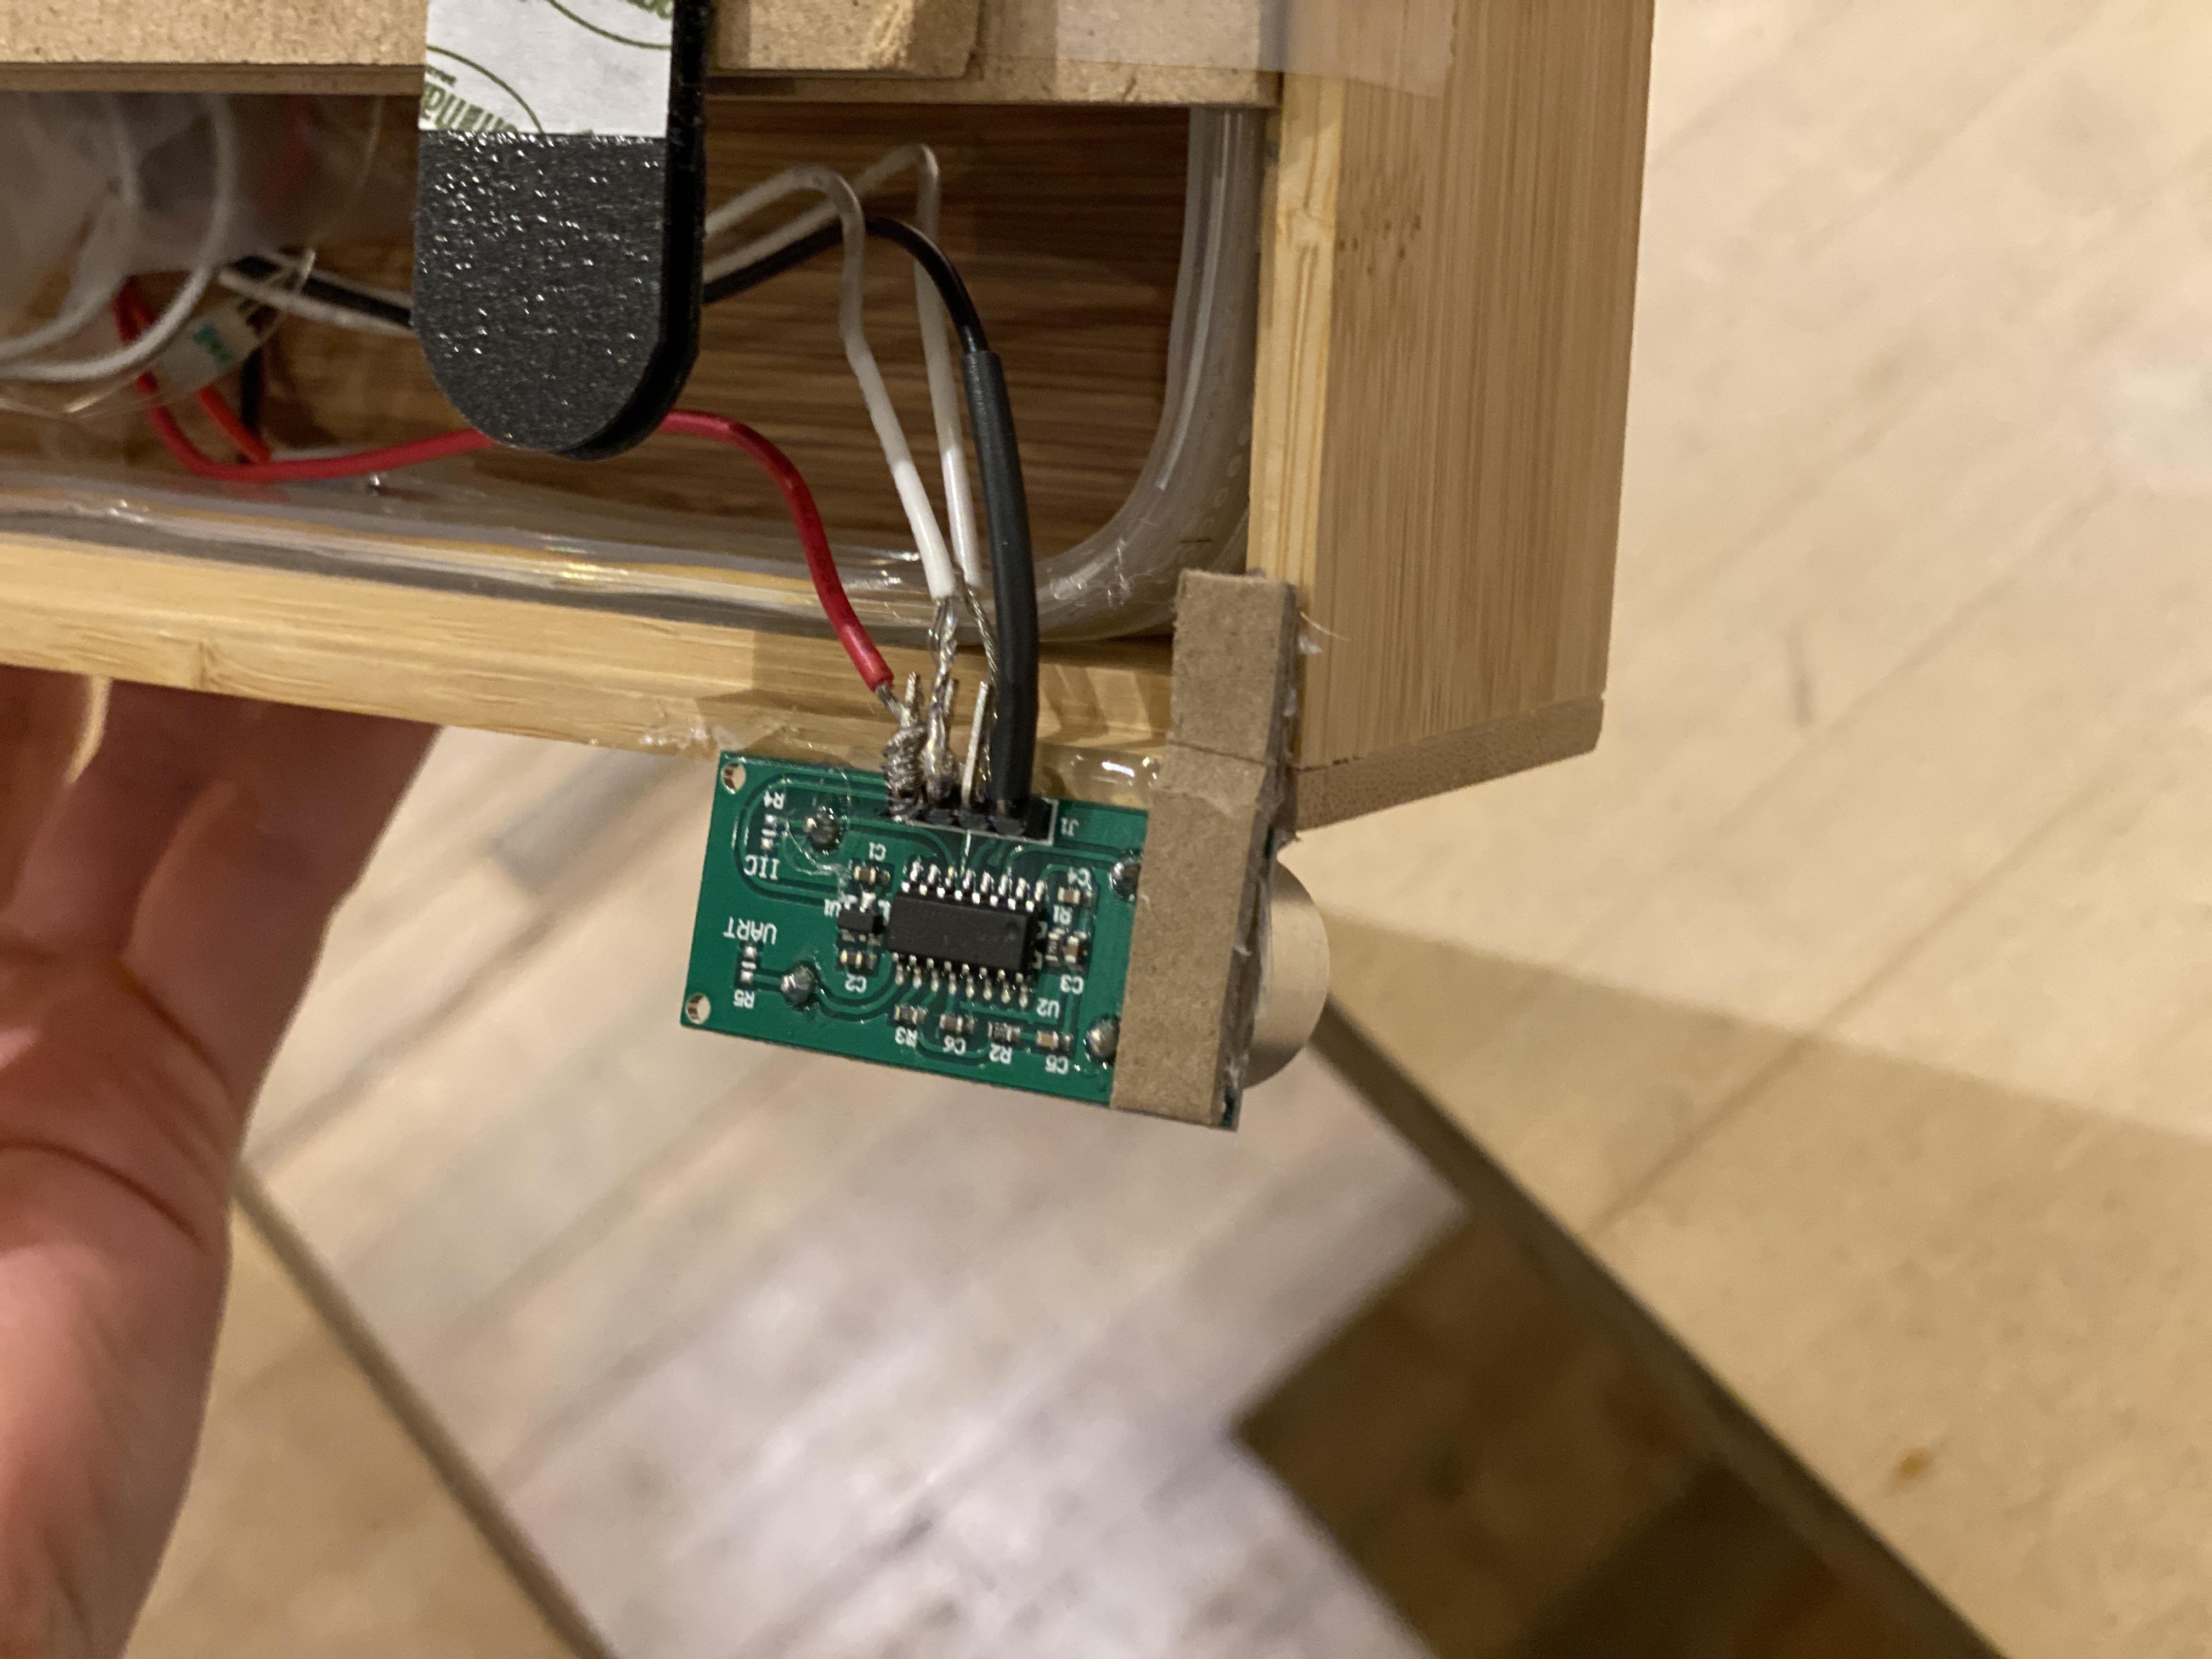
Once you are certain of the location of both your circuits and all their parts, use hot glue to secure them onto the box and/or the MDF.
You might need to create a small cardboard-support aid to keep your proximity sensor in place.
Now, use wood glue to secure the MDF rectangle onto the back of your box, exactly where you had marked it would go previously in Step 6.
Re-insert your 3D thumbs through the 1" holes.
Mount Your Mood Tracker
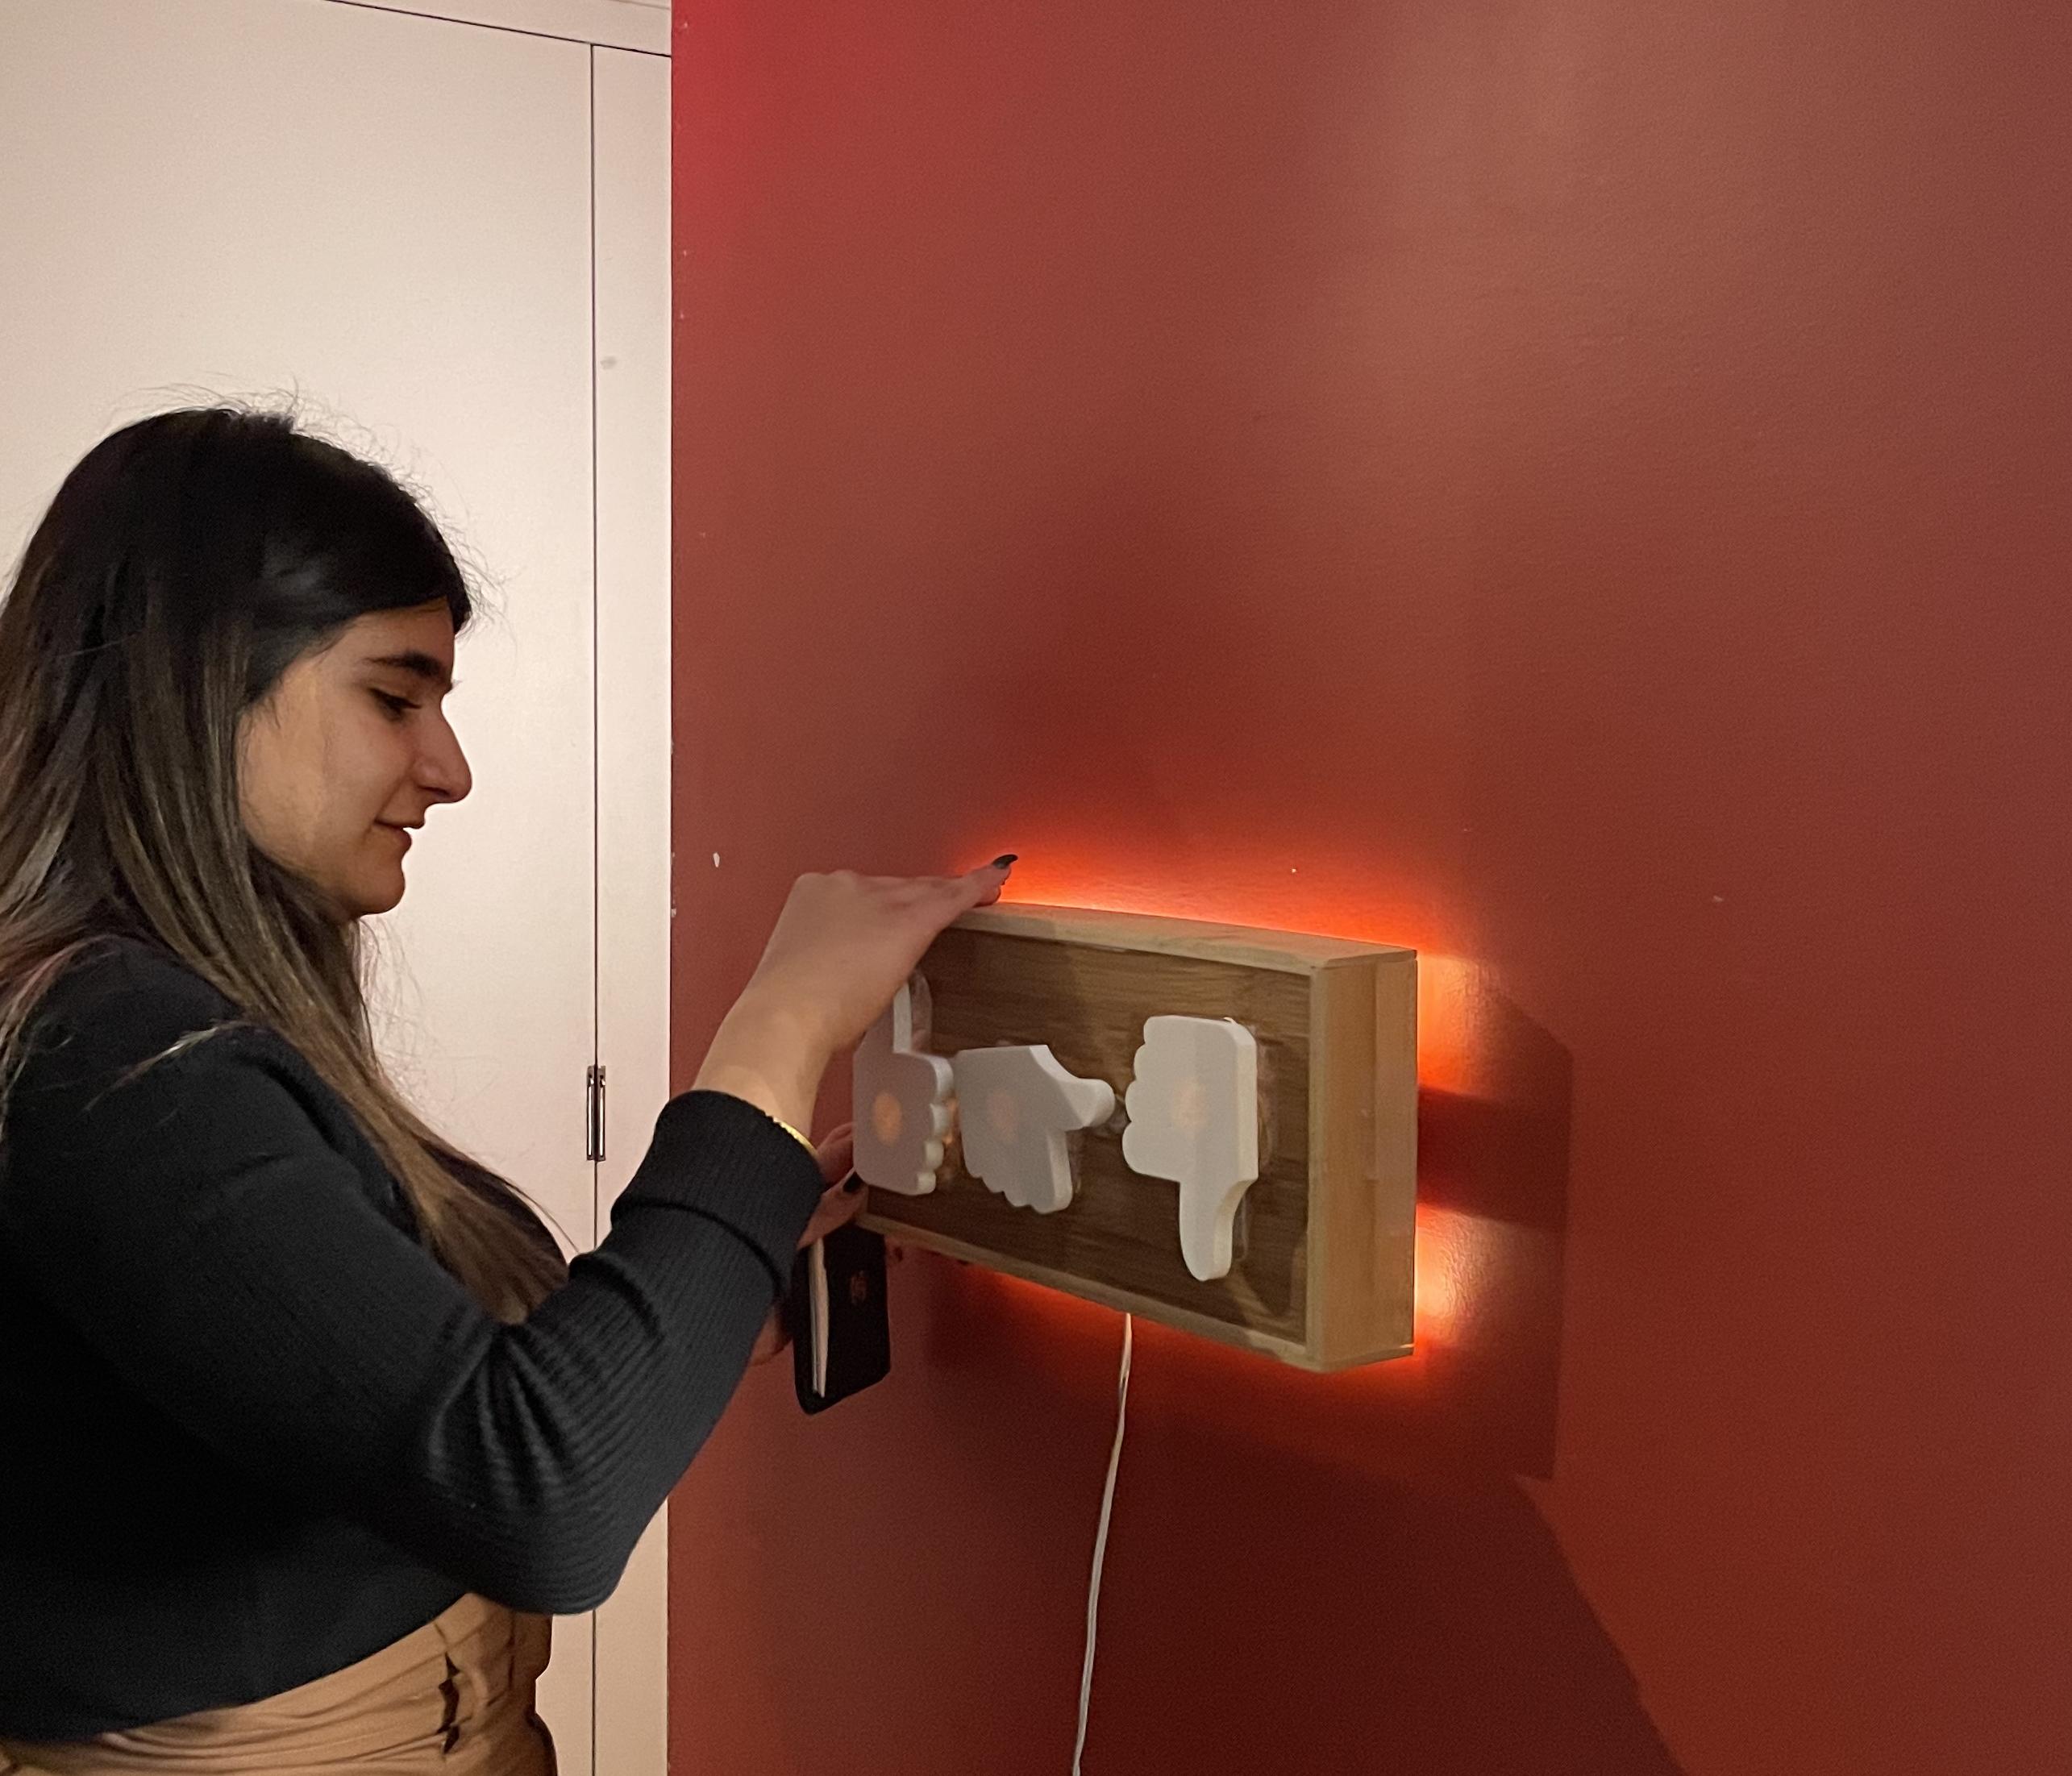
You're almost there! Go to your preferred location and use level to mount your mood tracker. Make sure you press firmly for a couple of minutes as the command strips glue in place
Enjoy!!
