Plotter, X-y-machine, Printer
by twanhilhorst in Workshop > CNC
2748 Views, 23 Favorites, 0 Comments
Plotter, X-y-machine, Printer
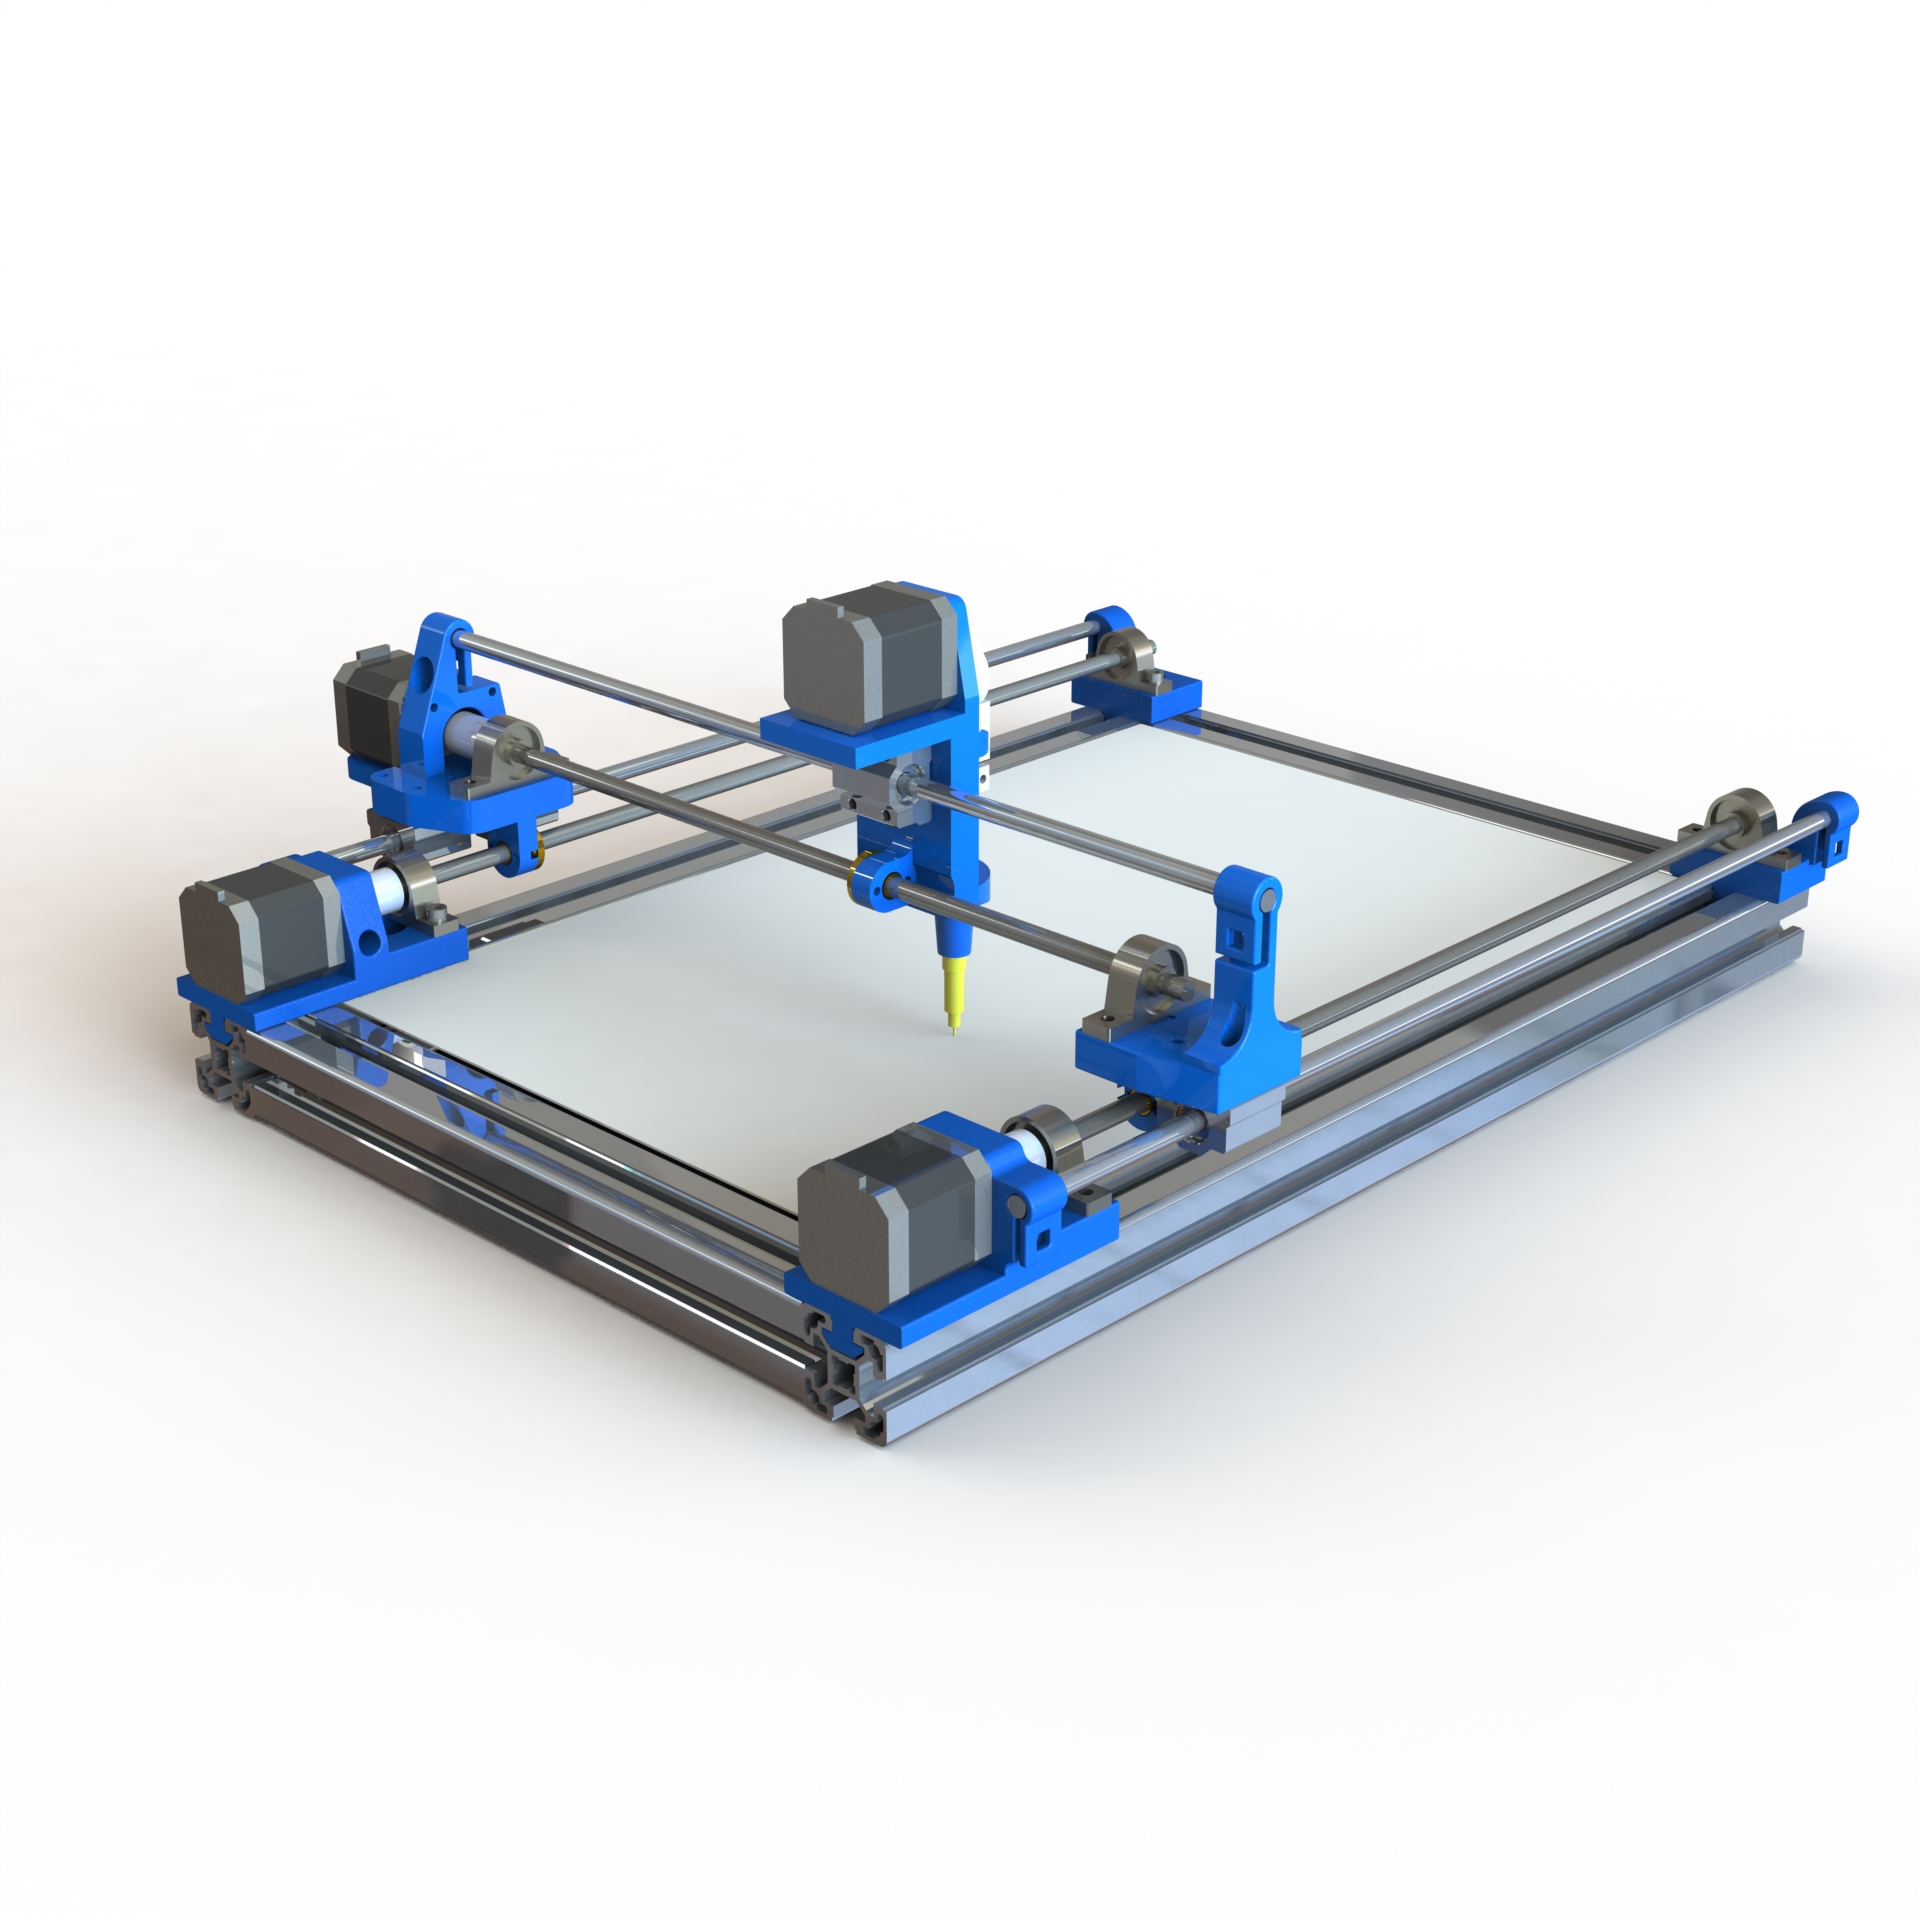
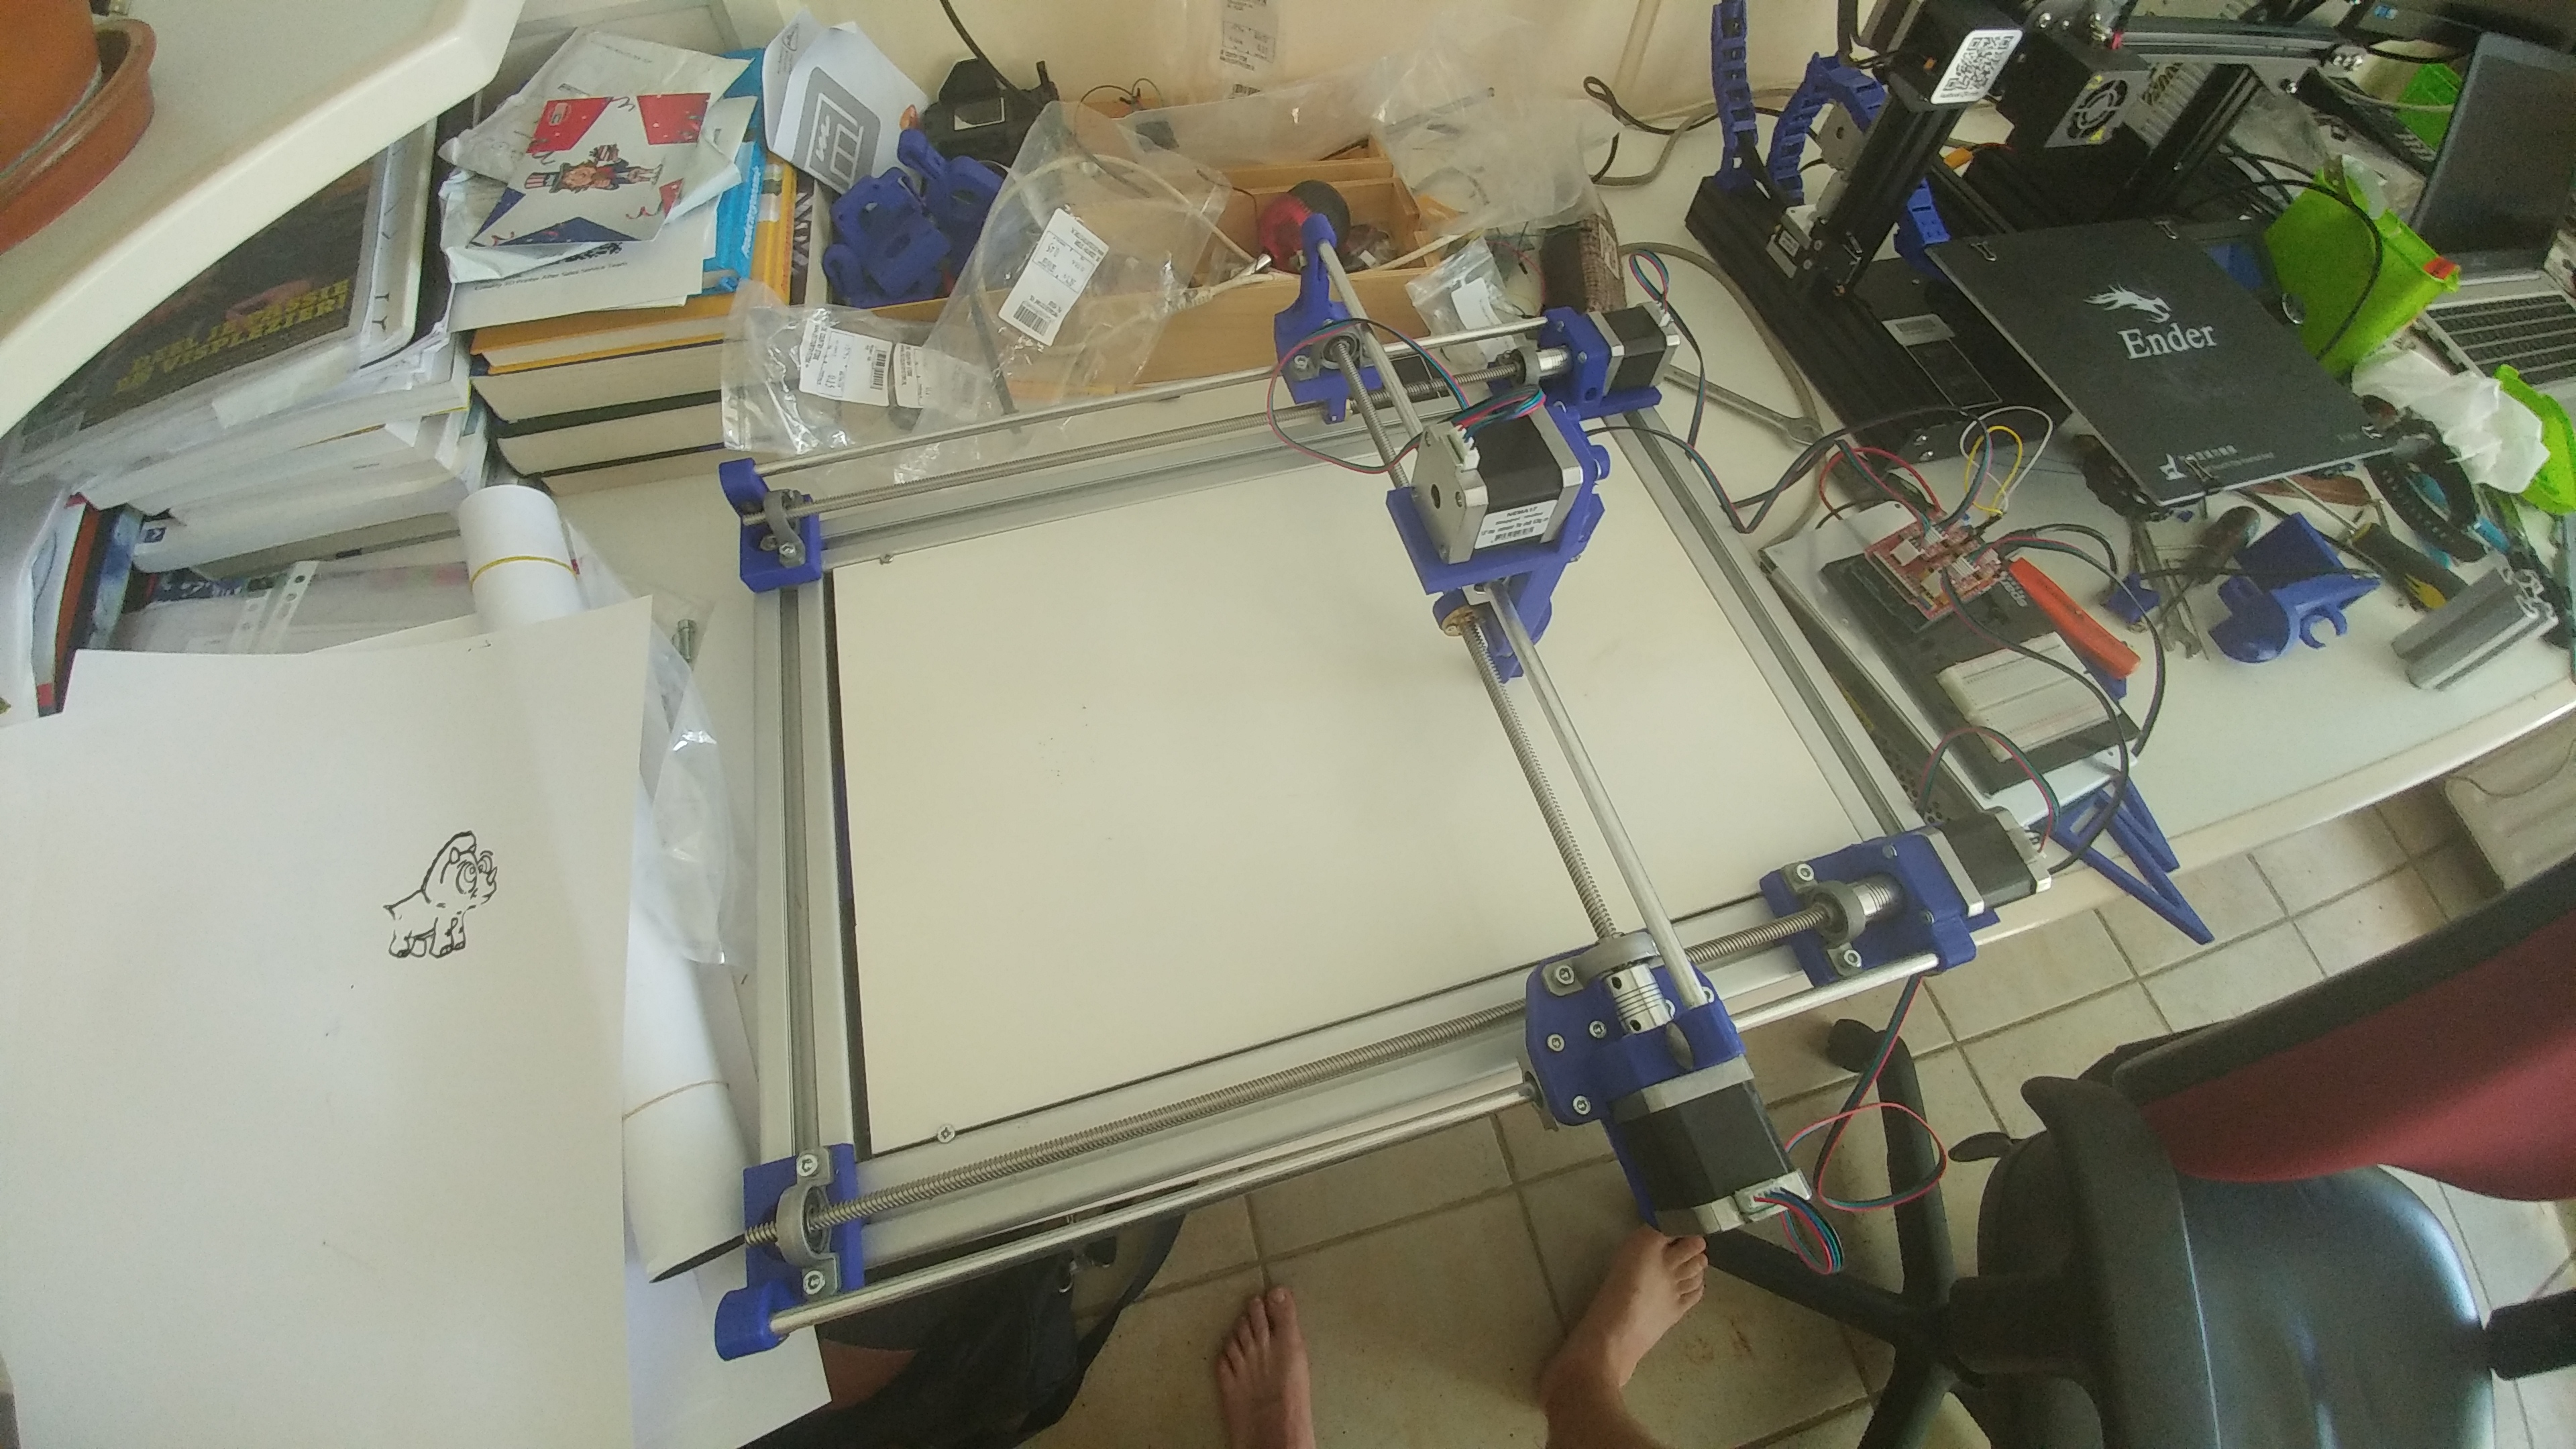
The proces of making a plotter, from begin to end.
The dimensions of the plotter can be chosen yourself. Mine plotter can print up to A3 paper. If you decide to go bigger, I would advise you to redesign the structure of the X-axis as it is a bit unstable.
Ordering All the Stuff
There are lots of sites where these products can be bought.
The items I ordered are:
- Arduino
- Arduino CNC-shield
- Stepper motors
- Stepper motor drivers
- Jumpers
- Spindels 8mm
- Aluminium rod 8mm
- Bearing blocks 8mm
- Power supply
- Aluminium profiles 40x40
- Corners to connect the profiles
- Bolts nuts screws.
3D Print the Different Items
Here the 3D-files I printed.
Downloads
Make the Frame
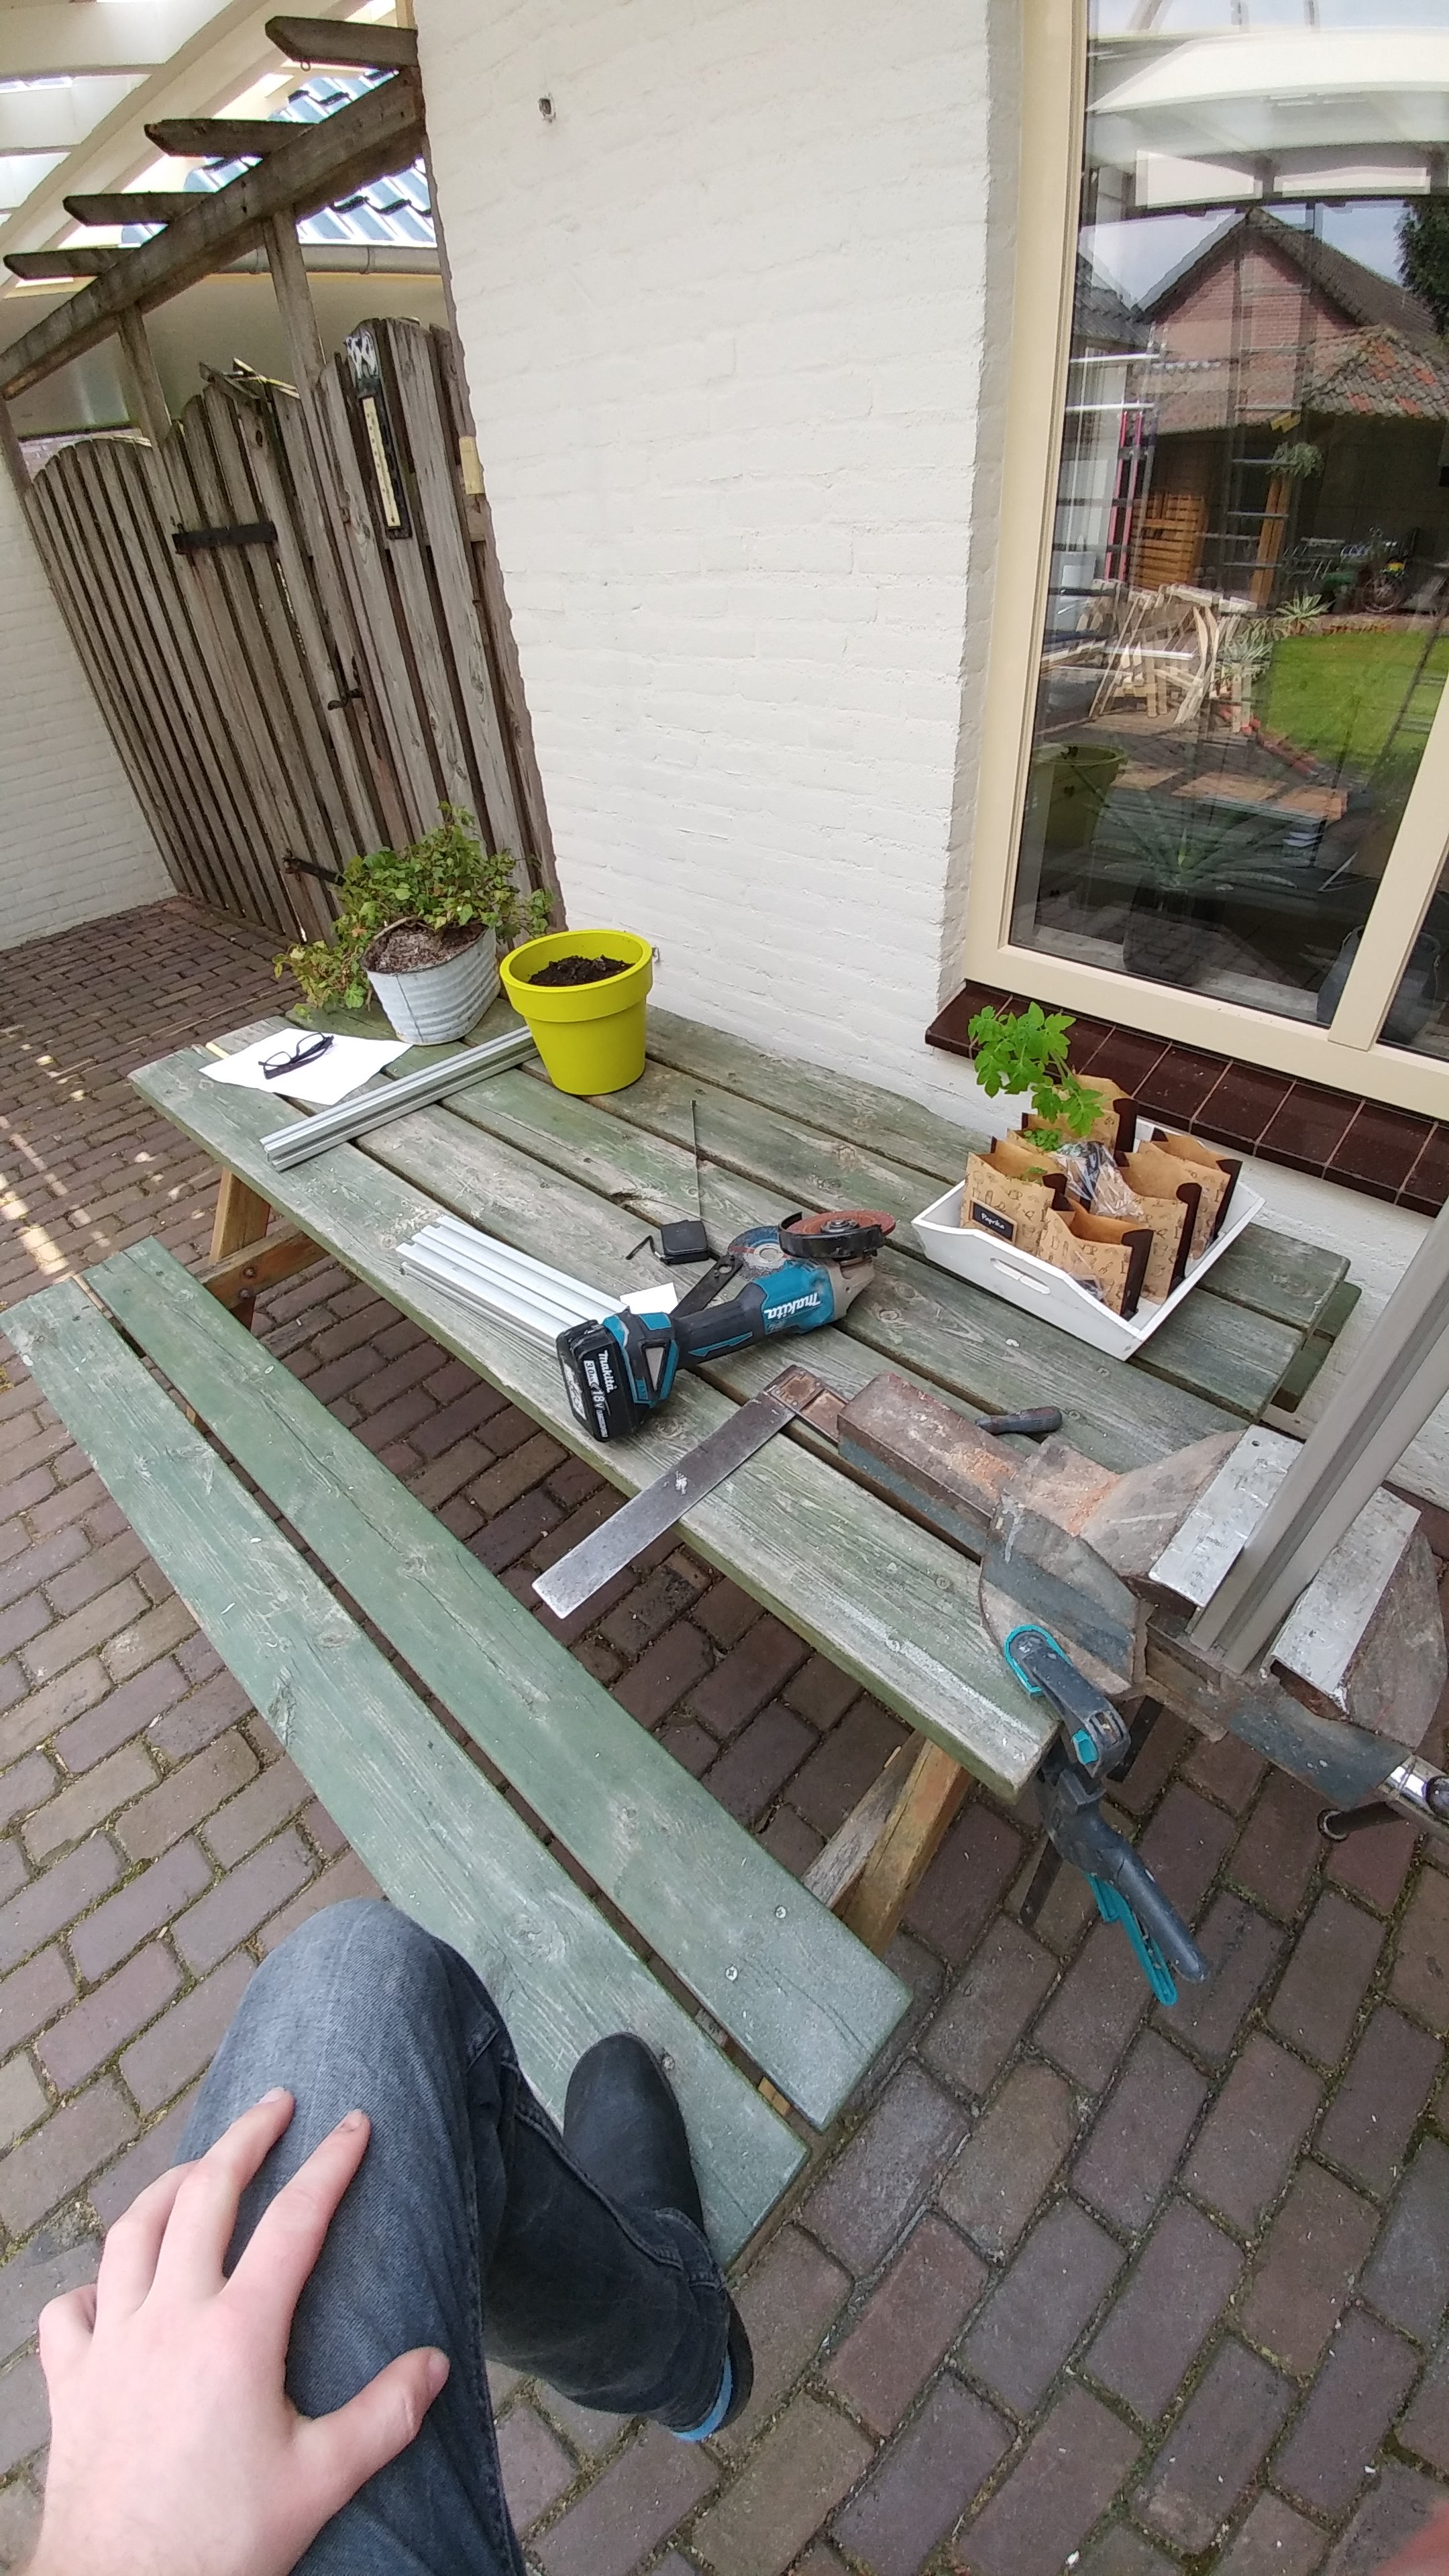
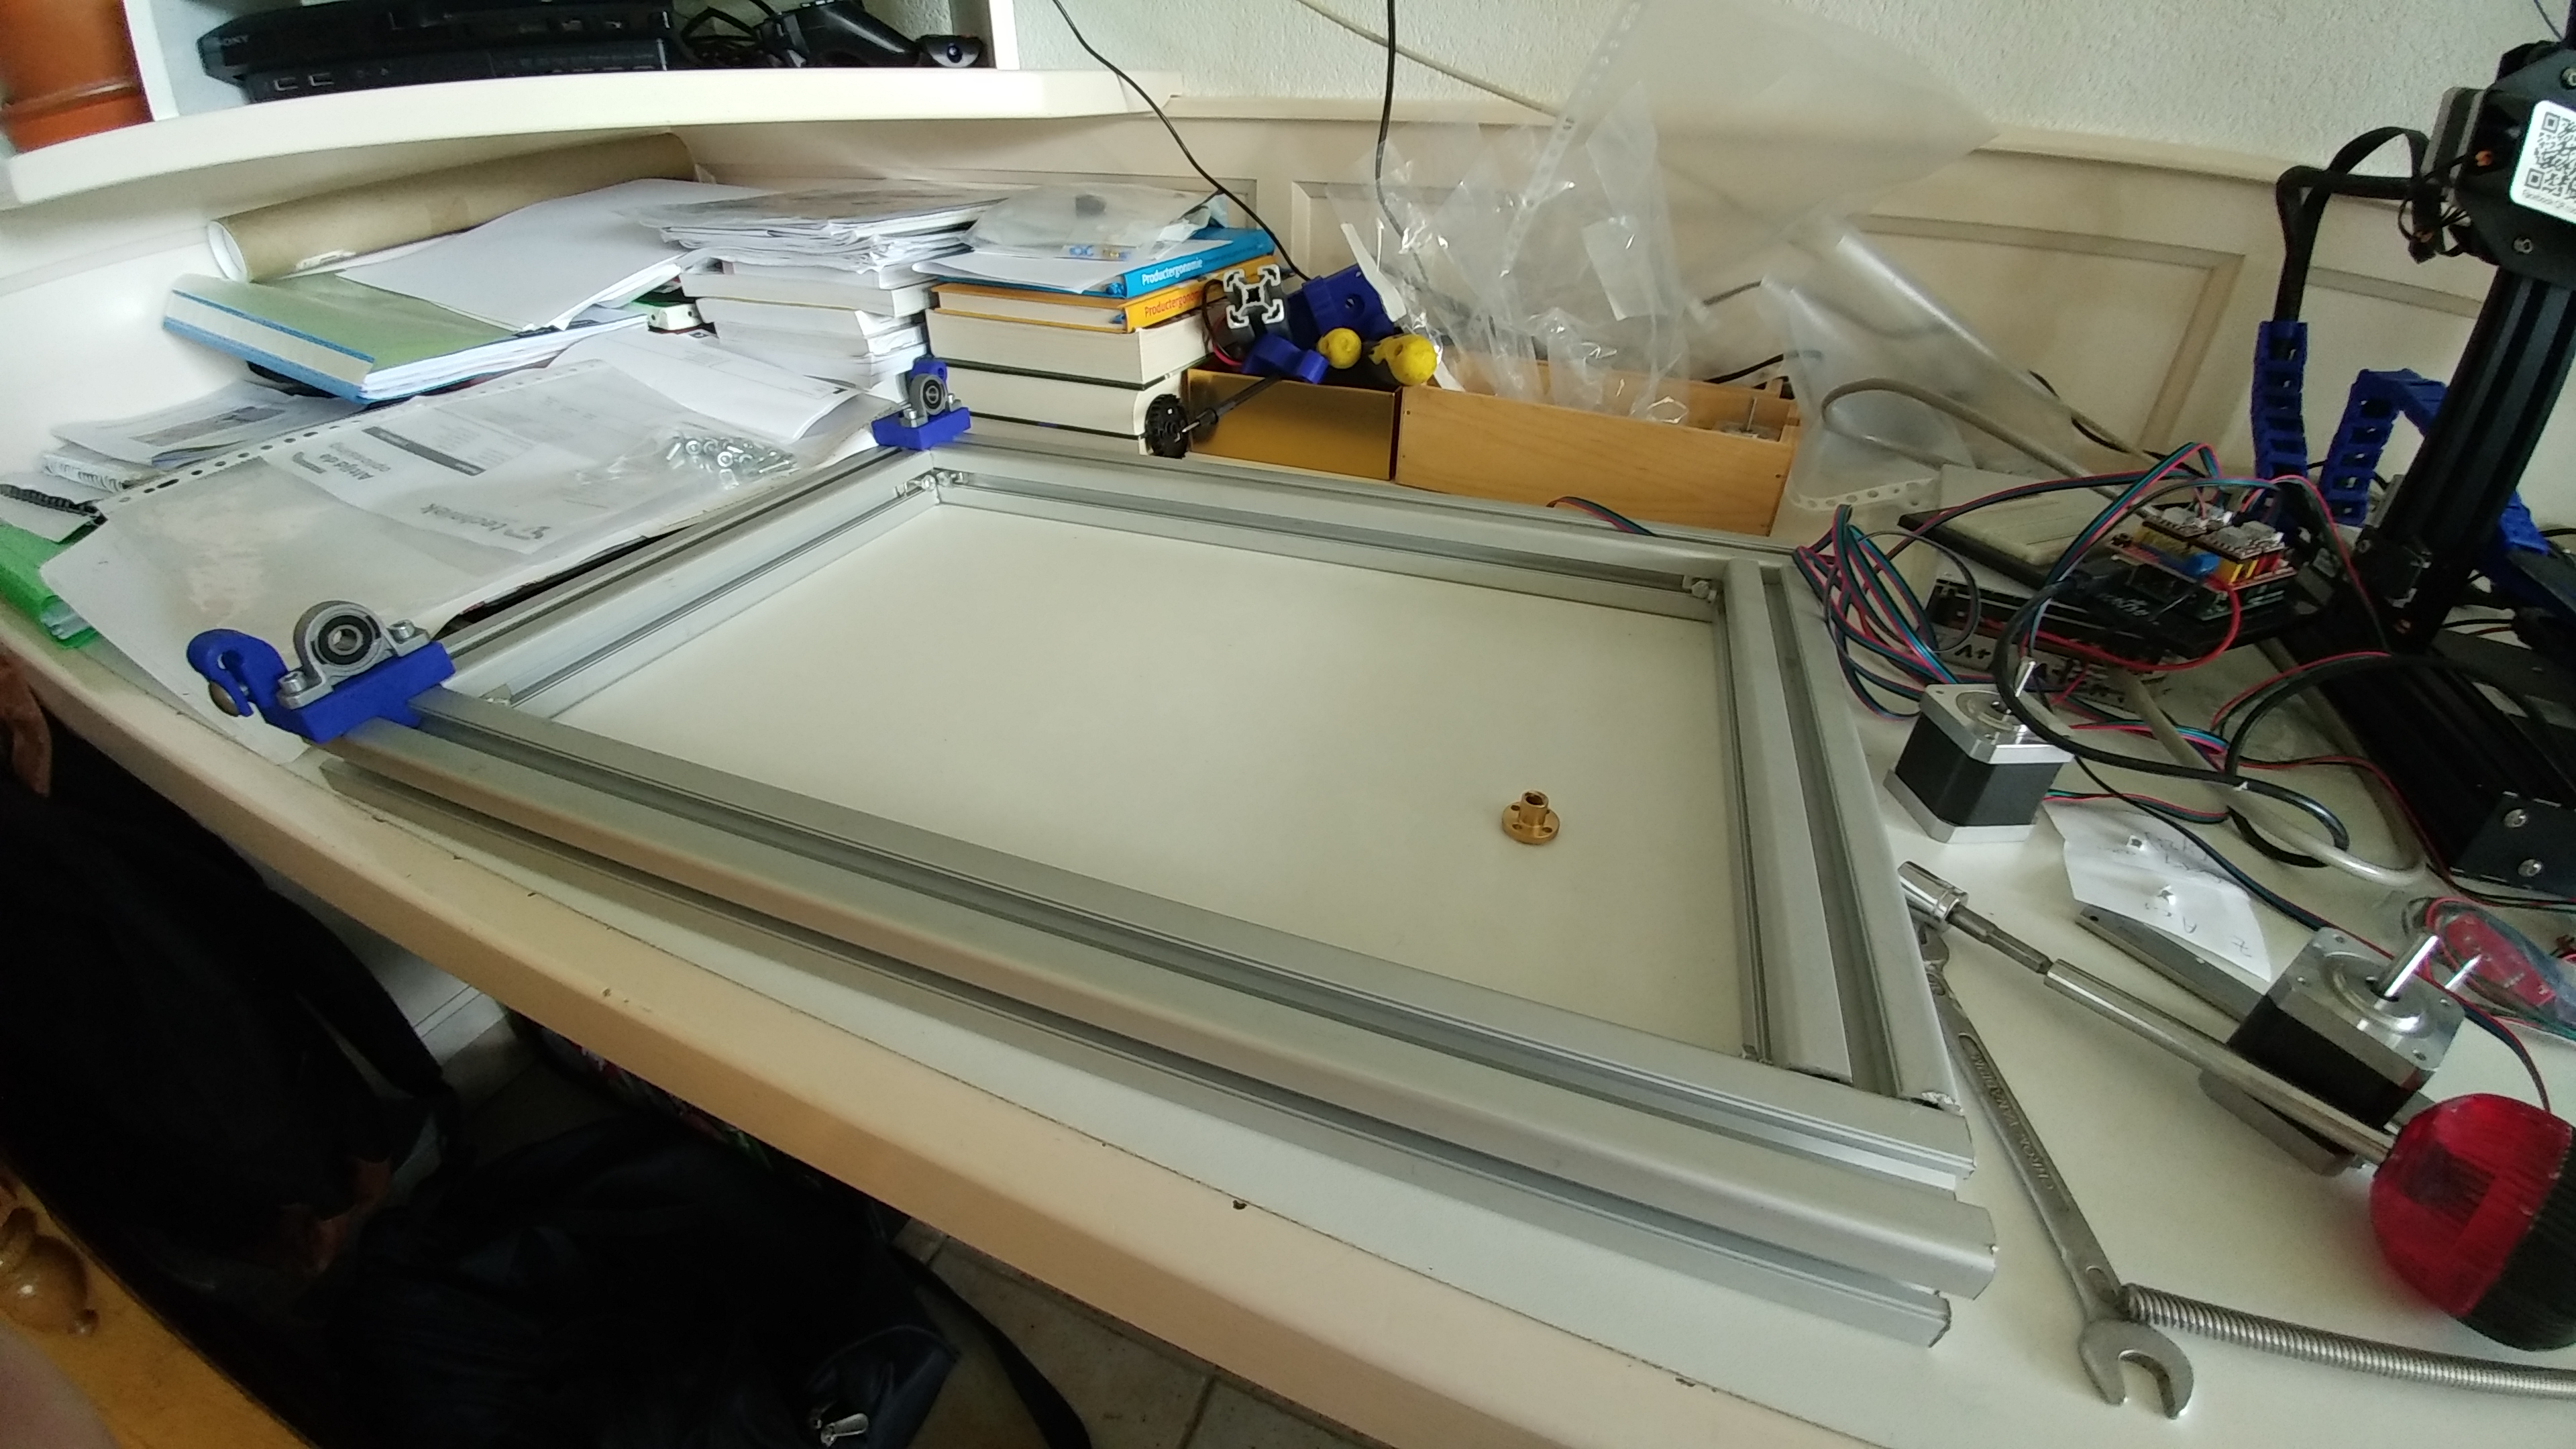
While the printer is running, you can start building the frame of the plotter.
Cut the aluminium profiles at the desired length and connect them by using the corners and bolts.
Assemble!
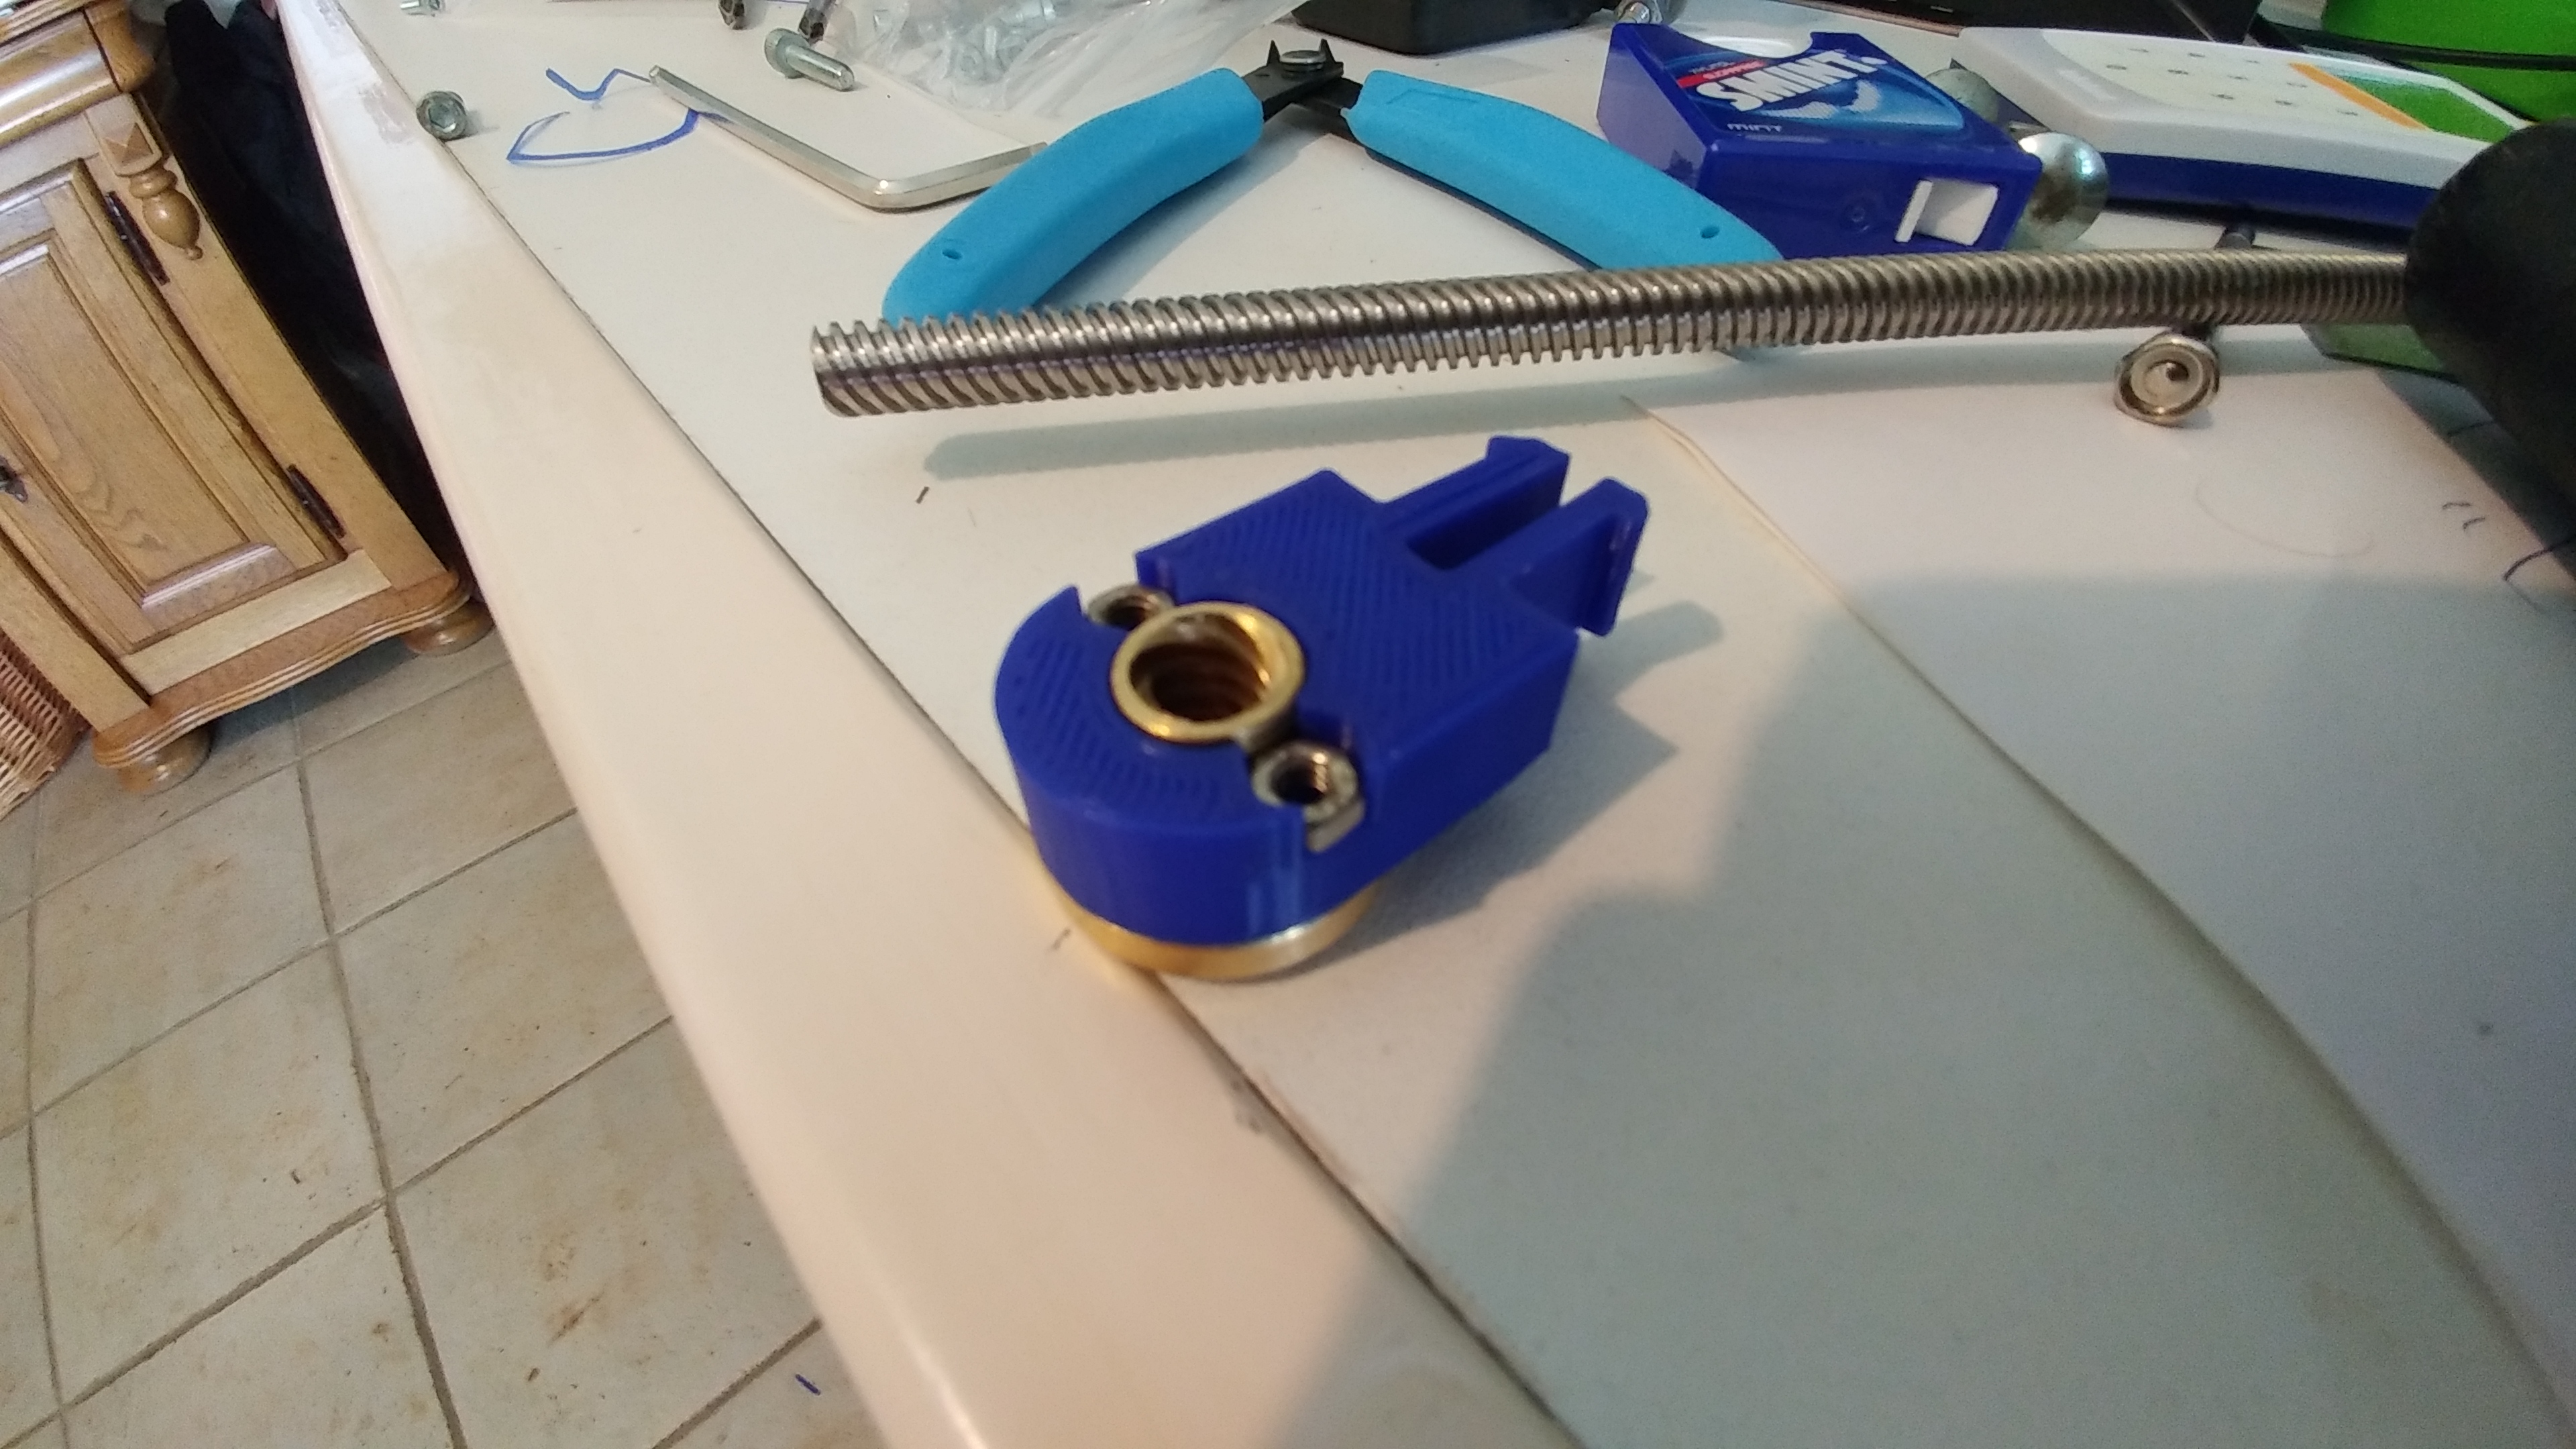
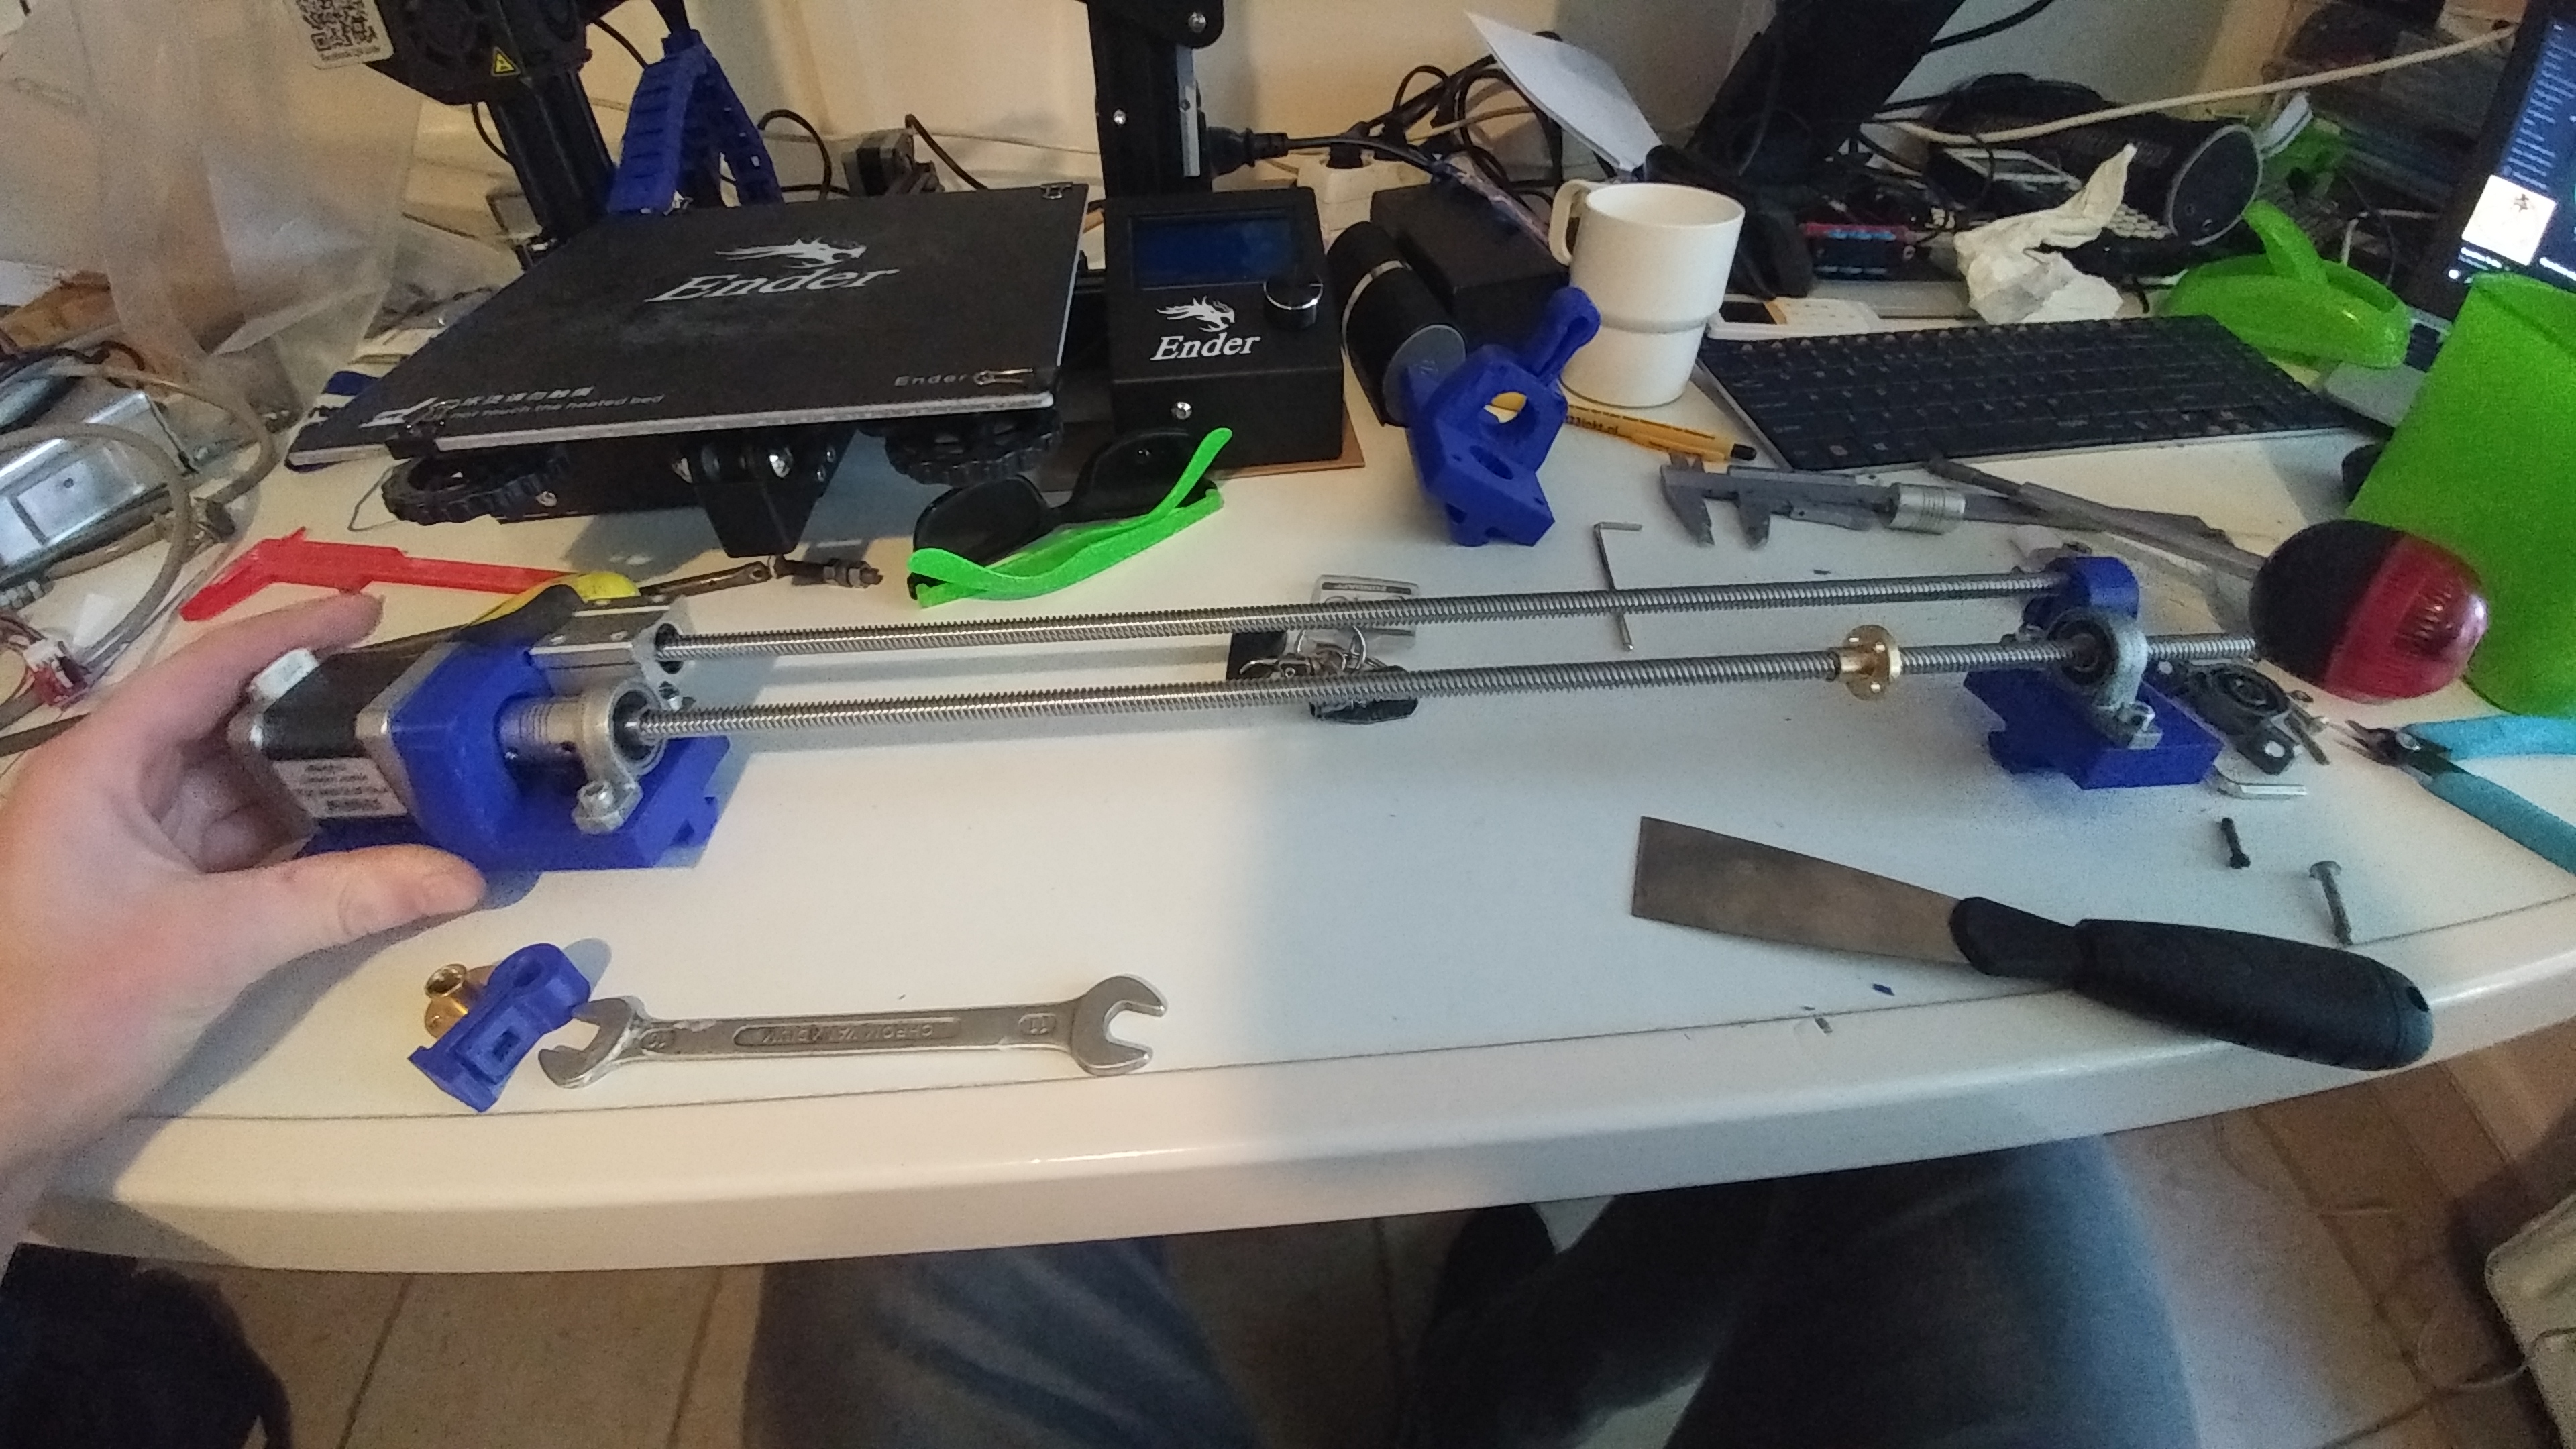
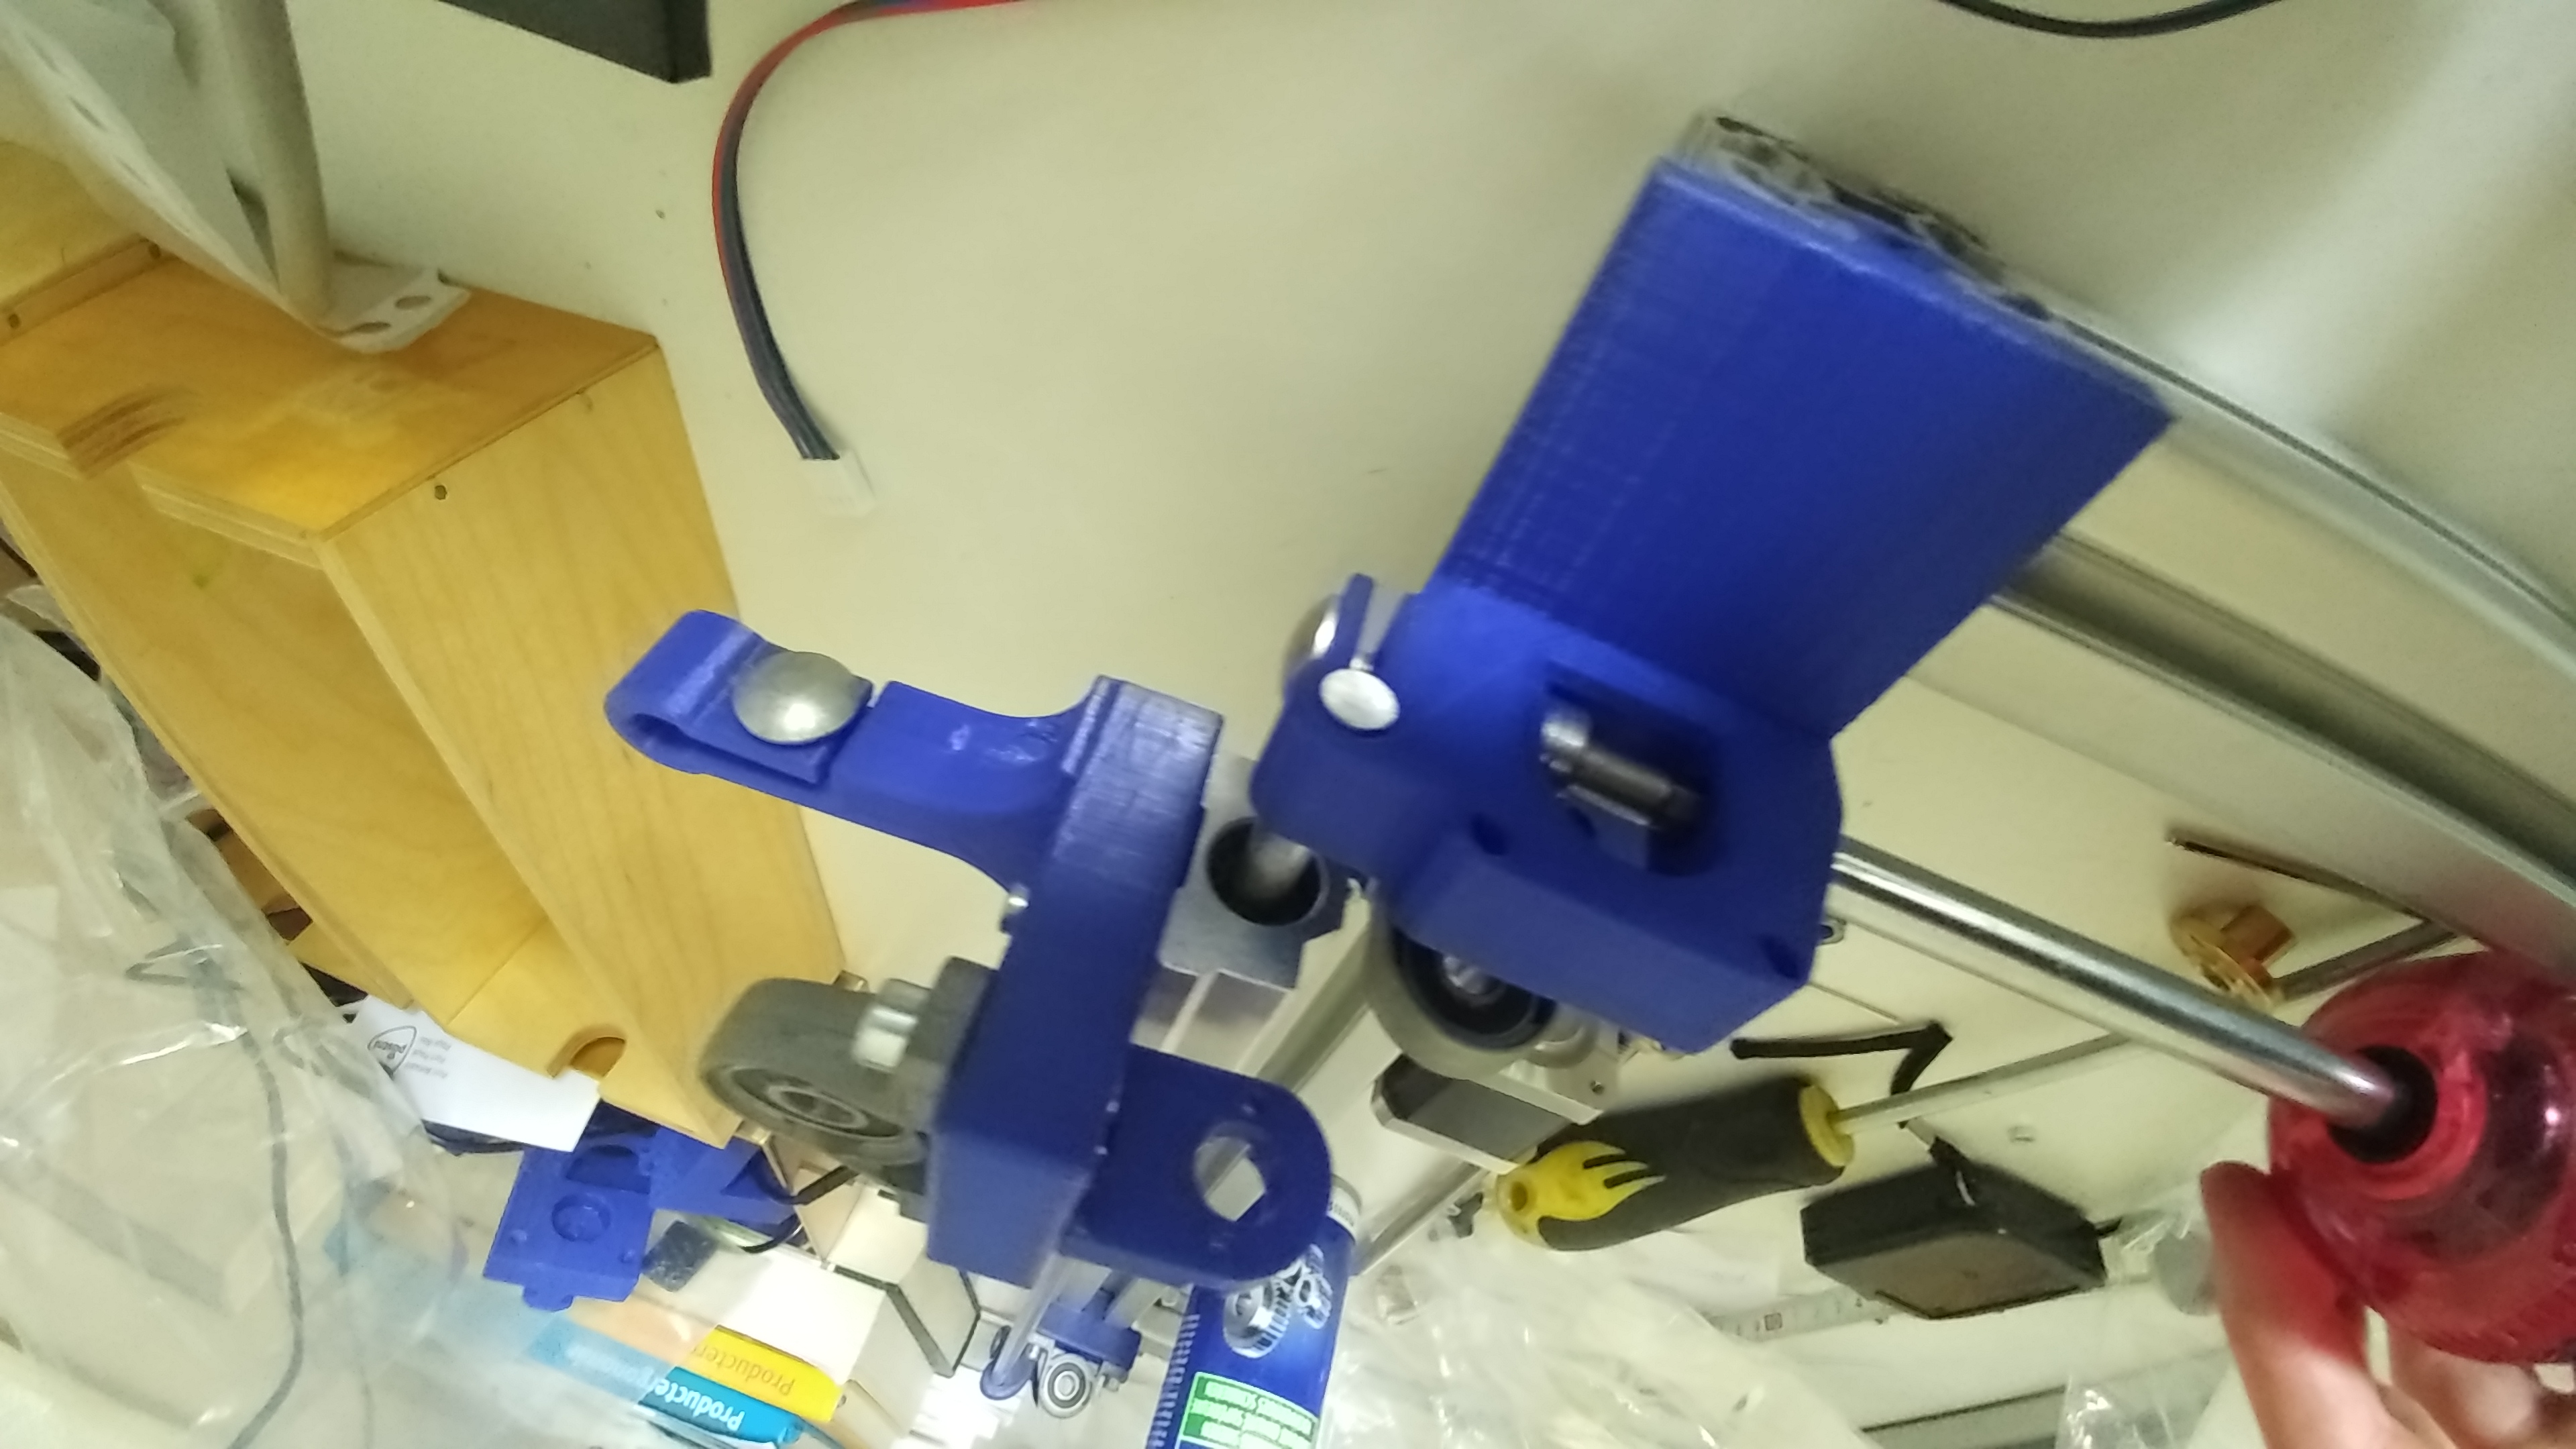
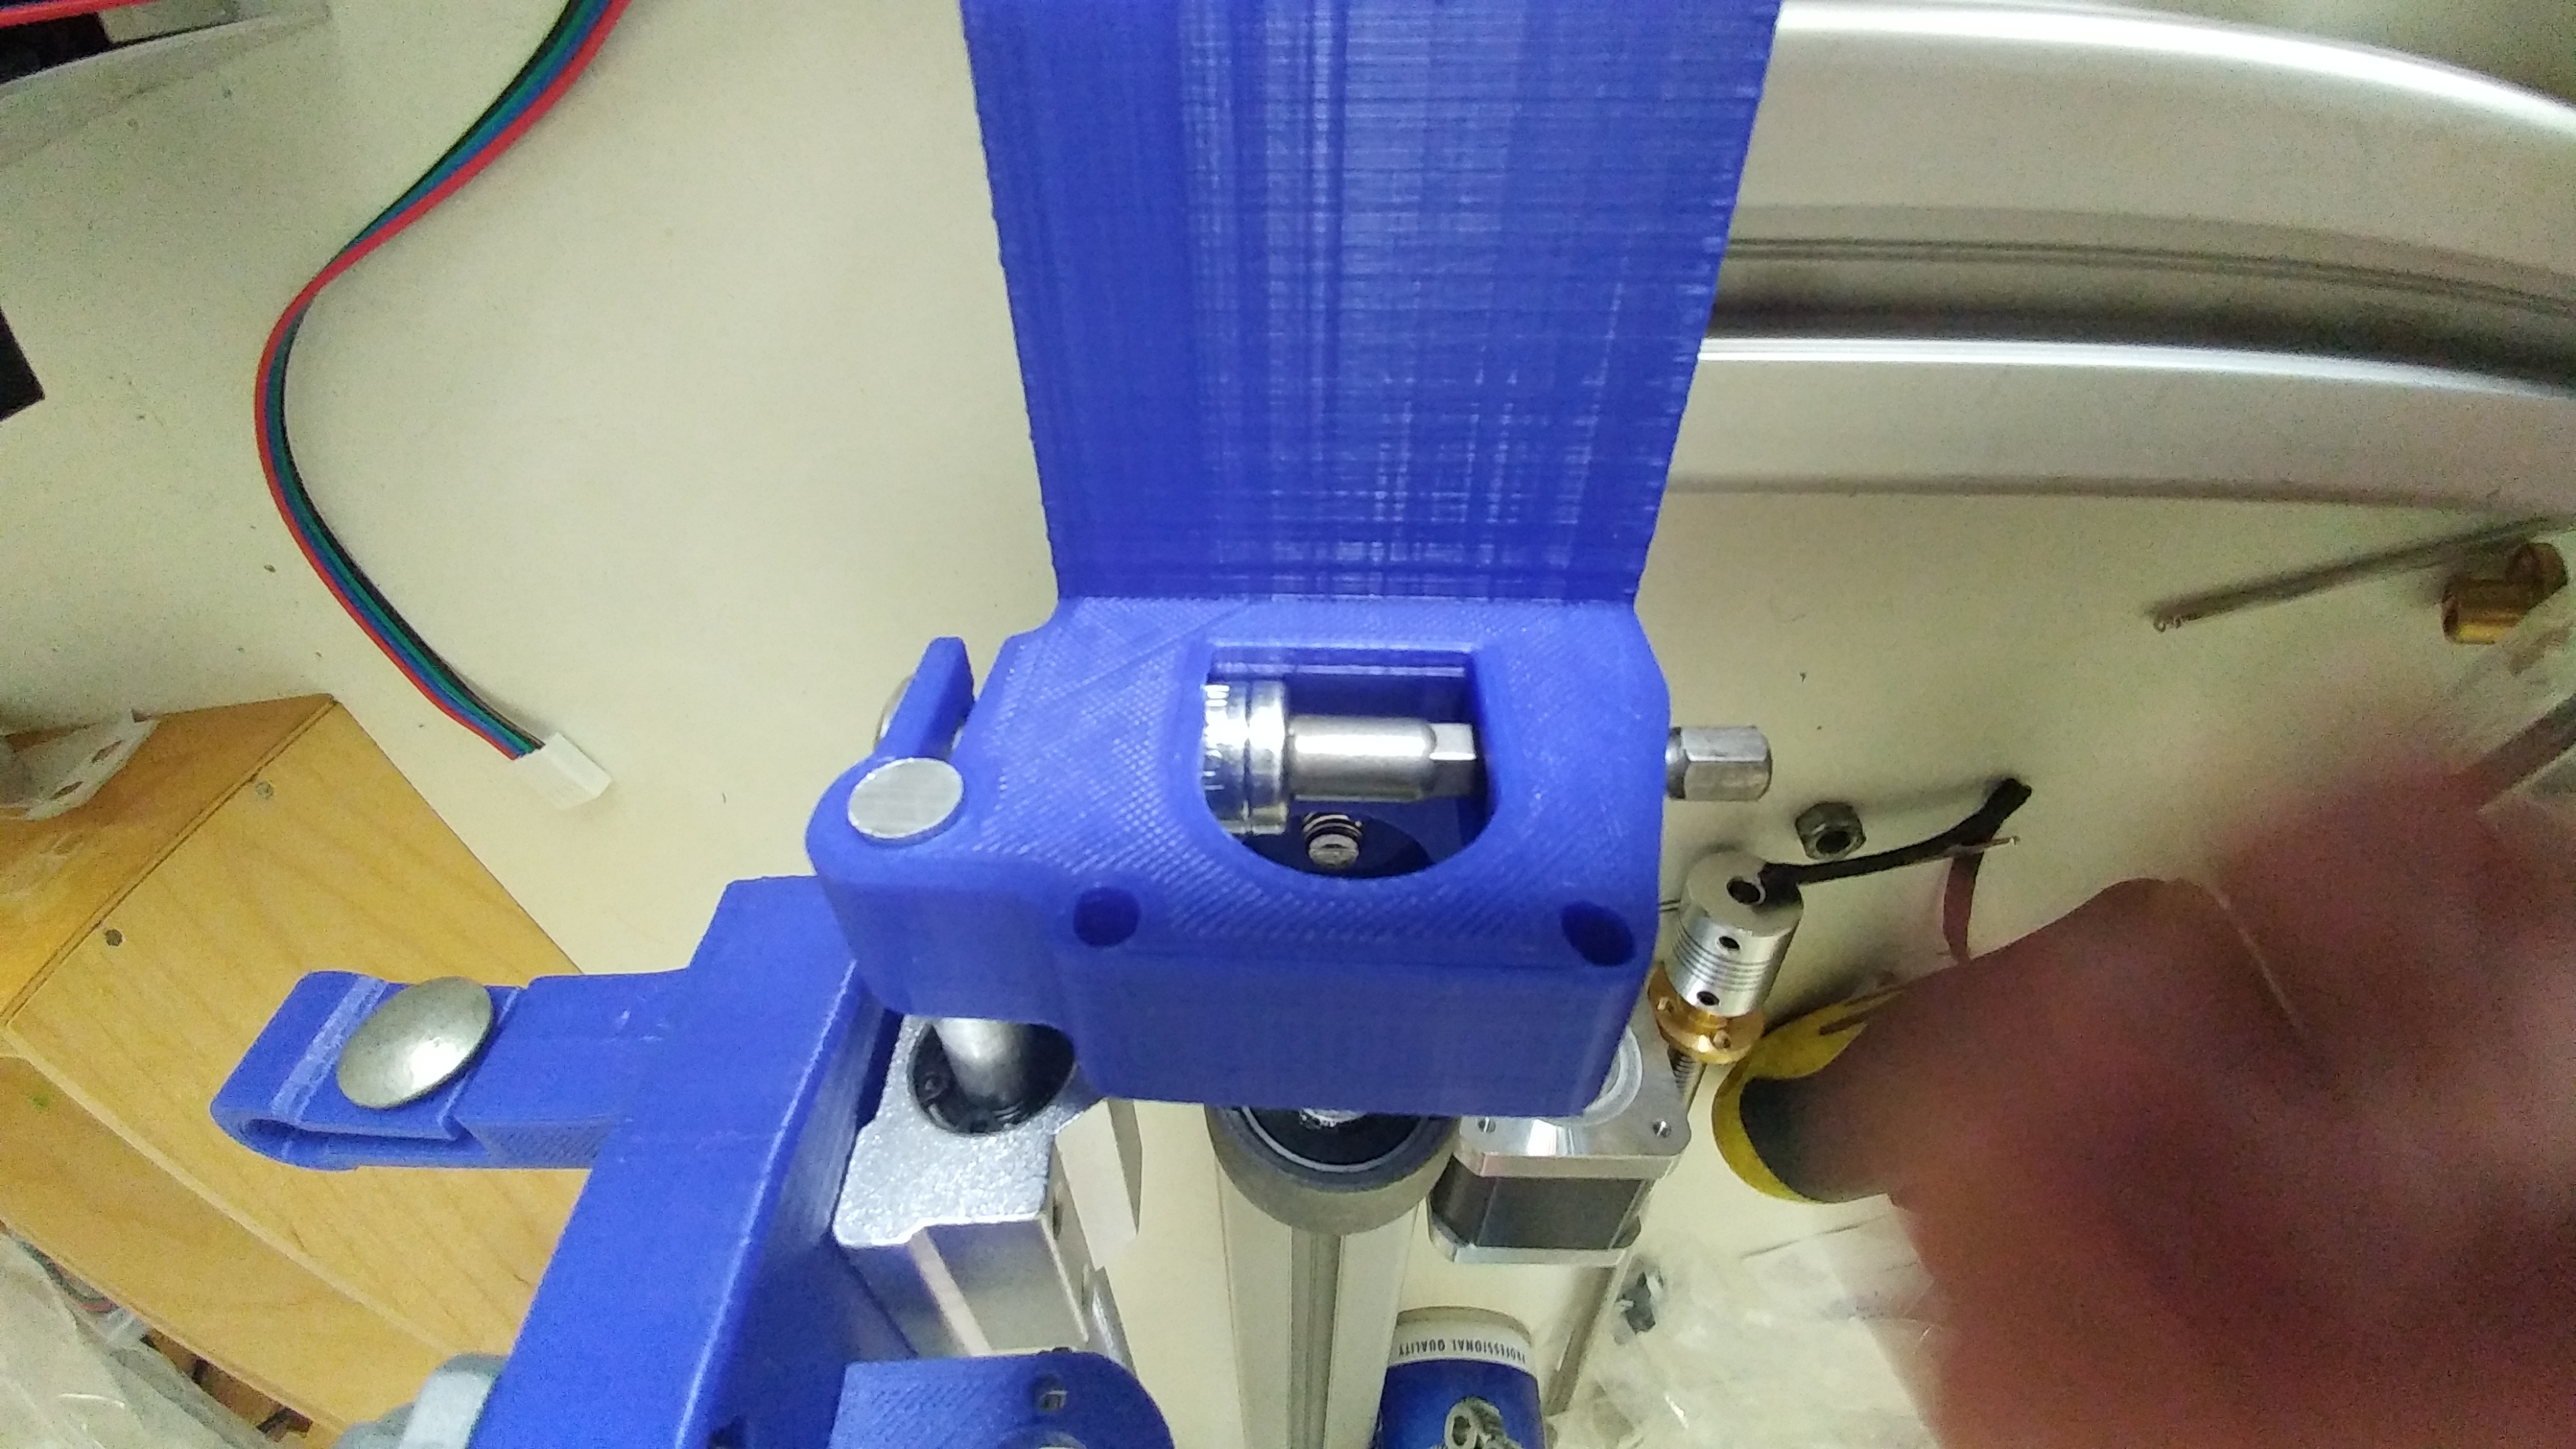
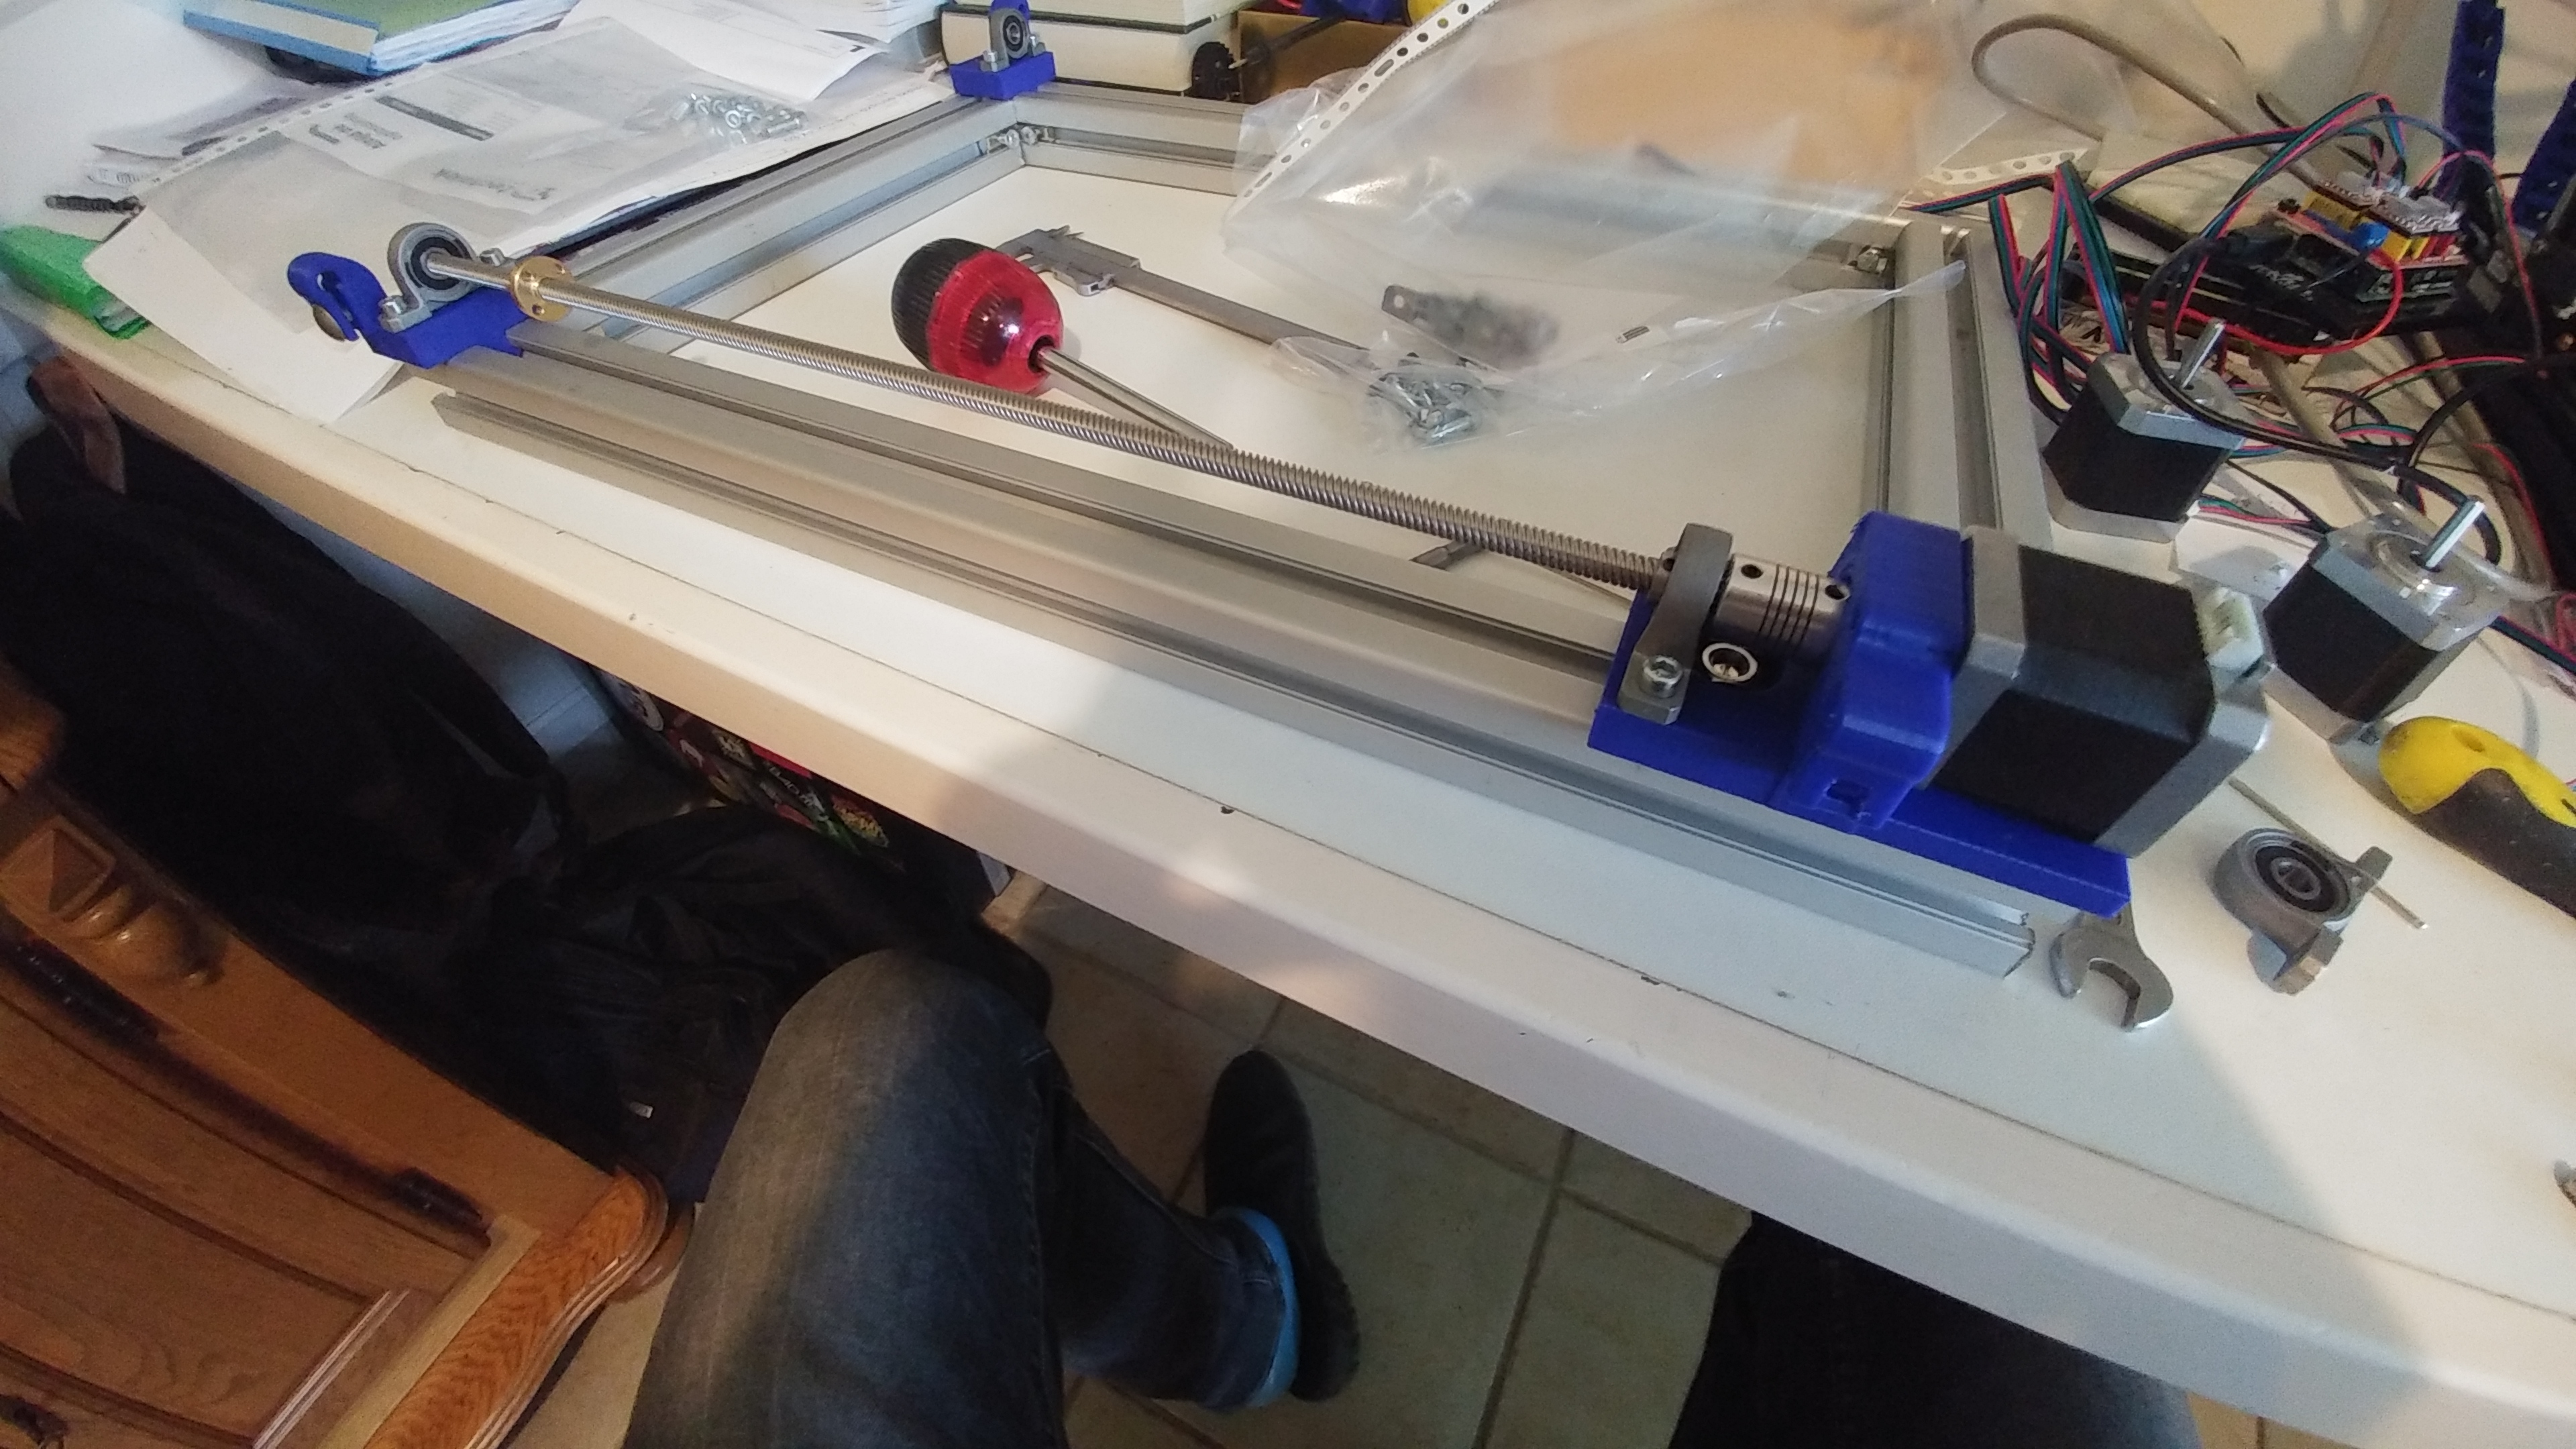
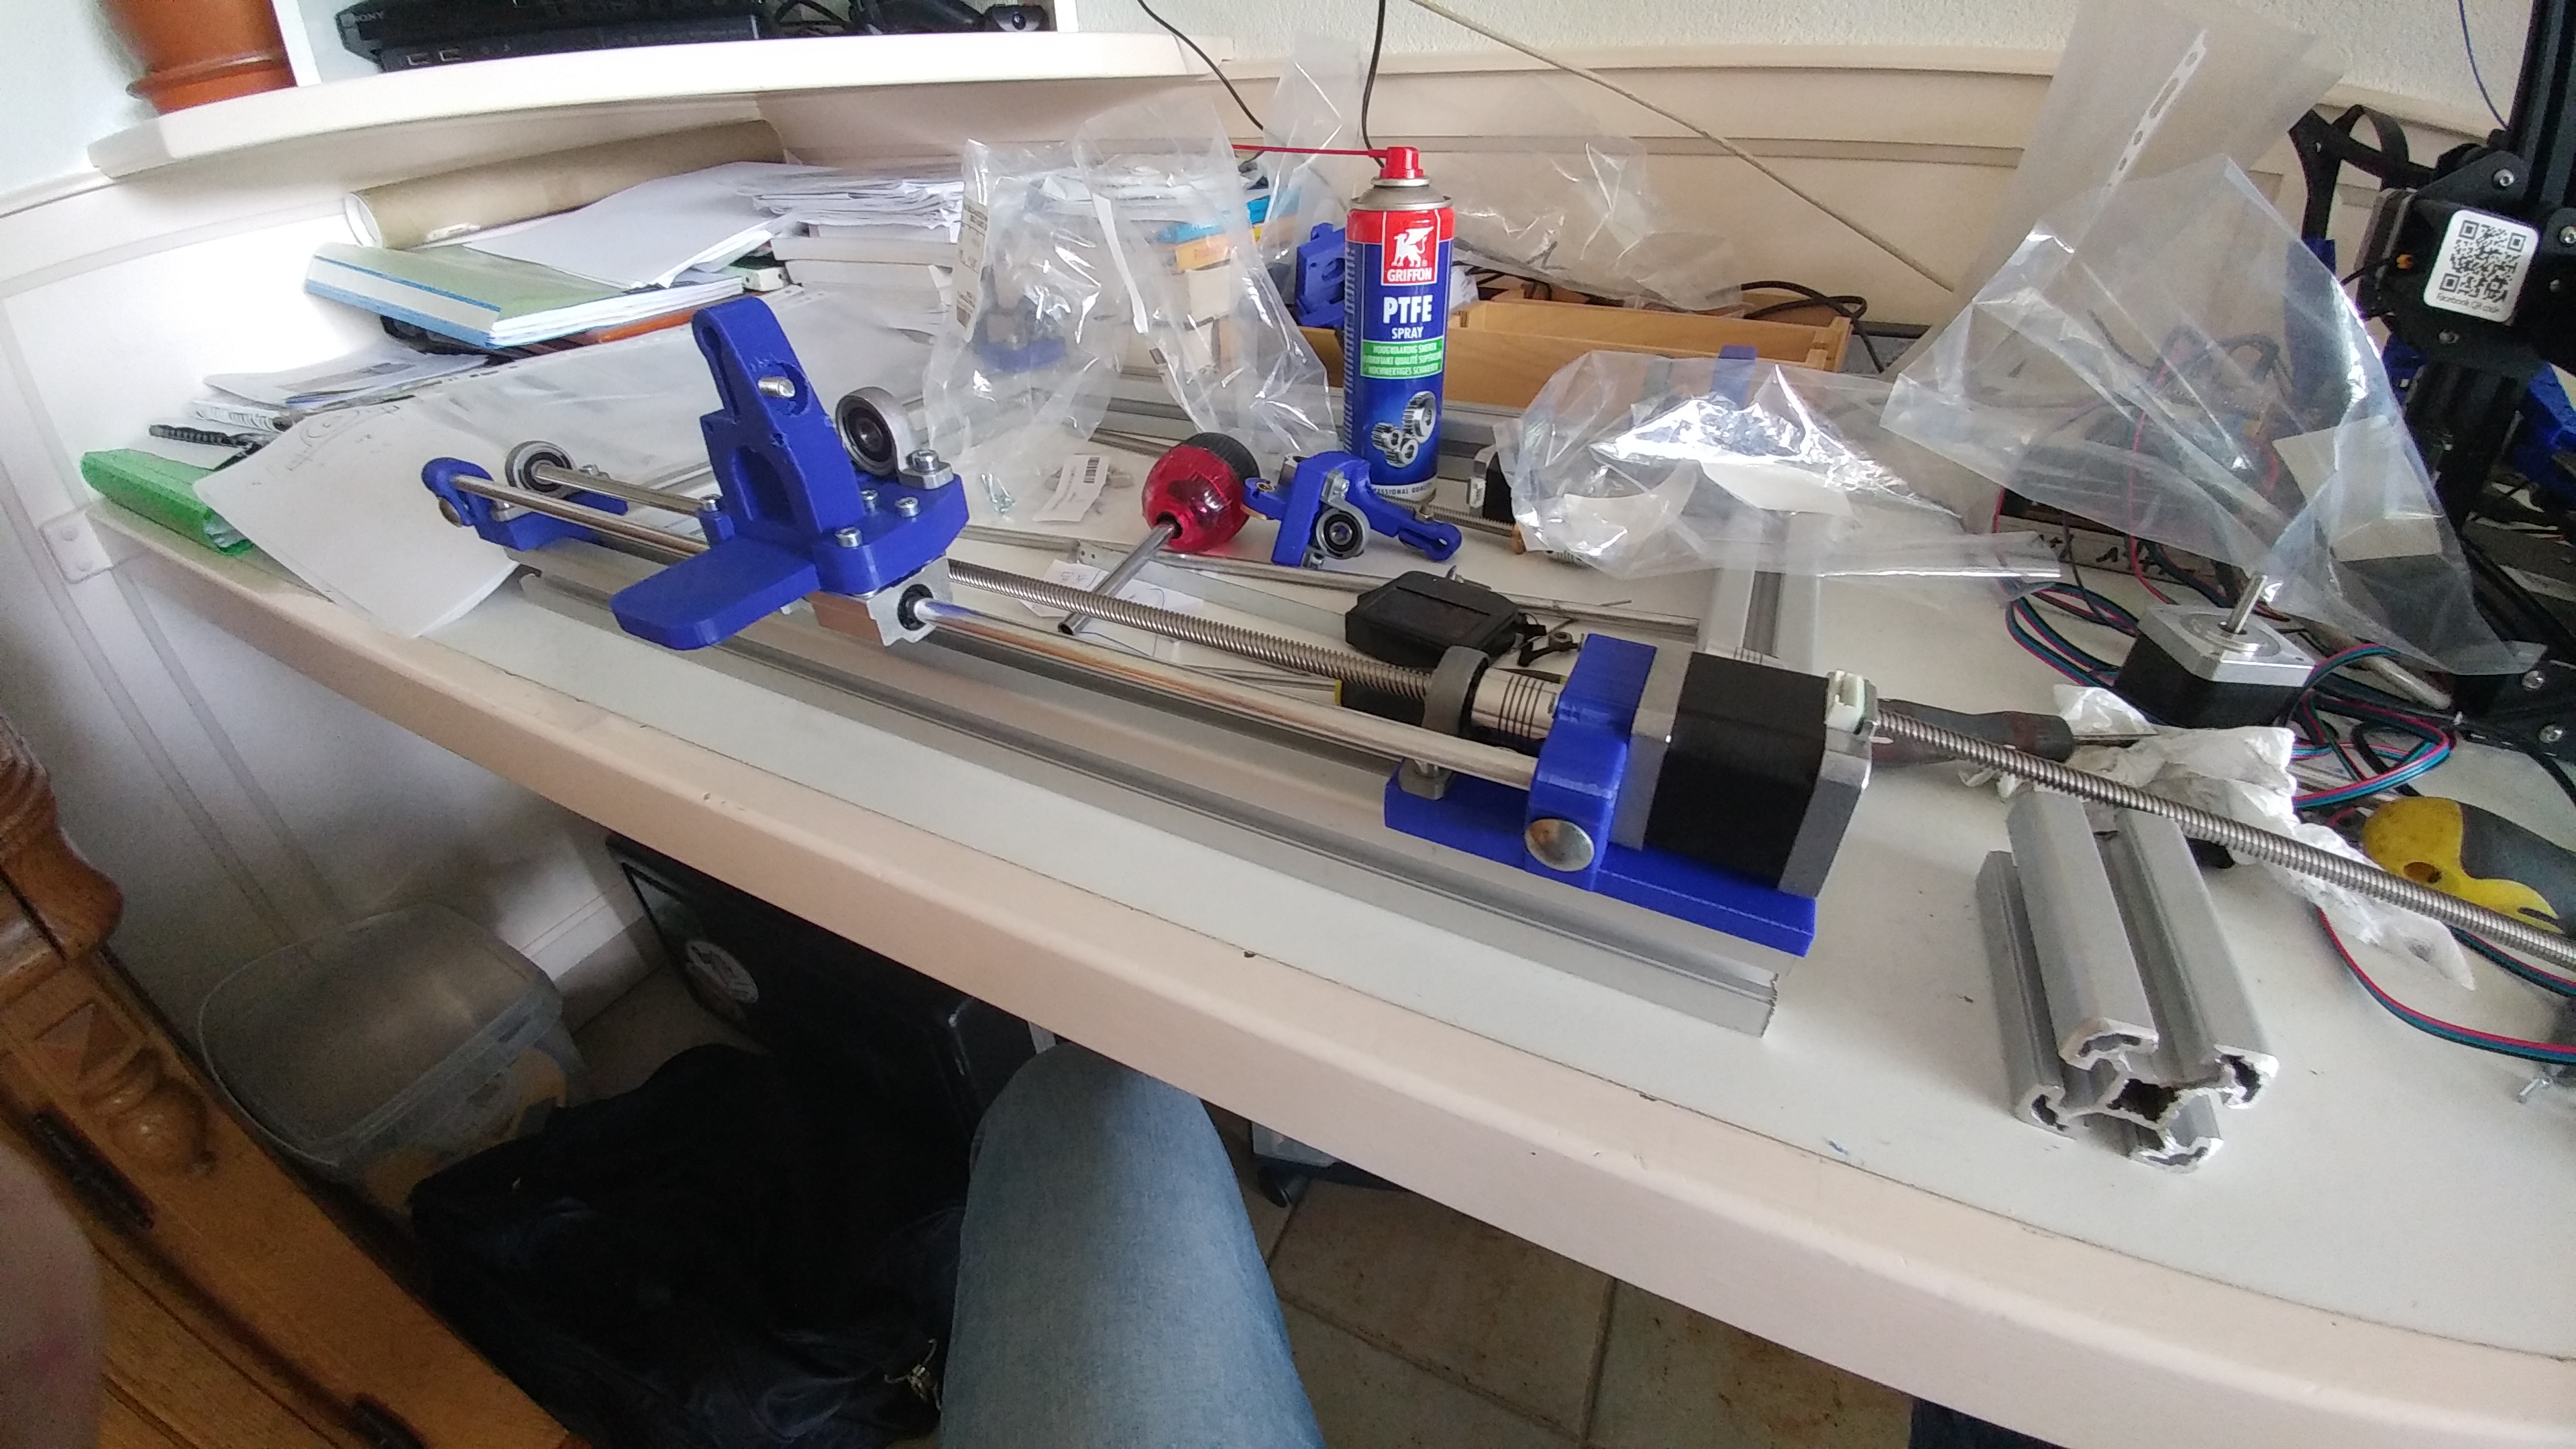
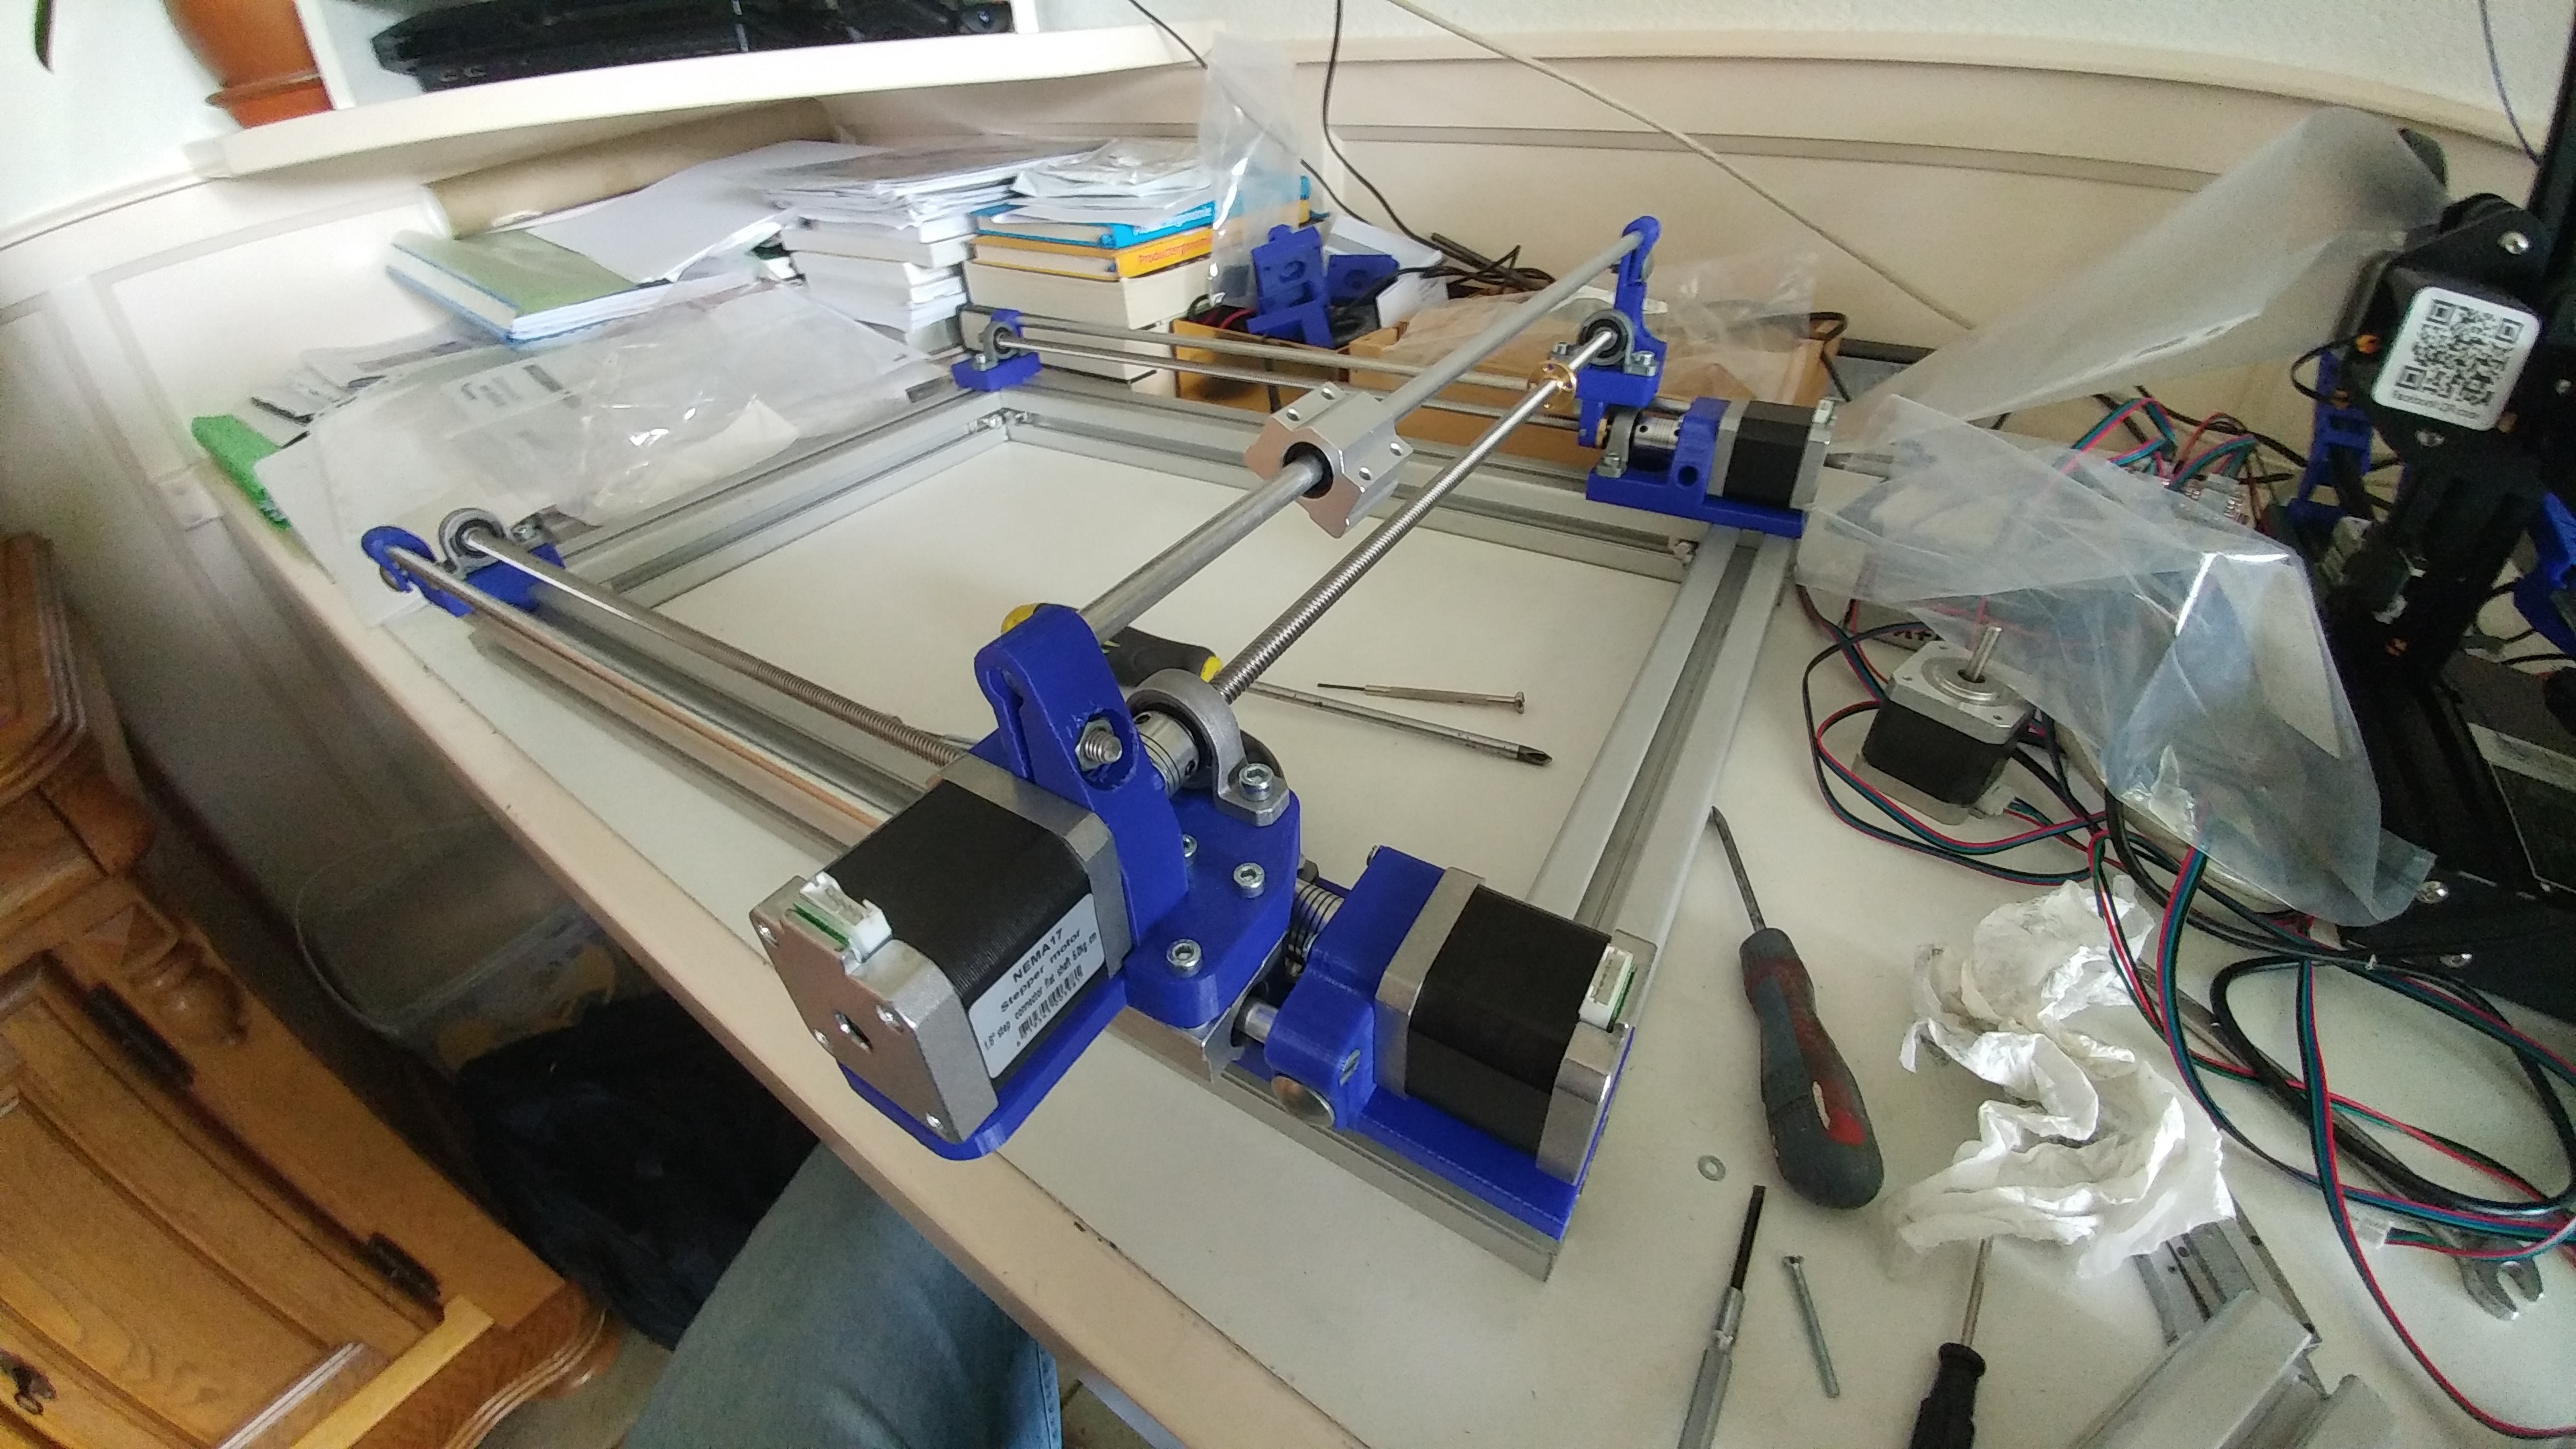
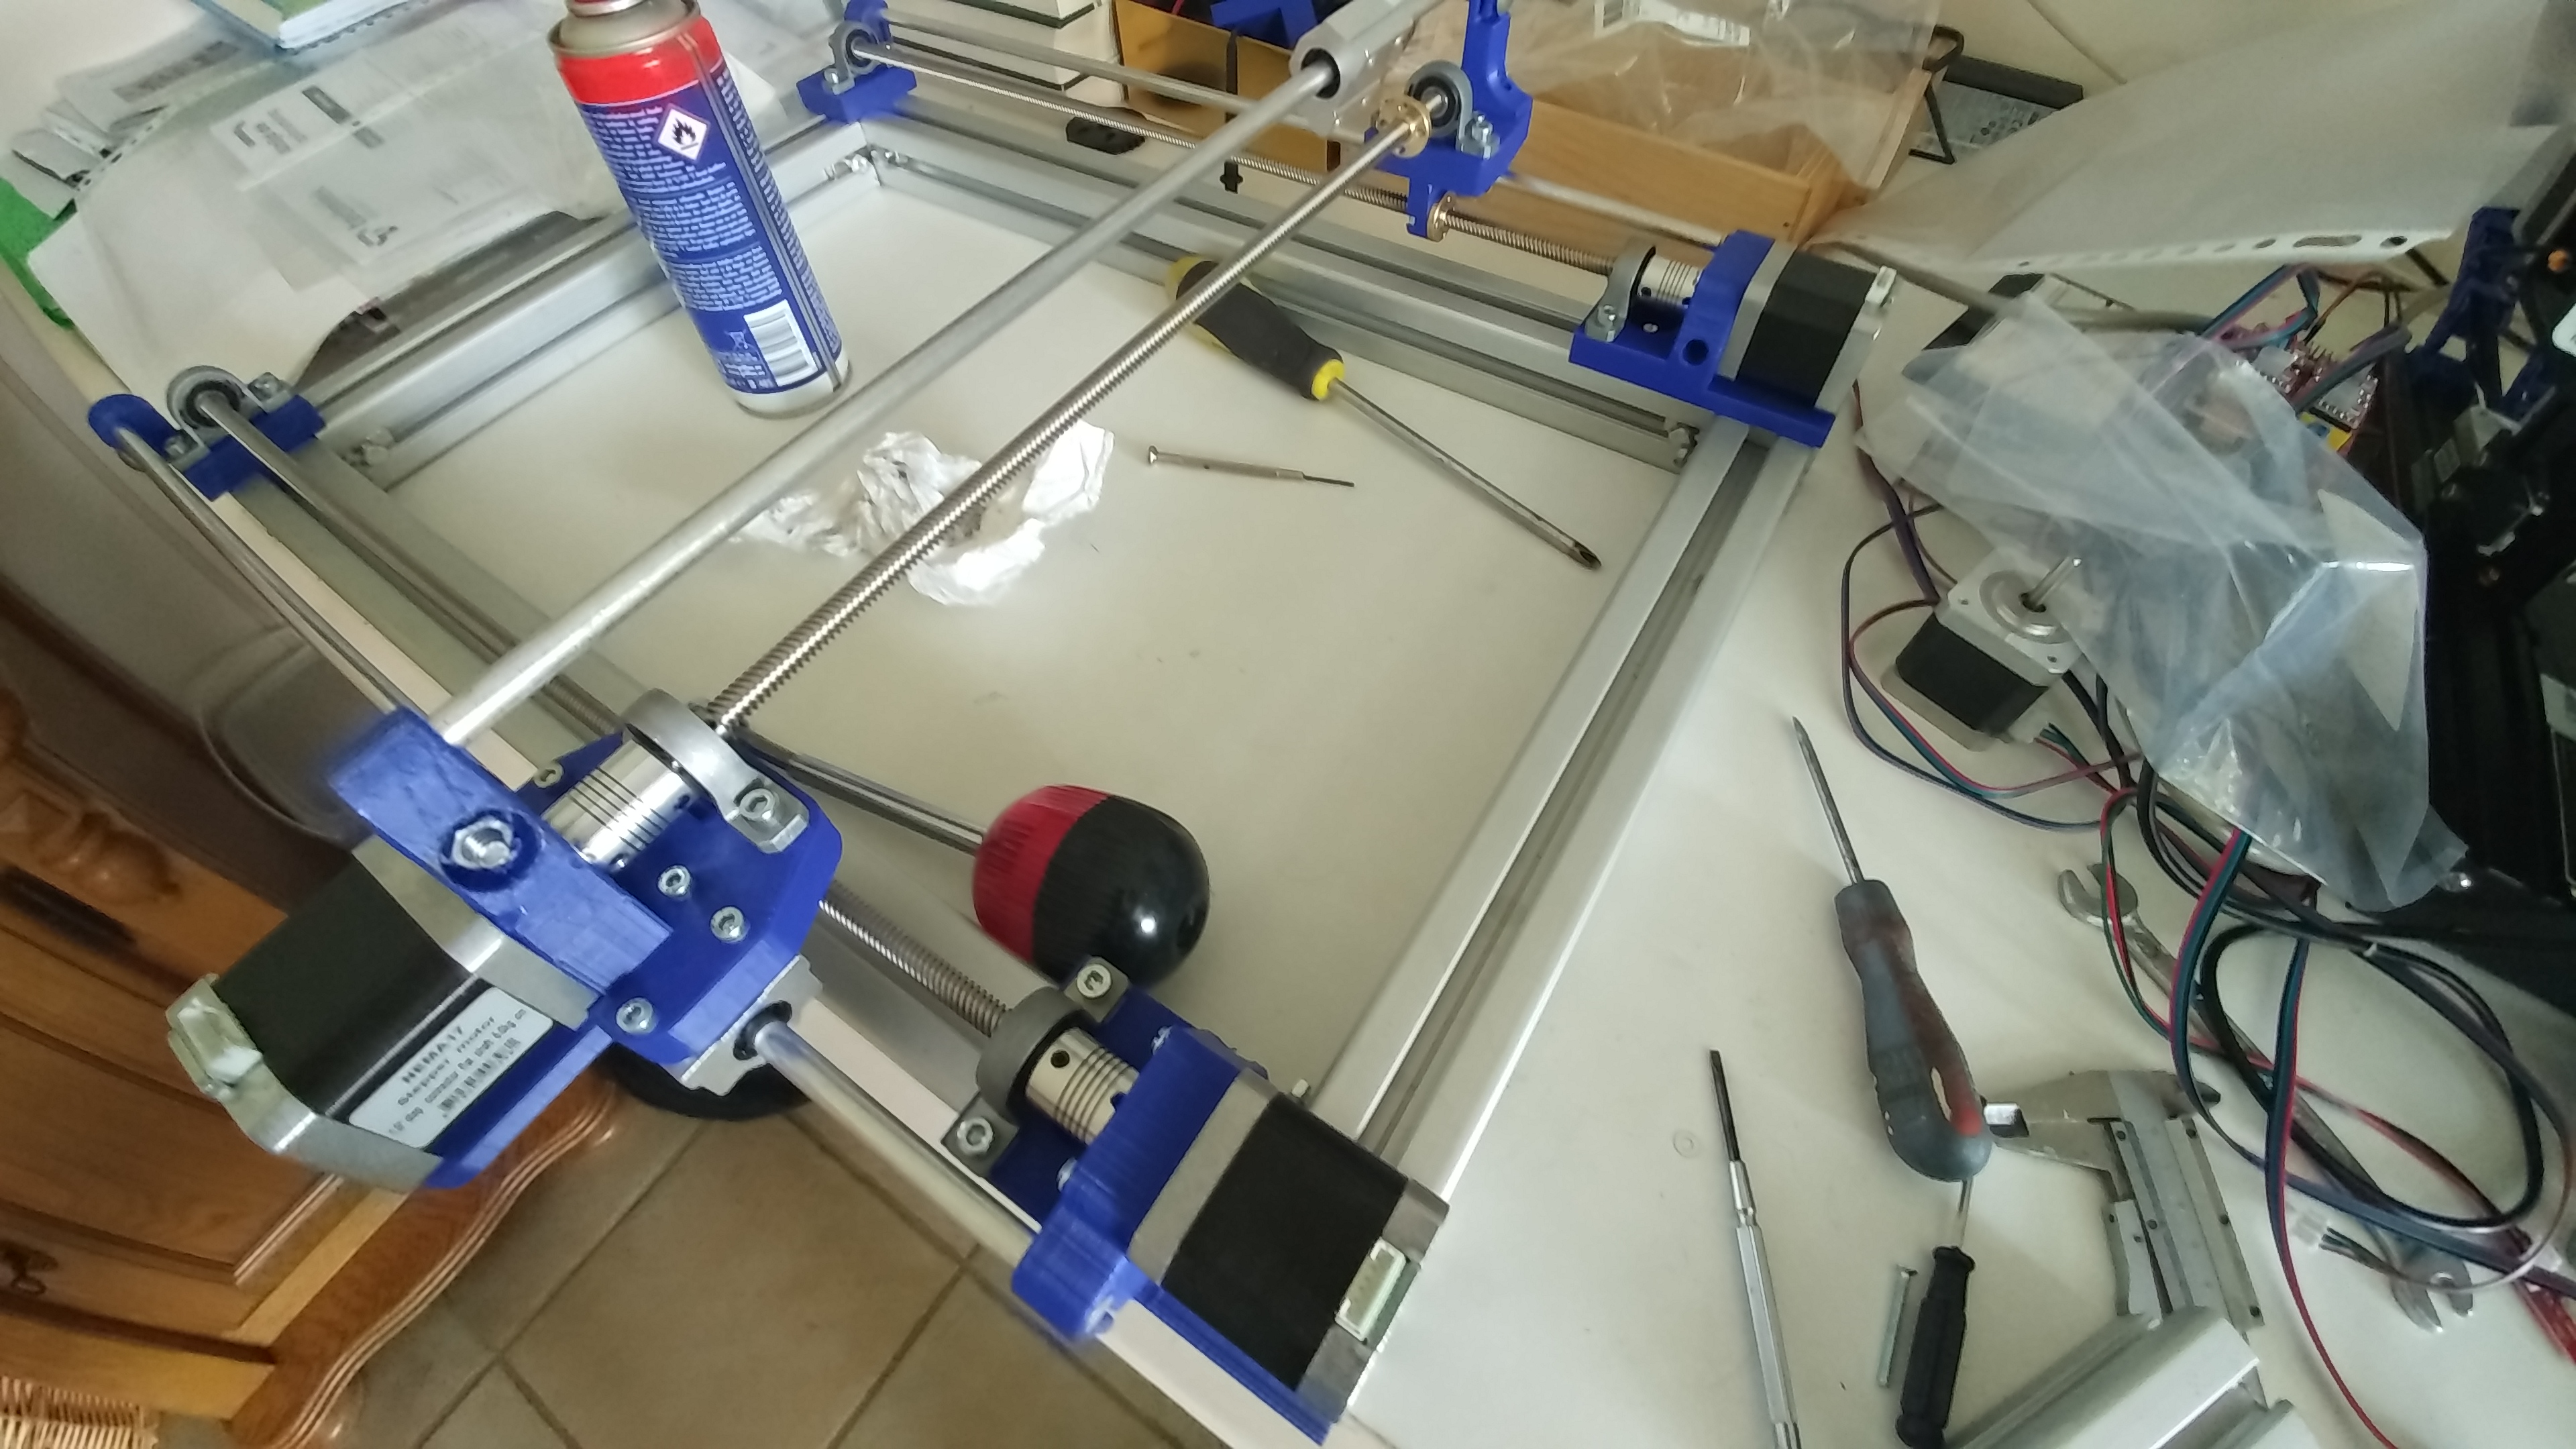
Put all the different pieces together to form one big masterpiece.
Connect!
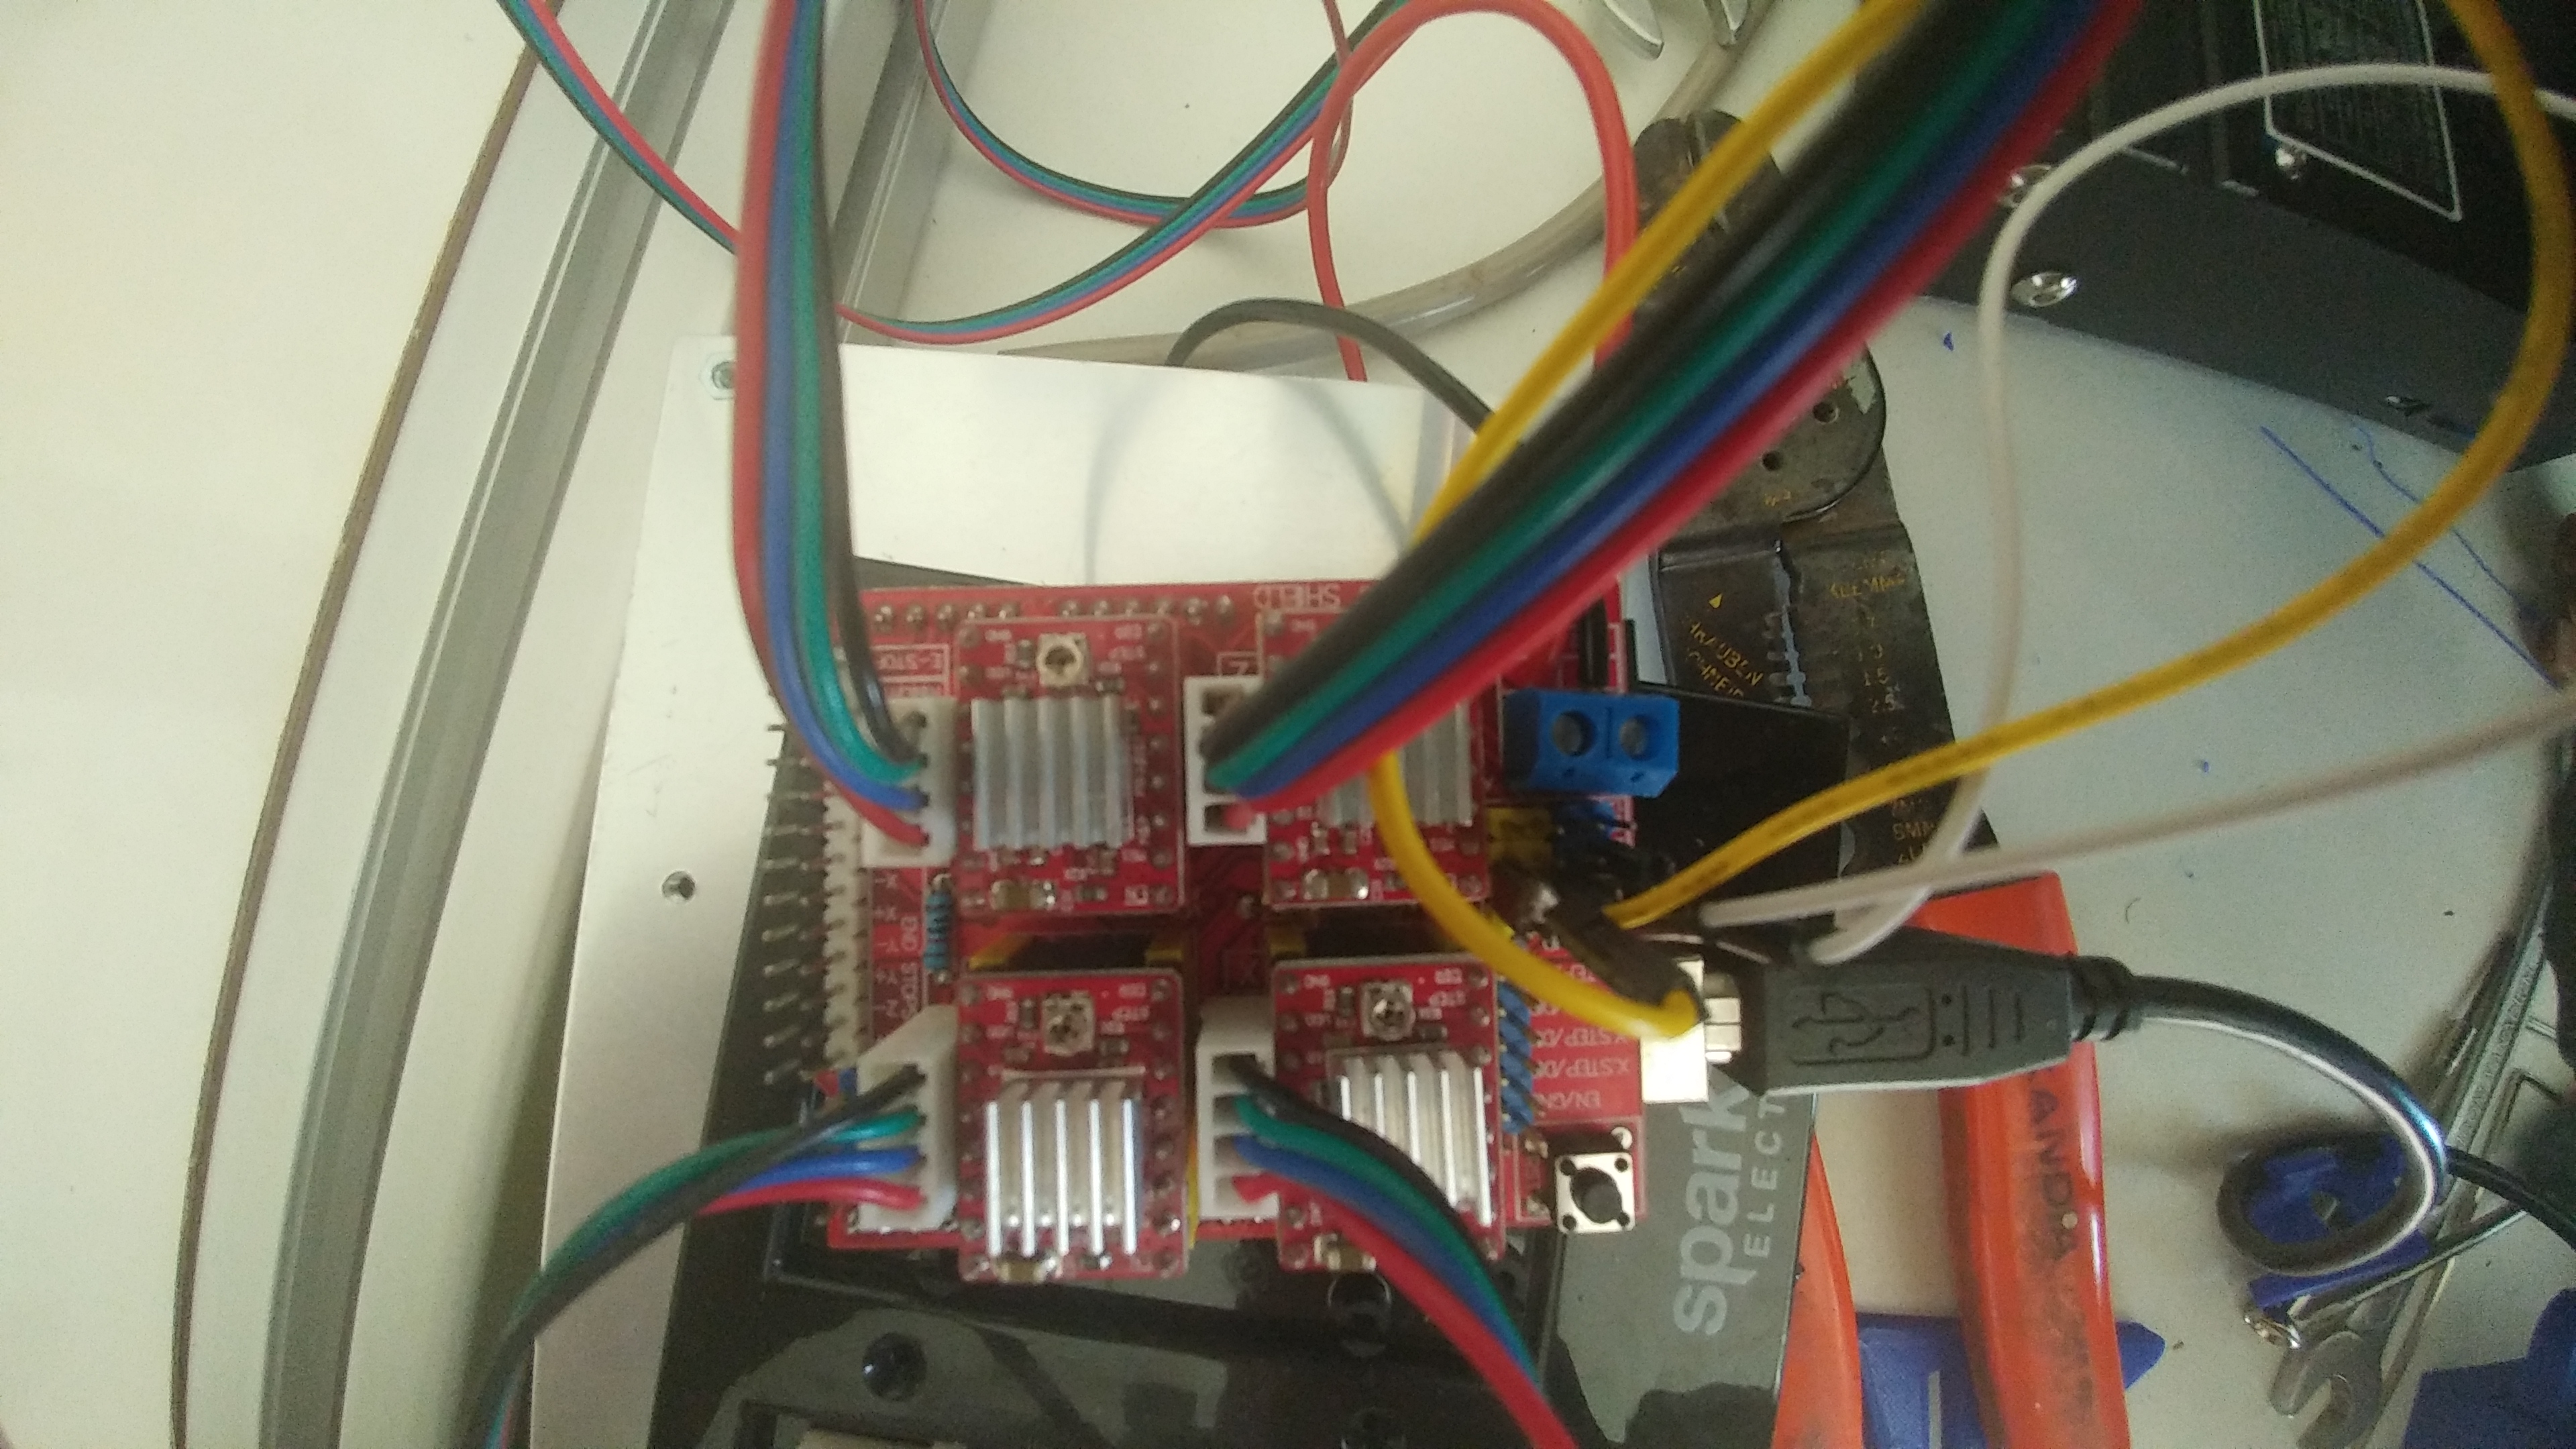
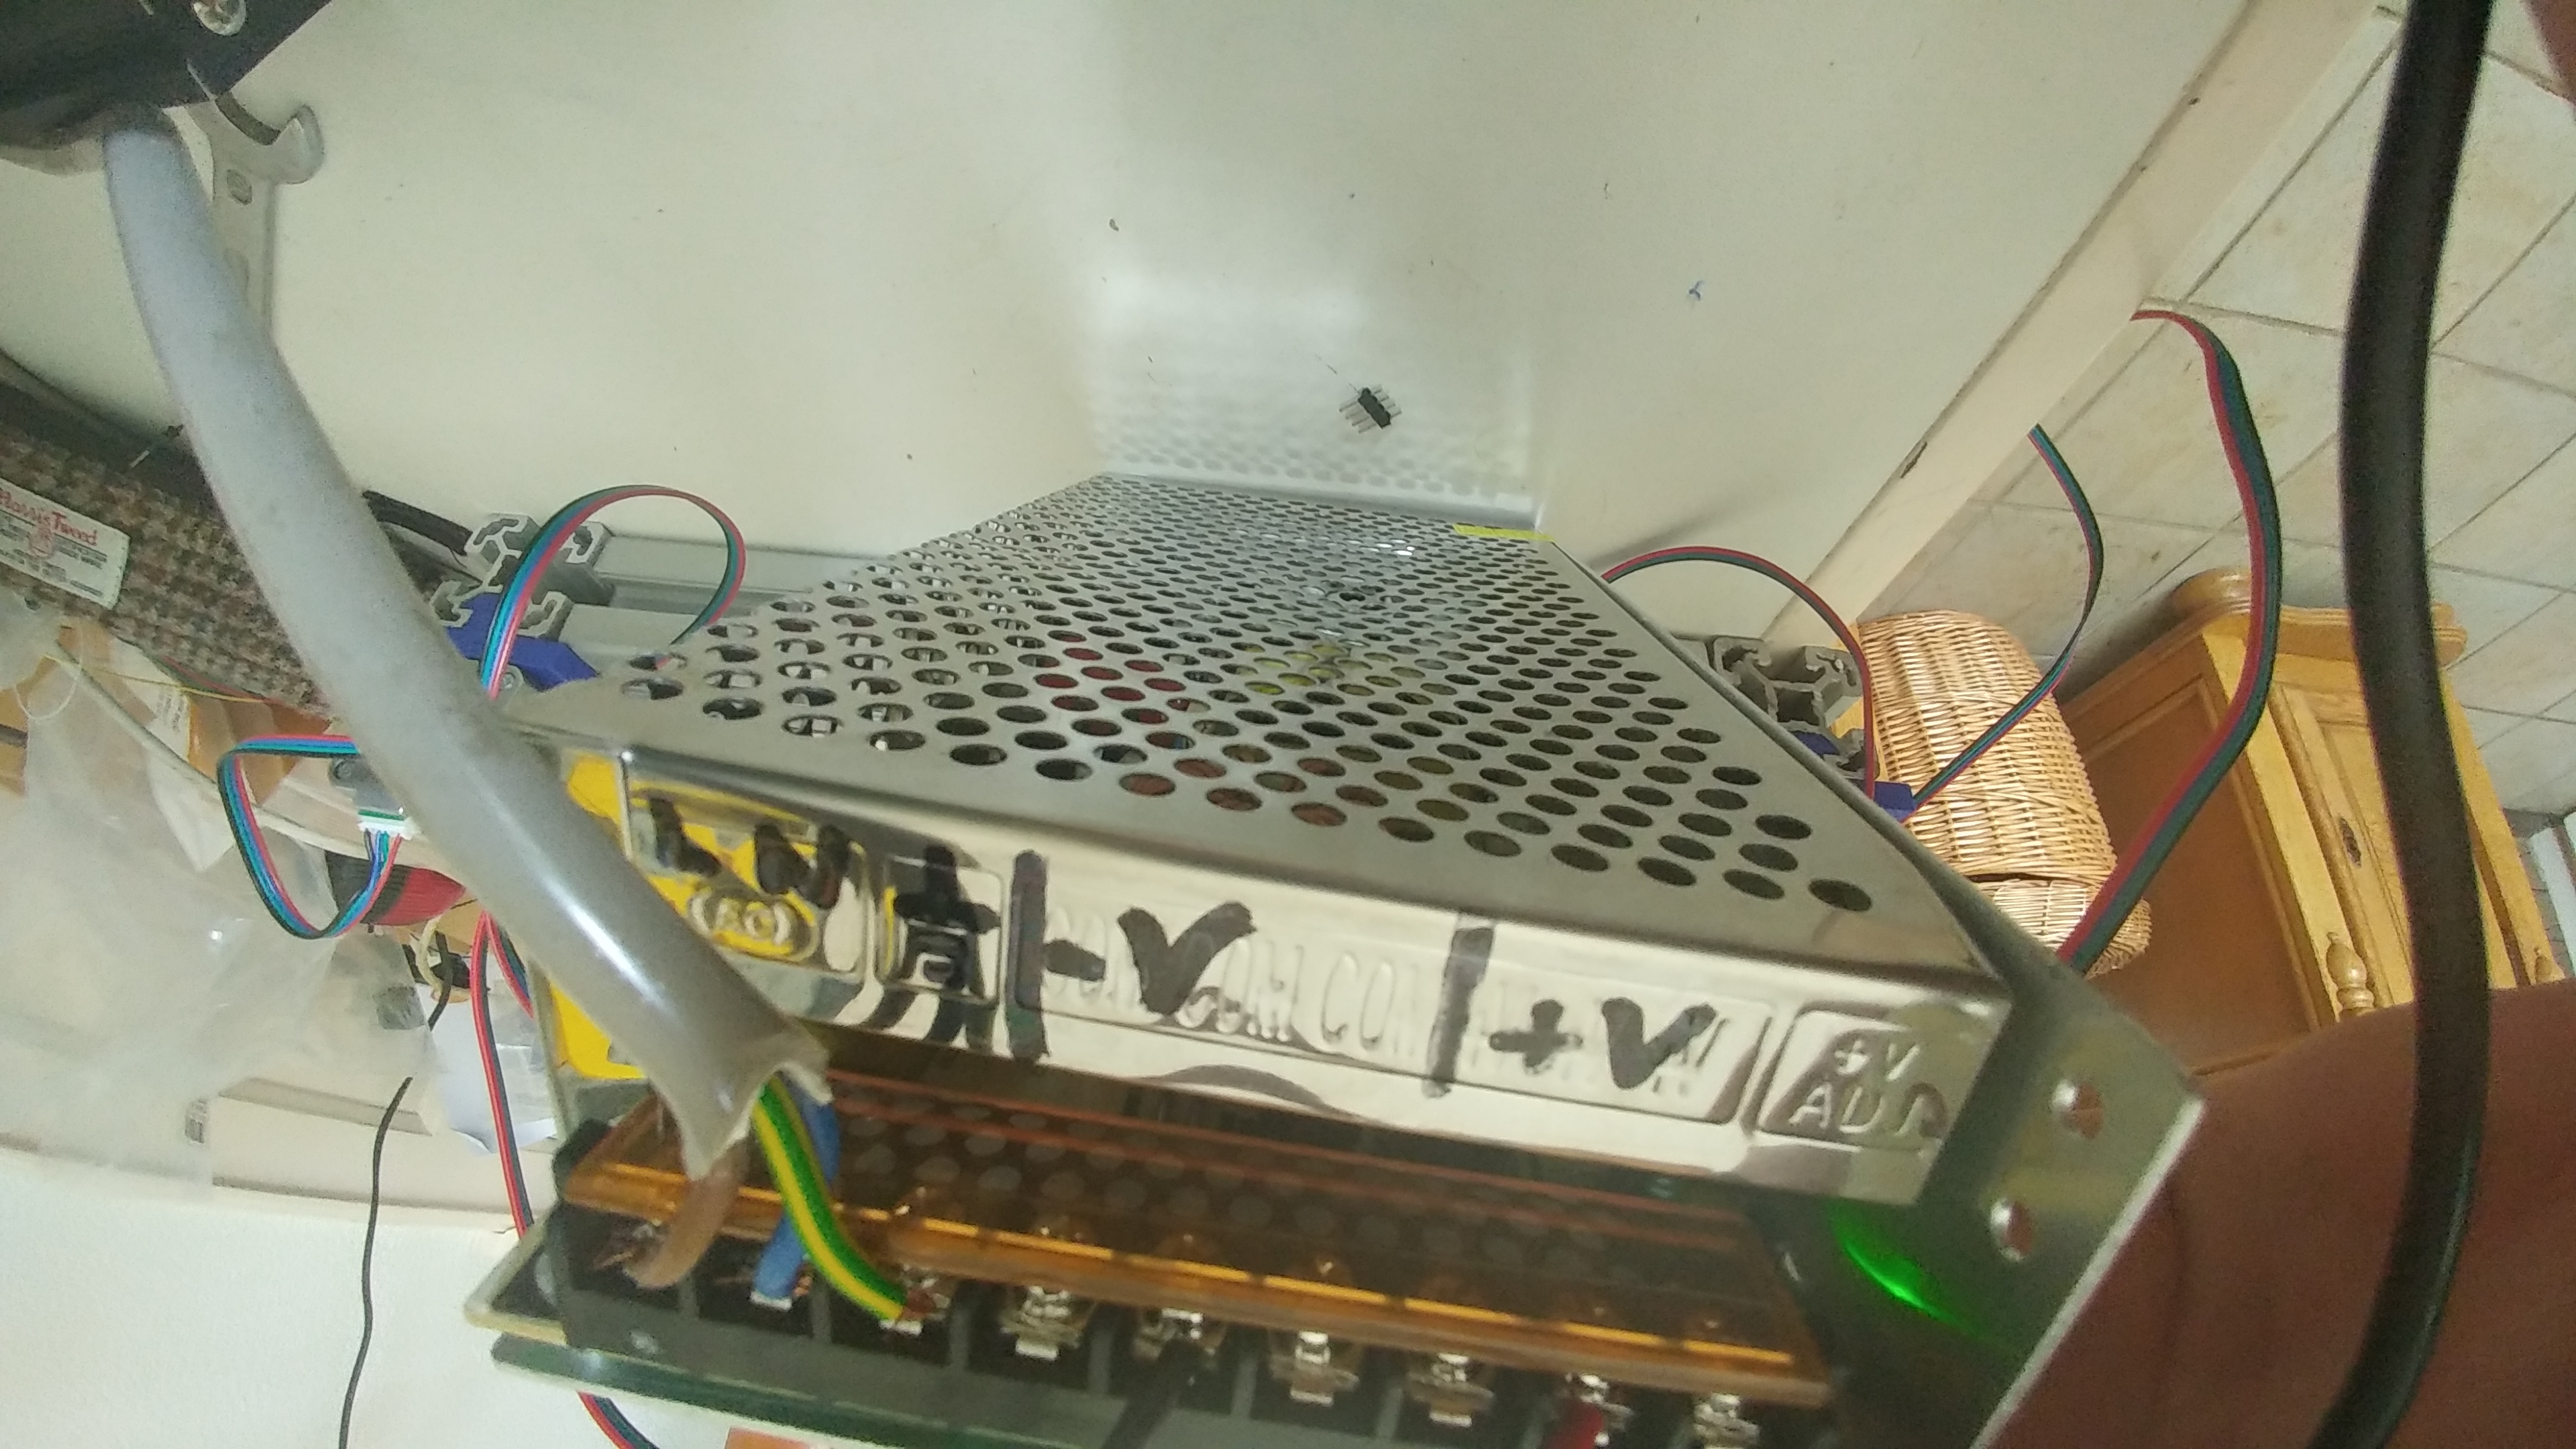
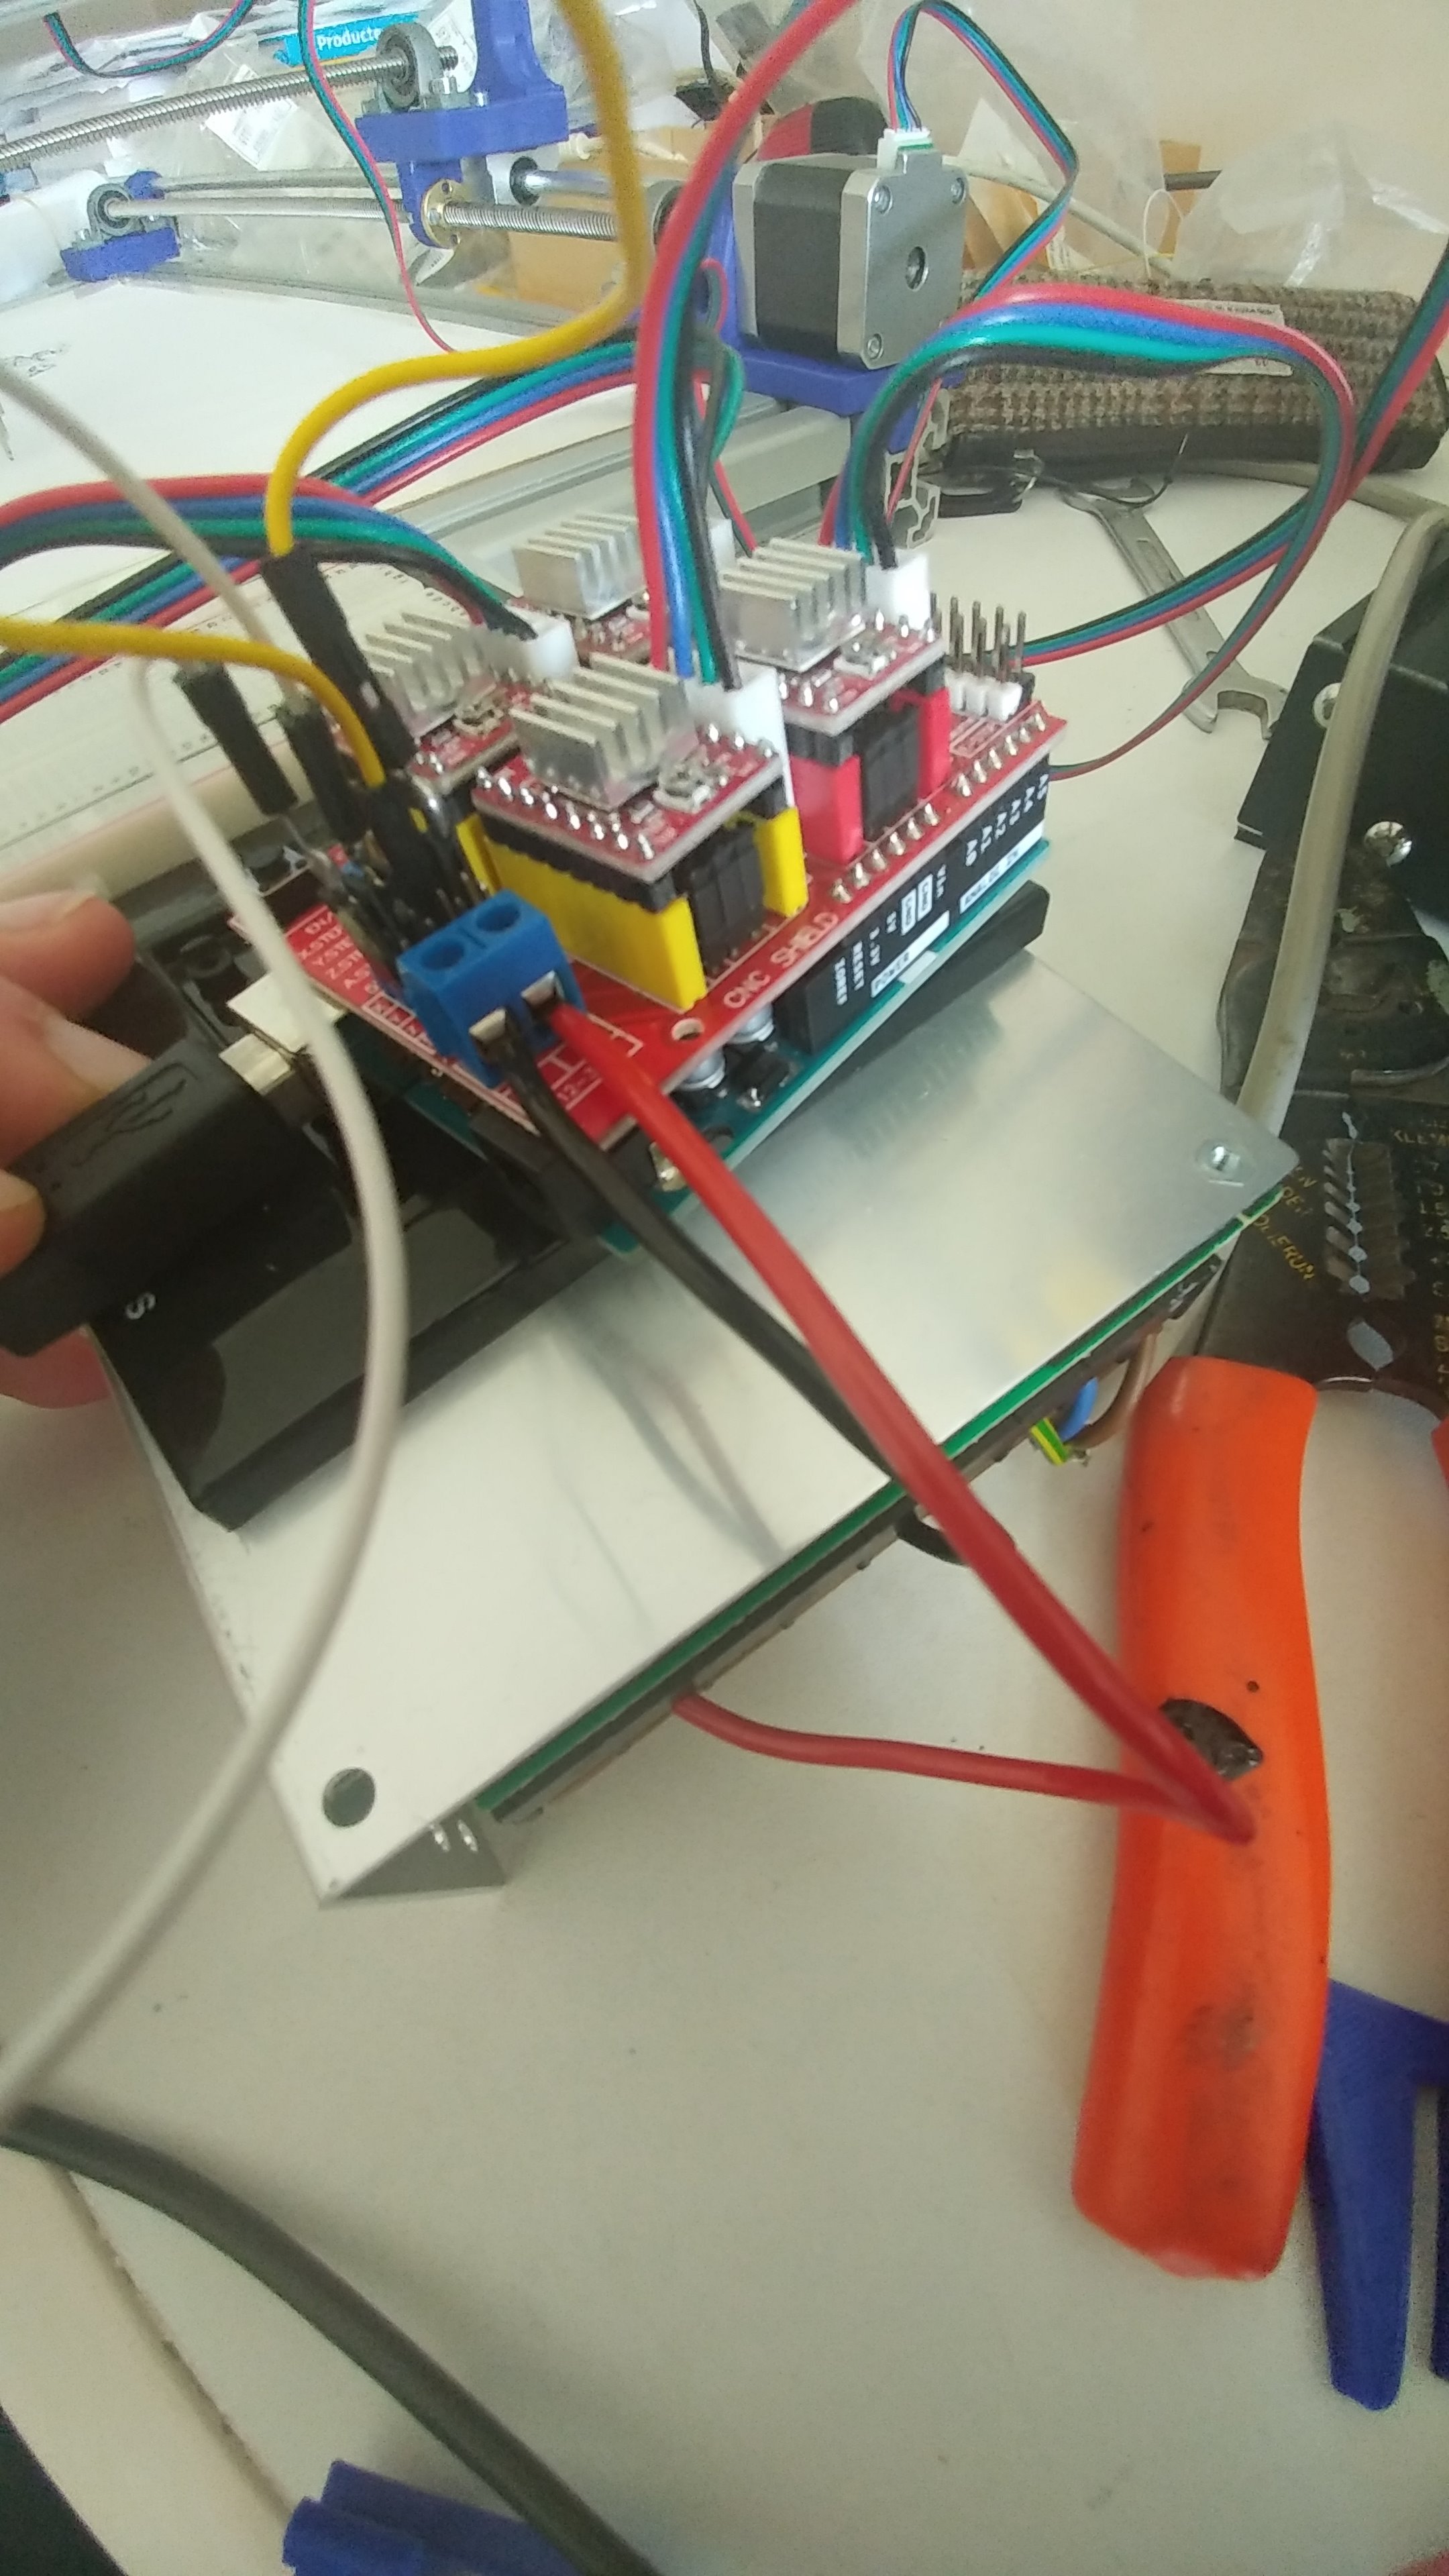
First set up the power supply. Be careful and don't electrocute yourself.
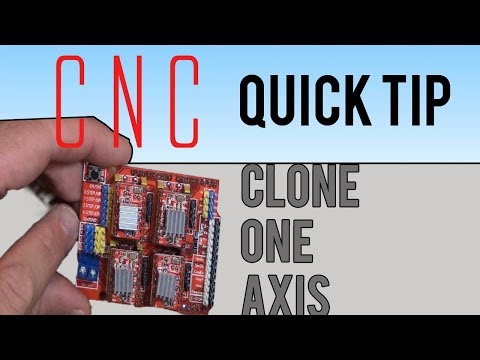
Connect the wires to the Arduino shield and the stepper motors. You also need to clone the Y-axis by connecting the pins on the shield, this can be seen in the video above.
Software-time

I used GRBL-software to control the machine. This software needs to be uploaded onto the arduino library. You have to upload the library to the Arduino libary. This shouldn't be that hard, the YouTube video will provide additional information.
Test
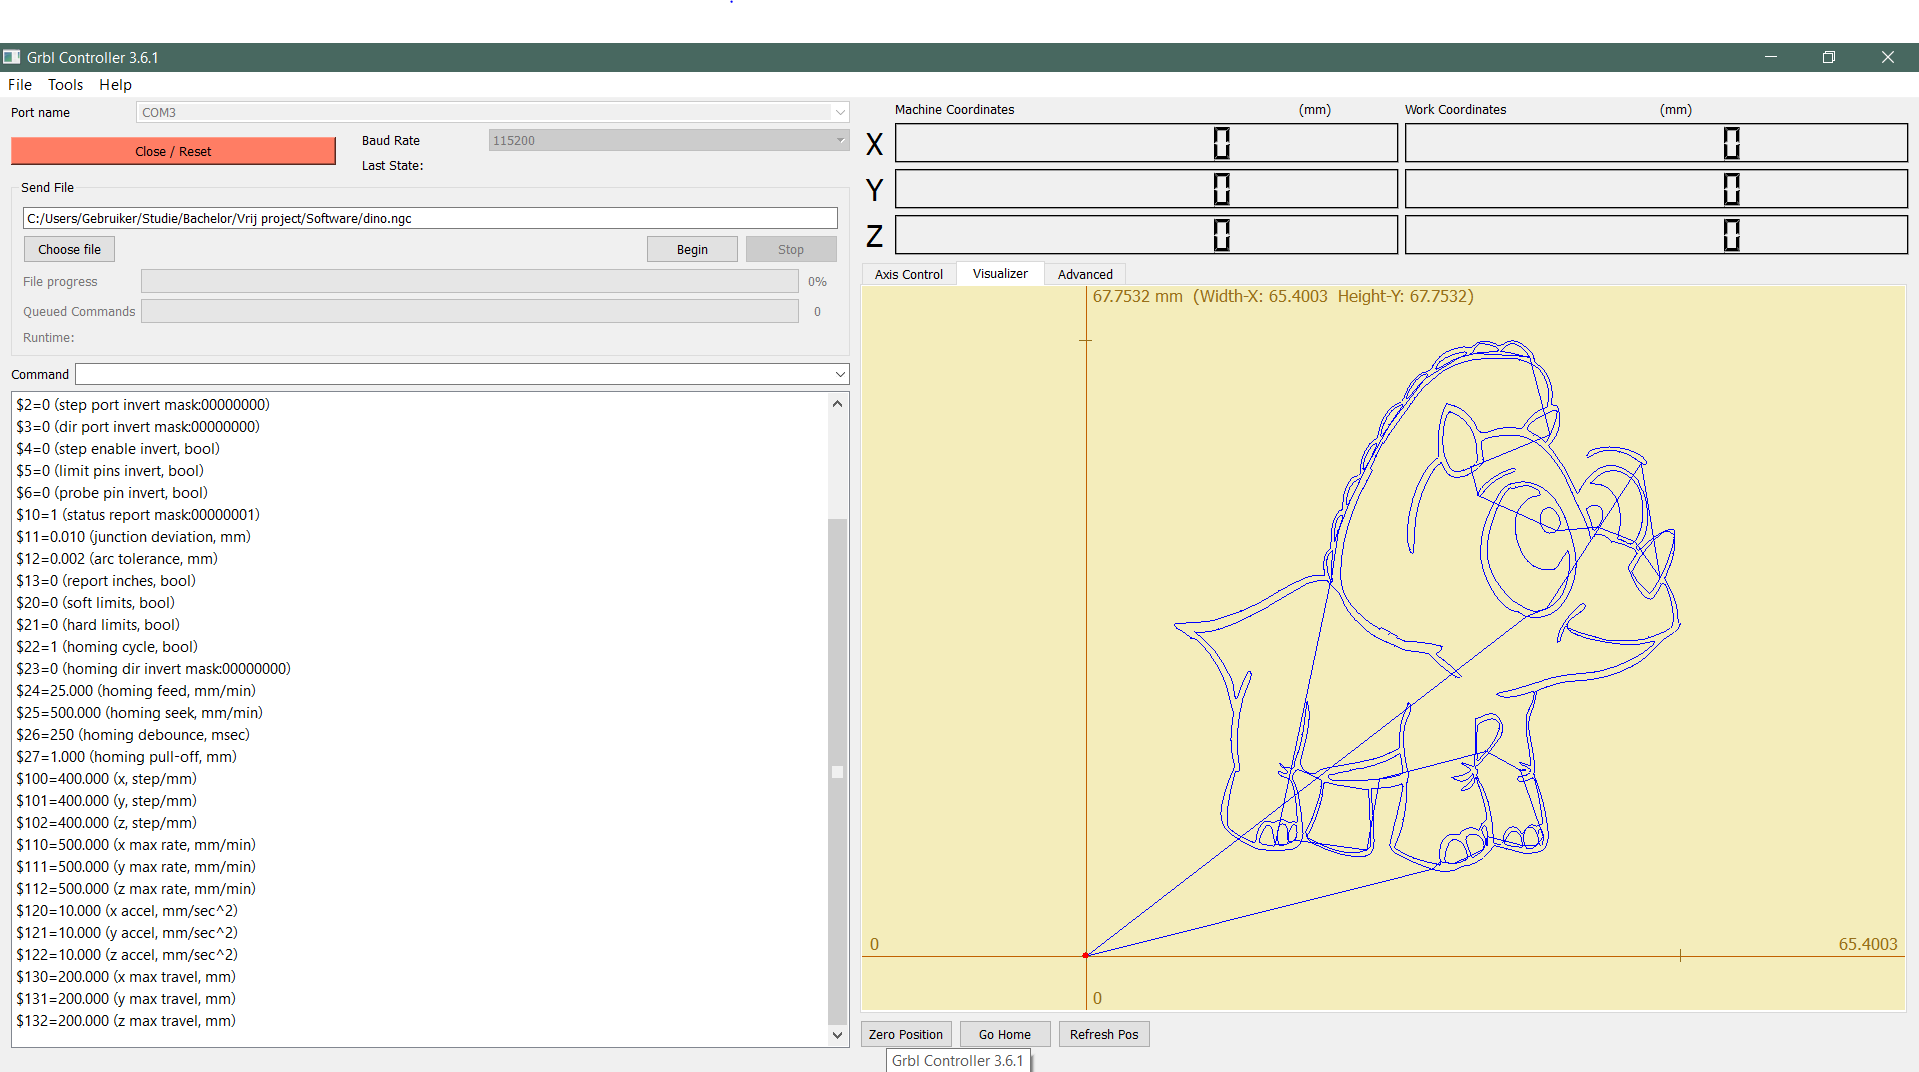
I used GRBL-controller to control the machine. It is easy to use.
https://grbl-controller.software.informer.com/3.6/...
Plug the arduino in the laptop or computer you are using and use the correct COM port.
Next up you can set the zero position and test the position of the pen.
Create .ngc Code
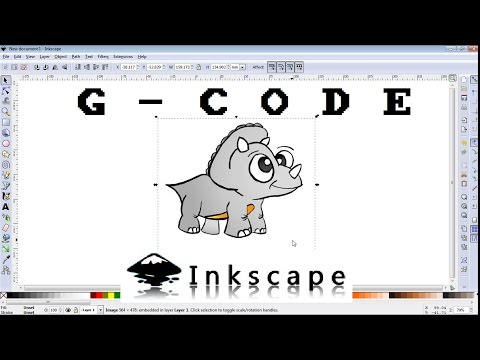
Inkscape is without a doubt the most used tool to create g-code.
In Inkscape you can upload pictures or text and transform them to g-code.
You can use the tutorial or these steps:
- Use document properties to edit the working dimensions
- Upload the picture or text
- Use the trace bitmap function
- Use the object to path function
- In expansions --> gcode tools --> tool library --> select cone
- Adjust the parameters if necessary
- In the gcode tools use the orientation point function
- Use the path to gcode function and make it save on your favorite location
- Find the file and add the extension .ngc
- Load the .ngc file into the GRBL controller and start testing
Enjoy
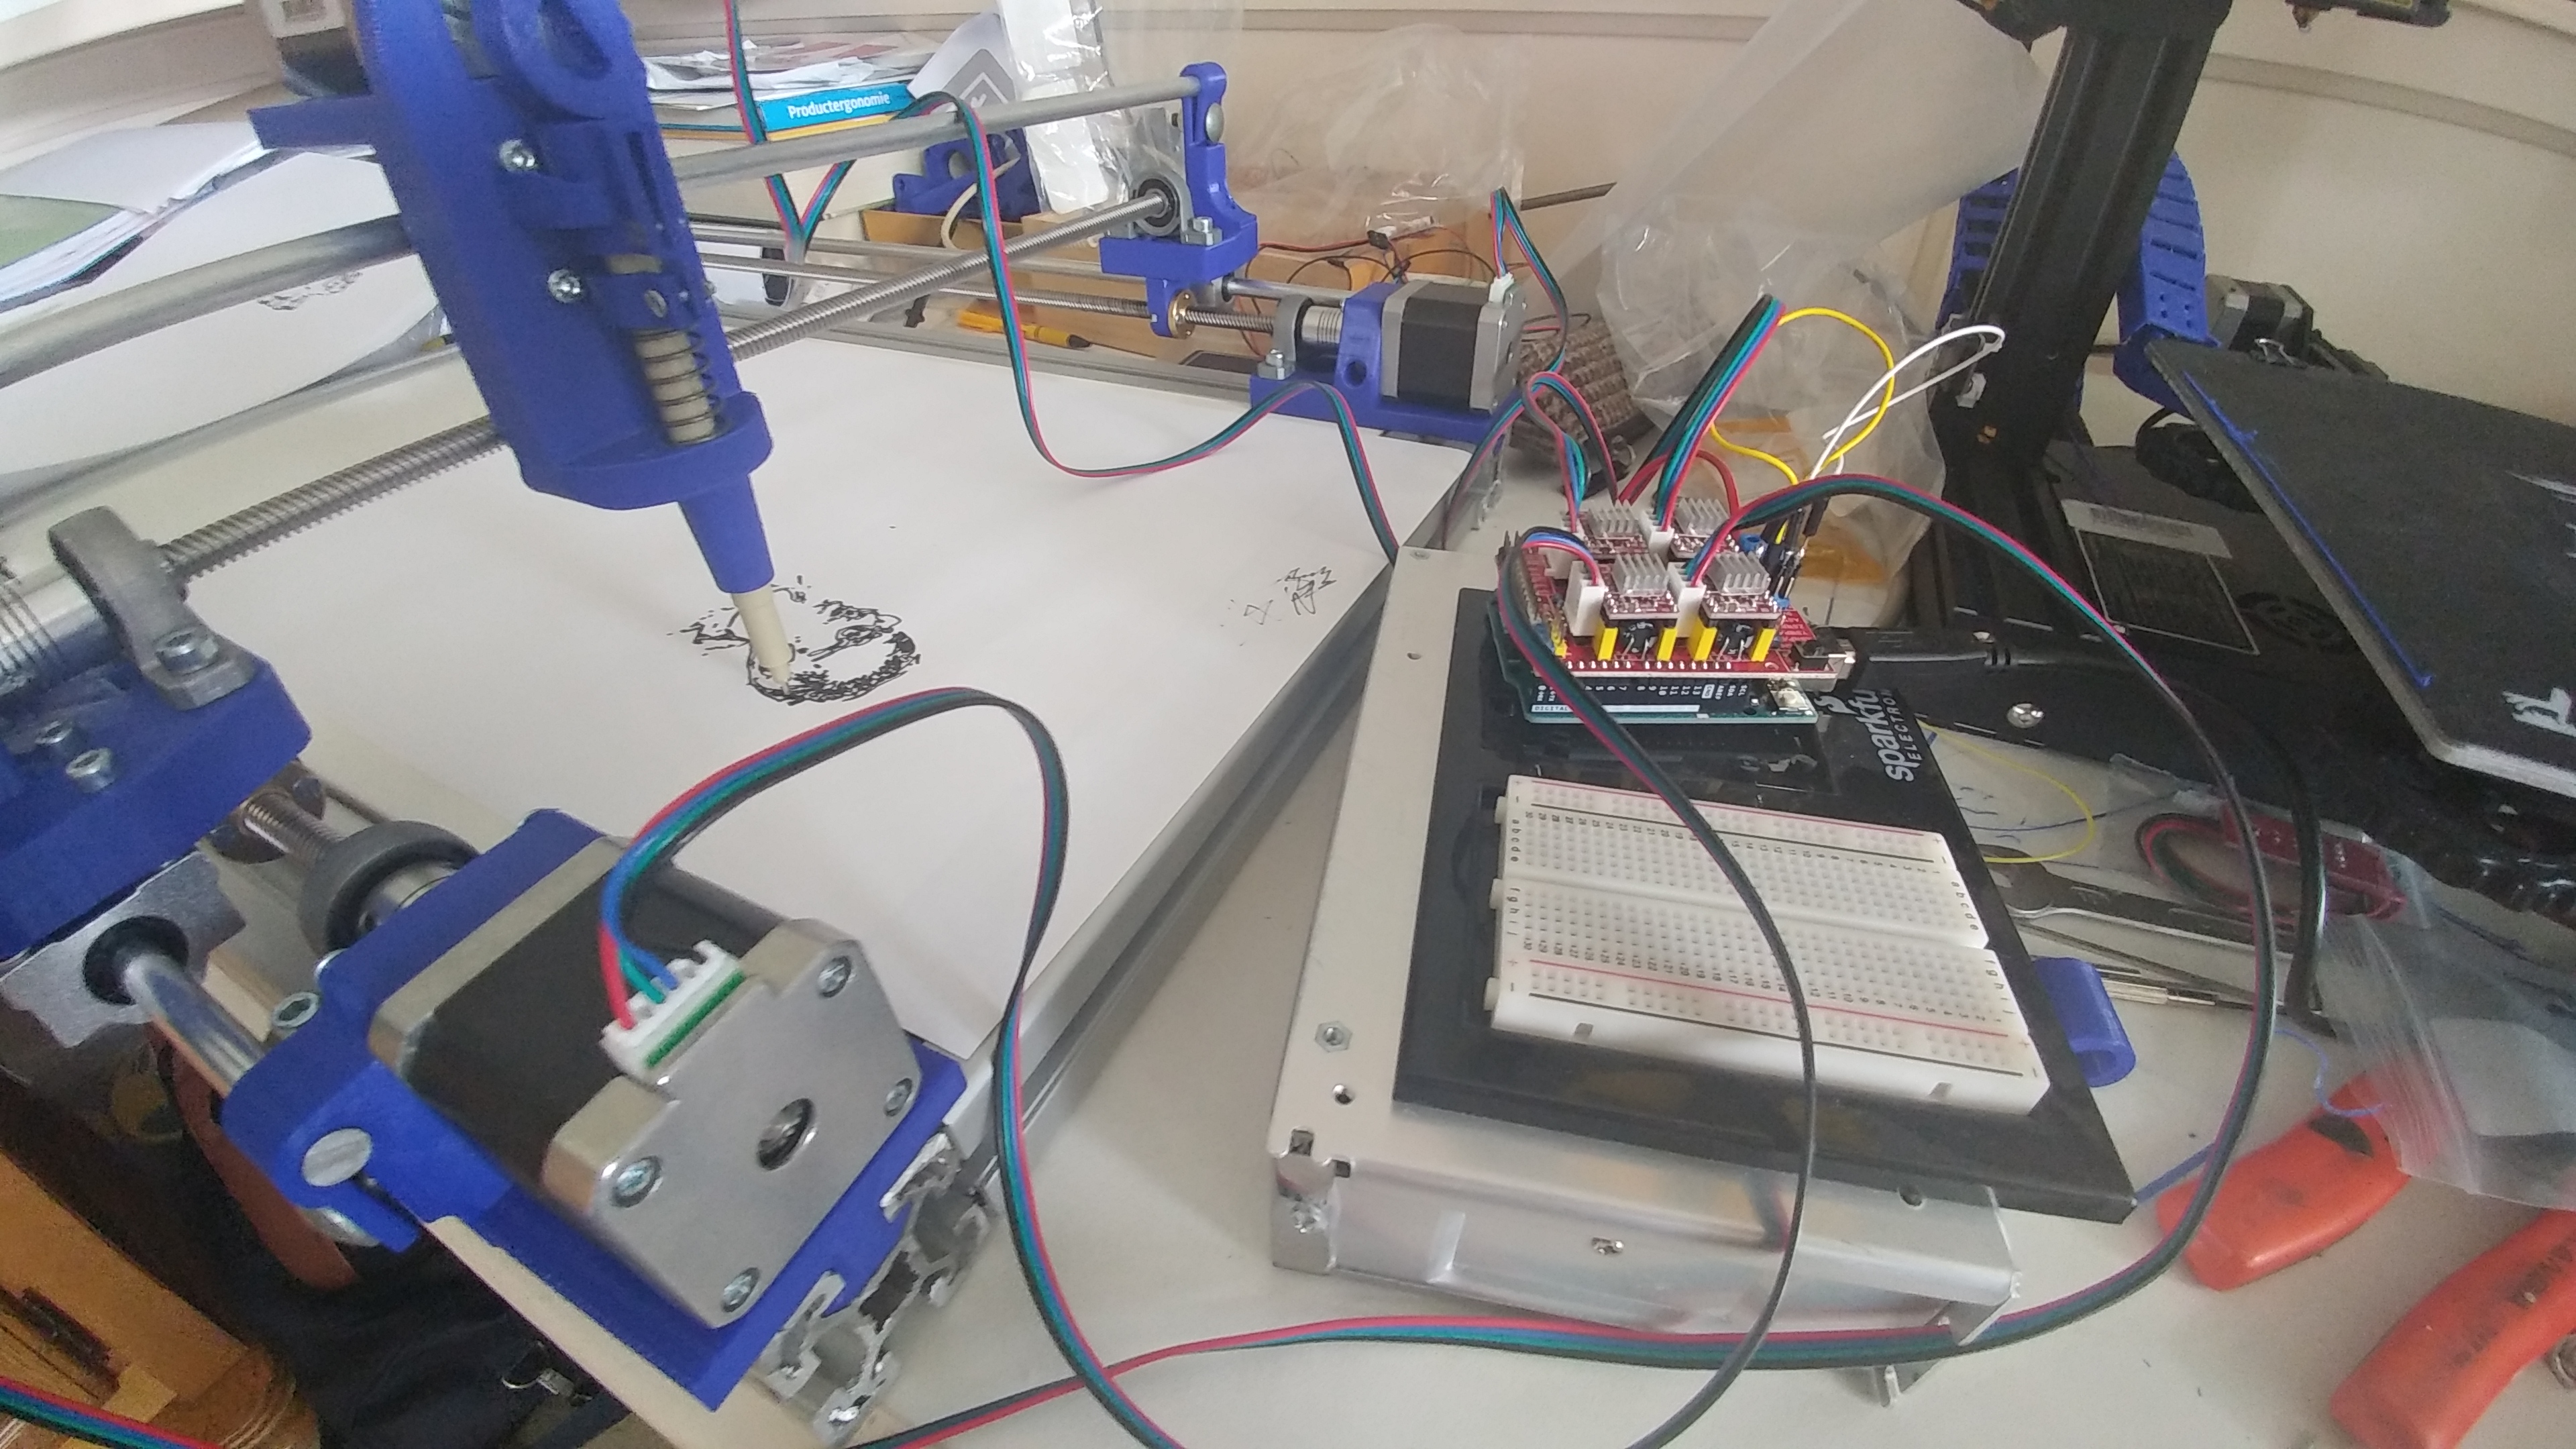
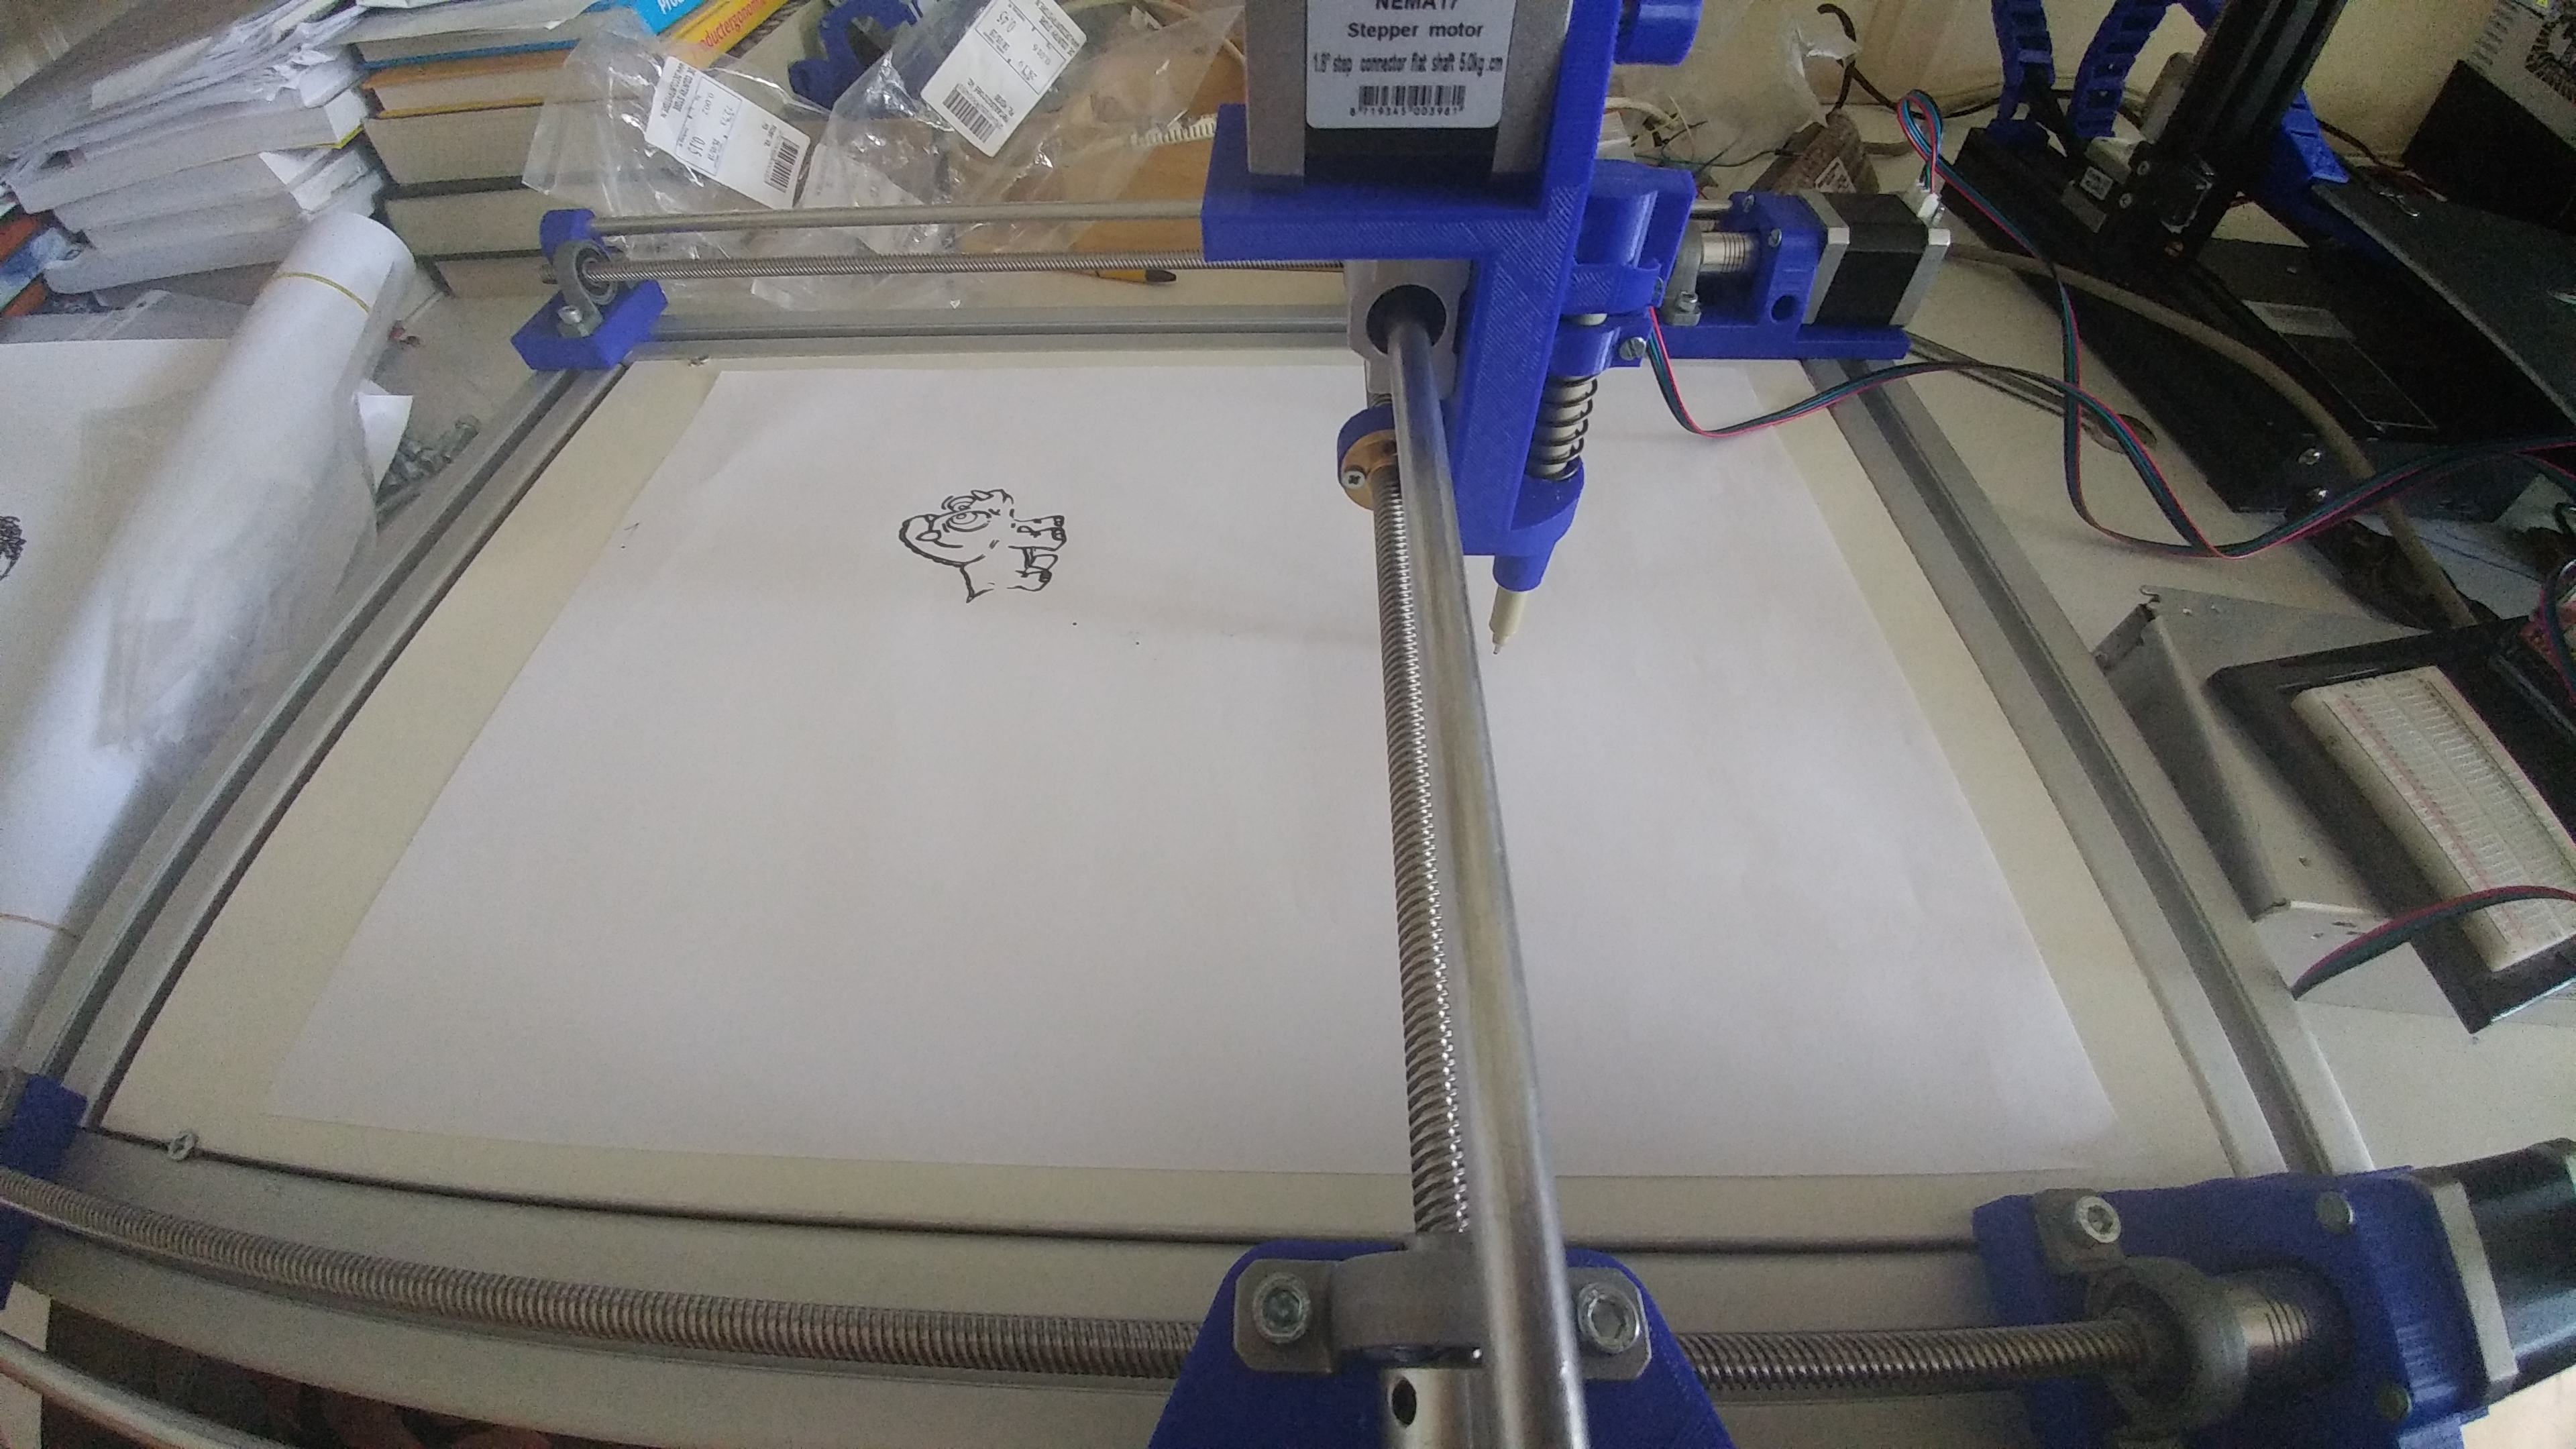
Enjoy the machine and brag about it whilst drinking beer with your friends.
There are some improvements I will make in the future,
- Combining it with a dremel or laser module
- Make a second rod on the X-axis, which will provide more stability
- Making a frame for the power supply and Arduino
- Using a fourth spindle as a Z-axis