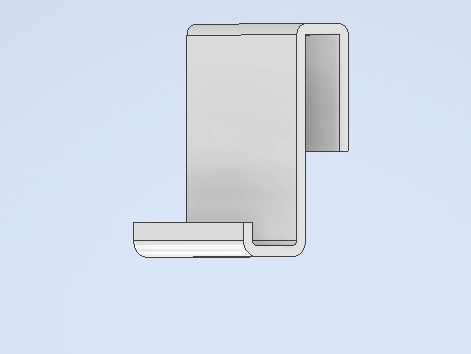
PlayStation 5 Controller Holder
.png)
I made a PlayStation 5 controller holder to prevent losing your controller. The holder will be hooked on to the Play Station 5.
Supplies
.png)
To make this 3D design I used Autodesk Inventor
Sketch
.png)
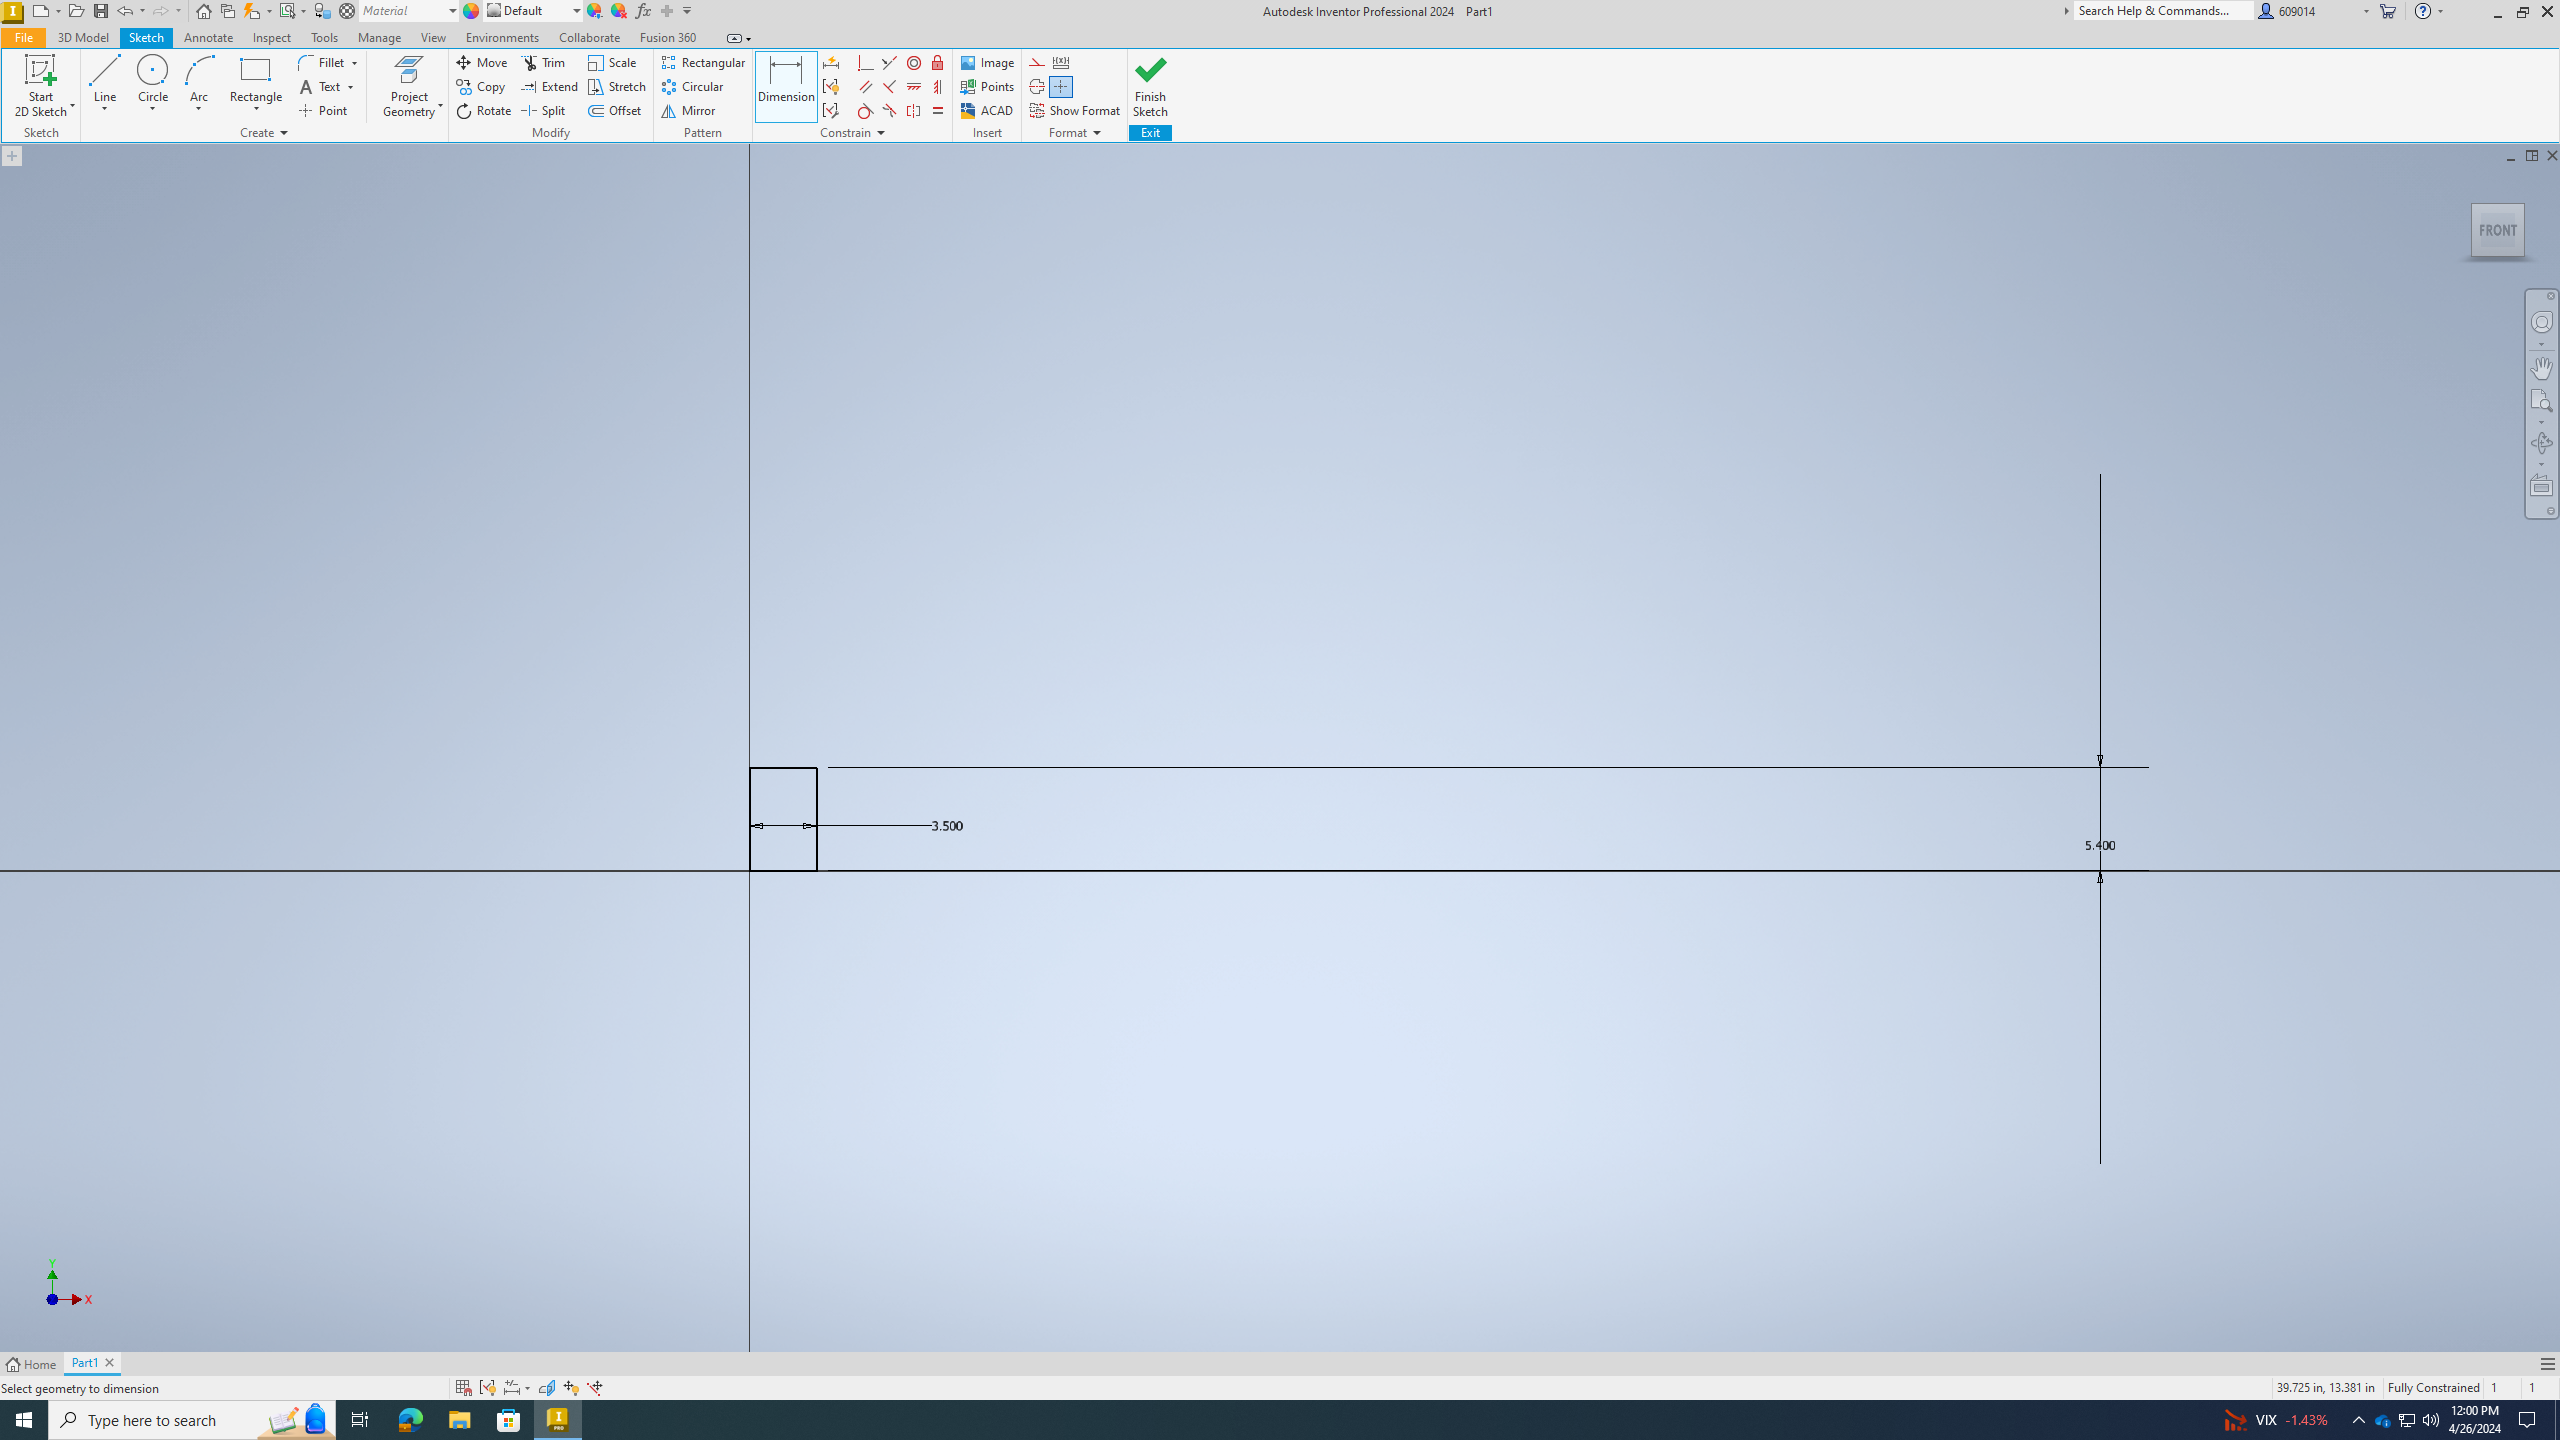
First you're going to start with a rectangle that 5.4 inches high and 3.5 inches long.
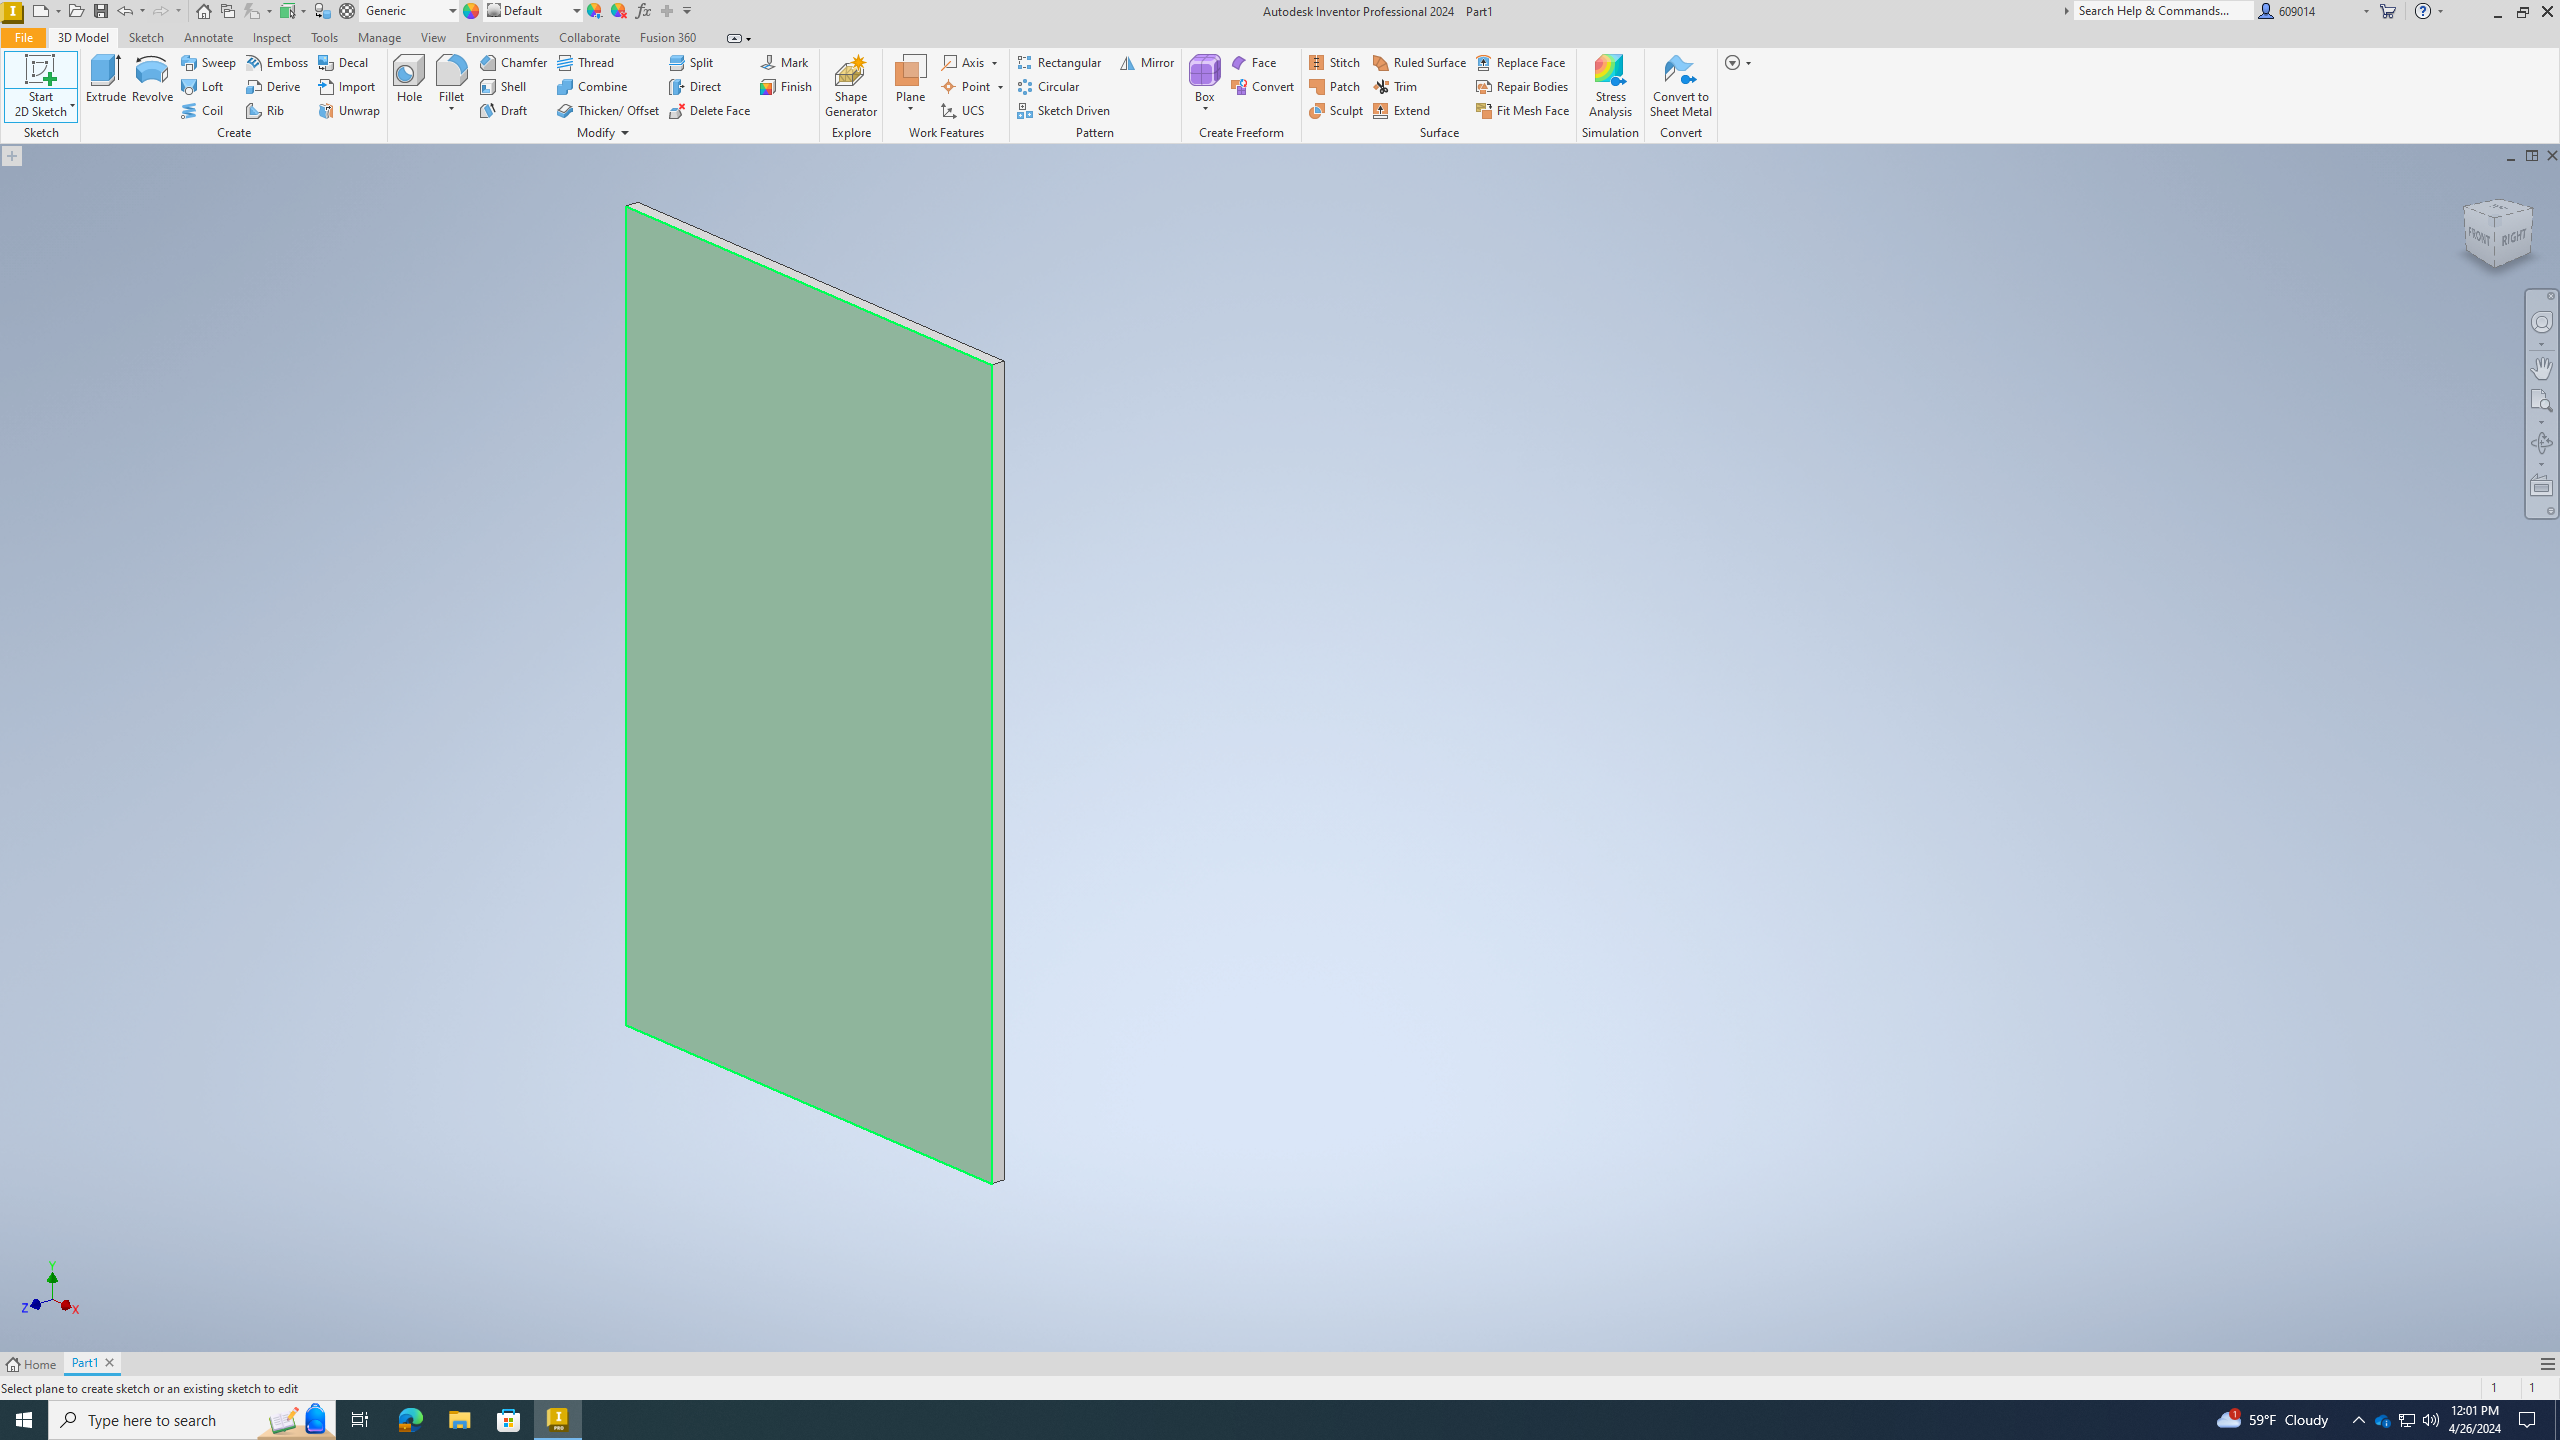
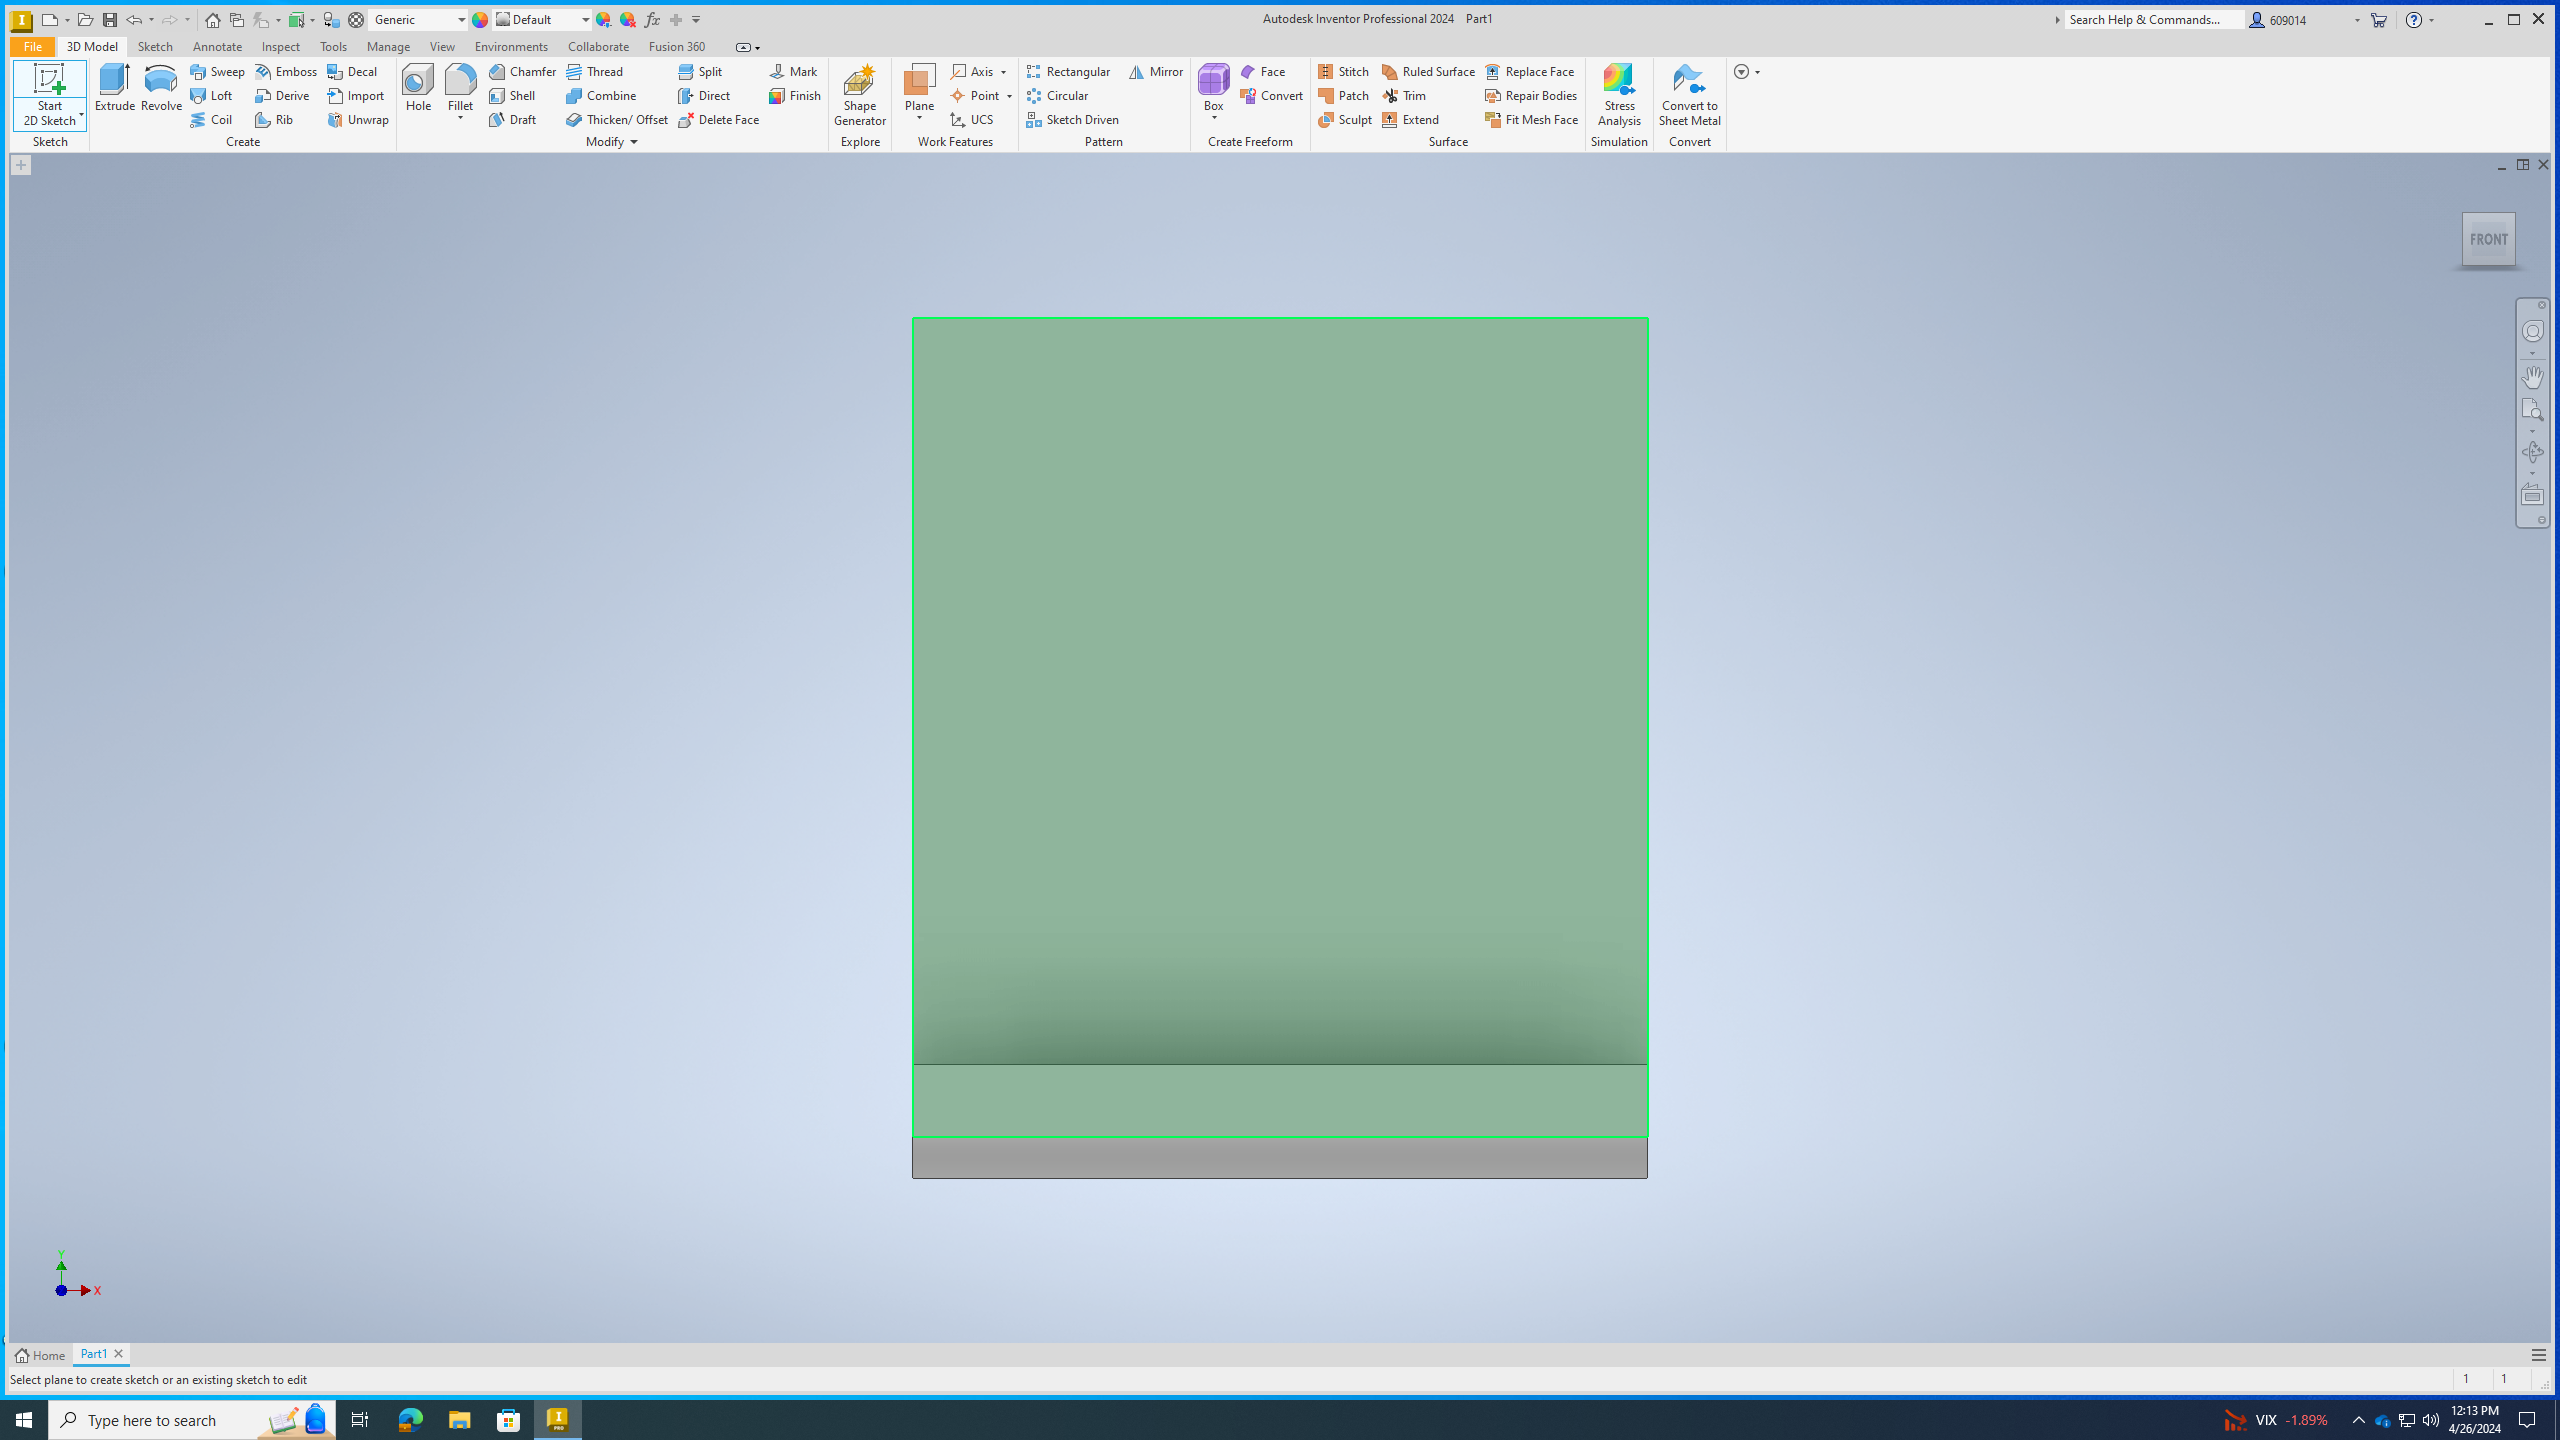
Extrude
.png)
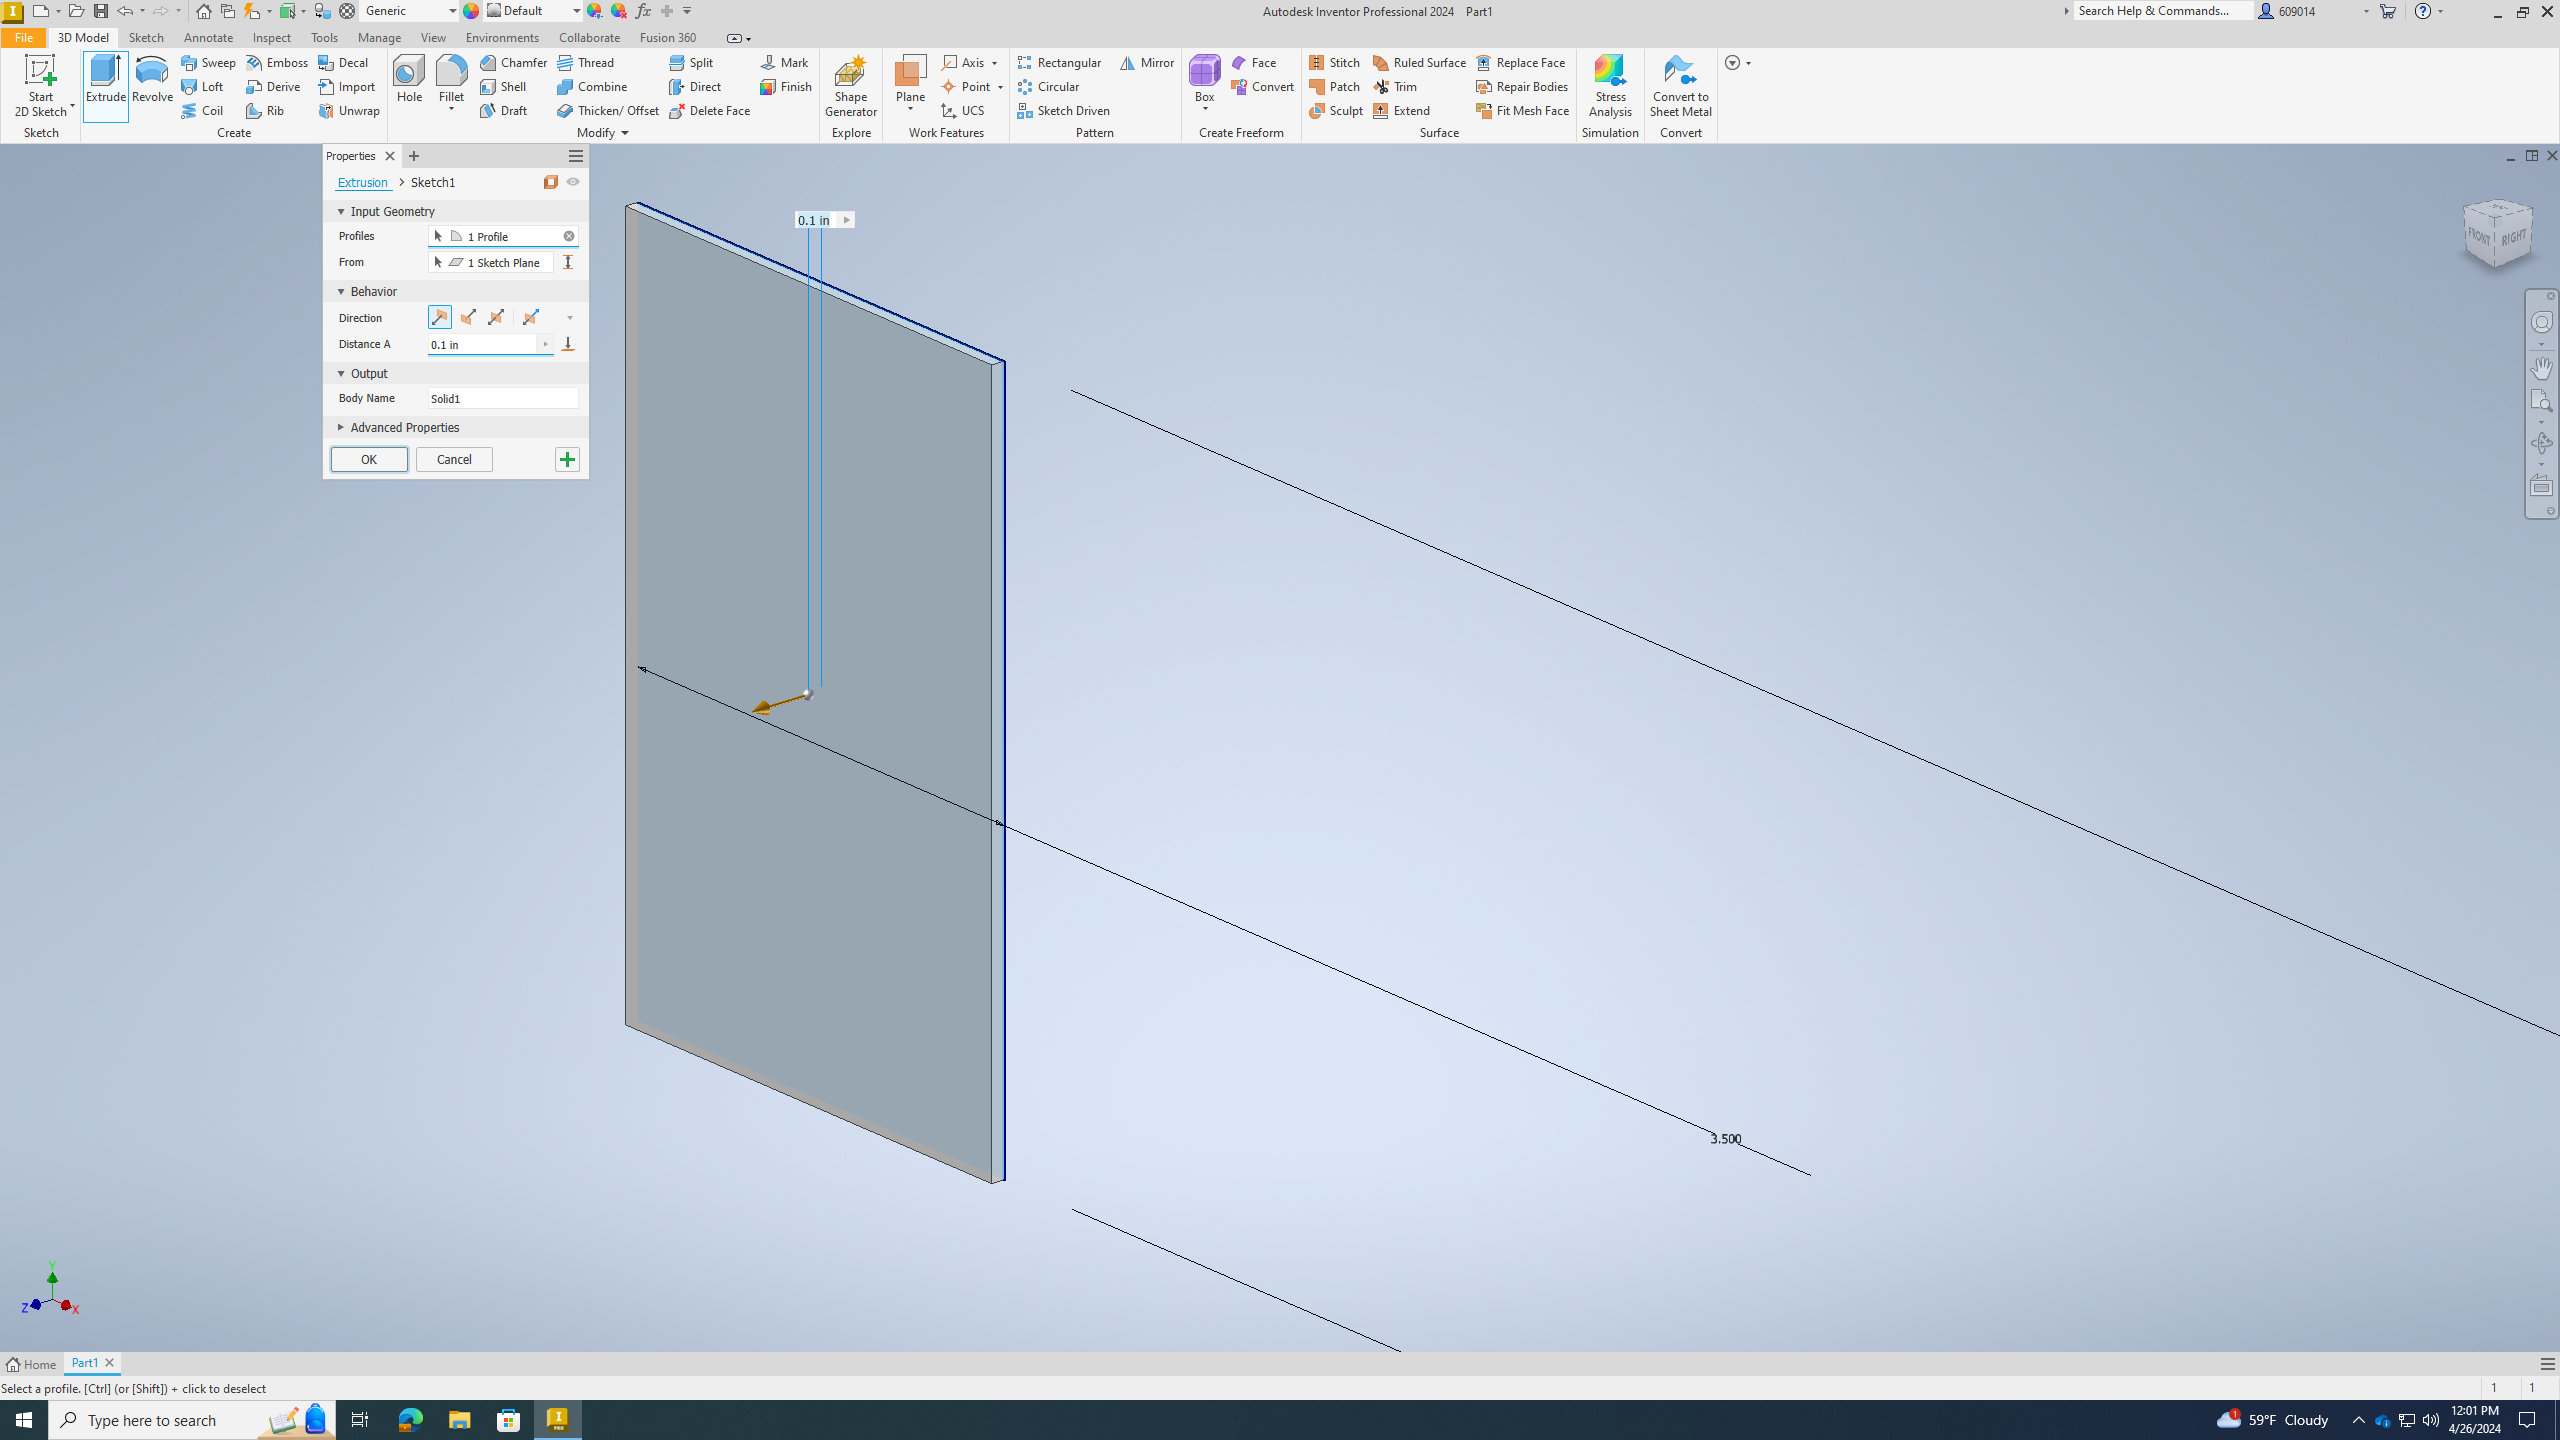
Now extrude the rectangle by 0.21 inches thick.
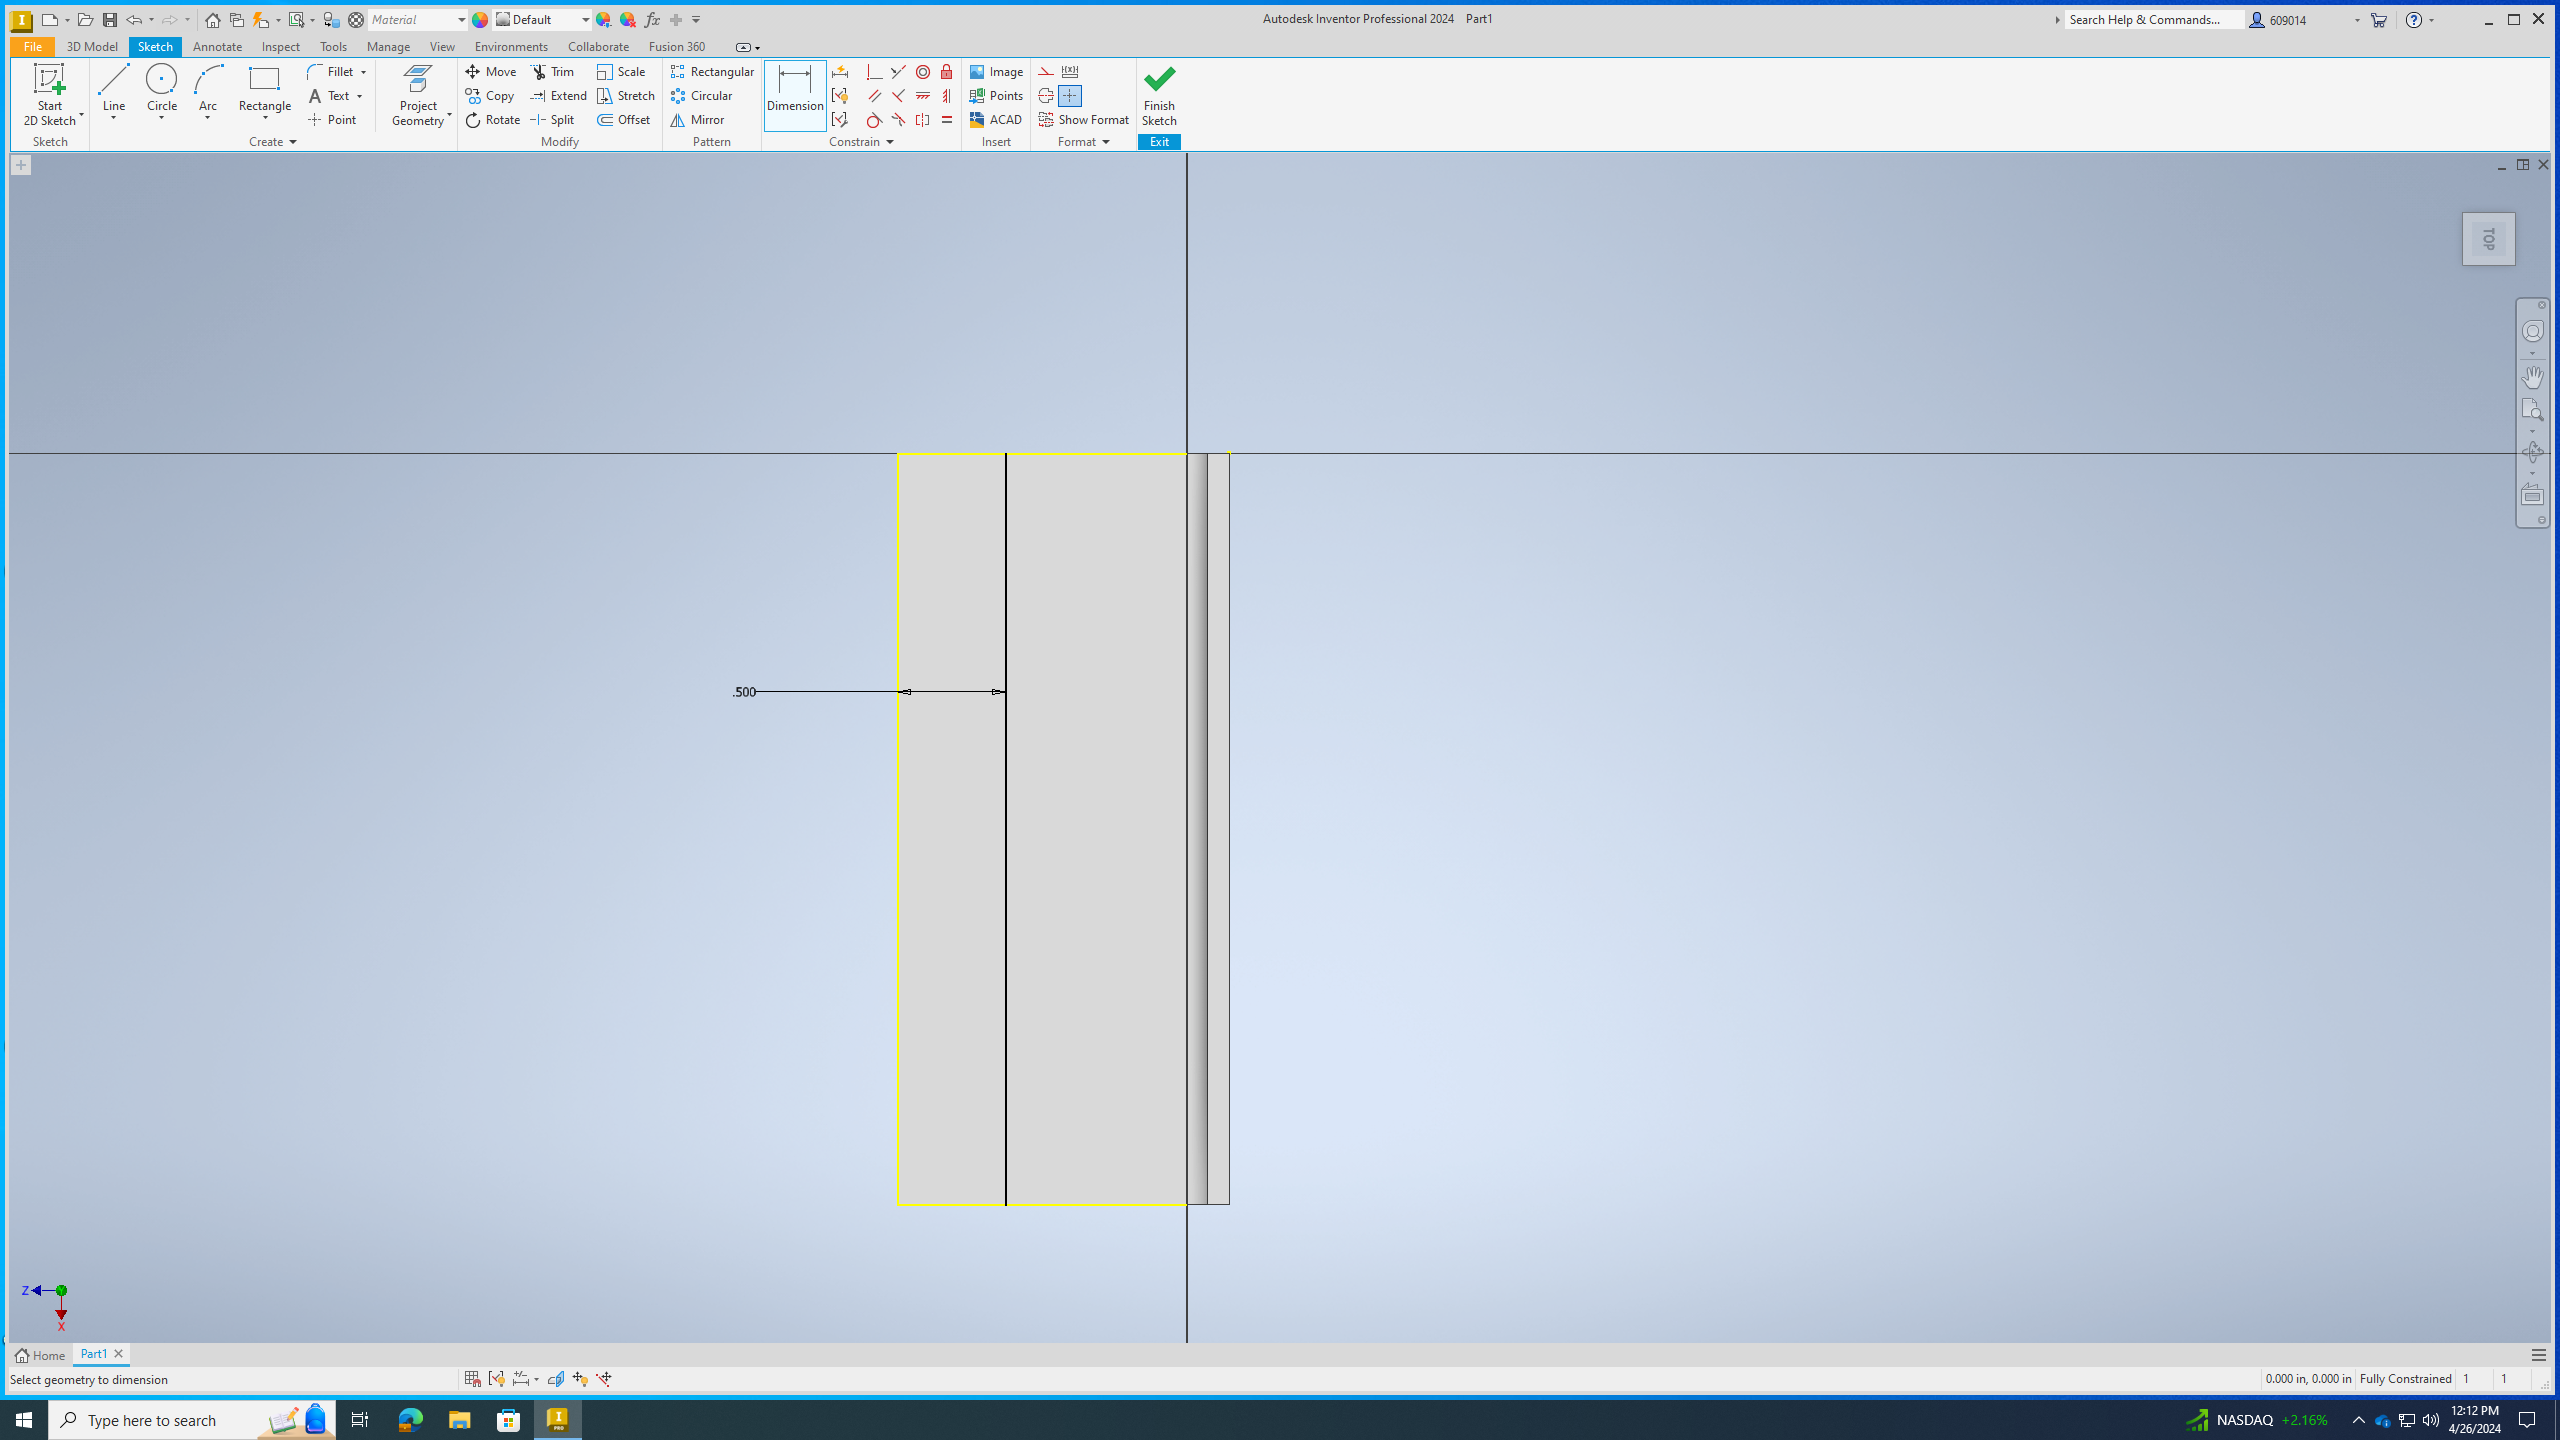
Sketch and Dimension
.png)
.png)
Now you want to start a ketch on the rectangle and add a straight line with the dimensions of 1.5 inches high.
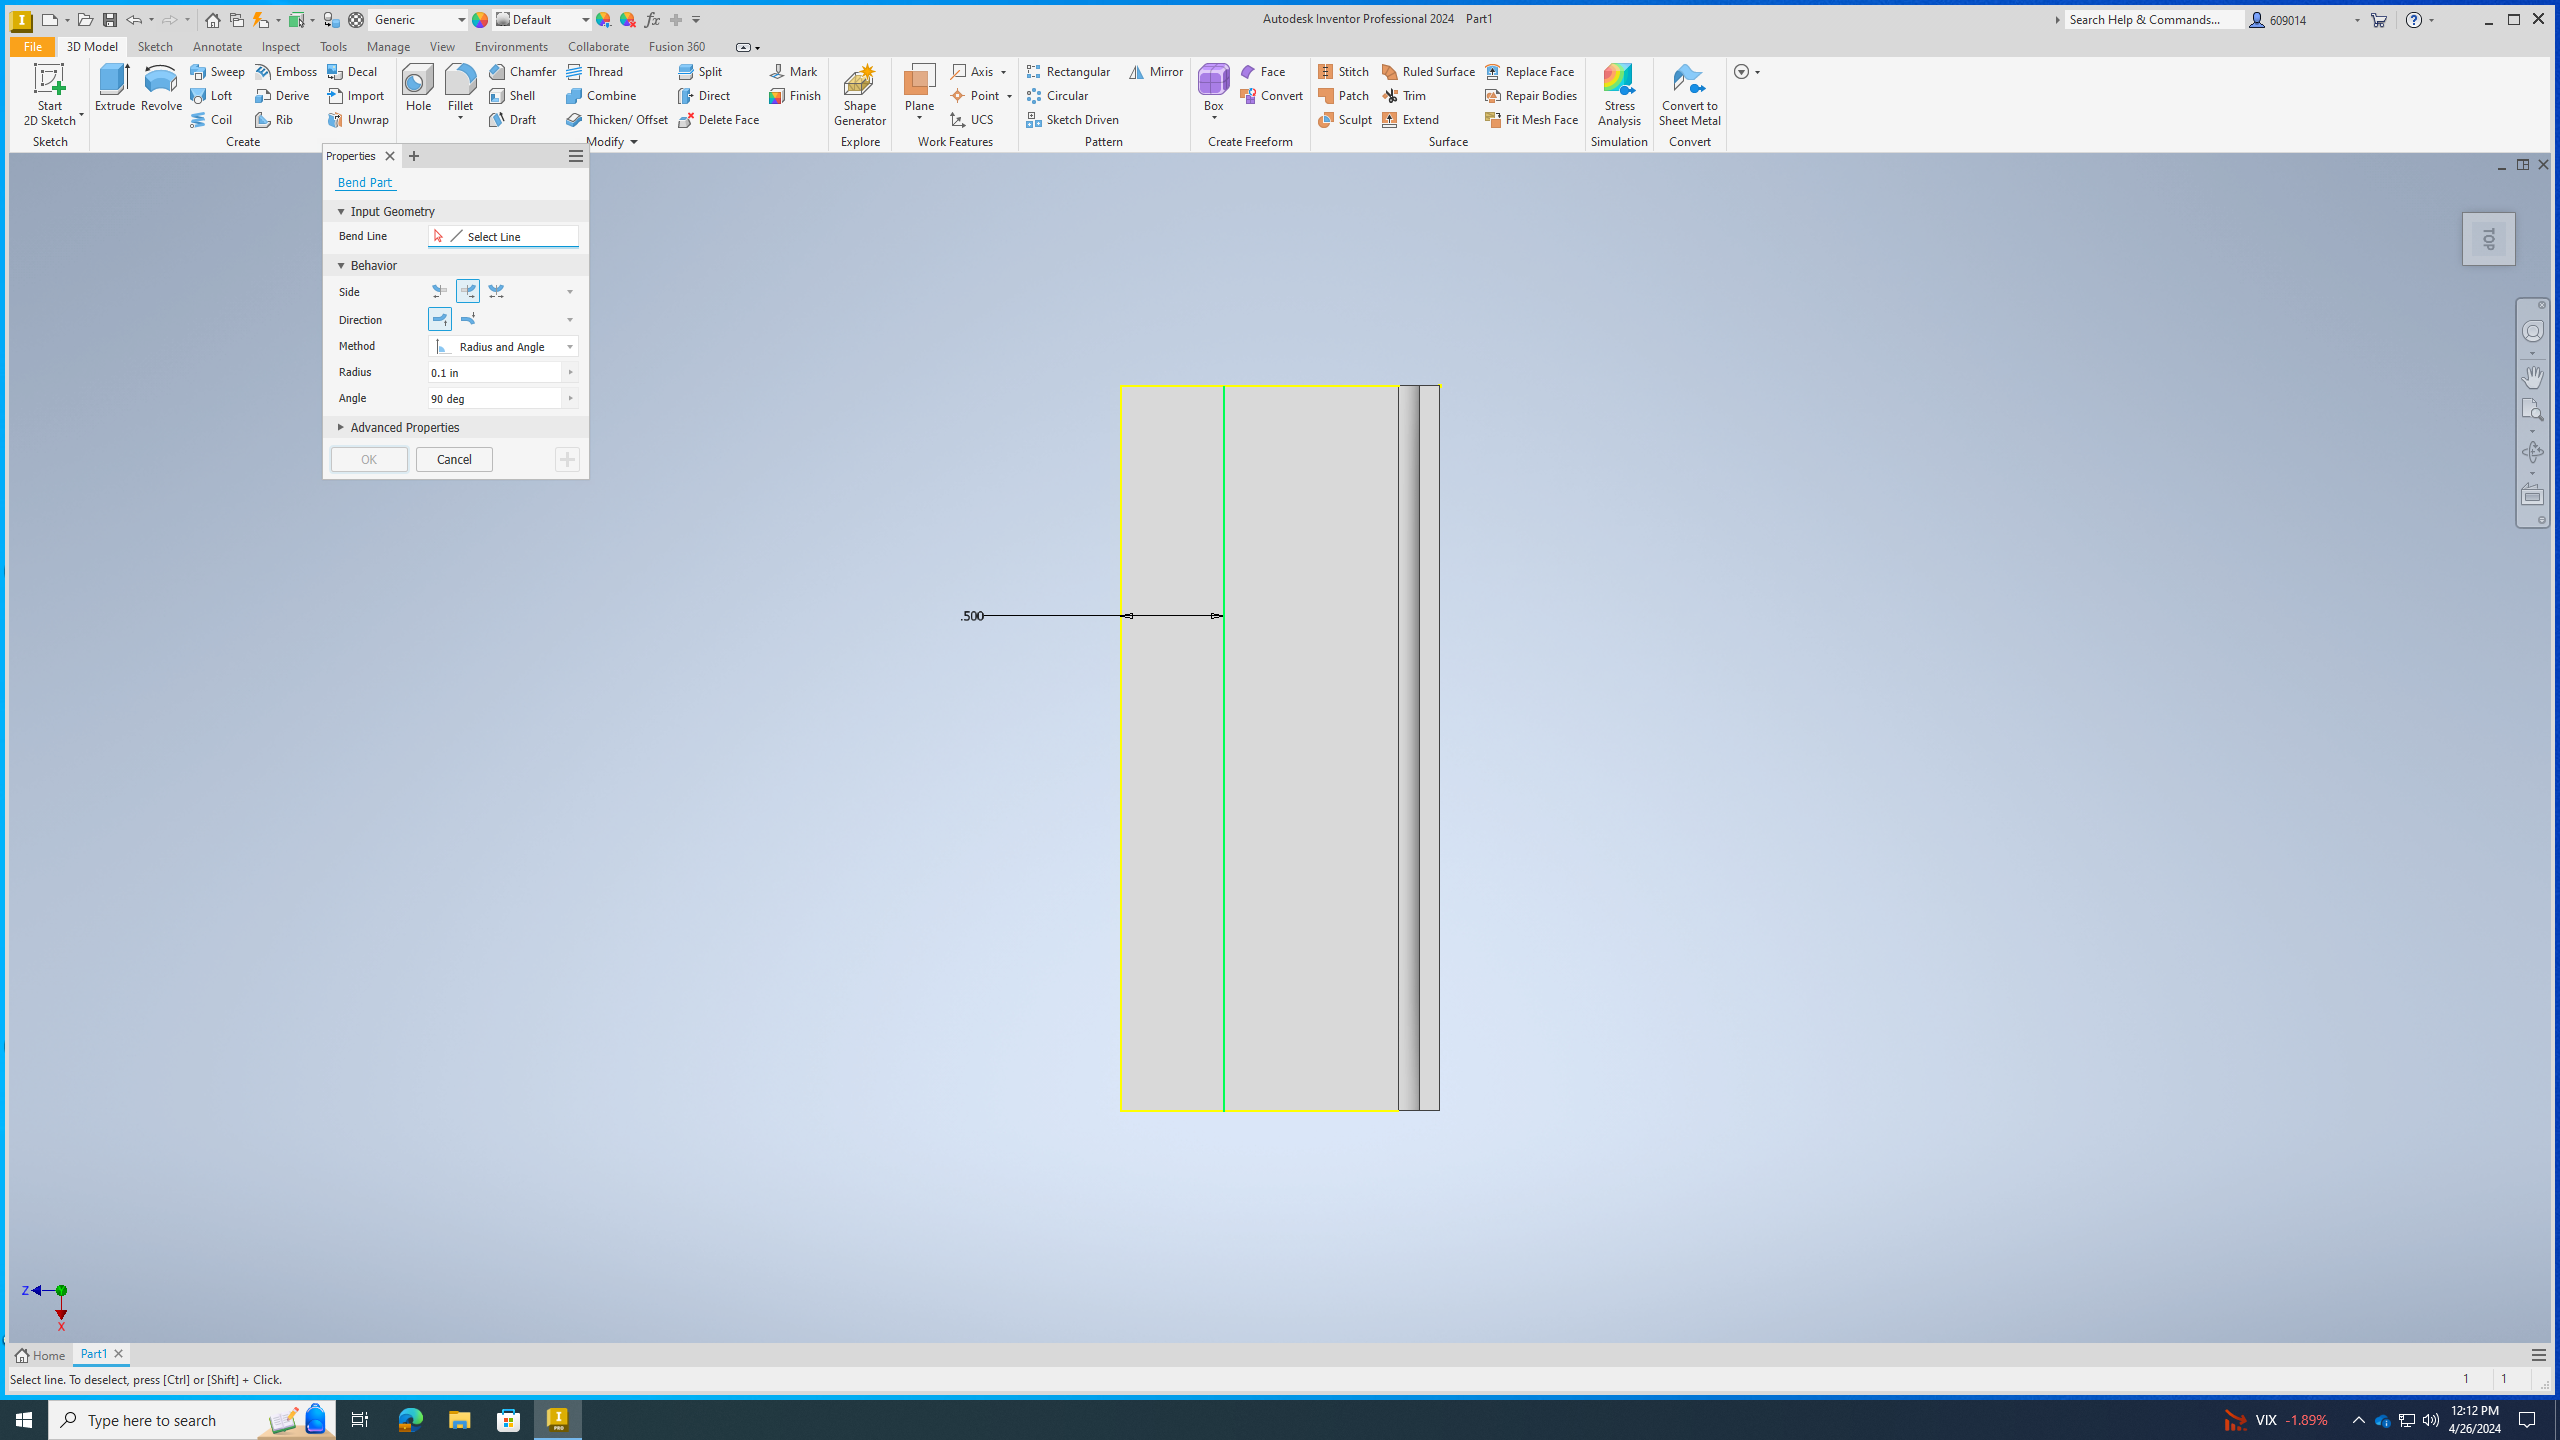
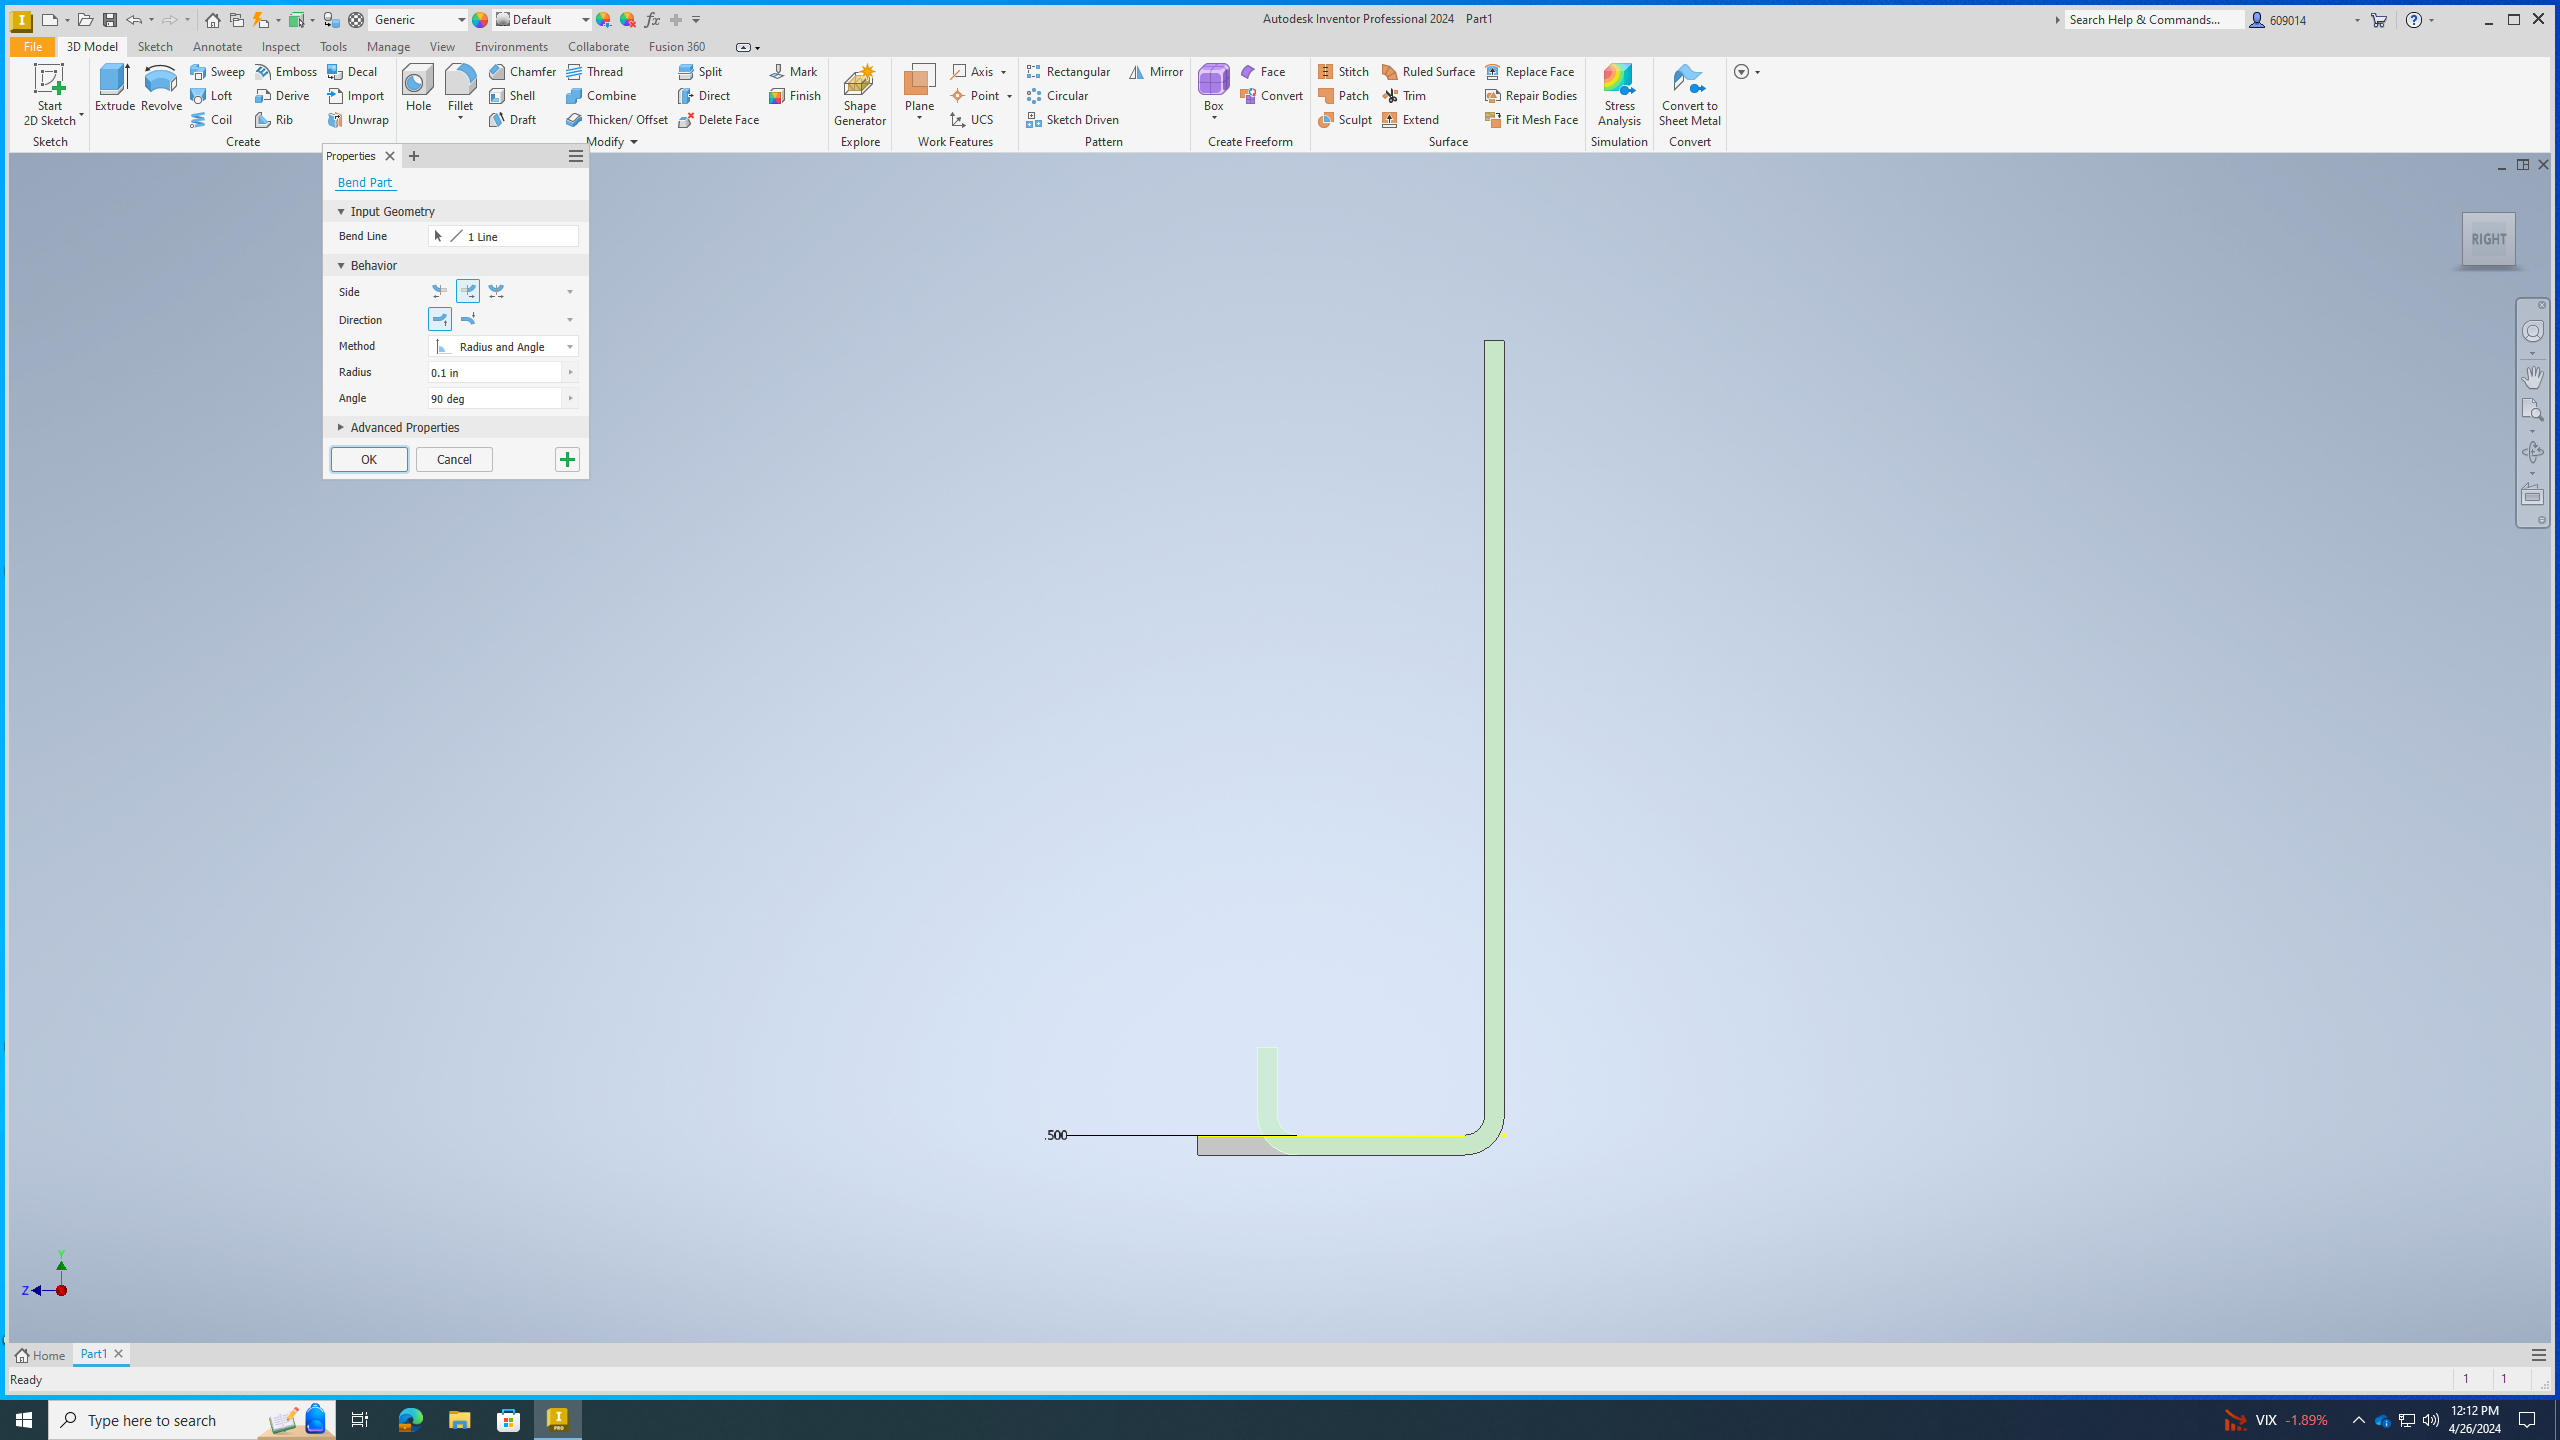
Bend Part
.png)
.png)
Now your going to want to finish sketch and bend part. Then click on the line you just sketched and bend it to 0.1 inches.
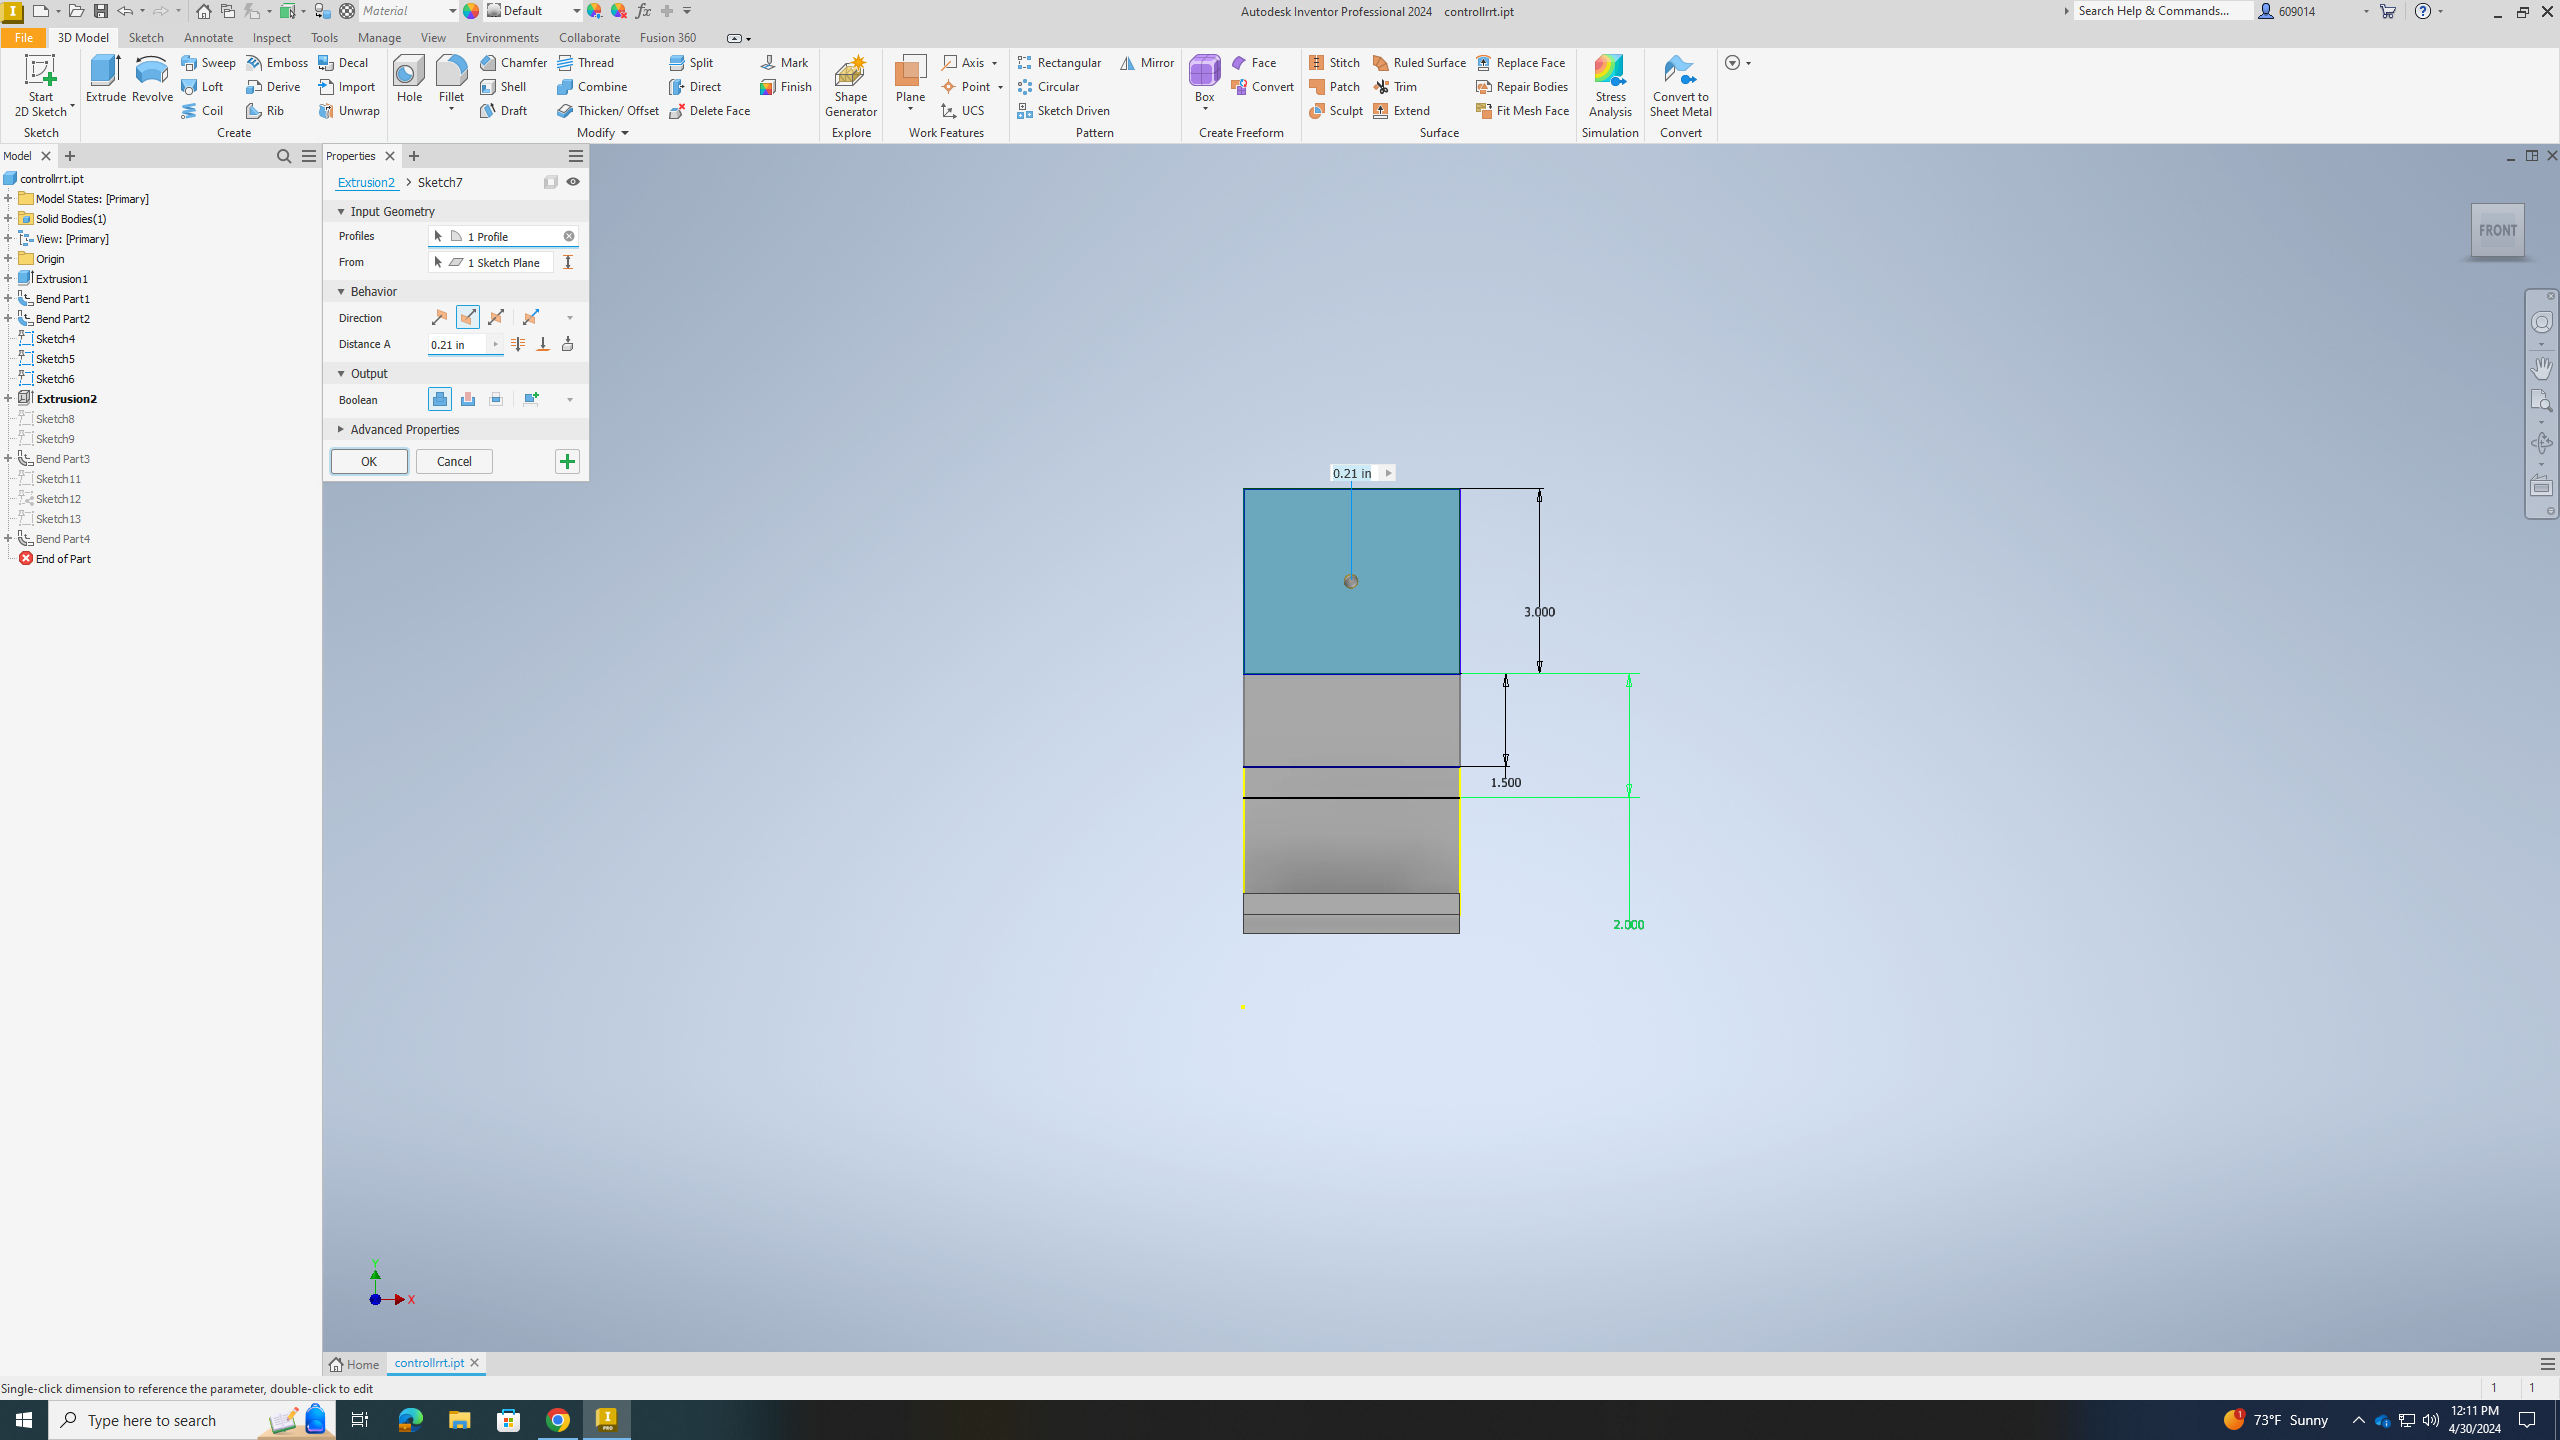
Sketch and Extrude
.png)
.png)
Start a new sketch and add another rectangle on top, but with the same length not height make the height 3 inches tall. And extrusion the same as well.
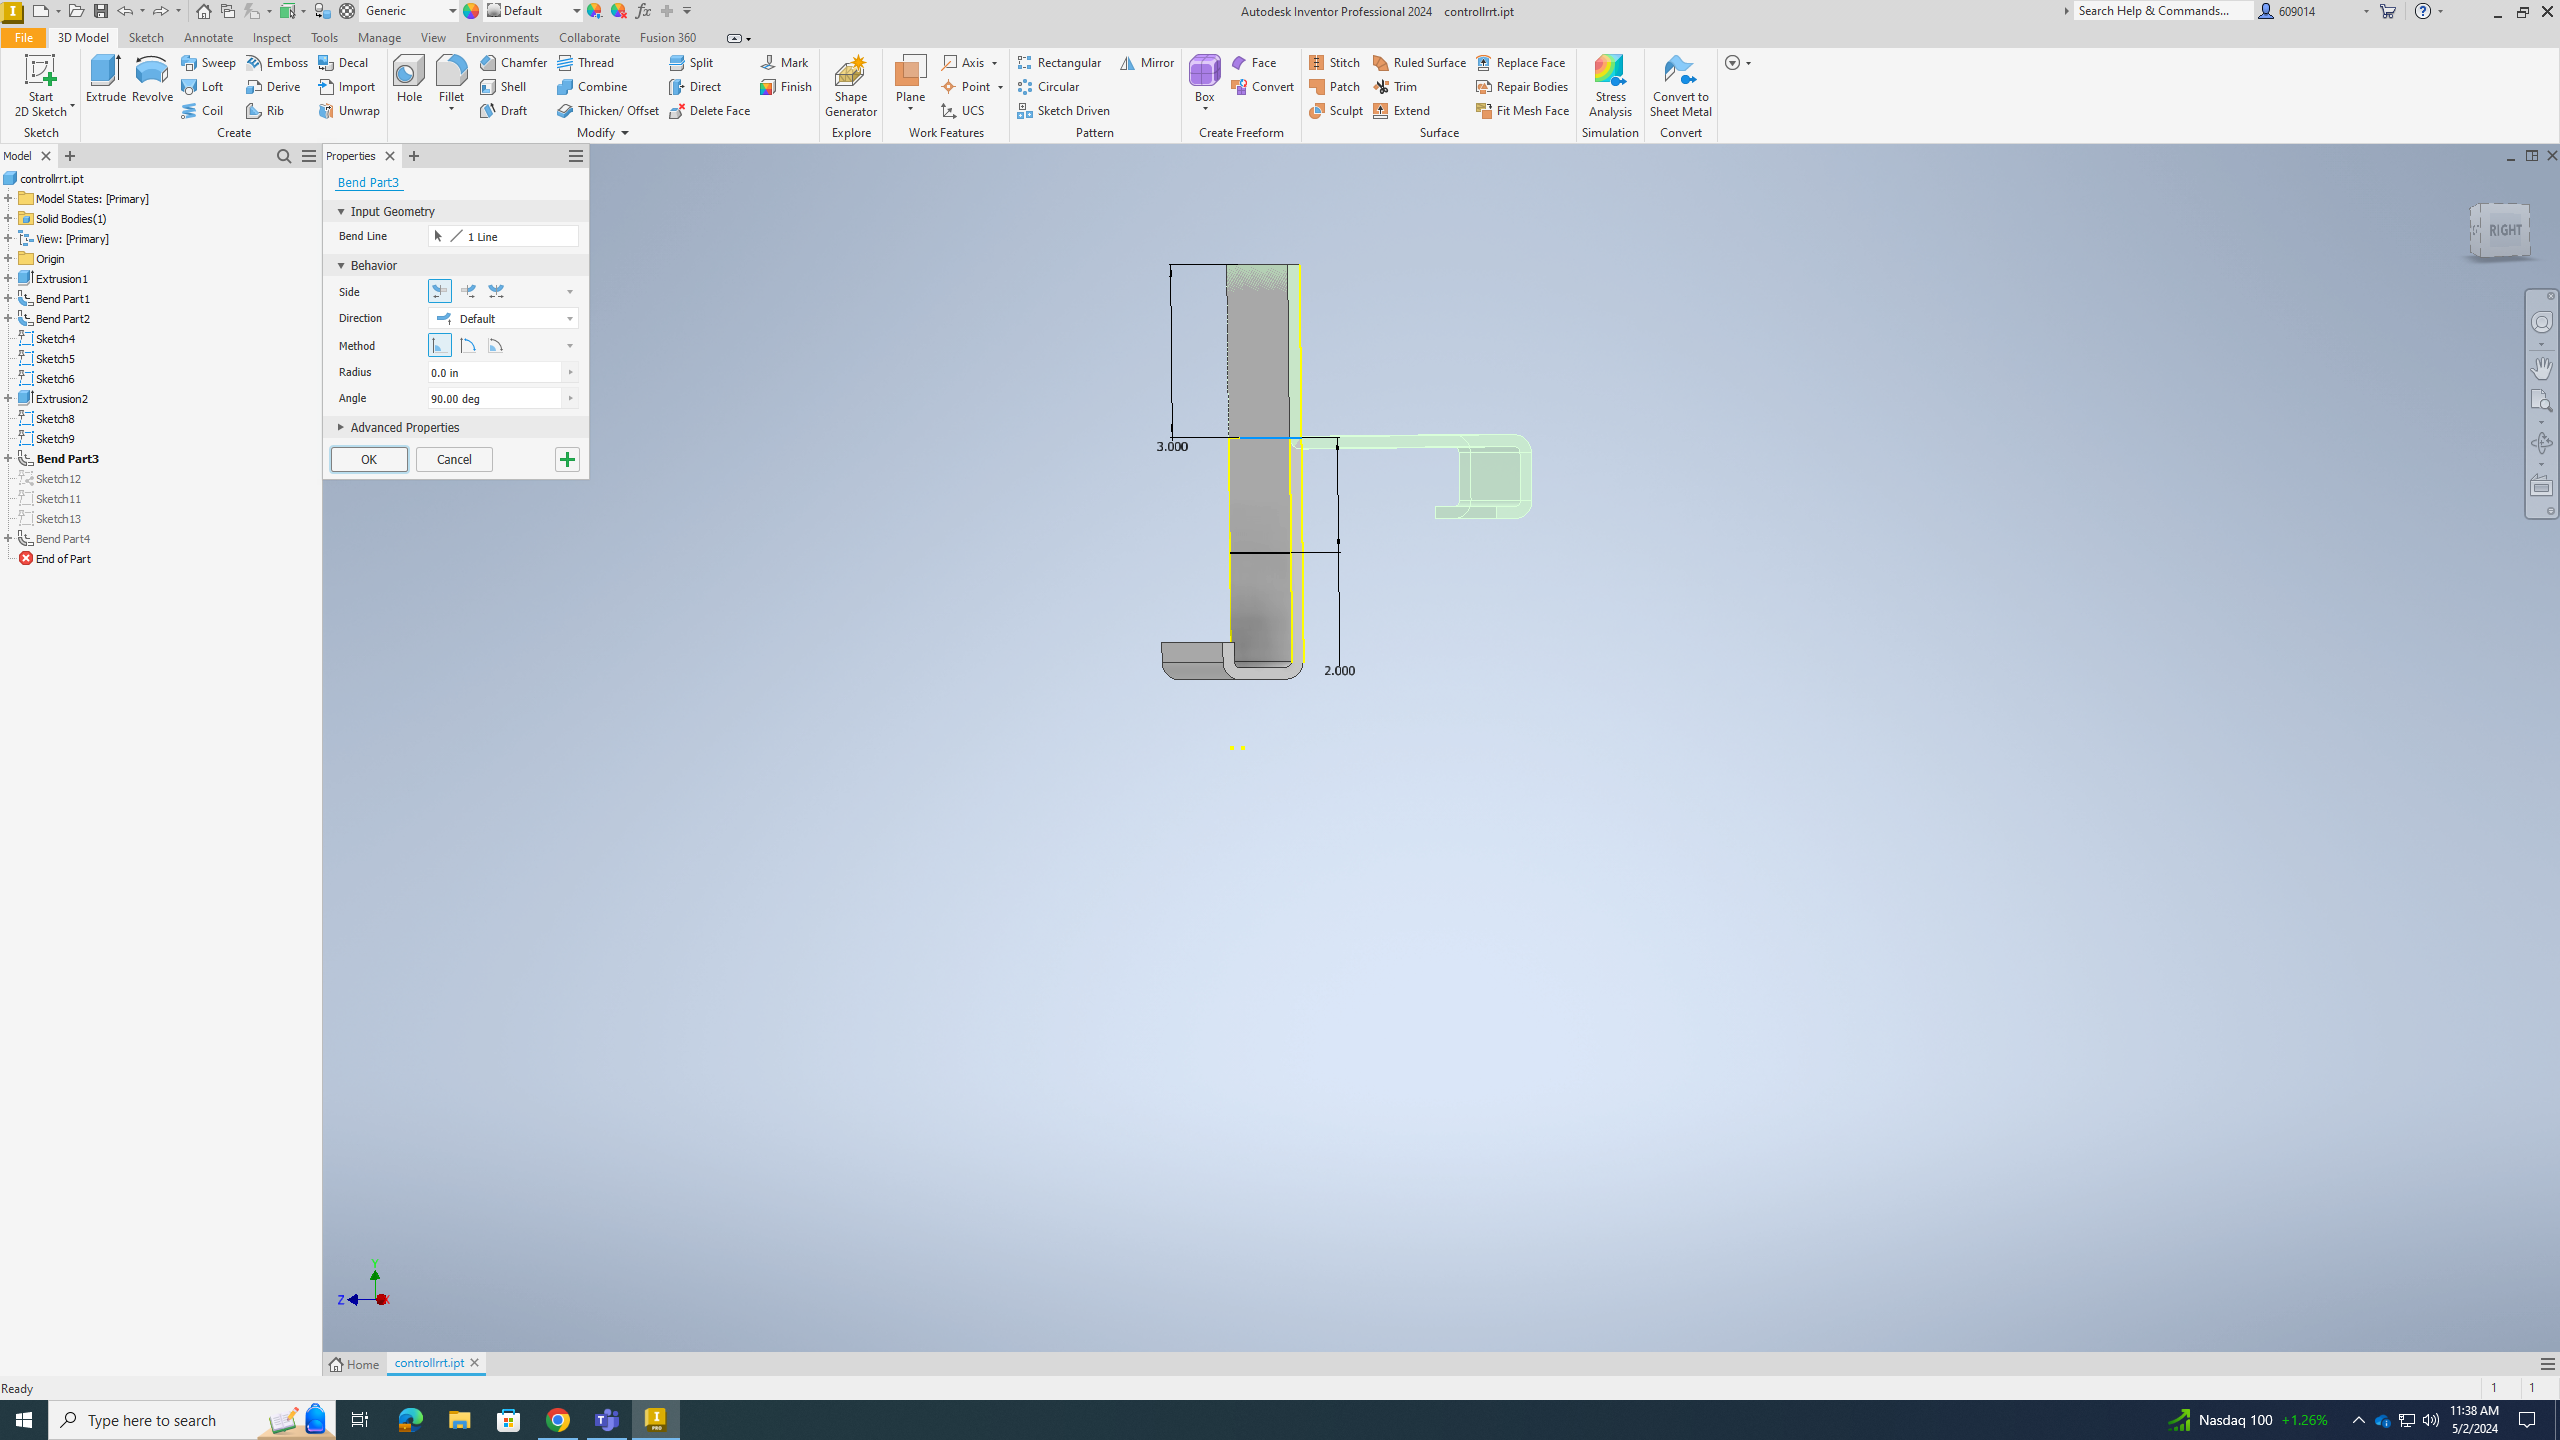
Bend Part
.png)
Now bend the new rectangle to 90 degrees and 0 inches.
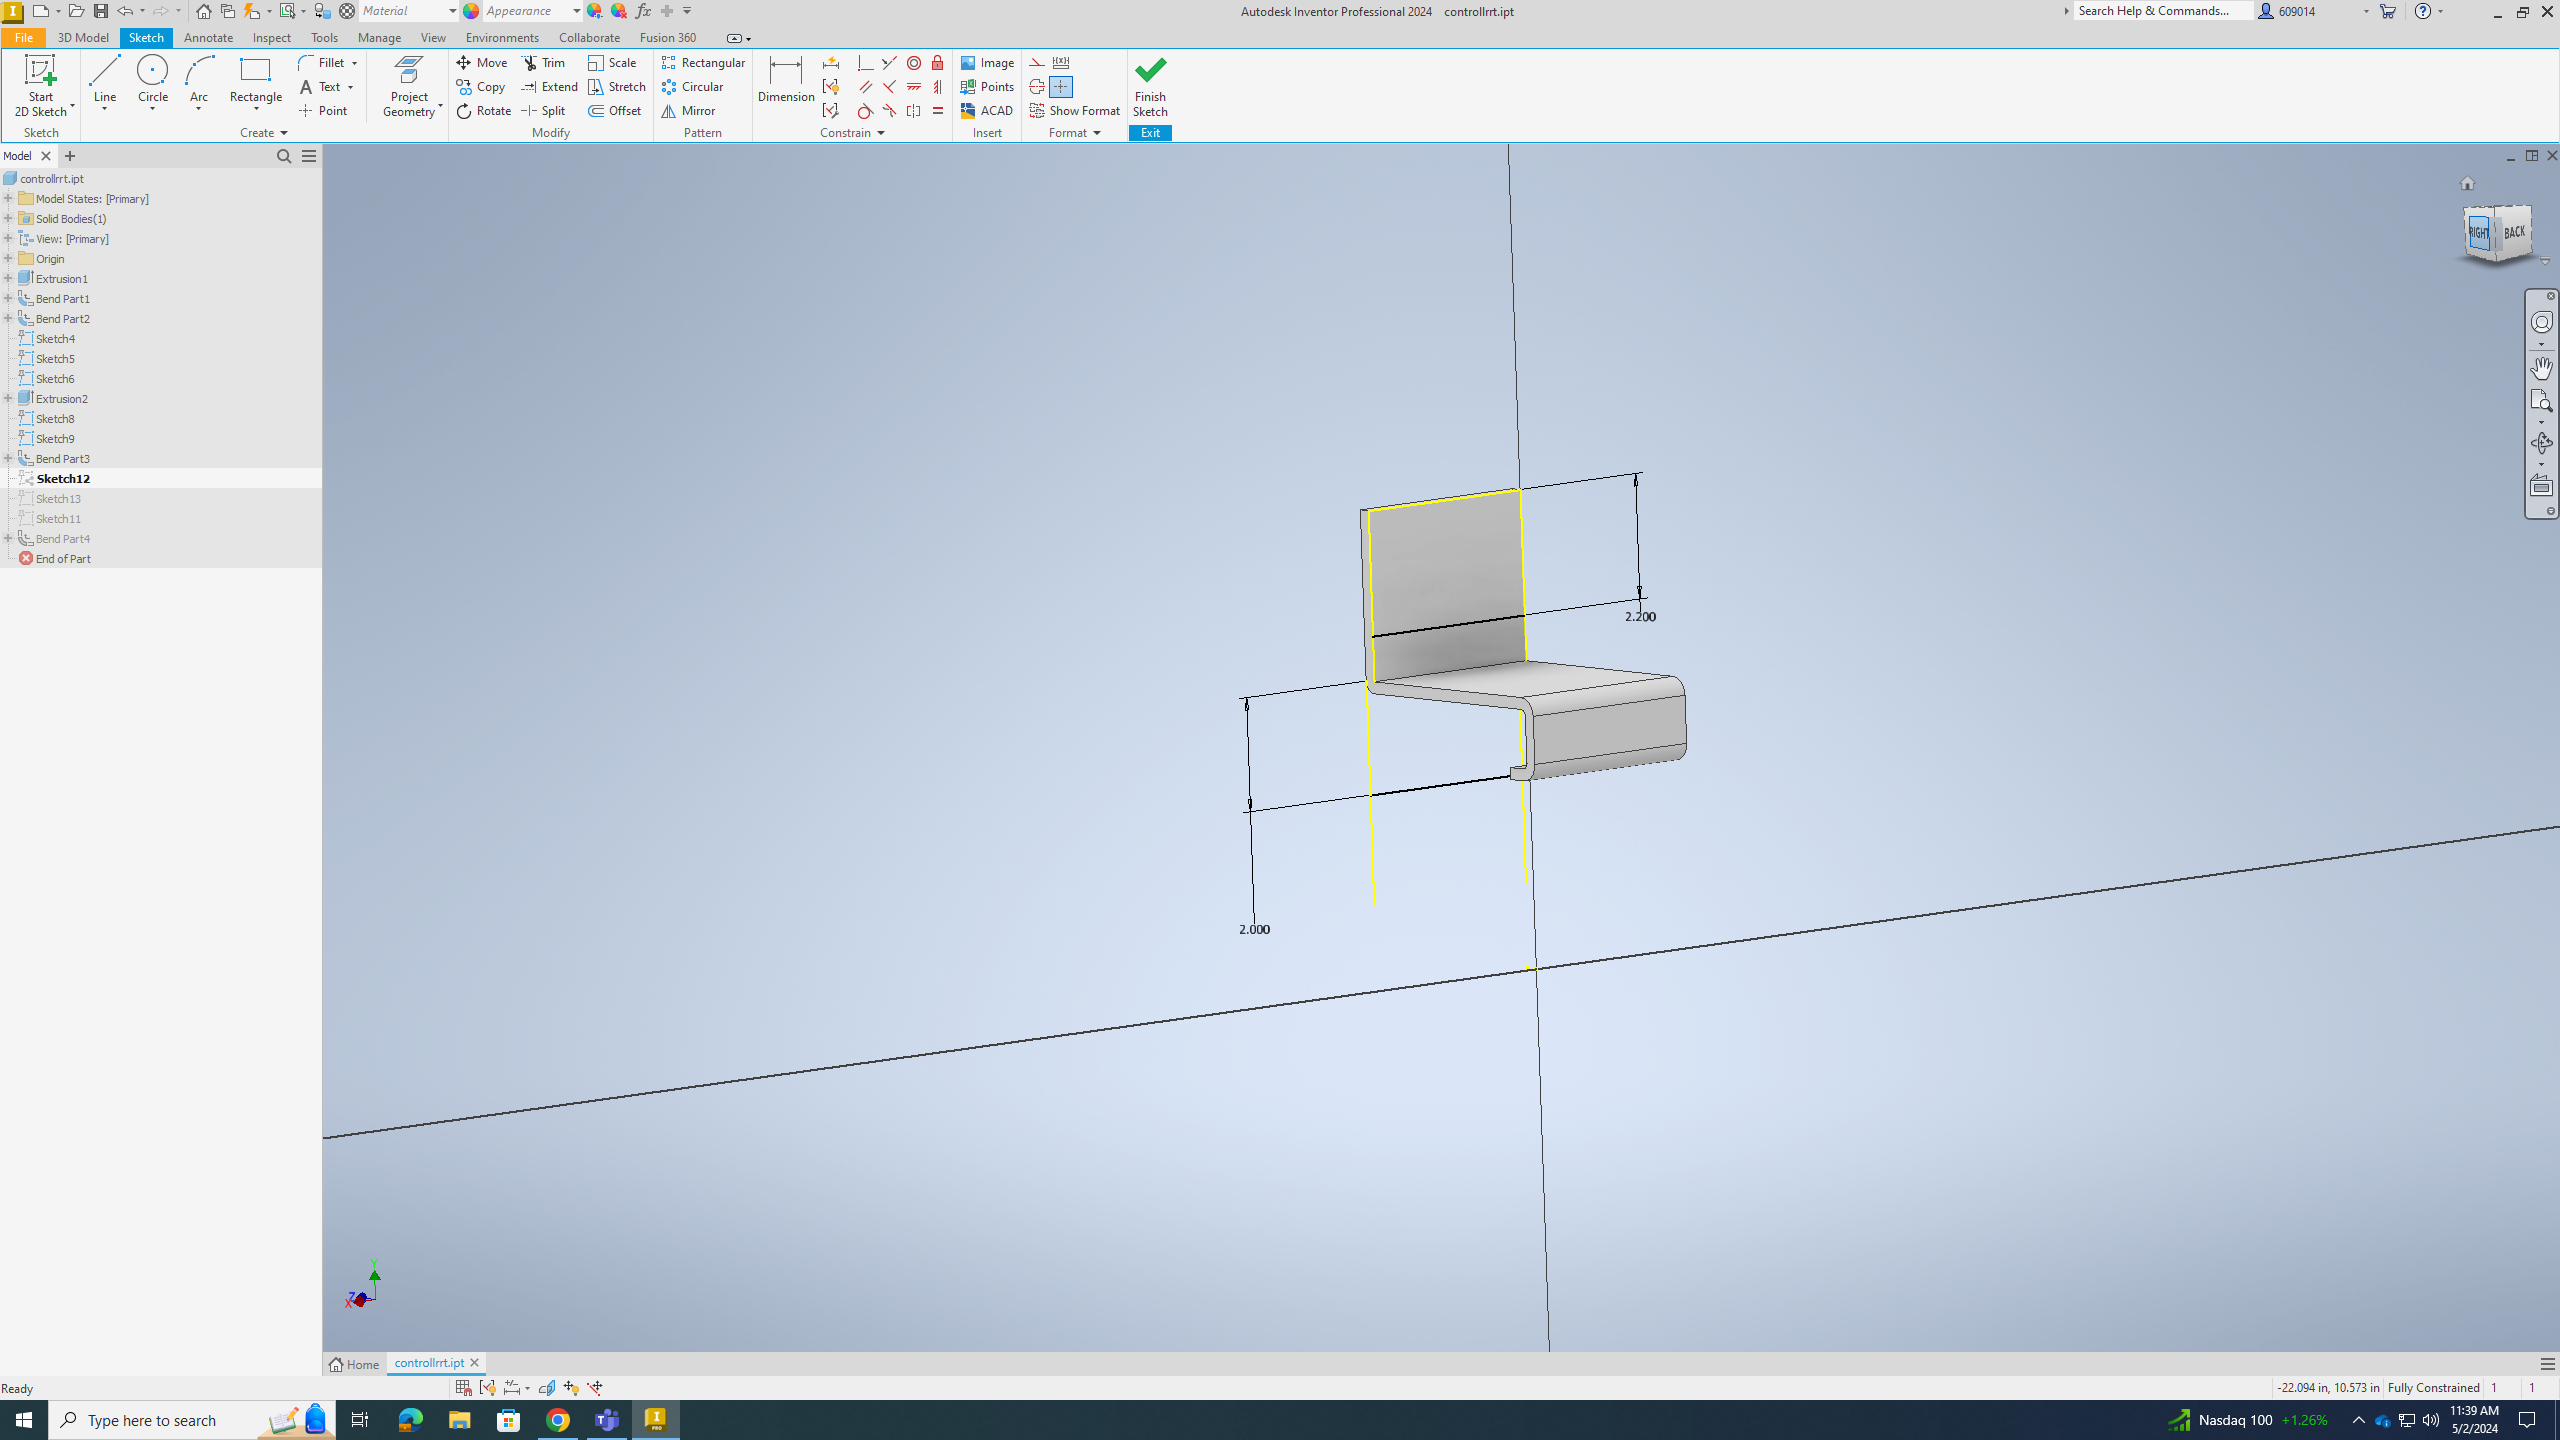
Sketch and Bend Part
.png)
.png)
Now add a sketch and draw a straight line across the back of the rectangle you just bent, and dimension it to 2.2 inches high. Then finally finish sketch and bend part to 90 degrees and 0 inches.
Finished Product
.png)
And now you're finished and made a 3D printed PlayStation 5 controller holder.