Plastic Sheet Stained Glass Mosaic
This mosaic is a perfect and beautiful decoration for your home and especially good for if you have kids and don't want it to break or as a gift for birthdays or Christmas. You can create any design you want with only a few simple steps and give a little splash of color to your room.
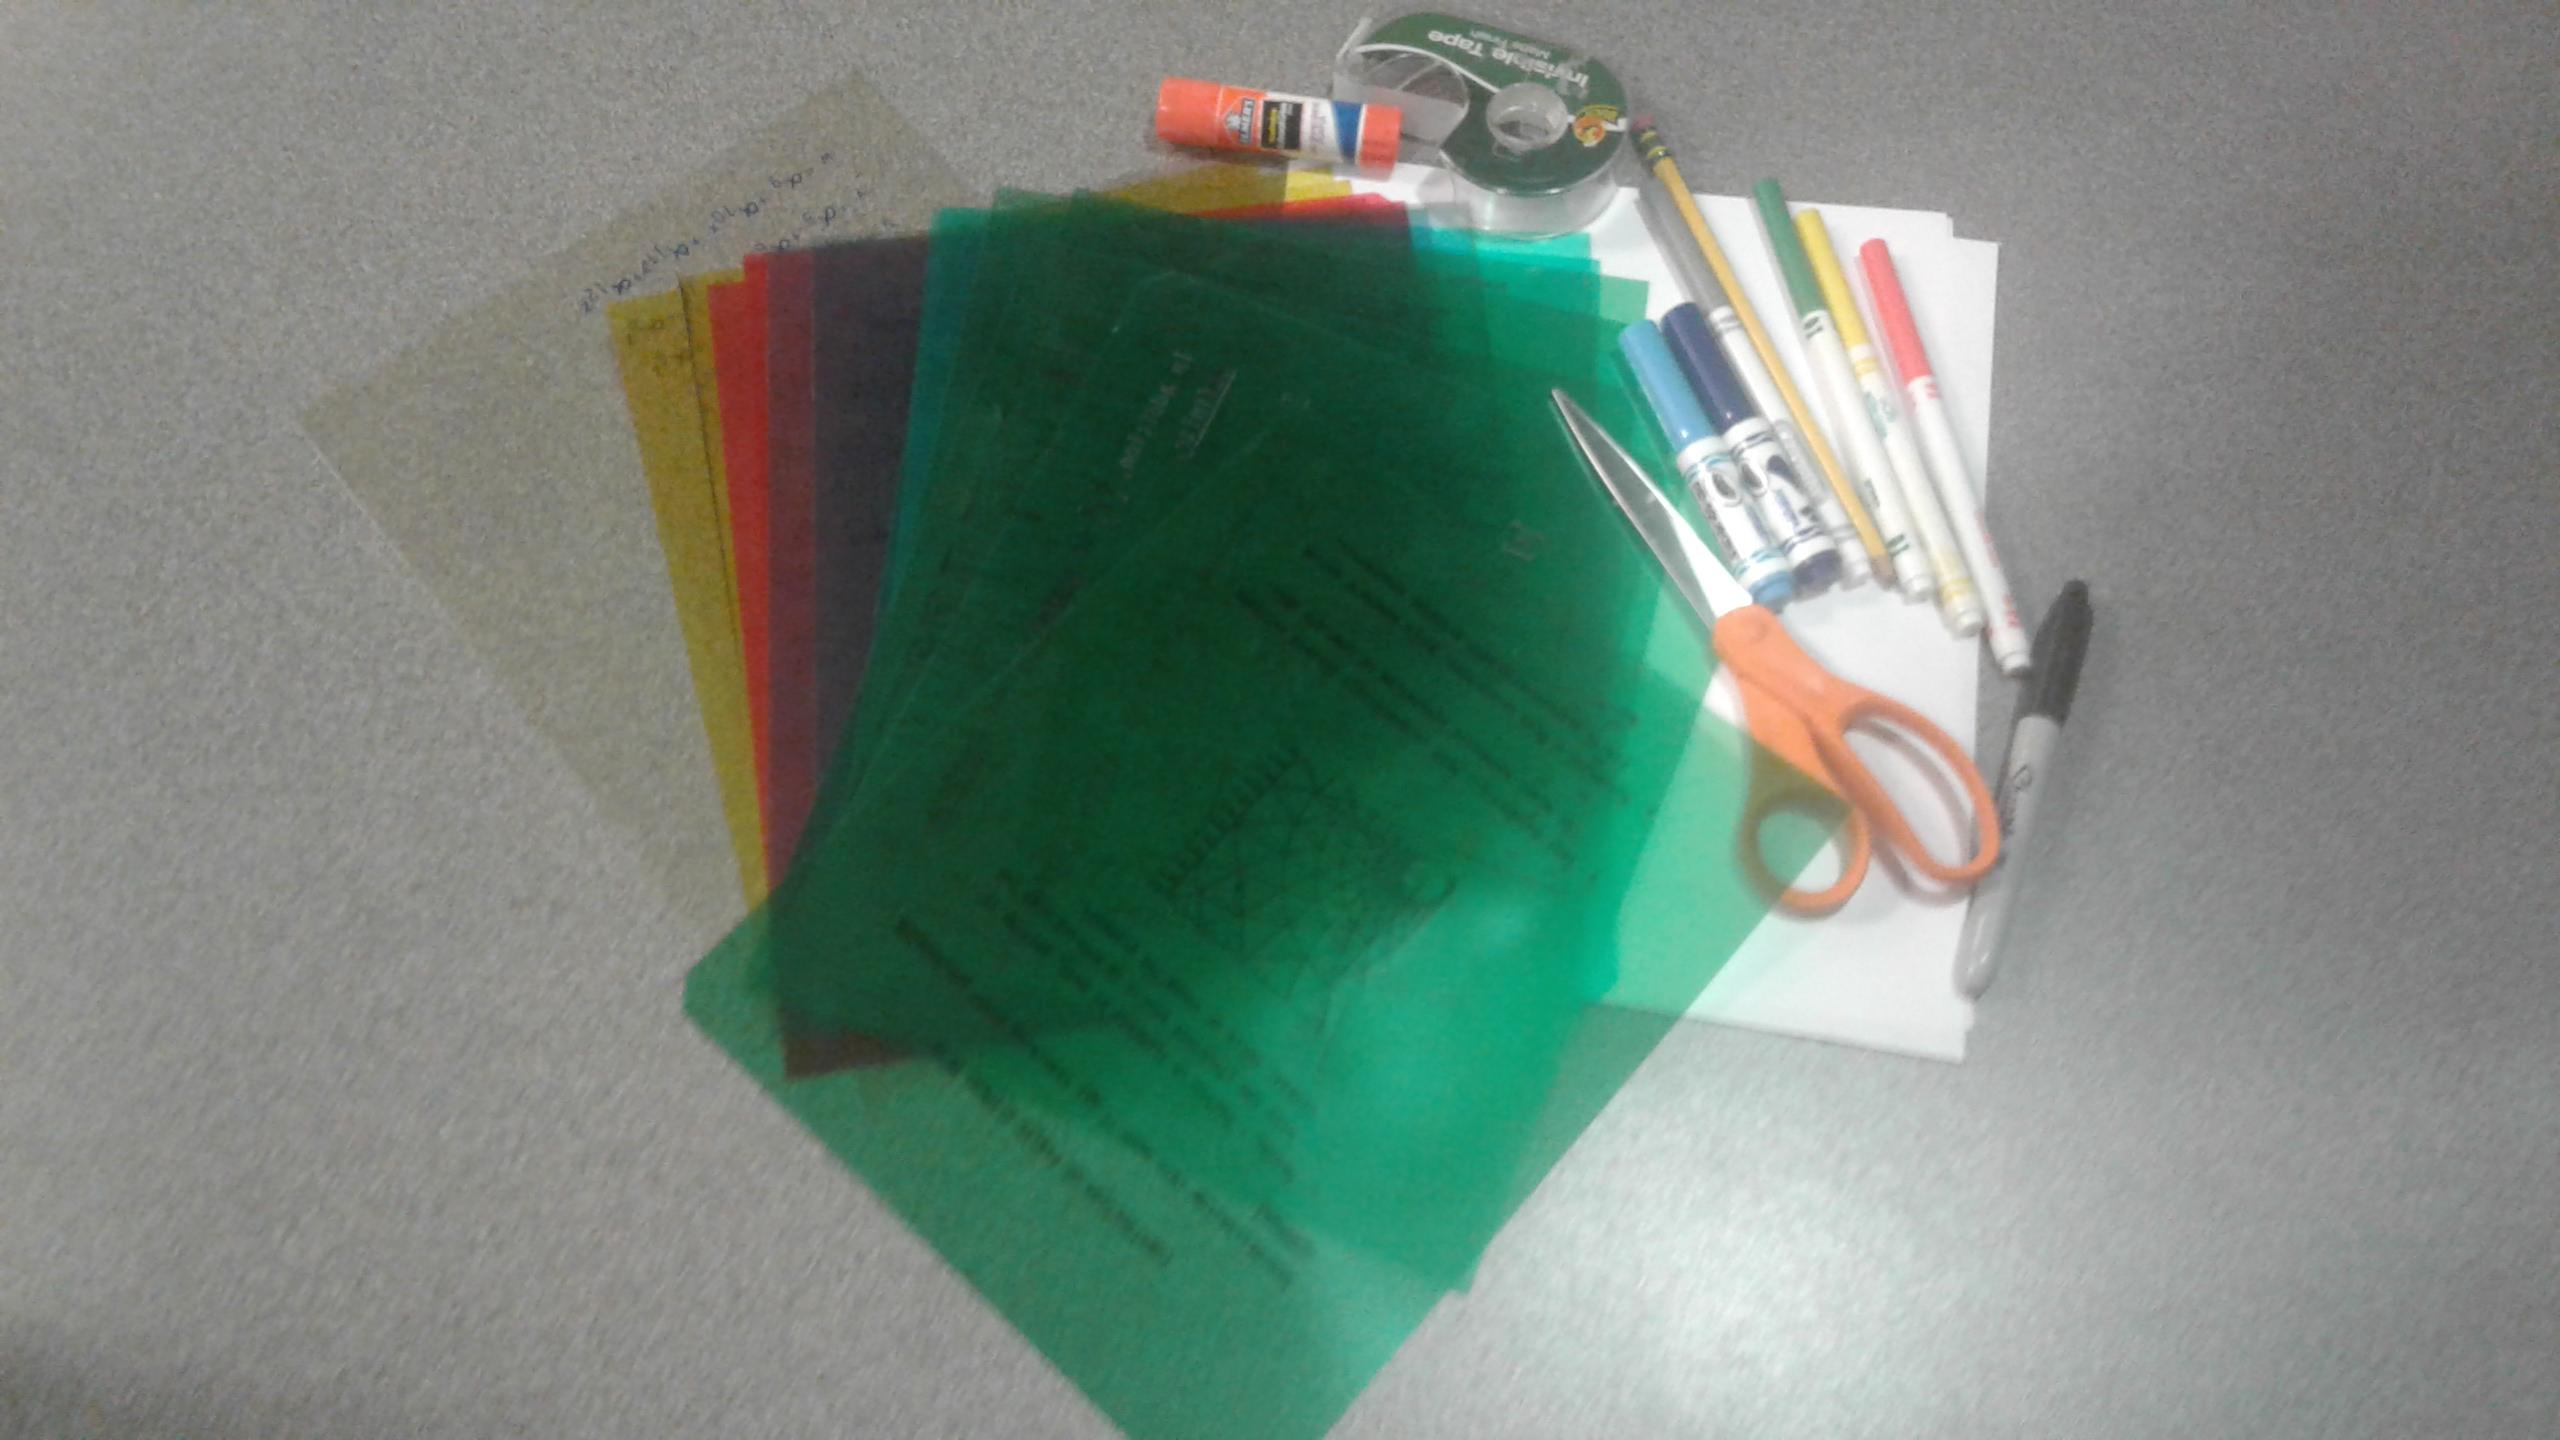
Supplies
- Colored 8.5" by 11" plastic sheets (or any flat easy to cut colored plastic)
- 2x clear 8.5" by 11" plastic sheets
- Picture Frame or old torn canvas
- Large paper clip (optional)
- Nail (optional)
- Glue
- Scissors
Gather Materials
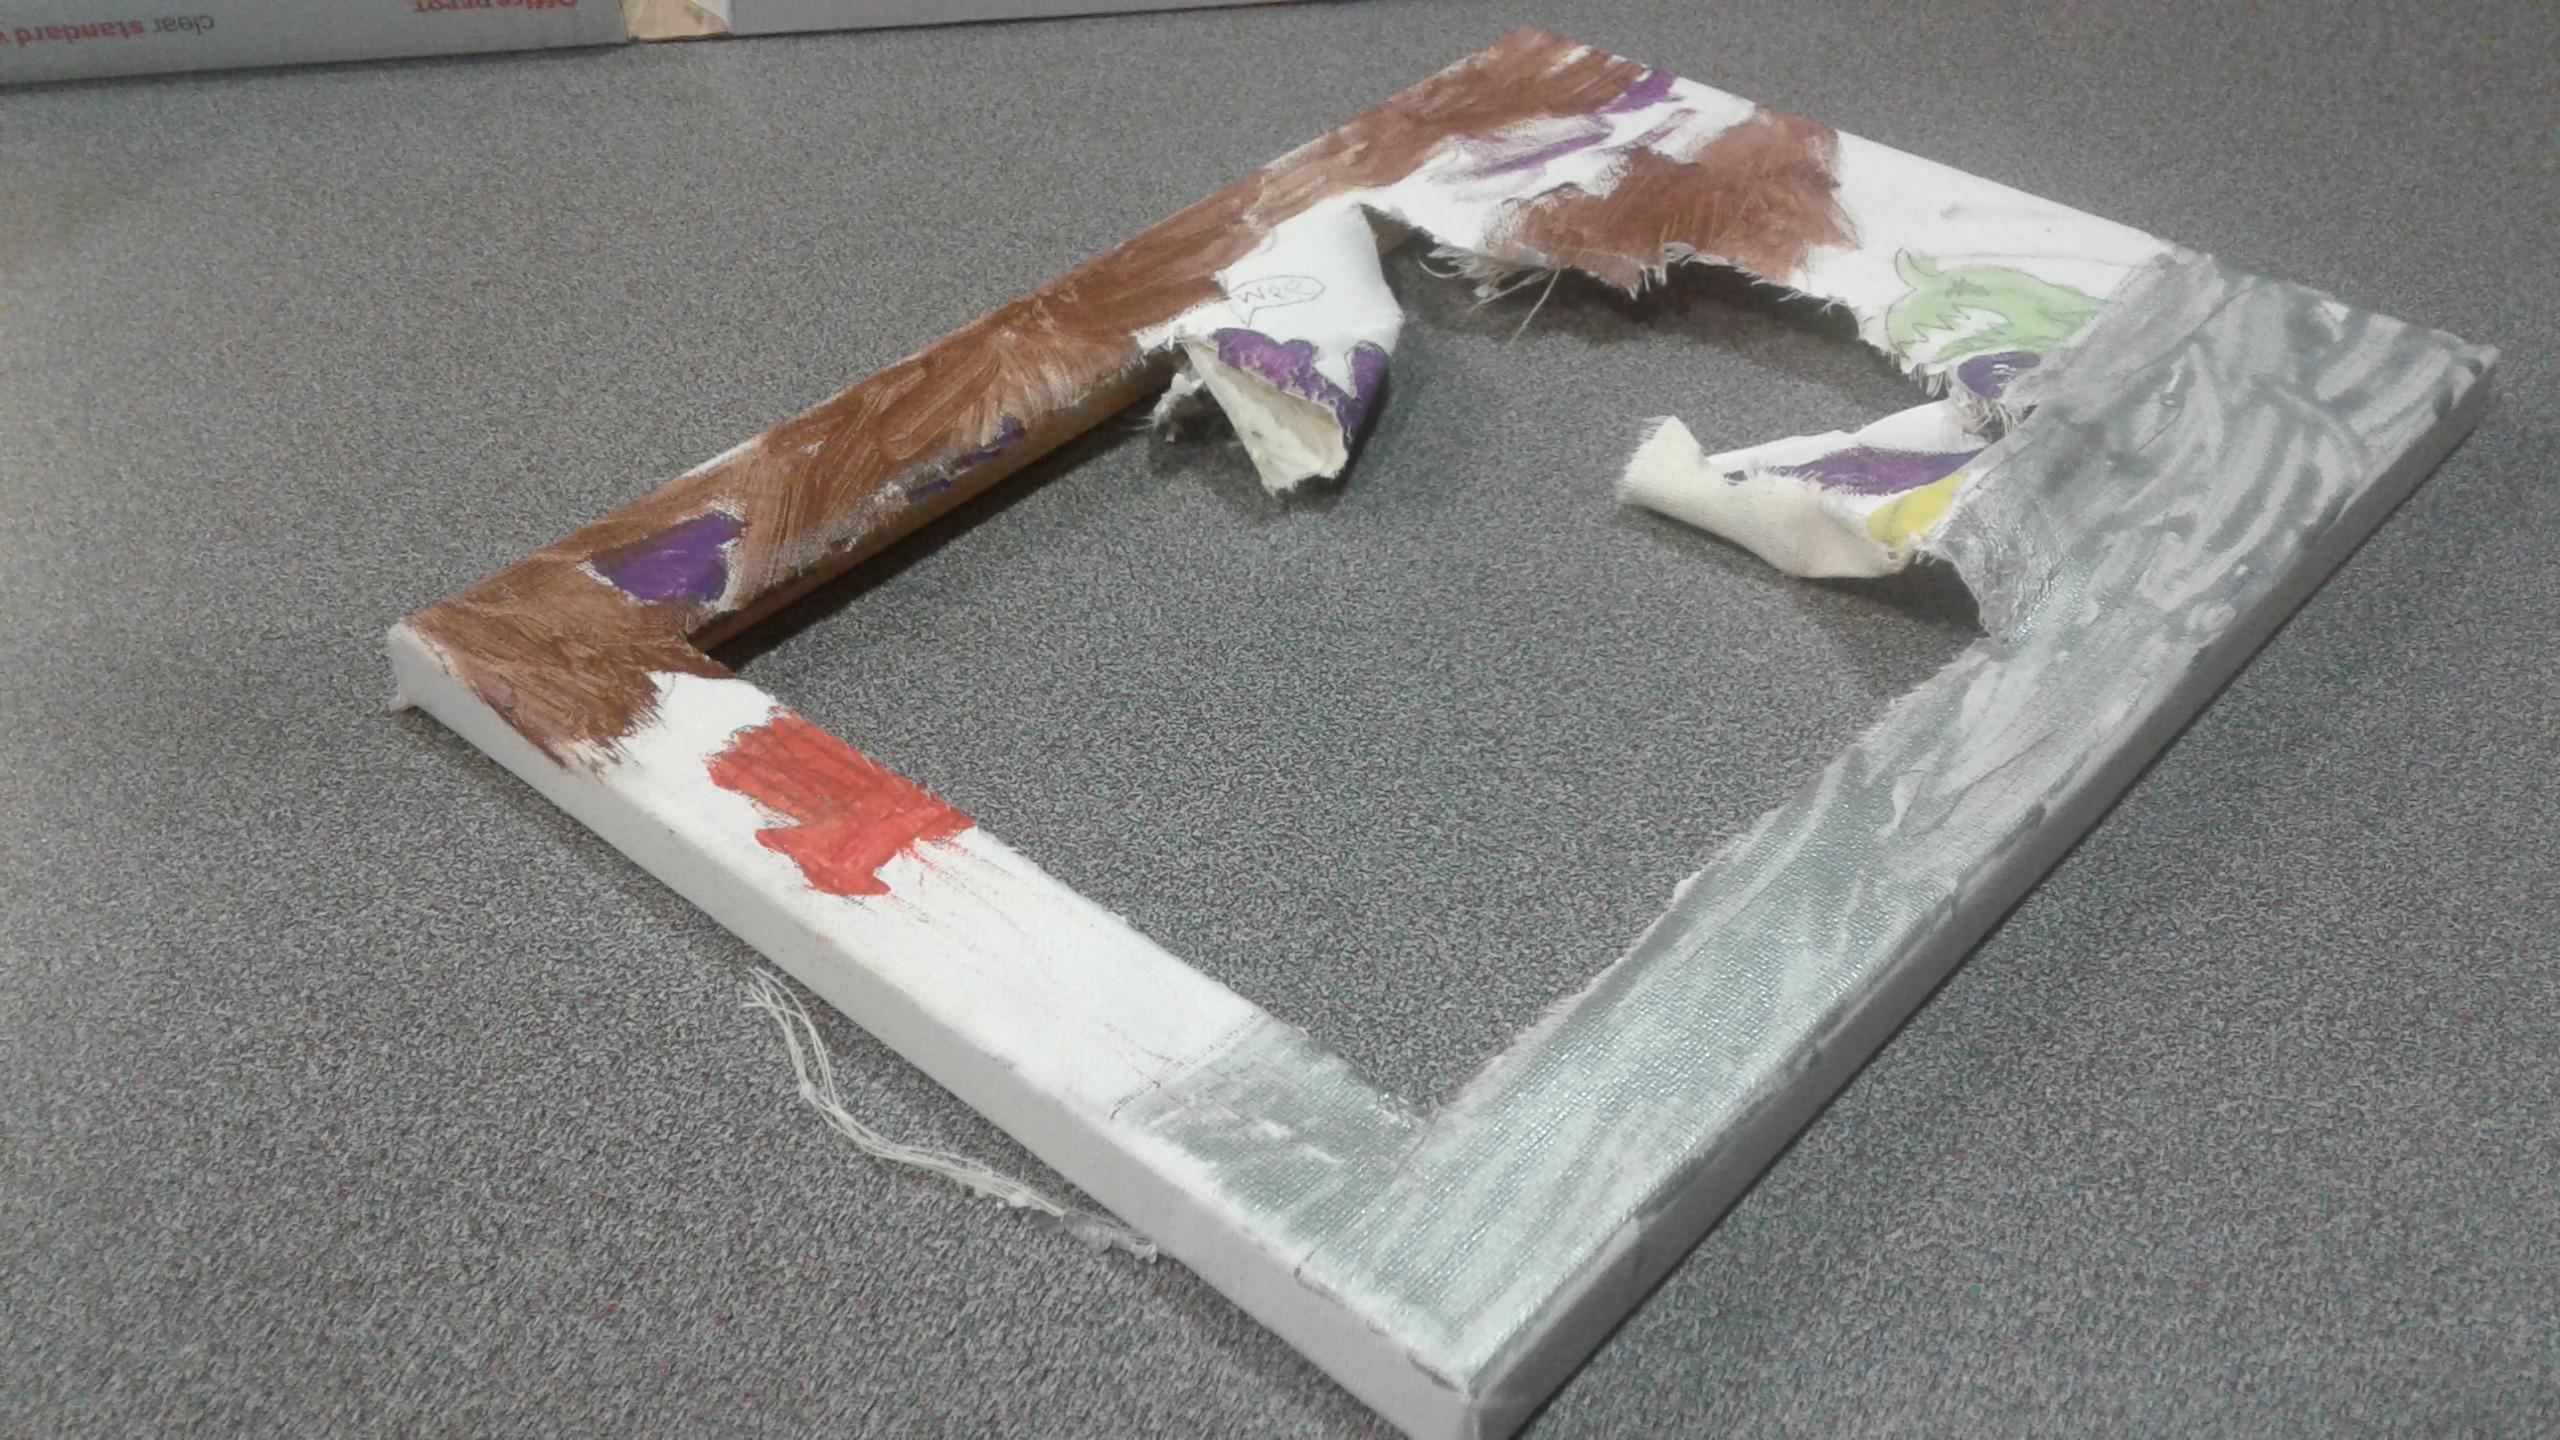
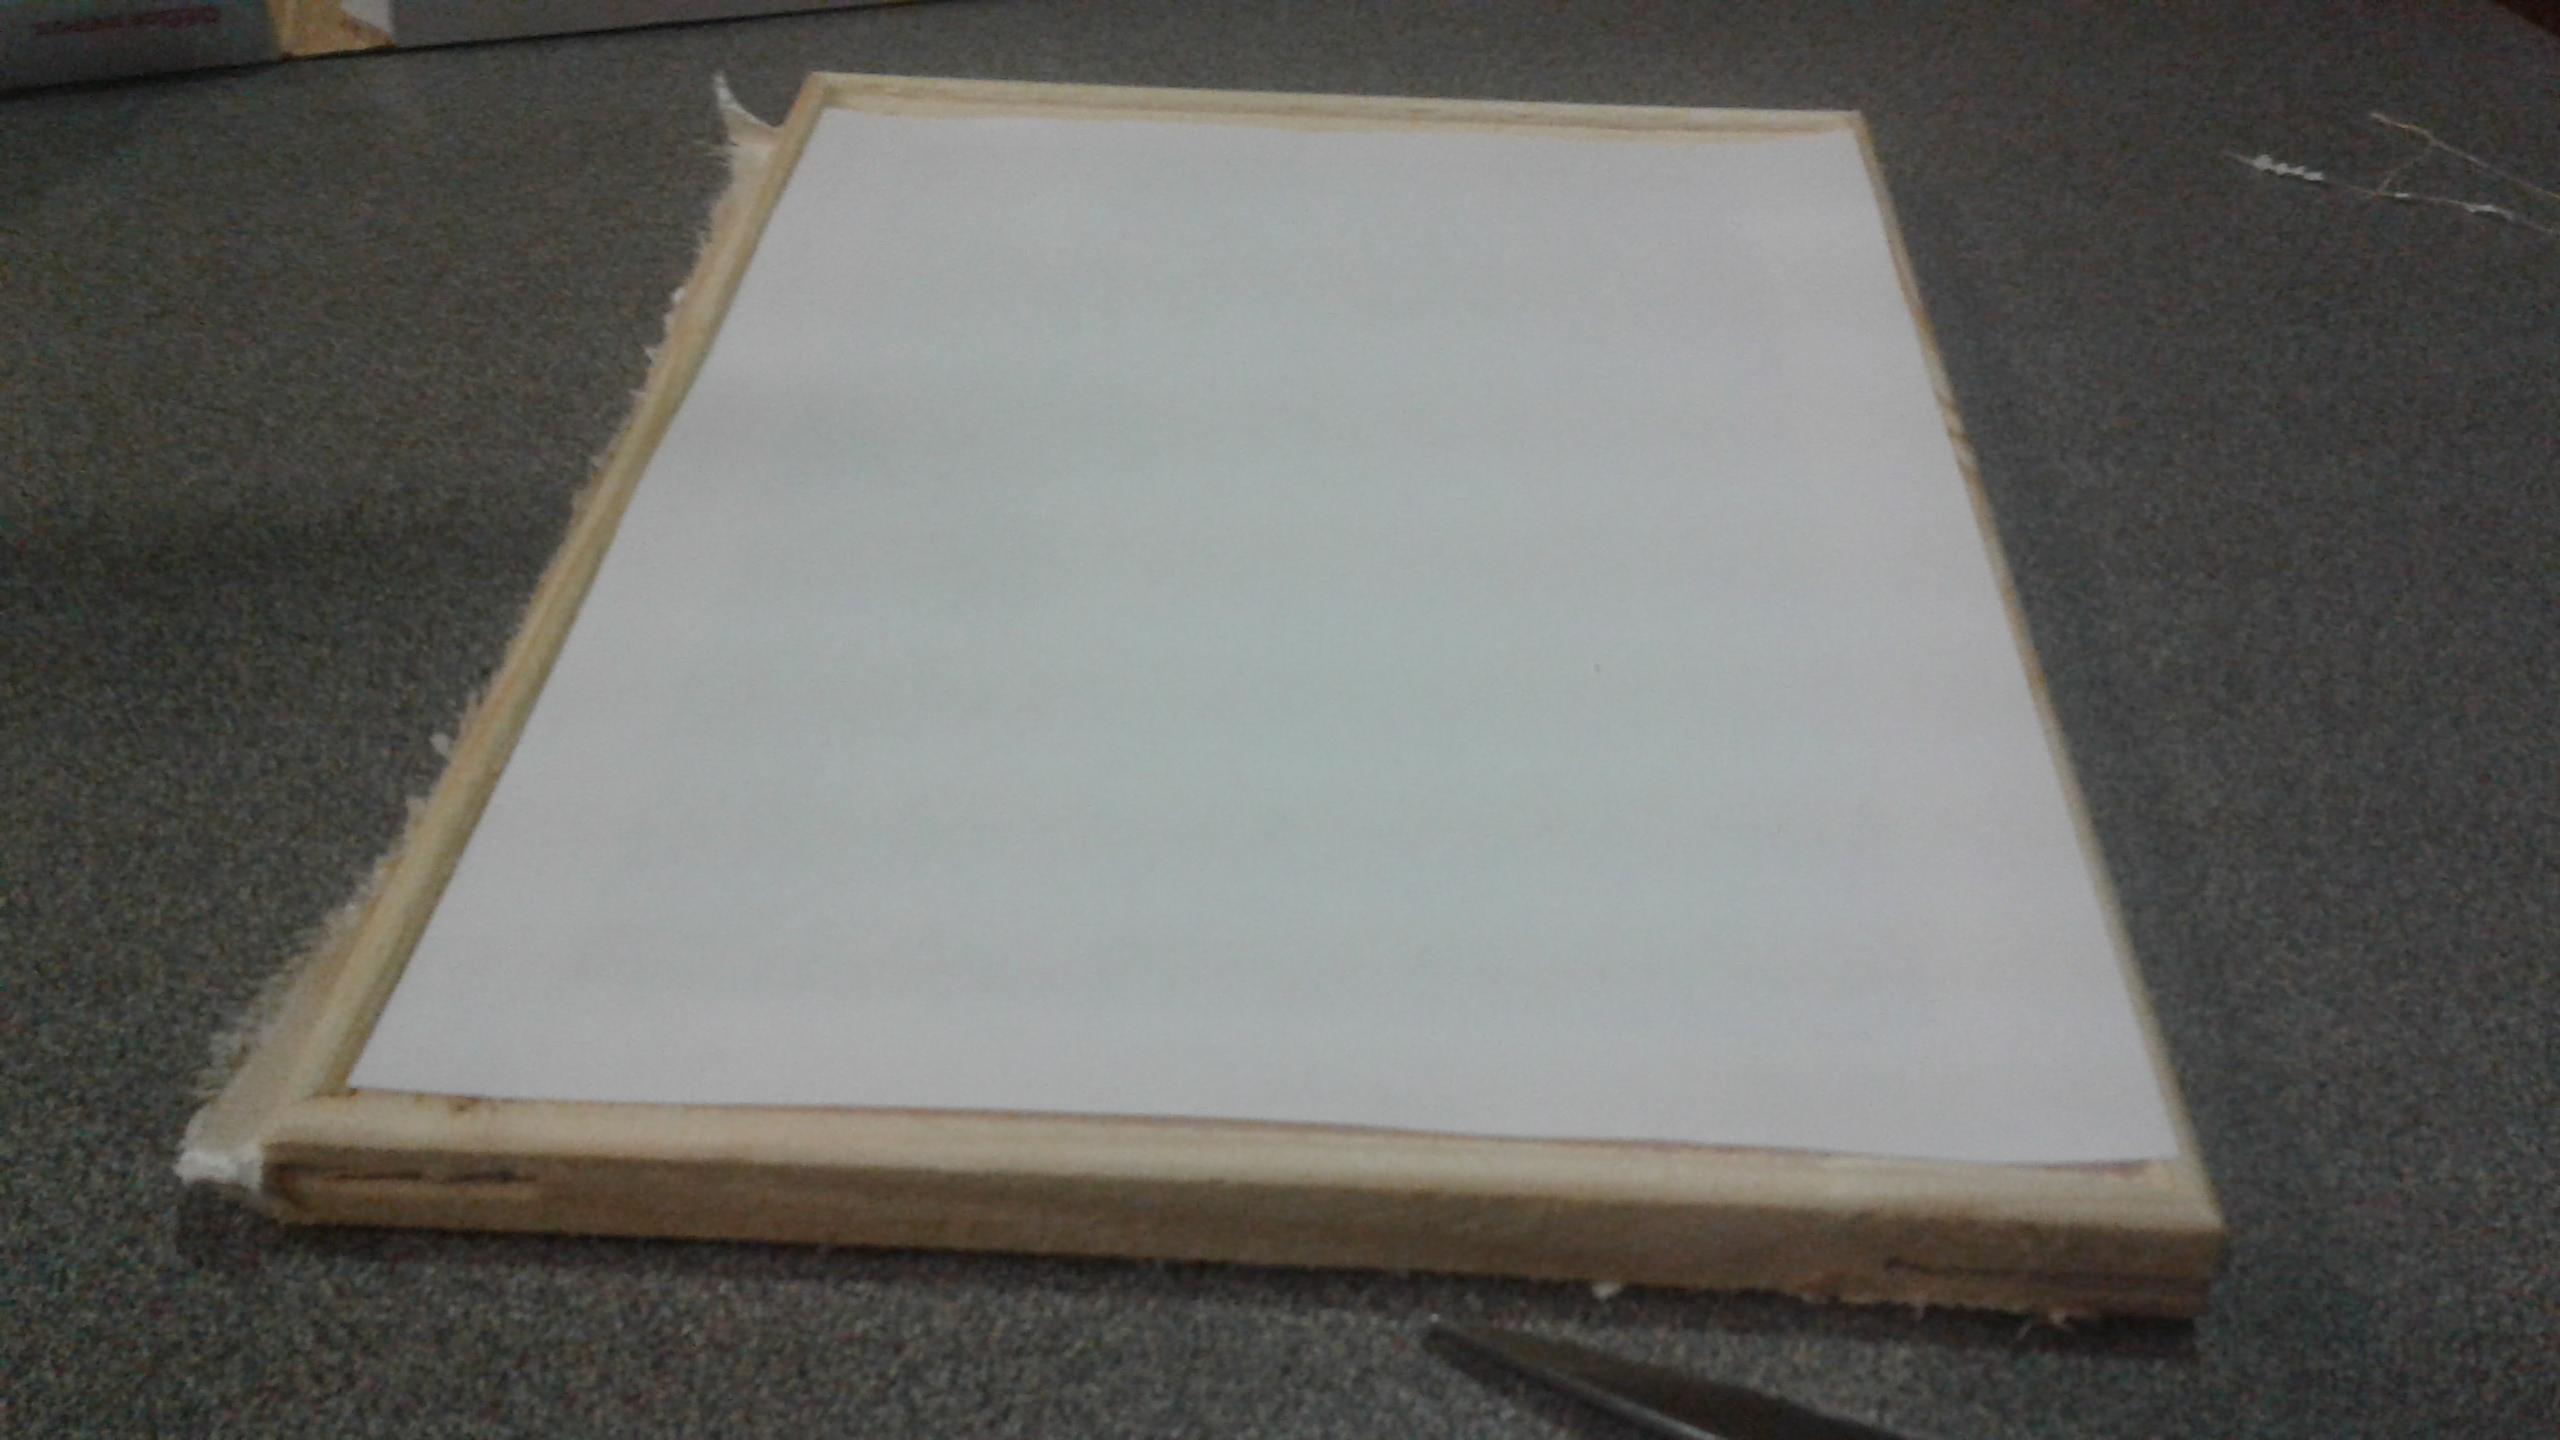
I used an old canvas for this project but any picture frame of the same size works great as well
Remove Canvas
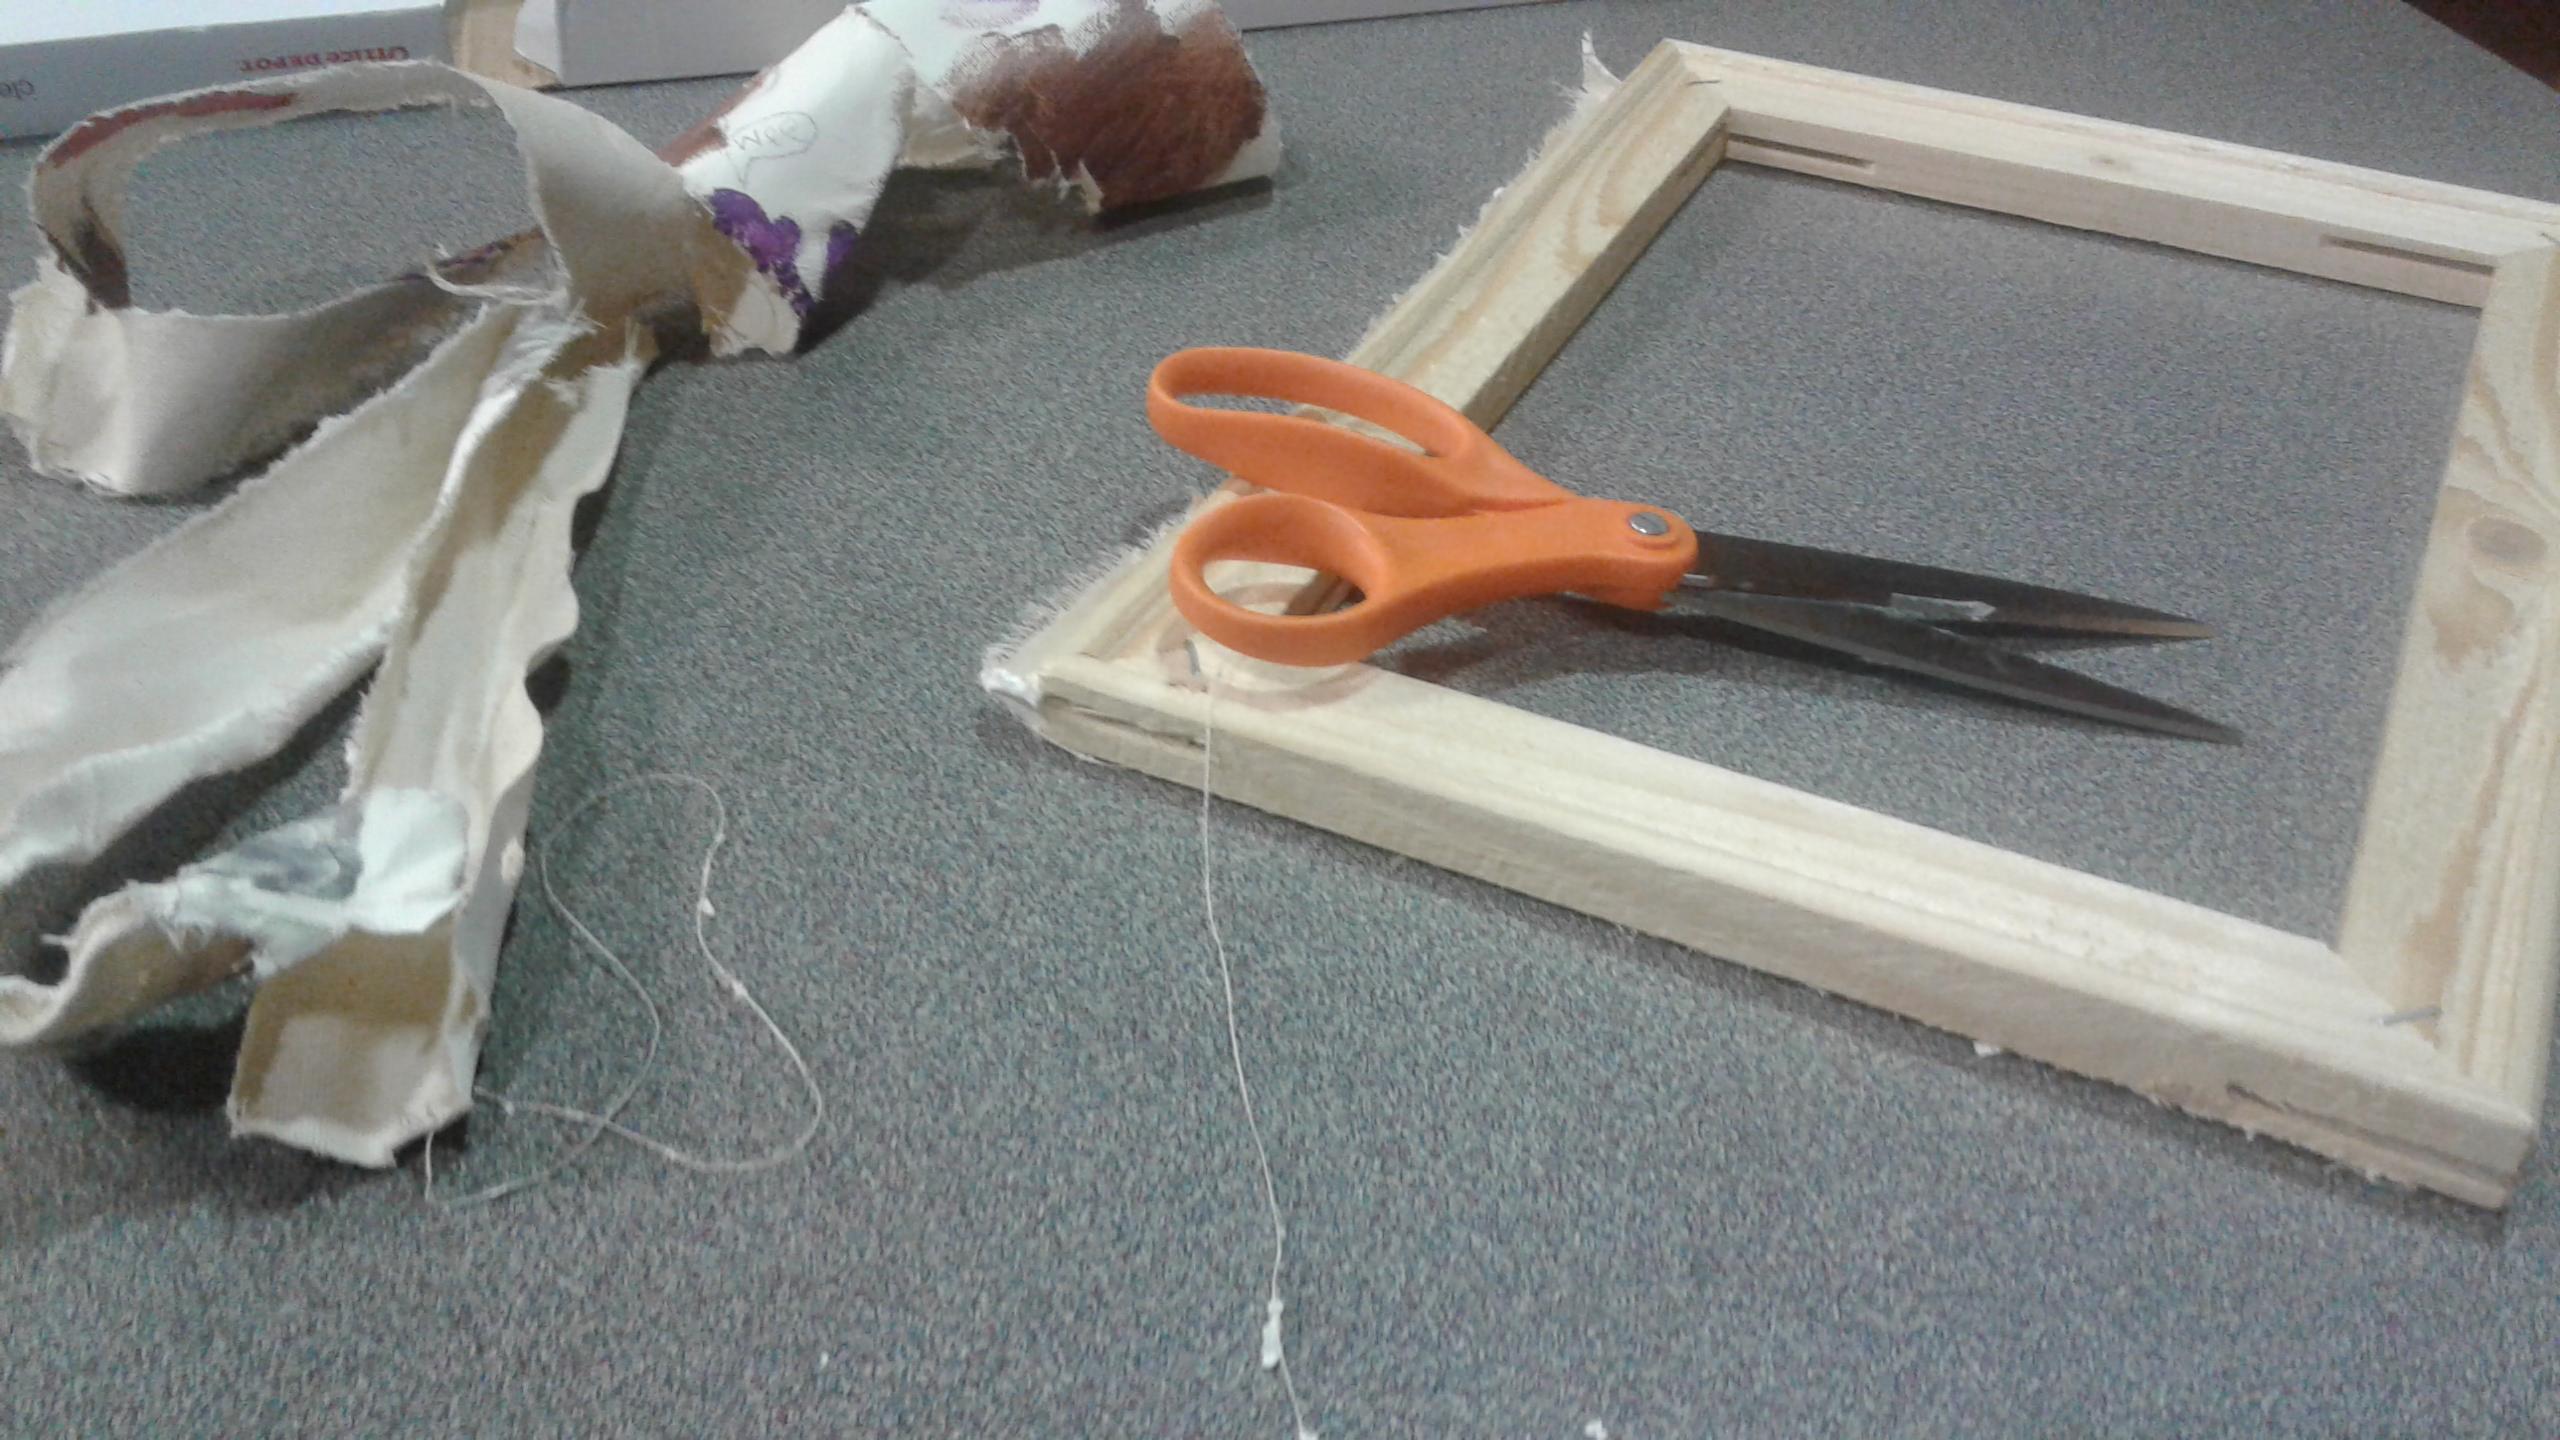
This step is only if you choose to use an old canvas if using a picture frame skip this step.
Fit Paper
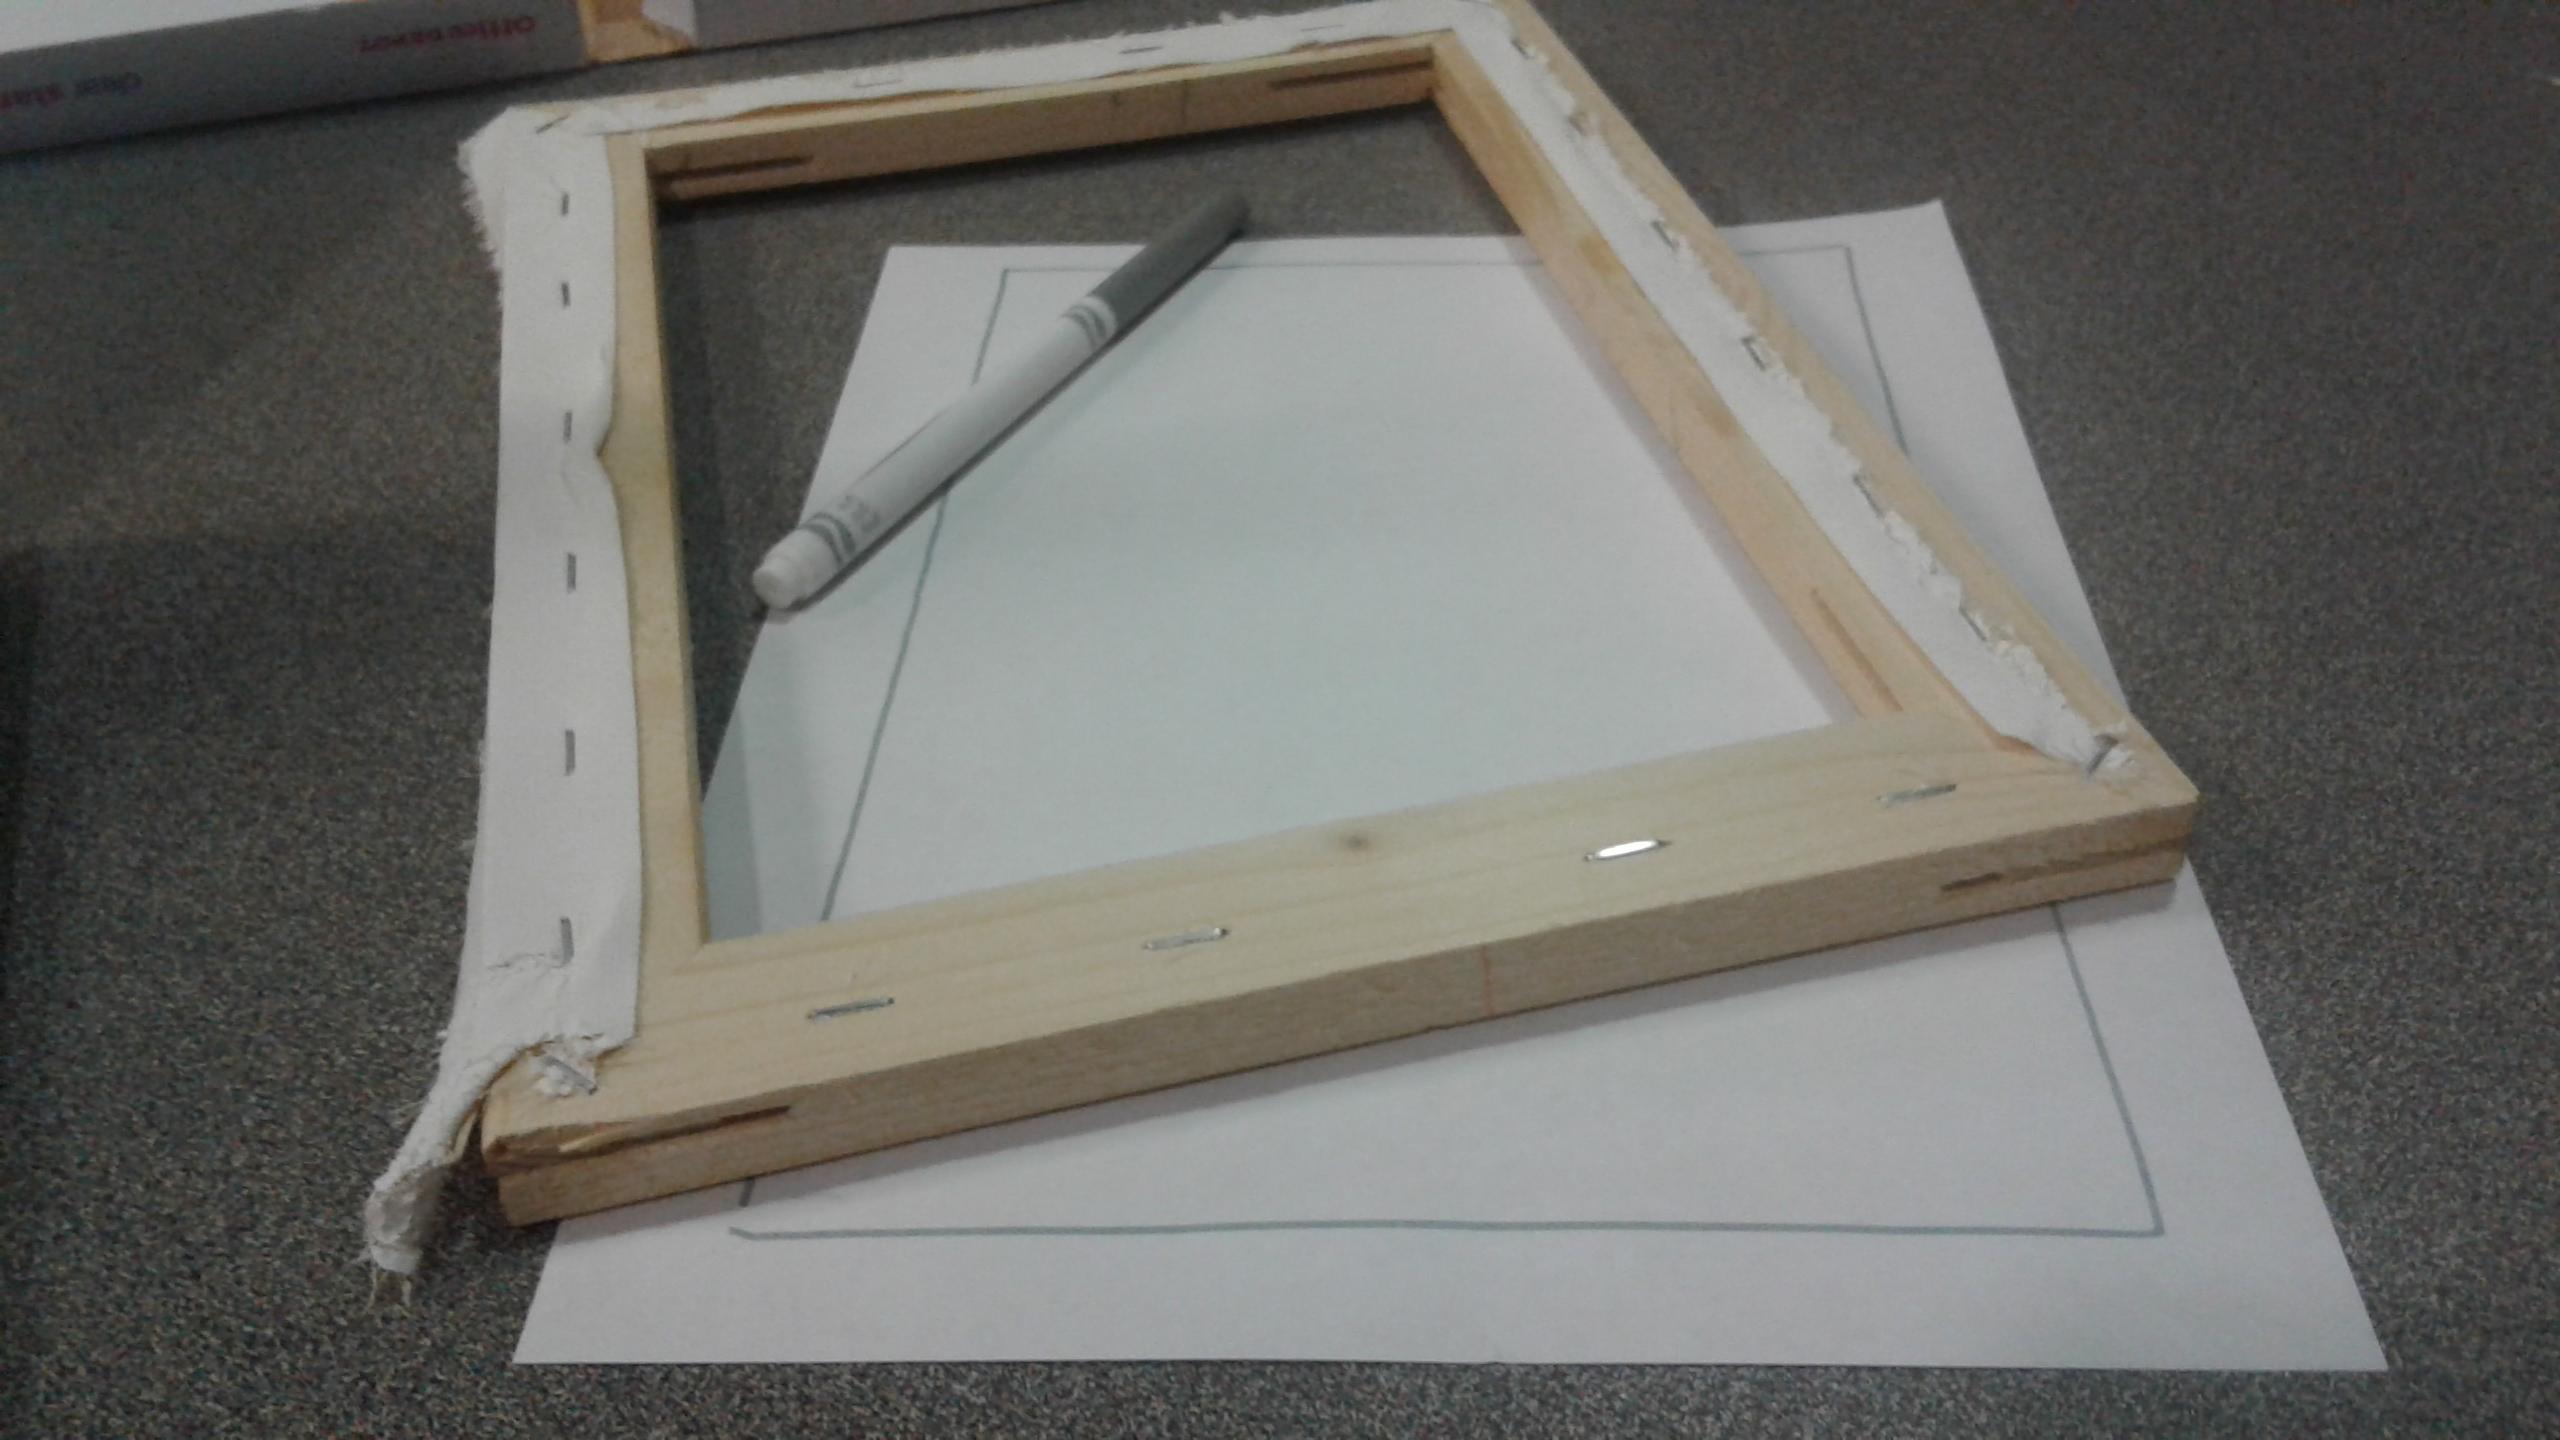
First make sure that your frame is the correct size then flip it over and draw the opening on the sheet of paper so that you know how large to make the image.
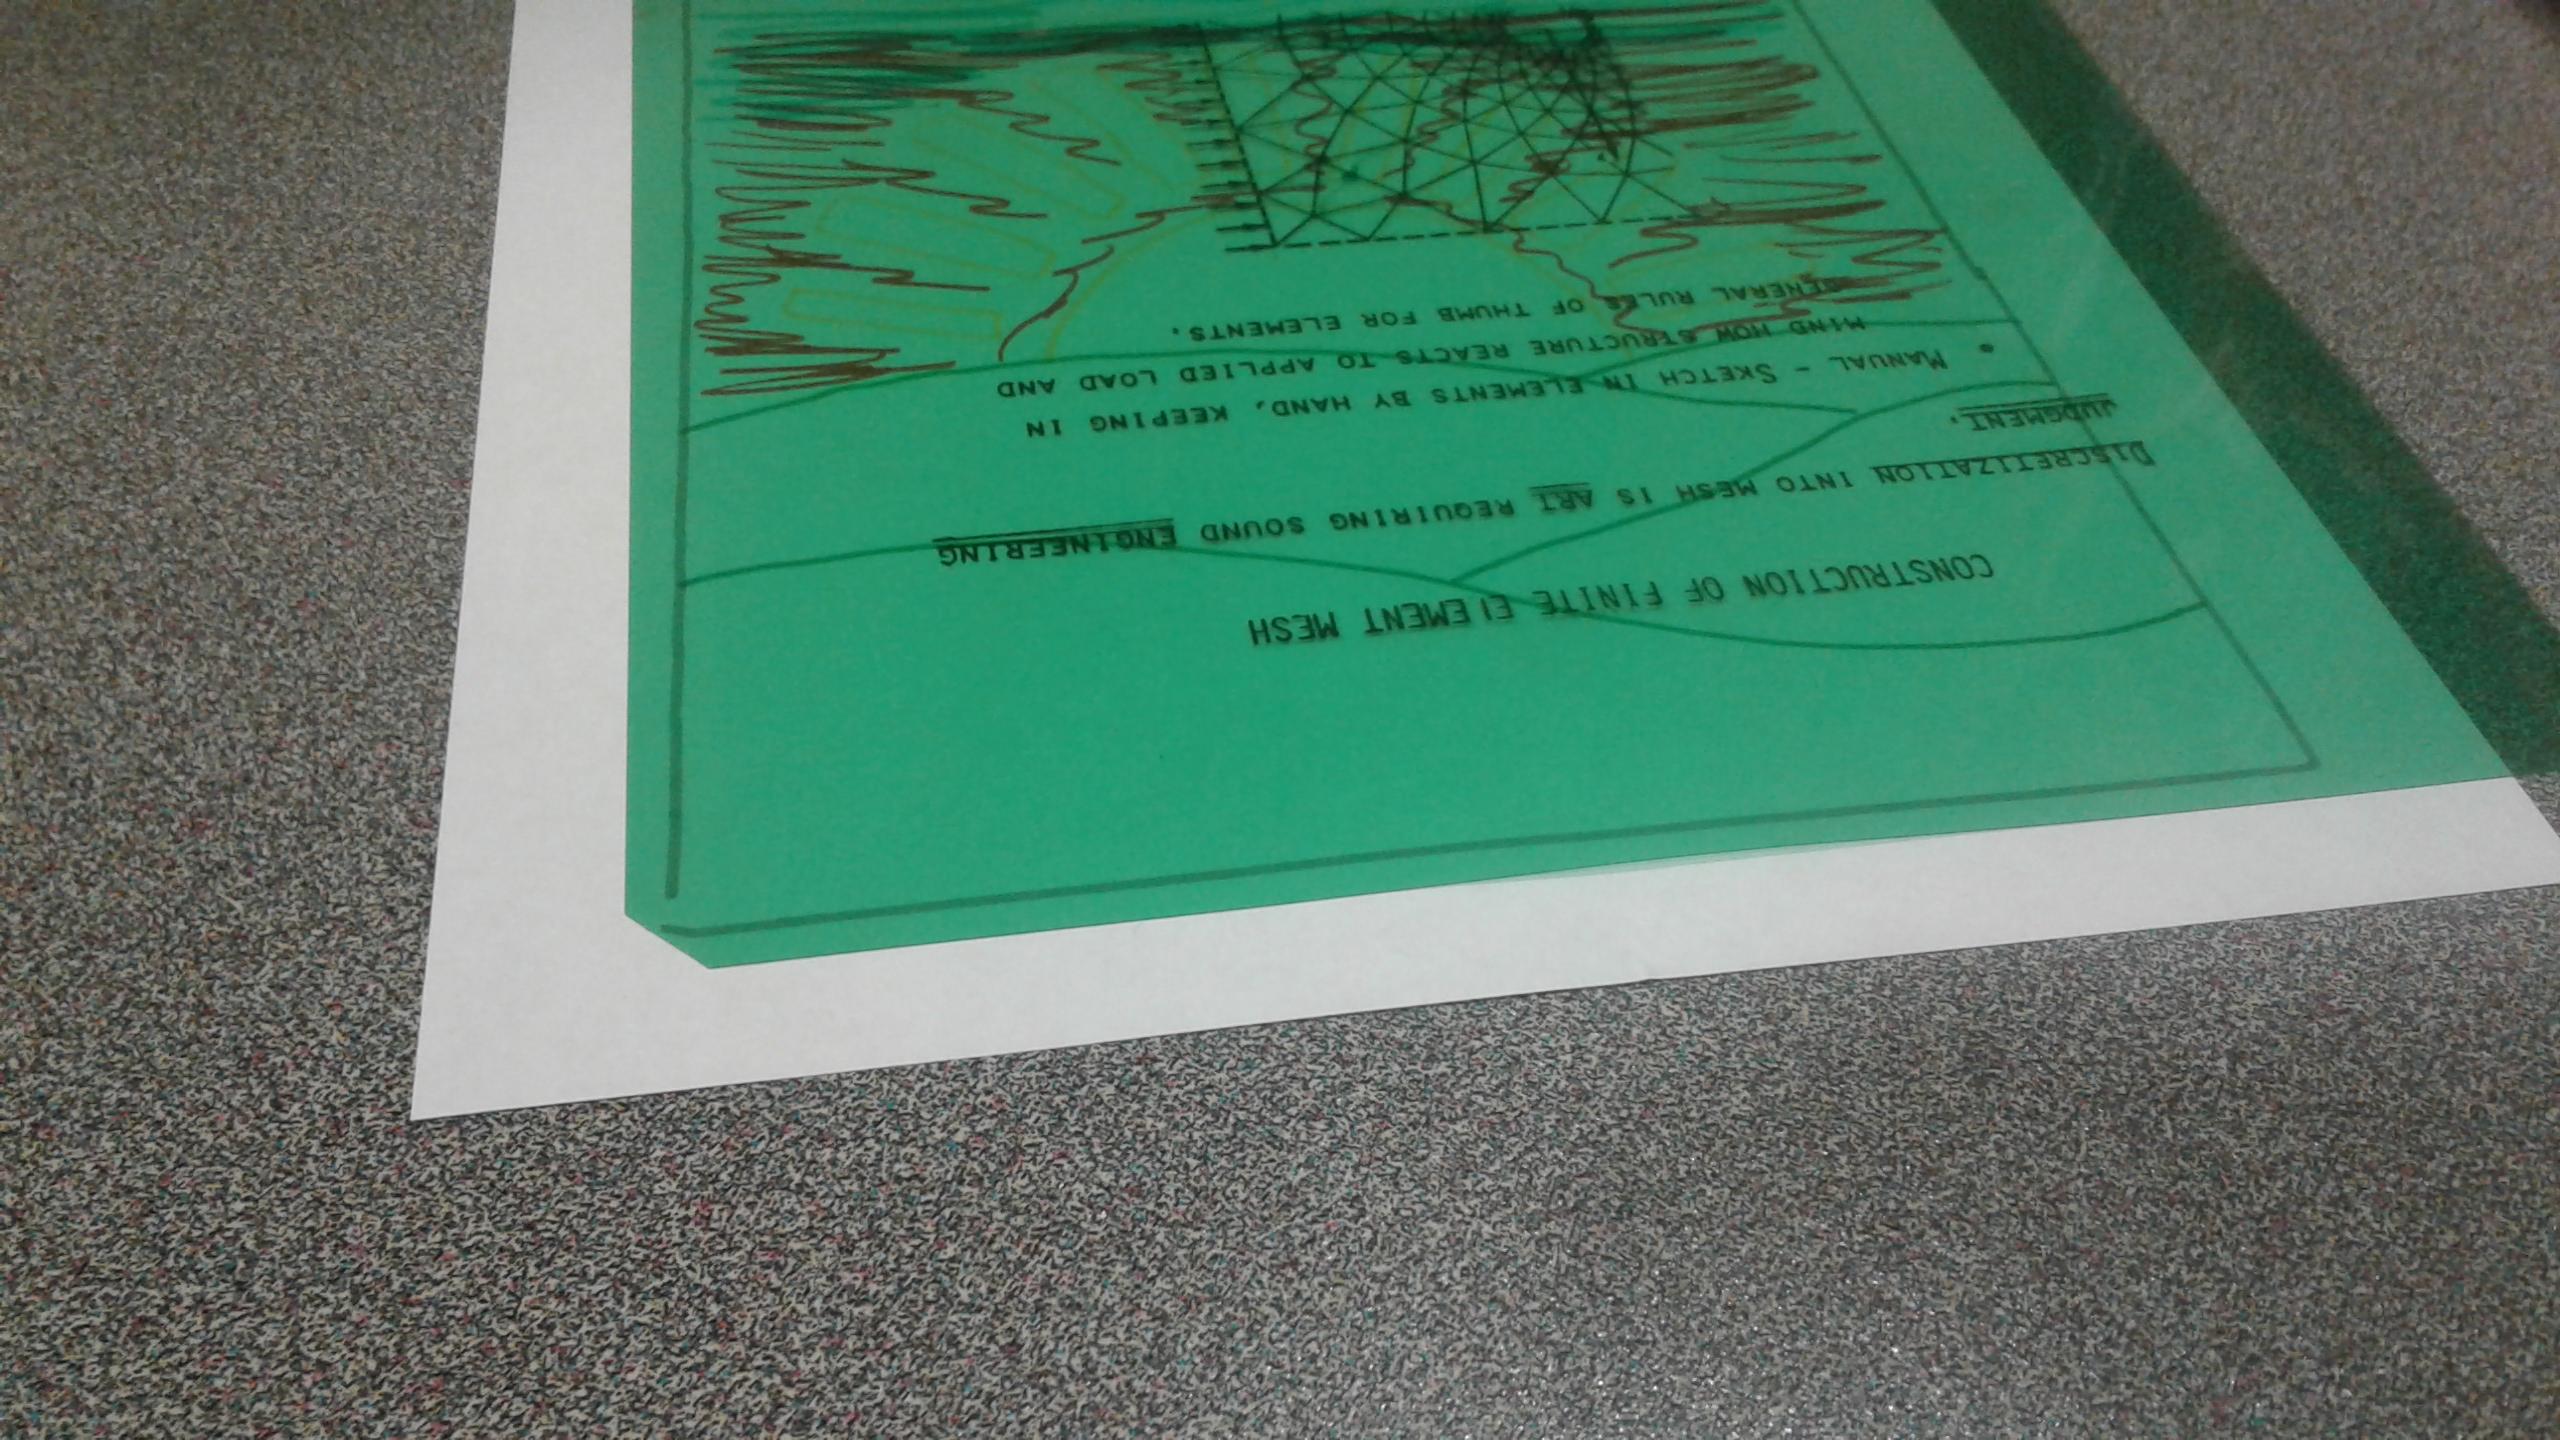
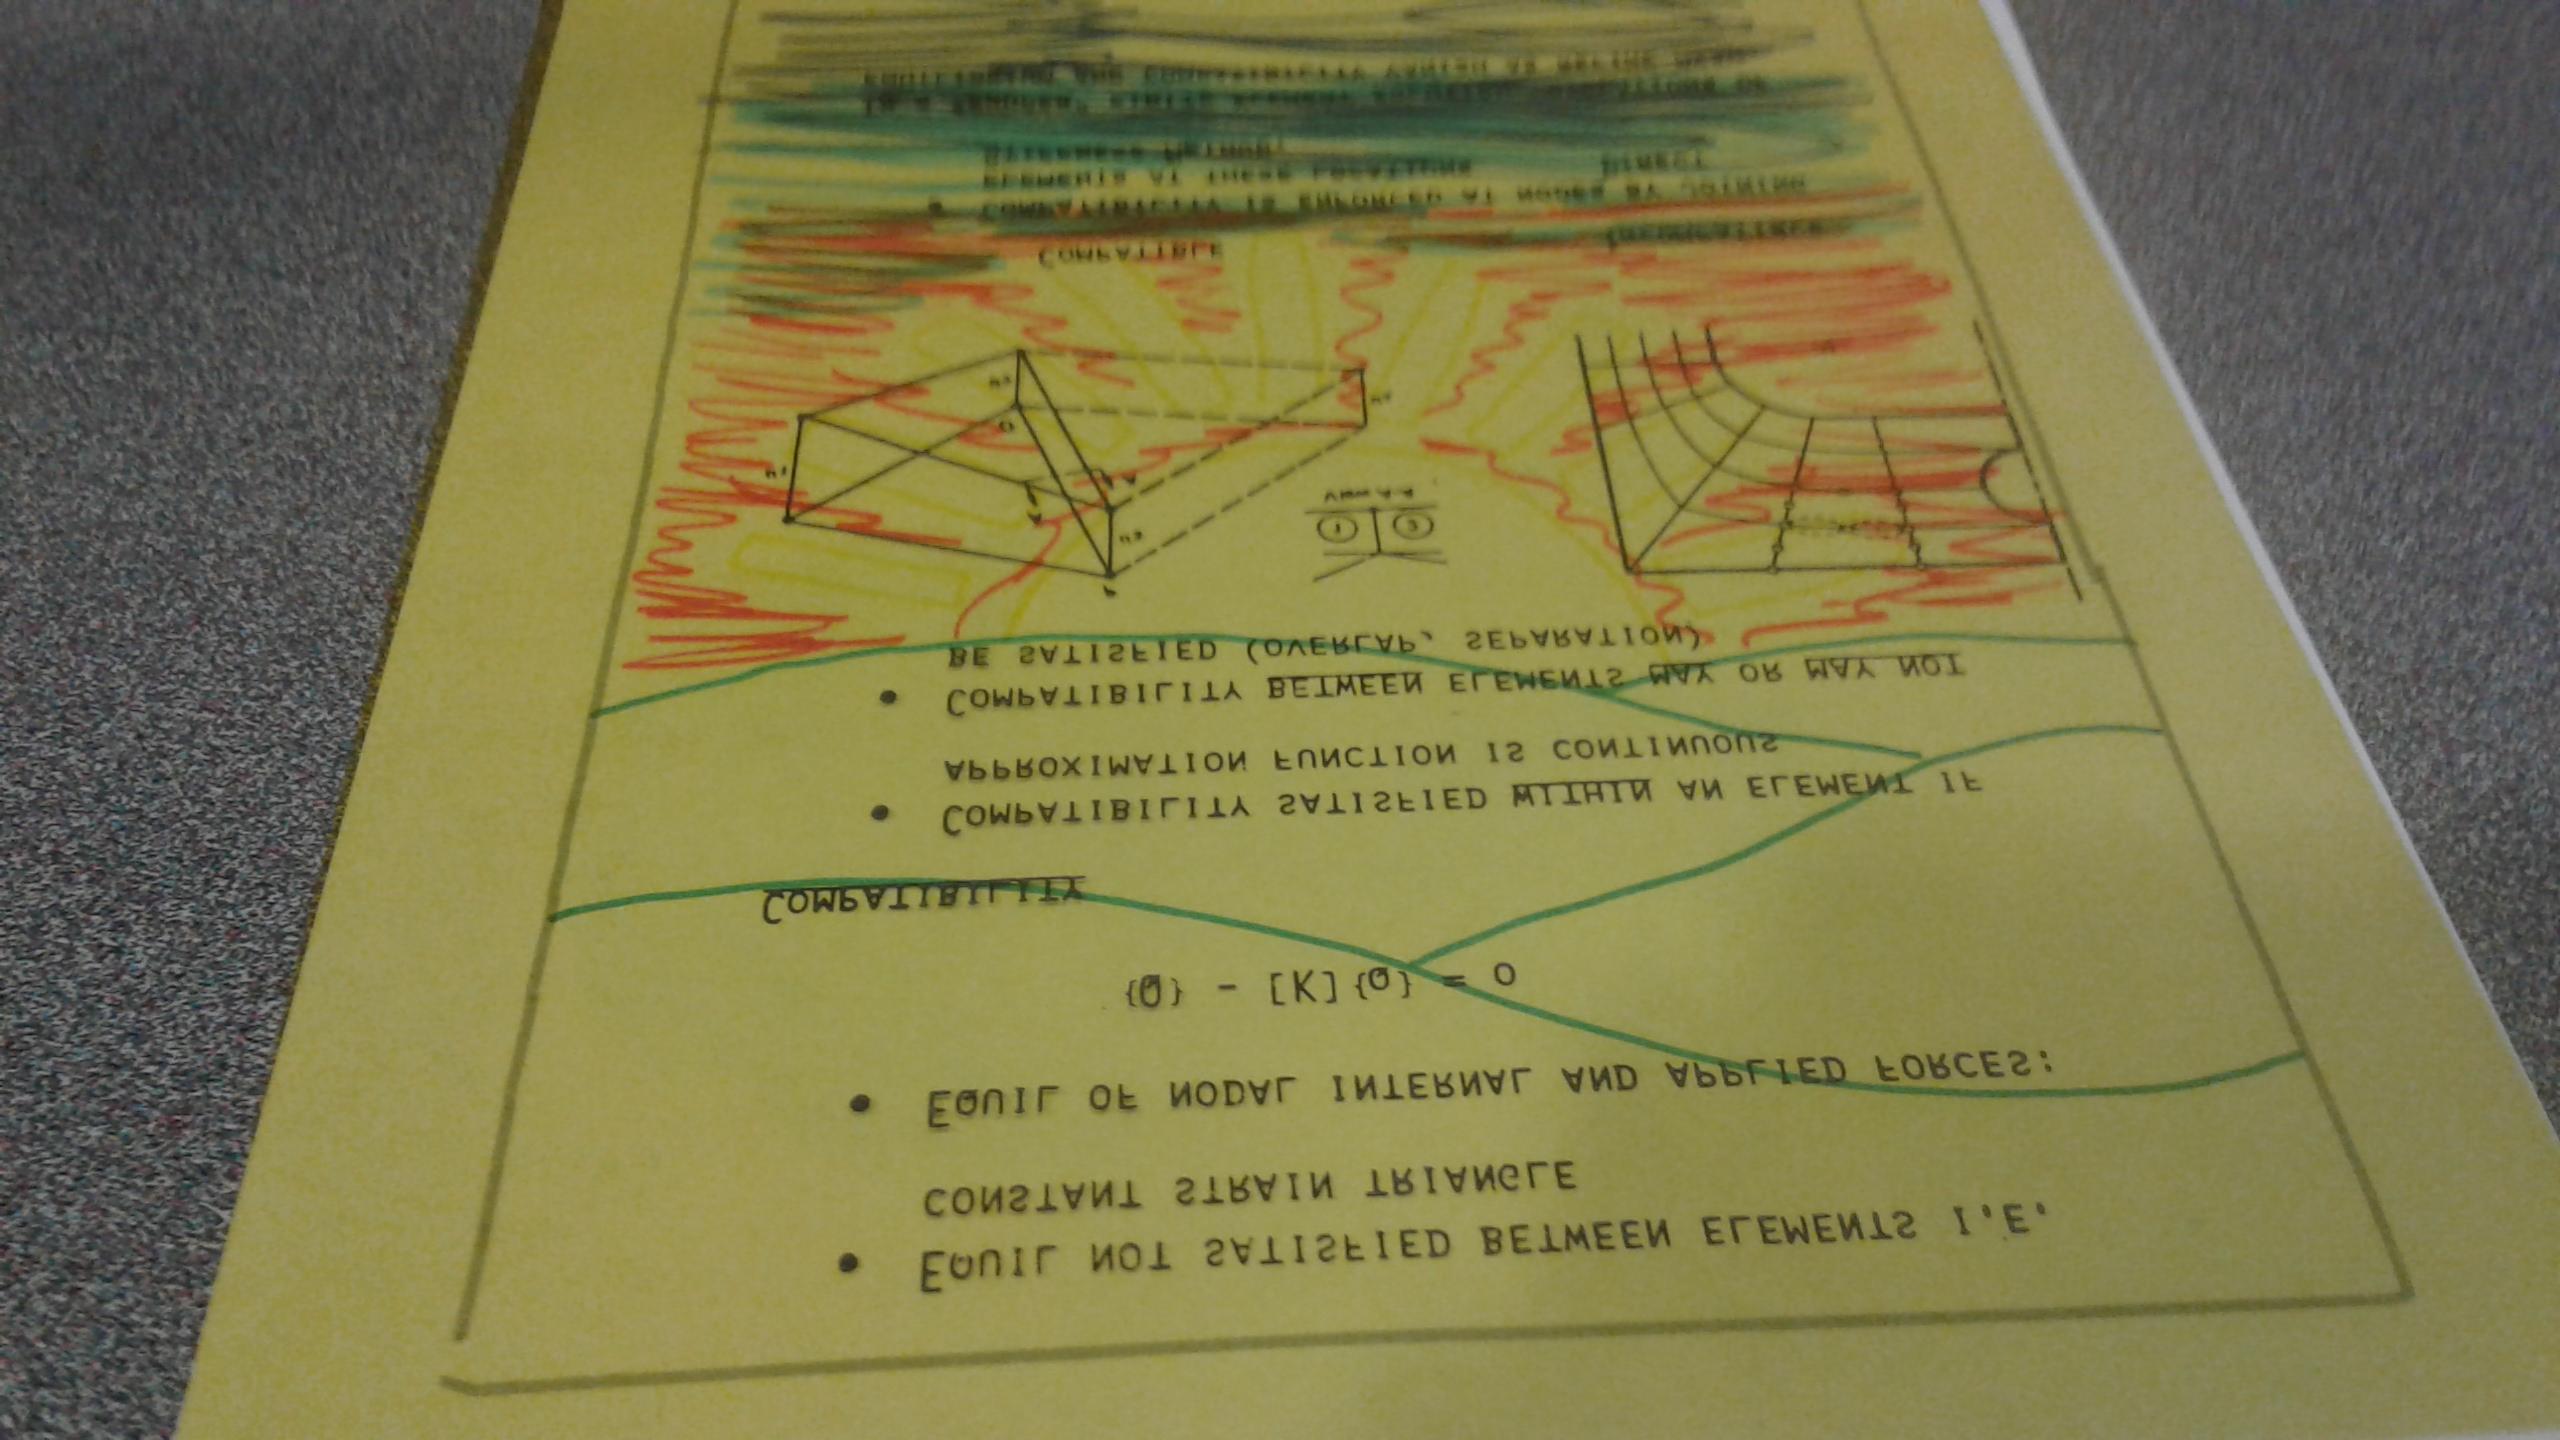
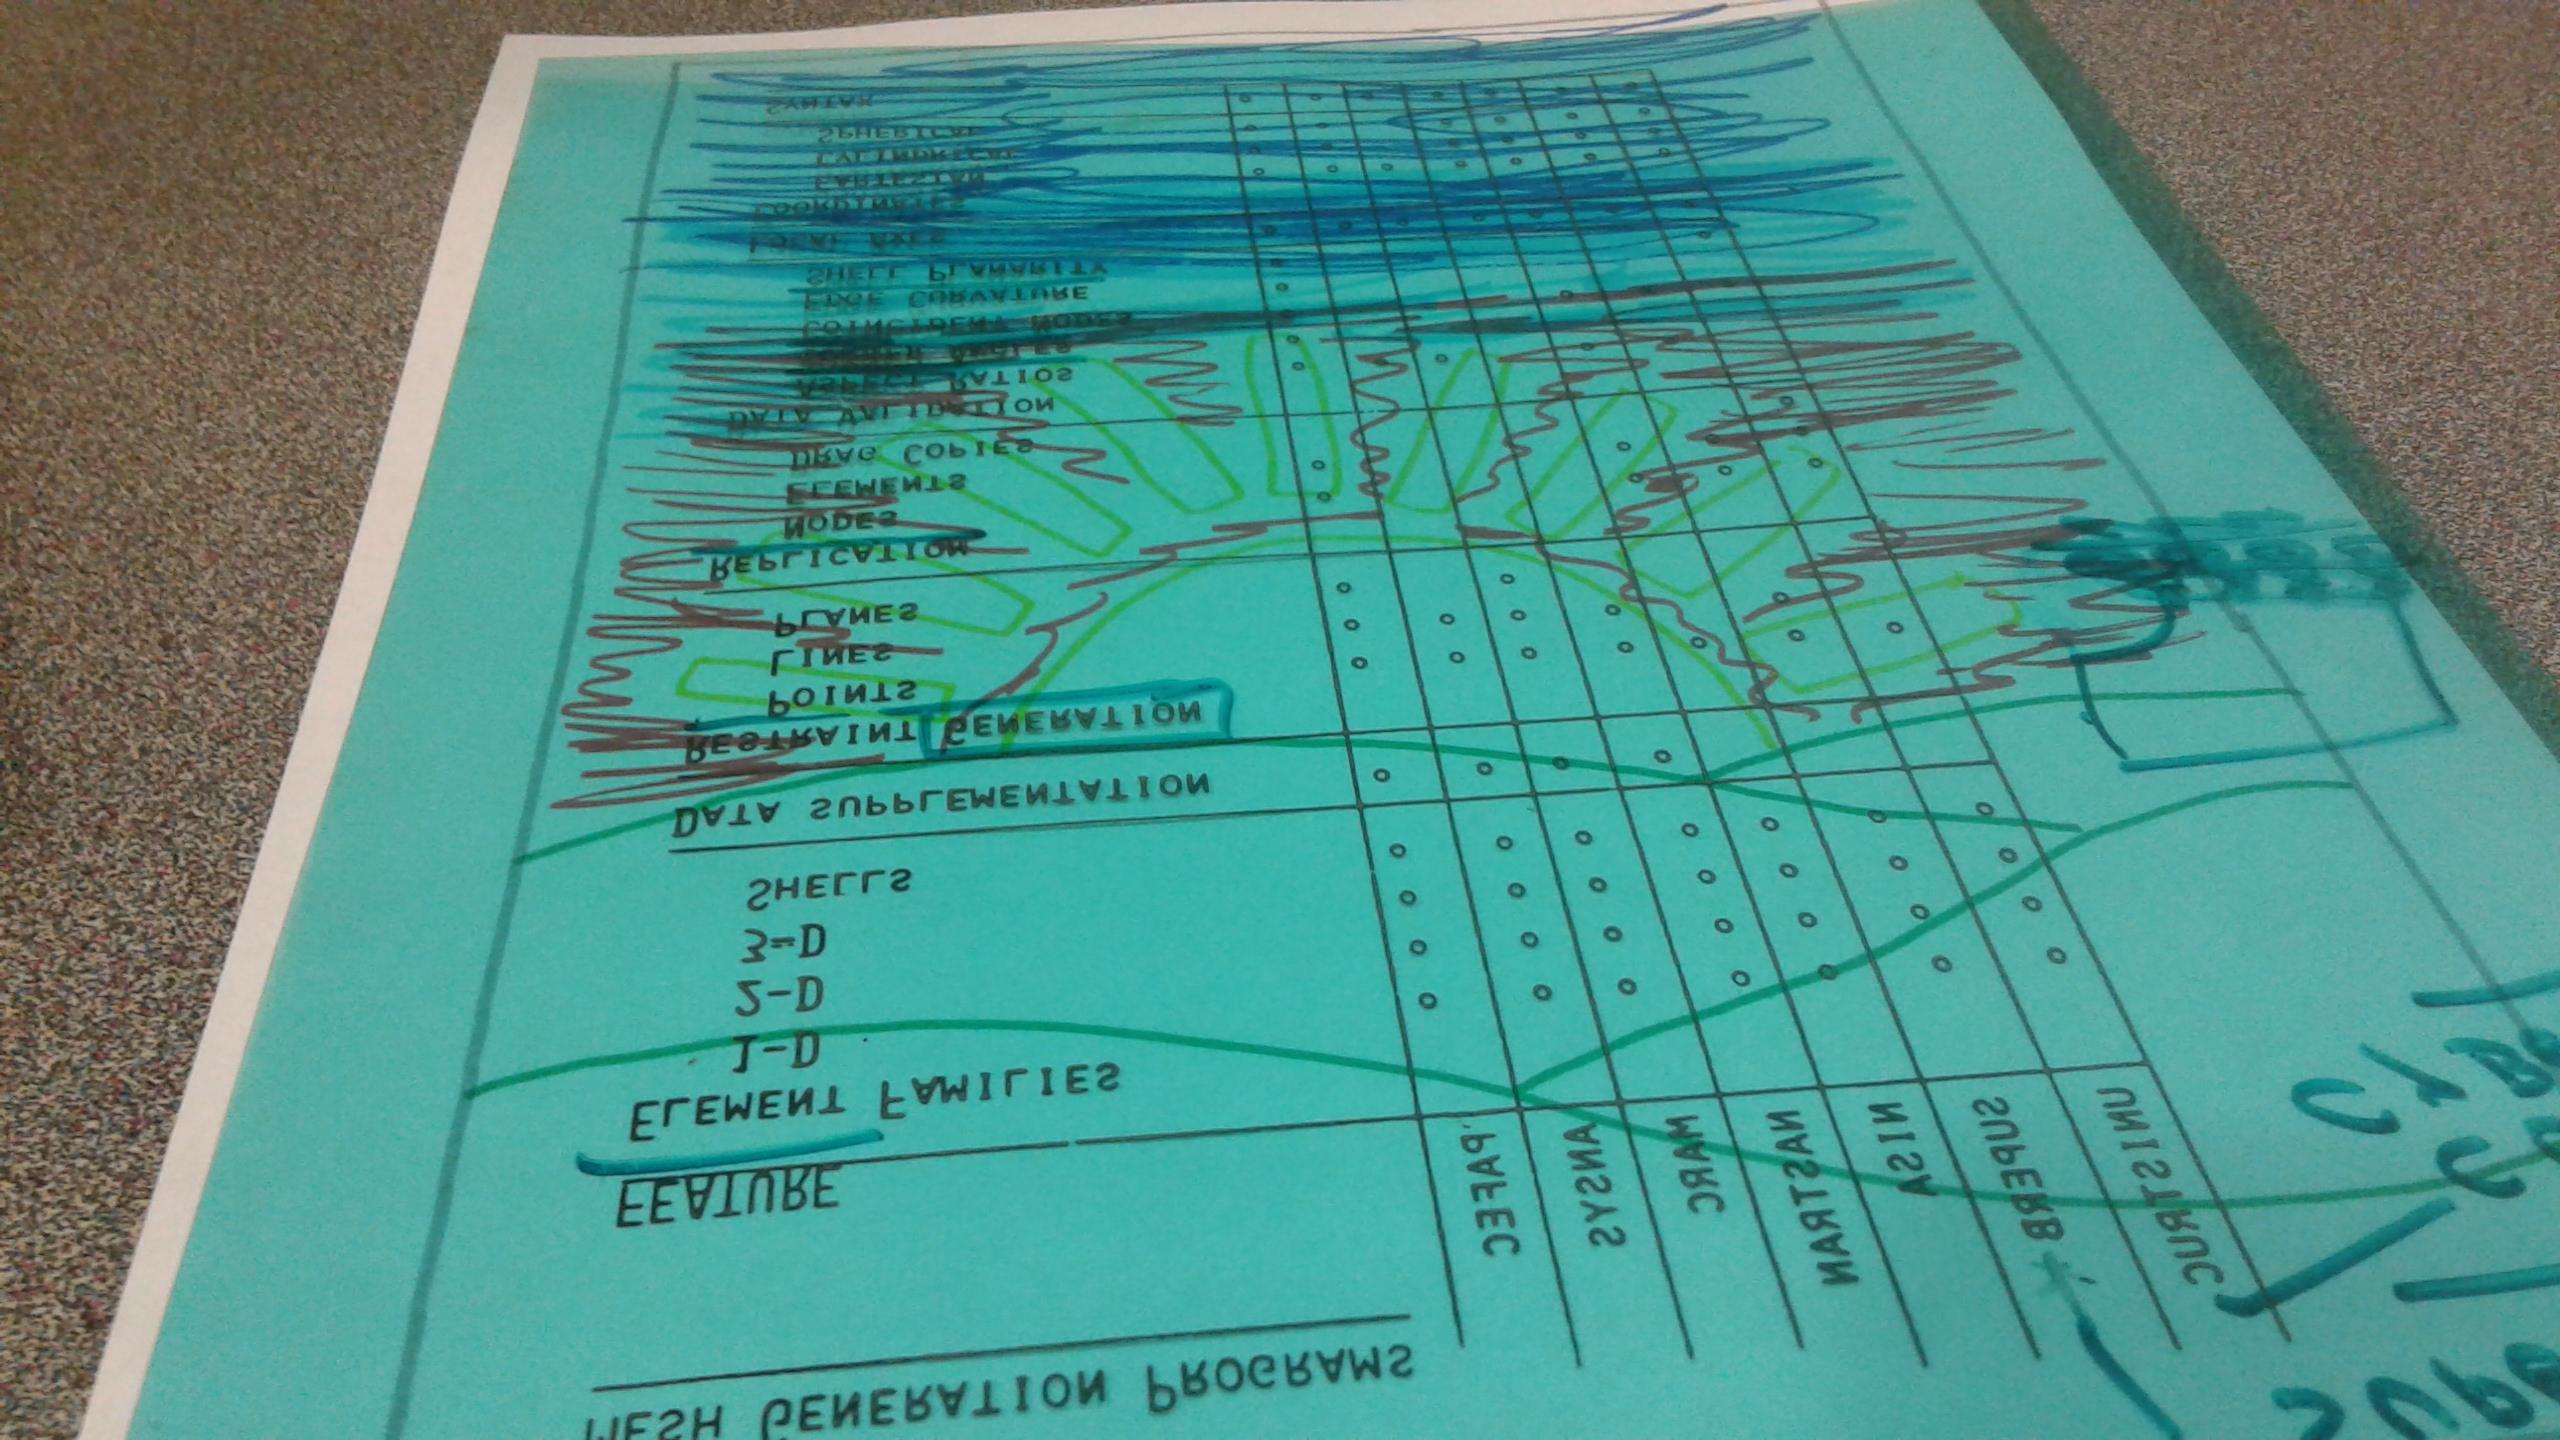
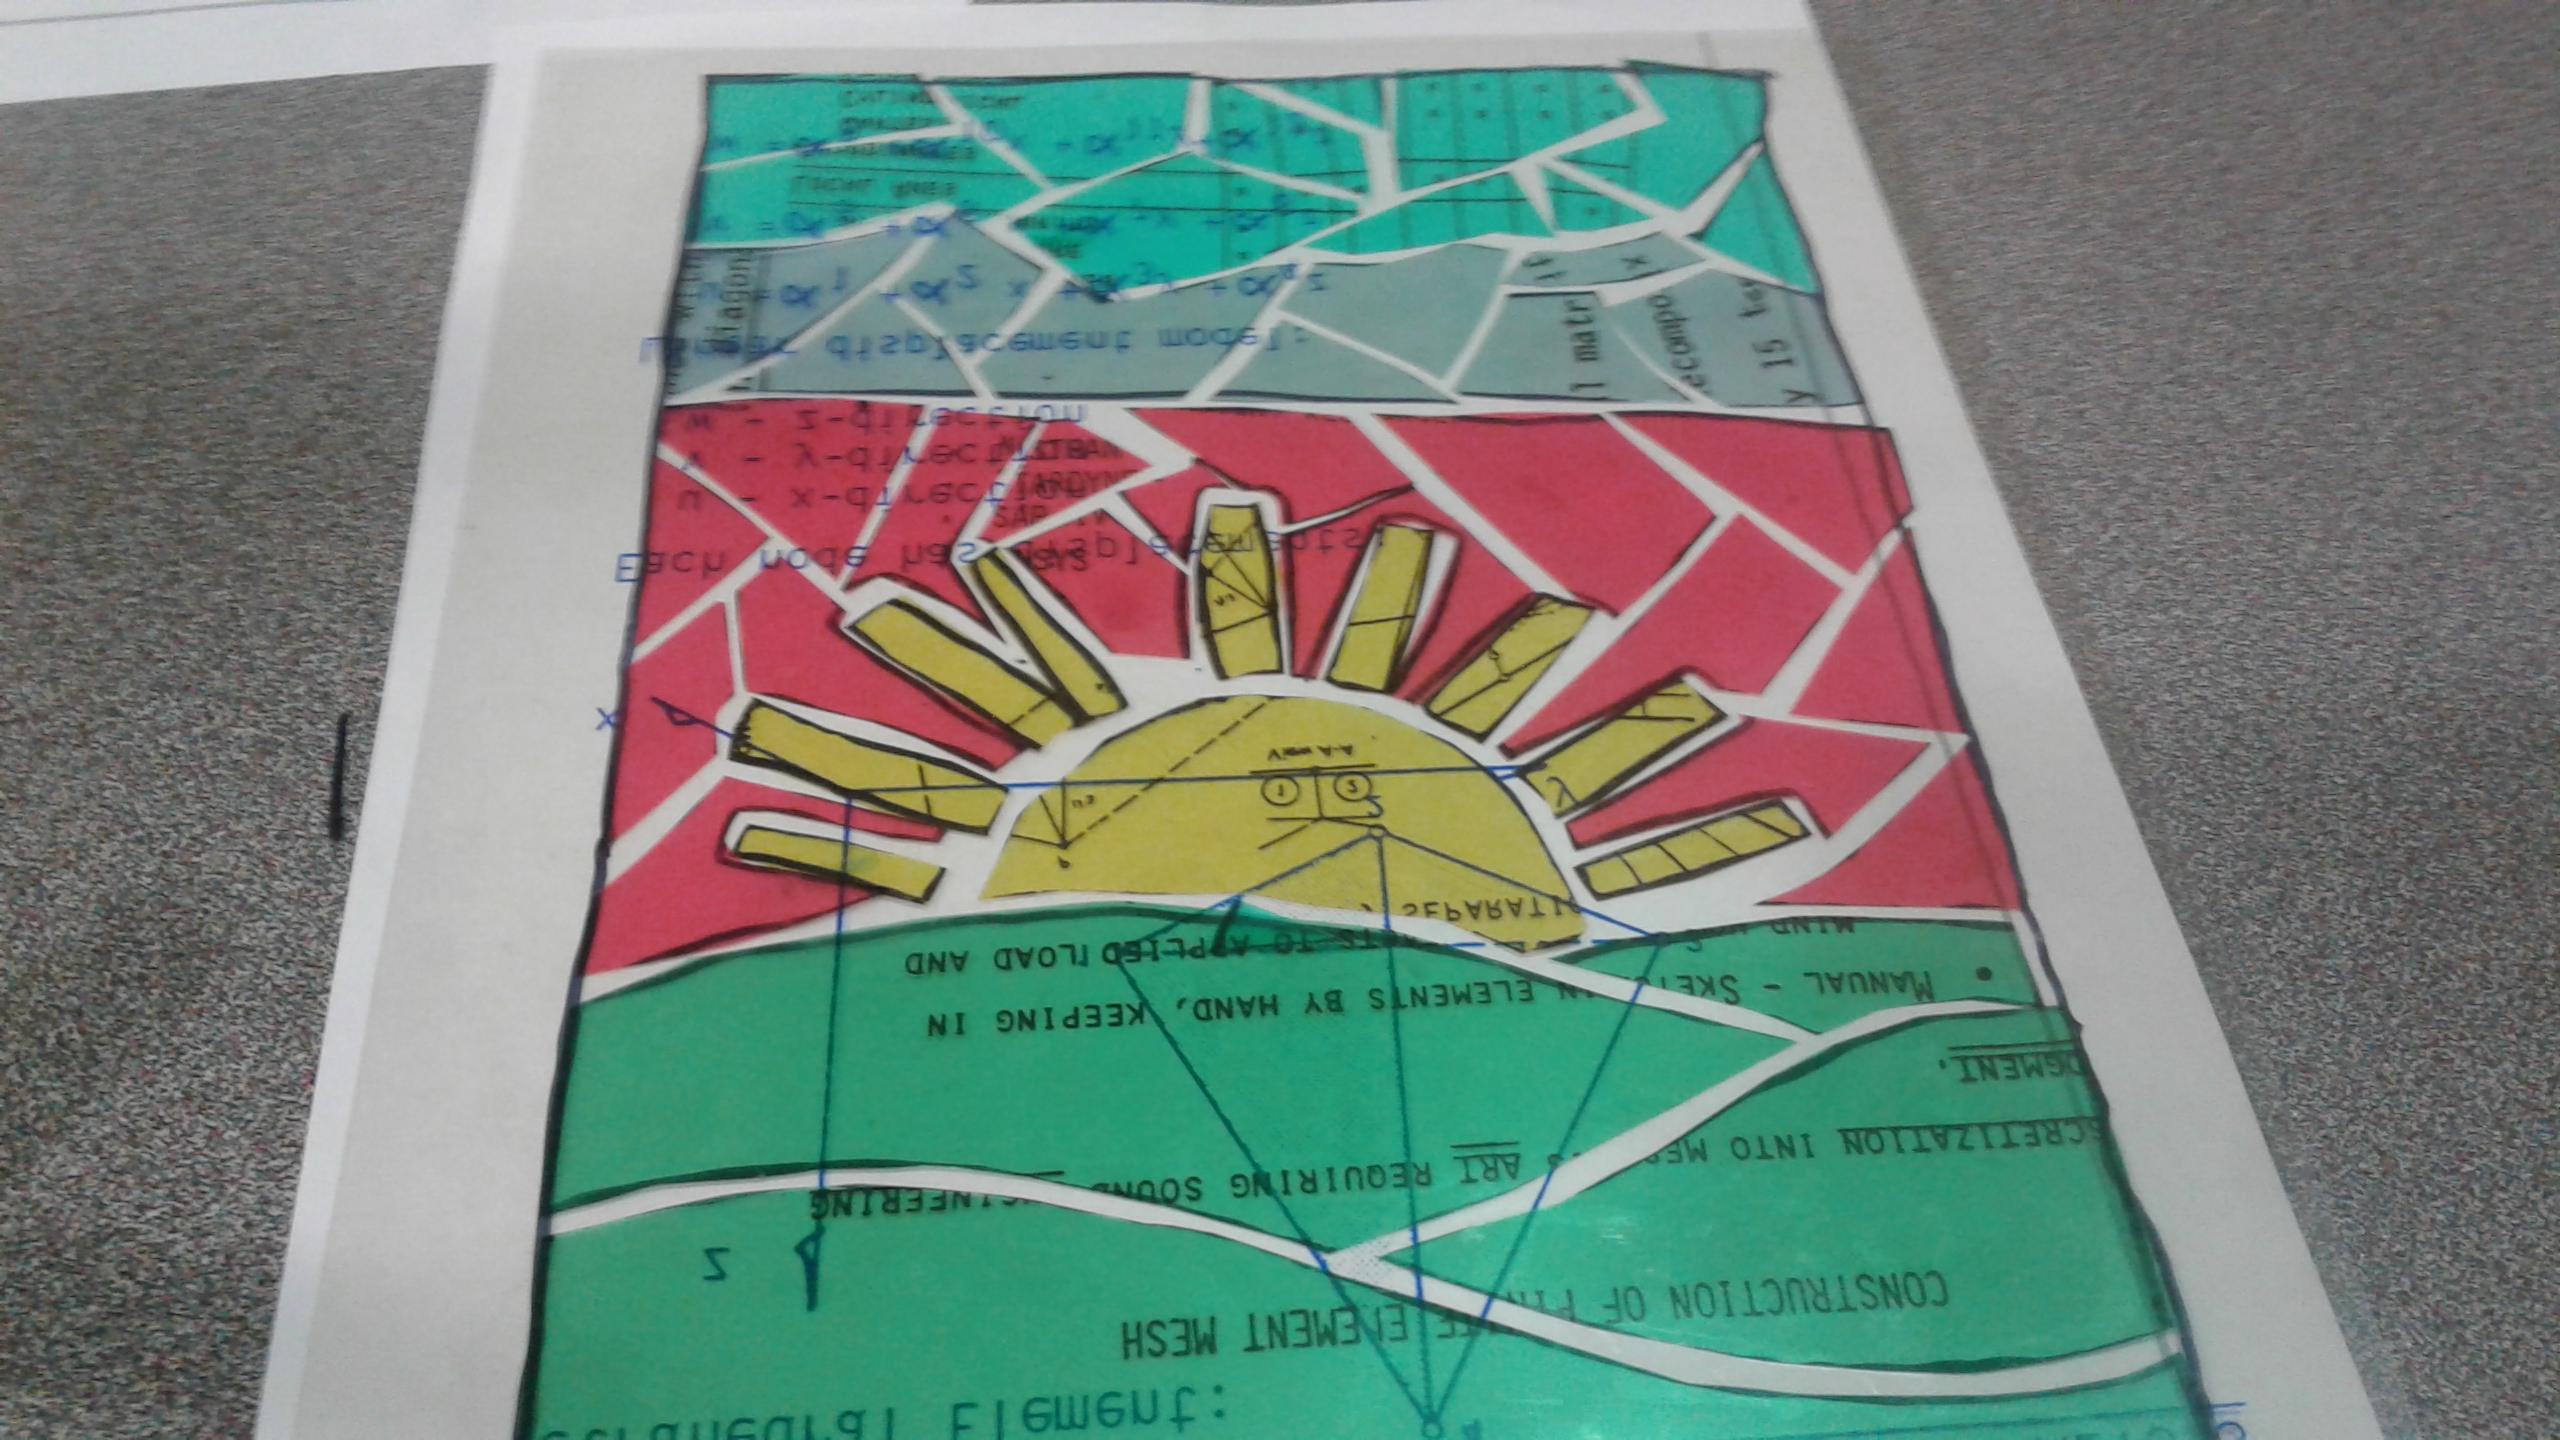
Draw a Stencil

Using whatever colors of plastic you have find those color markers and draw the image you wish to create. Remember that this is a simple mosaic and unless experienced I would recommend using simple shapes. Also make sure to keep inside the outline you traced.
Cut Out the Basic Shapes

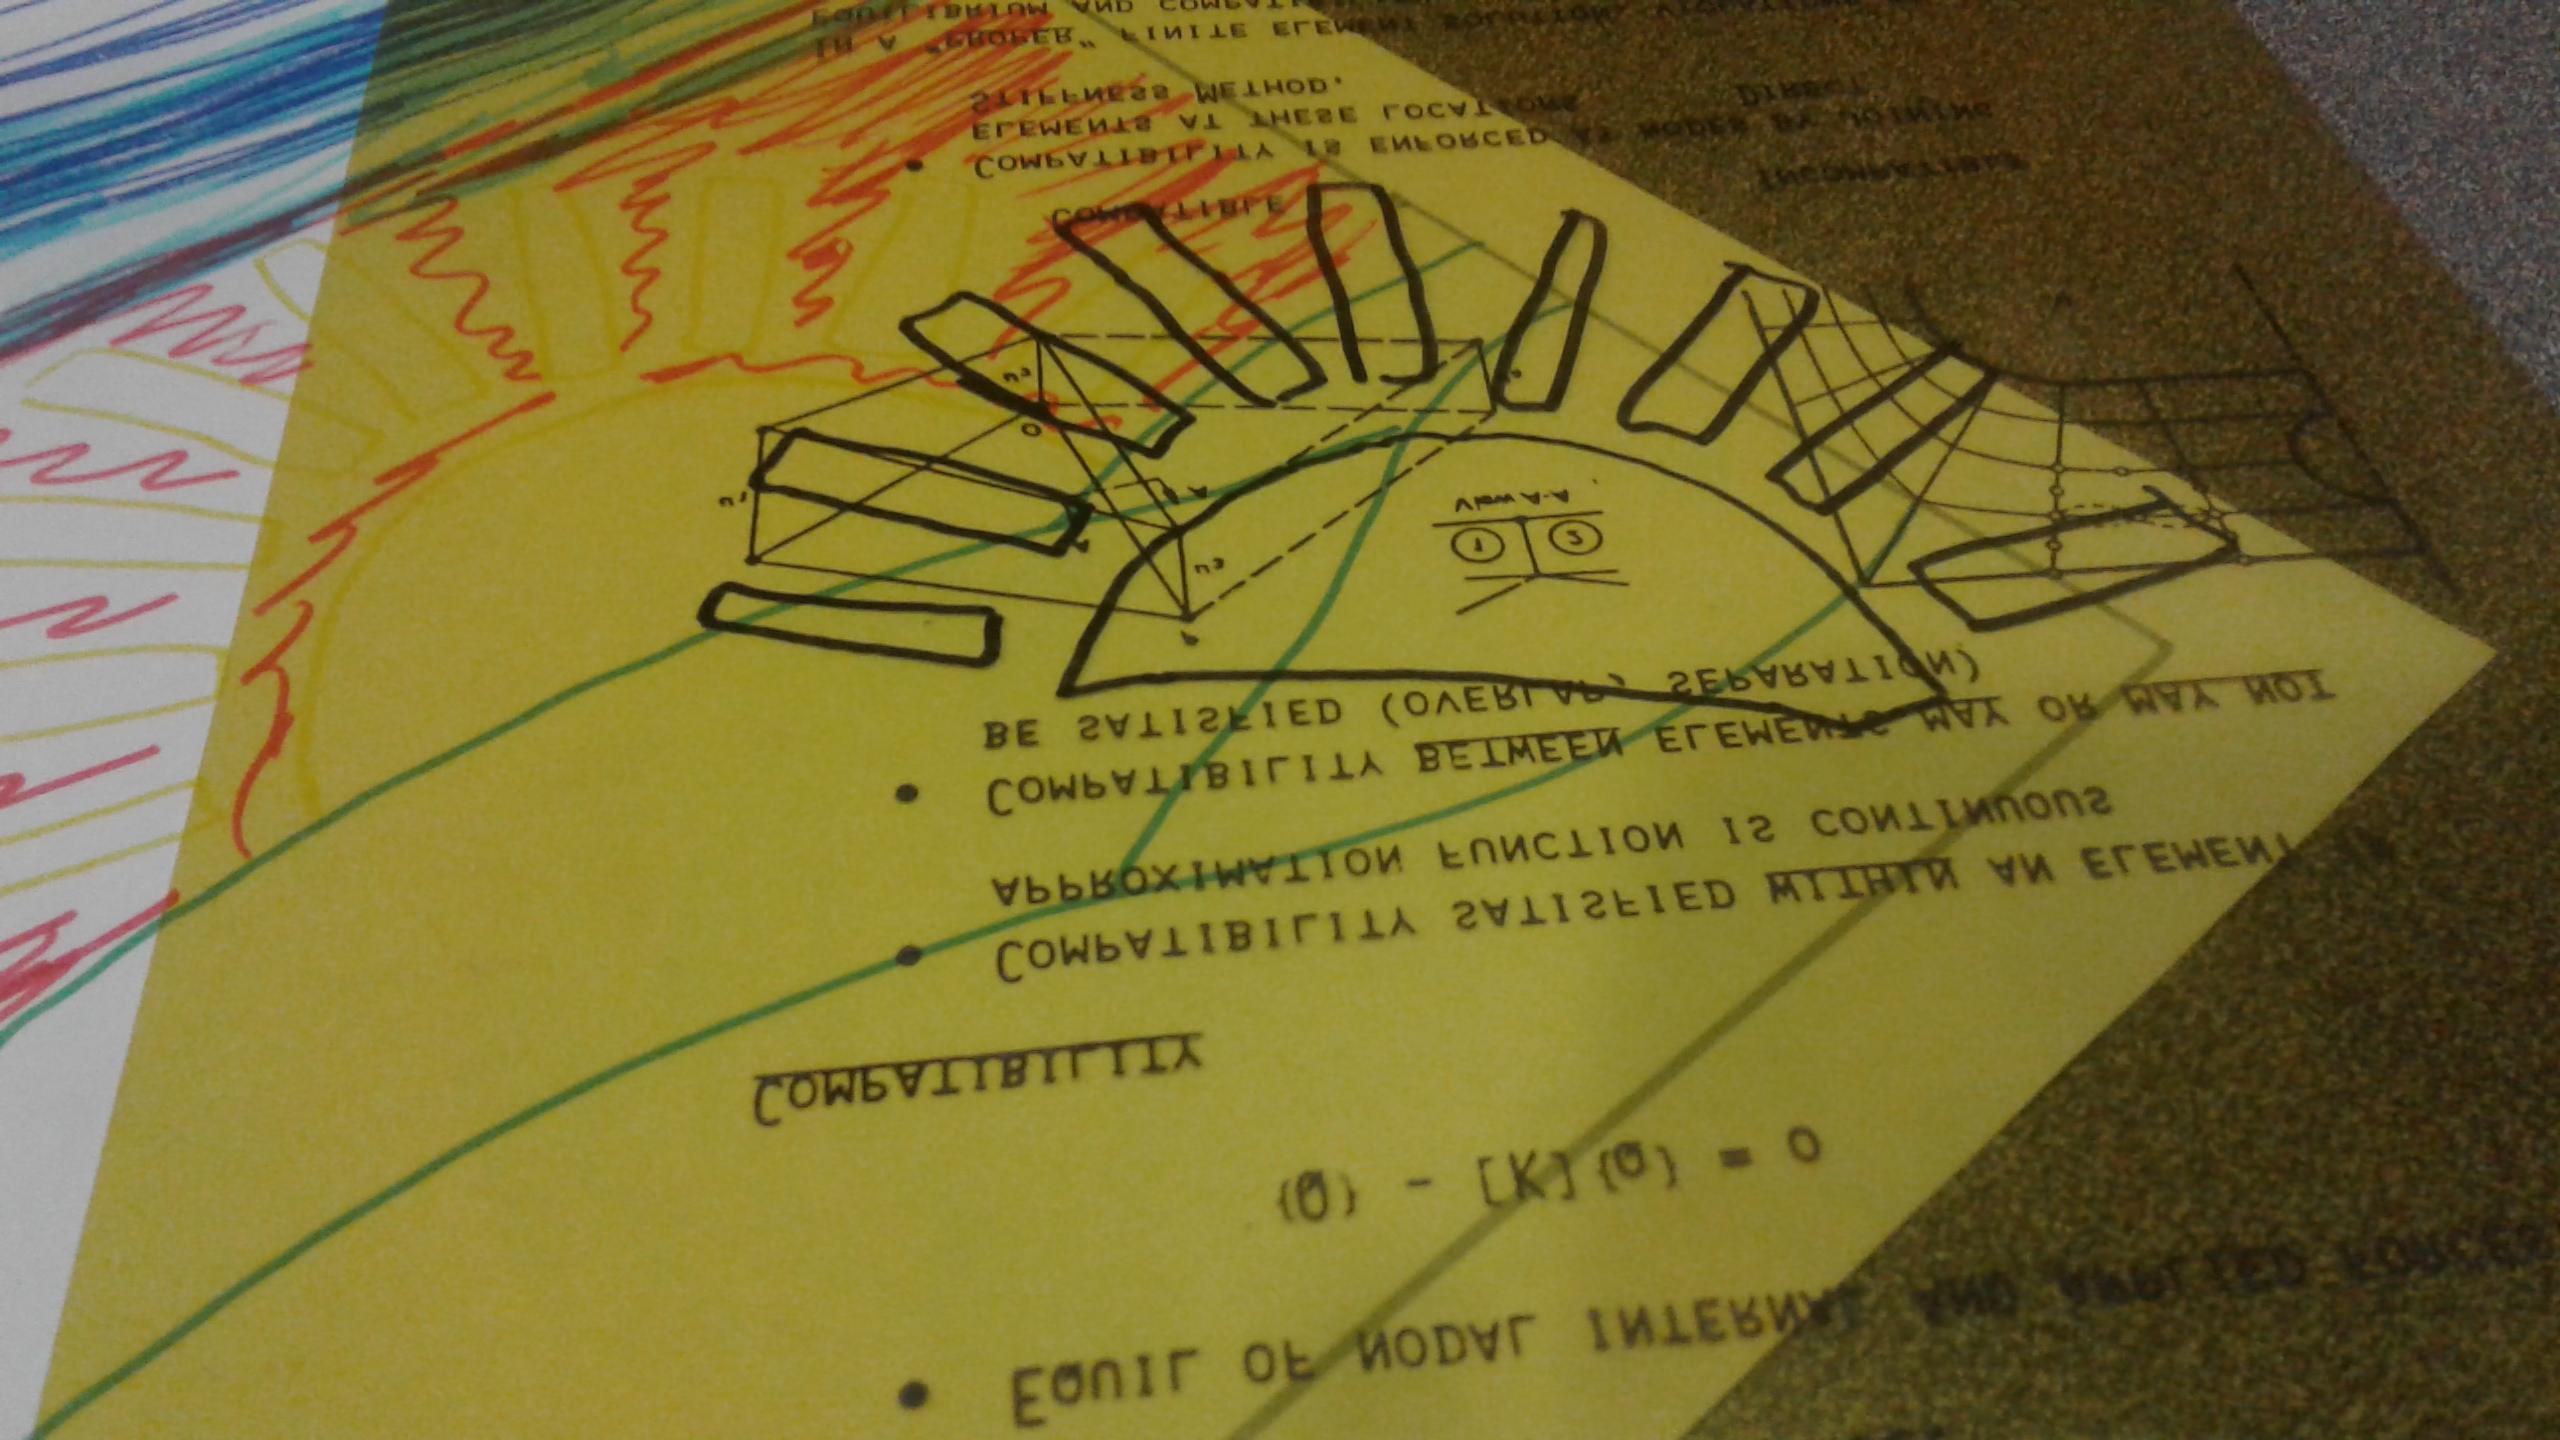
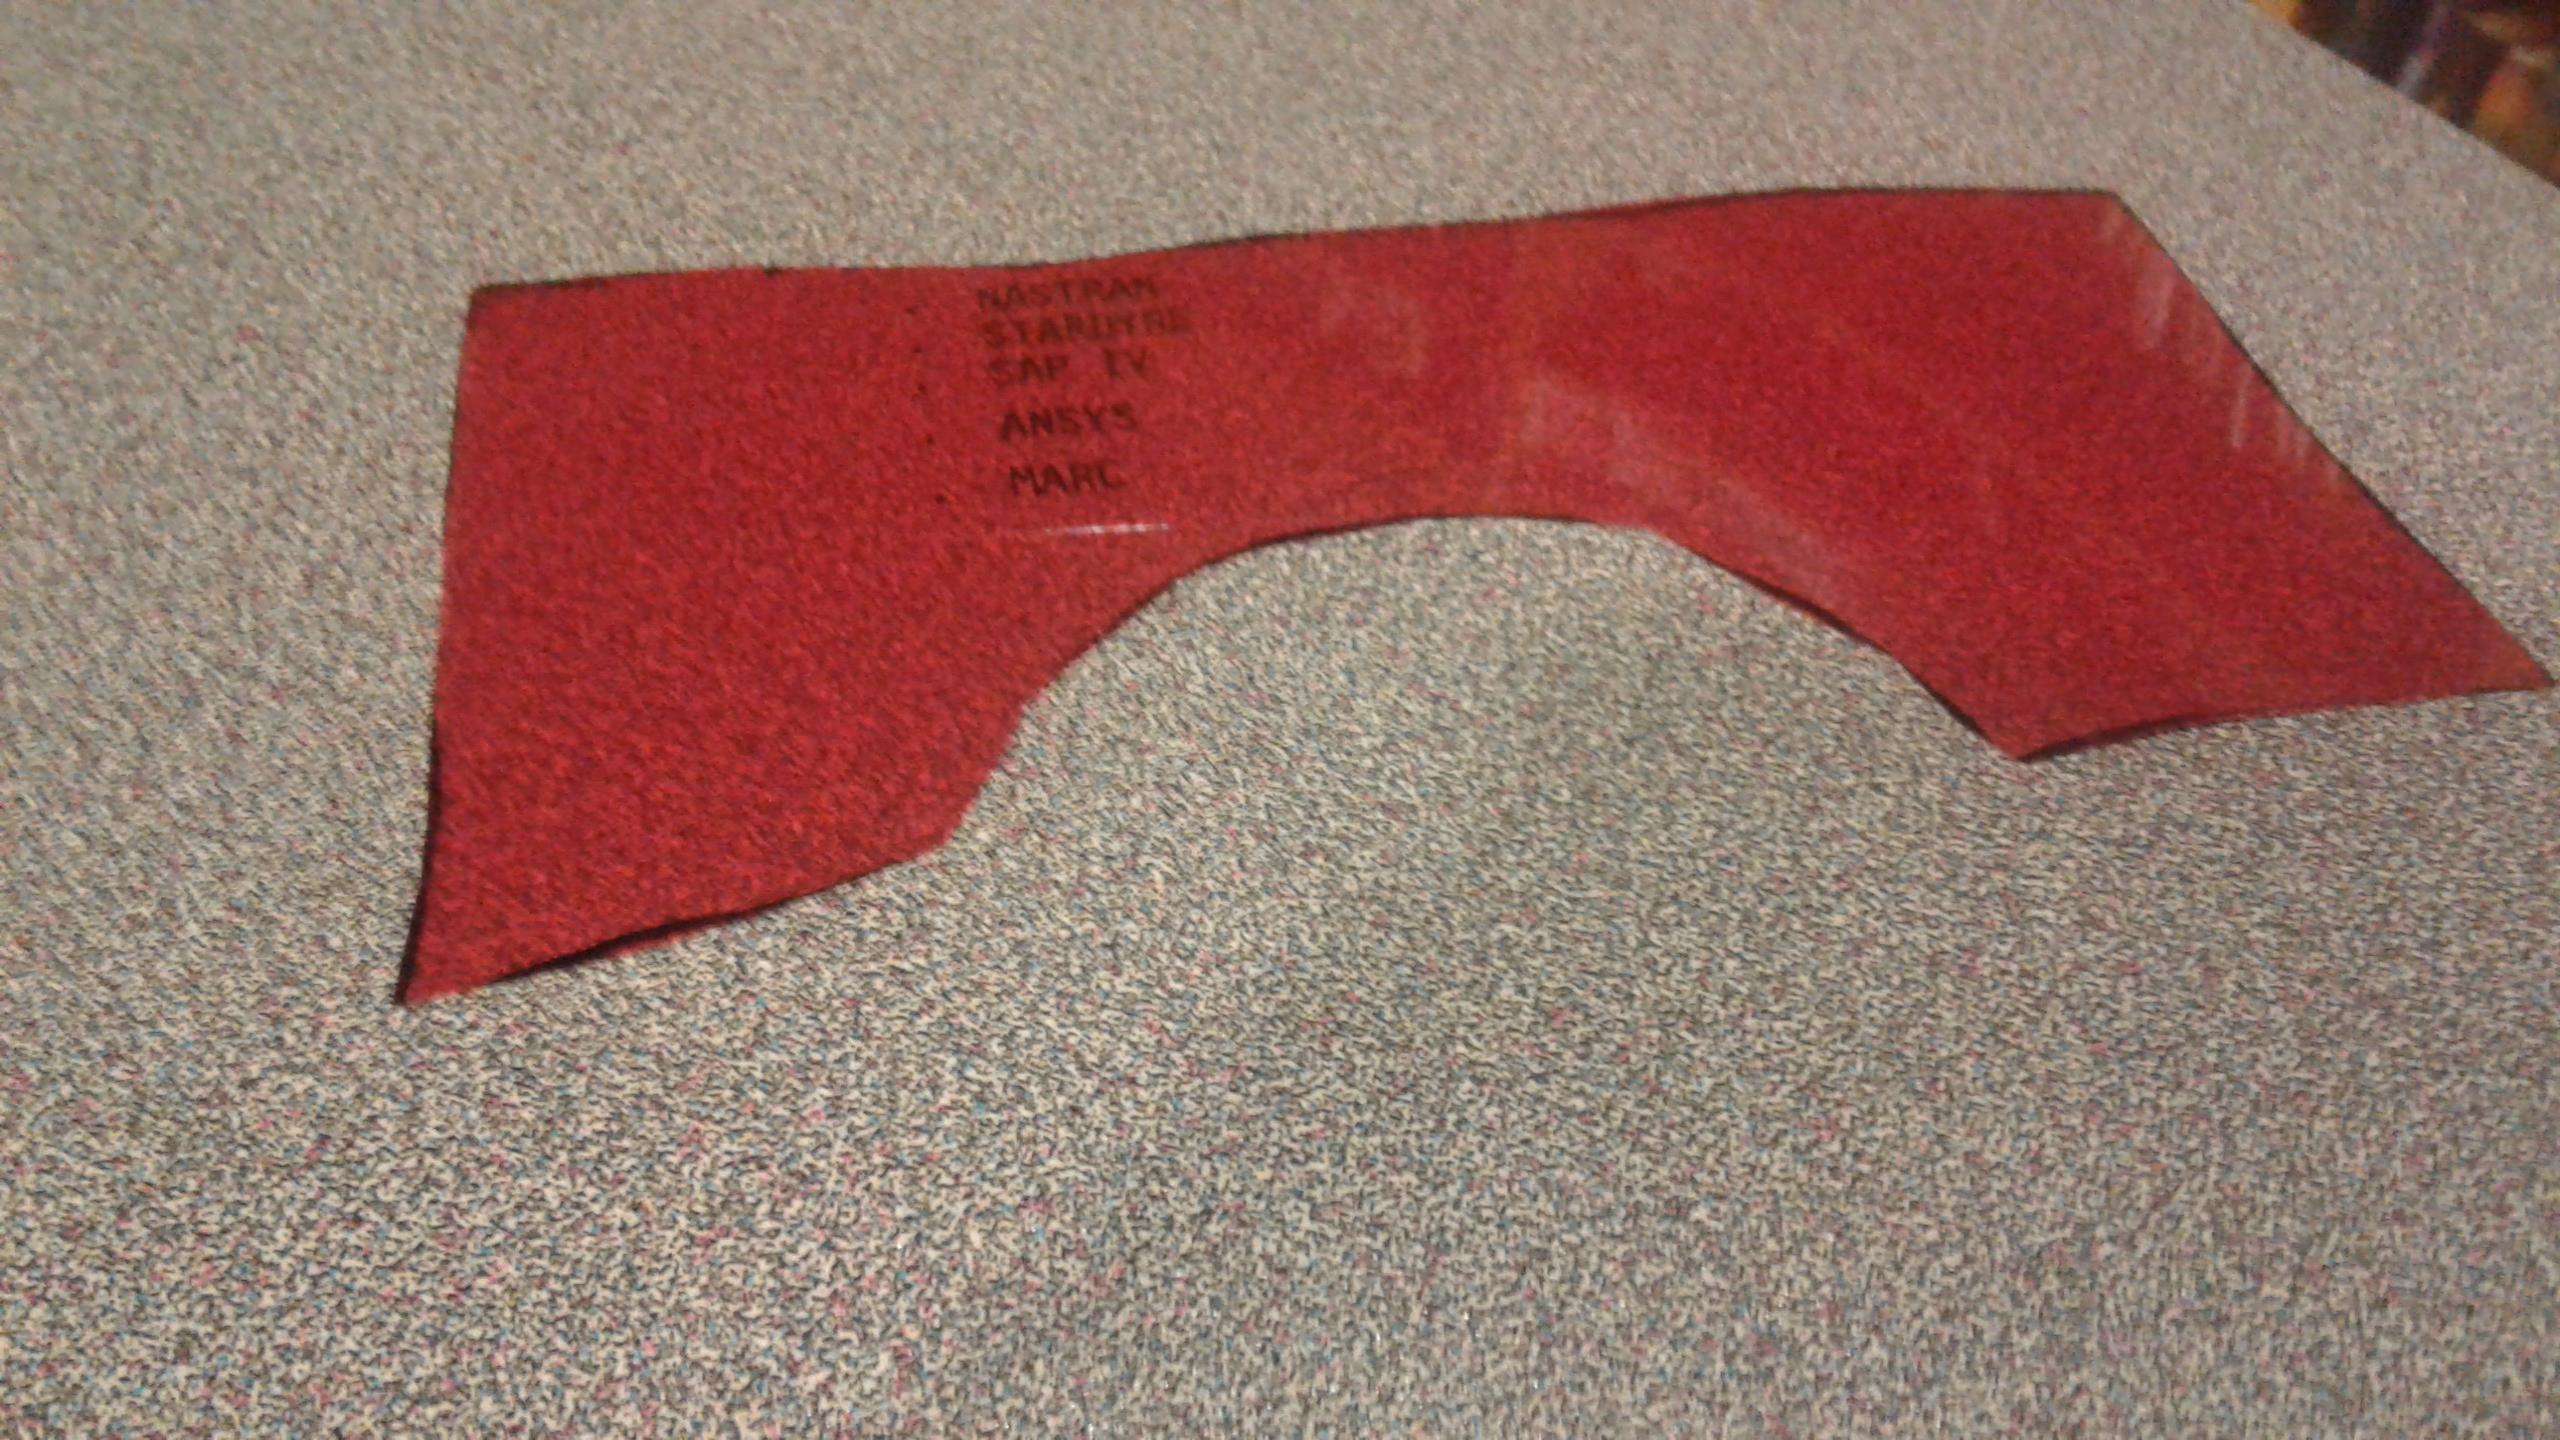
For each color first place that sheet of plastic on the stencil and draw the shapes on the plastic using the permanent marker. Do this for each color. Then cut out the shapes and set aside.
Draw Outline on Base Sheet
Take one of your clear sheets of
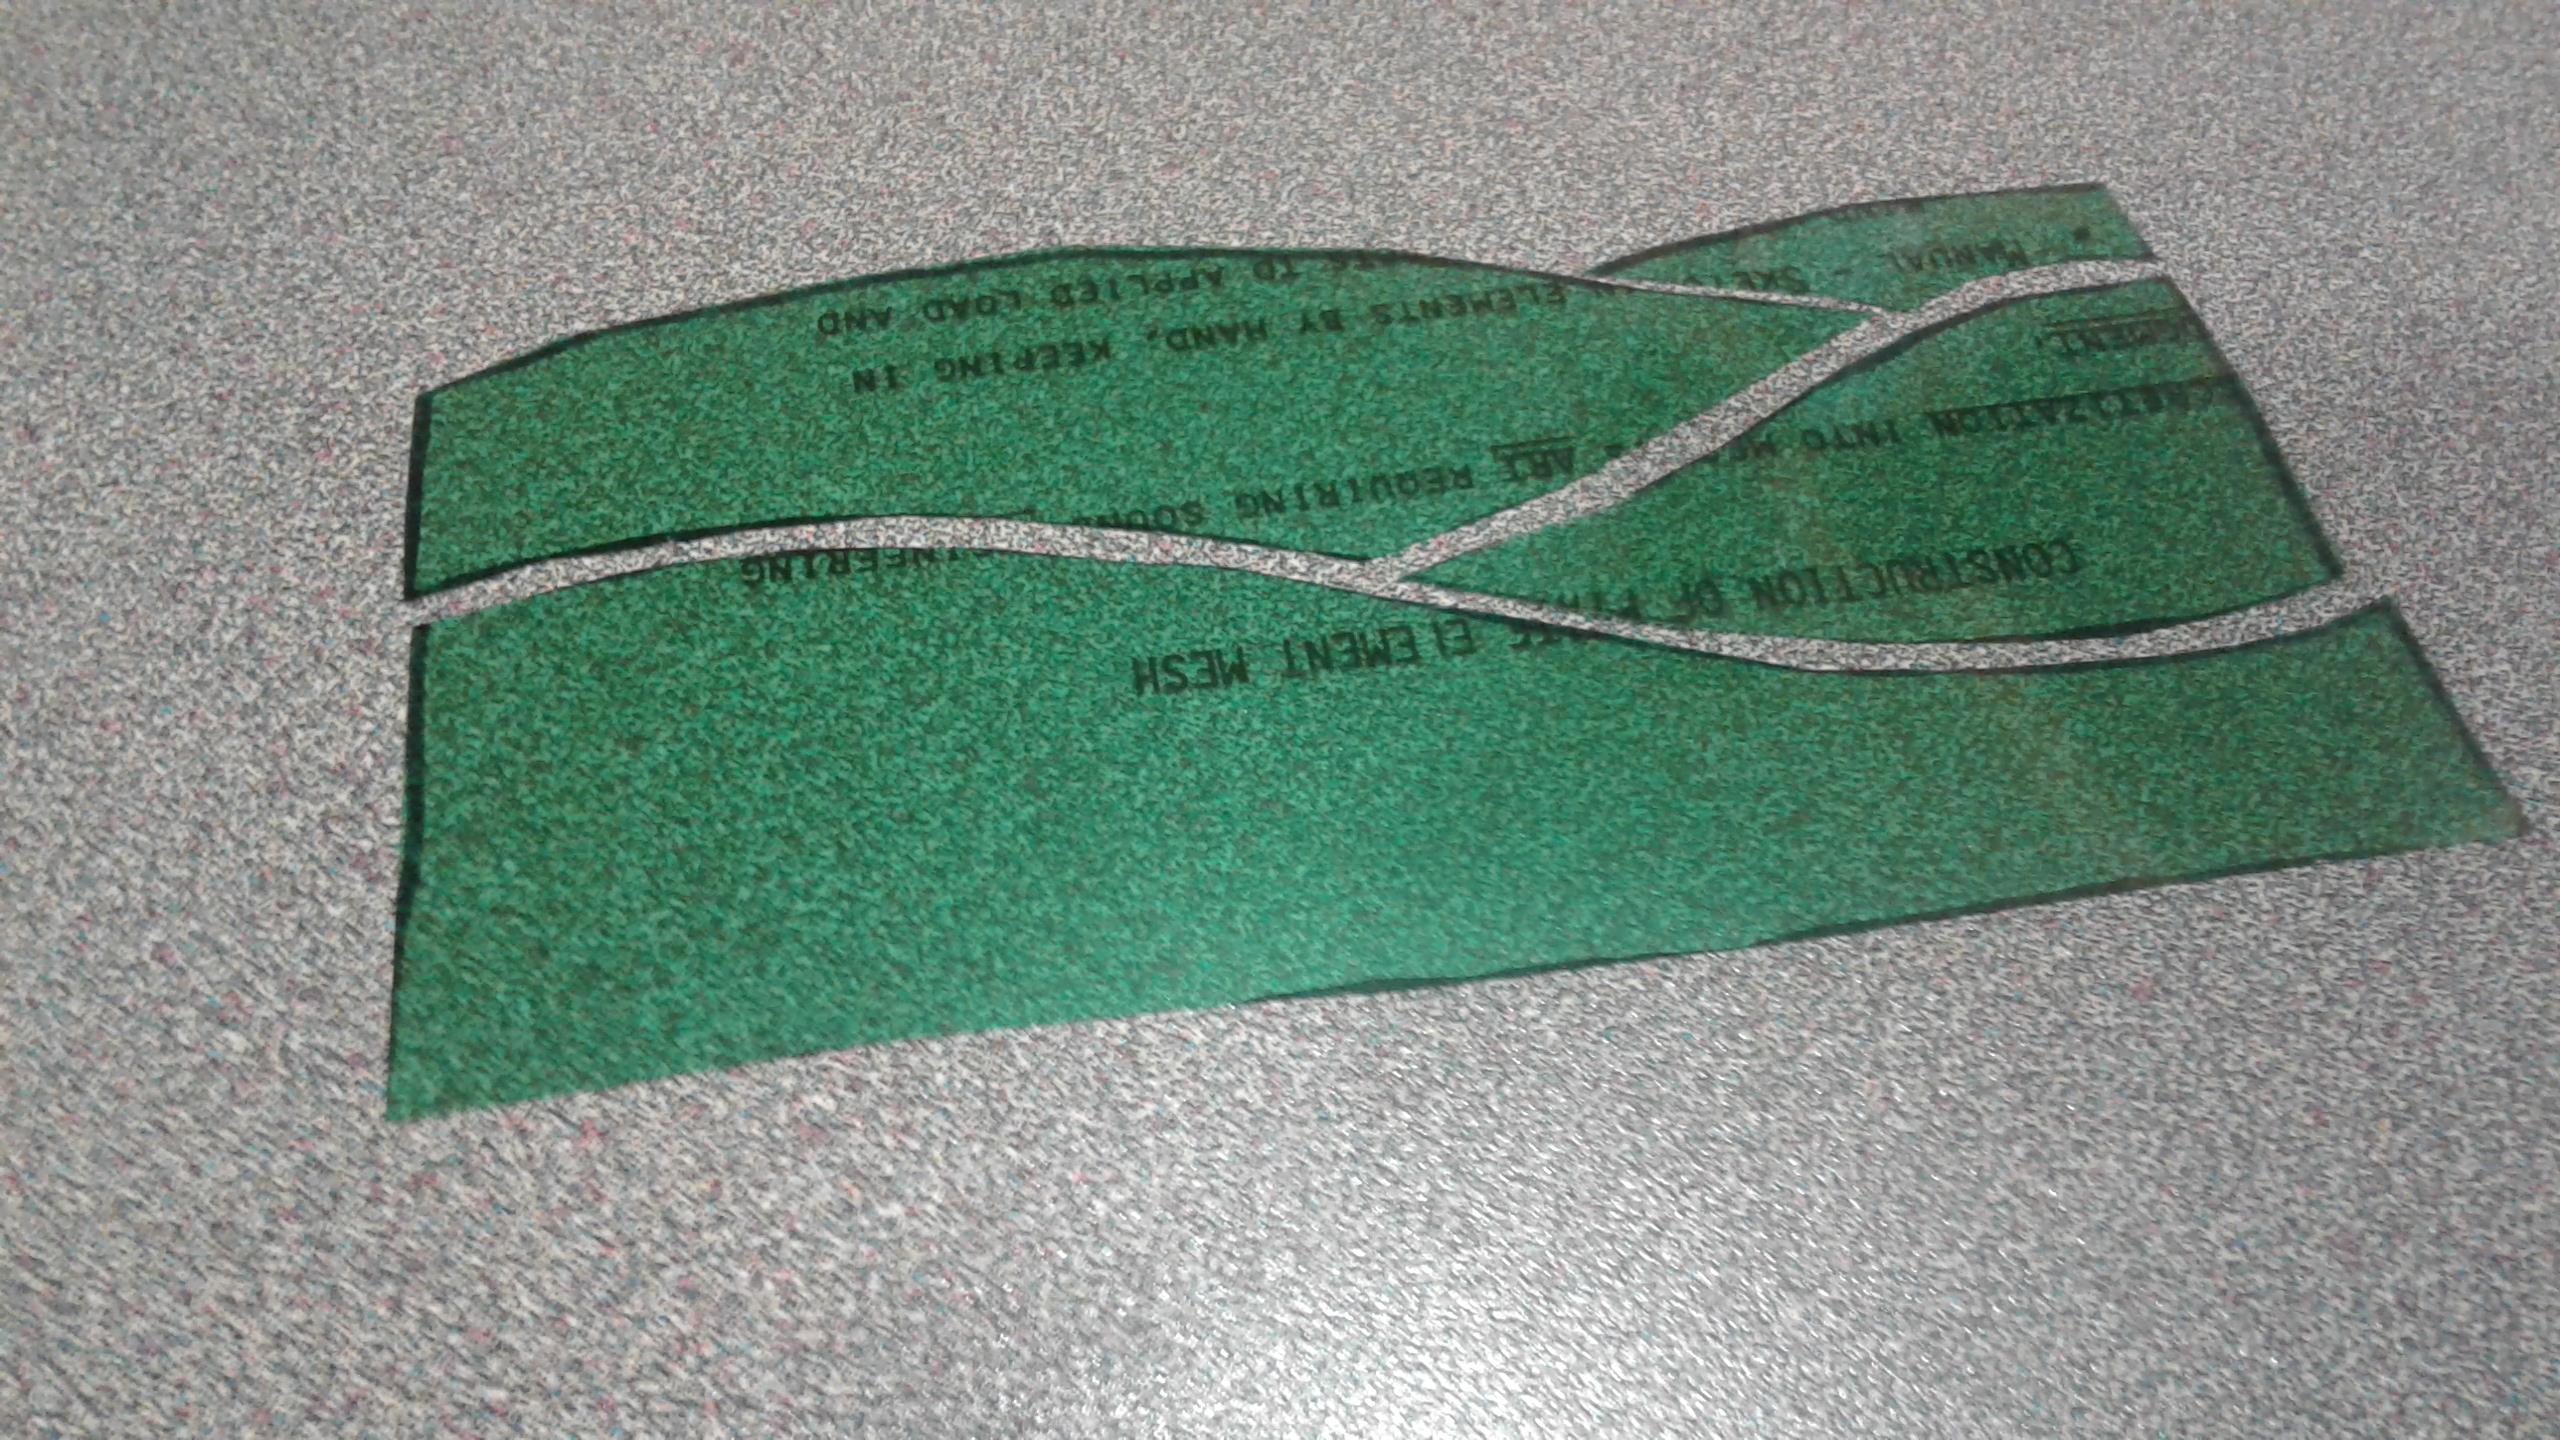
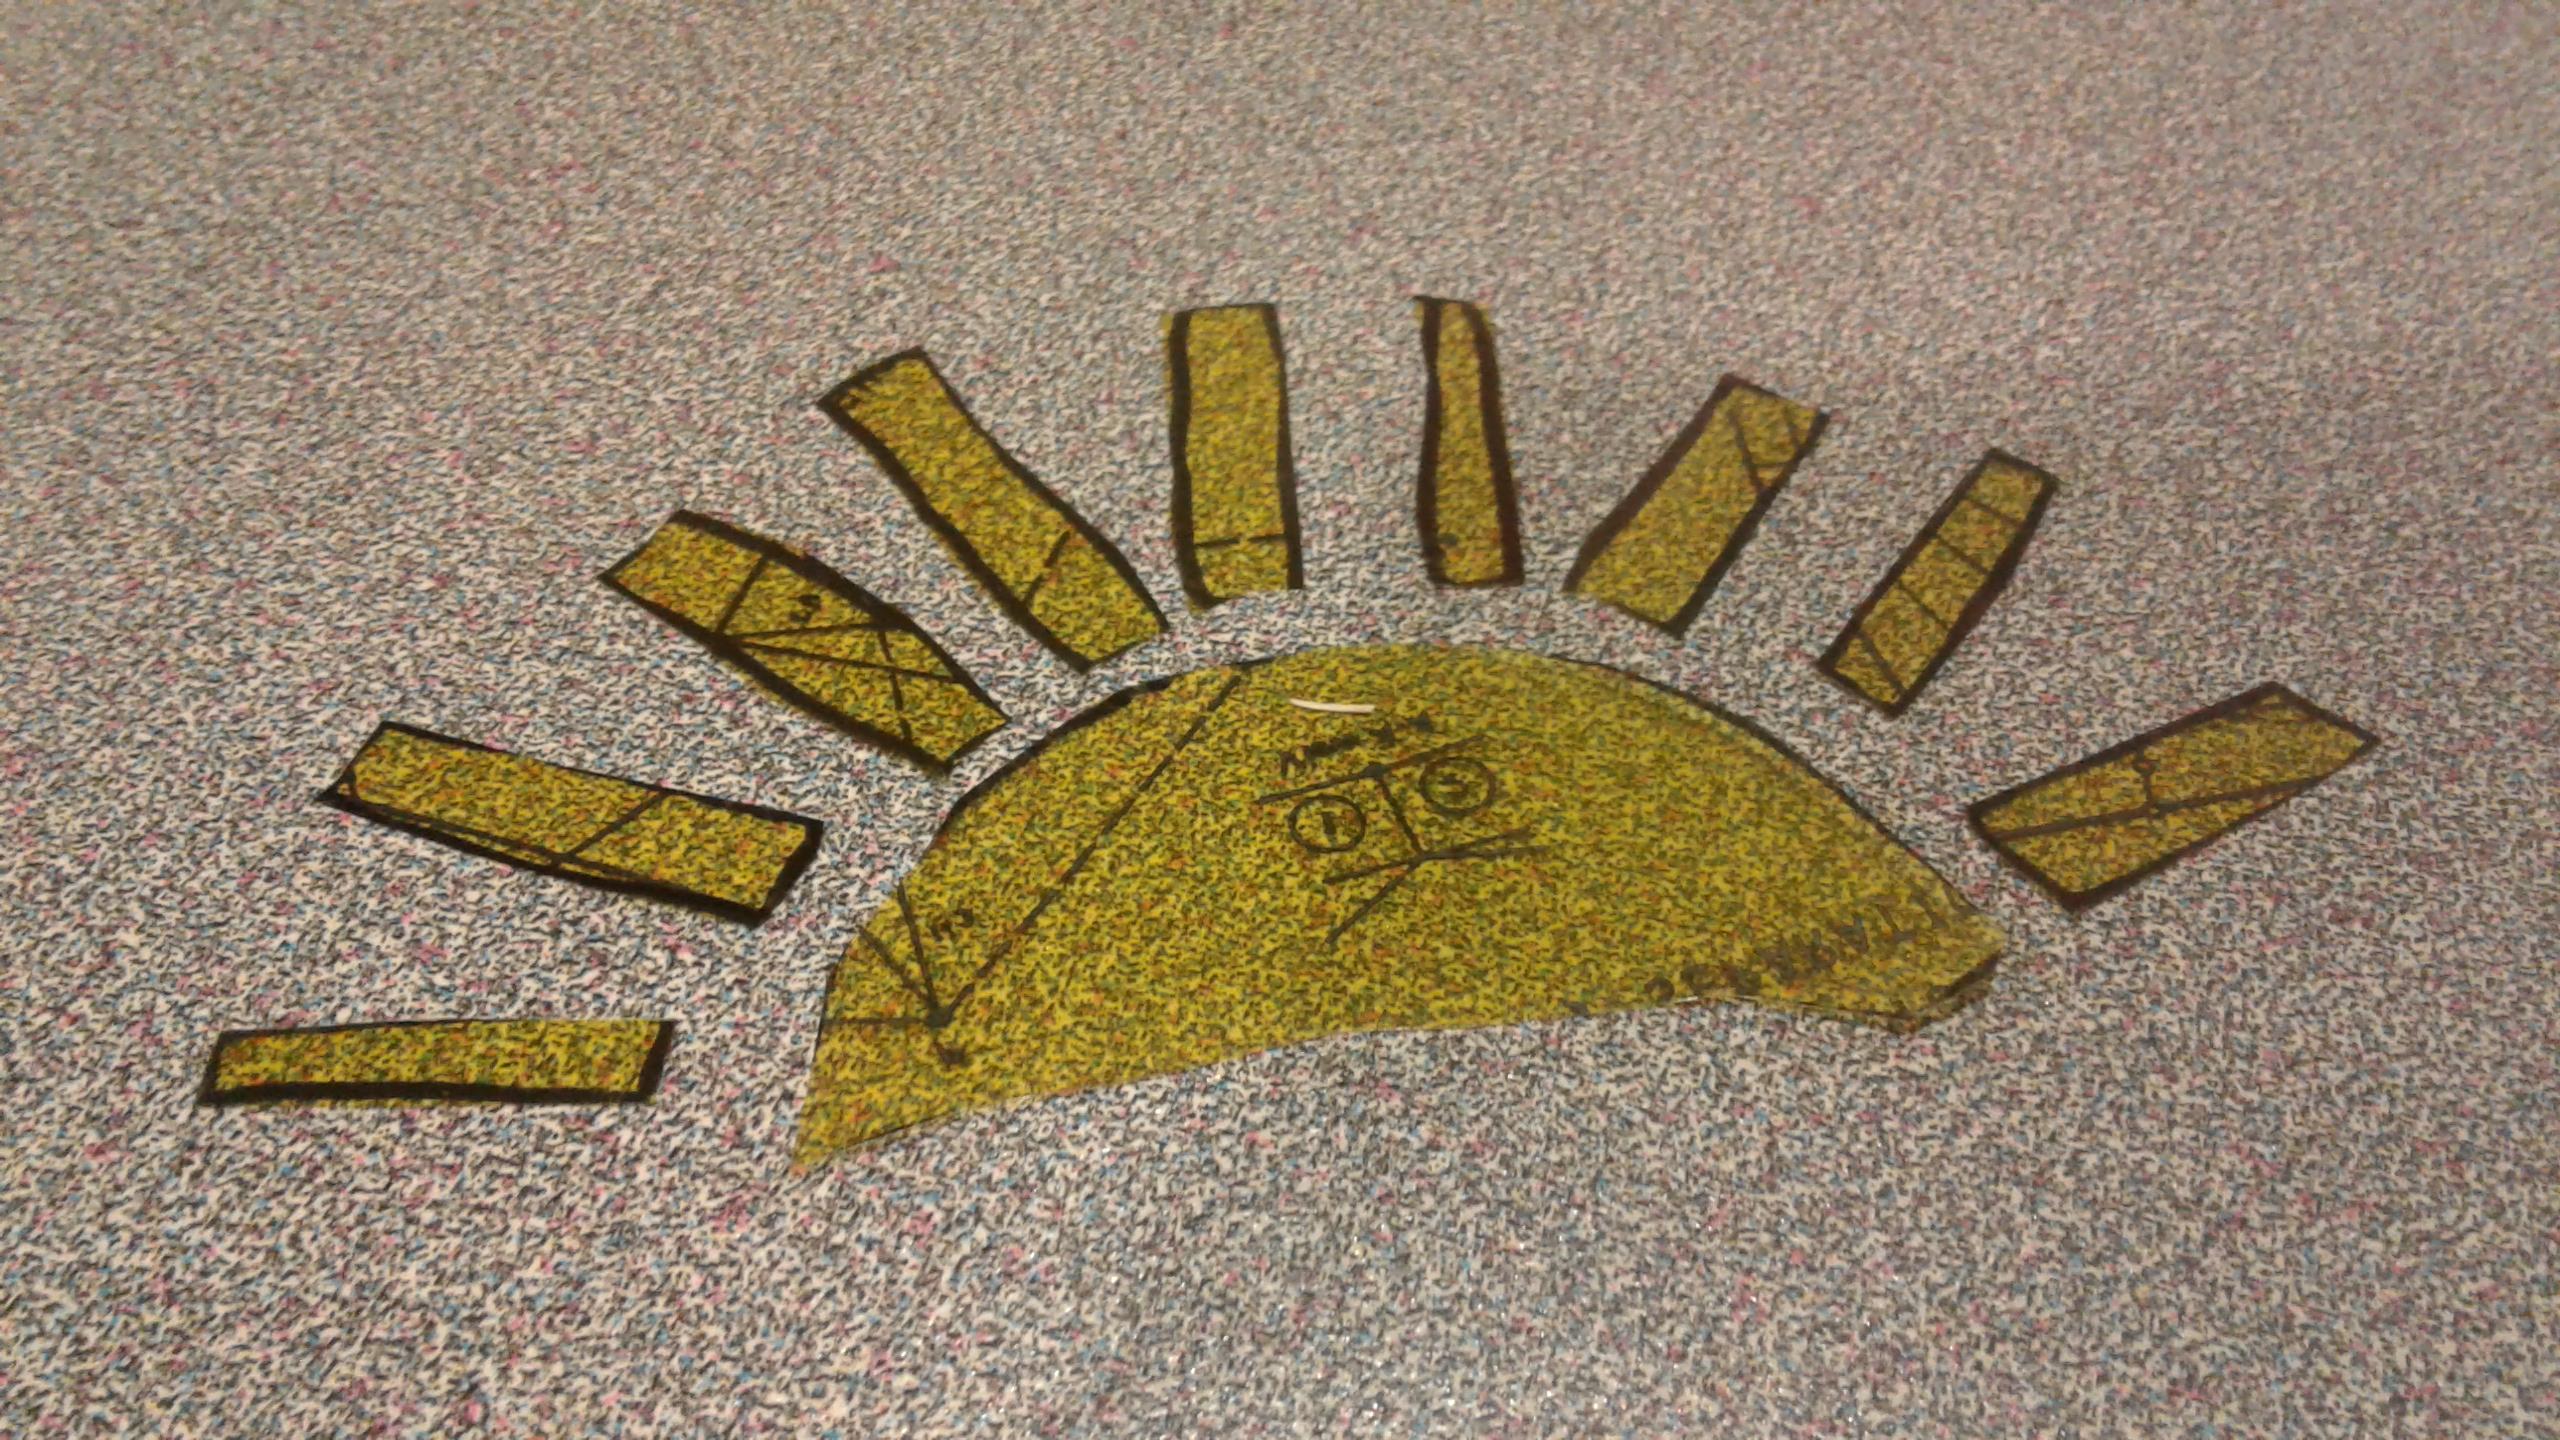
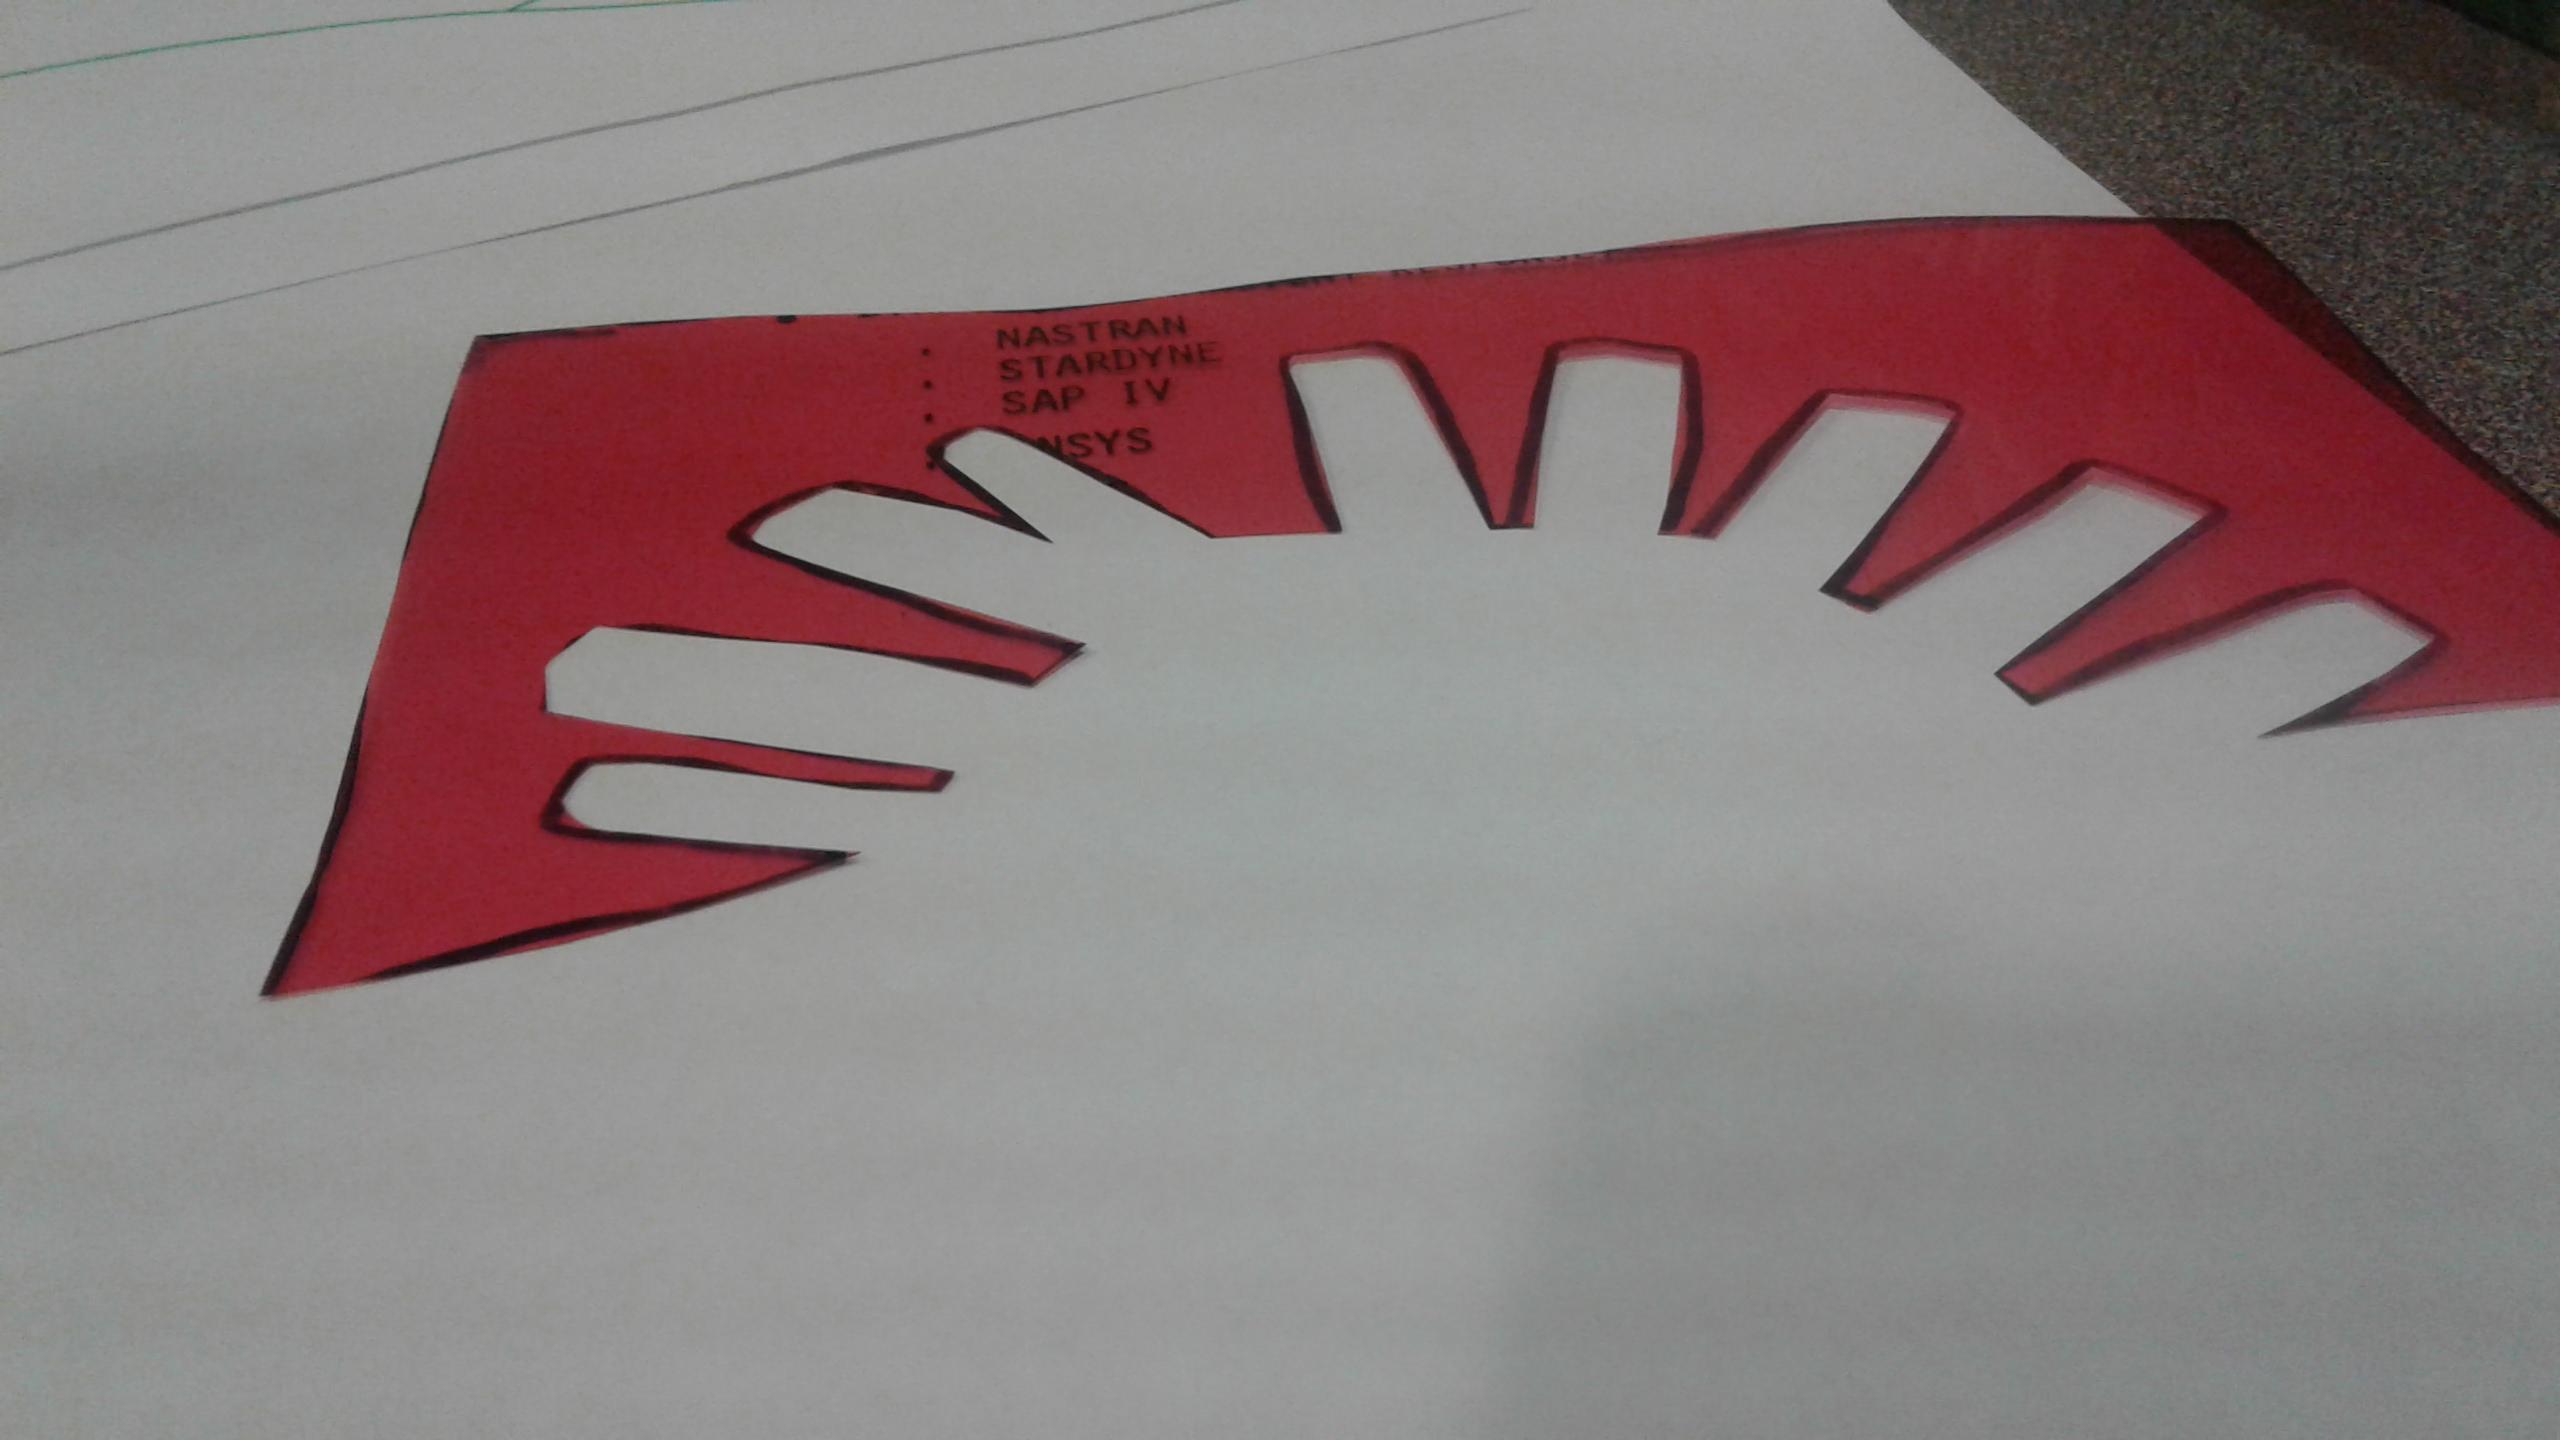
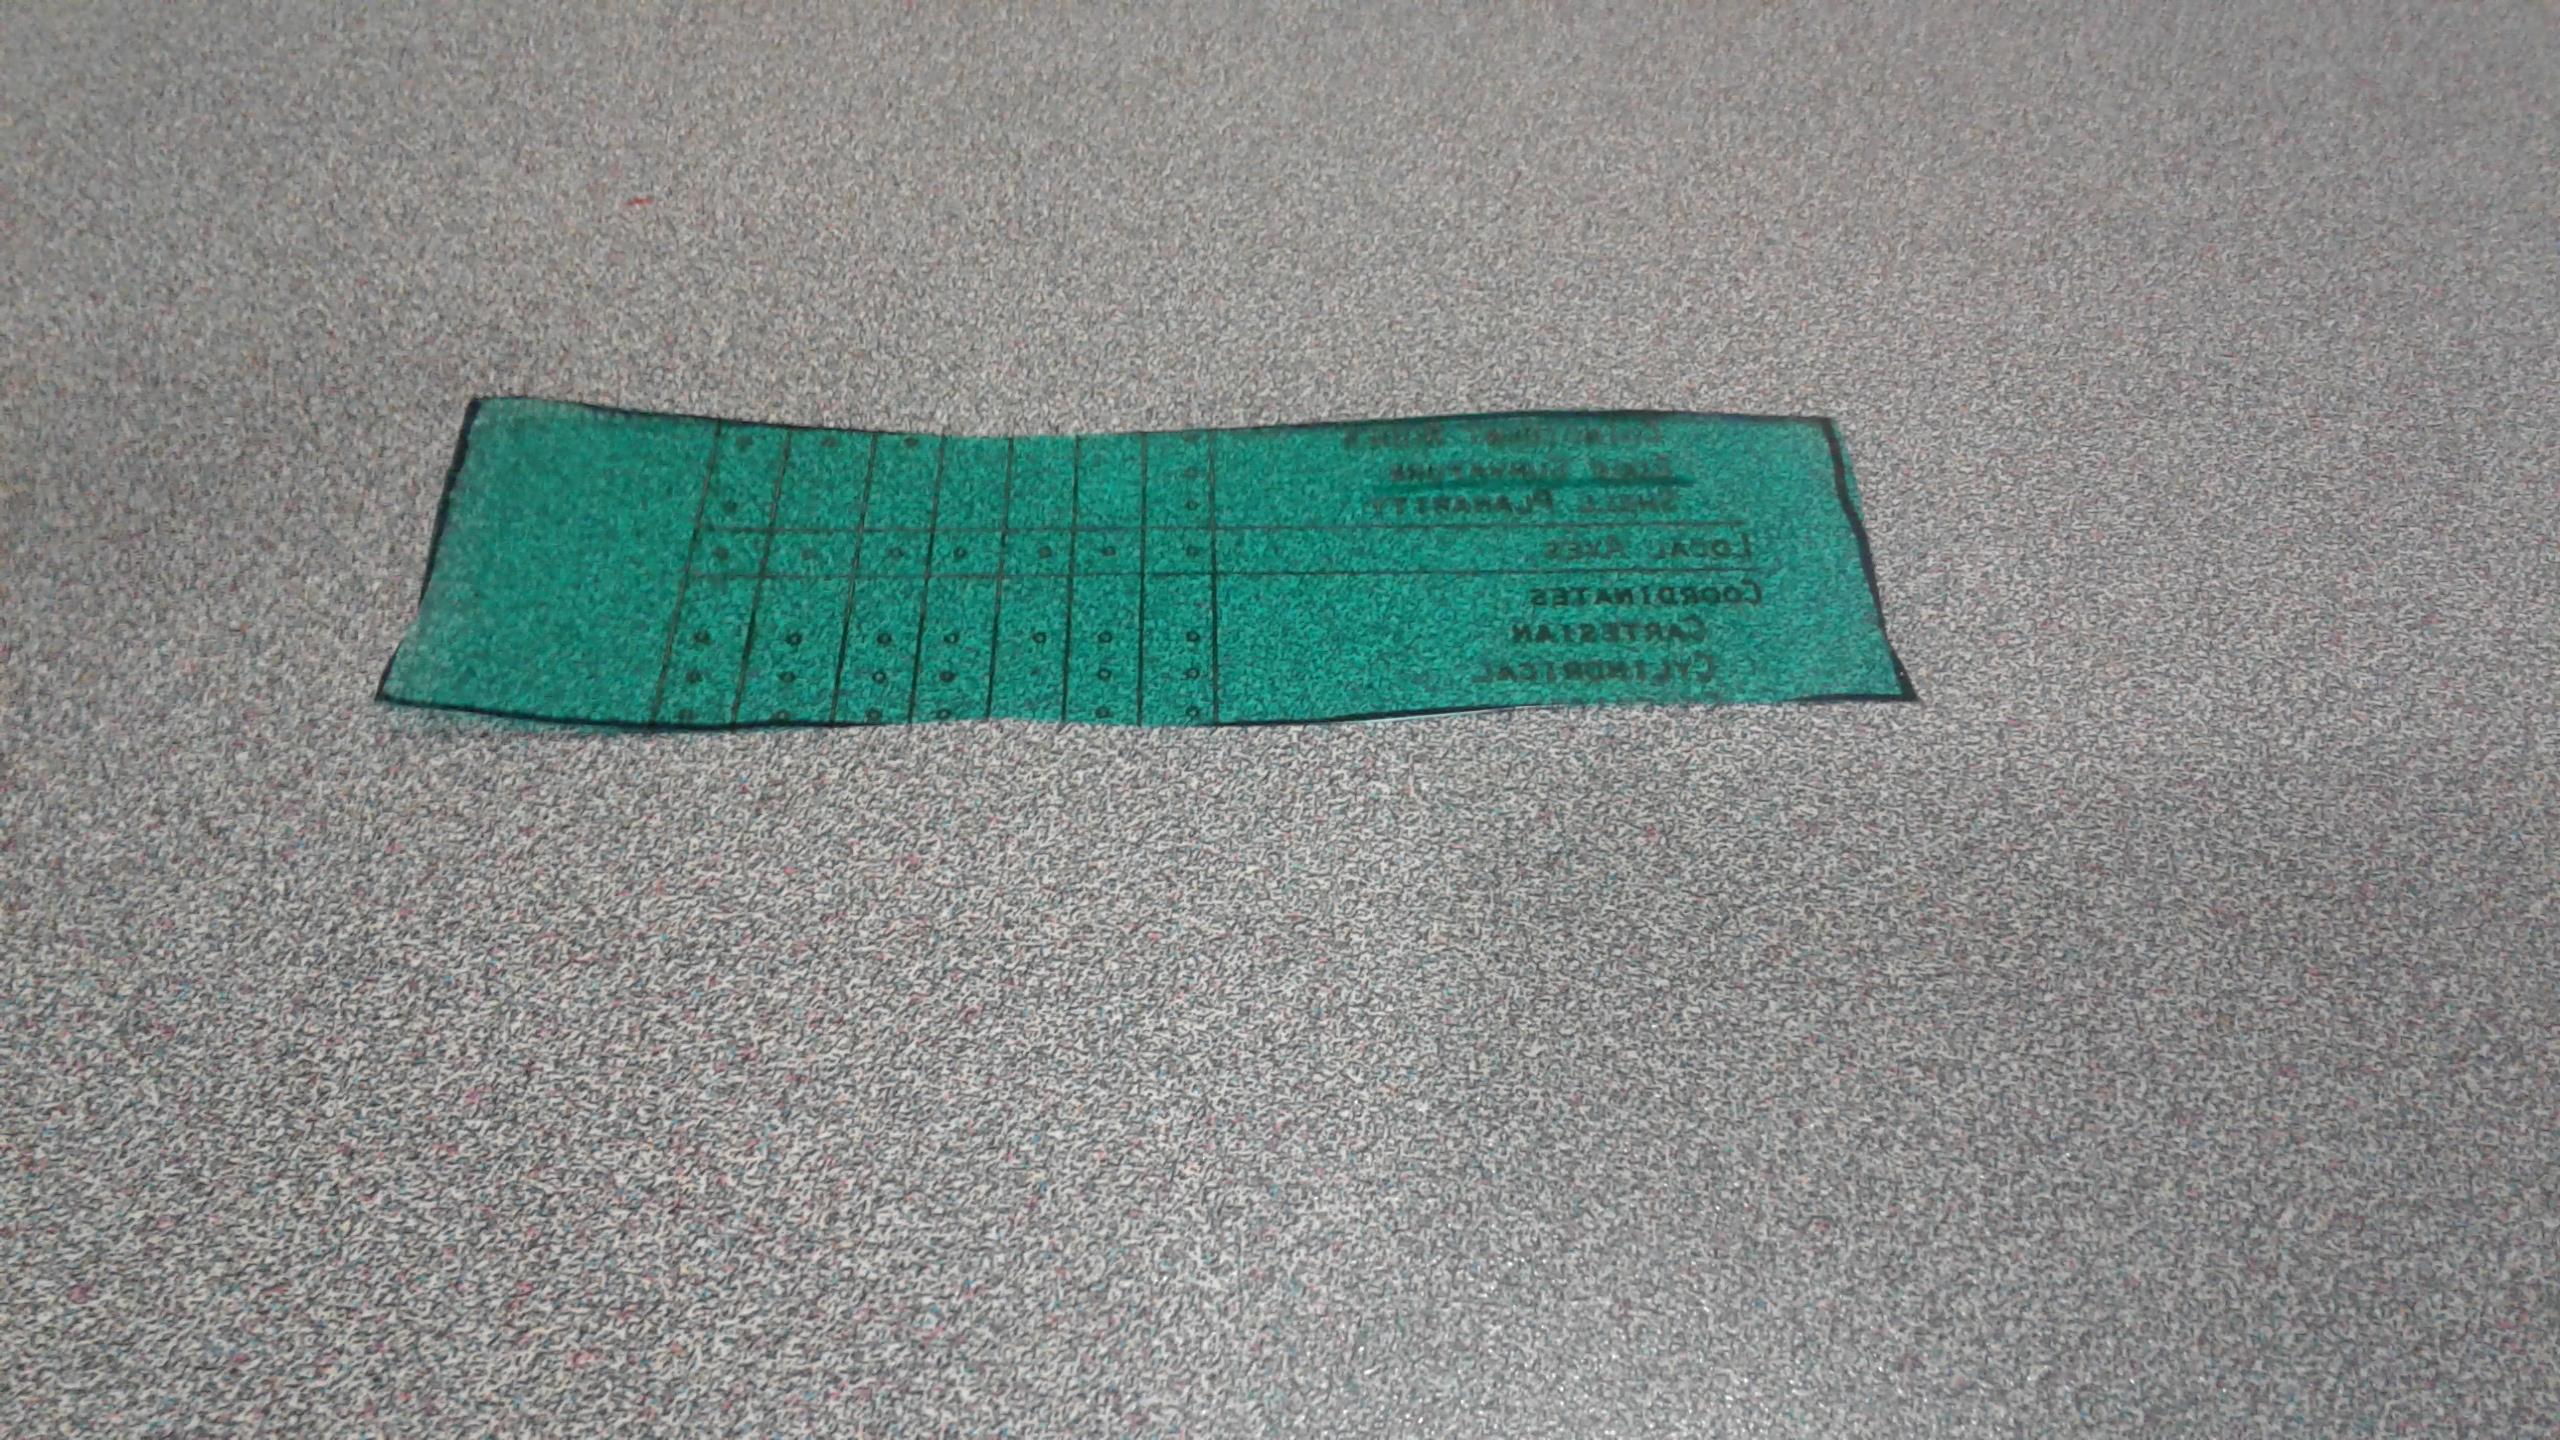
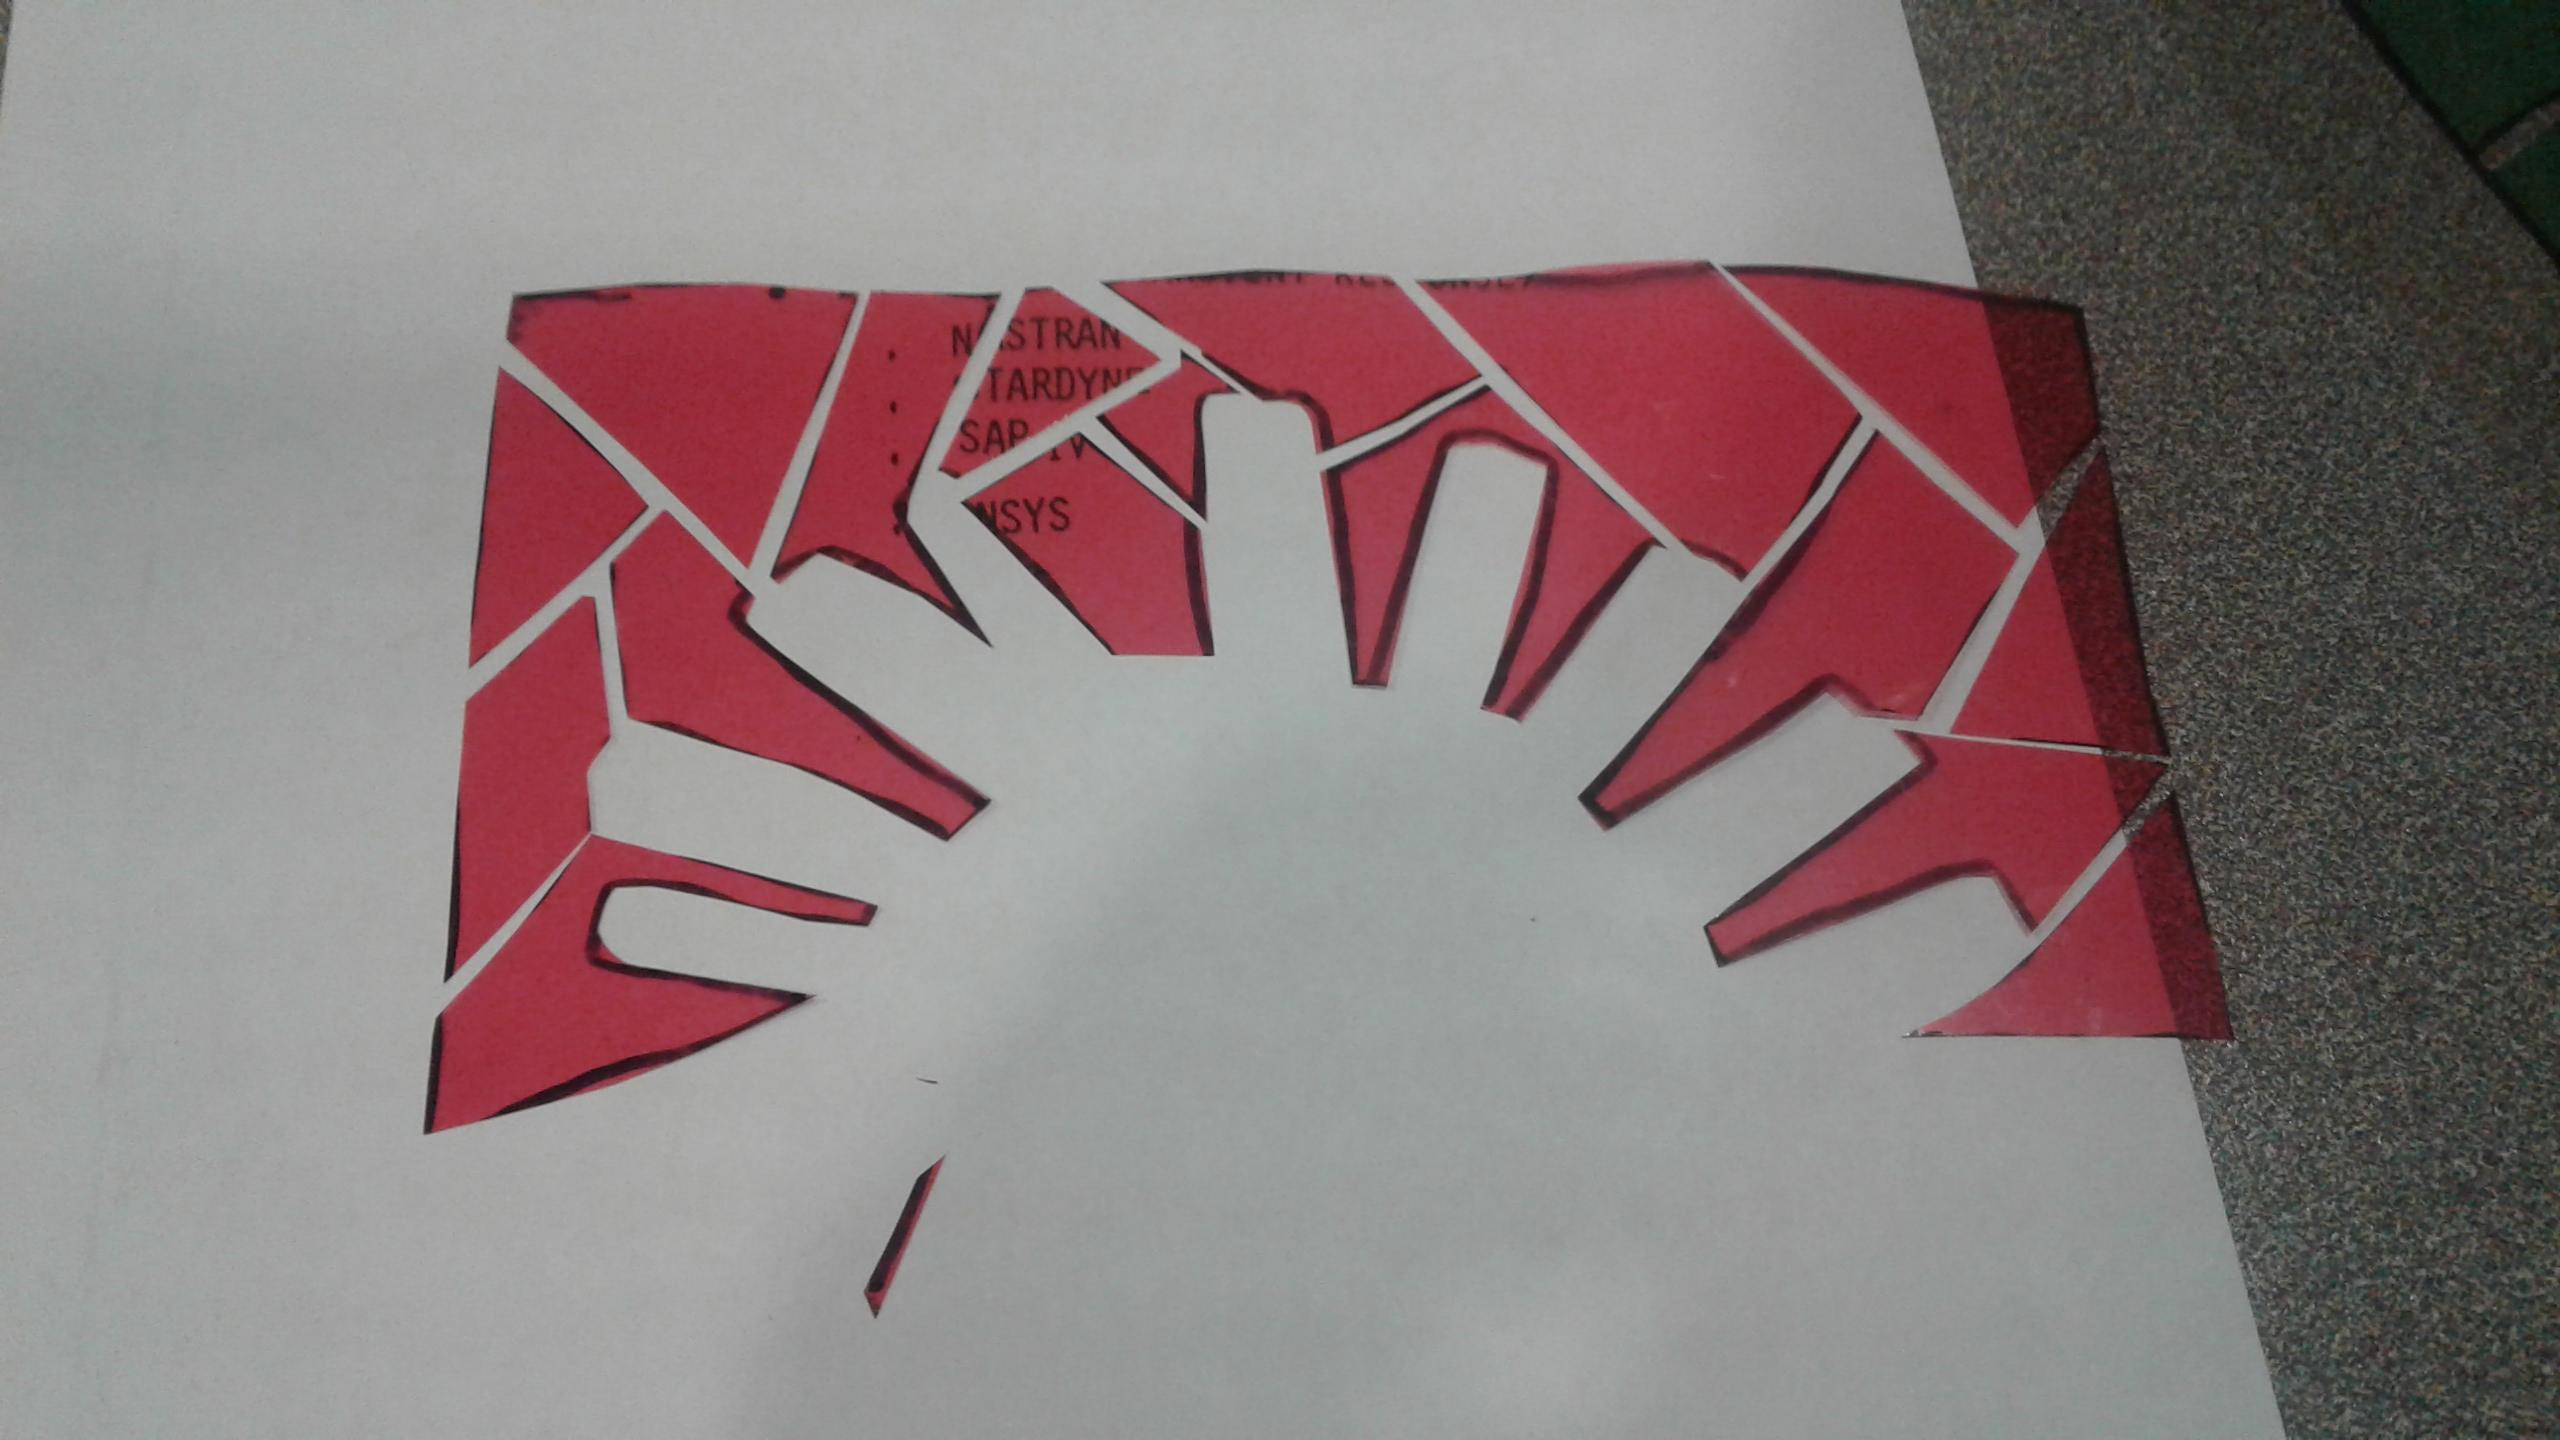
Cut More Intricate Shapes Part 1
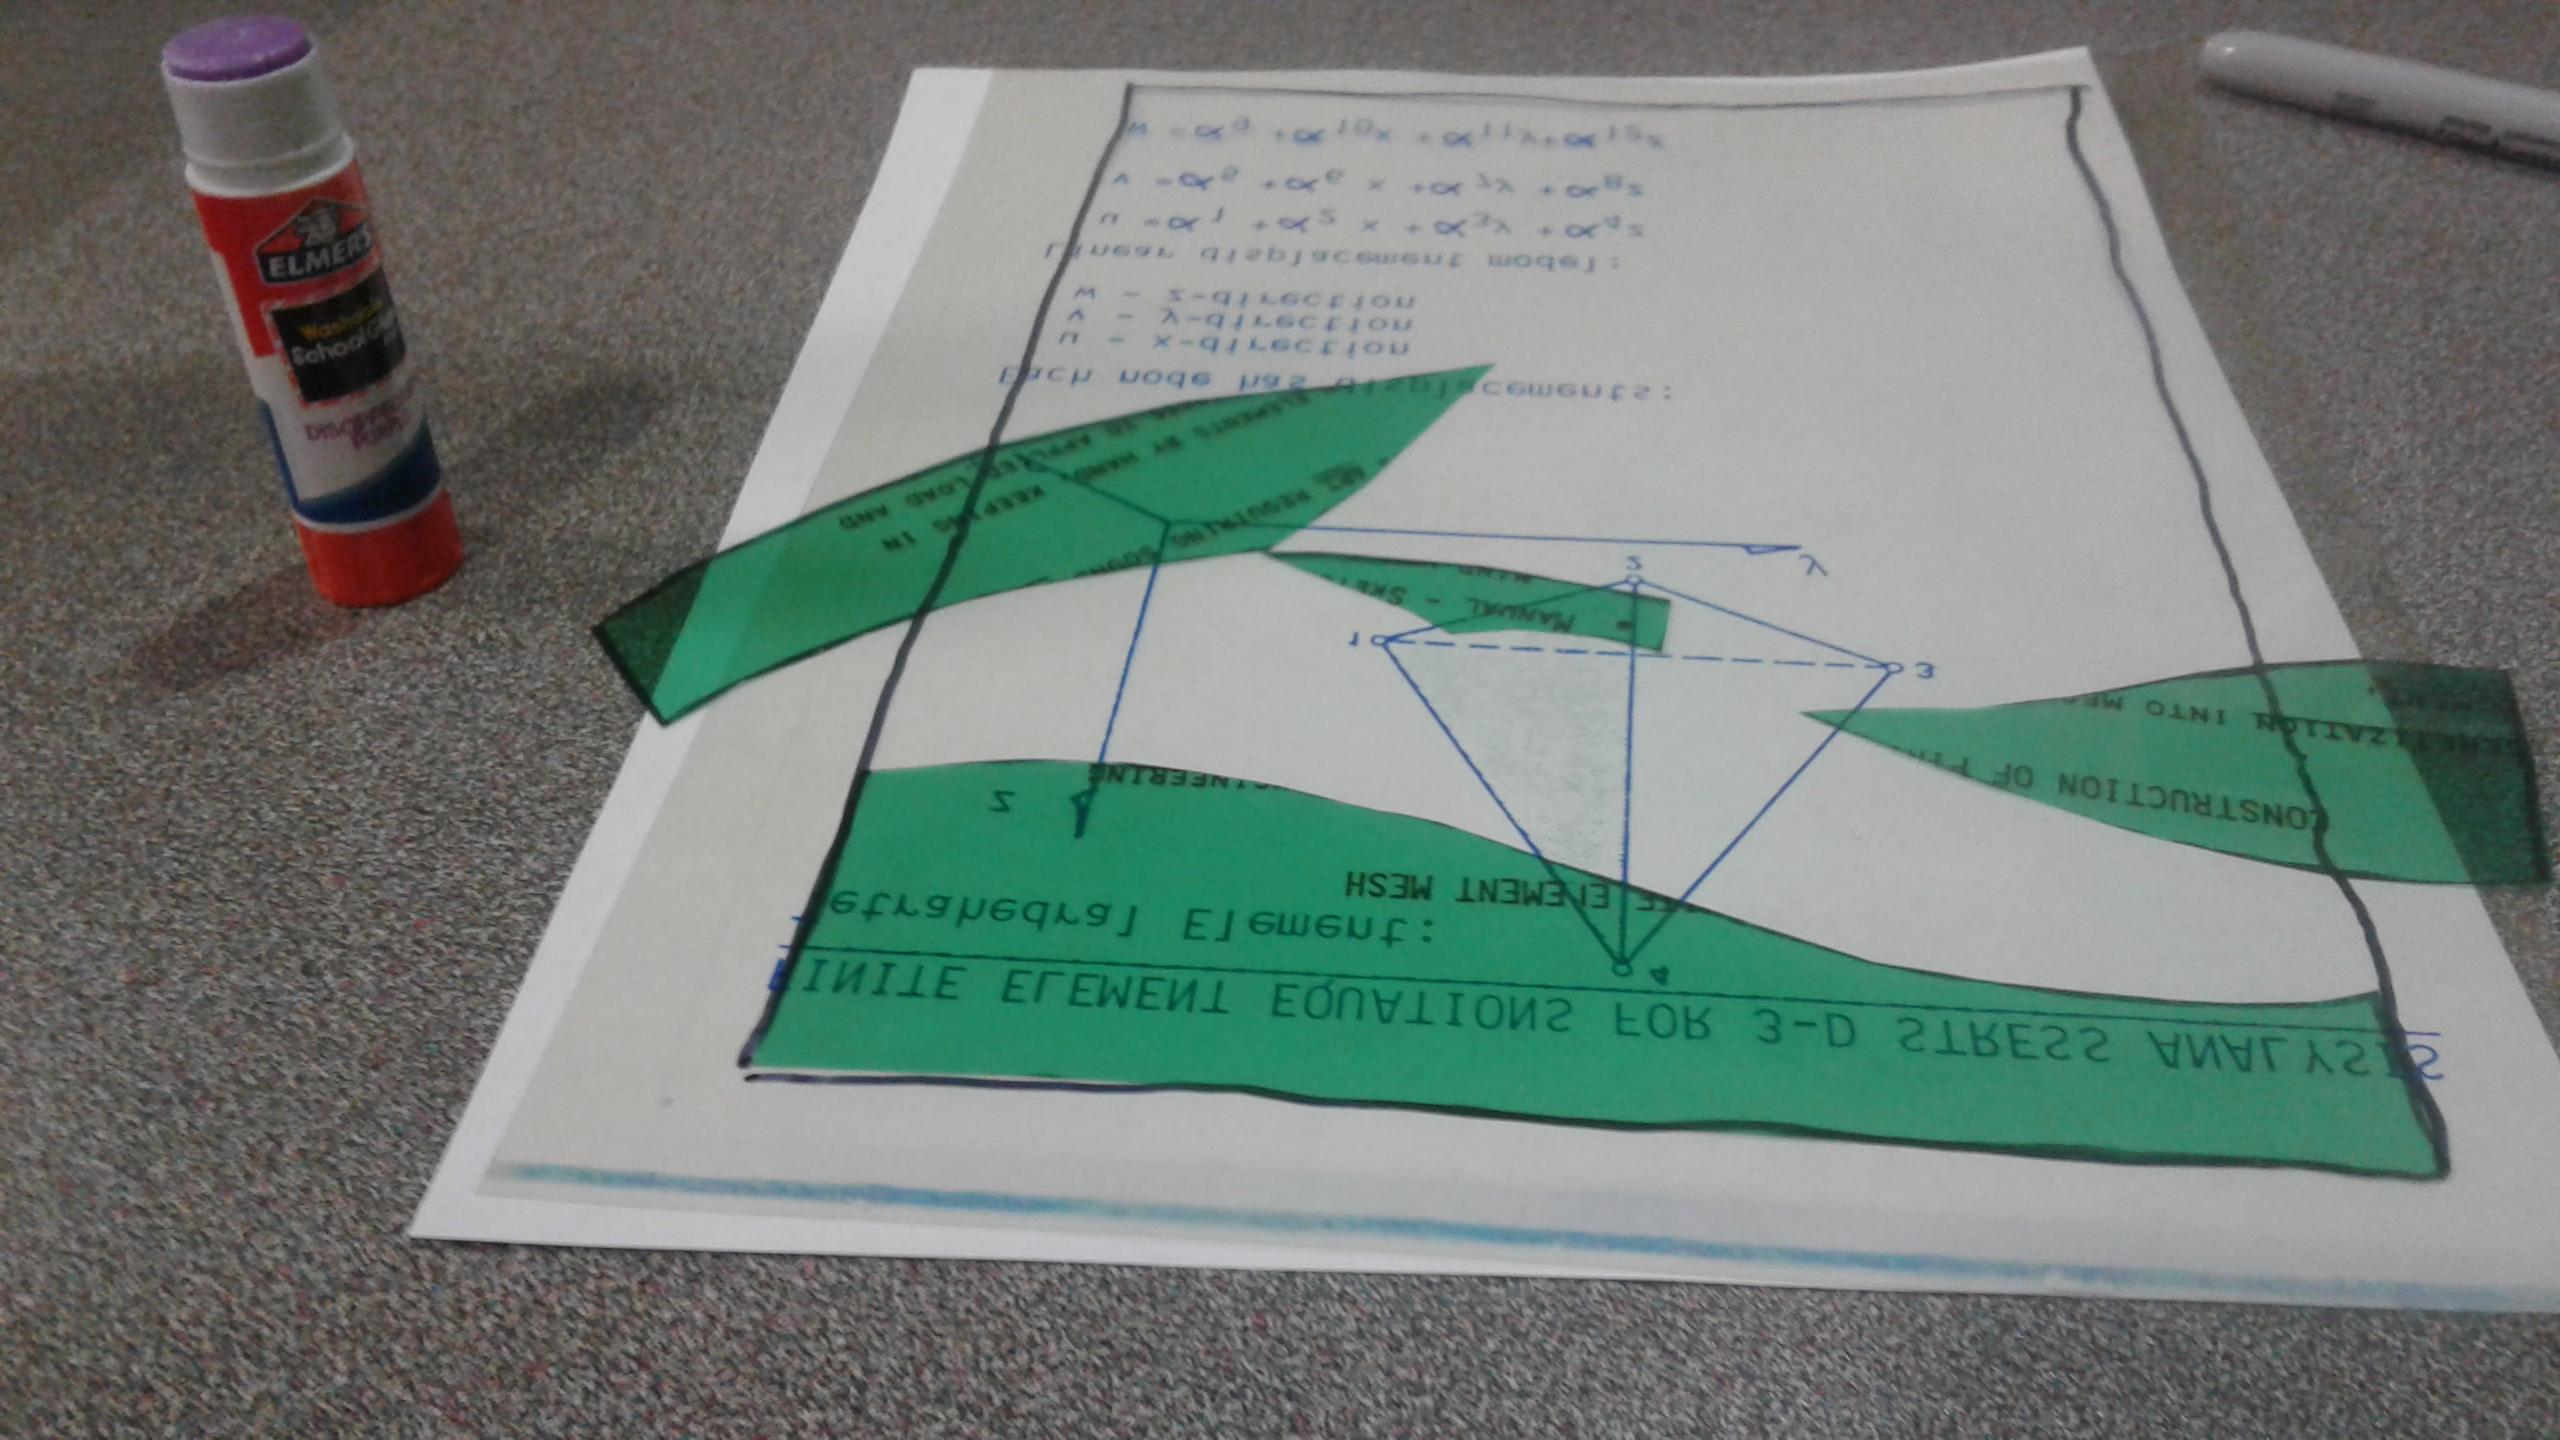
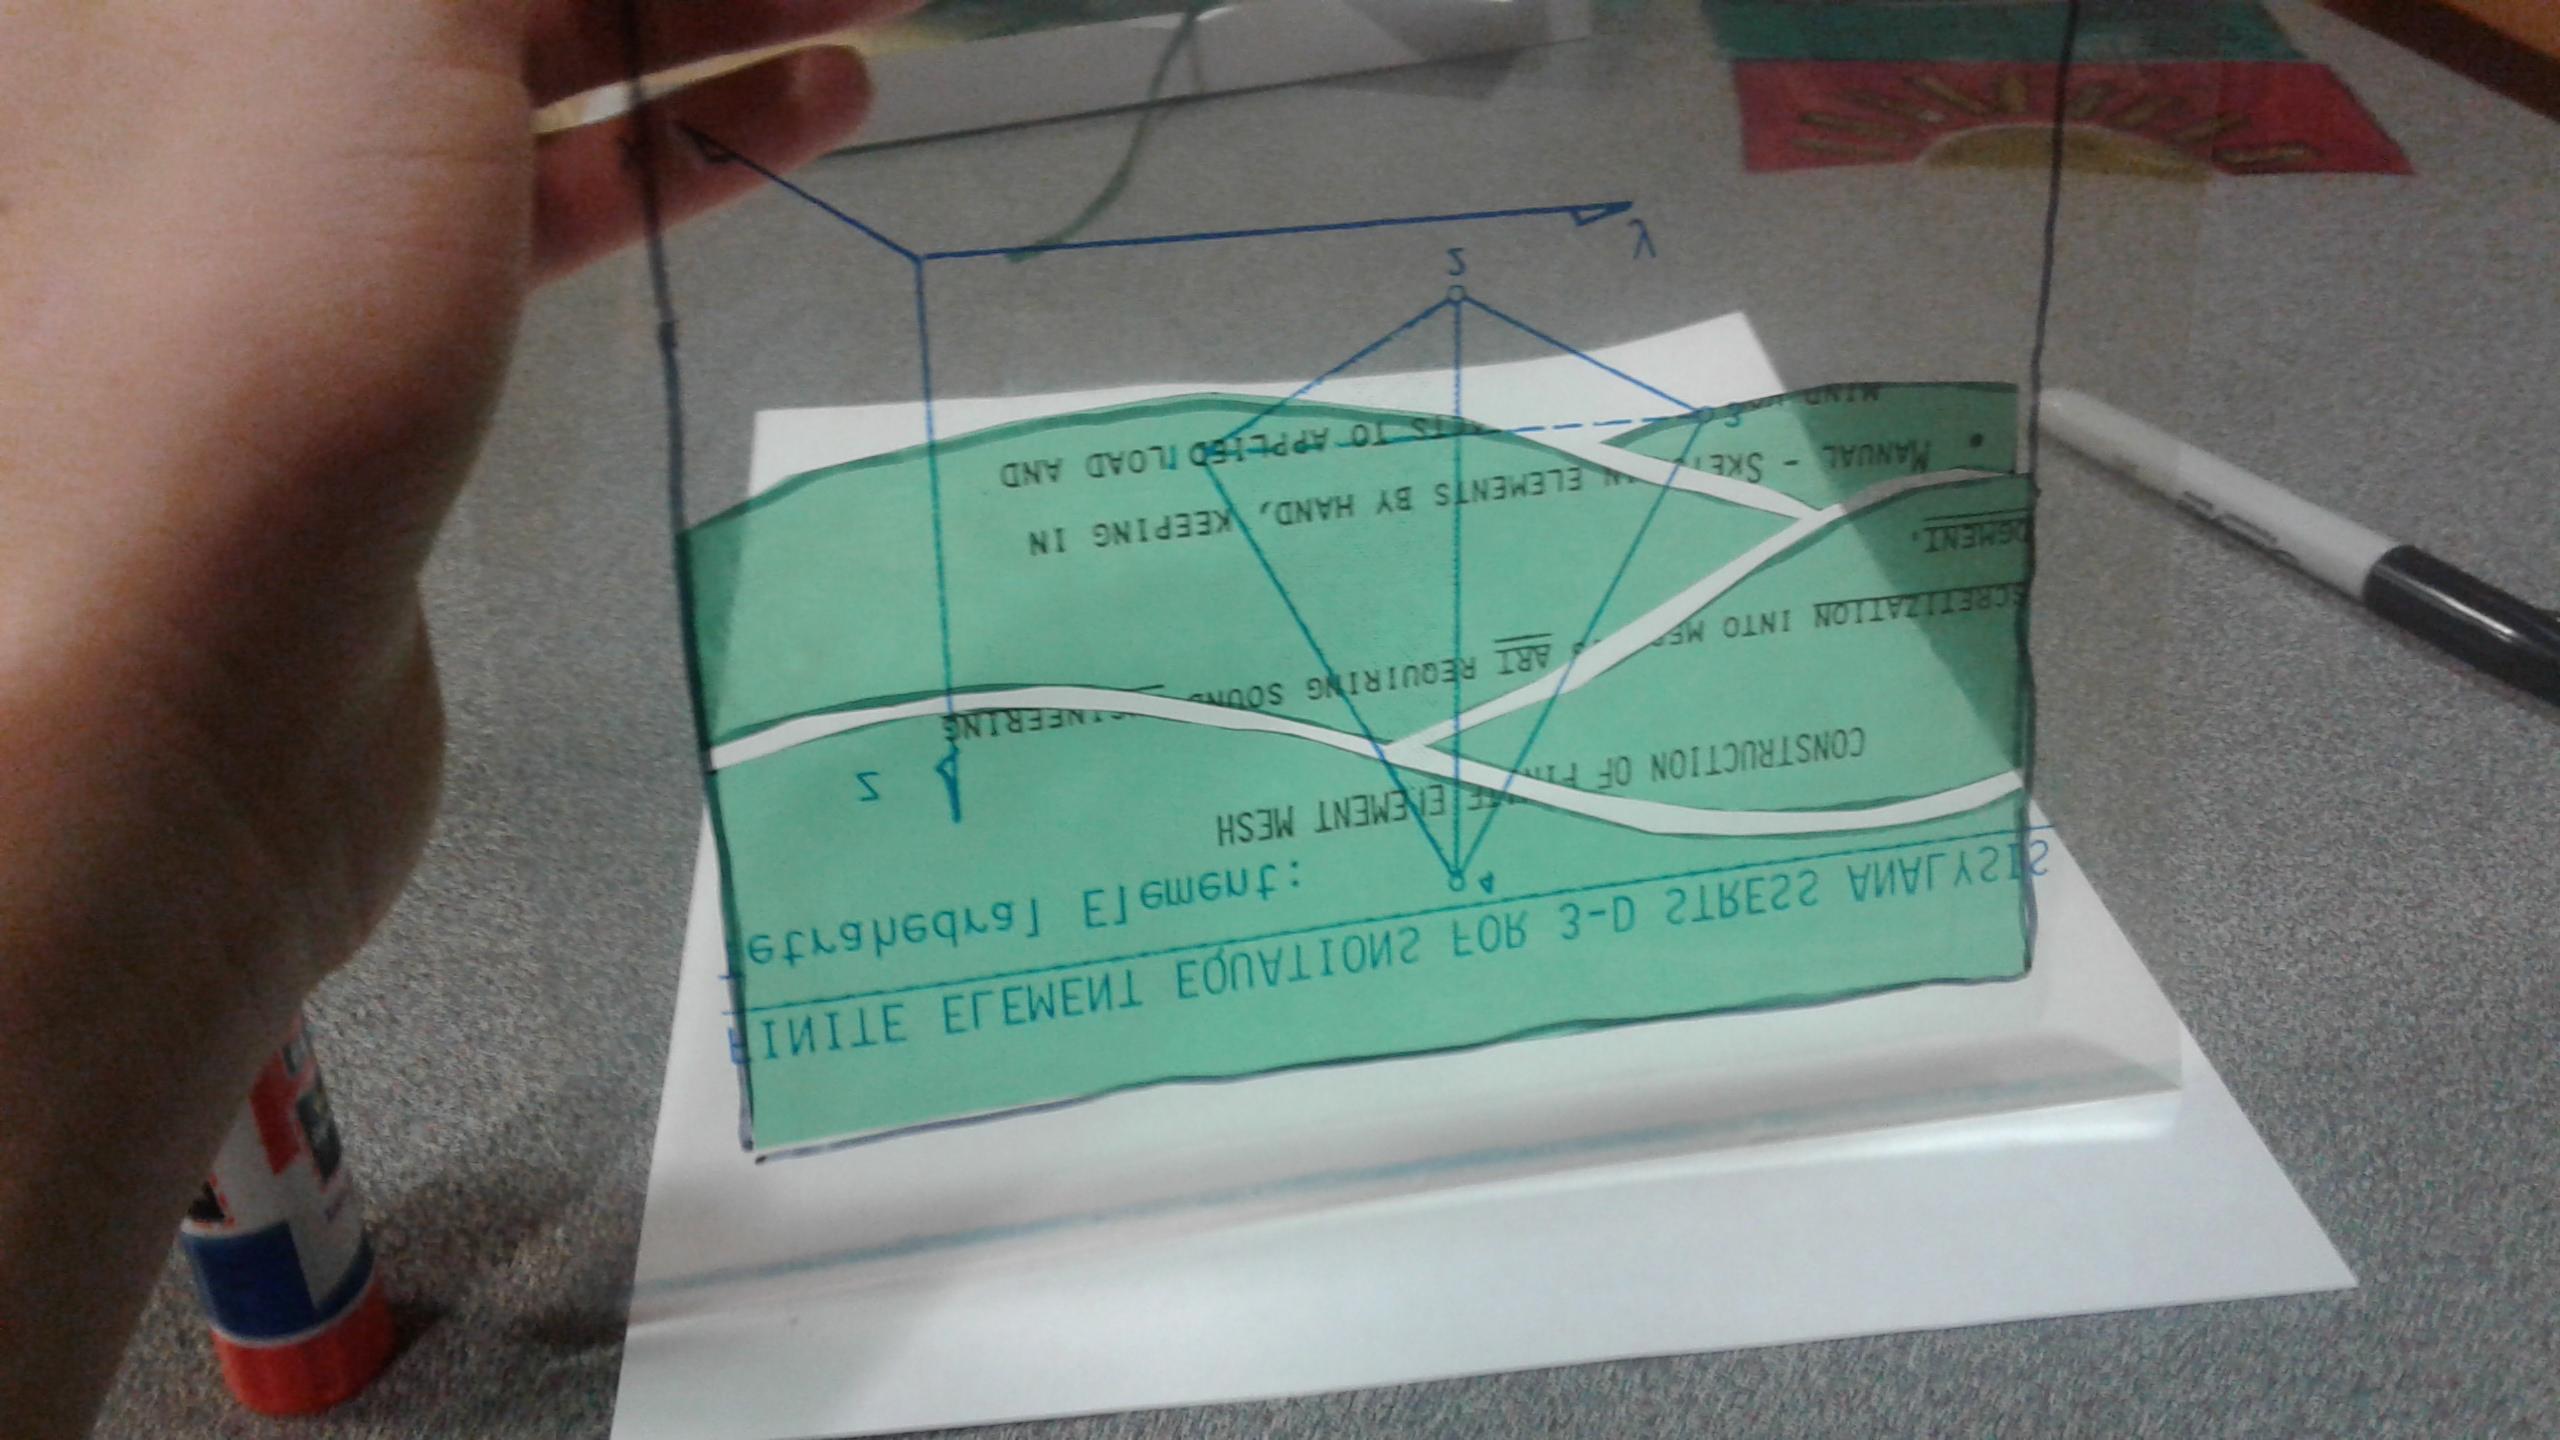
For me I left the green pieces as woles to show that they were hills on the plains you could also do this to show depth in other pictures like if you wanted to do ocean waves. After cutting glue to the base. Make sure to stay in the lines and to create gaps so that when complete looks real and have lines. These are the pieces that you are keeping relatively whole.
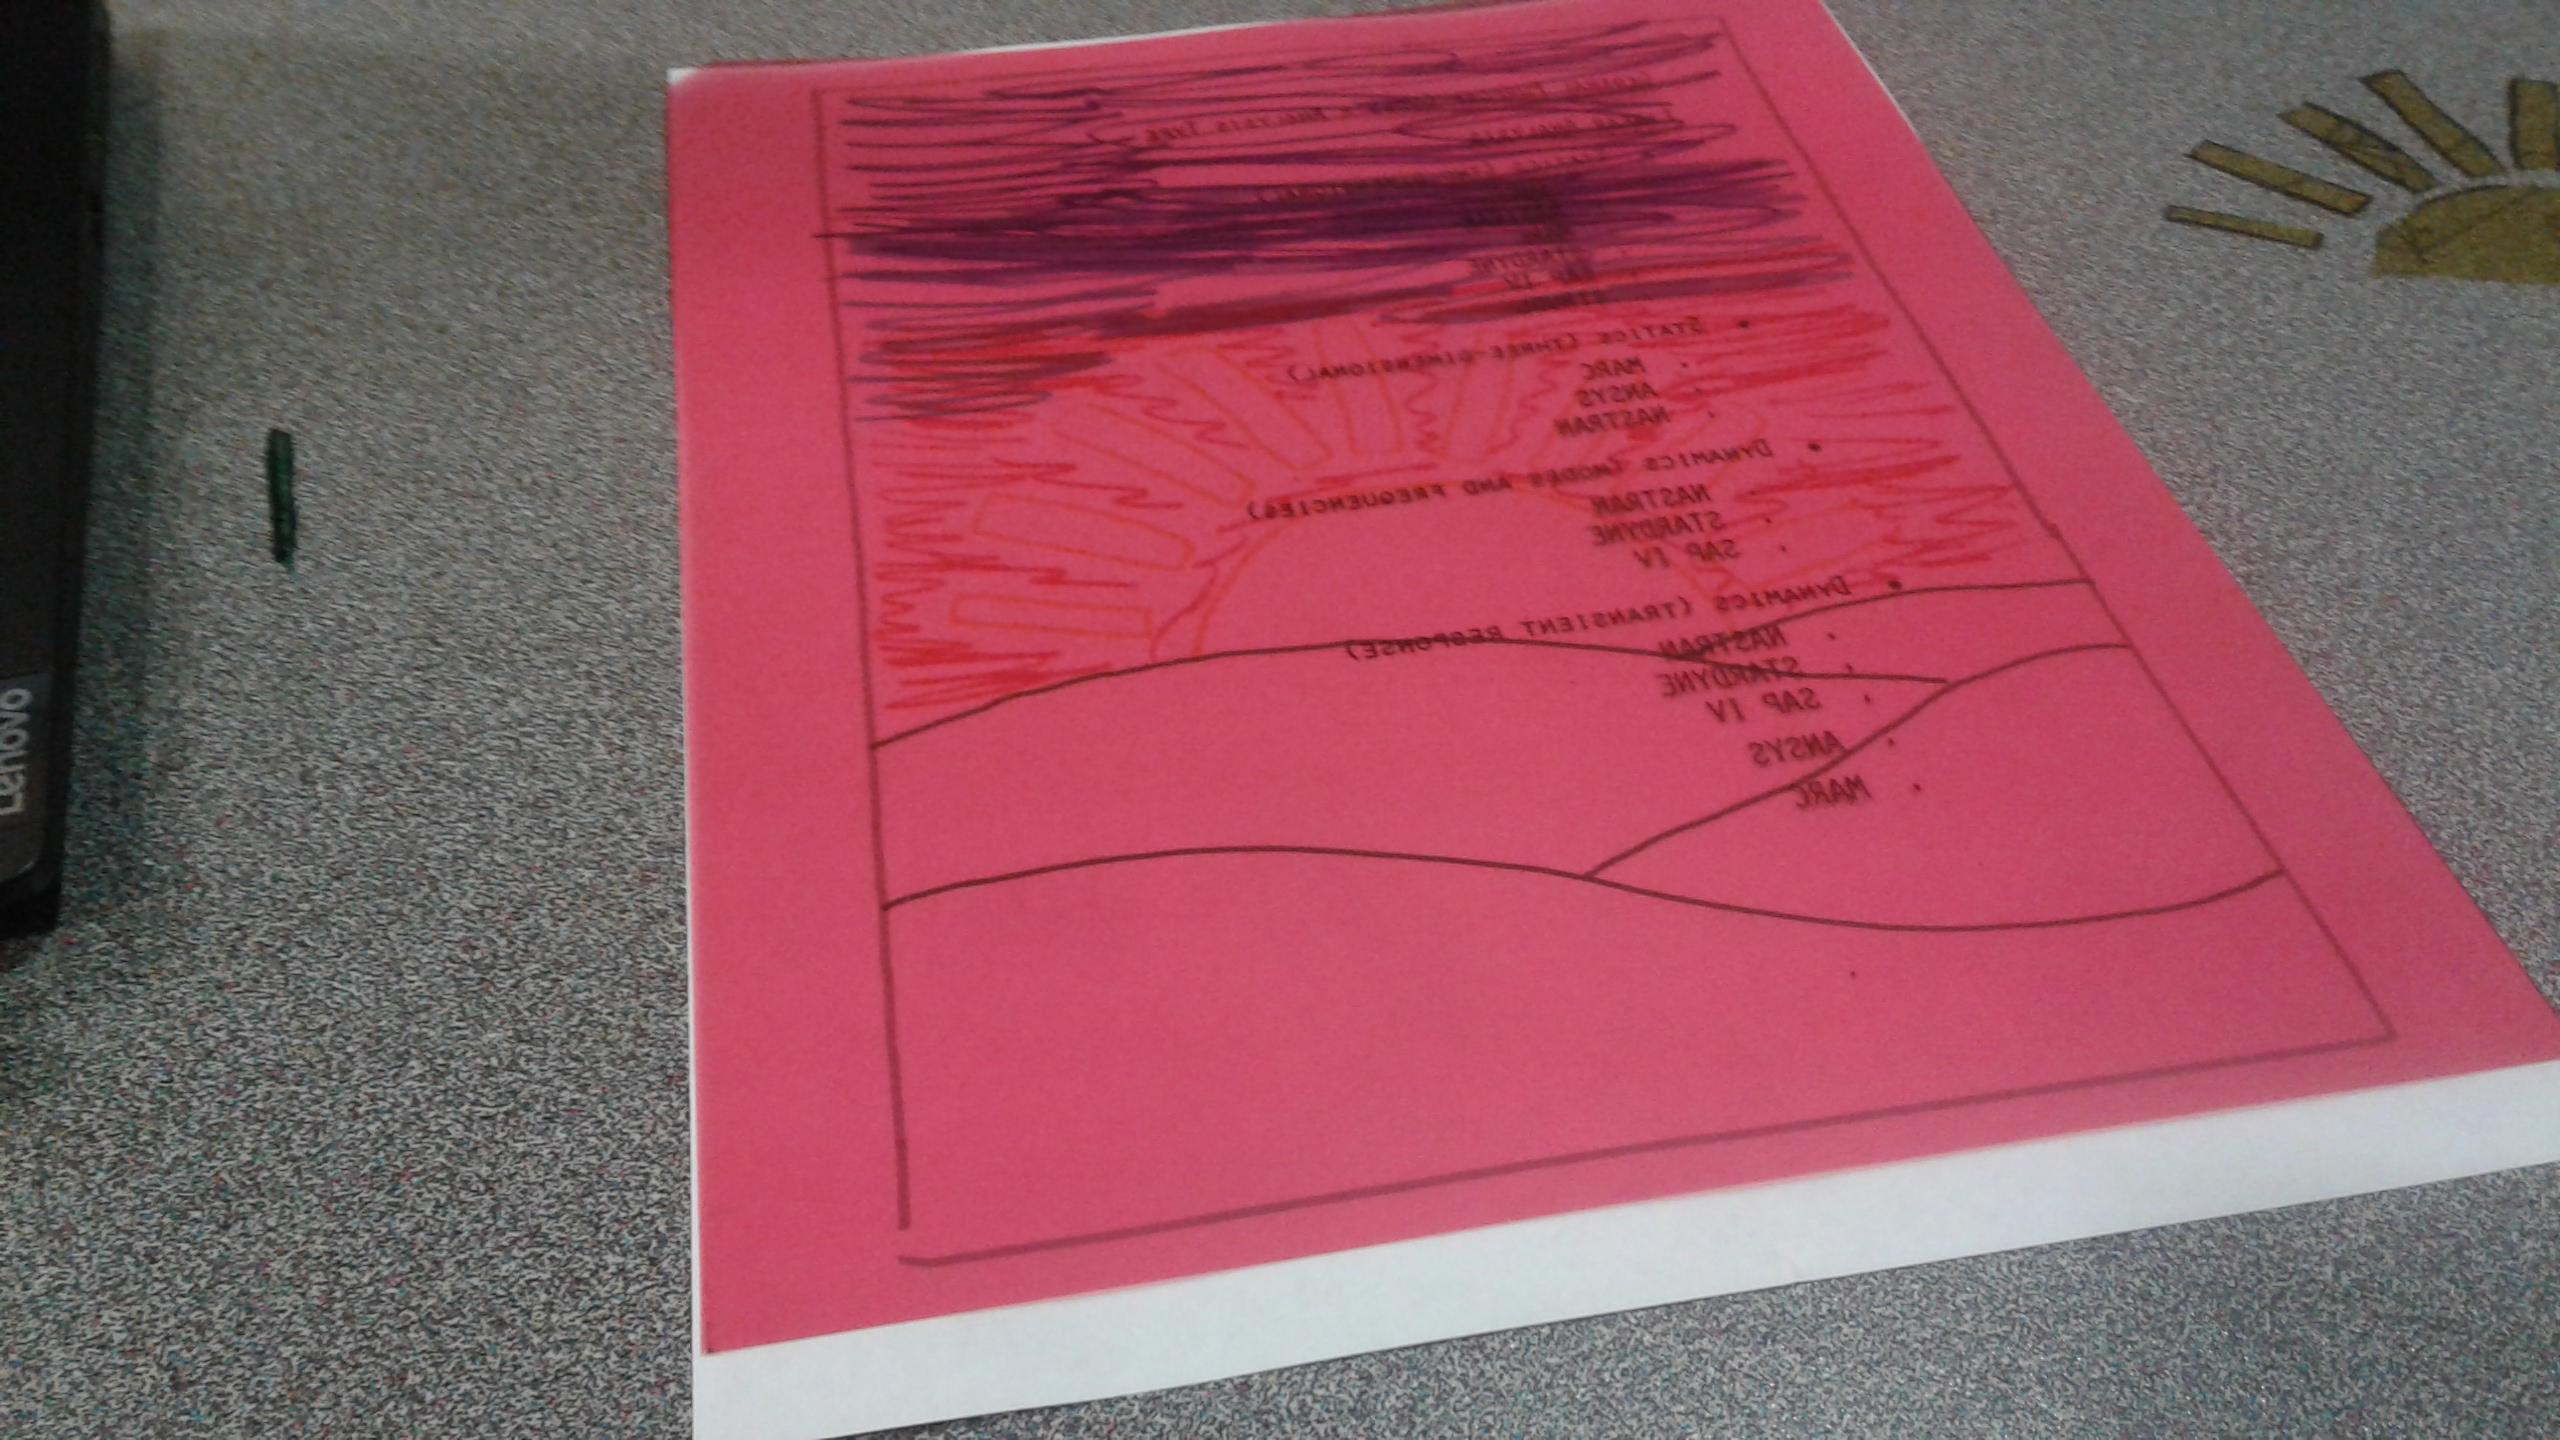
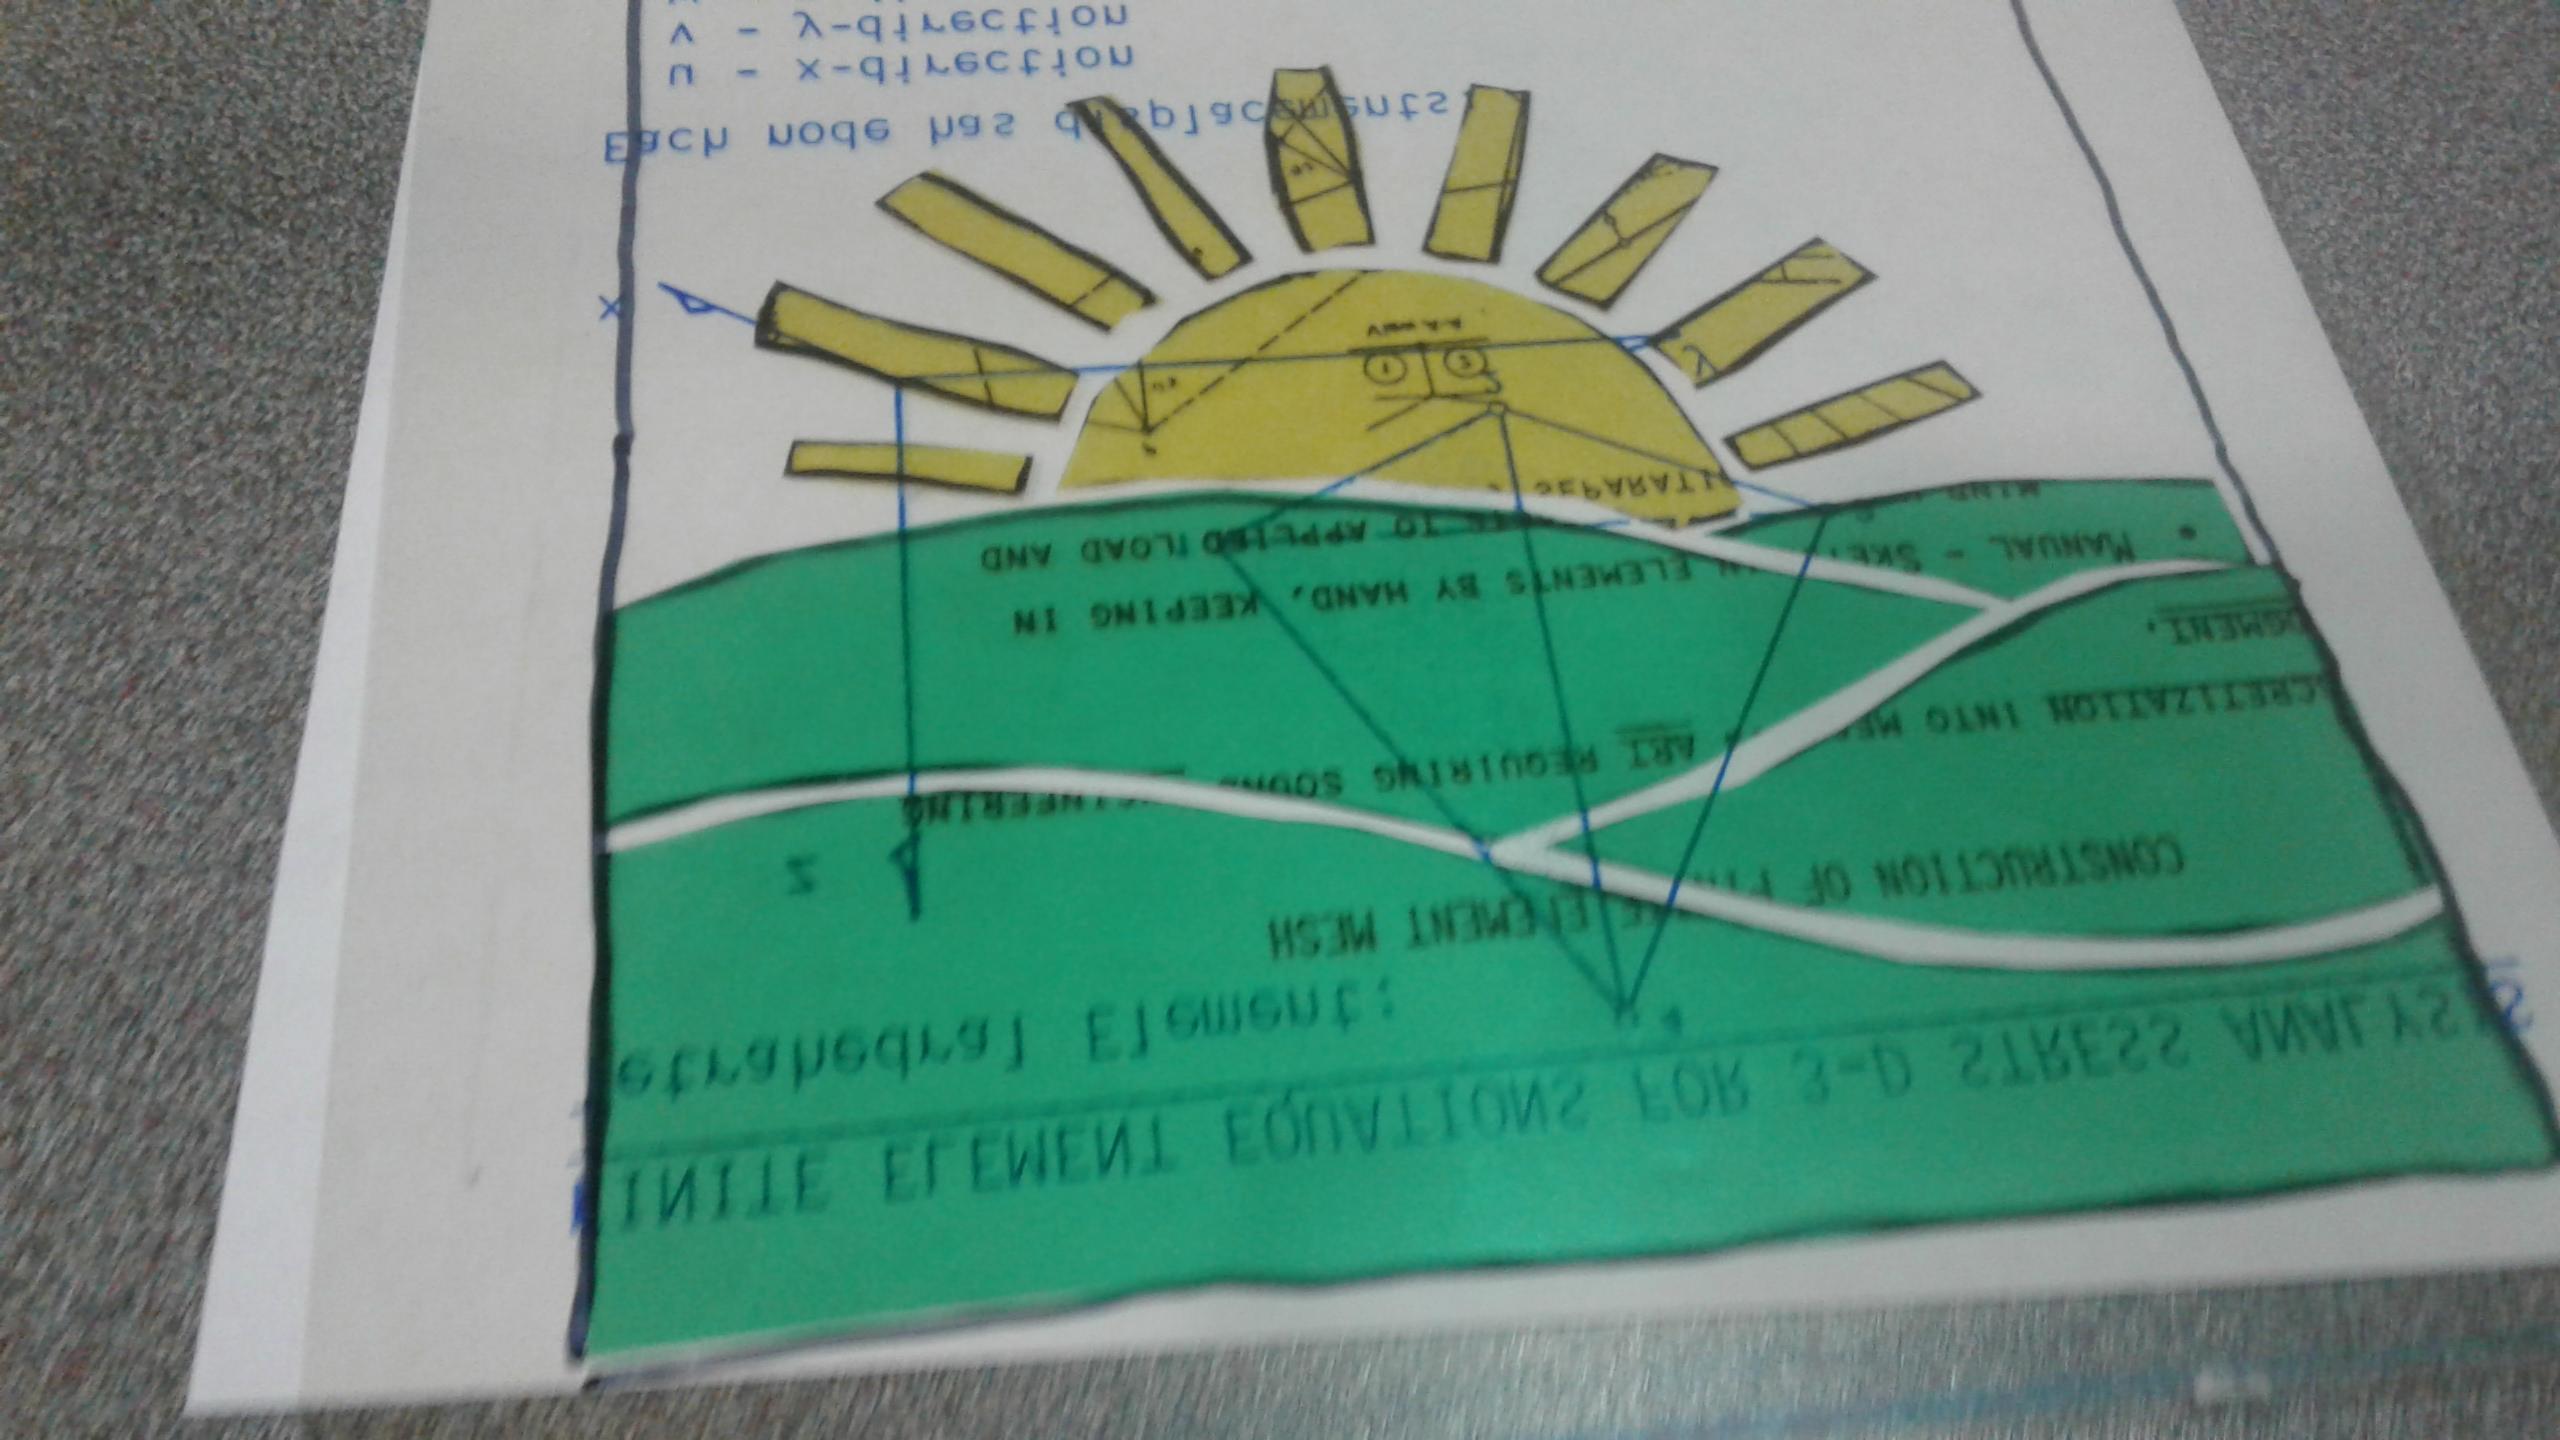
Part 2 the Sky

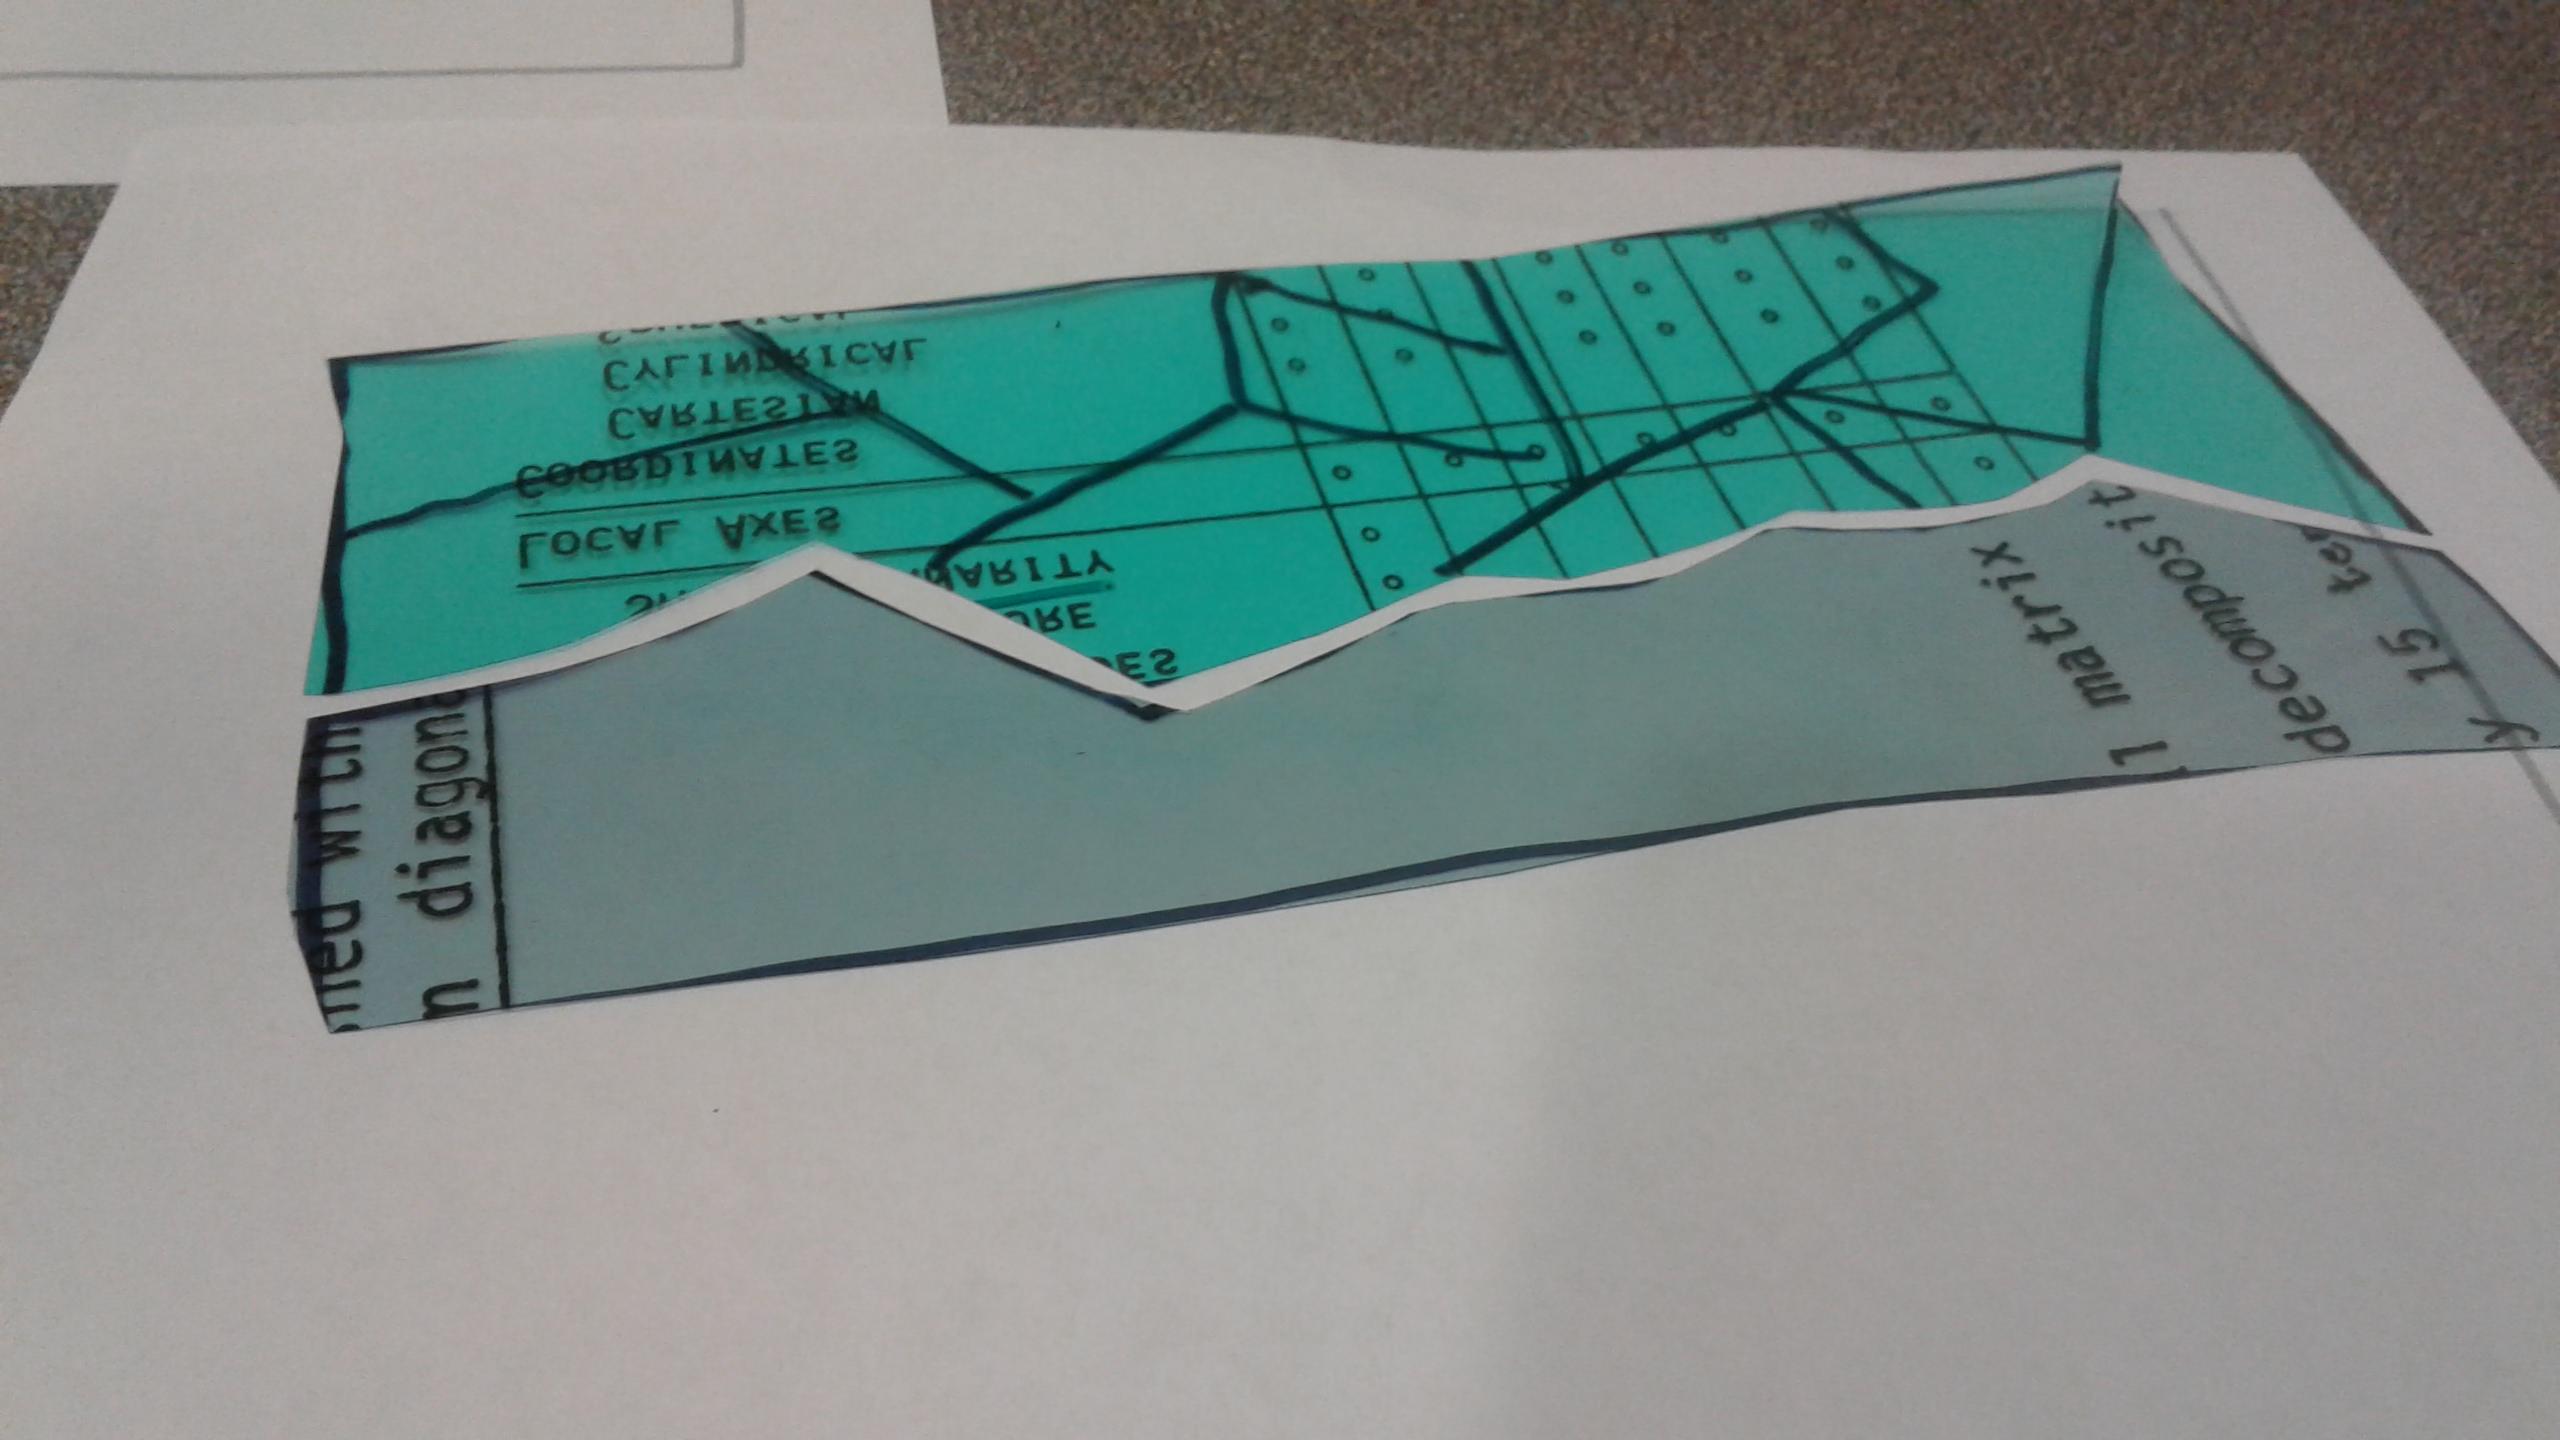
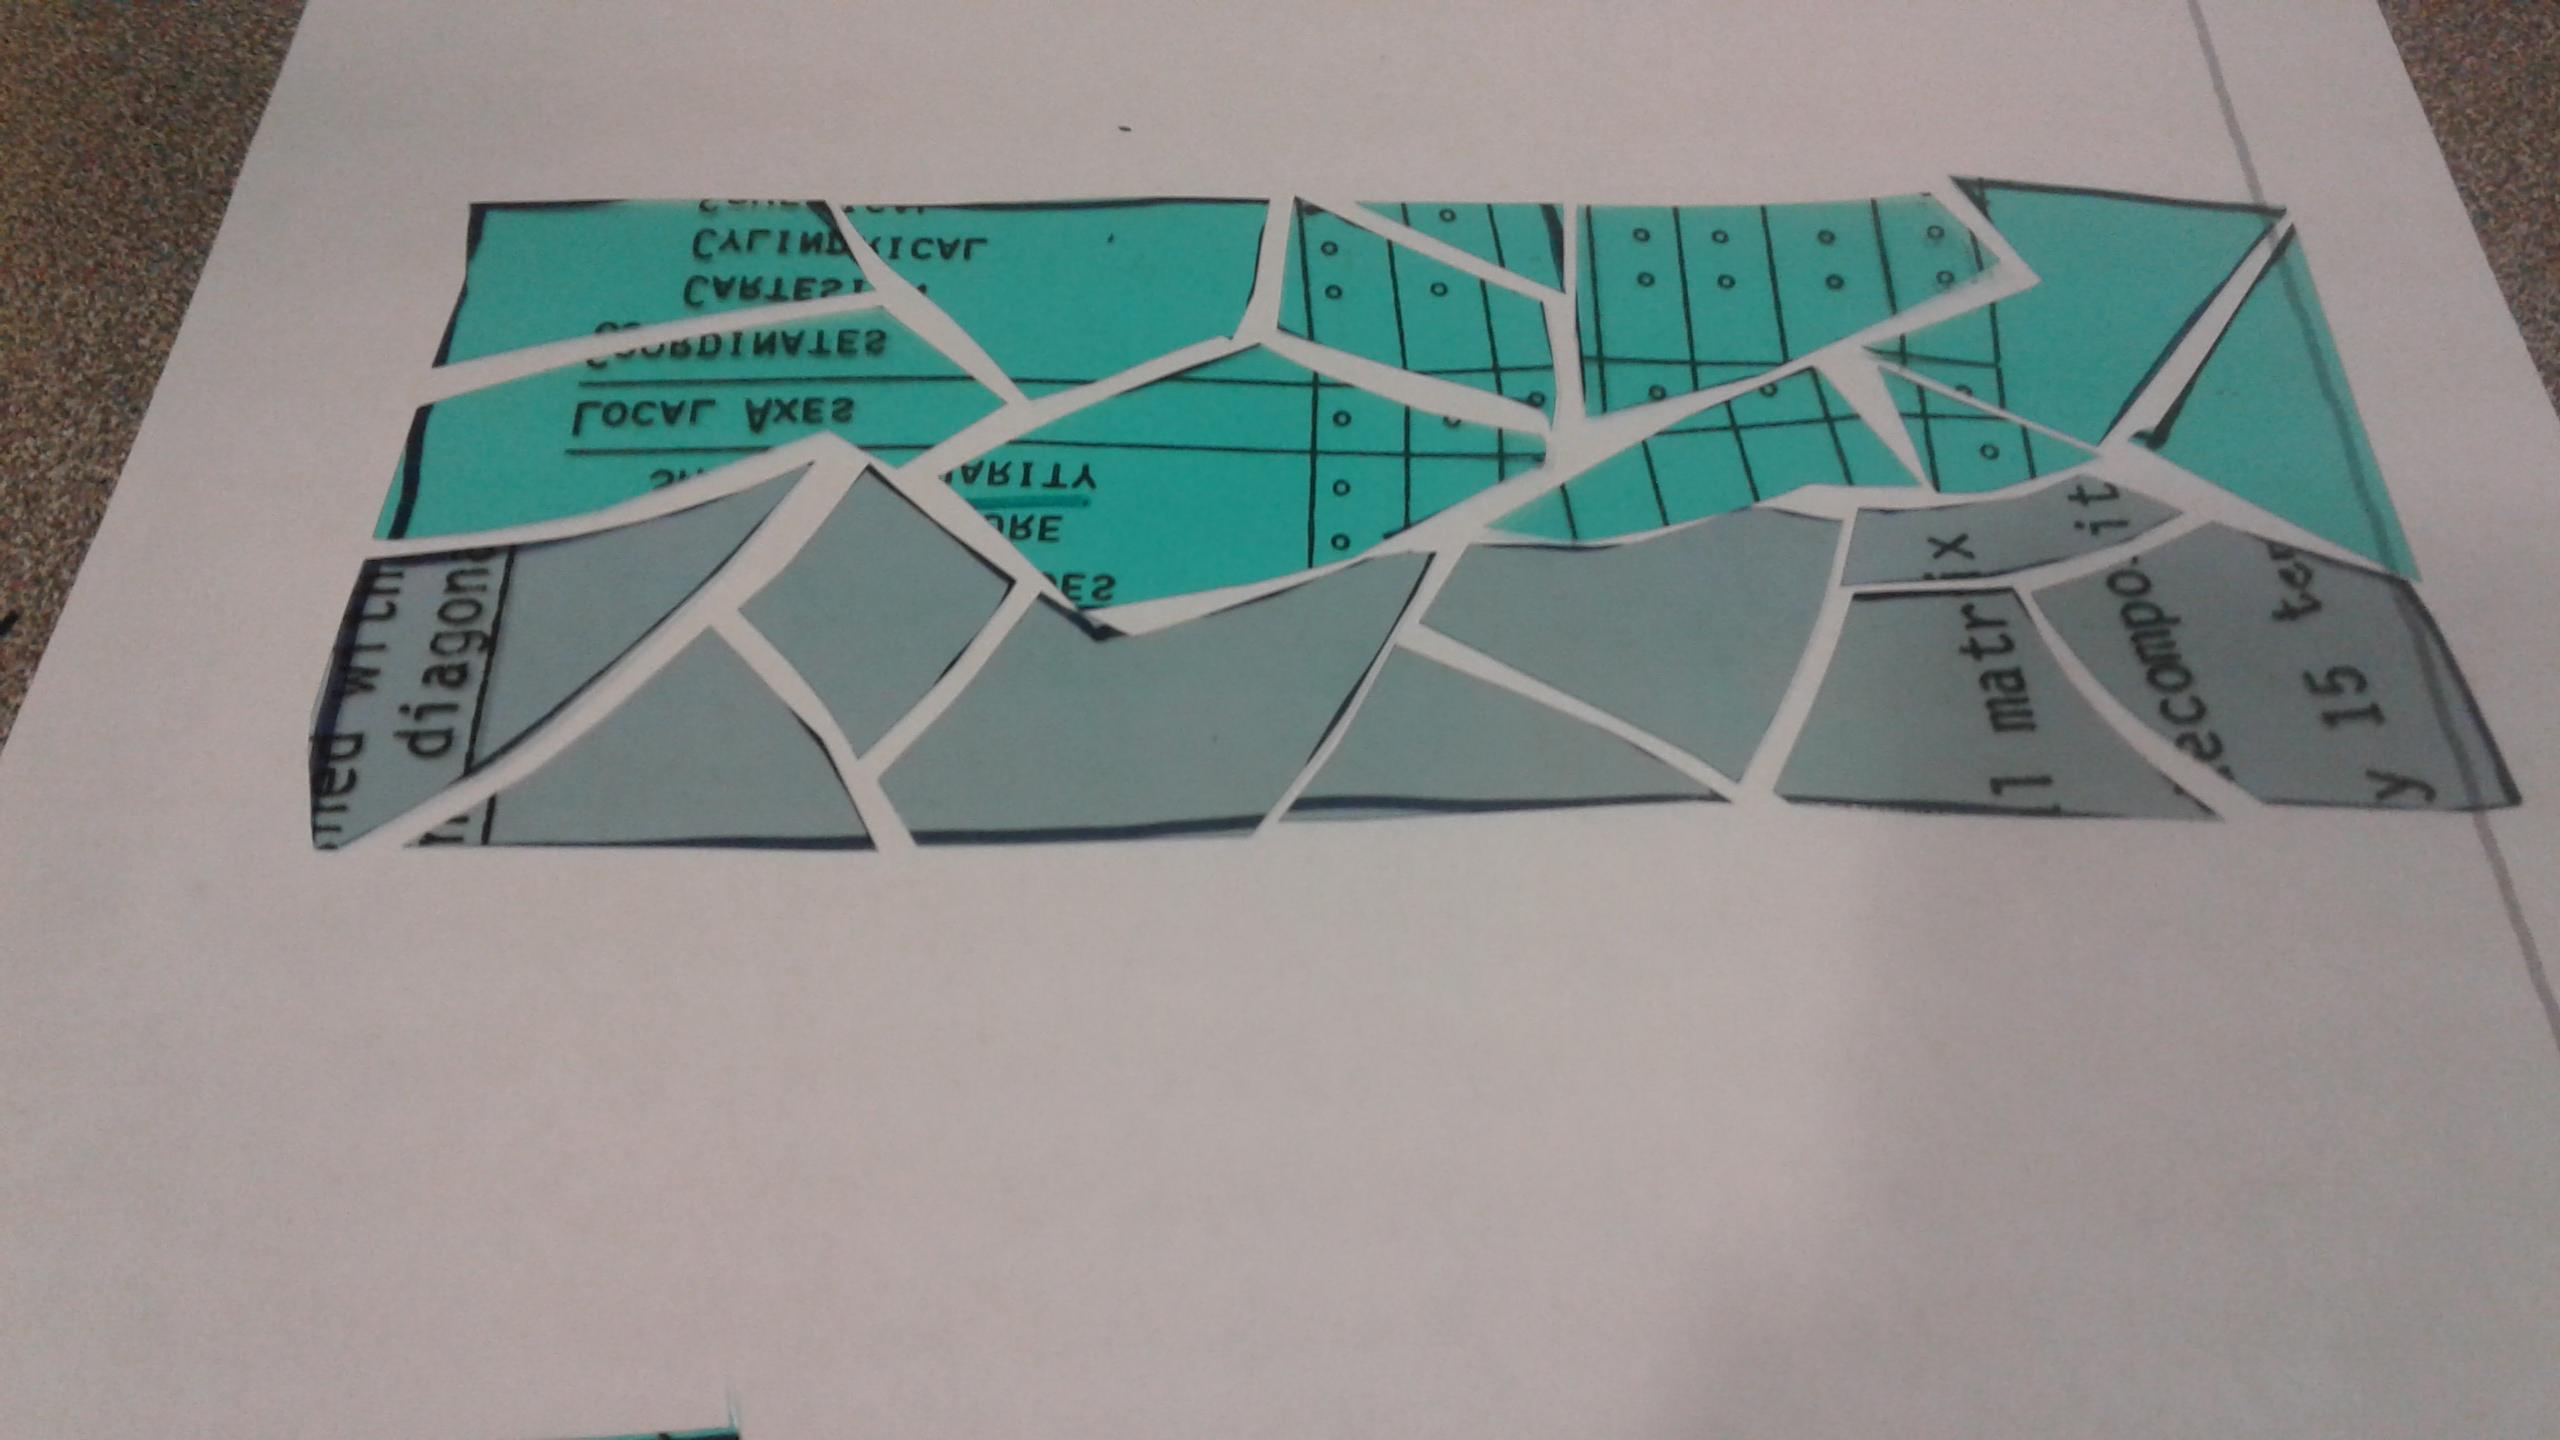
For the sky which is more detail feel free to cut as randomly as you like. For having mixed lines from one color to the next cut one how you like the cover it partially with the second color and outline then cut it to size as seen with the two shades of blue. Make sure to keep the pieces in the correct orientation and place to make this job a little easier. Also leave gaps when cutting for a more realistic effect.
Glue on the Remaining Pieces
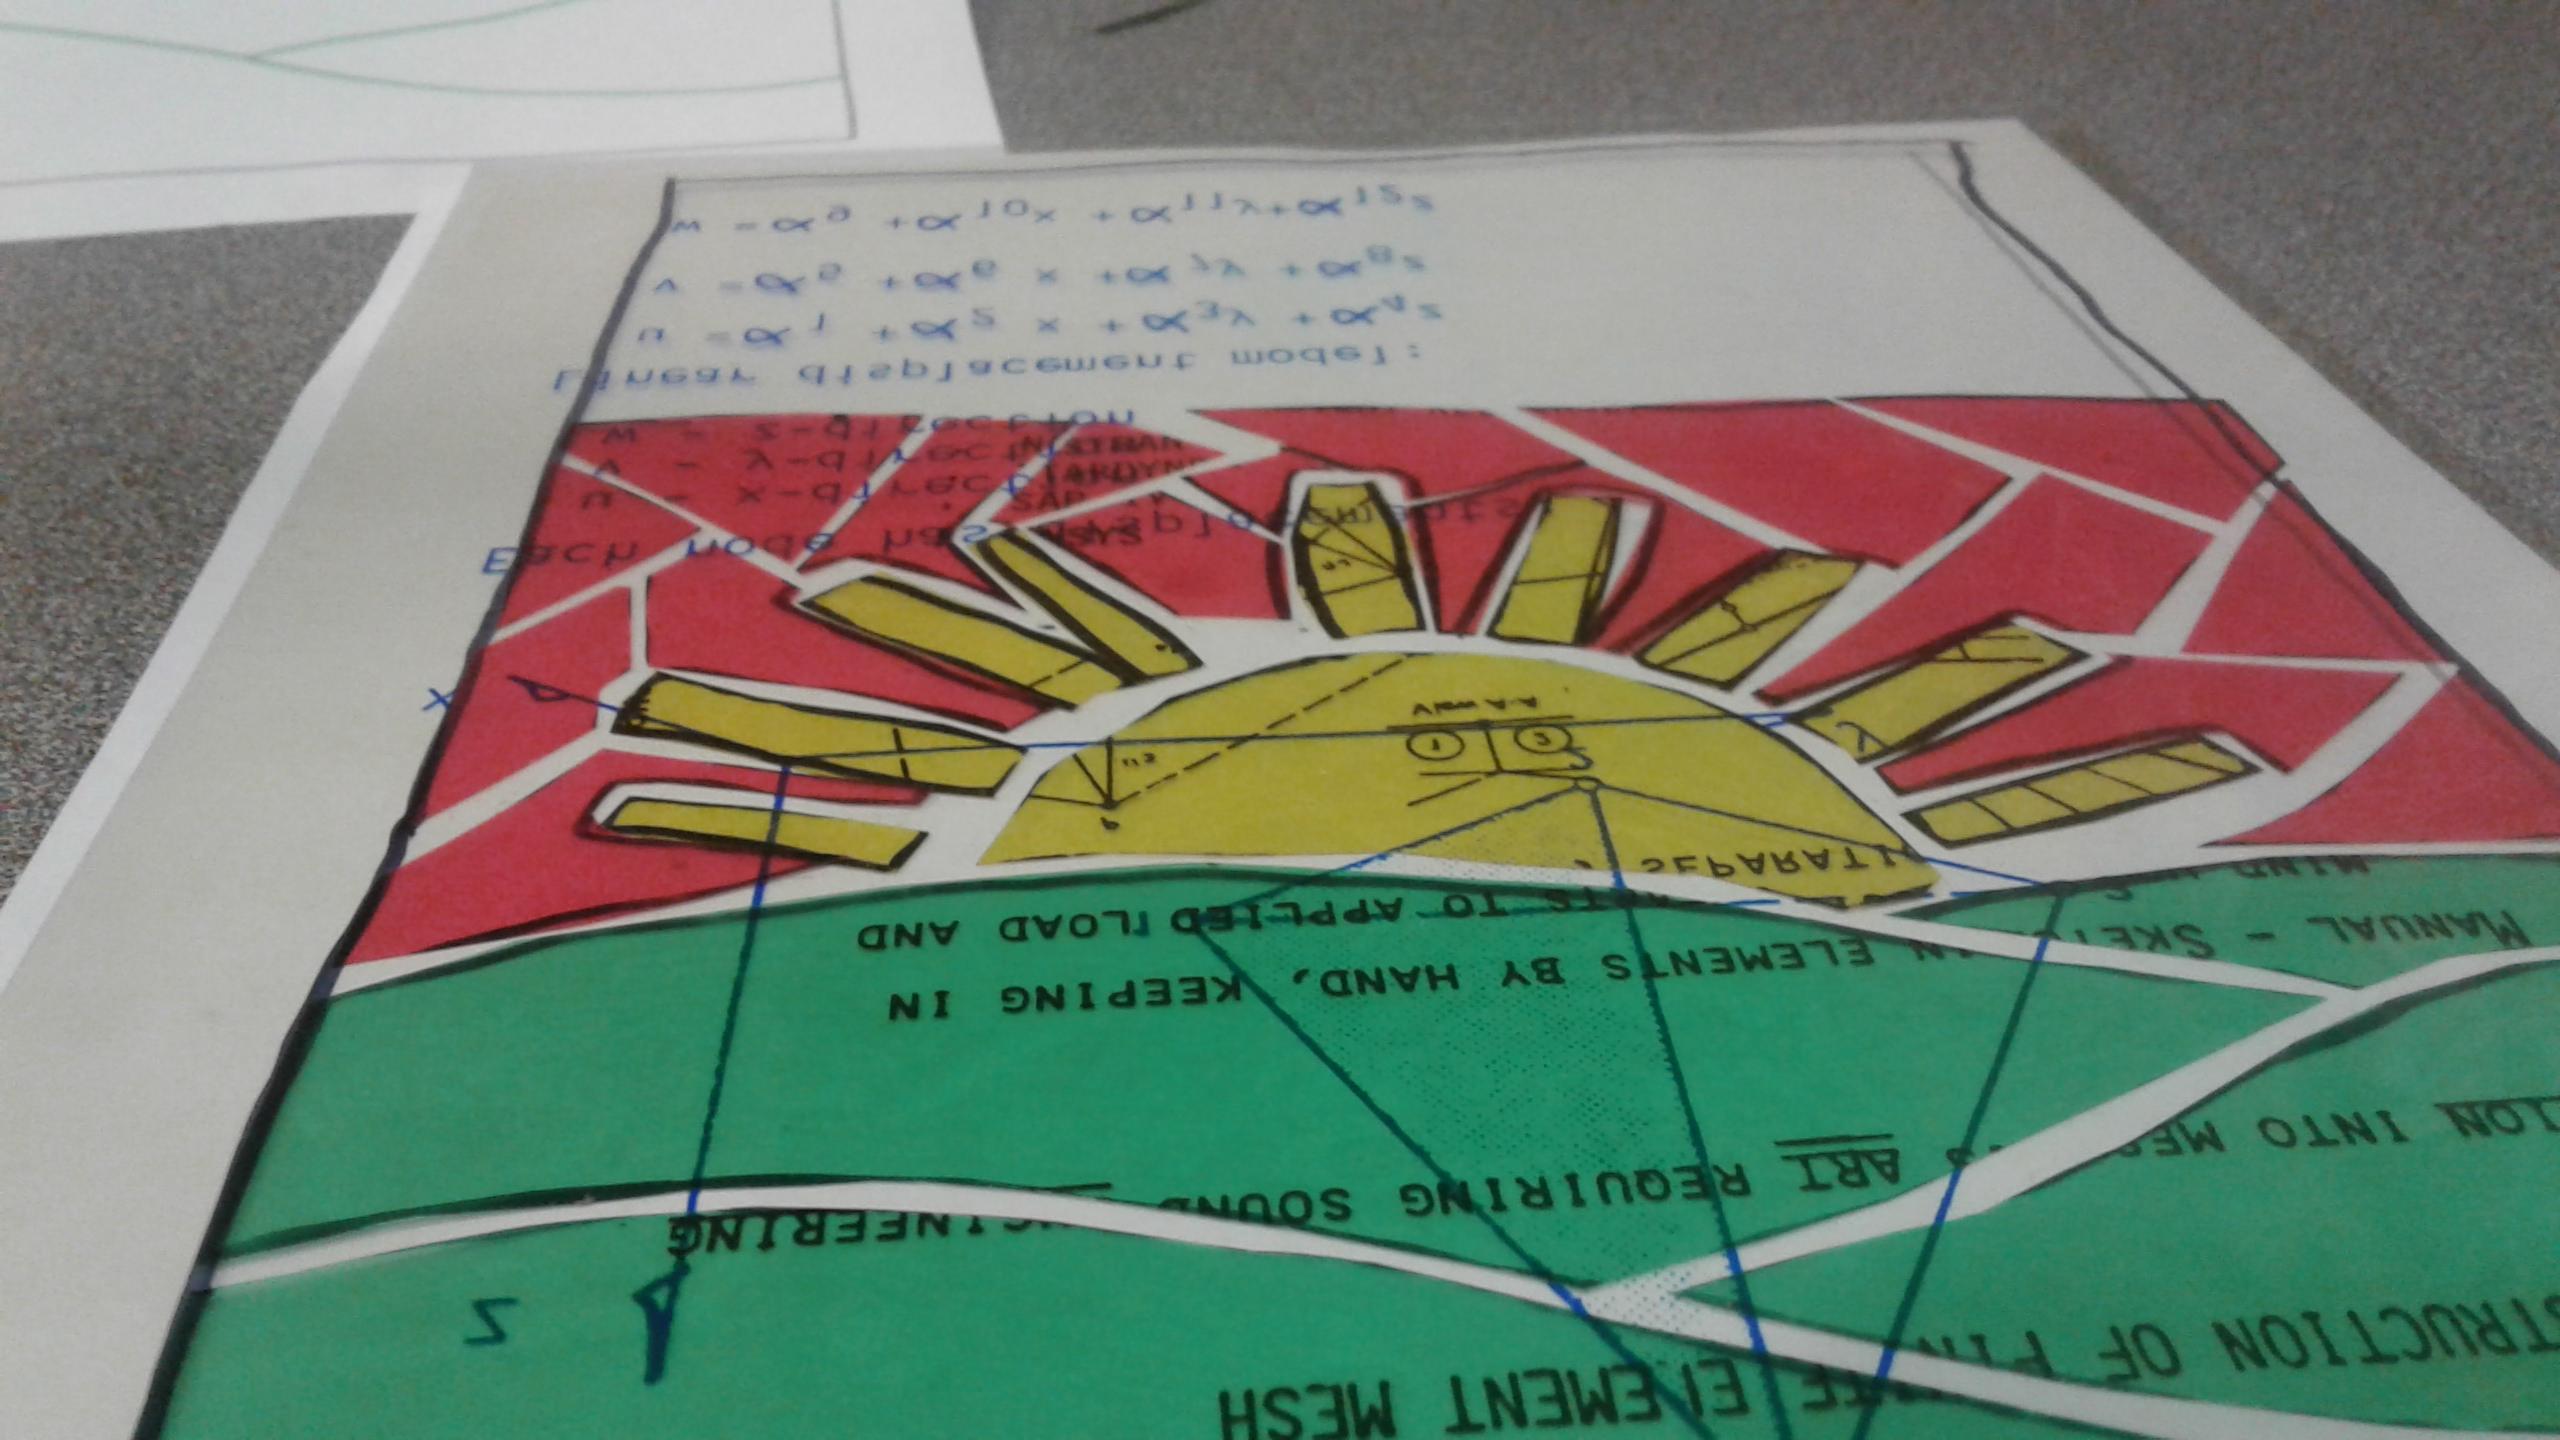
Glue on the remaining pieces and trim and edges that don't fit in the outline of the base. Also add gaps between each piece.
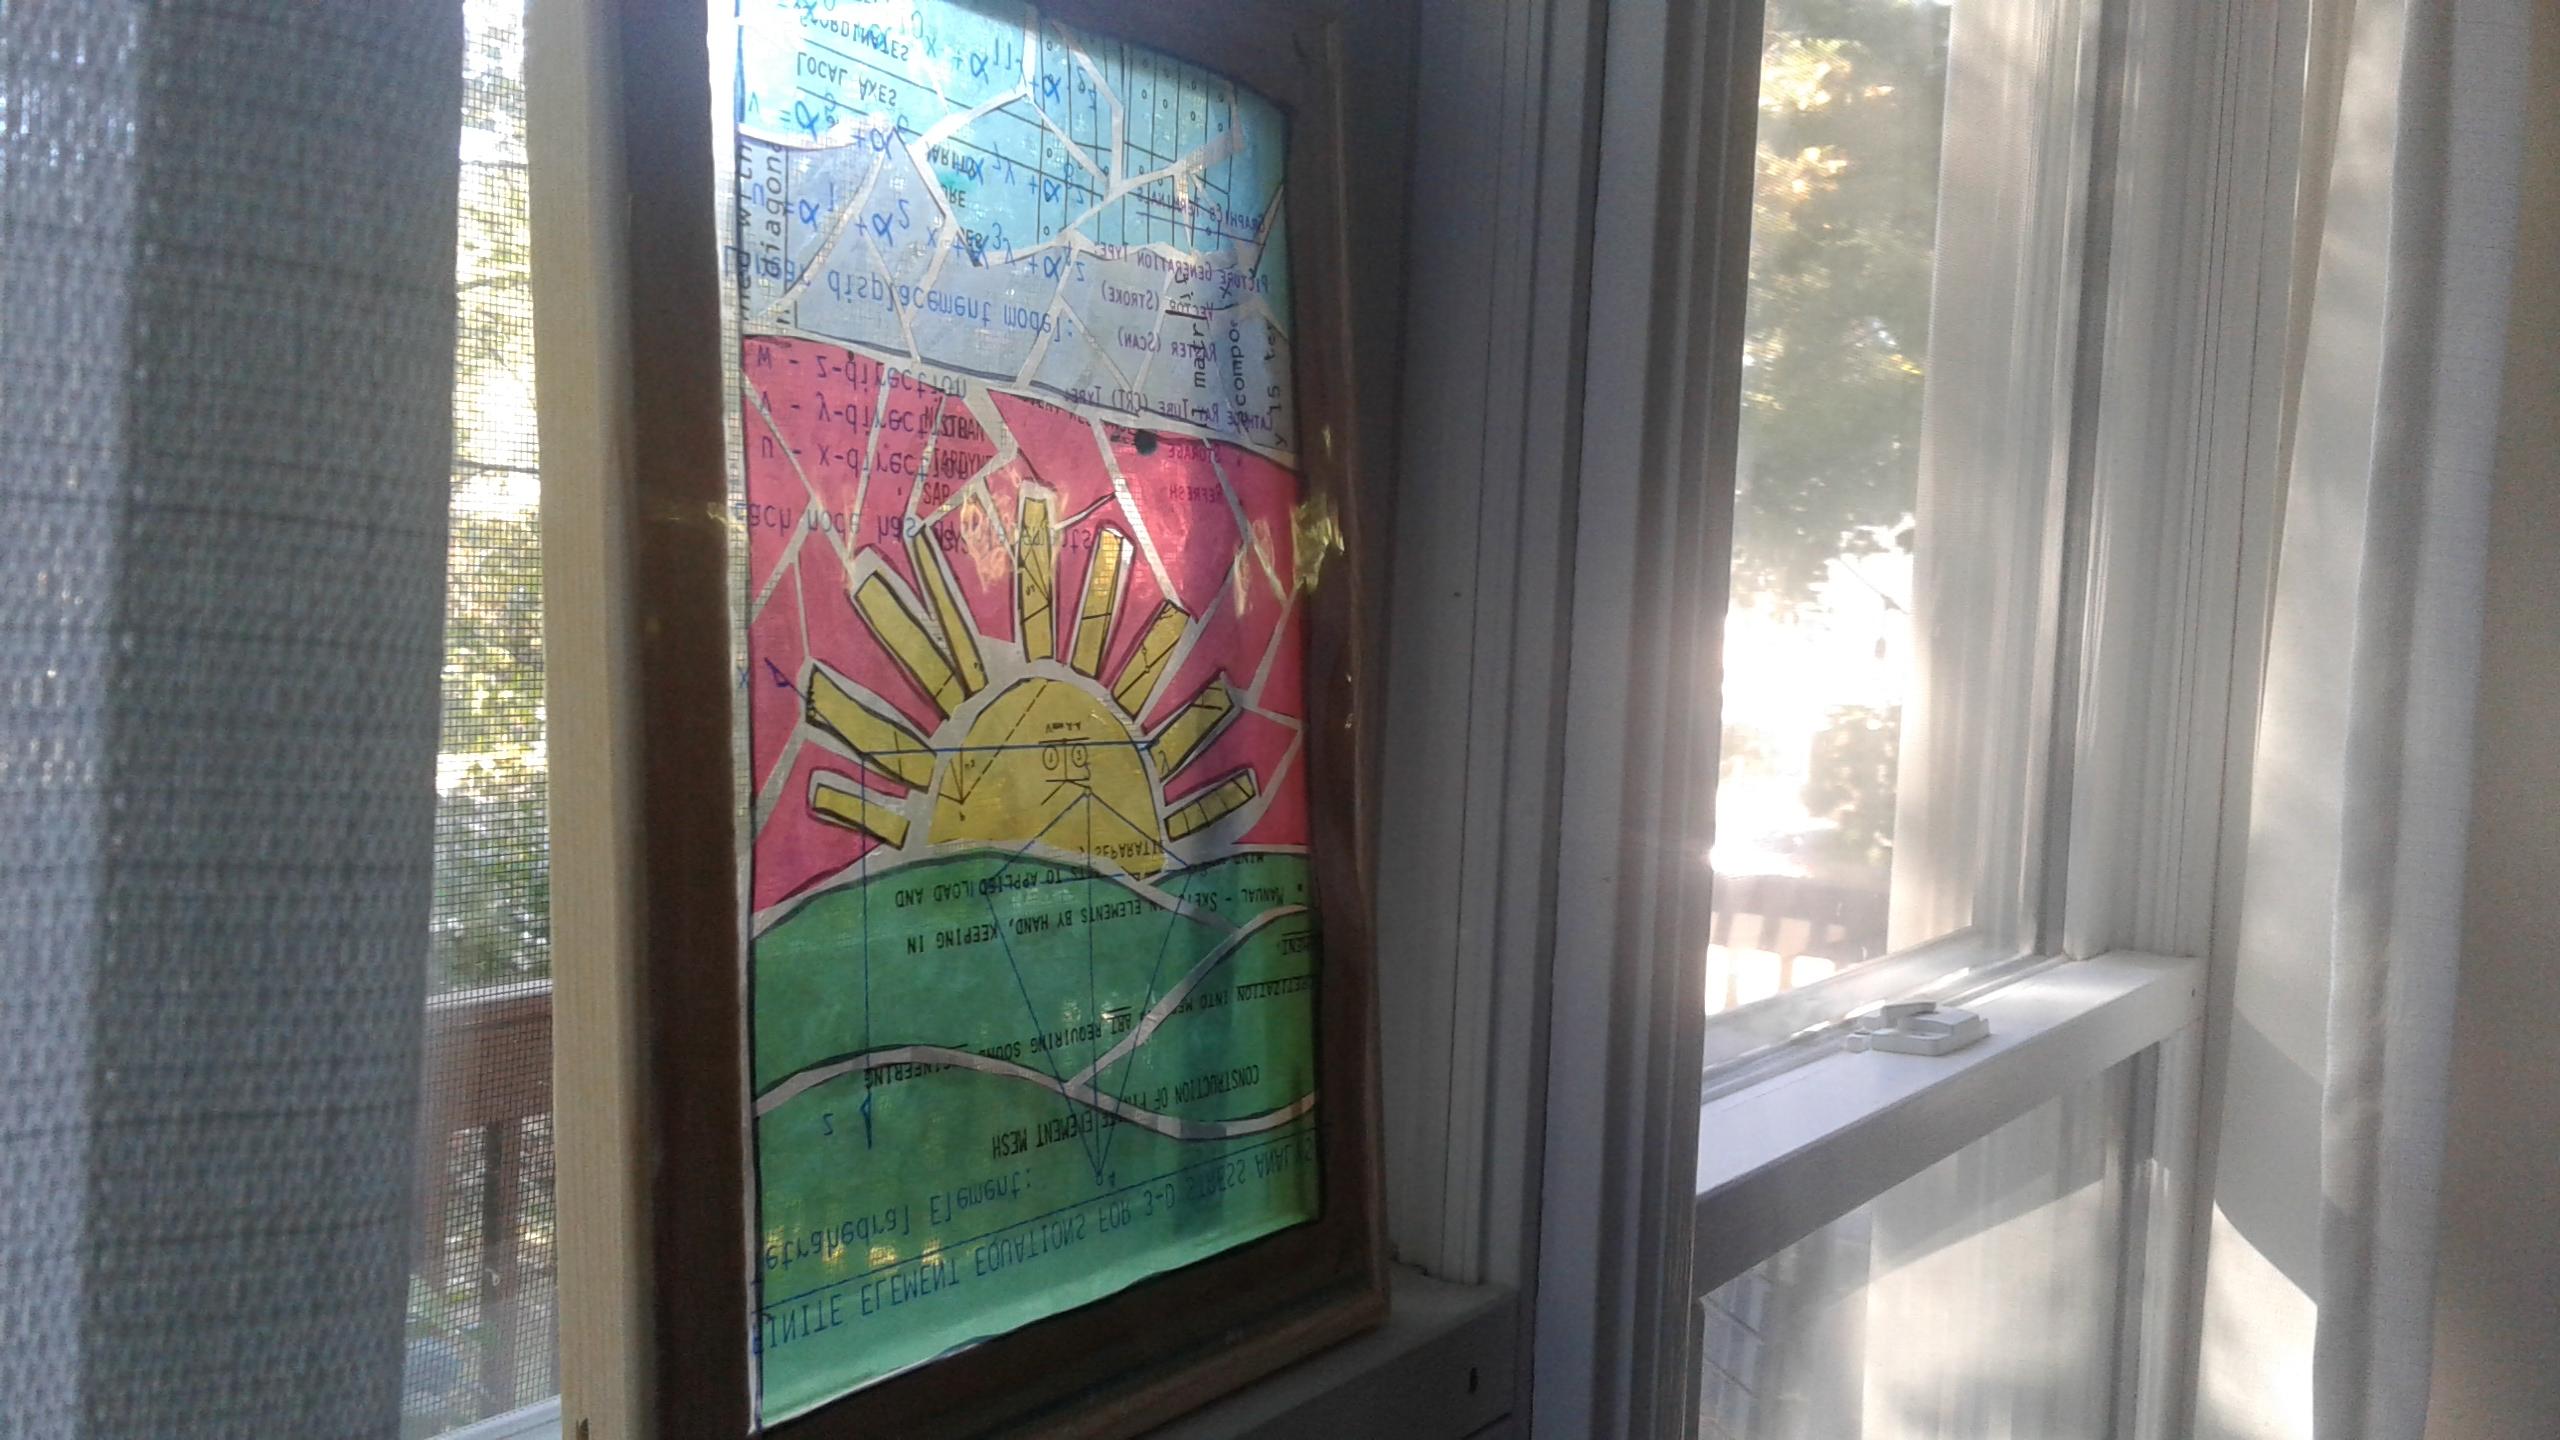
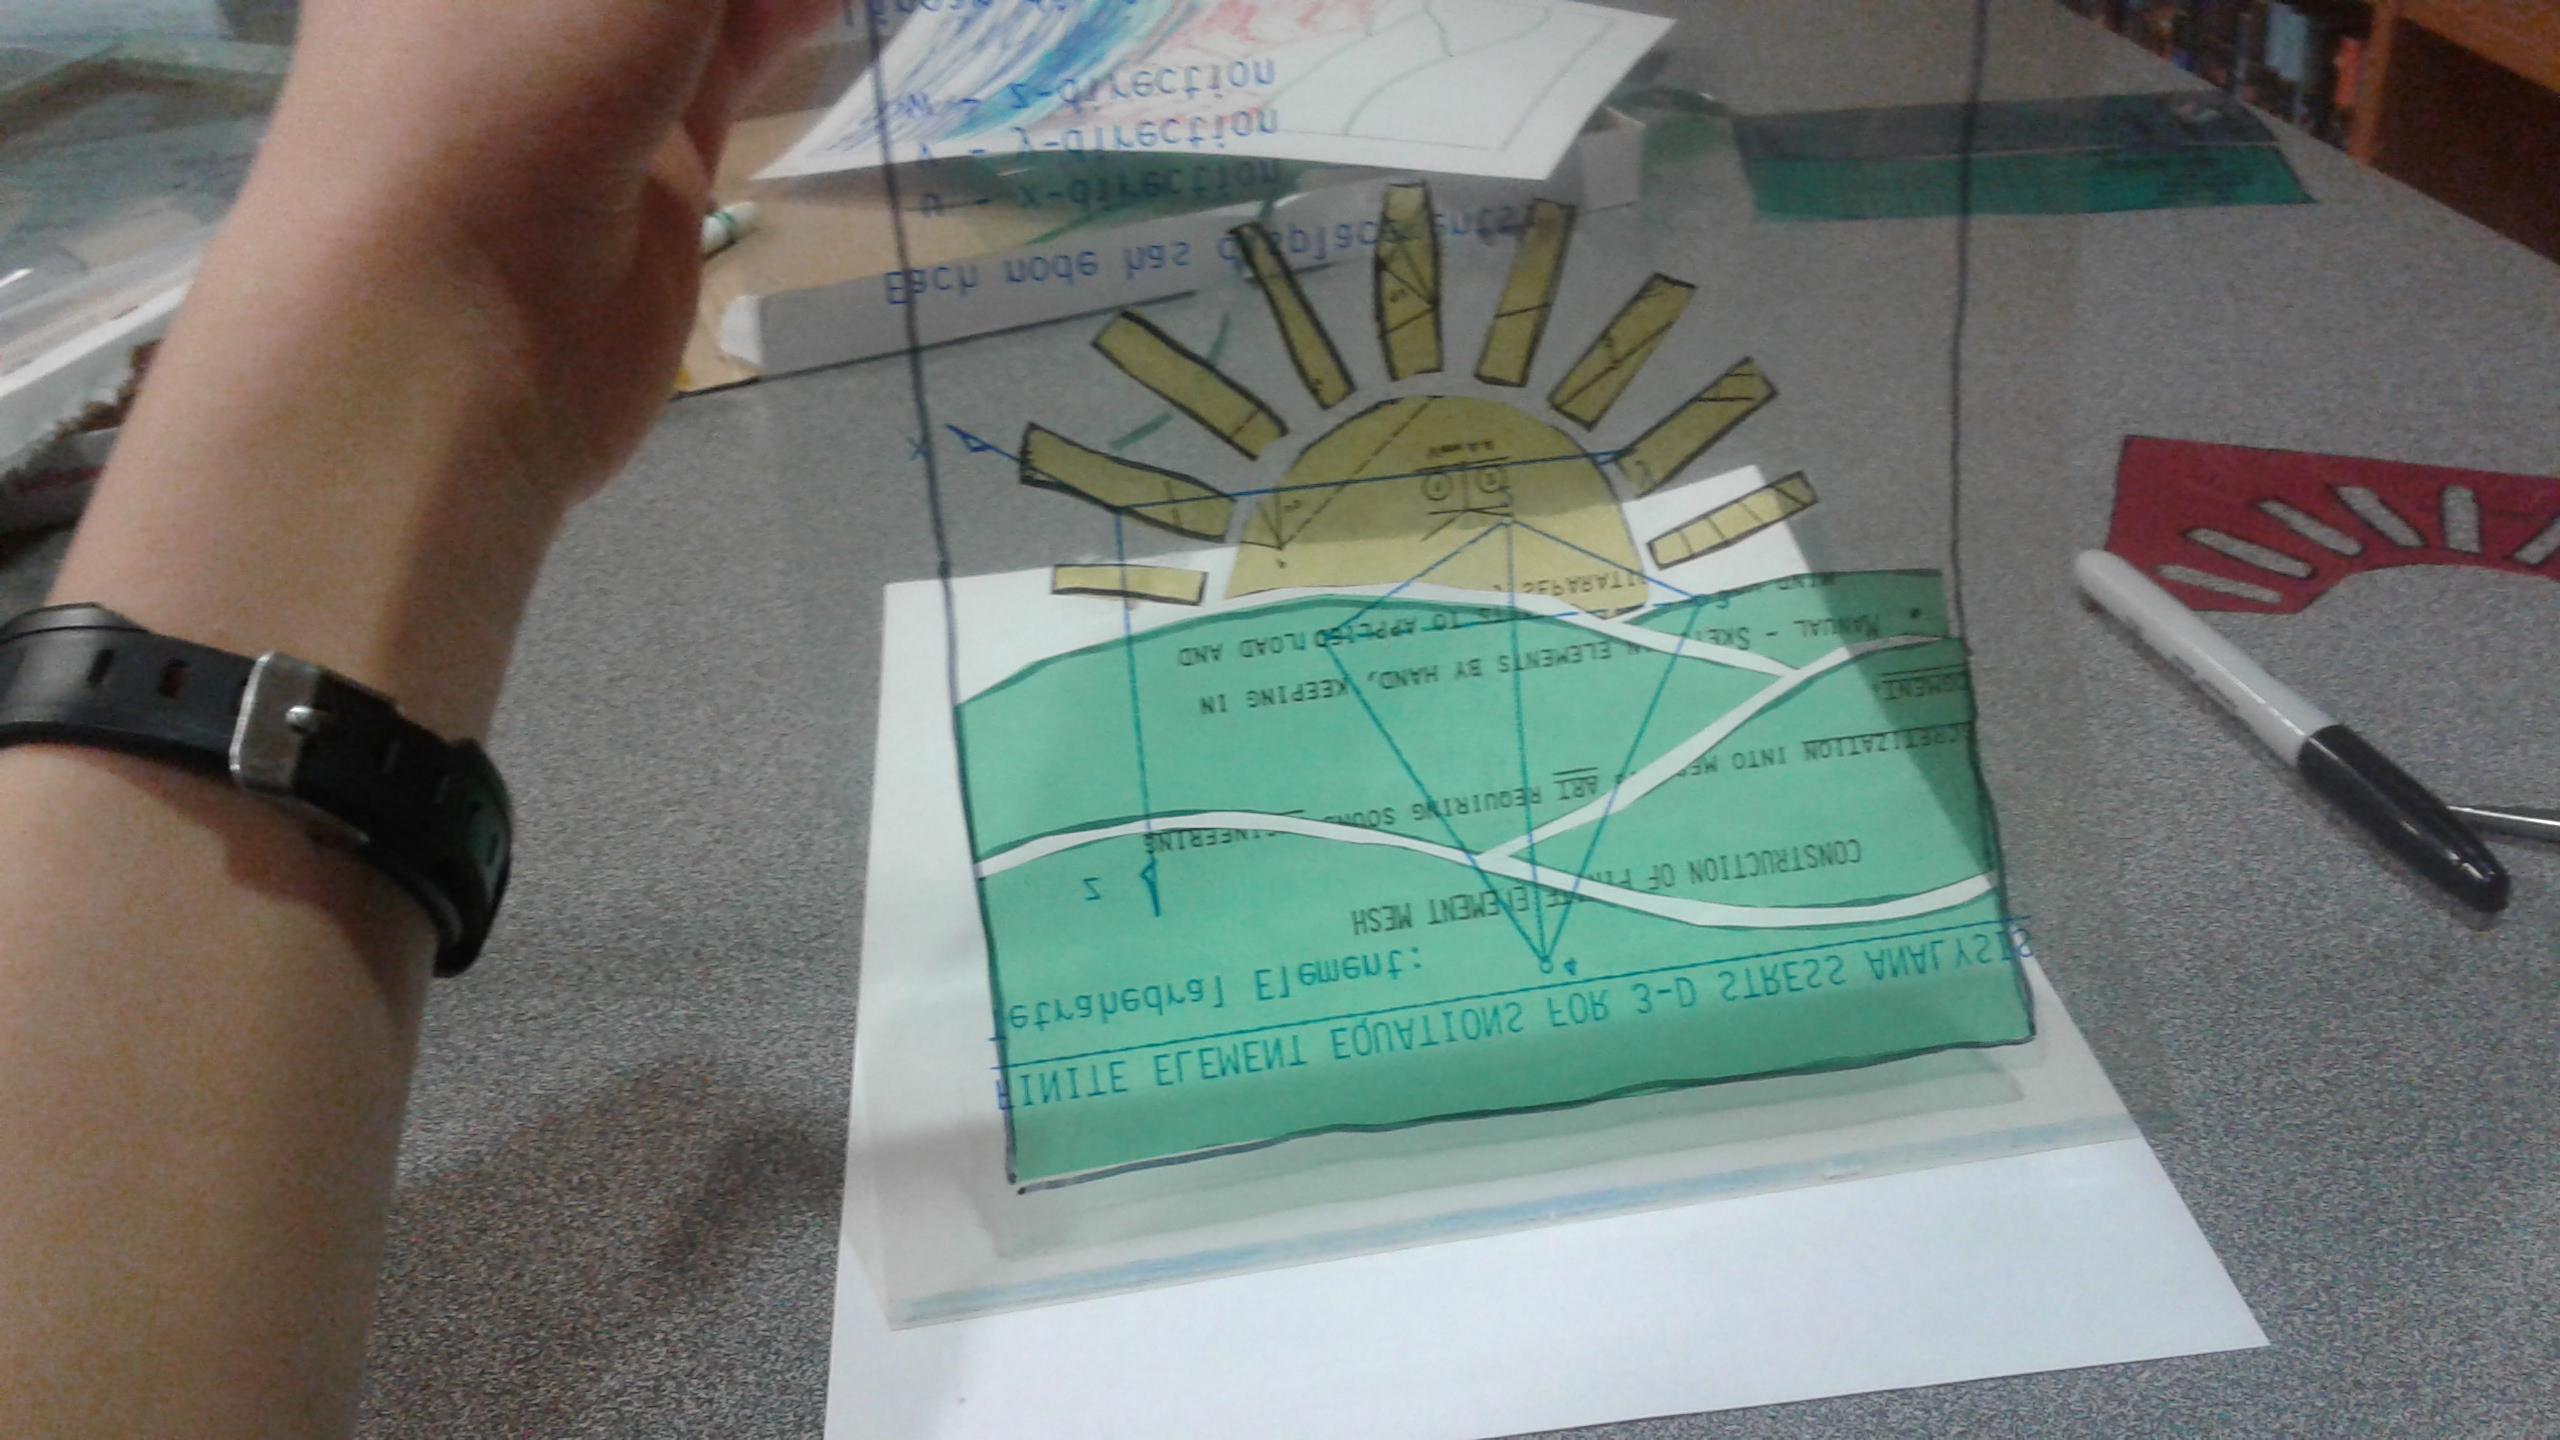
Finish
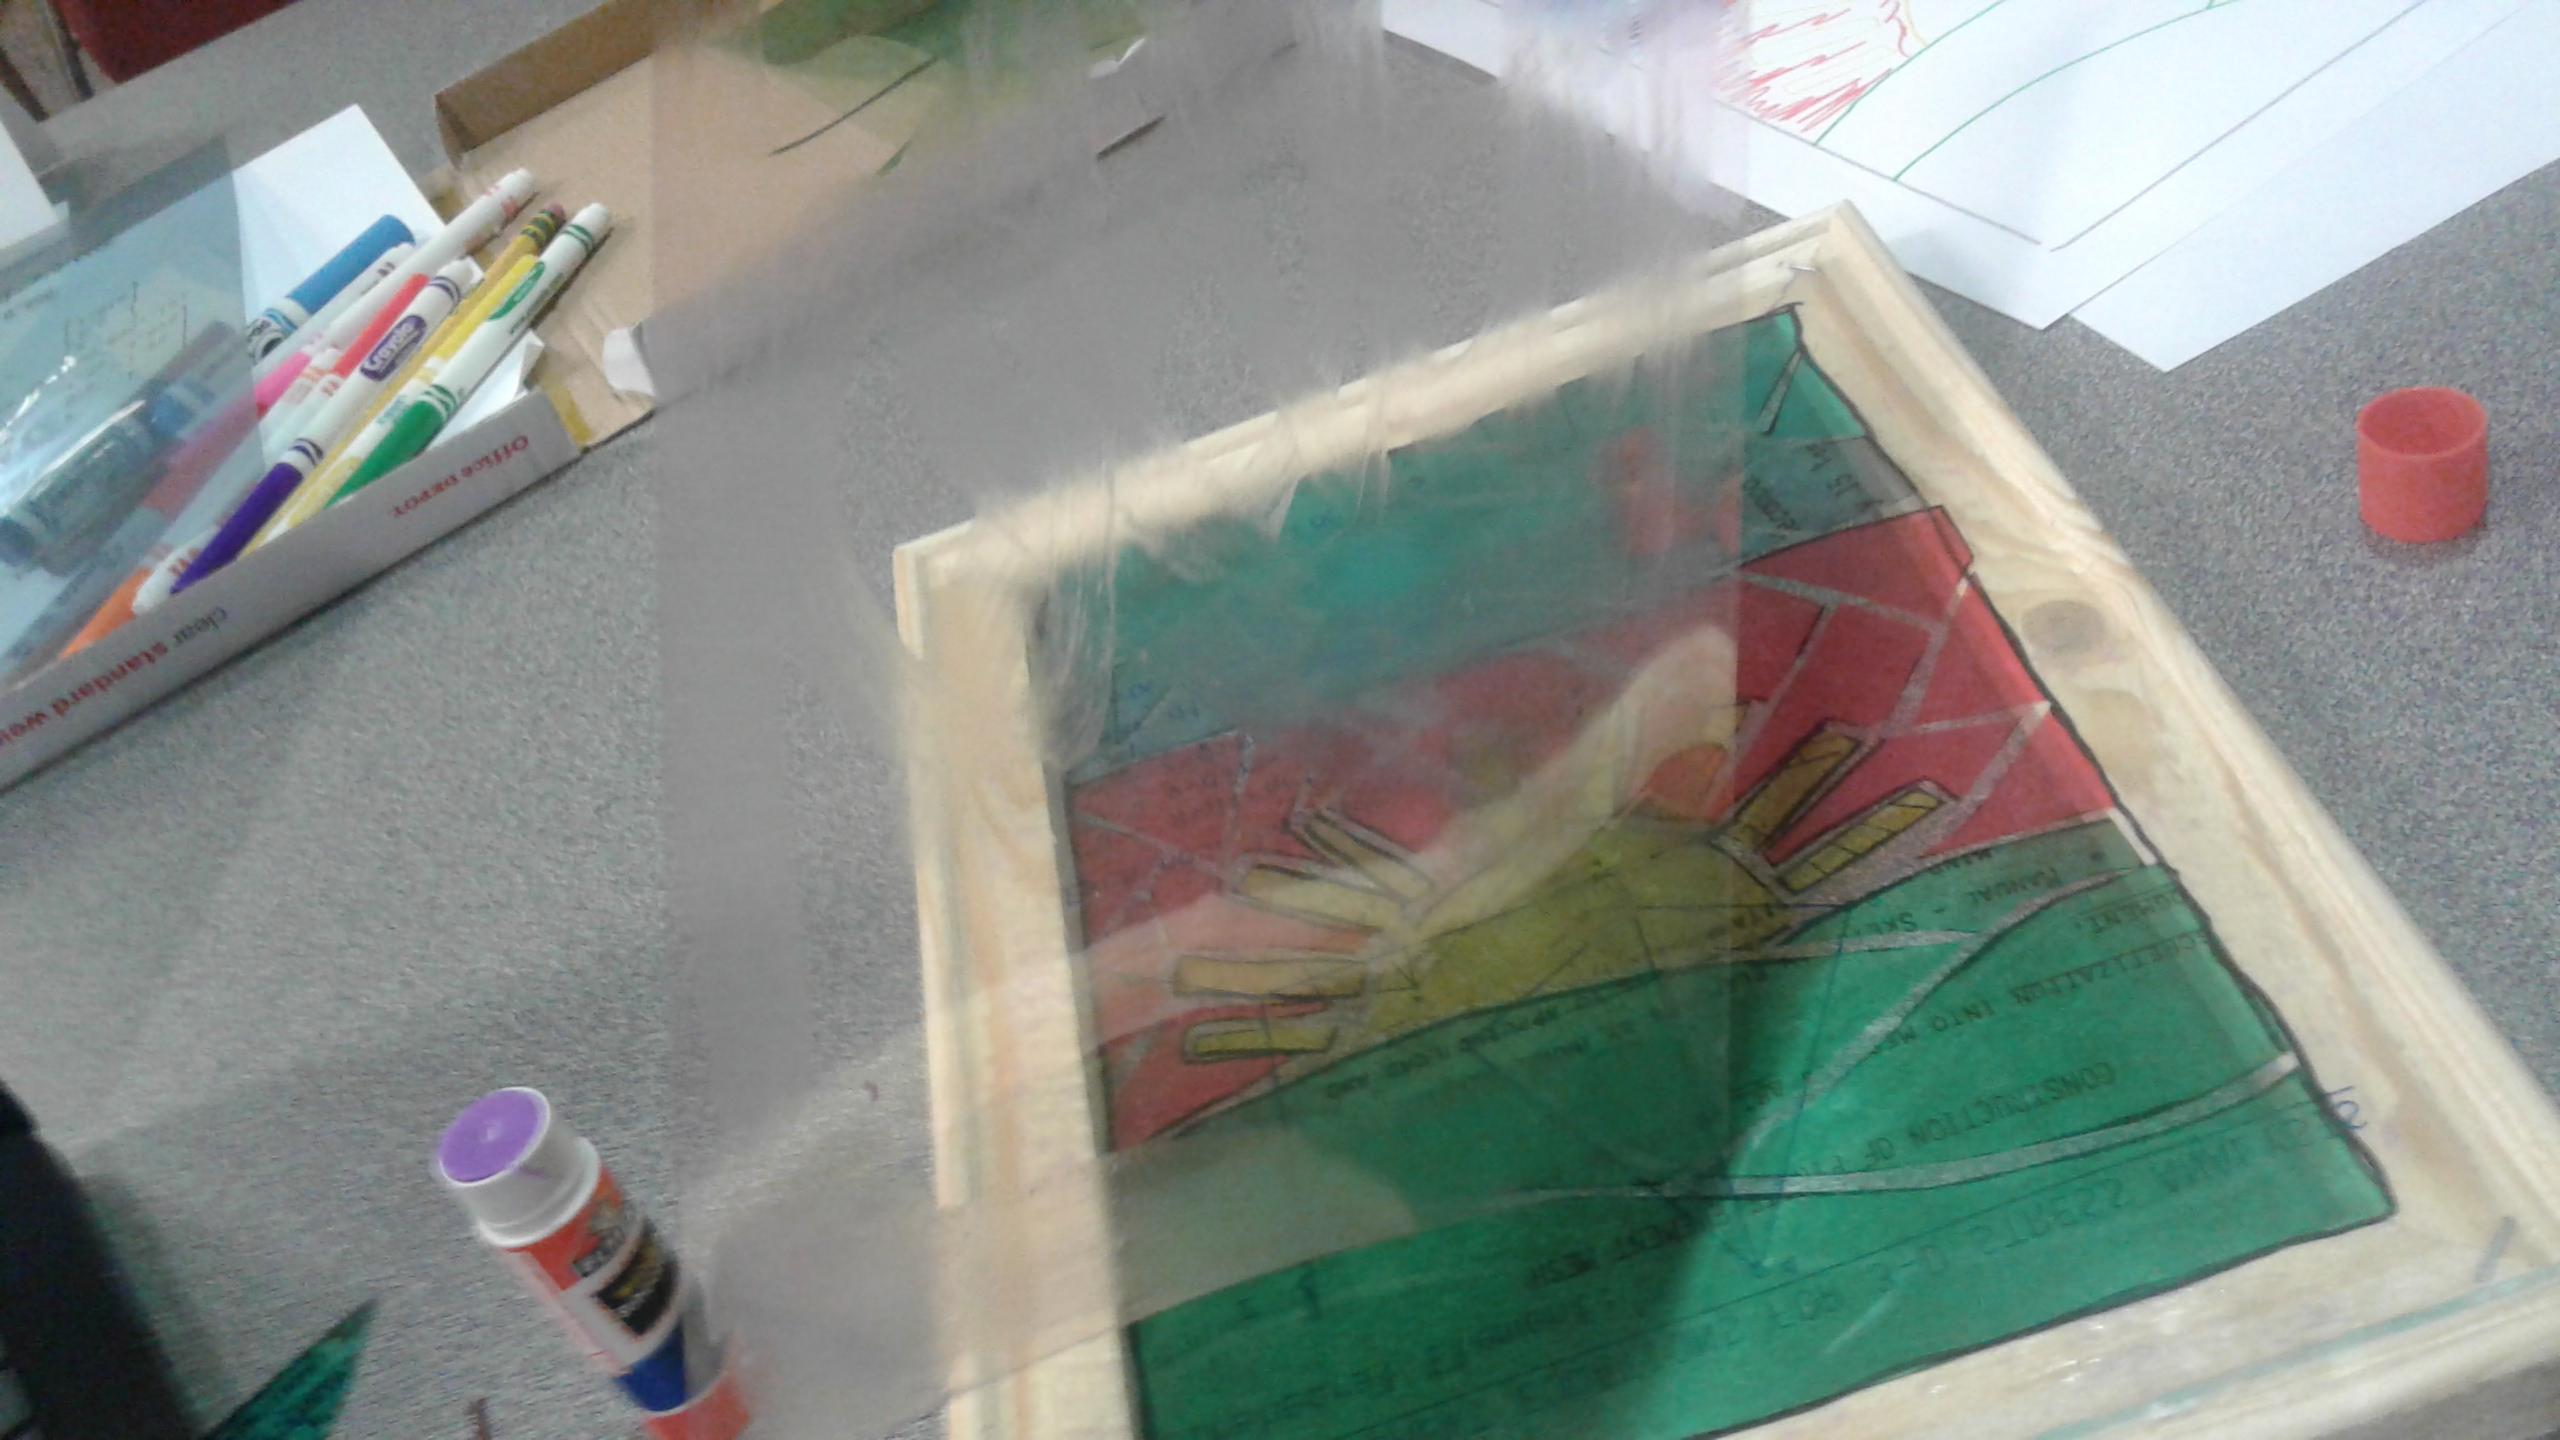
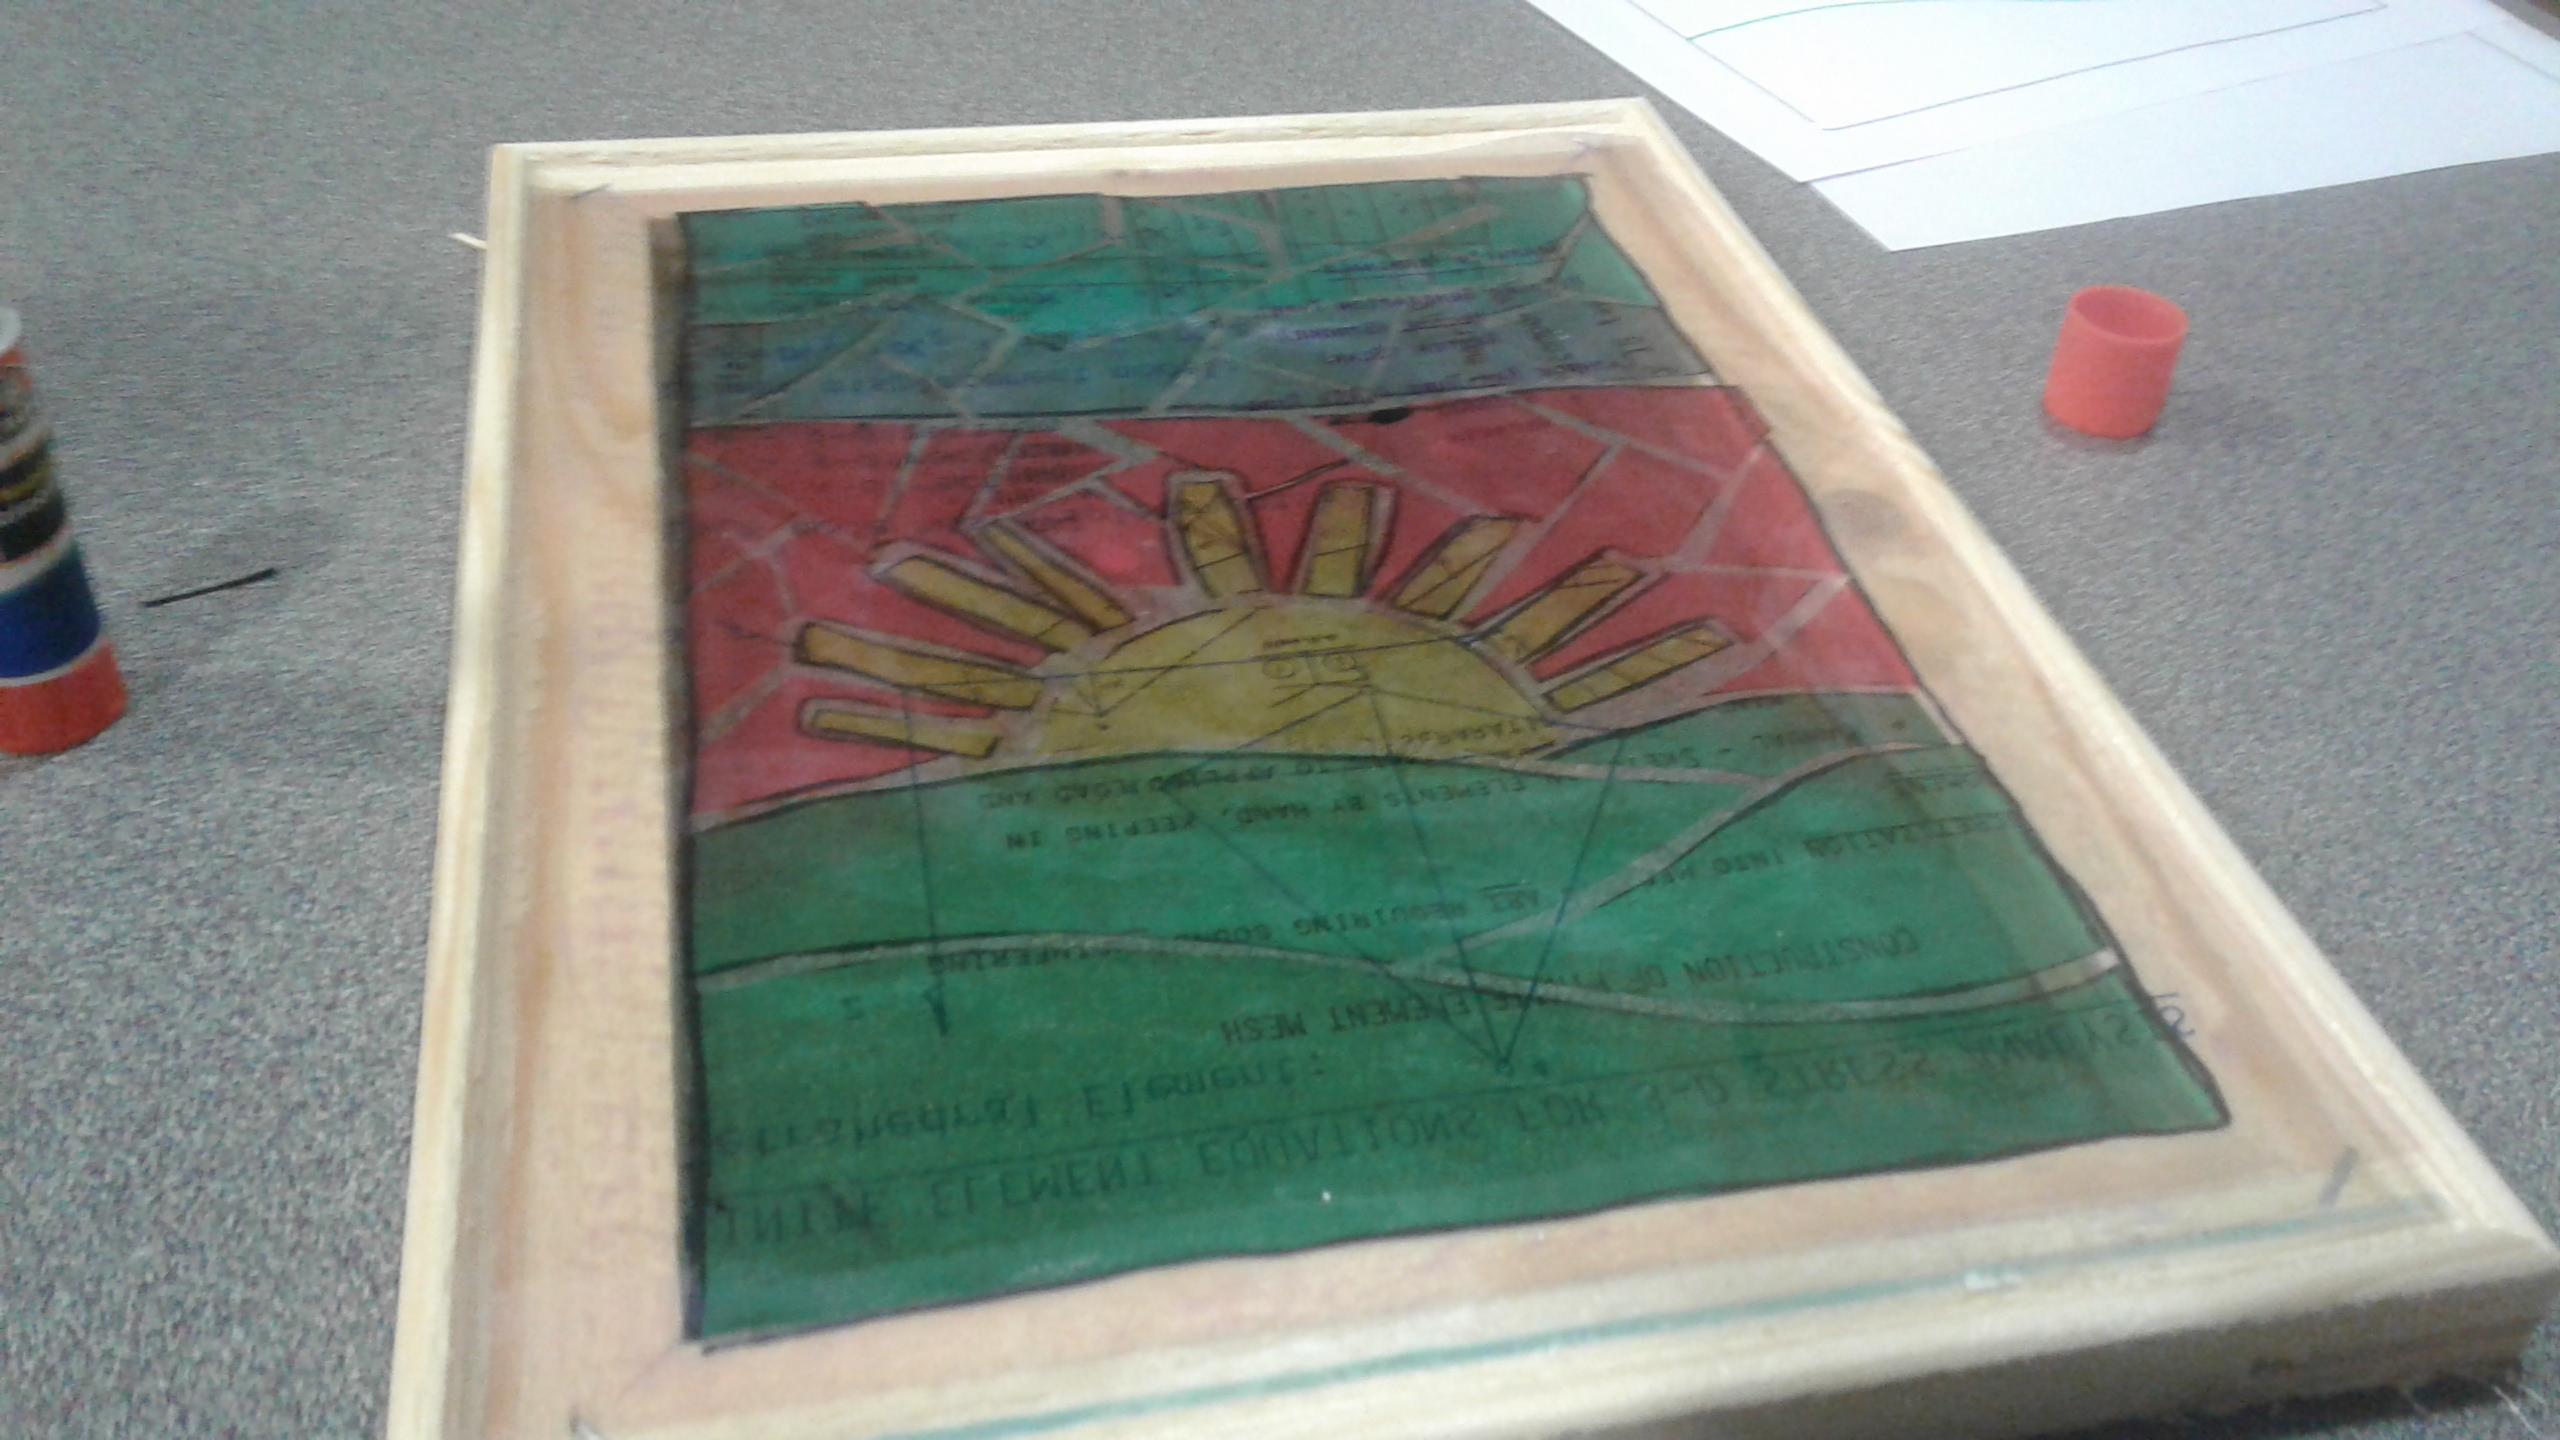
Take your second sheet of clear plastic and cover in glue then flatten it on top of the base that you were putting the mosaic together on. The around the egdes of the canvas glue all the way around I used a glue stick but a low temp. glue gun works as well just make sure not to melt the sheets. Then just put in a sunny window and enjoy the view.