Plastic Clamshell Shrink Art!
by Birdz of a Feather in Design > Art
3682 Views, 25 Favorites, 0 Comments
Plastic Clamshell Shrink Art!
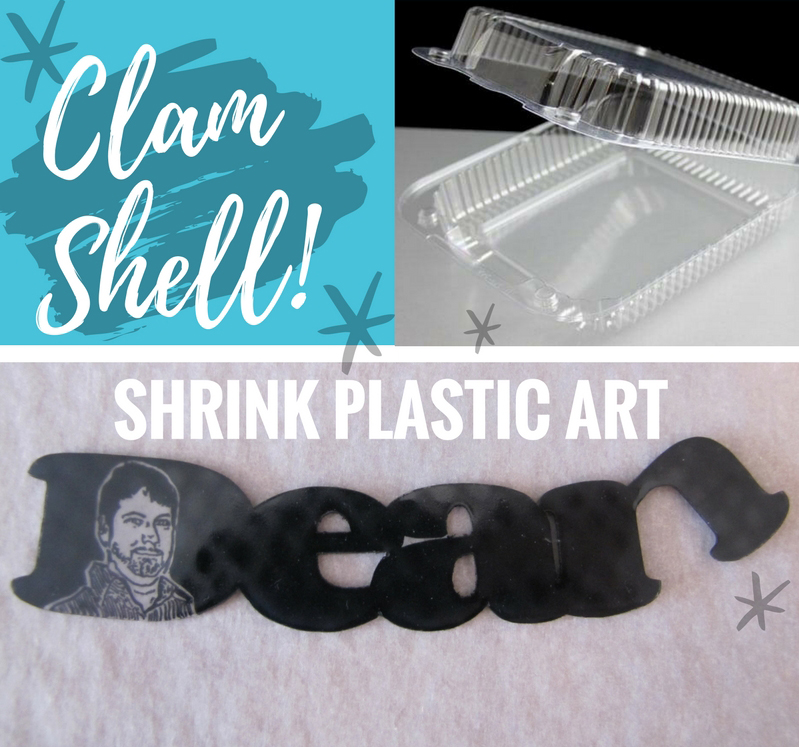
There's something special about the act of putting our name on something to make it our own. so why not make that lettering spectacular?
Did you know that you can make shrink art from a recycled clamshell bearing the number 6? When I first found out about it, I had to try it for myself.
You Will Need...
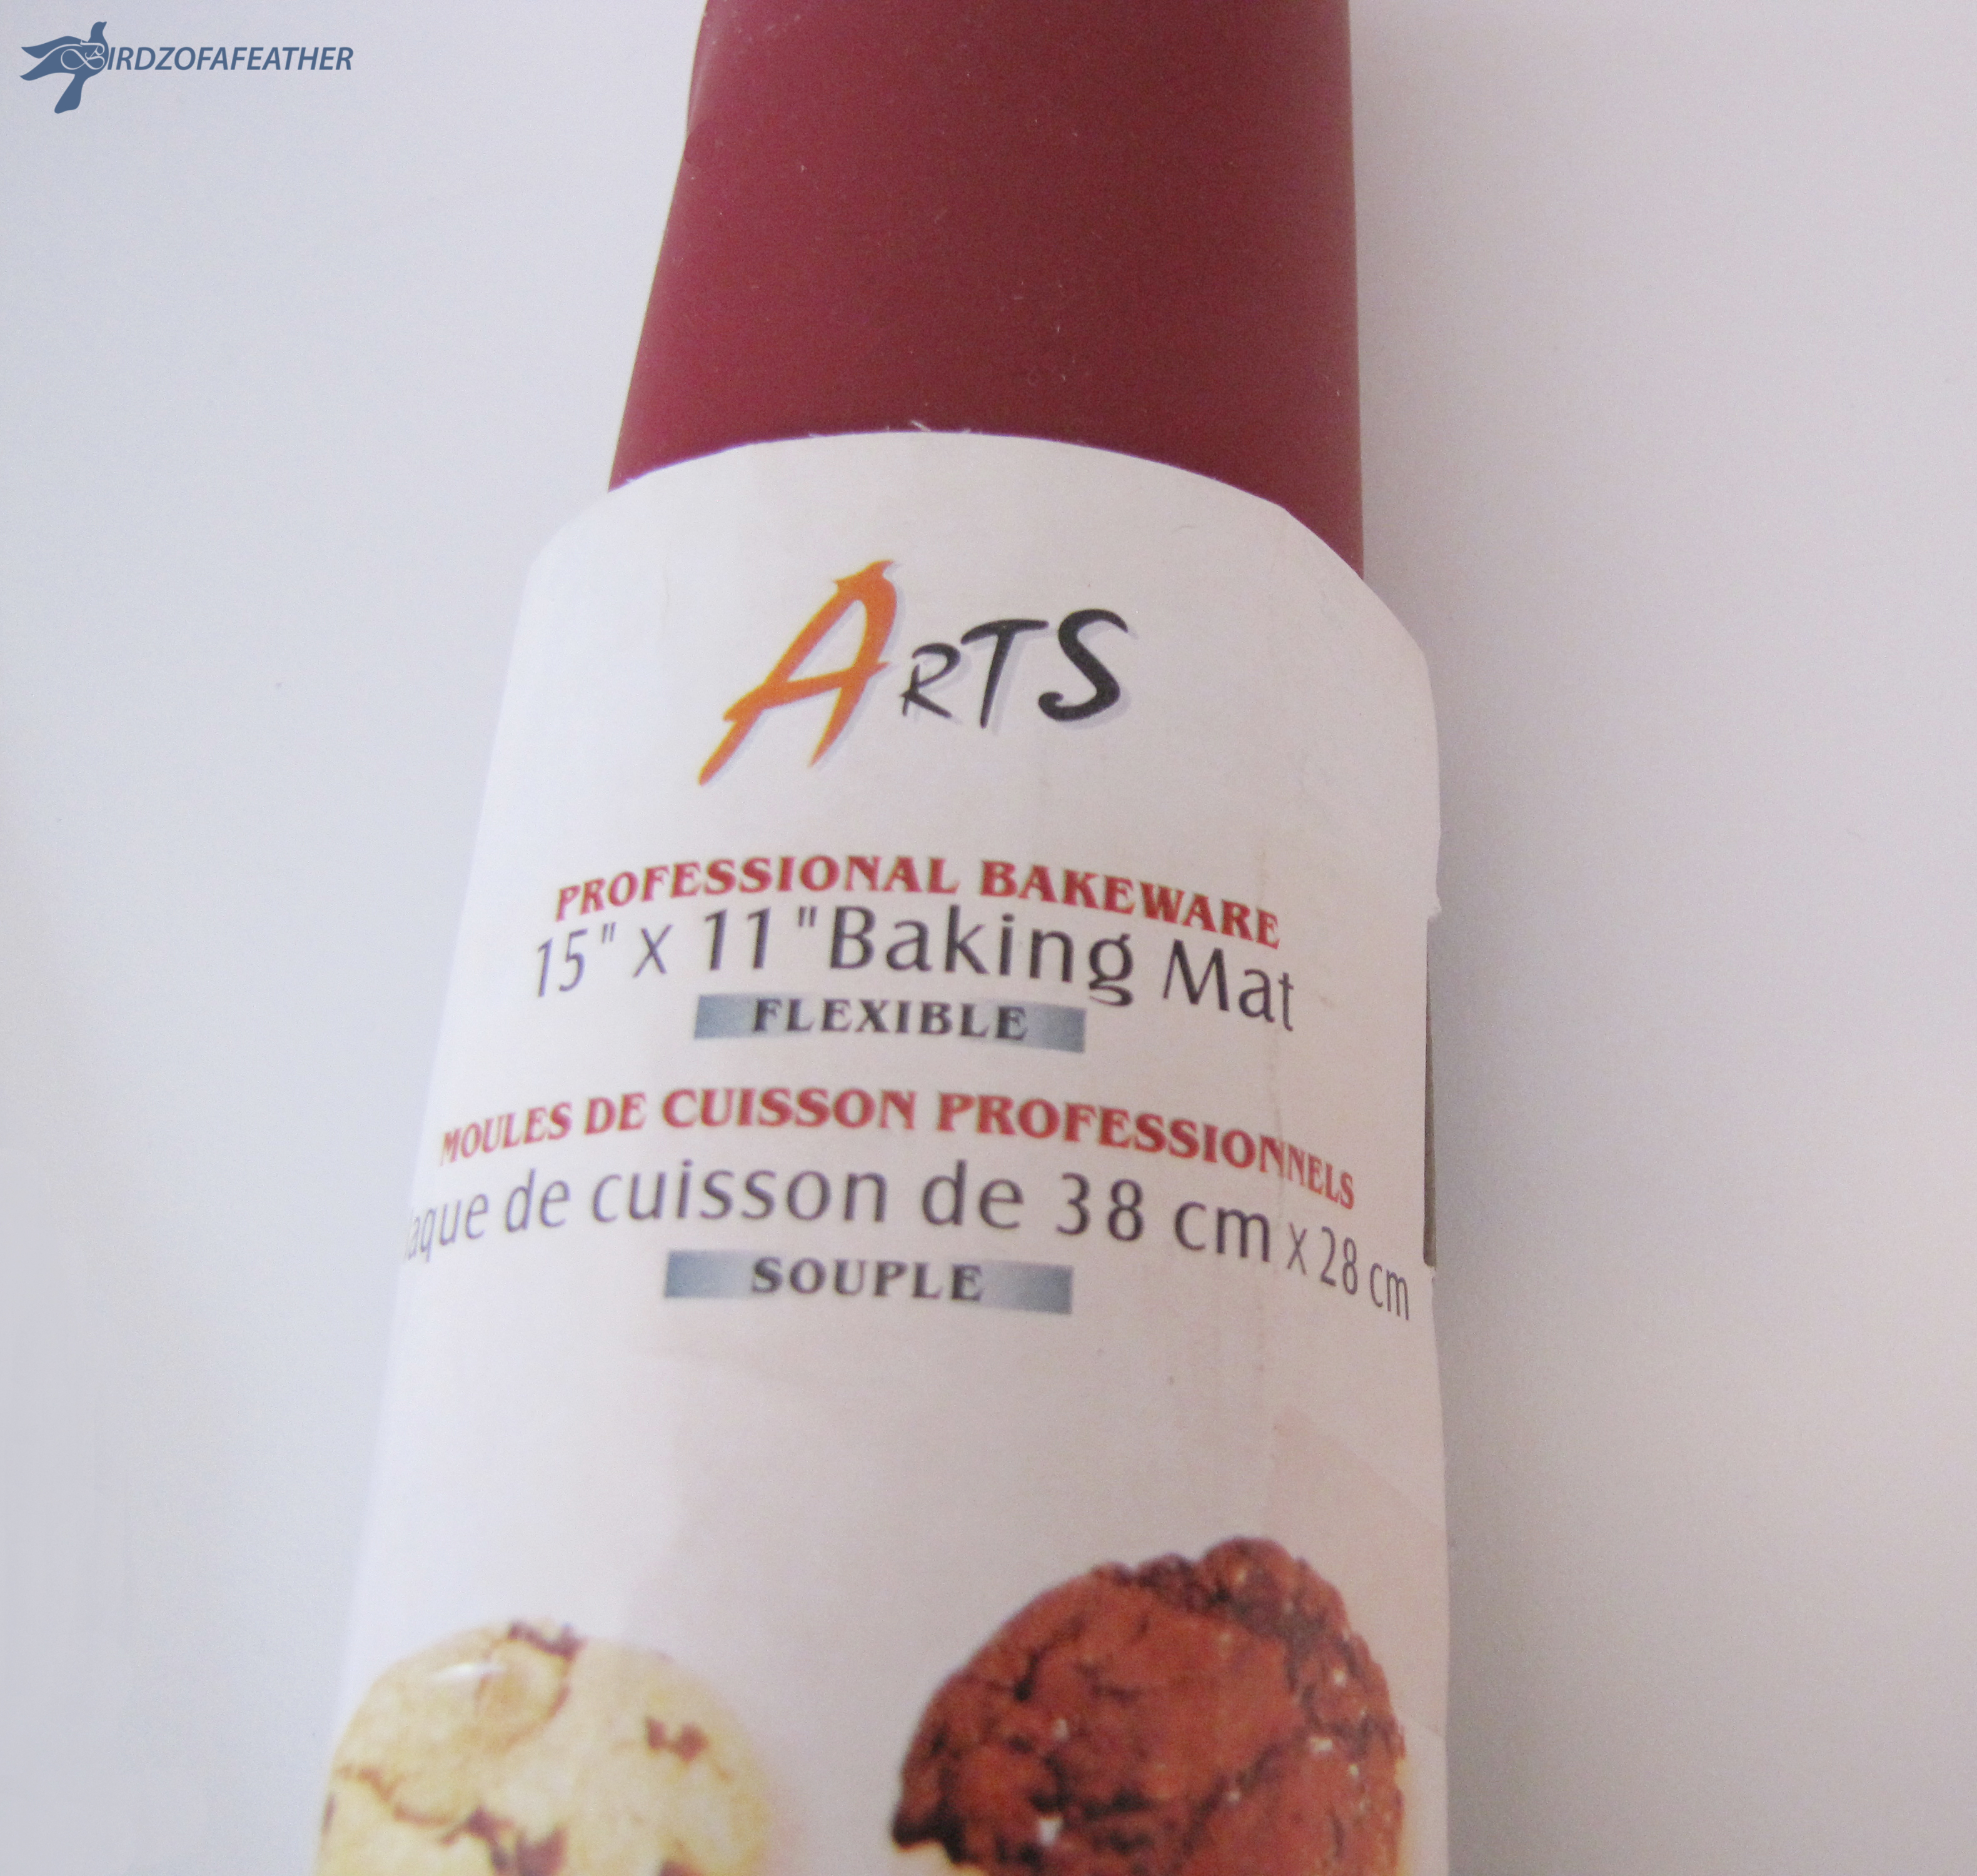
- Permanent black marker
- Recycled plastic clamshell box; as large as you find *
- Graphic software such as photoshop
- Screen capture program such as SnagIt
- Word processing software such as microsoft word
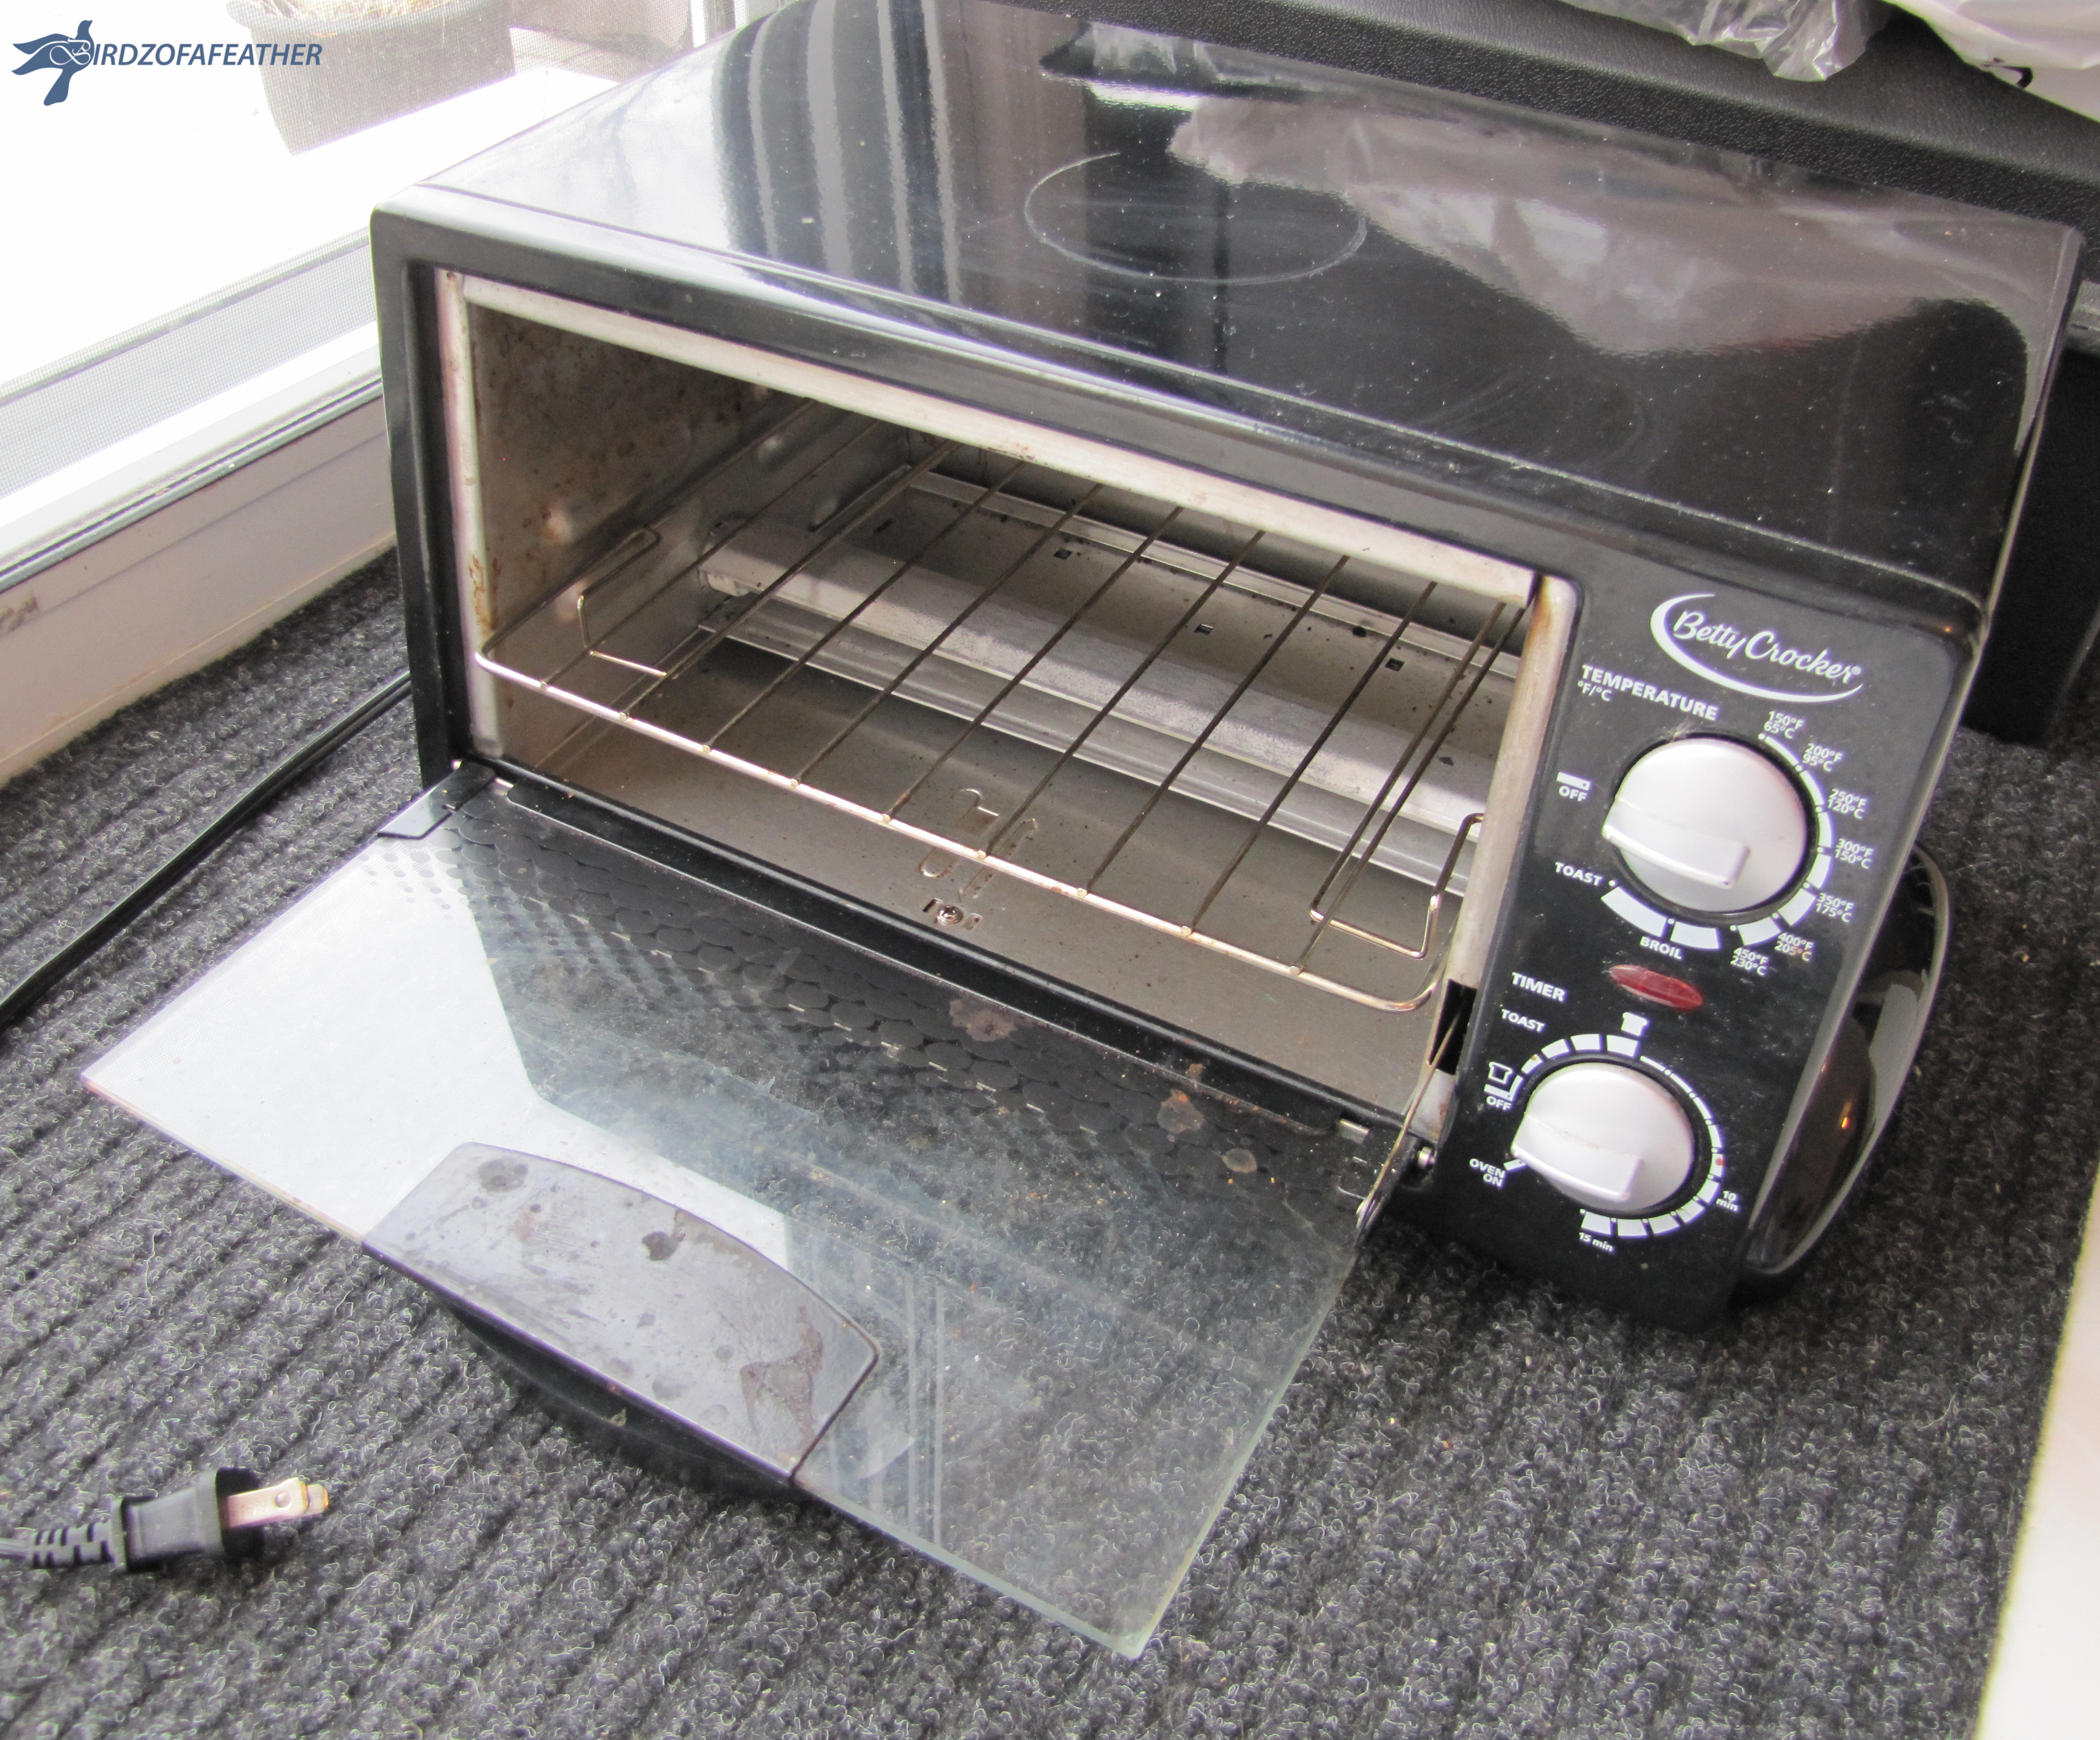
- Toaster oven (use one that's second hand)
- Non-stick silicone baking mat or parchment paper
- Tin foil (only if you don't have a toaster oven tray)
- Scissors
- X-acto knife
The plastic wasn't the only thing I recycled for this project. I saved an old toaster oven from going to the landfill; it was a spare one that my Mom was going to toss. It still worked fine but wasn't needed so it was perfect for this project. It was missing the baking tray but I got around that by using some tin foil instead.
*Note: the plastic clamshell must have the number '6' on it as shown in the next step.
Look for the #6 Symbol / Safety First
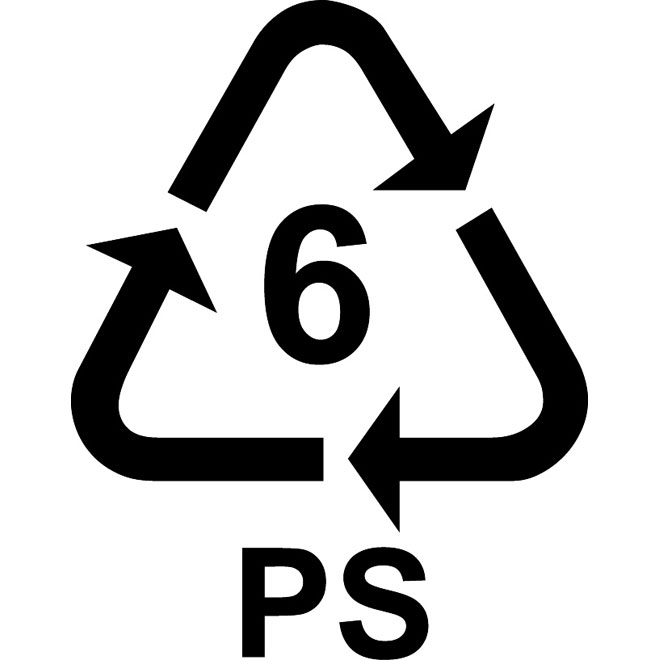
Look for the #6 stamped on the clear container. #6 PS is polystyrene and has been found to leach styrene – a neurotoxin and possible carcinogen – so do this craft outdoors or in a well ventilated area (as an extra precaution, wear a mask).
I only use a toaster oven dedicated specifically for this purpose because of the fumes released; I'd be leery about using it for food so I'd suggest looking for one at a thrift shop.
For this project, you'll only be using the part of the clamshell that's perfectly flat so it's important to have a large container to start with since the plastic will shrink. My container originally had donuts in it so it was quite large. Cut away all the ridged material.
Find a Font
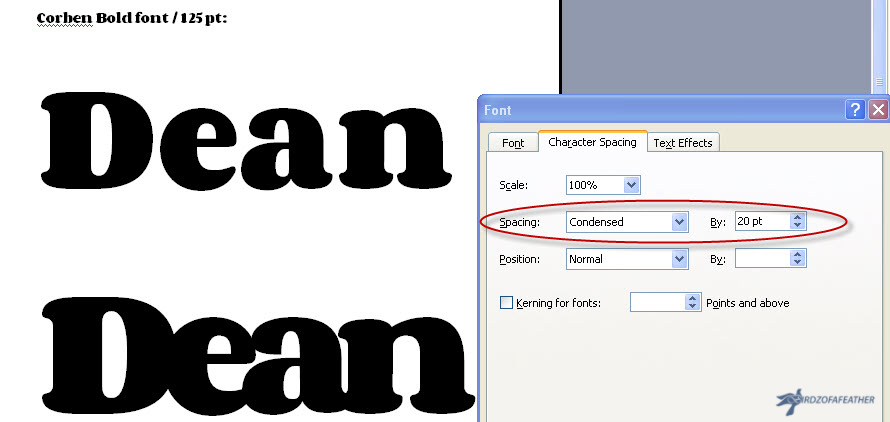
I searched the net for free fonts and found one called Corben Bold, then saved it to my computer. I opened up Microsoft word, typed out the name and applied the font. I sized my name 125 points; but you can make it as big as the size of plastic you cut will allow.
Because I wanted one piece of plastic with no gaps between the letters, I highlighted the name, clicked on format/fonts/character spacing and then clicked 'condensed' for the spacing. I condensed the font by 20 points.
With the name complete, I captured it with a screen capture program called 'SnagIt' and saved it as a jpeg to my computer. If you are on a Mac, you won't need a special program - you can just take a screen capture by pressing Command+Shift+4 and dragging the cursor around the name.
Photoshop
I am using an old version of Photoshop (CS 5.5).
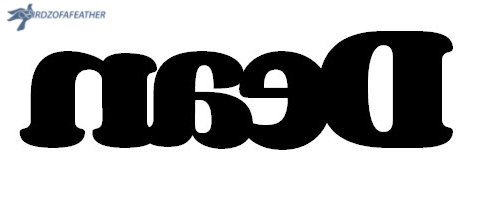
In Photoshop open up the name image. In image/image rotation, create a mirror image of the name by flipping the canvas horizontally. The name will now be backwards. That's because we're going to trace the image onto the plastic and fill it in with marker; when the artwork is complete, the marker will be on the backside and the plastic will face up.
You can save your file and stop at this point then proceed with shrinking the name or you can add a photograph. I thought it would be fun to add a headshot of the person I was making this for since the capital 'D' lends itself nicely to adding the picture.
Apply a Circle Crop to a Photo
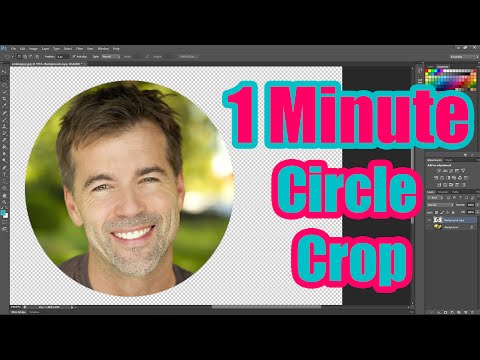
Before I converted my photo to black and white, I applied a circle crop to the photo so I would have a nicely rounded bottom edge. To see how to do that, watch the YouTube video above. Instead of leaving the background transparent, as in the video, I filled it with black. I also used the pencil tool to trace a black line around the head (you'll see why in the last paragraph below).
Now you can convert the file from colour into black and white. The step-by-step details on how to convert a colour photo to black and white are in my Austin Powers cardboard portrait post (see Working With Your Own Headshot Photograph).
Place Headshot in the Name File
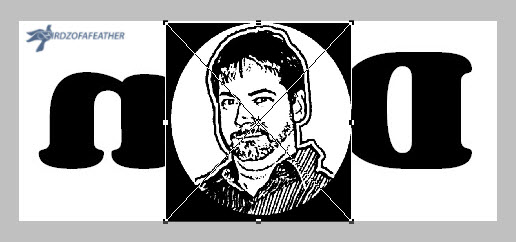
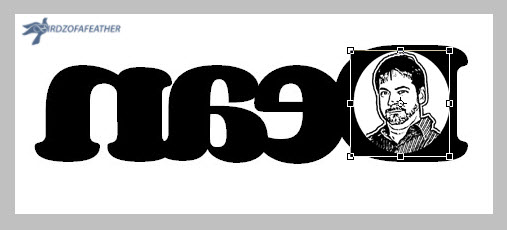
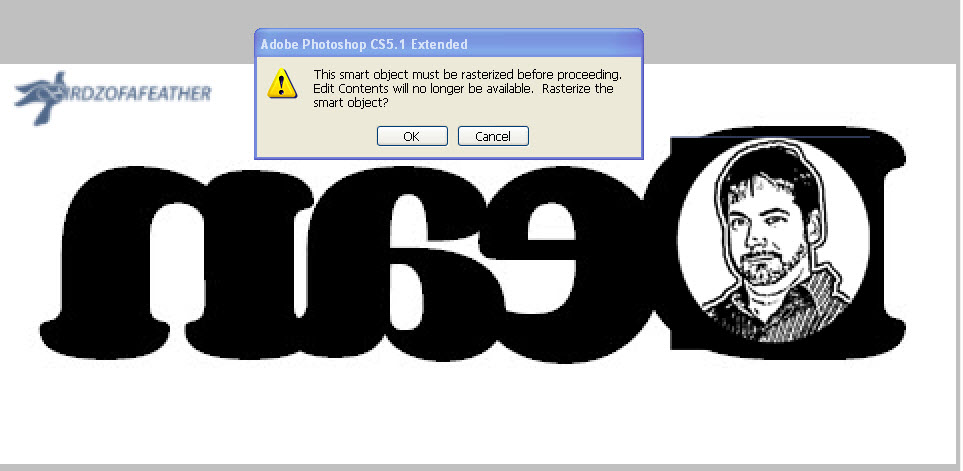
Once your headshot is done, you'll likely want to mirror image it as you did the name so that when you view the final artwork it will be correct. Save your work and close the headshot file, then go back to the name file and click file/place to add the headshot (first picture).
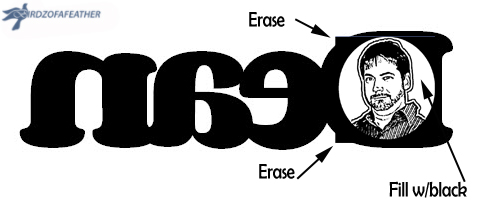
I moved the headshot over to the 'D', resized it accordingly and positioned it within the 'D' (second picture). Photoshop warned me to rasterize the image first before cleaning up the edges extending beyond the 'D', so I did that and used the eraser tool (last two pictures).
Clean Up the Headshot
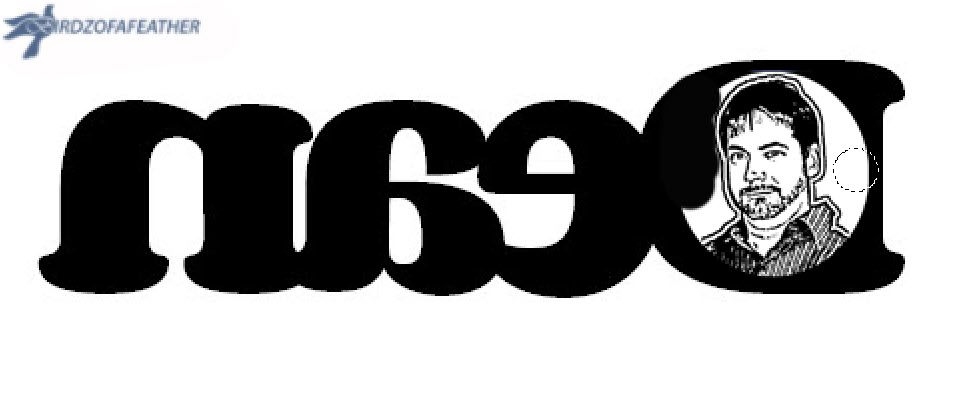

Once the edges are cleaned up, I selected black and used the brush tool to fill in the white circle around the headshot - extending outward from the black line (pictures 4 to 6). It's easier to zoom in to do this last step. Erasing up to the line will leave a distinctive outline around the headshot so it doesn't completely blend into the black background of the letter it's placed in (in this case, the 'D').
Final Artwork
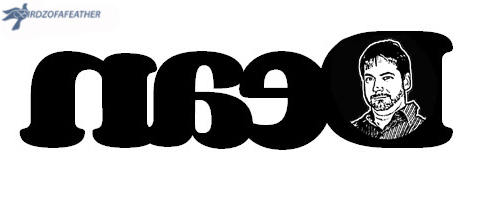
You're final artwork should look similar to mine above.
Trace the Artwork Onto the Plastic
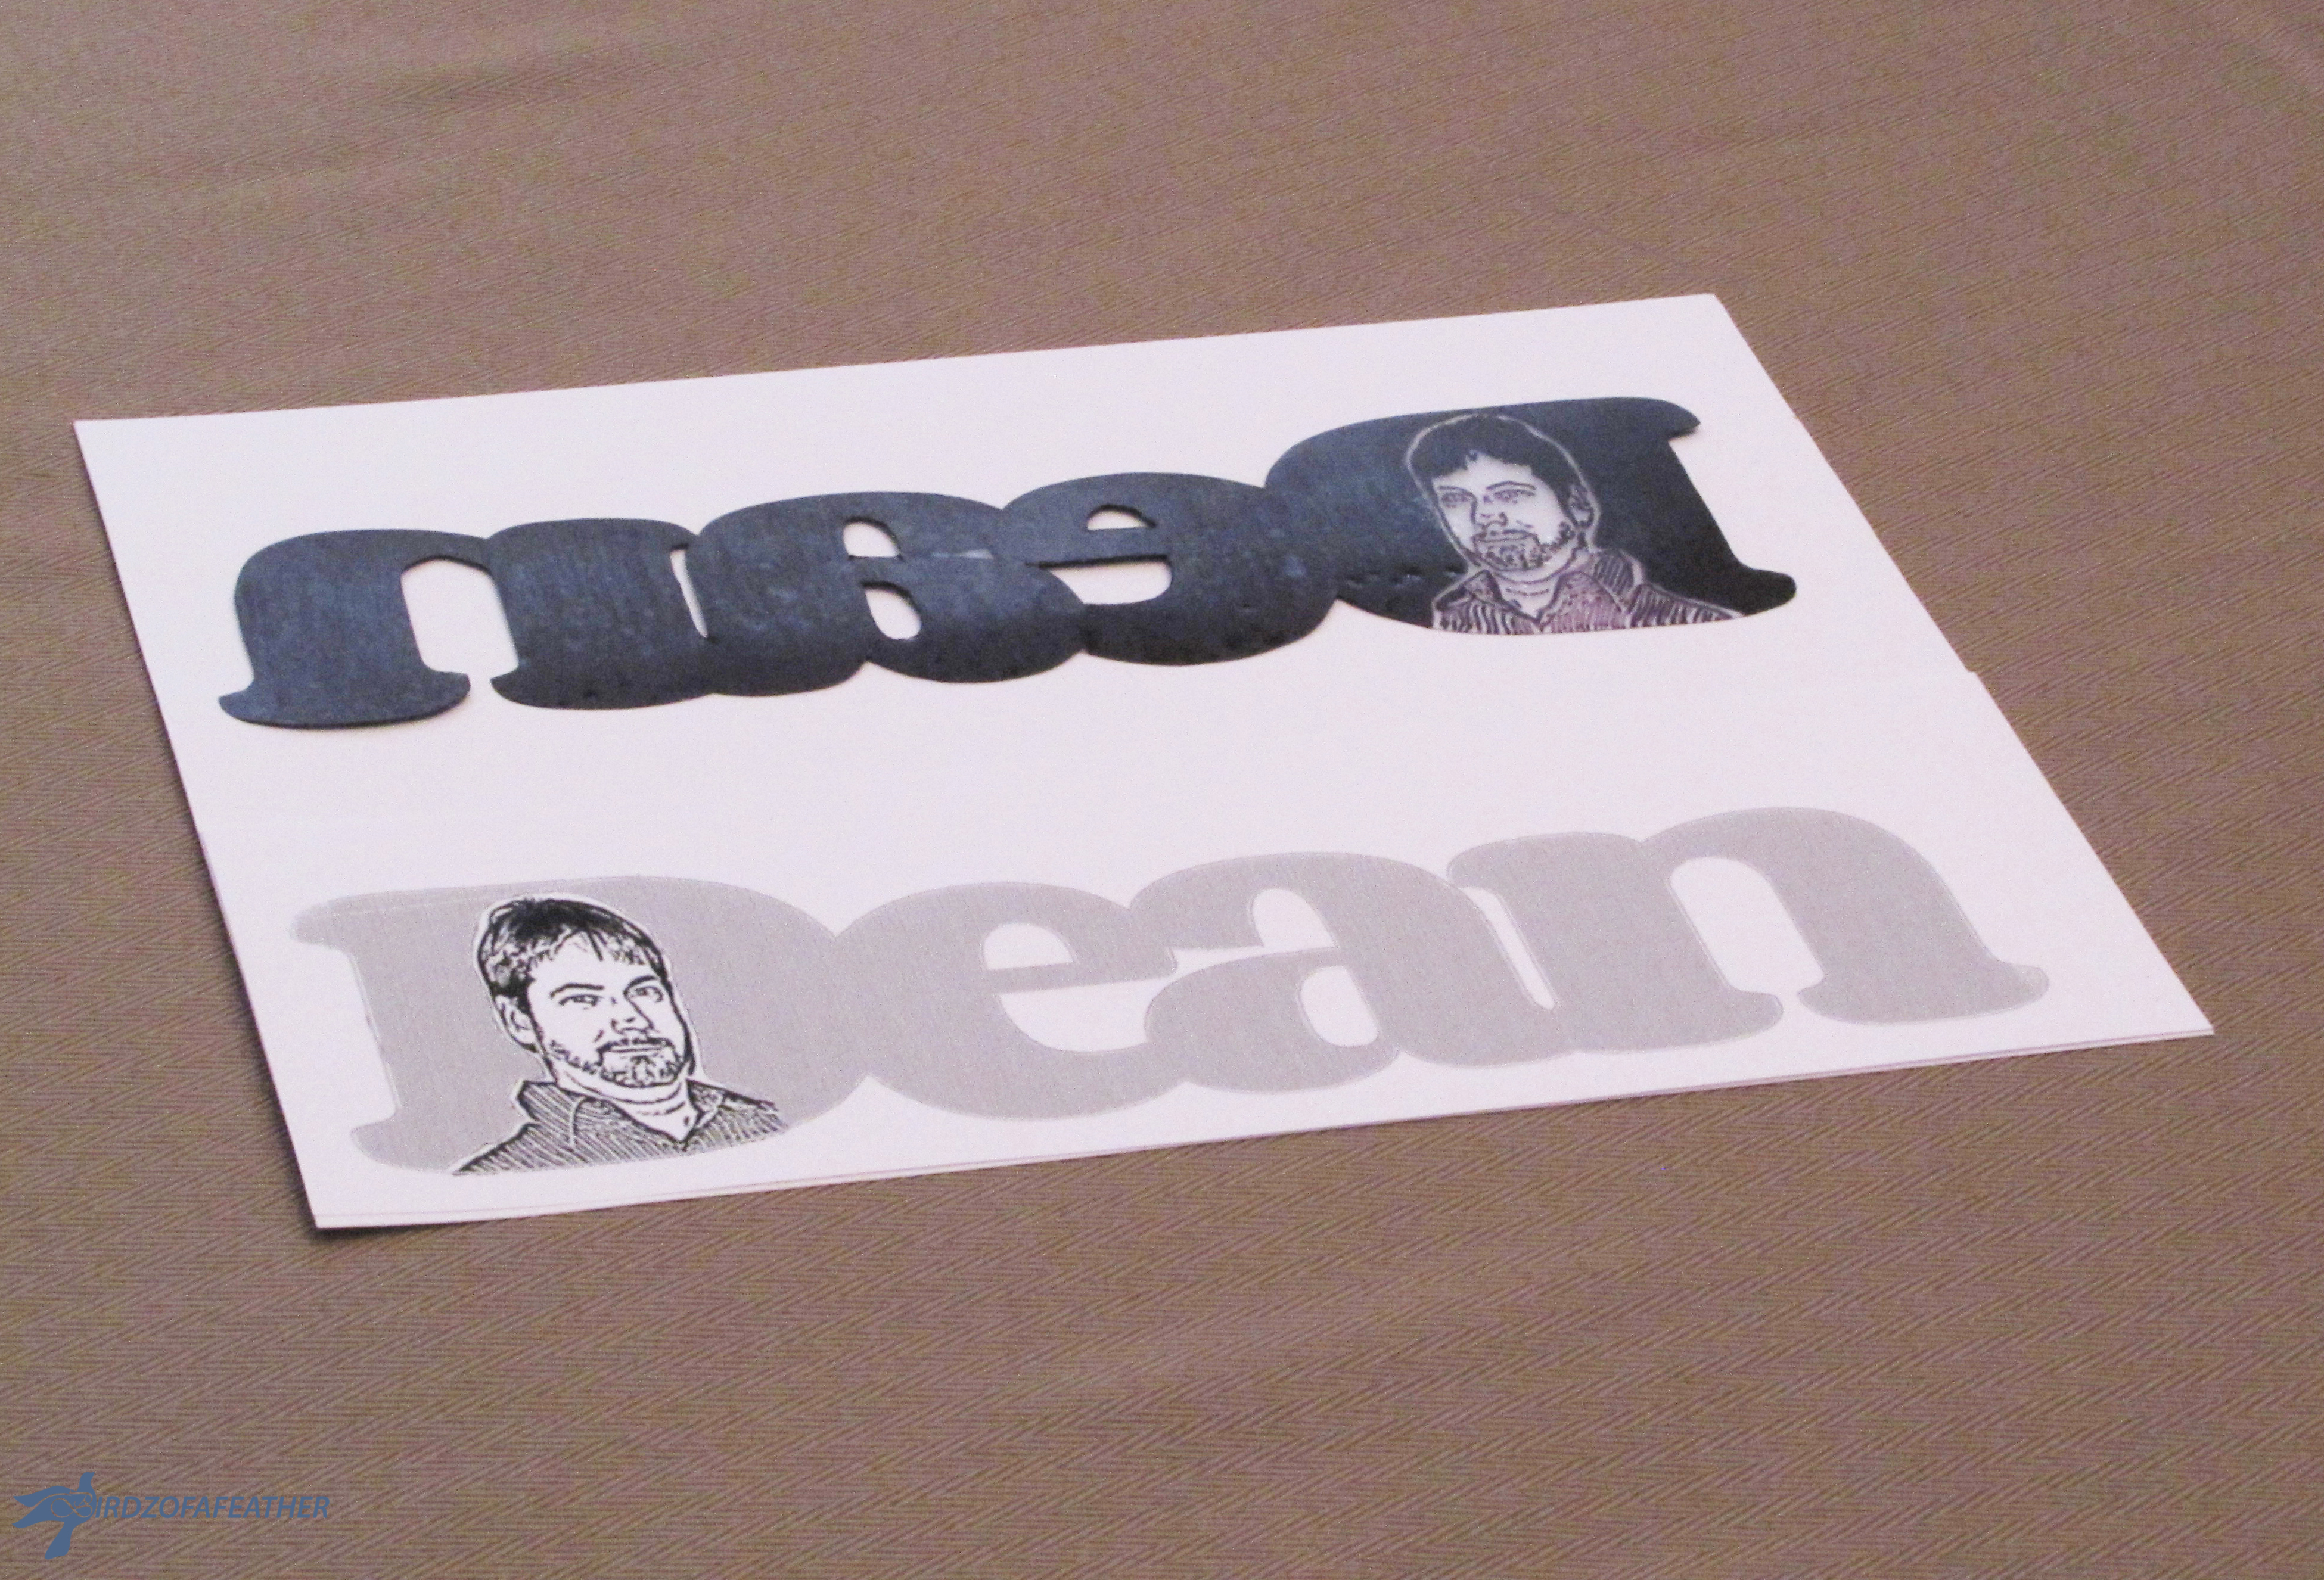
Tape the artwork onto the back of the plastic. Using the permanent black marker, trace around the name and image. Only fill in the black areas; the rest will remain clear.
Let the marker dry, then cut out the name with scissors. I used a tiny pair of pointed scissors to maneuver inside the letters but you can also try an X-acto knife to get into tight spots.
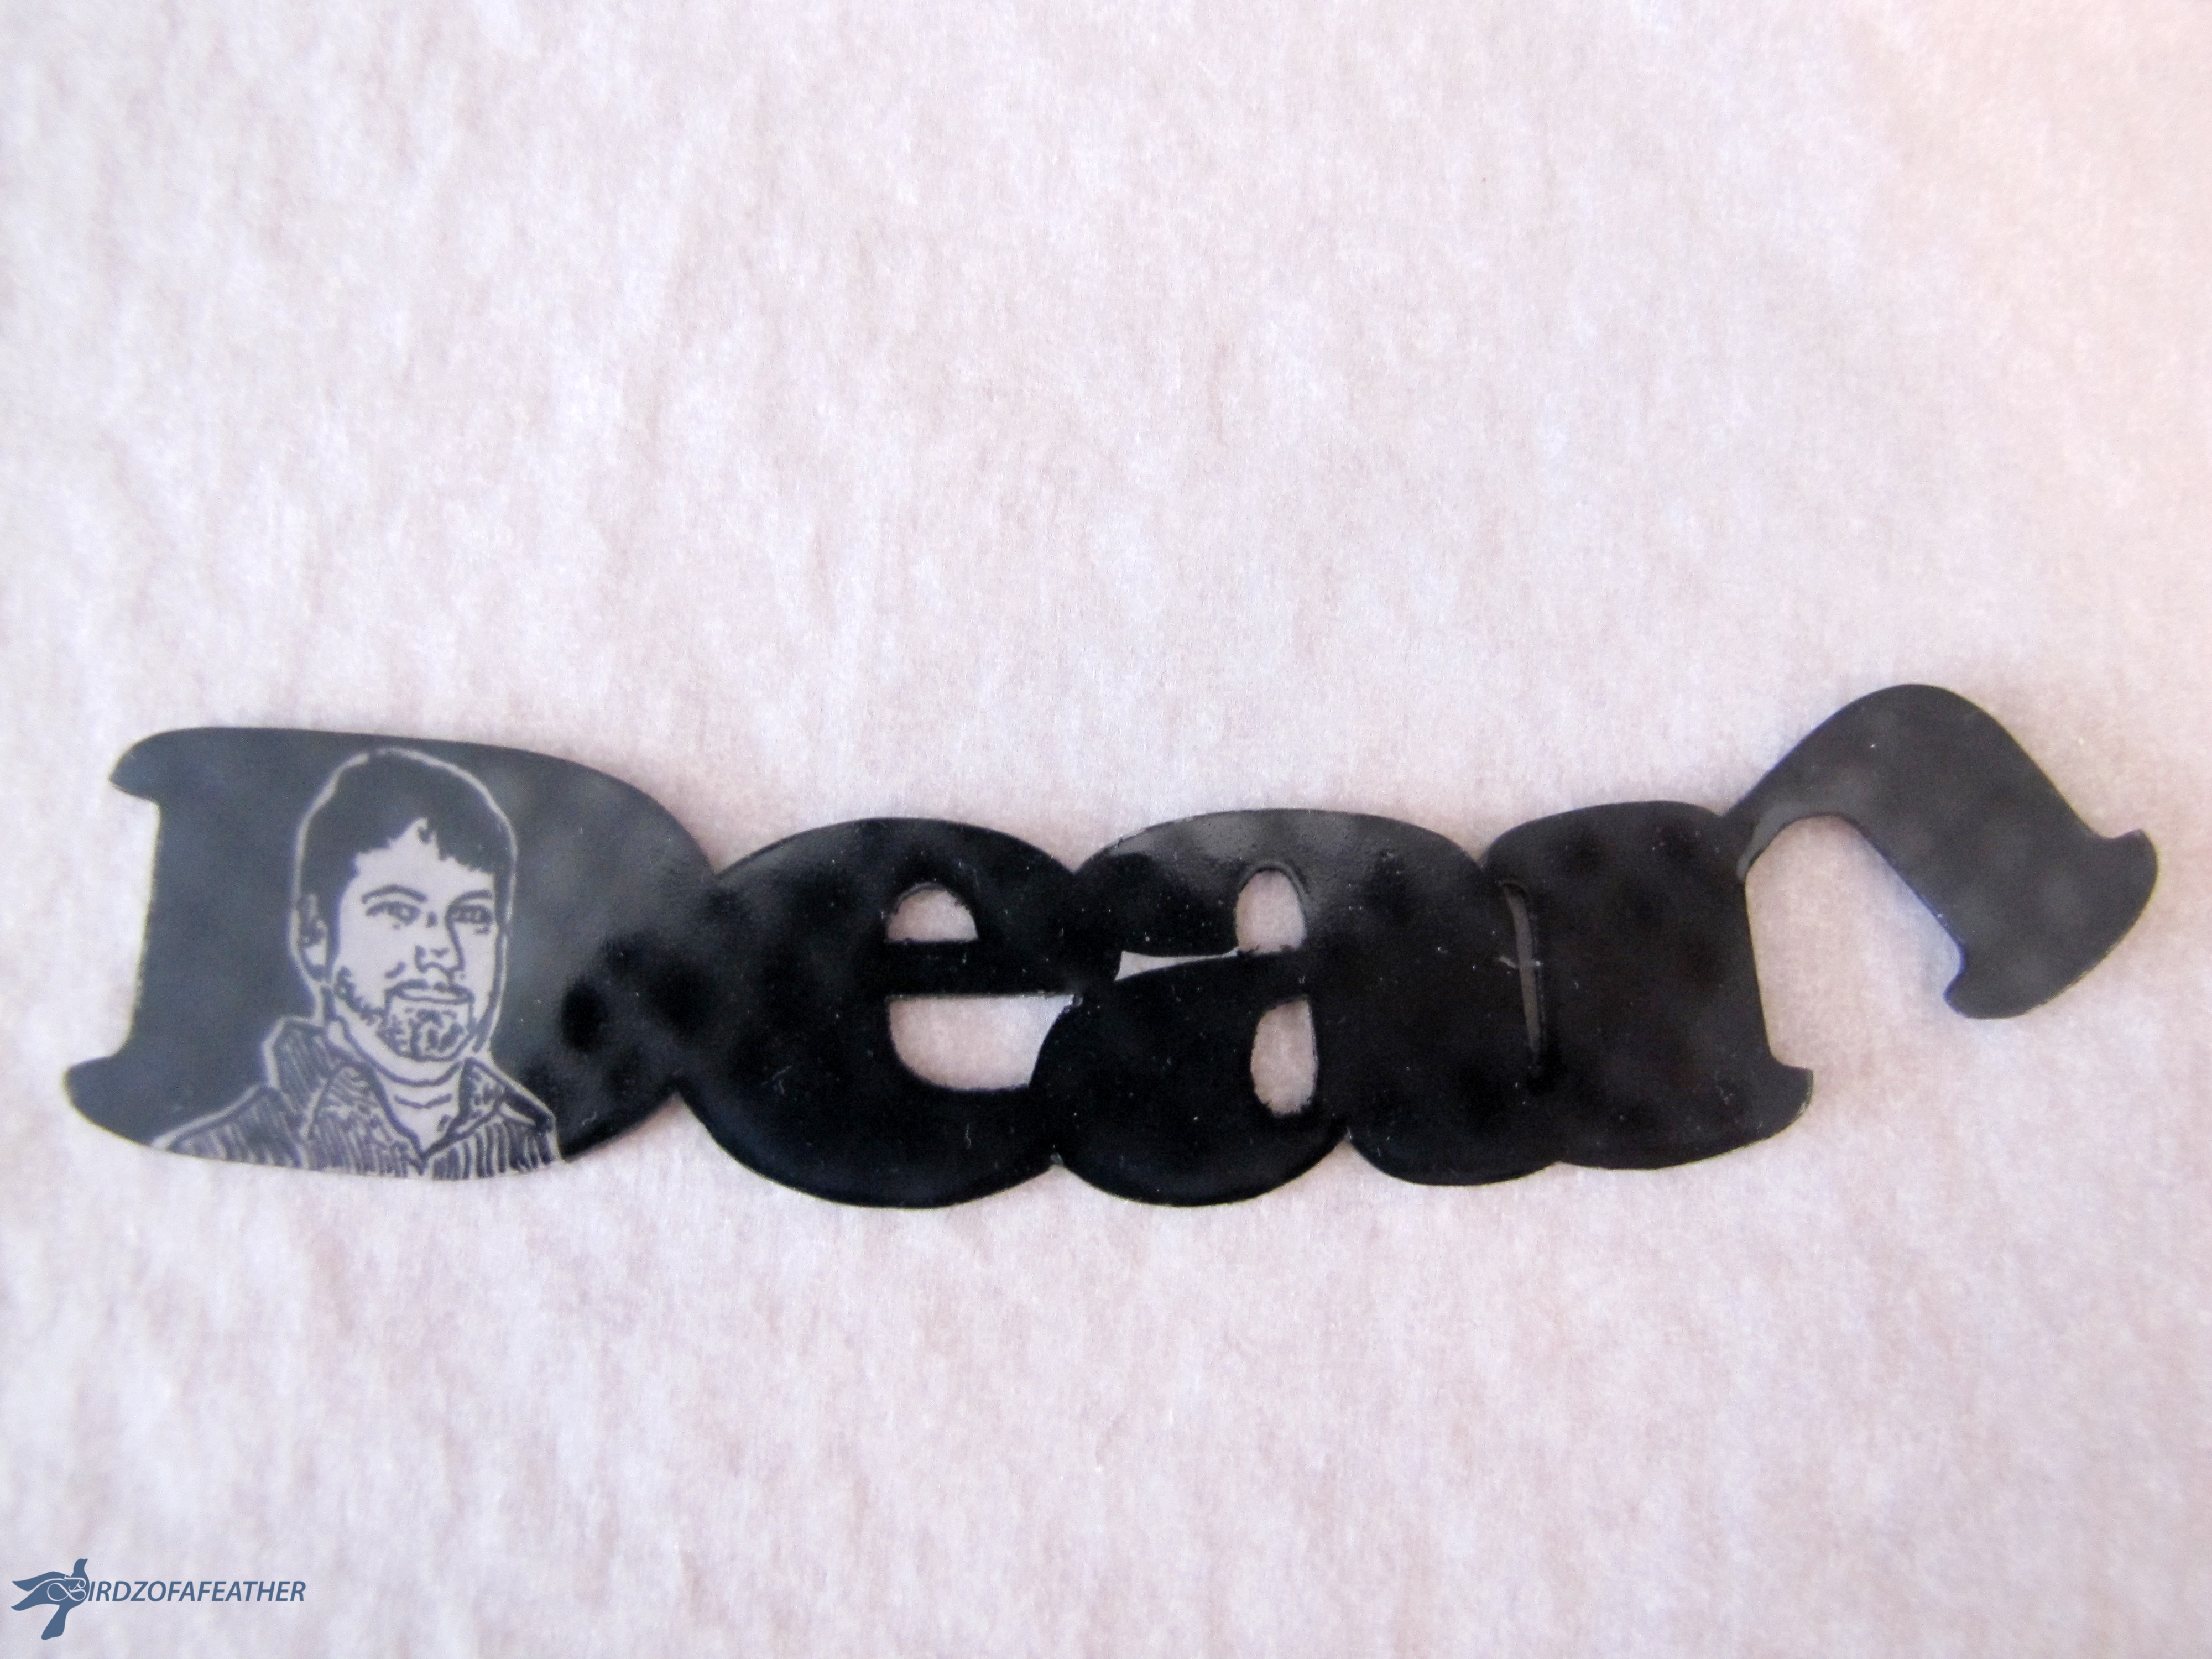
The photo above shows the finished piece (top) before it's shrunk. Once shrunk and flipped over onto the 'right' side, you'll be able to read the name.
Prepare Artwork for the Toaster Oven
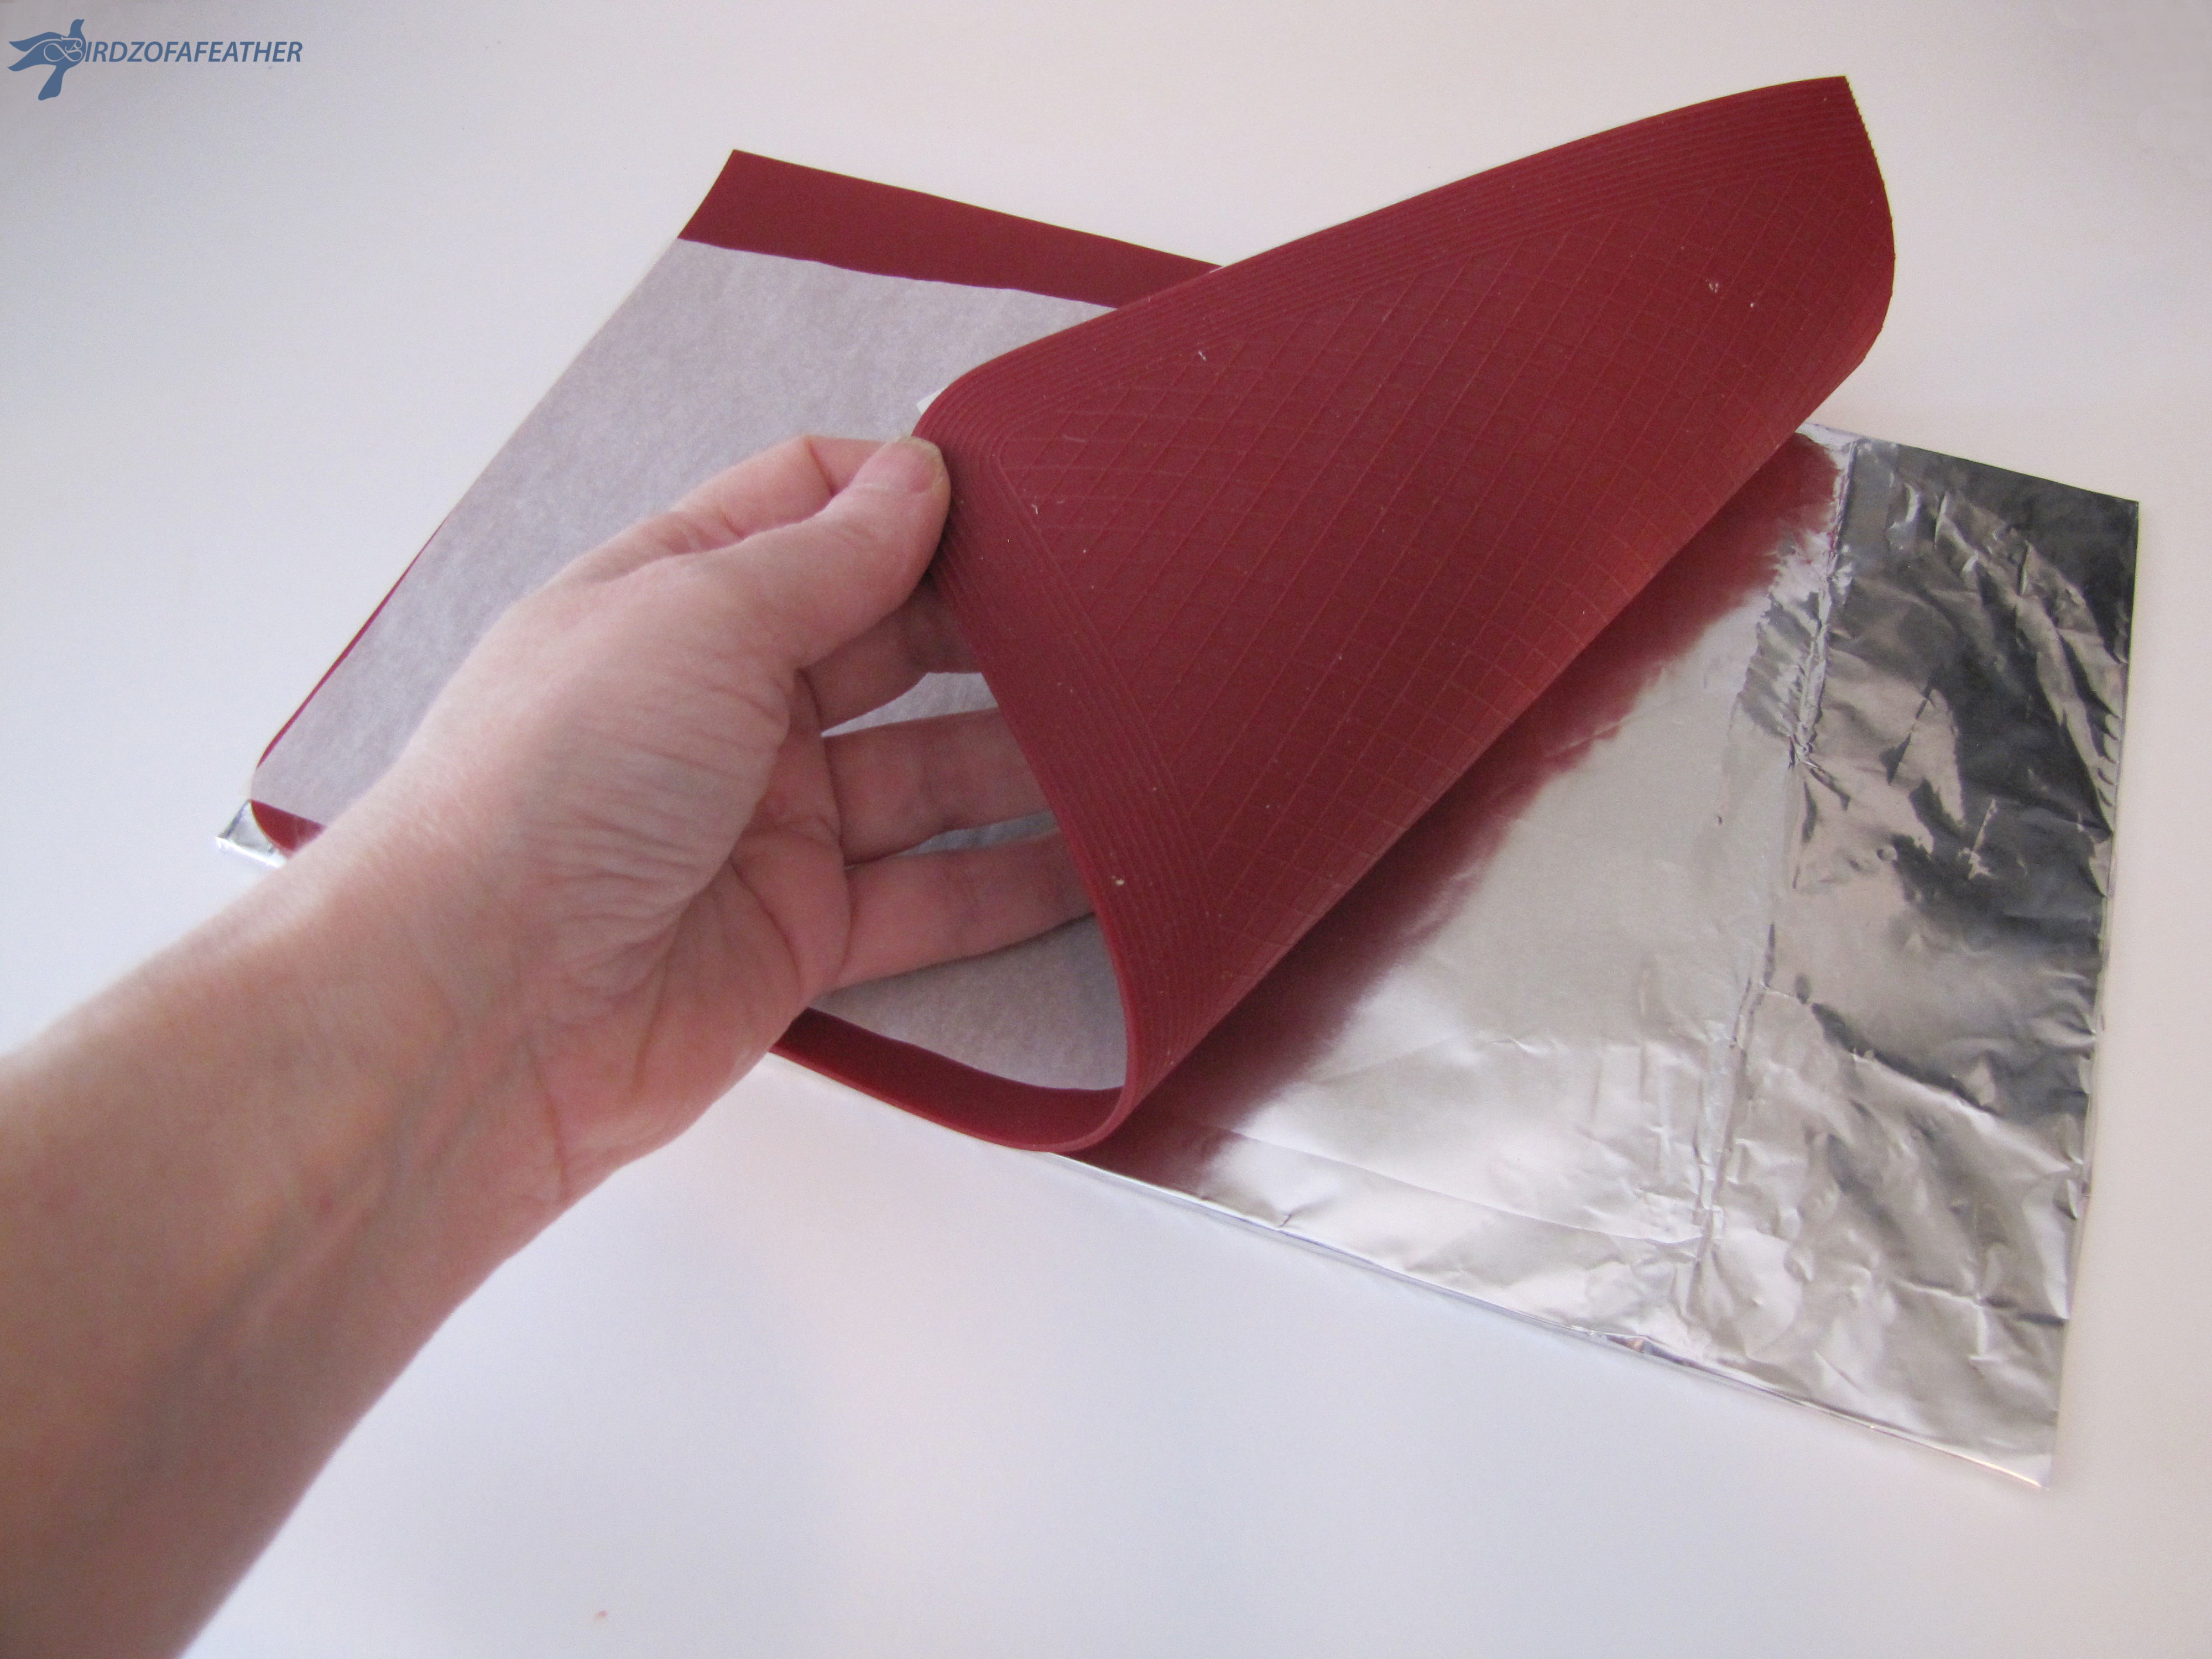
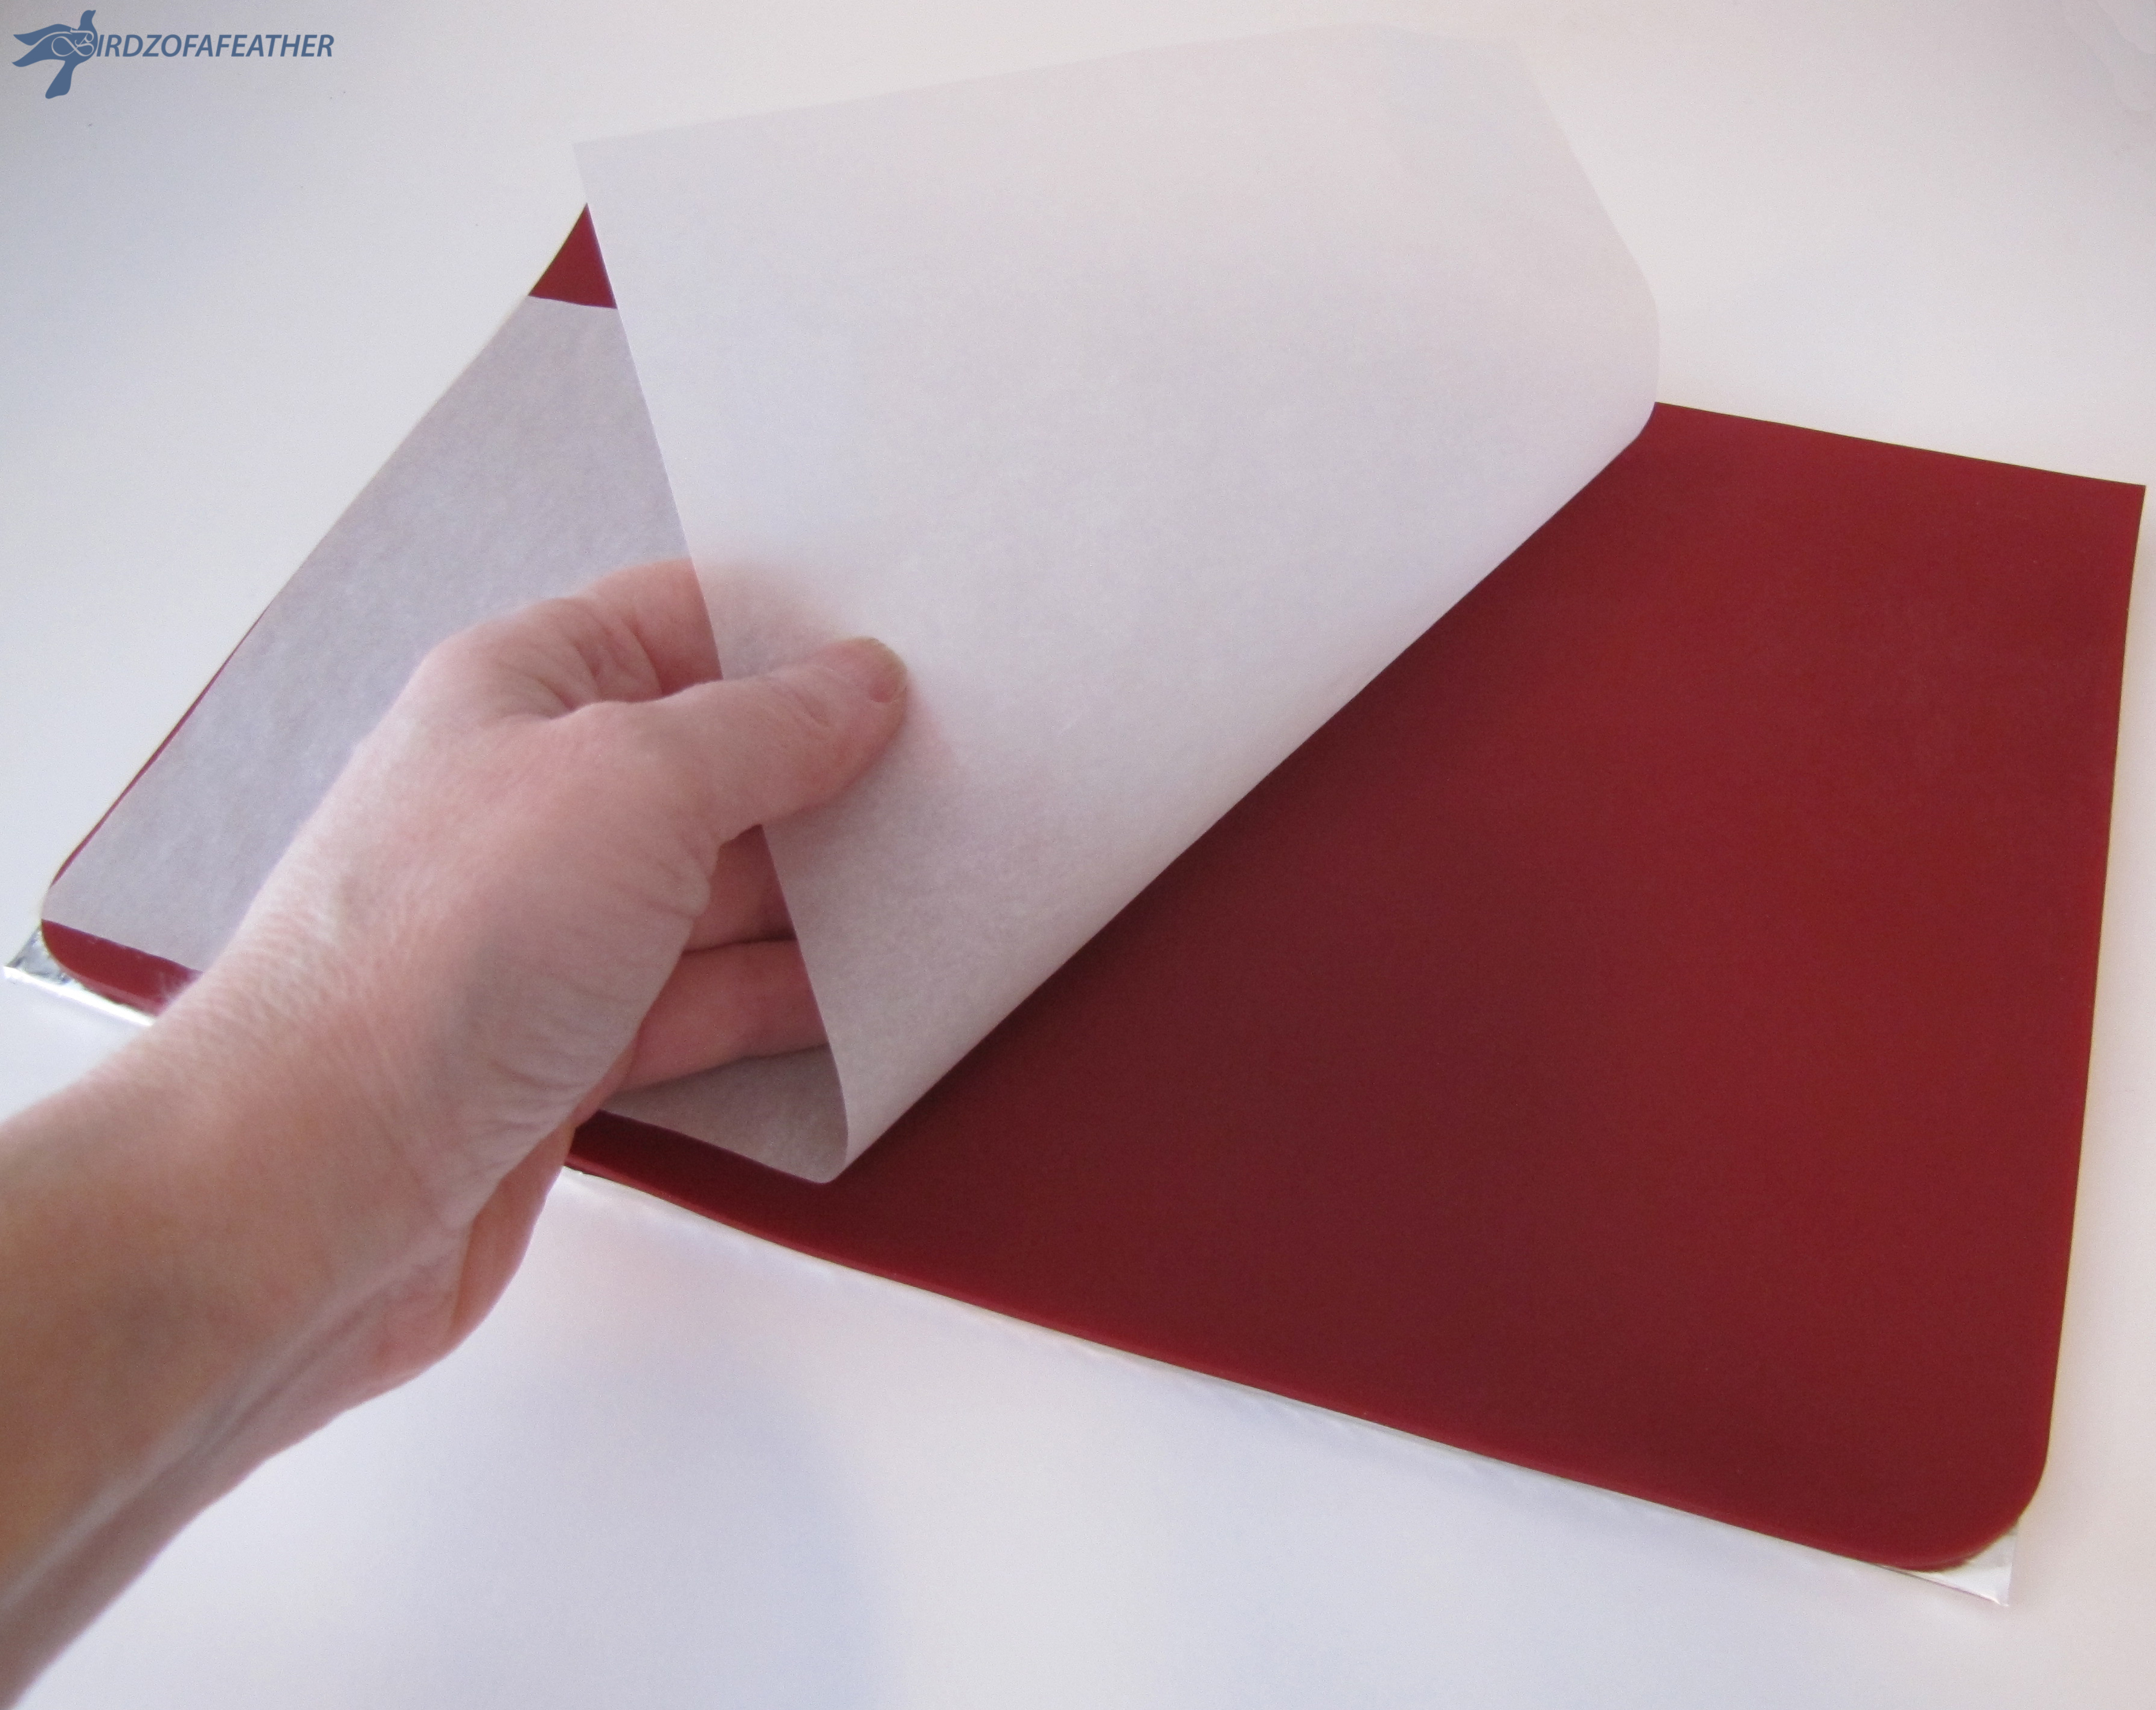
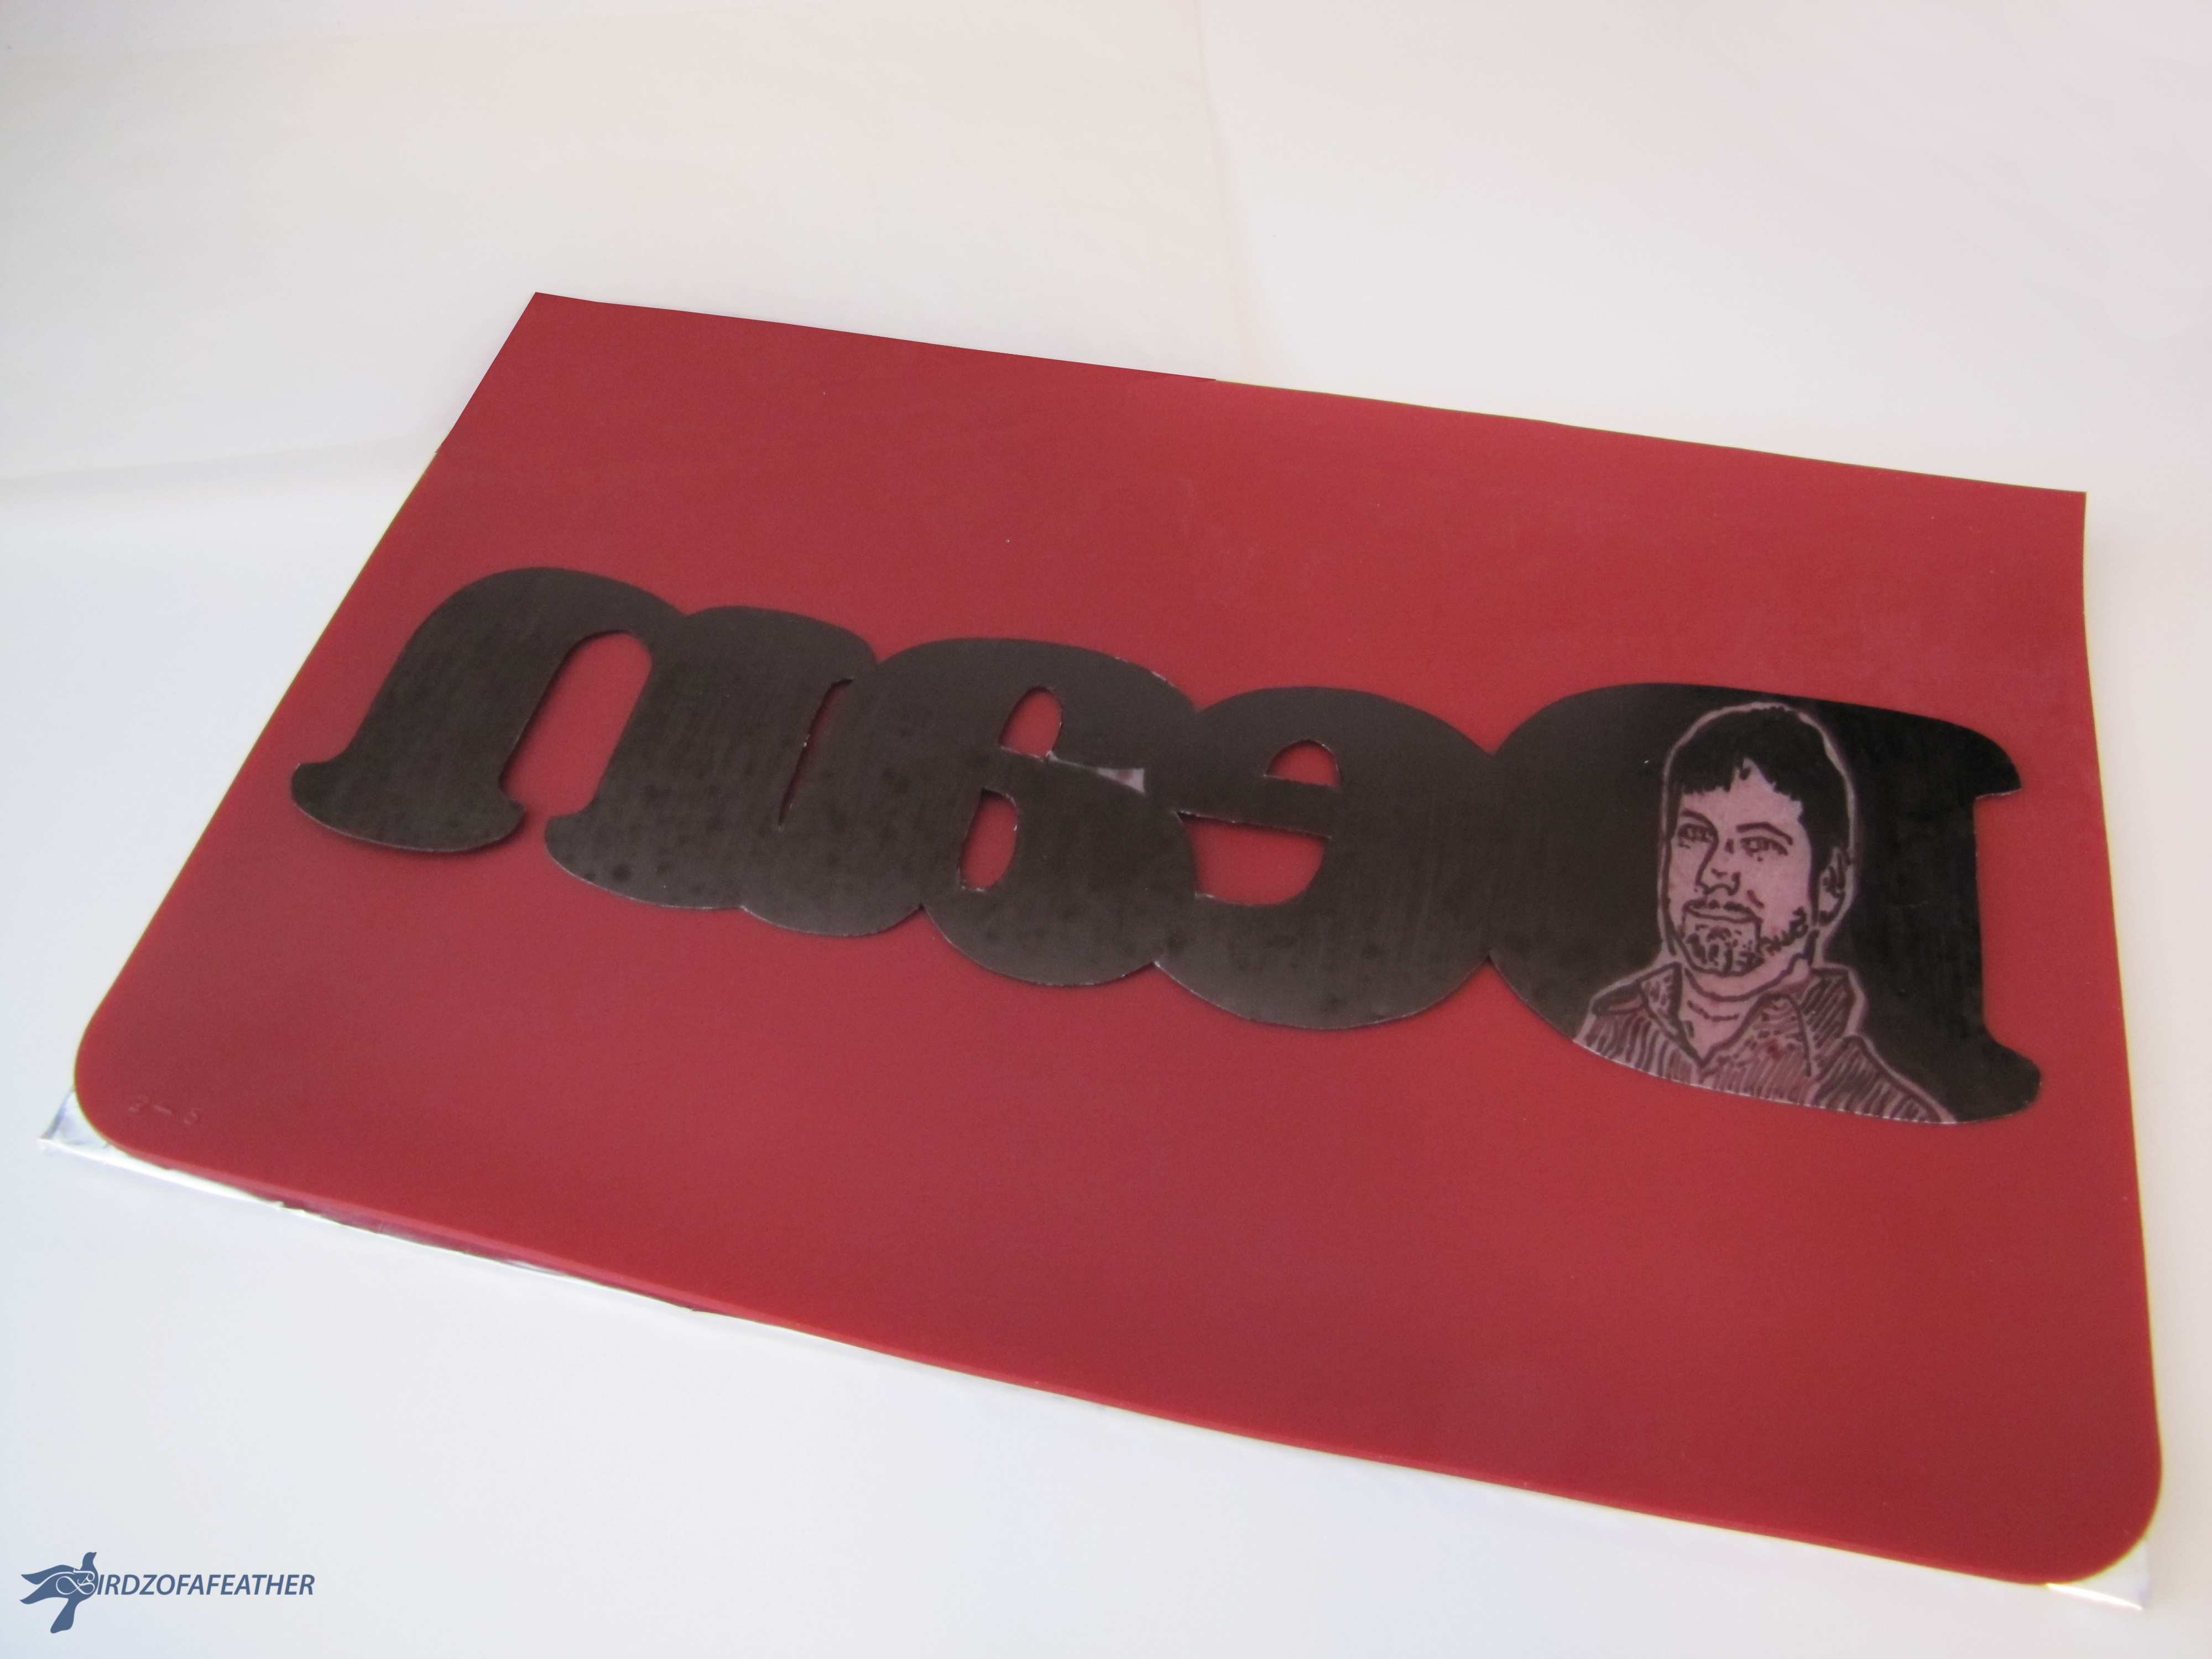
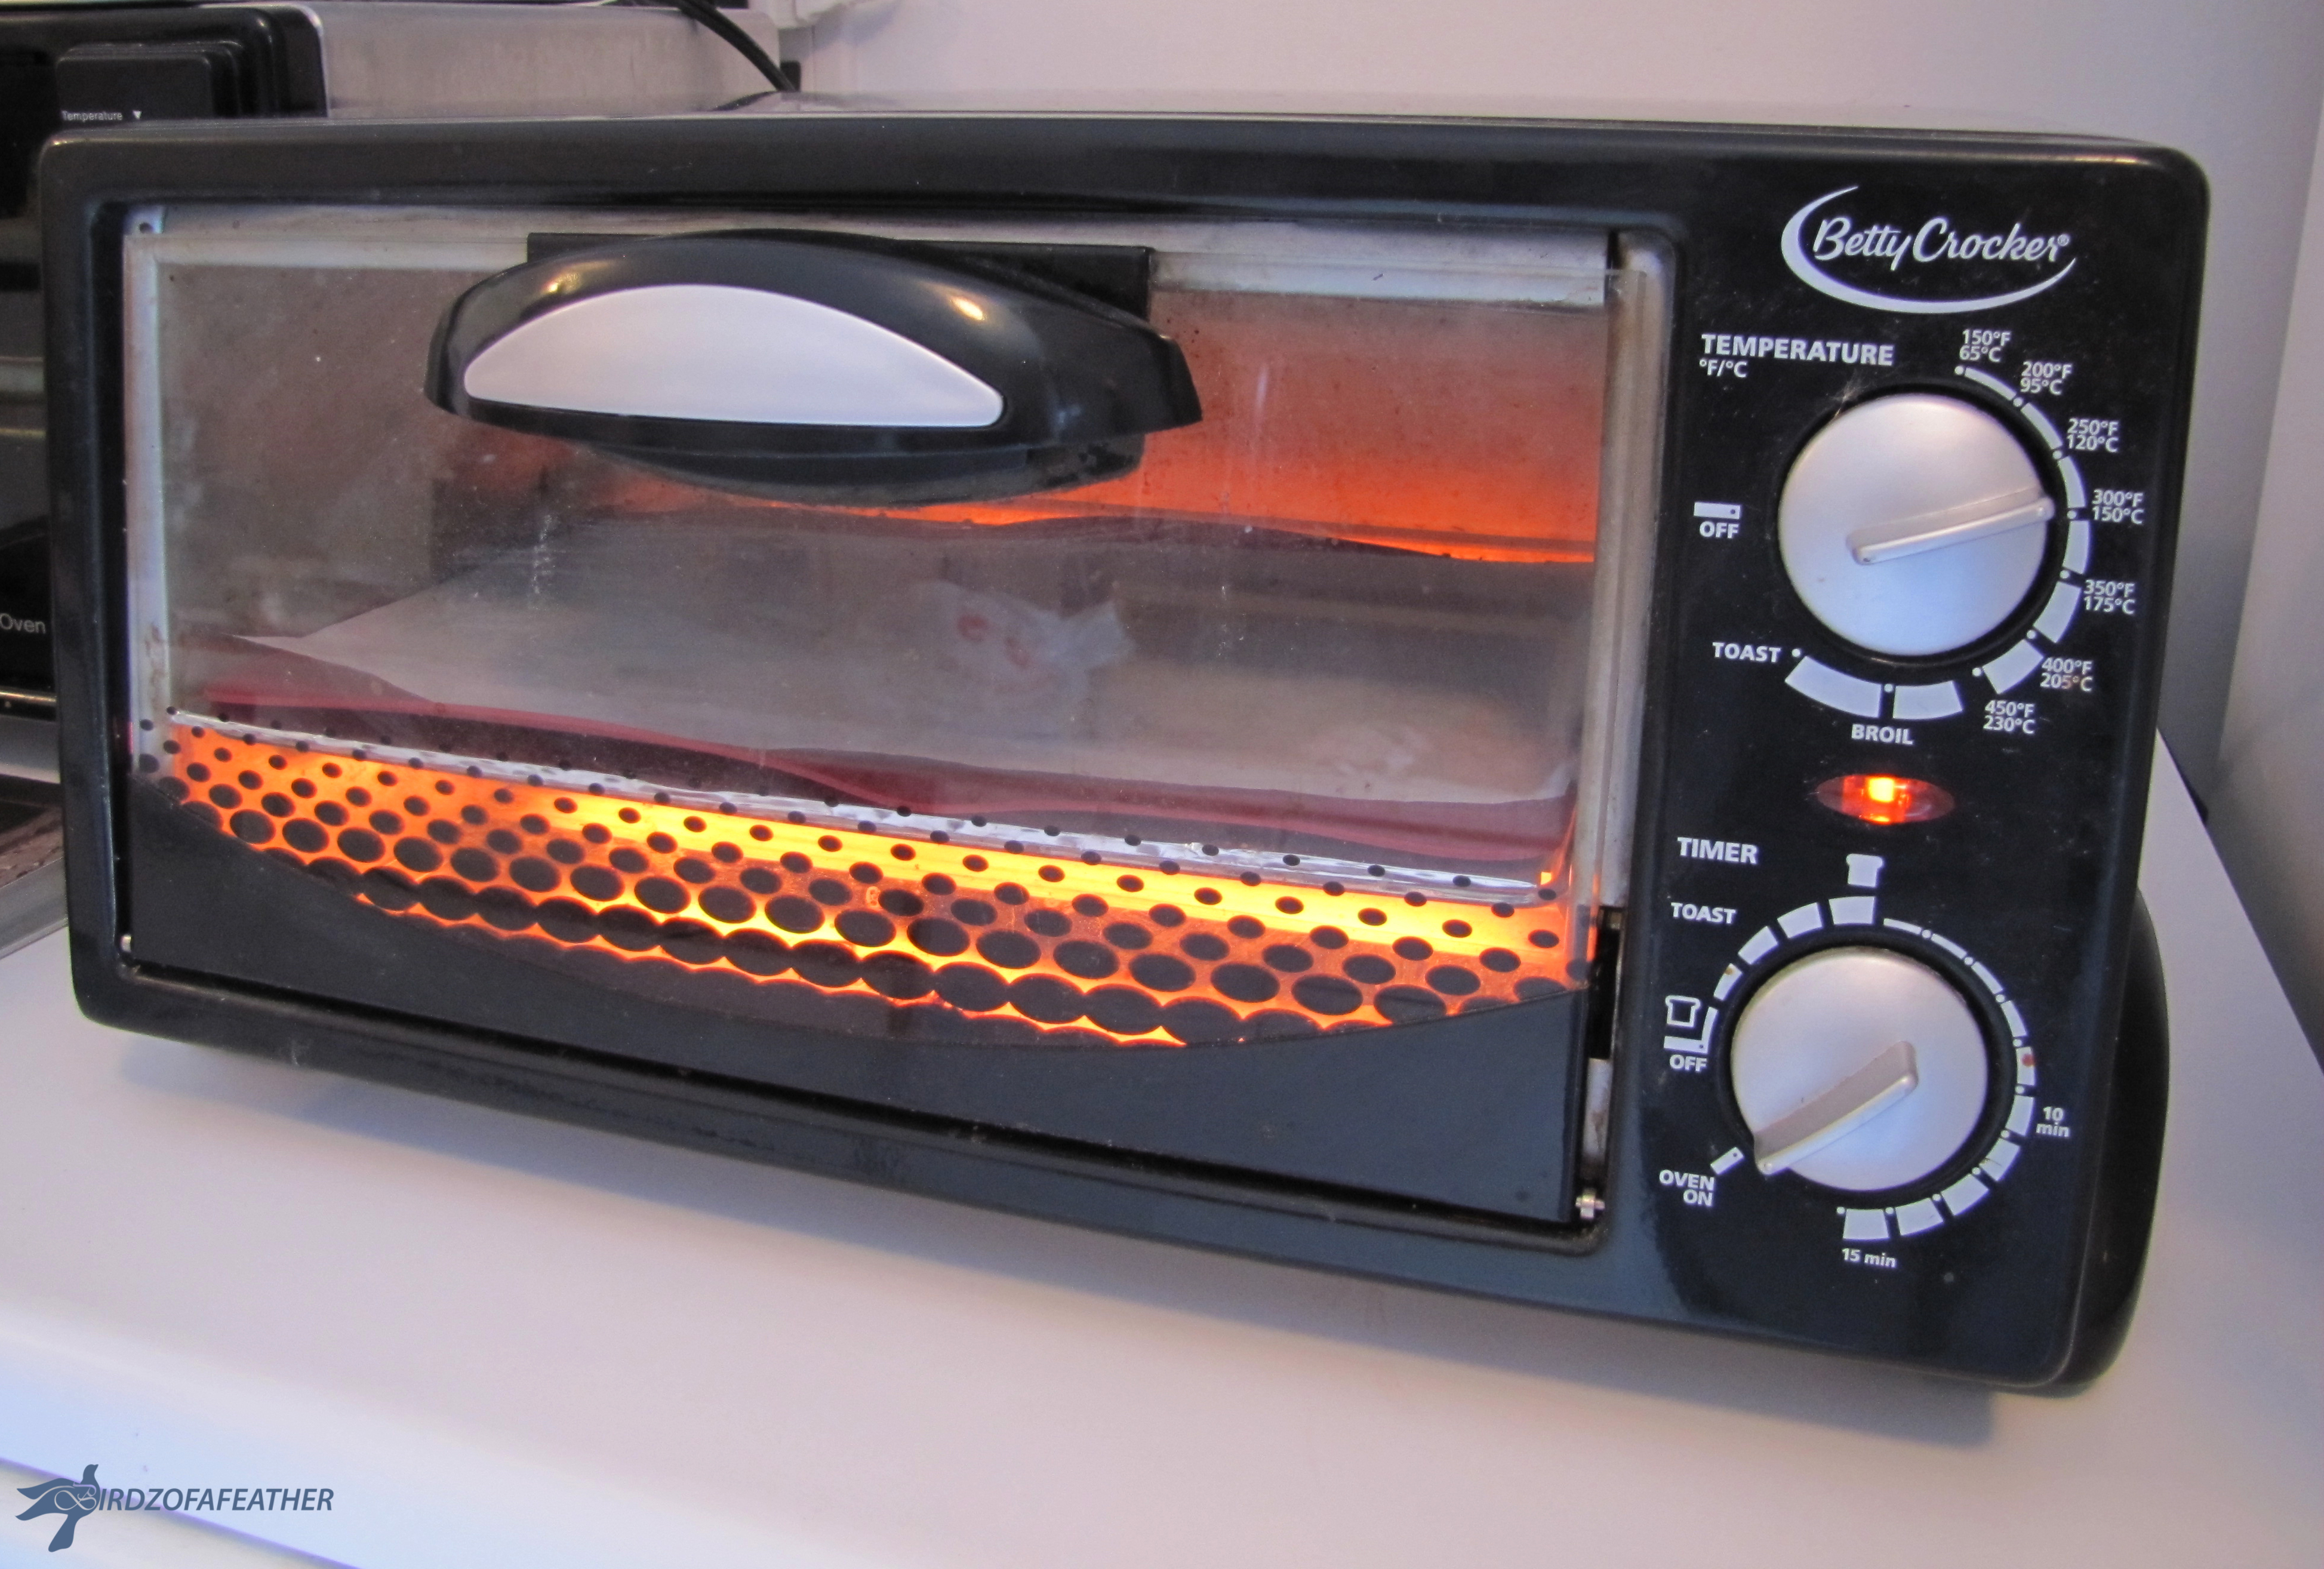
Work in a well ventilated area; it's probably a good idea to do this outdoors or in the garage if you can because the plastic can be quite smelly (and as I mentioned earlier, possibly toxic if you don't take precautions).
I didn't have a tray so I layered a piece of foil, and then a silicone baking mat on top of that just to make it more ridgid (I've since bought a tray that I can use just for this purpose). If you don't have a baking mat, you could use a piece of parchment paper instead. You only need to use one or the other, not both on top of the foil.
Place your artwork onto the baking mat (or parchment paper) with the marker side facing up.
Pre-heat the toaster oven to 350 degrees then put the whole assembly into the oven.
Watch It Shrink
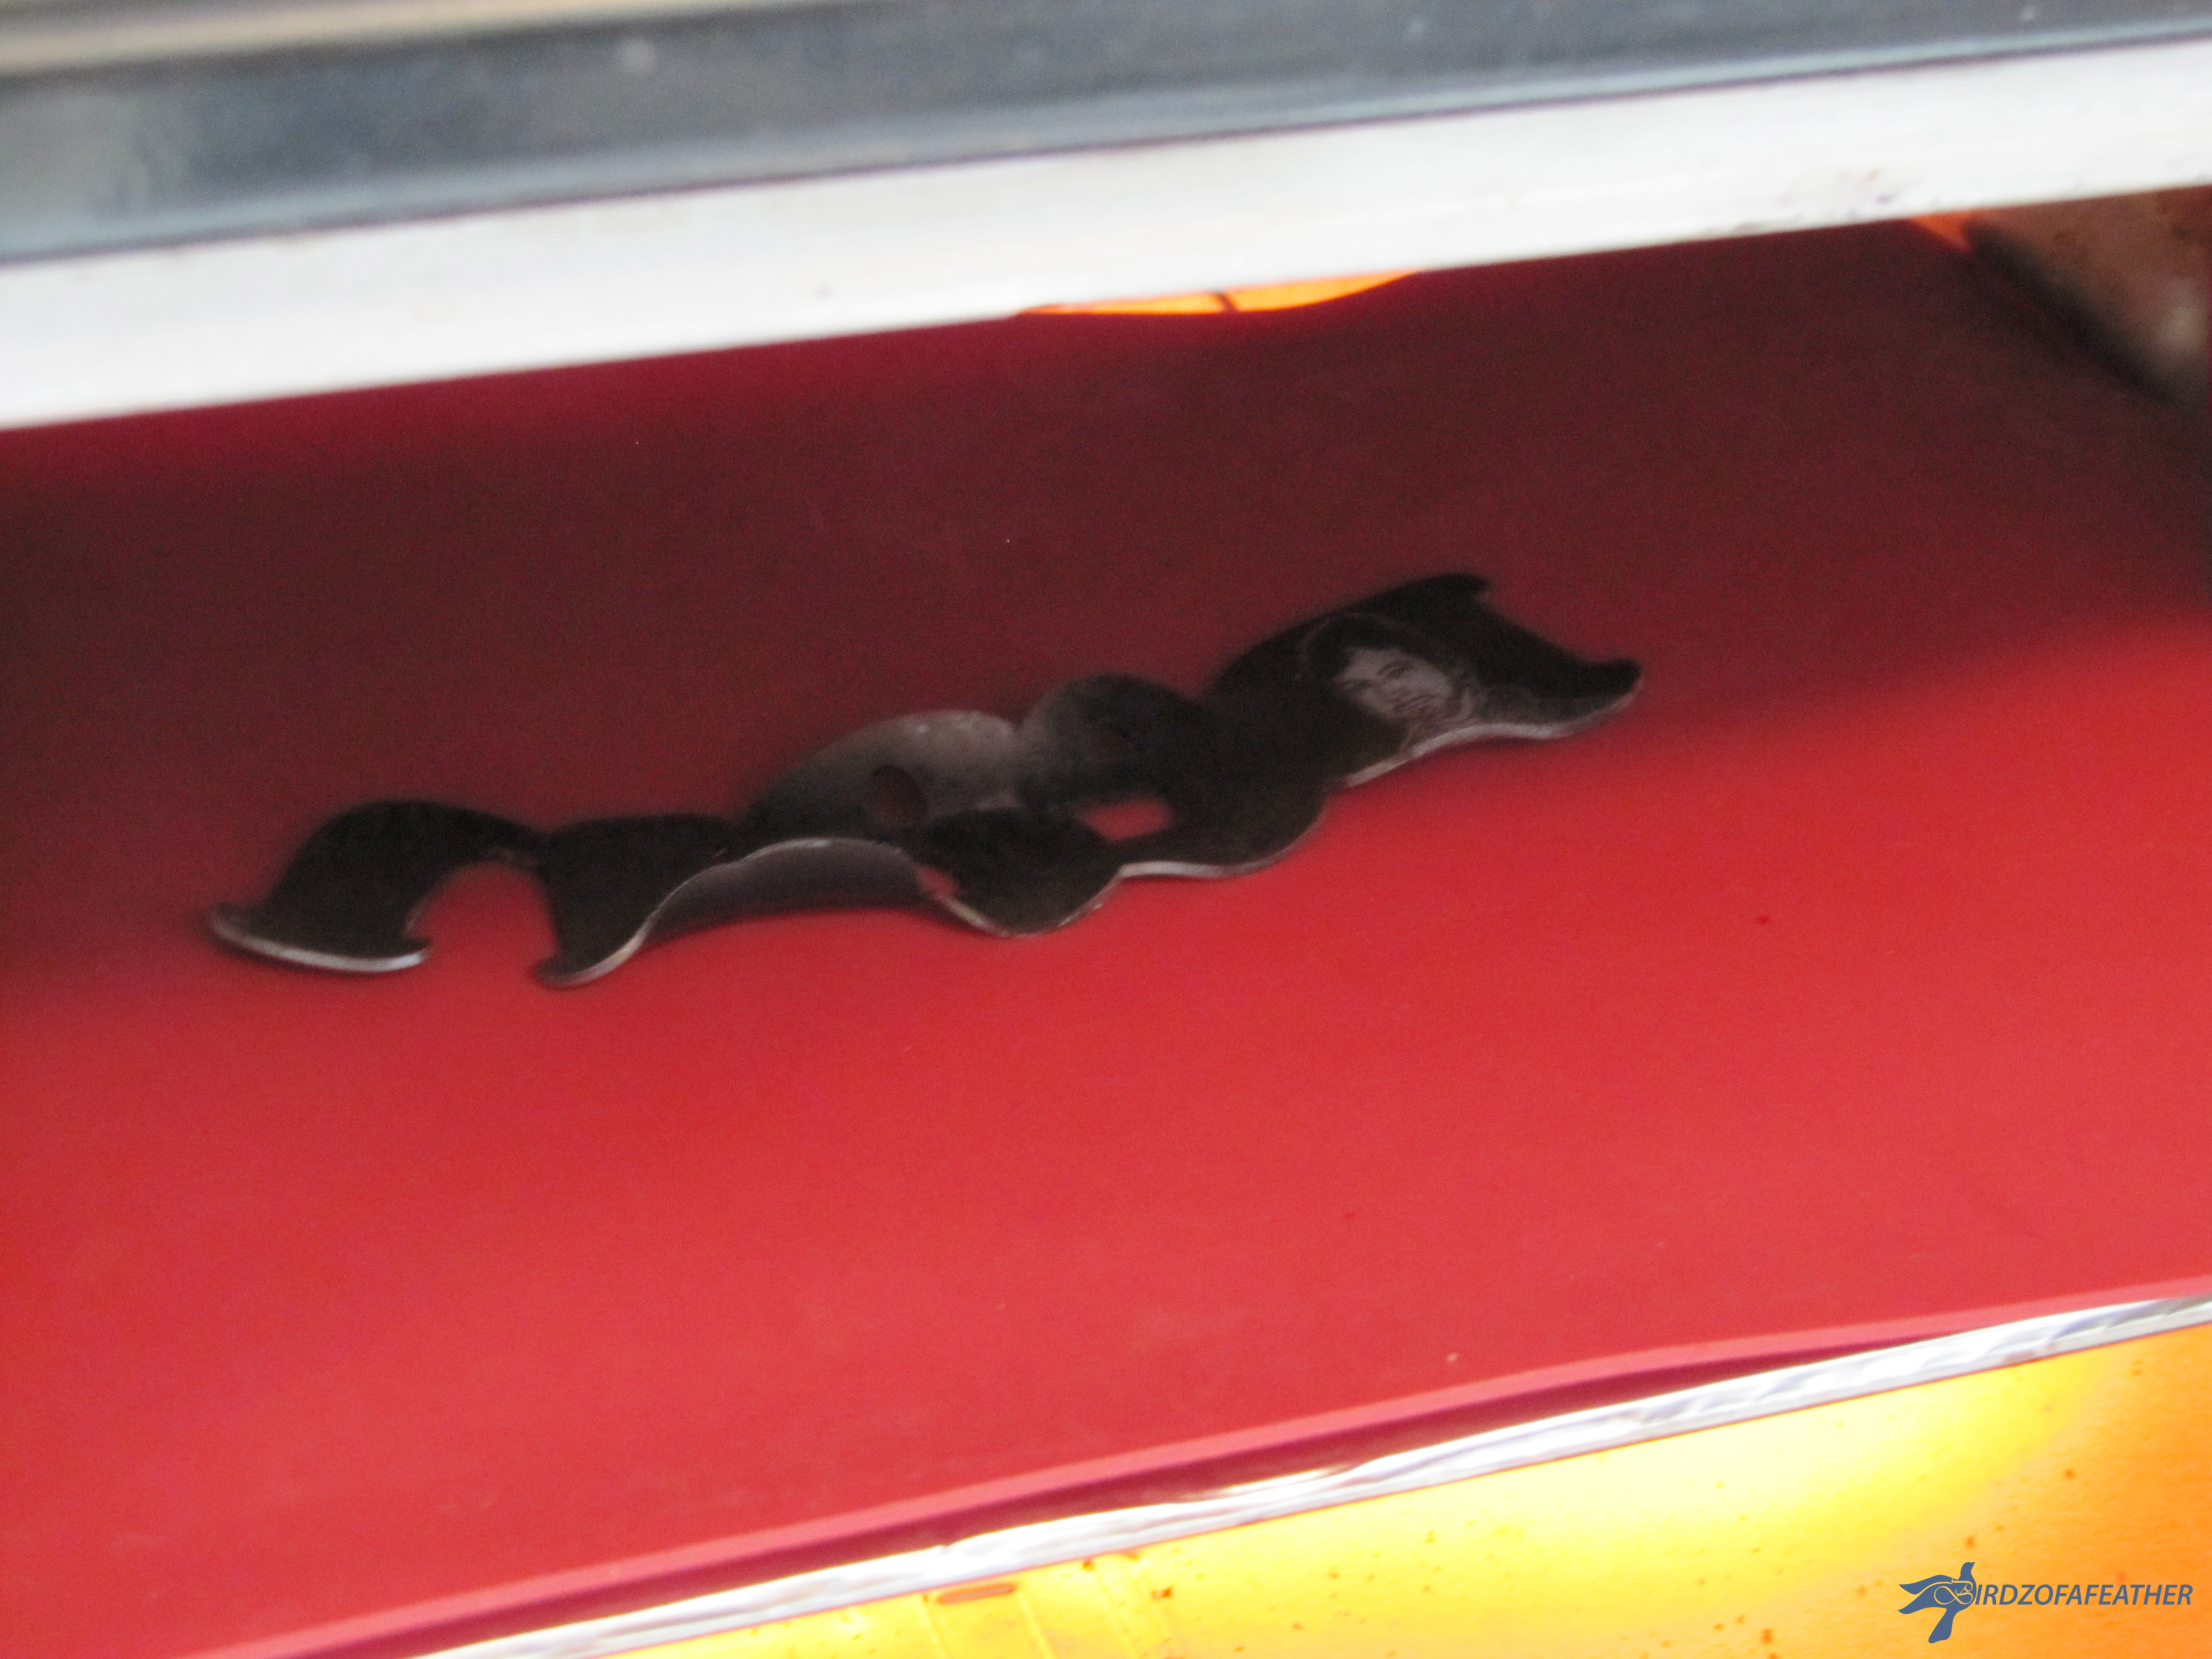
Do not step away because the plastic will shrink fast. Don't be alarmed: when it will curls and contorts you may think it's ruined, but give it a minute or so! Once it's done shrinking, it will lay perfectly flat again.
Turn the oven off.
Let It Cool
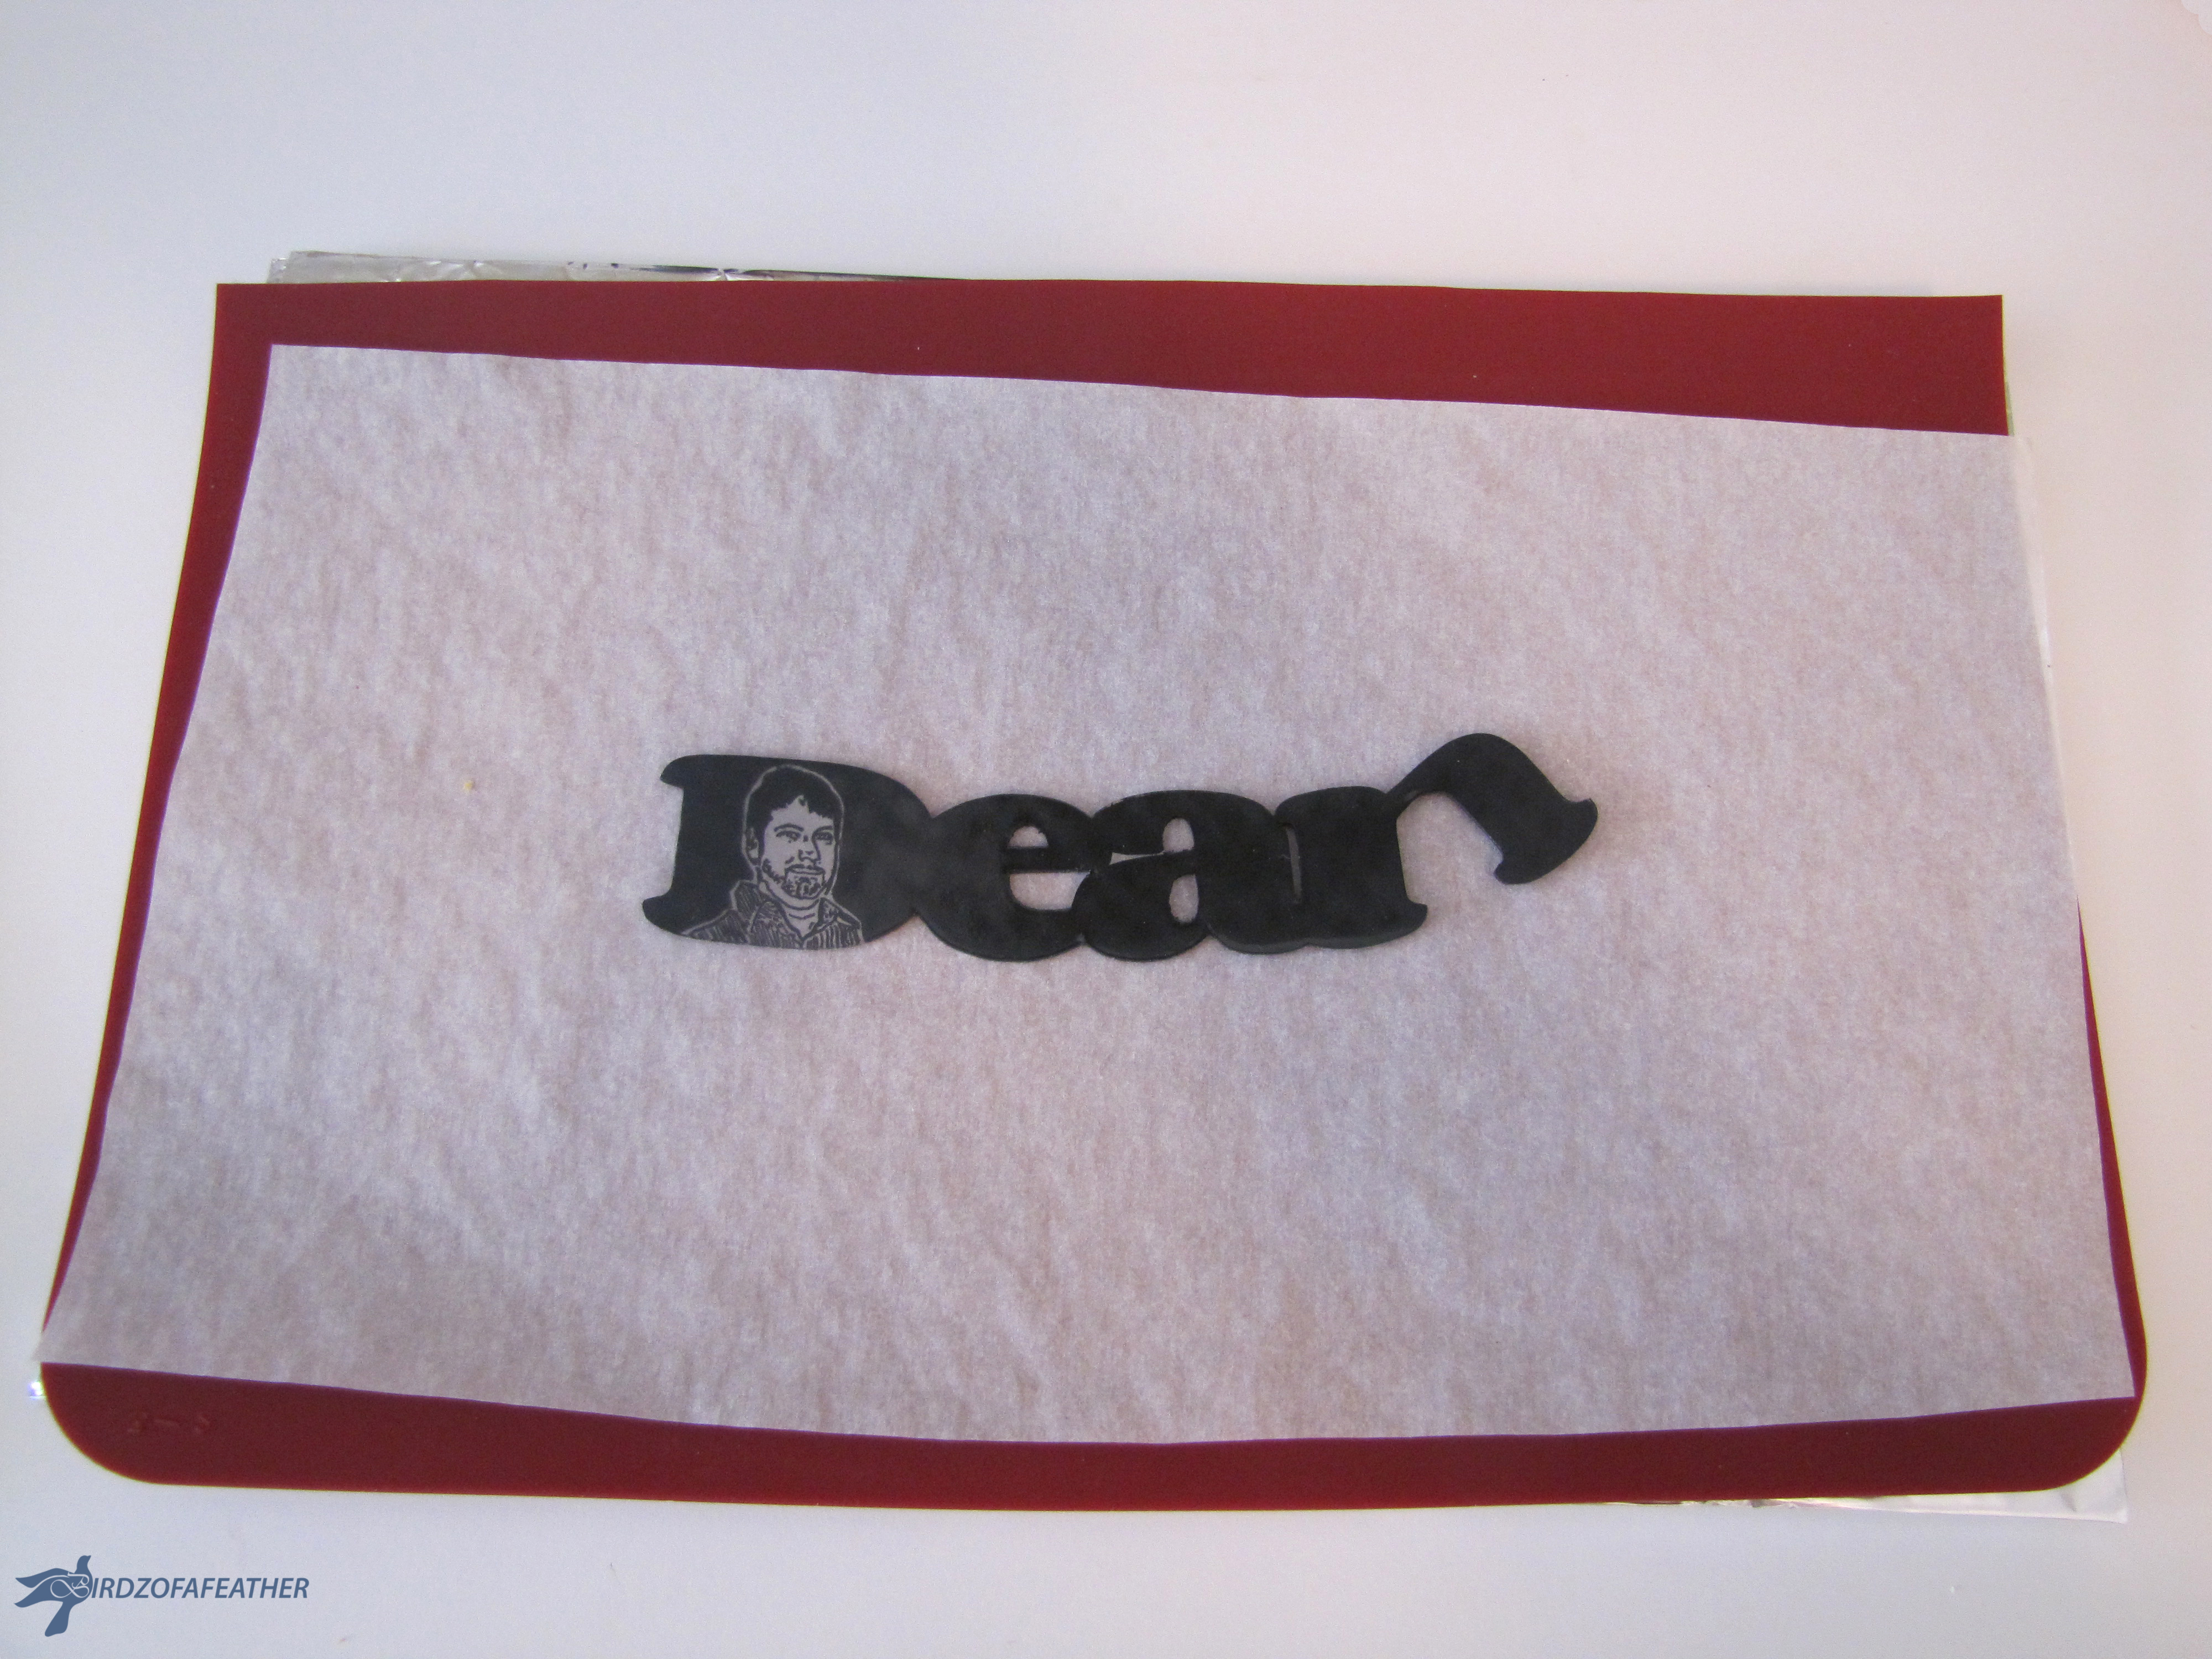
Lift the foil out of the oven and put it on a flat heat proof surface to cool.
For a better picture, I've put the artwork onto a piece of parchment. You'll notice that the 'n' went a little awry. While it's still hot, I could have pushed it back into place with a wooden skewer, but I loved how it looked so I left it. Sometimes the best things come from accidents :)
So What Now?
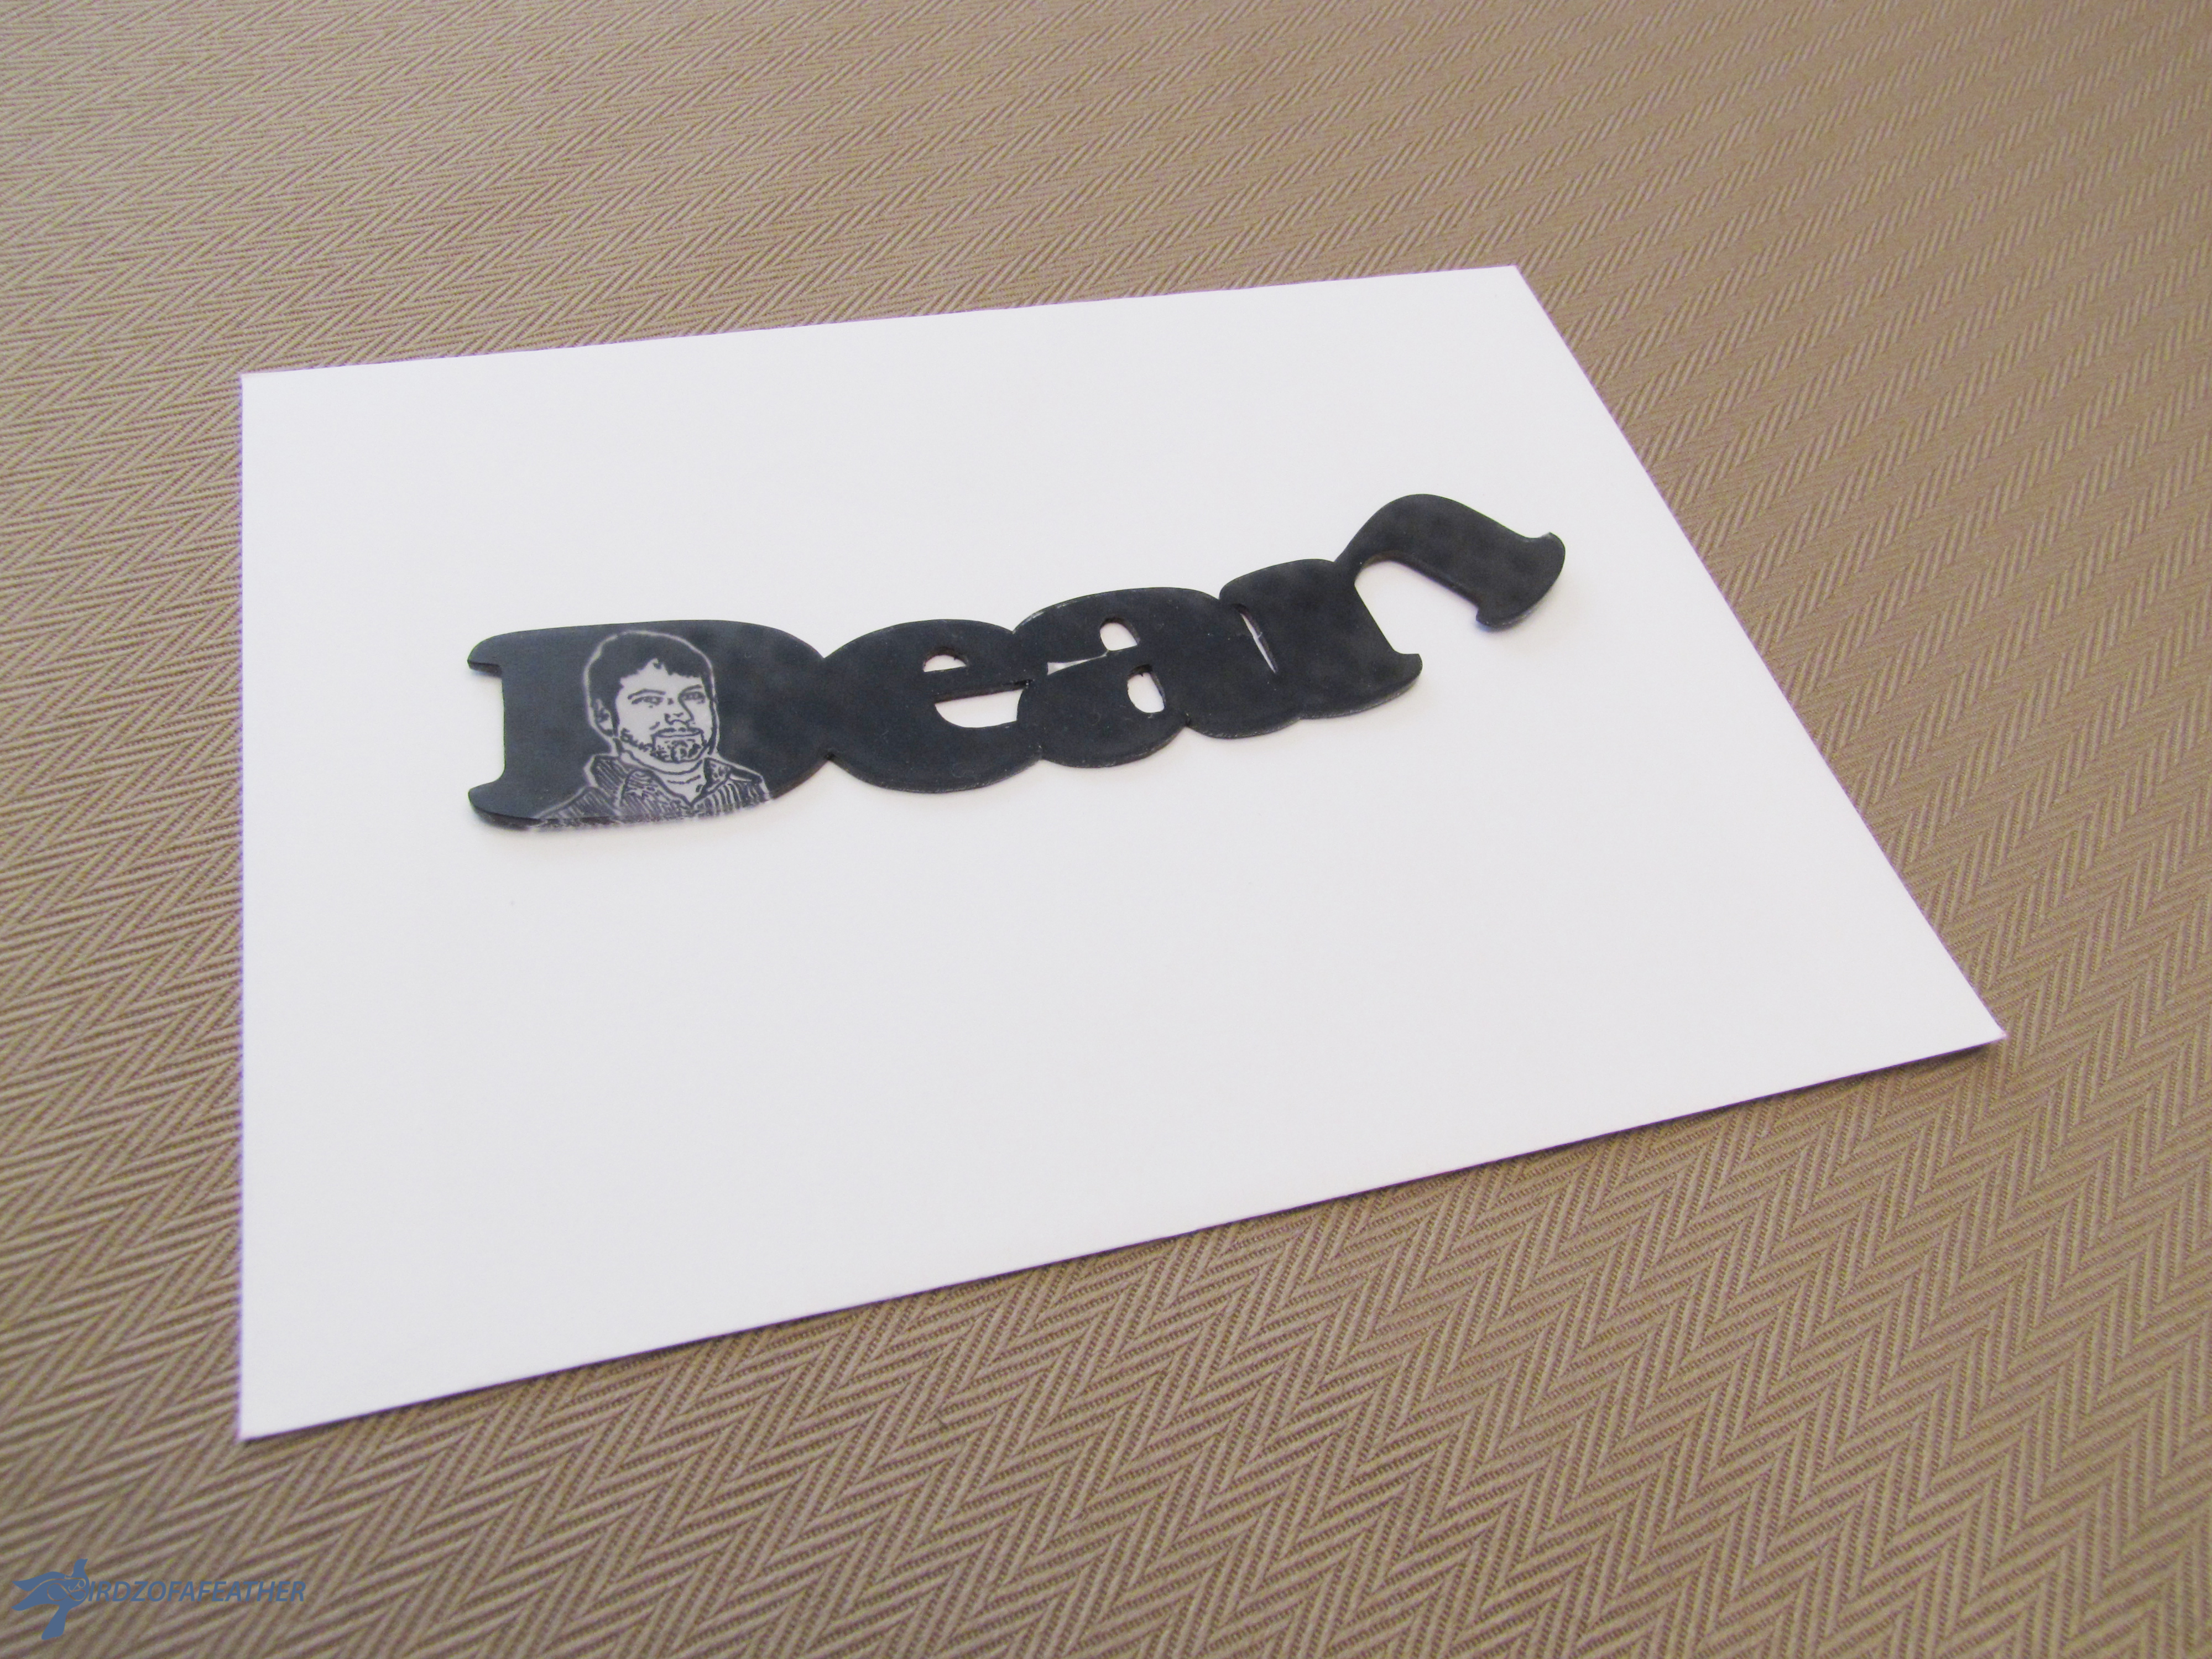
You may be wondering what you can do with your artwork. It's all about adding that personal touch so why not put your your beautiful lettering onto the envelope of a birthday card? This is an idea my brother-in-law has run with for almost 20 years, coming up with a different way to display a name on a card for each and every birthday occasion in our family. It's such a creative and thoughtful gesture, don't you think?
Or how about making a monogram and punching a hole into it, making it into a key chain or necklace? A monogram would also be a fun project to do with the kids (but please take the appropriate safety precautions mentioned earlier). Punch the hole before you put it in the oven, then each kid will have a unique necklace (or bracelet if you punch two holes) they can wear just by adding some cord or chain. As one of my readers pointed out, it might not be a good idea to have kids wearing their full names because of the risk of strangers seeing it so stick to the monogram!
I think this would also be an interesting idea to try to make X-mas tree ornaments; you could do one for each family member!
There are many possibilities for recycled shrink plastic so have fun!
Please Vote!
If you enjoyed this I'ble, please vote.
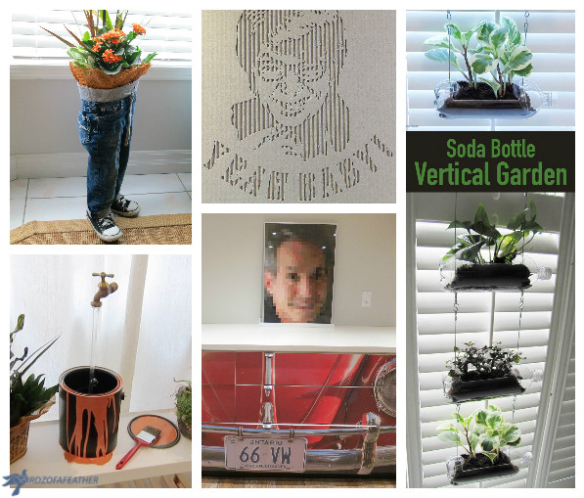
For more sustainable craft ideas, visit the 'Craft Rehab' section of Birdz of a Feather and subscribe :)
Pictured above are some of the upcycled craft tutorials you will find on my site.

Fall Into Fabulous
One of the things I love most about blogging is connecting with other makers, and this Fall we’ve created something truly inspiring together.
Grab 16 digital goodies from top creators — planners, recipes, colouring books & more — including our Beginner Crochet e-Book!
Every dollar of our commission goes straight to Alzheimer’s research — a cause close to our hearts. Your purchase through this link means you’re not just treating yourself; you’re making a real difference.
Grab it now — the bundle is only available for a limited time! Let’s make this Fall fabulous and full of hope. 💜