Plastic Bottle & Soda Can Gemstones
by Randomona in Craft > Jewelry
5994 Views, 54 Favorites, 0 Comments
Plastic Bottle & Soda Can Gemstones
)


Hello crafters!
Today I will show you yet another way to make plastic bottle gemstones, but this time we're including my other favorite recycled item - soda cans!
Especially since Halloween is coming up and many of us don't have a lot of craft supplies, I hope this can be helpful for costumes, jewelry, decorations.. Or whatever you can think of ;)
Supplies
- plastic bottle (with the classic flower shaped bottom)
- soda can (use the silver inside or find pretty colors!)
- scissors (I used nail scissors a lot)
- tape
- paper towel or napkin
- school glue
Optional:
- paint, paintbrush
- toothpick
- map tack & jump ring
Cut Your Bottle


Cut off the "foot" of your bottle. It has a shape that resembles a gemstone, you just need to cut around it so that it's as symmetrical and flat as possible!
Here is a more detailed description:
Cut Your Can


For the bottom of the gem, you can use the silver inside of any can or find pretty colors on the outside of cans.
Cut off a piece and cut it to size so that it fits right under your plastic piece.
And you have to use a platypus shaped pen to straighten out the metal ;)
Add Tape

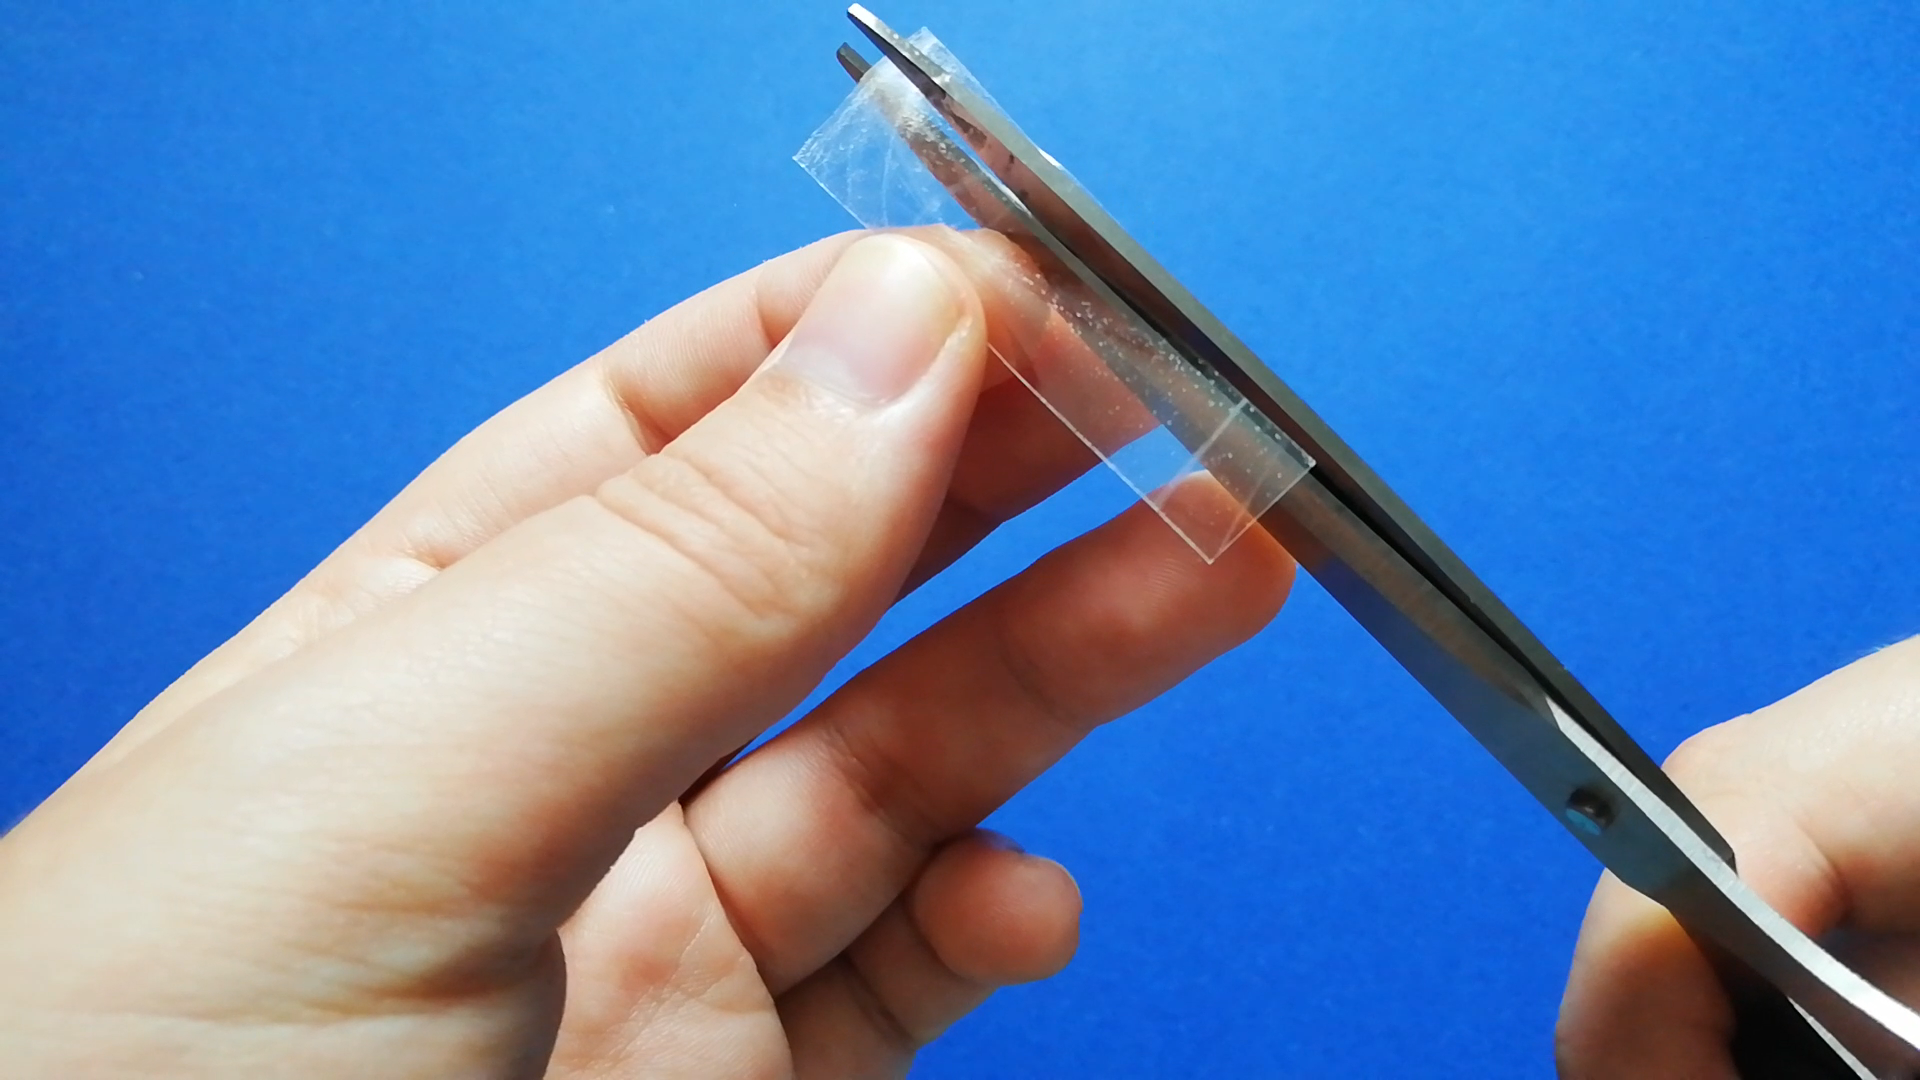


Cut the tape into thinner strips.
It's a nicer experience if you use sharp scissors, but I made it work with very dull ones too :P
Then make a cross on the back with the tape strips and trim them a little.
Tape Together


Now fold the tape over and connect the plastic with the metal.
This is a simple way to hold the pieces together for the next step, which is covering up the uneven sides.
Cut a Paper Towel


I'm not even kidding, I've had the idea for this project years ago, but I was missing the third component that would hold the plastic and metal together in a way that looks decent.
Who knew it would be paper towels? Napkins work too, but tissues and toilet paper are a bit too thin (in a pinch it would work though!)
Optional: Paint


If you want to change the color of your border, now is the time. (When I tried painting the towel later on it looked more messy)
Attach the Paper Towel


Spread some glue on the back of the towel with your fingers and press it onto your gem. Adjust it and cut off the excess, leaving enough paper towel to fold to the back of the gem.
Fold the Excess Over


Cut slits into the material so it's easier to fold, apply some glue and fold the paper towel over. Check the front to smooth out any wrinkles.
Adding Highlights


I find that adding a second color makes the gem look better. Especially using a black base with metallic highlights makes the rim look a bit like metal in my opinion.
Optional: Cover the Back


If you want to cover the back, you can use another piece of paper towel. If you're going to glue the gem onto something though, I think it might be better not to cover the back.
Optional: Pendant


If you want to turn your gem into jewelry, simply pierce it with a map tack. Insert a jump ring and add it to a cord or chain :)
More Experiments


Like I mentioned, it took me MANY experiments to come up with the paper towel solution. But even some of my other/messed up experiments turned out kind of nice in the end, so I included them here.
You can go for all kinds of aesthetics with these gemstones, so make them your own!
I hope you liked the idea and maybe give it a try!