Plant'm
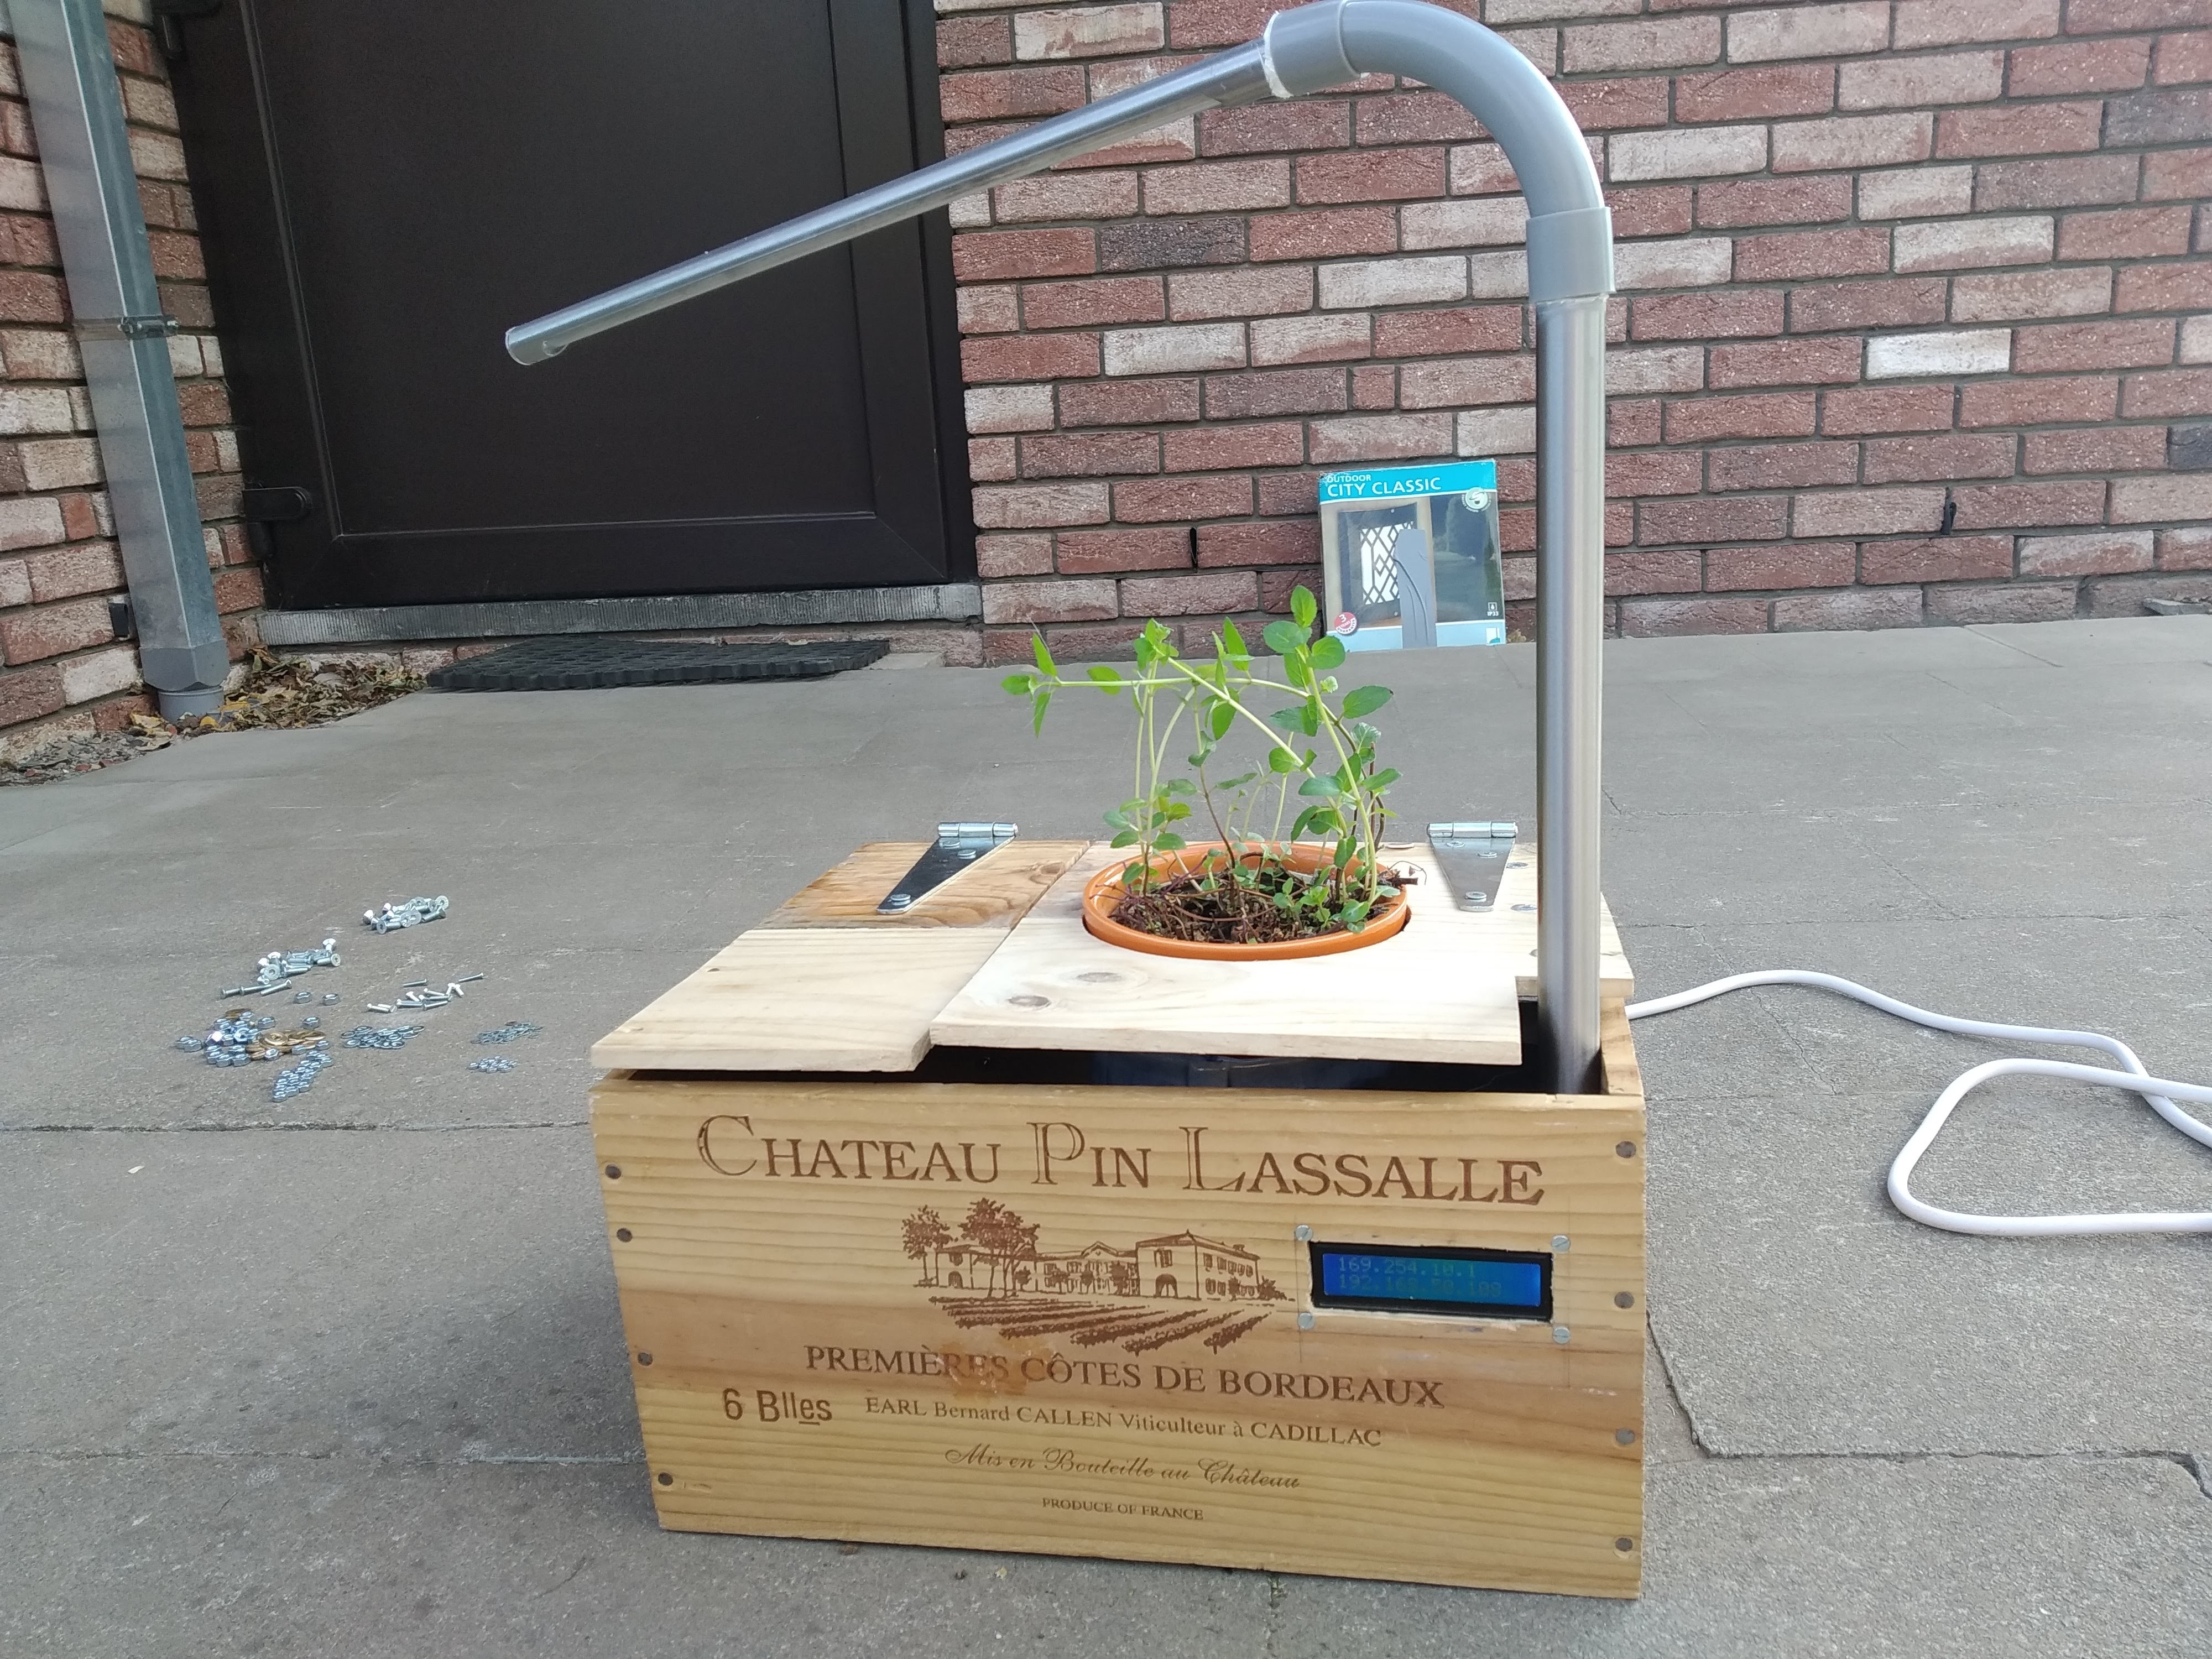
As most do, I love having plants around the house. Unfortunately, they almost always end up dying within a couple of weeks. So when at the end of my first year as a student at MCT at Howest I was tasked with creating a project that would show everything I learned so far, I wanted to make something that would reduce the number of dead plants around the house. And so Plant'm was born.
I looked back to my previous plants and tried to think of the various reasons they didn't survive. Mostly this was because I forgot to water them, watered them too much, or never let them see the light of day. That's where Plant'm steps in and takes care of these things for you.
Downloads
Supplies
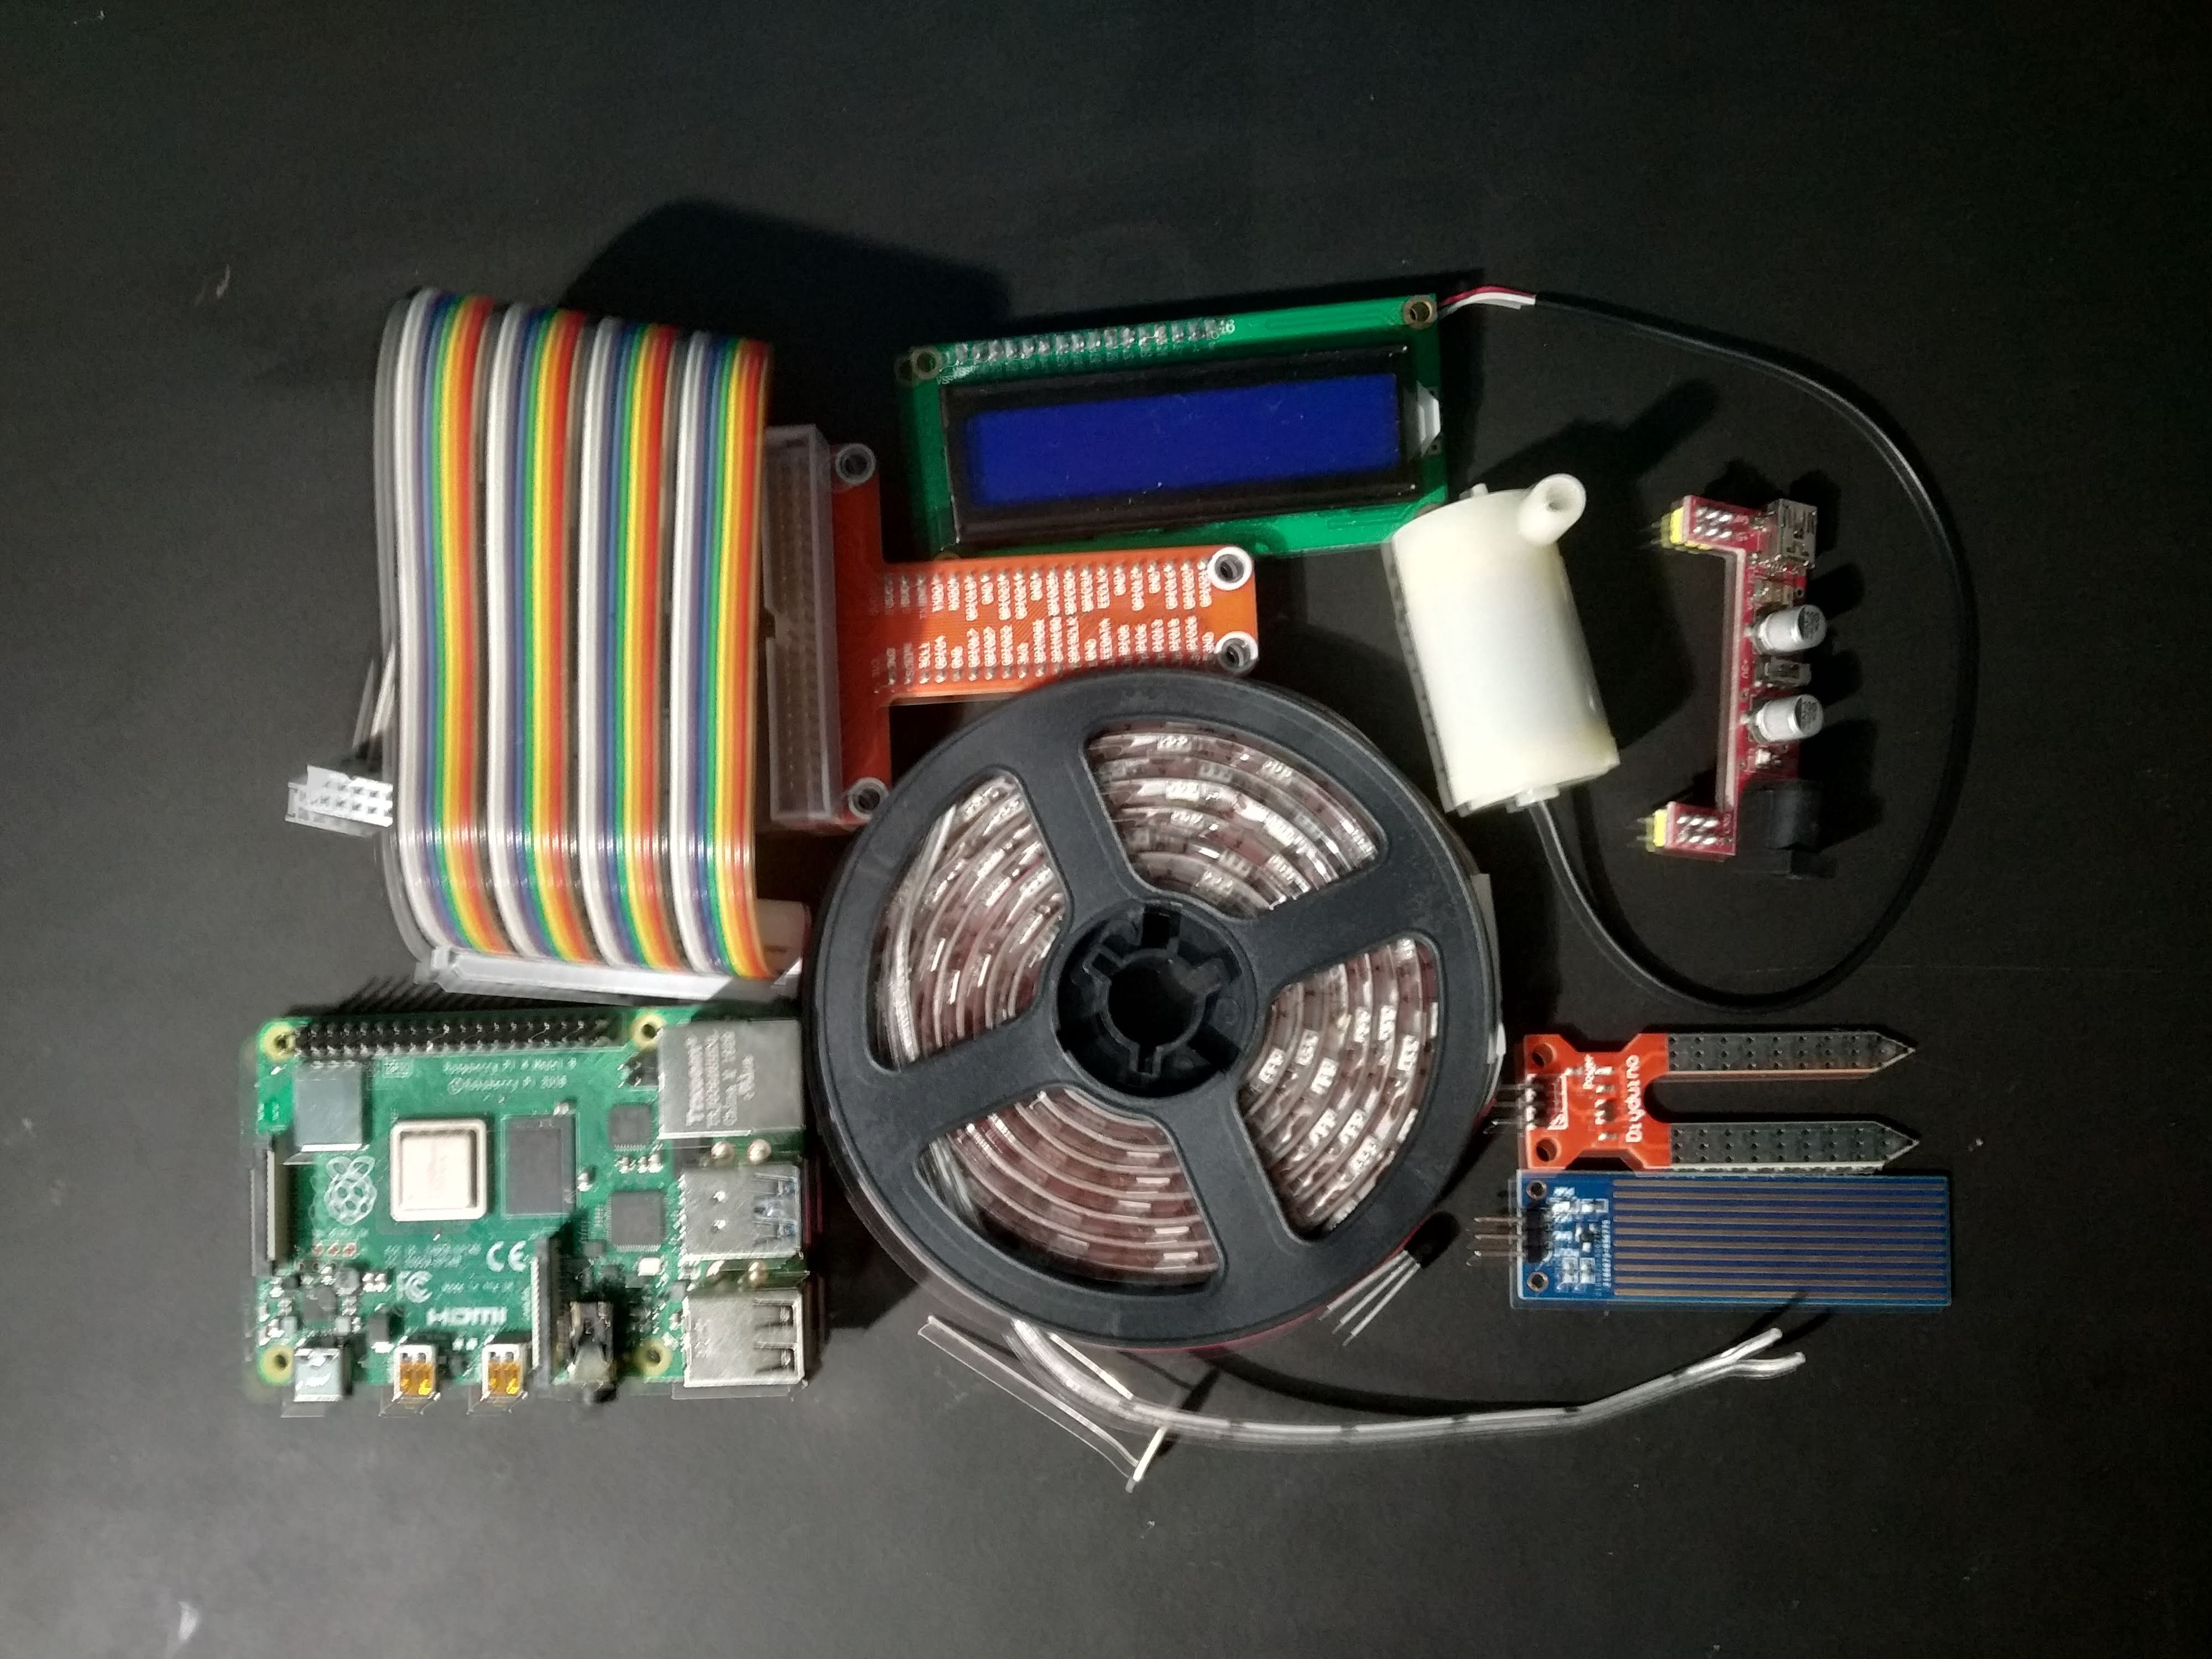
Electronics:
- Raspberry pi 4 + GPIO breakout
- SD card 16 GB or more
- Liquid level sensor
- LM35
- Soil moisture sensor
- LDR
- Transistor (BC337)
- Water pump
- LED strip
- Breadboard + power supply
- LCD display
- A lot of jumper cables both male-male and female-male
Materials
- Old wine crates
- Old desklamp
- Screws and bolts
- Hinges
- Nails
- Glue and tape
Setting Up the Raspberry Pi
You can download the image required for the Pi here. I usually pick the version without desktop since I only connect to the Pi through PuTTY. Once you've written the image to the SD card, you'll need to change and add some files. In the file "cmdline.txt" (don't open this file in notepad, open it in Notepad++ or any other IDE) you'll need to add "ip=169.254.10.1" at the end. This will make sure you can connect to our device over ethernet (make sure you don't add any ENTERS at the end of your file or you'll have trouble).
You can now insert the SD card, connect the Pi to your computer via ethernet and boot up the Pi. It can take some time for the Pi to start up the first time. Once you can log in to so with the default user "pi" with its password "raspberry". You can always change this later.
First you'll need to change some configurations. Use "sudo raspi-config" to open the configuration menu and in here we will go to Interfacing Options. Under here we will toggle the following option on SPI.
You can now set up a wireless connection as explained here. Now that we have an internet connection we can download some packages in the following order:
- "sudo apt update && apt upgrade -y" This will get the latest updates for the Pi.
- "sudo apt install mariadb-server apache2" These will run the webserver and database respectively.
- "sudo pip3 install Flask Flask-Cors Flask-SocketIO gevent gevent-websocket greenlet spi SPI-Pyspidev" These are some Python packages needed to run the backend for this project.
- And finally "sudo apt install python3-mysql.connector -y" to connect to the database
Next we'll create a user of the database. Use "sudo mysql -u root" to log into your MySQL server, in here we will create a user called db_admin with its respective password, keep this password noted somewhere for later in the instructions.GRANT ALL PRIVILEGES ON *.* TO "db_admin"@"%" IDENTIFIED BY "yourPasswordHere" WITH GRANT OPTION. You can now visit the webserver on the ip address we added before.
Building the Circuit
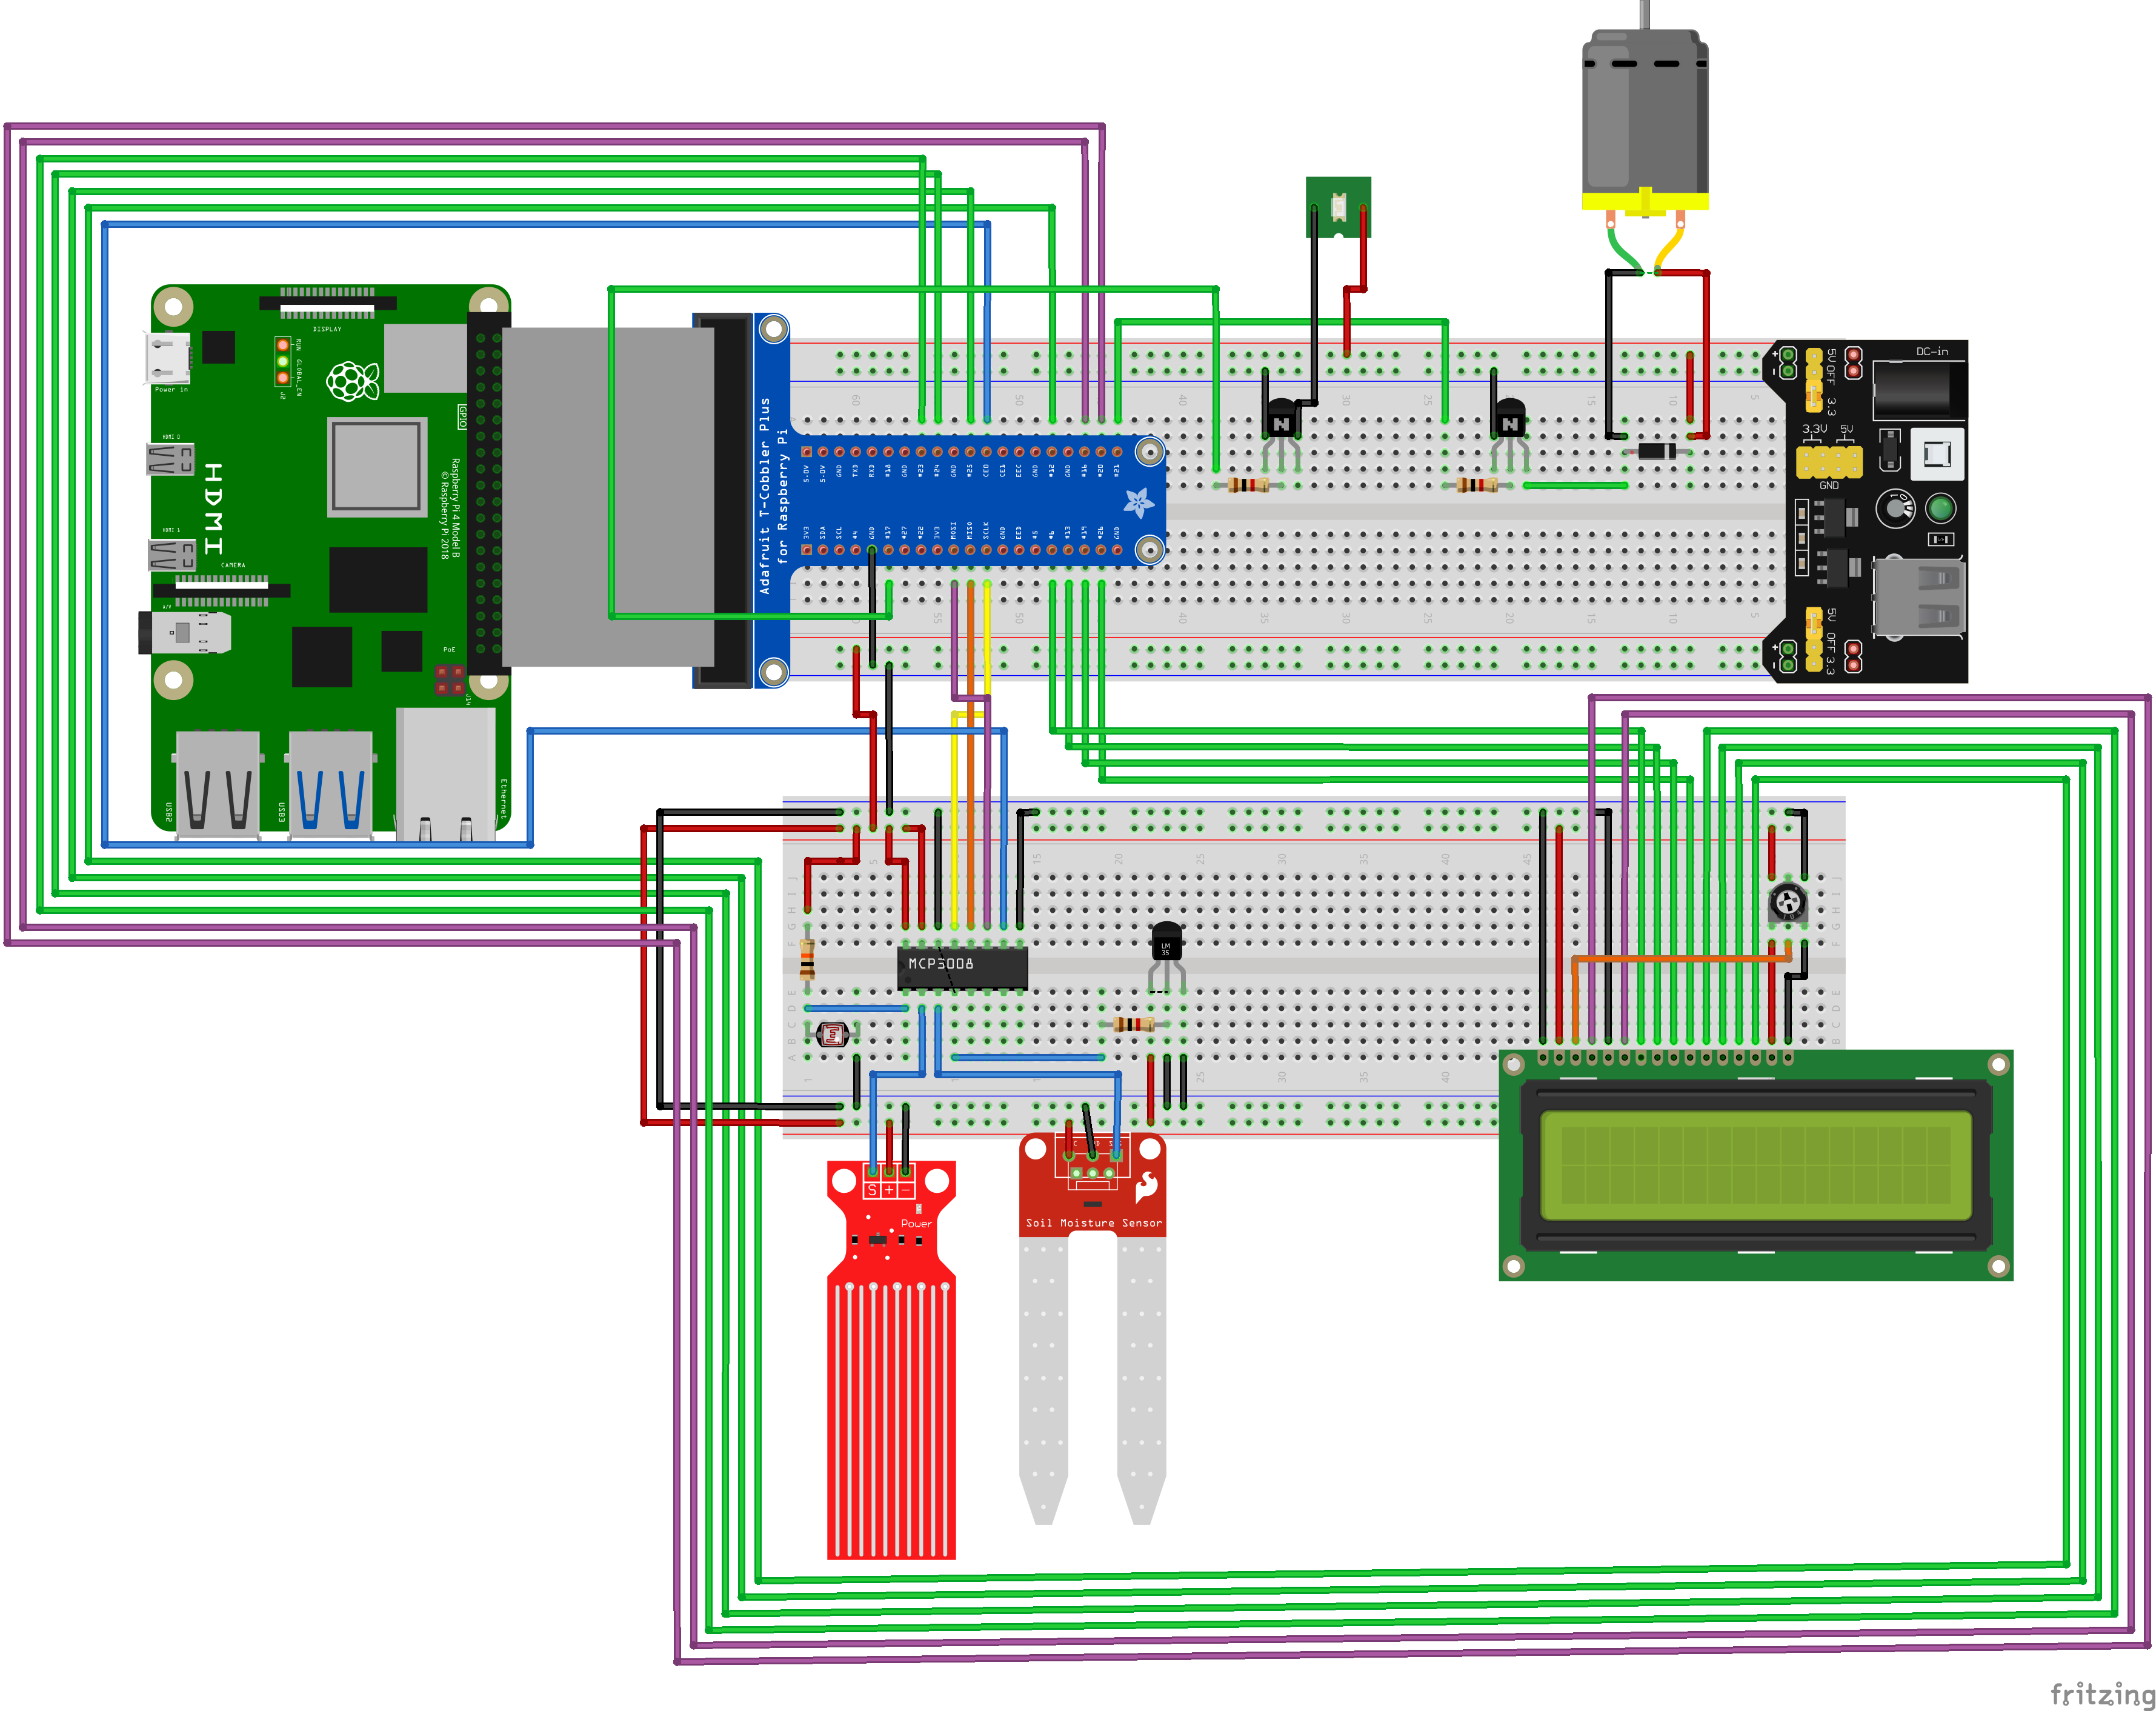
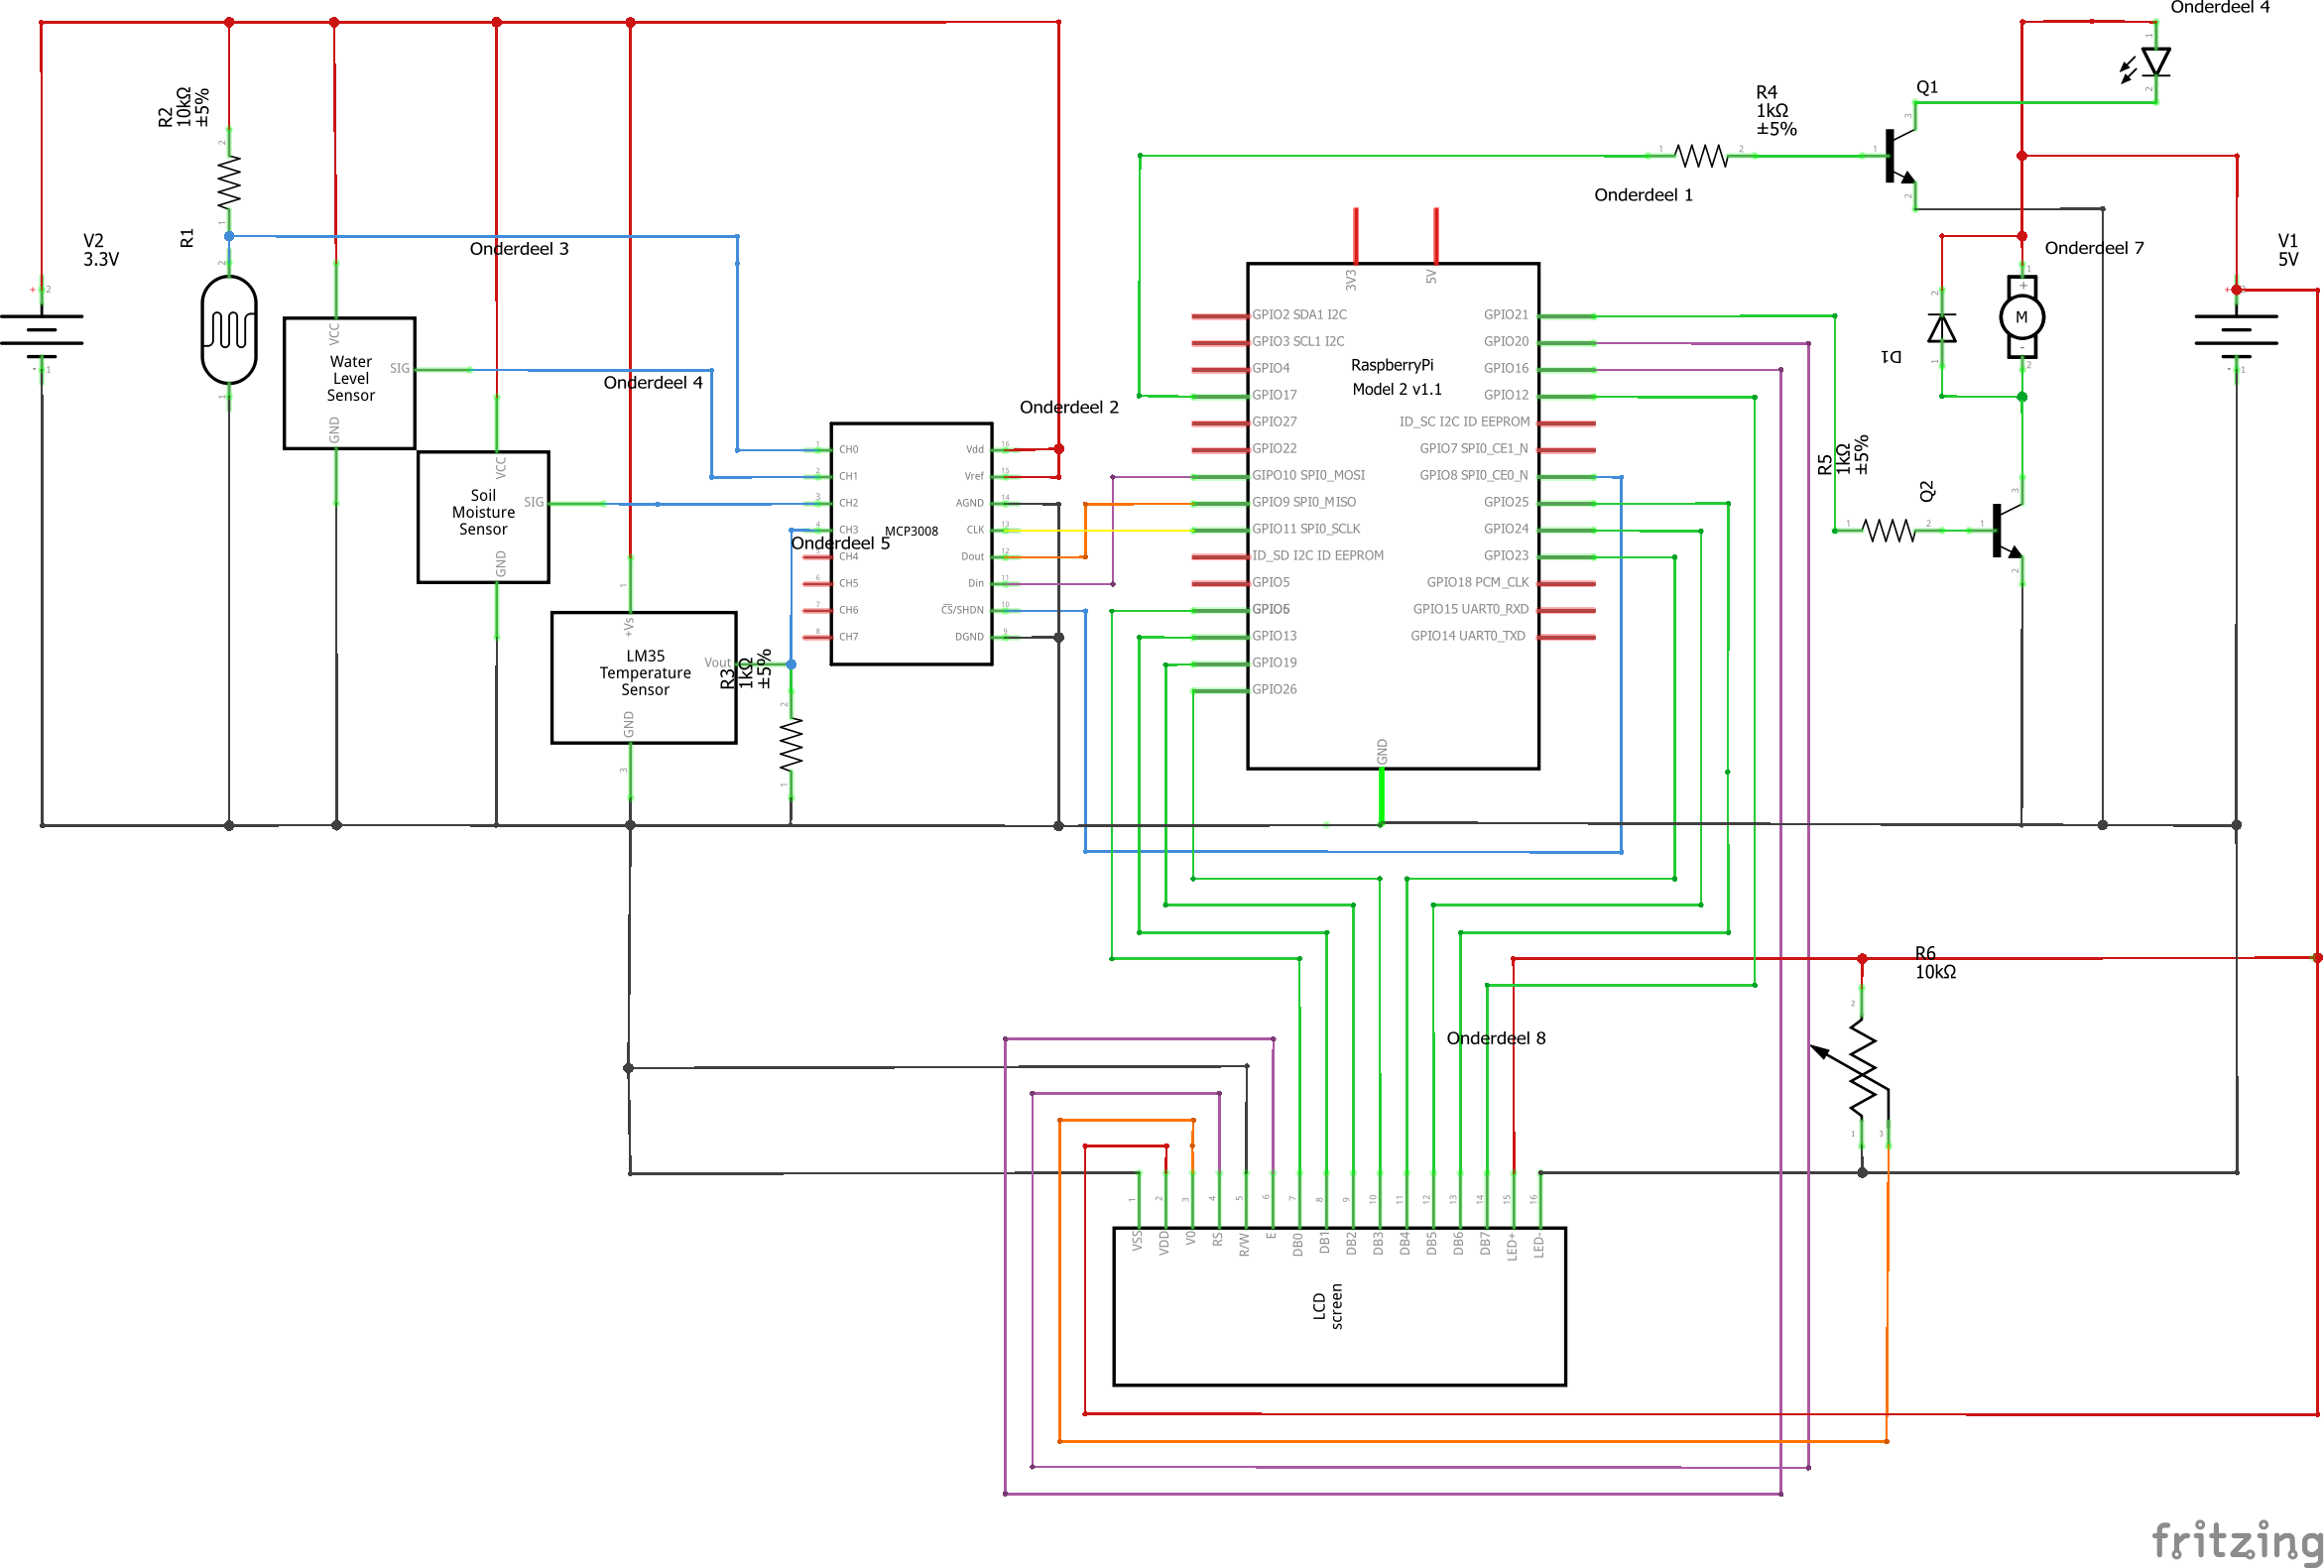
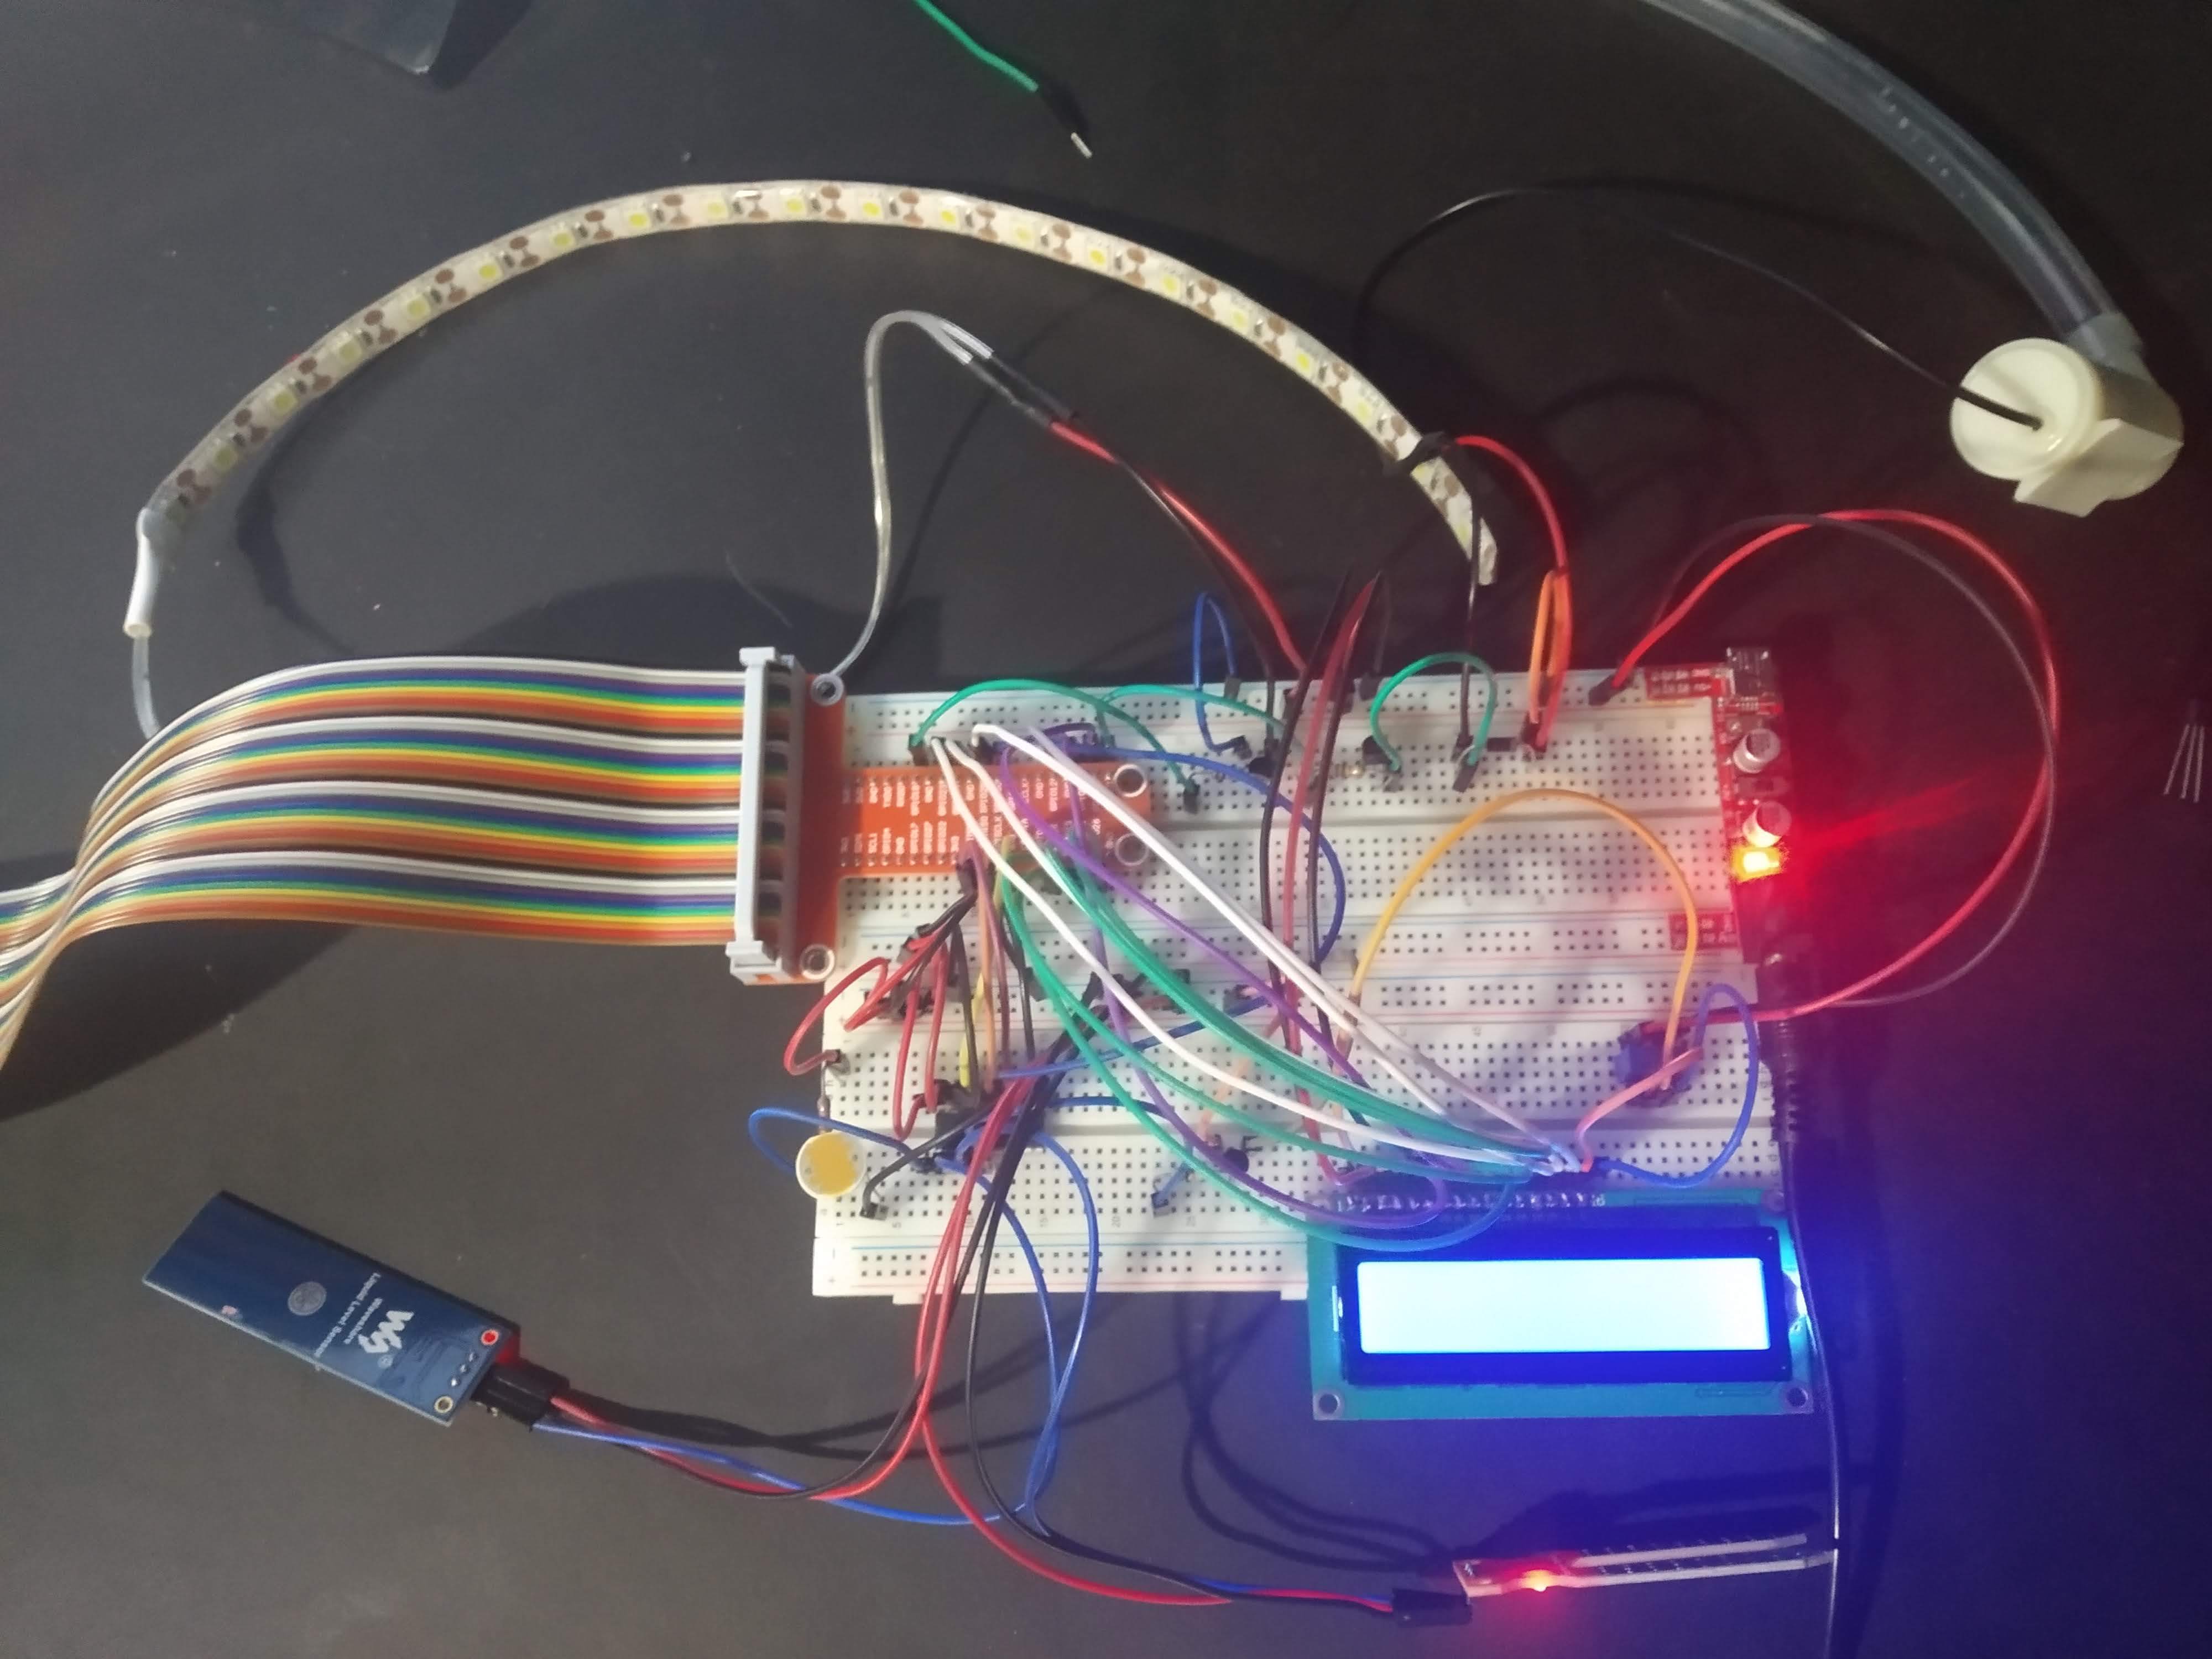
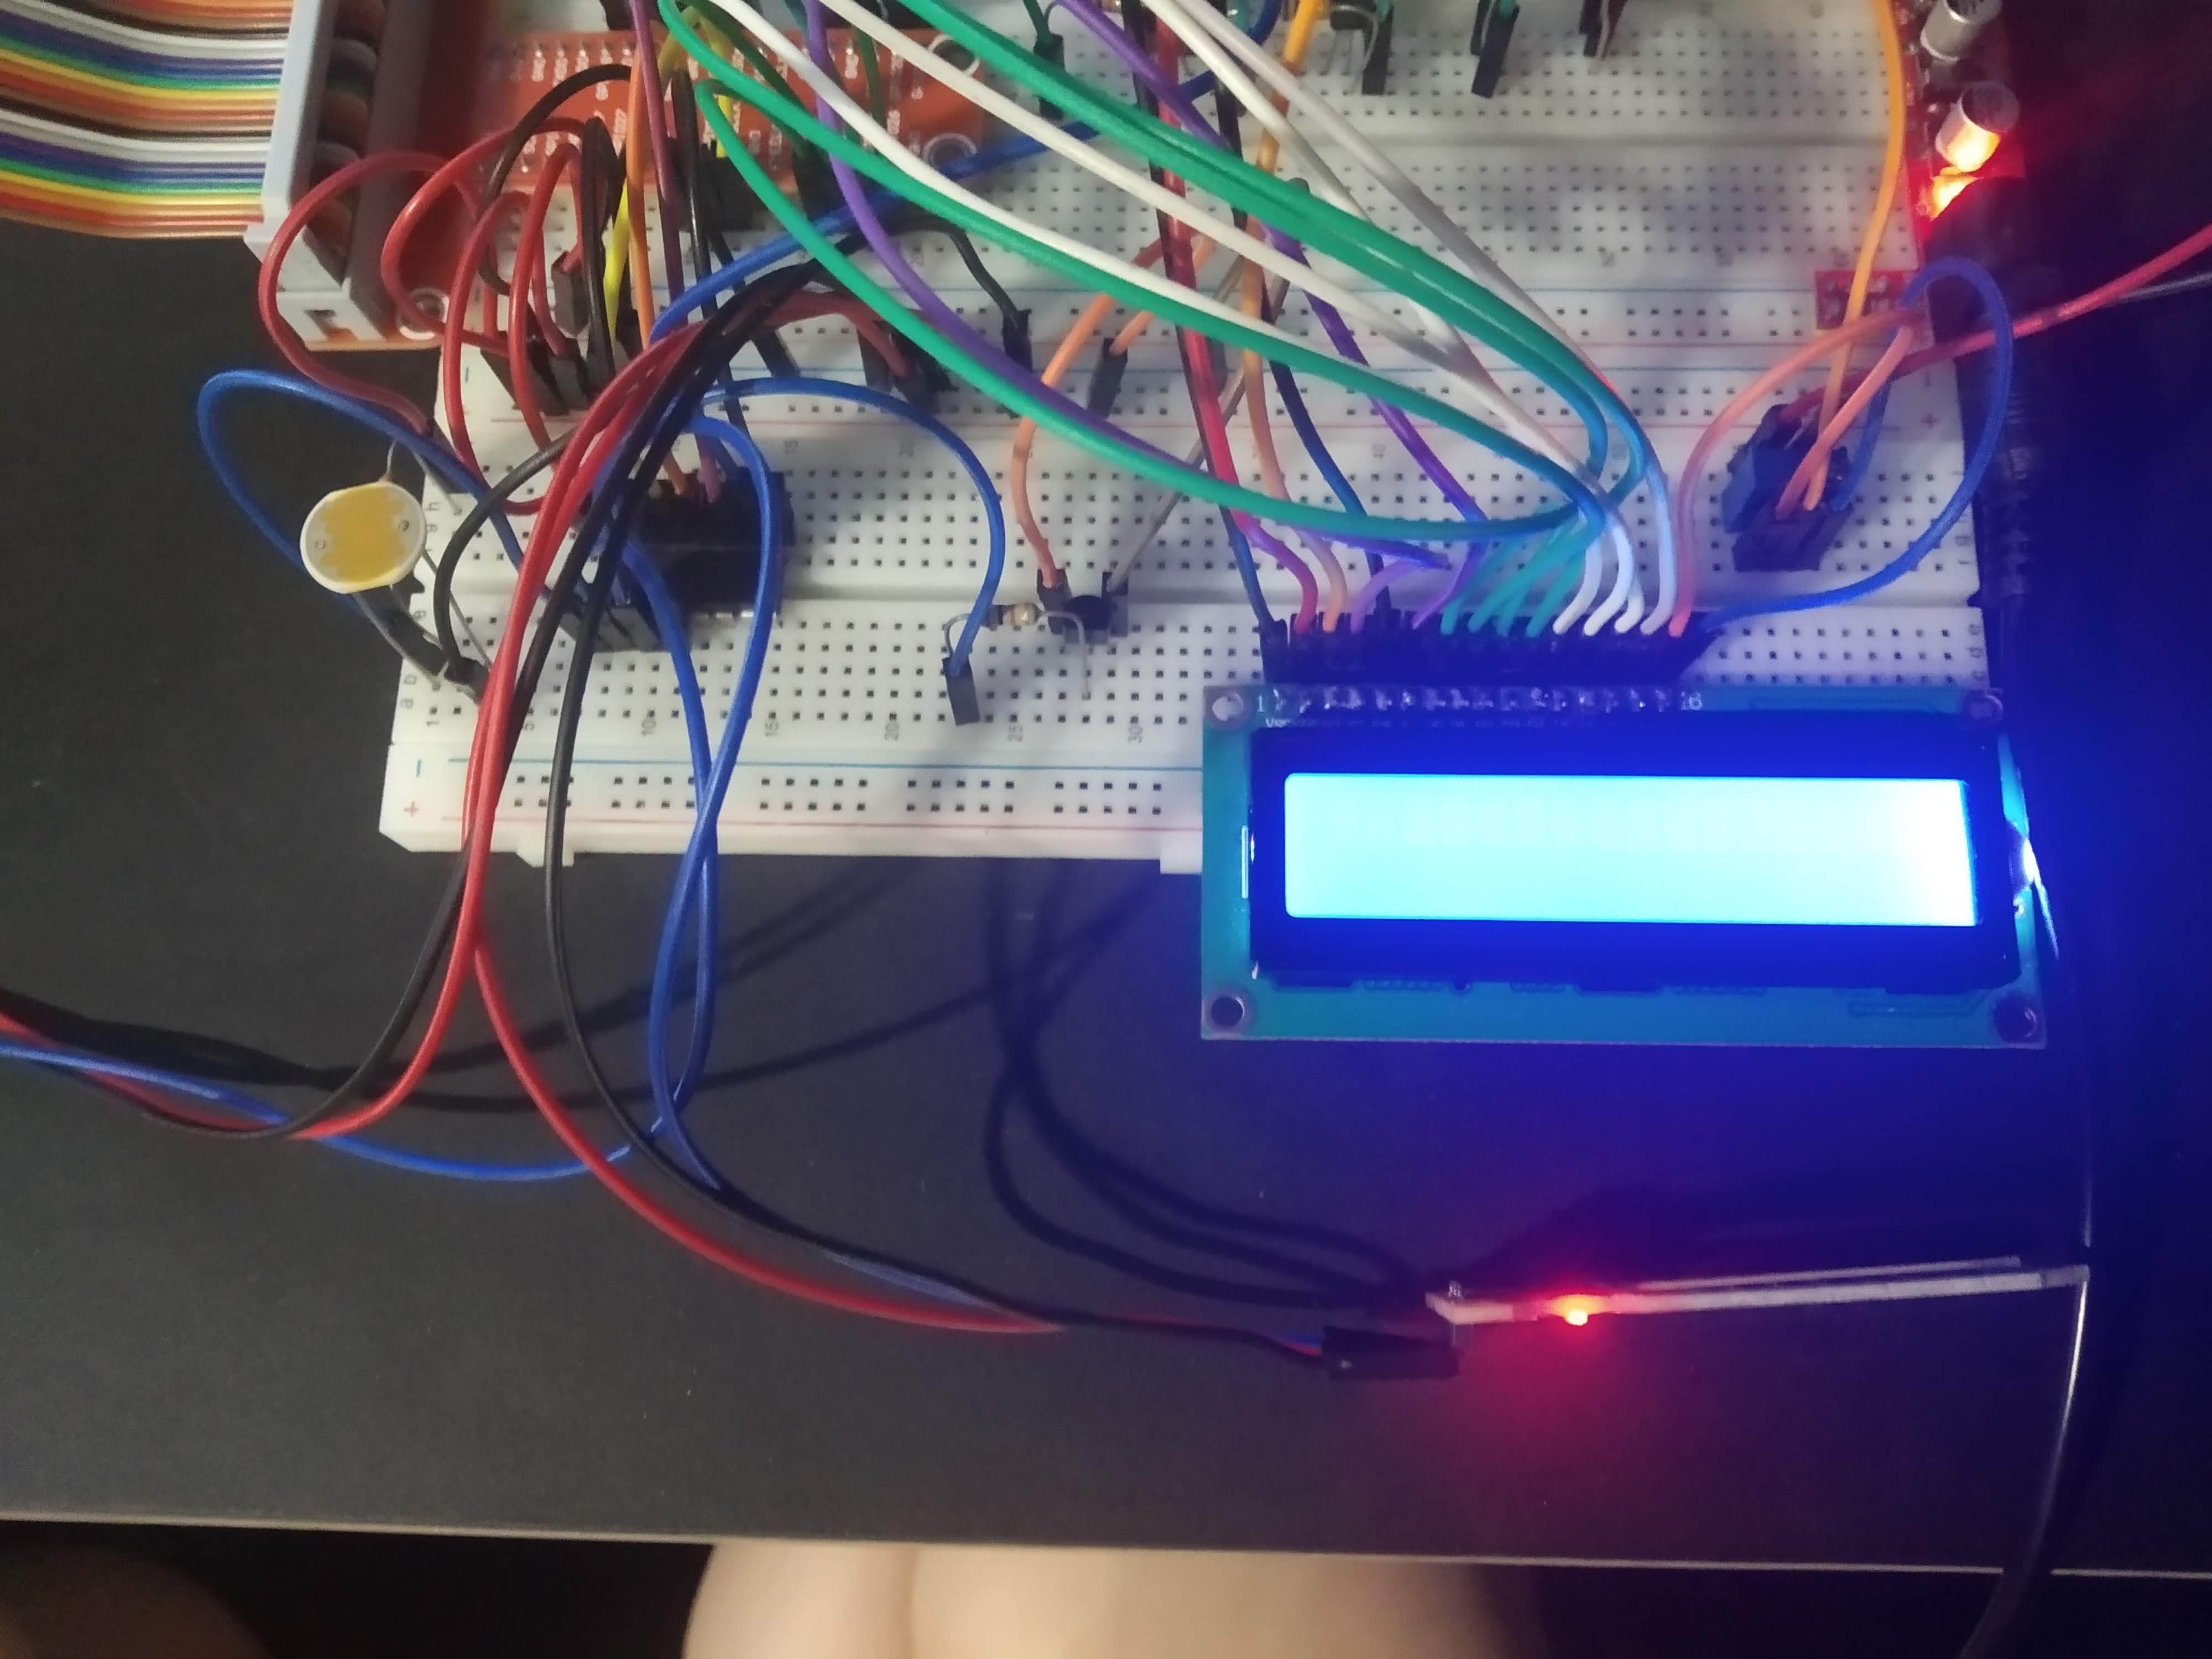
To create the circuit you can follow along using the schematic and breadboard view added with the other images.
Building the Case
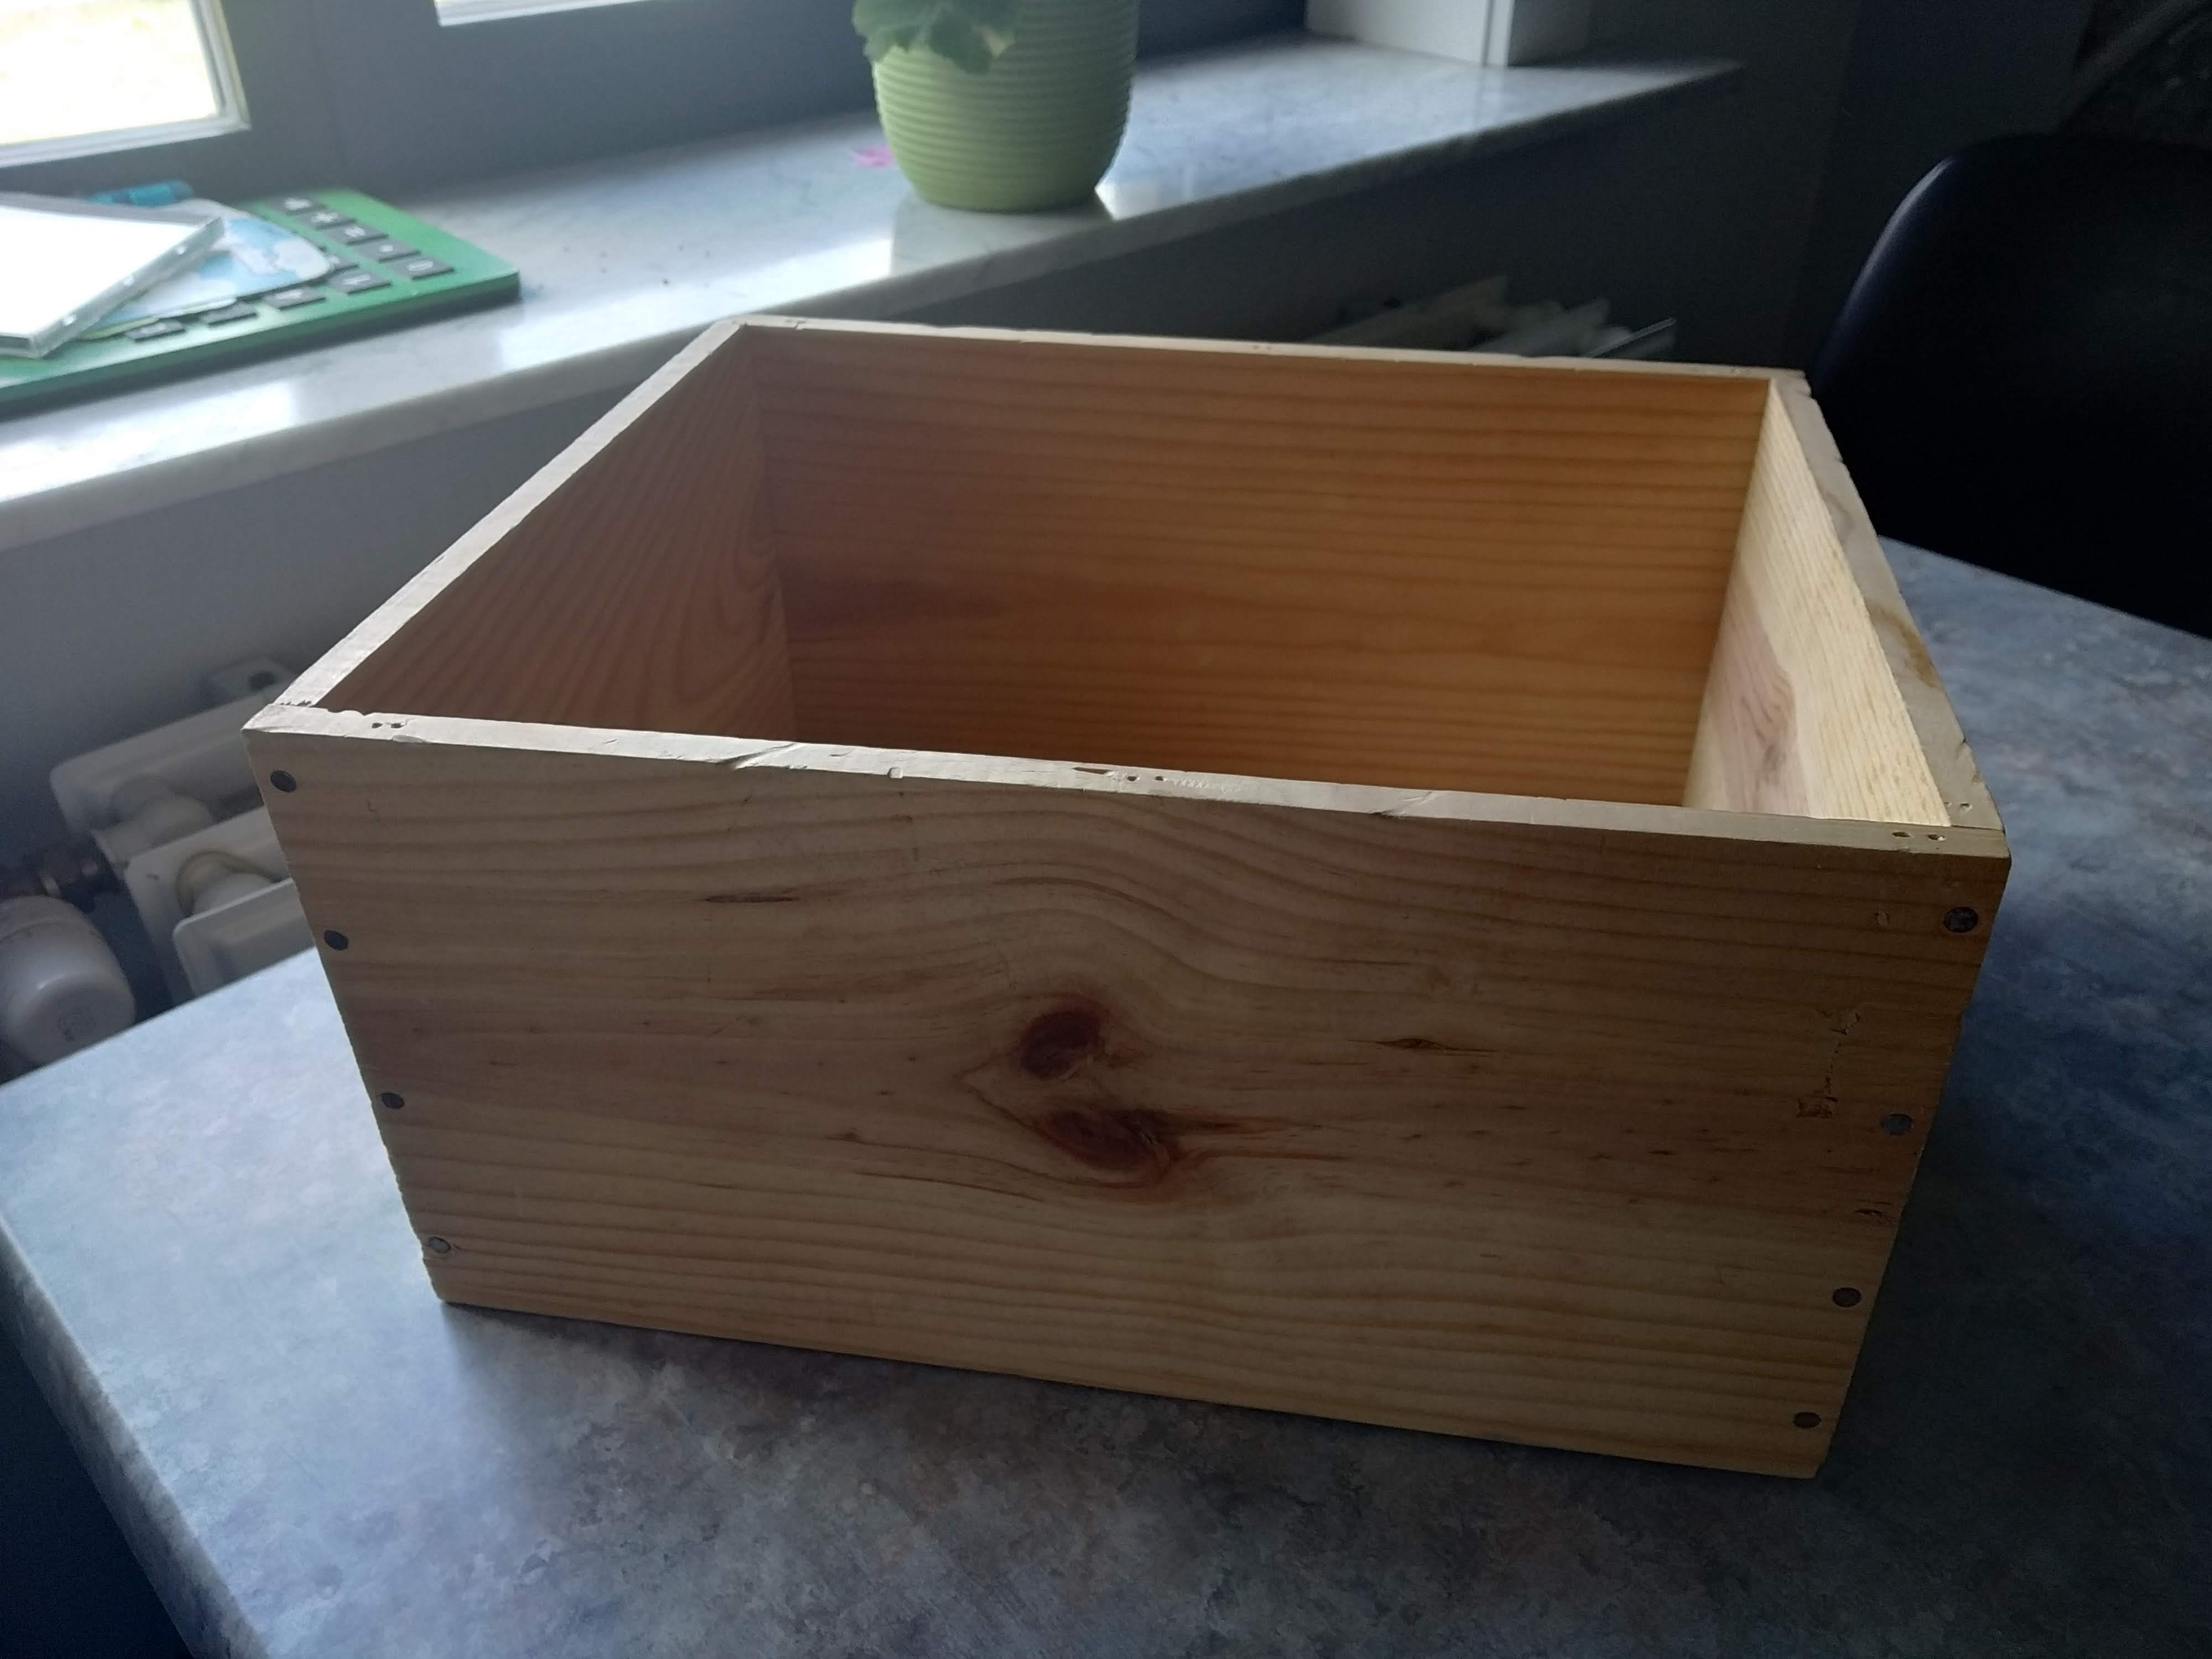
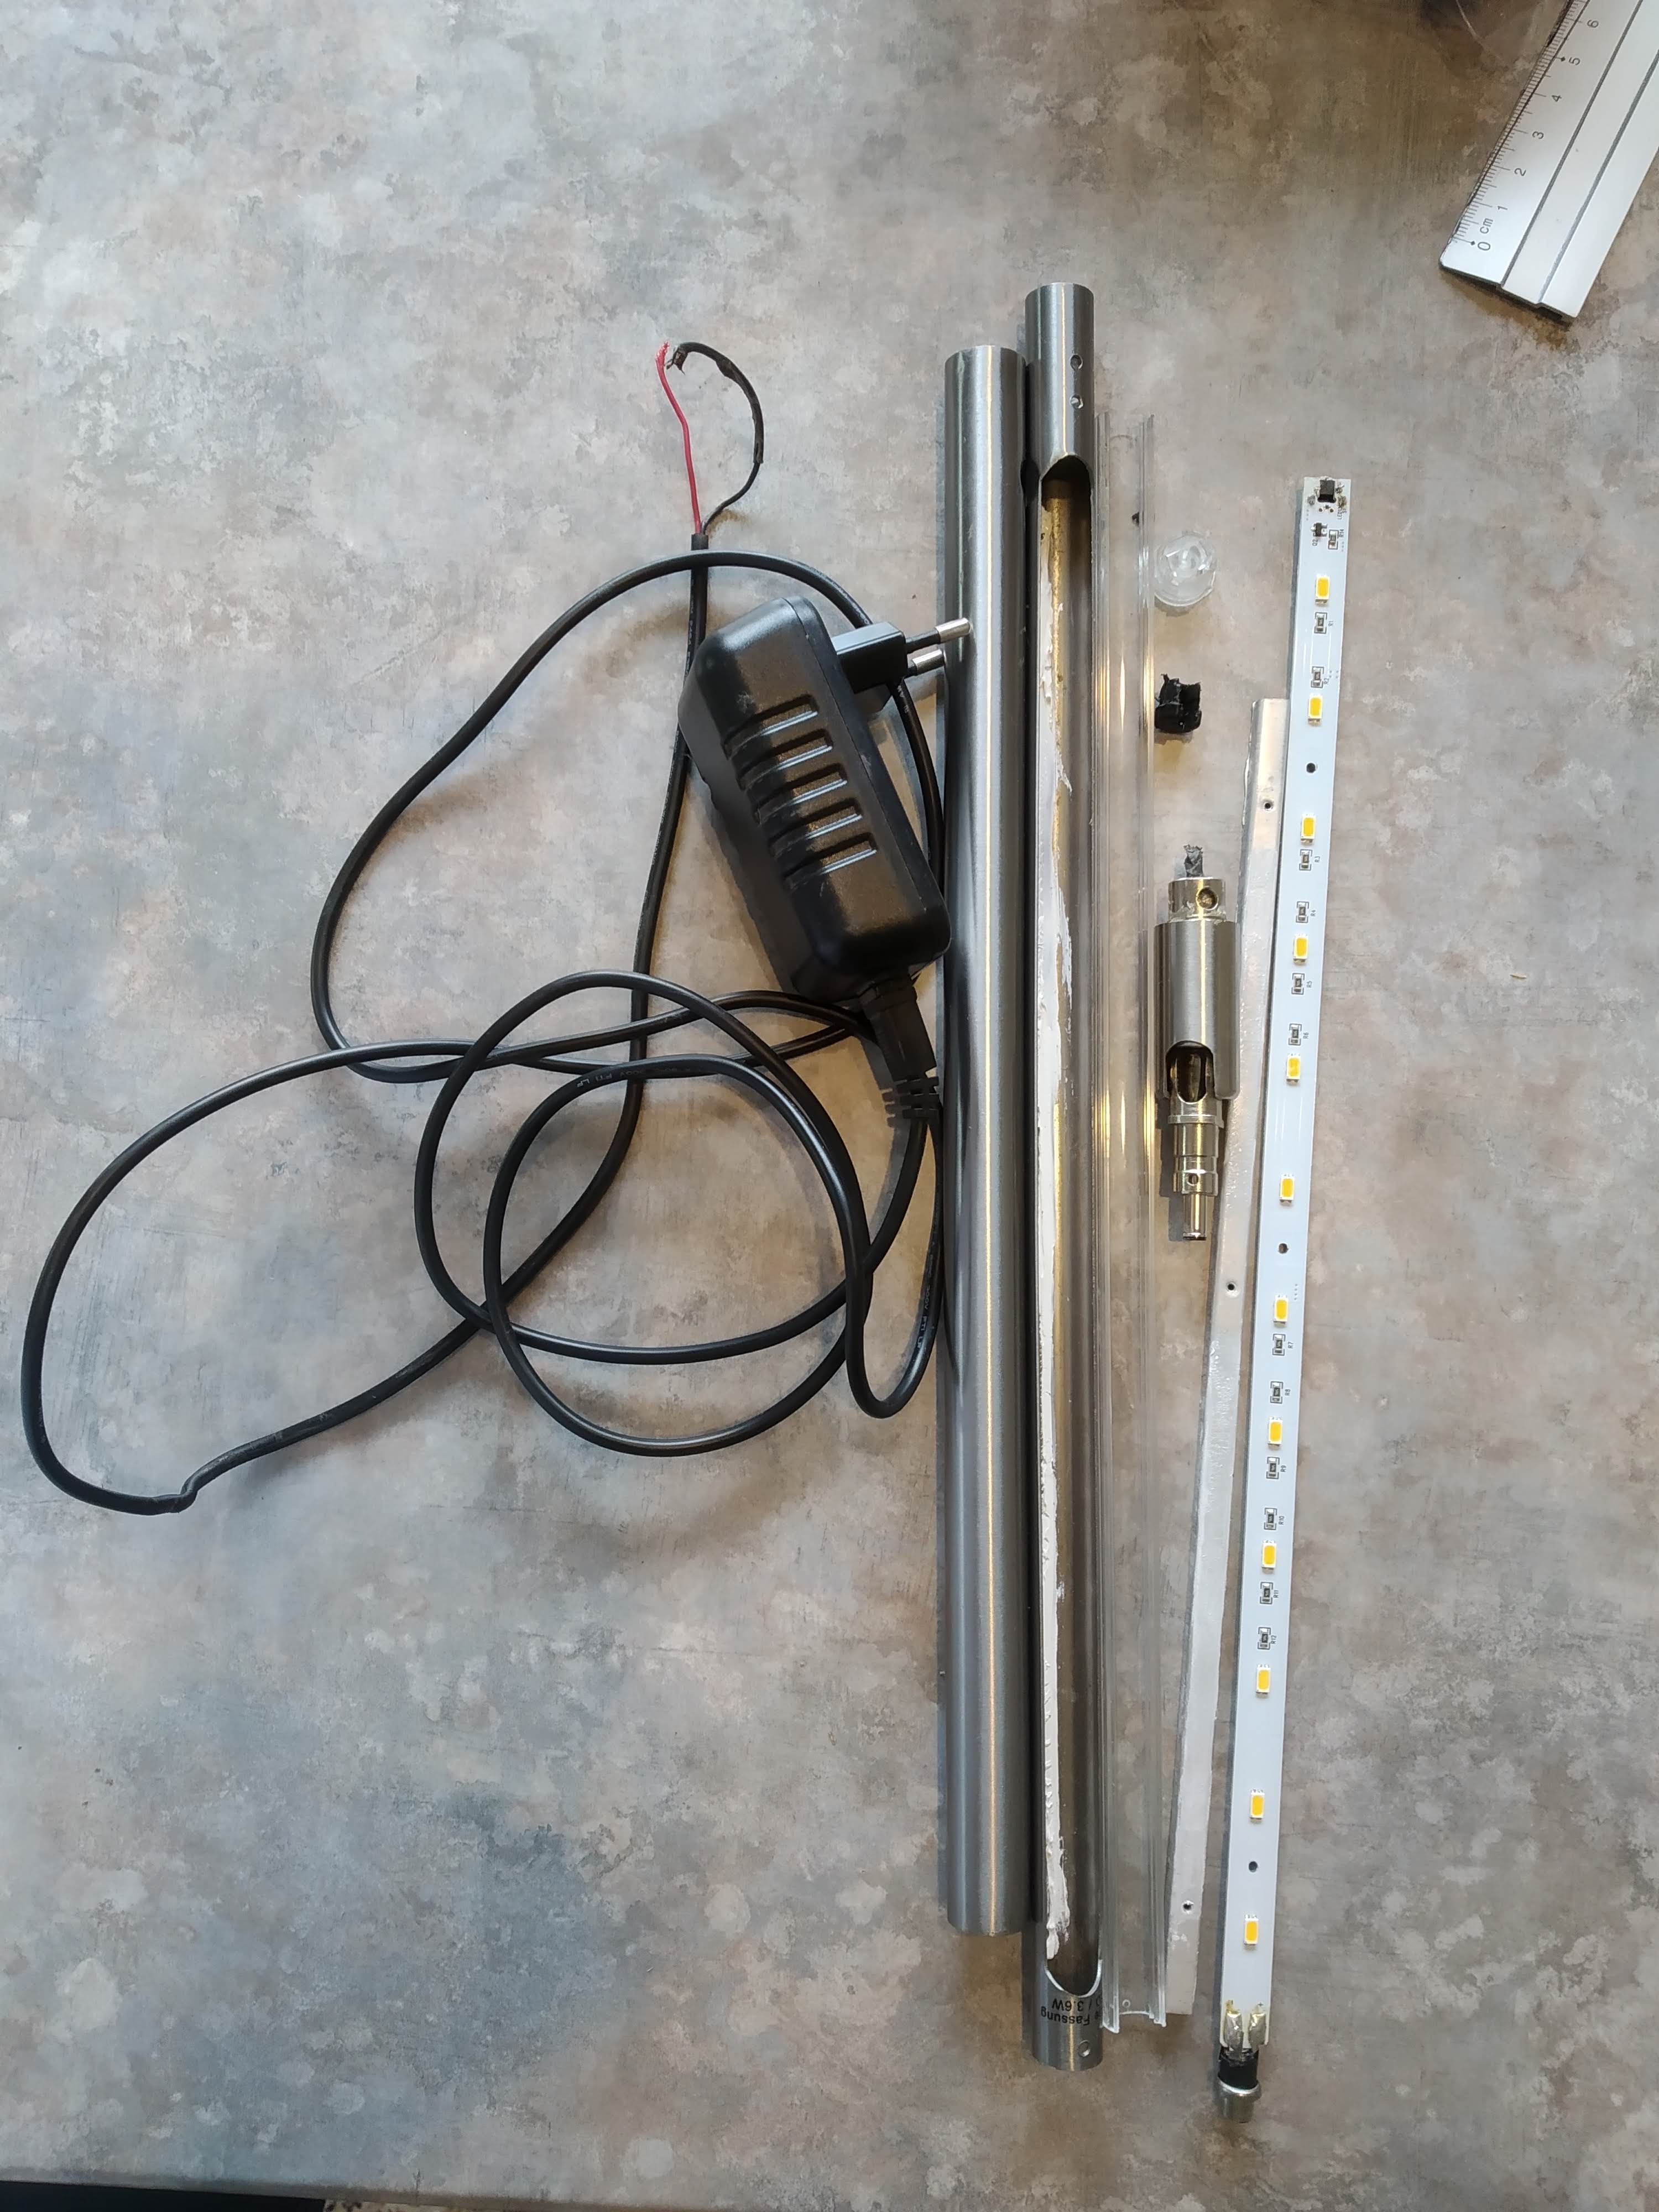
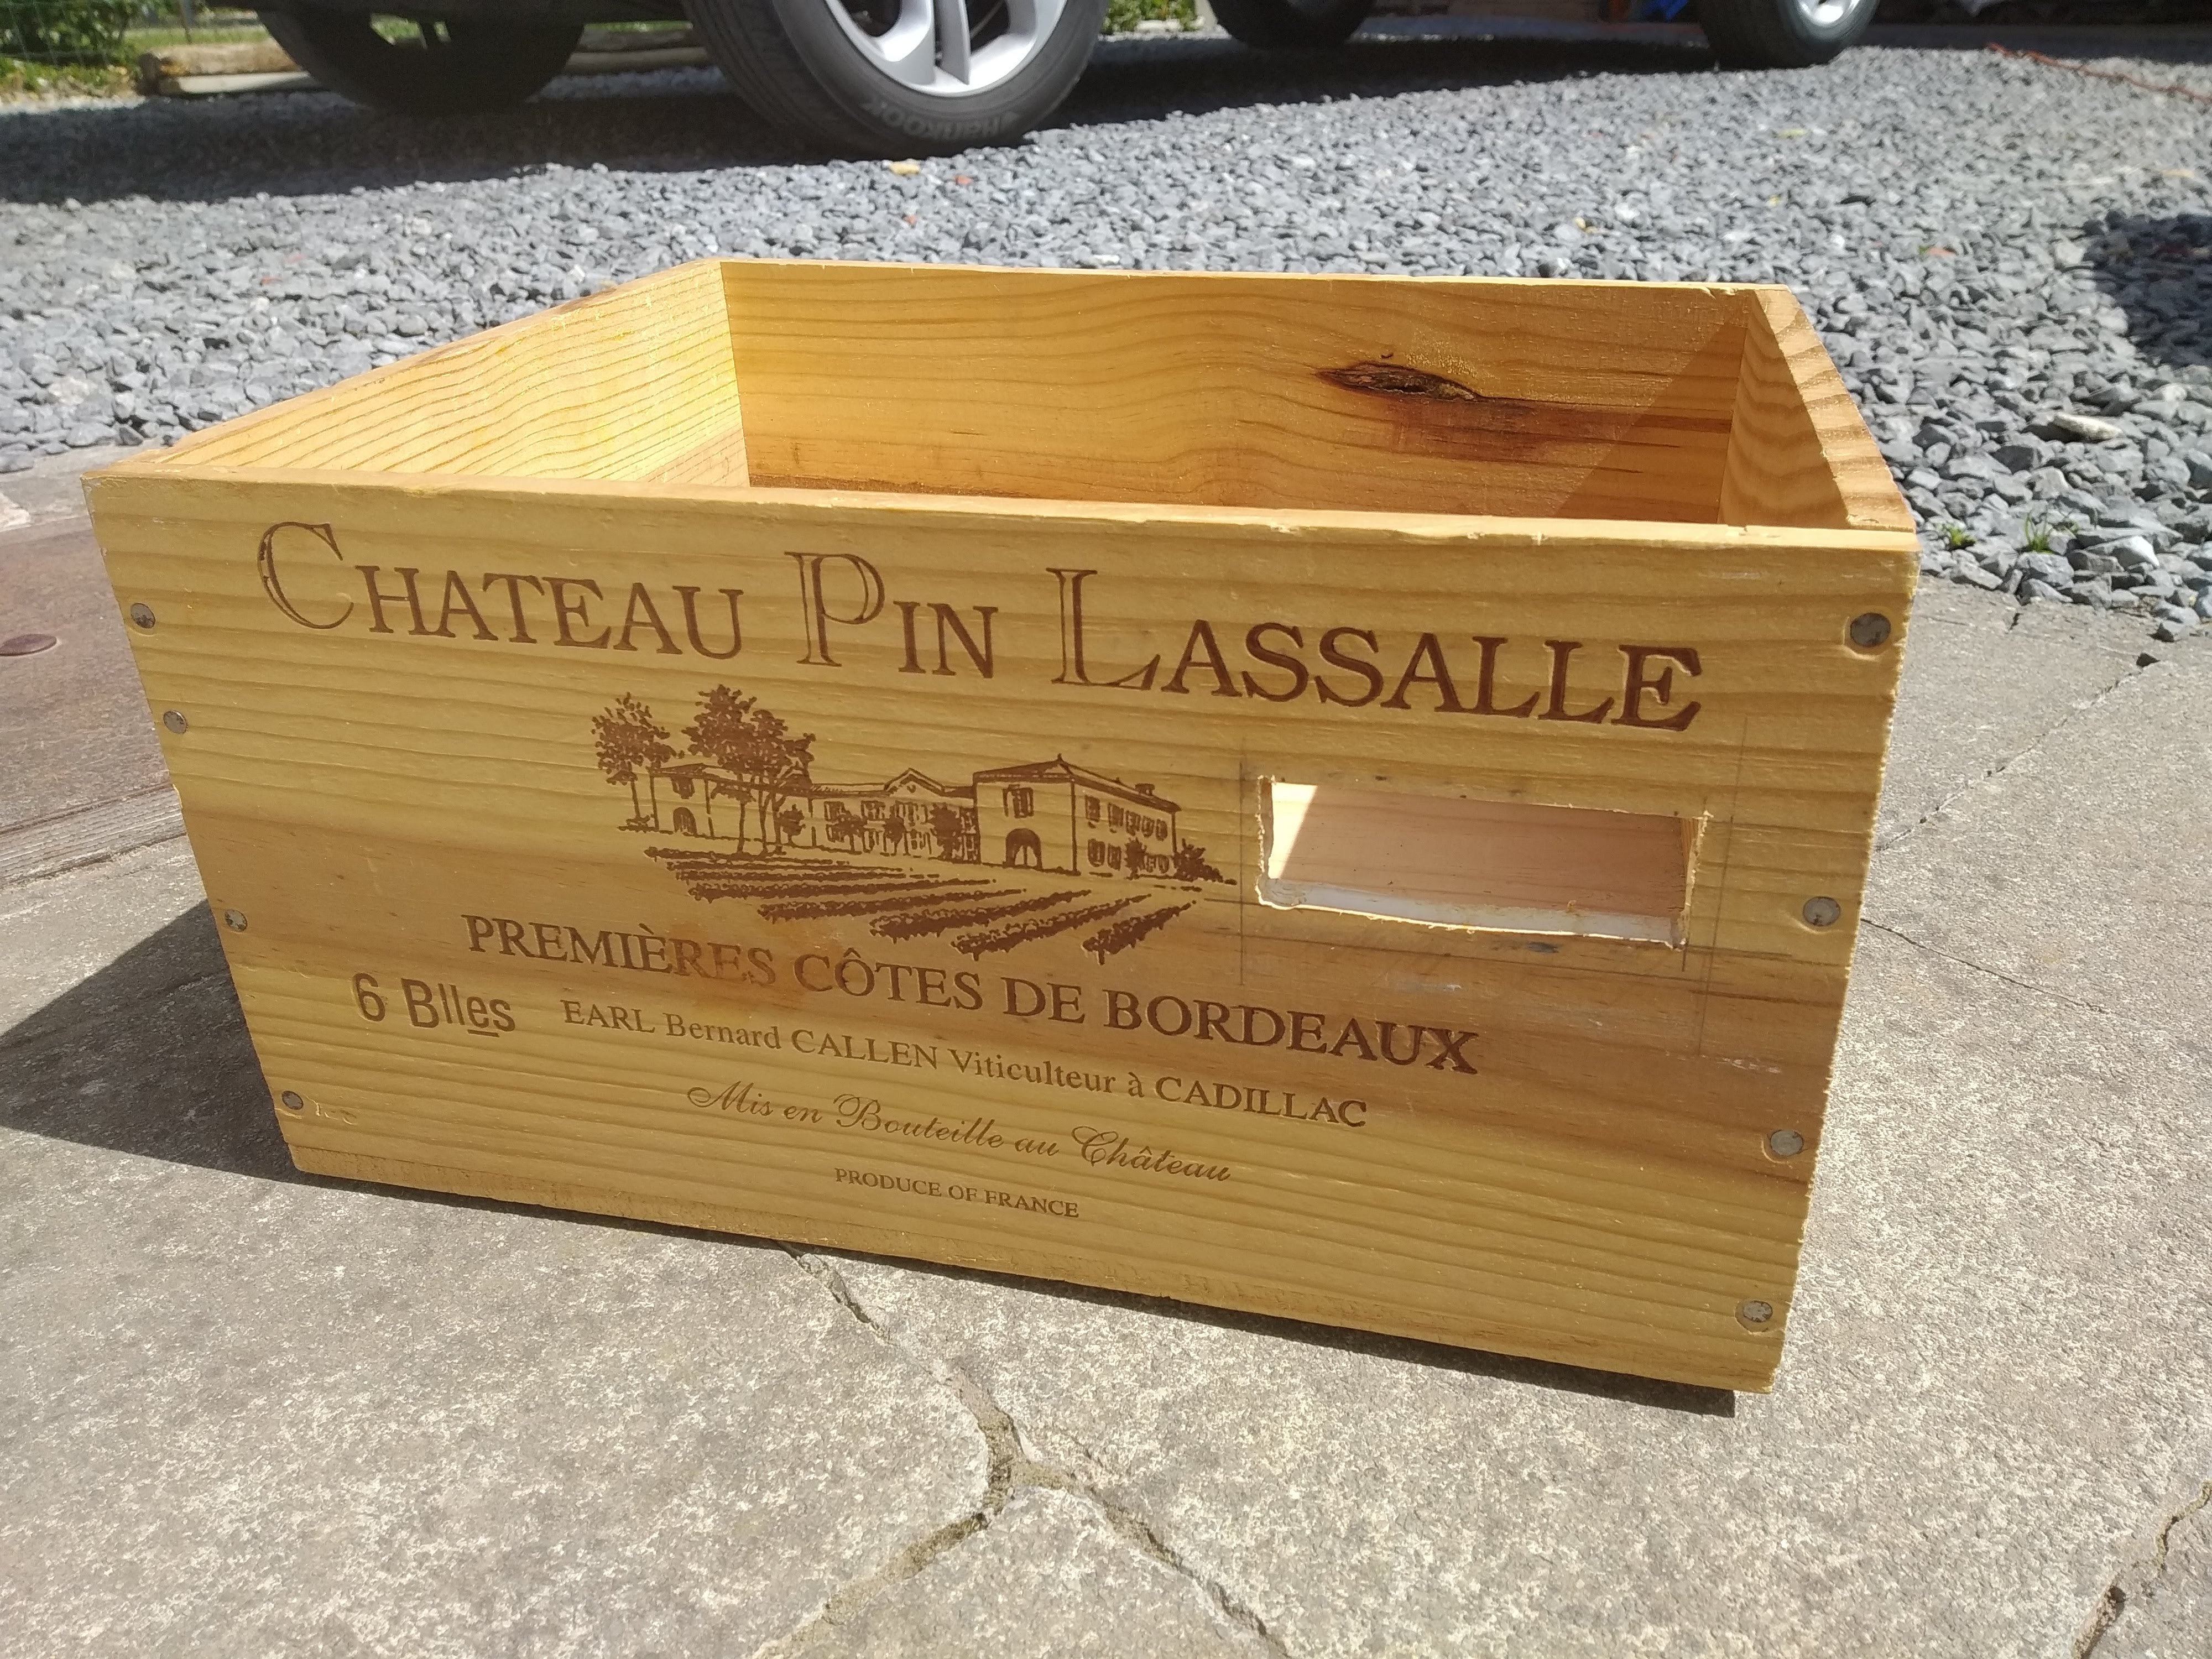
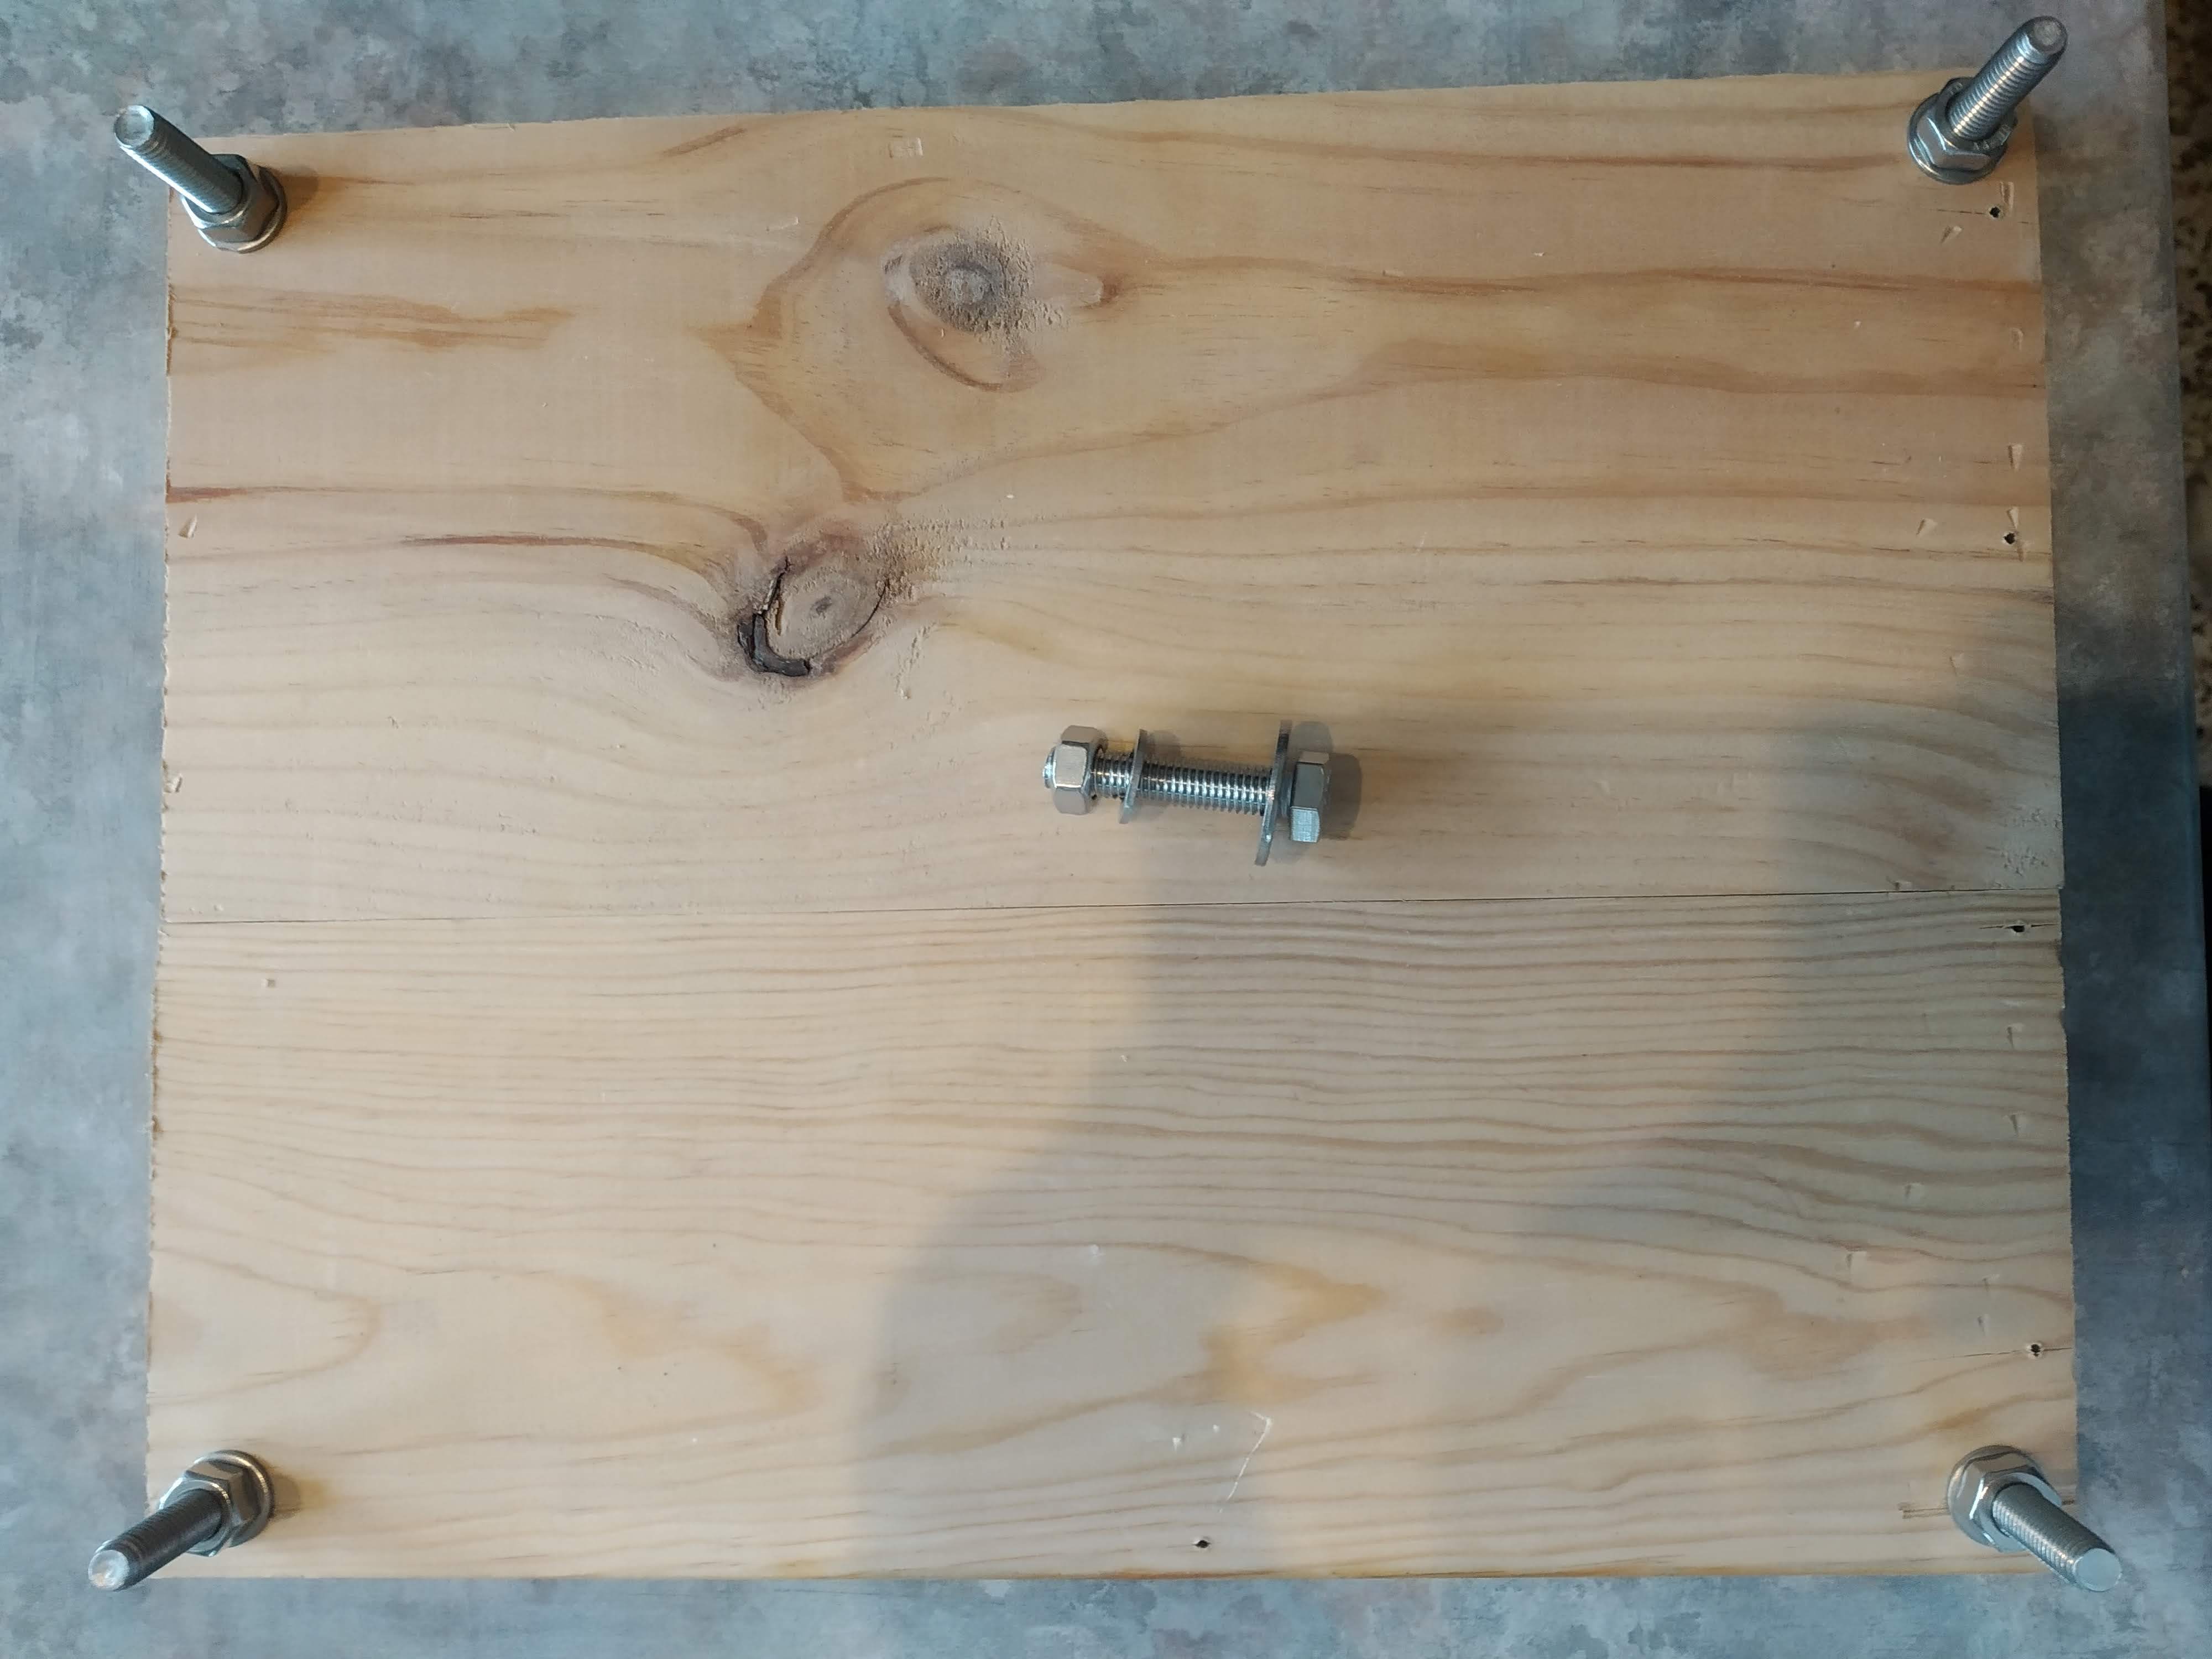
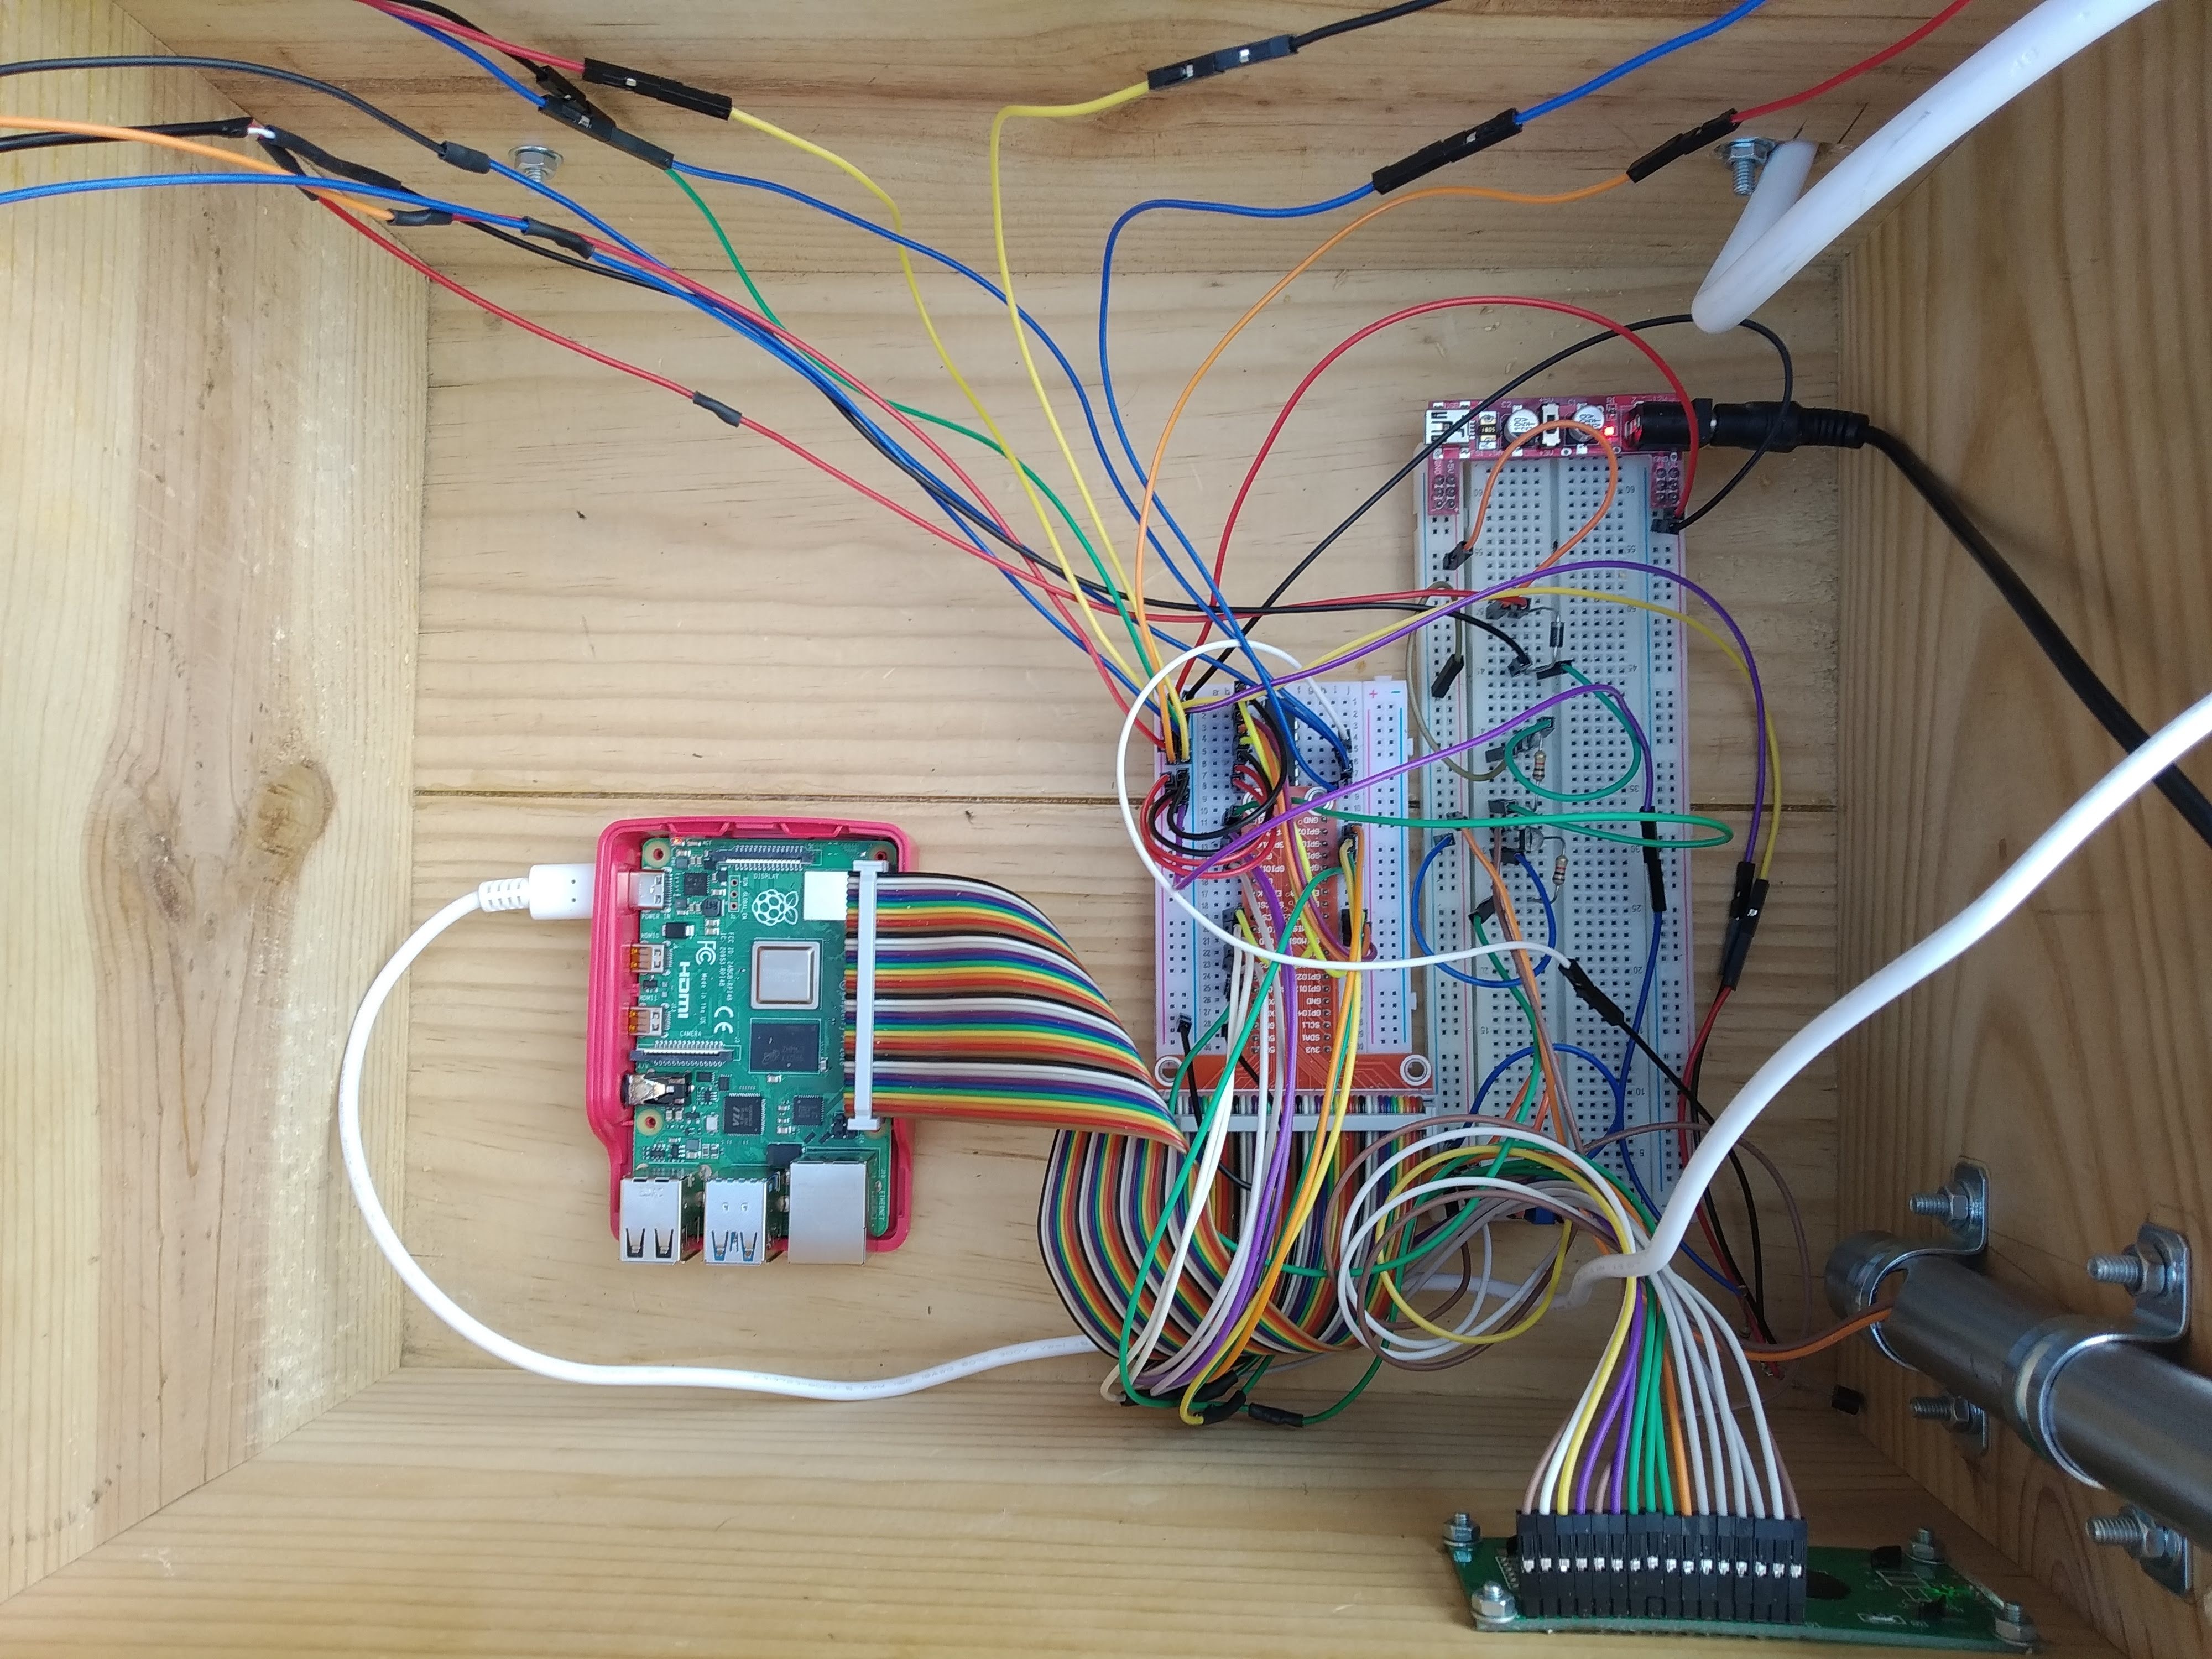
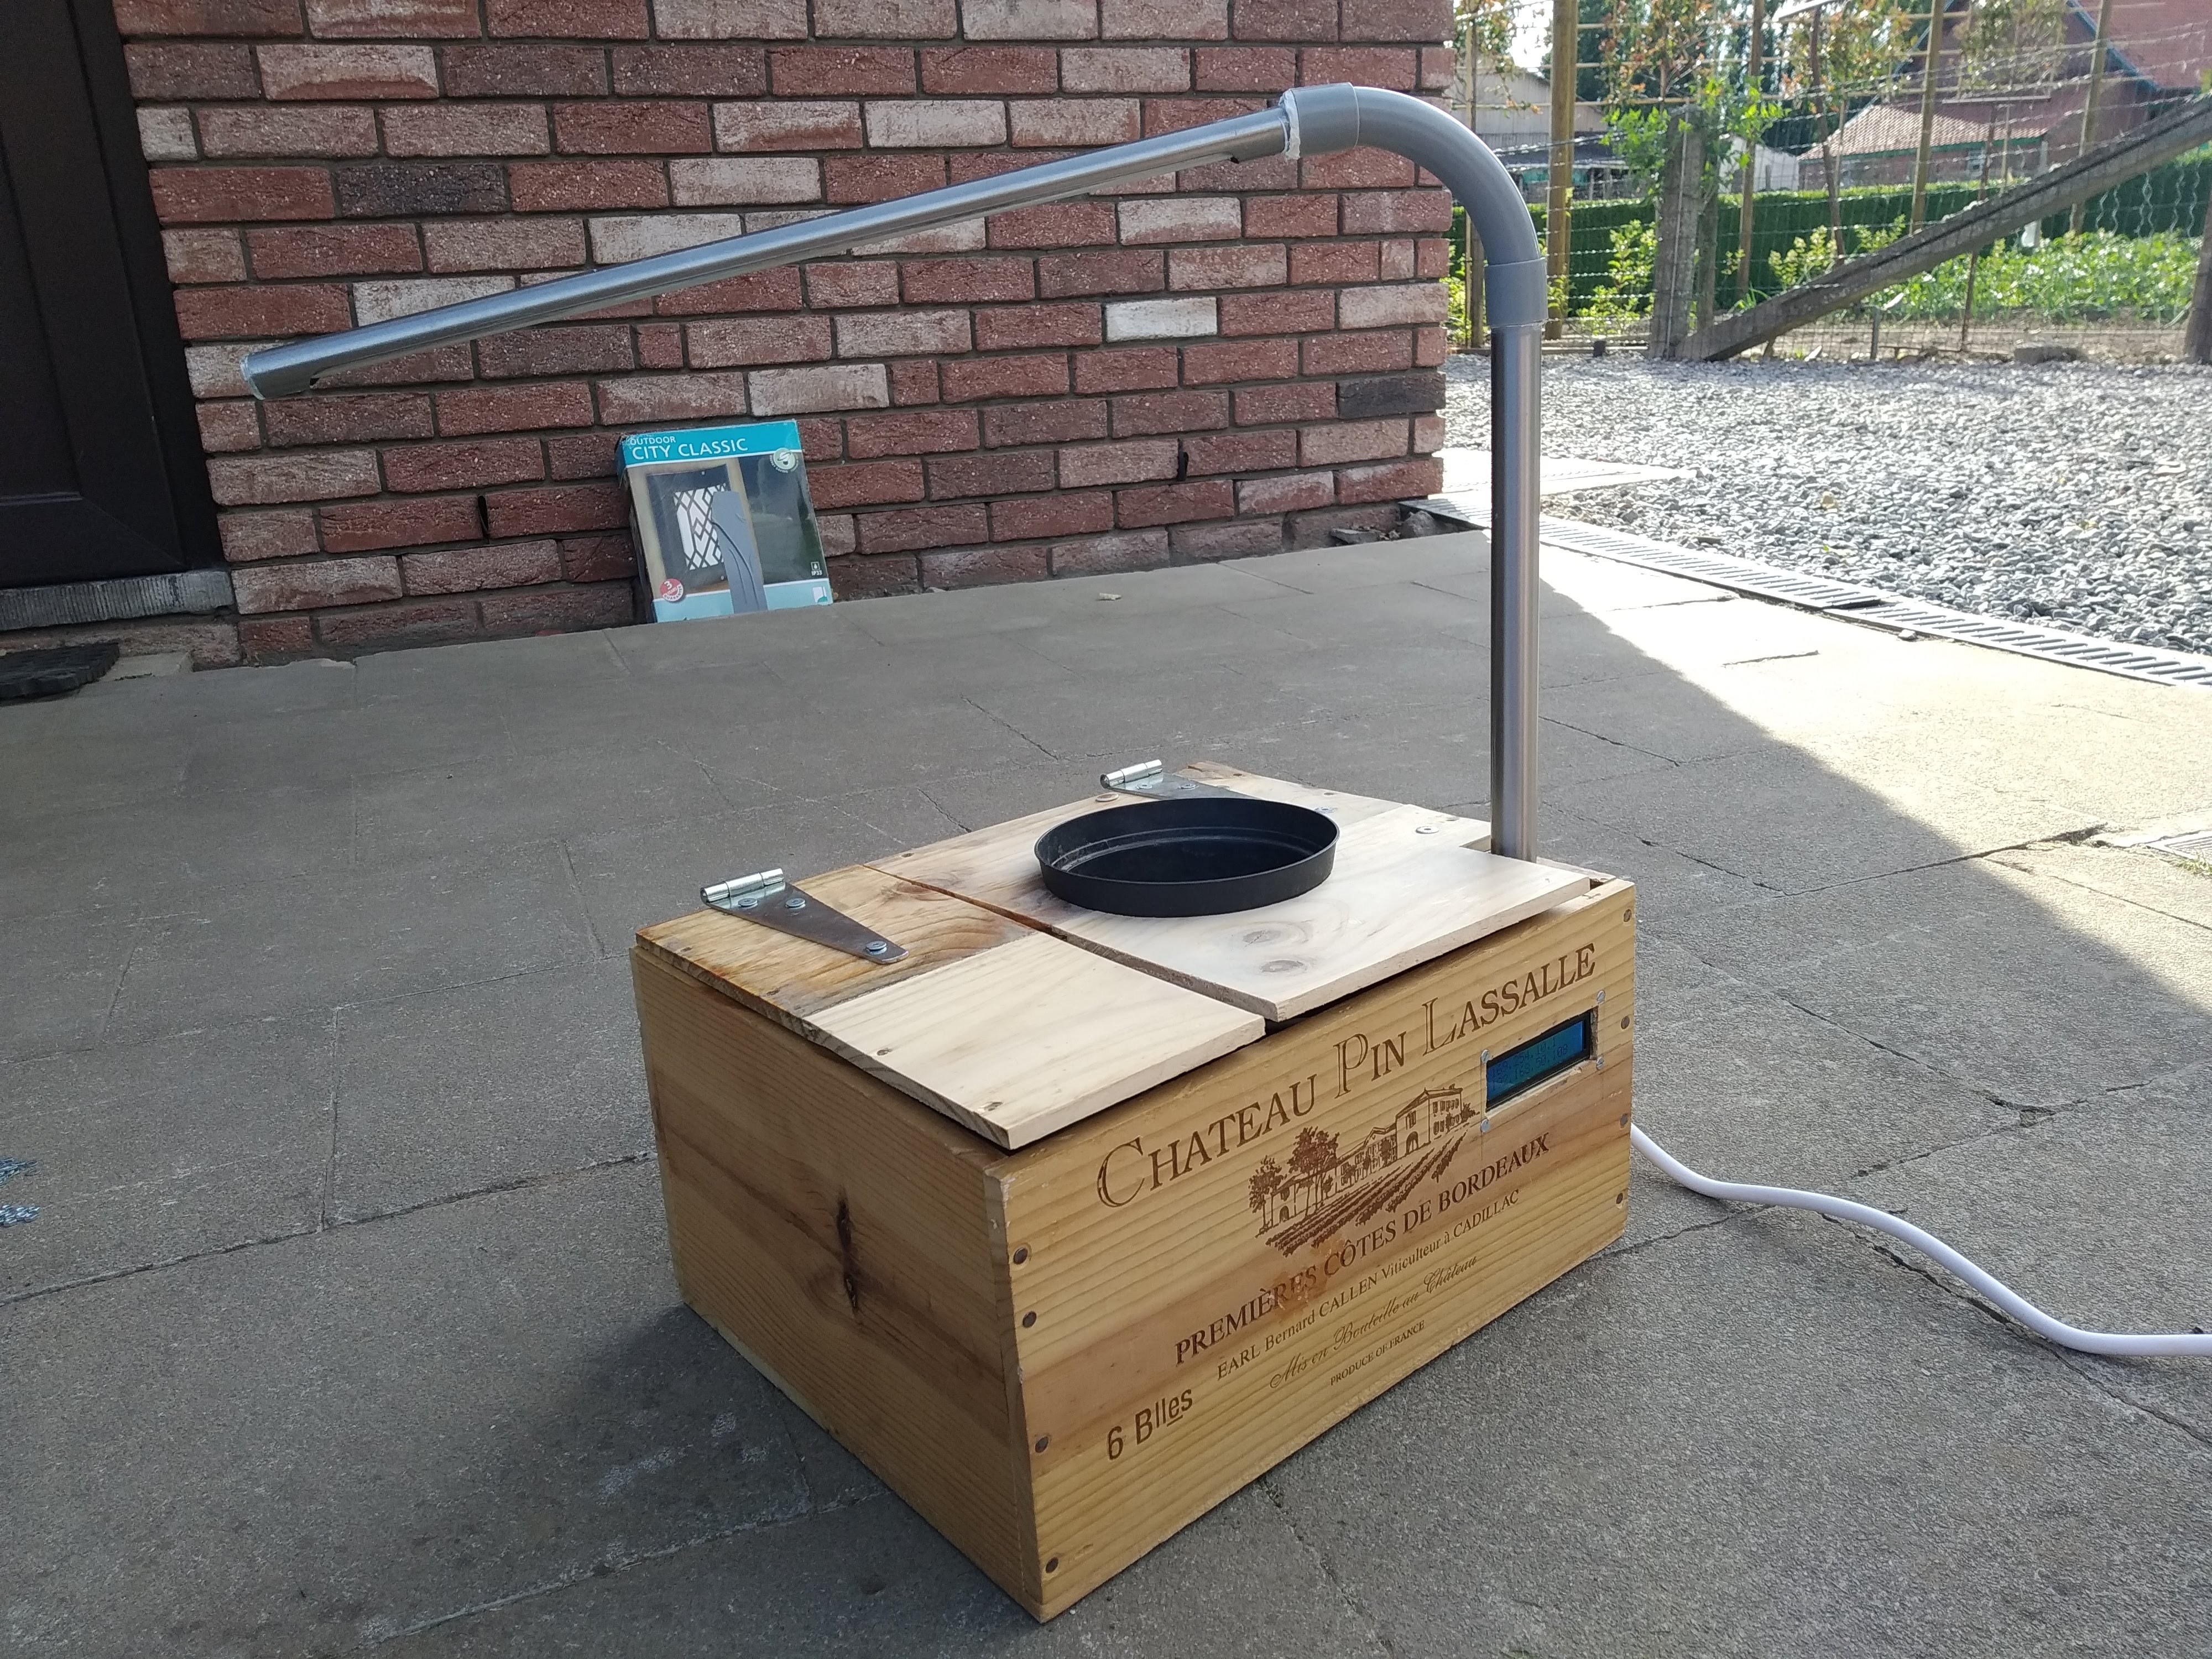
This case is made out of 4 old wine crates, 3 of which were broken apart. I drilled some holes in the main case to connect the display, lamp, extension cable, and temperature sensor through.
Using some hinges, I attached 2 lids. One to give access to the water reservoir. In the other, I cut out a hole for my plant to grow out, and 2 more holes for the light sensor to go through. It also has a cutout for the lamp.
To keep the electronics separate from water, I build a second level for the water reservoir to sit on using another plank and 4 screws and bolts. I cut some extra holes in this for the wiring and to give some more room to pass the lamp.
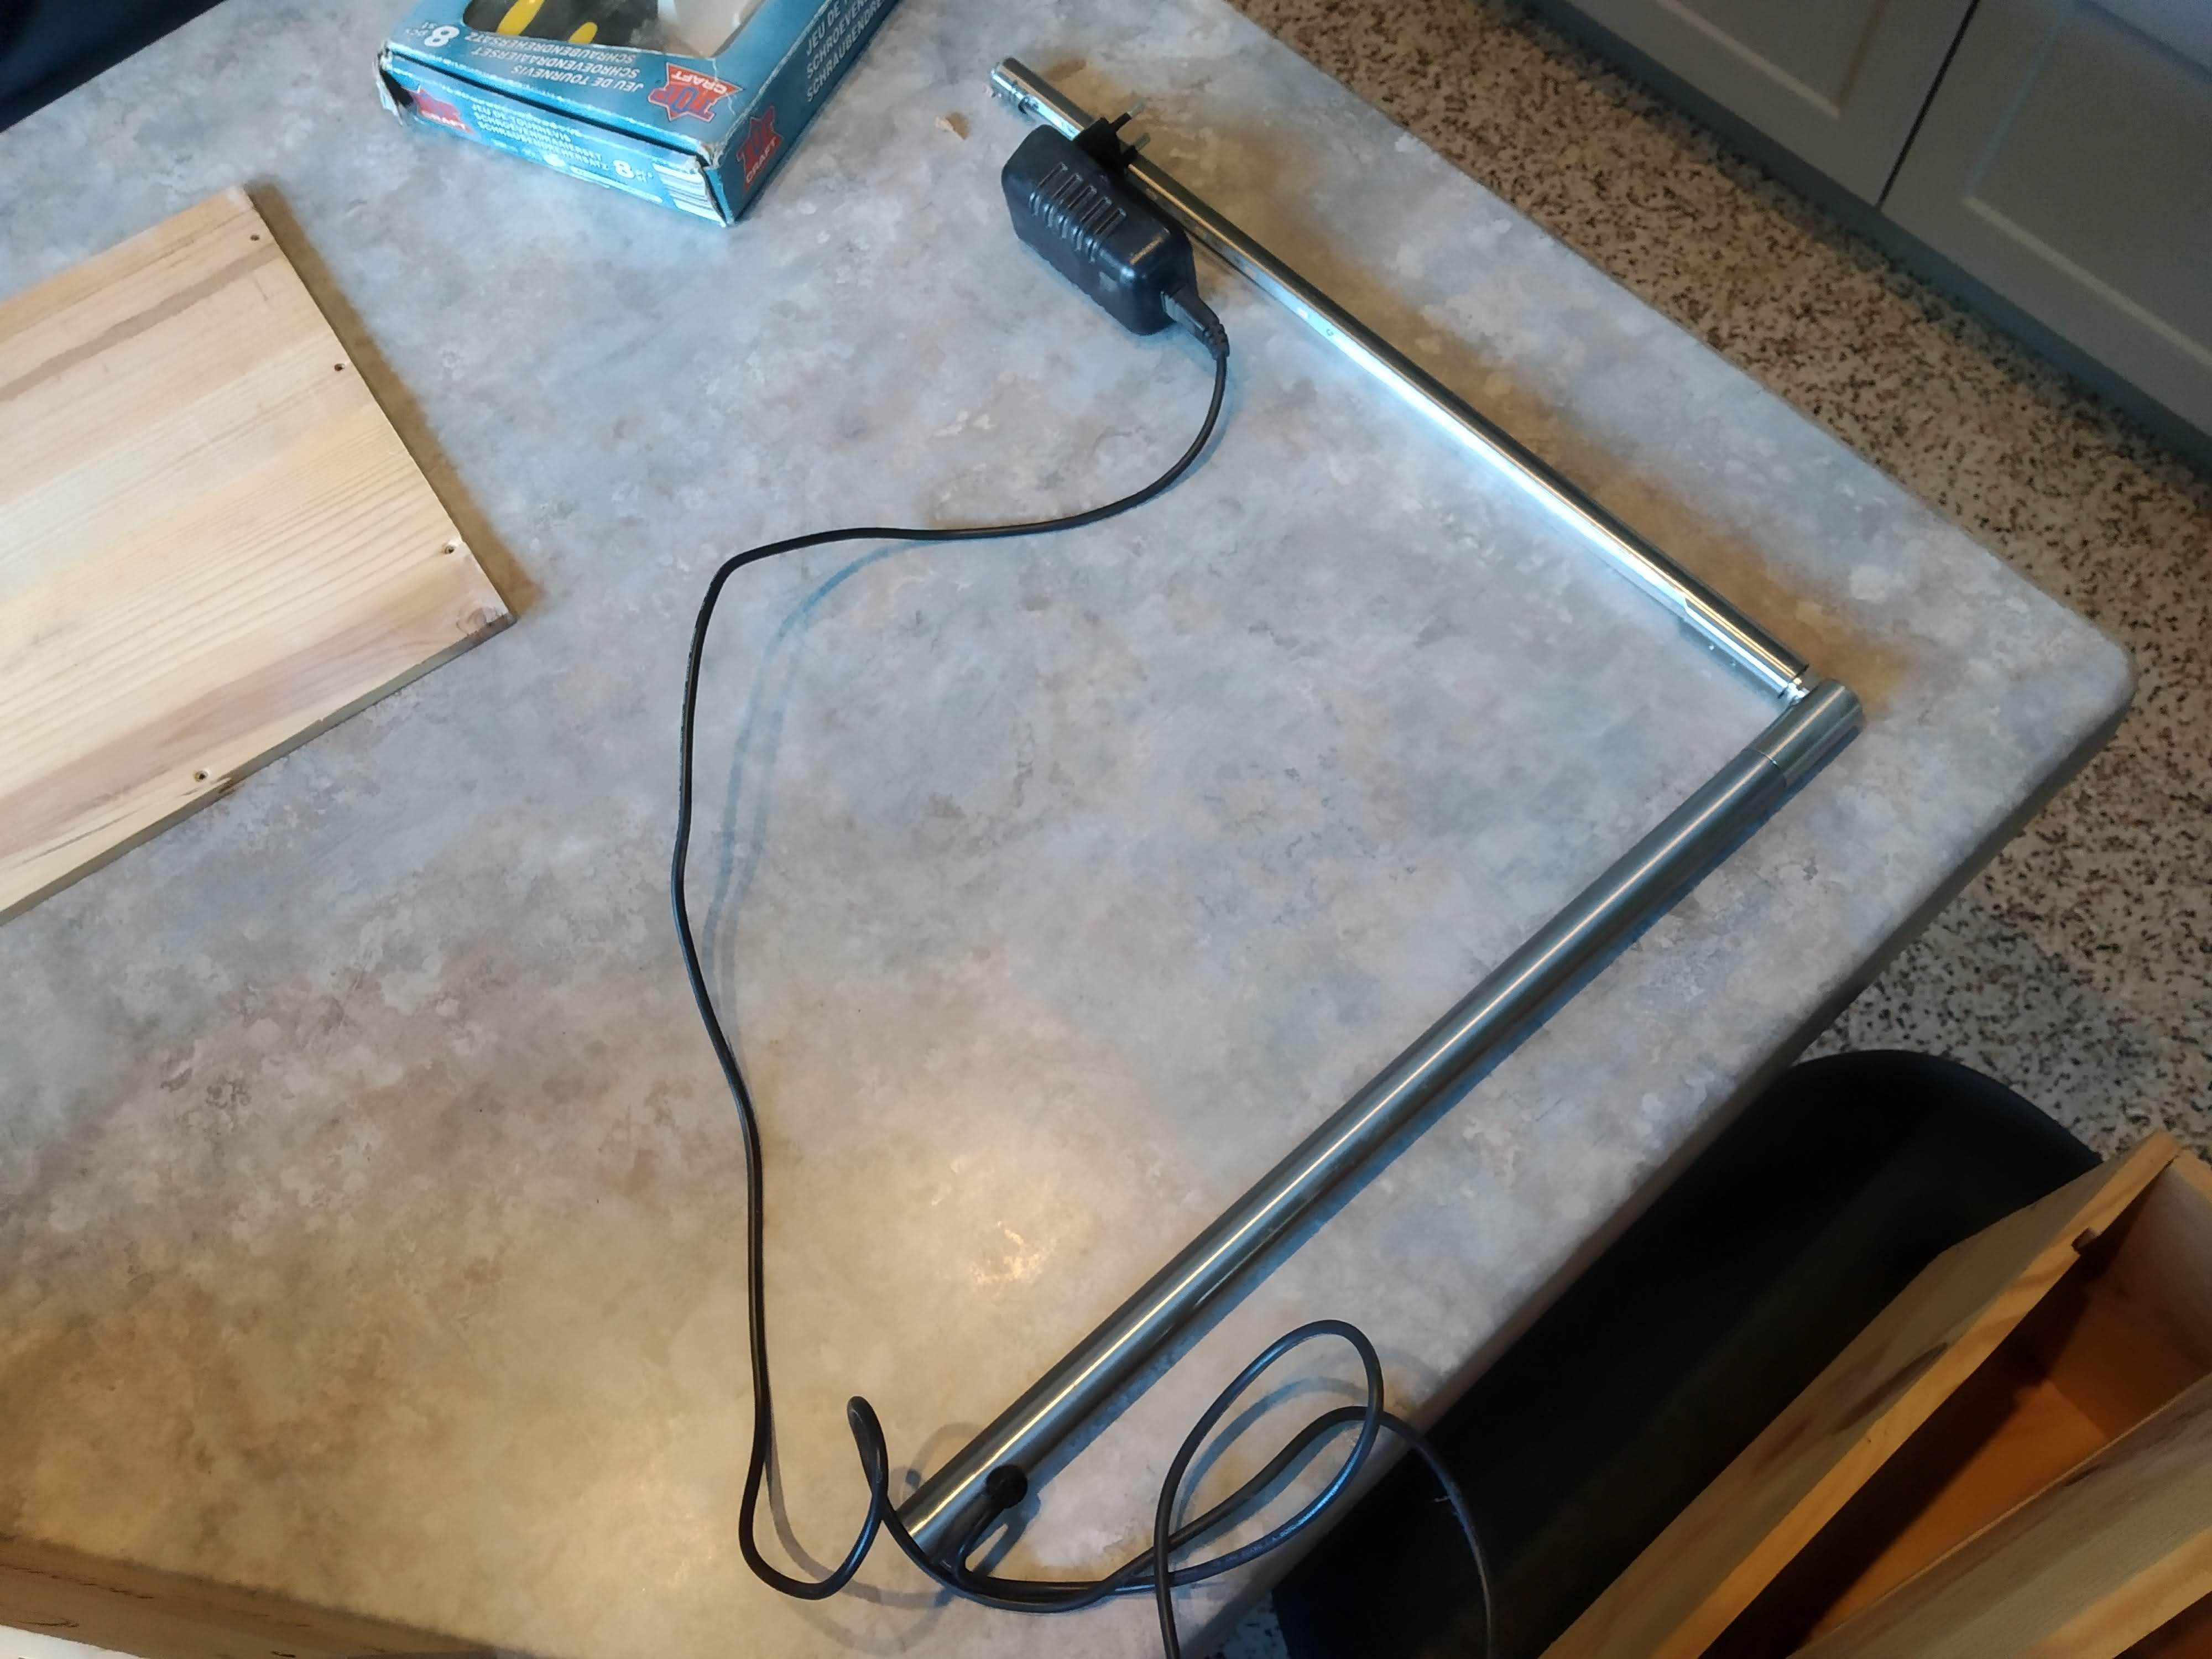
As a base for the lamp, I used an old desk lamp that no longer worked. I removed all the internal parts as they weren't needed anymore. I then glued in place the led strip and connected the 2 metal tubes with some PVC tubing and an abundance of glue.
The Code
You can find the code here. Simply just download it.
Now onto placing the files. Copy all the files within the "Code/Frontend" folder into "/var/www/html" on the Pi. These are the files for the website. There will most likely already be a file called "index.html" in this folder, you can just delete that one. The files in the "Backend" folder can be placed in a new folder in the "home/pi" directory. You will need to use your own passwords and usernames in "config.py".
In order for it to start up once you plug it in, we'll need to make it a service. You can learn how to set up services here. You'll need to create a file in the folder "/etc/systemd/system". In this file copy and paste the following:
[Unit]
Description=Plant'm
After=network.target
[Service]
ExecStart=/usr/bin/python3 -u app.py
WorkingDirectory=/home/ine/project1
StandardOutput=inherit
StandardError=inherit
Restart=always
User=ine
[Install]
WantedBy=multi-user.target
You will need to change the WorkingDirectory to the location where you save the backend files and user to your own username. Once you have done that use "sudo systemctl start myscript.service" to test if the service works. If it does type "sudo systemctl enable myscript.service" to have it start automatically on reboot.
Setting Up the Database
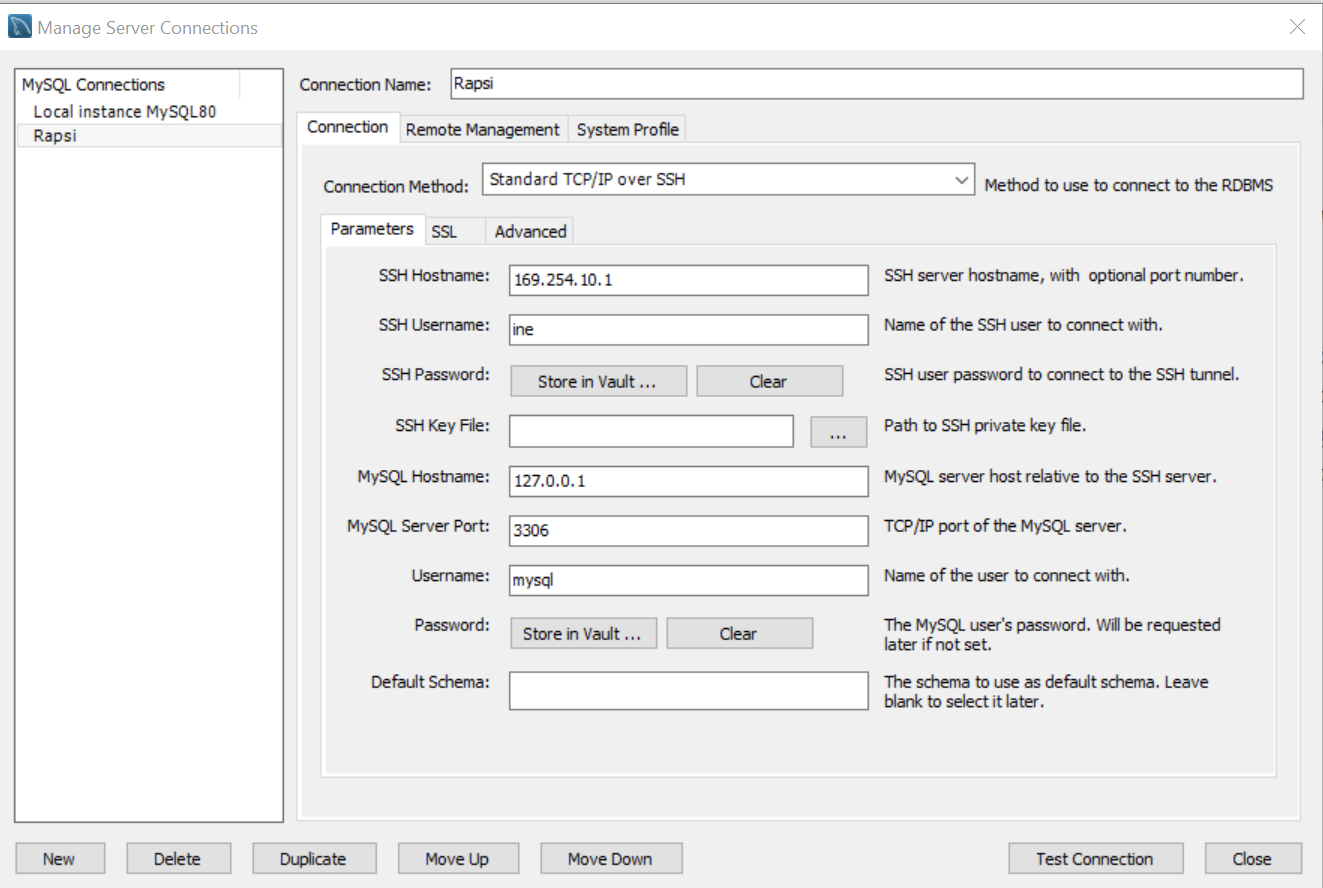
For this, we'll be using MySQL Workbench. Starting off you'll create a new connection to the pi. You can see my settings in the included screenshot. Just don't forget to use your own username and passwords. When you've filled in the settings press "Test connection" to make sure it works.
Once the connection has been made, go ahead and connect. Now we'll be using the file in the "Database-export" folder. Open the SQL file and run it. This will create the database and all its tables. I've also added in some test data to be visualised on the website.
Watch Those Plants Grow
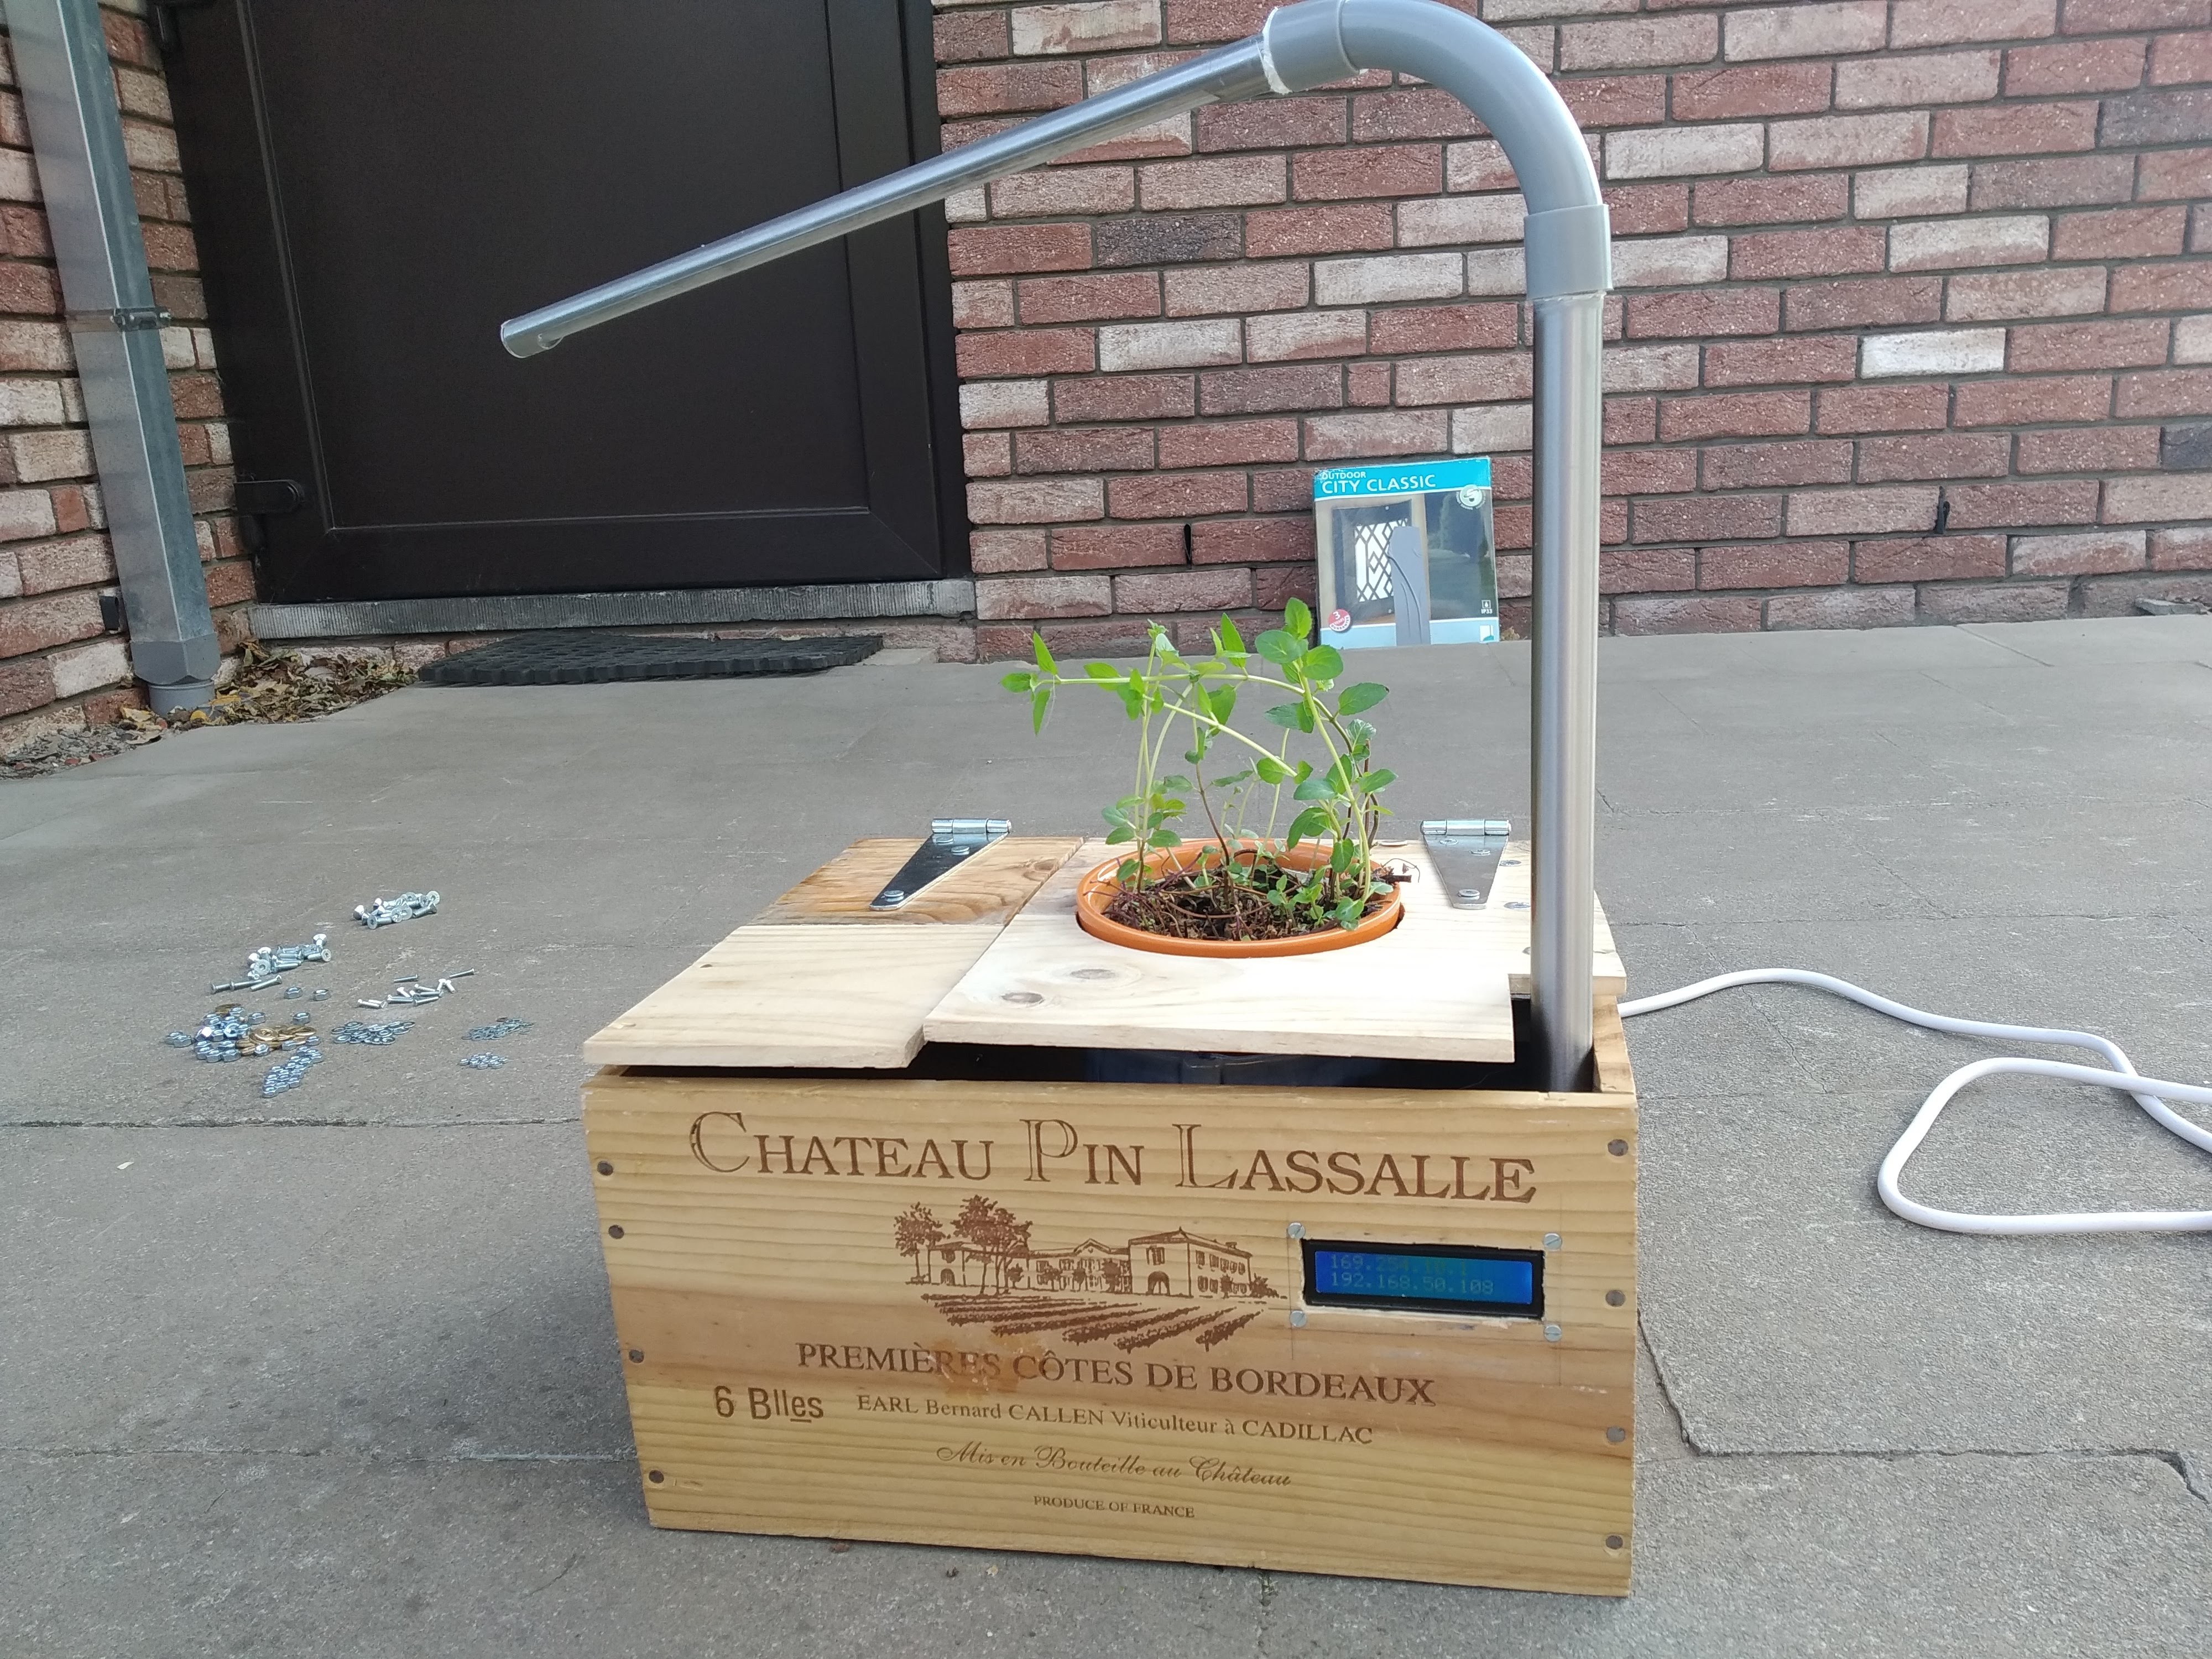
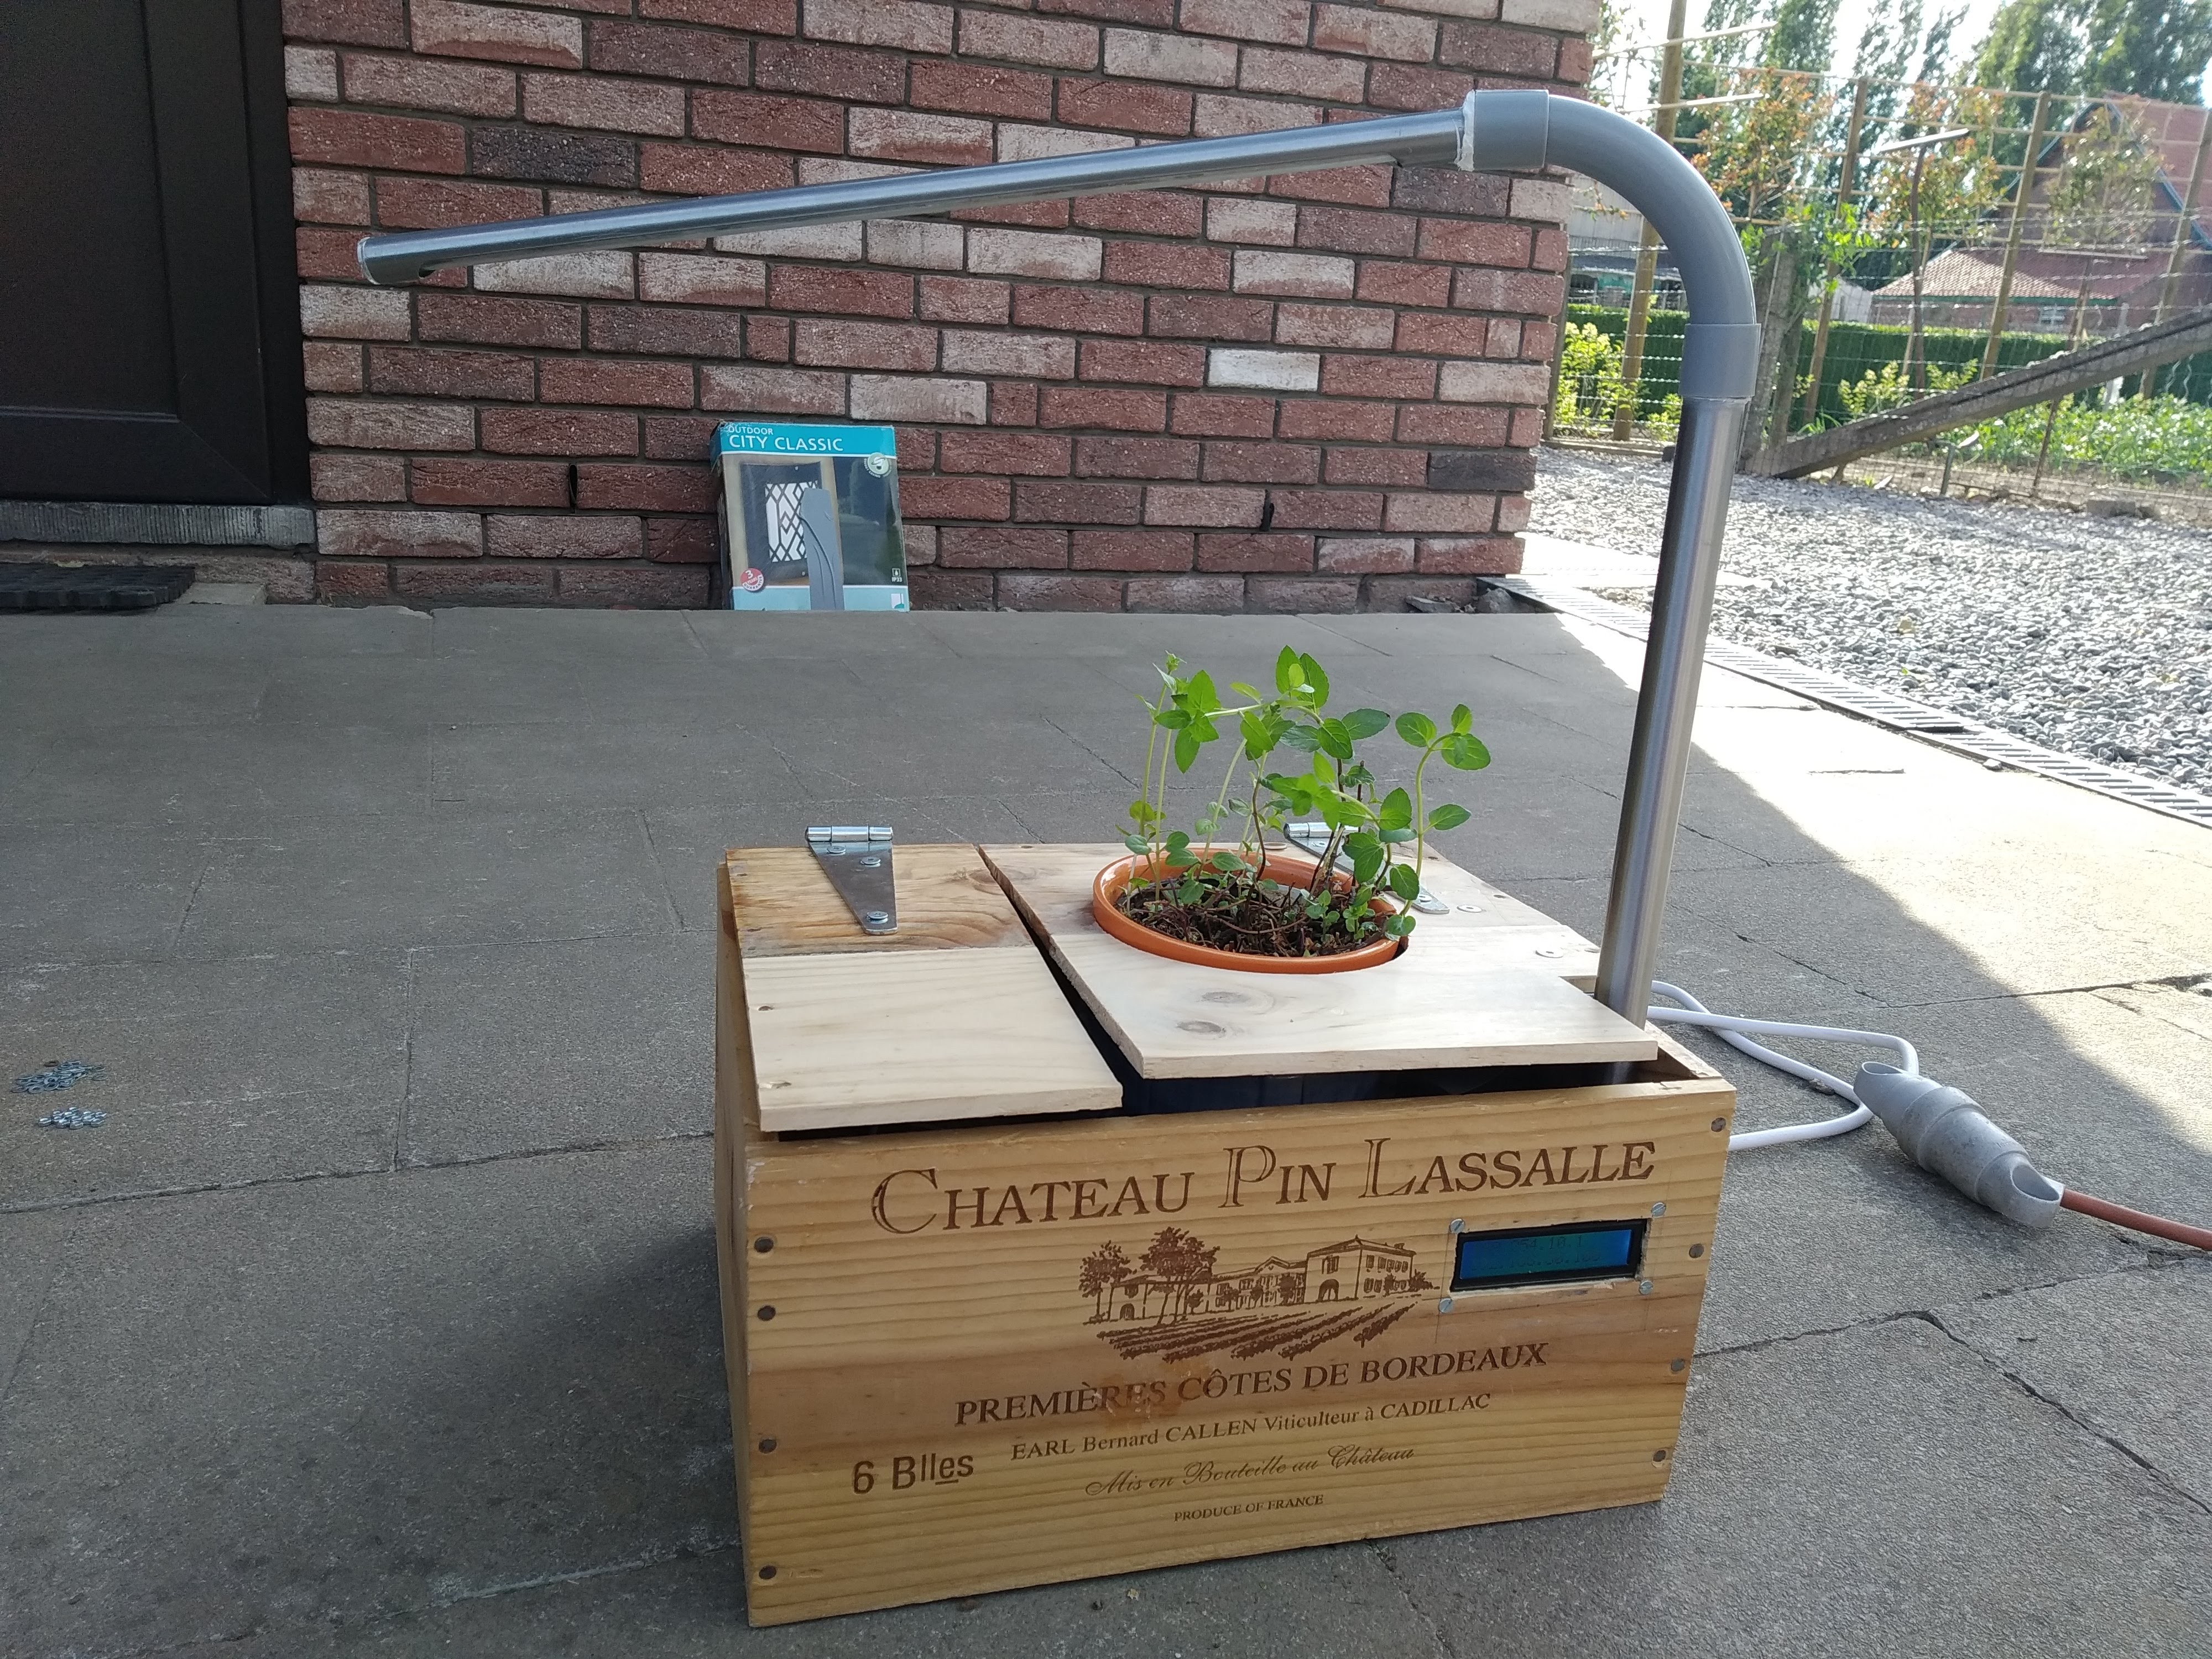
With everything done, we now have a working project that will take care of our plants.
If you run into any problems, have a question or suggestion, feel free to leave a comment. I'll try to get back to you as fast as I can.