Planets Photography Guide
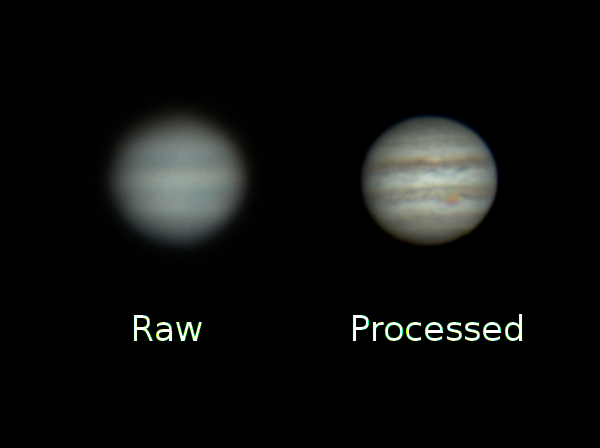
Planets are hard to photograph. Here are a few reasons why: First, they look really tiny. You will have to zoom a lot to be able to see any details on their surface. Then, there is the issue of atmospheric turbulence. This is what happens when layers of air don't have the same temperature. We've all seen stars twinkle when they are close to the horizon. If you zoom in a few hundred times on this star, it will appear to be boiling, stretching,expanding, etc.
Because of the turbulent atmosphere, every picture you take will look different and mostly featureless. In order to get a good image of the planet, we will have to take a lot of photos and average them. Then, using open source and free software, we'll pre-process them, stack them, optionally de-rotate them and finally post-process the stacked image.
In this Instructable, I will give step by step instructions. I won't explain in details how each software work (that would be way too long) but instead I will focus on the general workflow.
Capture Images With FireCapture
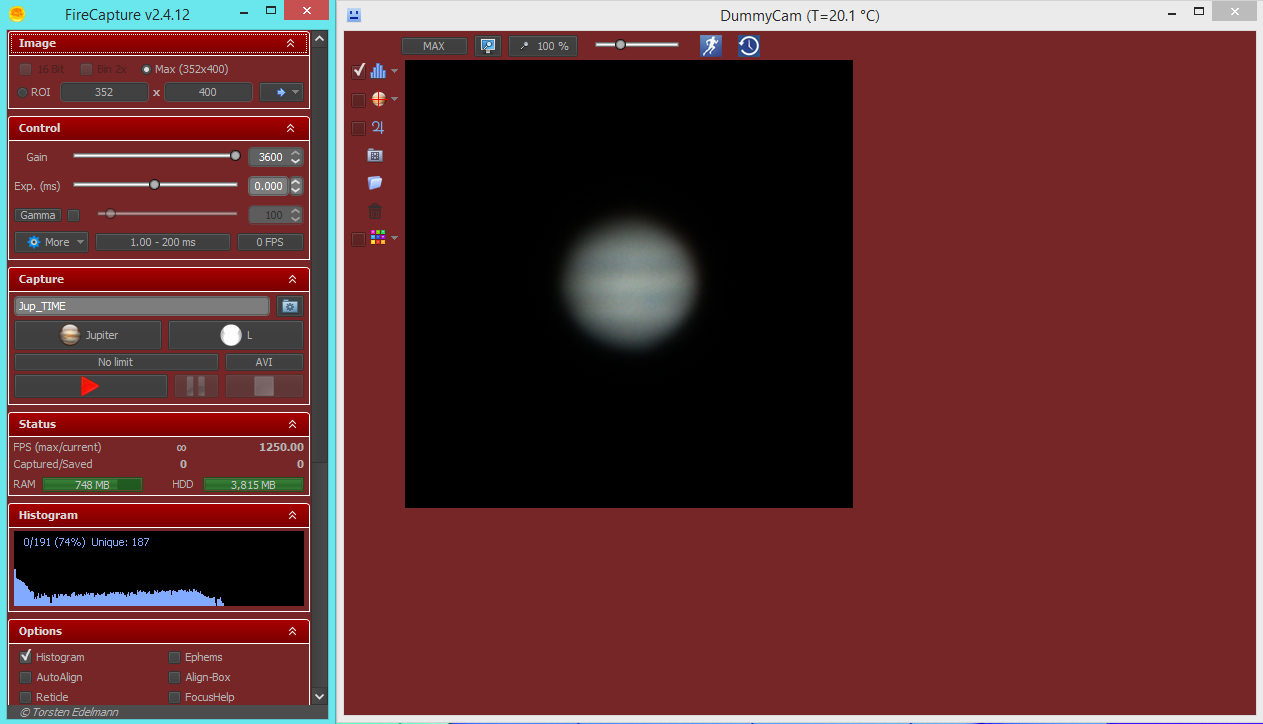
In this first step, we will capture a few thousand images. The more the better but it will slow down your processing if you have too many. I personally use an ASI224MC camera ony telescope but any astronomy camera or webcam can work. I also use a 2x barlow lens to magnify the view of the planet.The camera has a USB 3 connection and can operate pretty fast. At 640×480 resolution, the maximum frame rate is an impressive 300 images per second. Since Jupiter is not as bright as the moon, we will have to take longer exposures. Still, even at 50 ms exposure, you will capture 20 images per second and It will only take a few minutes before you reach 3000 or more.
Pre-processing With PIPP
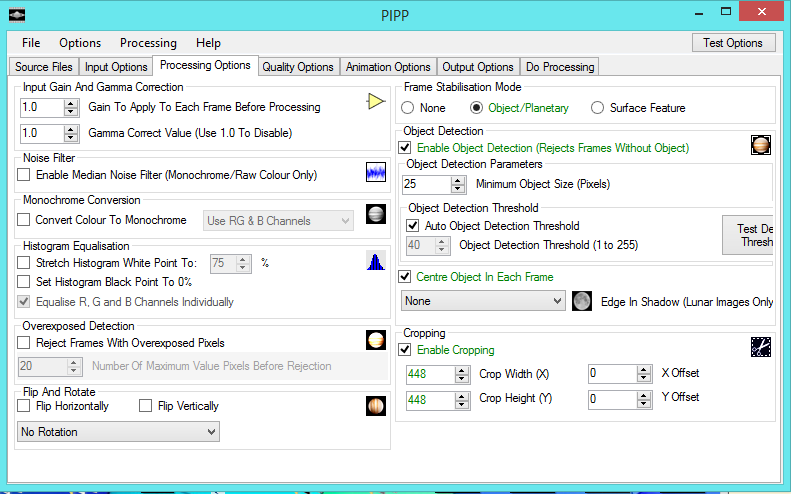
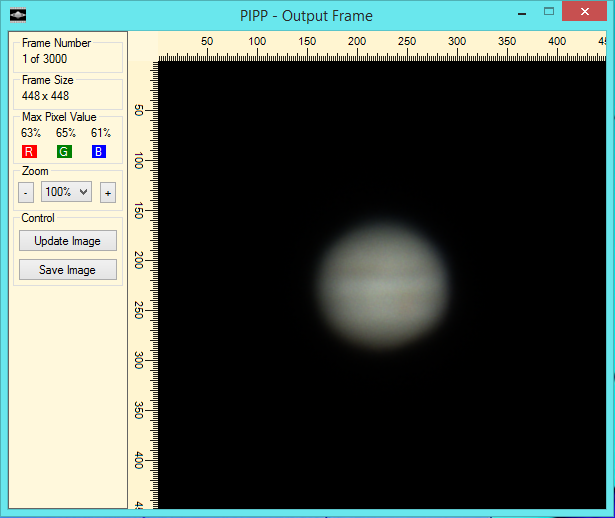
We have a raw black and white movie of the planet that lasts a few minutes and that is made of a few thousand images. In this step, we will optimise that video for planetary rendering. We can crop the frames to a certain area to reduce processing time later. We can also debayer (convert the black and white images to colour using the RGB pattern of the sensor) the individual images to produce a video in colour. There are also options to reject bad frames and optimise shaky captures. You can save the video in different formats. The .SER extension can be useful if you need to de-rotate the video later.
Stacking With AutoStakkert! 2
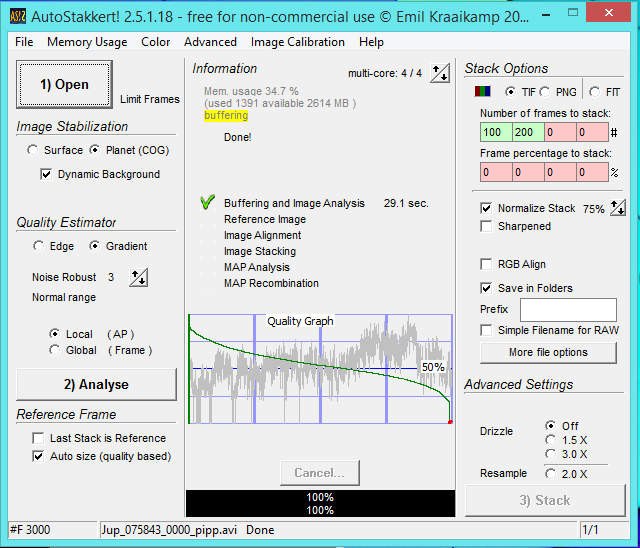
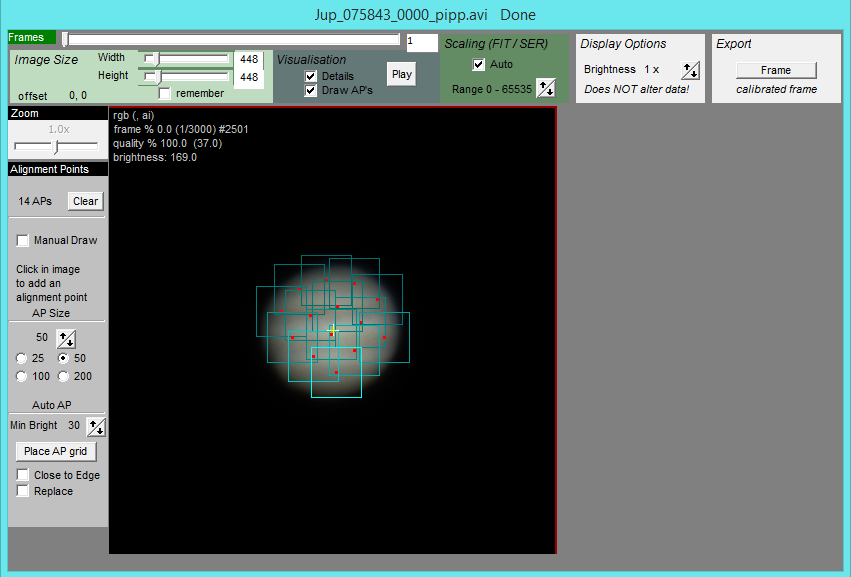
This software will analyse your video and order frames from the best quality to the lowest using alignment points. It will produce a decreasing curve in the main window. This tells you the quality or your images. You can now chose how many images you want to keep. I like to keep images that are above the 75% quality line. It sometimes equals to 10, 20 or 30% of your total images.
Once the analysis is finished and you chose the percentage to keep, you can click on the Stack button. This will create a TIFF file which corresponds to an average of your best chosen images.
(Optional) De-Rotate Your Stack With WinJUPOS
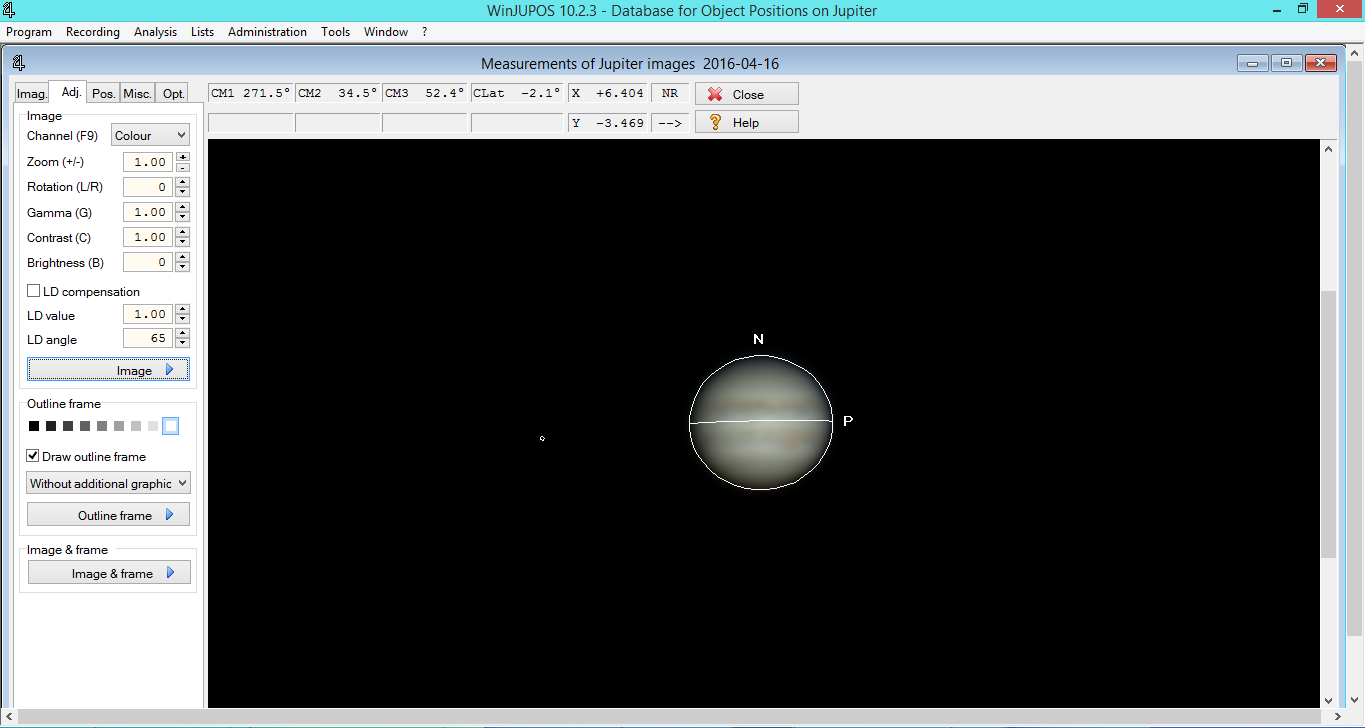
If you are shooting giant planets like Jupiter or Saturn, you might have to de-rotate your images. Because the revolution period of these planets is about 10 hours, you can see their surface change during an observation session. If your capture lasts several minutes, the planet will have rotated slightly and your alignment will not be accurate.
To de-rotate the stack of images, we use WinJUPOS. This step is optional if your capture only lasts 3 minutes or less.
To de-rotate the stack, we open the TIFF image coming from the previous step in WinJUPOS and run an image measurement. This will calculate the planet orientation and size. Then, still using the same software, we will open the video coming from PIPP and apply that calculated transformation. Save the new video and stack it again with AutoStakkert!.
Wavelet Treatment With Registax
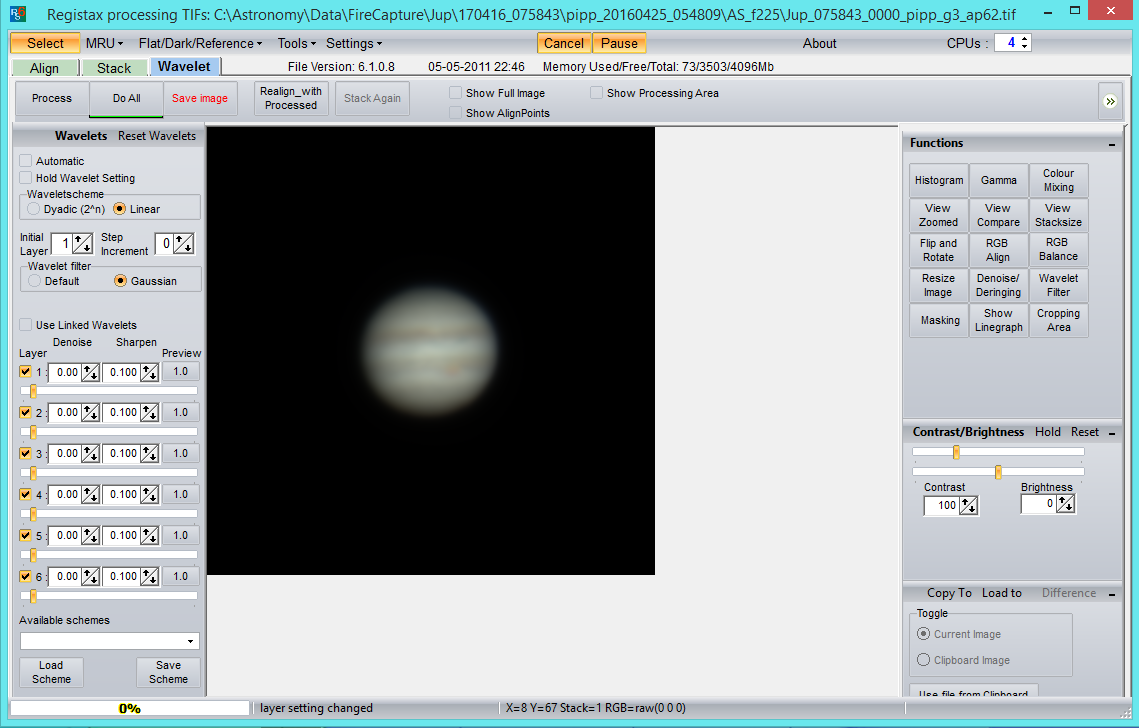
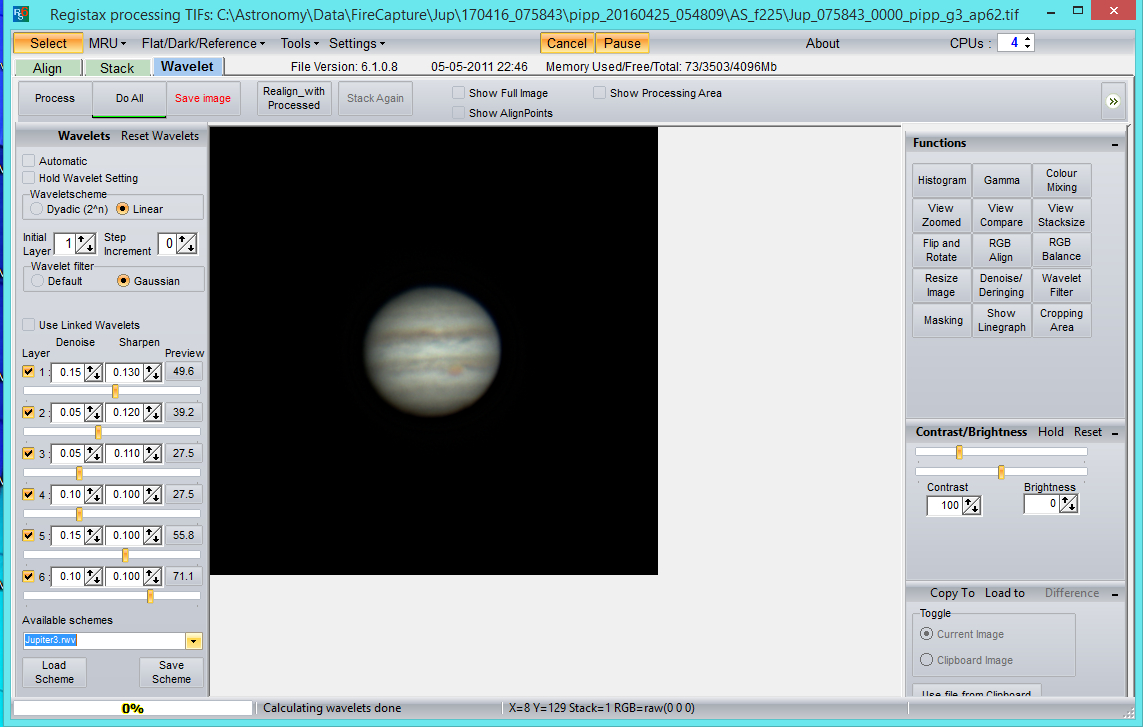
At this step, you should have a TIFF image that looks a bit blurry. That's normal, it's an average of thousand of images, all slightly different because of atmospheric turbulence. We will now increase the sharpness of this image to recover the details on the surface of the planet.
Wavelet settings vary for each planet and you should experiment with you own settings. You can then save the image as a PNG.
Post-Processing With GIMP
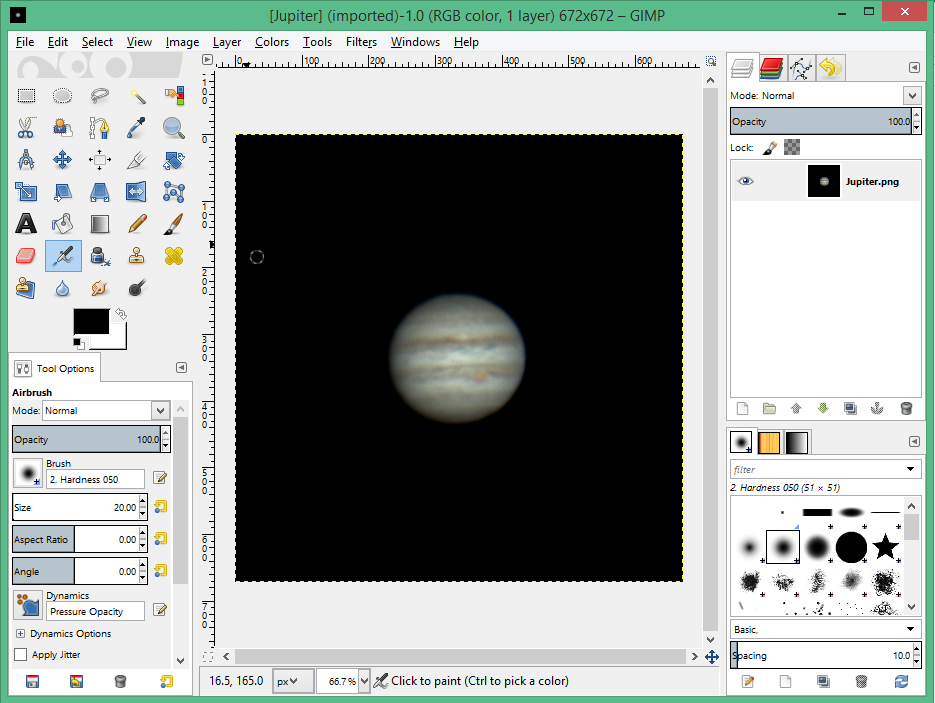
This is the final step. You can now open the PNG image you made in the previous step and modify curves, levels, contrast, brightness, etc.
This is also the step where you can rotate your final image if it was not horizontal during the capture process.