Planetary Motion Paperweight
by britknight in Workshop > 3D Printing
1385 Views, 2 Favorites, 0 Comments
Planetary Motion Paperweight

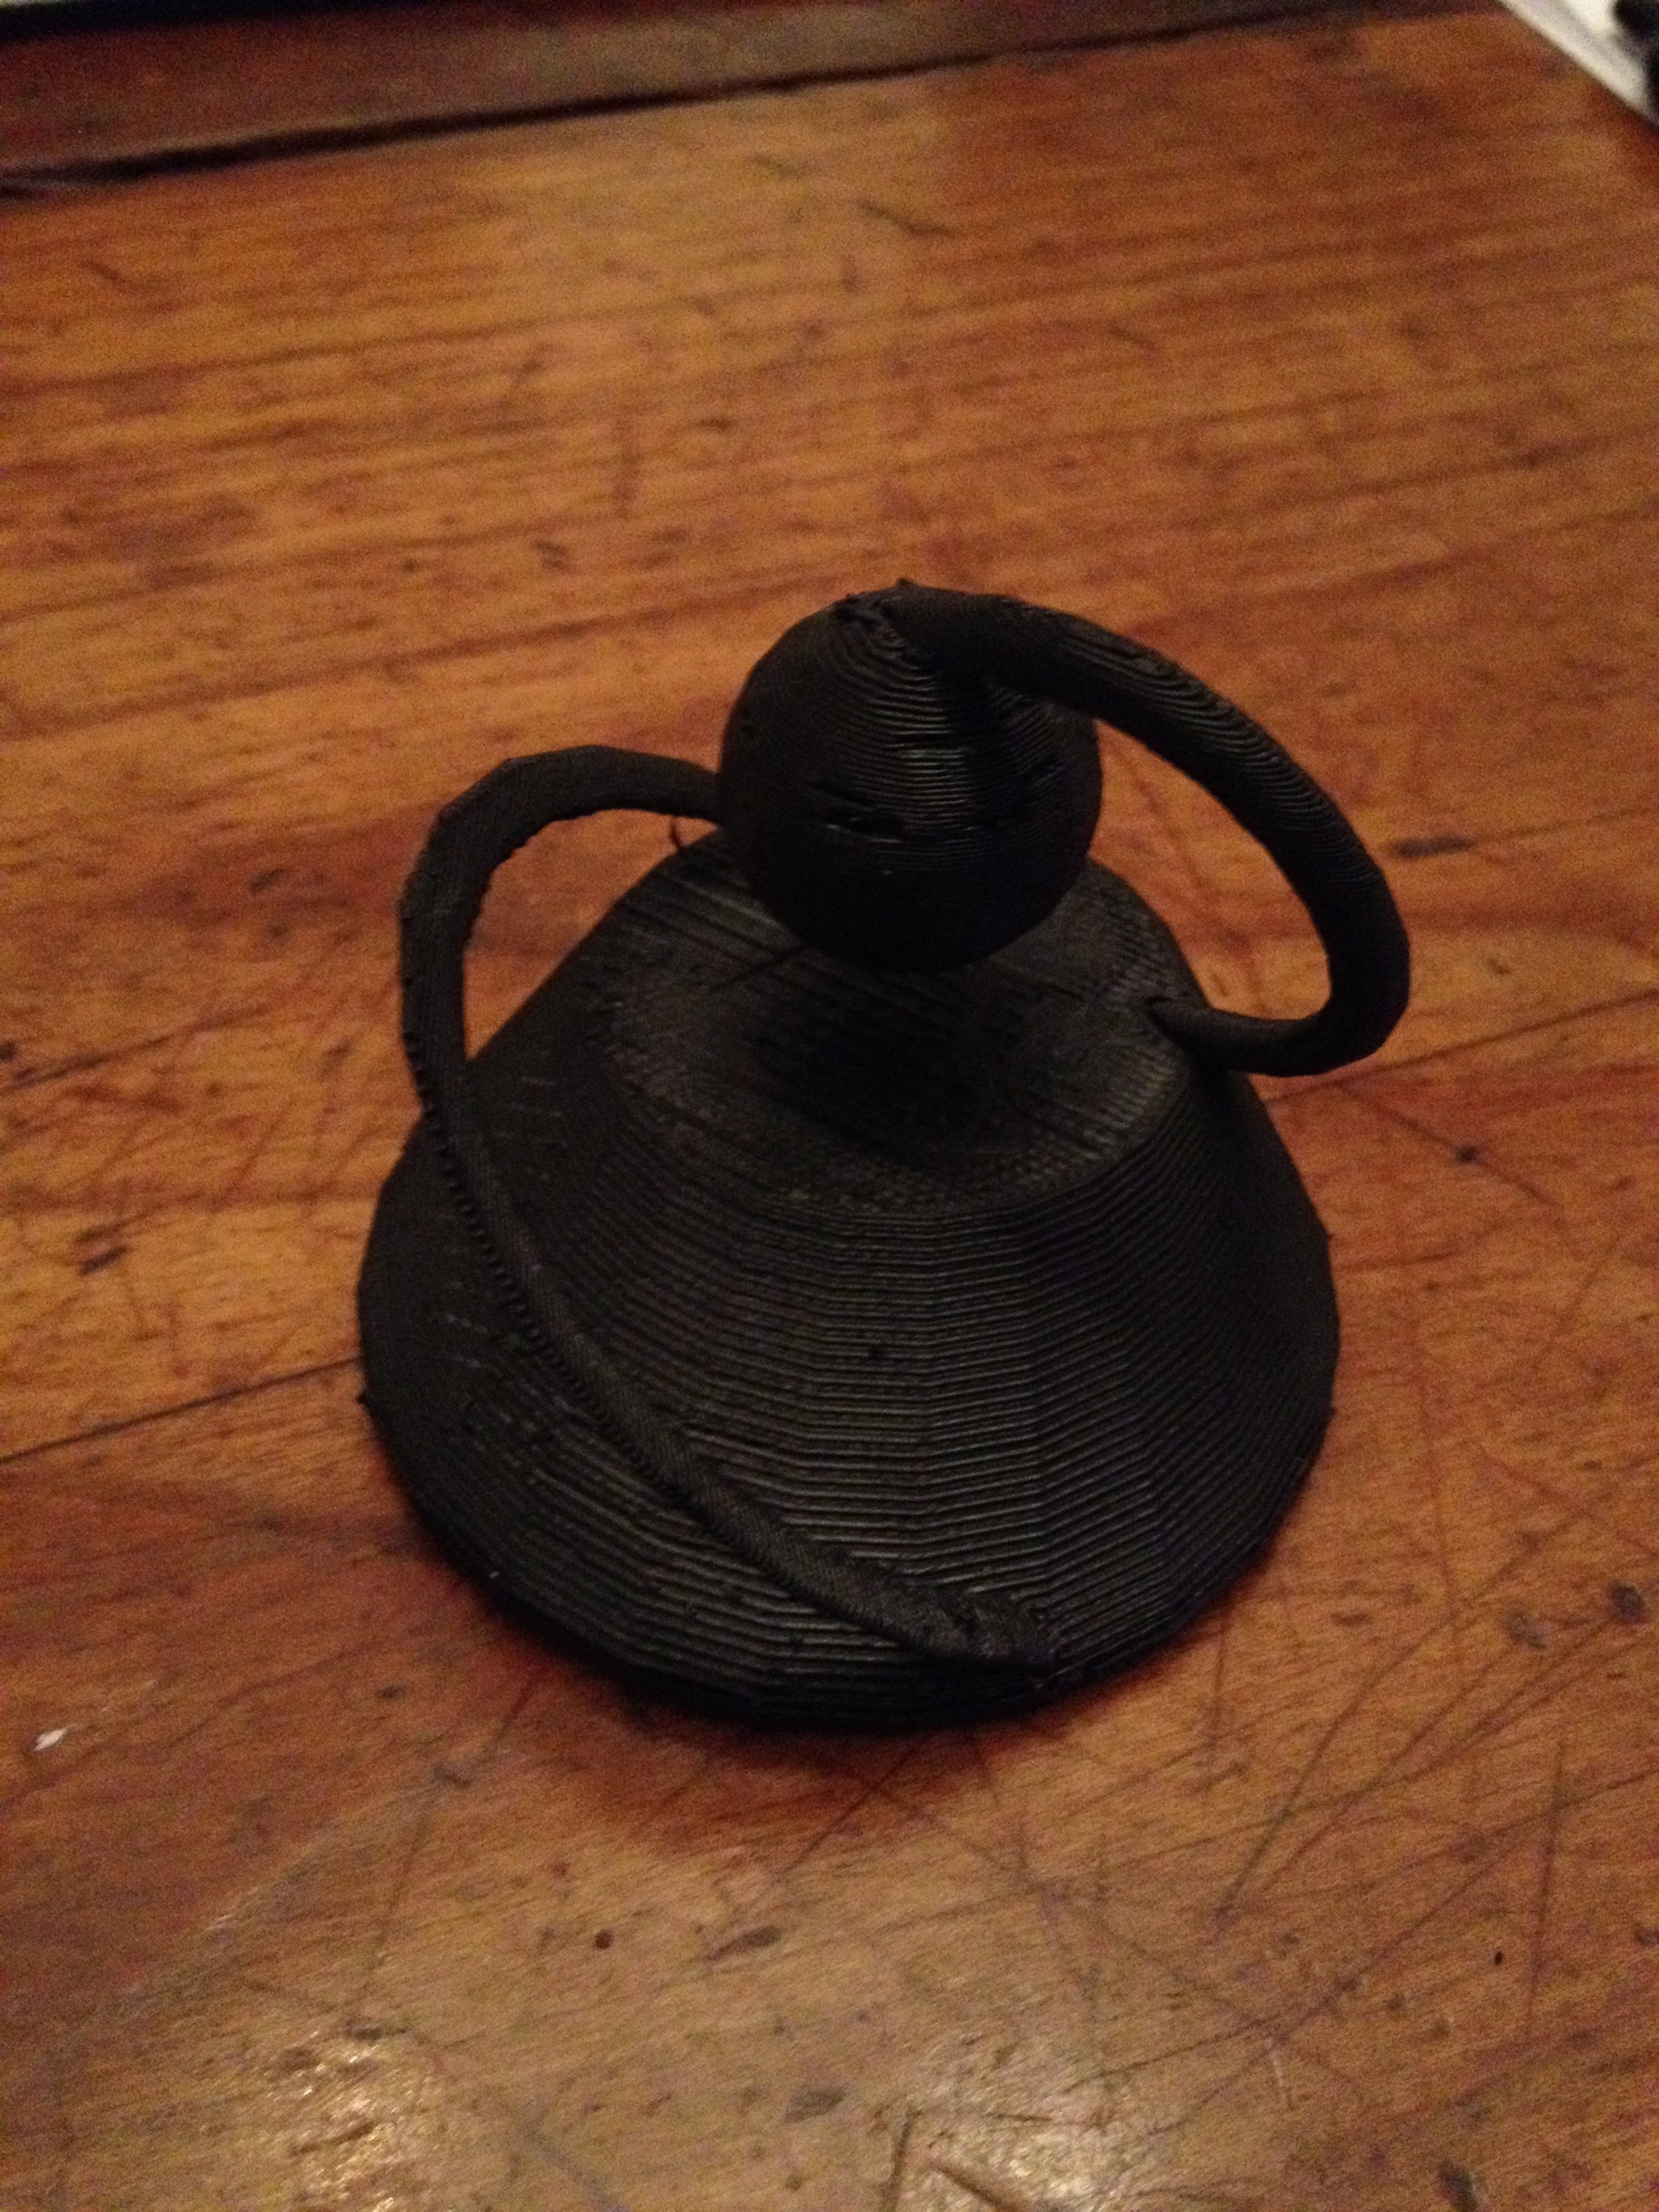
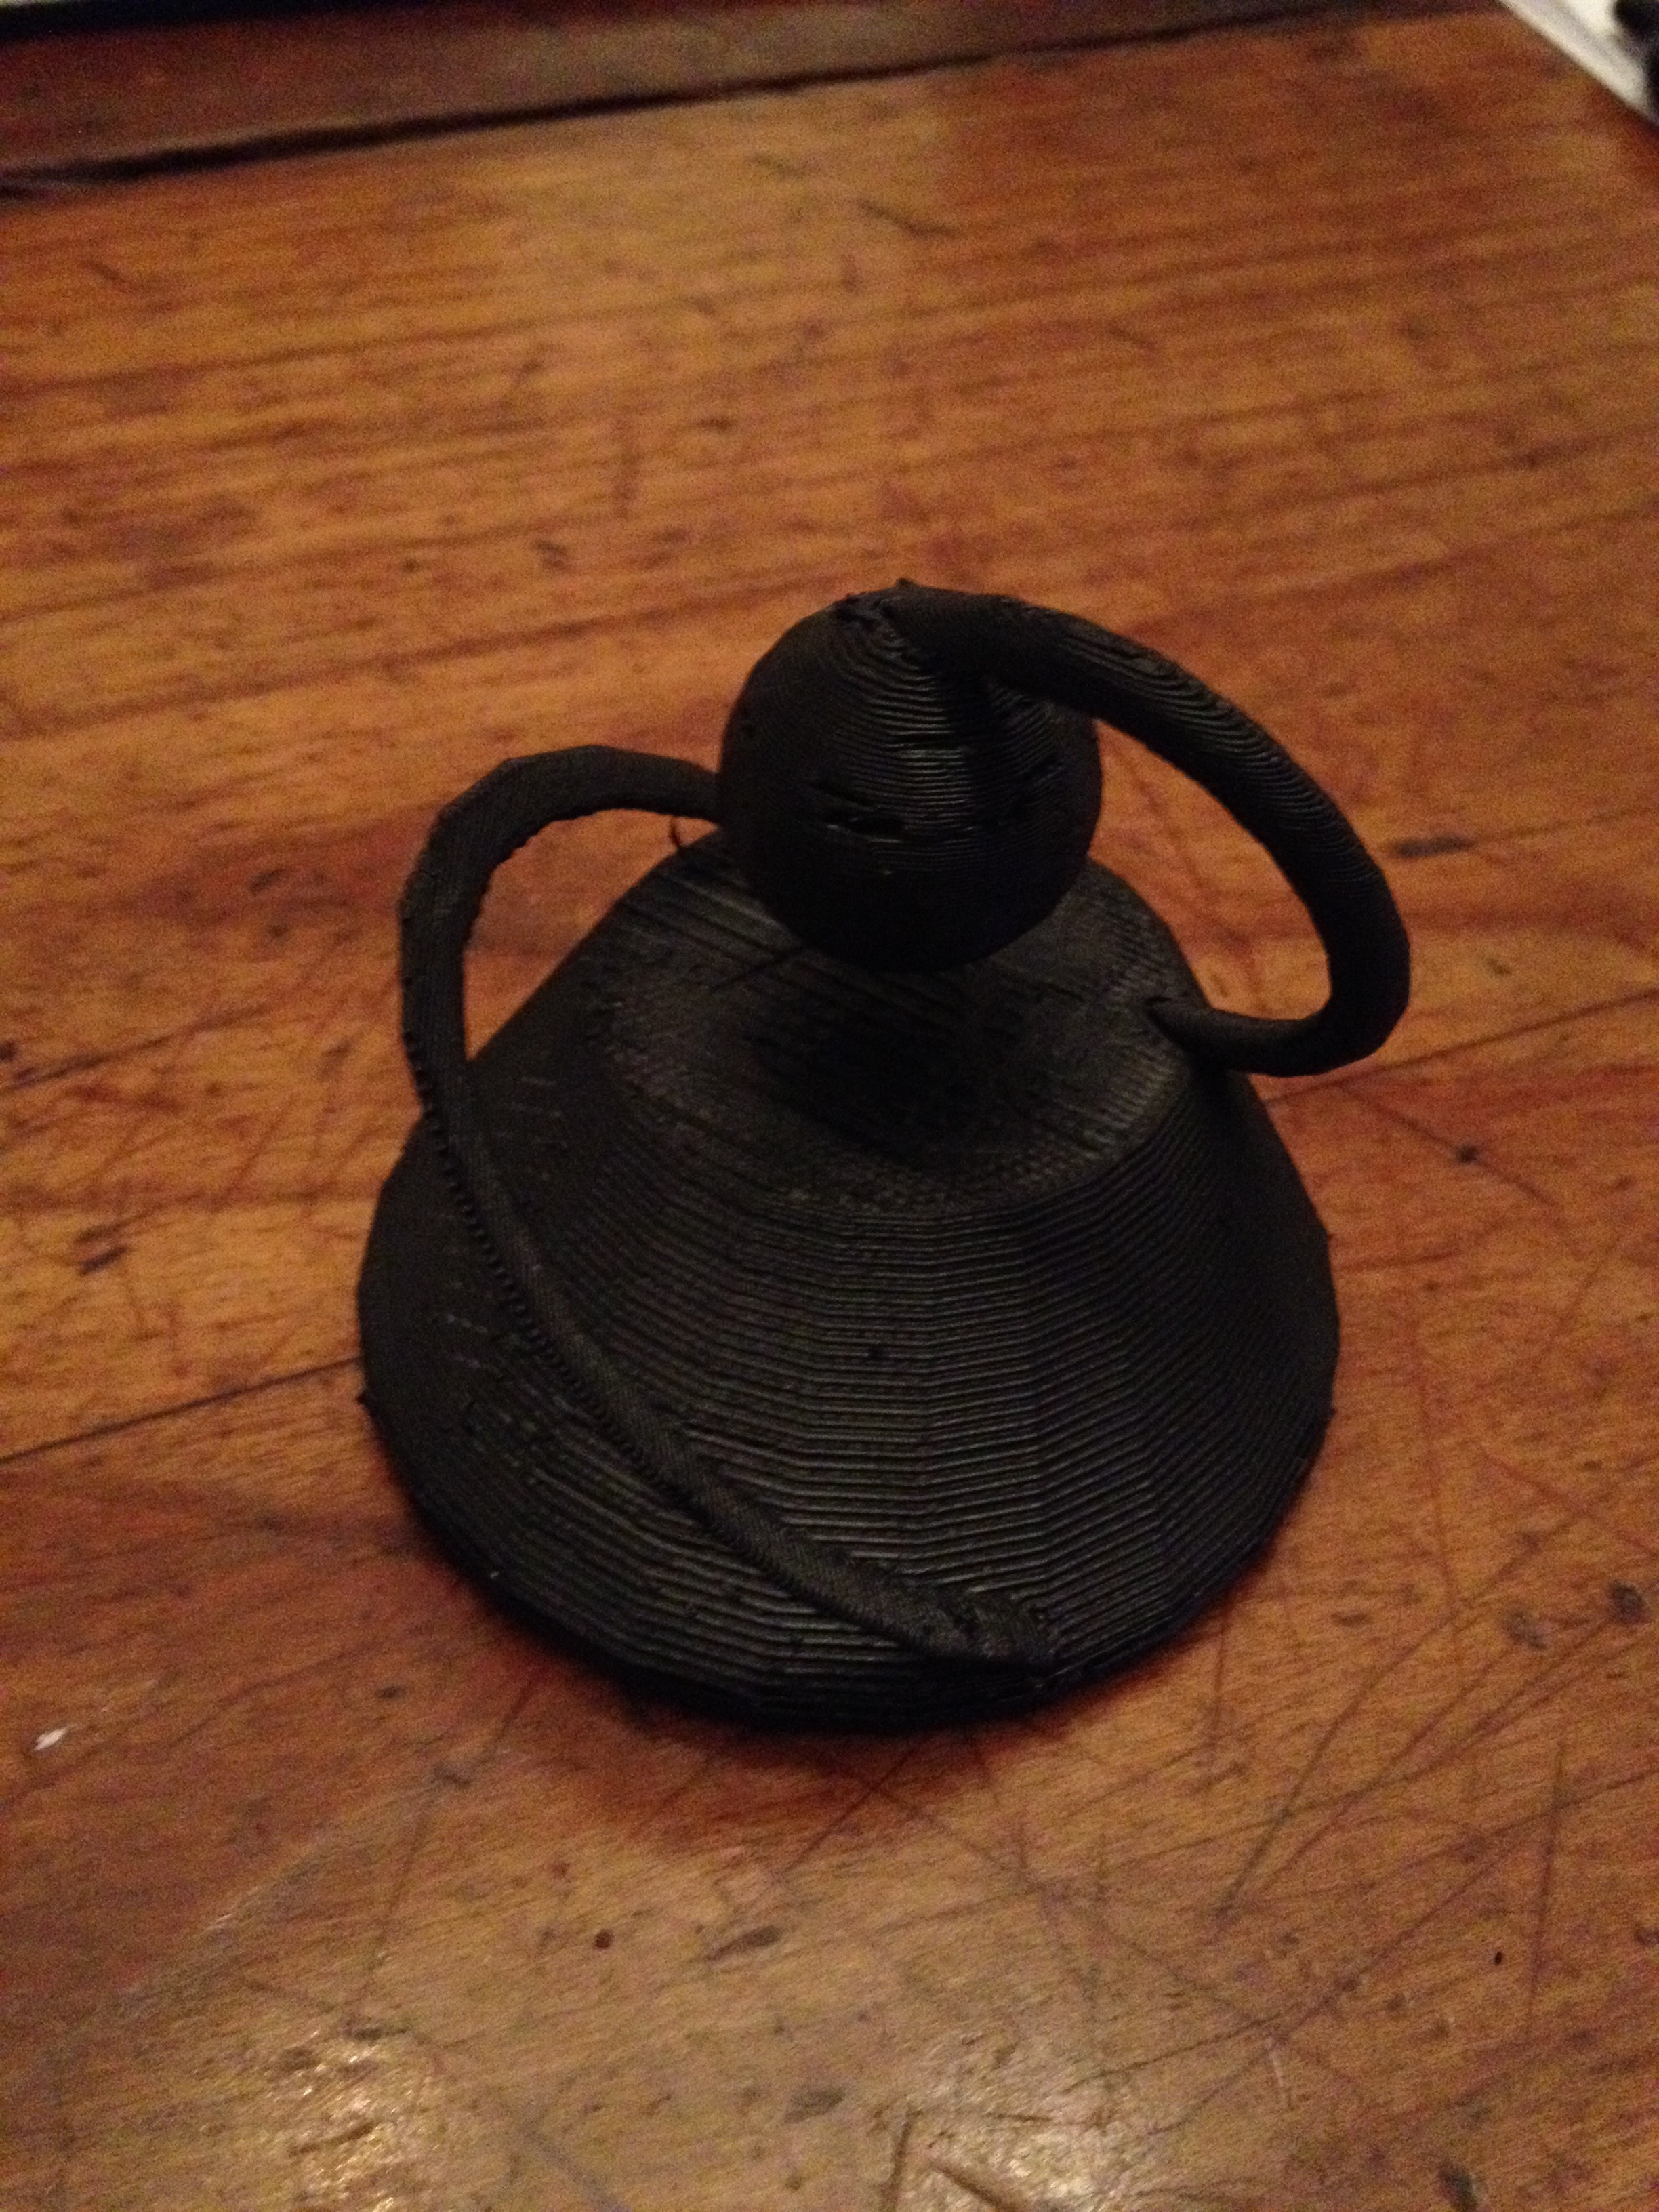
This is a sculpture/paperweight/thing that I made one day after school on a whim. I just opened up sketchup and ran with what I got. Hopefully the result isn't too bad :)
This was 3D printed on my Replicator.
This was 3D printed on my Replicator.
Design

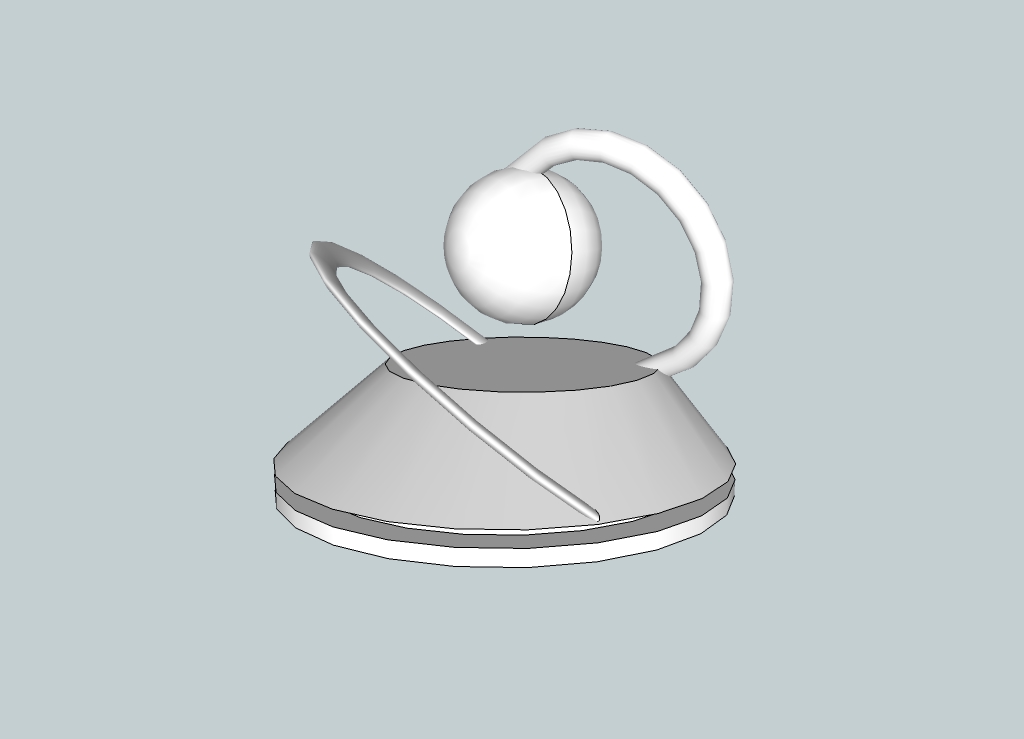
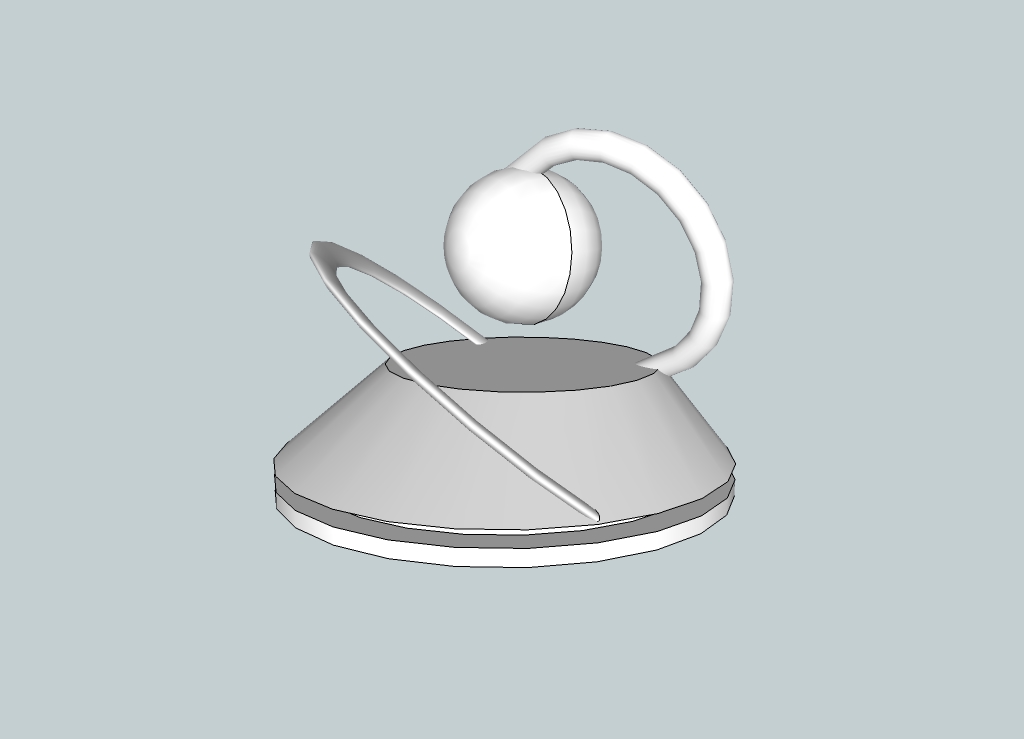
I had been experimenting with the follow me tool in sketchup, and the shape you get following an arc with a circle caught my eye and led to this. I made the base in 2 parts to get a kind of "floating" feel (from a high enough angle, you cant see the connecting pillar). I added the sphere once I thought of the planetary idea.The finished design is the first pic.
PS I got an error when I tried to upload the sketchup file, so here is the Thingiverse page with the uploads (and a pretentious description xD)
So the follow me tool, for those who don't know, is a tool in sketchup where you select a line, and then a shape, and it extrudes the shape to "follow" the line. Pretty simple right? But when I was experimenting with it, I found that you could get interesting shapes by fiddling with the angle of the piece your were extruding.
The 2nd and 3rd pics are just the plain old follow me.
The 4th and 5th pics are what happens when you rotate the piece you are extruding, which gives a cool elliptical shape.
The most interesting curves are the ones you get like I got in the 6th and 7th pics, where you angle both the piece you are extruding, and the line you are following. This gives a similar cross section as to the one in #5, but with a bank to it. This is what I used for the arcs in my model.
You can get really cool and different shapes by changing subtle things about the initial setup (angle, size, curve, etc). I even experimented with extruding a gear shape (using a plugin), which was pretty cool.
Printing, Re-design, and Re-printing
I exported the model from sketchup with the help of a plugin, and loaded it into replicatorg, the program you use to convert models (that you see as the model) to lines of "gcode" (what the printer sees as the model).
After scaling it to approximately the size I wanted (you can eyeball it by those grid squares, which are 10mm on each side), I clicked the "Generate GCode" button to convert it. This opened up a dialog in which you can set various aspects of the printing procedure. Here I'll go over my choices (pic #3).
I wanted to print in black, which is the left extruder on my machine, so make sure you have it set to extrude from the side that has your color of choice.
"Full Support" means that the program will add a thin scaffold to any overhangs that would otherwise have trouble printing (the plastic wouldn't otherwise have anything to build off of, and would most likely have messed up the print by going all over the place). The scaffold is printed so that it sticks well enough to support your print, but is still fairly easy to remove. This option also prints a lattice (a "raft") underneath your print that helps it stick to the platform. The other 2 options are "None", which only gives the raft, and "Exterior Support", which only prints the scaffold around your print (never on top of a previous layer). As neither of these options would work for this print, you can ignore them.
Infill is the percent (by volume) of plastic in your print. Since a solid print would take forever and warp a tonne, you usually use an infill <50%. The infill manifests as a honeycomb structure on the inside of your print (the higher the infill, the denser the honeycombs). Because this print need not be structural (just pretty ;) ), I chose an infill of 15 percent.
0.25 is a good trade off for layer height (pretty self-explanatory name) between detail and print time.
Again, because this is not a structural model, 1 shell (the number of times it traces the perimeter) should suffice.
Feedrate (the speed of the extruder head) should be slightly lowered from the default (30) because of all the circles you want to keep smooth. Too fast and it tends to "connect the dots" rather than draw a smooth circle. Too slow and the print will take too long.
The travel feedrate (the speed when not extruding) is relatively unimportant for this print. I left it at the default.
220 degrees C is good for printing with ABS. If you use PLA, be sure to use the right setting for your material.
Another thing not included here is the platform temperature. The above temp is for the nozzle that extrudes the plastic, while this temp is for the platform on which the model is constructed. Somewhere in the region of 115 usually works for me. You do have to change this setting in either the defaults menu or the gcode itself, but its not too hard (remember, google is your friend :D).
After the first print, I made some minor edits: Increased the separation between the 2 pieces of the "floating" base, and made sure the arcs melded well with the base (the small gap you can see in the model between the arc and the base doesn't show at all in the print).
Polish
As it printed in color, there was no painting, leaving only a little clean up and smoothing.
You can use a combination of your fingers and needle nose pliers to remove the scaffolding (sorry, no pics for this step). Just be careful around the the arcs, which can snap if you aren't careful (it happened to me once, not fun). After removing the scaffolding, just use some sort of metal scraper (I used the nail cleaning thing that swivels out from some nail clippers) to scrap off the last traces of the scaffold.
If there are a few small holes in you model from the scaffolding taking bits of the model with it, don't worry! You can use some spackling or even hot glue in a pinch to cover them up (just make sure to paint afterwards XD).
Enjoy!


Now you are the proud owner of a fully functioning thing! Stop those pesky papers from flying away, of just admire your work.
Happy Making, BritKnight
Happy Making, BritKnight