Plane and Launcher
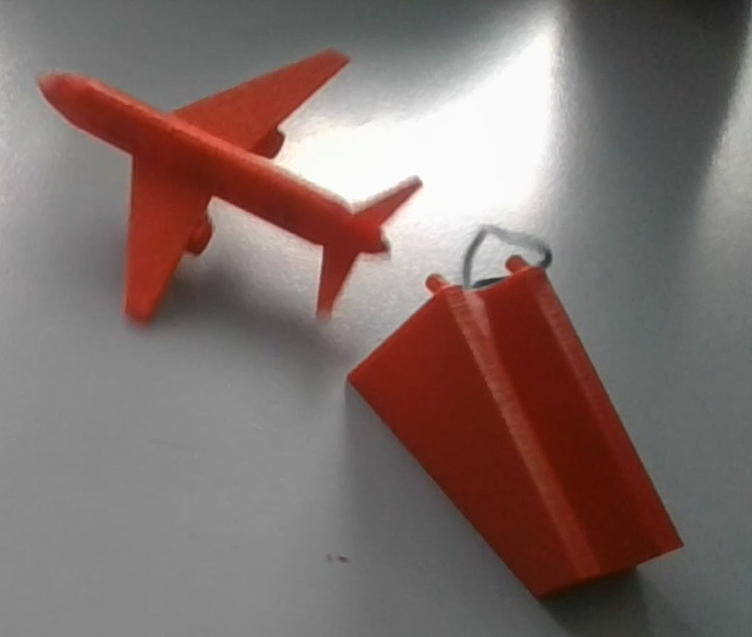
I made a 3D printed plane and a launcher for it because I wanted to create a fun and challenging project that would test my engineering and design skills. I was also interested in learning more about how airplanes fly and how to design them for optimal performance.
Supplies
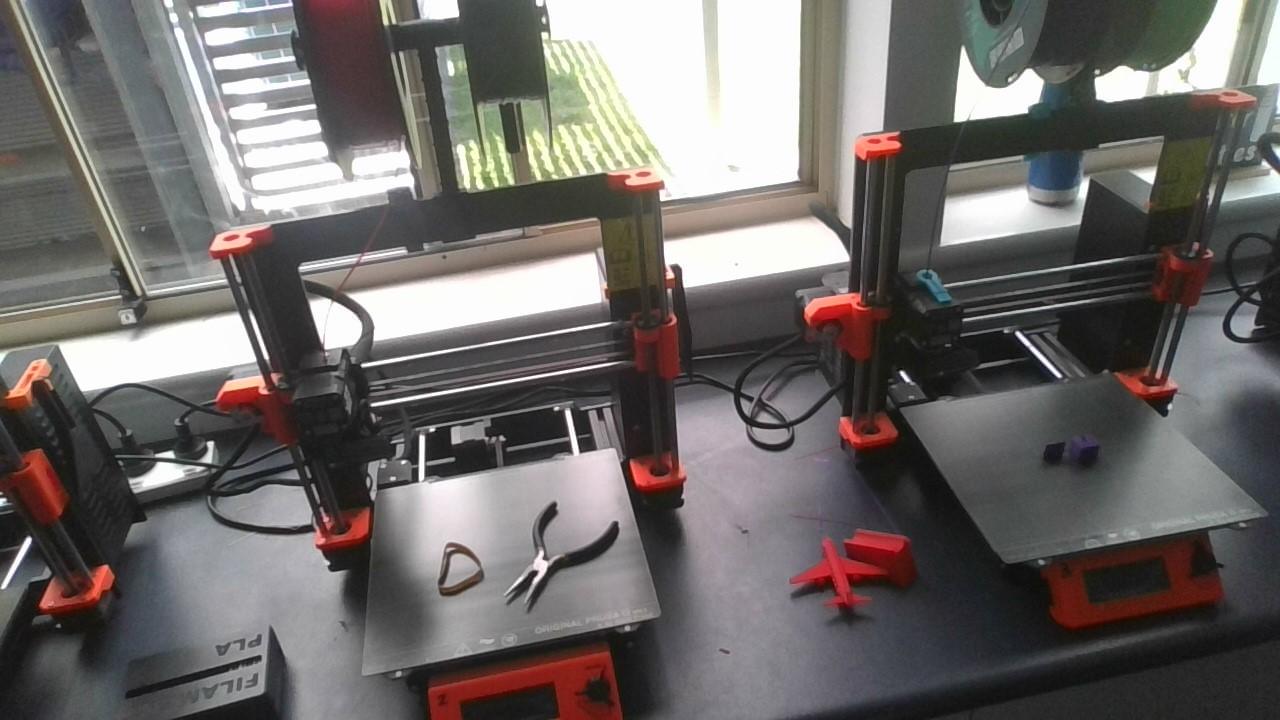
For my supplies I used:
Fusion 360 and Laptop
Prusa Slicer
3D printer (Prusa I3)
Filament (Esun Red PLA+)
Rubber Band
Pliers (For Removing Supports)
Start Plane
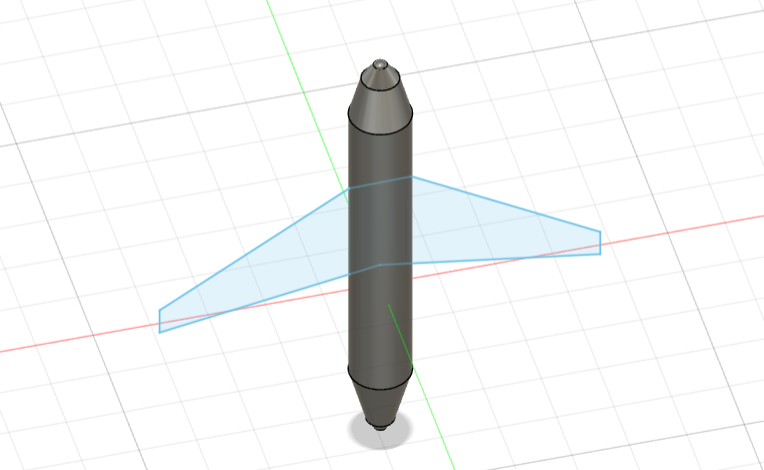
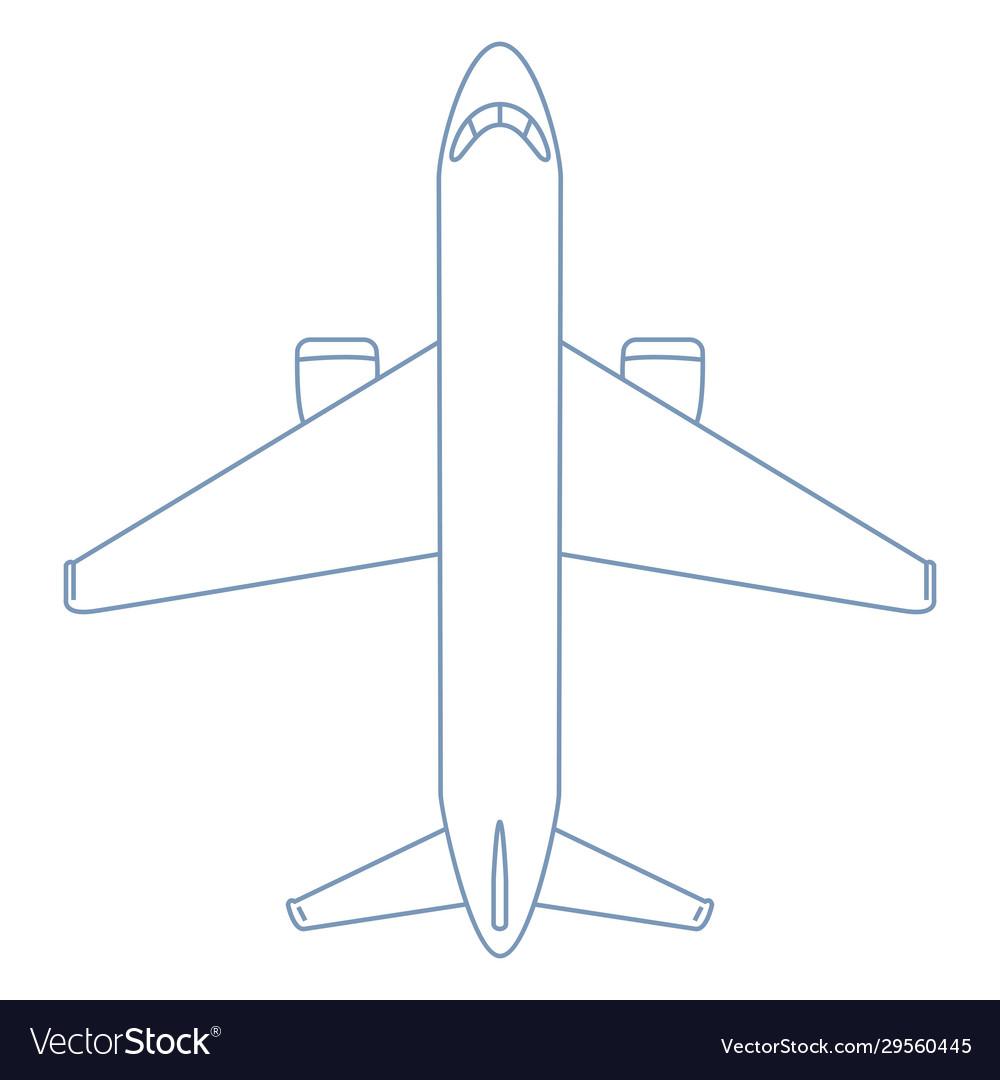
Make a Canvas of a Plane to copy of, Press add Sketch and make a circle, Make the circle the same width of a plane extrude the circle till it matches the plane. Then extrude the sides again and make them slowly get narrower and narrower. Repeat on both sides. Then copy the wings from the canvas.
Make Wings
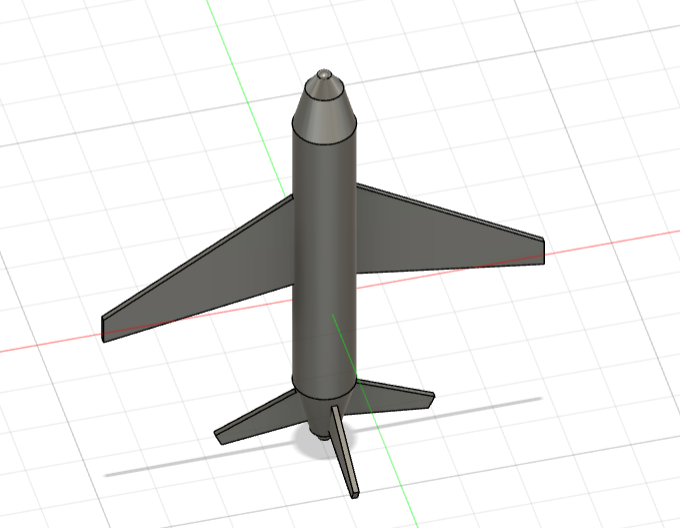
Copy the canvas untill it looks the same, then extrude all things so it is around 5mm thick. Make the canvas on the other side and copy the tail wings.
Make Engines
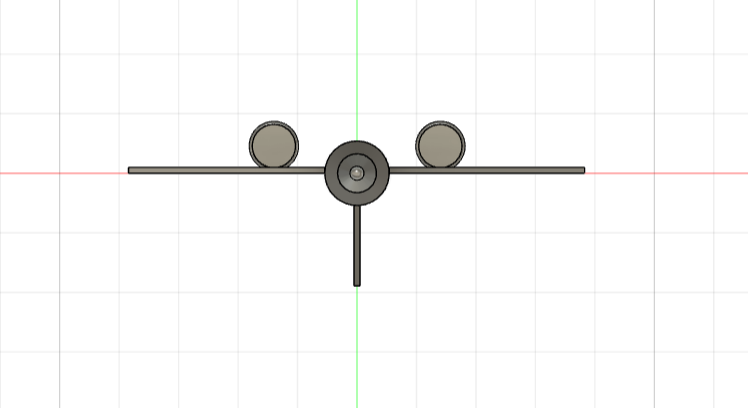
Sketch 2 Circles the same size and extrude so they slowly get smaller- They are now the engines
Make Windows

Once I finished the plane I decided I wanted windows so I added a circle and extruded it so it started inside the plane and then I make it be able to be seen.
Make Windows 2
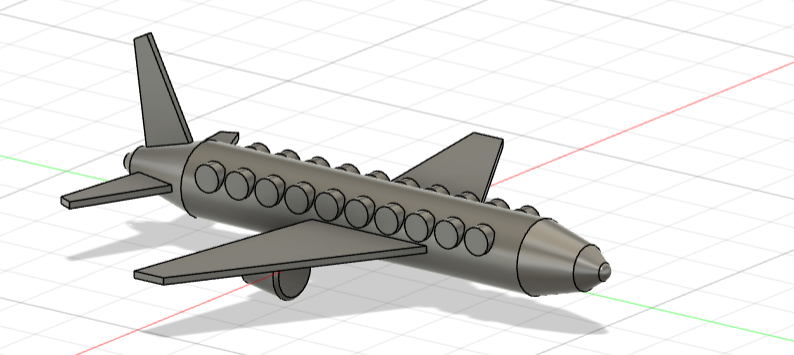
Use rectangular pattern to add heaps of circles
Make Windows 3
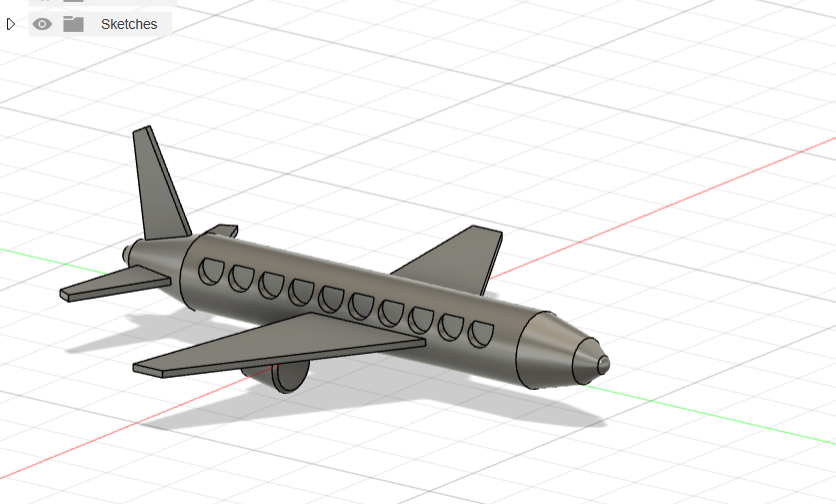
Extrude the circles back into the plane and use the cut setting from extrude these are now windows
Make Launcher
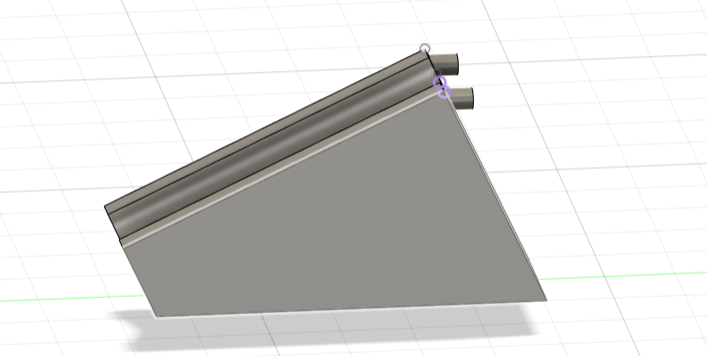
Next, I designed and 3D printed a launcher for the plane. The launcher is a simple device that uses a rubber band to propel the plane into the air. I wanted to design a launcher that would be easy to use and would allow me to launch the plane with a high degree of accuracy and power.
I Made The Launcher as a Rectangle, then i made another one rotated it to 25 Degrees and then made a circle that was a little bit more than the Diameter of the plane and cut is so the plane fits Snug.
3D Print
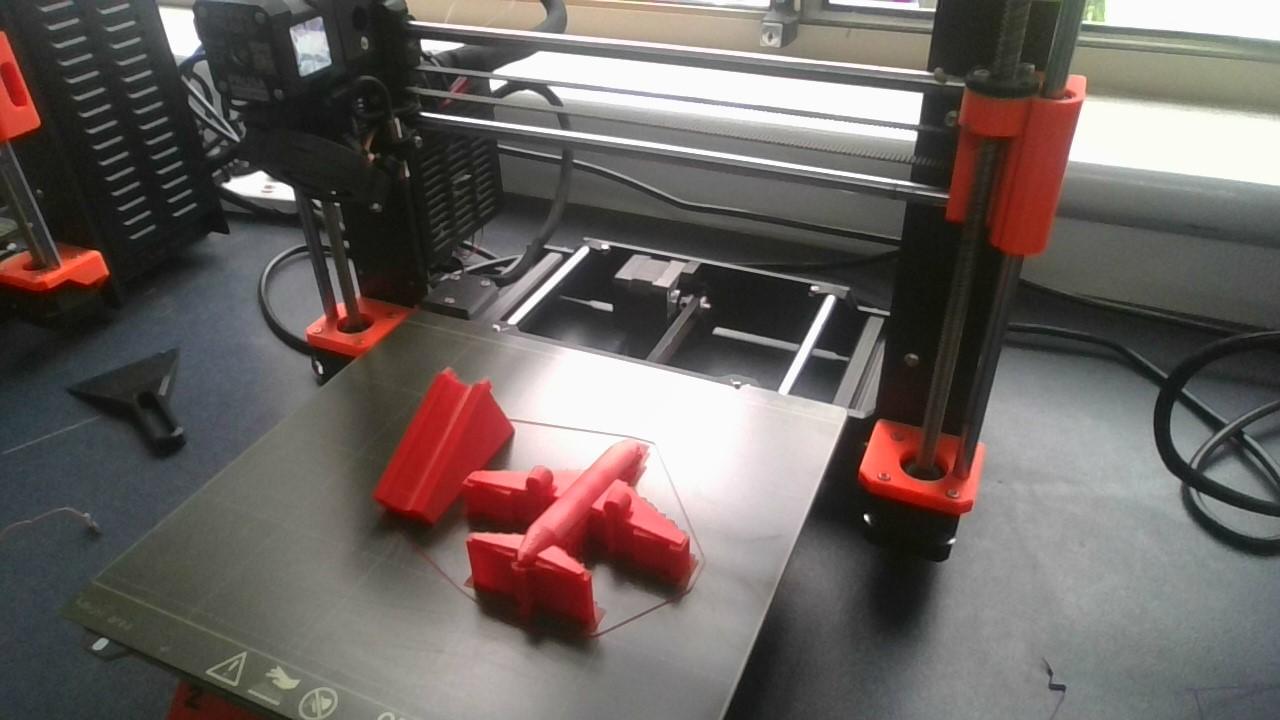
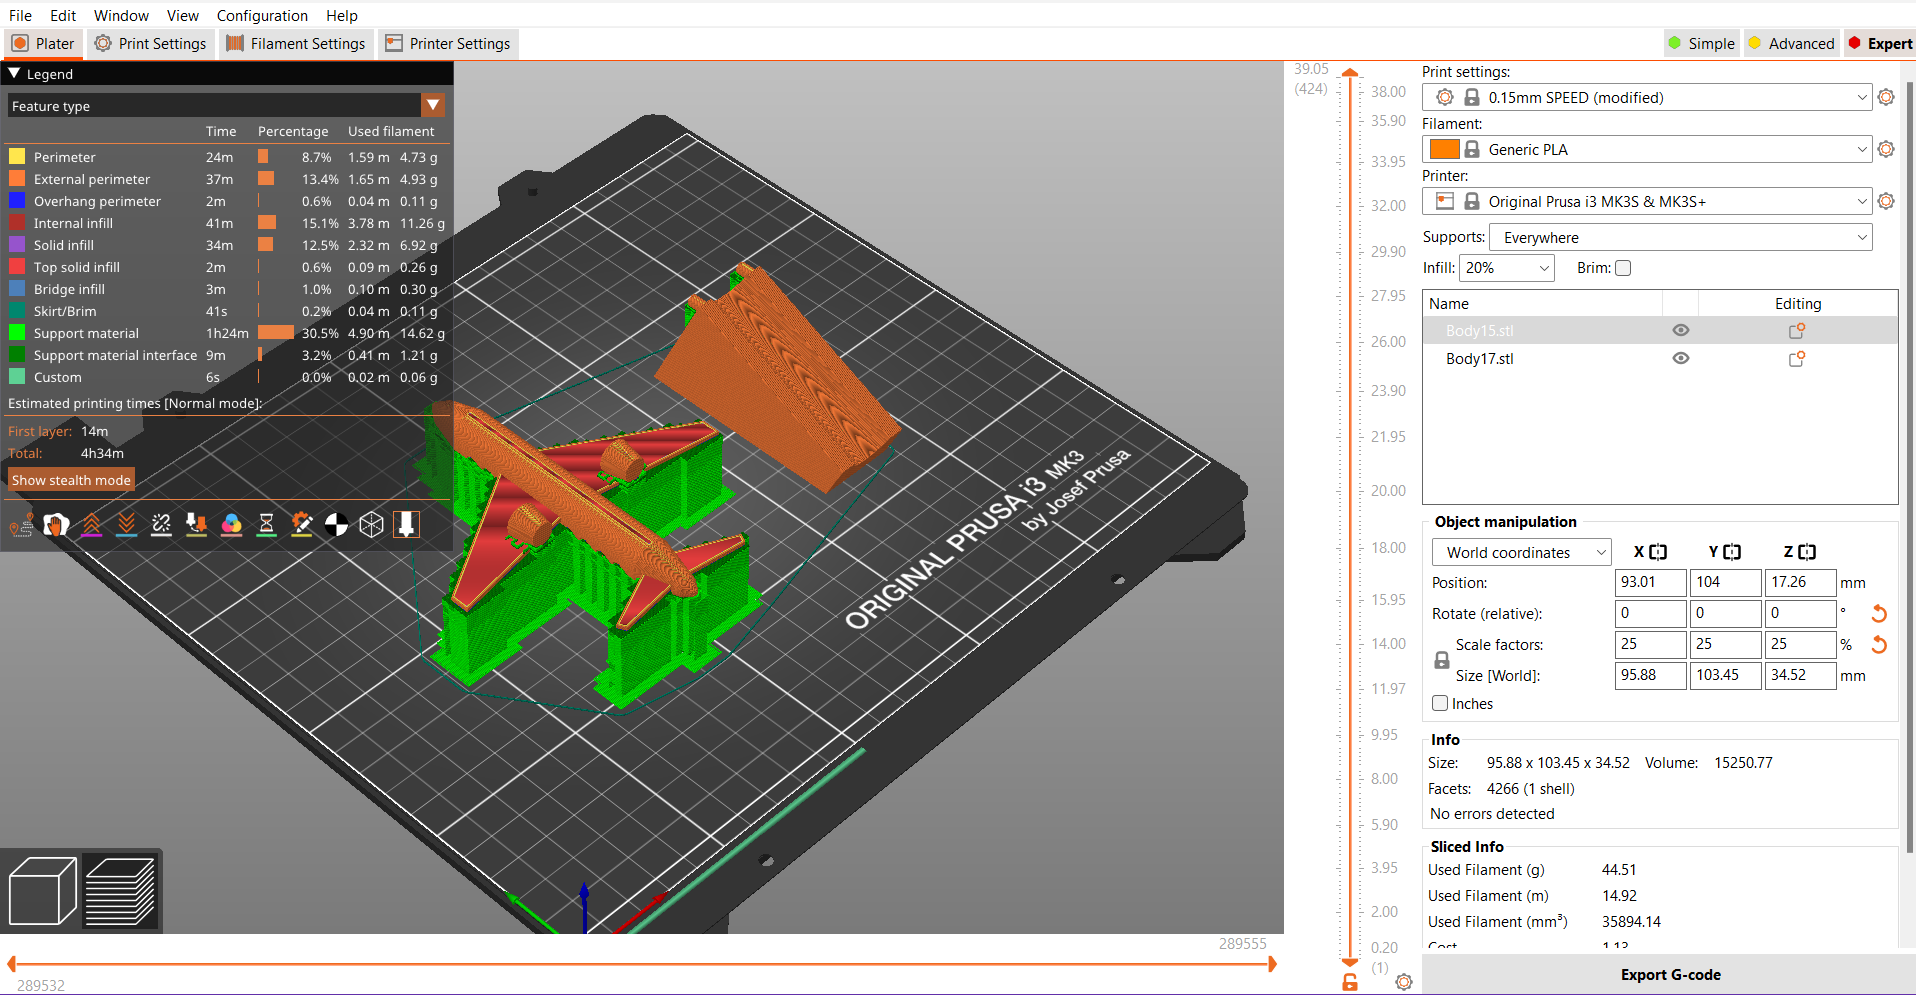
Slice the Plane and Launcher, My plane took 5 Hours to print, then 3D Print and Remove from Print Bed
Remove Supports
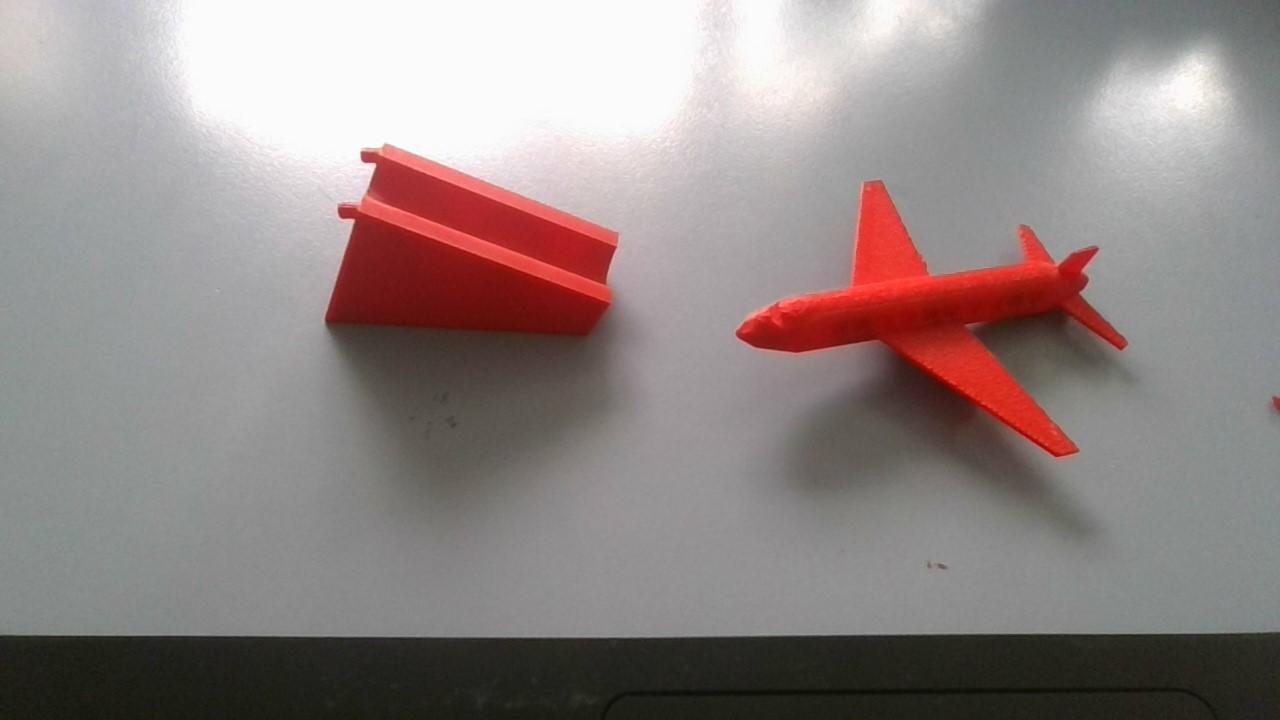
Remove Supports, The supports where pretty hard to Break of so I used some Pliers. When I removed the supports I accidently chipped the plan.
Finish the Launcher
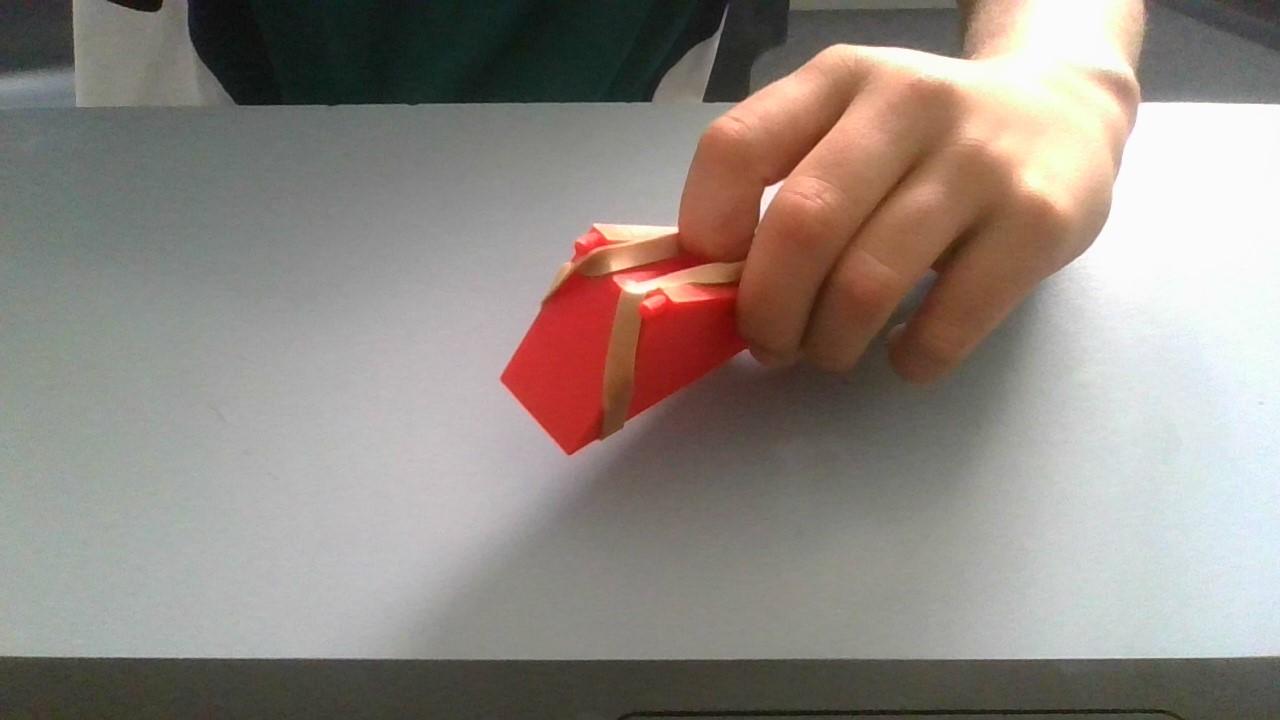
Attach the rubber Band- You can attach how ever you want. I use thick Rubber bands and put them so their is tention at all times.
Enjoy
Have fun Flighing your new plane