Pizza Box Light Box
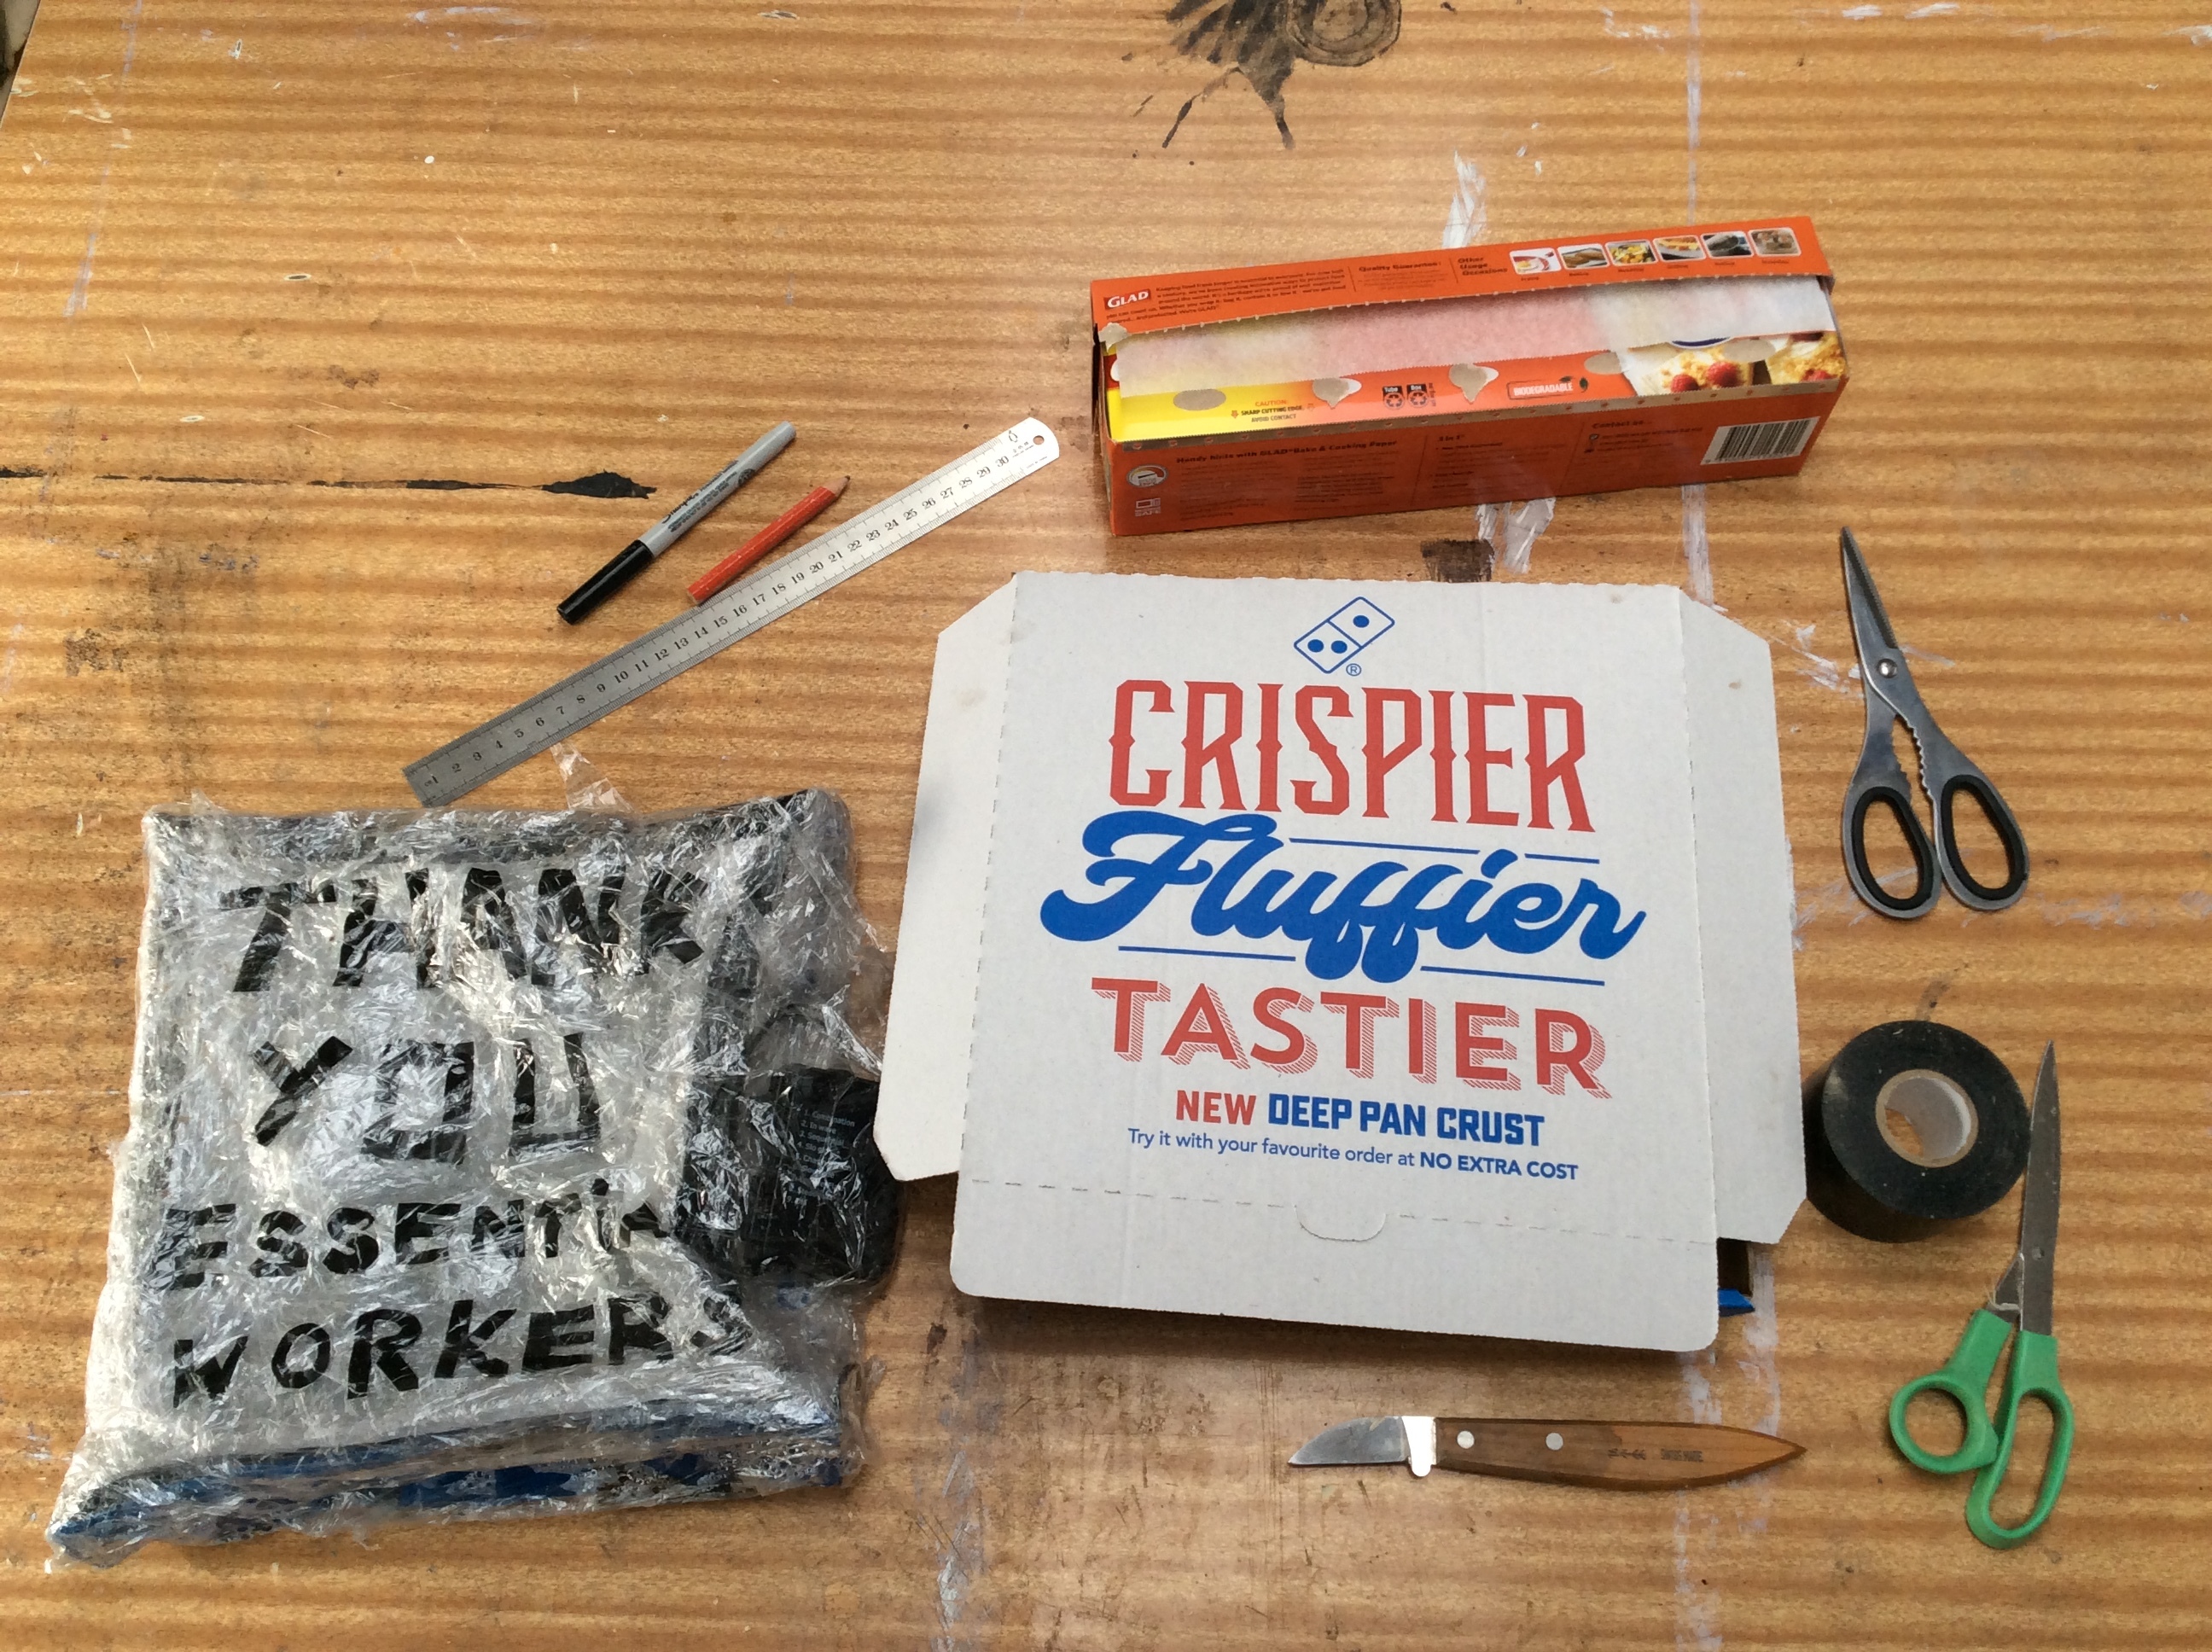
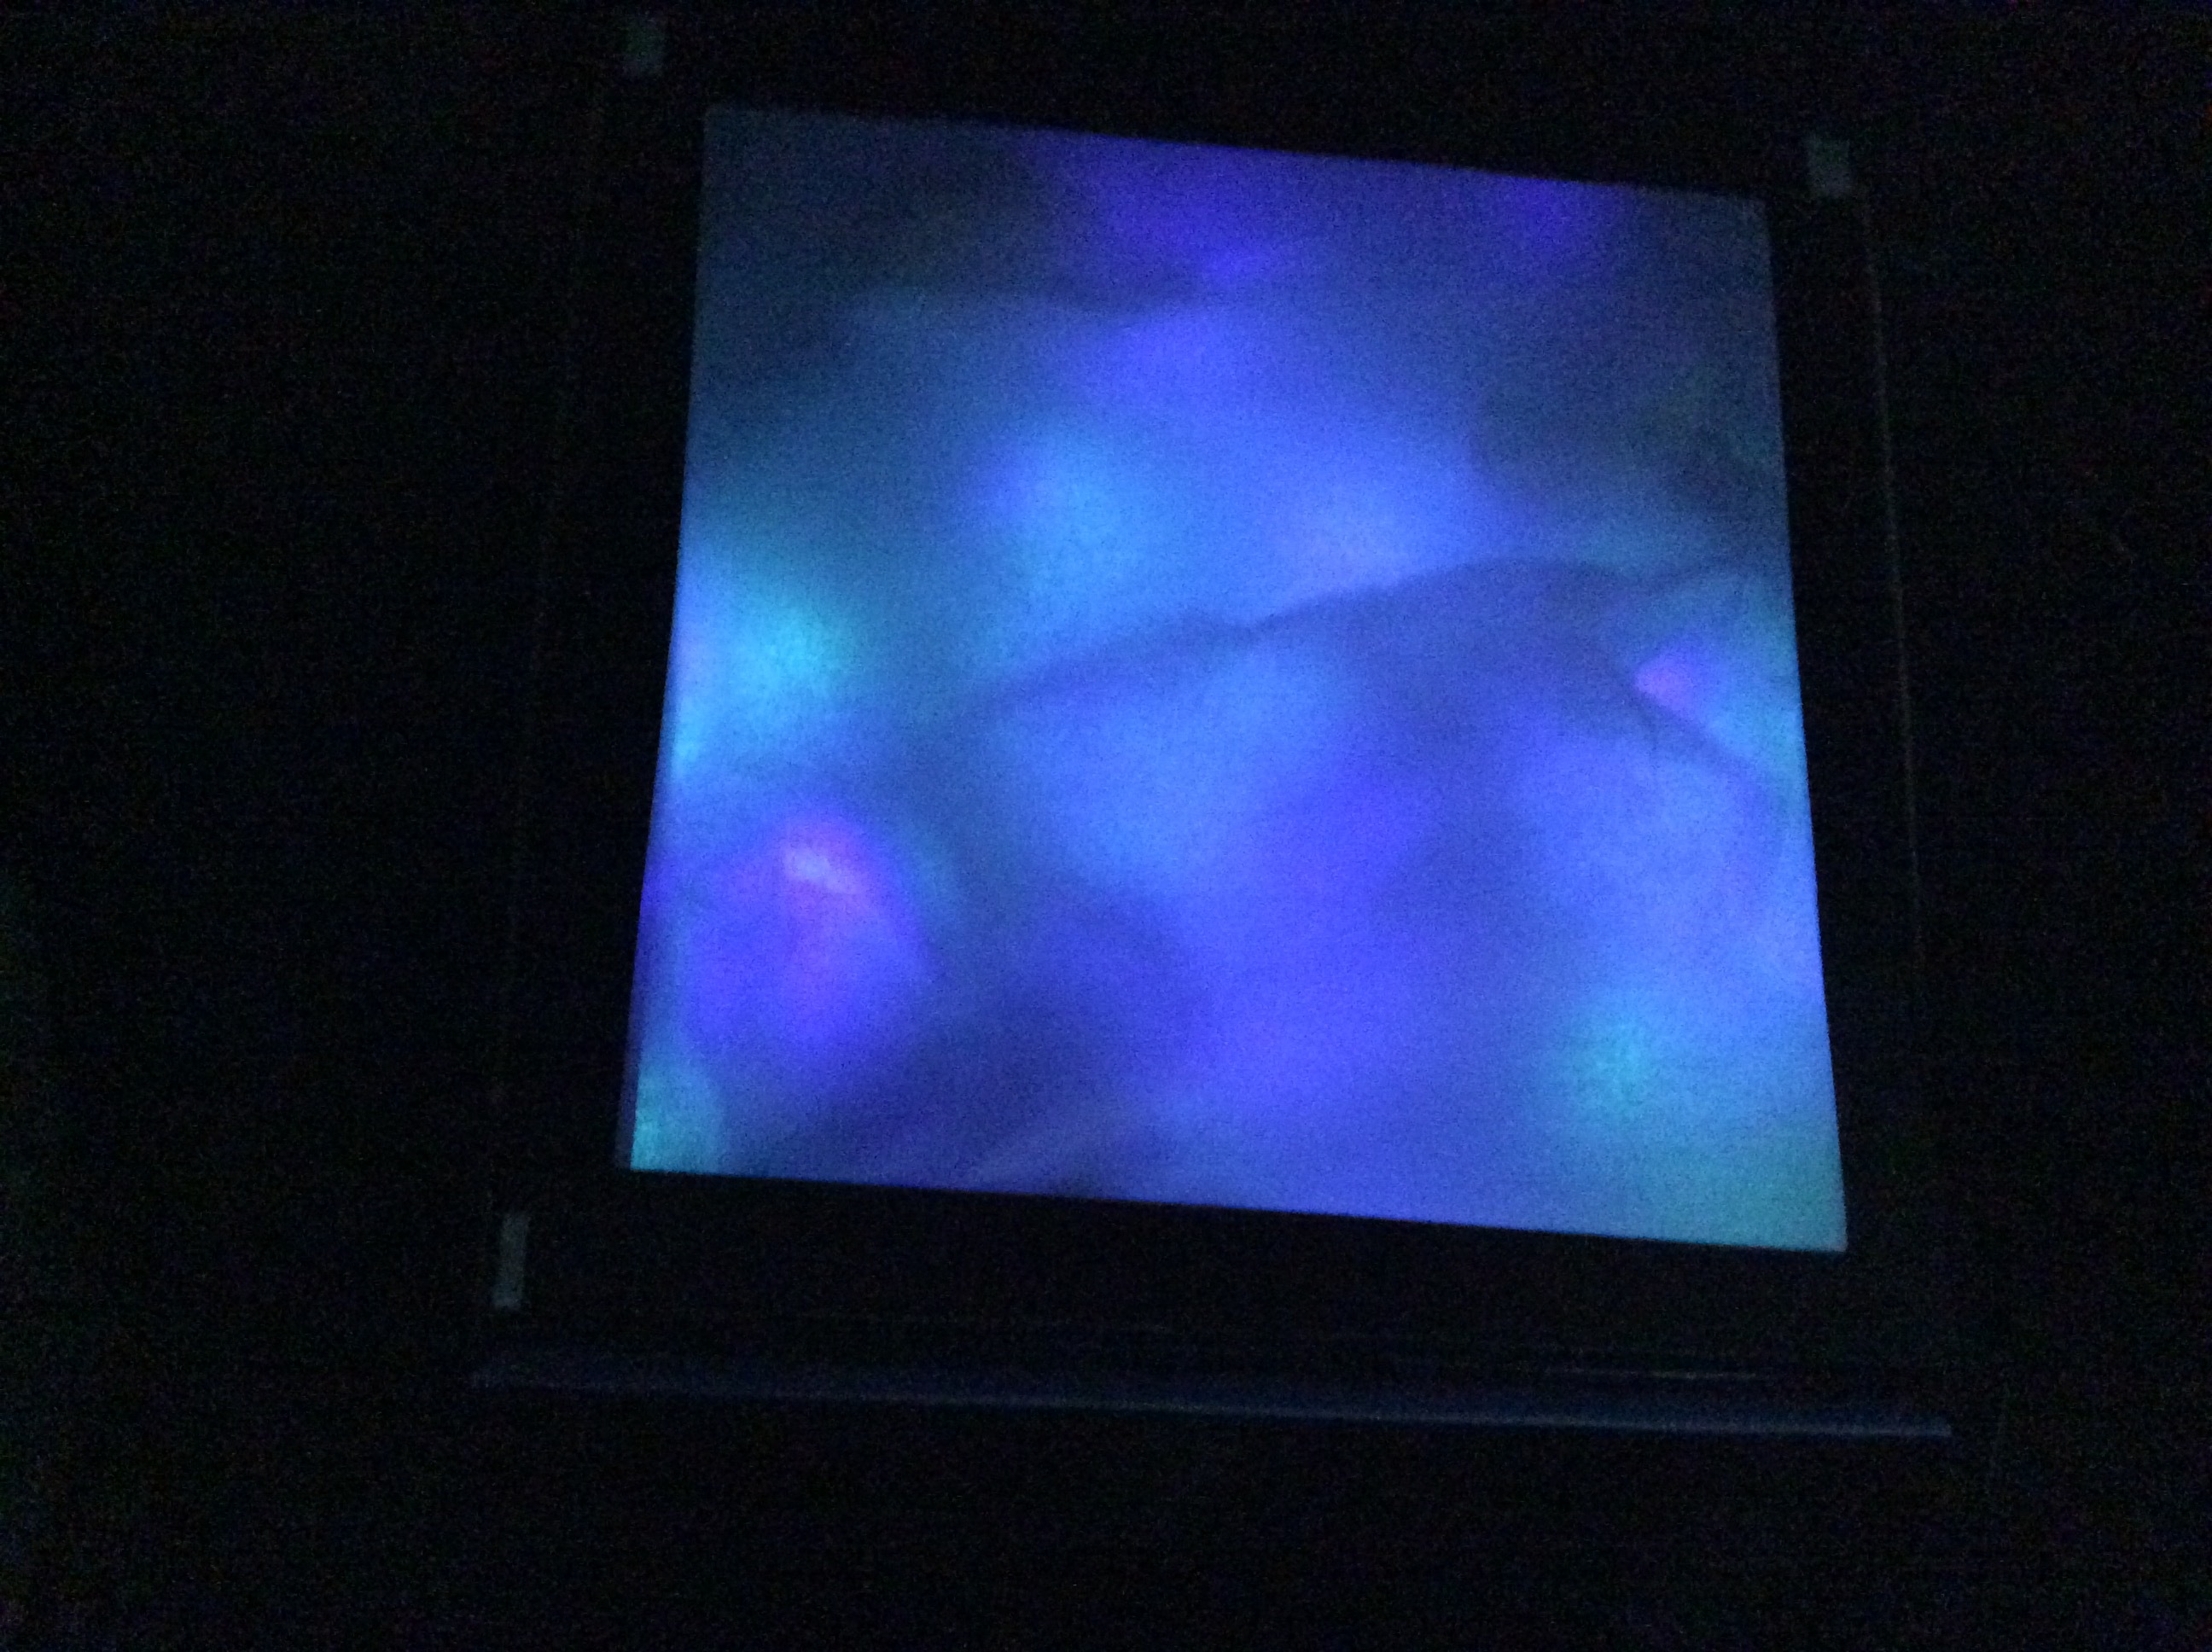
In this instructable I’m showing you how I made a light box from a pizza box. I’ll start by dissecting my original one, which was part of an outdoor display for a week before succumbing to the combination of several days of heavy rain and being a load bearing element. If it had not had pressure from a figure’s arm it would probably have continued to hold it’s shape.
I am using a battery operated LED light string for this and I recommend this because of the low voltage involved if something goes wrong, and the low heat output. Mine are an outdoor set with a timer, so once set they will automatically run for six hours then turn off for 18.
While I’m giving instructions with the specific materials I used which are readily available there are a range of things you can substitute. Any shallow flat box should work. Where I use baking paper as the light diffuser you can experiment with any translucent material that you can stick in front of your box - plastic bags, coloured plastic sheet, bubble wrap, cellophane, thin papers, fabric etc. The foil could be replaced with anything reflective, or even just some white paper will help reflect light.
Supplies
Materials:
Pizza box
Baking paper
Duct tape
Light set (it must be something that doesn’t generate much heat, and ideally battery operated for safety reasons. Solar works too)
Aluminium foil (or aluminum for the Americans)
Tools
Knife or scissors
Ruler
Pen or pencil
Pizza box
Baking paper
Duct tape
Light set (it must be something that doesn’t generate much heat, and ideally battery operated for safety reasons. Solar works too)
Aluminium foil (or aluminum for the Americans)
Tools
Knife or scissors
Ruler
Pen or pencil
The Dissection
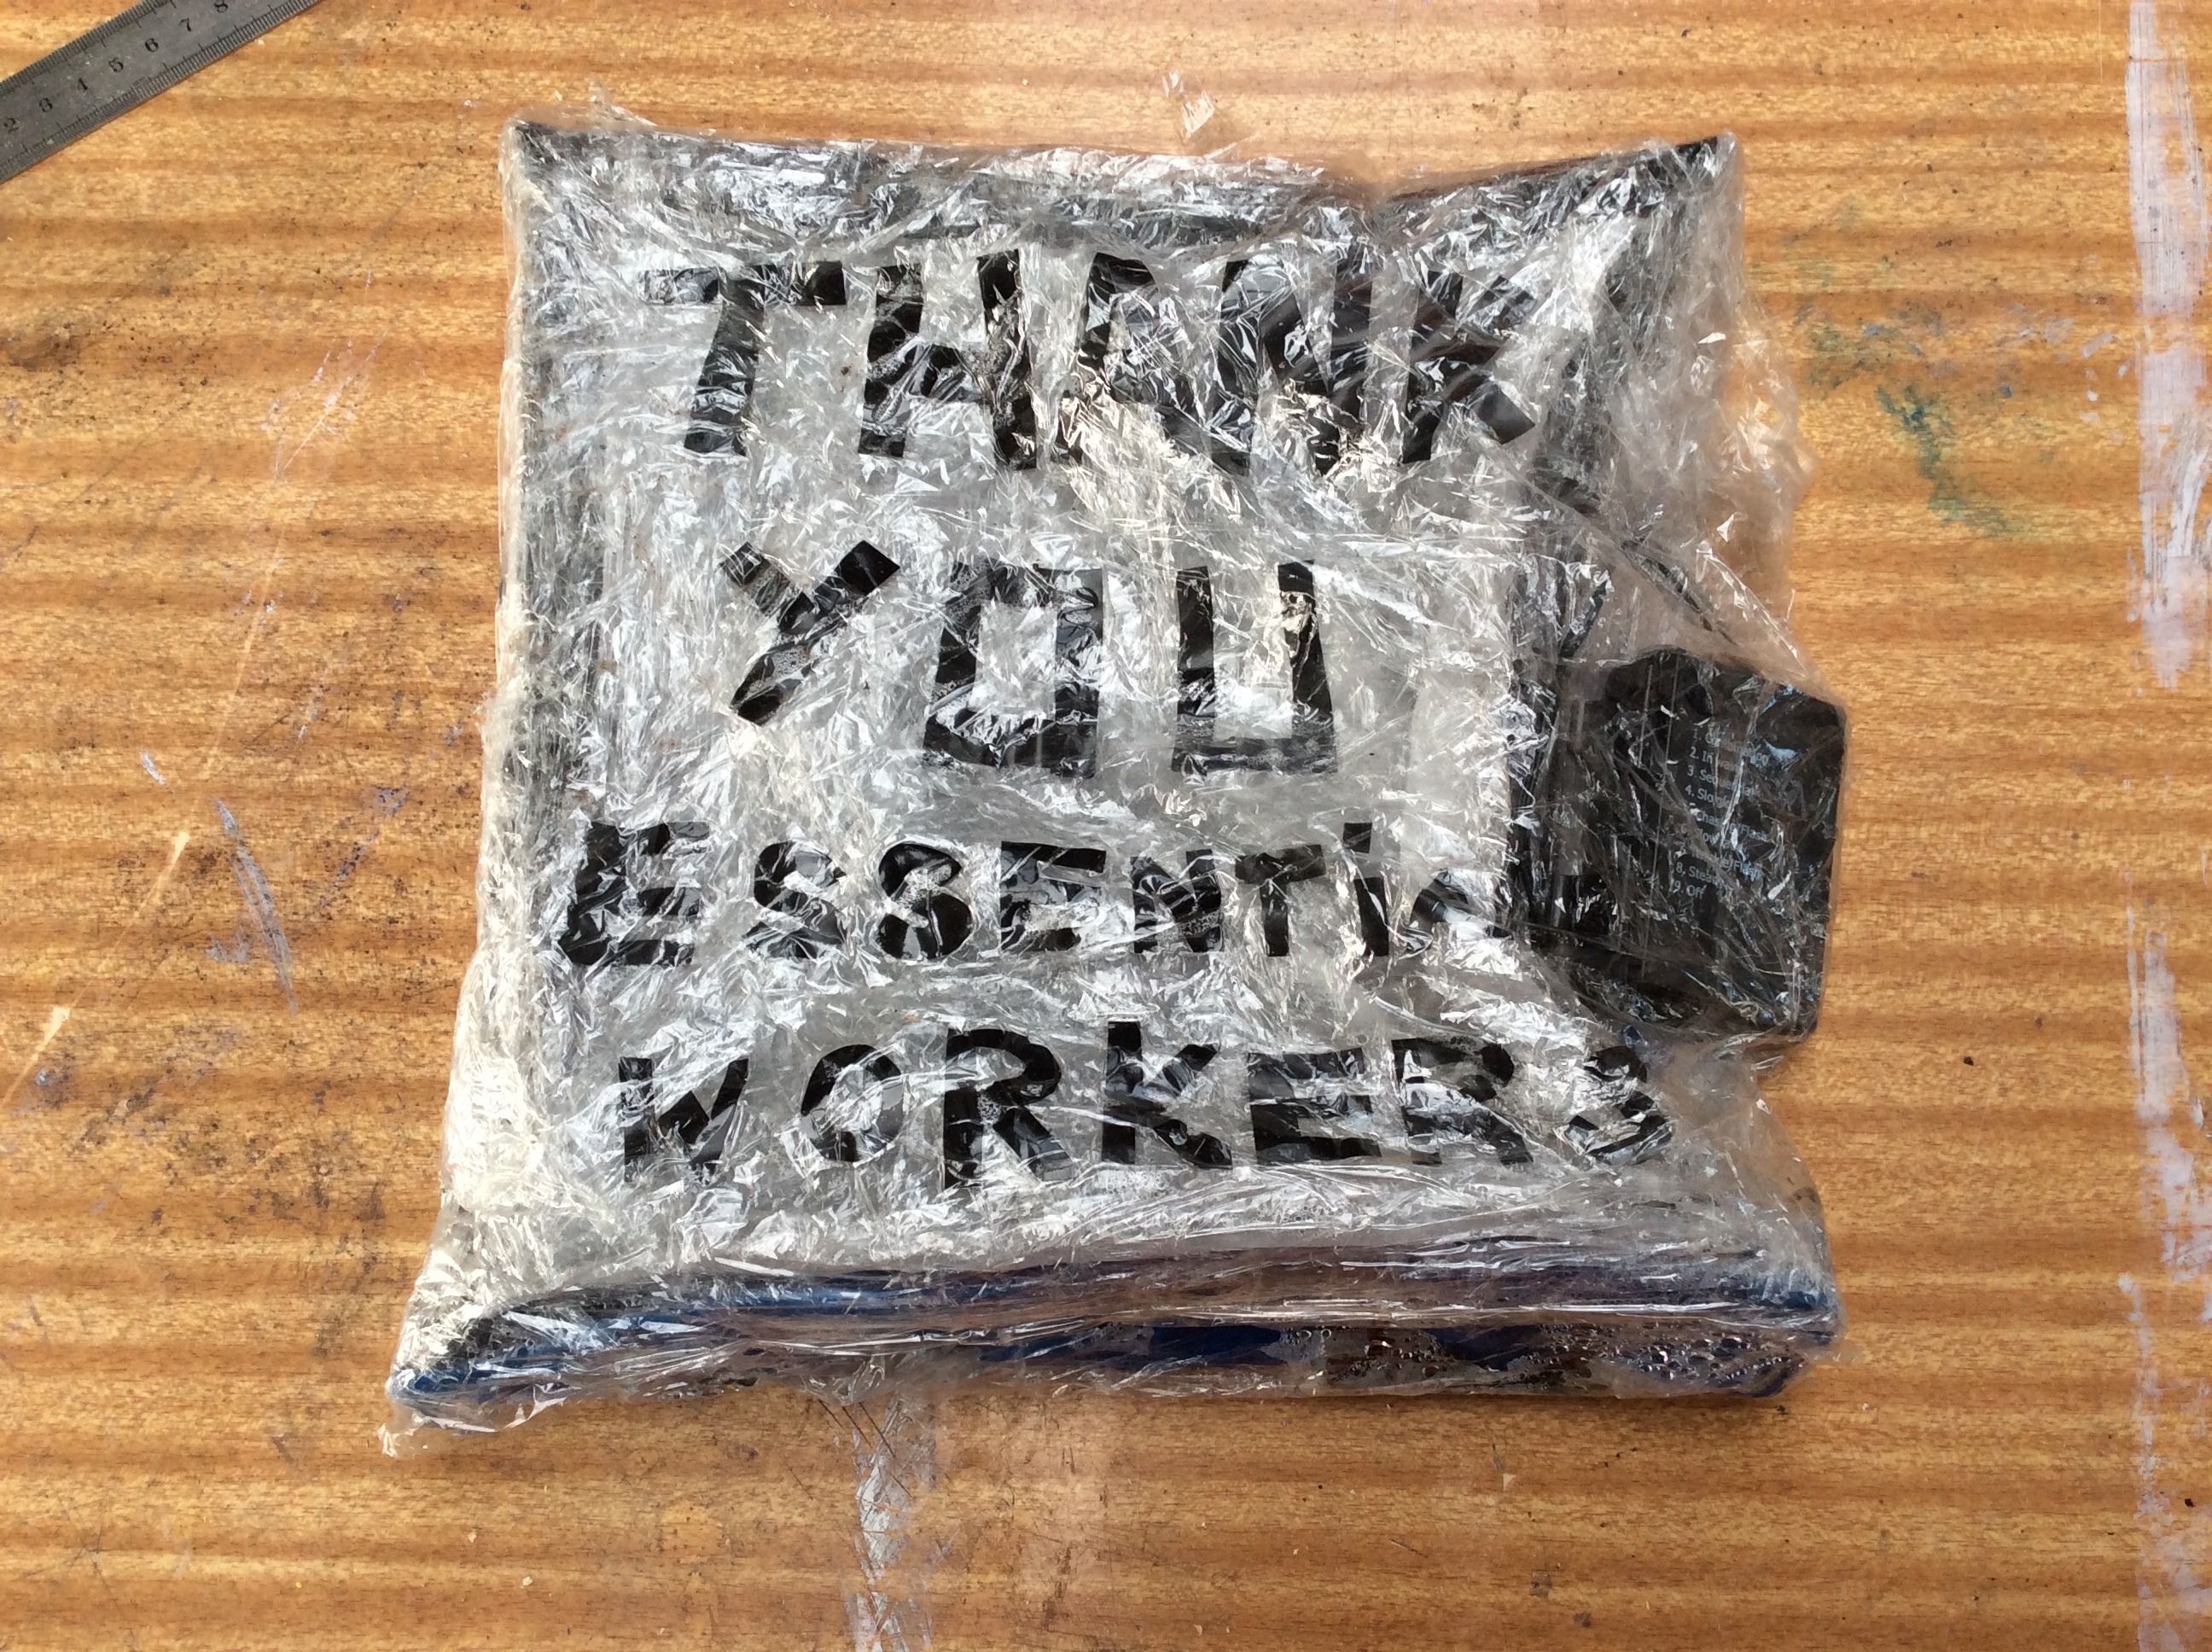
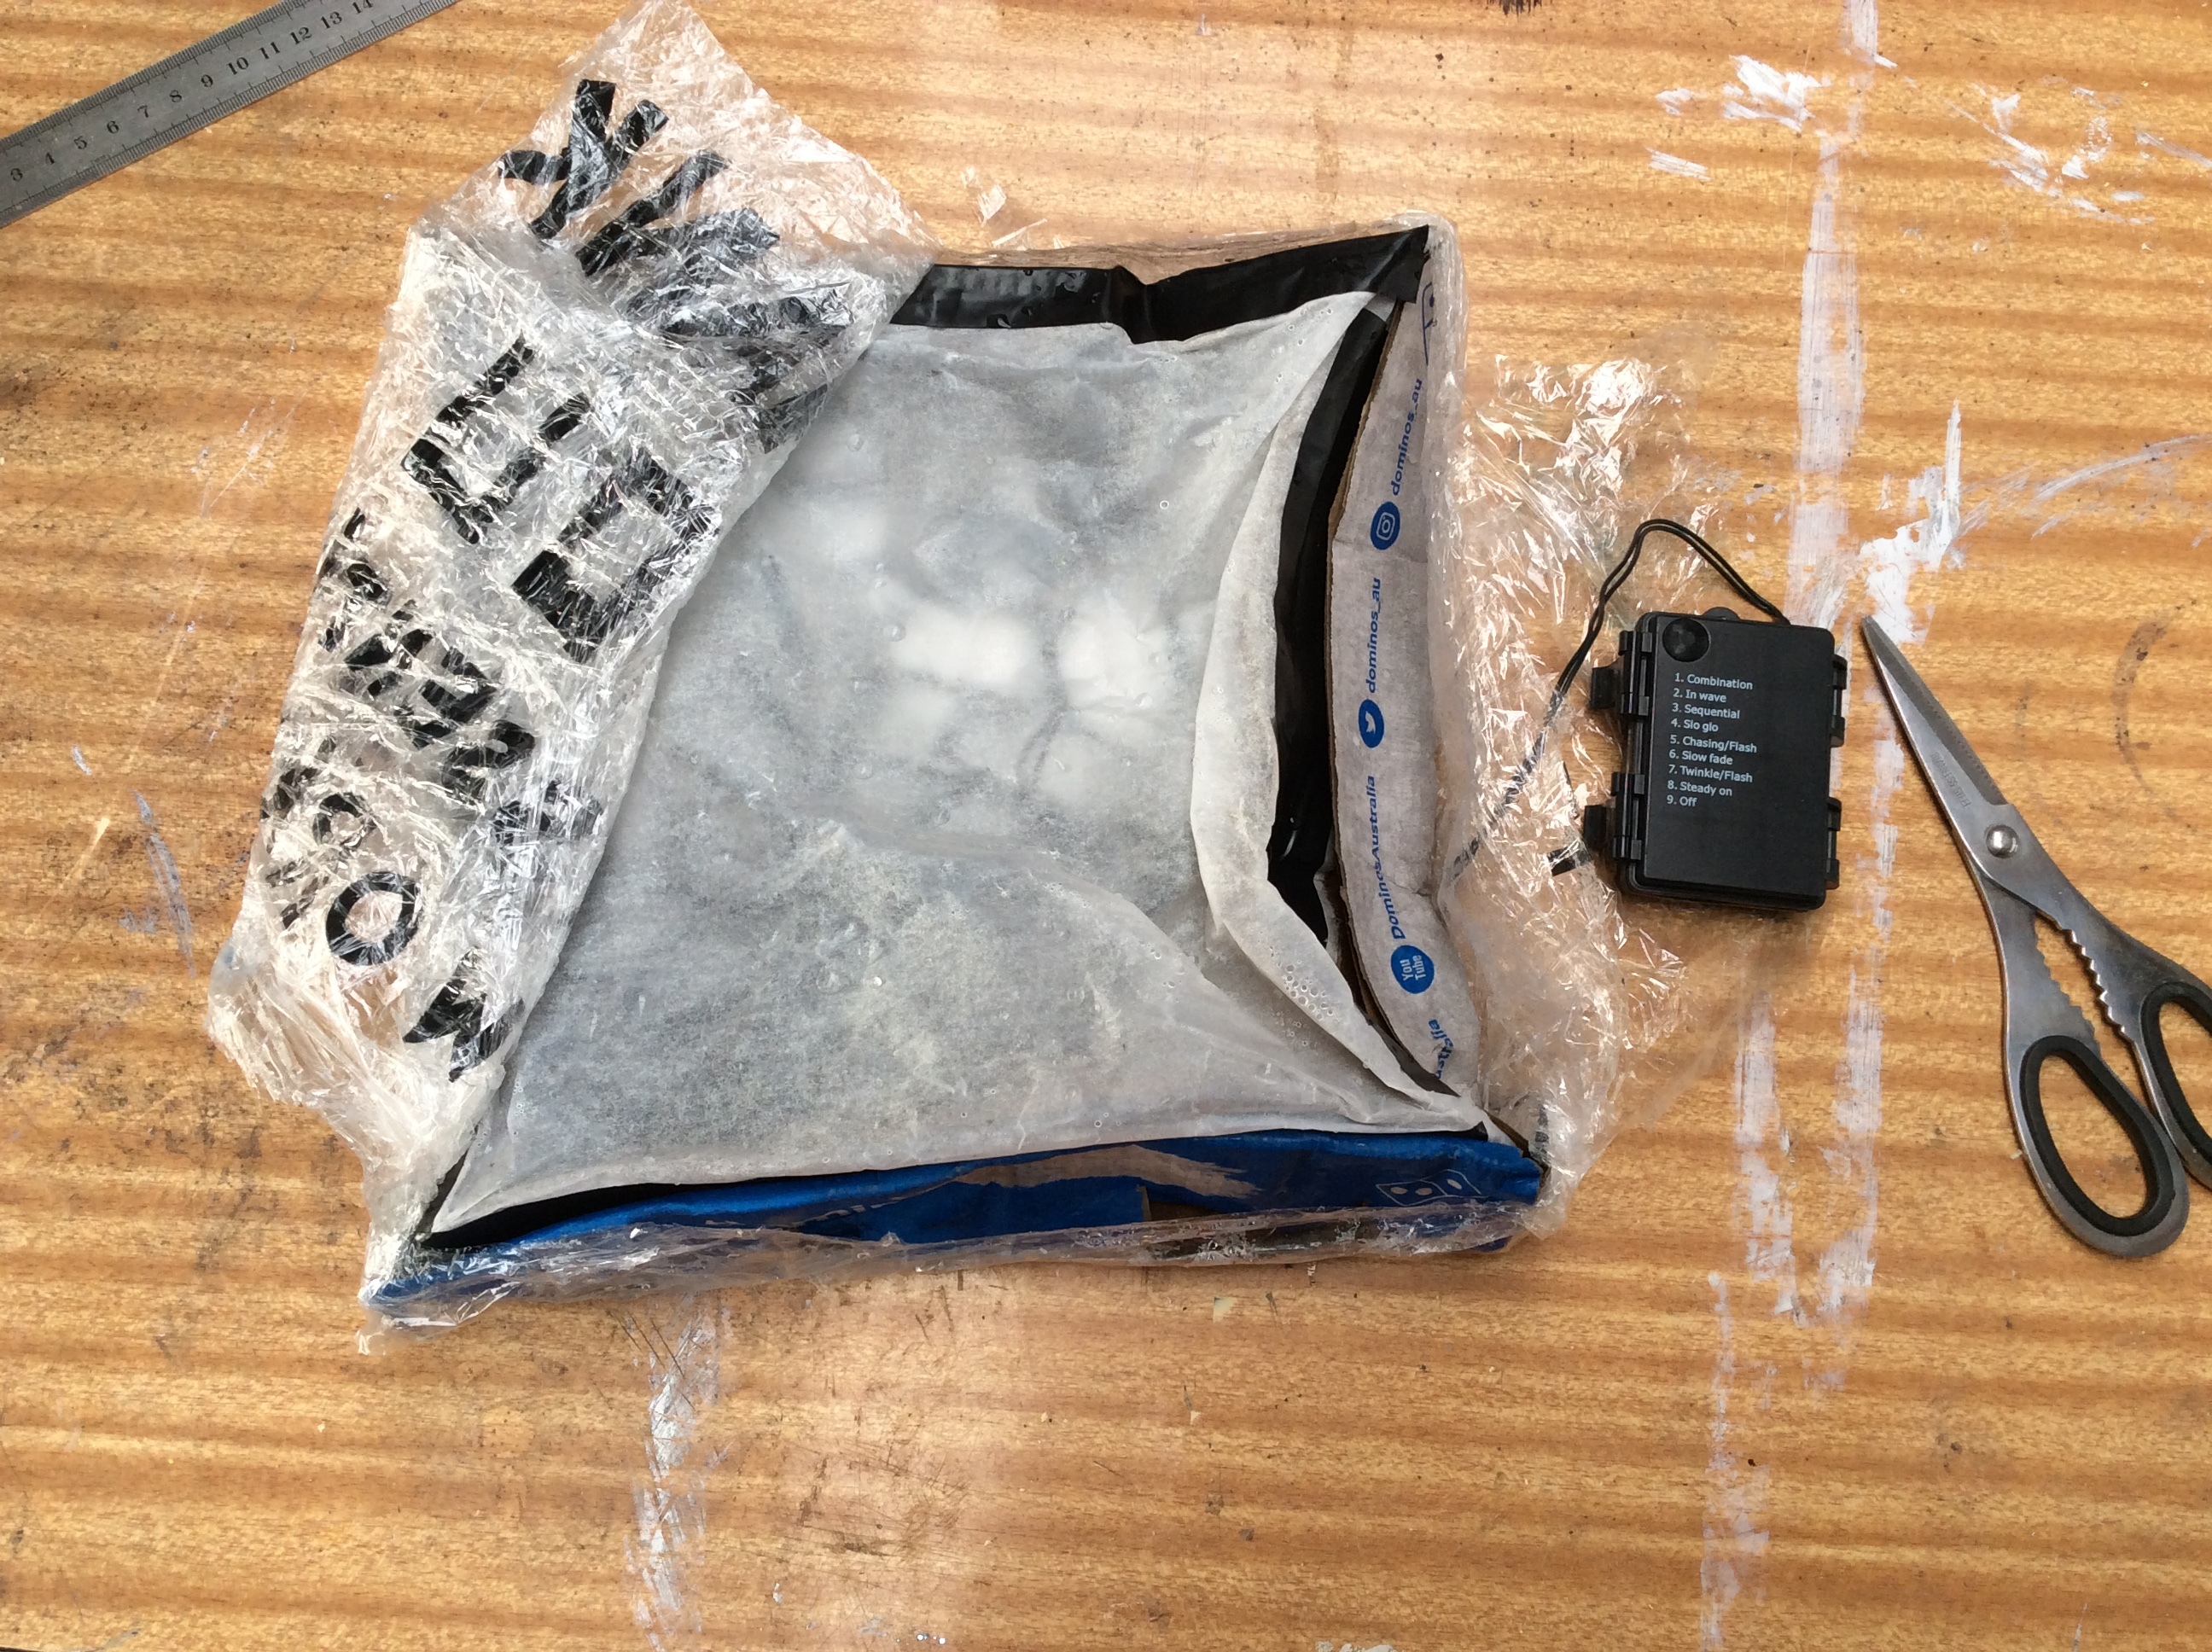
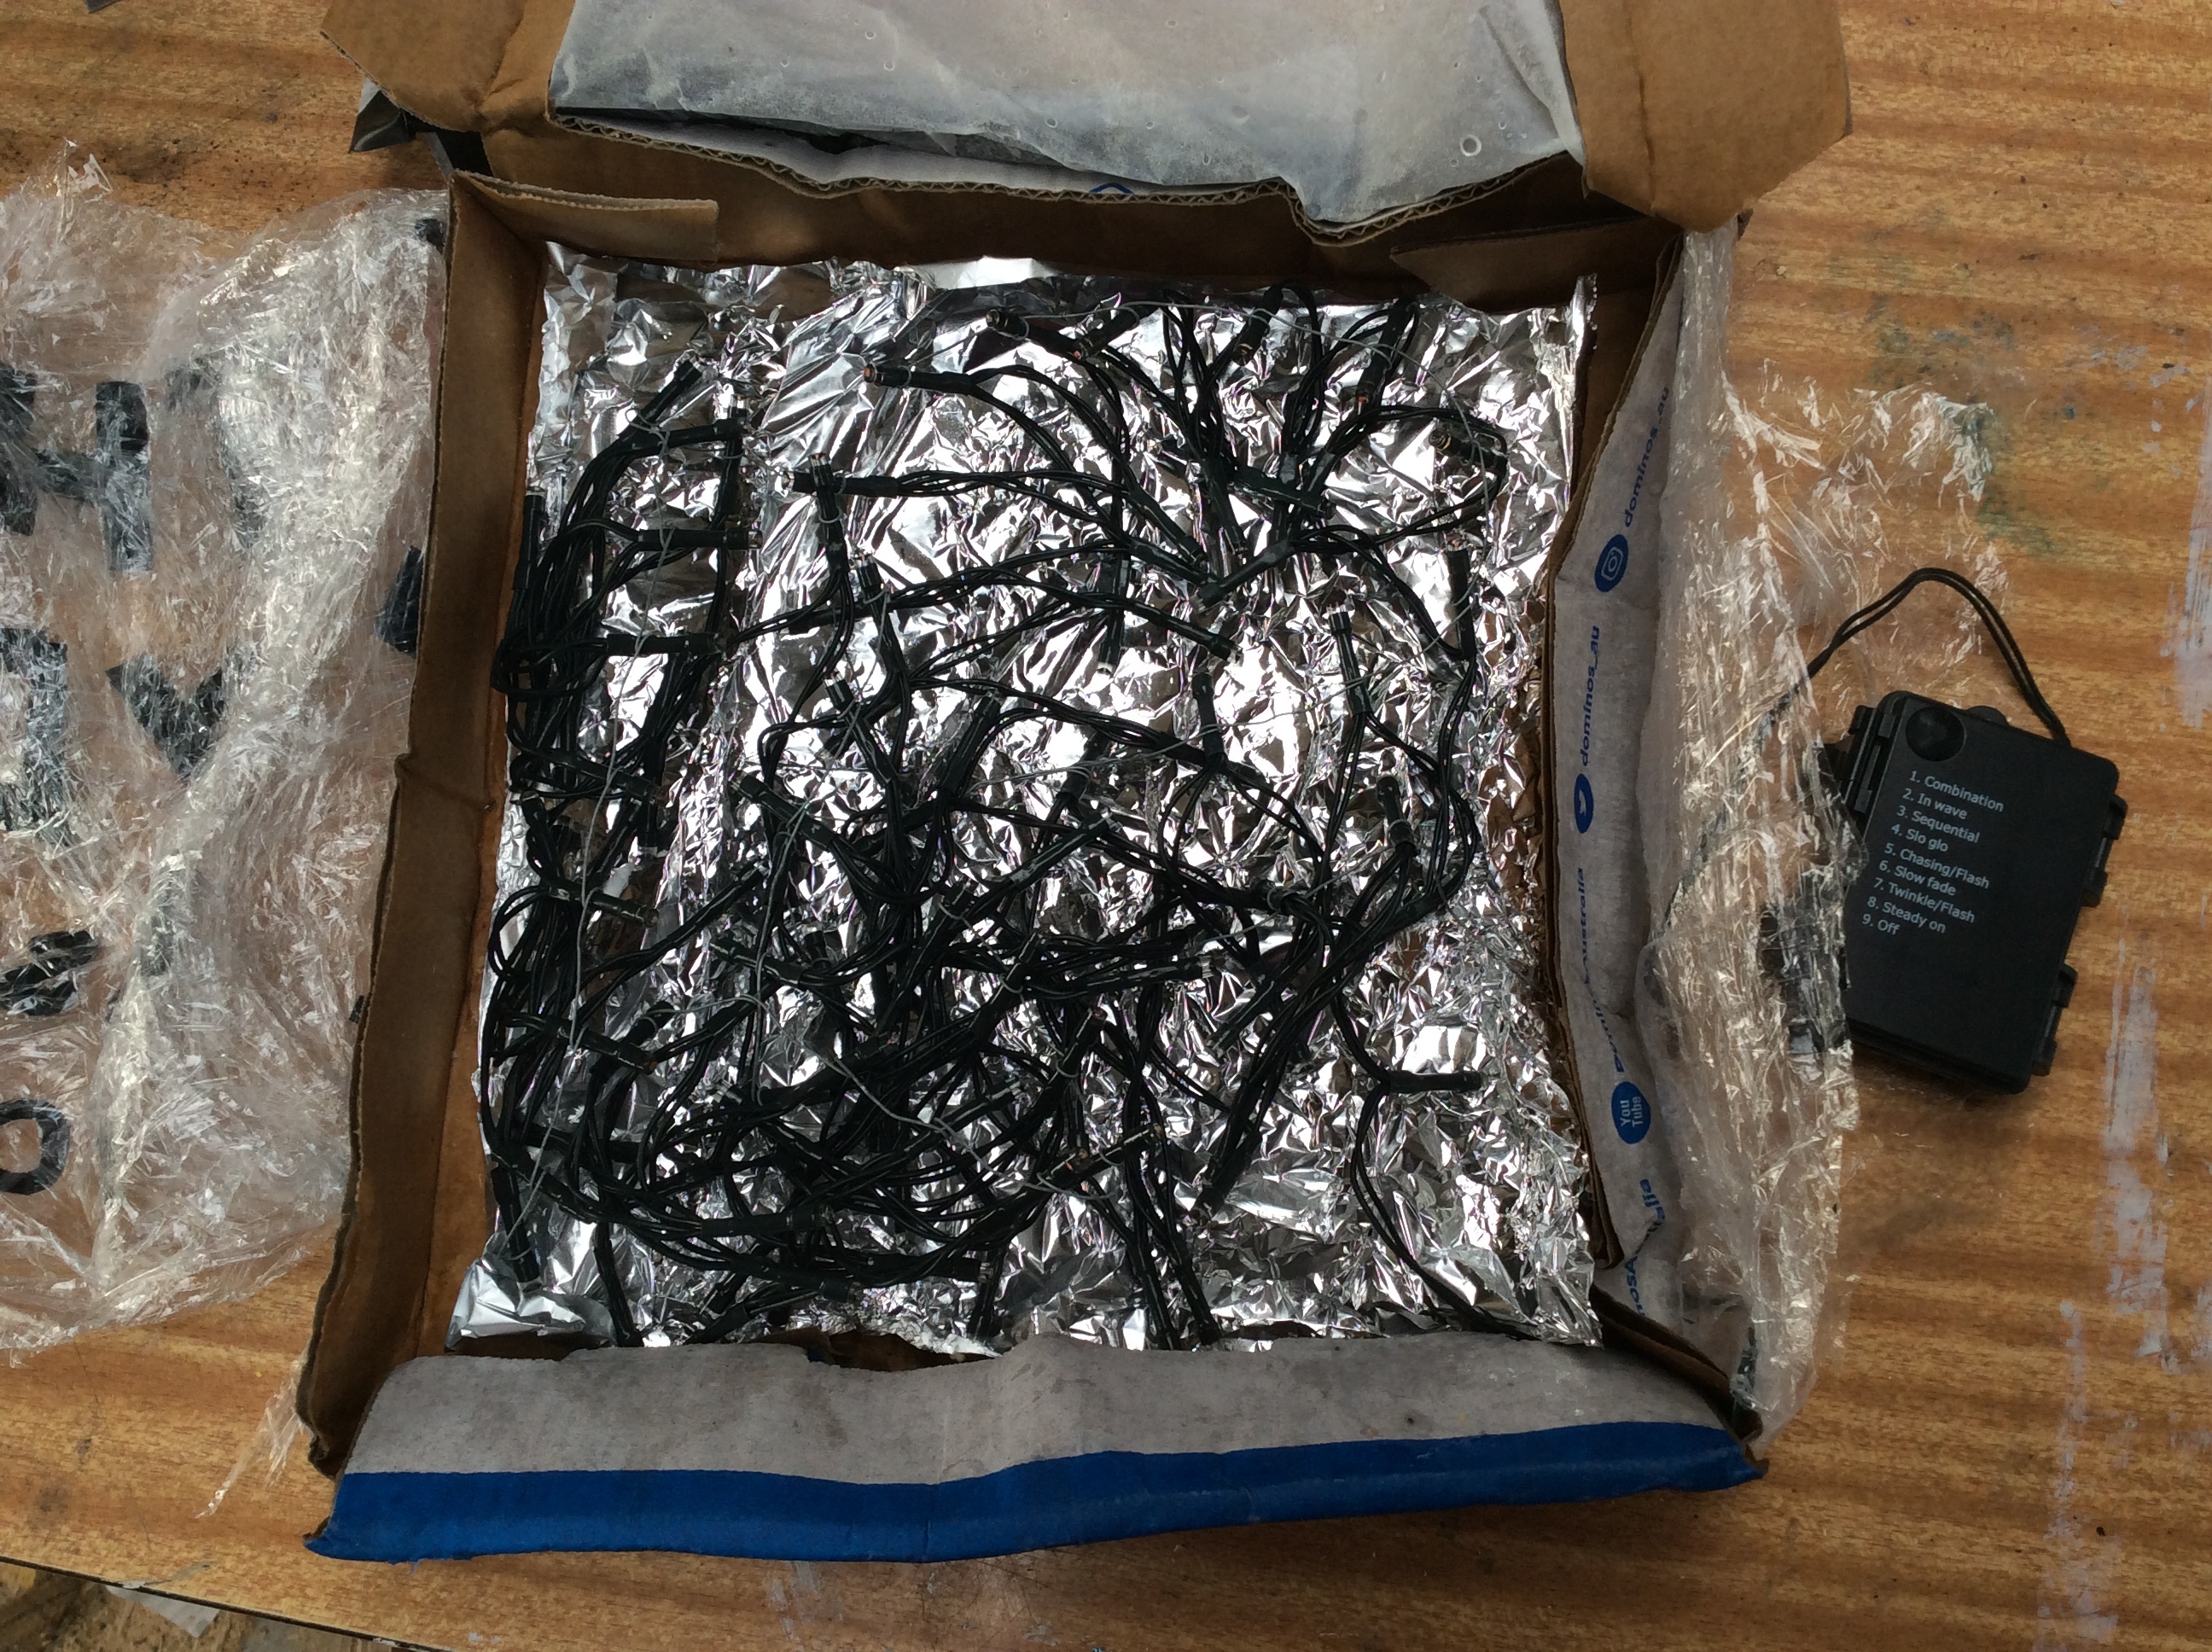
This was made for Light for the Front Line, showing appreciation for our front line workers during the Covid-19 lockdown. Because it was going outside it was wrapped in cling wrap to offer some rain protection. This one was also supporting the arm of a statue made of bubble wrap, fencing wire, and solar lights, and got crushed by the weight of that after several days of heavy rain seeped through the cling wrap. If it hadn’t been load bearing it most likely would have held shape even after getting wet.
The lettering is done with black duct tape. At night this shows up as black lettering over a glowing coloured background. The lettering was applied over a layer of cling wrap so that I could change it if I wanted to.
Cutting away the cling wrap, we can see a baking paper light diffuser taped to the pizza box lid. This is what gives you a glowing surface rather than just having points of light.
Inside the box there’s a mess of lights on top of some aluminium foil.
That’s all there is to it. Now on to making one.
Clean the Box
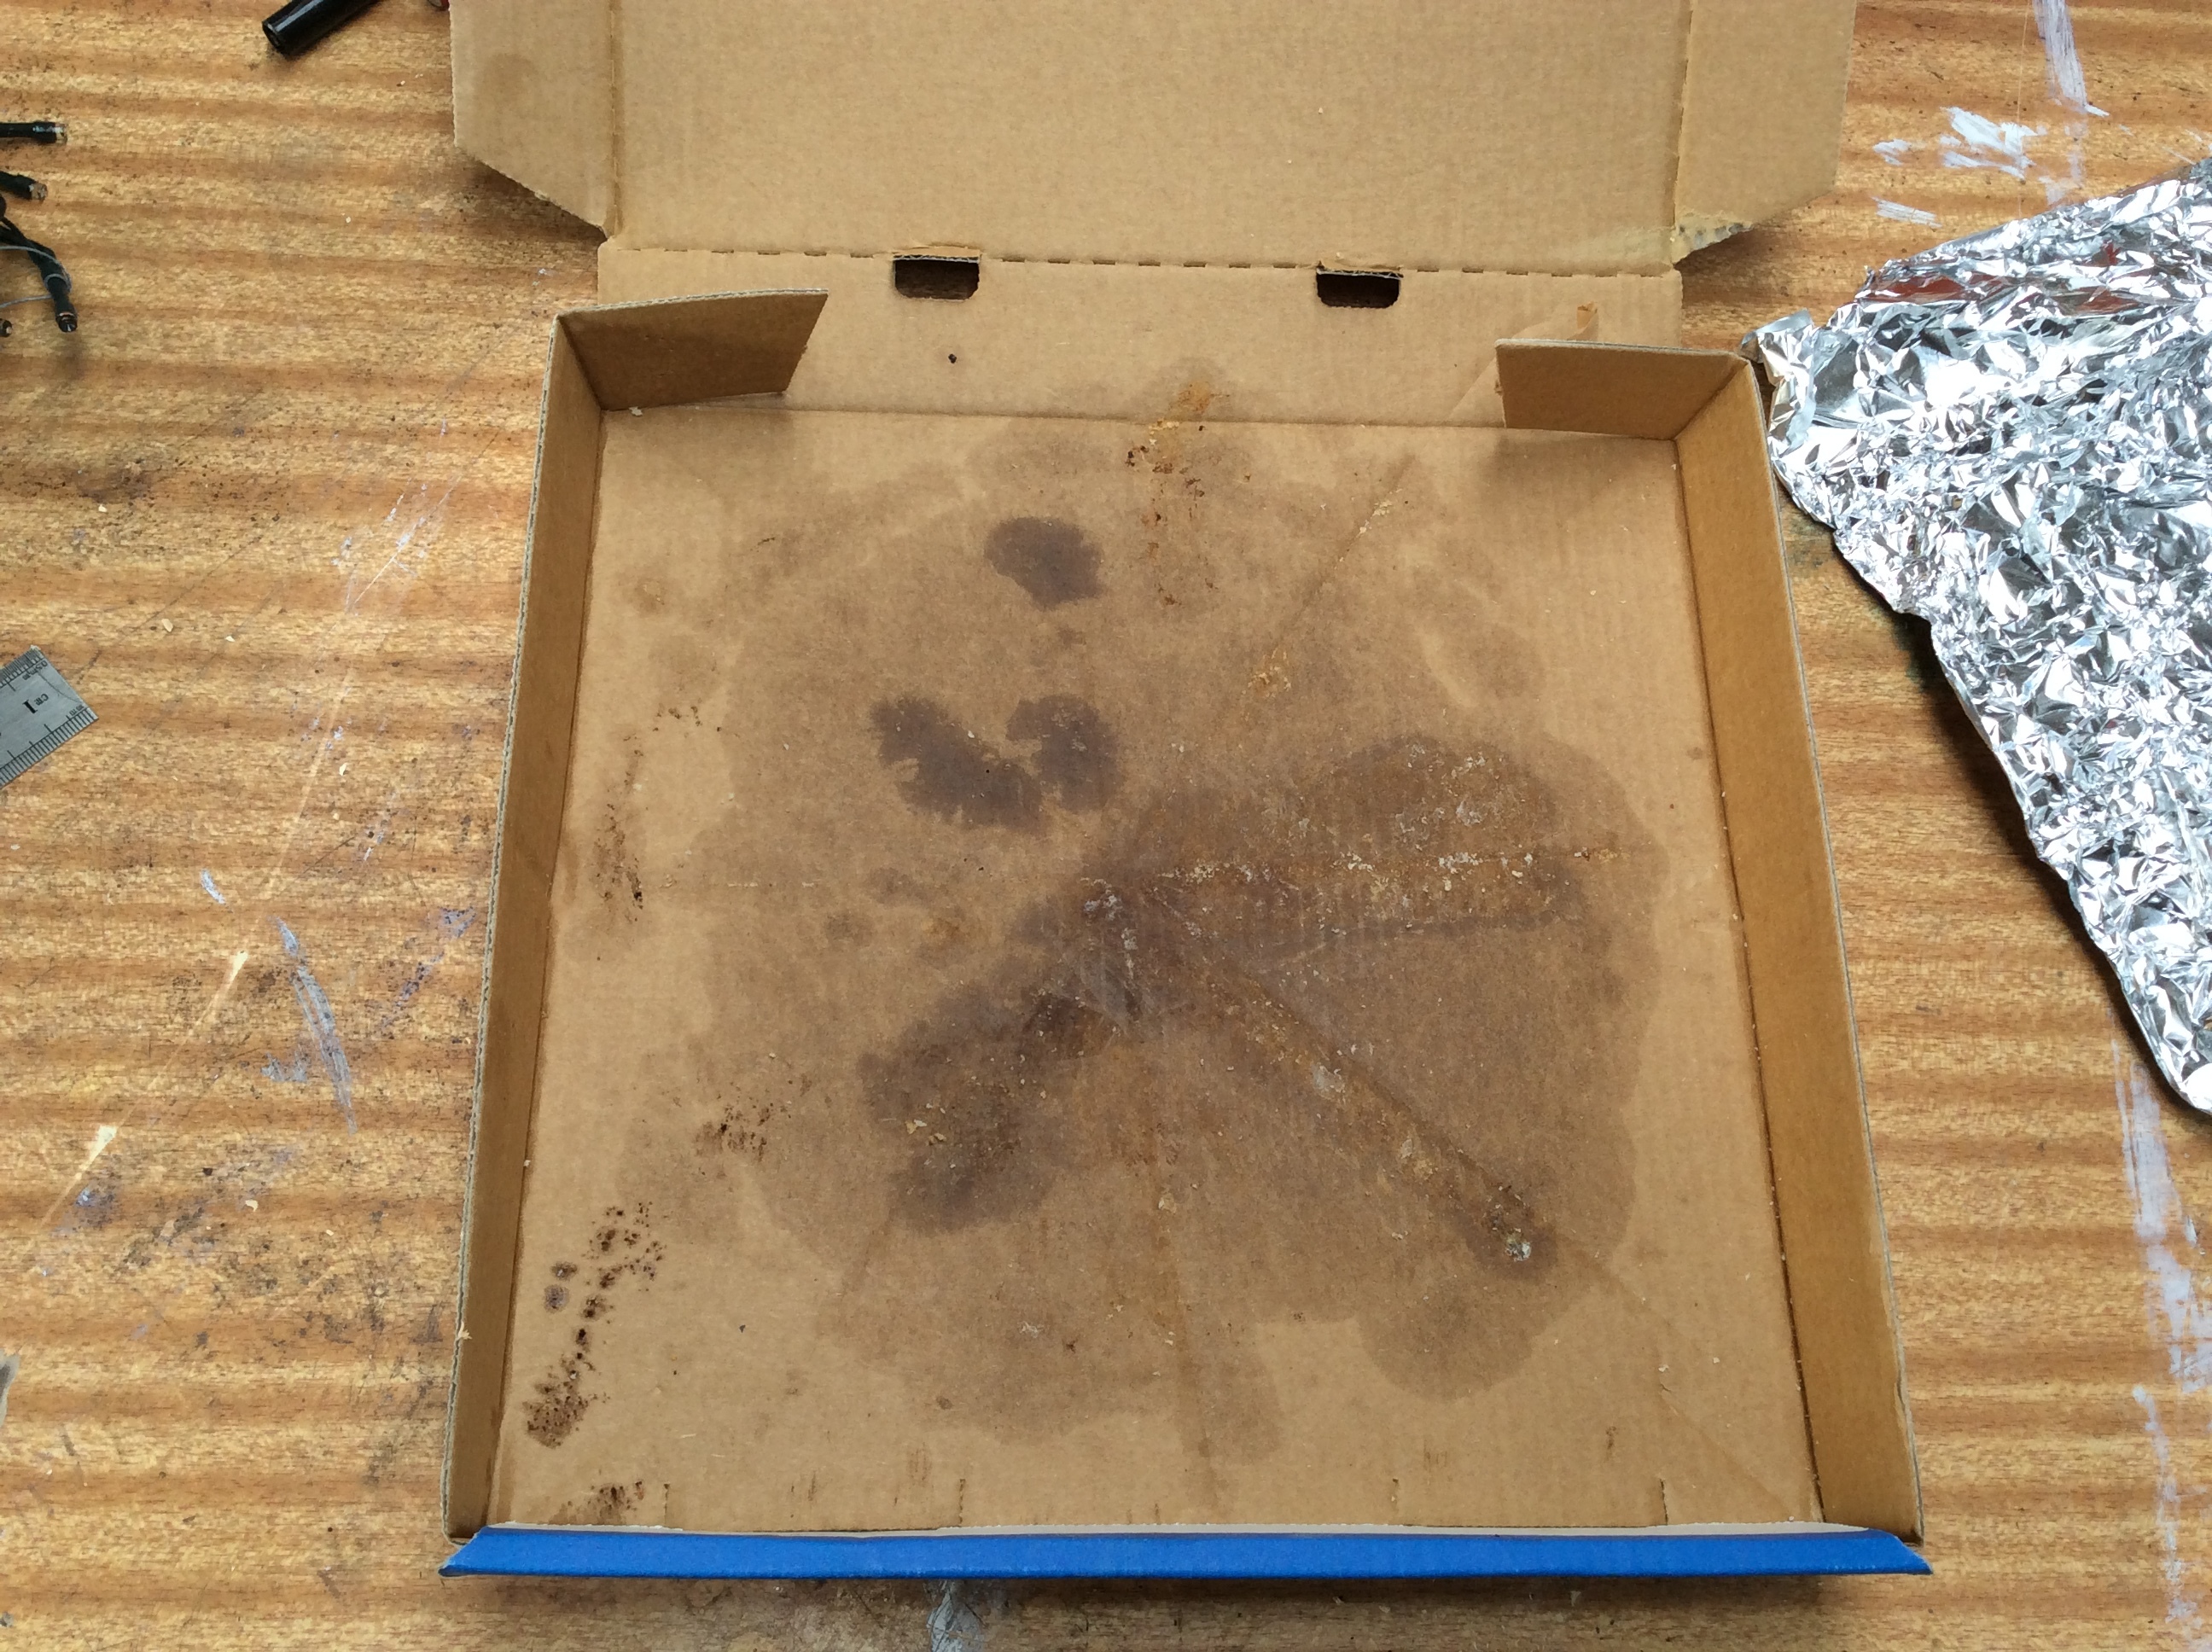
It doesn’t need to be perfect, just scrape out any cheese, stray toppings, or crumbs. If you have workshop chickens they will enjoy helping with this. If you want to do something permanent find a box that hasn’t been used for food, but for a short term display the used pizza box will be fine and the remaining grease in it won’t matter.
Measure a Window
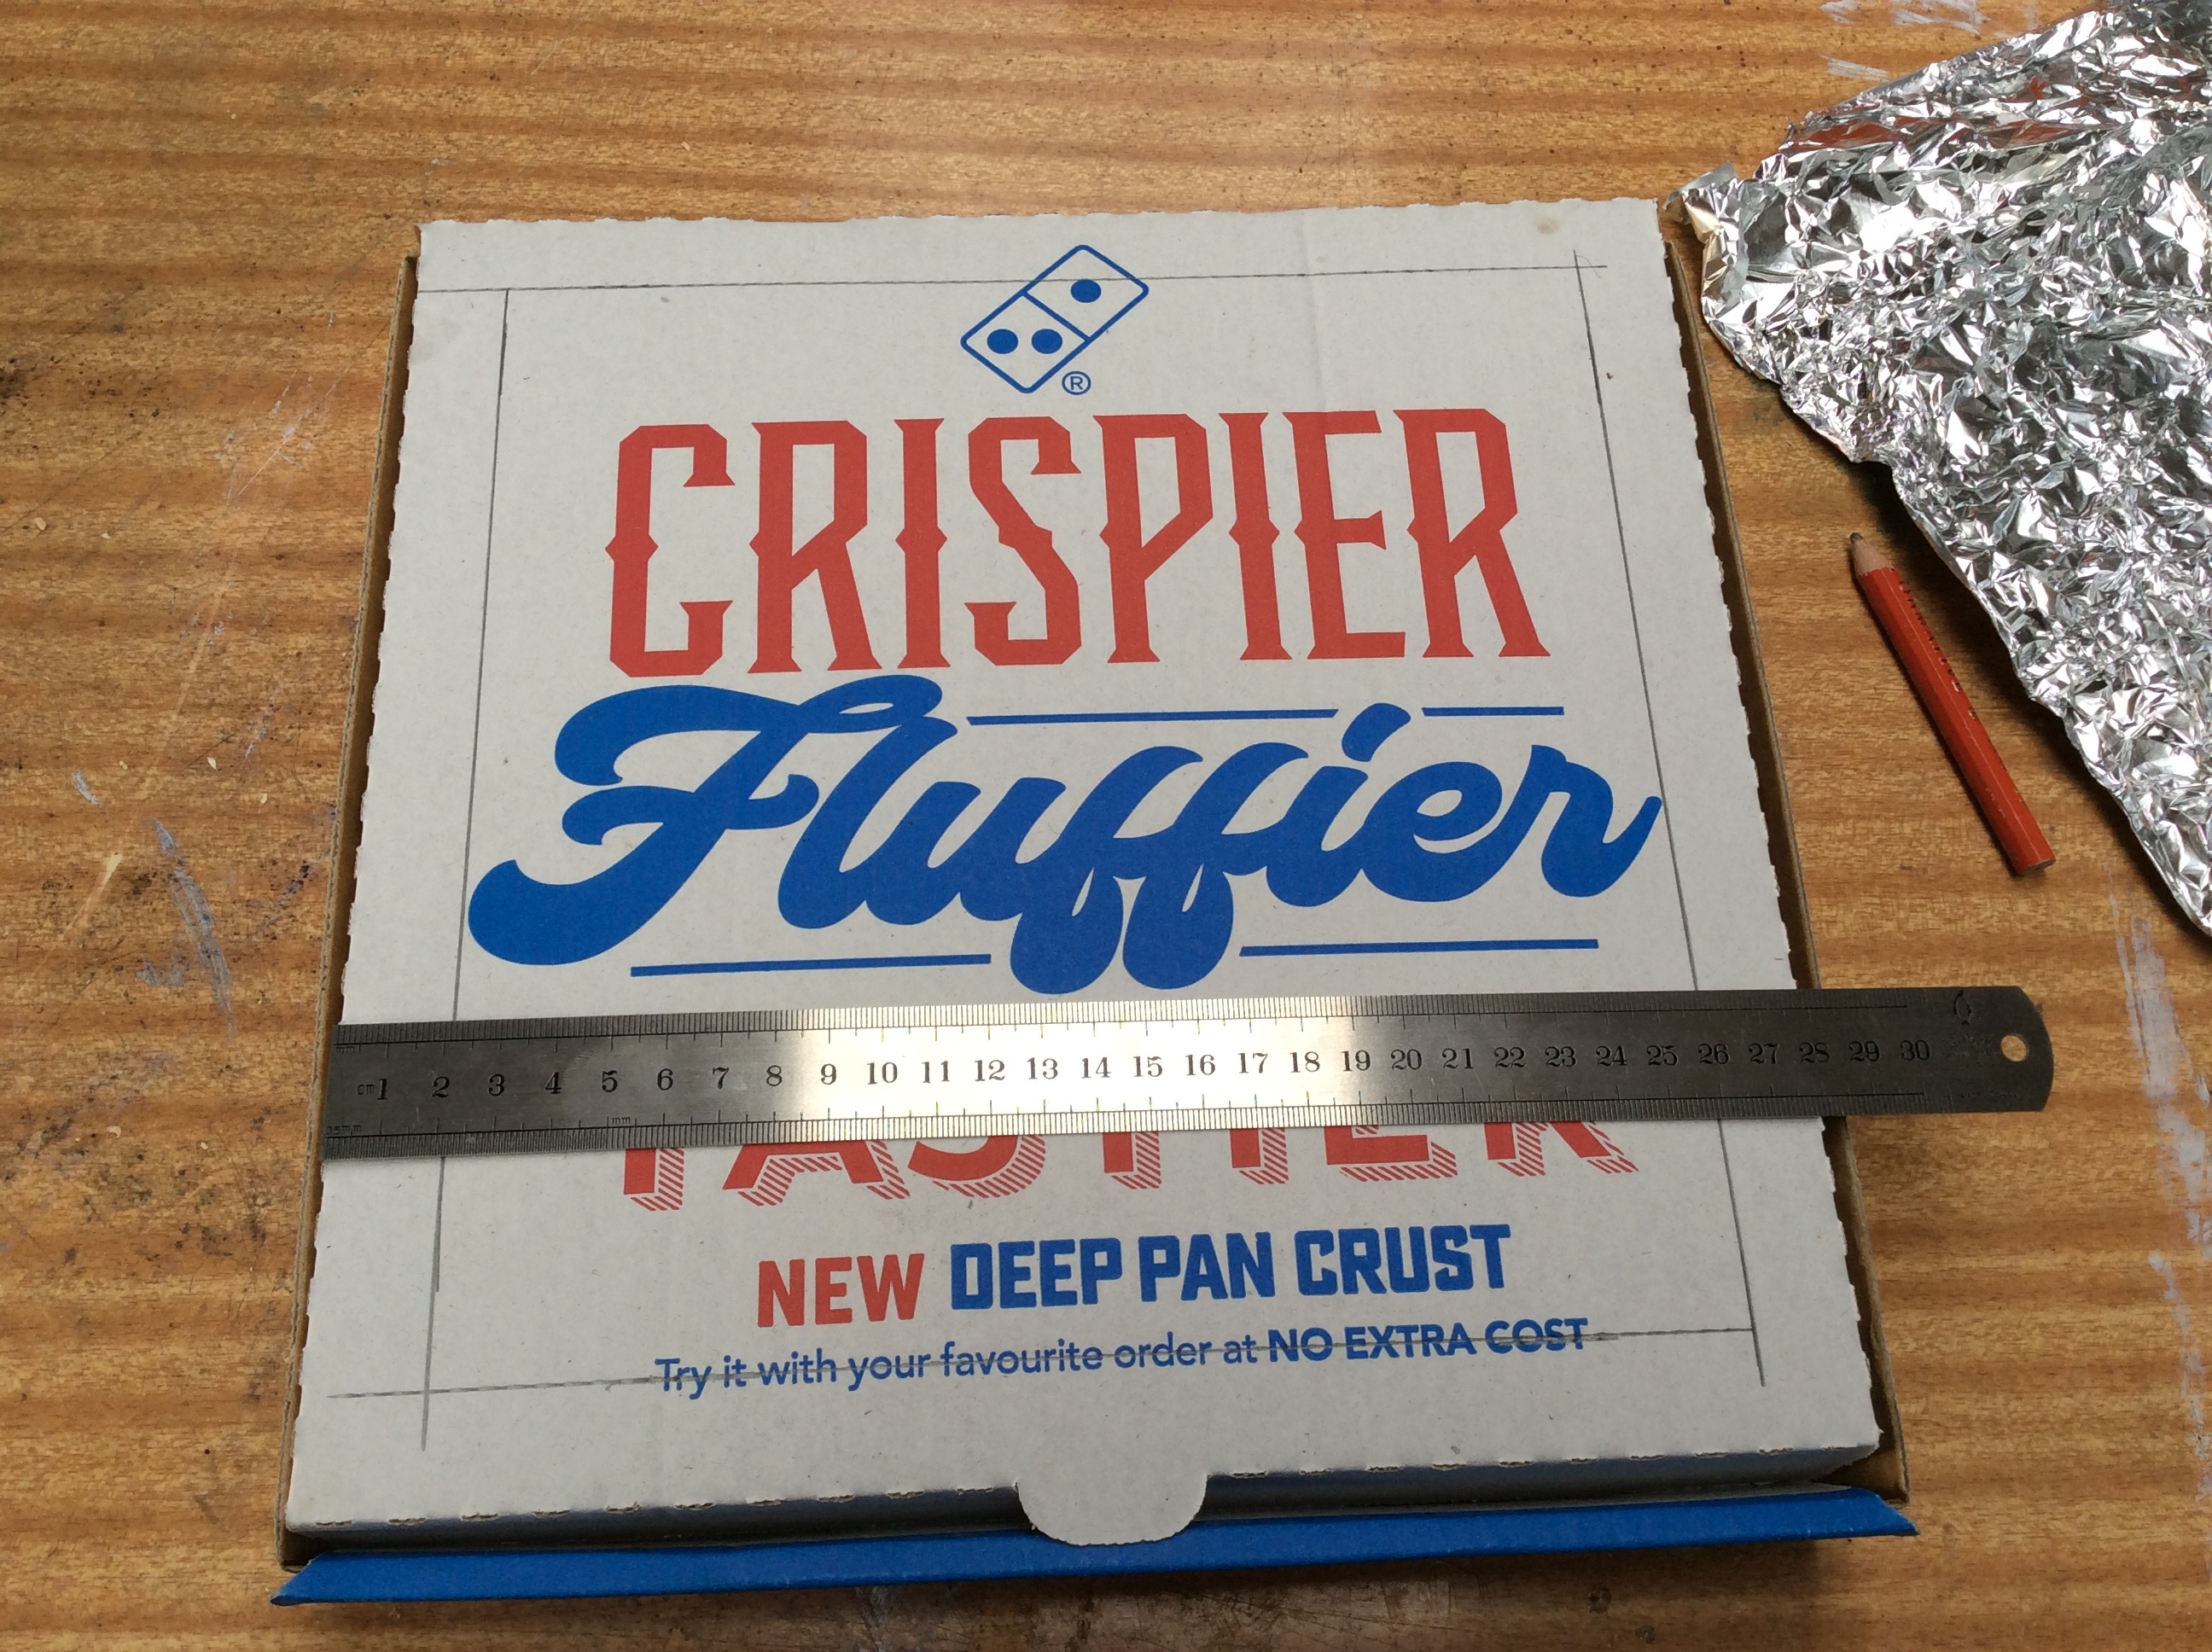
This will be where your light comes out. I have measured 2cm in from the edge of the lid which gives me a square and is reasonably stable. You can cut another shape if you prefer, or even cut your design straight into the box.
Cut It Out
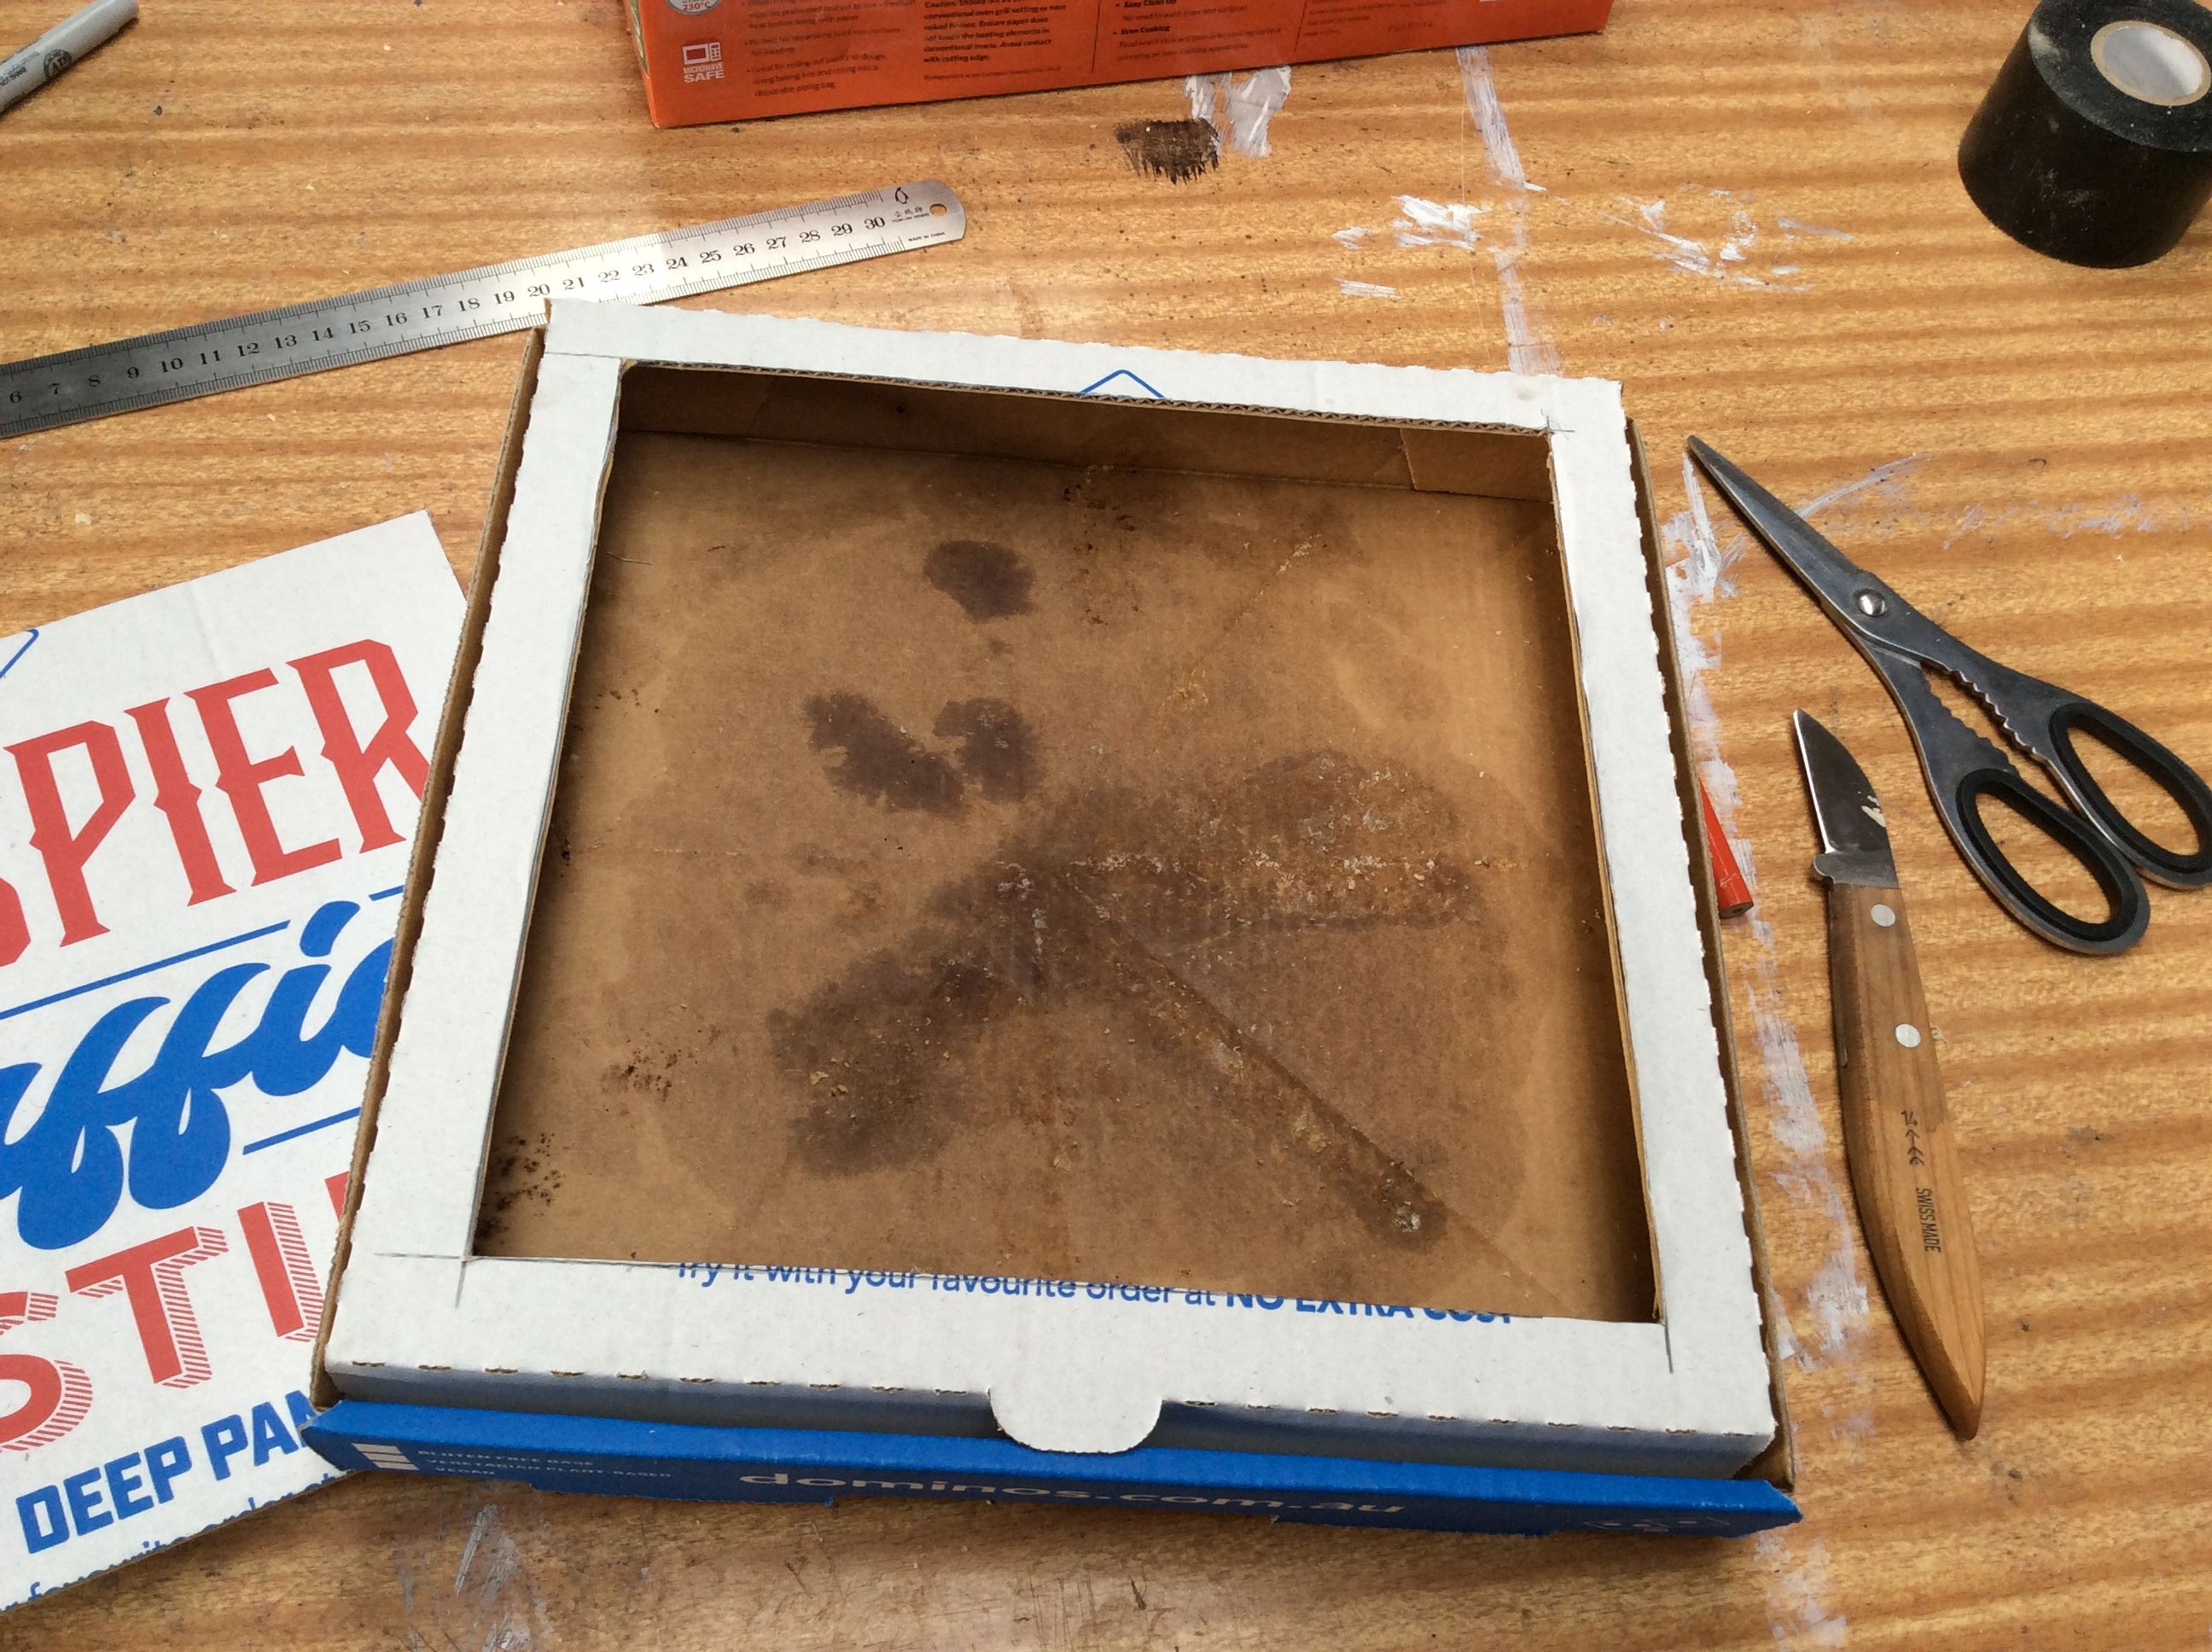
Cut out your window. I find a knife easiest, but you can also do this with scissors.
Add a Diffuser
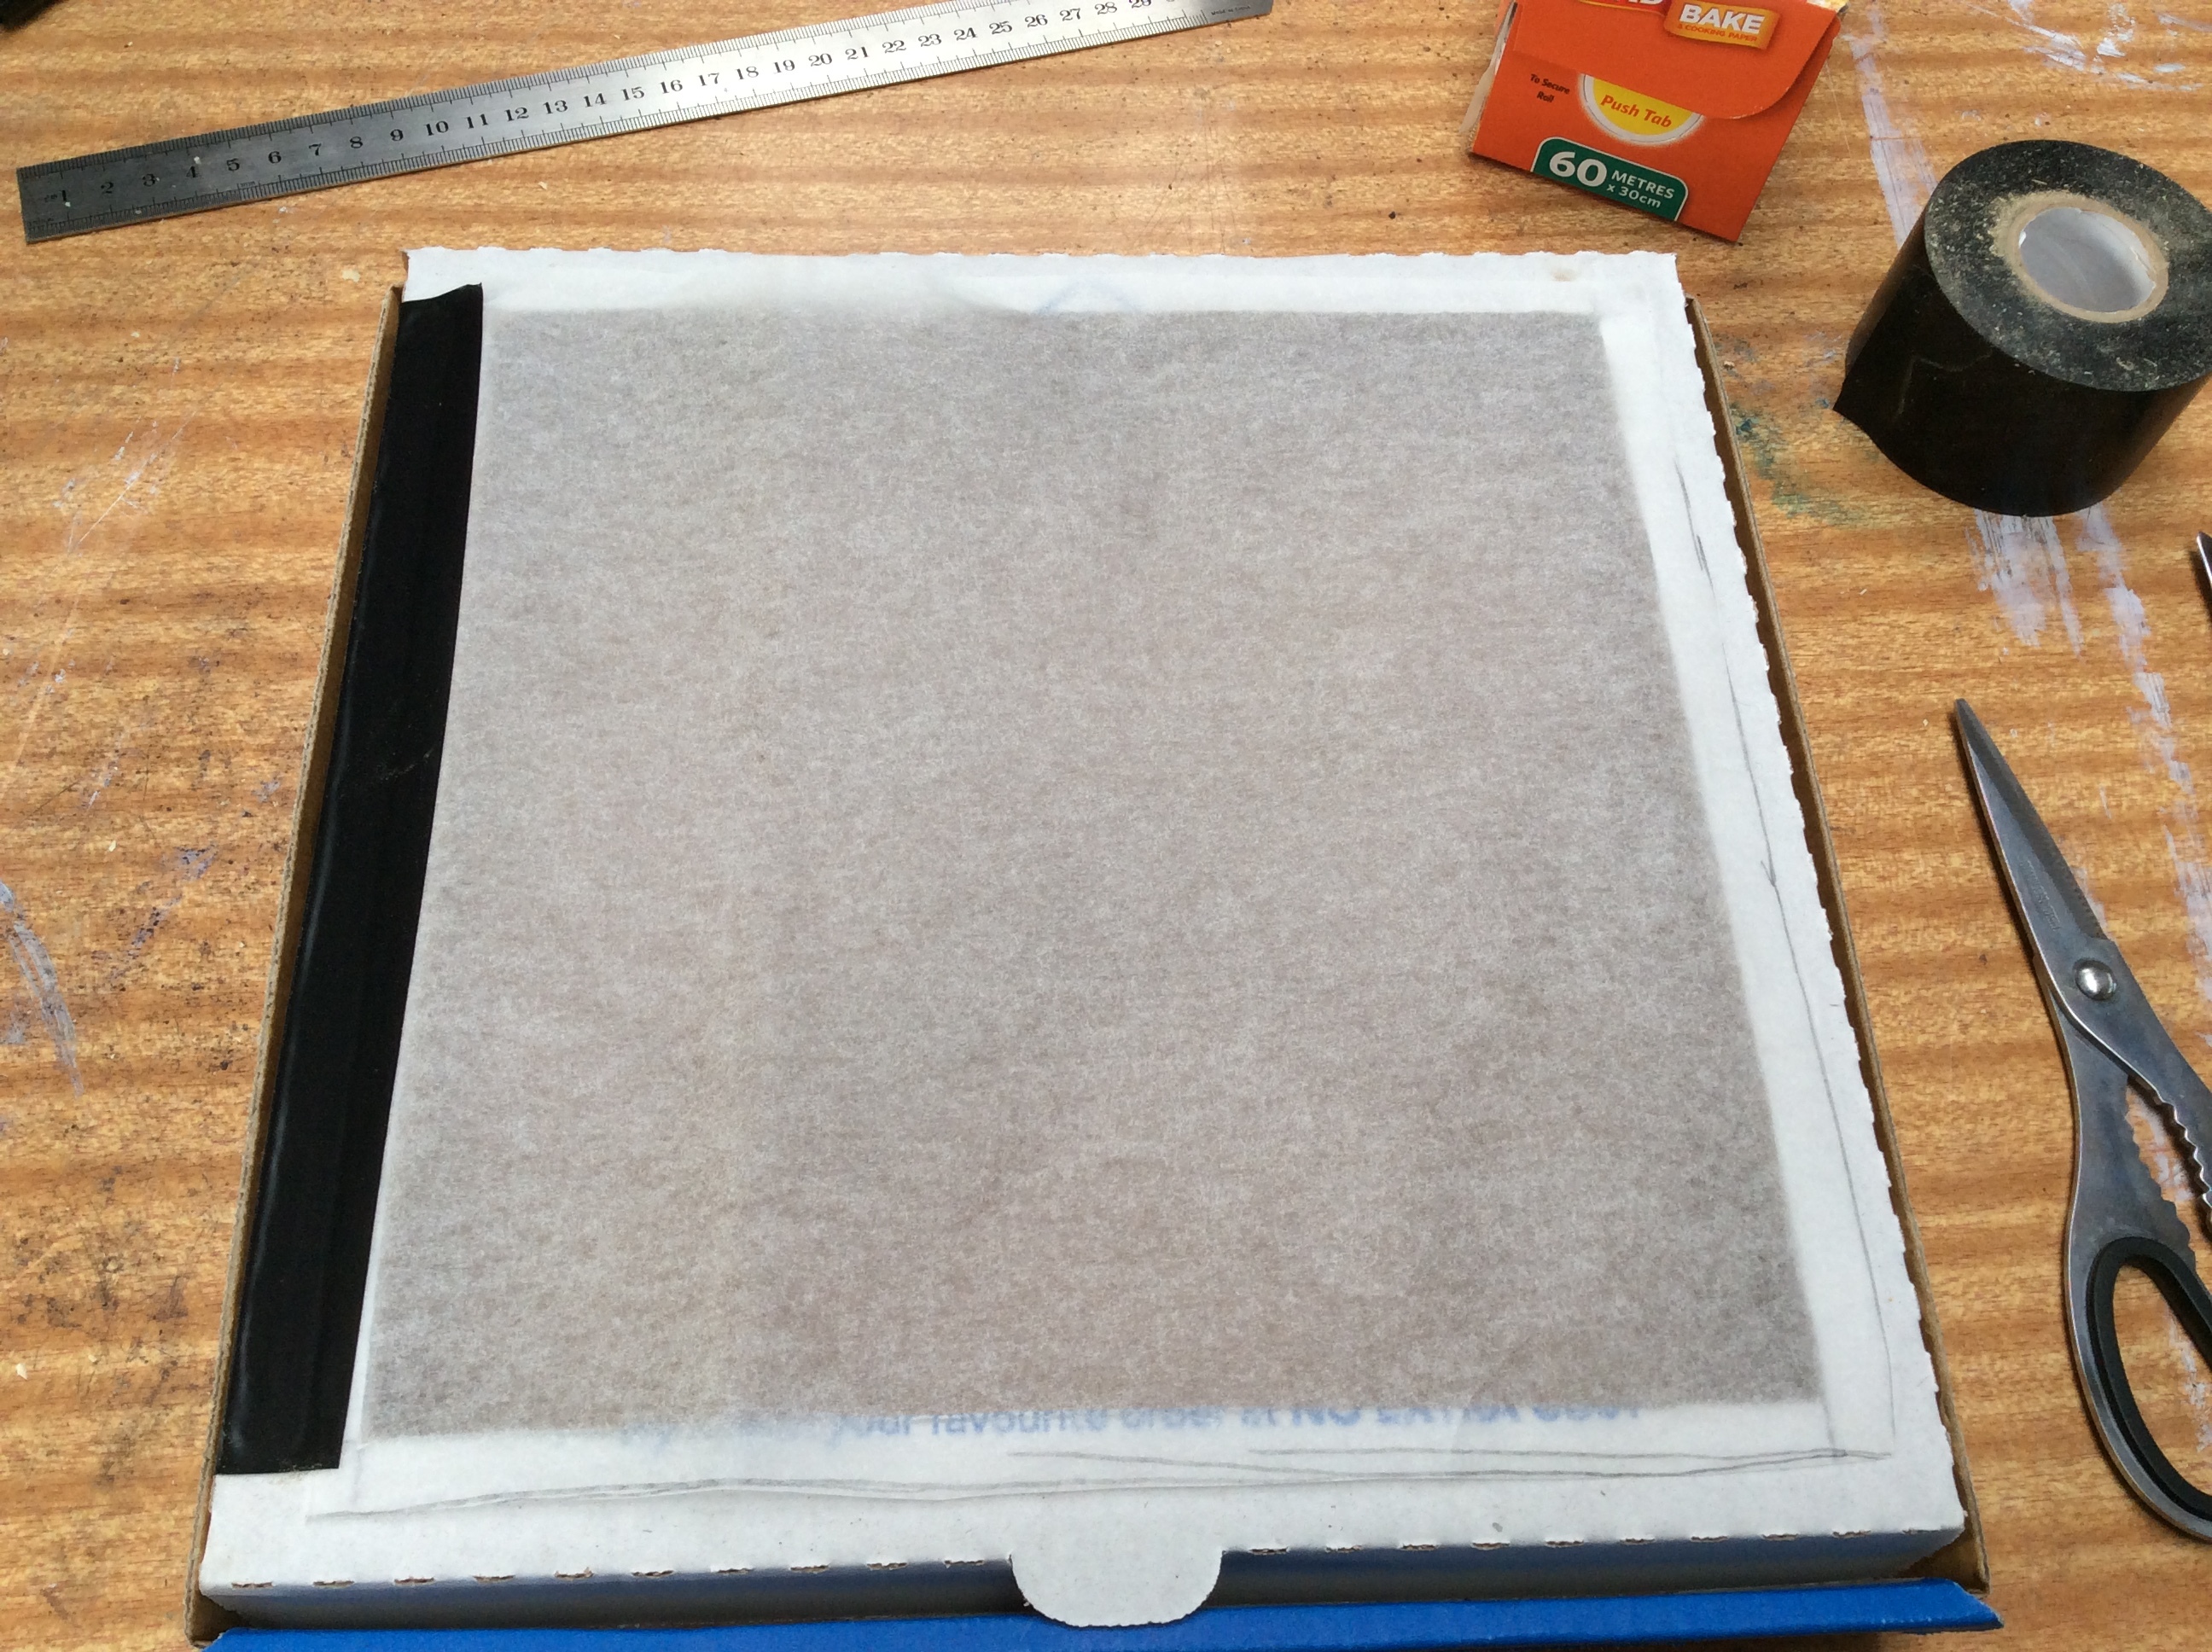
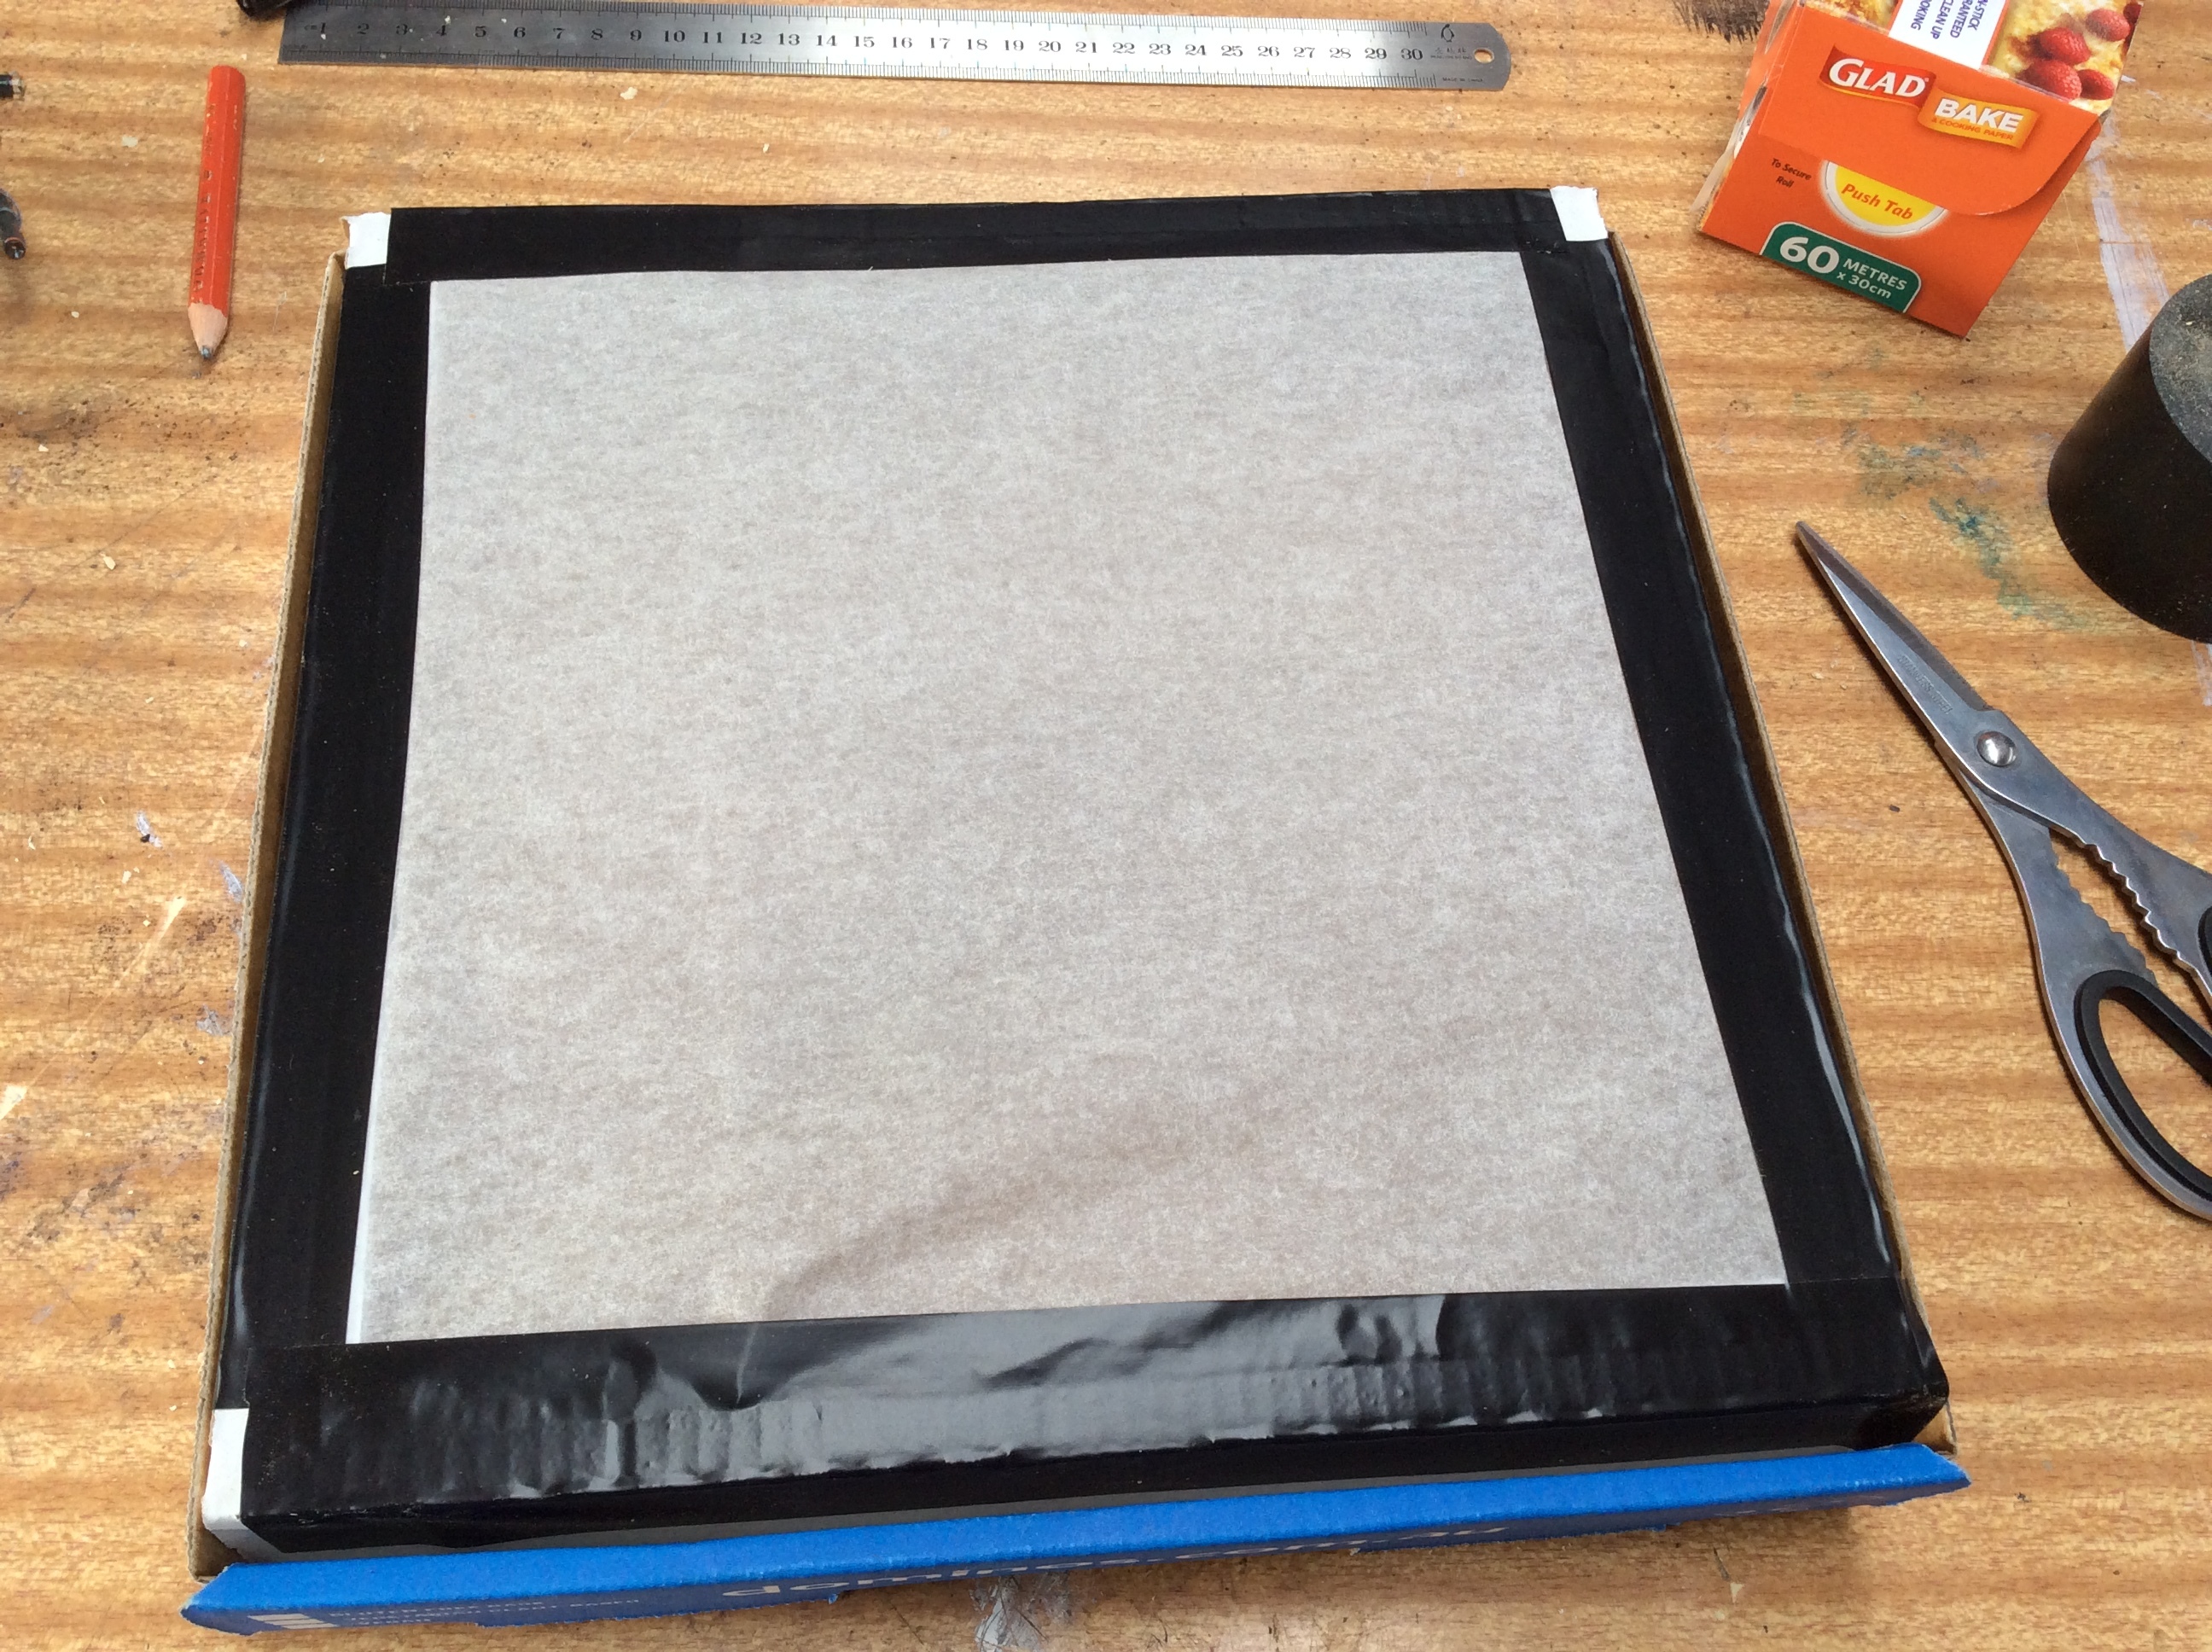
Cut a piece of baking paper to fit over the window and tape it in place.
Add a Reflector
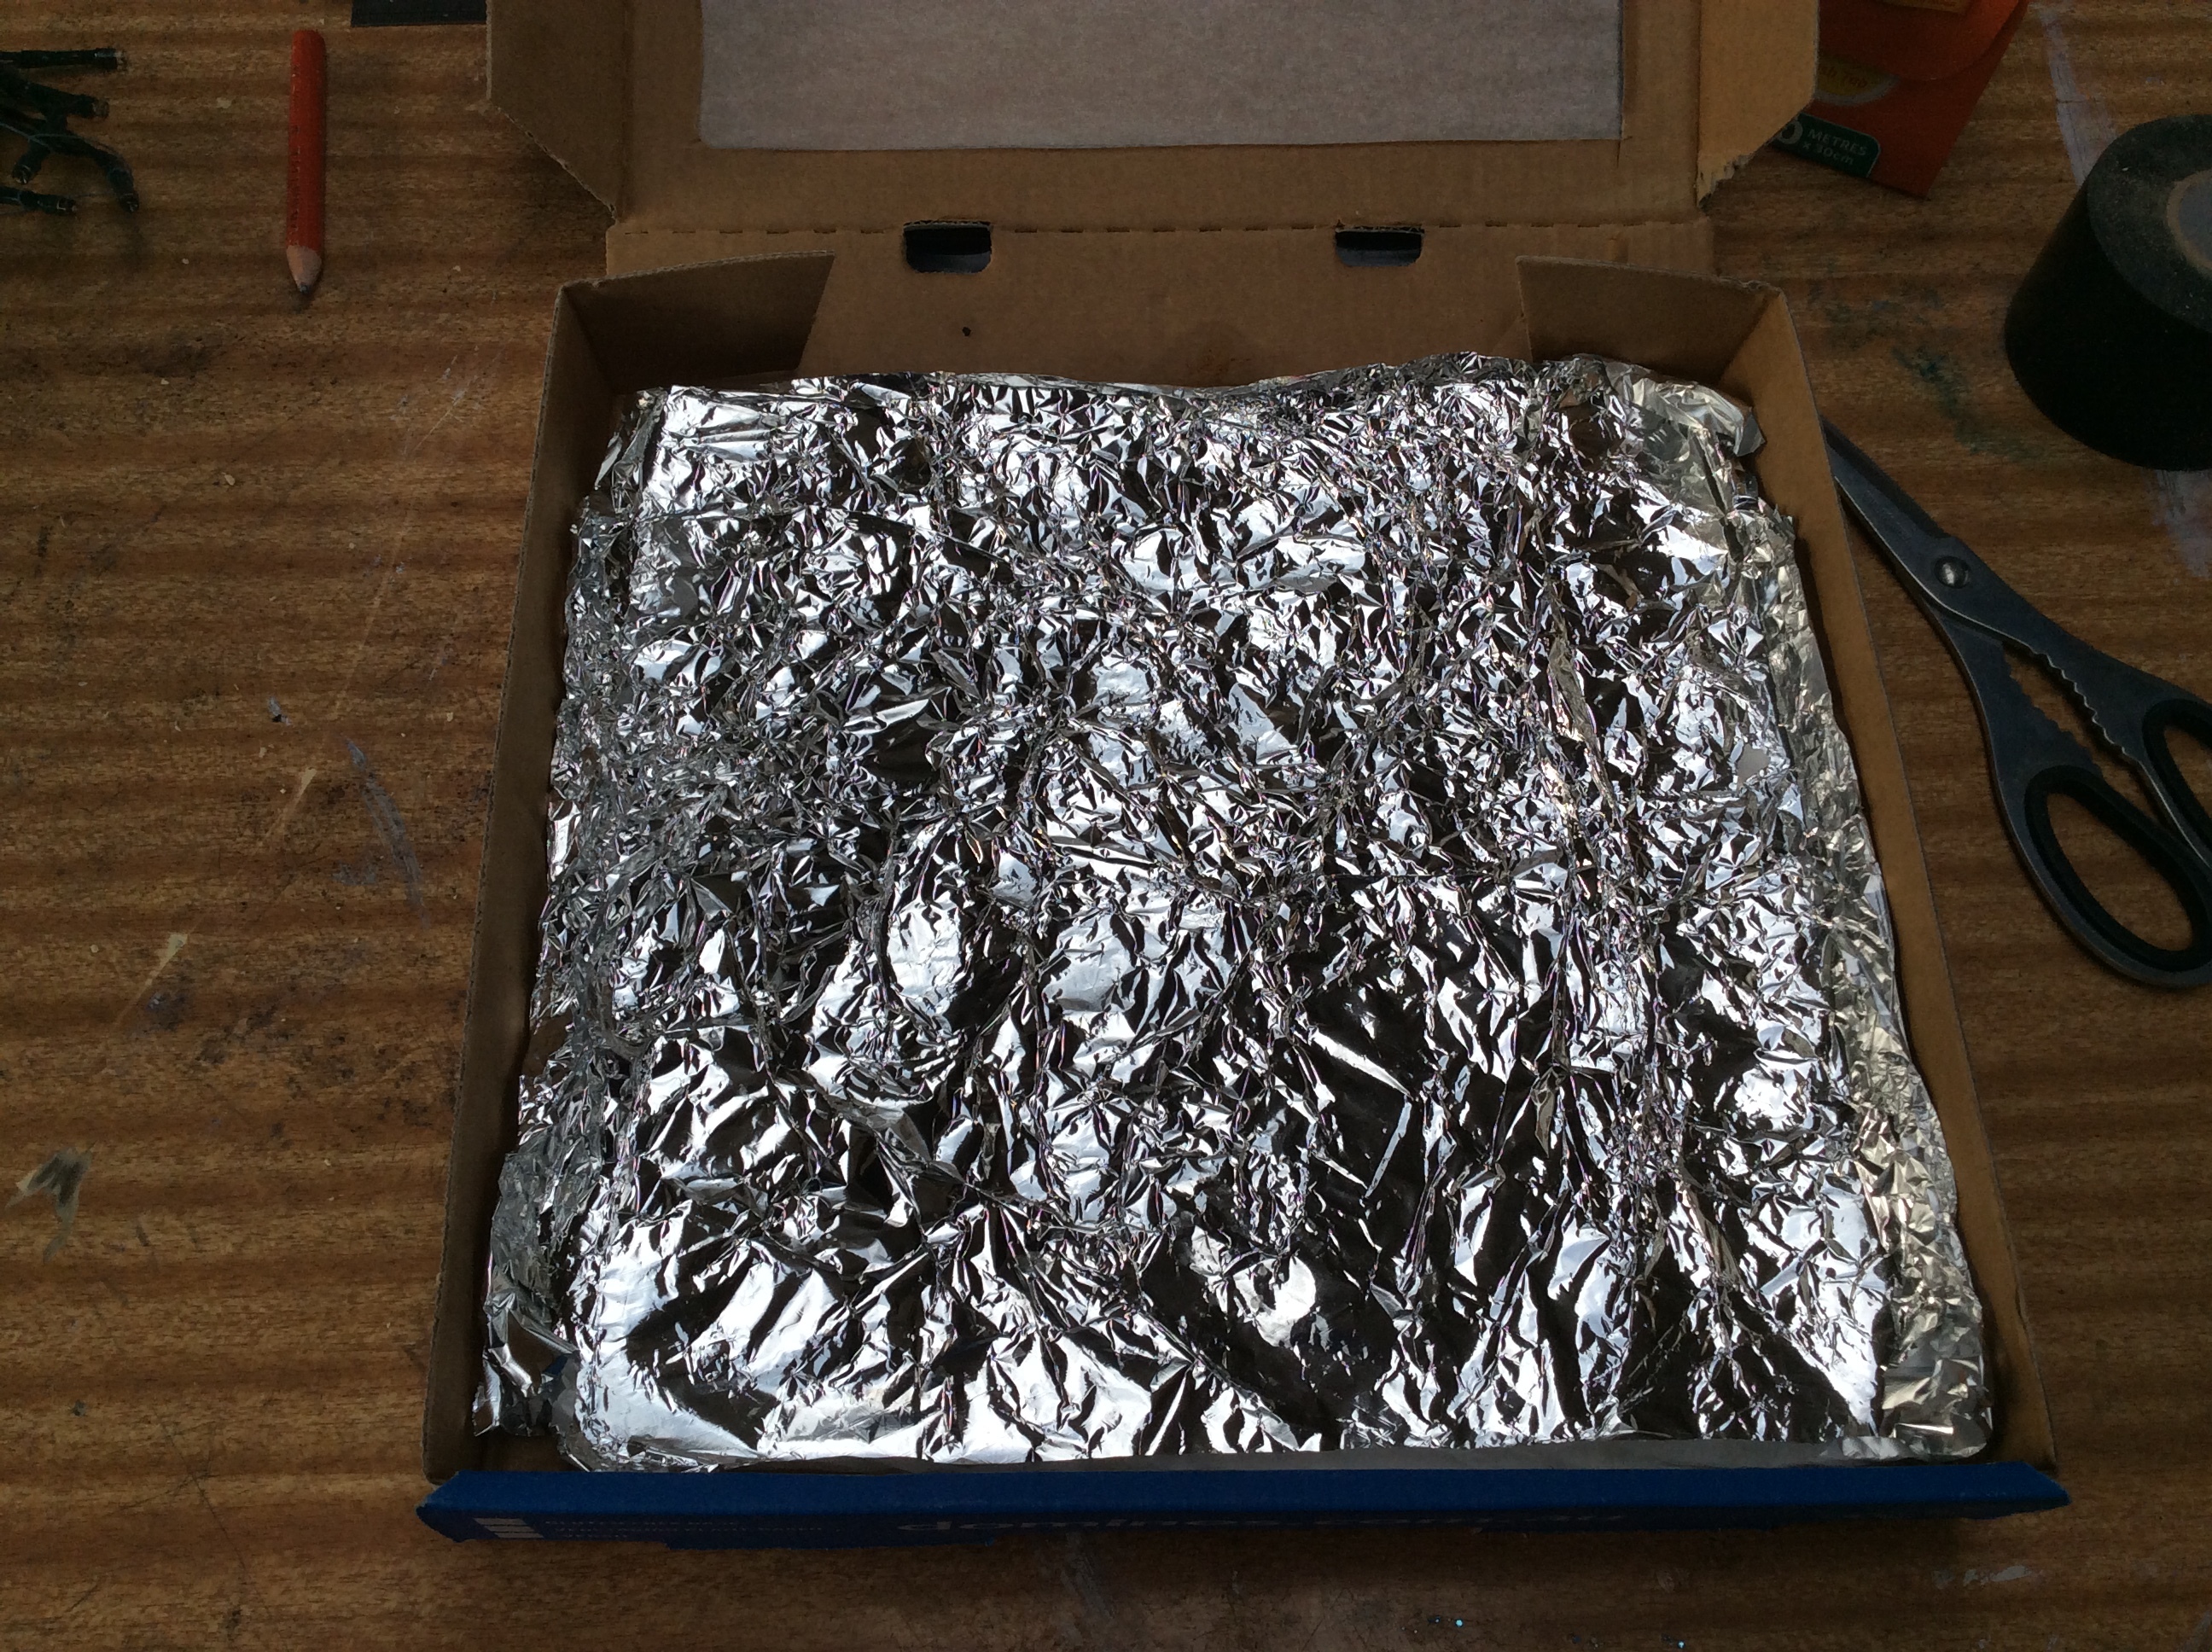
Line the back of the box with foil. This will reflect light forward. I have reused the foil out of my old one. It doesn’t have to be perfect, crumpled foil can help scatter the light better.
Add Lights
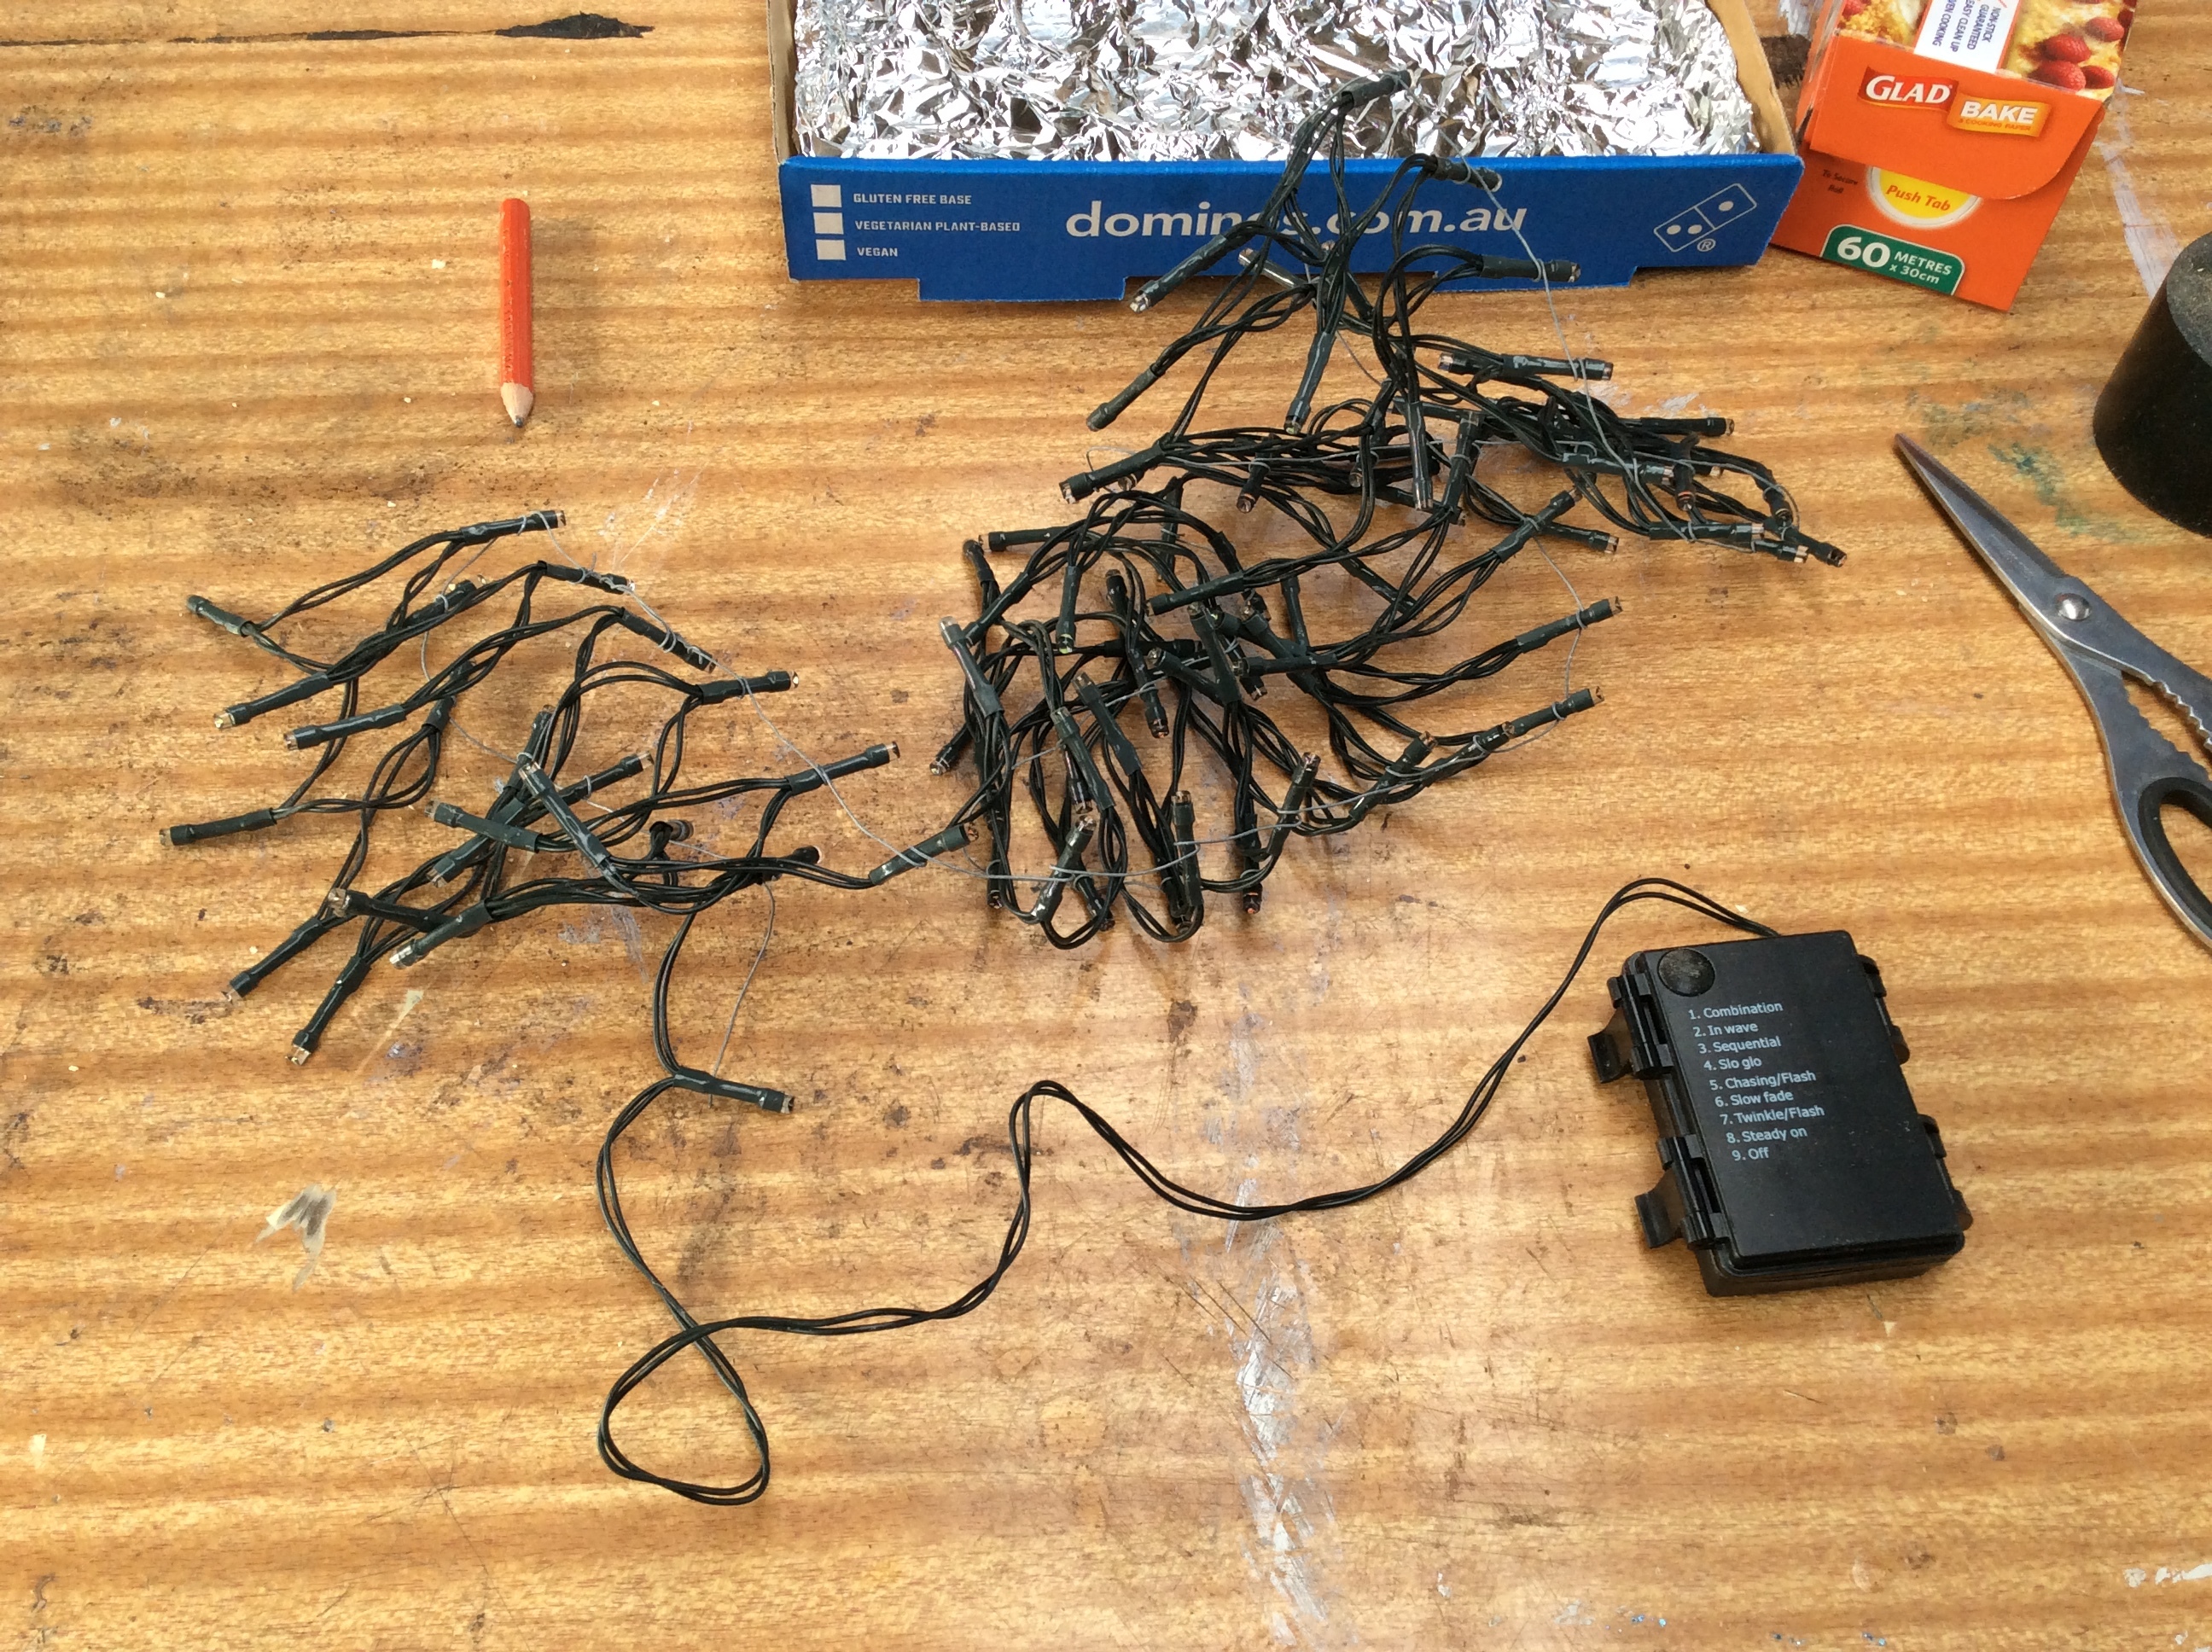
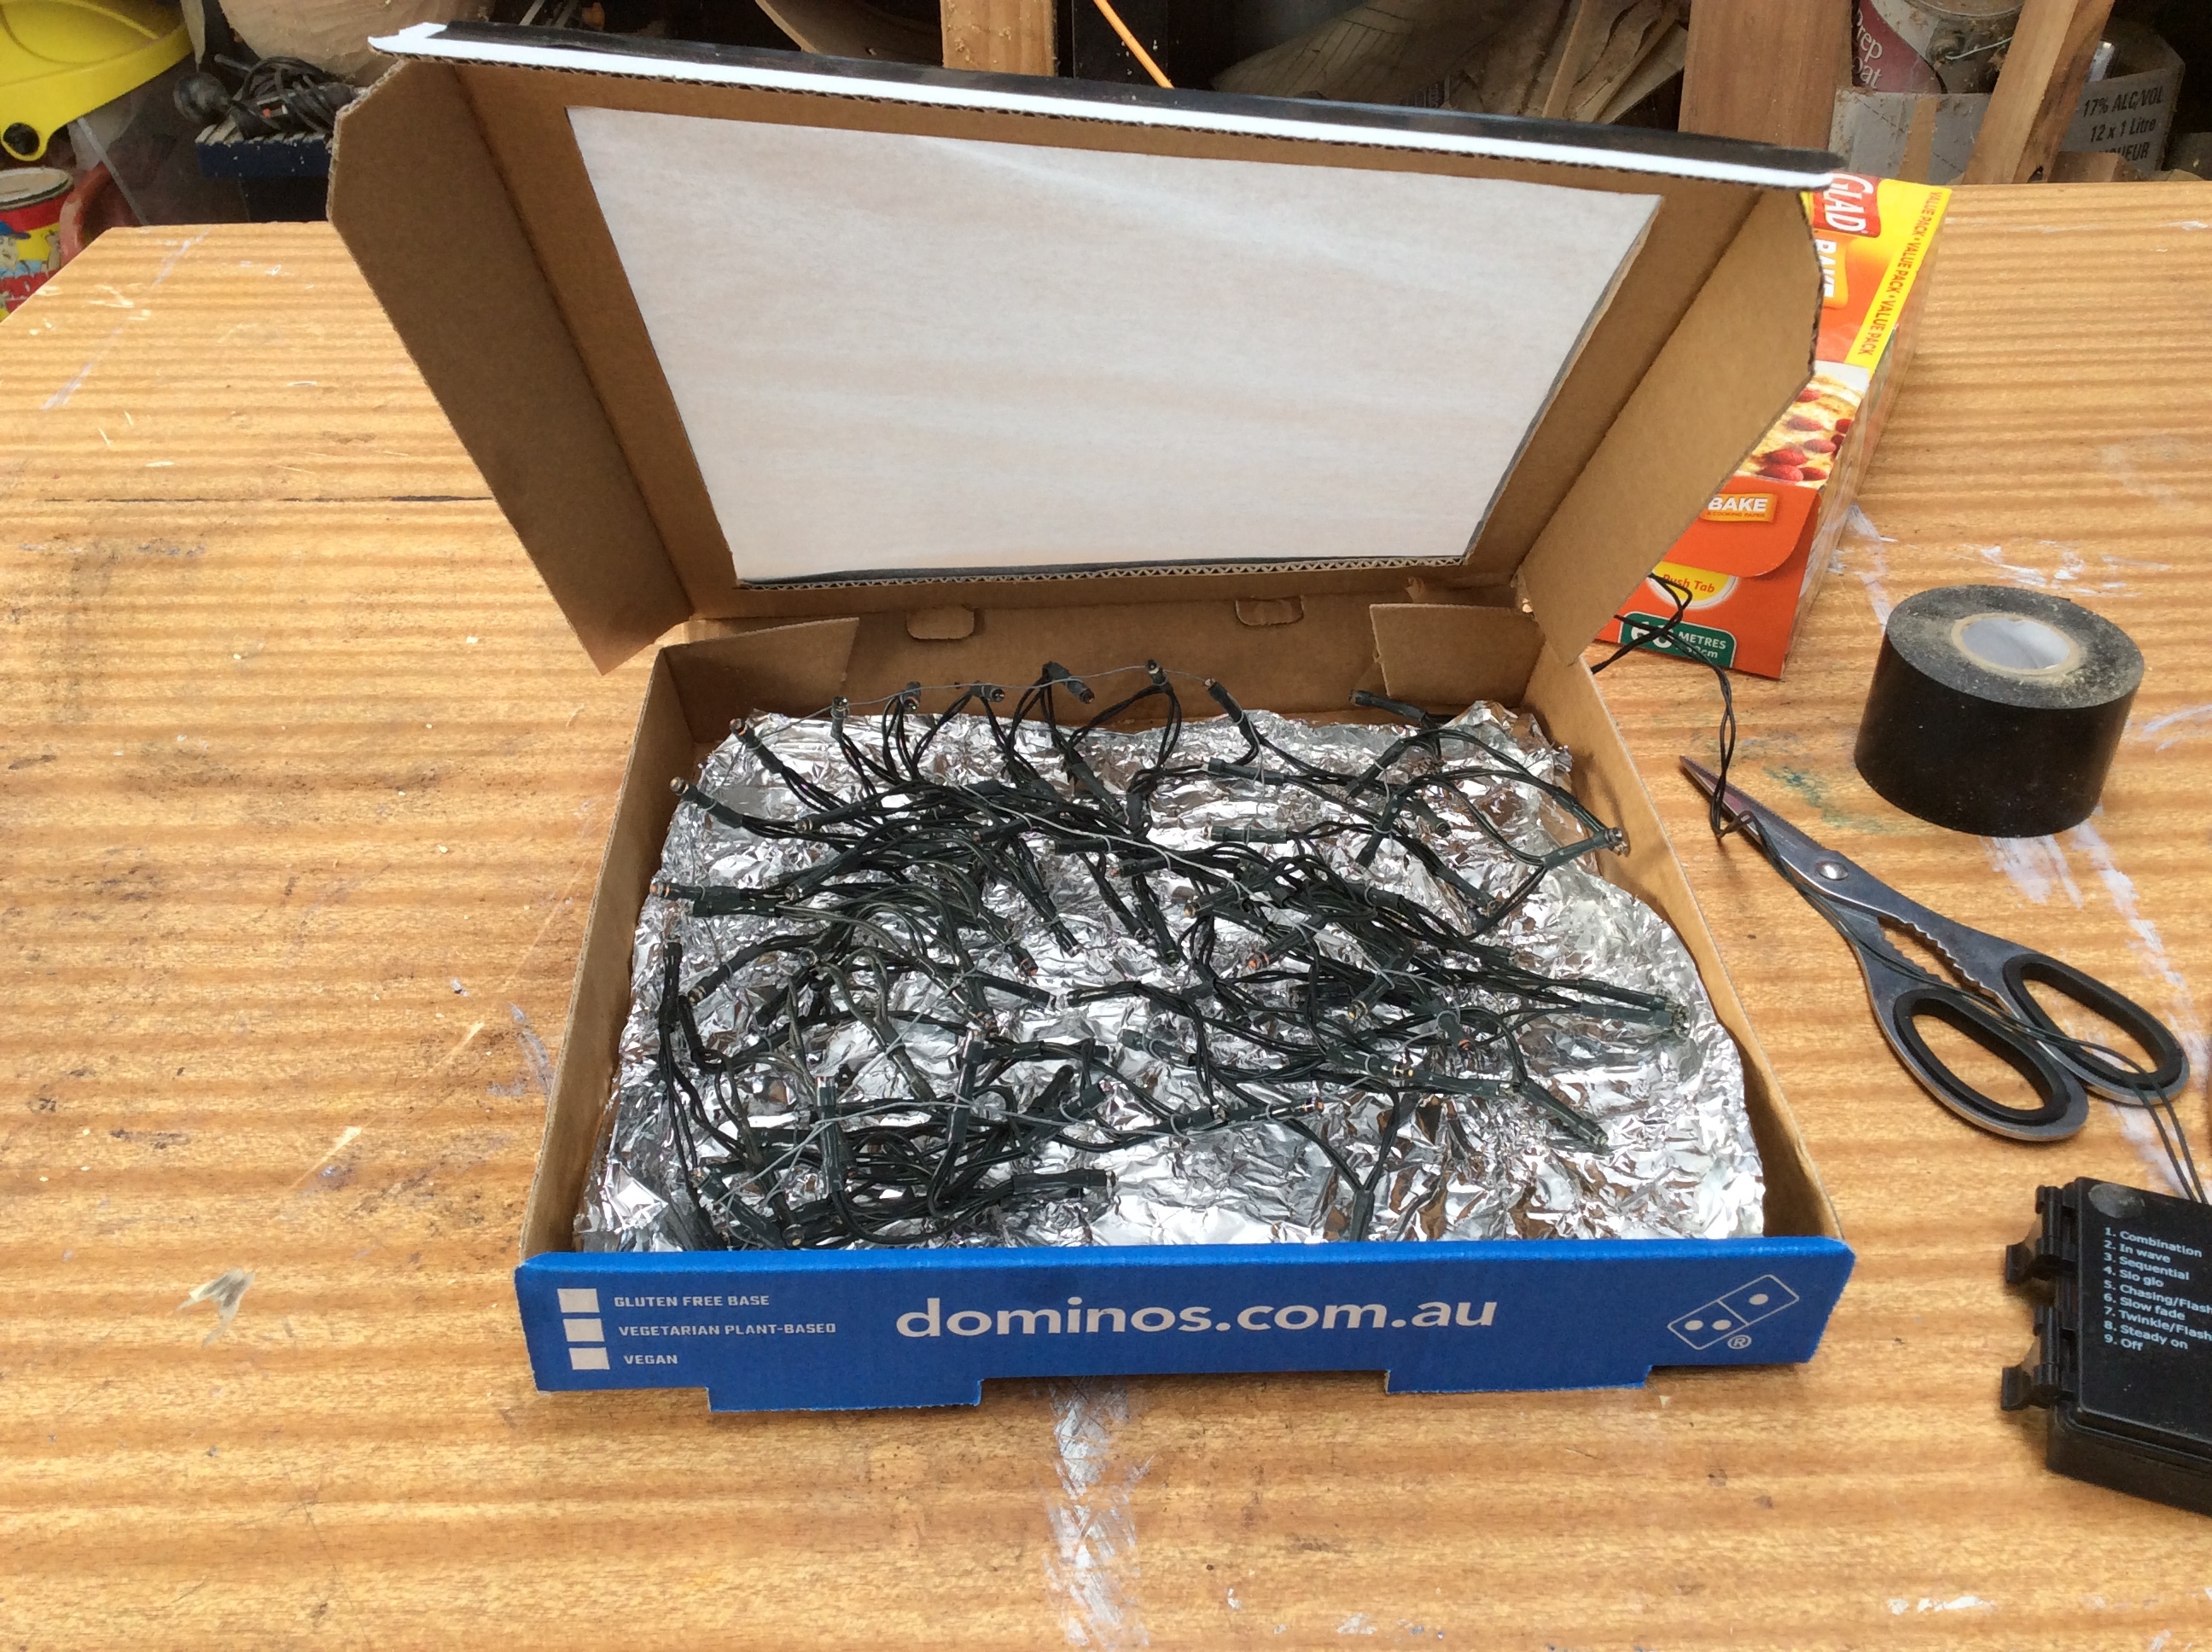
Now just dump your lights into the box. You need them to be spread out through the whole box but you don’t need to be neat or precise.
I have used a string of 100 coloured lights which are bare LEDs. You can use white lights with baking paper to have a white surface, or you can experiment with coloured diffusers and cellophane to get different effects. More lights will be brighter, less will be more subtle.
If they move when you hold the box vertically with the lid closed you may need to tape them in place. Mine didn’t need to be taped, but they also have some gardening wire remaining on them from my Christmas display which is helping hold them in place.
Optional: Add a Second Layer of Diffuser
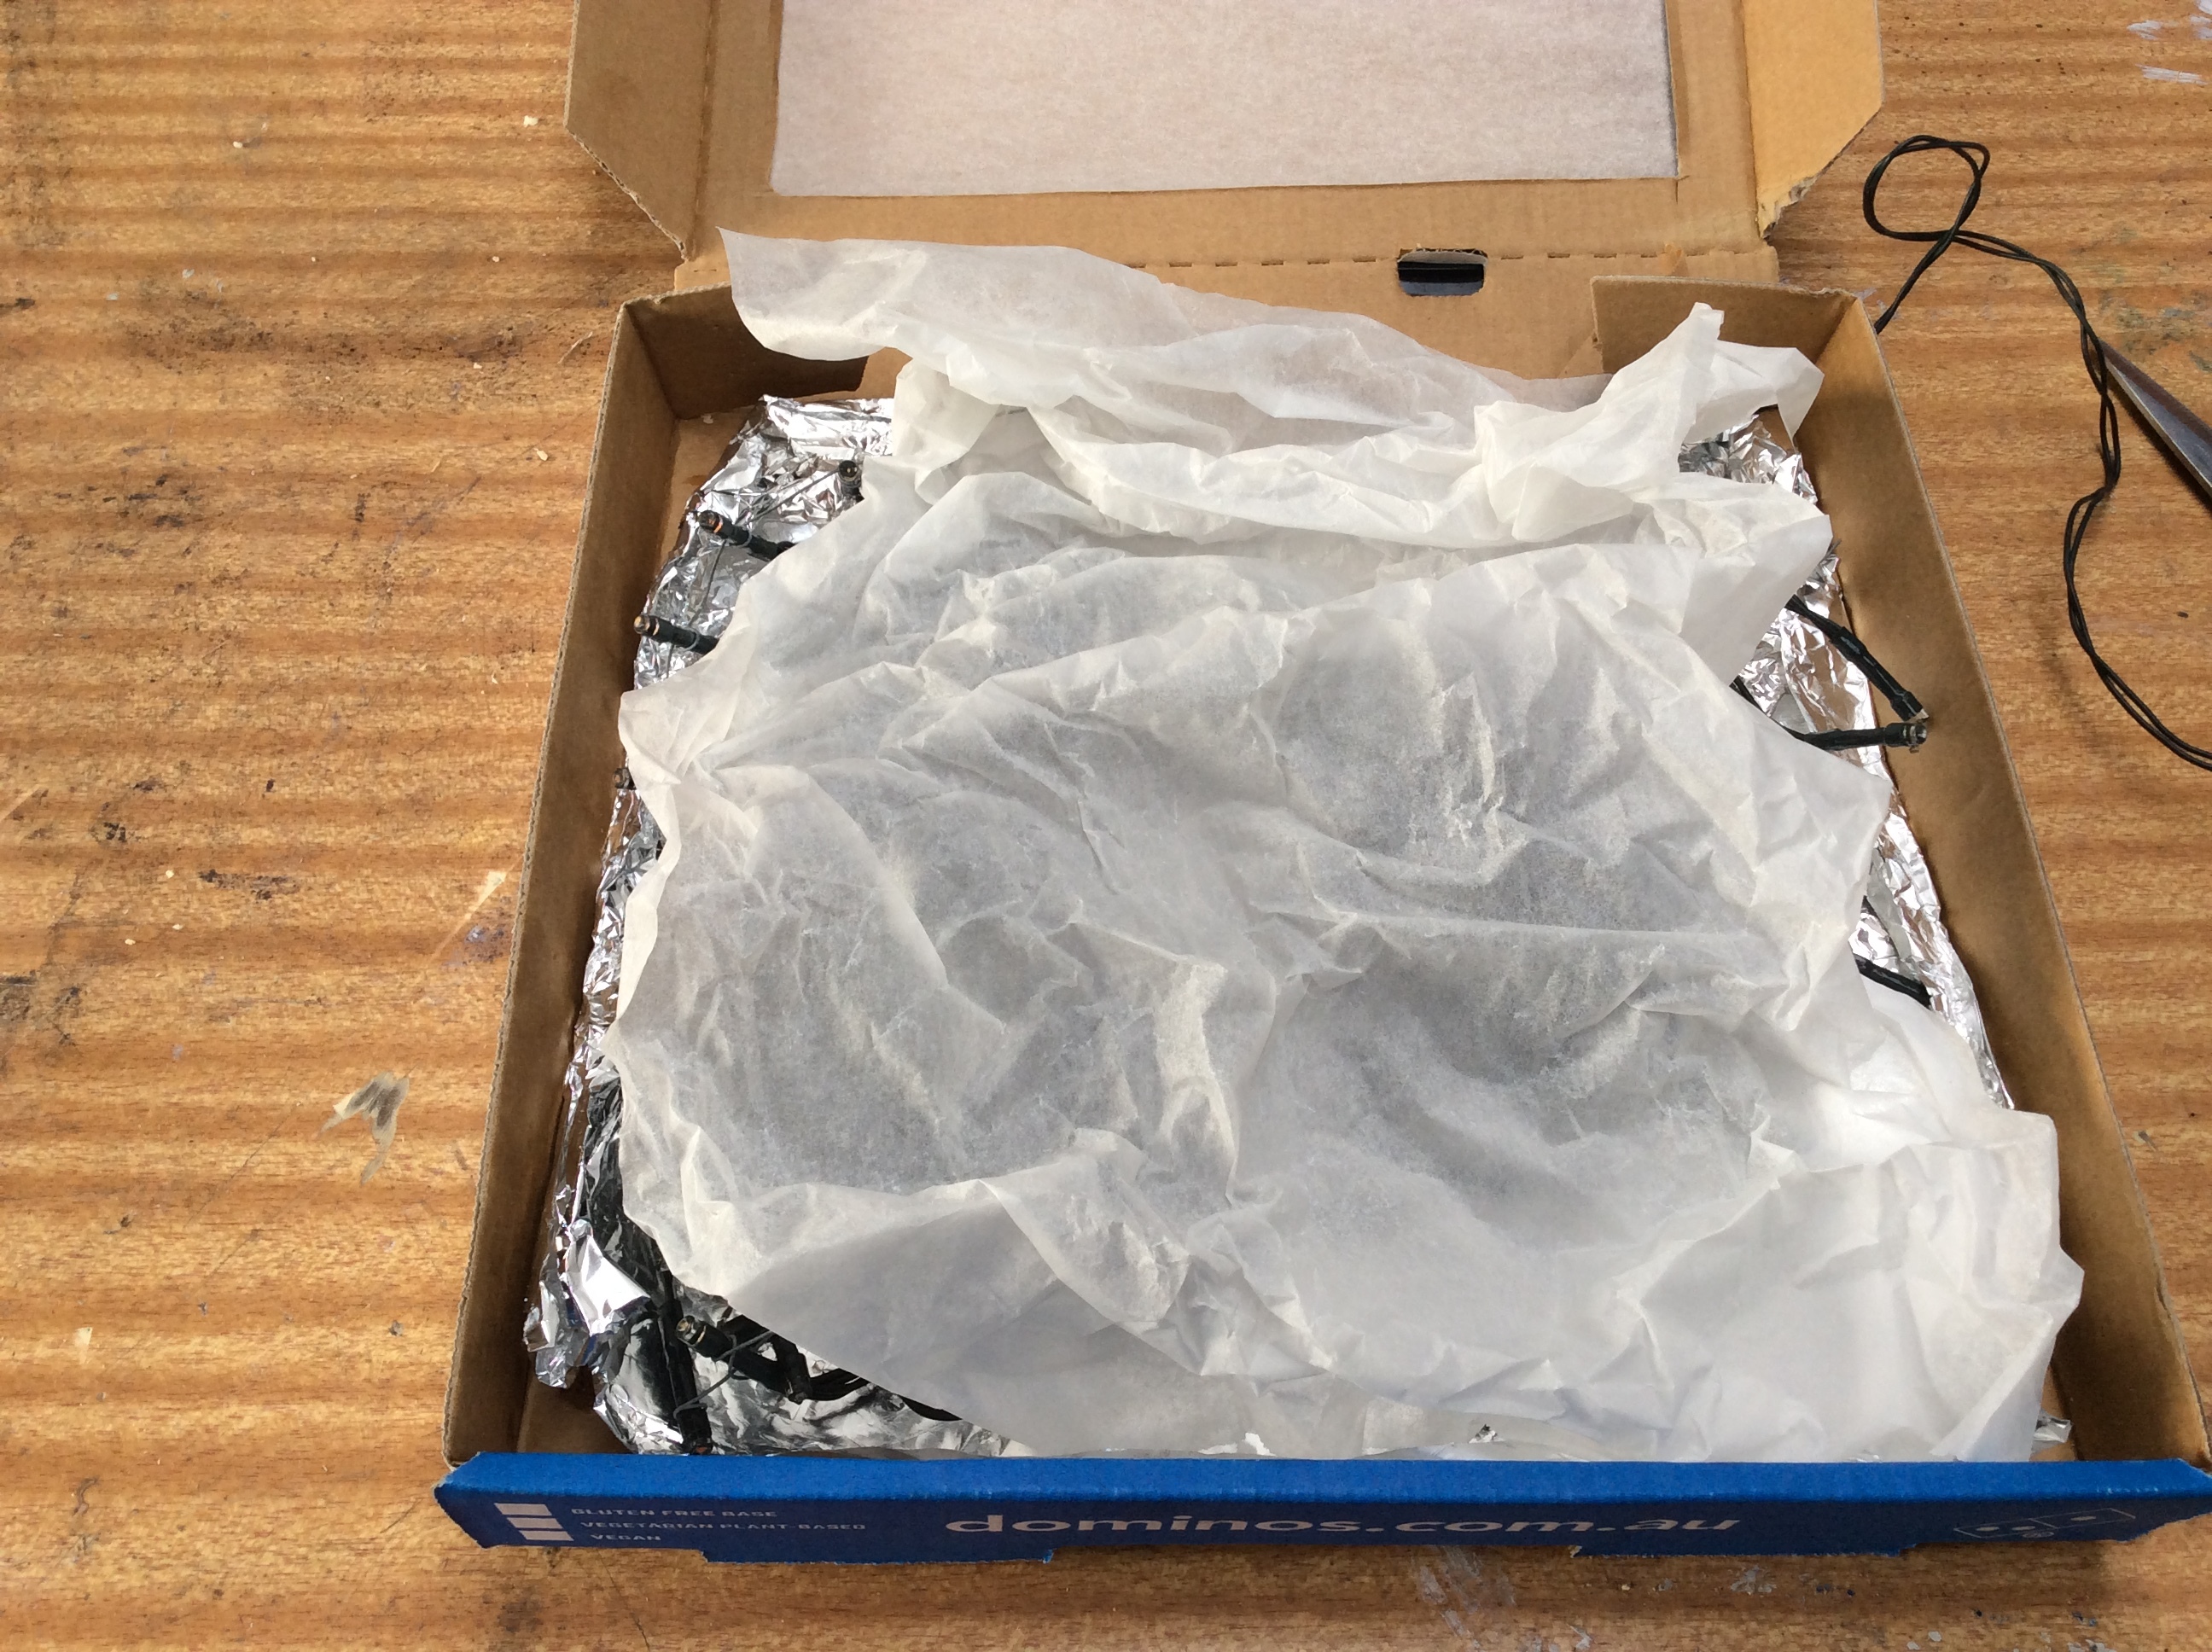
I added some scrunched up baking paper to help even out 5he light a bit. You don’t have to do this but your individual light points may be more obvious if you don’t.
Light Box Done
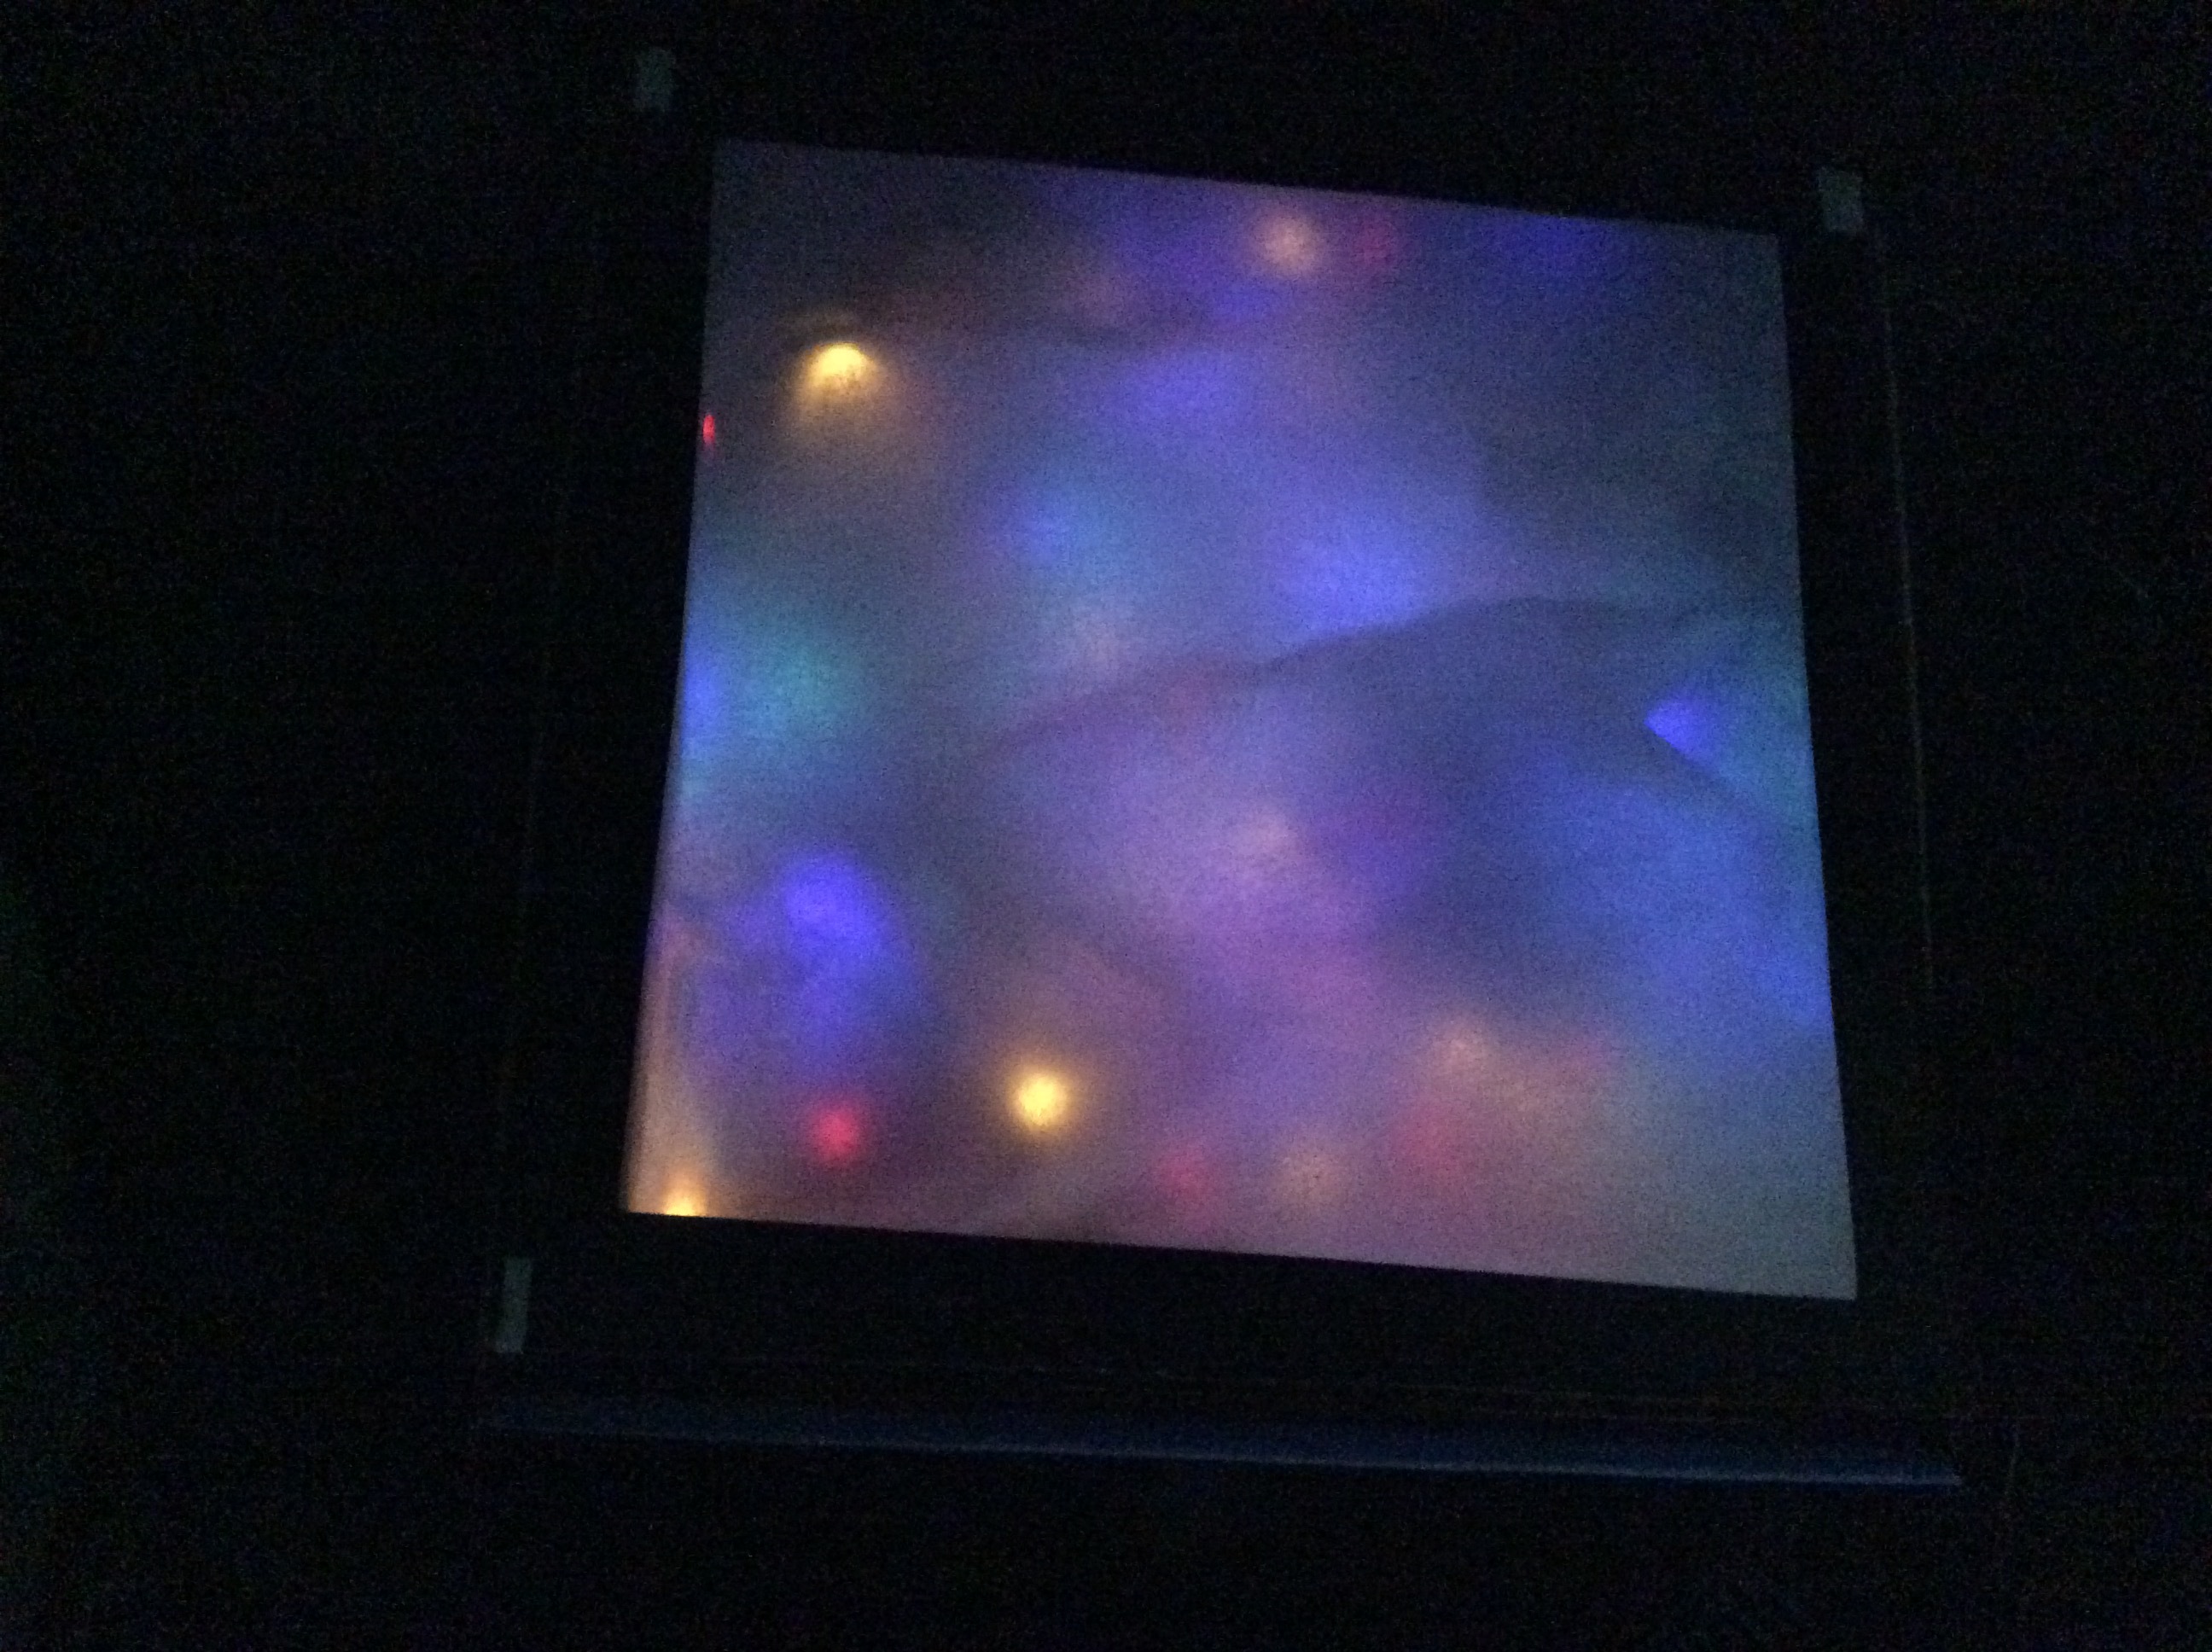
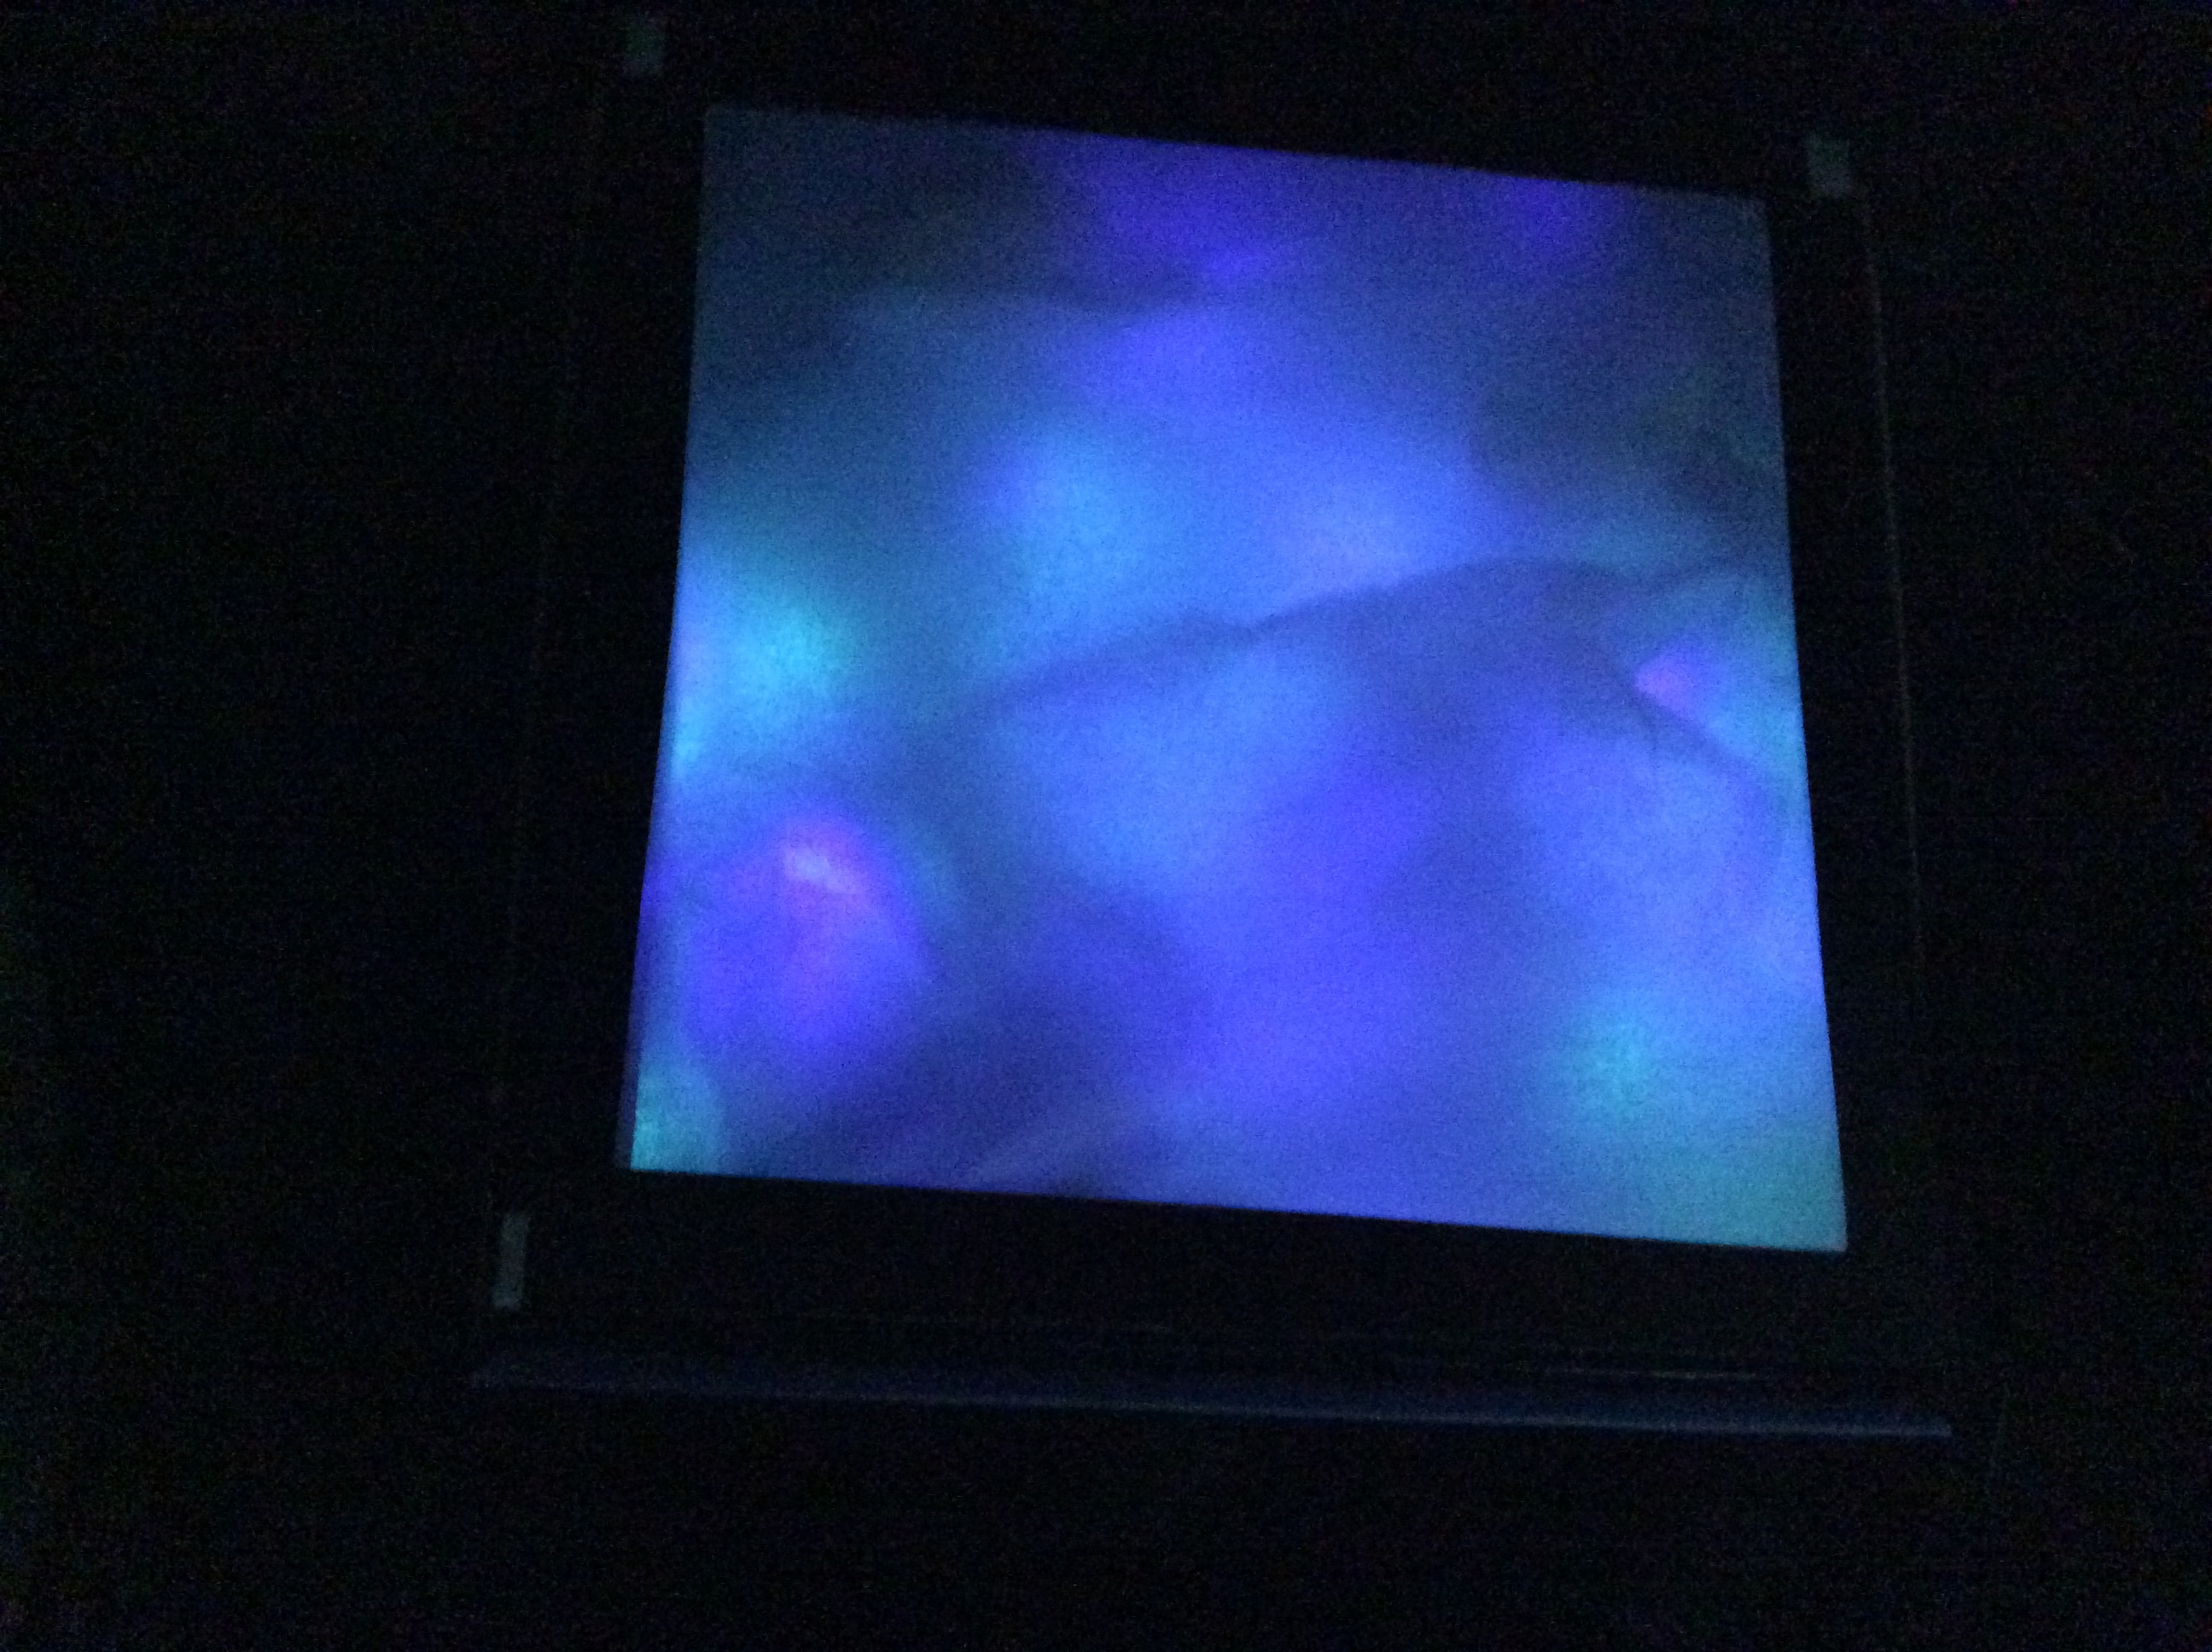
If the window you cut is the final shape you want then you are done as soon as you close the lid.
You can see some of my yellow and red lights are very close to the surface which makes them appear as distinct spots. If you don’t like this you can tape or wire any lights that stick up to the back of the box.
If you want more of a design then keep reading.
You can see some of my yellow and red lights are very close to the surface which makes them appear as distinct spots. If you don’t like this you can tape or wire any lights that stick up to the back of the box.
If you want more of a design then keep reading.
Cut Some Filters
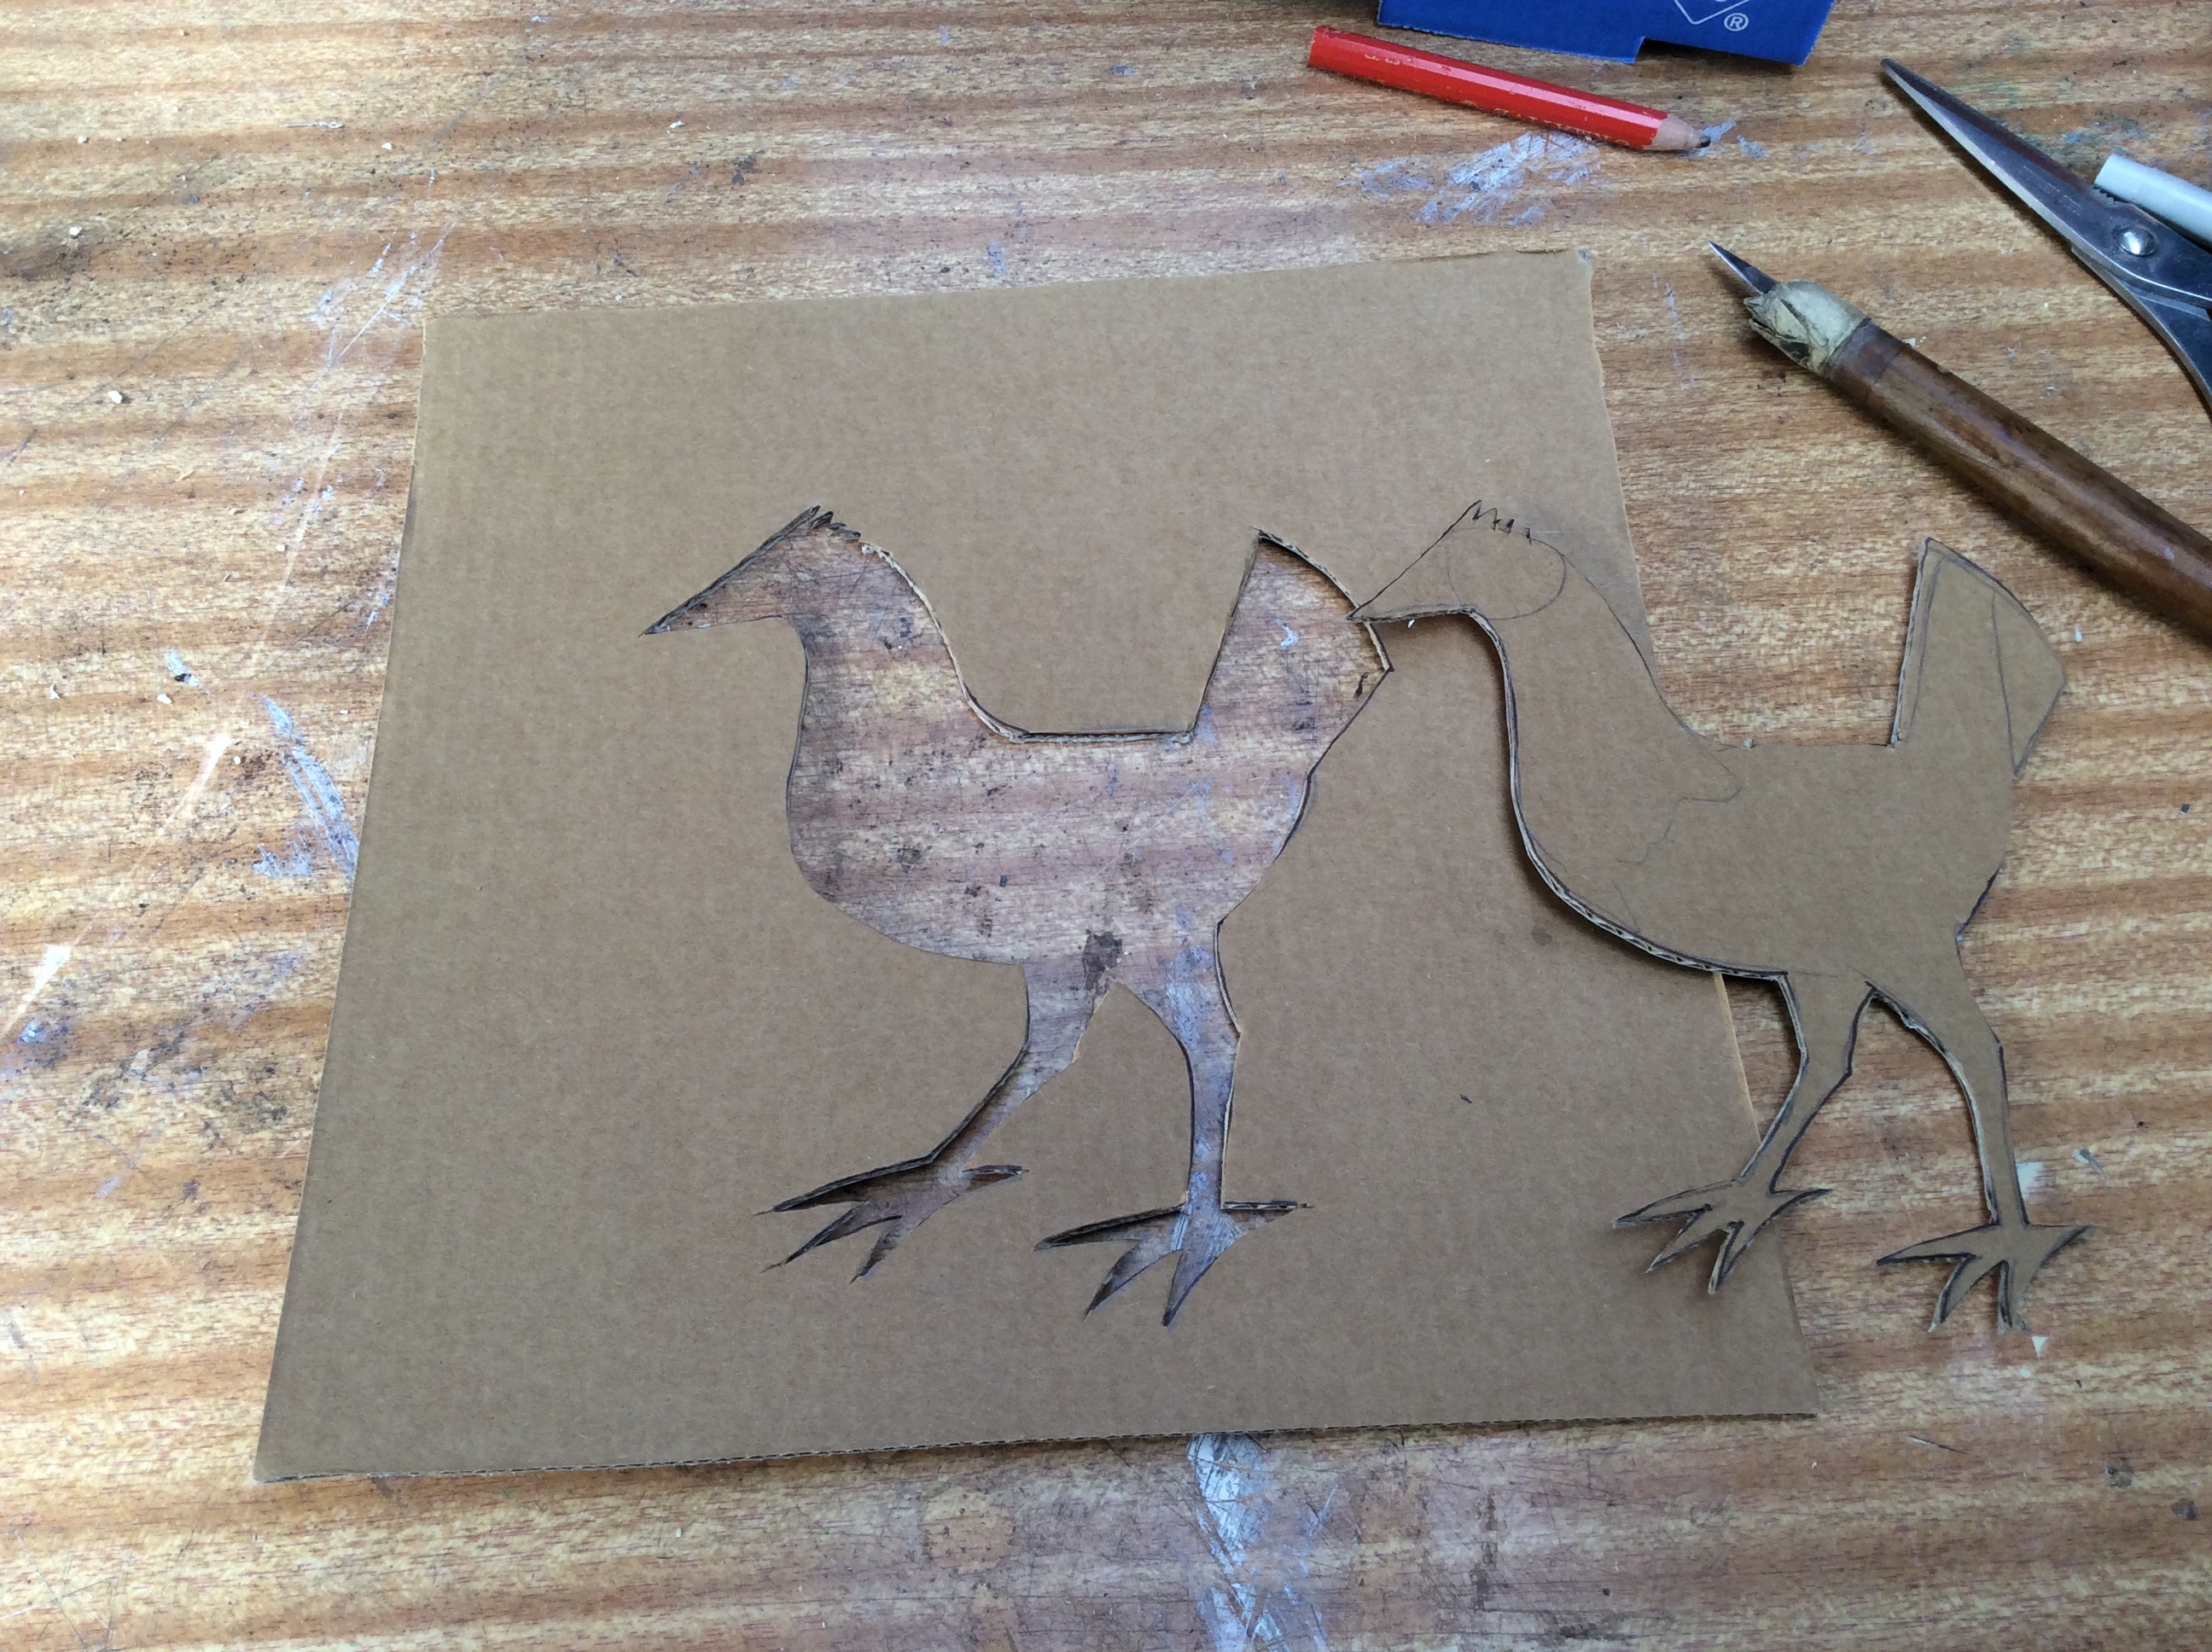
Cut out some designs to fit on the front of your light box. You can use either positive or negative space, or a combination of both.
Simple designs like a silhouette, letter, or abstract shape will work best.
Simple designs like a silhouette, letter, or abstract shape will work best.
Add Your Filters
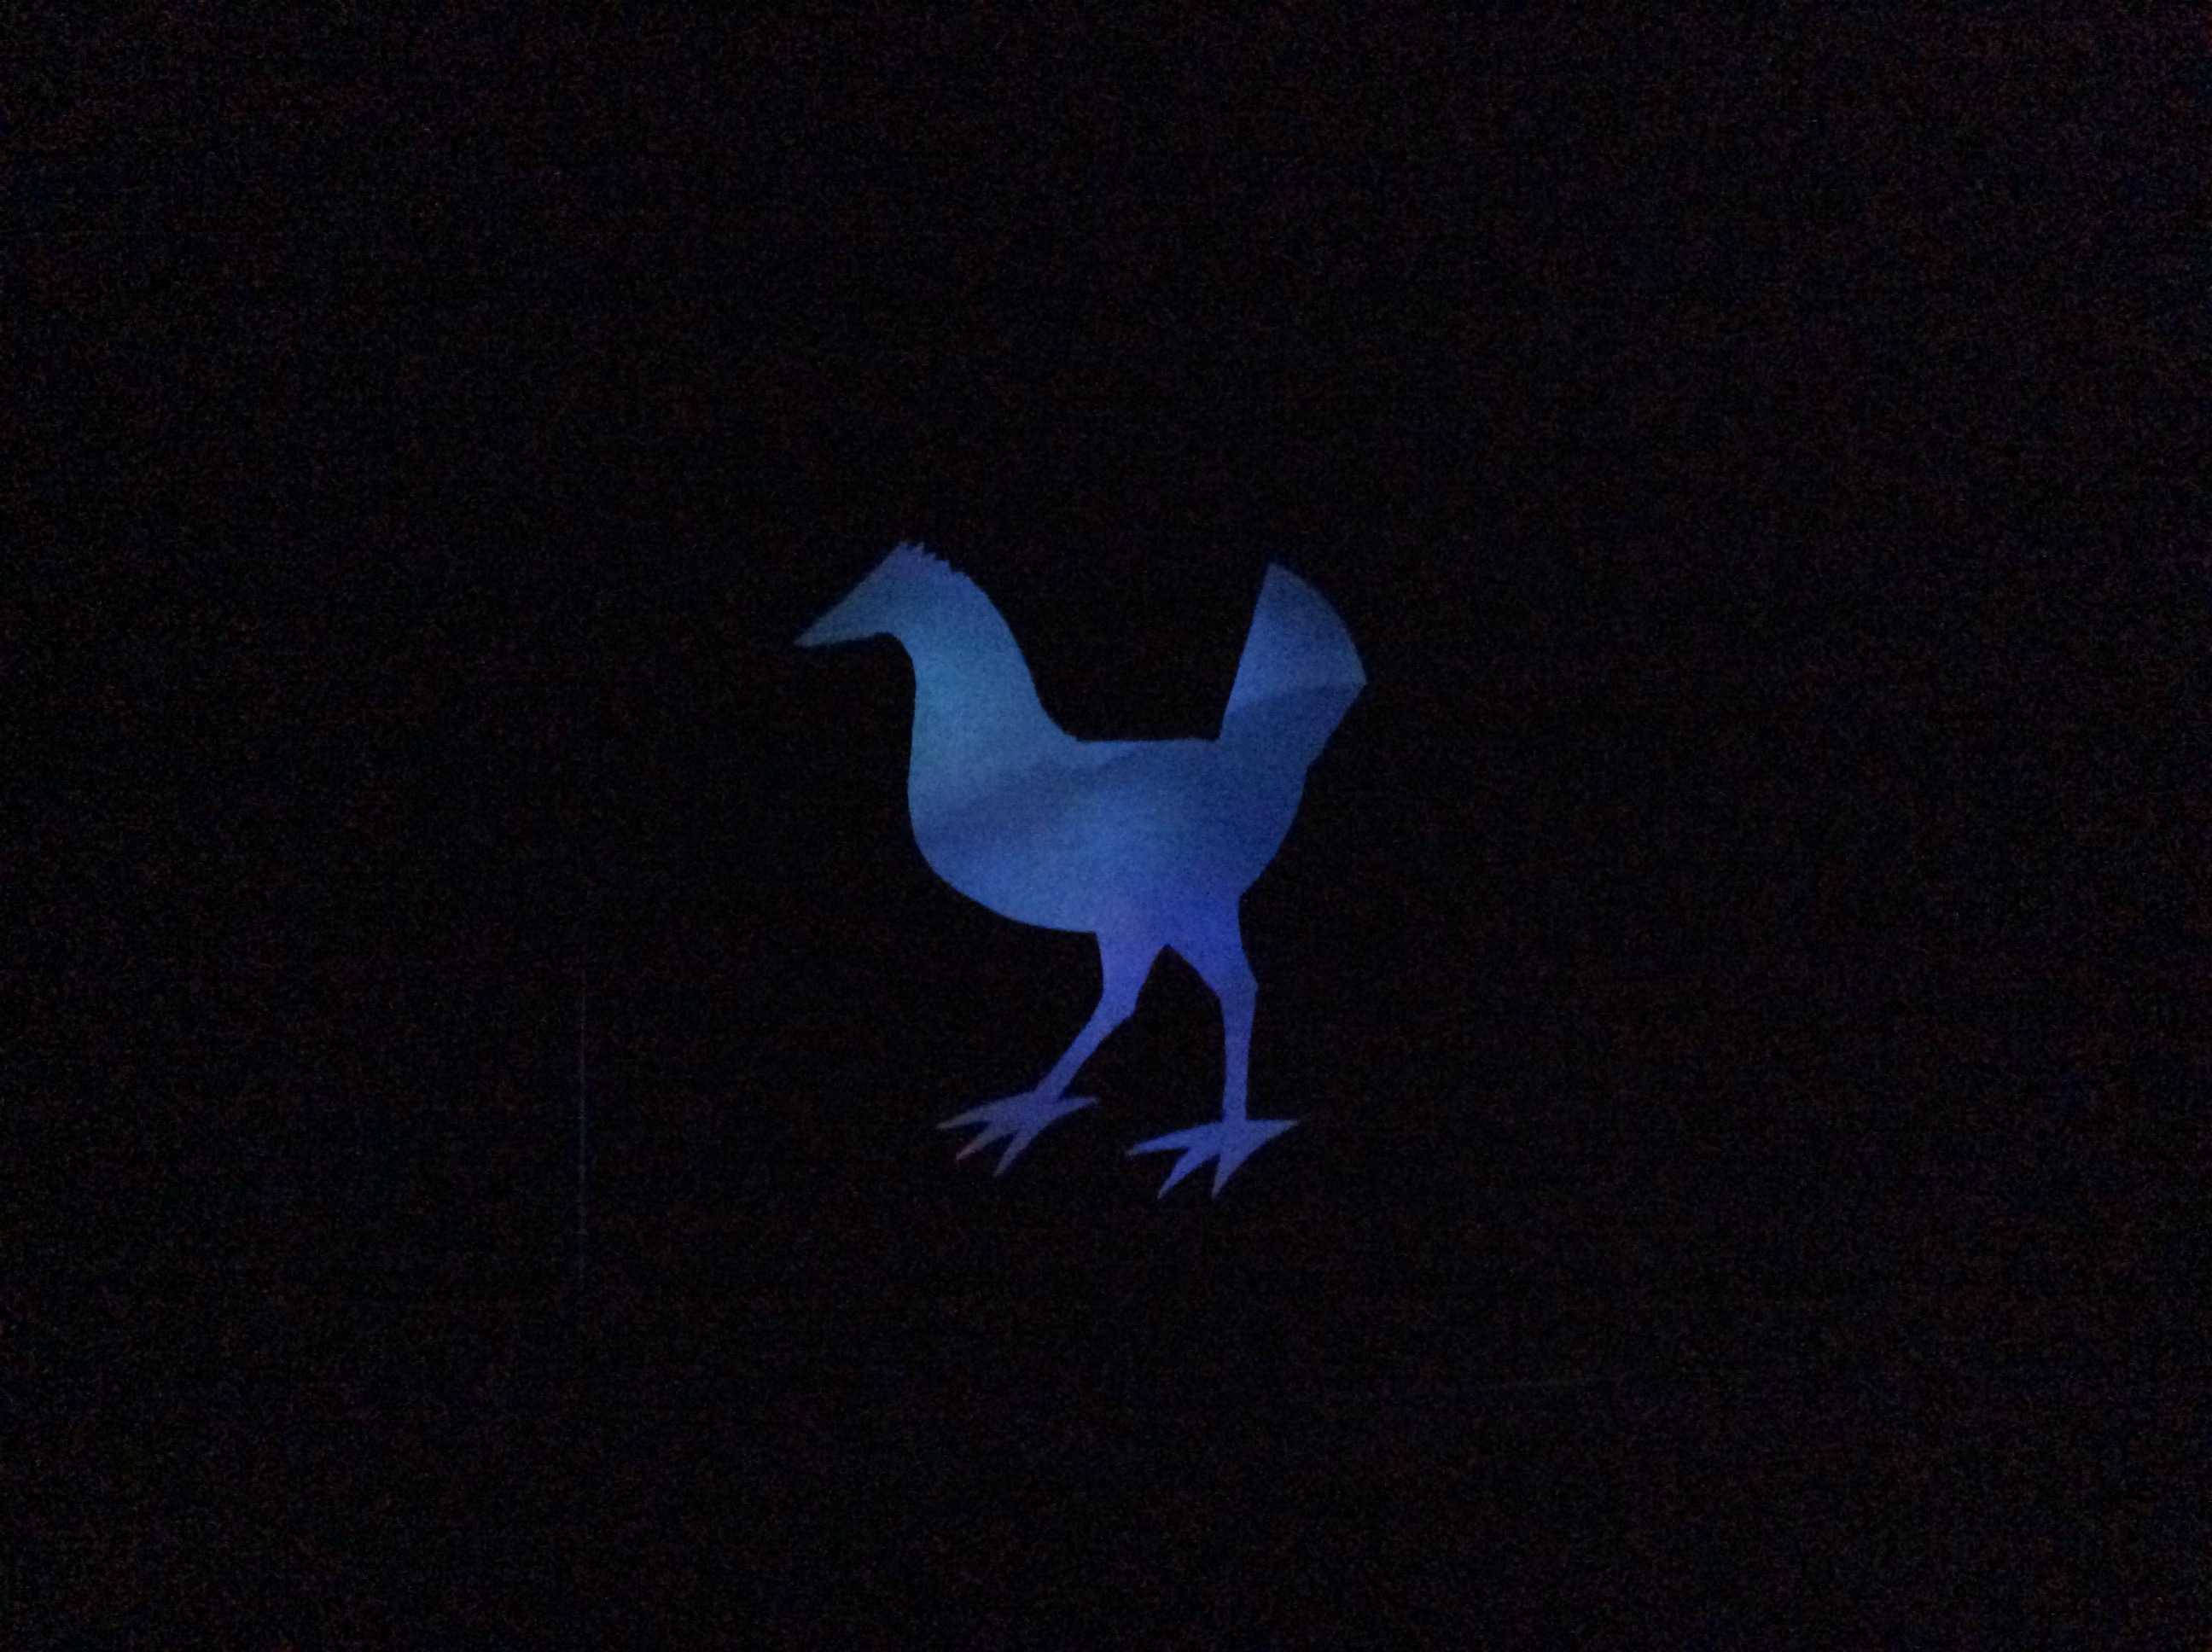
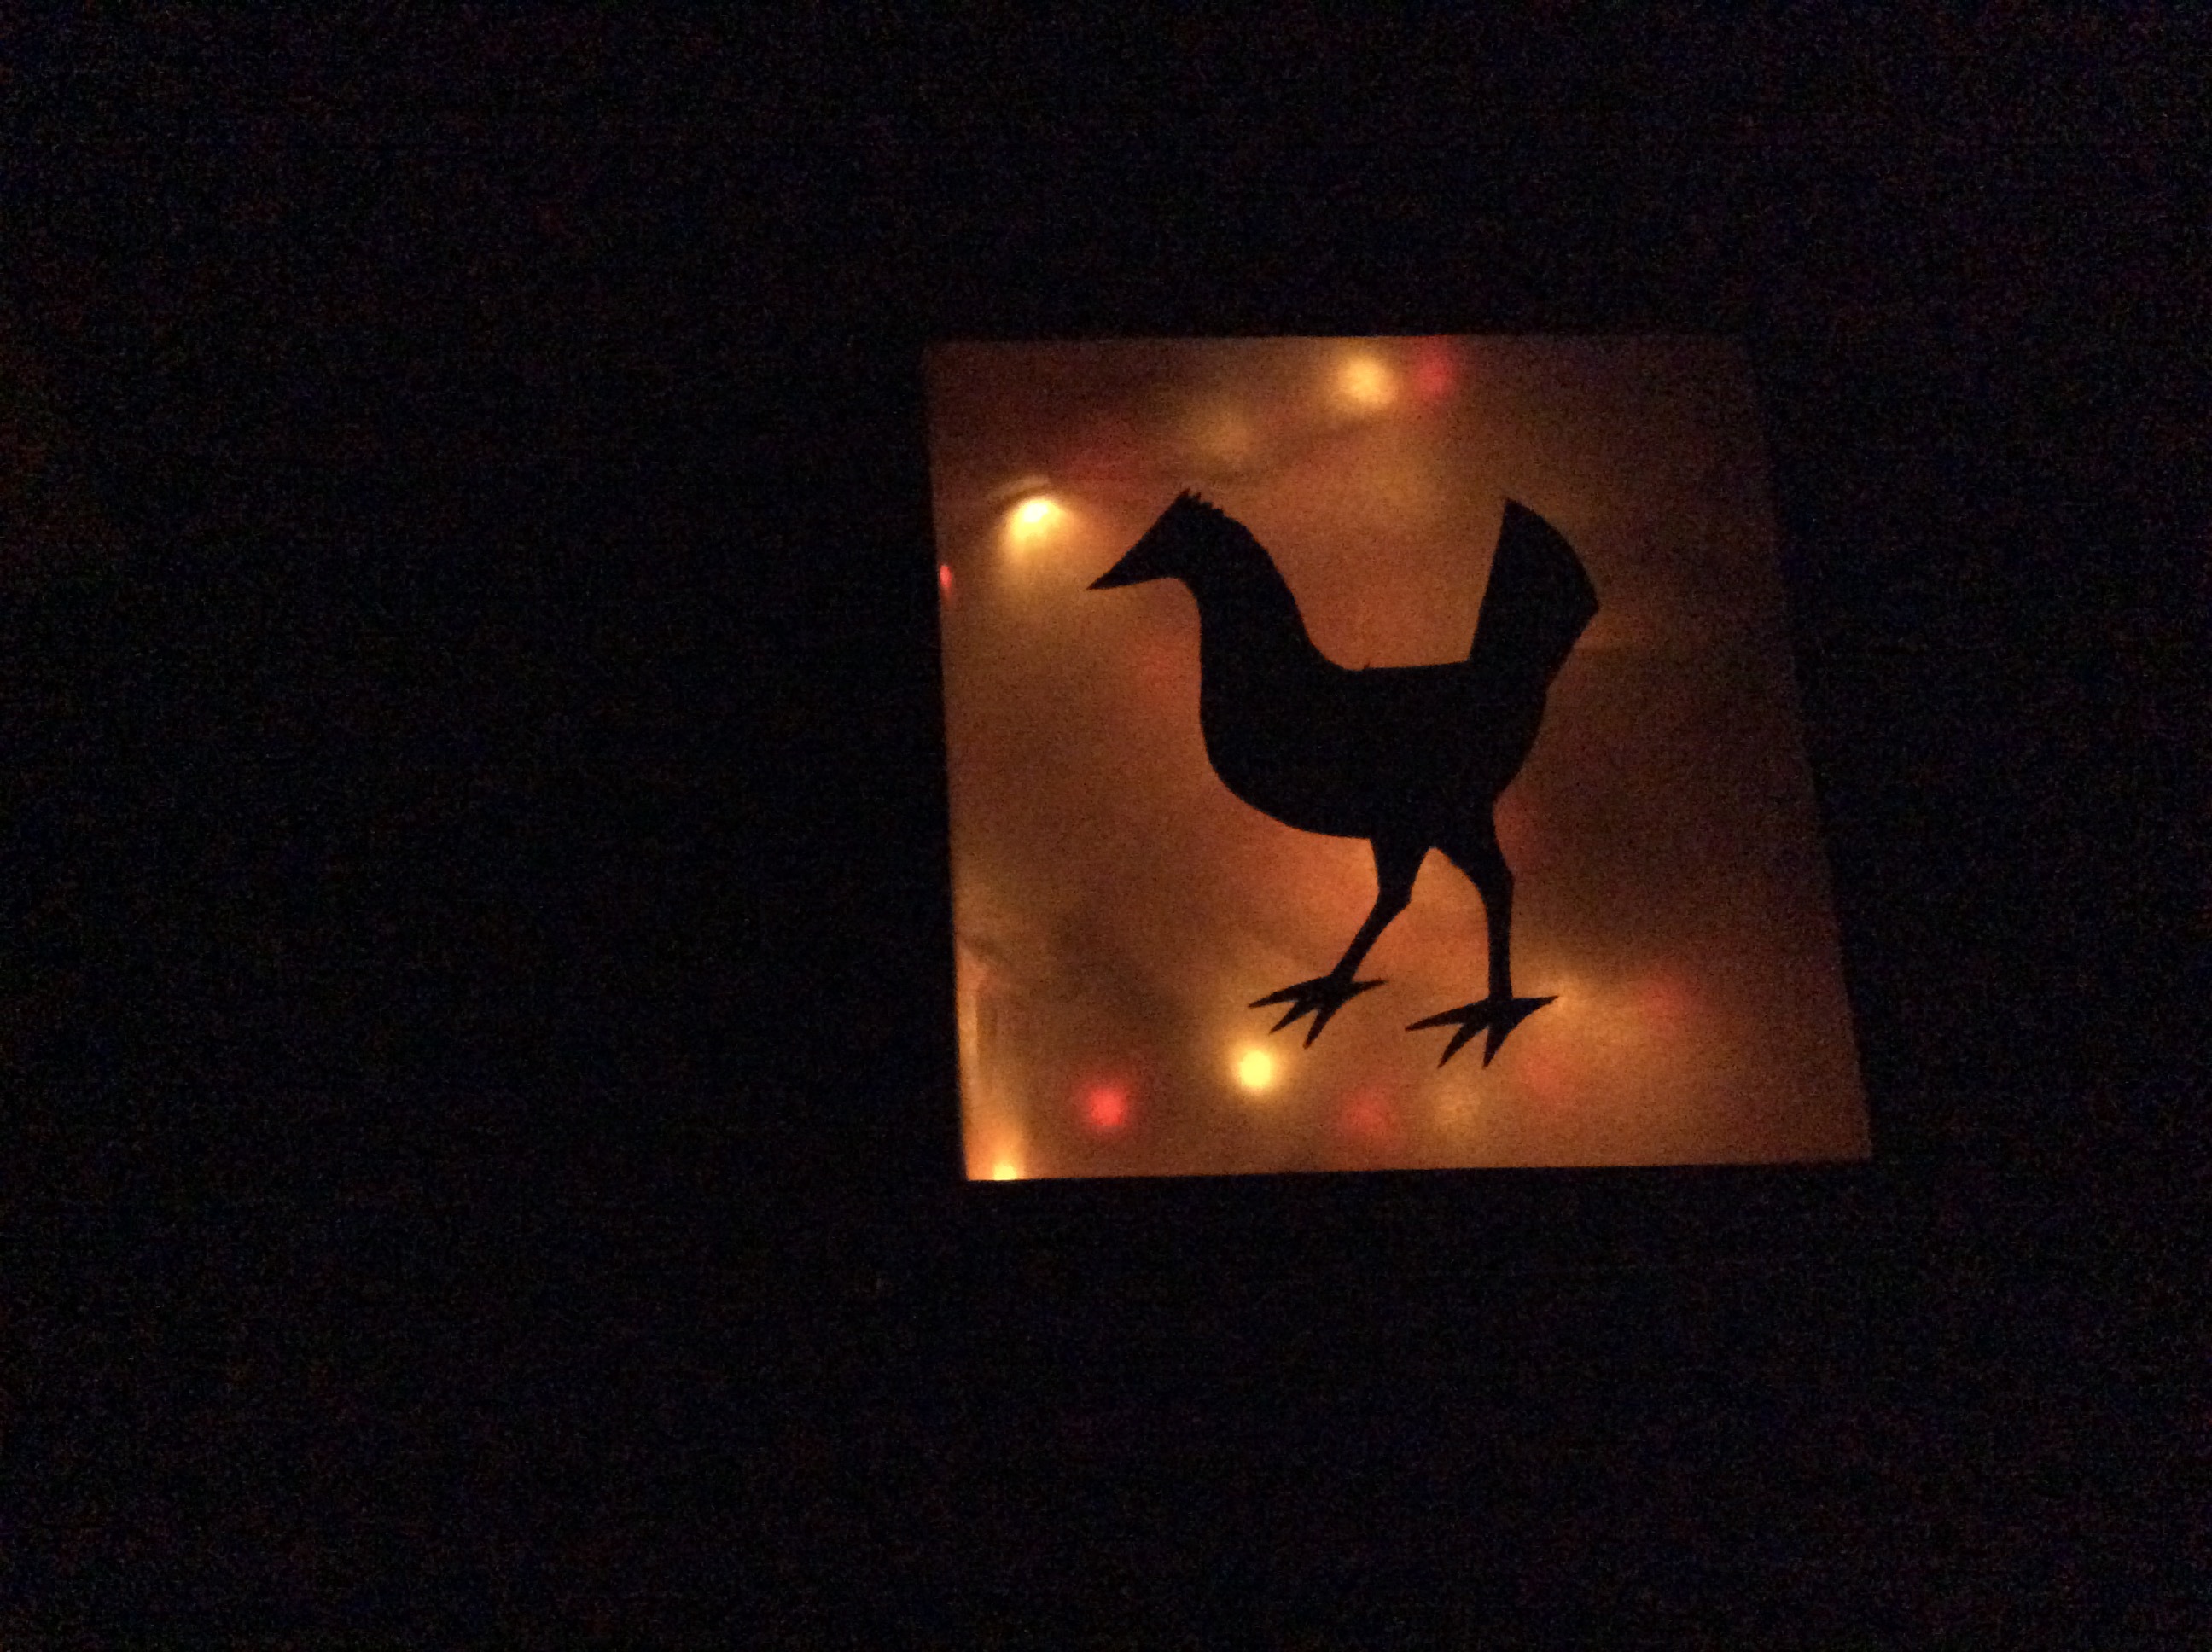
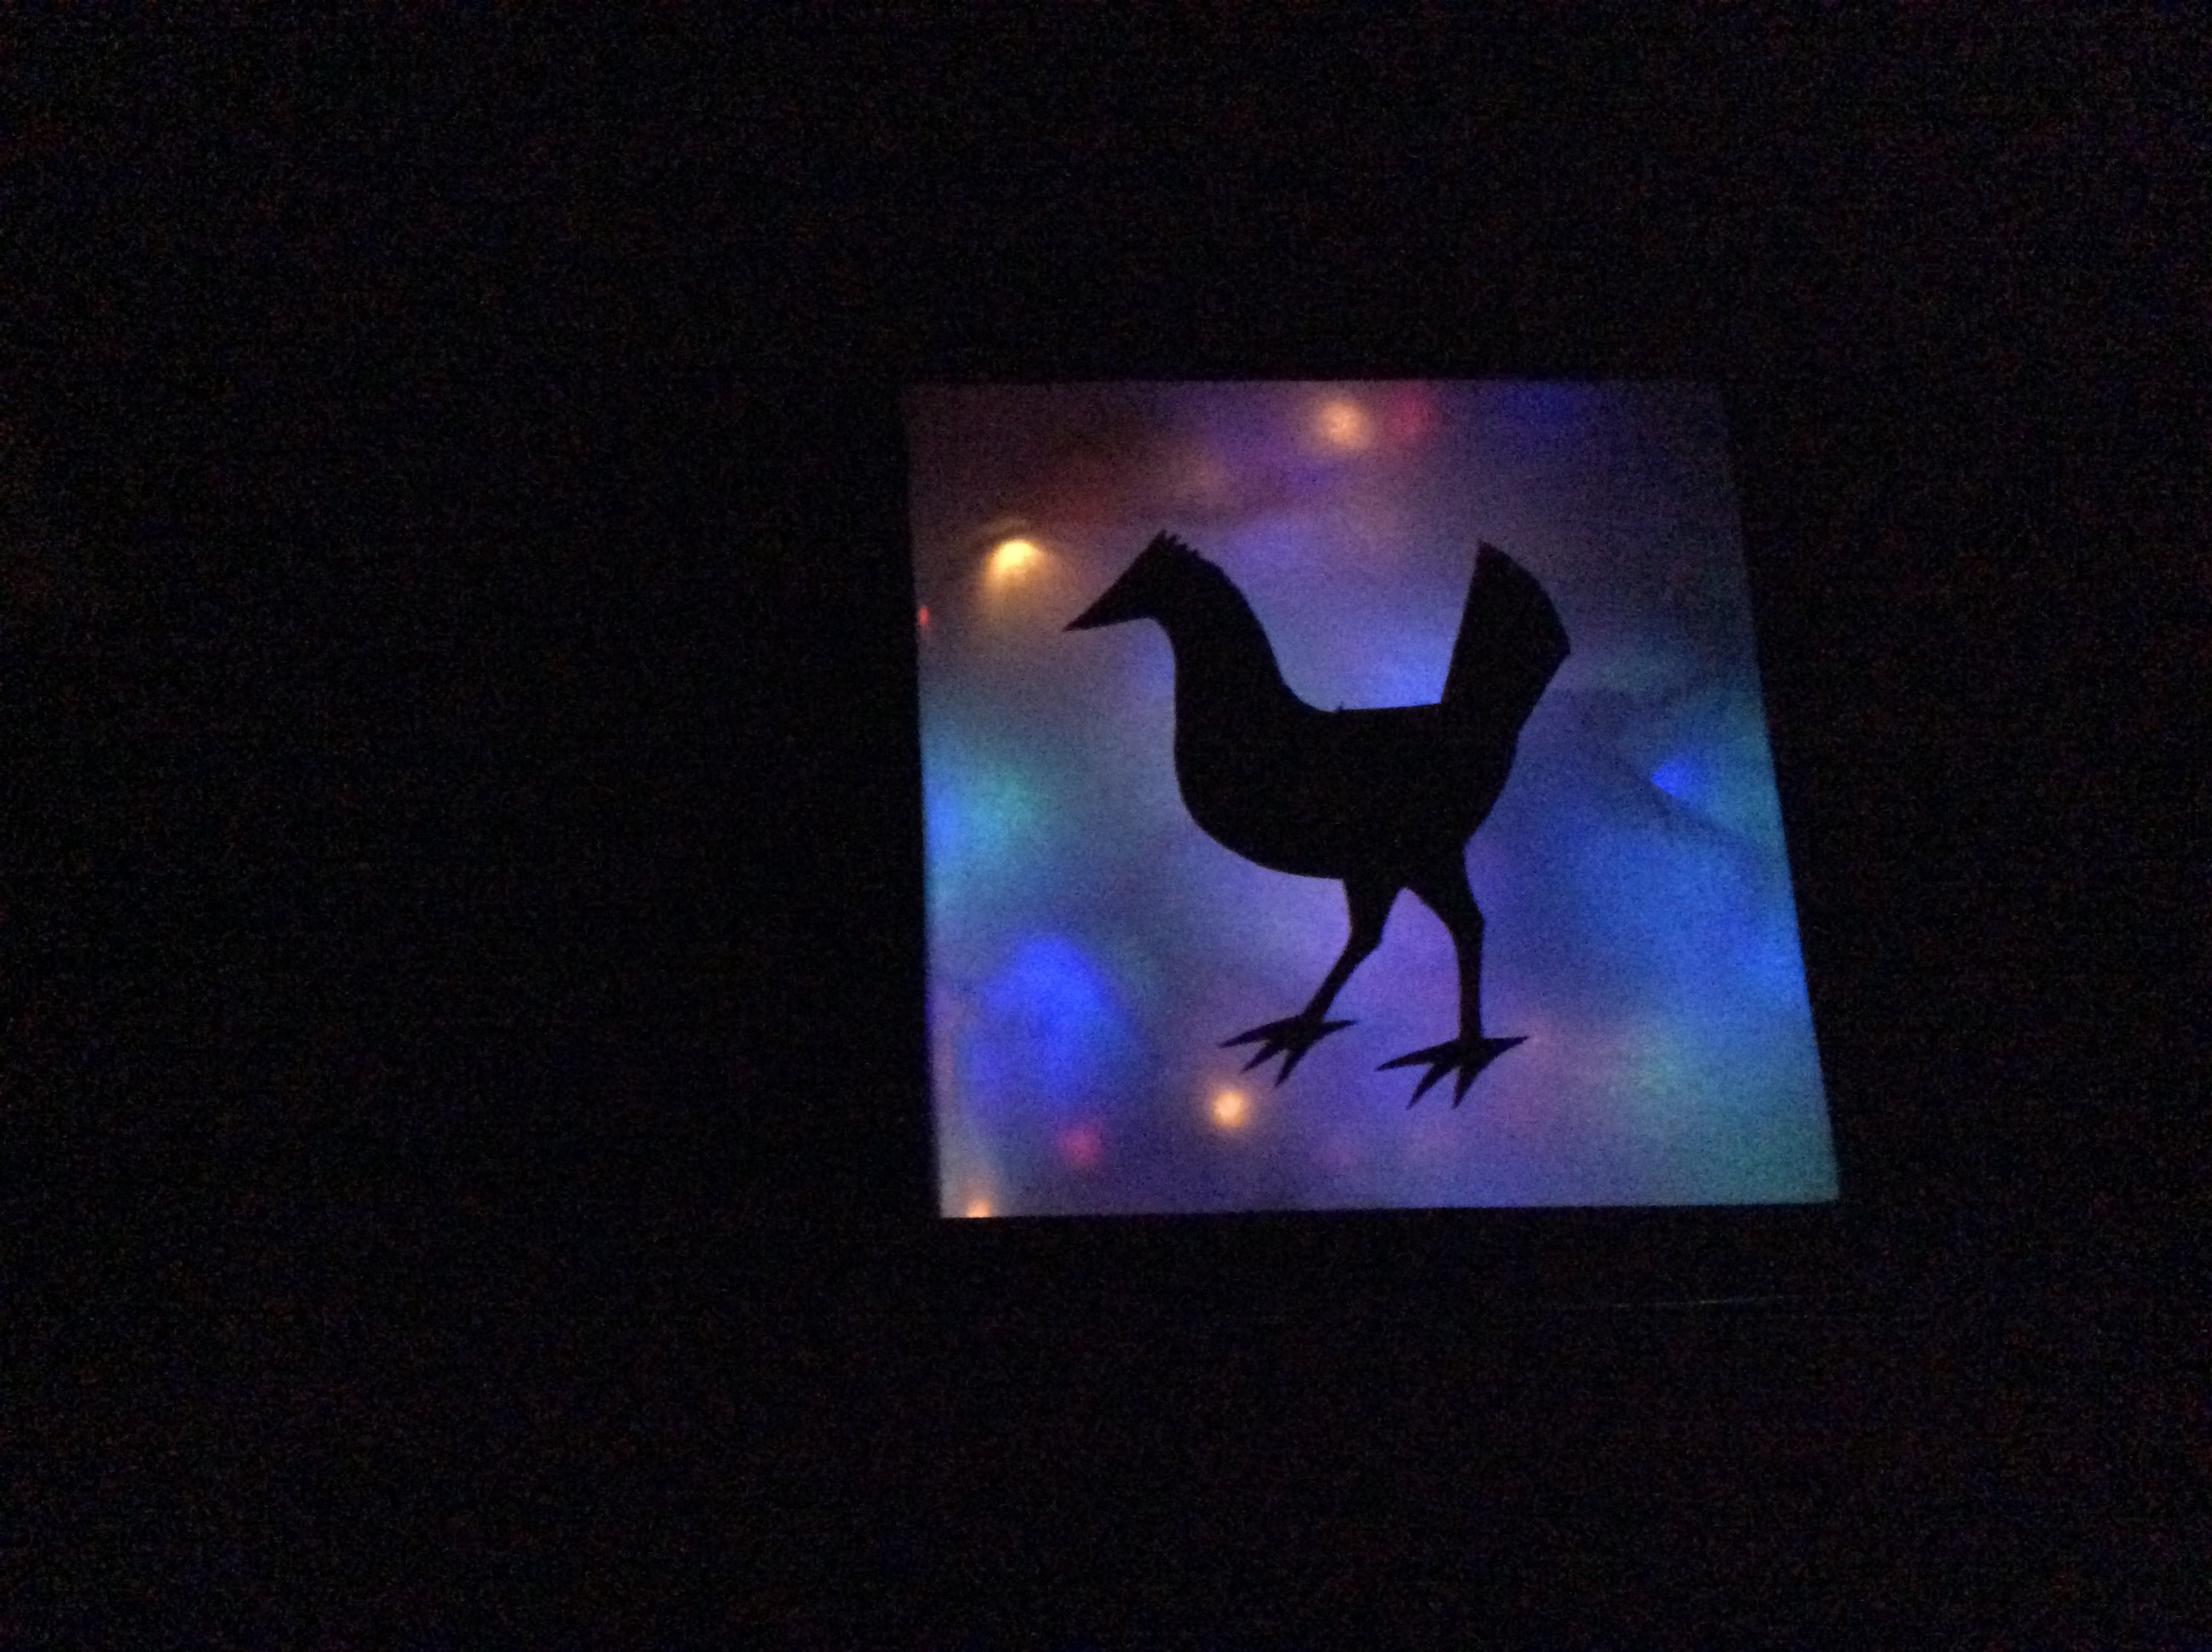
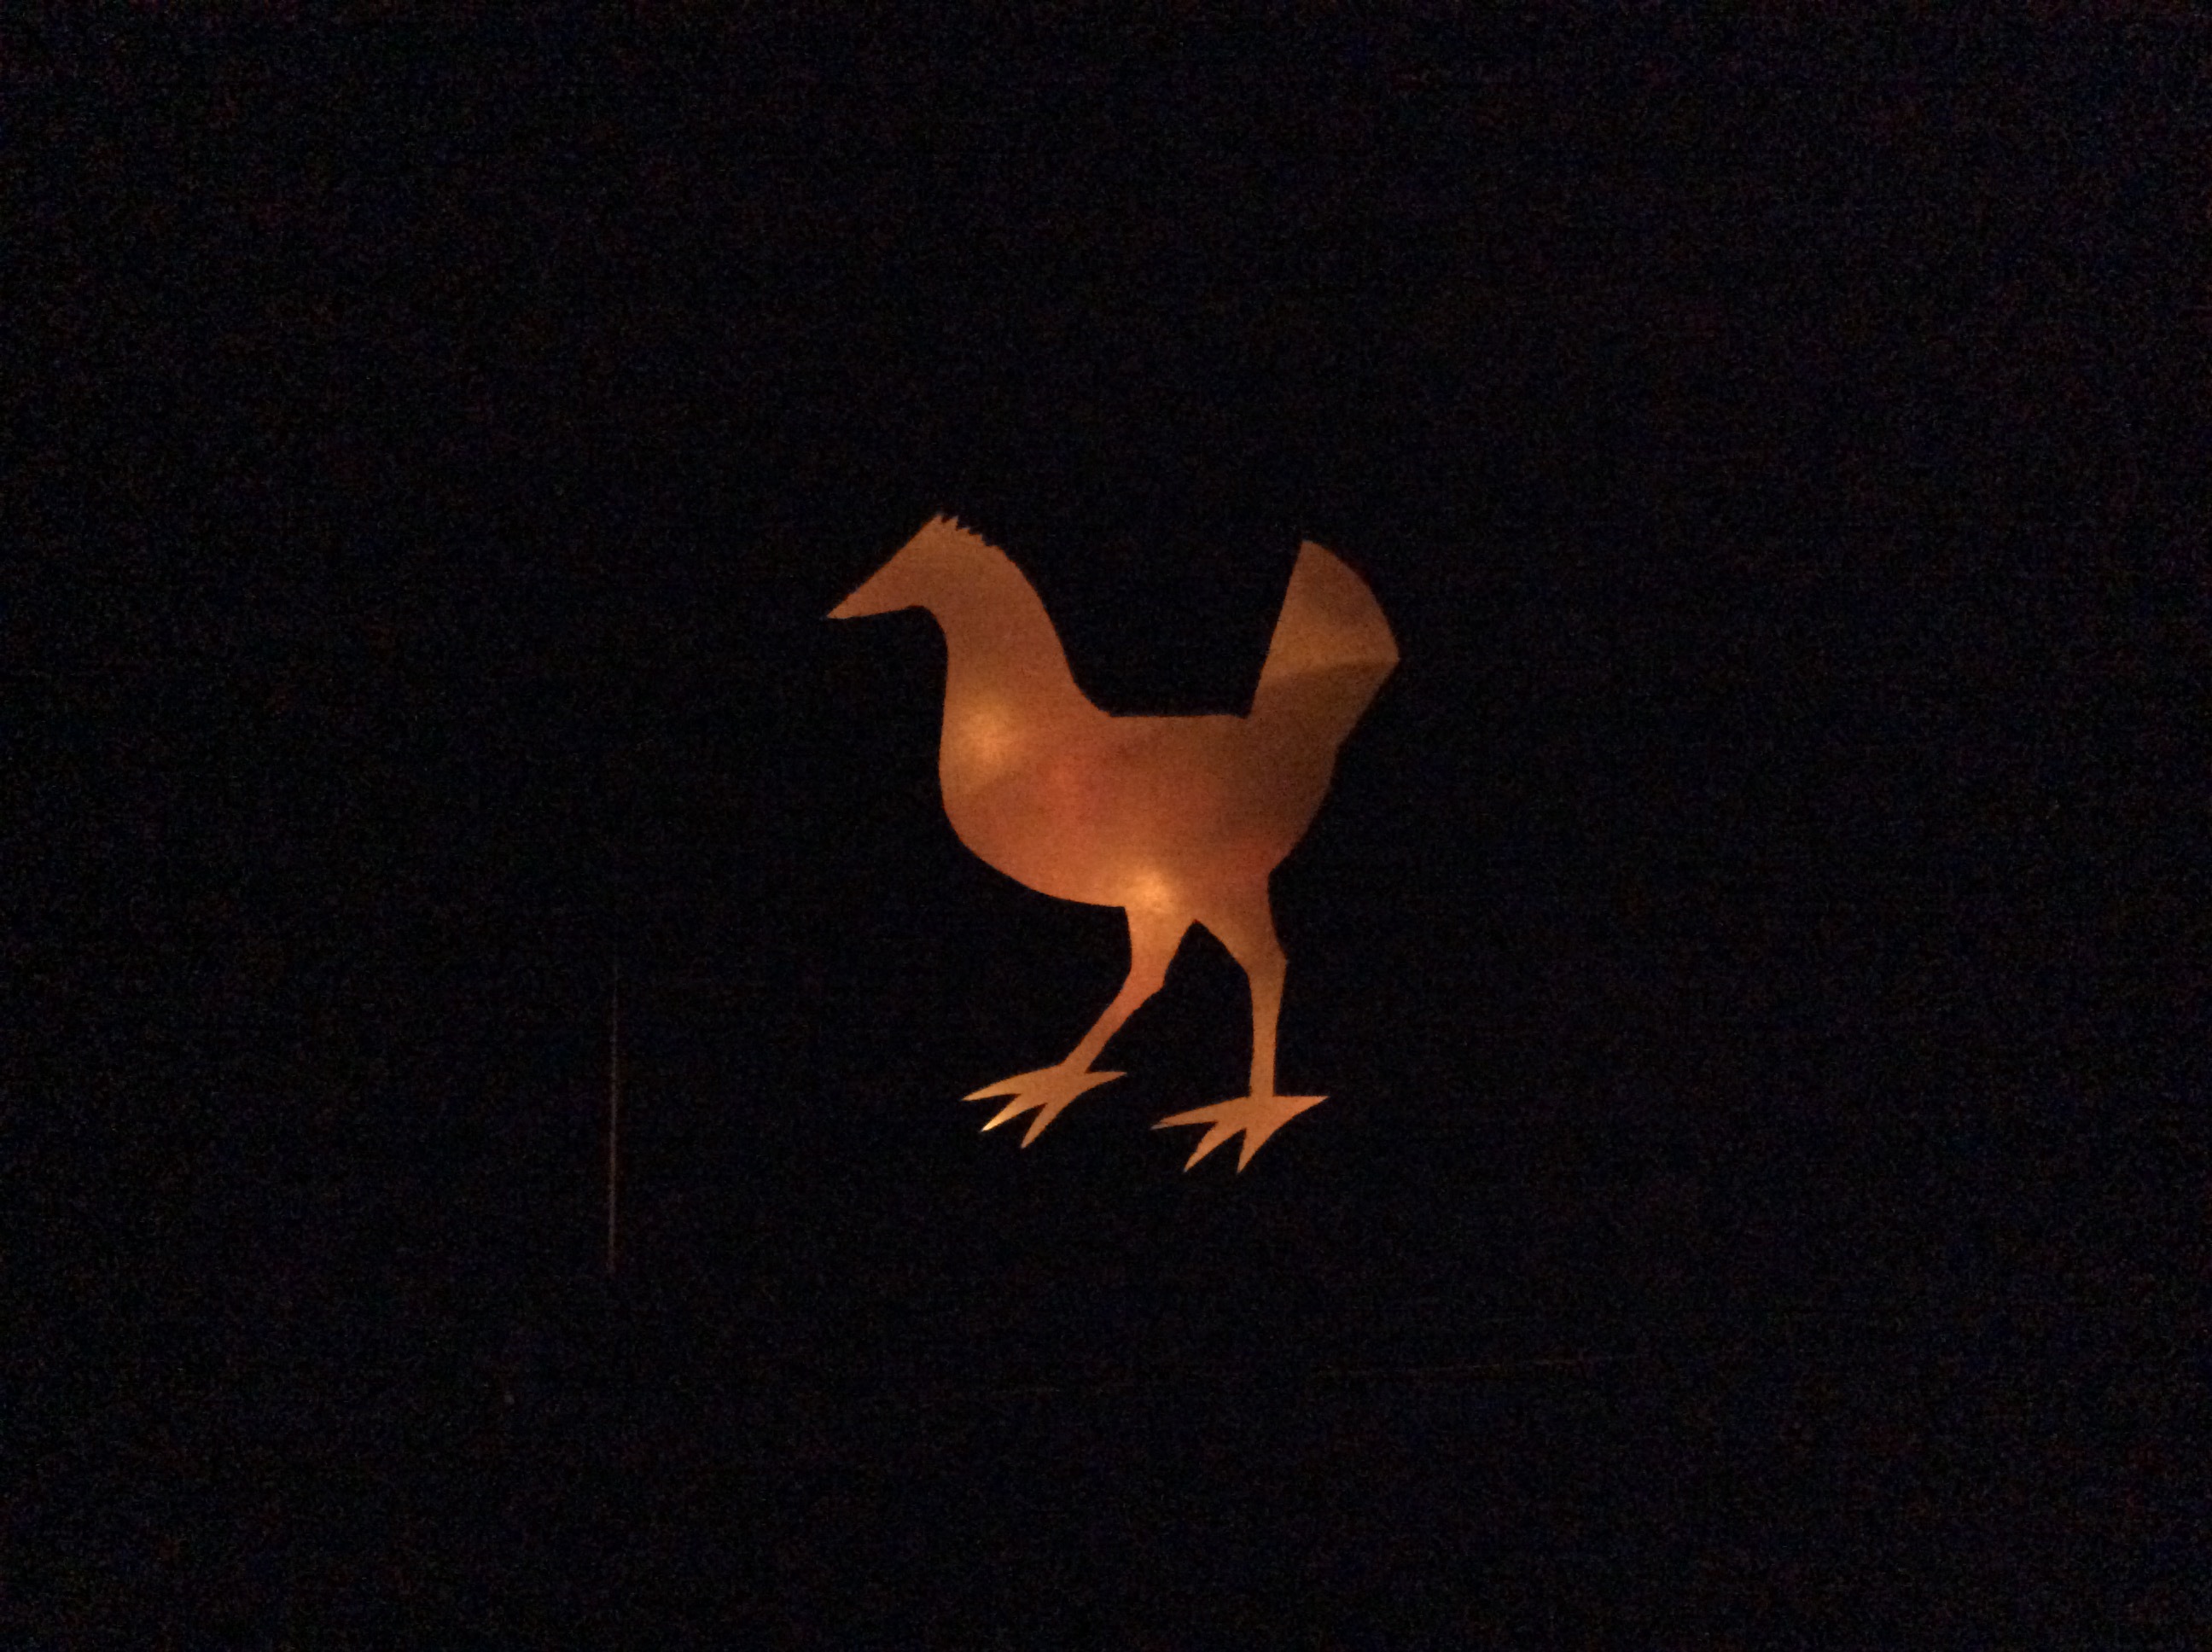
Stick your filter in front of your diffuser. Depending on your shape you can stick it on directly, attach it to the edges of the box, or add a layer of cling wrap and stick it to that. My photos show a positive and negative space version of the same image, and two different stages of my light’s programmed functions to show how the effects can change.
If you want to have the light box outside you will need a protective layer of plastic. I have done this with cling wrap, but a clear plastic bag of a suitable size would be better.
If you want to have the light box outside you will need a protective layer of plastic. I have done this with cling wrap, but a clear plastic bag of a suitable size would be better.