Pixlr Watermarking
Hello,
Here is a quick guide to making a single color watermark (one of several techniques) in pixlr.
Defining the Brush


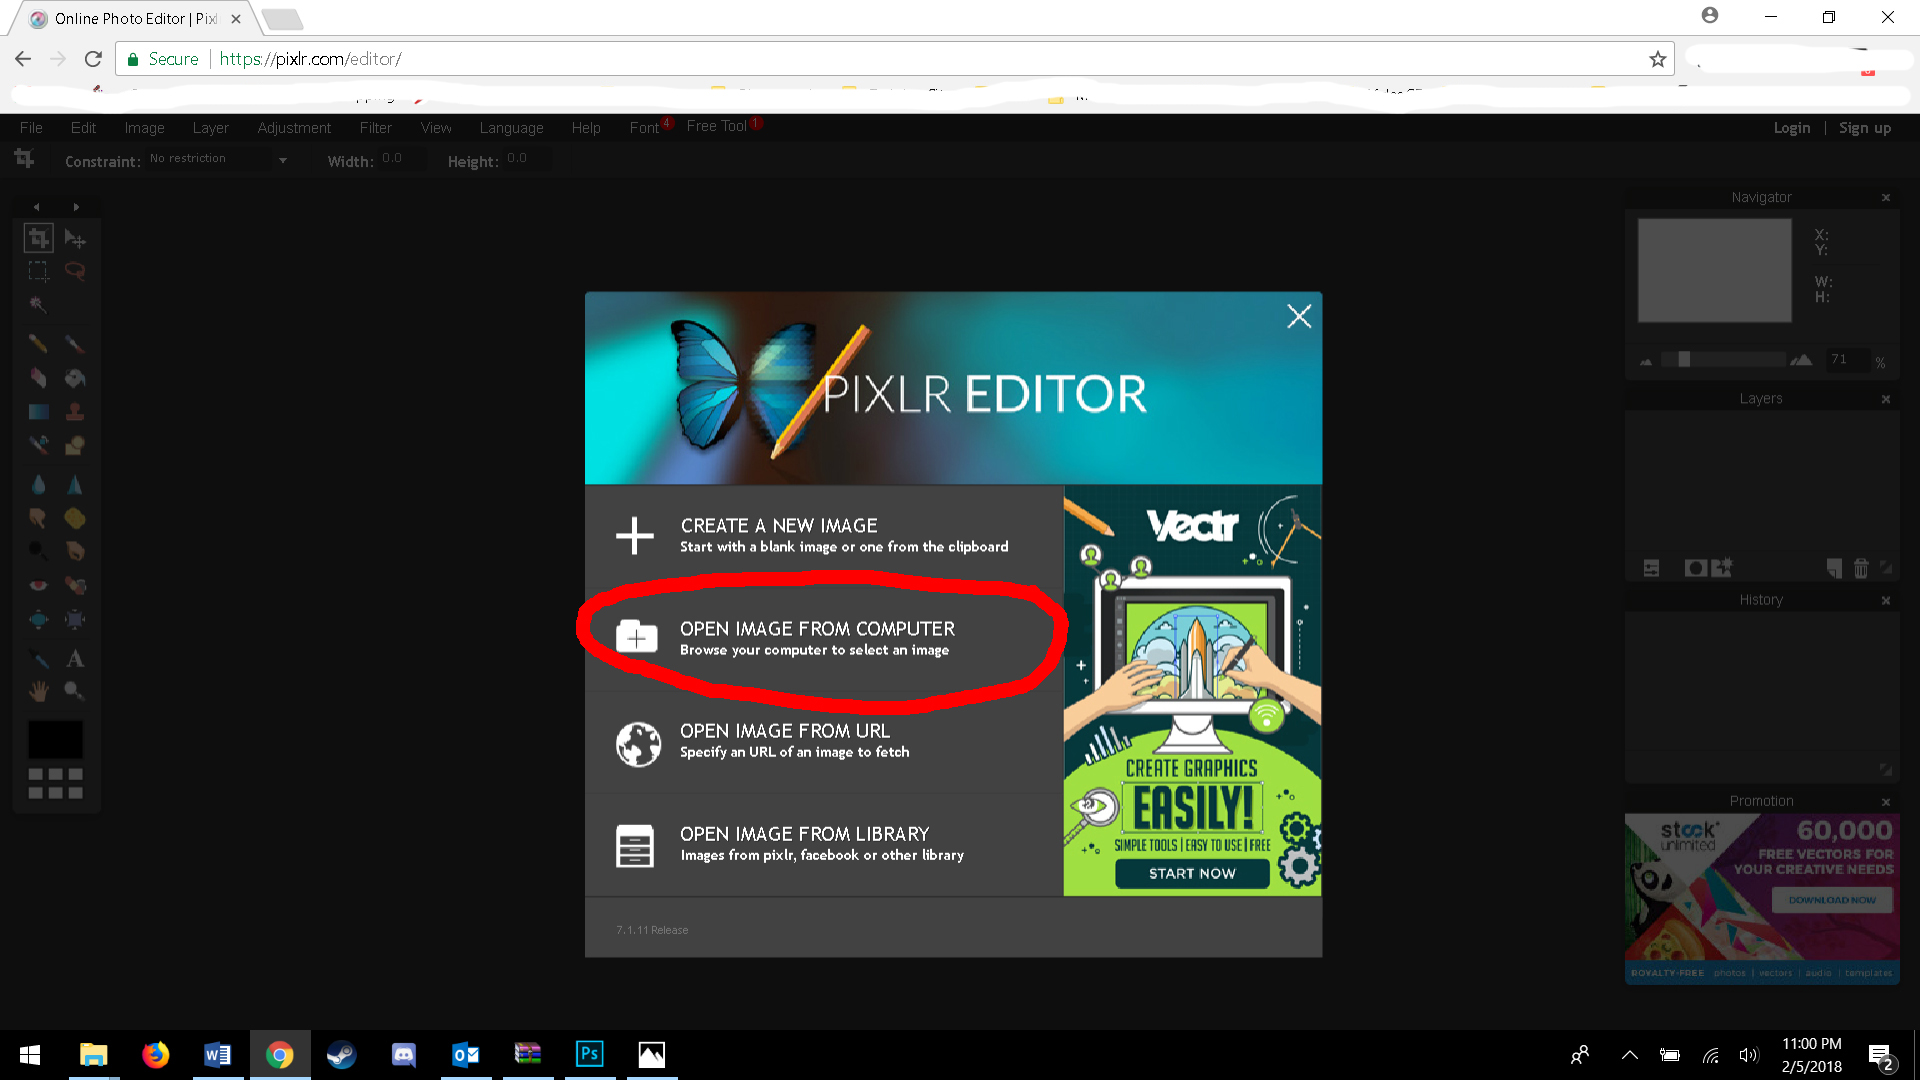
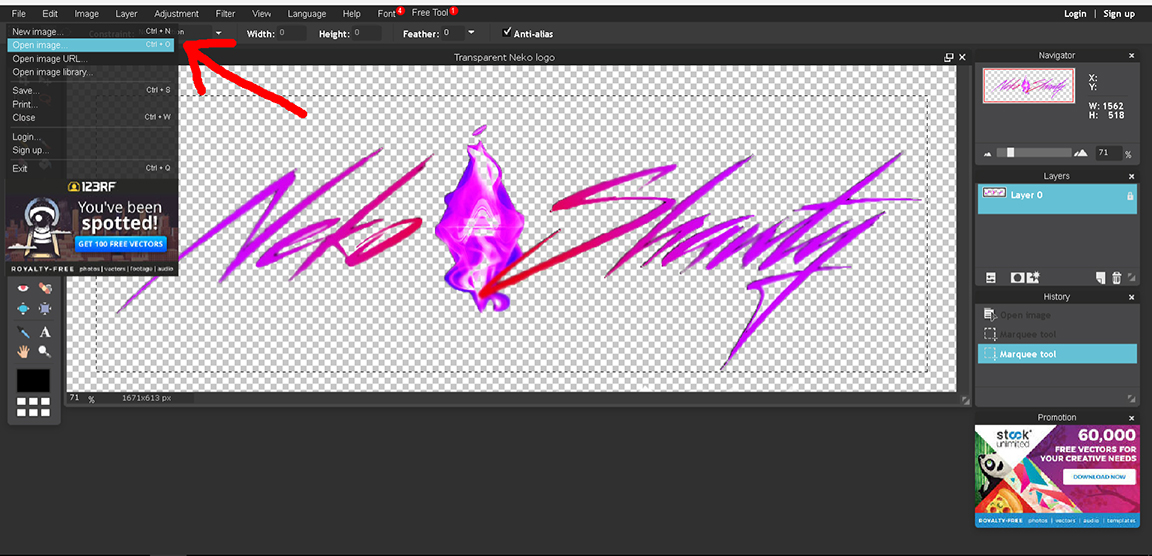
First you’ll want to go to https://pixlr.com/editor/
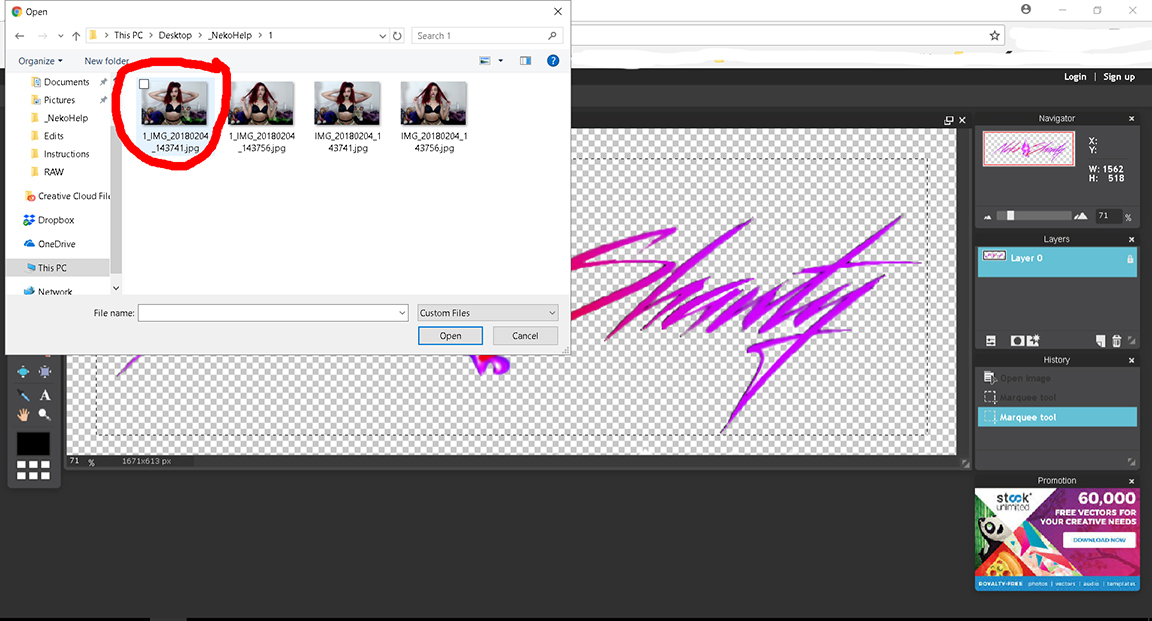
From there select to open an image. I selected the .psd version of the image because it comes with a transparent background as read by the editing software (not so much important to you I am just explaining that I picked that one specifically and why).
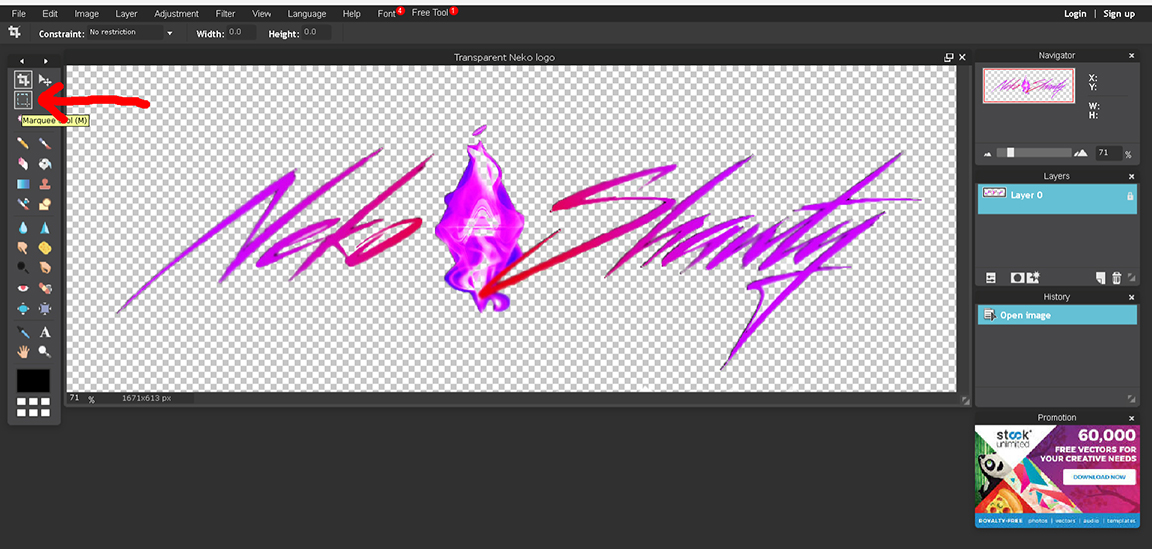
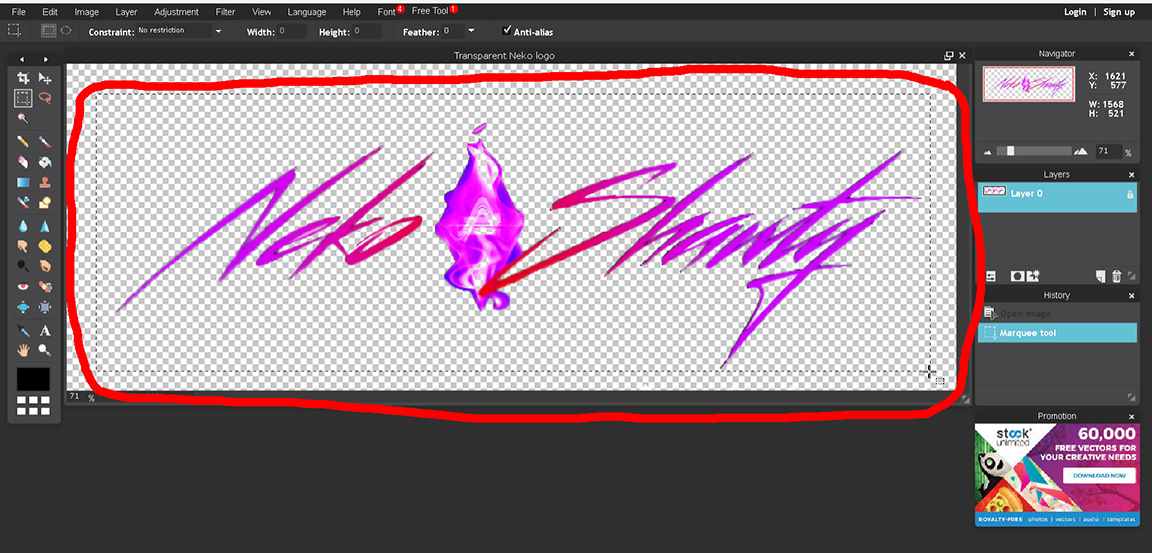
Use the Marquee Tool to select around the image you are using.
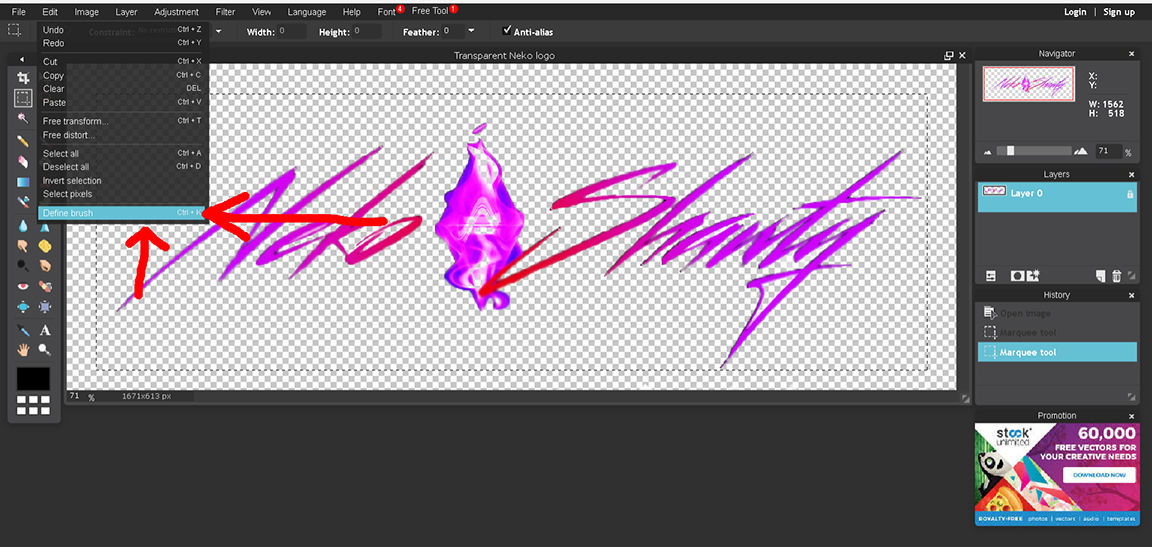
Under the Edit section pick Define Brush.
Applying the Brush
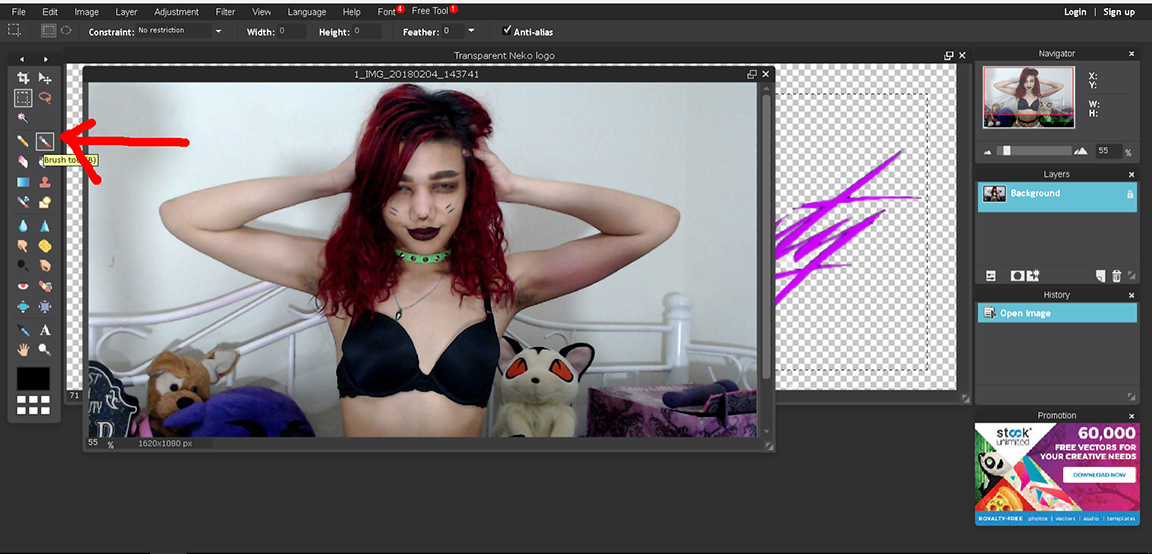
Under File select to open a new image.
Select the Brush tool.
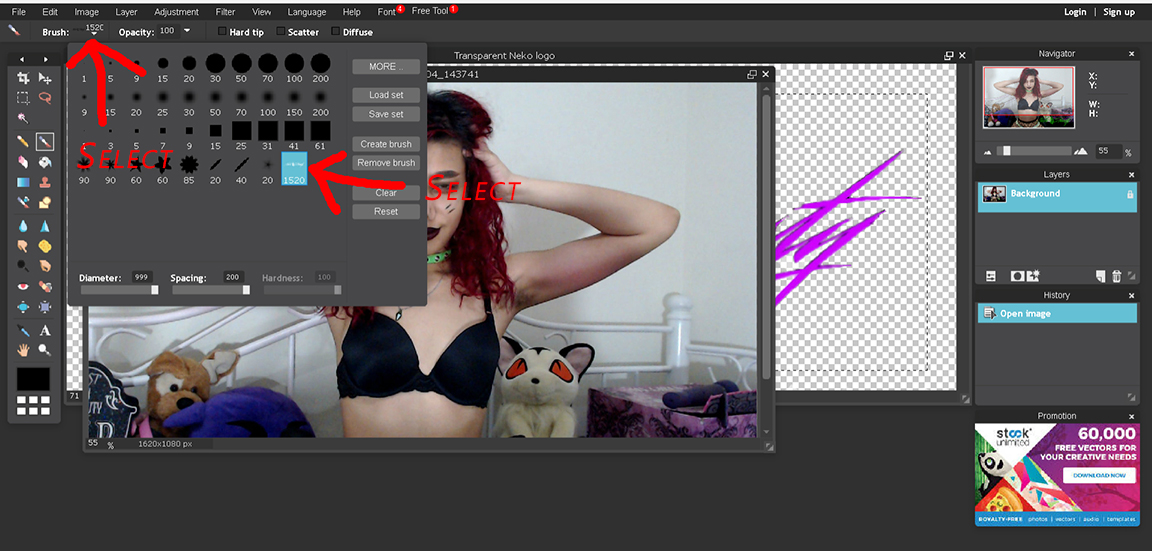
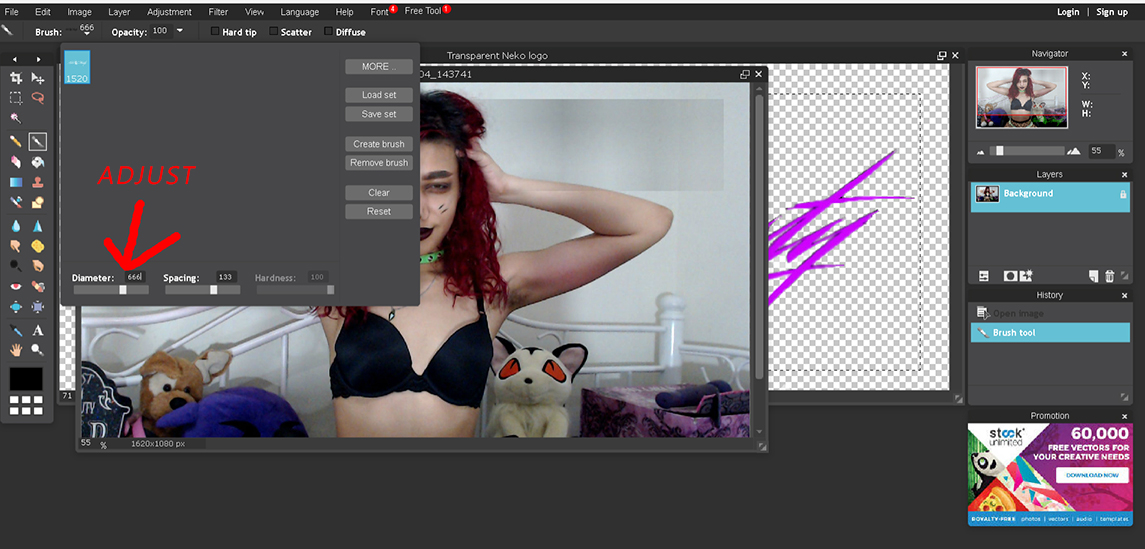
In the upper bar you can select the type of brush you want to use and the size of that brush. To select it click where it says "Brush:" and has a small icon with numbers below it. Those numbers indicate the current size of the selected brush pattern.
The newly defined brush will be last on the list. It's default will be as big as the original image you defined it from. This is why I have the image being large when I create the brush pattern, it has clear definition when you want it applied to large pictures, rather than looking blocky when increased in size.)
The selection for Diameter at the bottom of that window lets you adjust to the size you need. Your own preference will come into play on this, as it will in the next part.
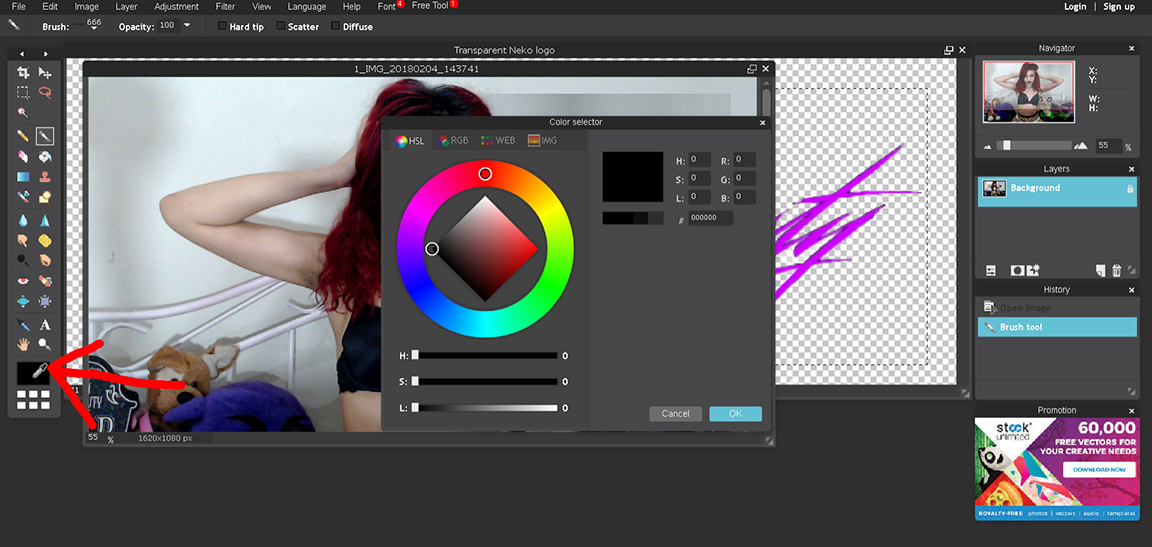
At the bottom of the left panel is the selection icon for the color you want to apply to the brush. Clicking this will open up a window to select the desired color.
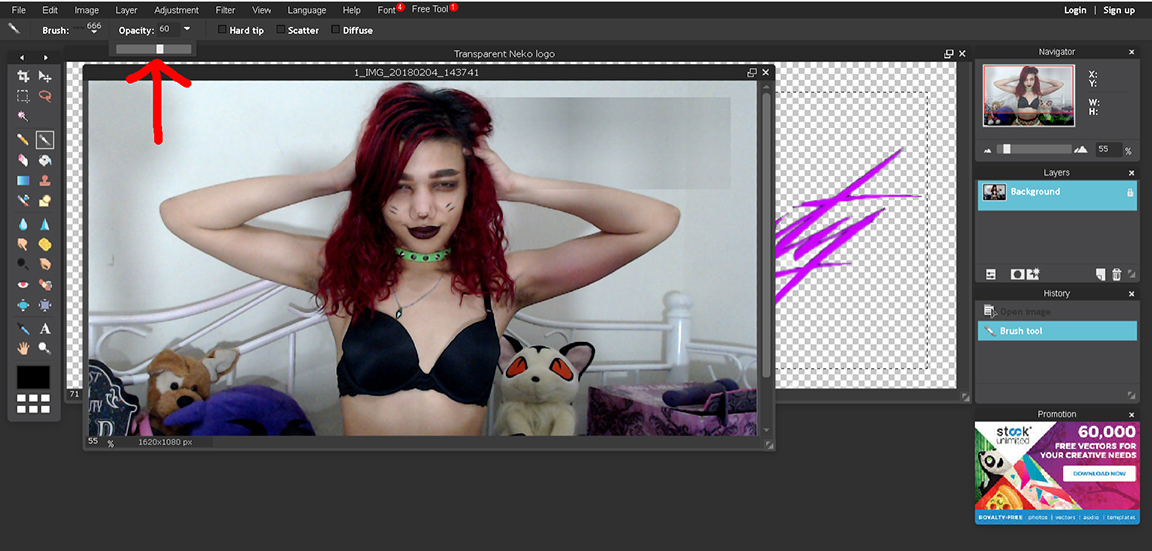
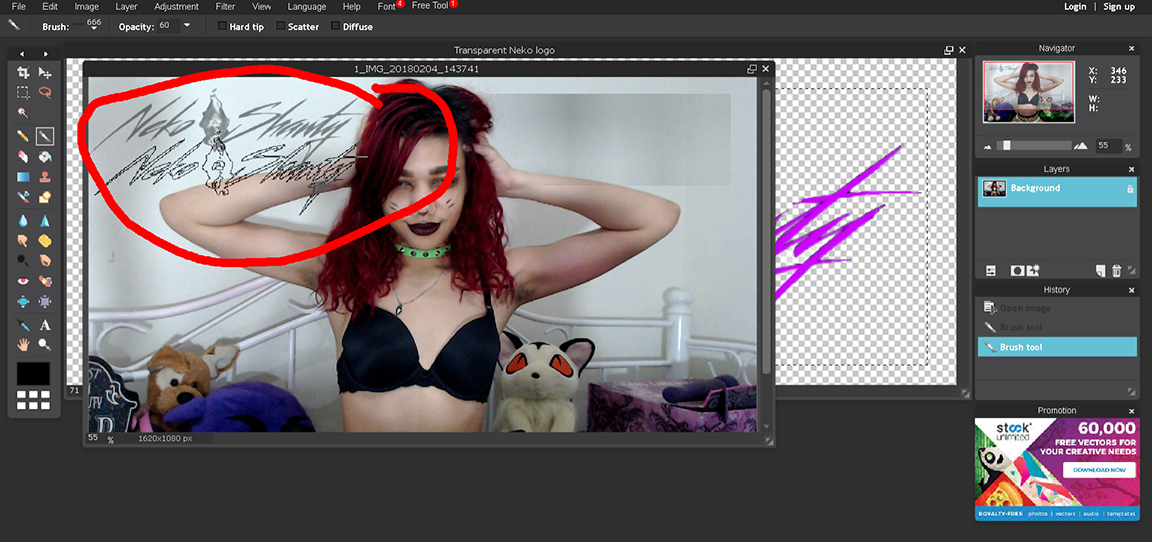
Before the brush is ready for use, you will need to go back up to the top bar and select the Opacity. Once adjusted to your liking the brush is ready for use and you can apply it anywhere on the image you like.