Pirates of the Caribbean, Fountain of Youth
by sdarwish in Circuits > Arduino
668 Views, 2 Favorites, 0 Comments
Pirates of the Caribbean, Fountain of Youth
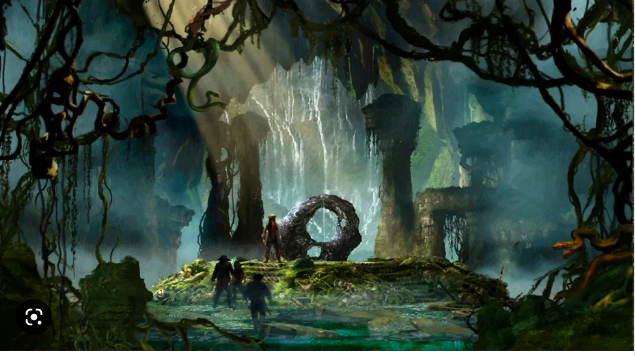
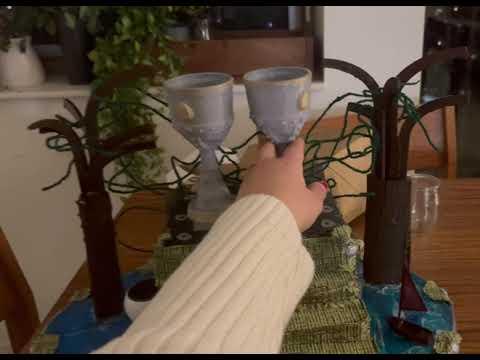
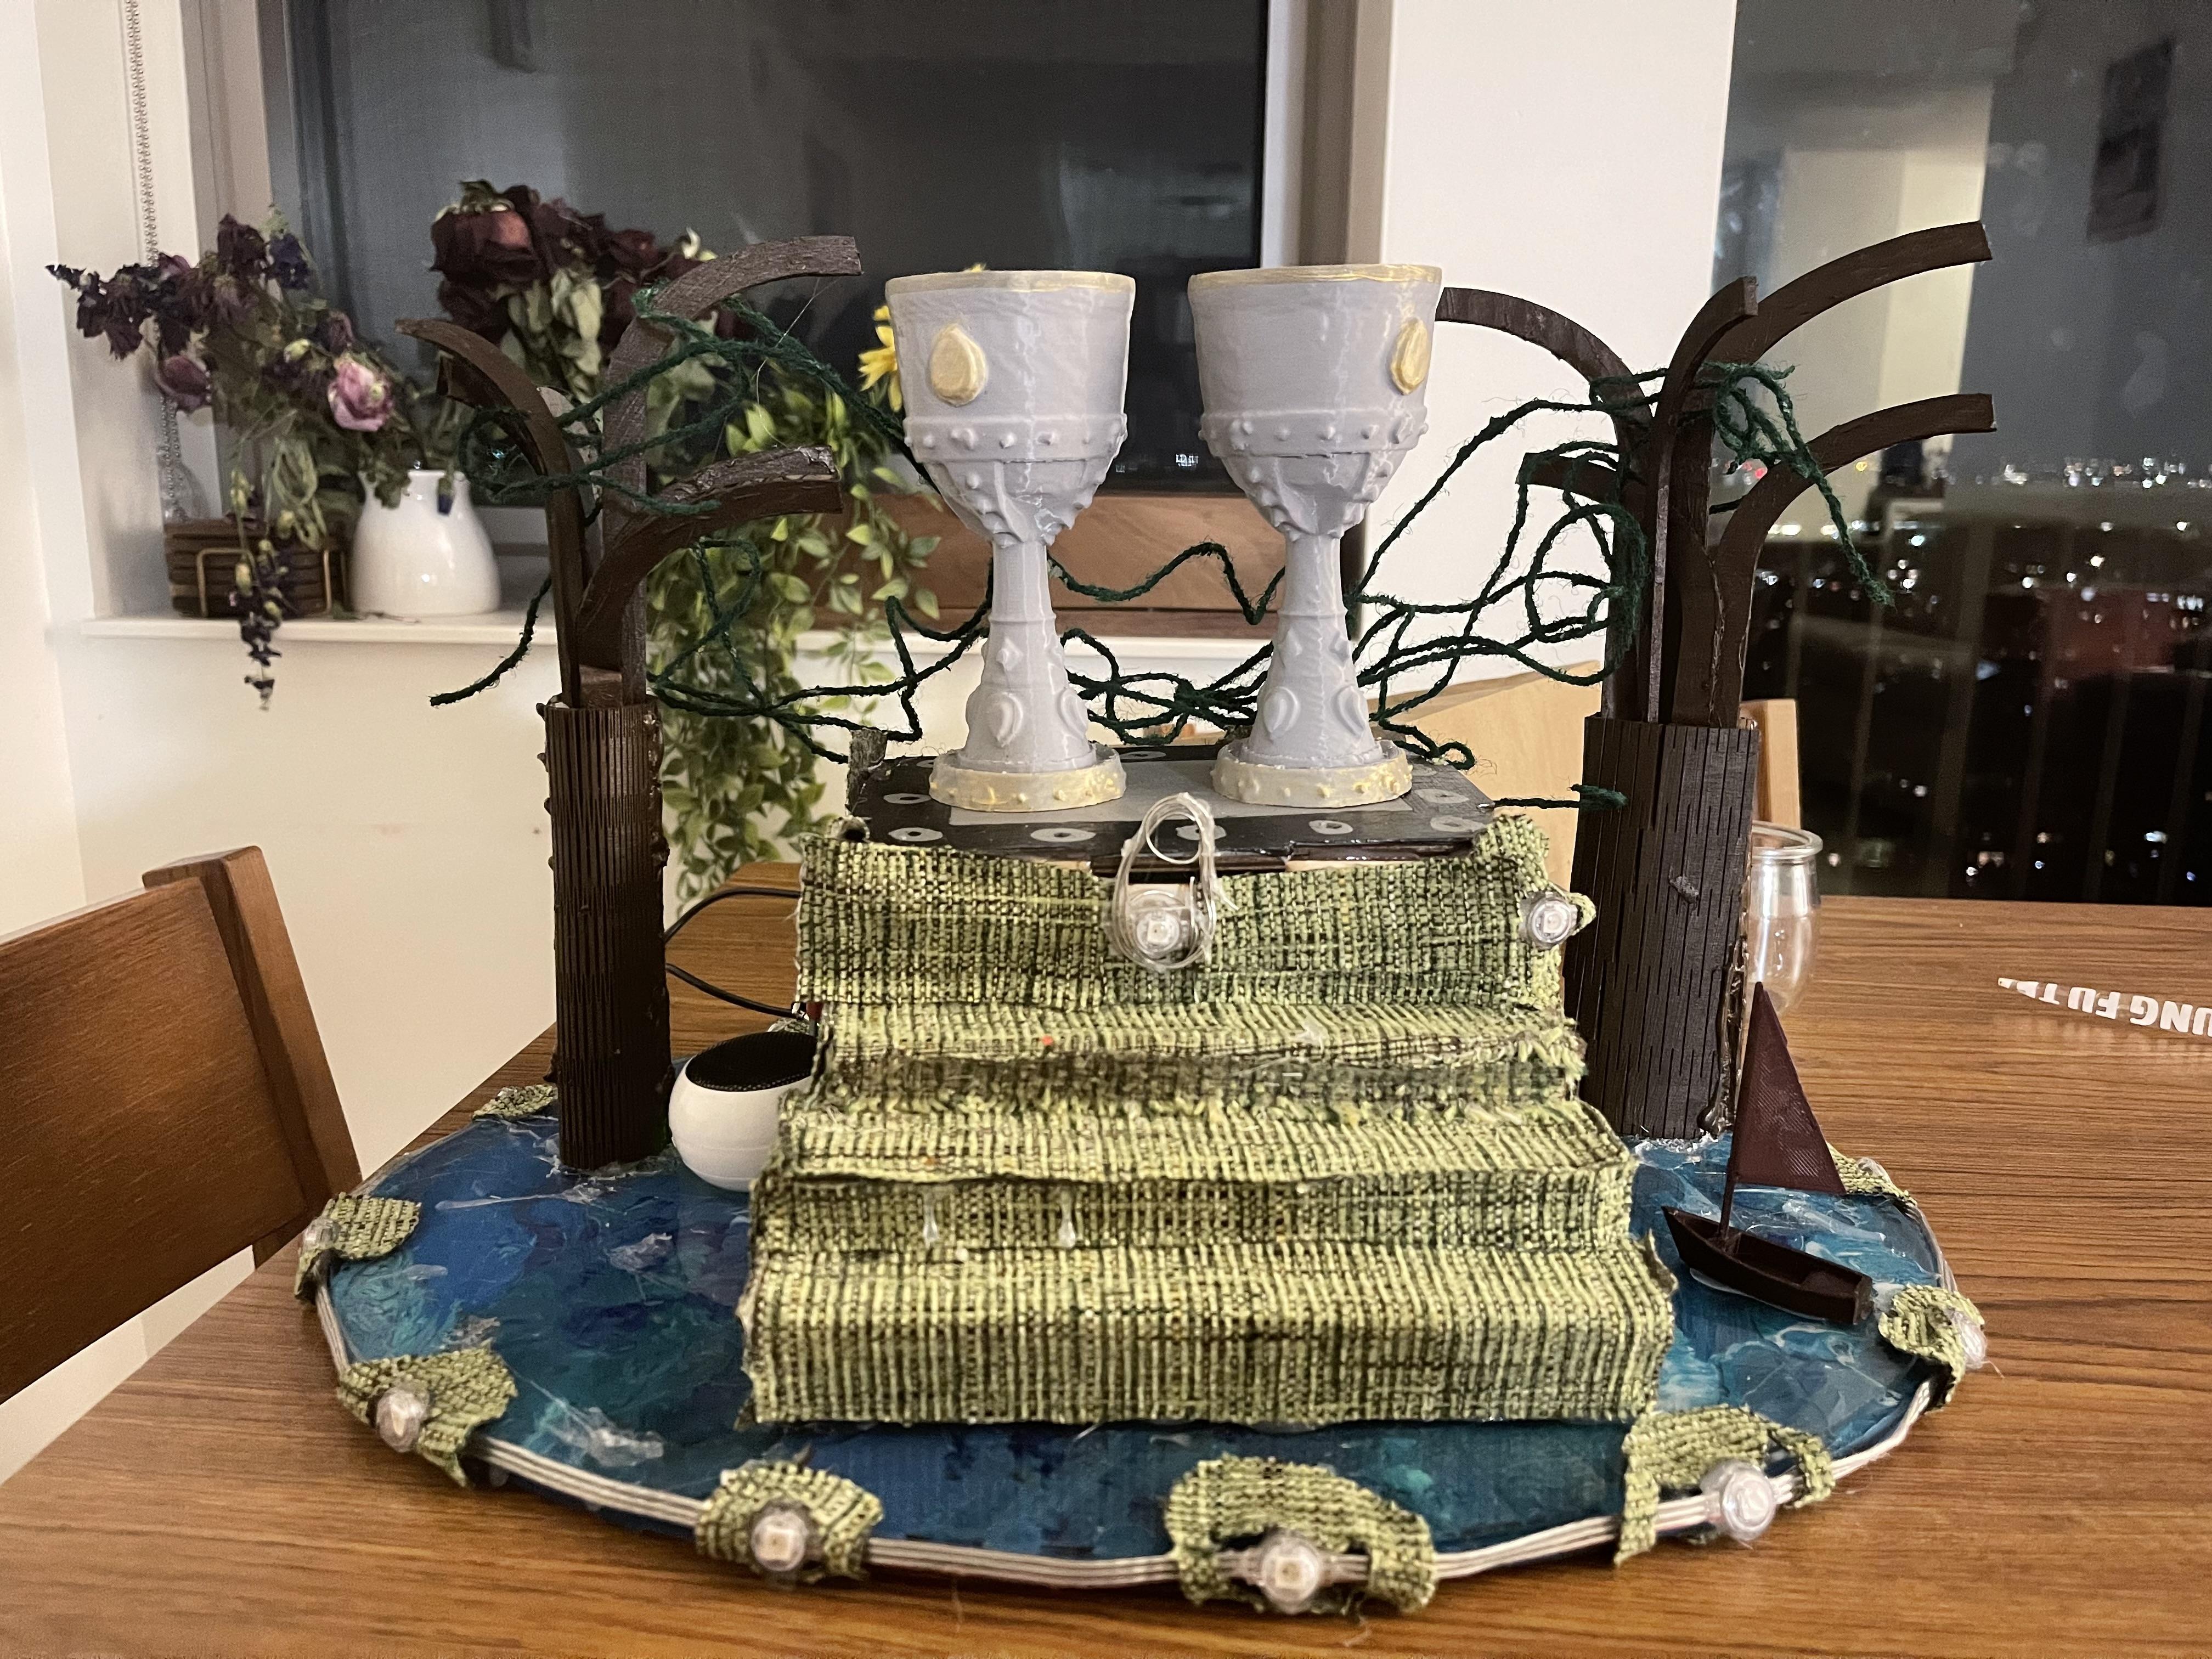
I created a game inspired by Pirates of the Caribbean. I recreated the fountain of youth. You choose between the two cups, one has poison and the other has the youth serum. If you chose the poison, Barbosa laughing will play, as well as red lights. If you chose the youth serum, a success noise will play, as well as gold lights. Each time you place the cup back down, which ever one has the youth and the poison shuffle.
Supplies

Hot Glue (super glue as substitute)
Wood Glue
Led light strip
2 x Arduino ADPS9960
Circuit Python
Arduino Nano
Sheet of 1/4" plywood
3 Alligator Clips and wires
2 STEMMA QT Connectors
Rope
Battery Pack
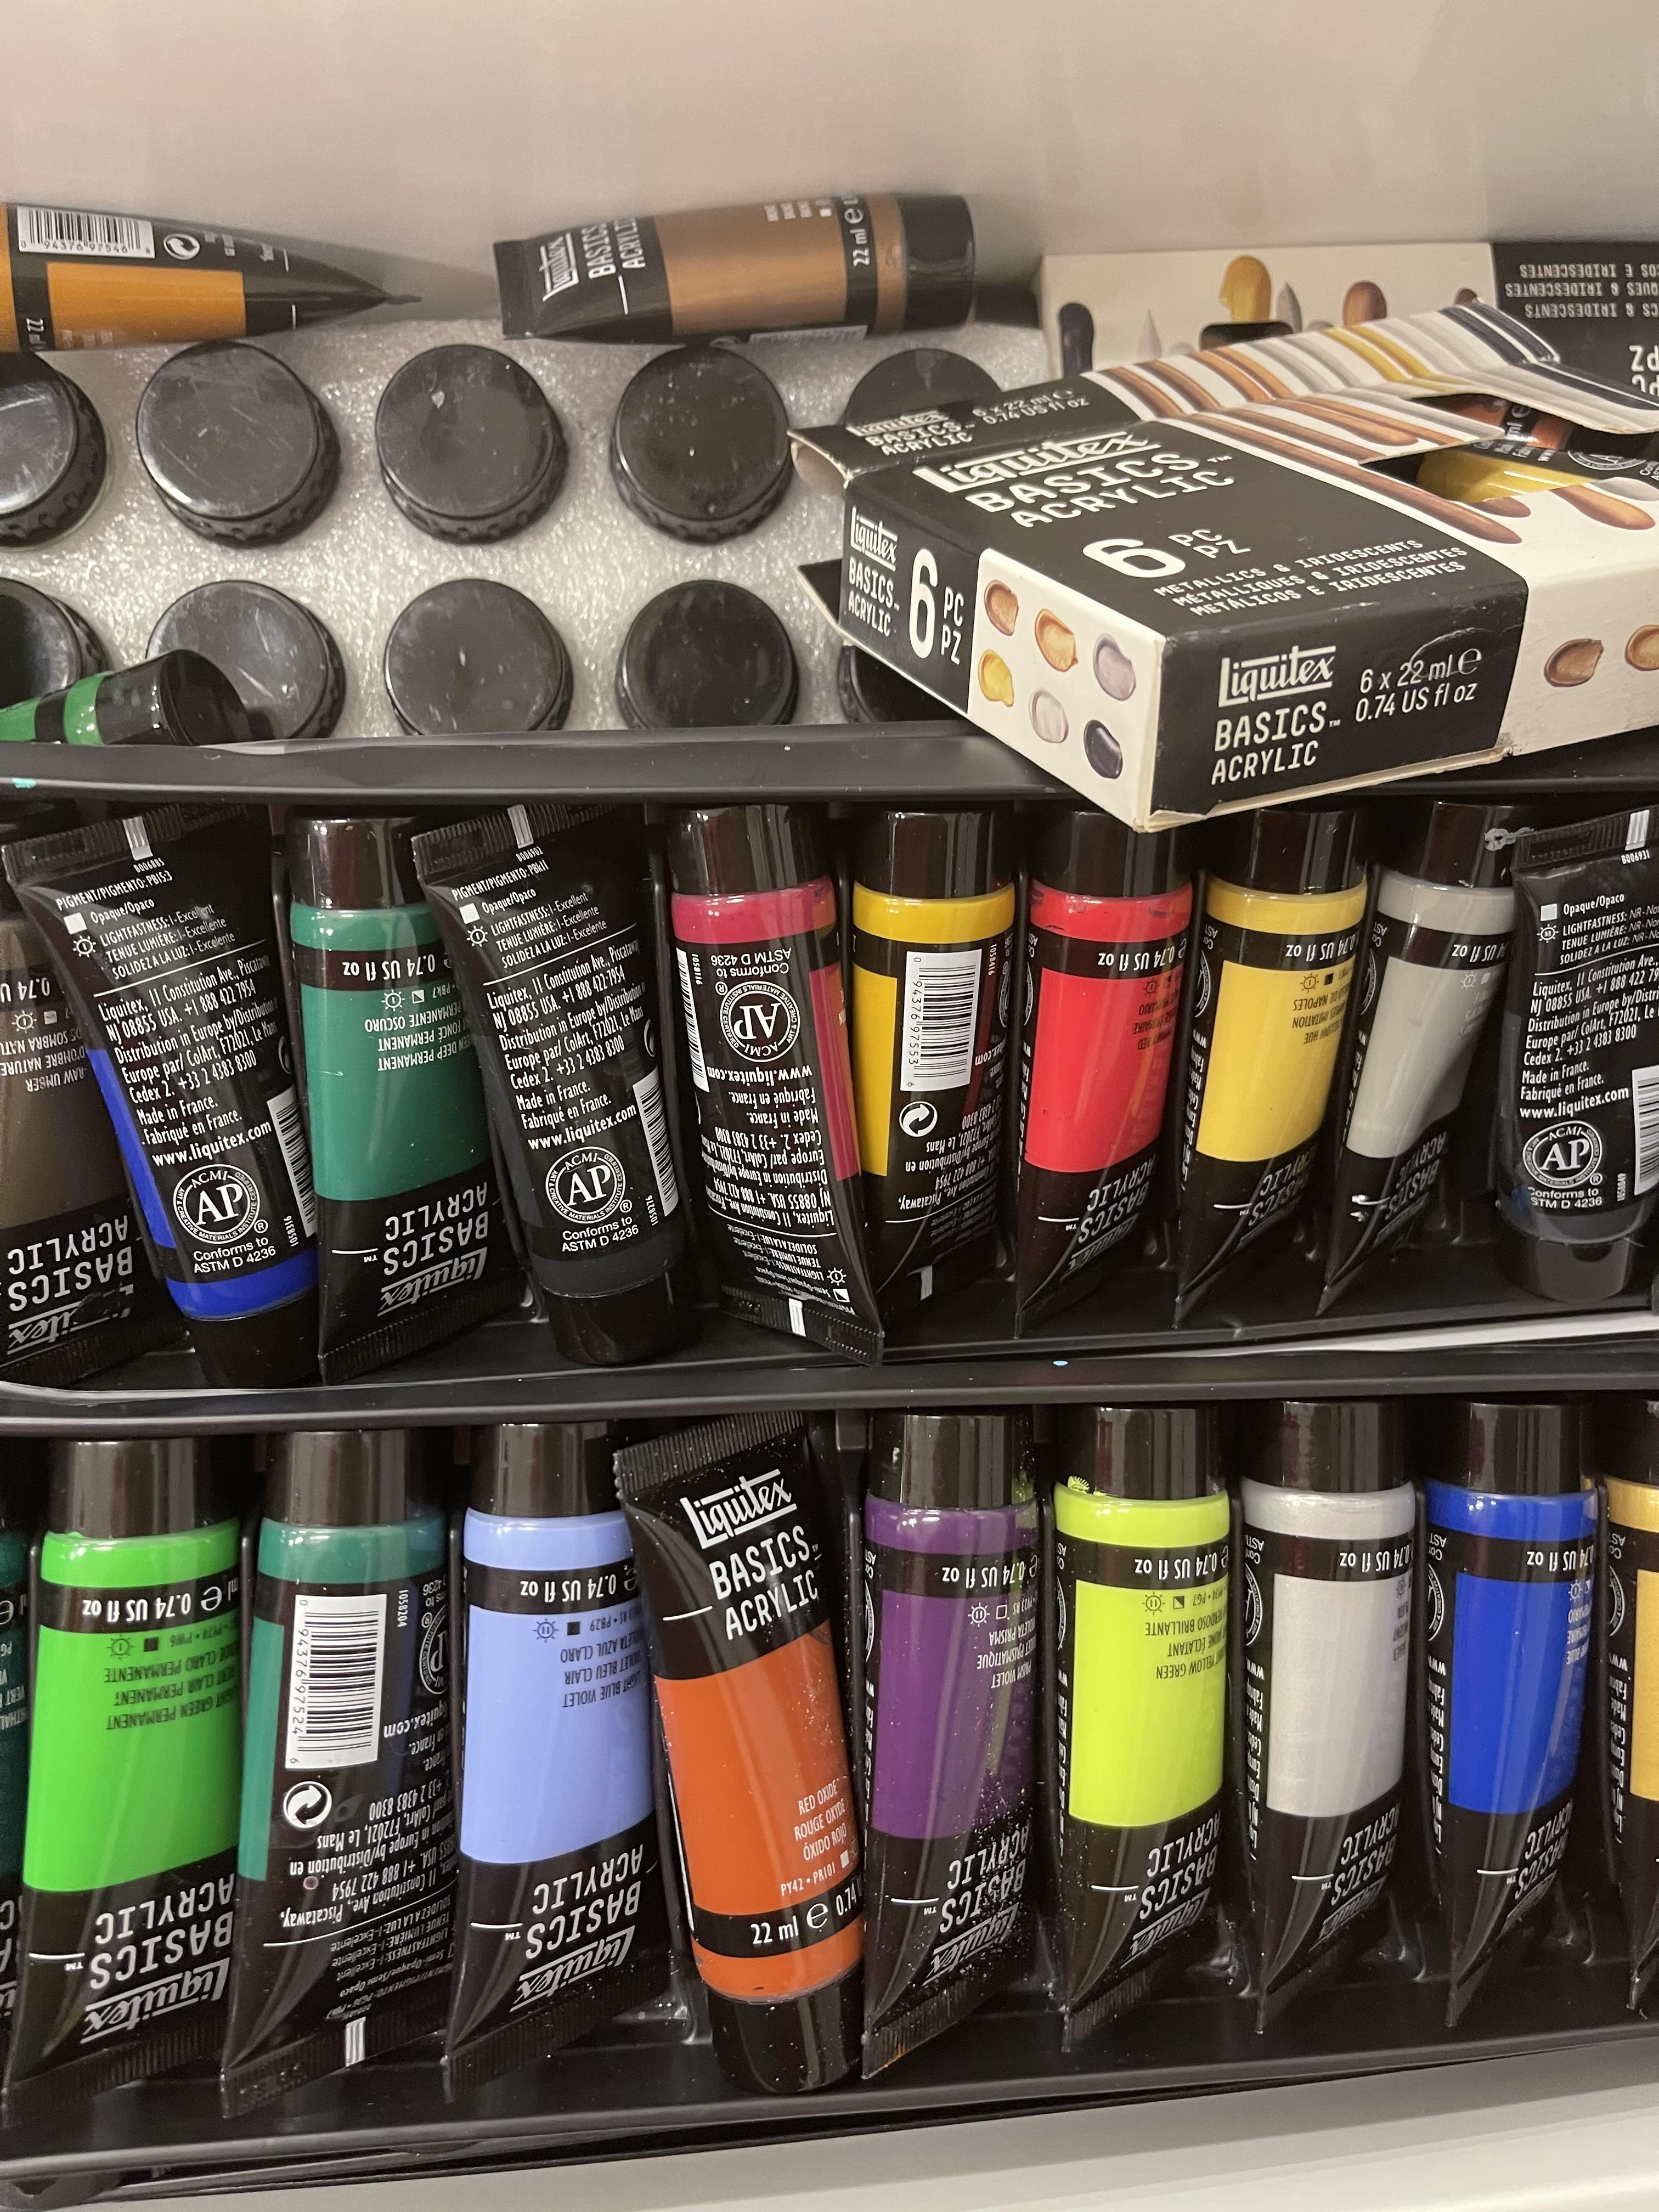
Paint
Paint Brush
Audacity
Laser Printer
Laptop
USB to micro USB Data Cable
Minispeaker
Safety glasses
Photoshop
Trotec
MakerCase
Cup of Water
Tape
Green Cloth
1/8th acrylic sheet
Cut Out Board and Paint

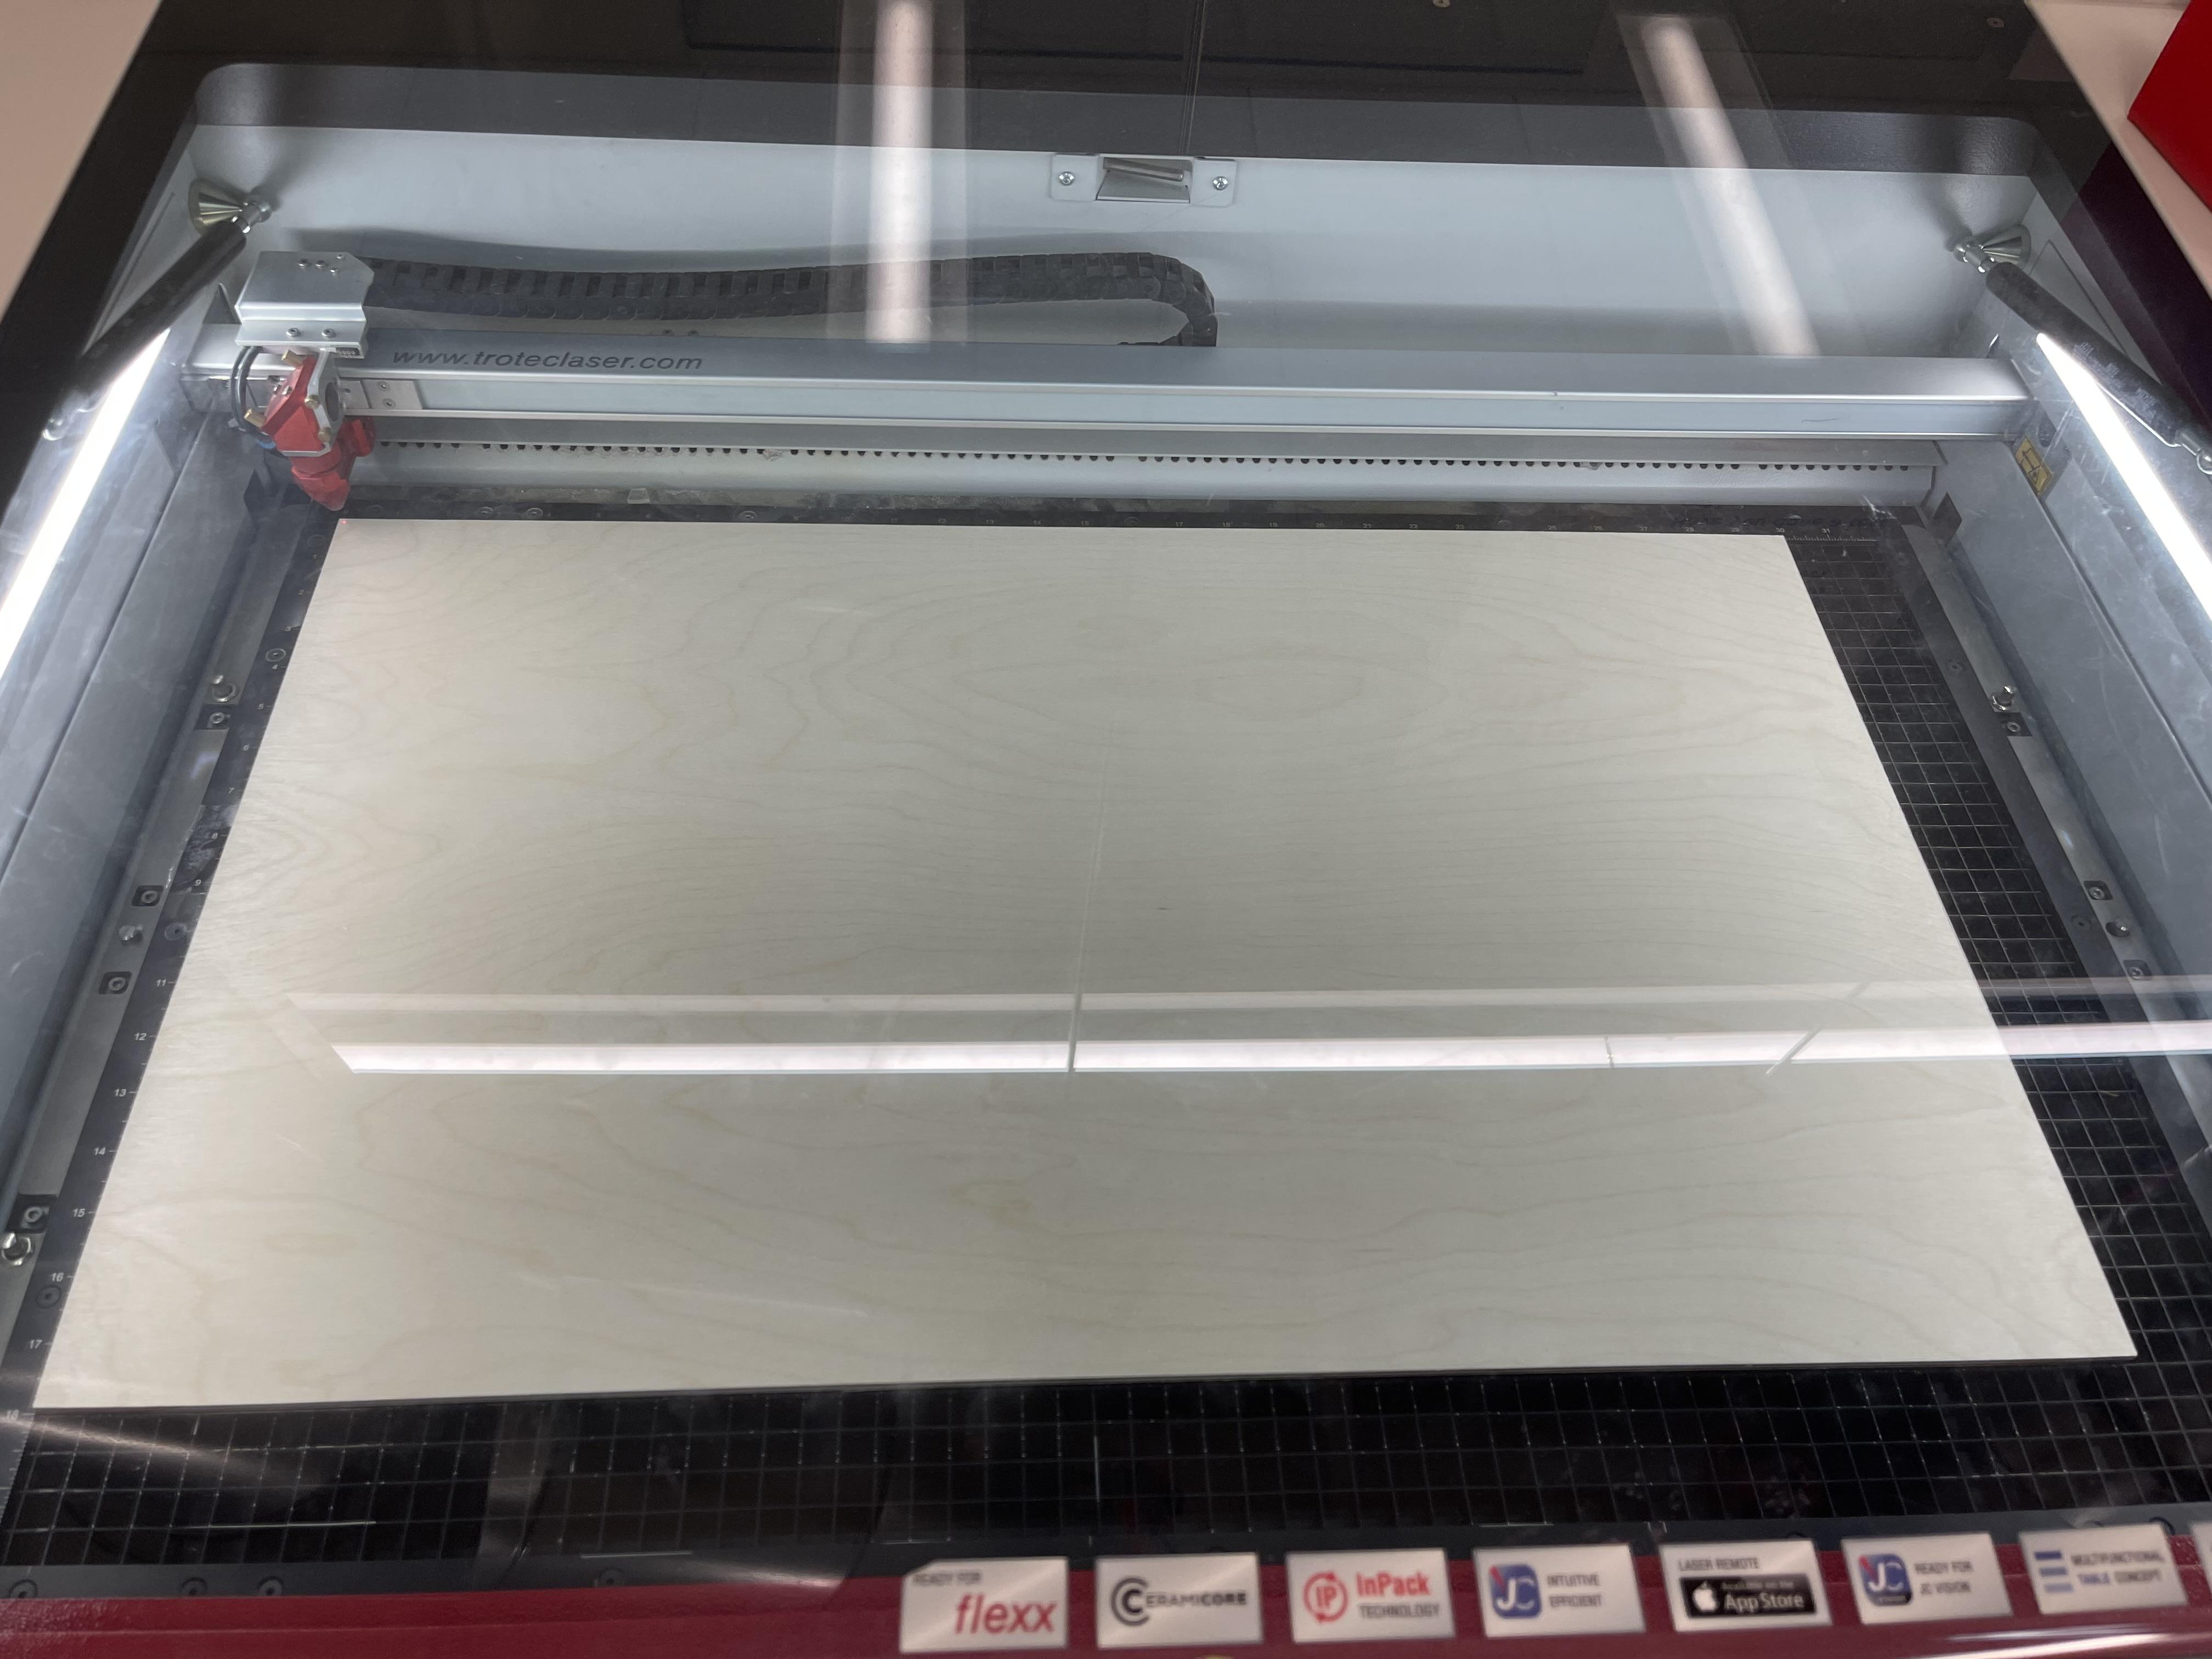
First, we need to print a circular base for the art.
Going on Trotec Ruby, we outlined an oval in the dimensions: 12.4" by 17.5".
Fit to design and follow instructions to print.
We used 1/4" birchwood.
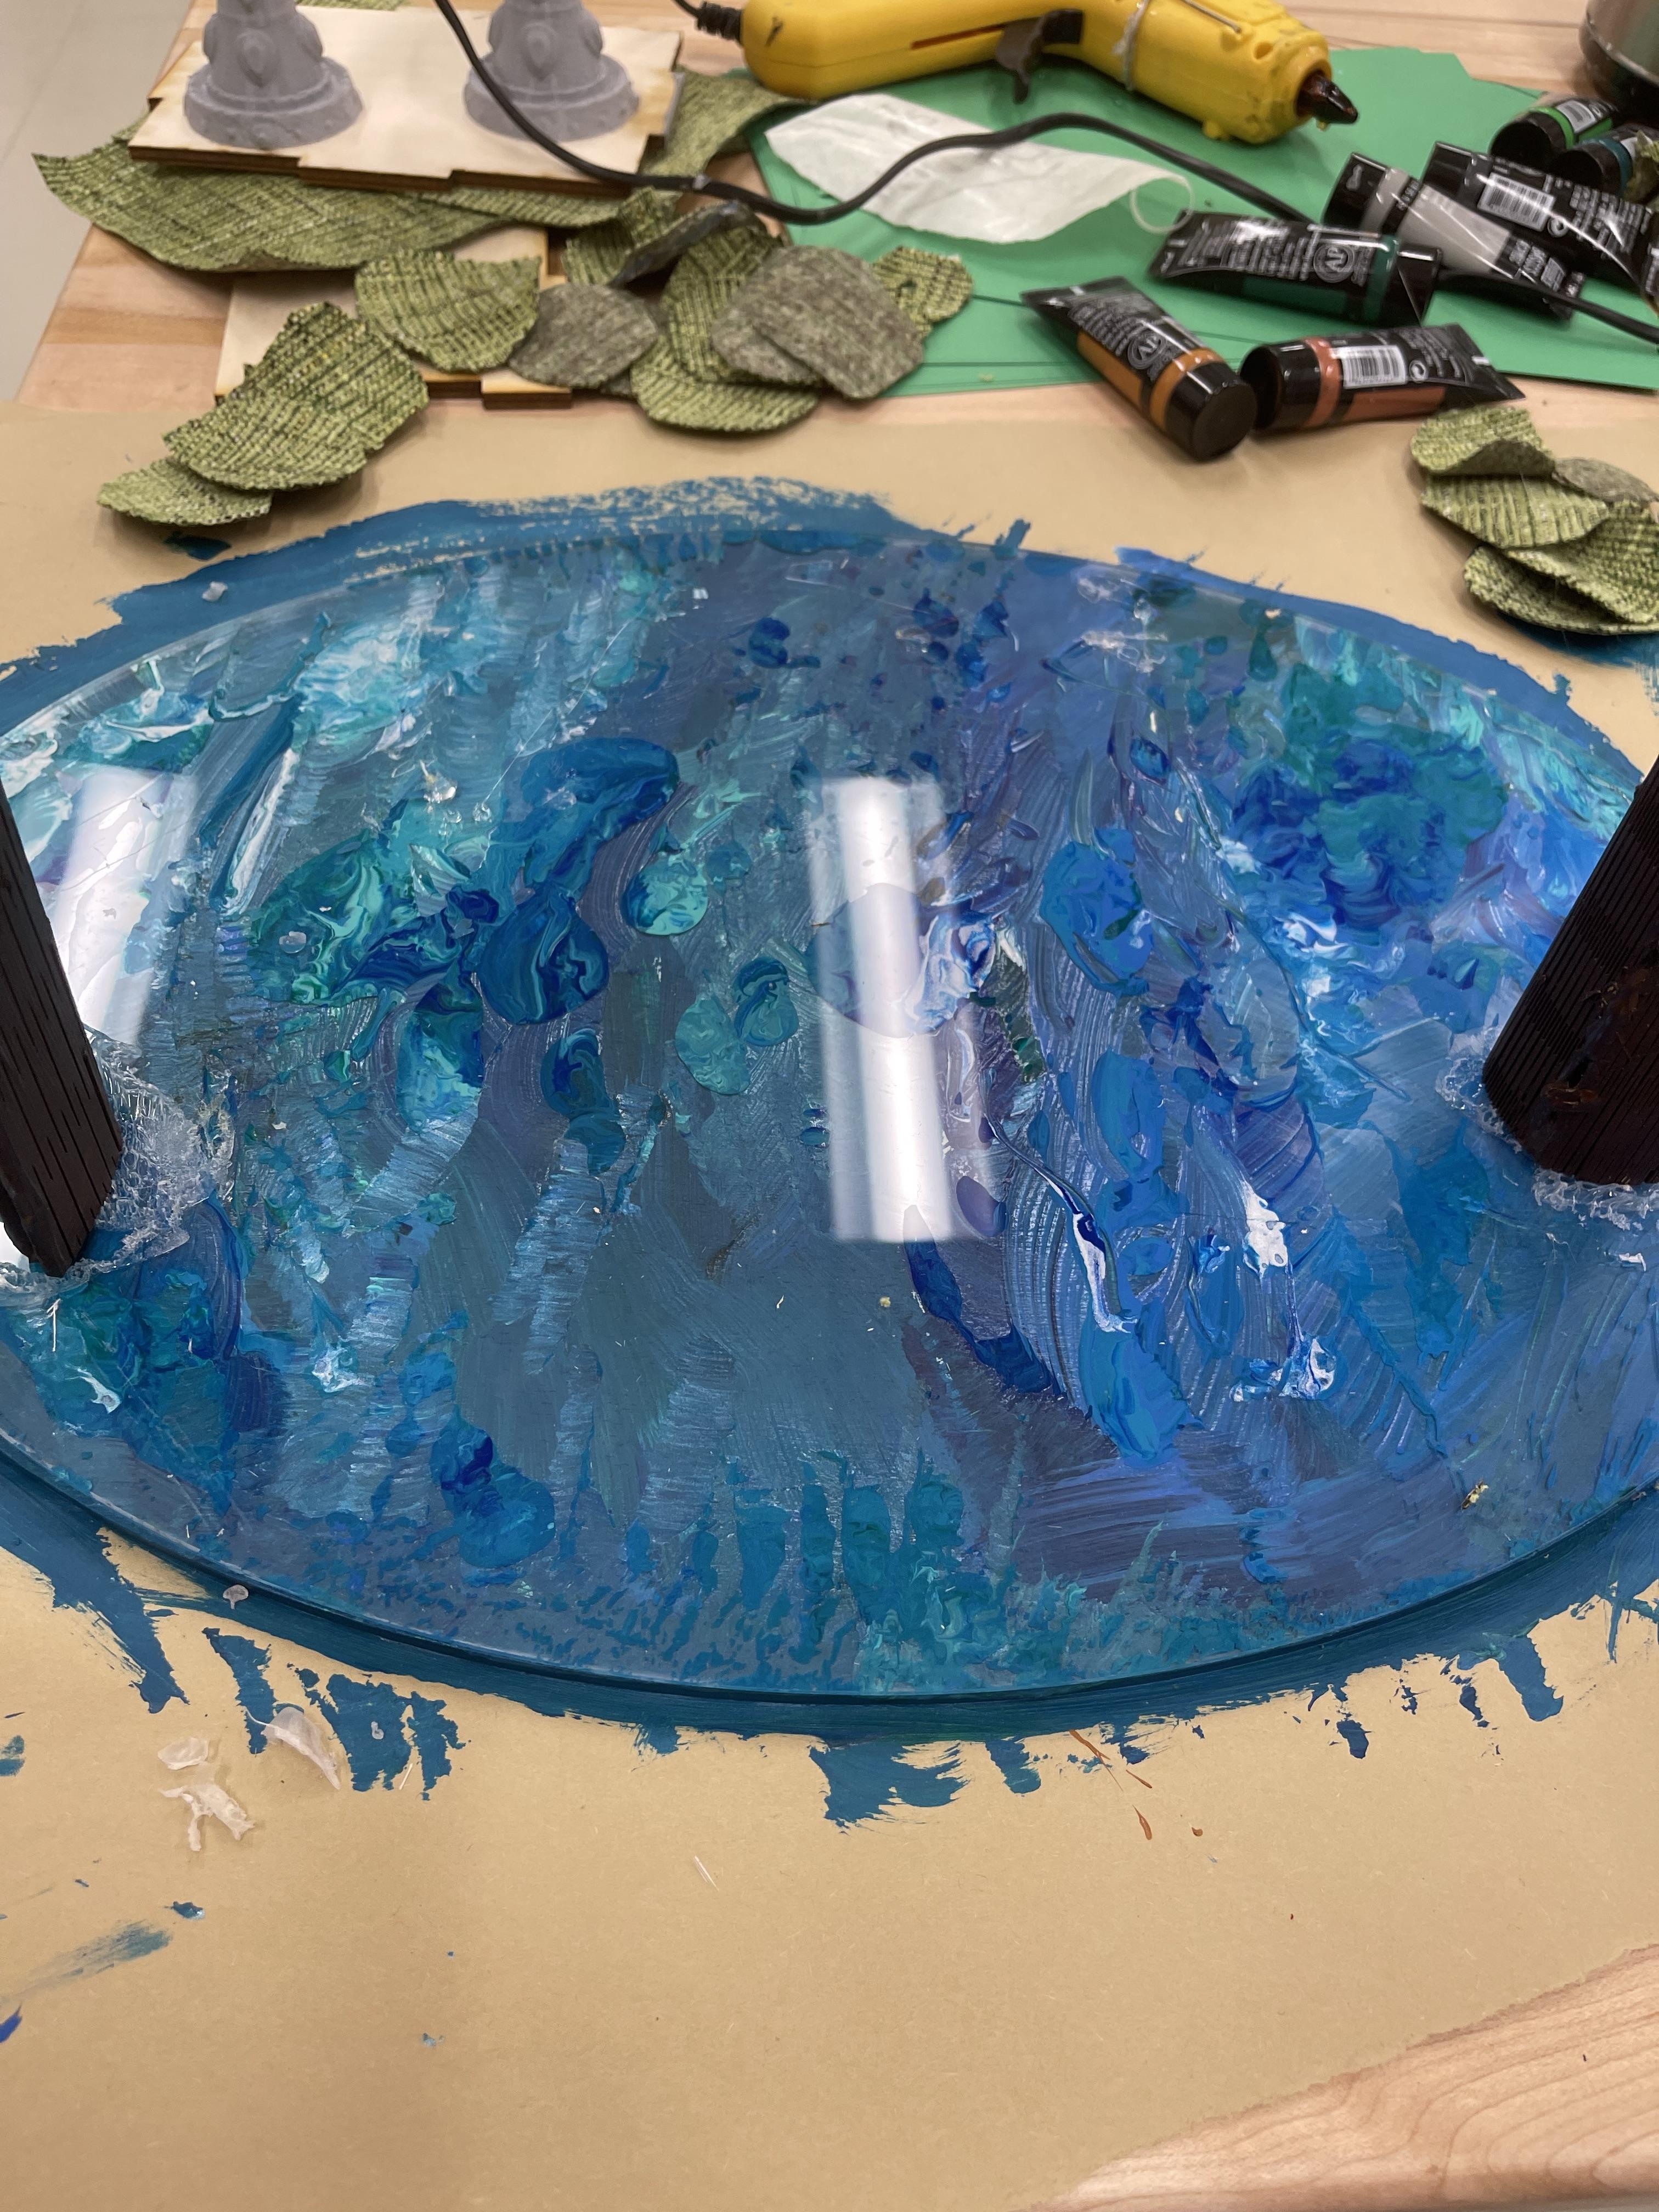
Next, you will repeat the oval but with clear 1/8th acrylic.
They should be the same size.
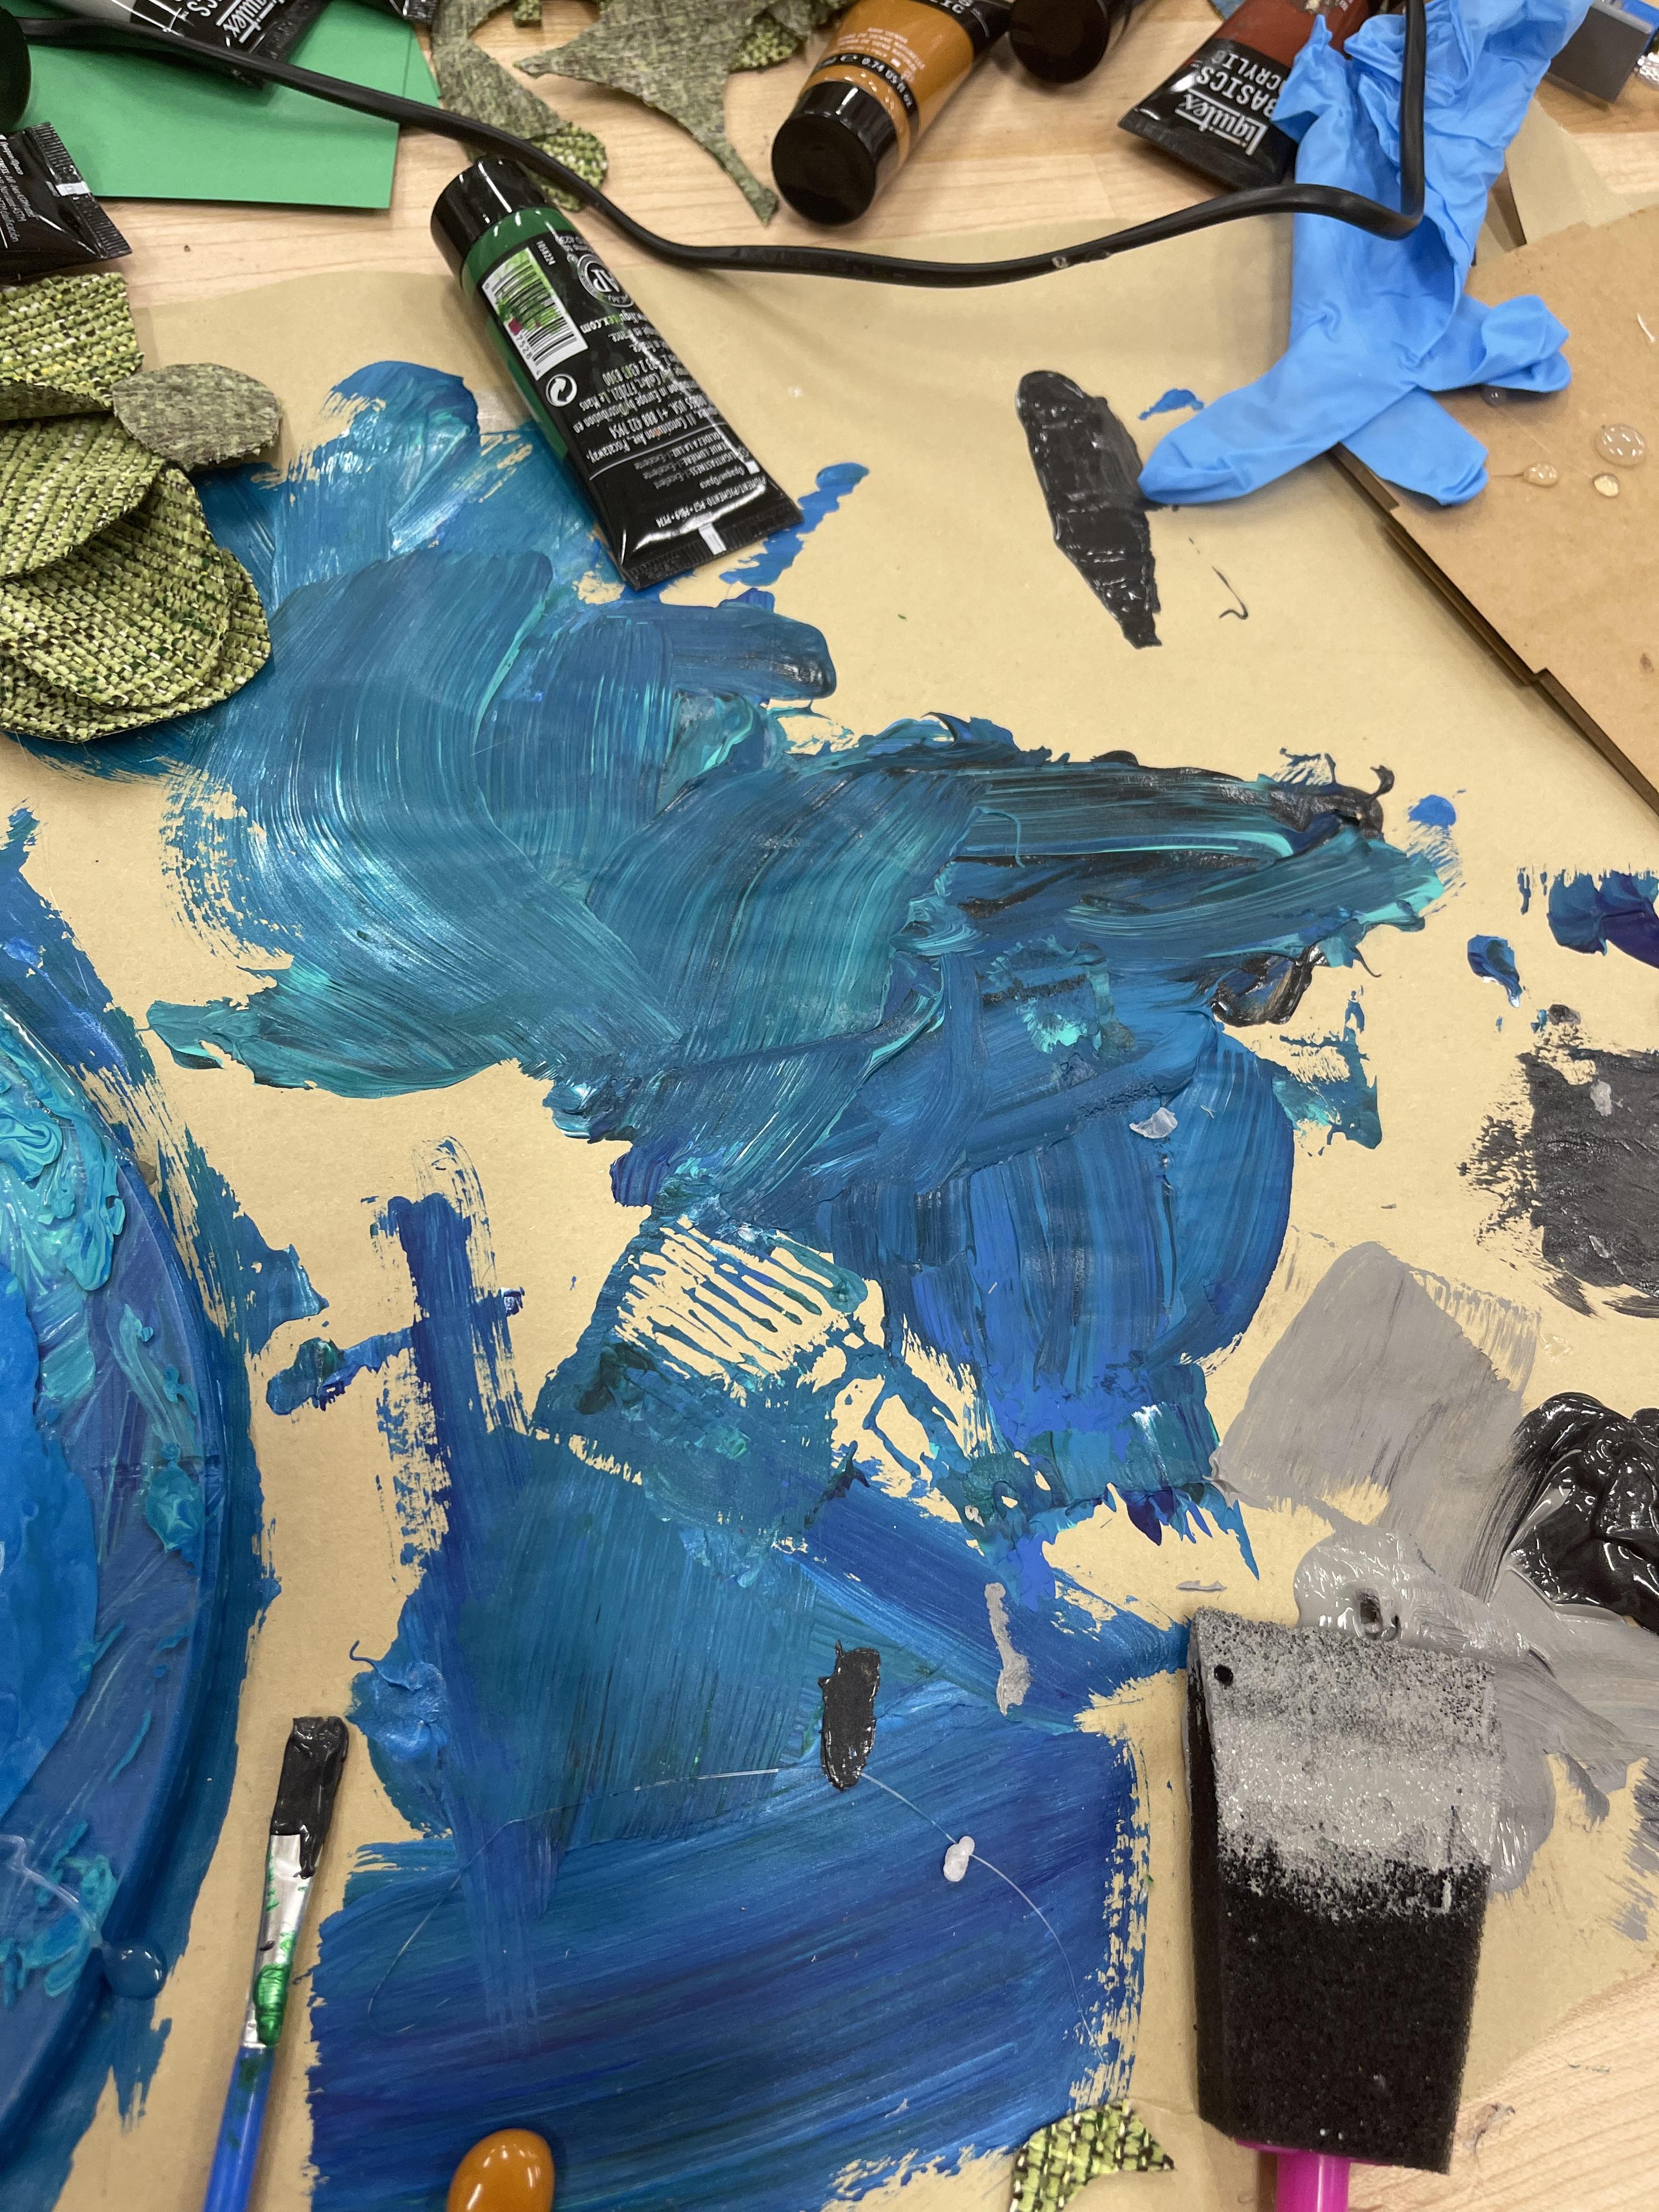
Using multiple shades of blue and white paint, paint an ocean-like pattern on the surface of the wood. While it is still wet, place the acrylic sheet on top.
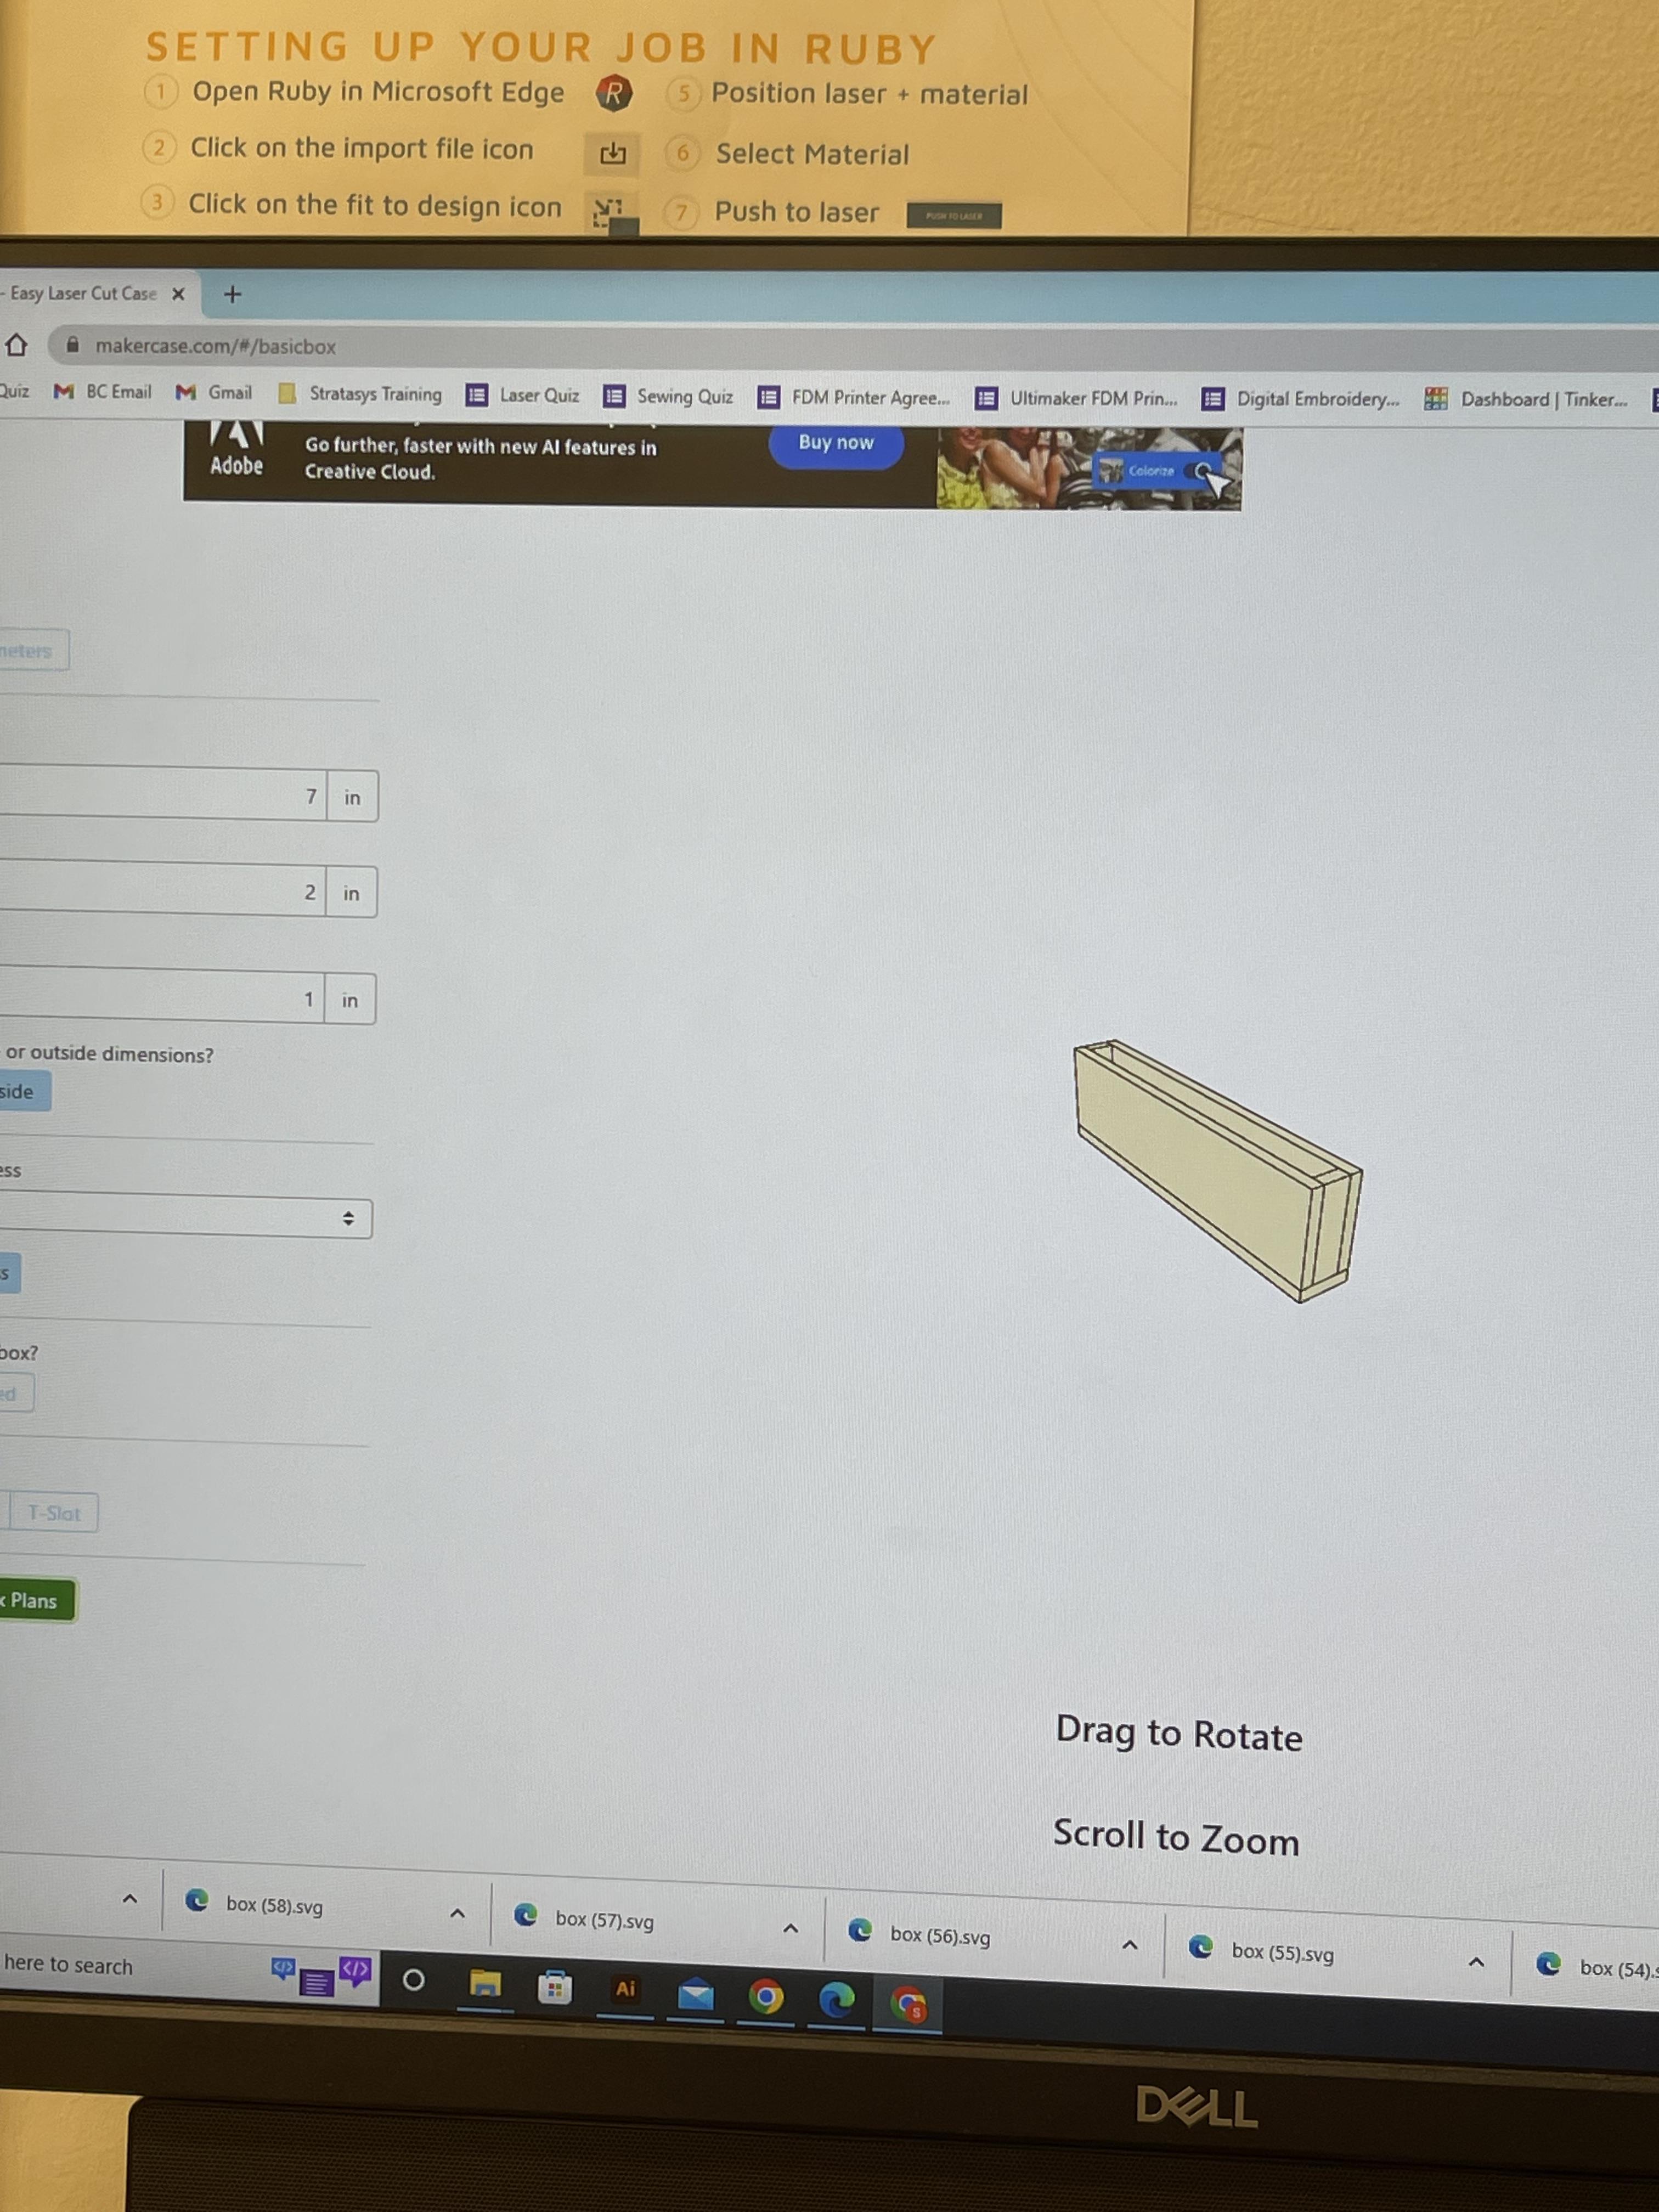
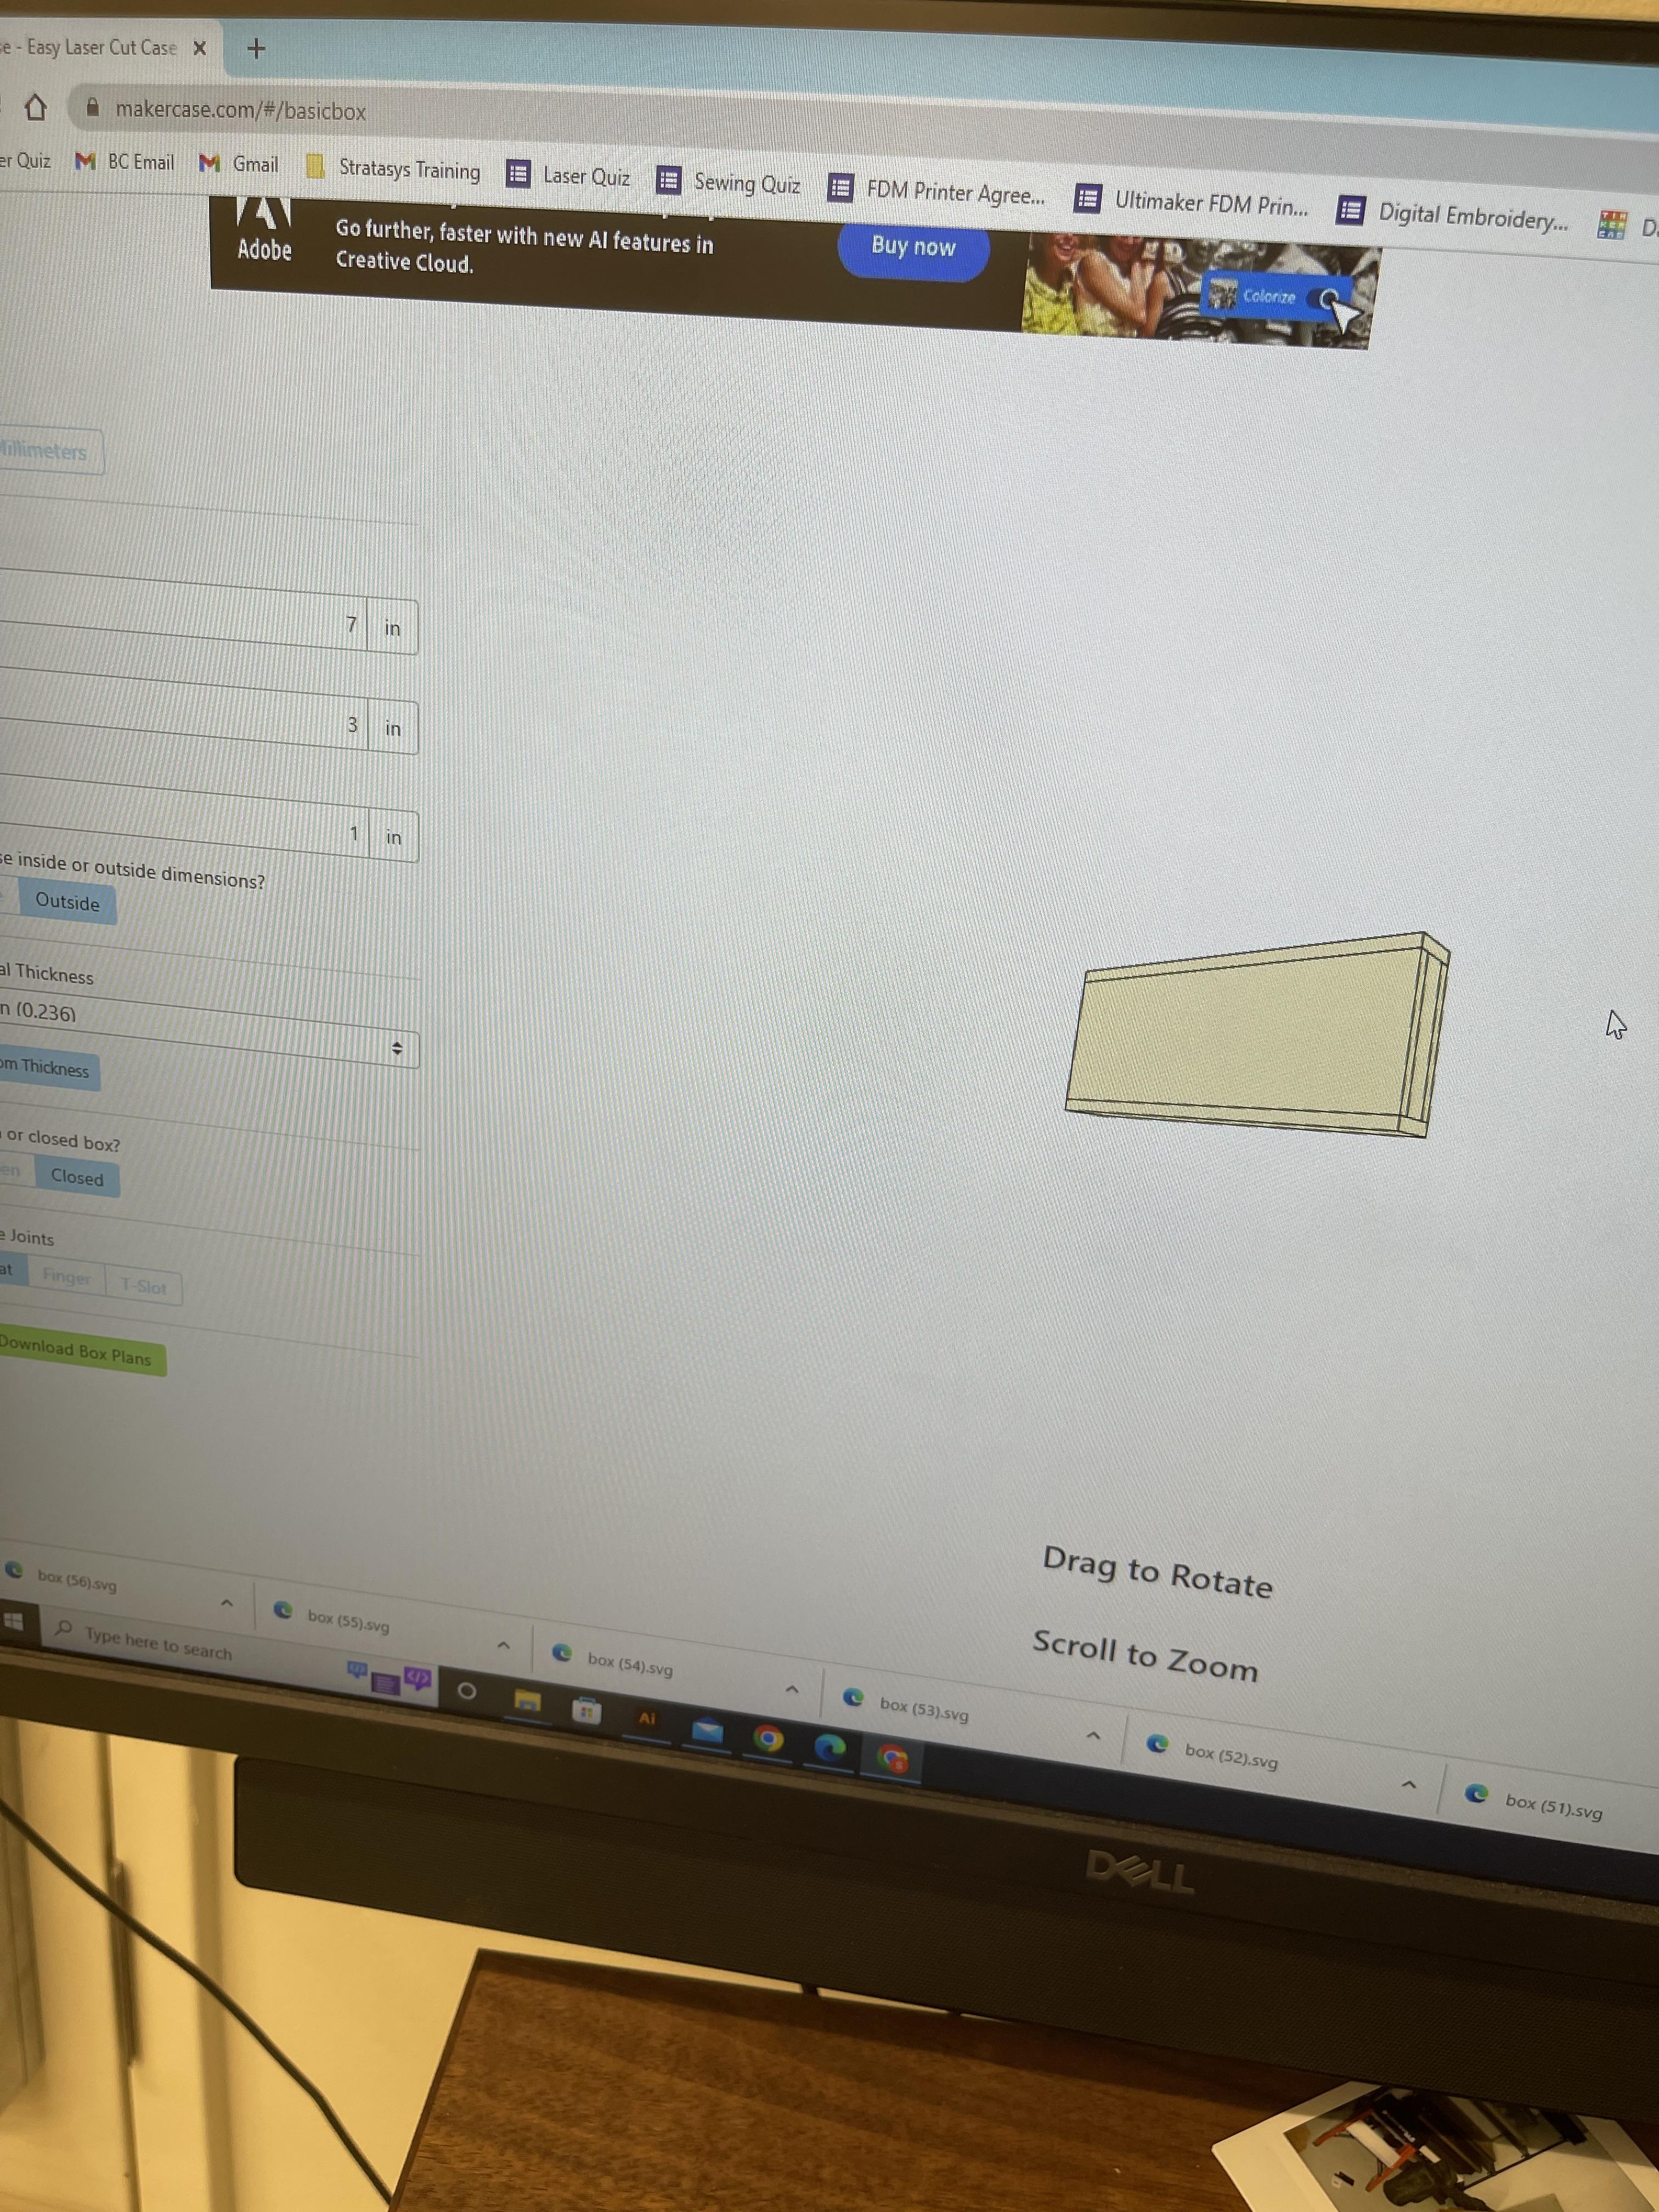
Create Box
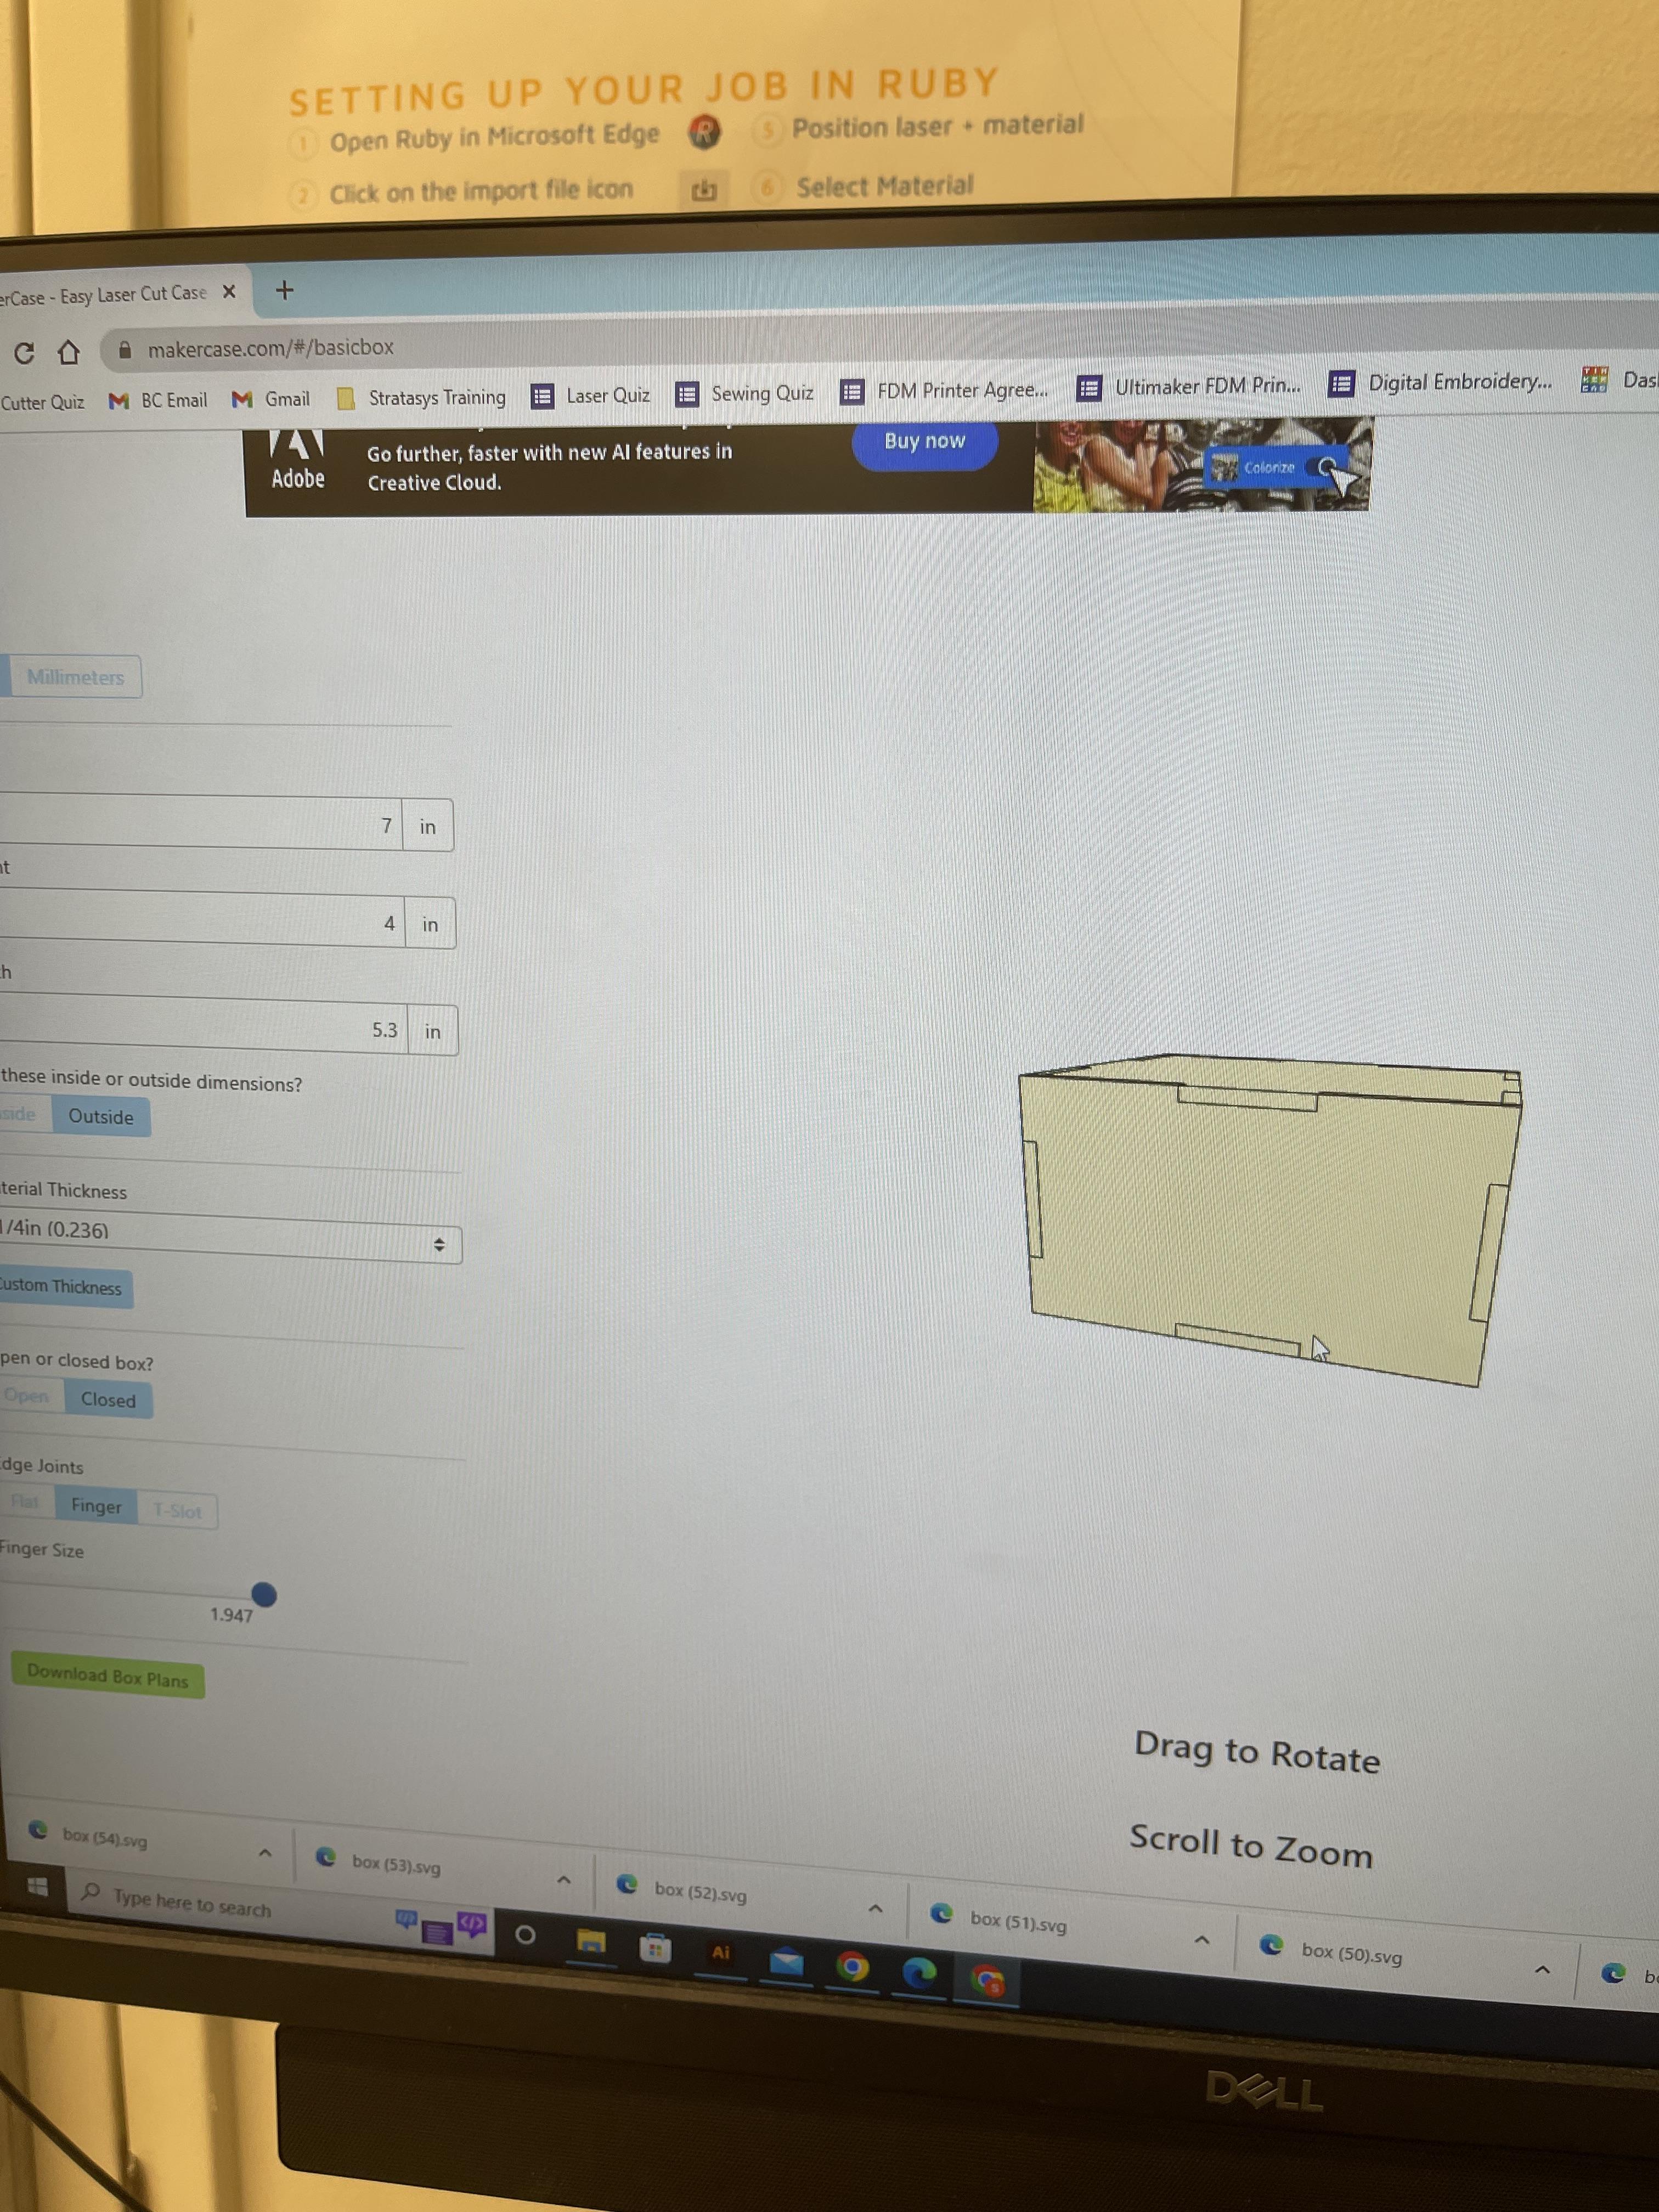
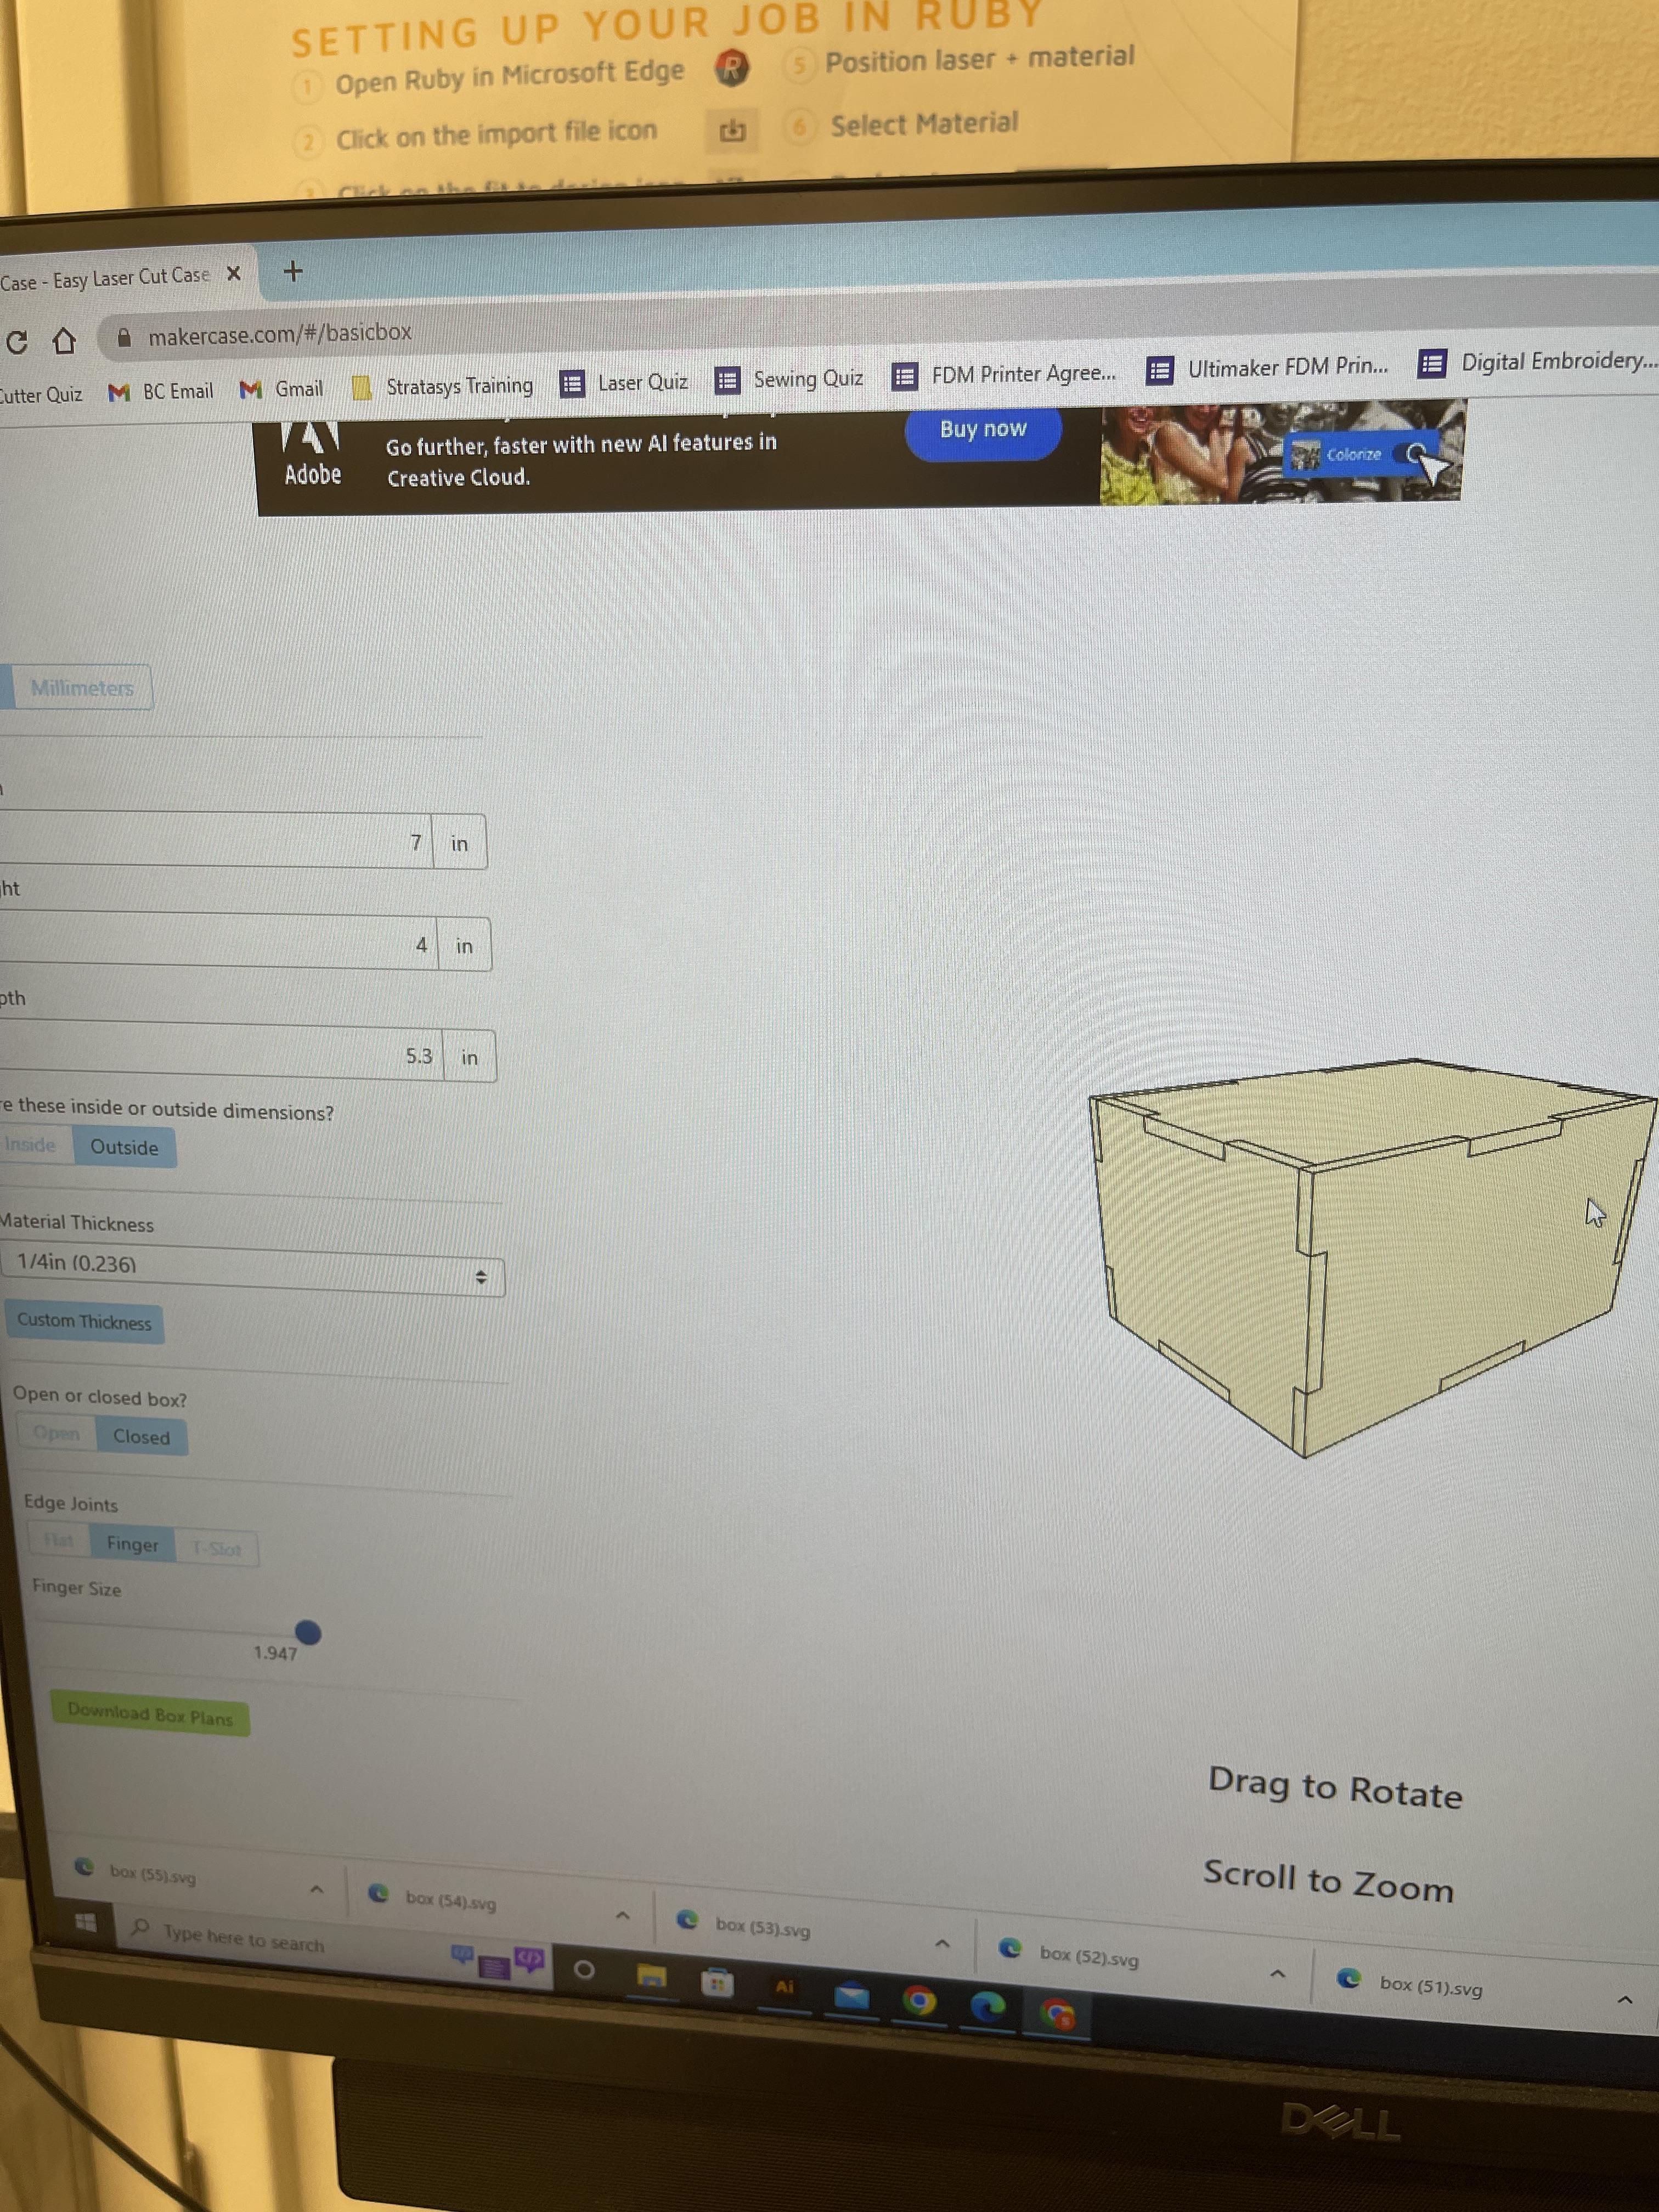

To create a box big enough to fit in the middle, we used MakerCase to plan out the outline. We estimated that about 7" by 4" by 5.5" dimensions should be enough space.
On MakeCase, we used a polygon box shape and added finger joins to it. The size of the finger joins is not as important, however, bigger may be easier to adhere together.
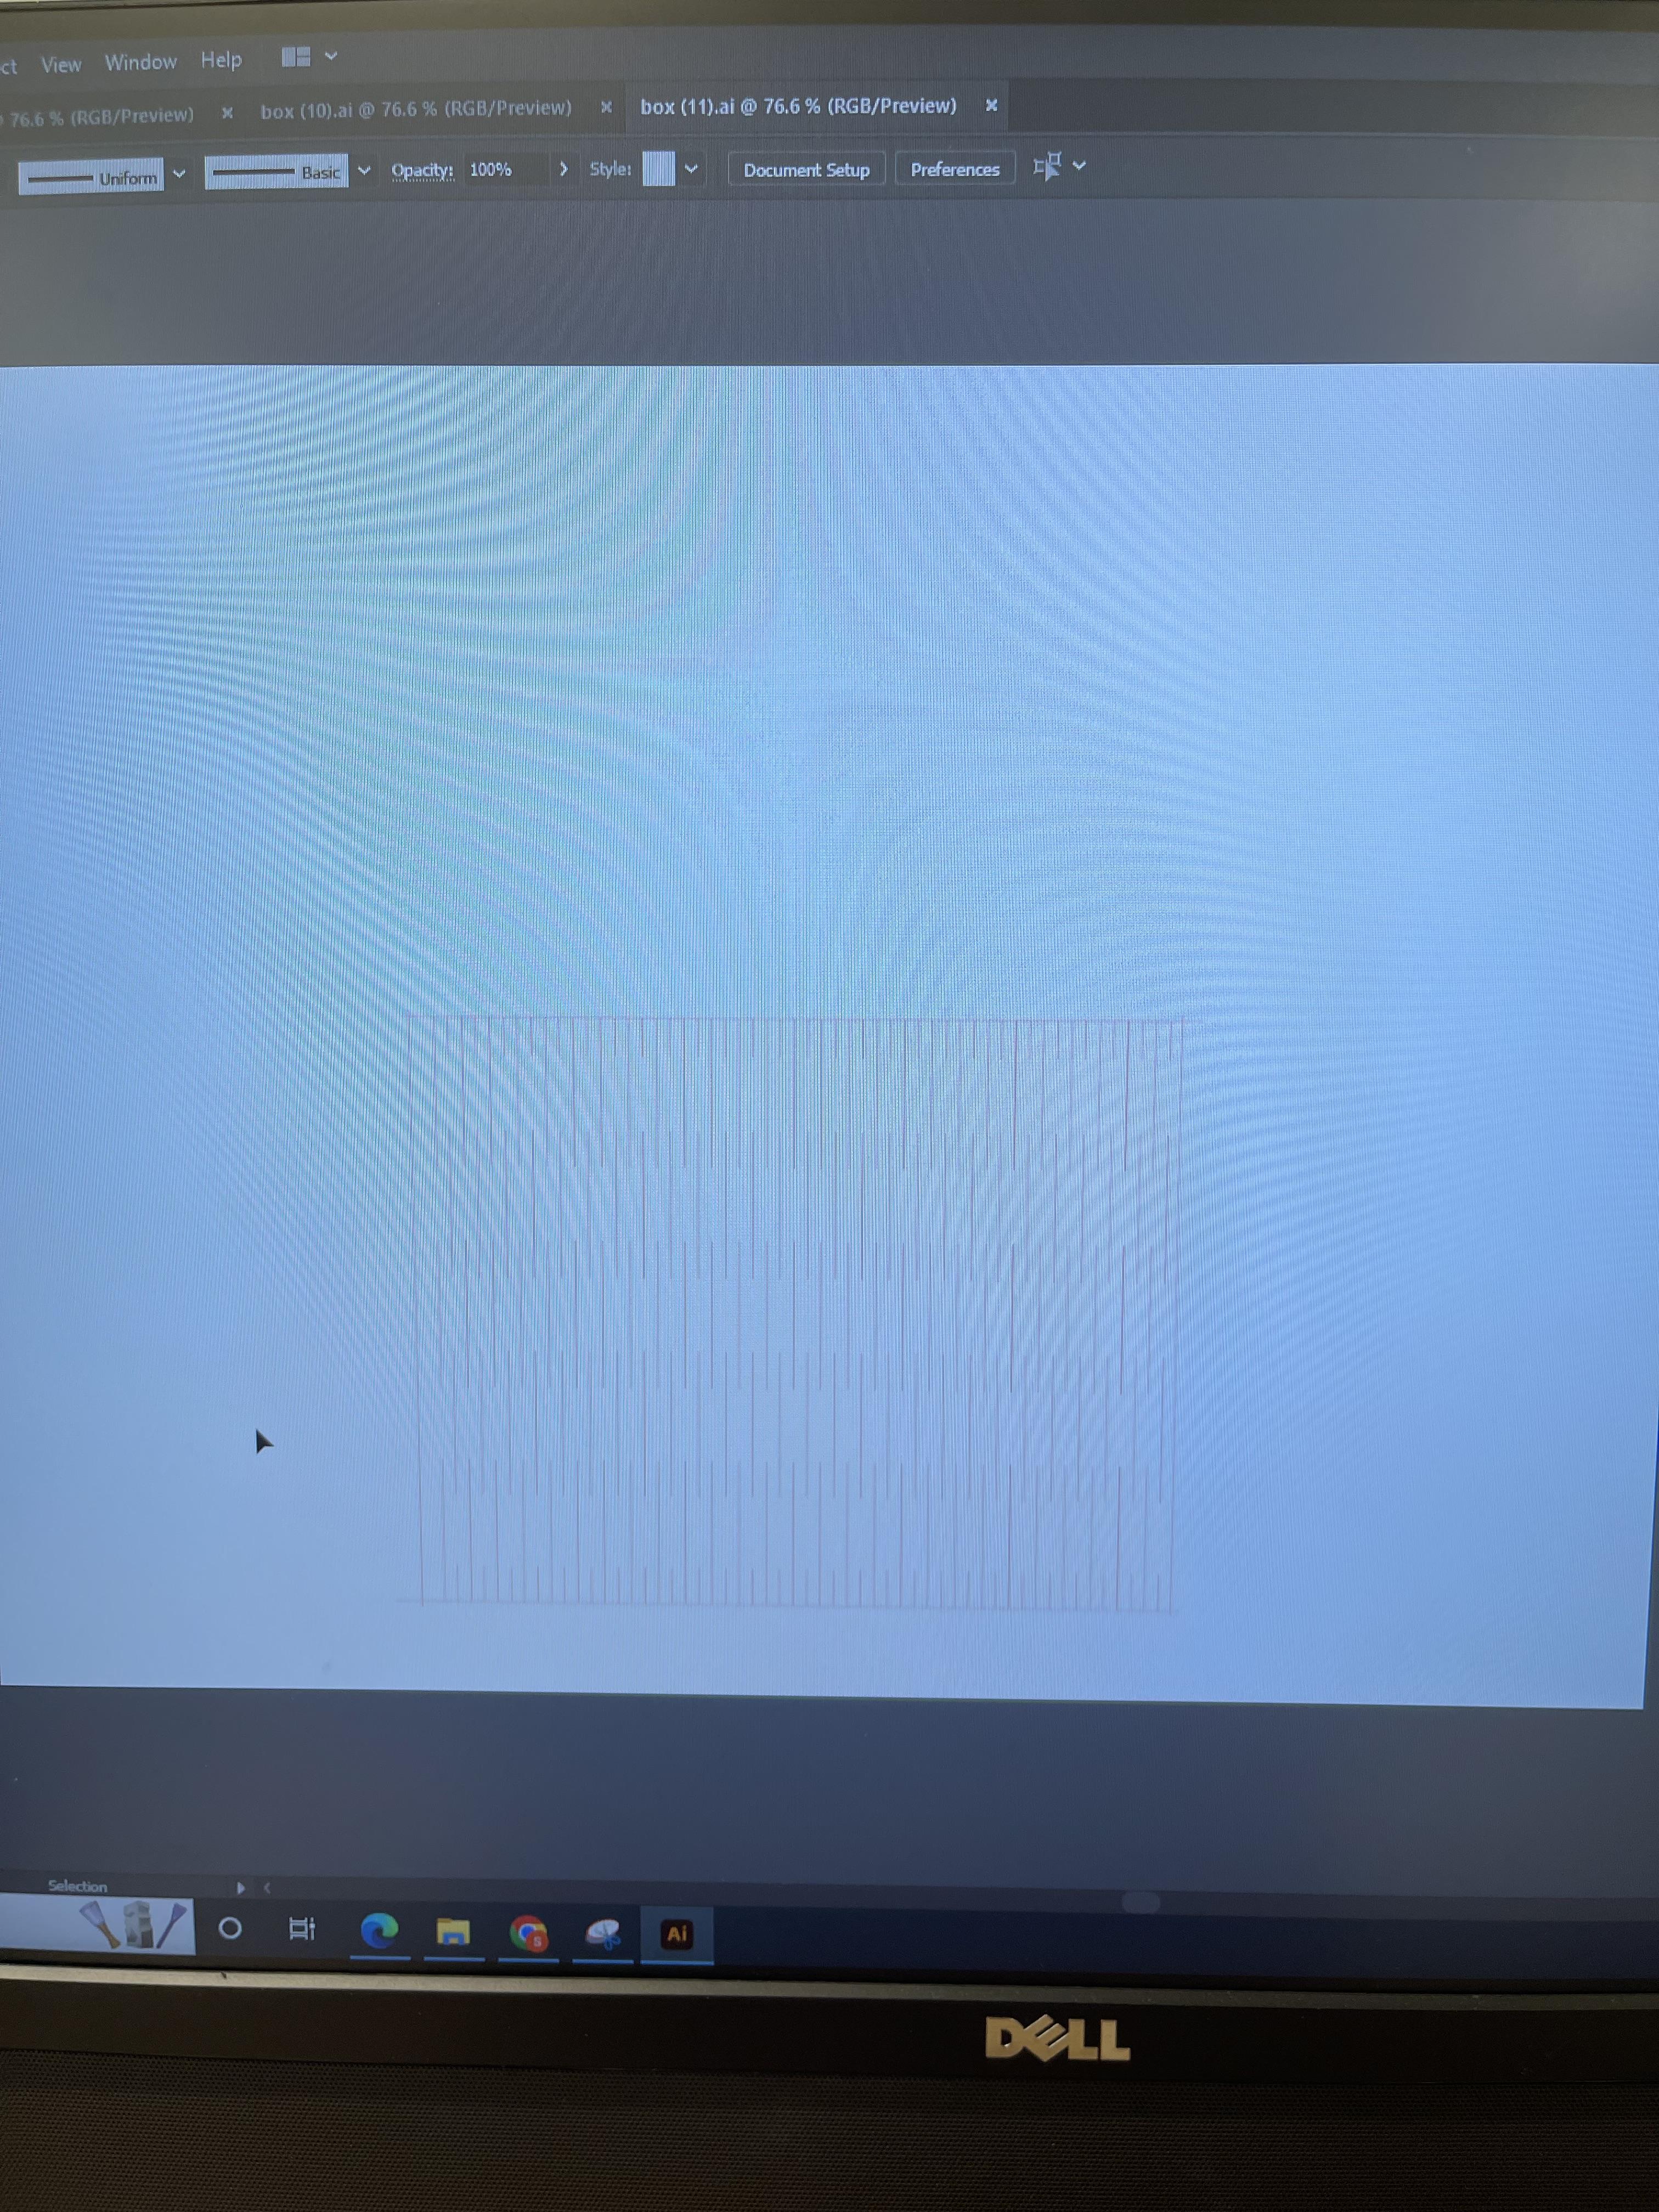
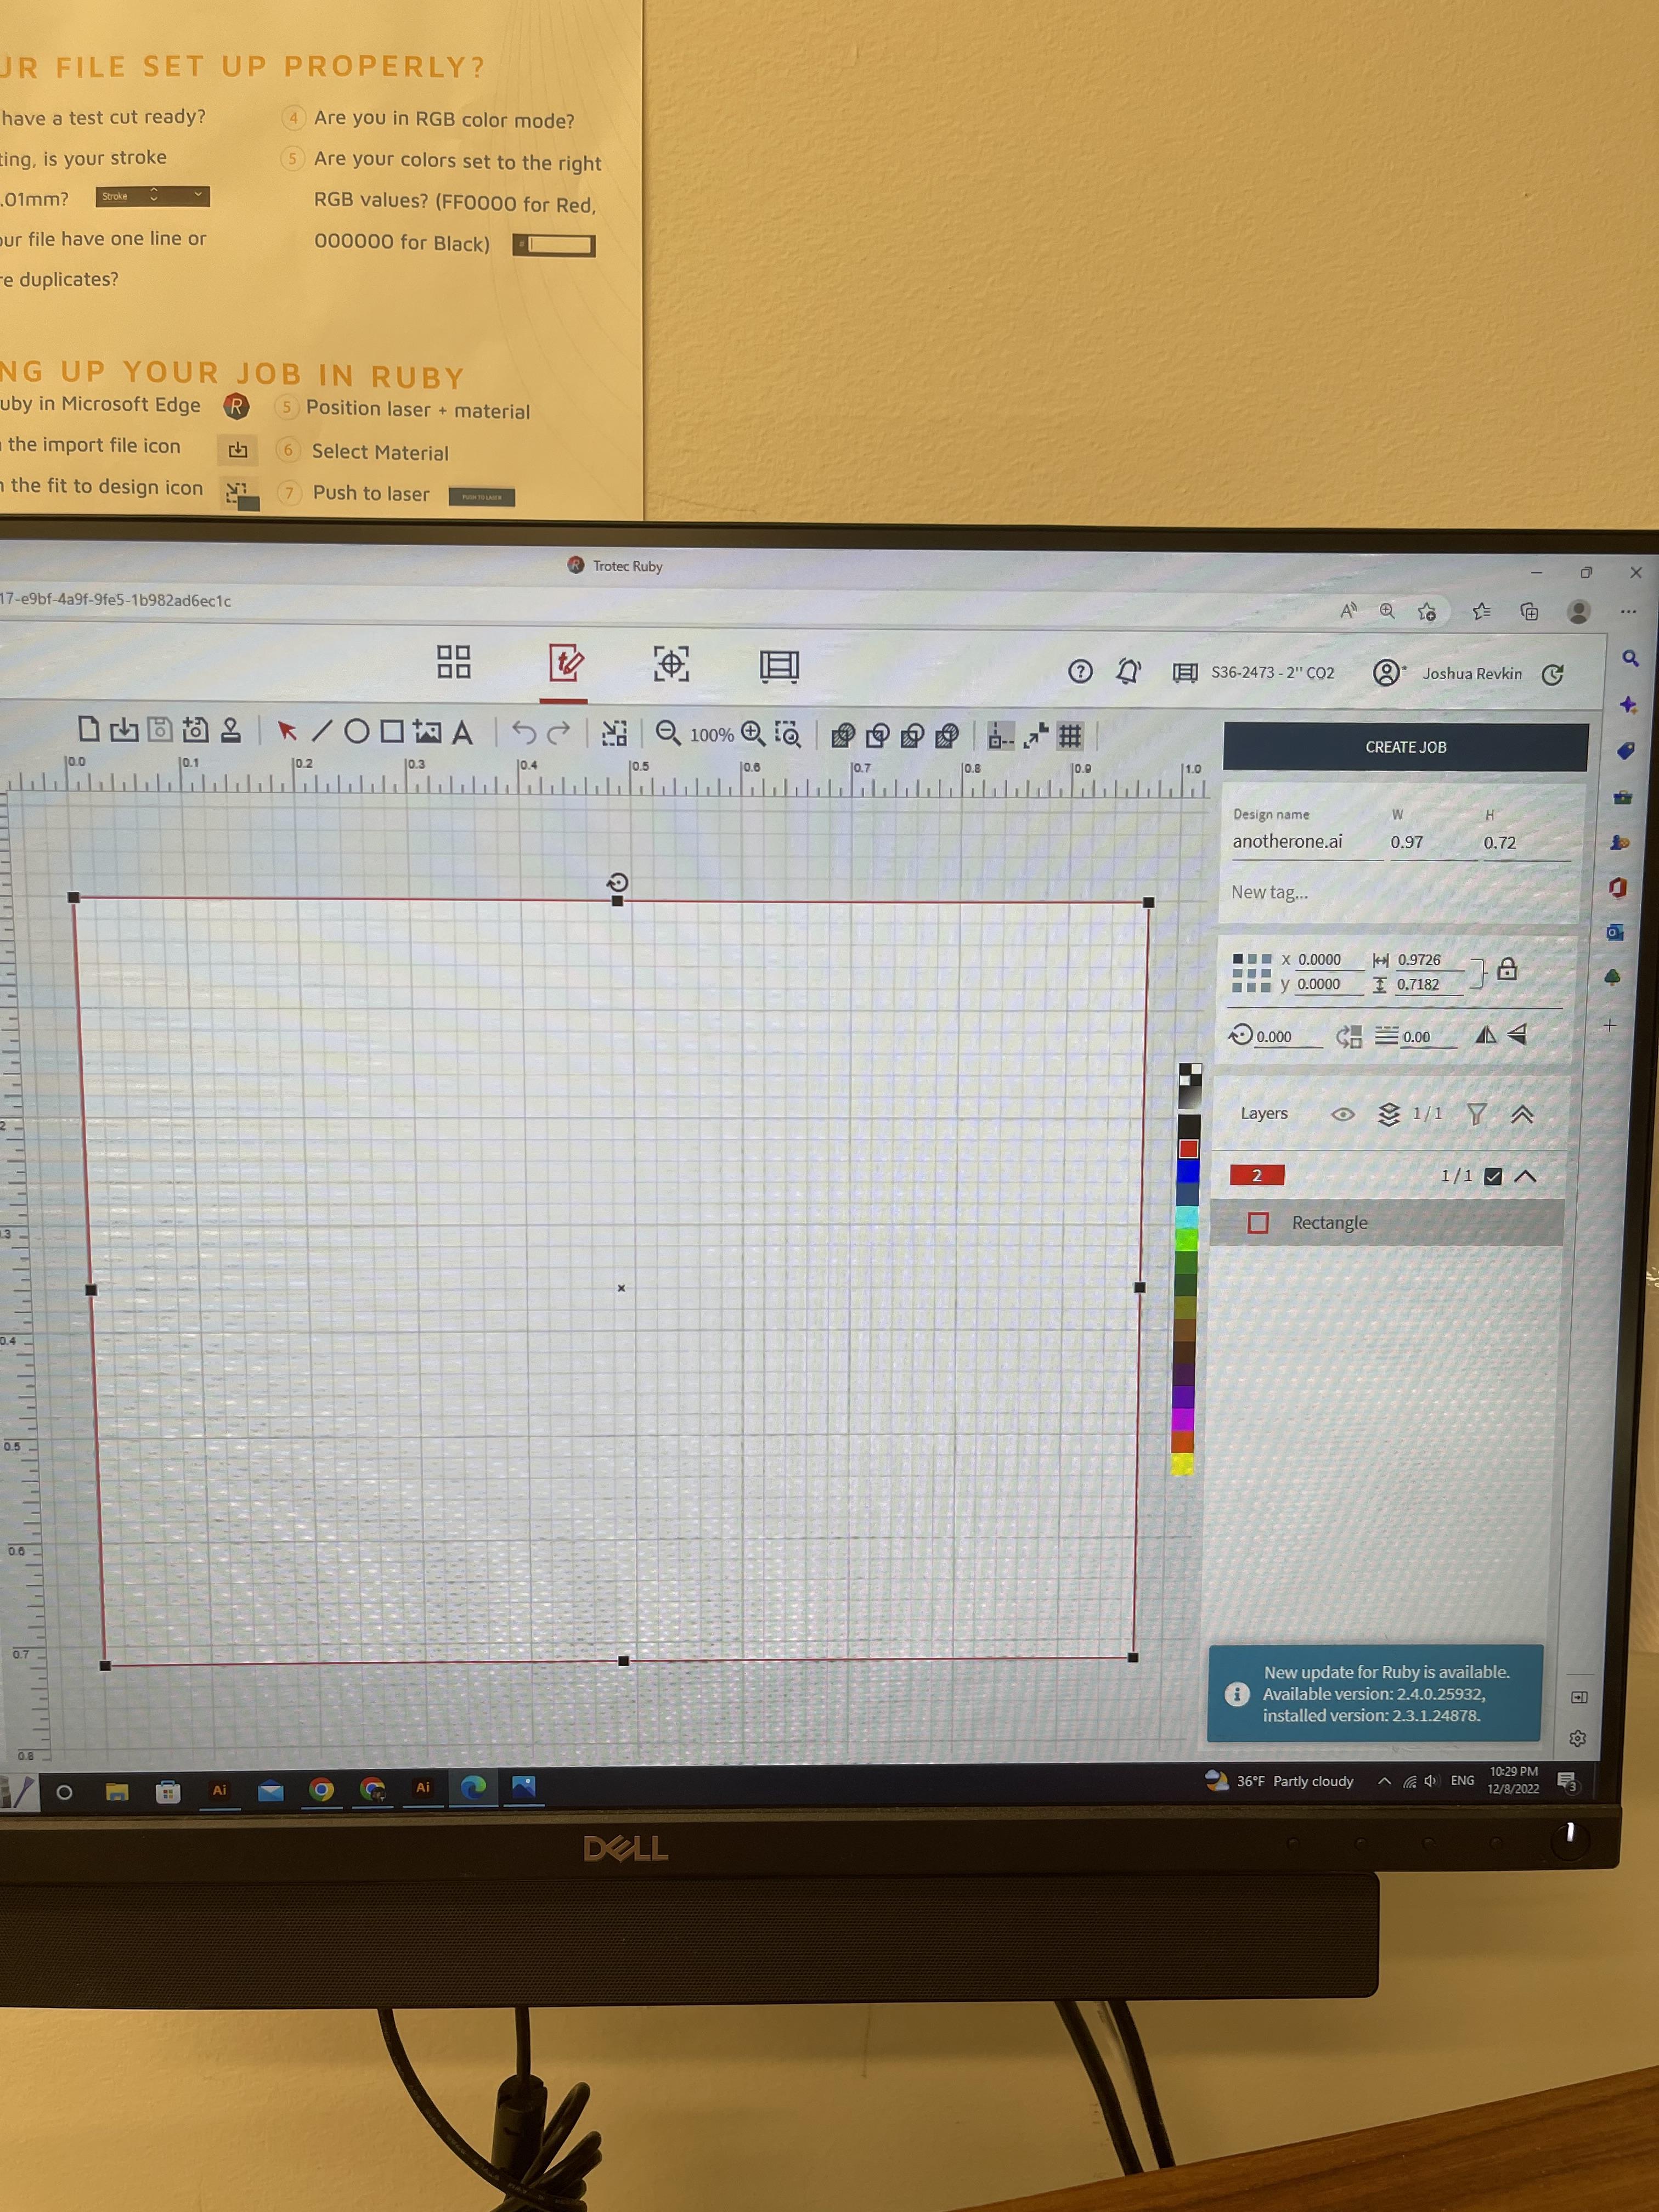
After saving the layout of the box, we imported it to photoshop. Here, make sure to select all and ensure the color selected is true red (ff0000) and that the stroke is 0.01mm.
Once that is complete, save it as an AI so the size remains intact.
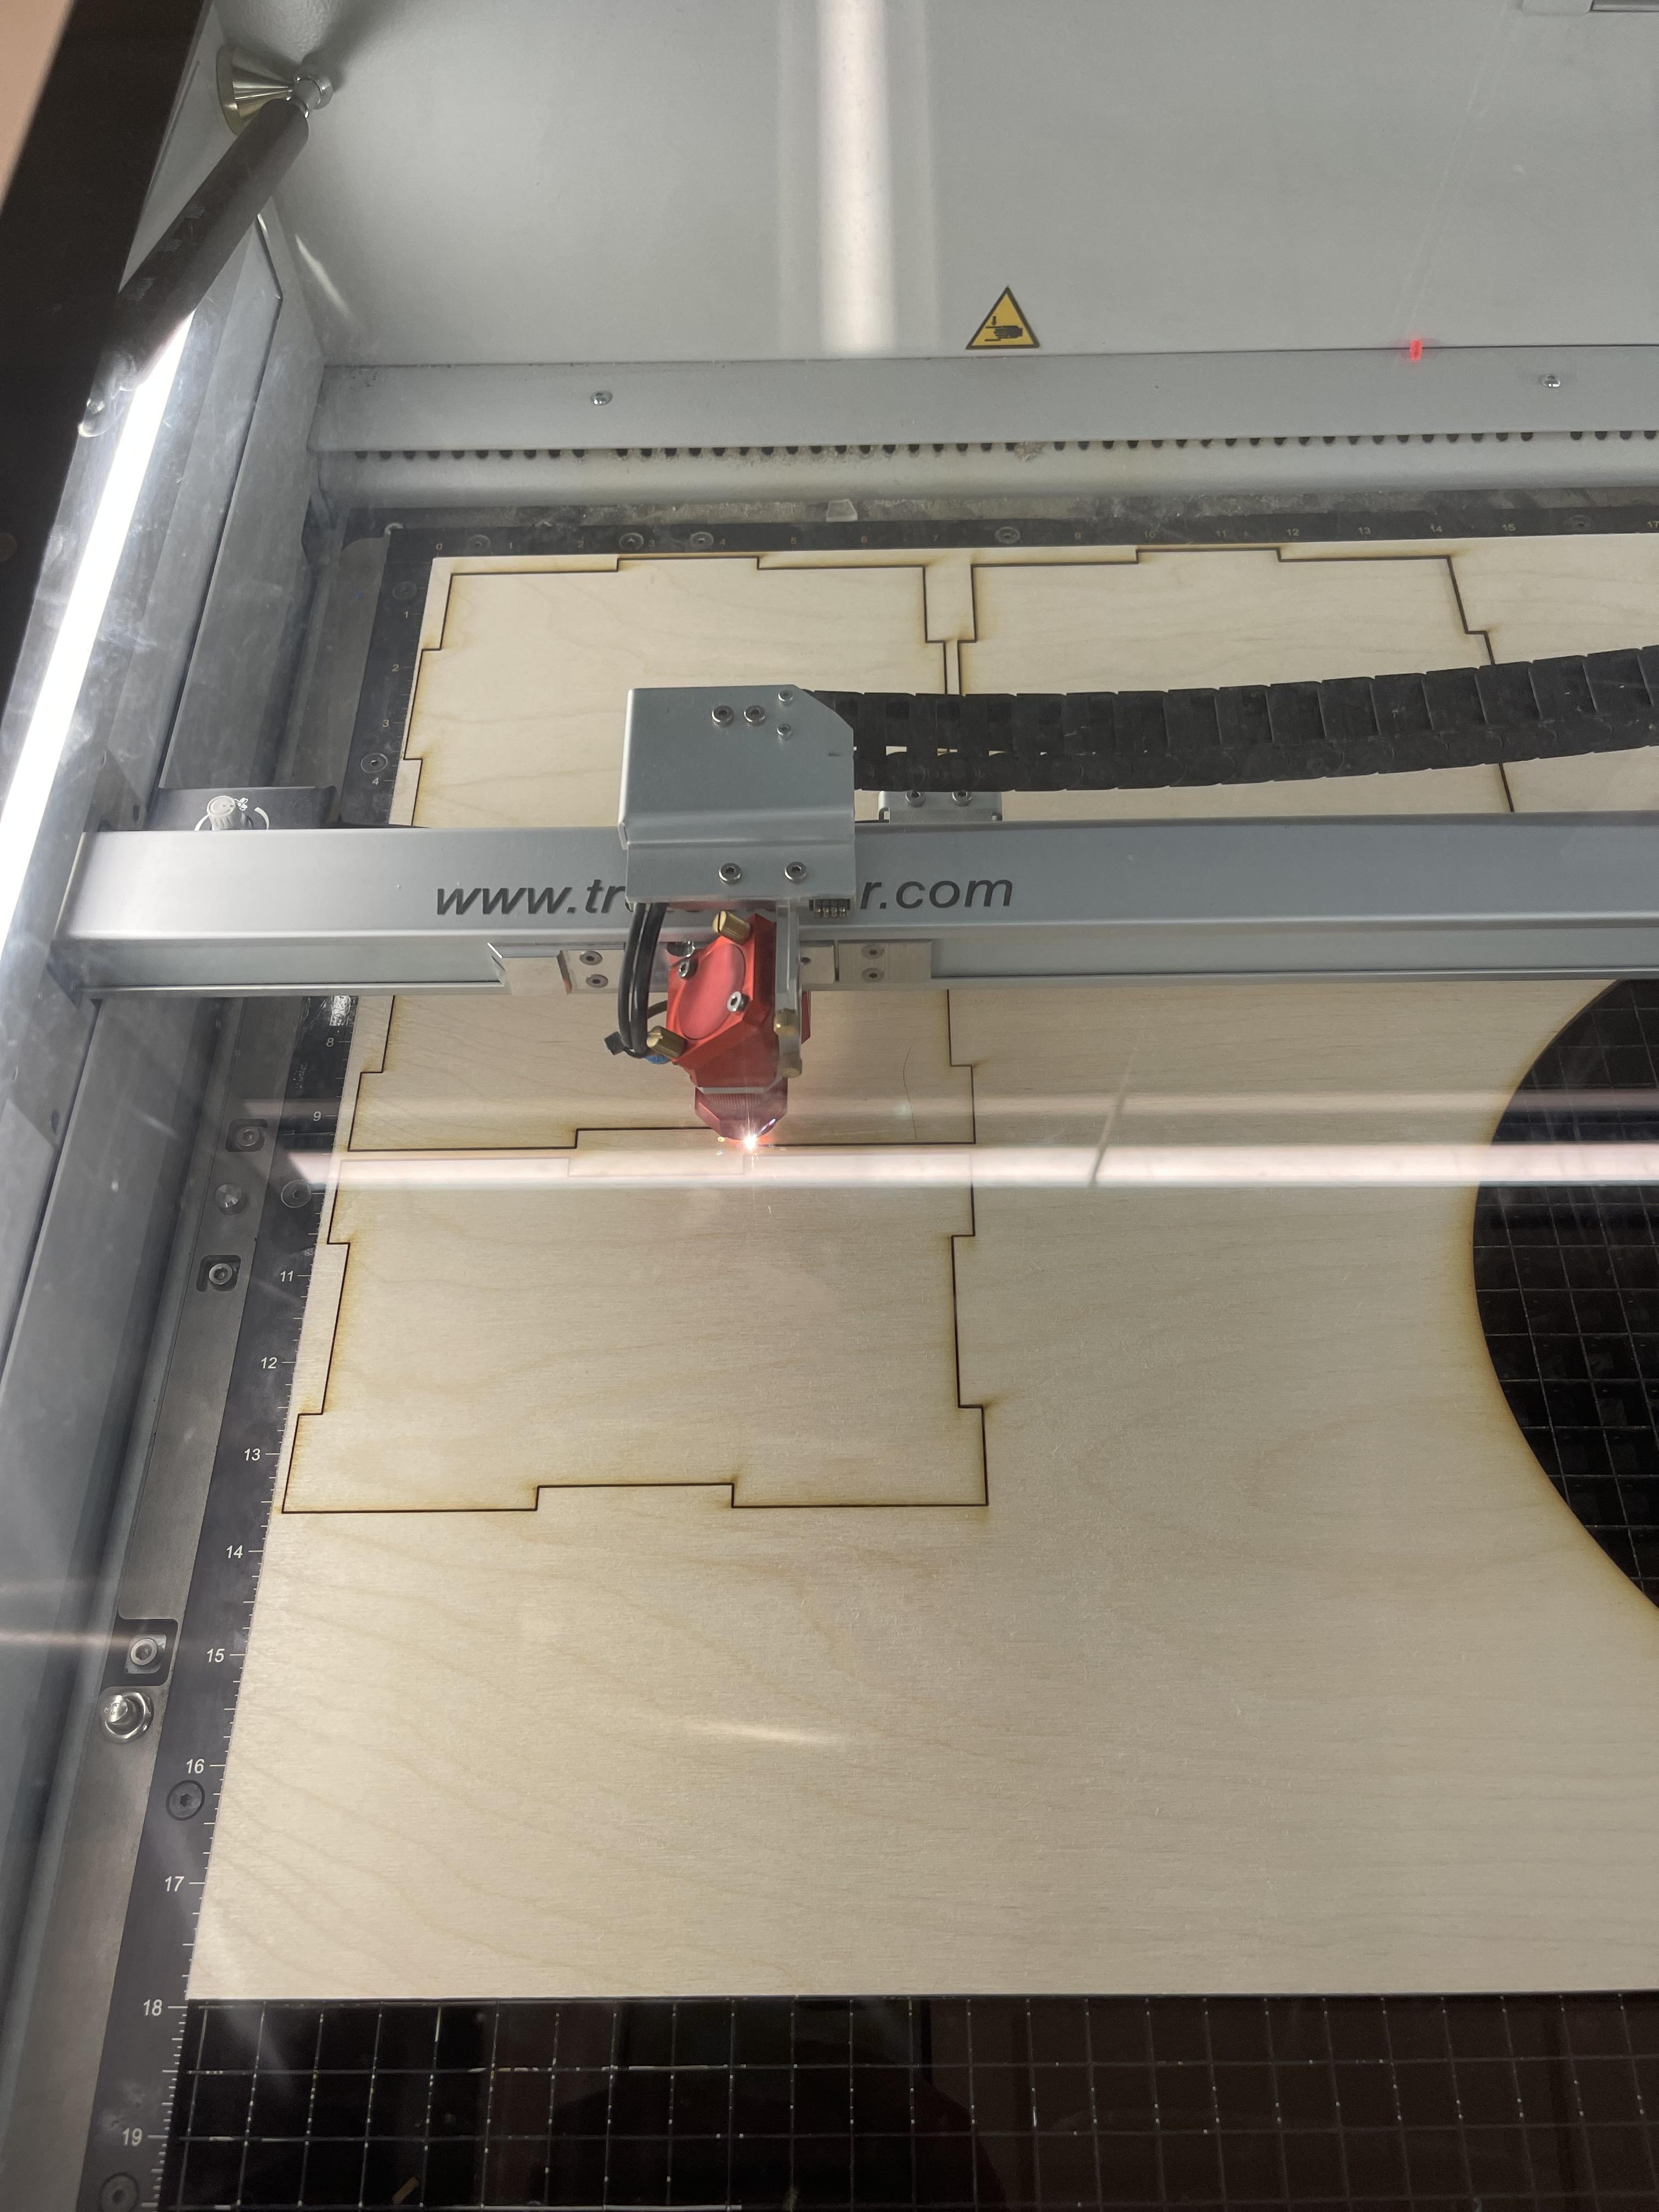
Open the file in Trotec connected to a laser printer and follow the steps listed to print out the box. For Trotec, make sure to fit to design and focus the laser printer onto where you want it to start cutting. On Trotec, move the image to that the upper left corner is aligned with the laser printer arrow. Select material and print. We used 1/4" birchwood.
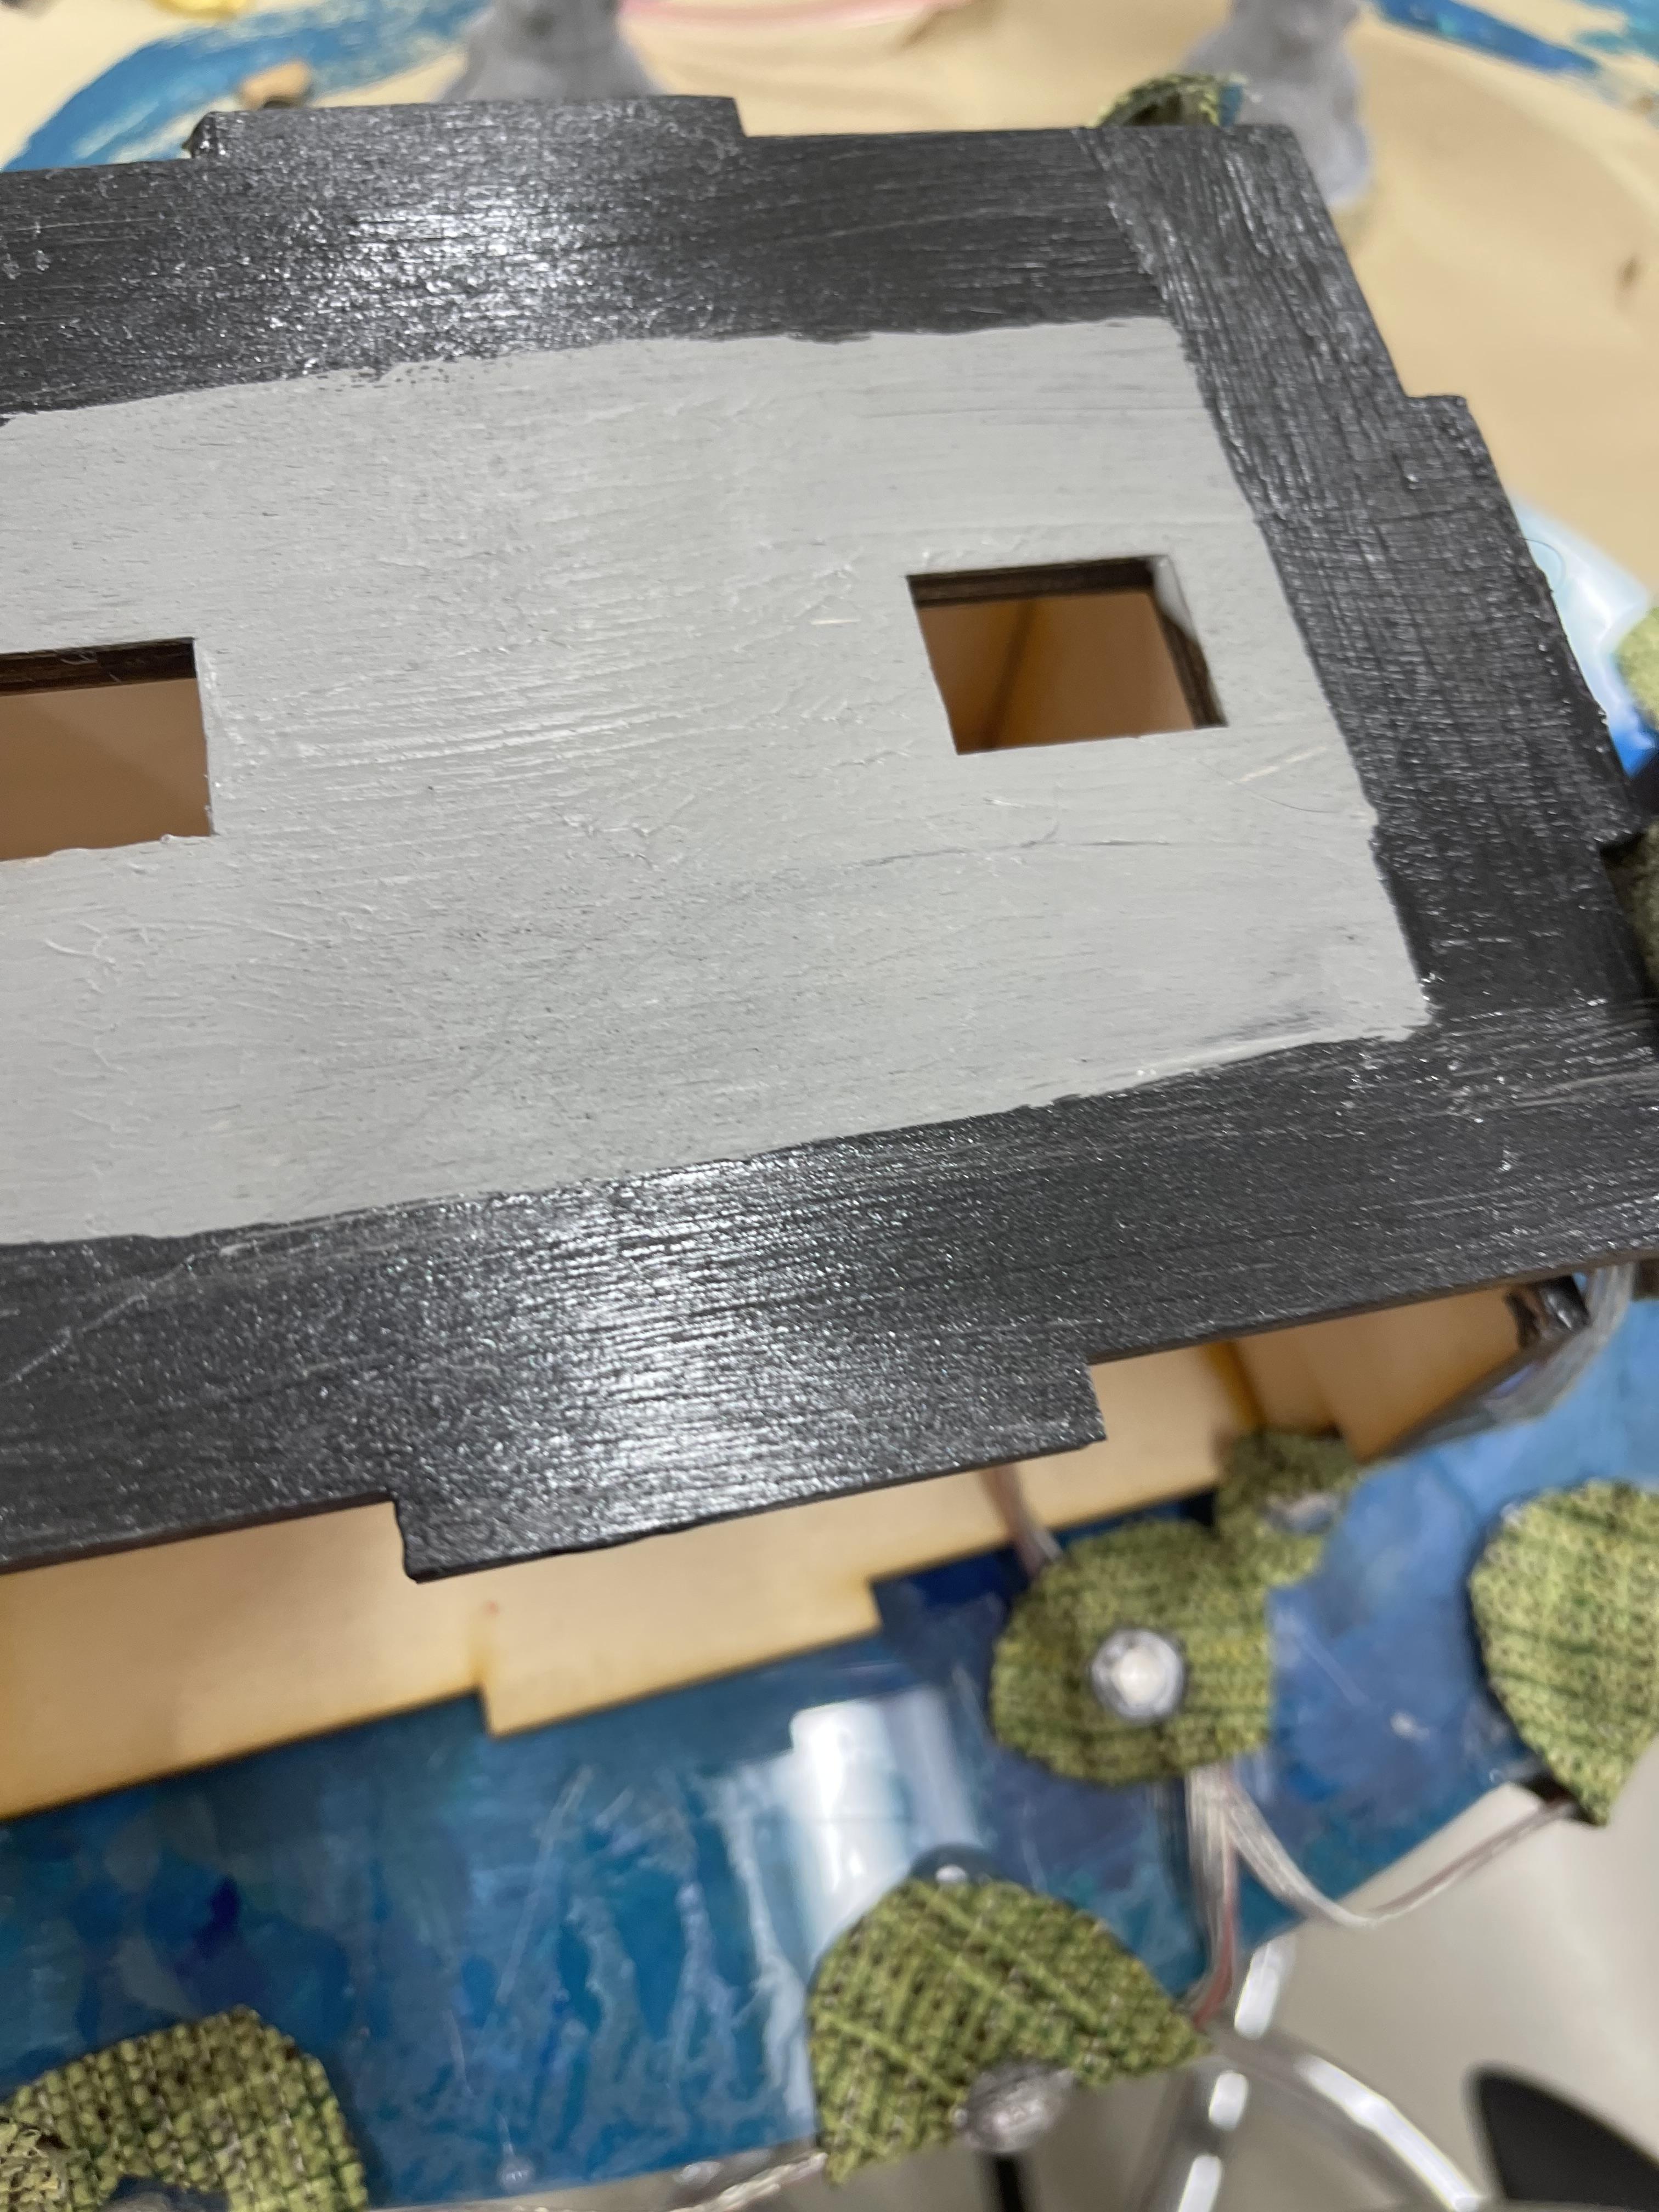
Paint the box using the colors of a treasure chest. I used silver and dark grey for a metallic look.
Create Steps
Using the same 1/4" birchwood, you will print 3 set of boxes, without finger joints.
The first is 7" by 3" by 1".
The second is 7" by 2" by 1".
The third is 7" by 1" by 1".
Hot glue them together to the box.
Use wood glue to glue all sides of the box together expect the top and the back.
Cover the Stairs With Grass

Using the green cloth, cut it out to the shape of the stairs and hot glue.
Create Trees

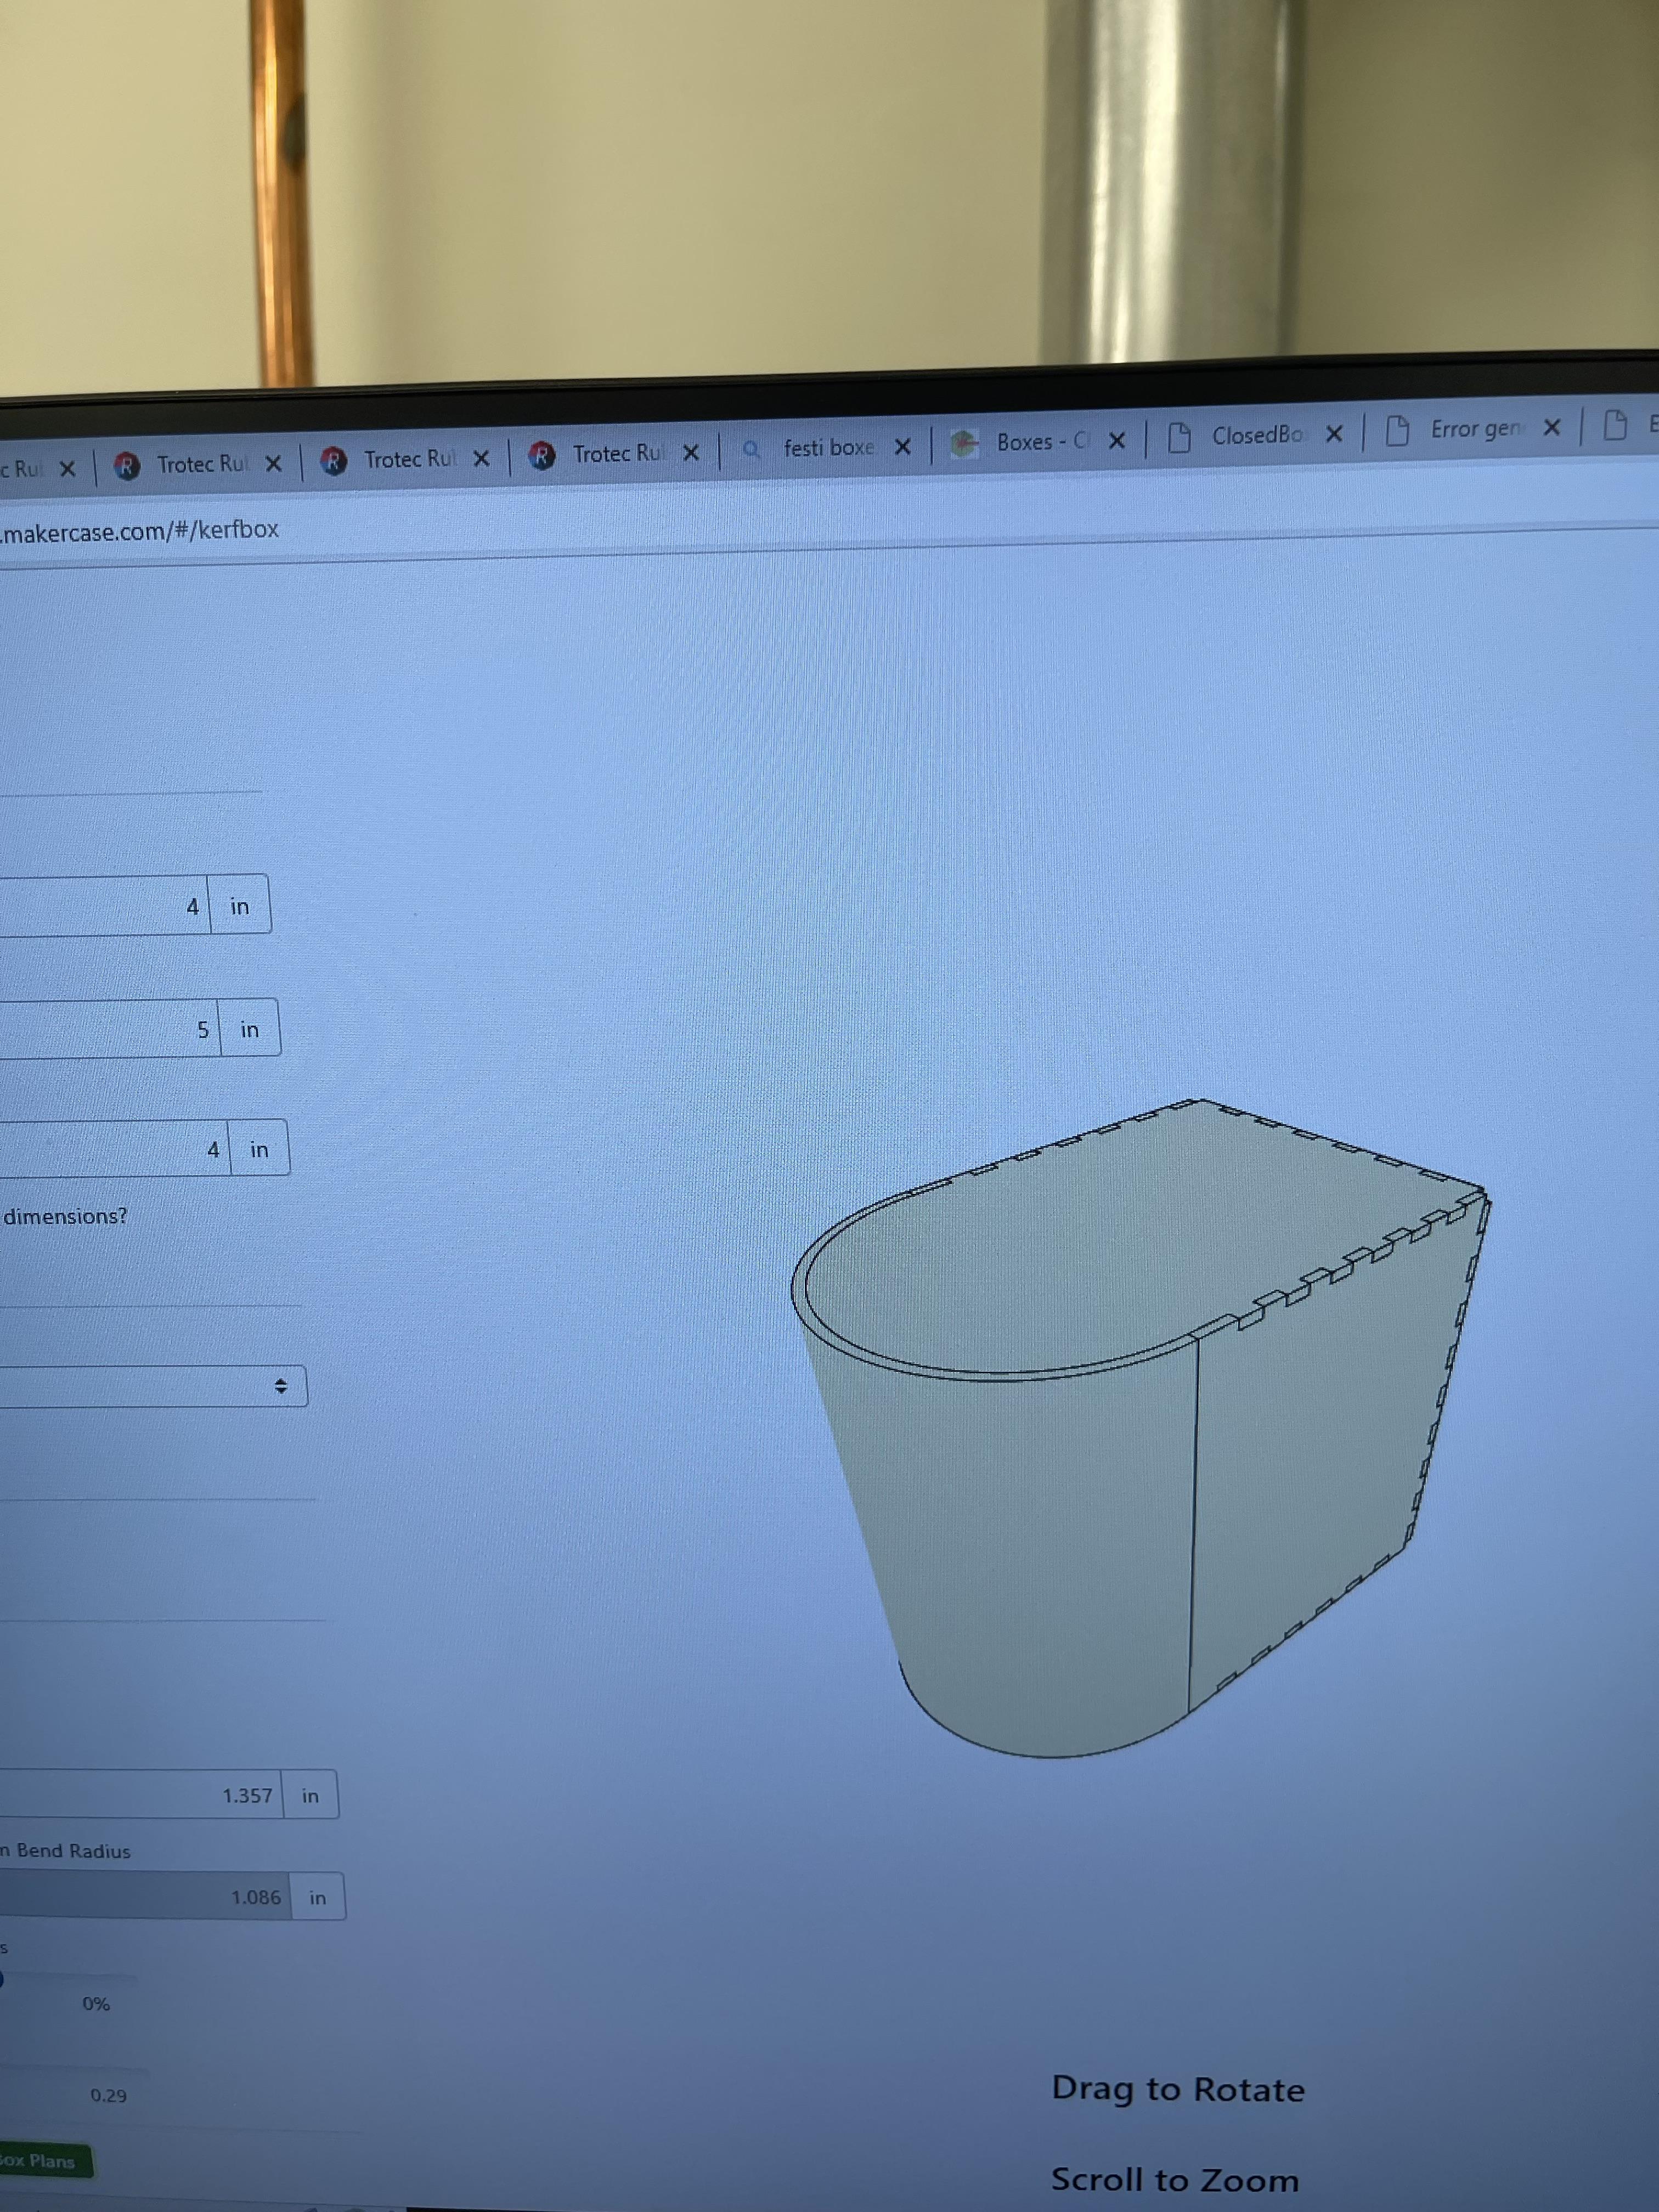
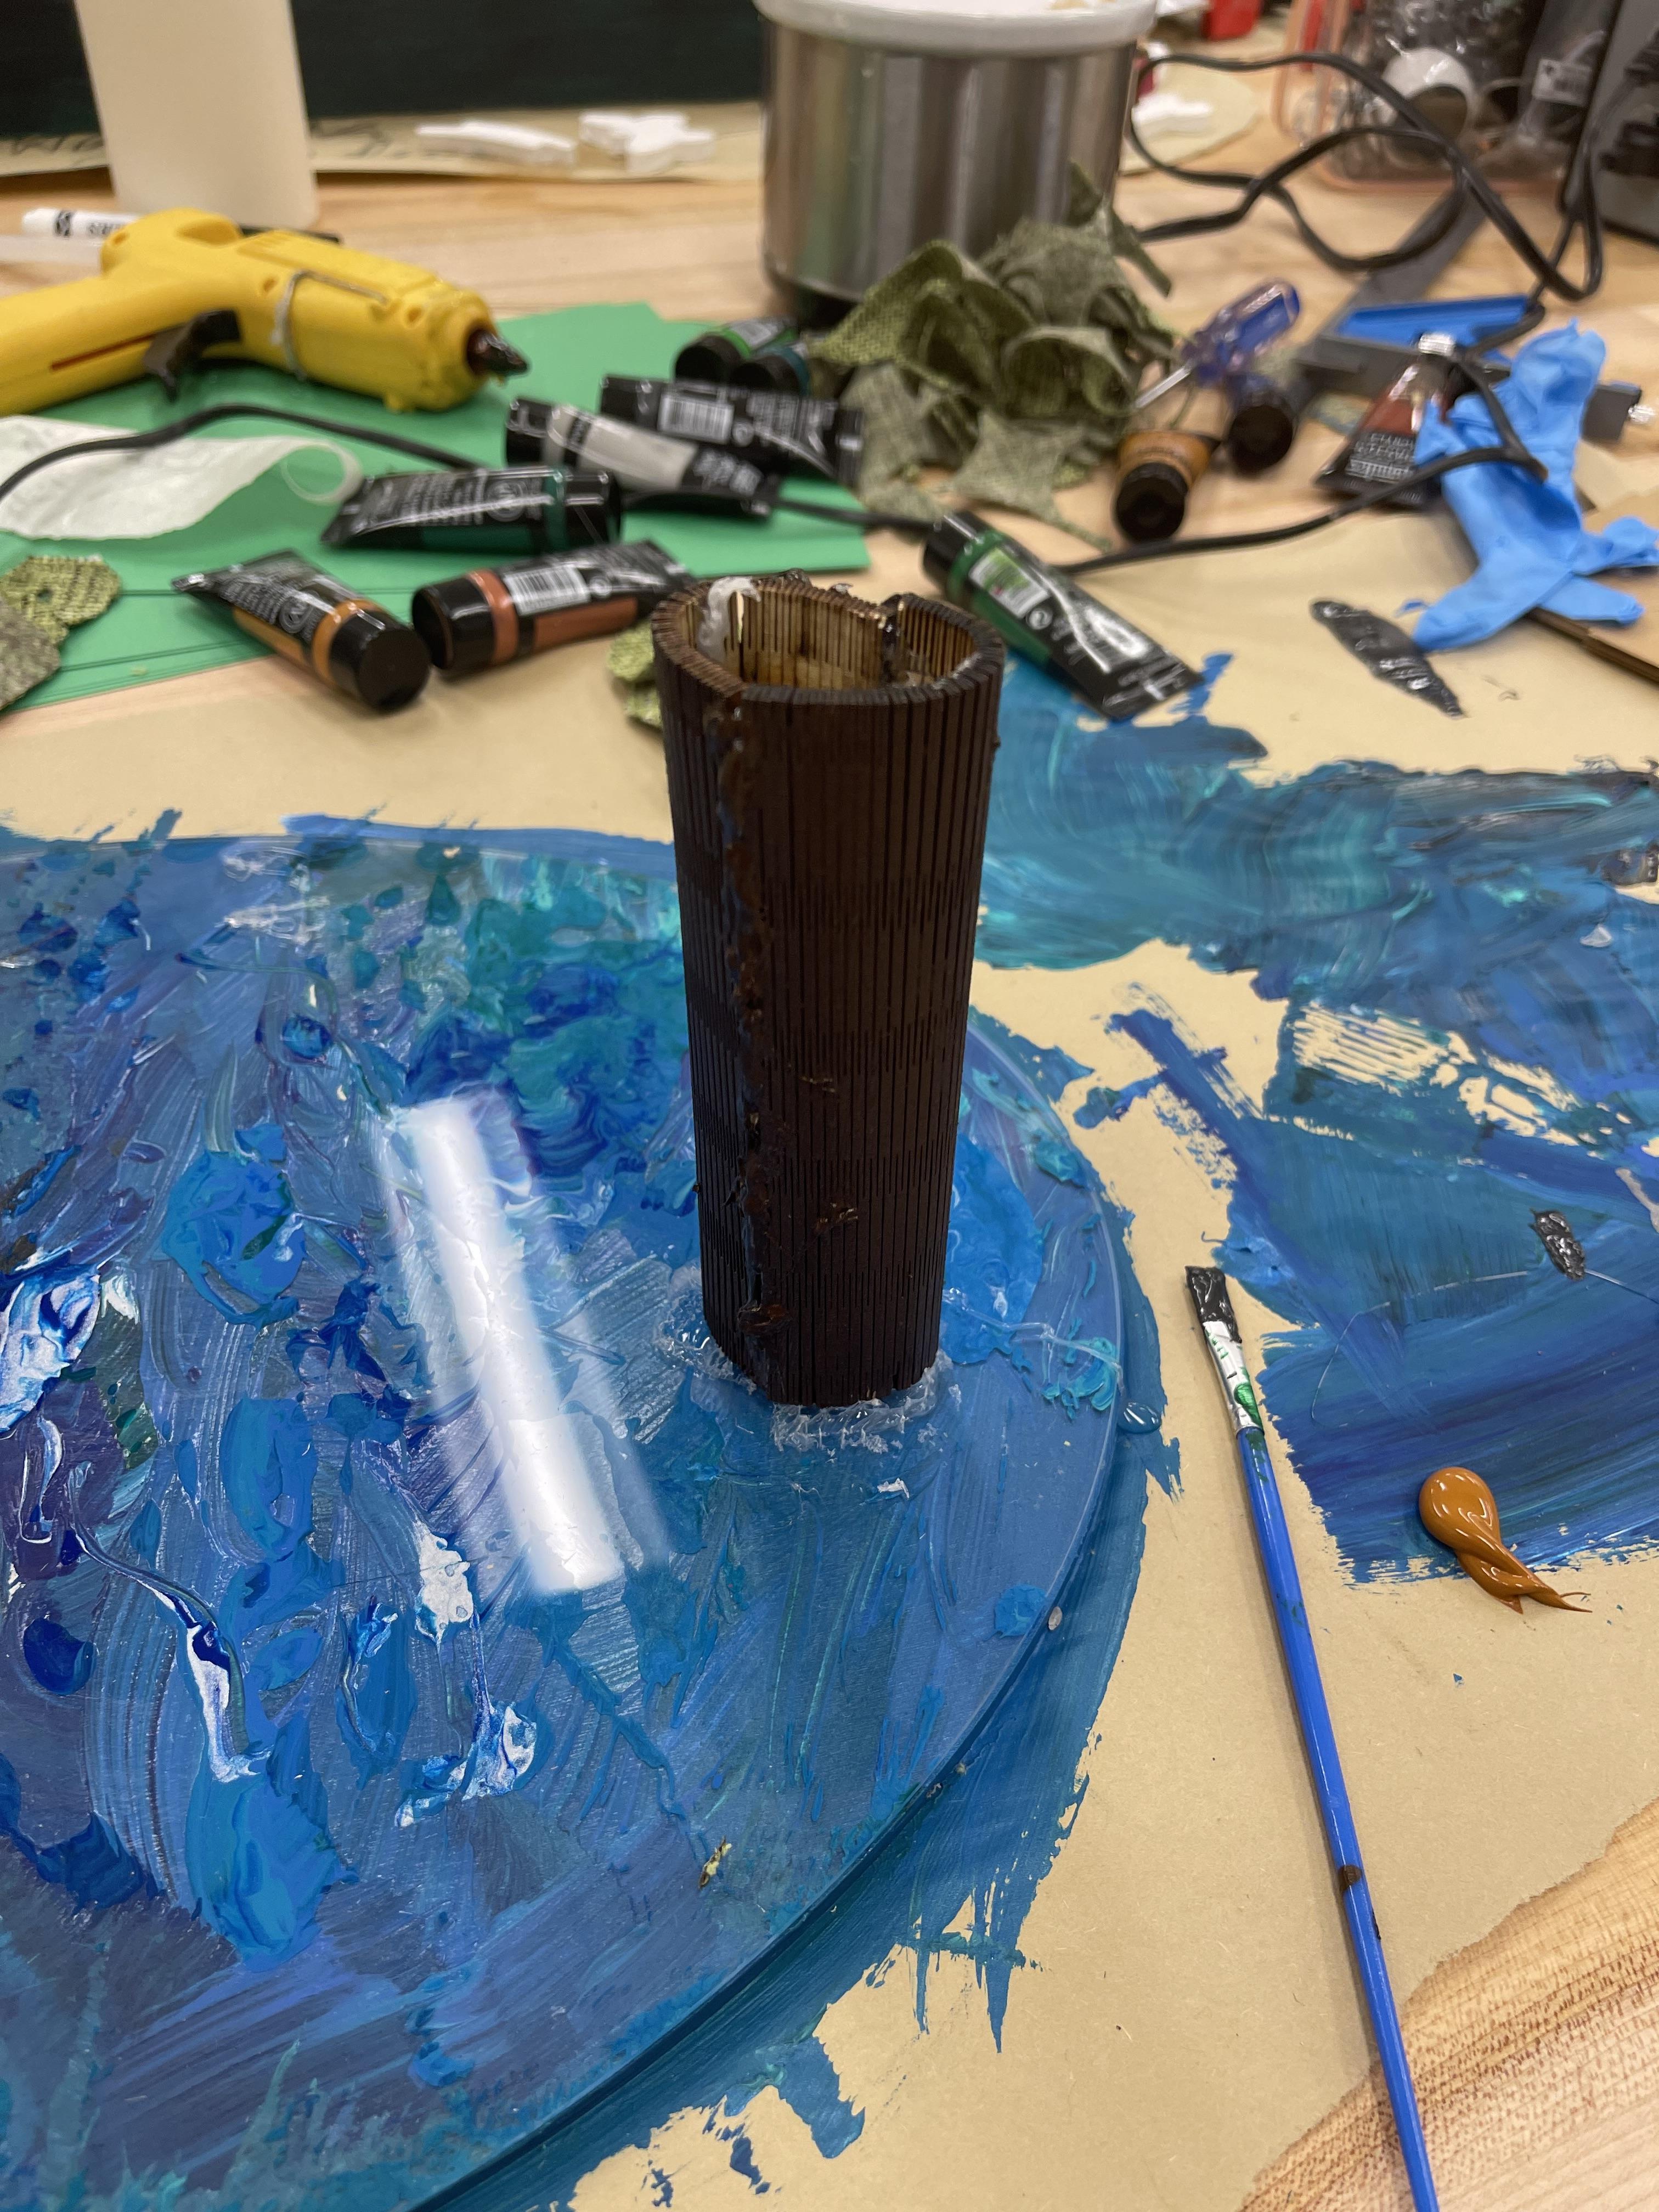
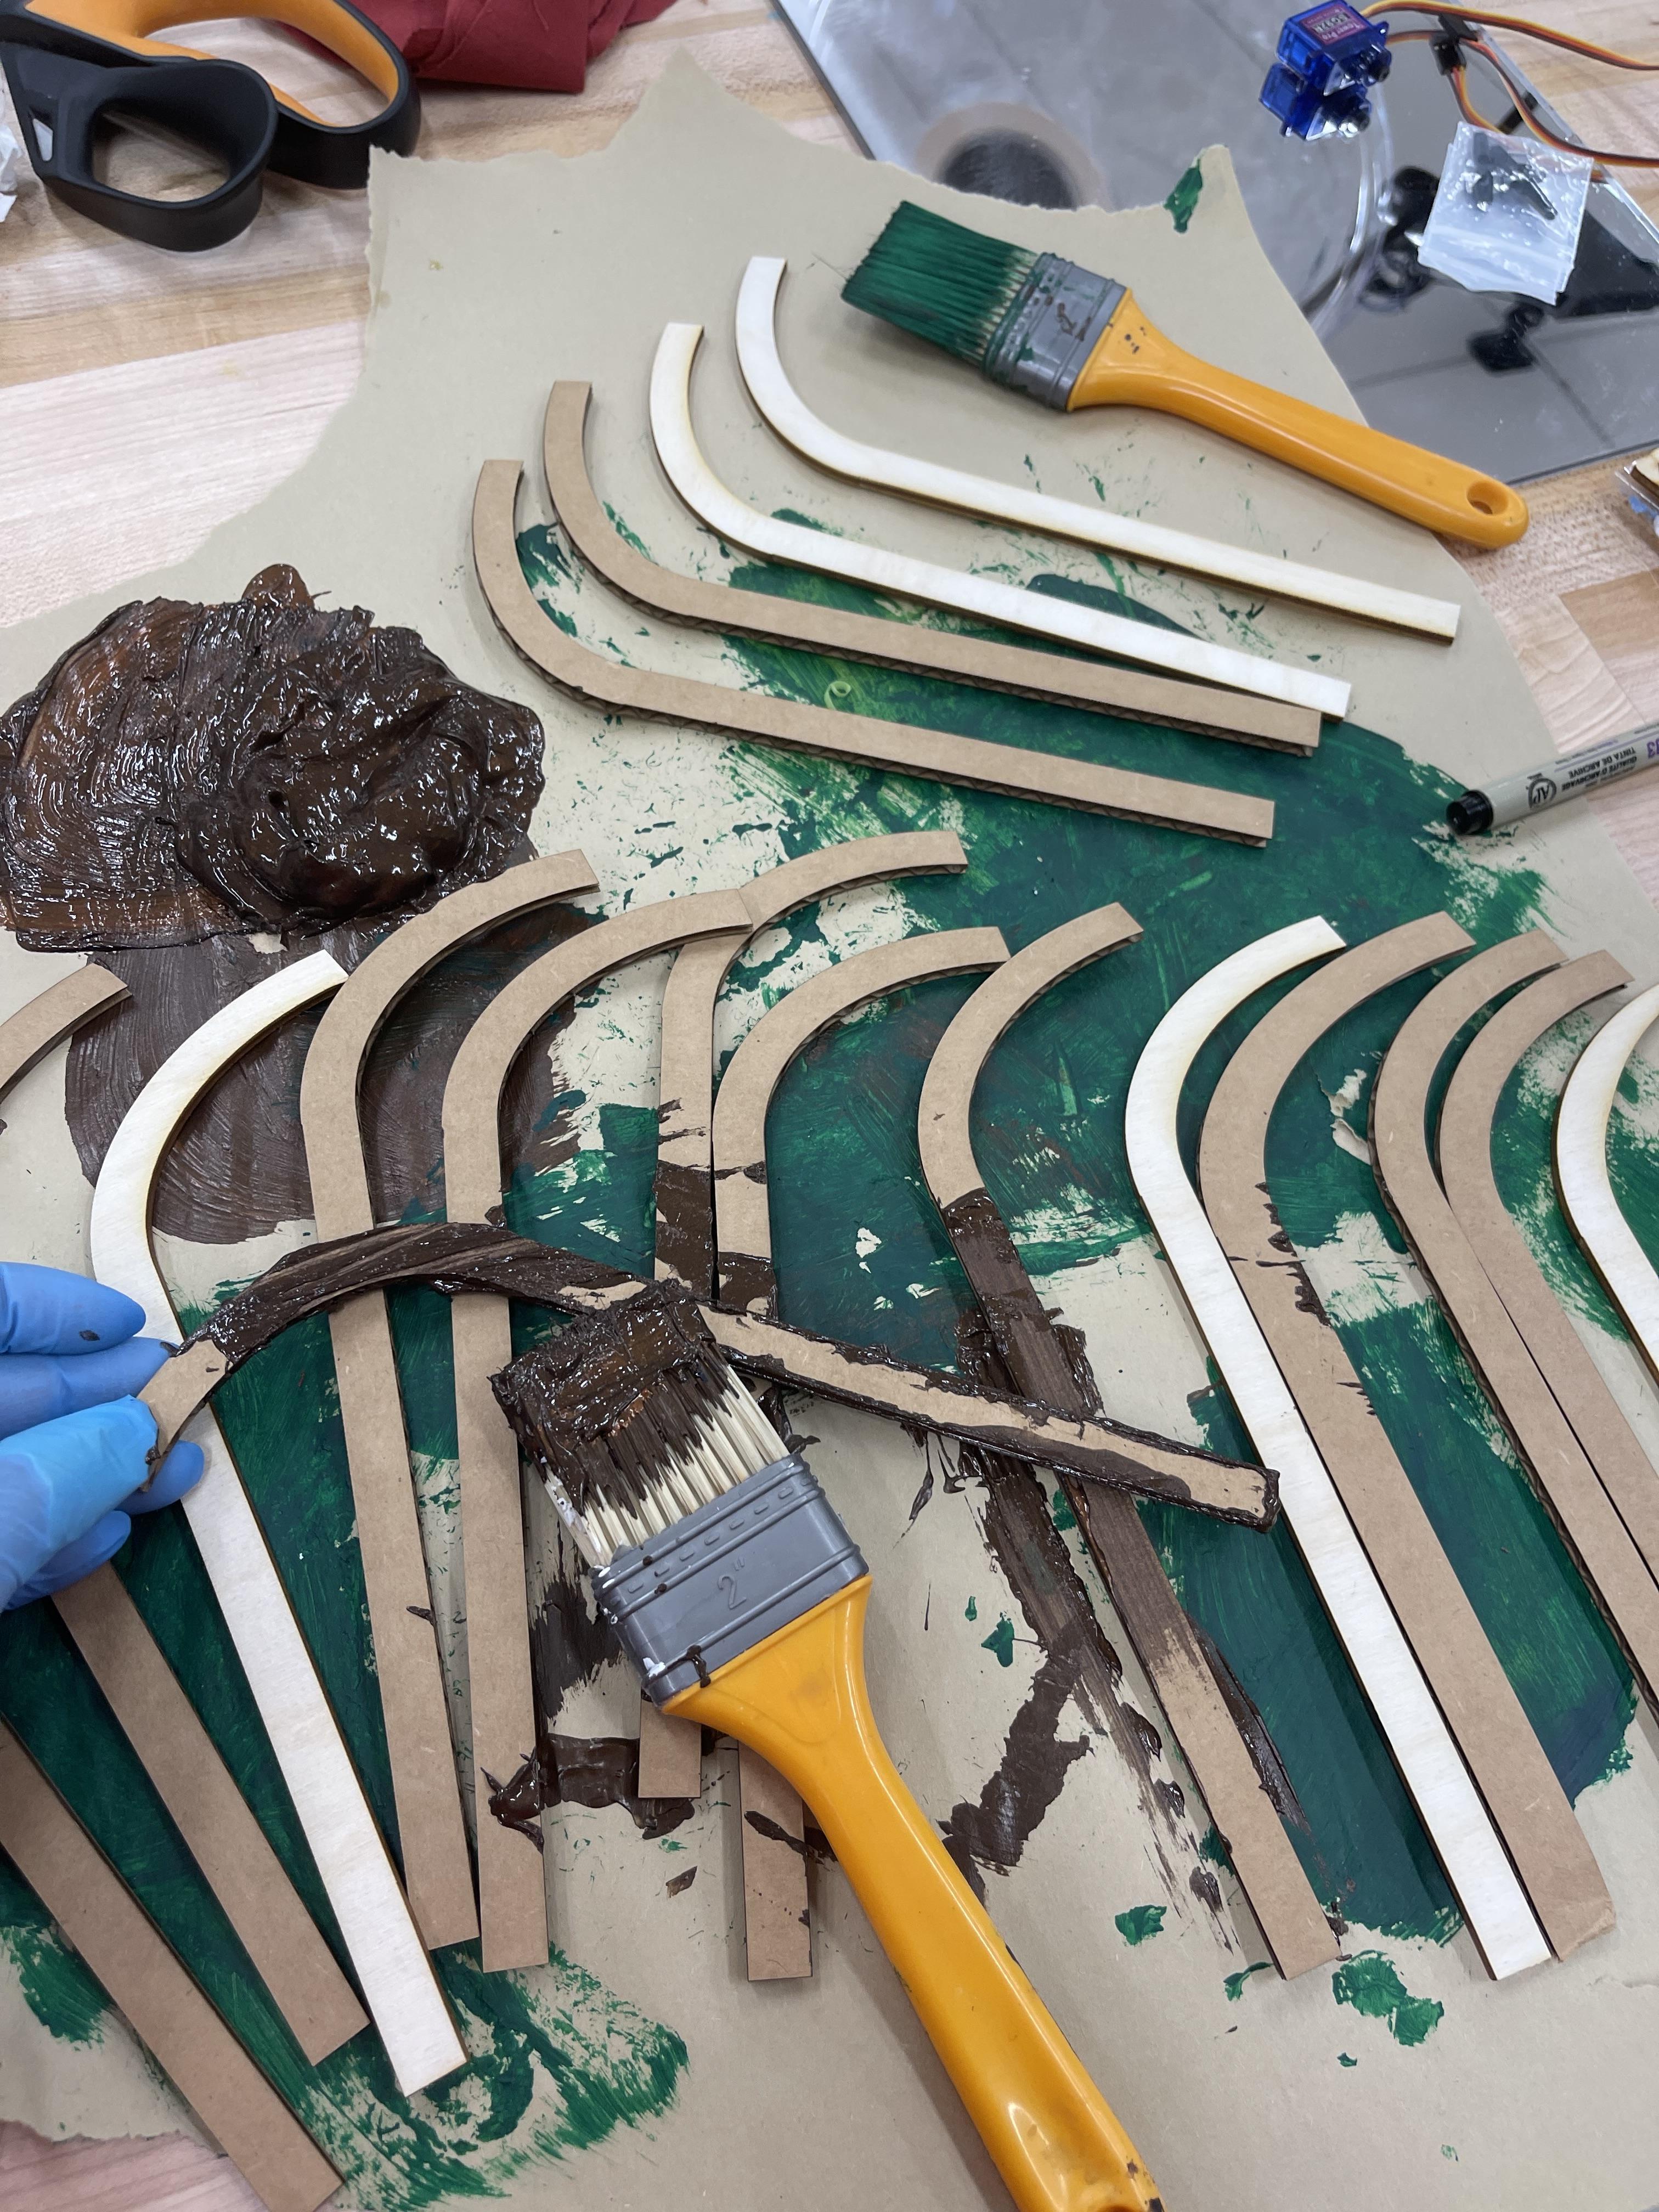
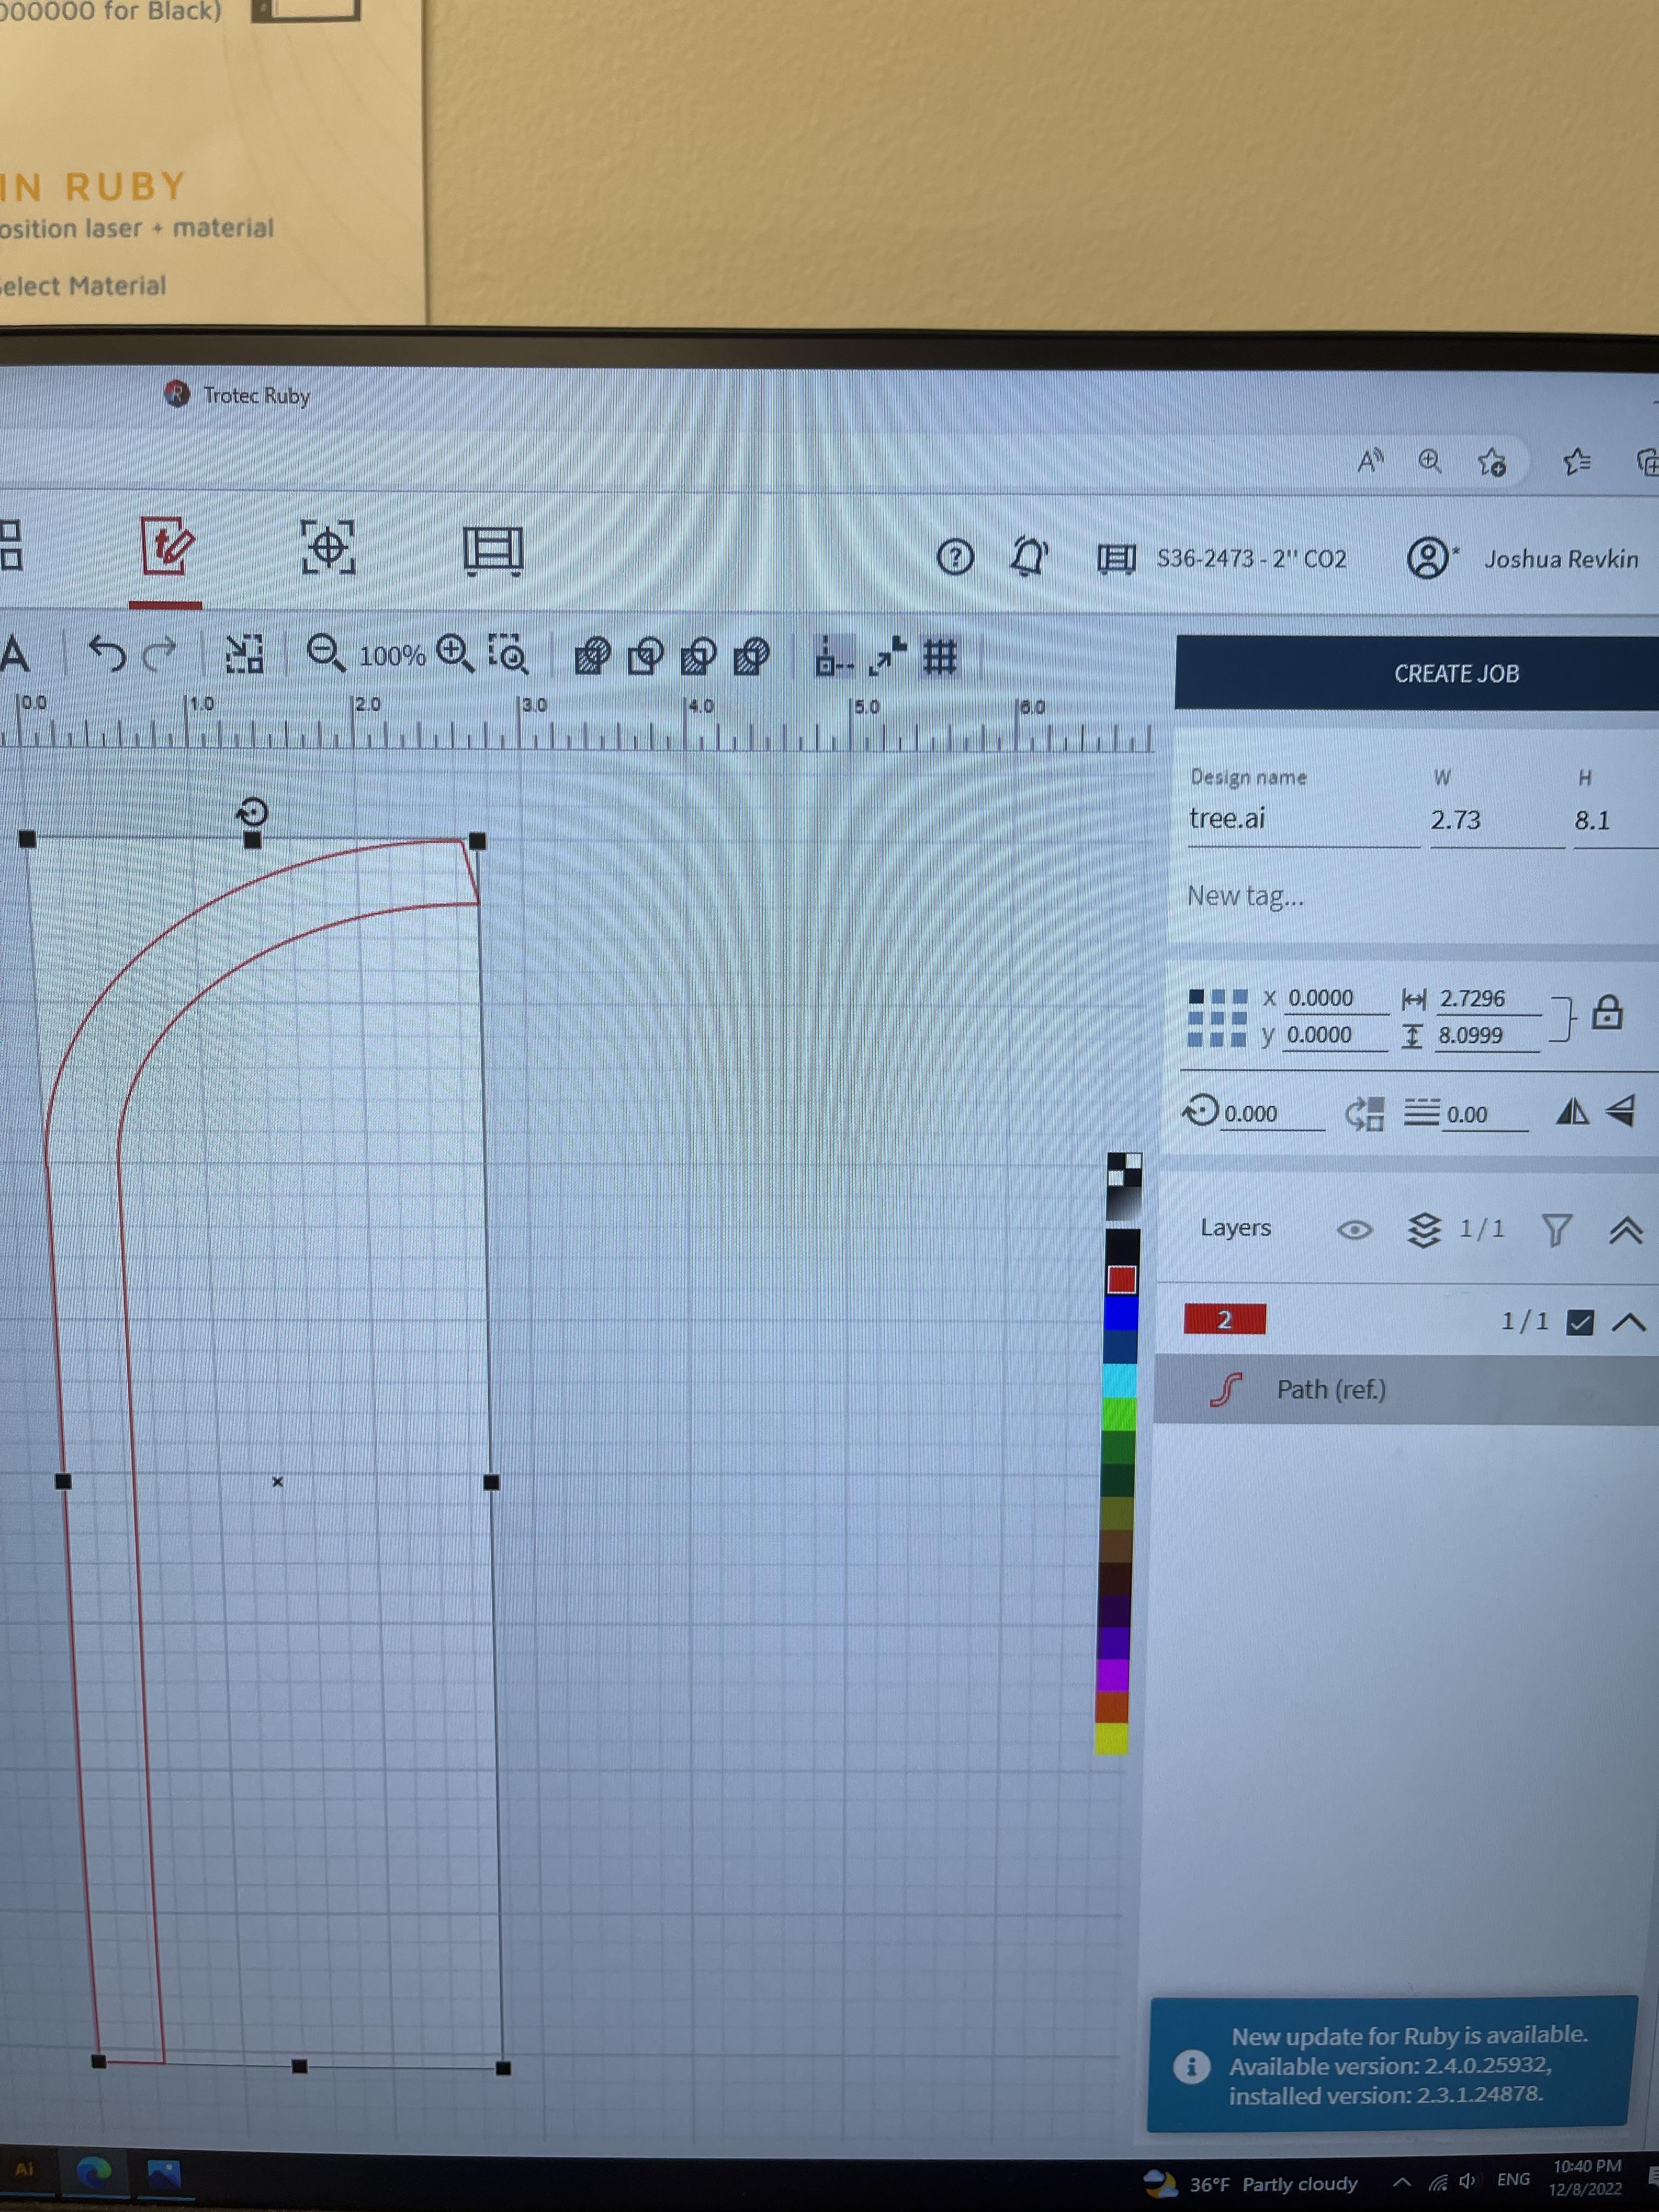
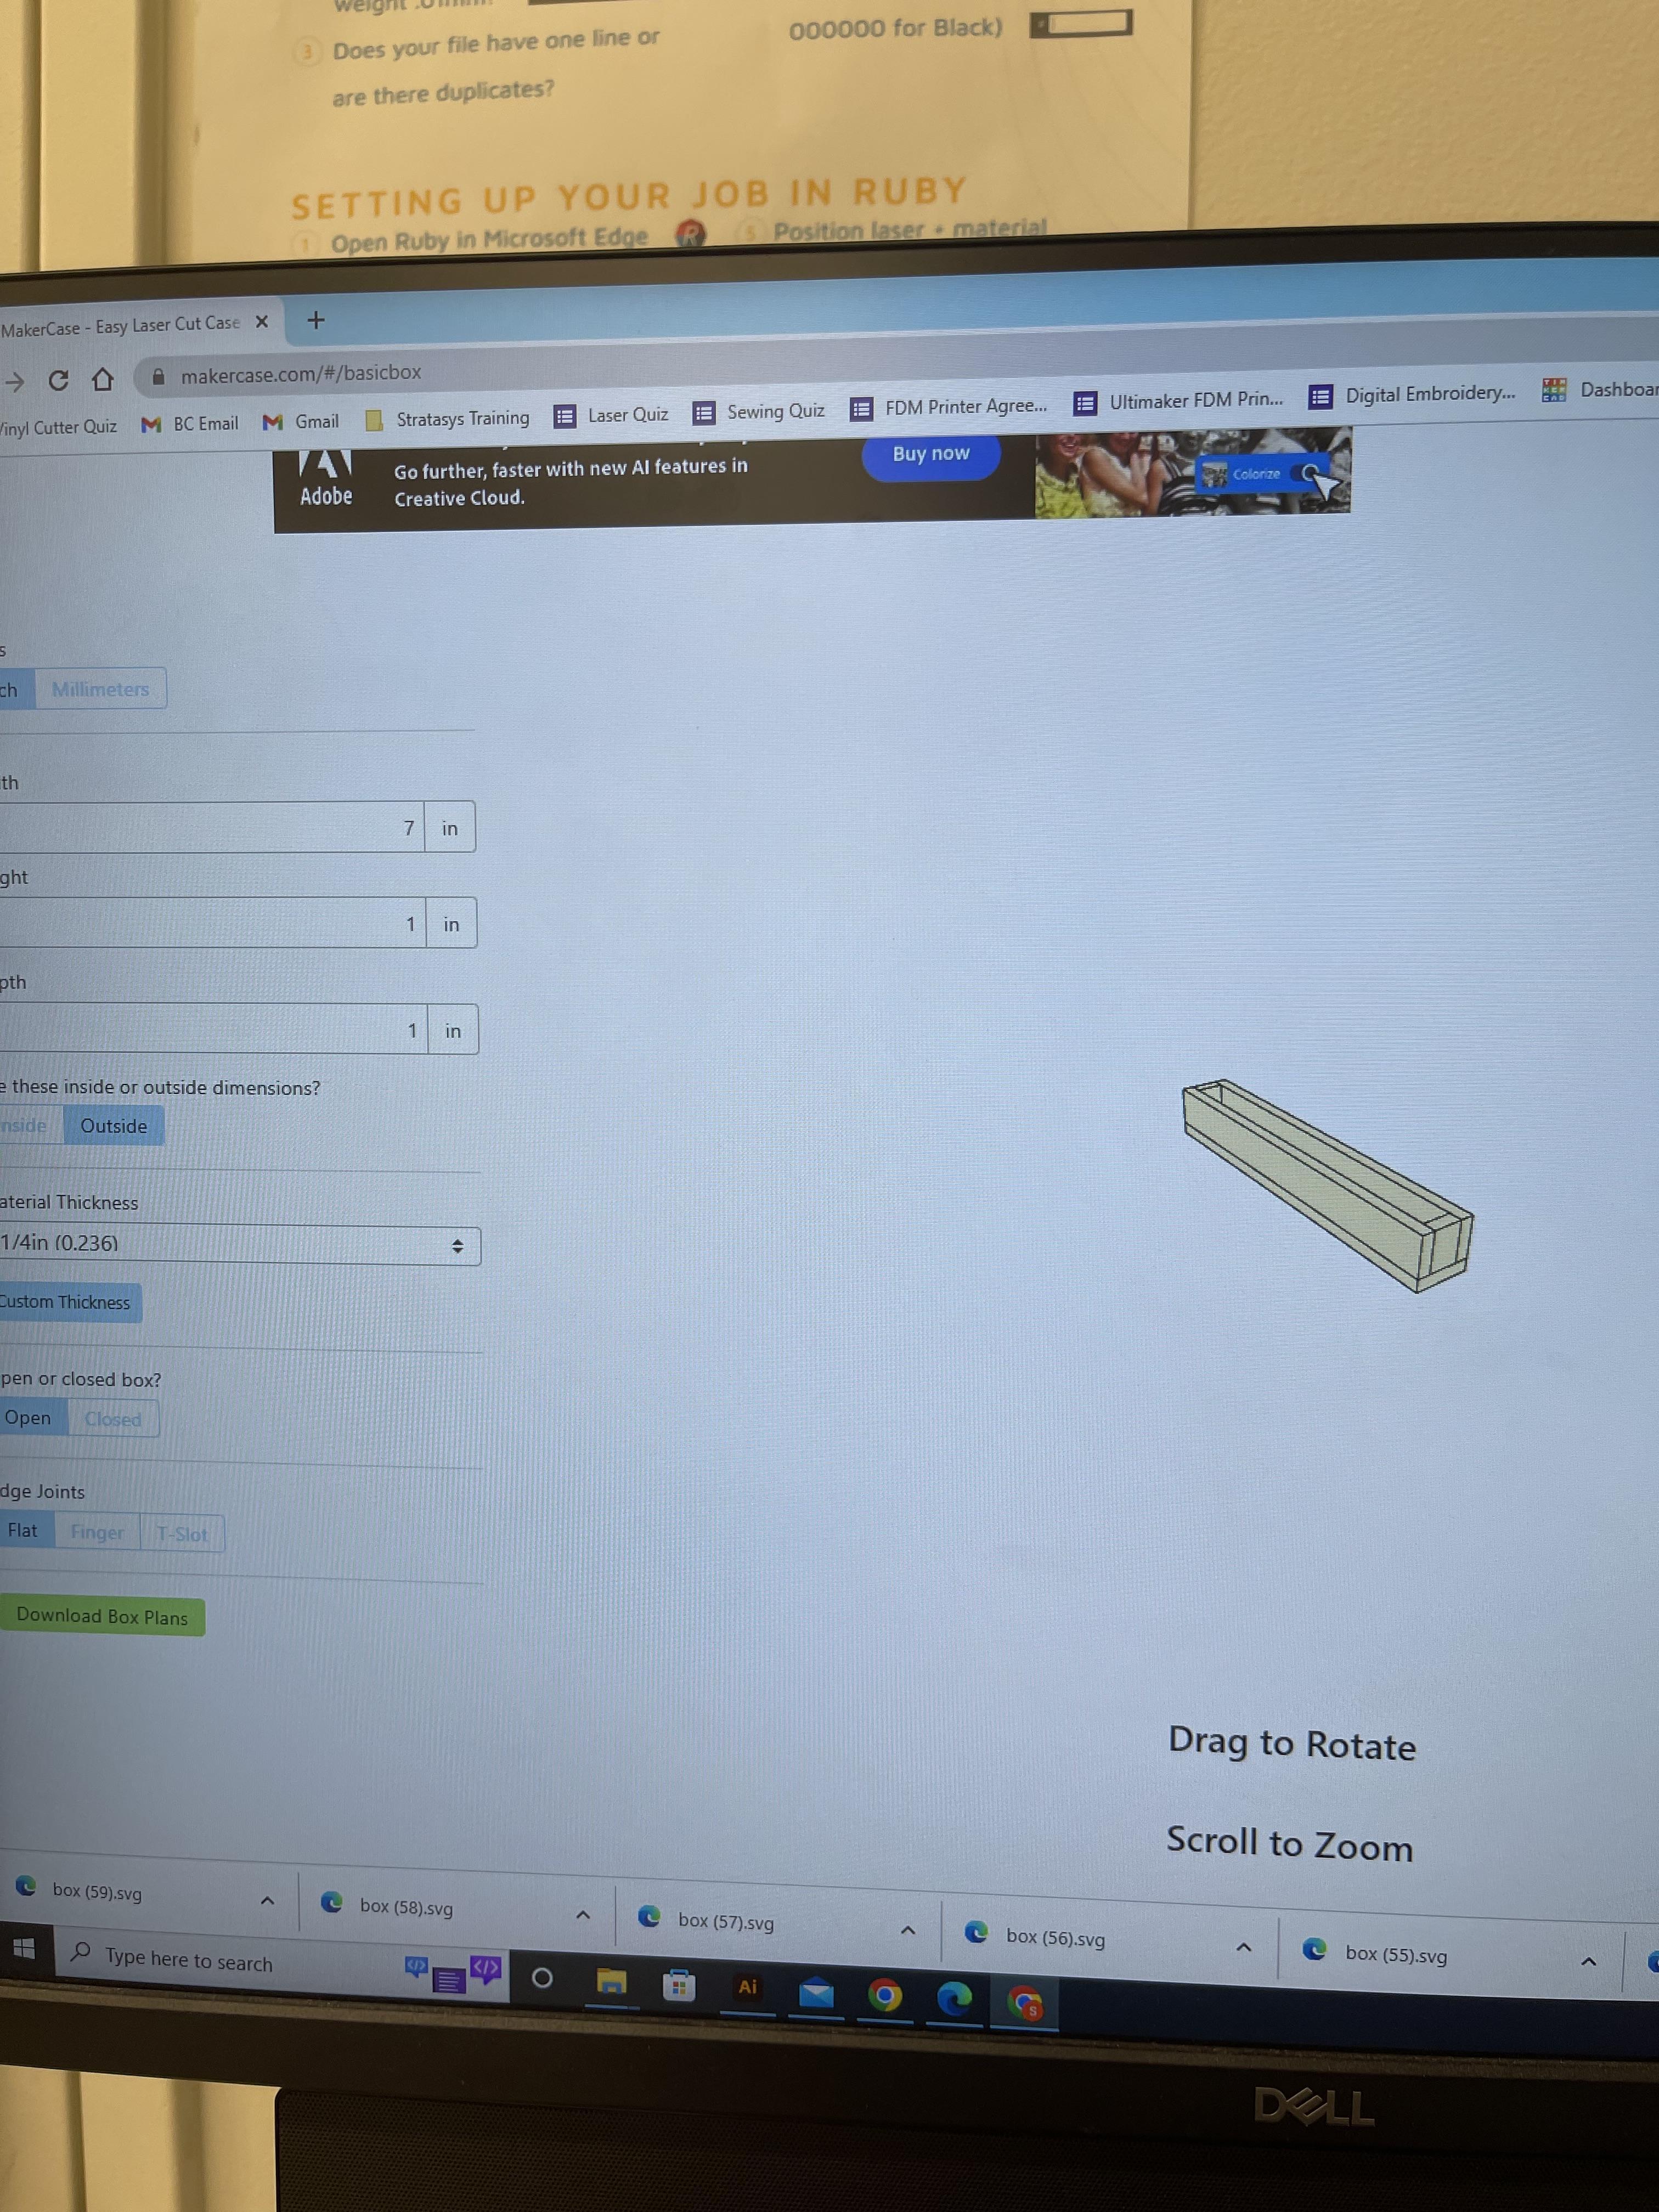
Go on the makercase.com and chose kerf bent box. The curve in this box type will allow for the door to be opened.
Scroll down to the number of bends and change it from the custom 4 to 1.
Change the Width to 4 in
Height to 4 in
Depth to 4 in
Delete all other shapes except the kerf.
Delete the background of the kerf.
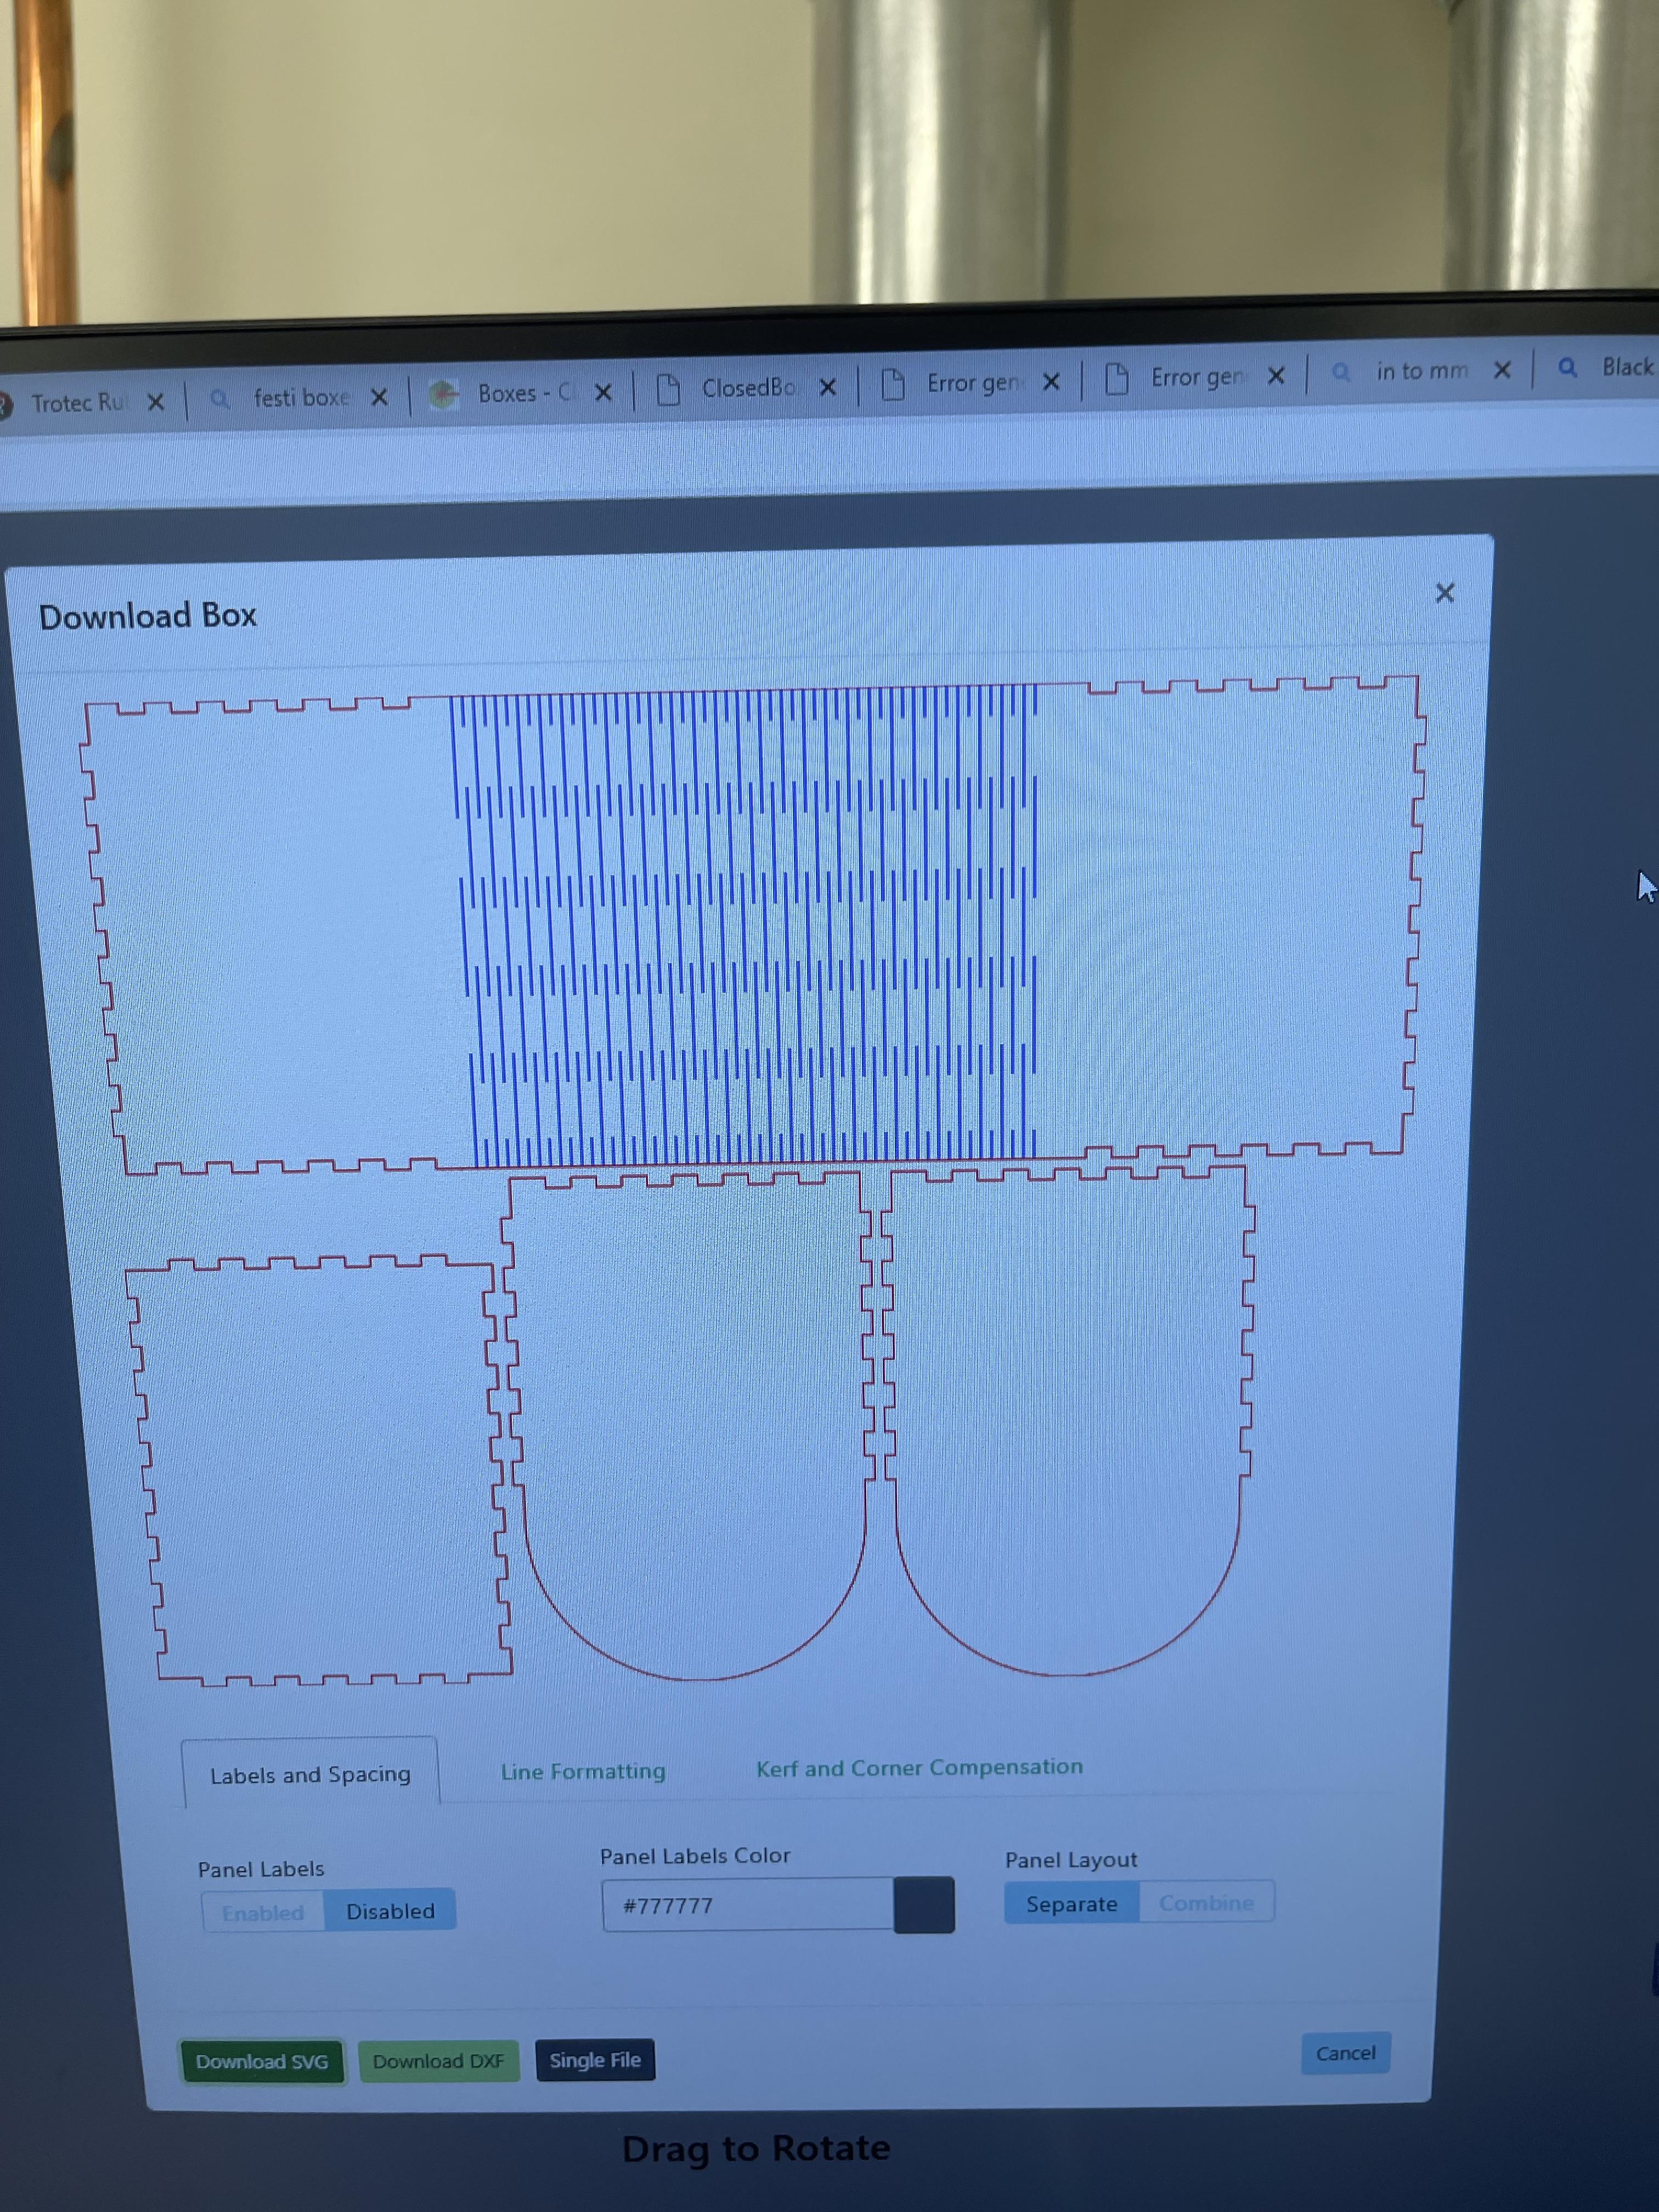
Click download box plans
Diable Panel labels
Download SVG
Secondly, open saved SVG on Photoshop. Select all and double click the color box on the left. Change the color to ff0000.
I added 4 straight lines around the "kerfed" section of the box, so it cuts out.
Change the stroke to 0.01mm.
Download the PSD file
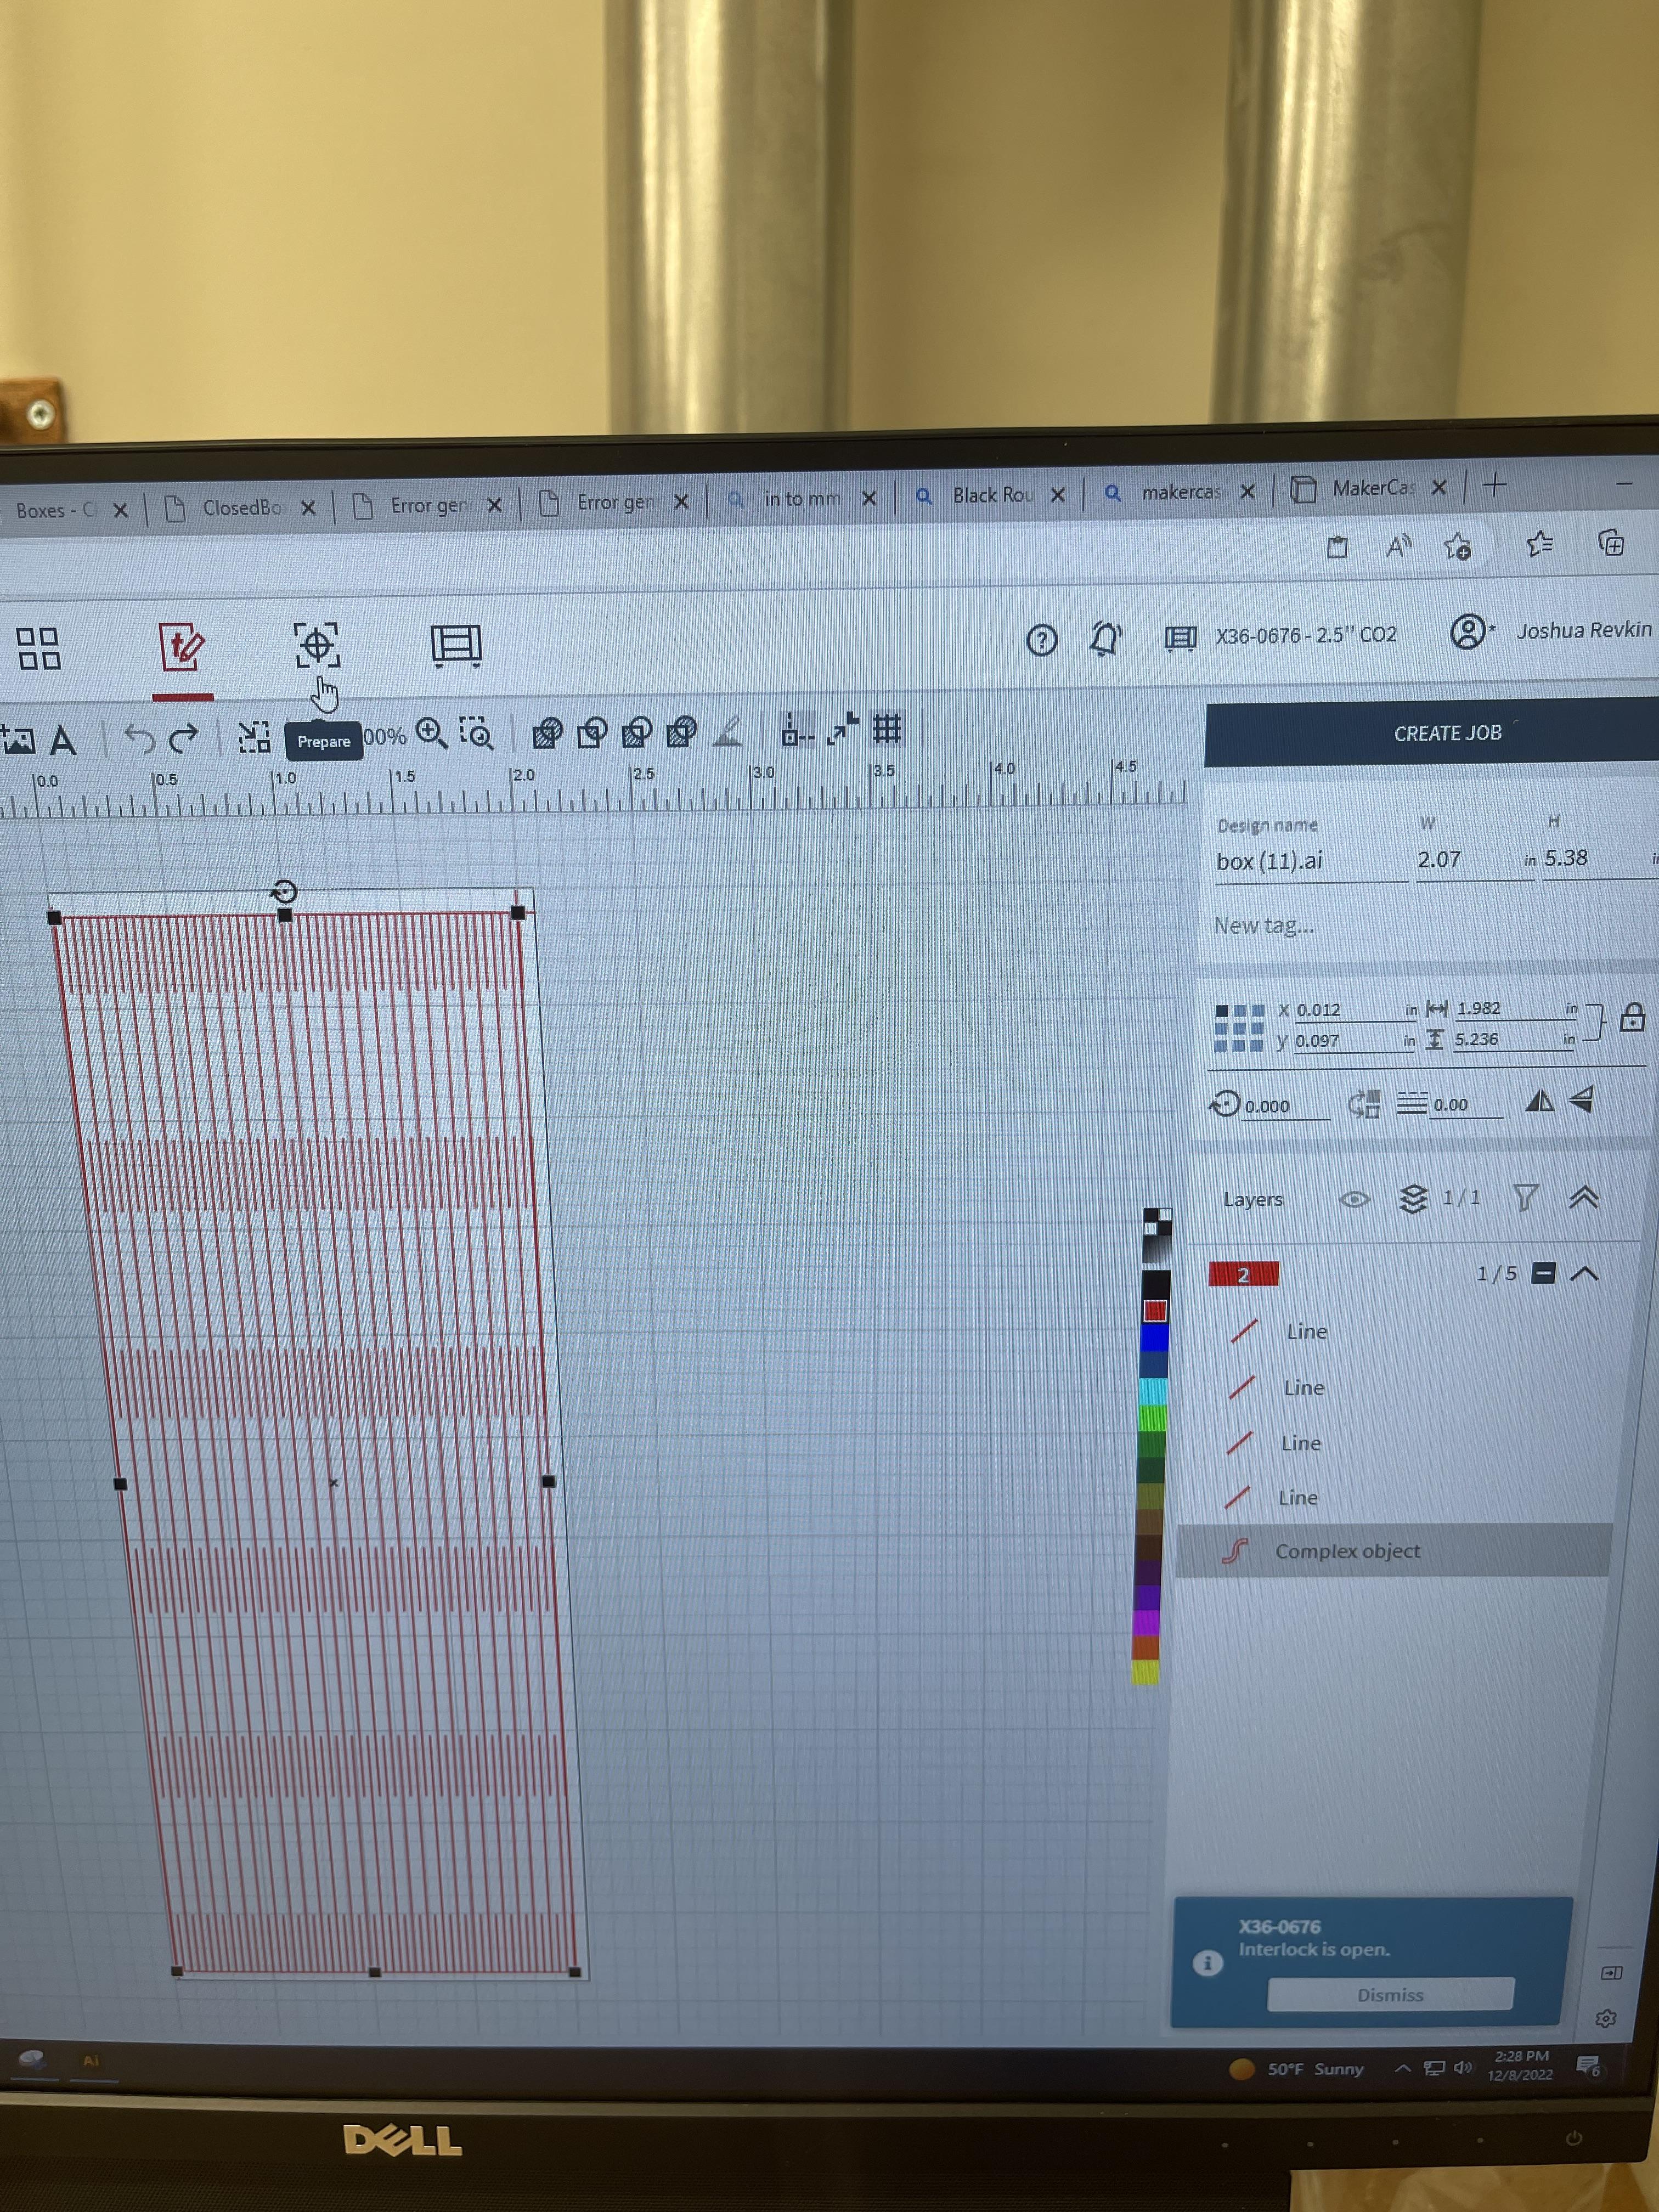
Thirdly, Open Trotec for laser printer
Double check all outlines are in True Red.
Shrink the kurf section to half, print 4.
Select the material, position and focus laser. Push to design.
Hot glue each two together.
Paint them brown.
When done, hot glue them on board.
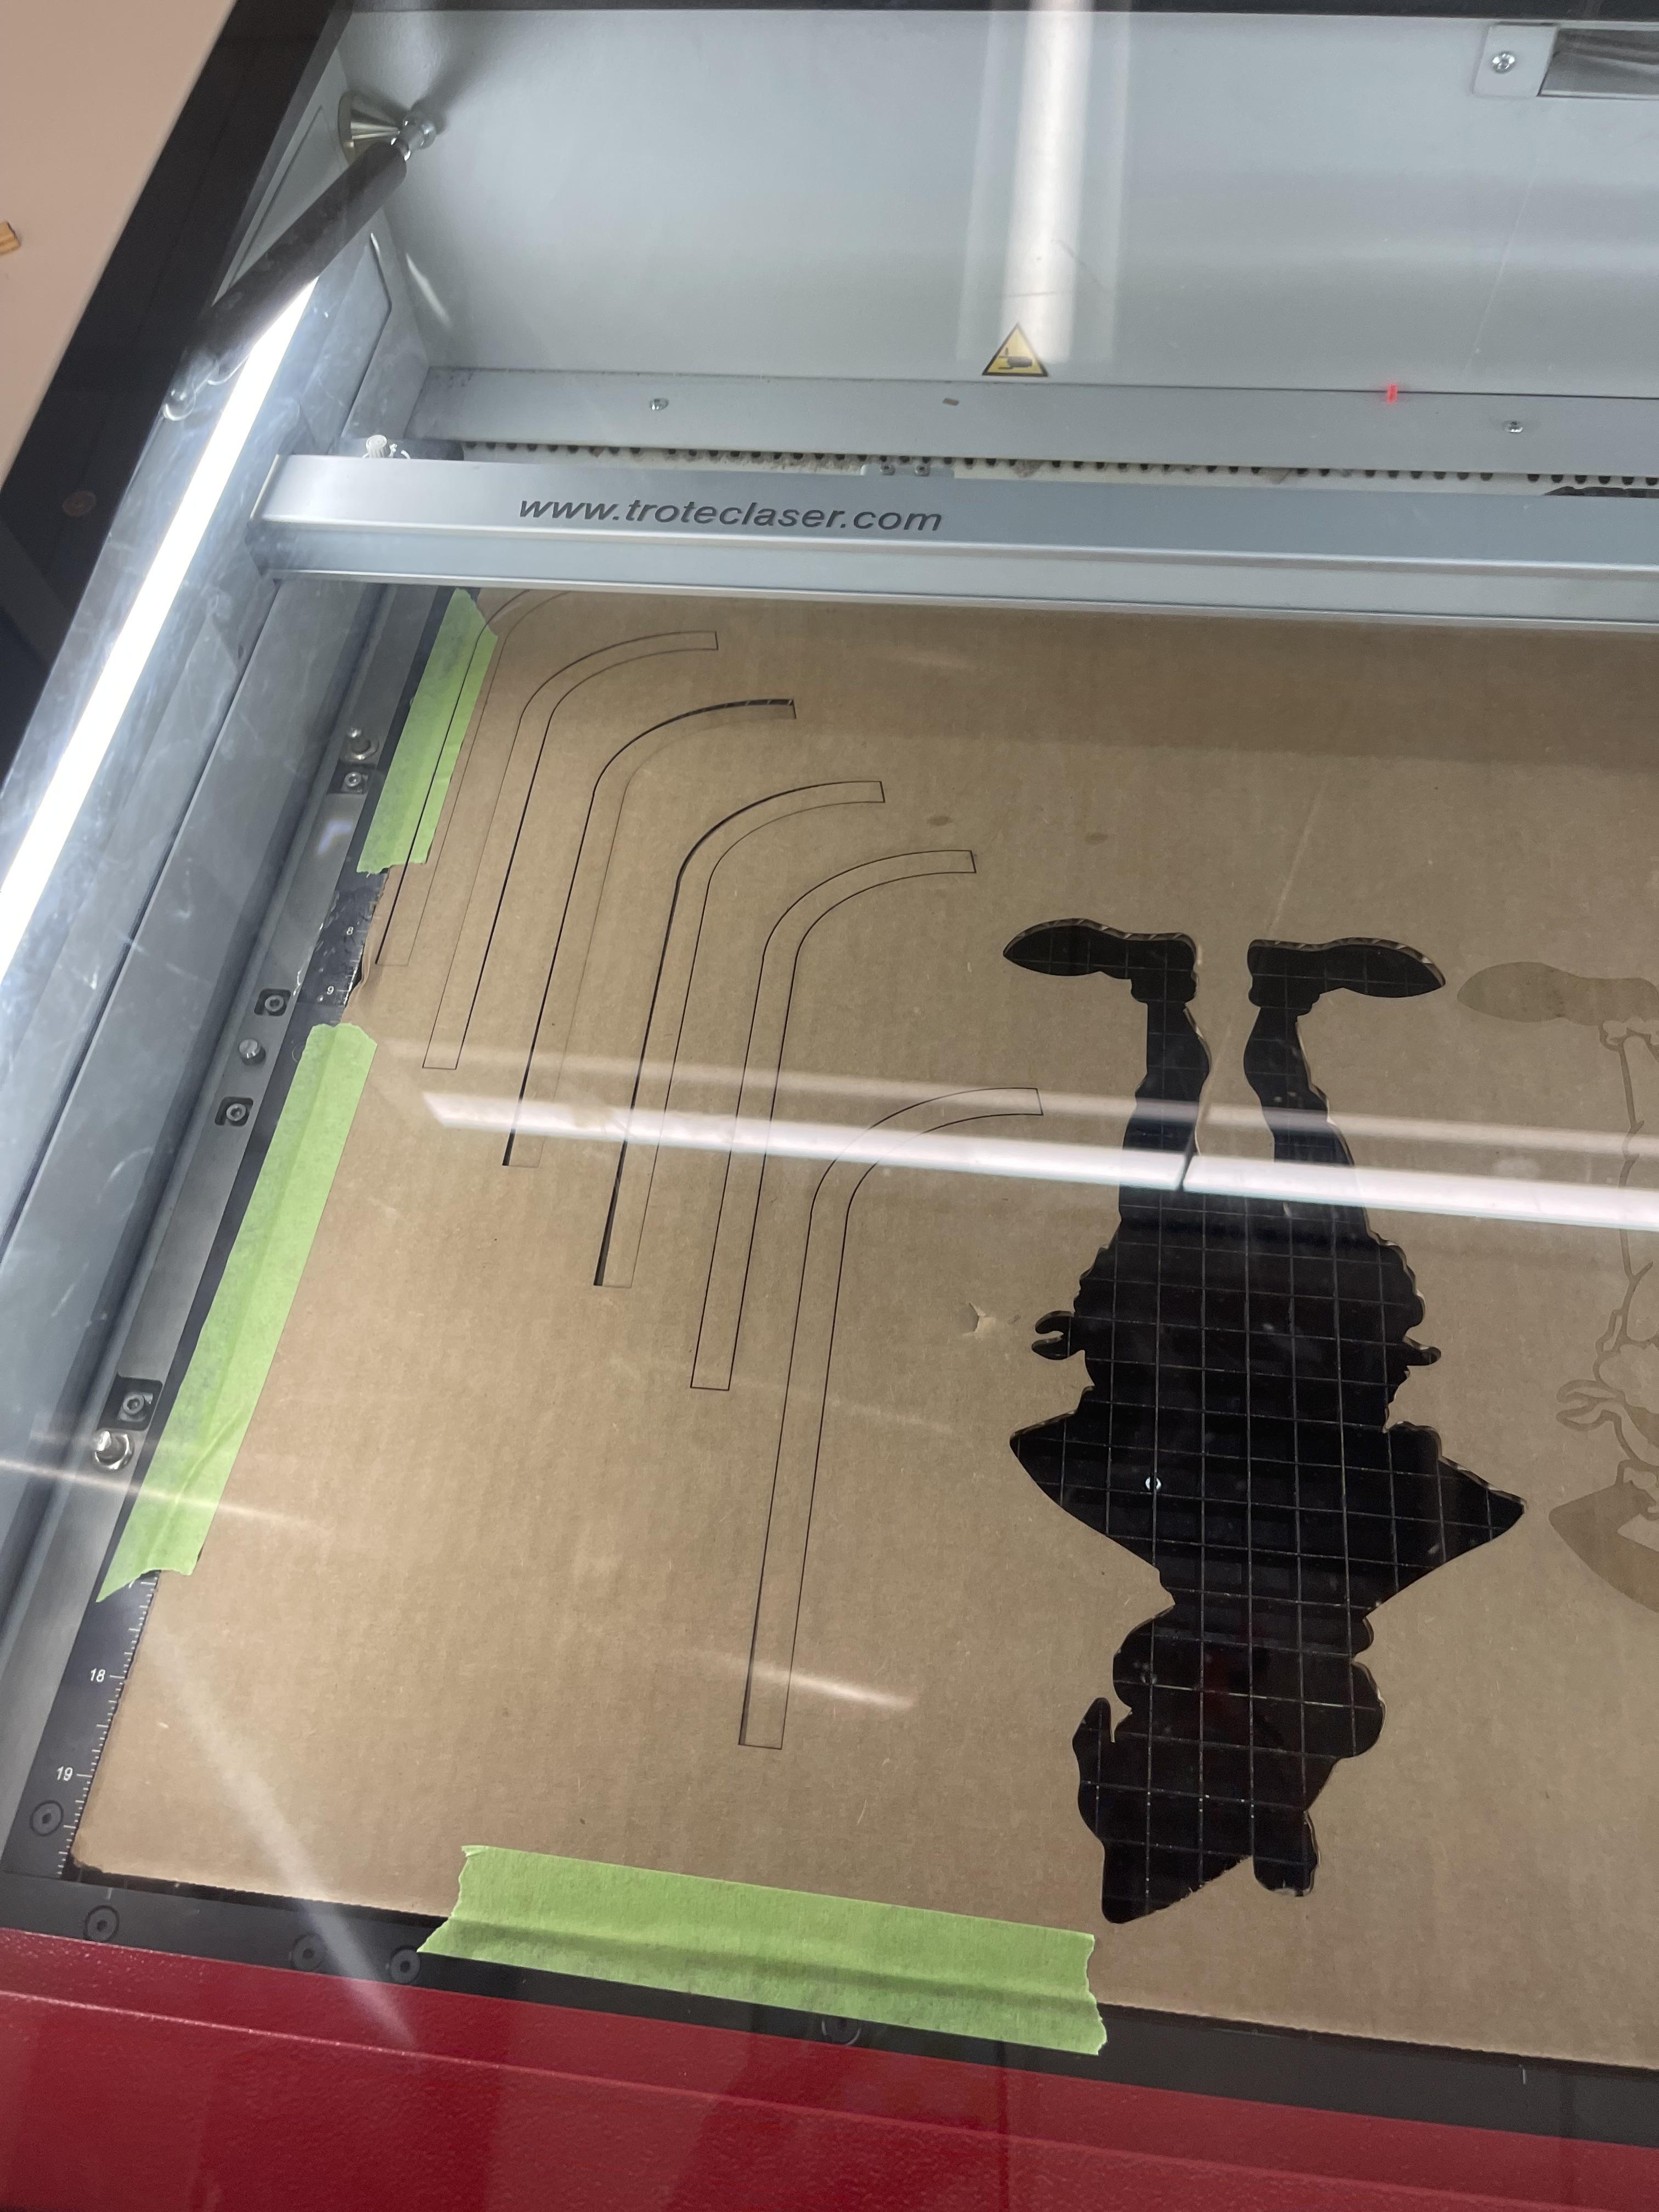
To create branches,
Create a cane-shape in photoshop using curved and straight lines.
I had mine 7 in long, 3 in wide.
Convert to Trotec, and print several. I printed 10.
Paint them brown; when dried, insert them into tree.
Cut Wire Holes
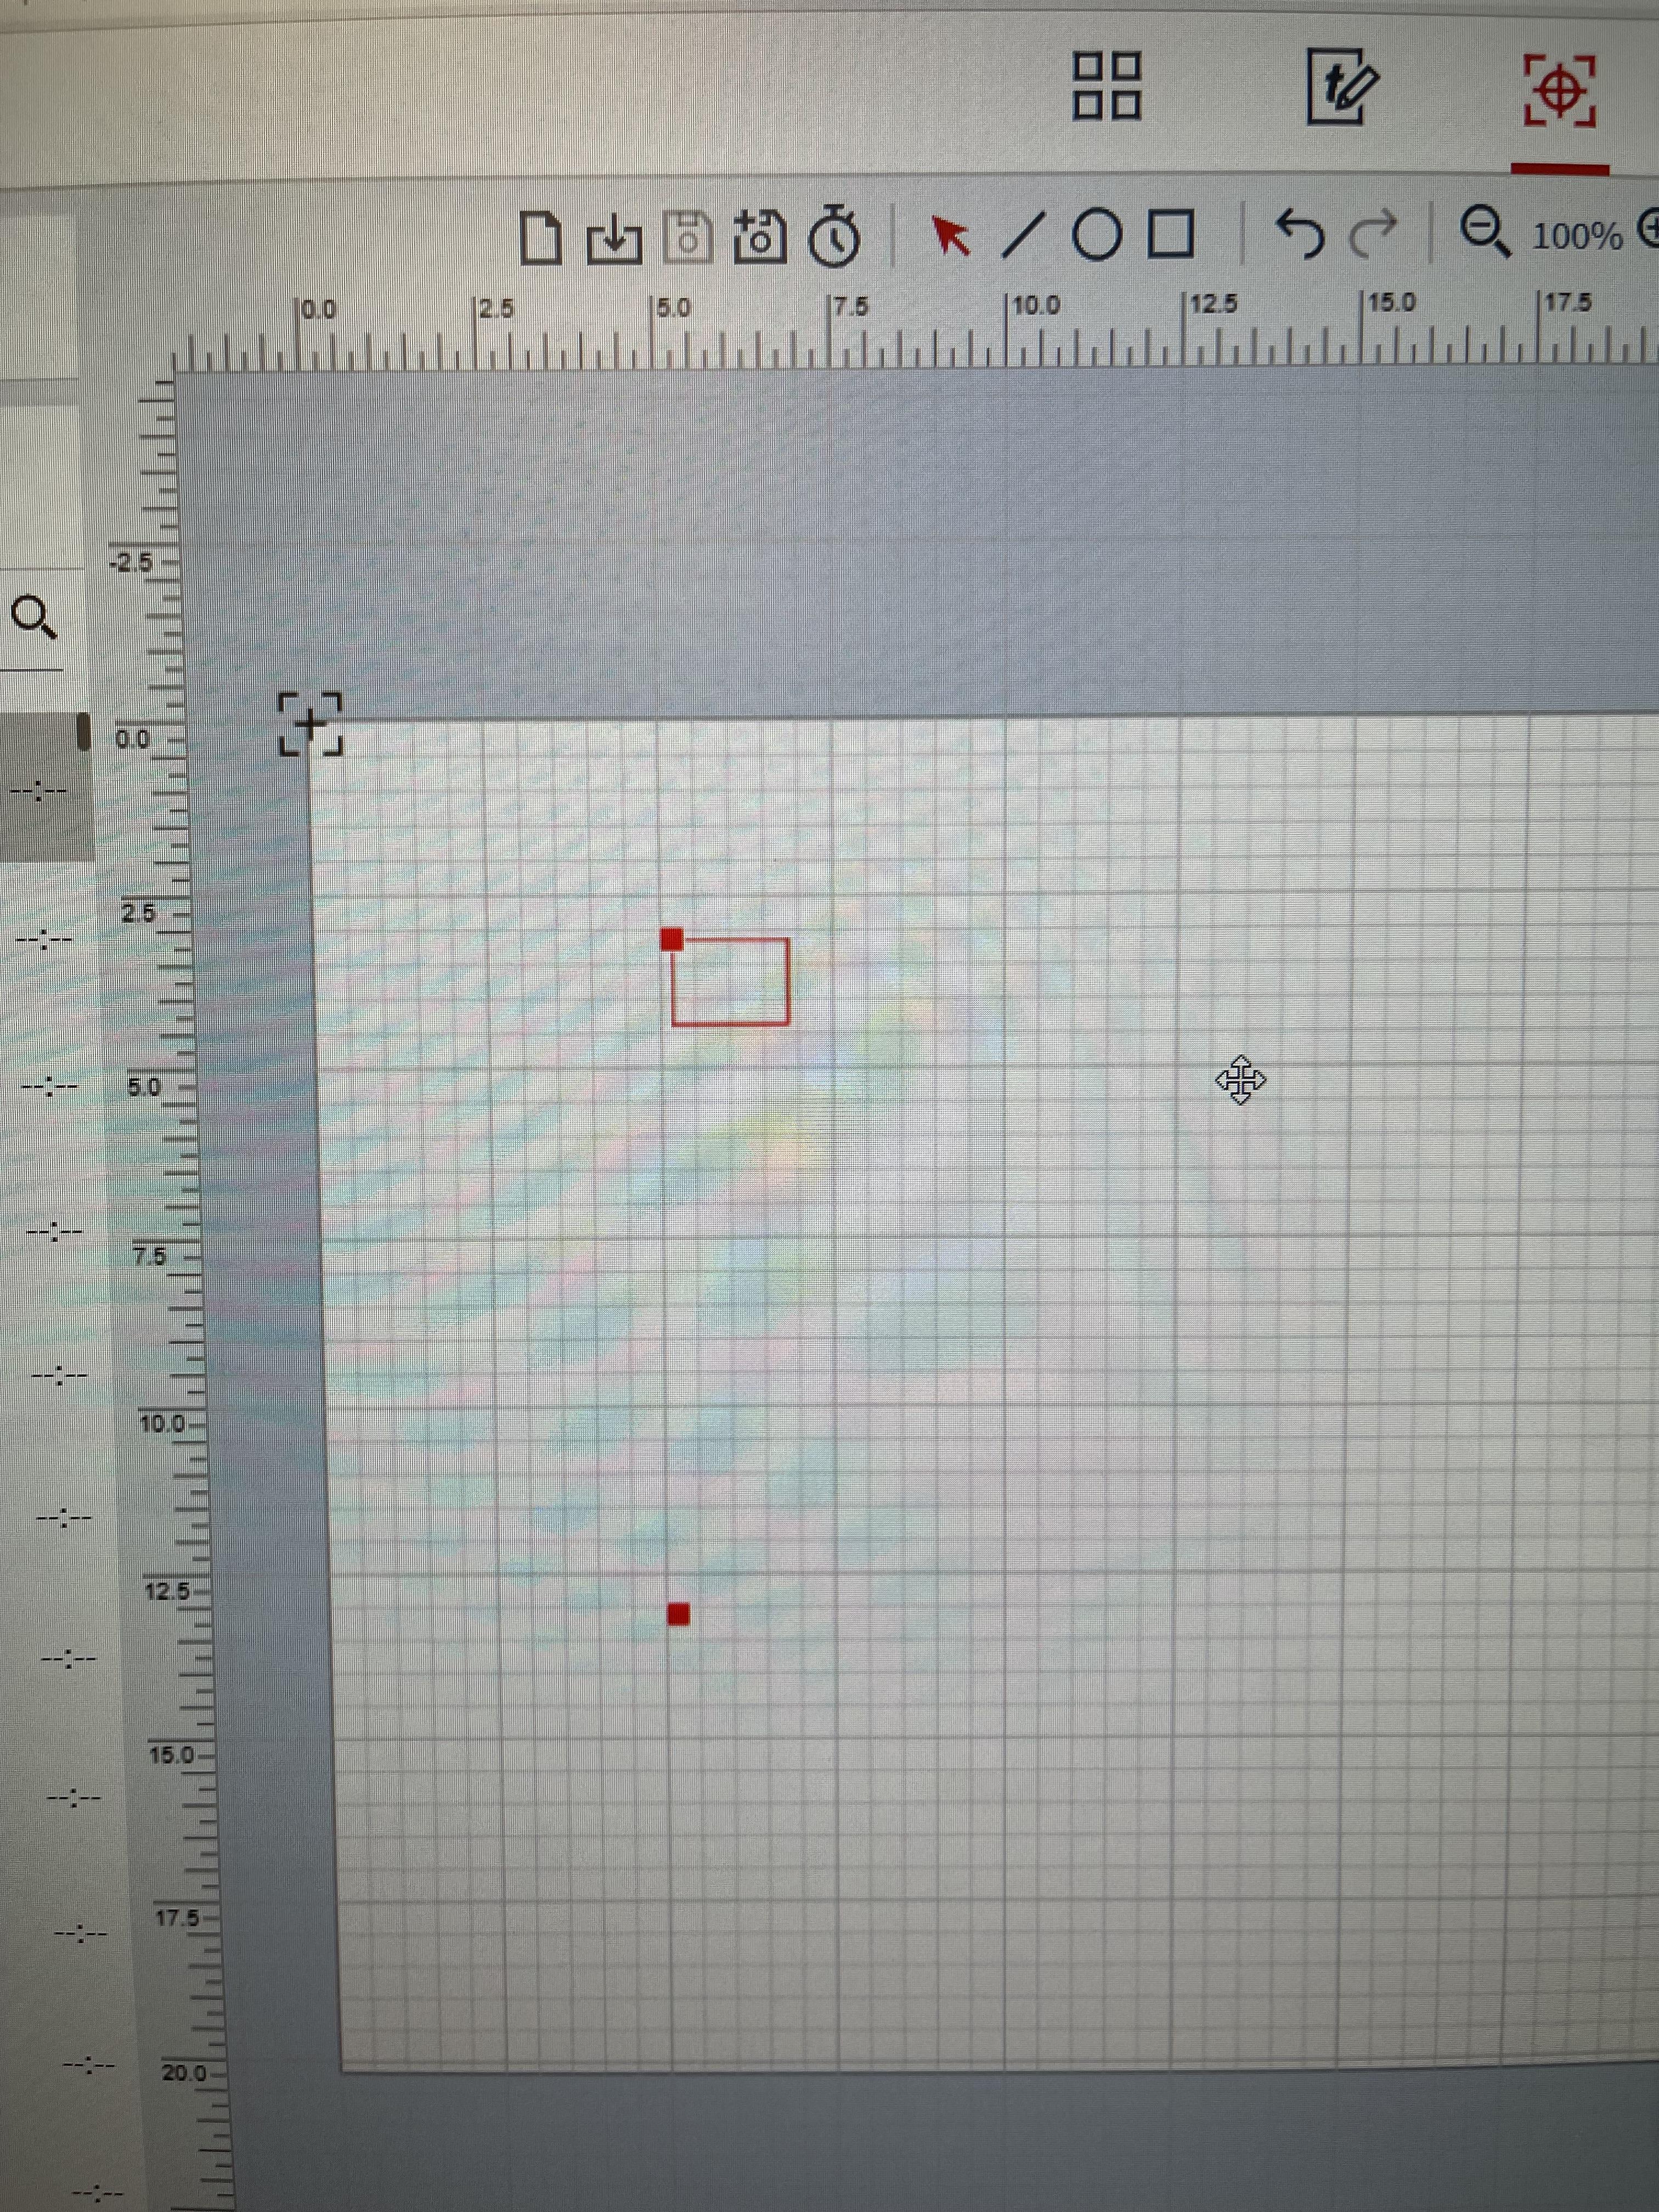
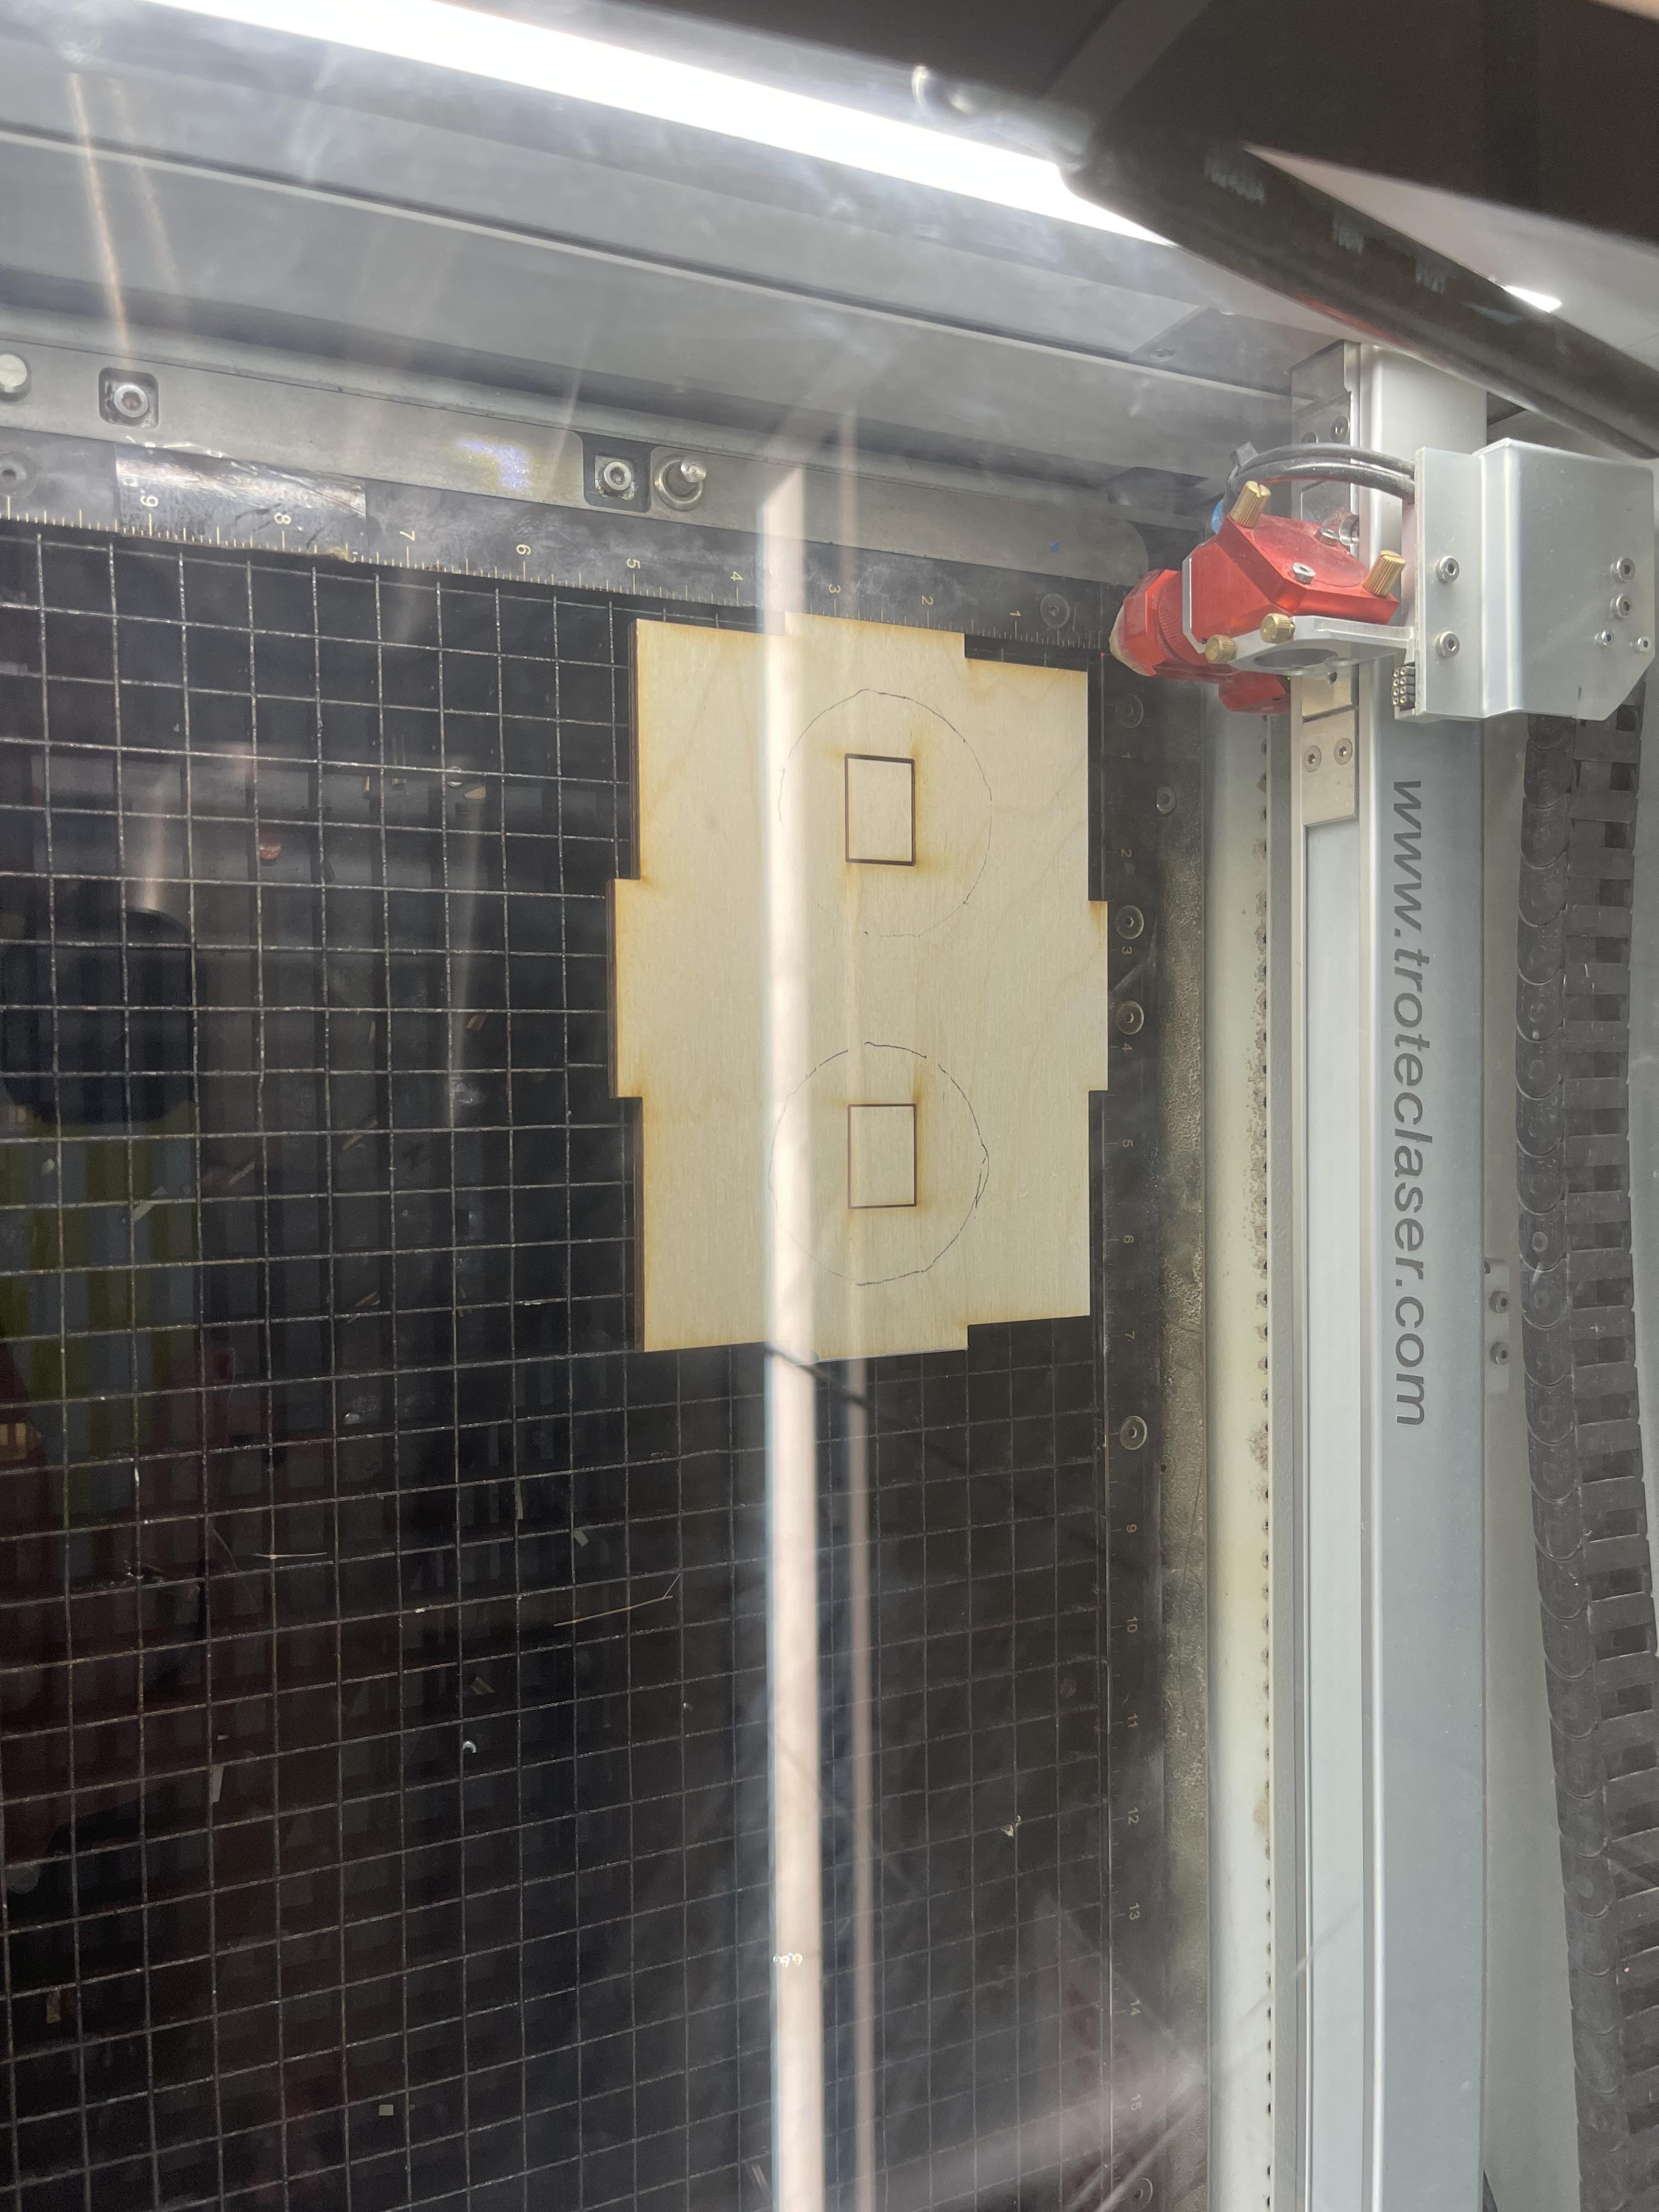

Using the top of the lid and the back, we're going to cut wholes for wires.
The back:
use 2" by 1" box in Trotec and bring it to bottom right corner of box.
Print.
The Top:
Use .9" by .7" box for the prox sensor to be showing through.
Print.
Cups
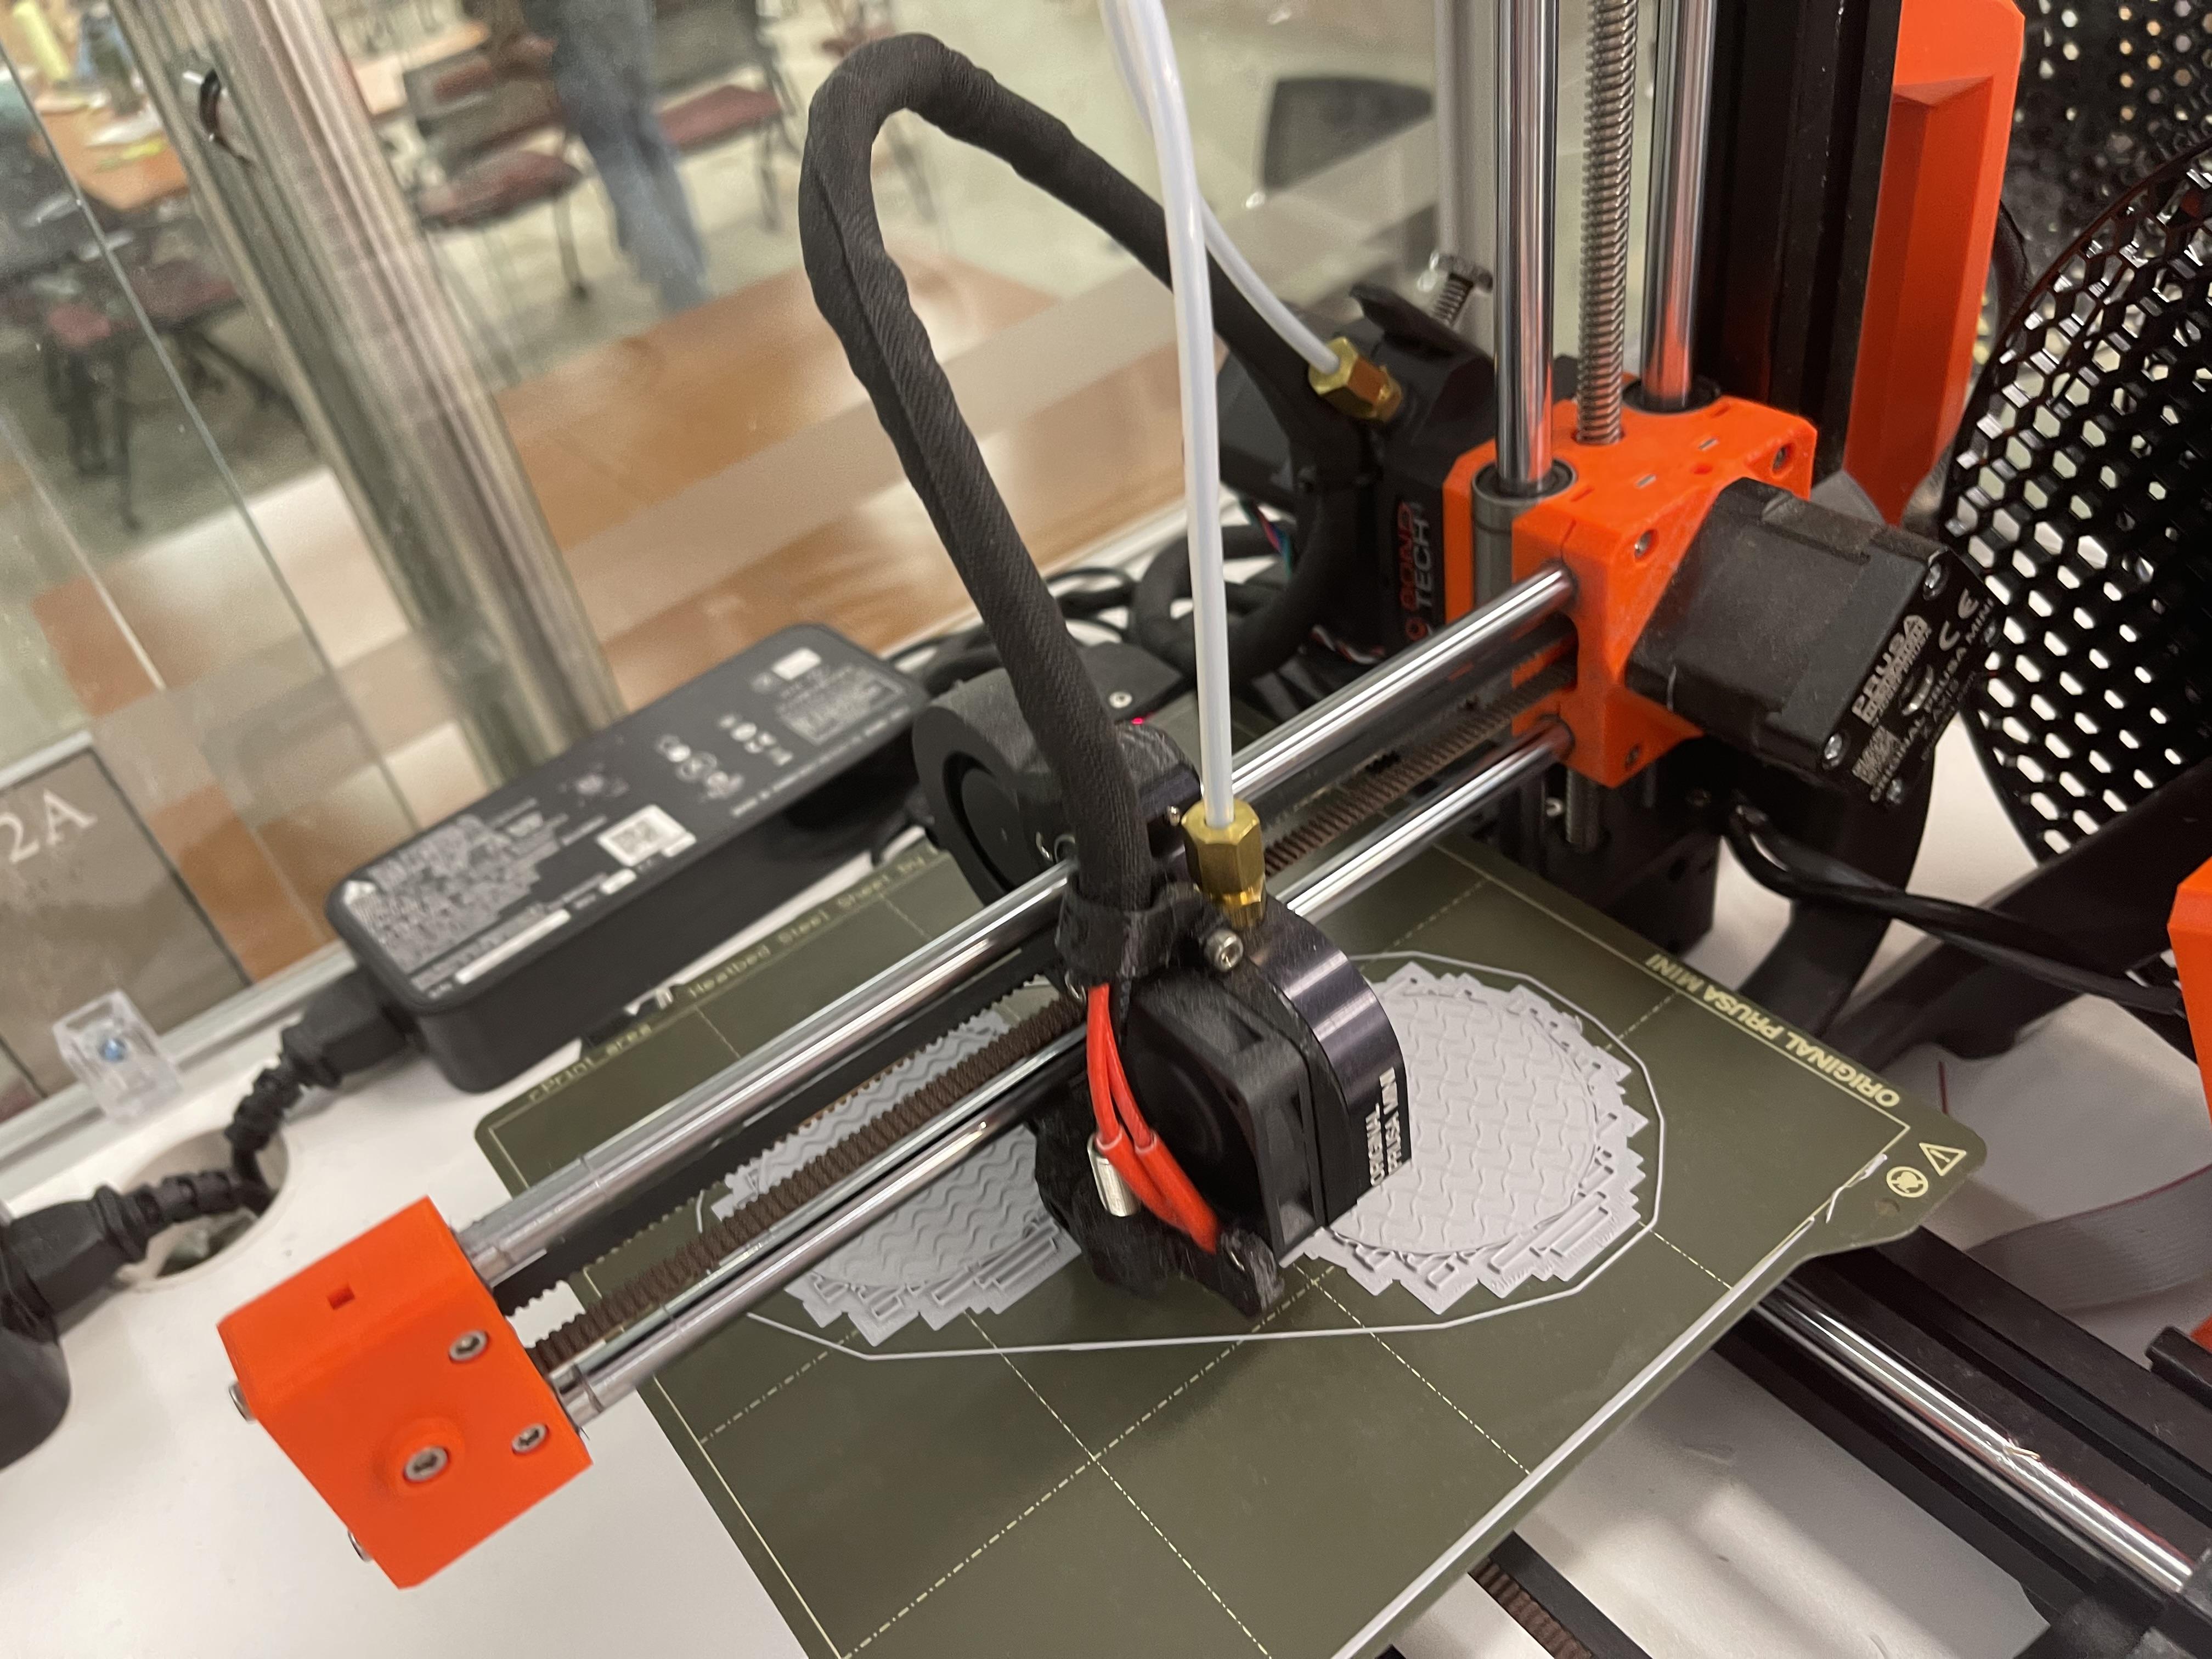
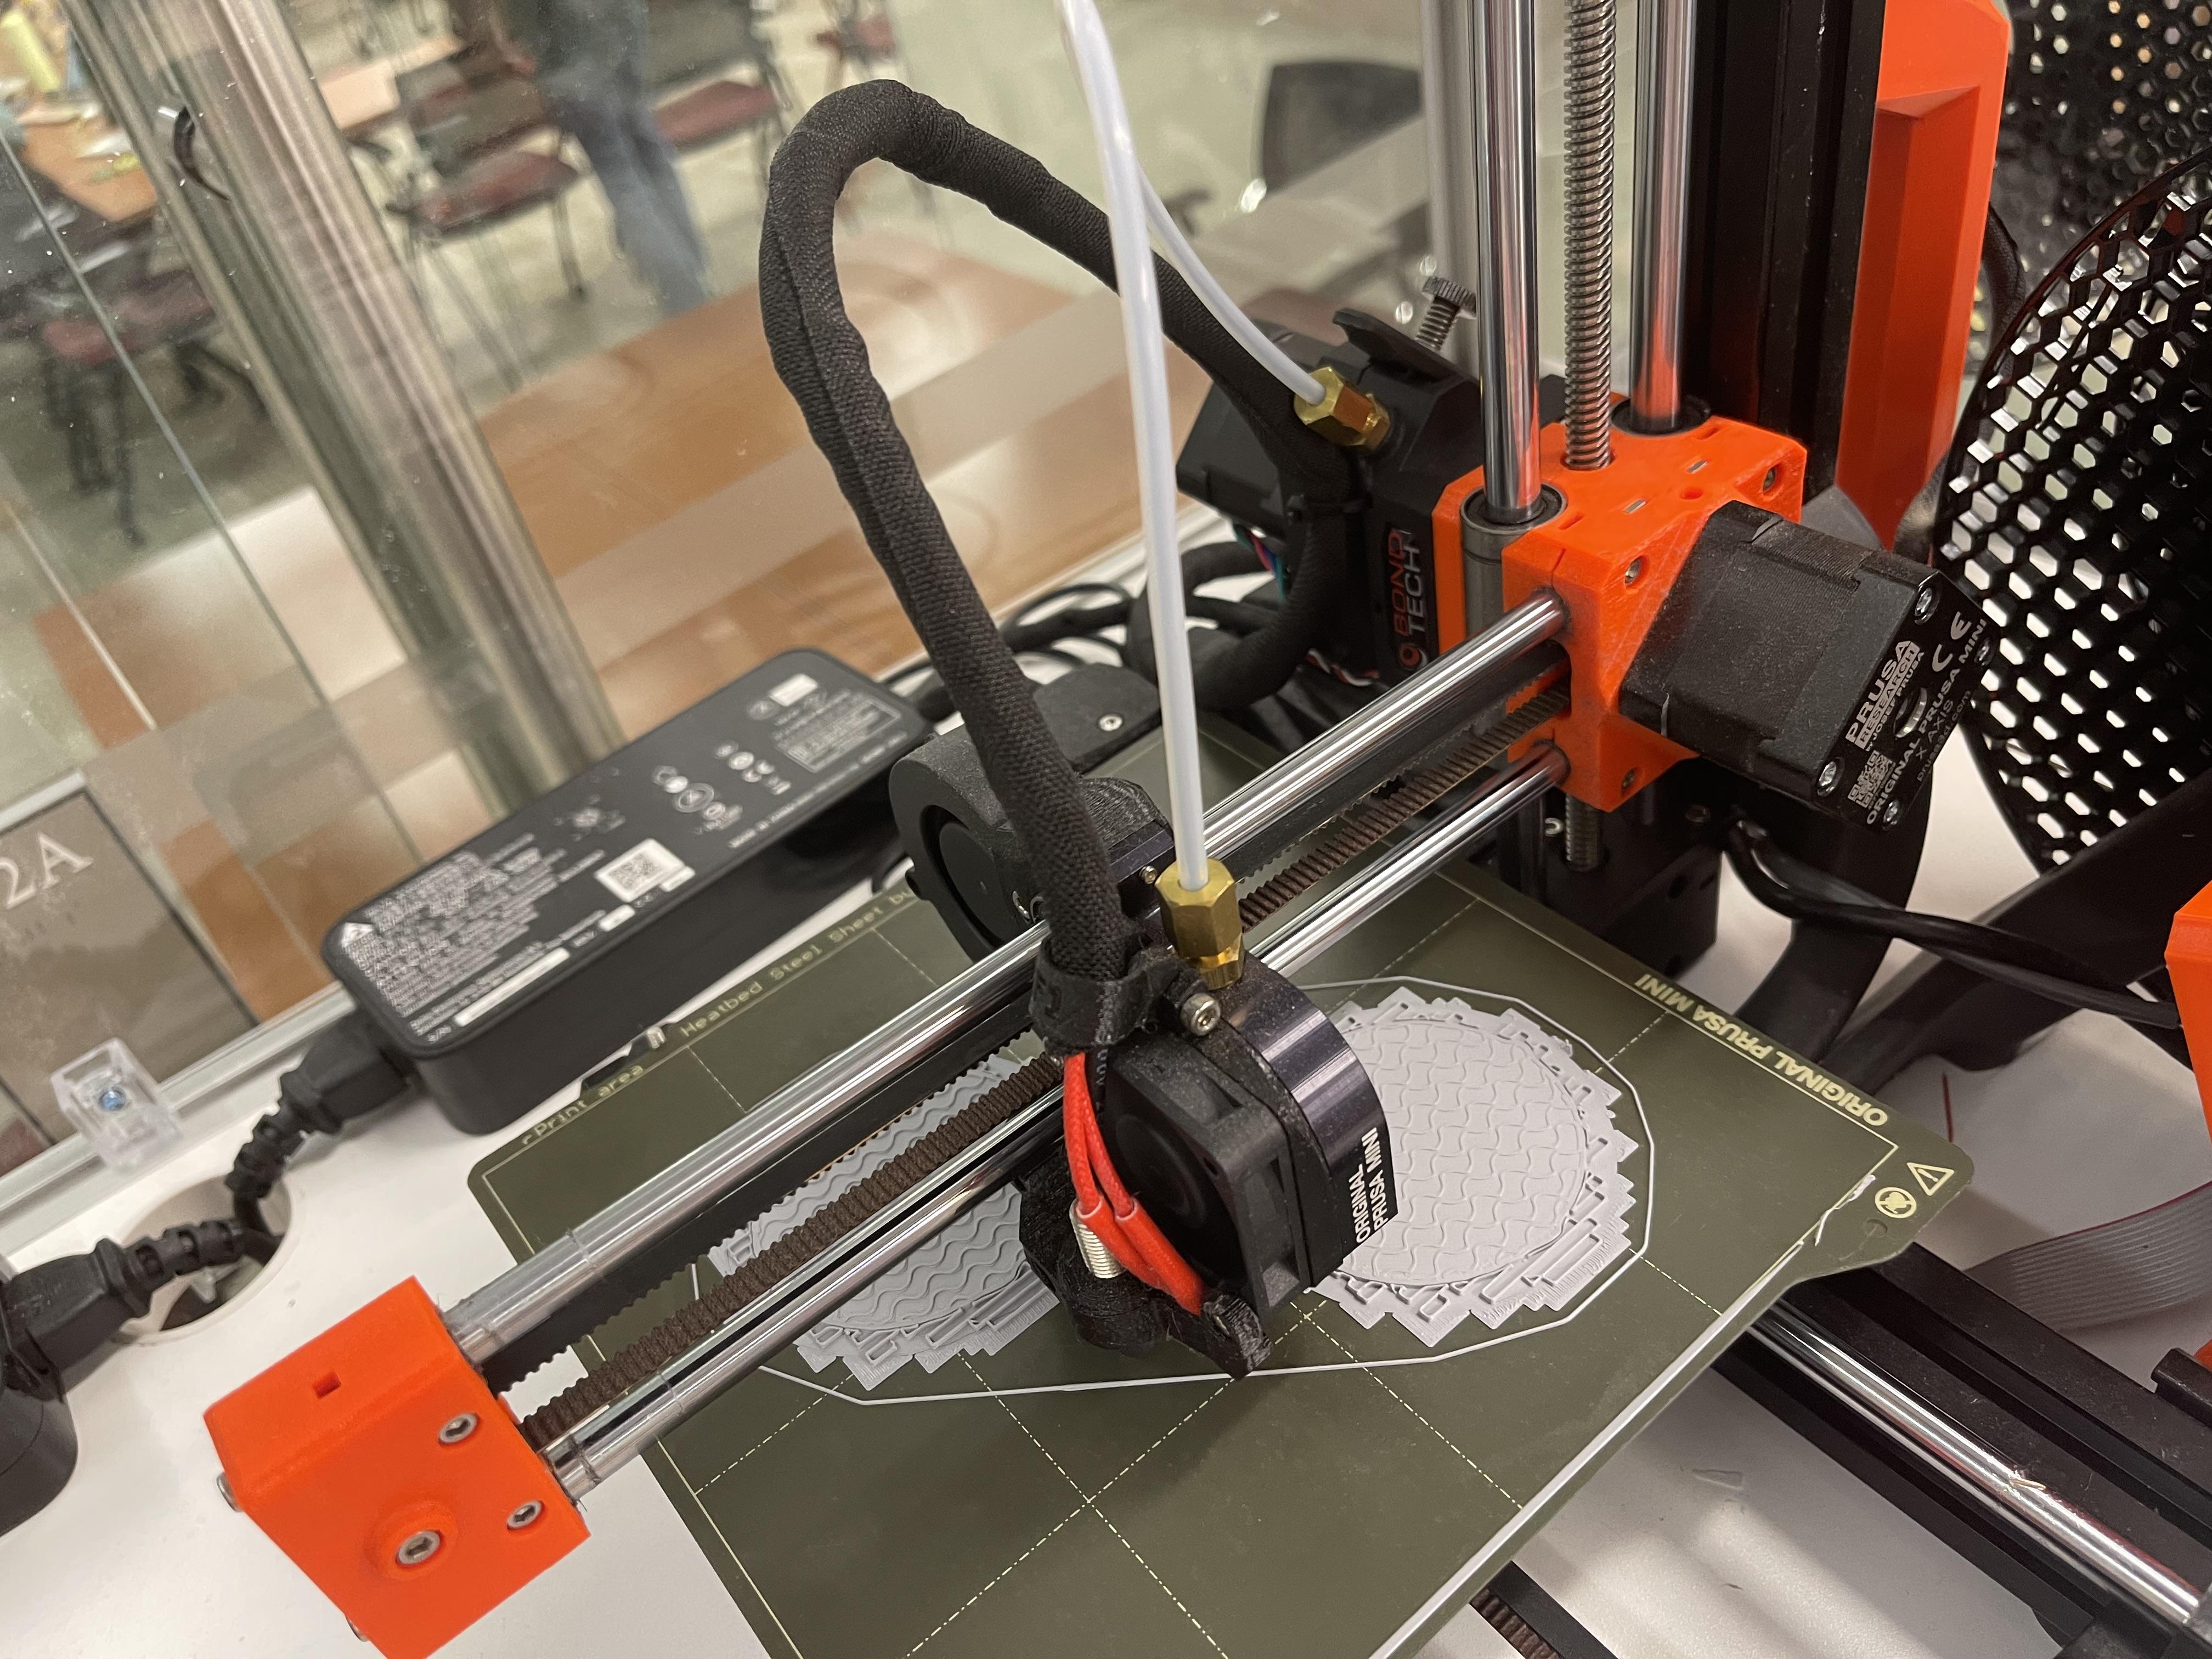
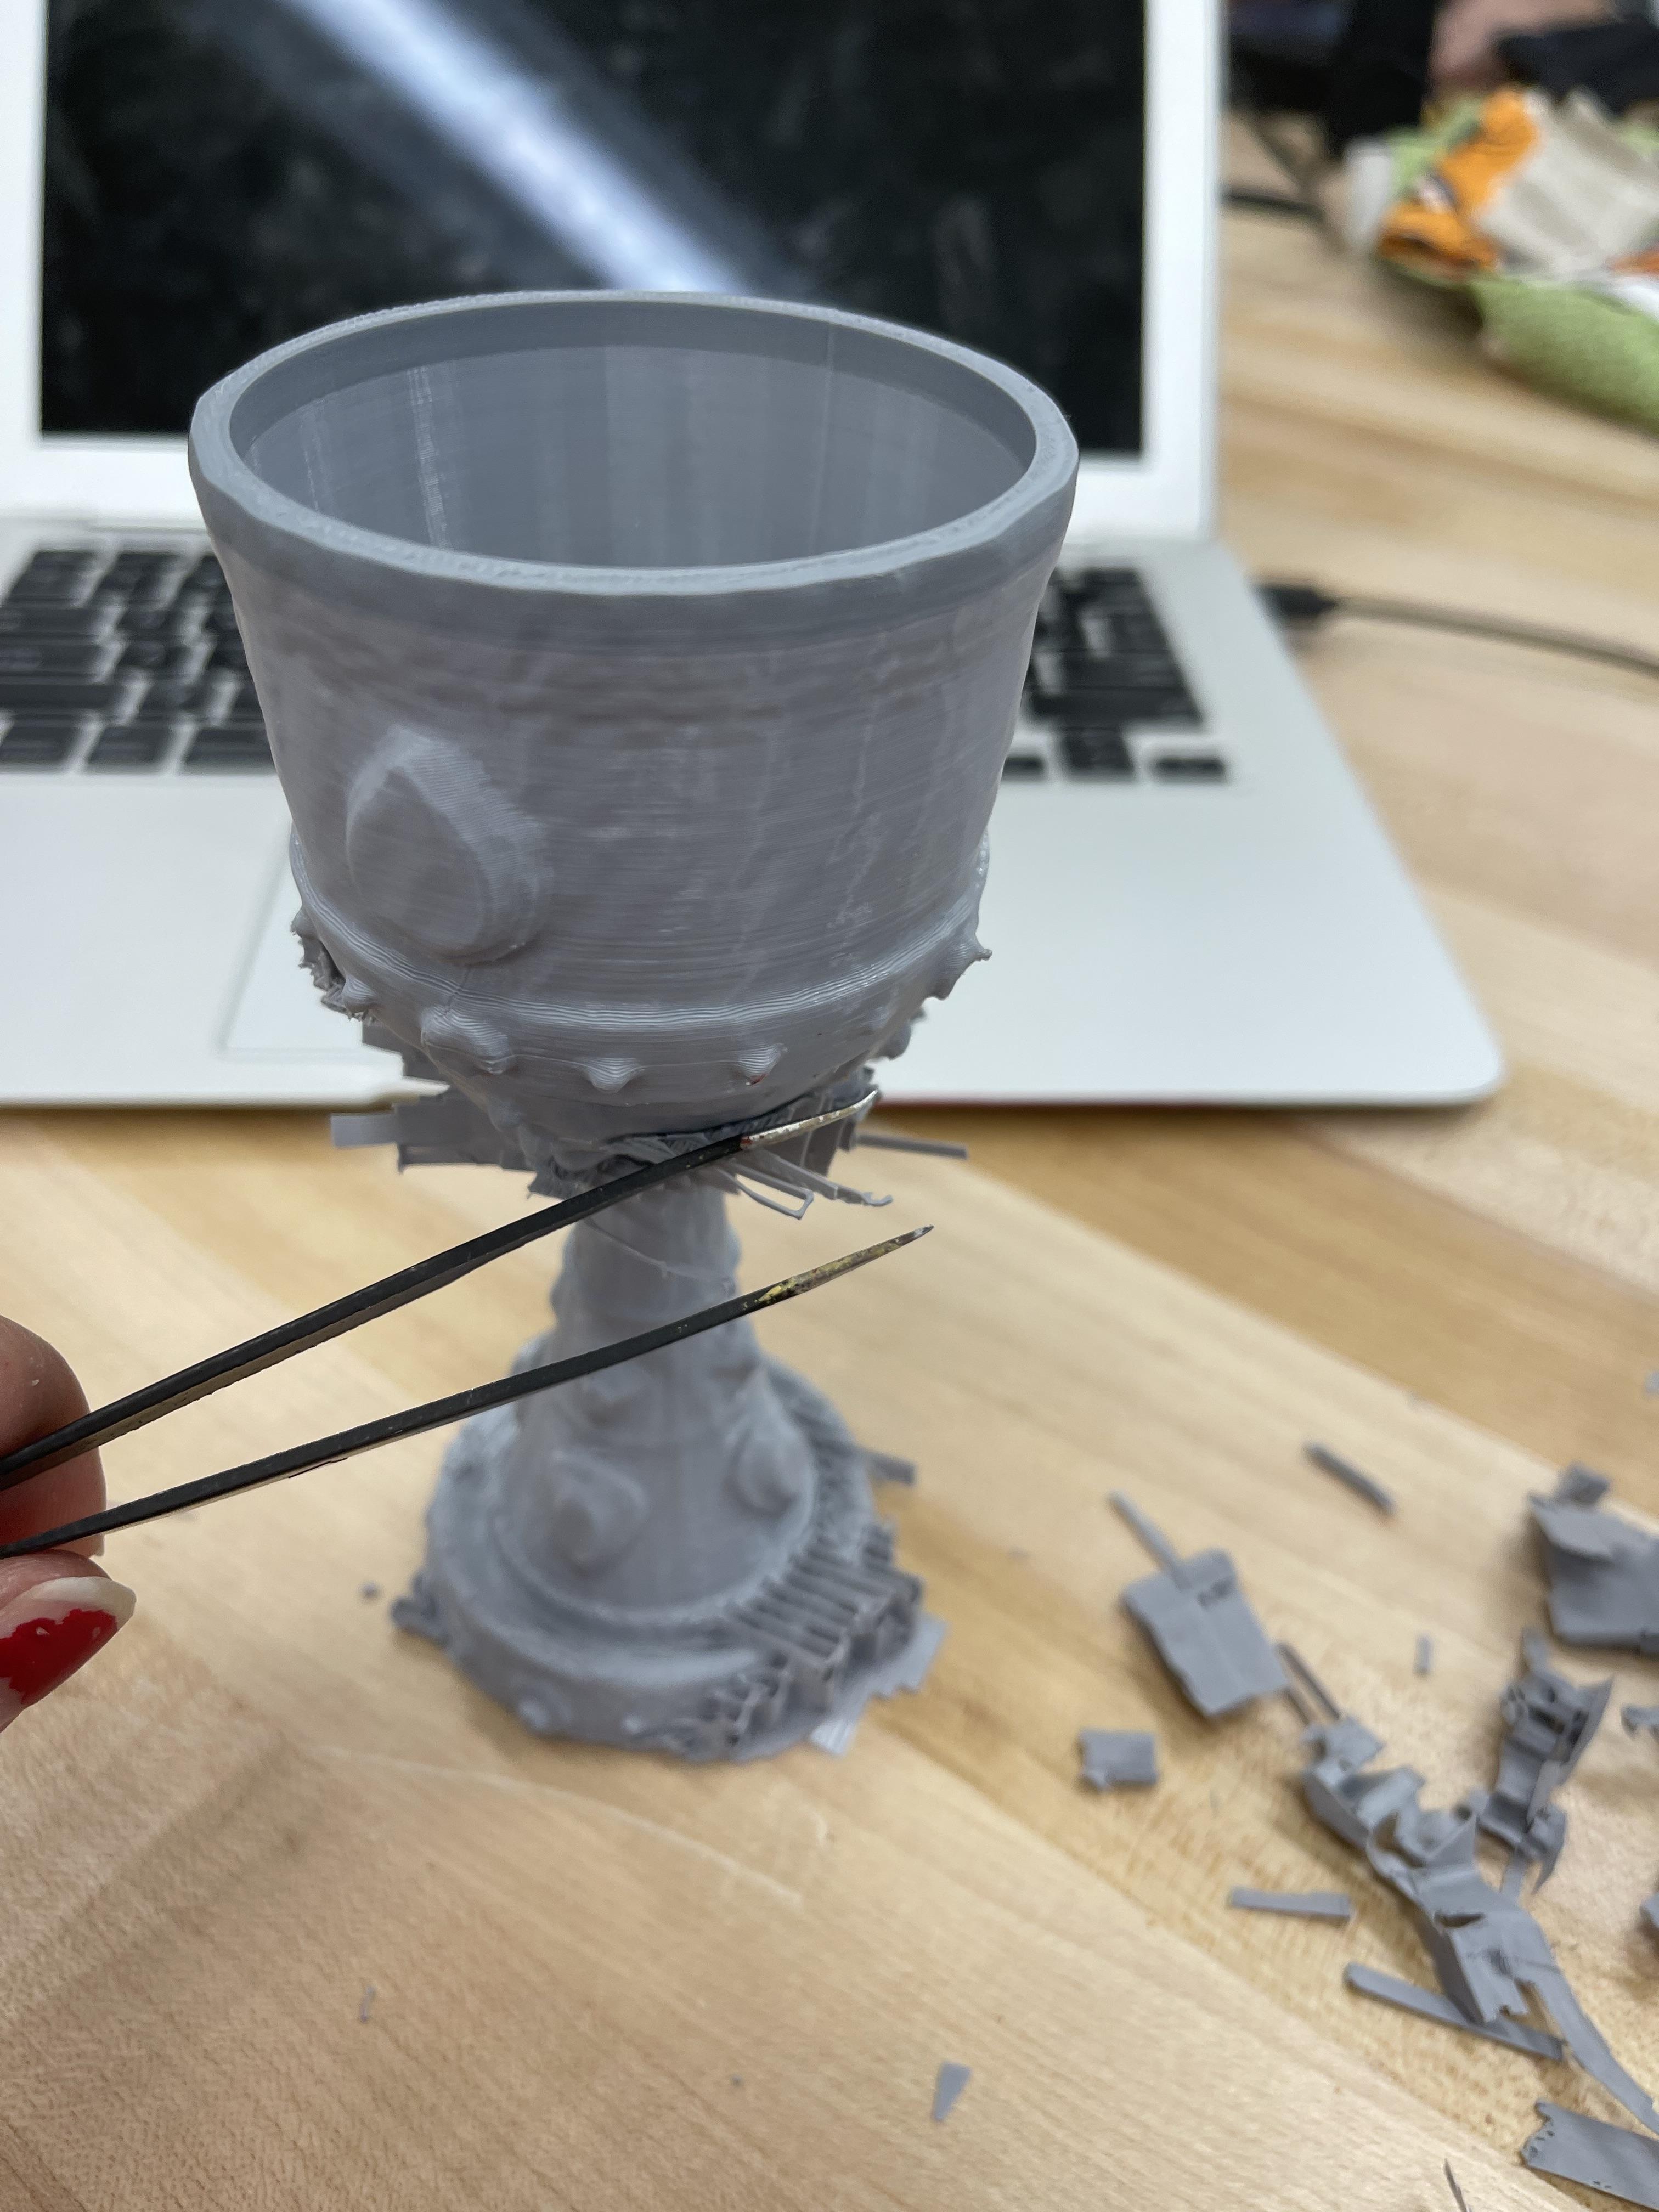

3D print the cups. You may use what ever file you may like.
Peel the excess plastic off the cup using tweeters. (Caution, may be sharp).
I also painted the rims of the cups gold.
Create Vines
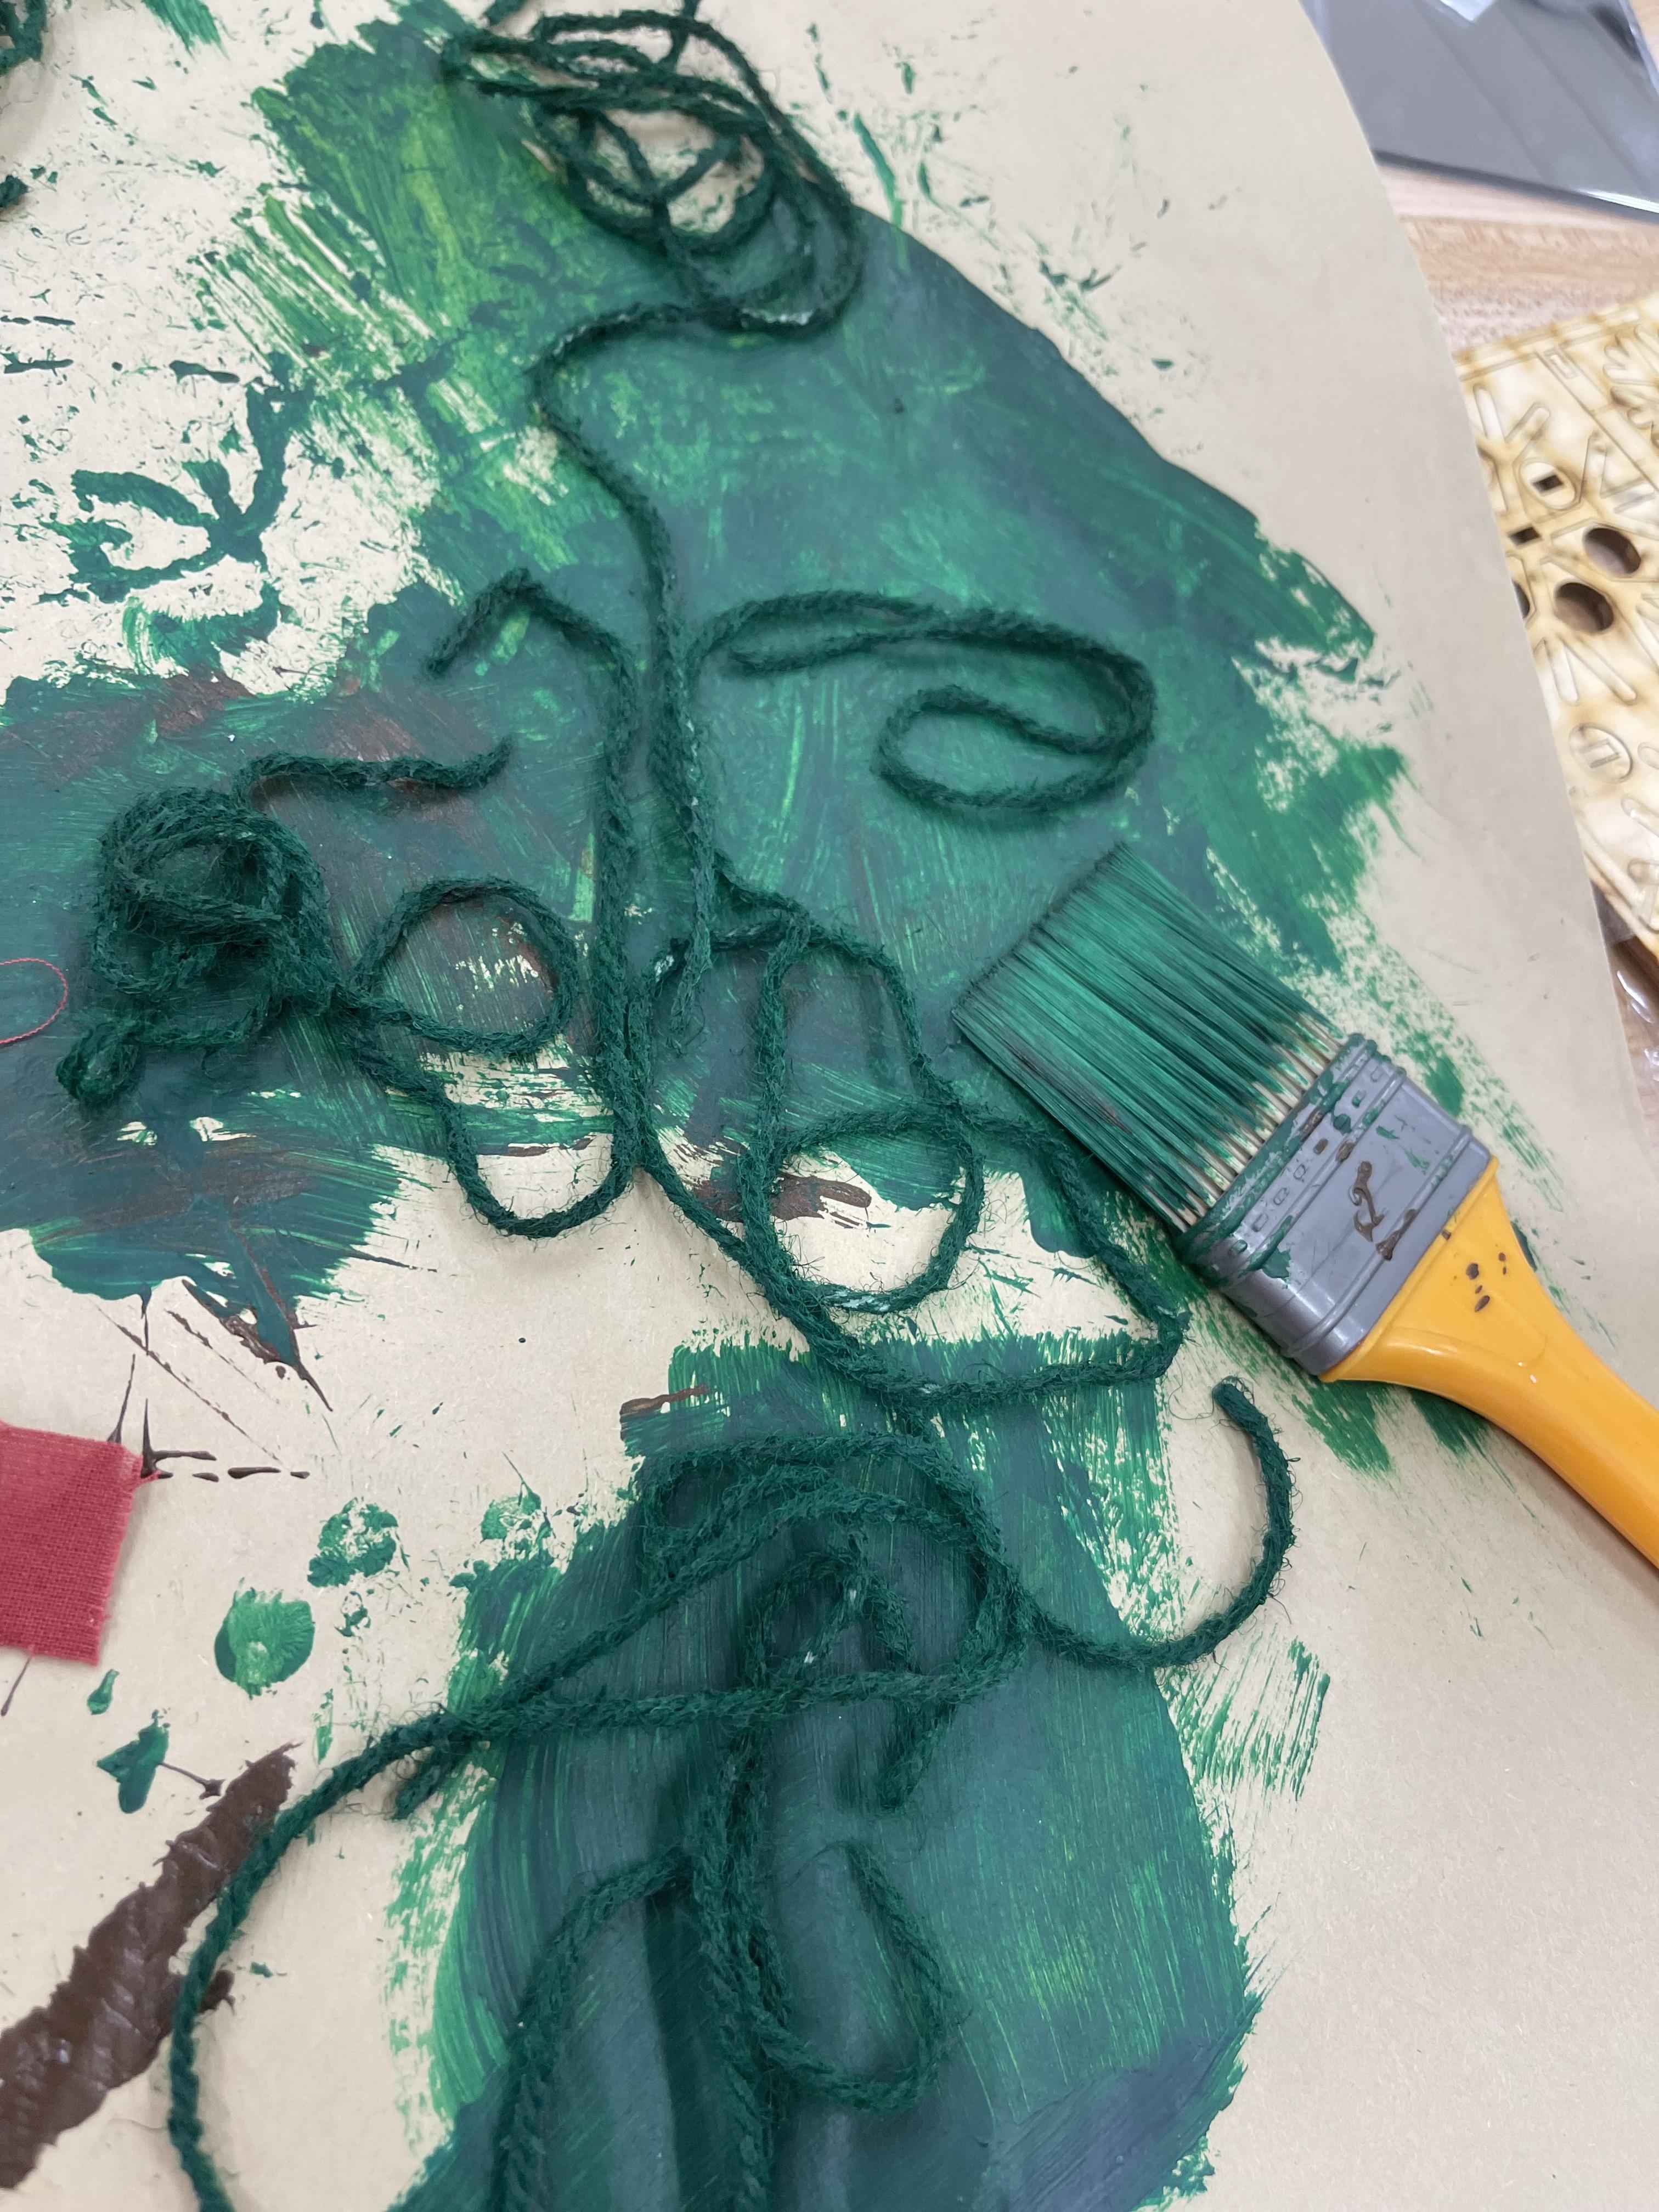
Using white string, paint over them in green.
Leave to dry.
Once dry, hang across both trees.
Attach Led Lights
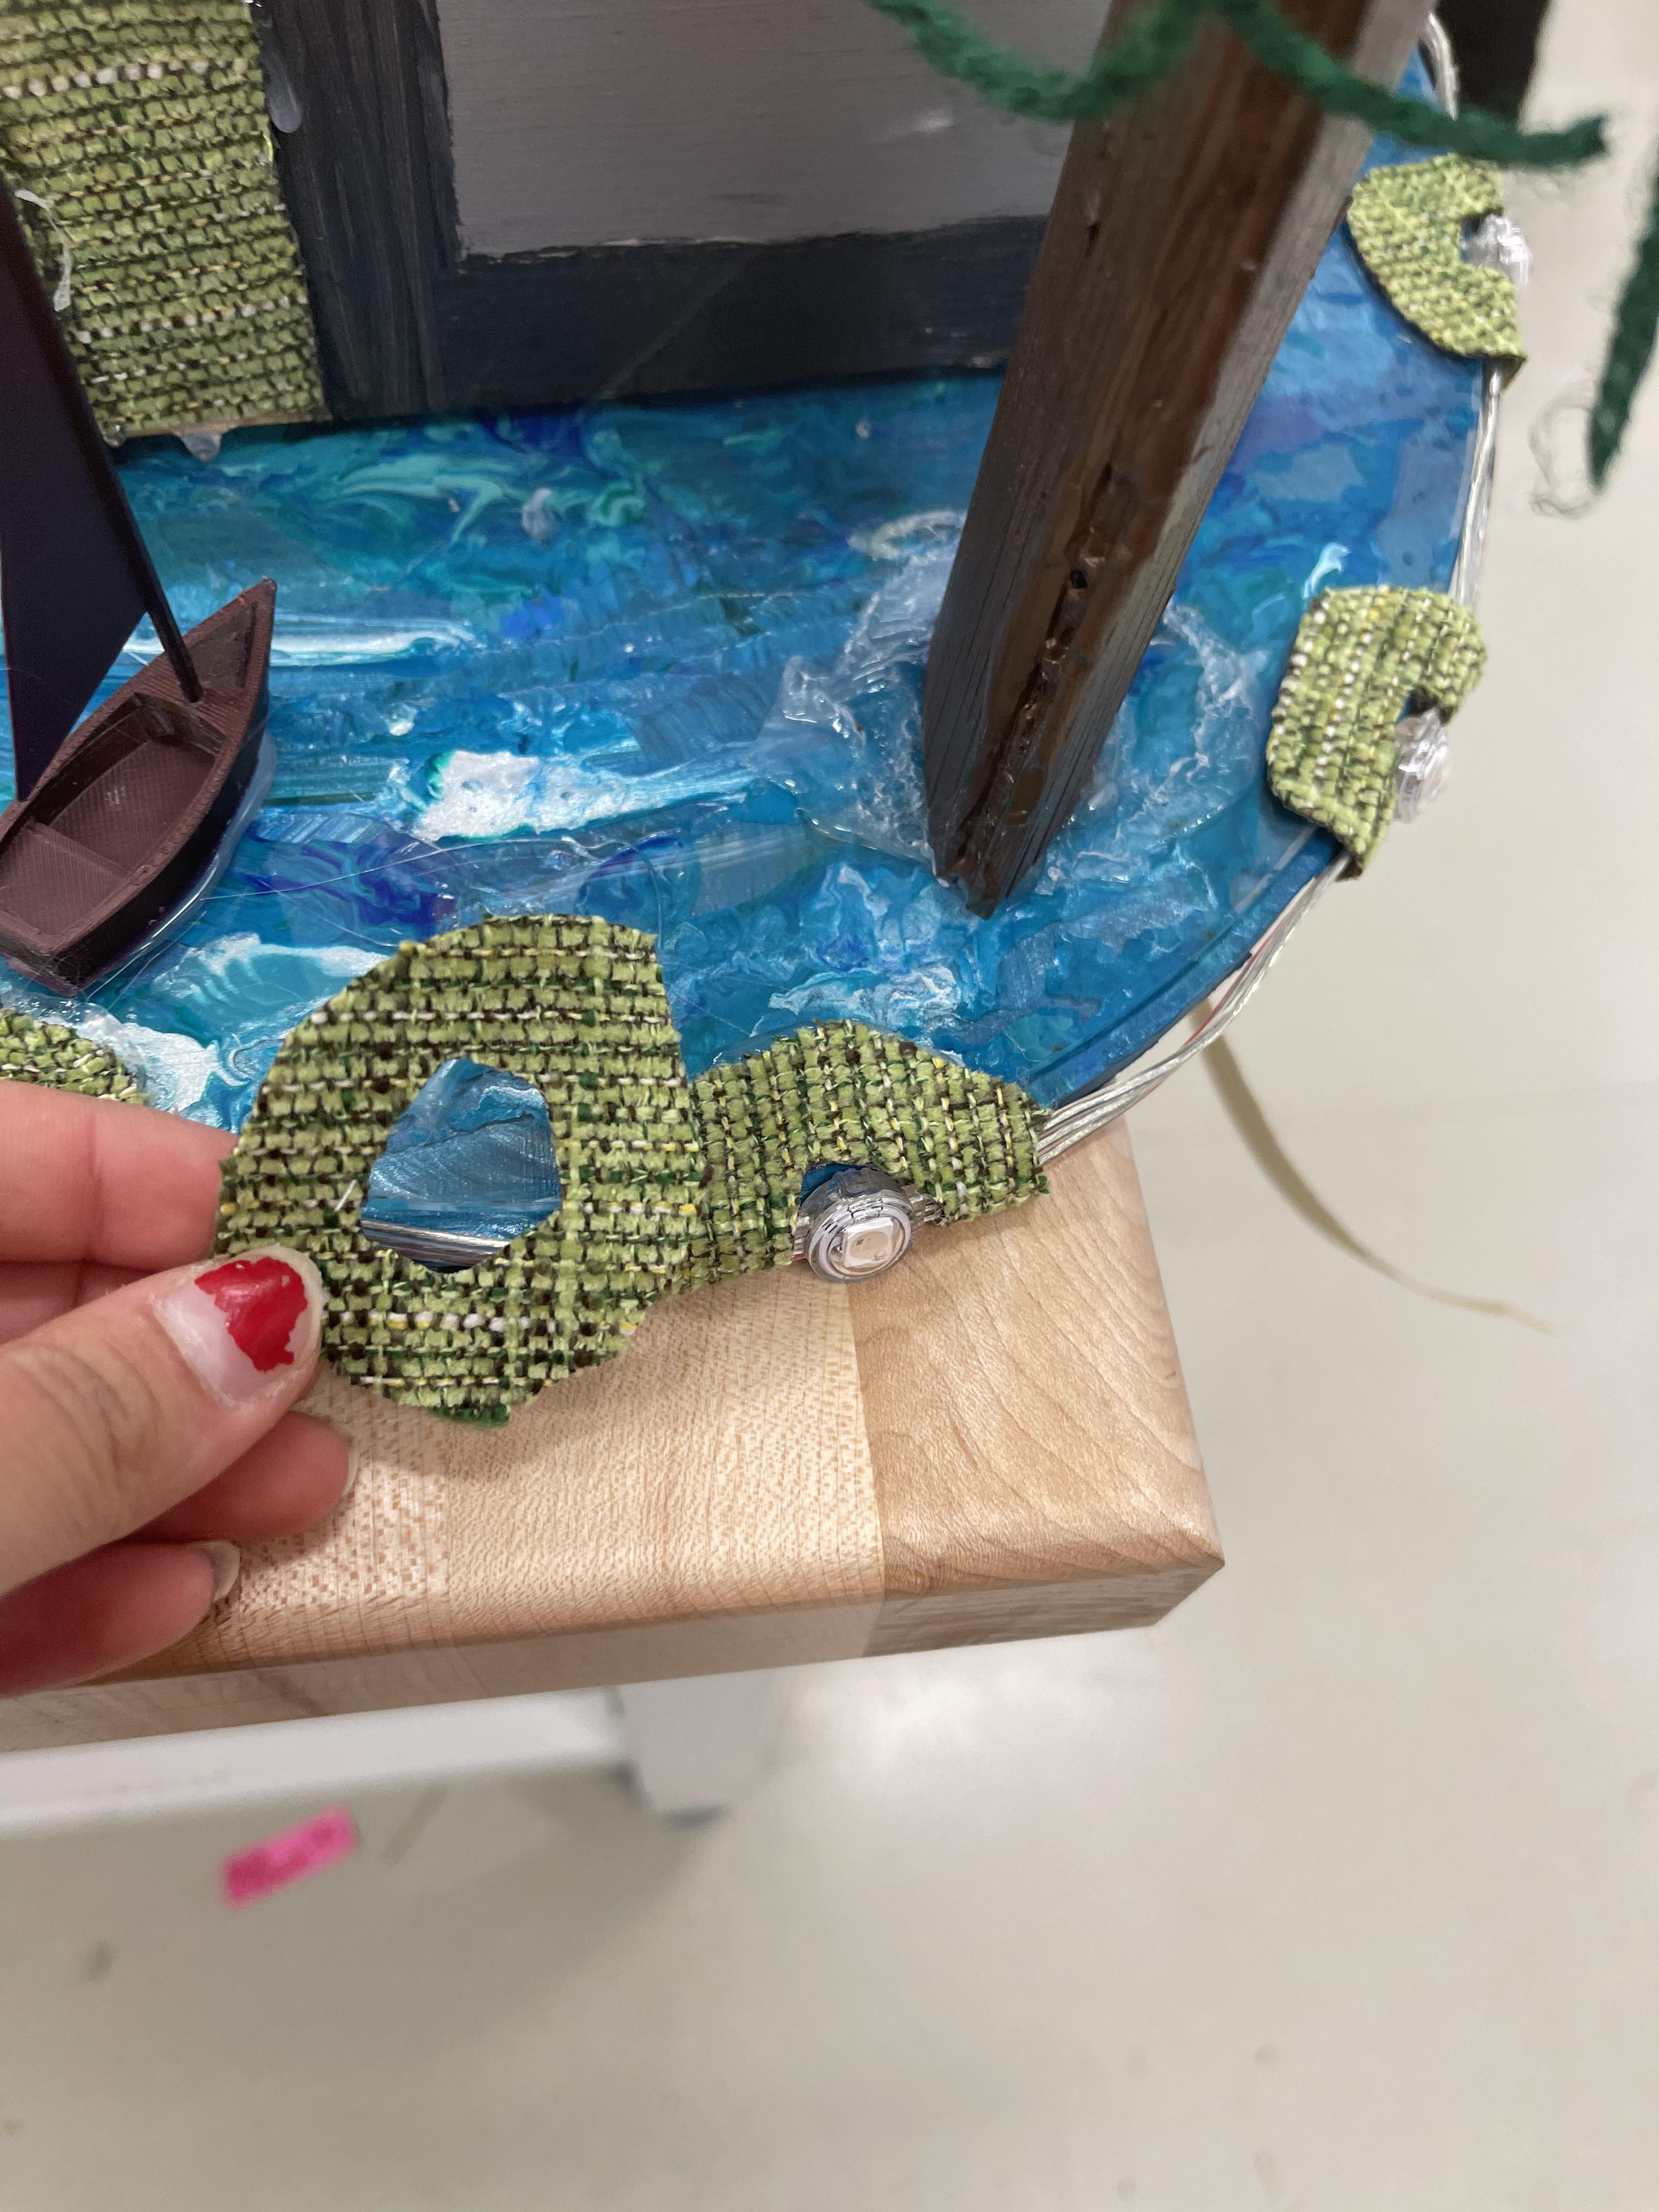
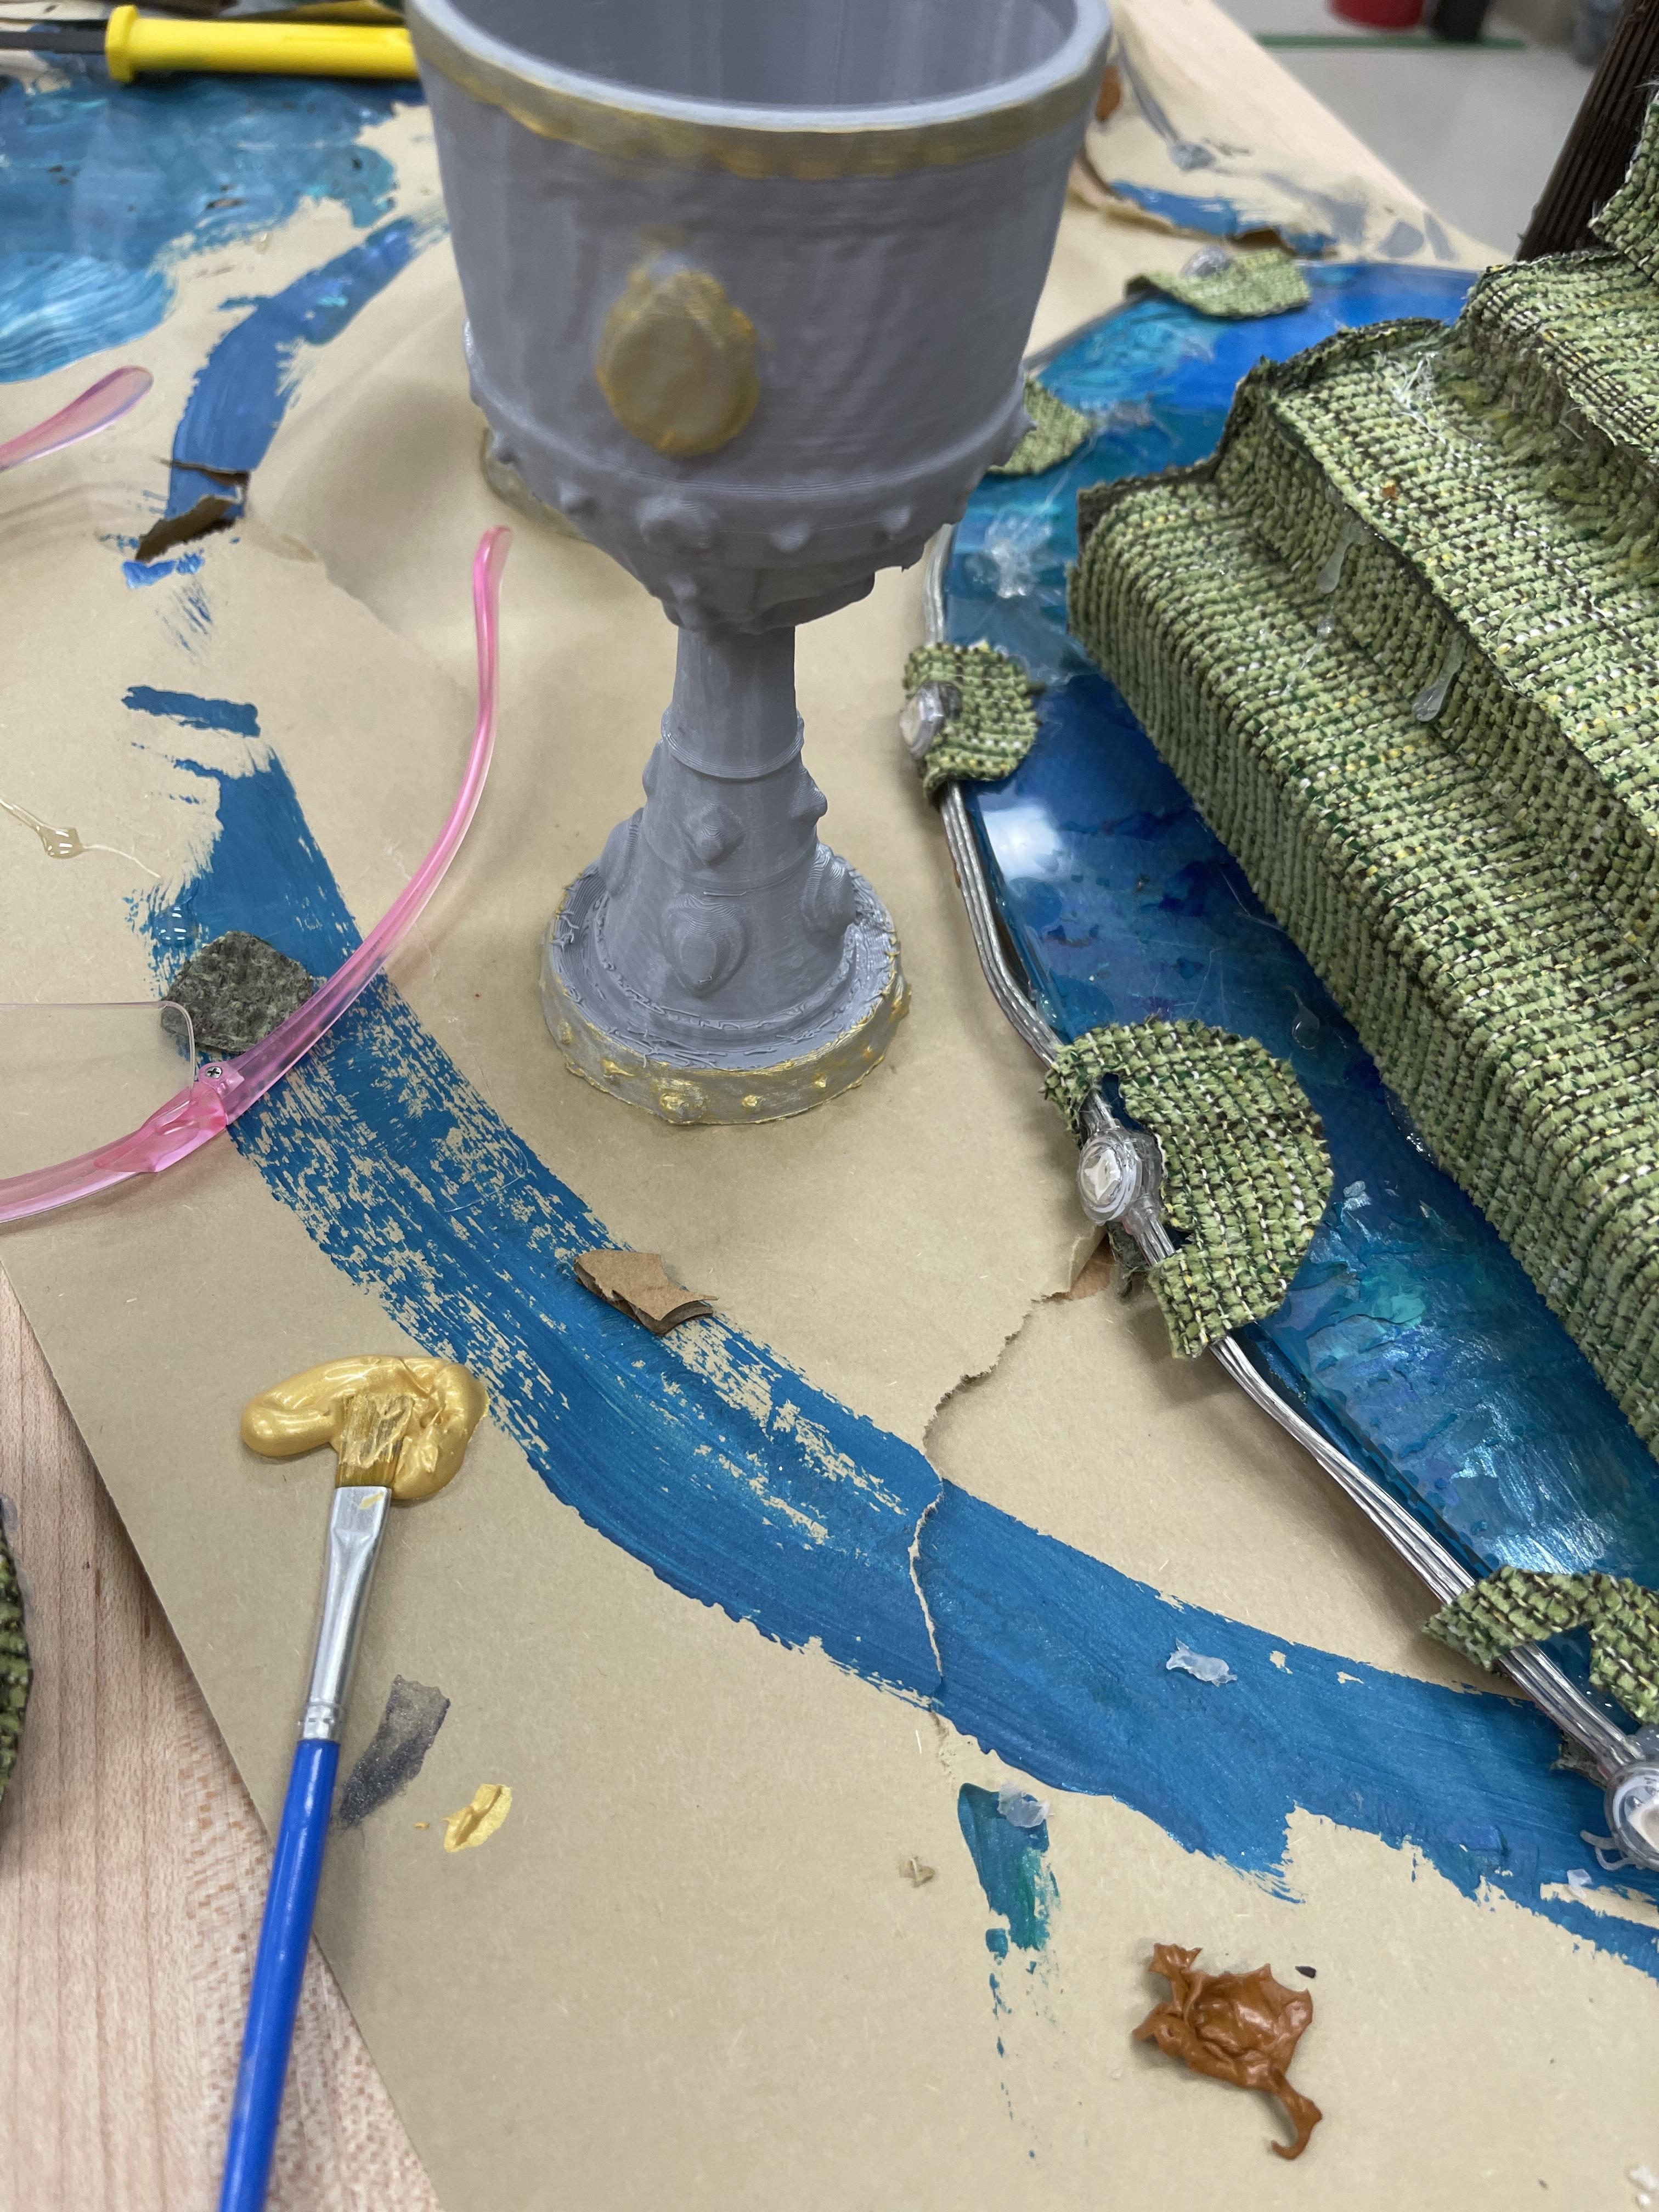
Attached Arduino Led string around the border of the base using hot glue.
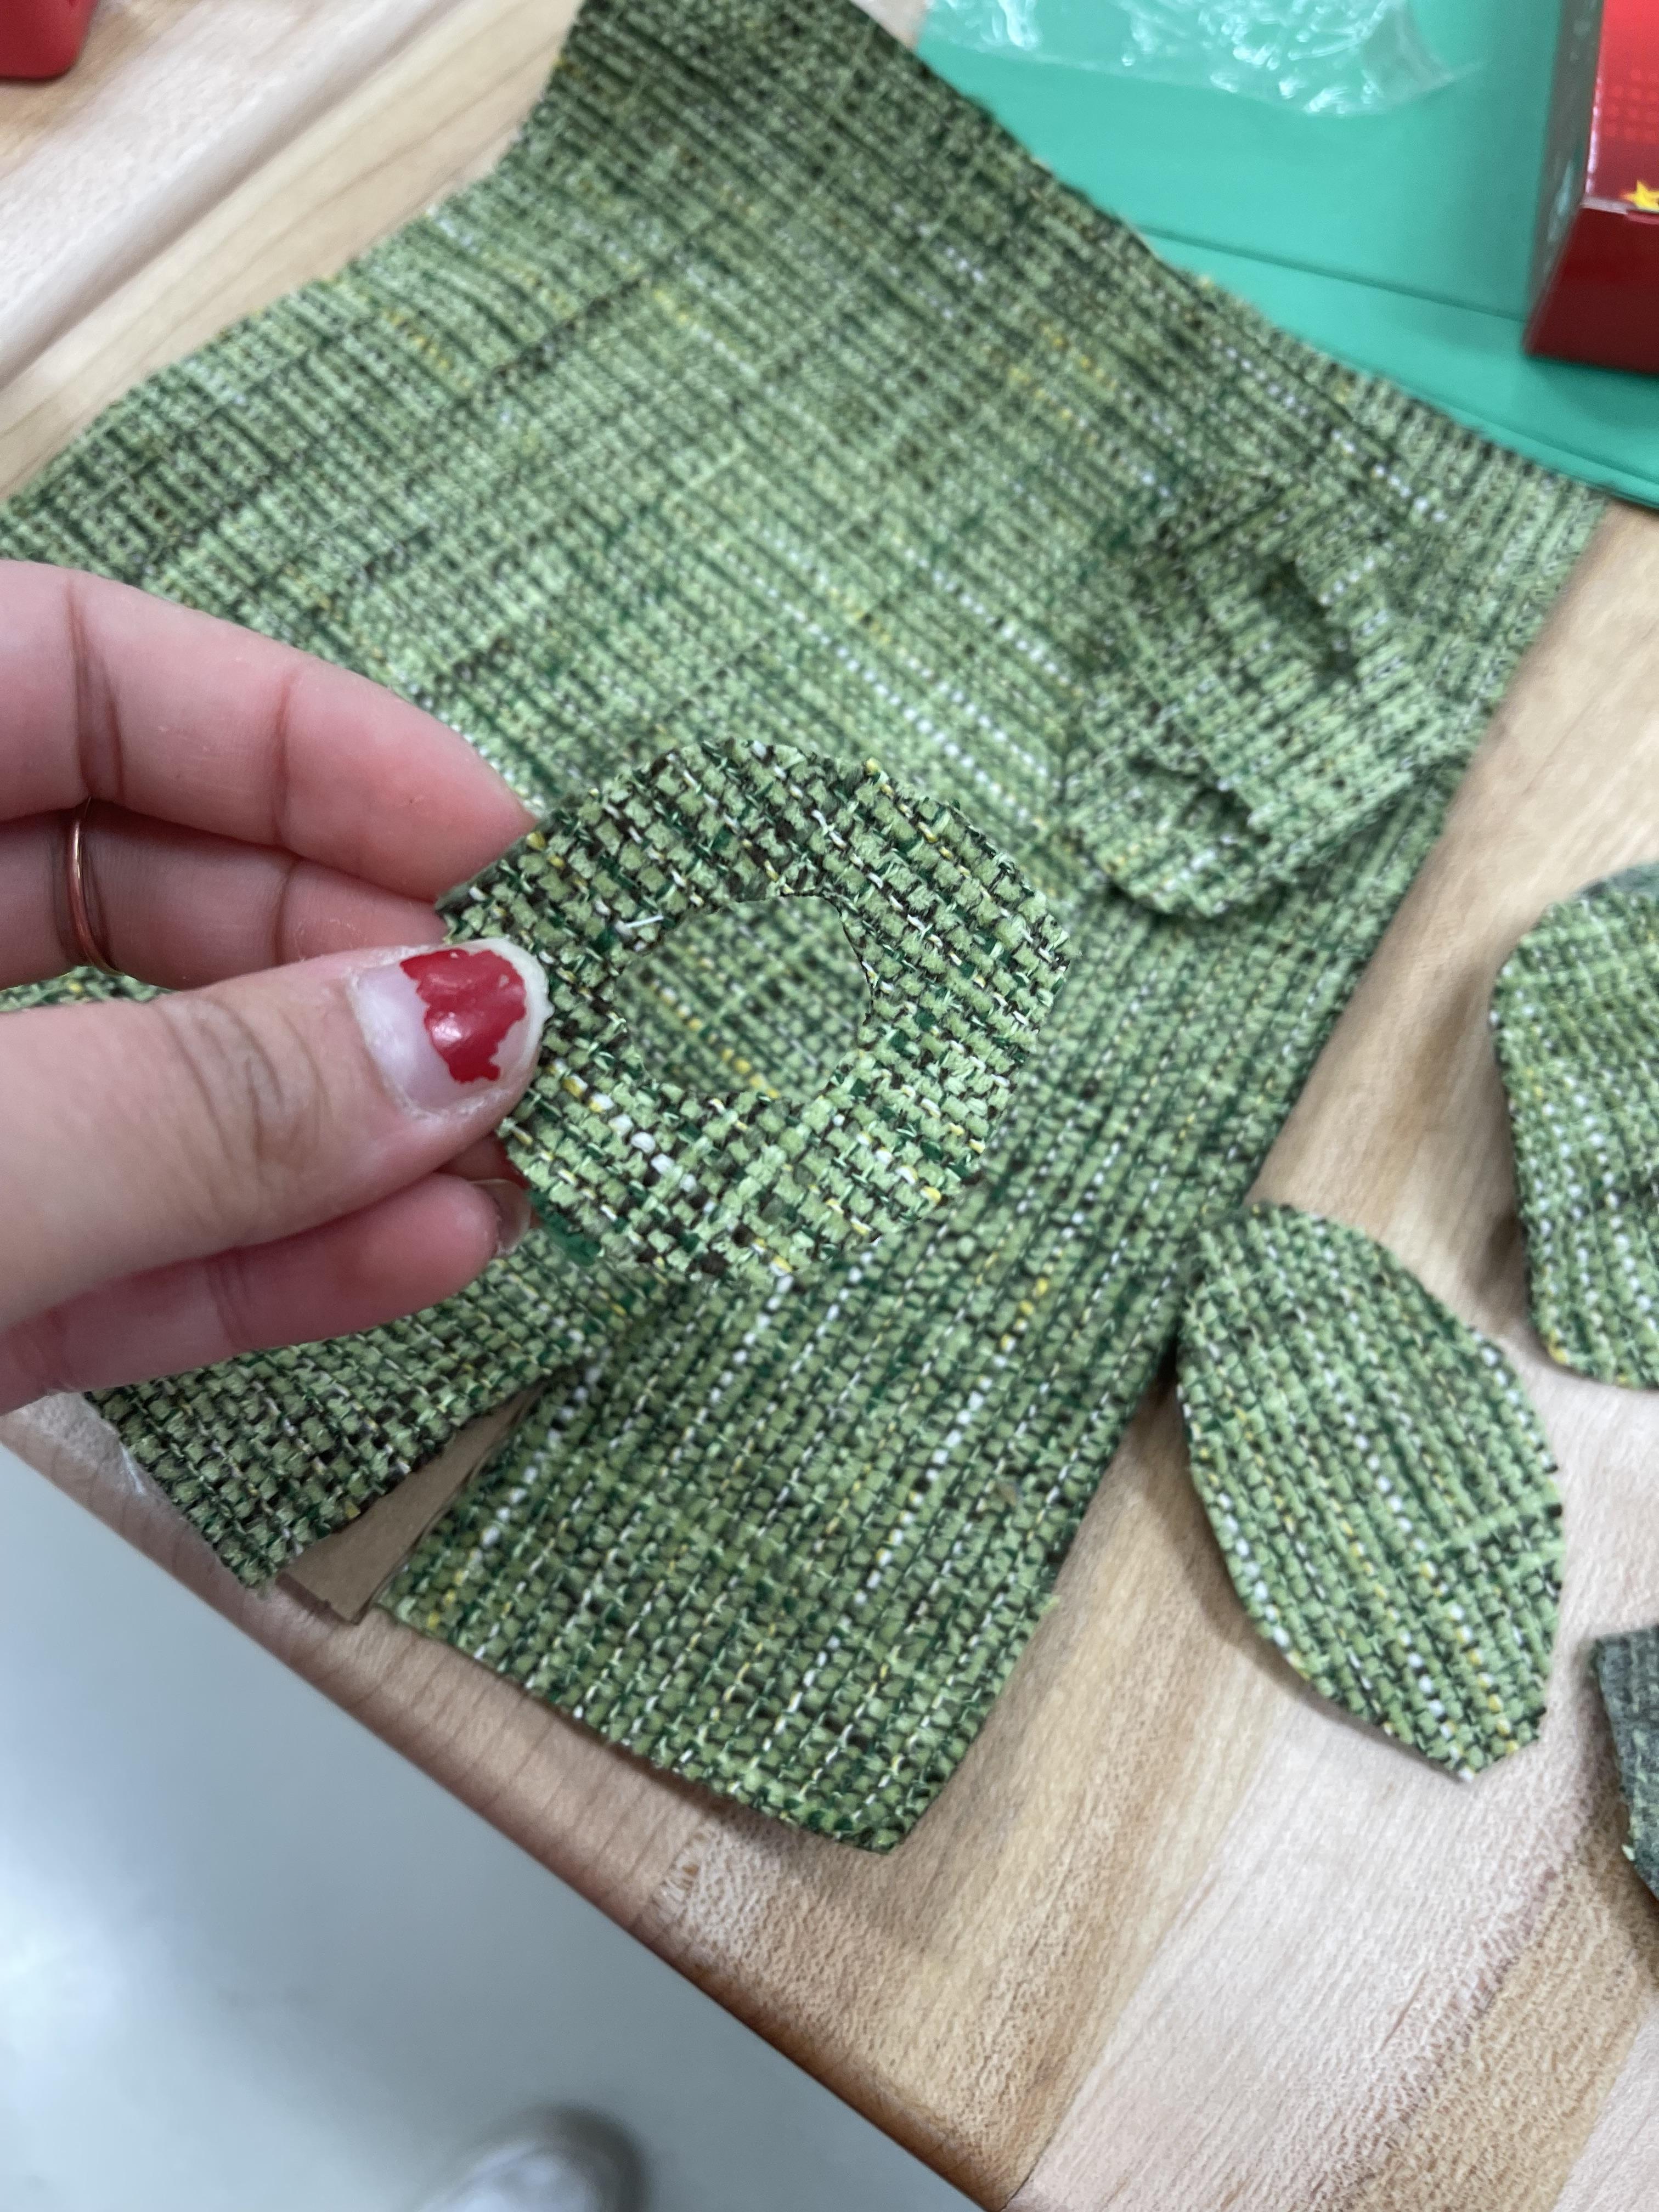
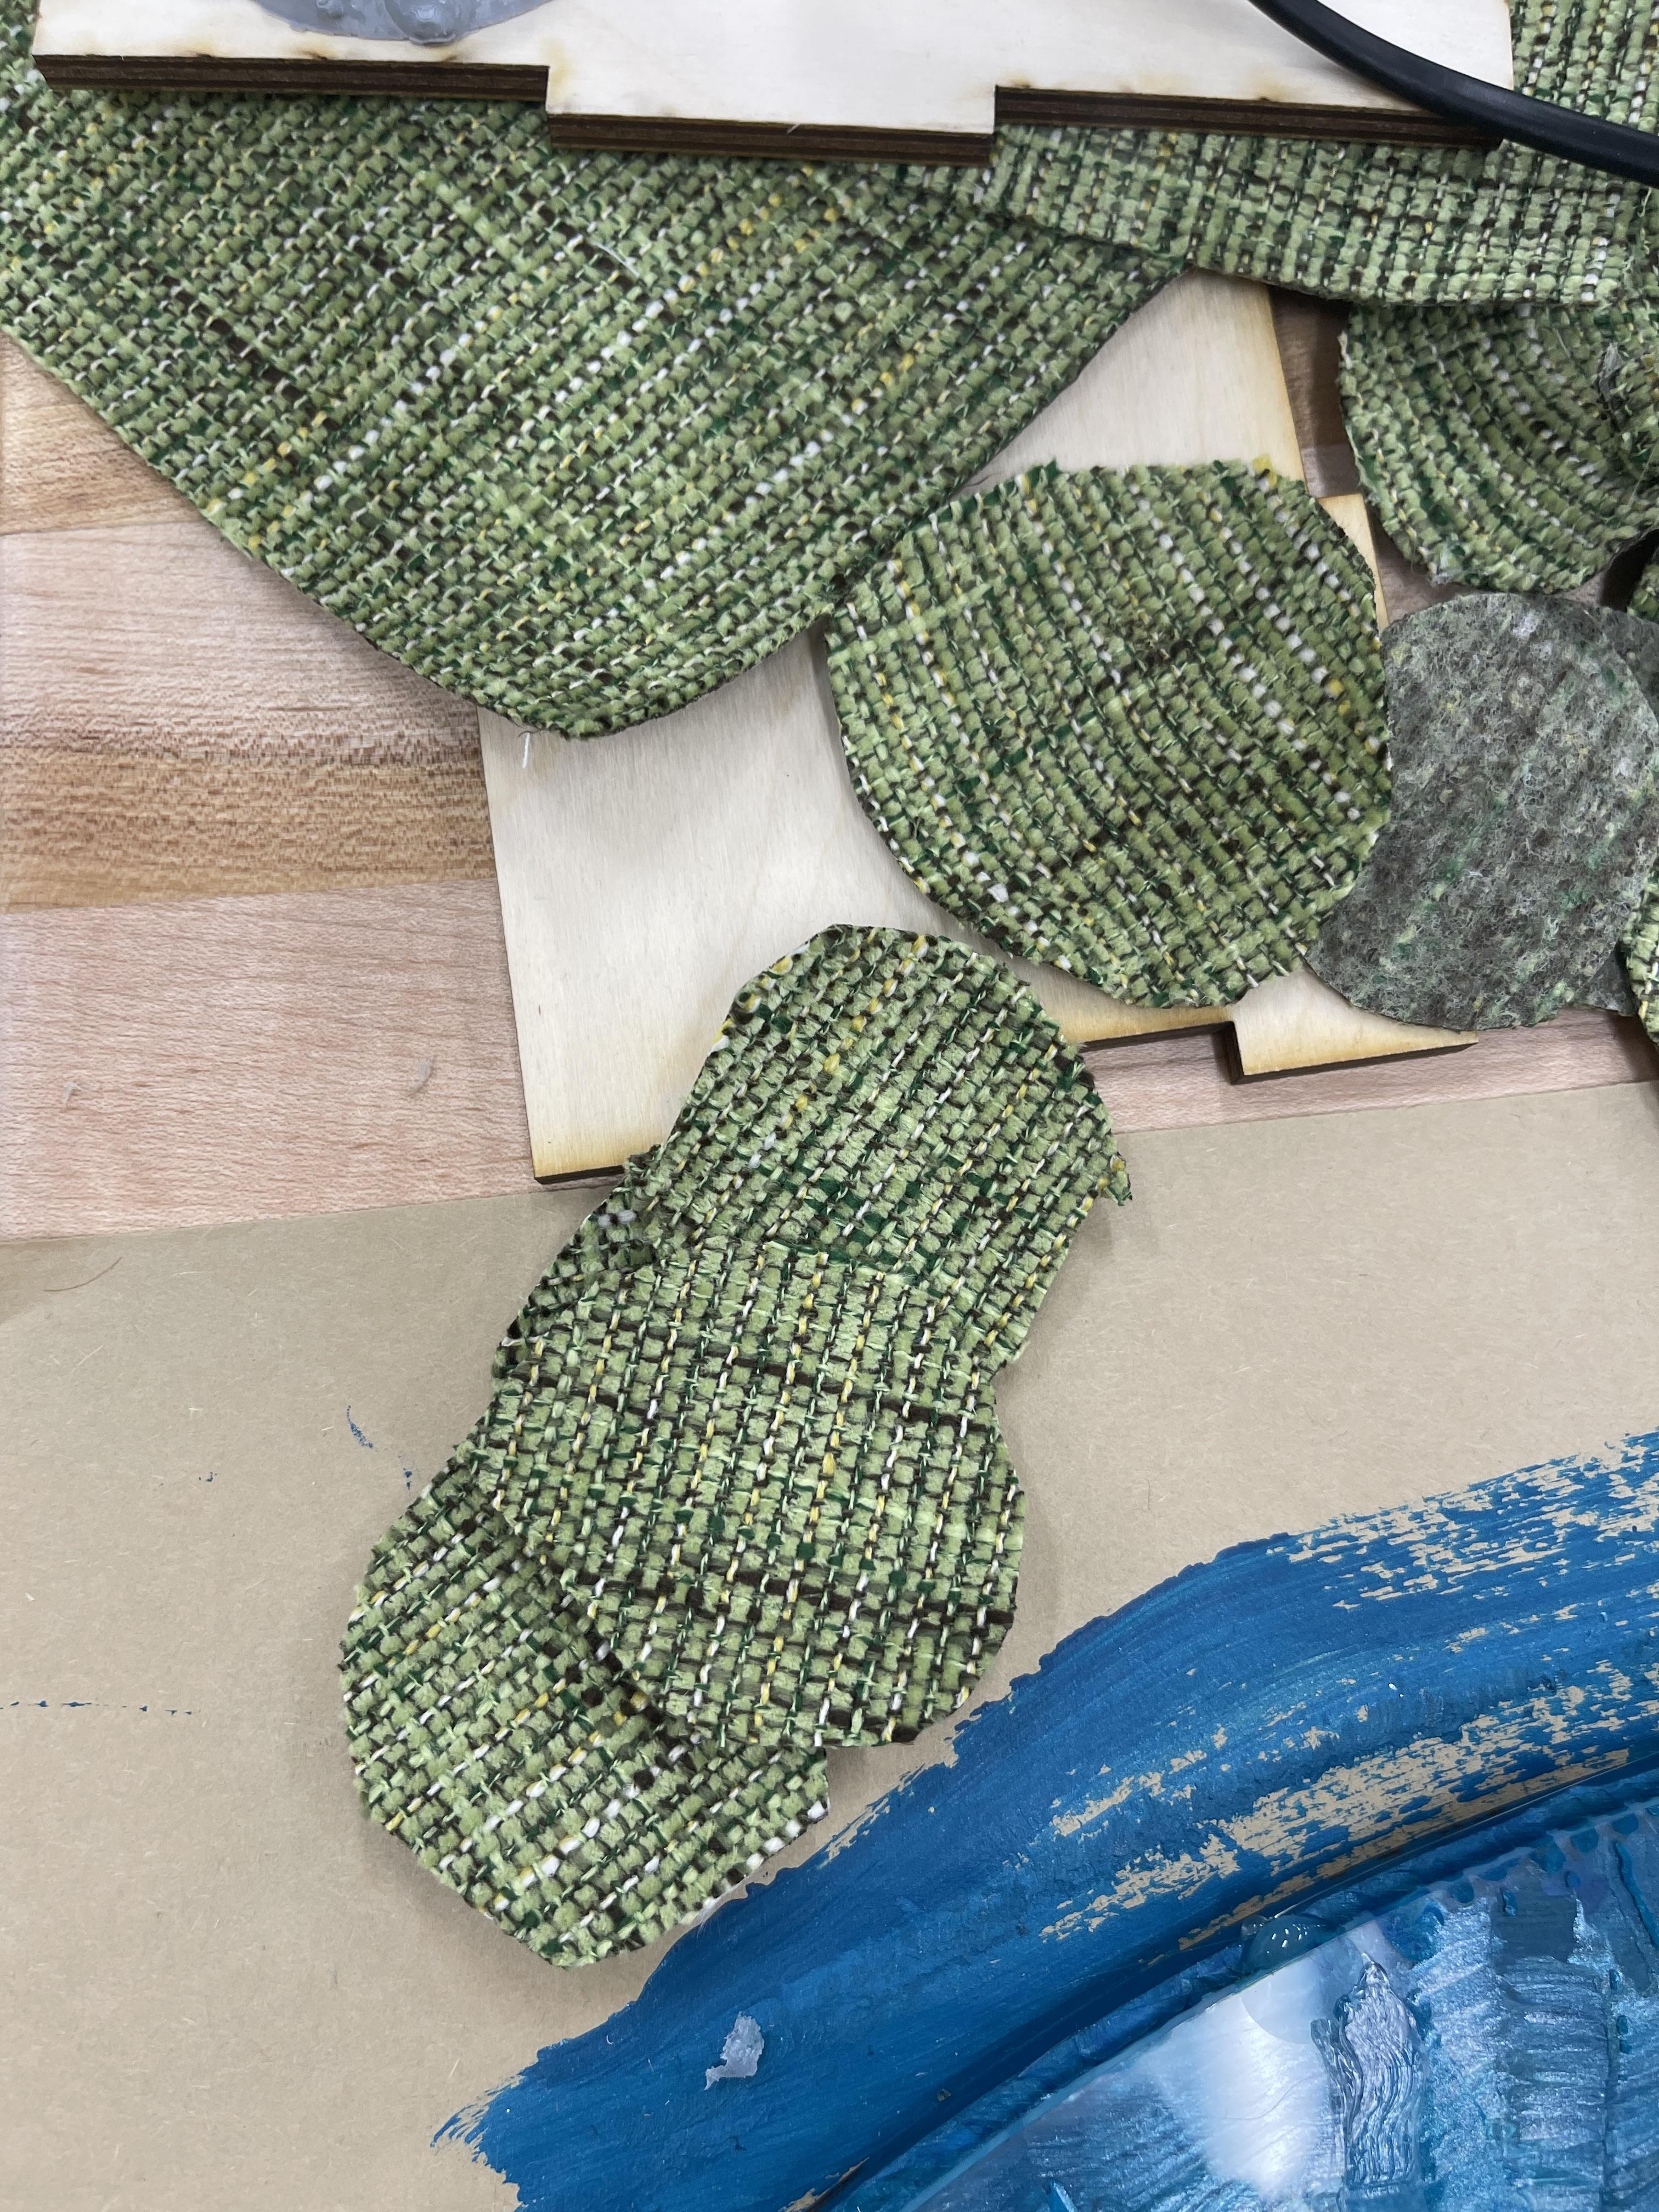
Cut out the green cloth into circles and cut a whole in the middle.
Place each circle on top each of the lights, centering the whole on the light. It covers the lights and gives the effect of mini islands.
Audio
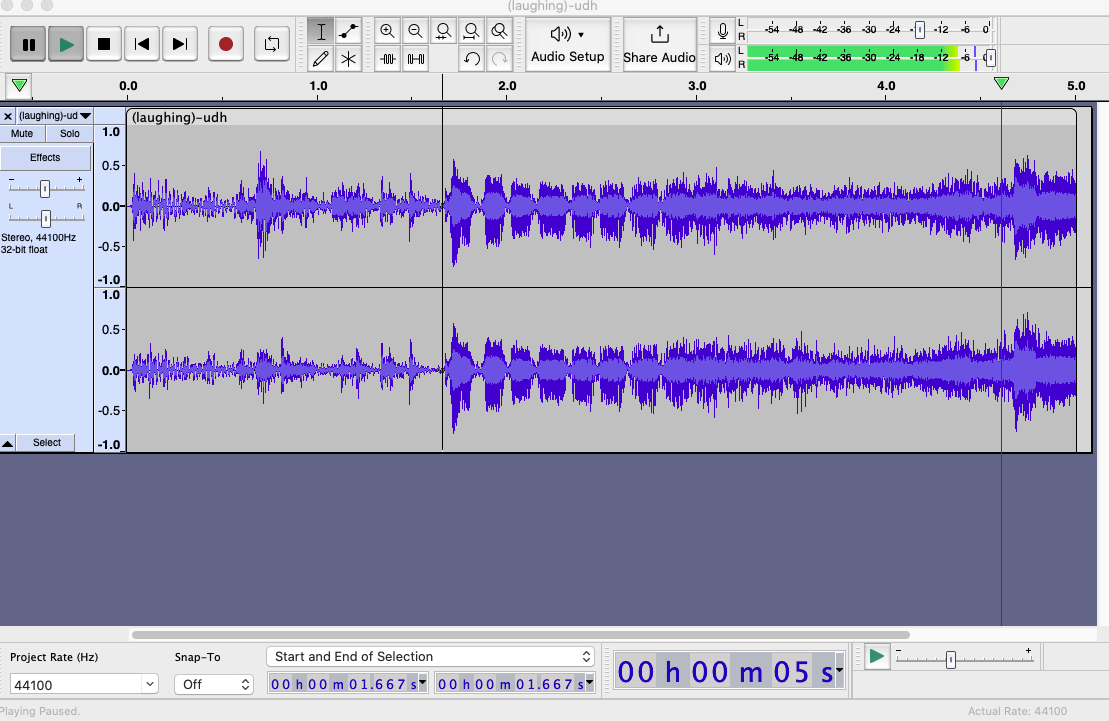
Insert an MP3 file with the sound of your choice and convert it to a wav file through audacity.
Code
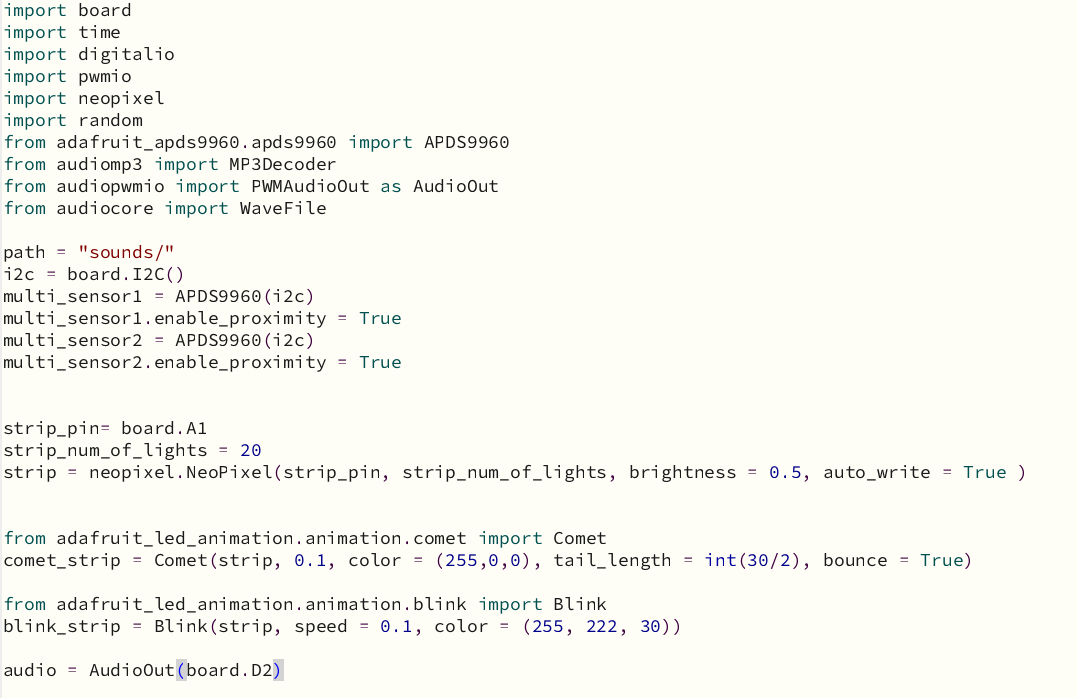
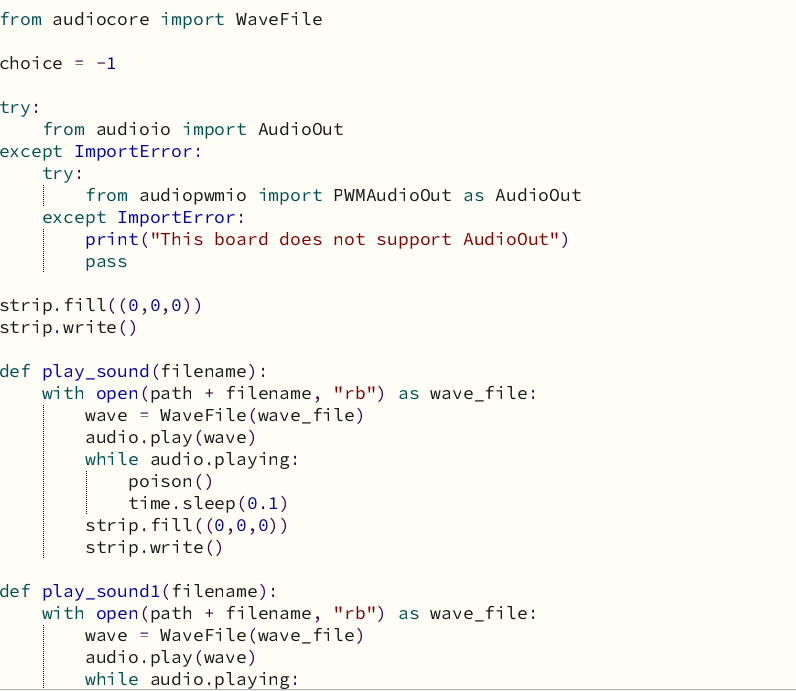
Sarah2 - the evil laugh
Sarah- the success sound
Downloads
Place It All Together
Place wires in box, through the whole.
Tape the prox sensors to the bottom of the top of the box where the wholes are.
Glue box together.