Pinky Power Arcade Inspired Game
by apande29 in Circuits > Arduino
127 Views, 0 Favorites, 0 Comments
Pinky Power Arcade Inspired Game
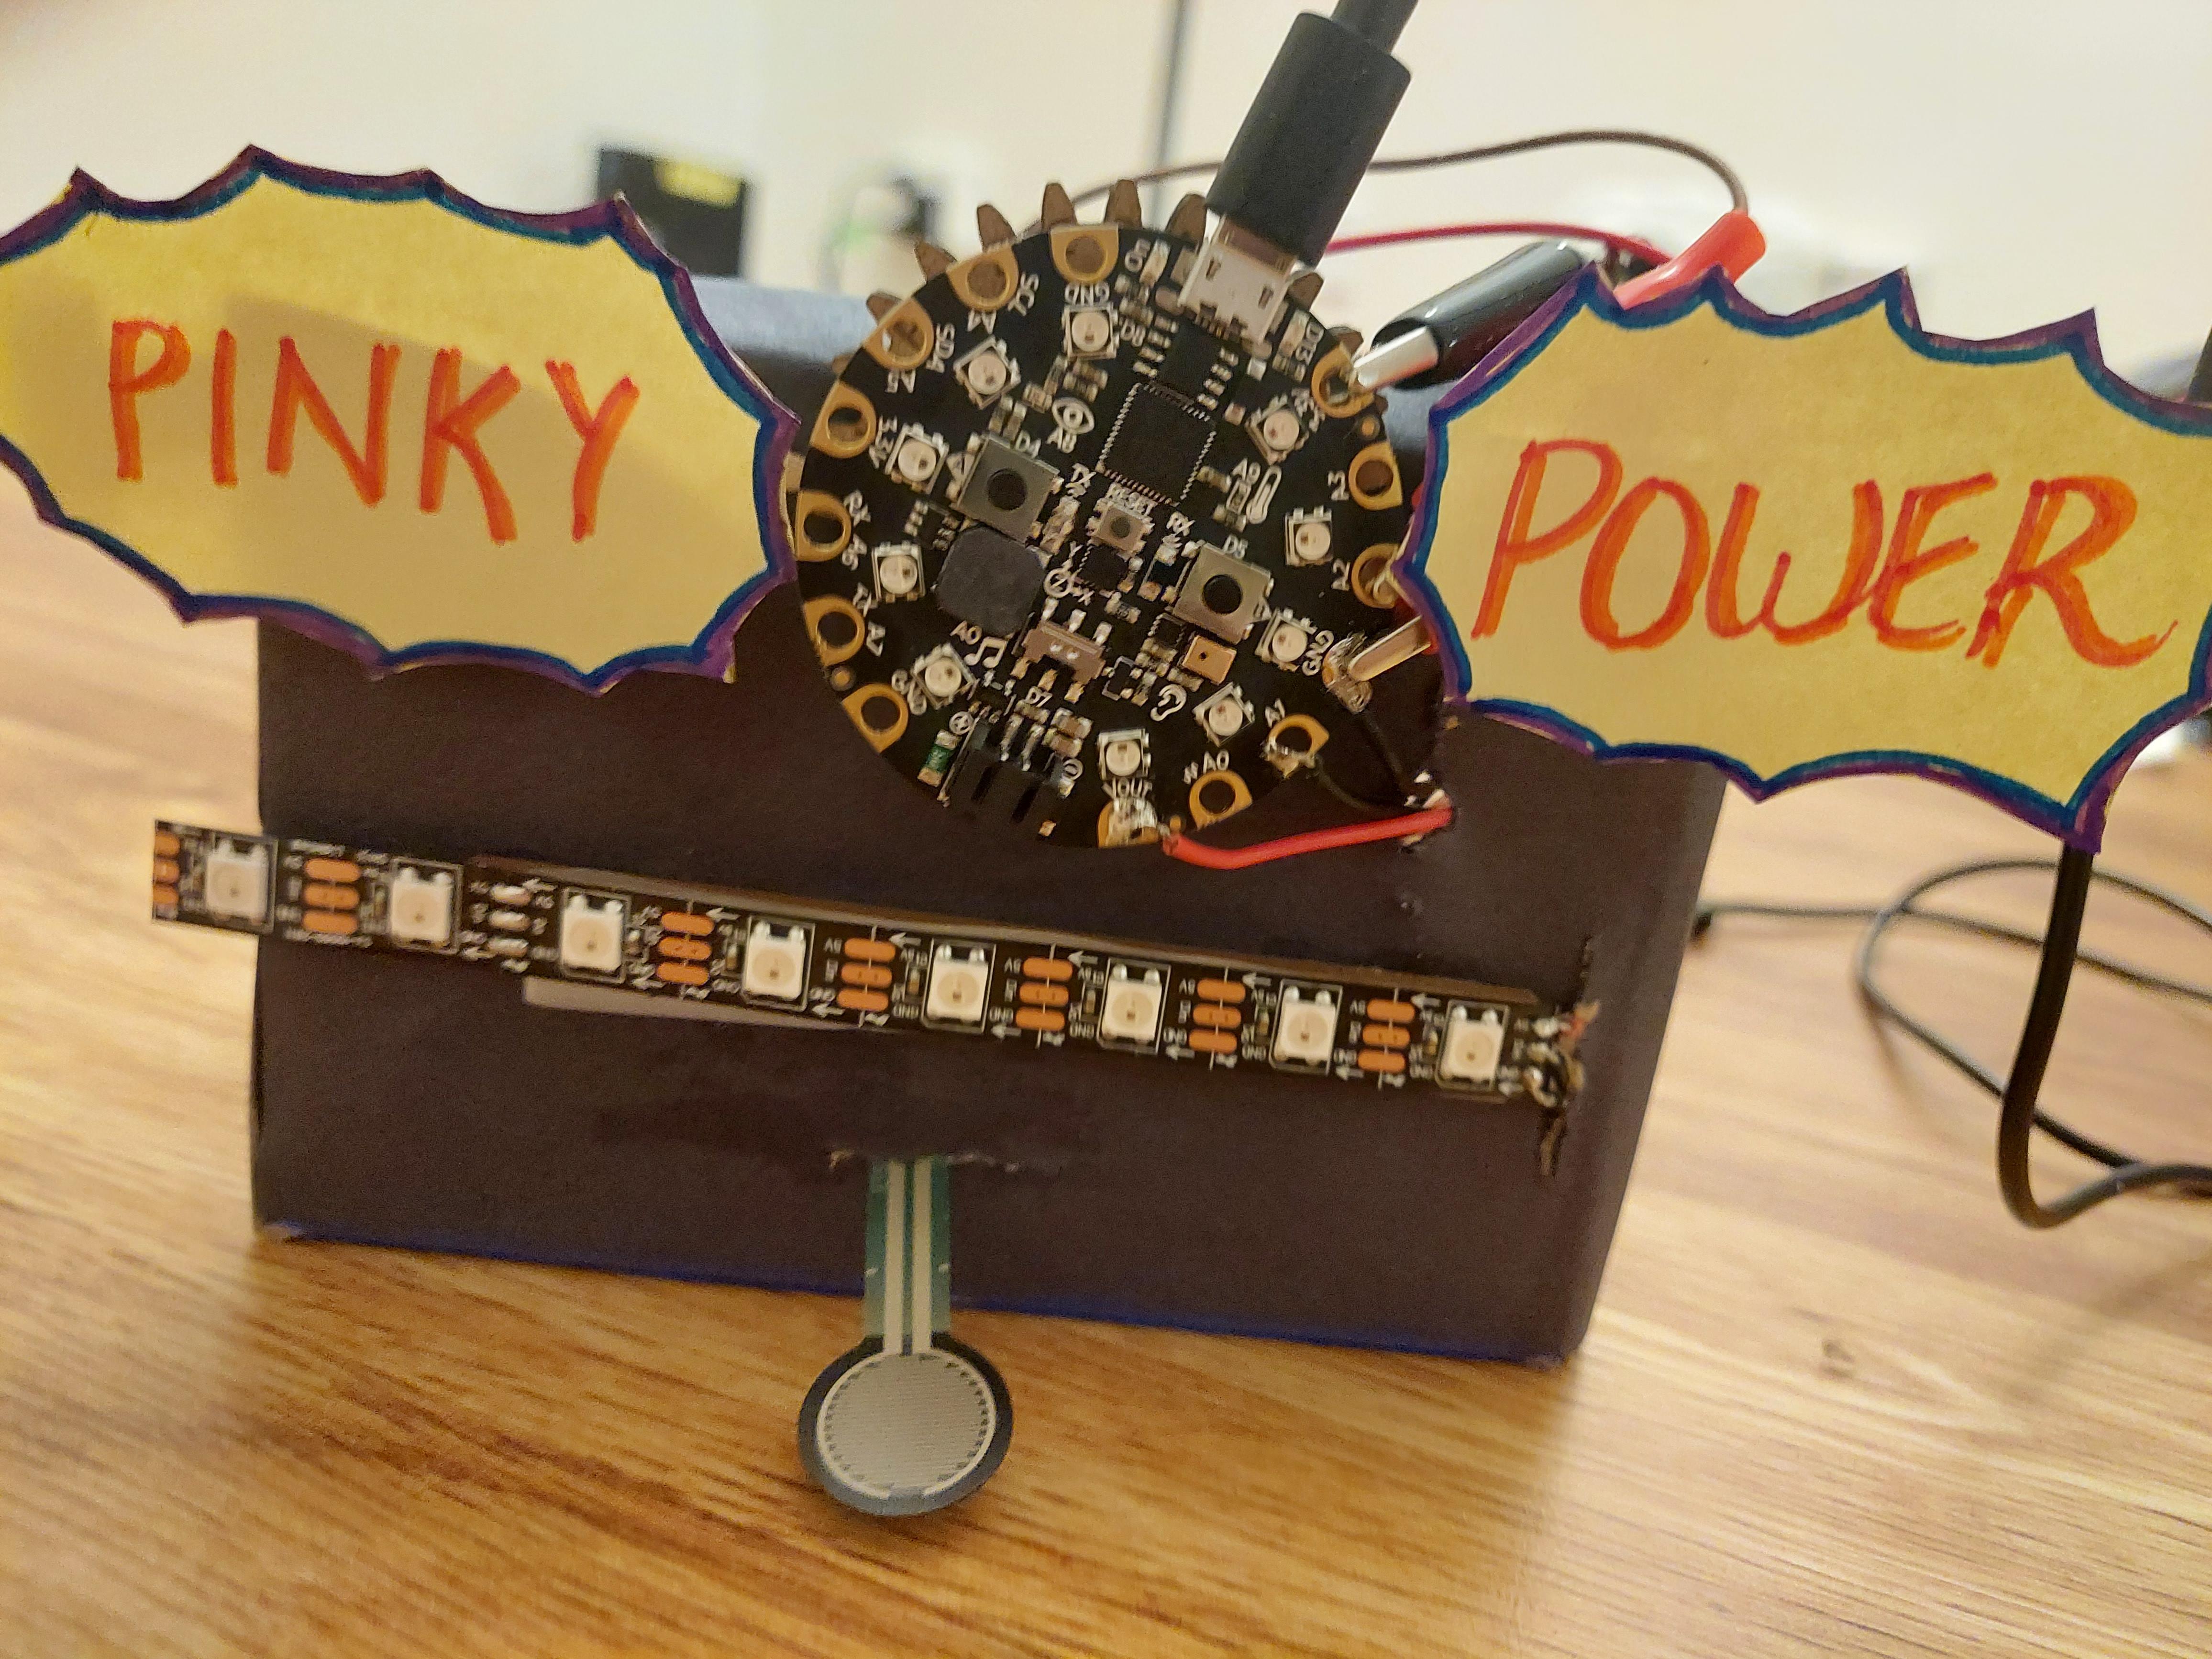
This is game inspired by the punching games found in arcades. This is more like a miniature version of that game using the Force sensitive resistor. The small size of the FSR makes it suitable to played us
Supplies
1 Breadboard
1 Force sensitive resistor
3 Alligator Clip to Breadboard pin cables
1 CPX
1 Resistor 10,000 ohm
1 USB cable
1 neopixel strip
3 wires
1 solder gun
1 solder
1 cardboard box
1 scissor
1 tape
1 colored paper
1 glue
Step 1: Making the Circuit for Get the Readings
.jpg)
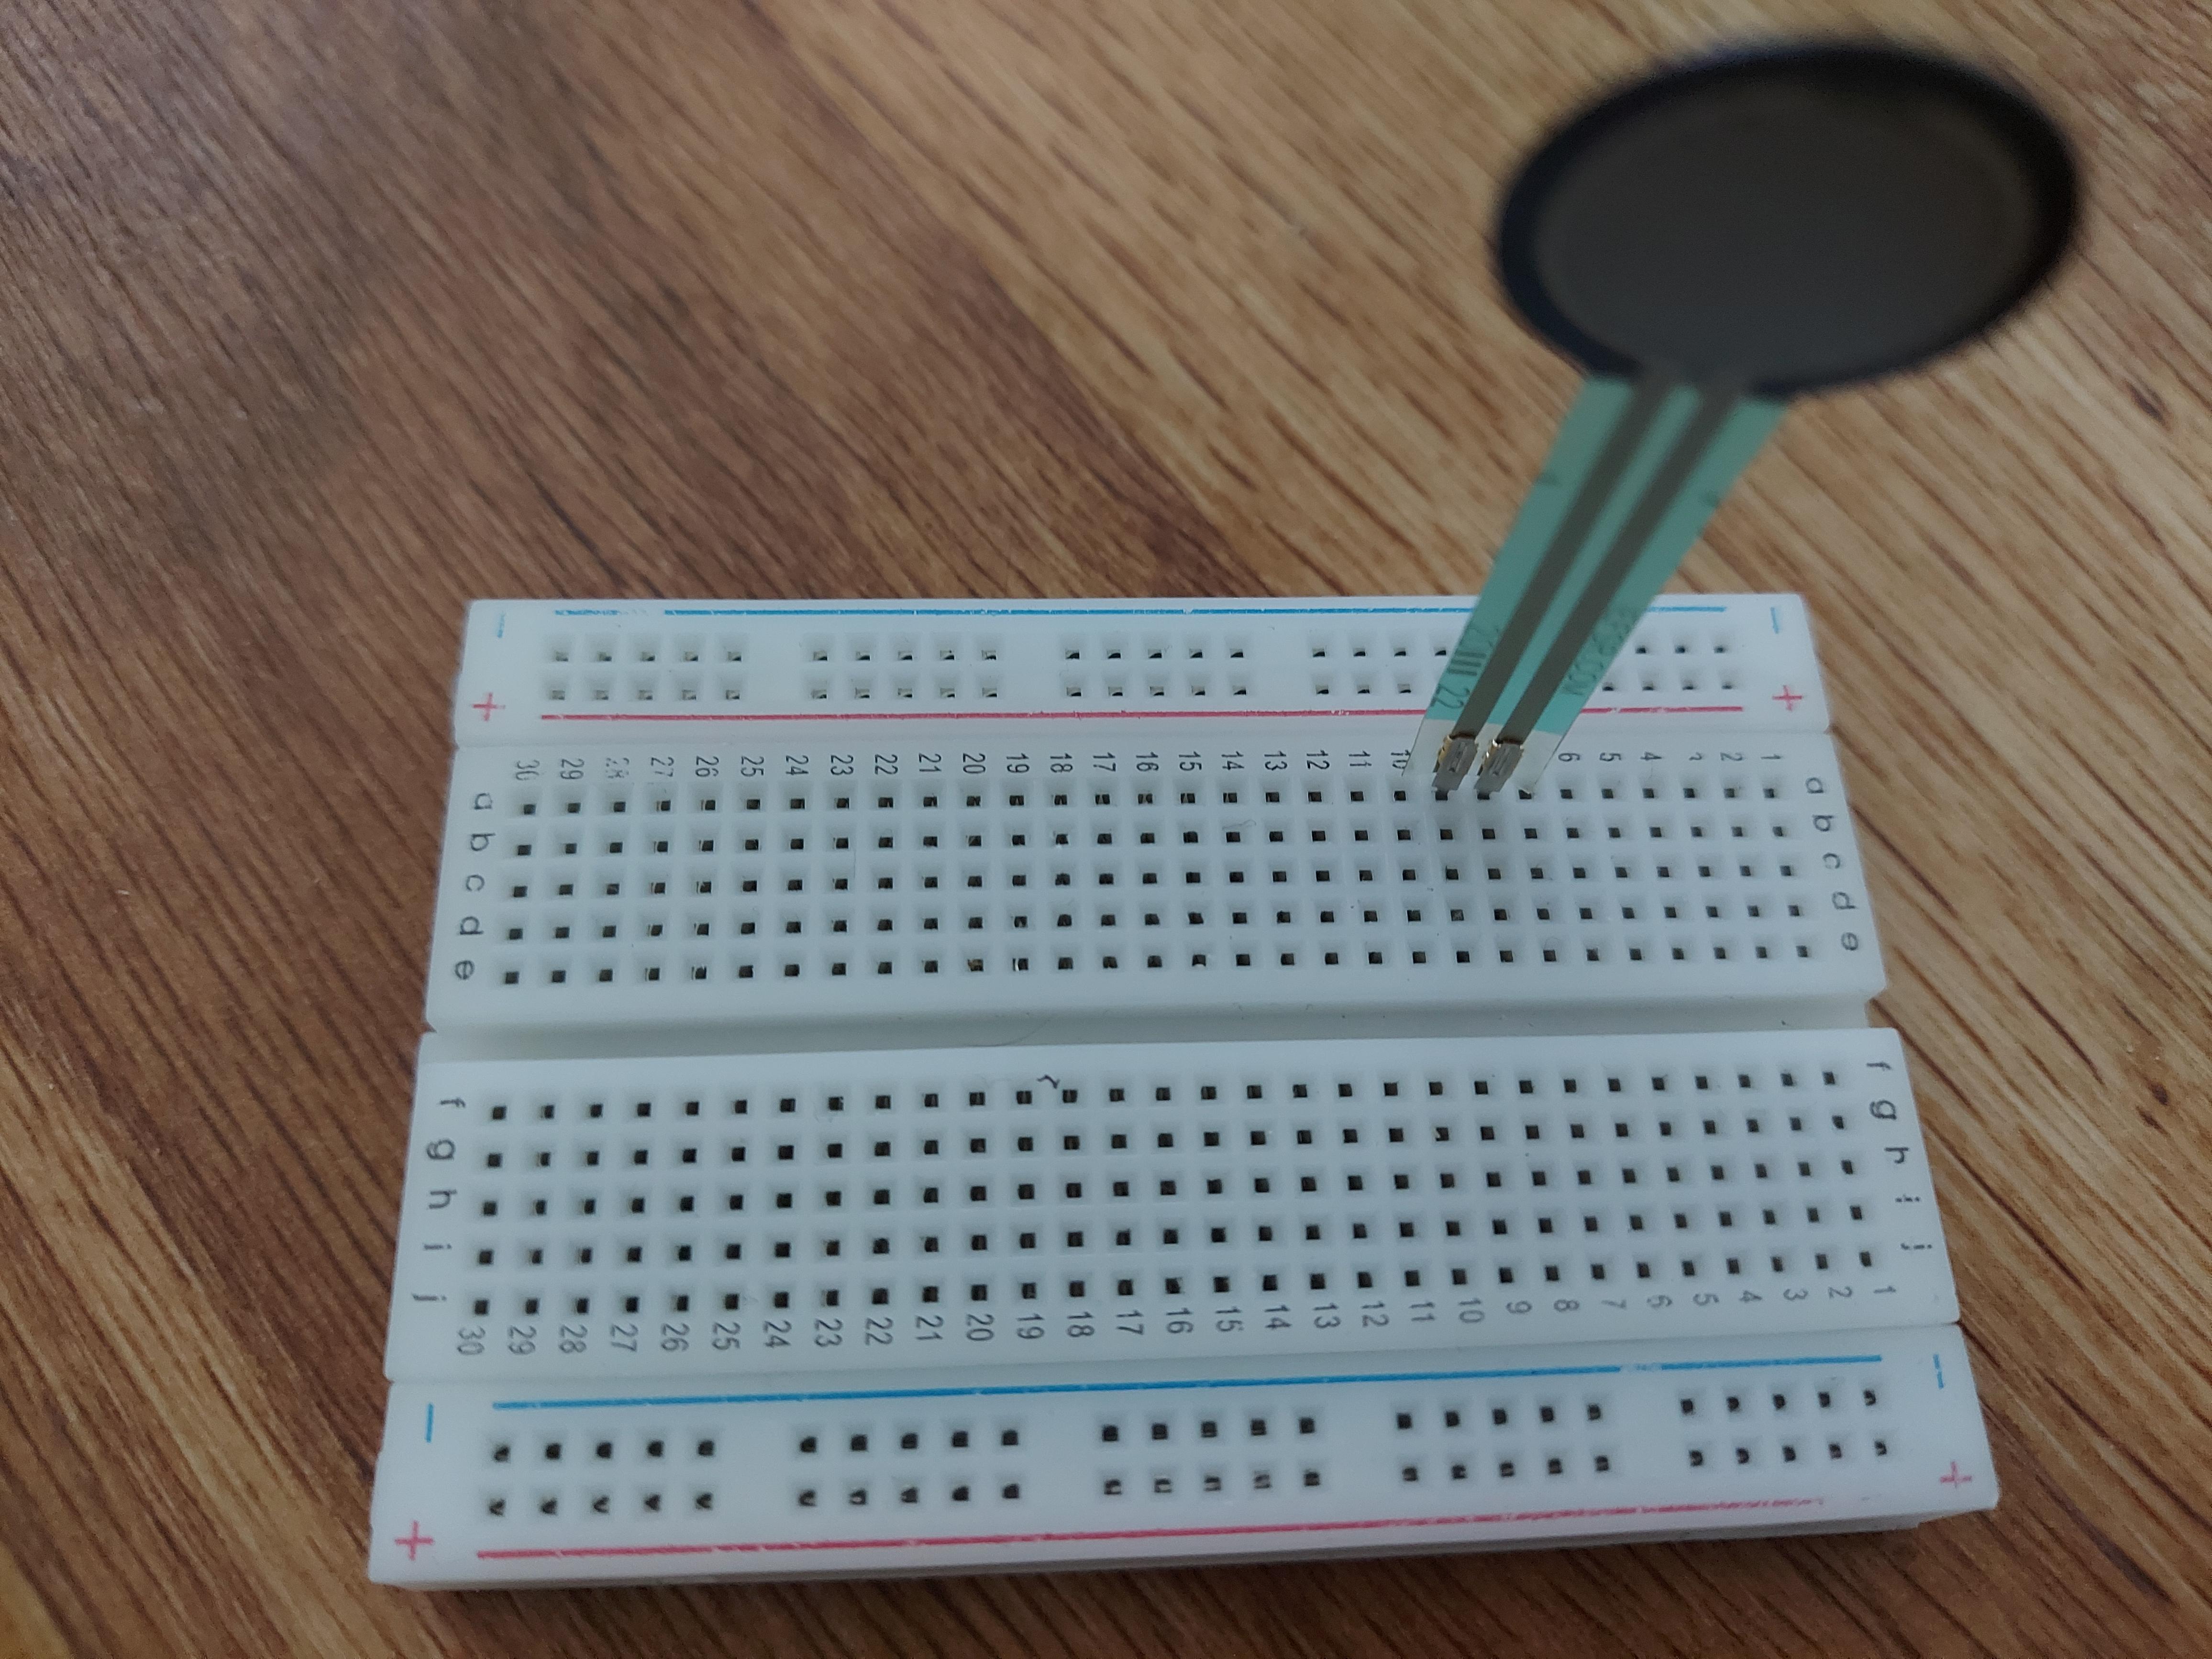
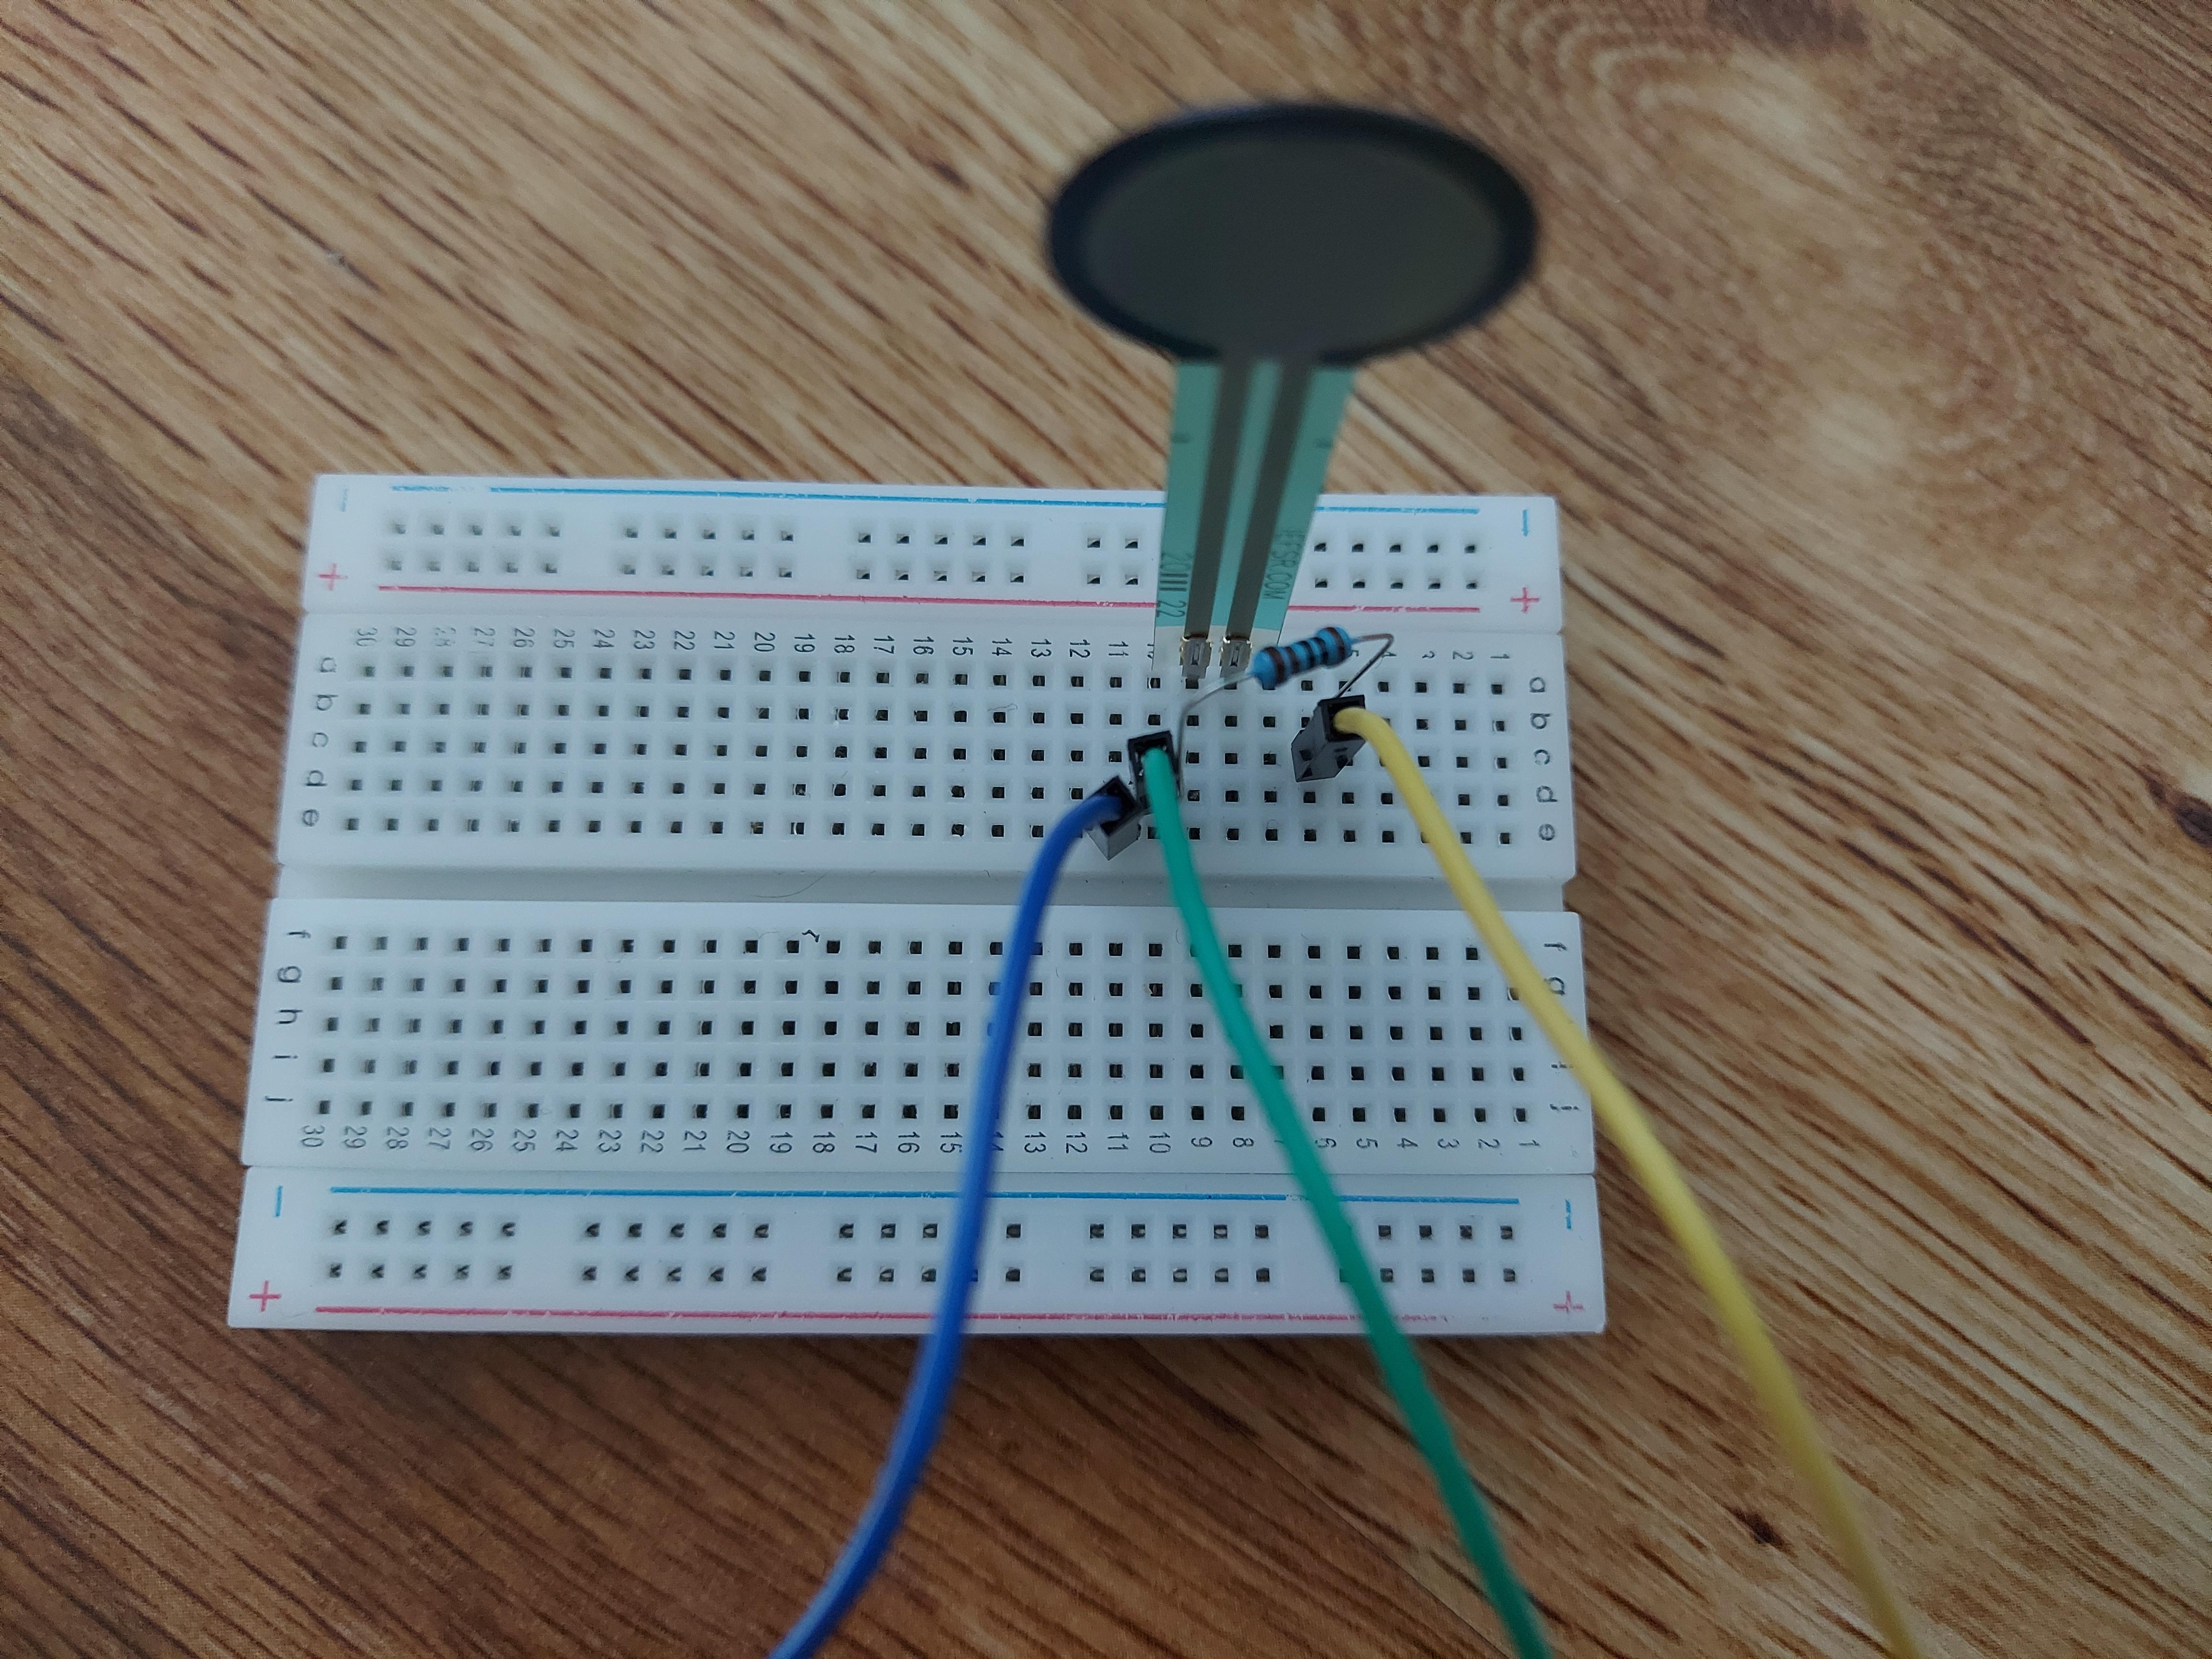
- Place the ends of the force sensitive resistor on the breadboard at points a8 and a9.
- Place one cable on point c6, another on d10 and the third one on e11.
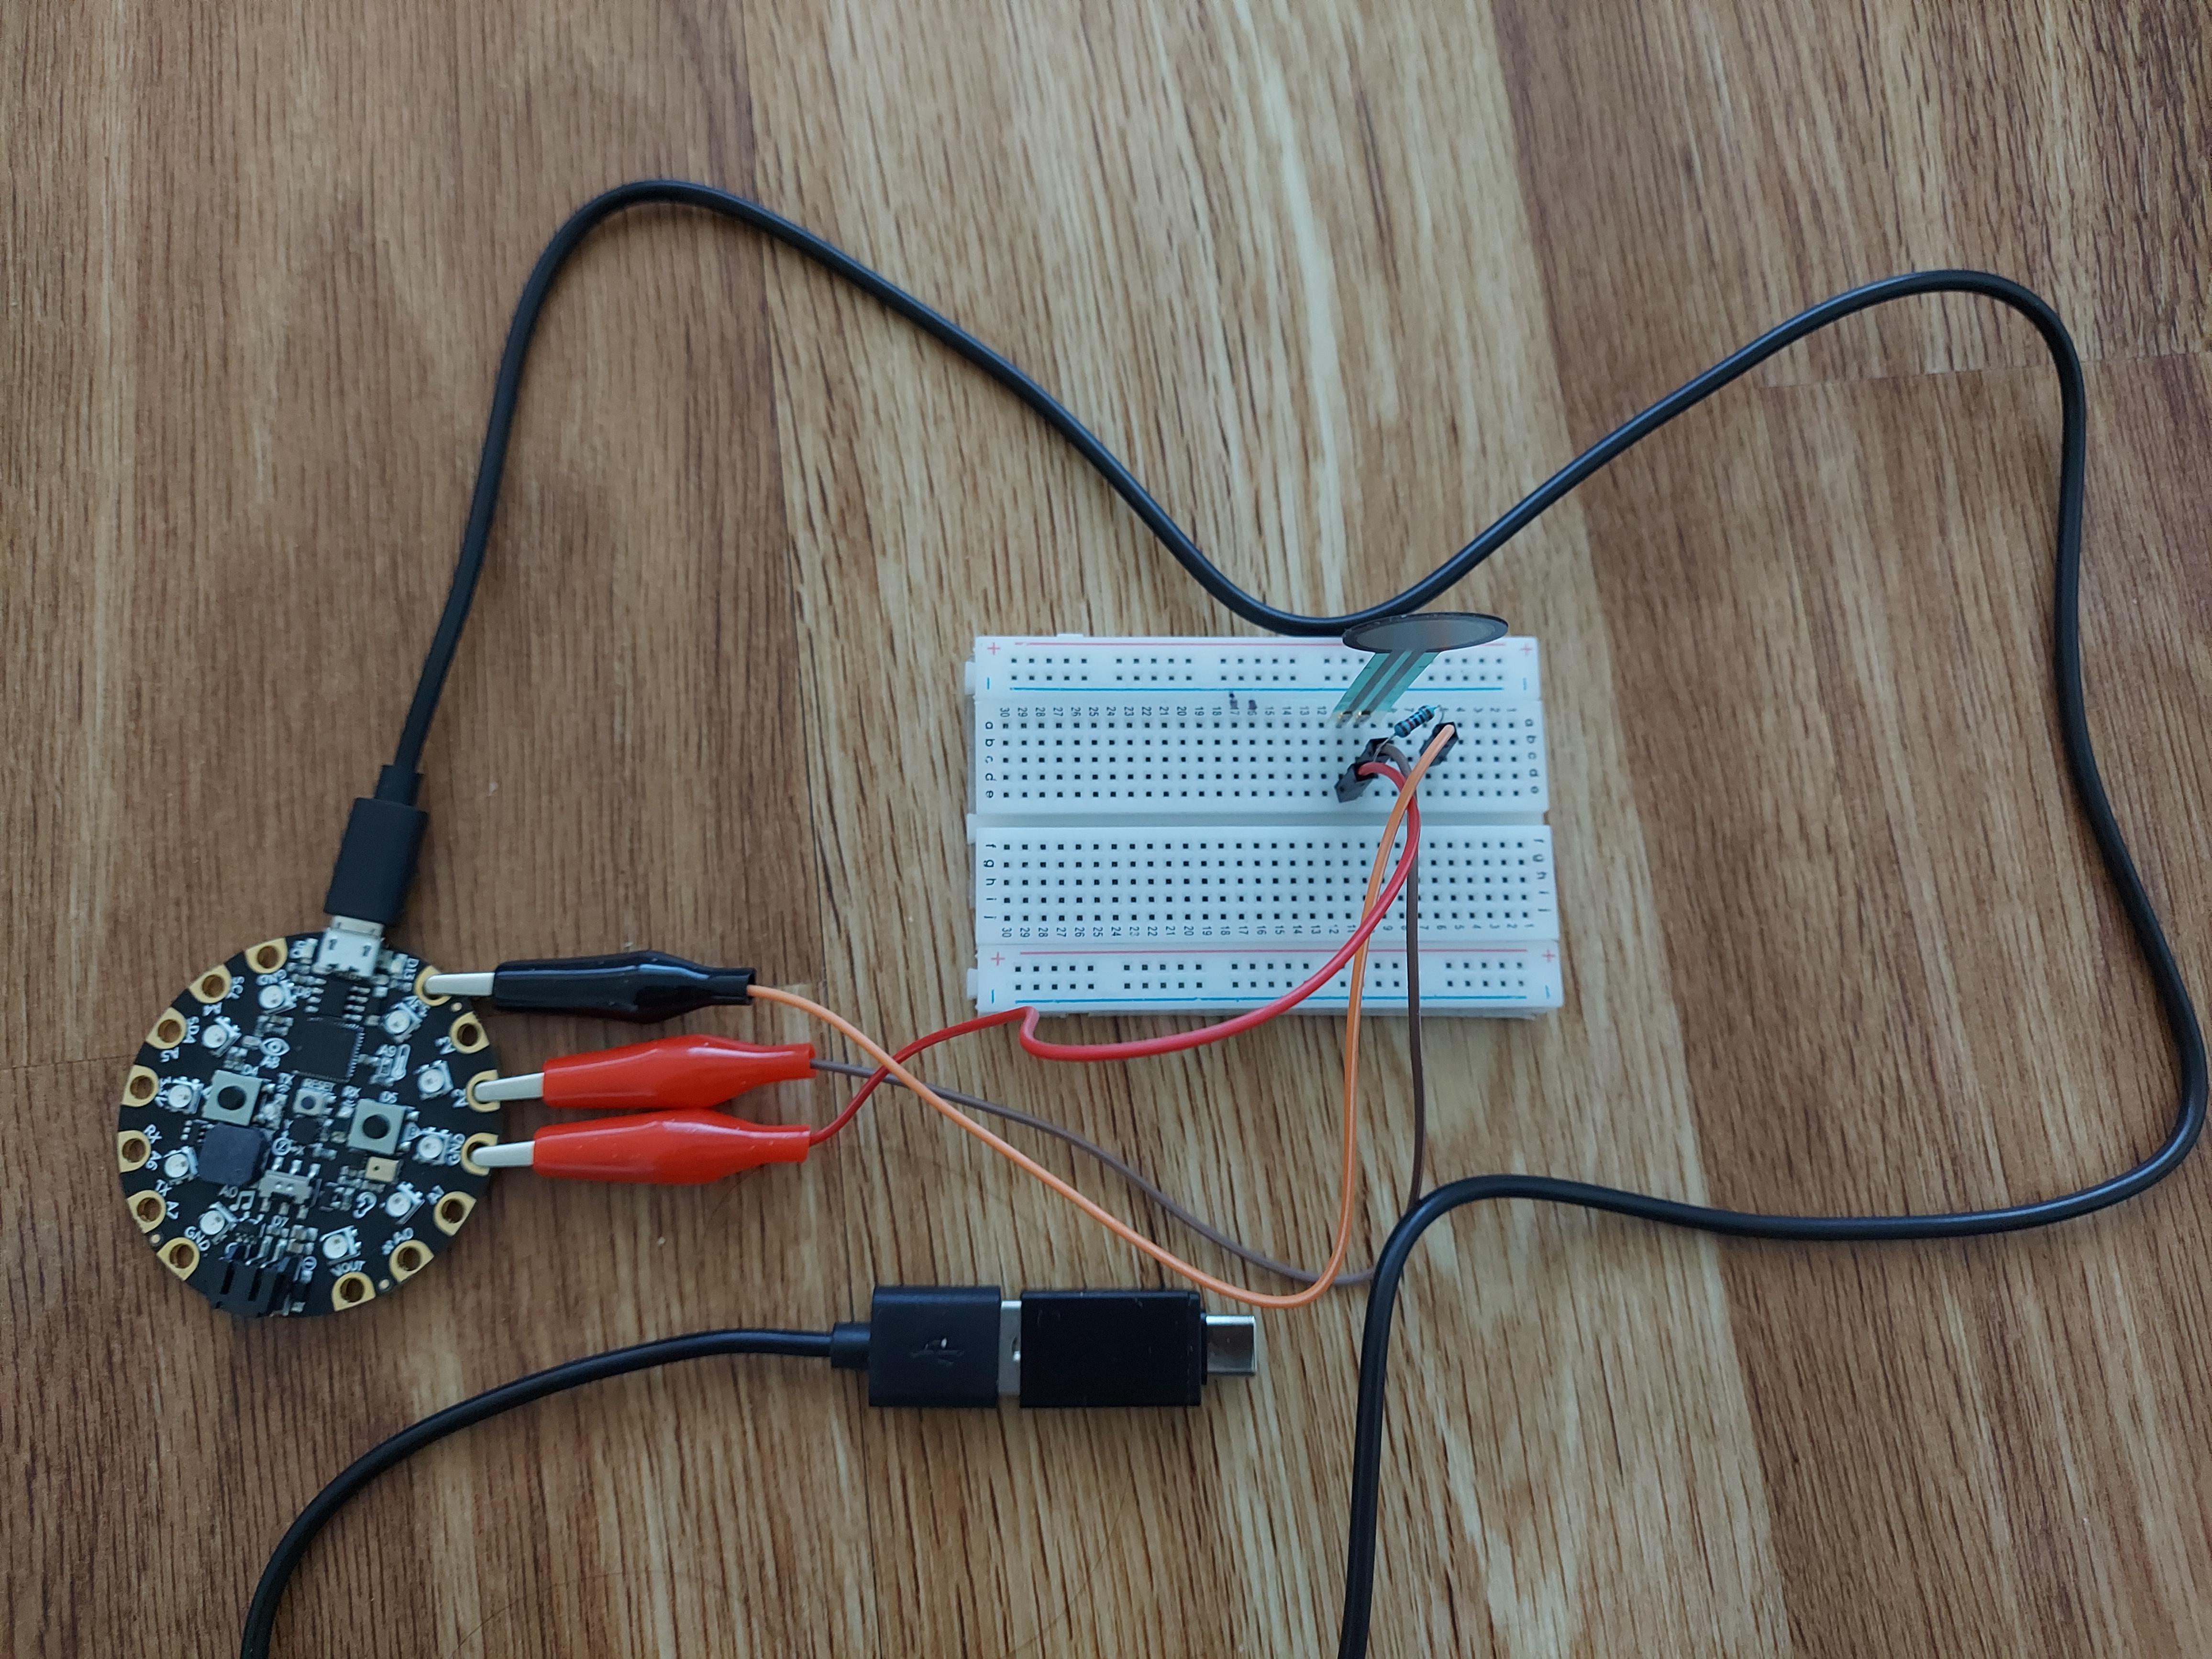
- Connect the alligator clip to the breadboard pin cable at c6 to 3.3V pin on the CPX.
- Connect the alligator clip to the breadboard pin cable at d10 to any pin on the CPX (here I have attached it to A2 pin).
- Connect the alligator clip to the breadboard pin cable at e11 to the ground or GND pin on the CPX.
- Place the resistor on pins b6 and e10.
- Connect the CPX to the computer using the USB cable.
Step 2: Getting the Initial Readings
.jpg)
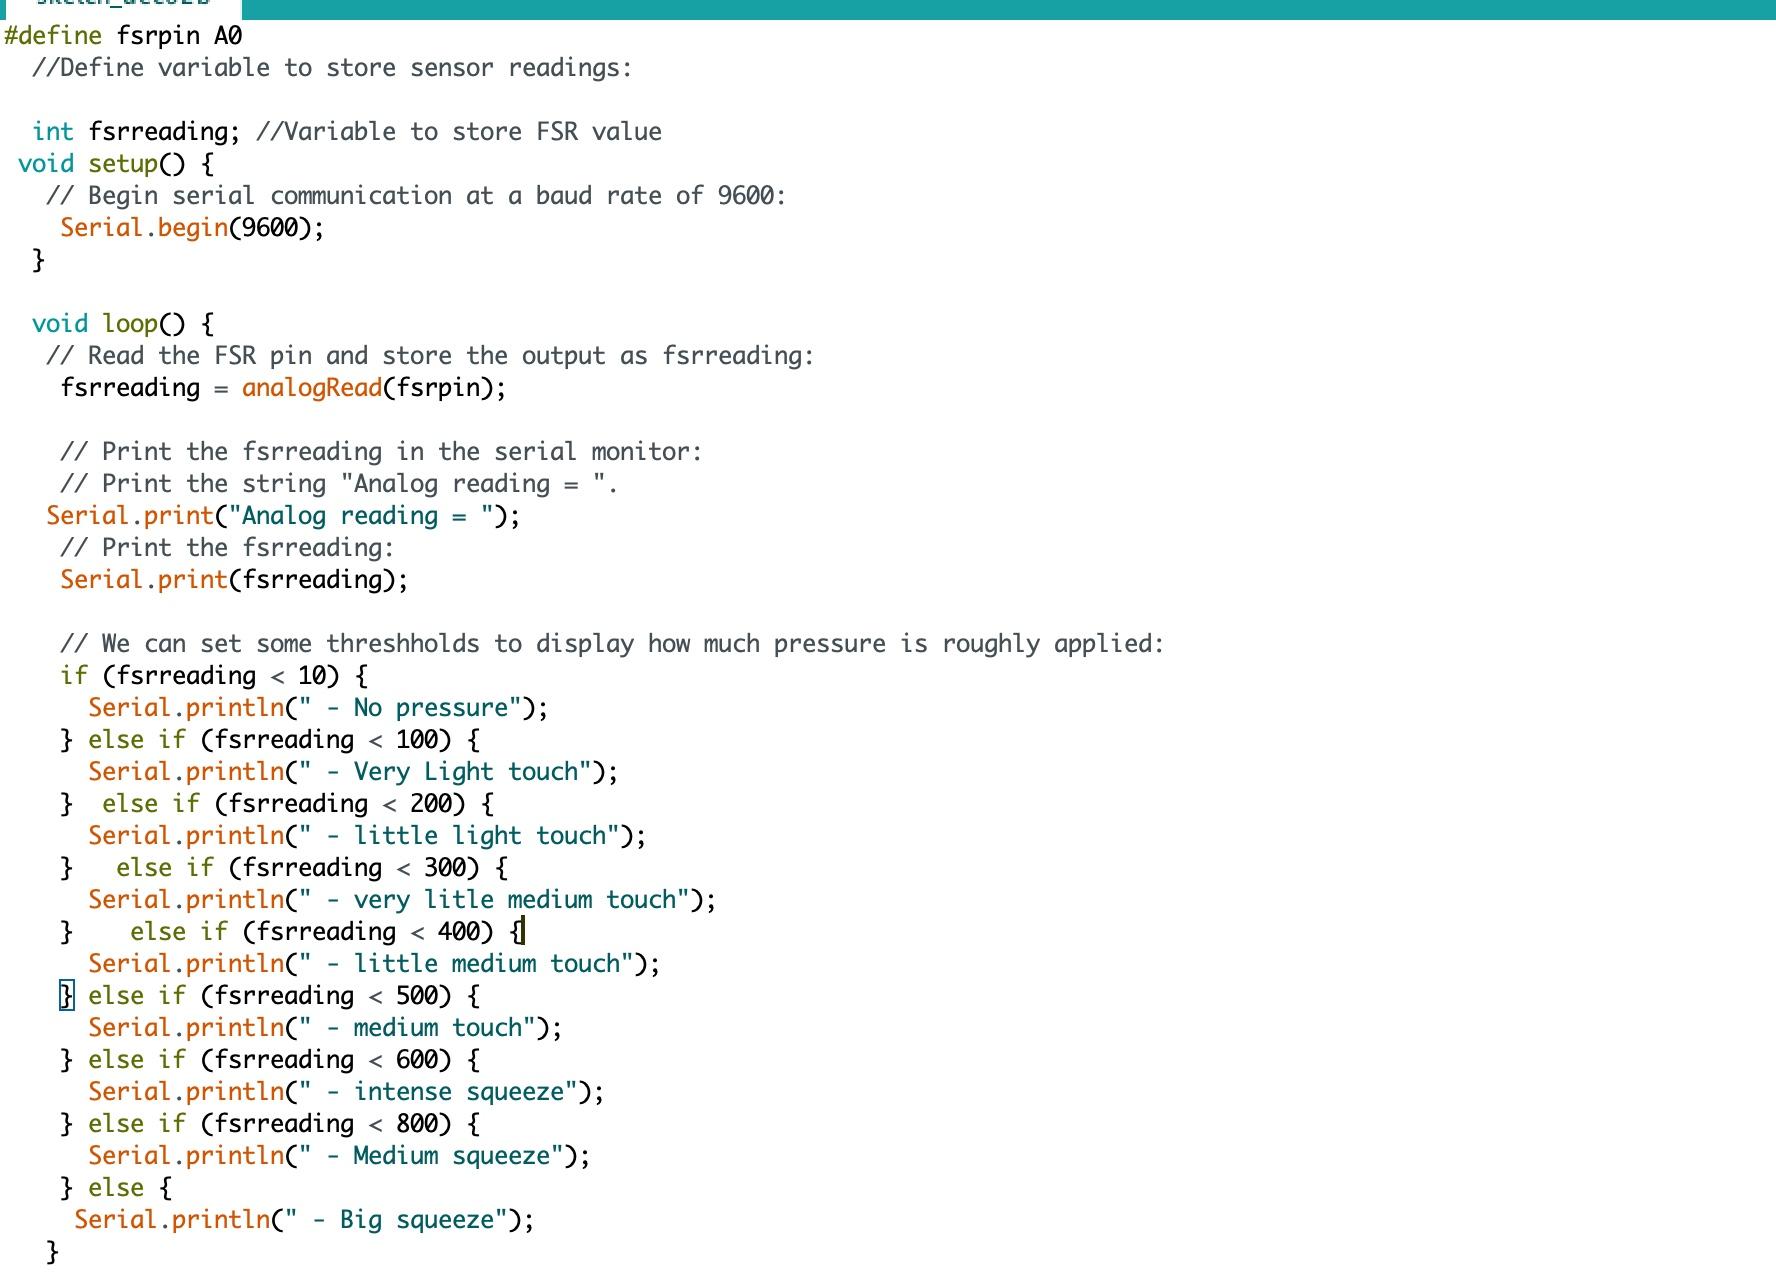
- Type the code in the image above on Arduino.
- Run the code and see how application of force on the force sensitive resistor produces spikes on the graph shown in the console.
- Take note of the major pressure readings that bring out noticeable change in the graph.
Step 3: Code to Visualize the Force Applied on the FSR
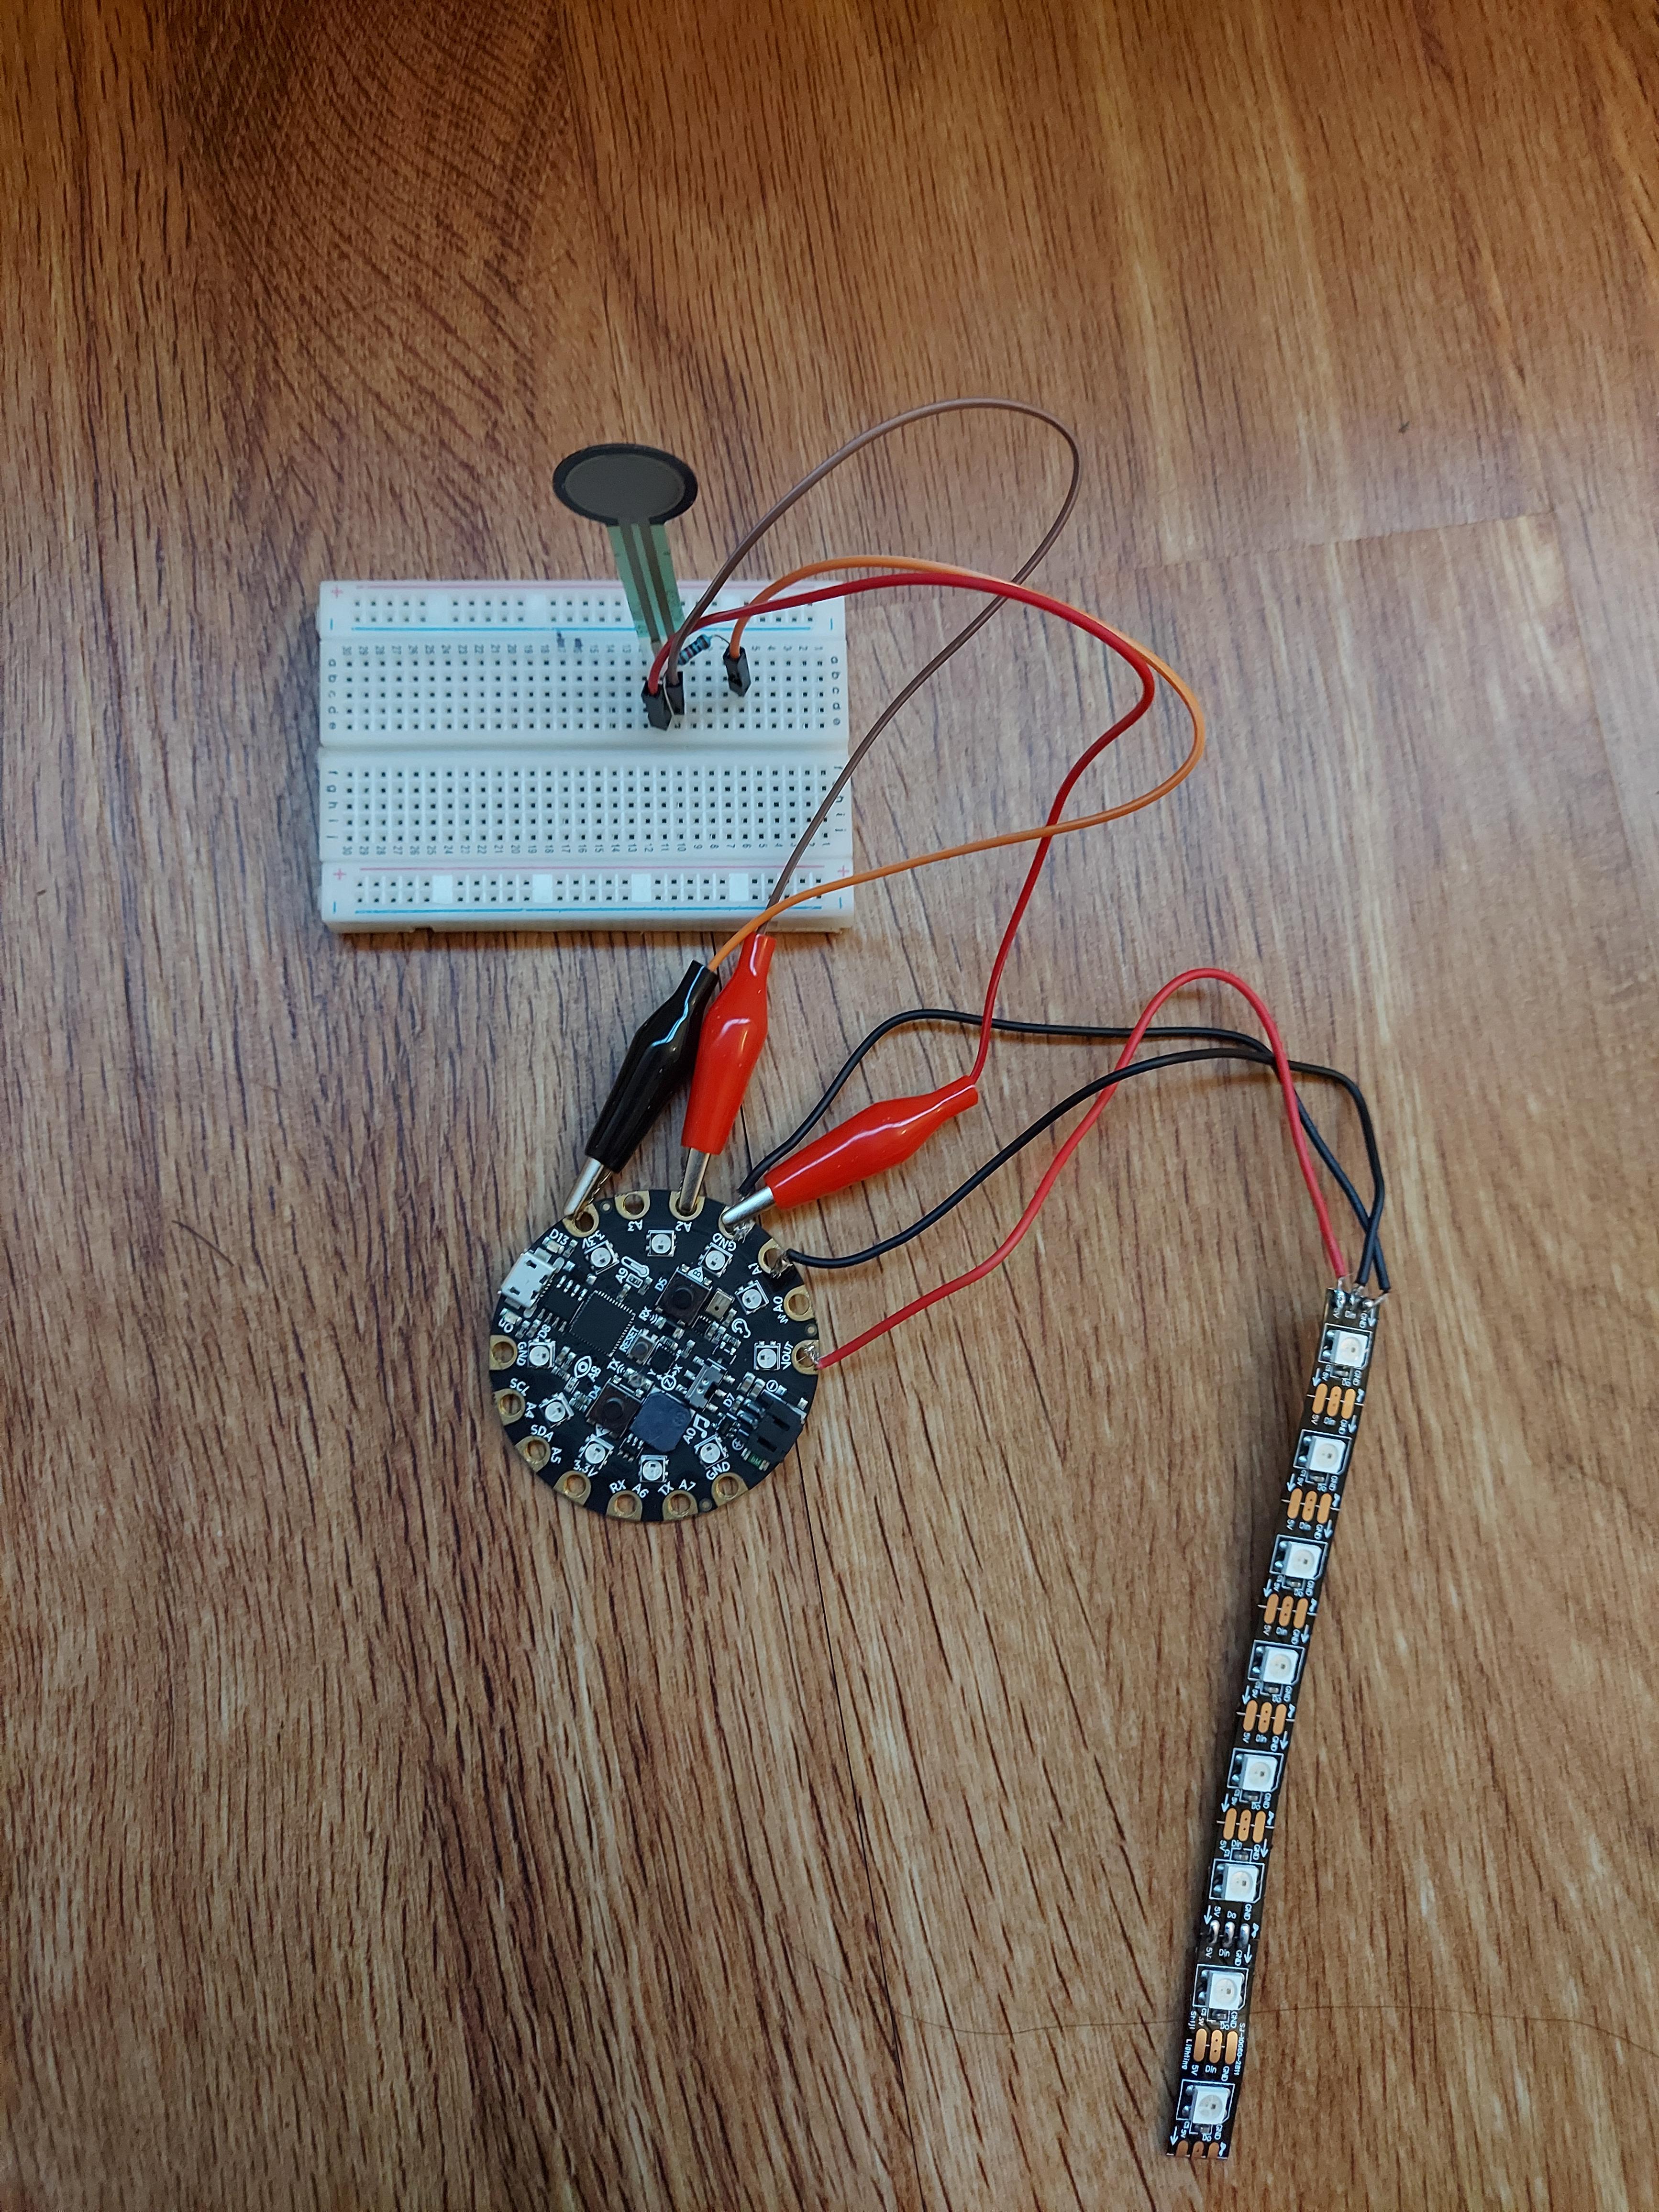
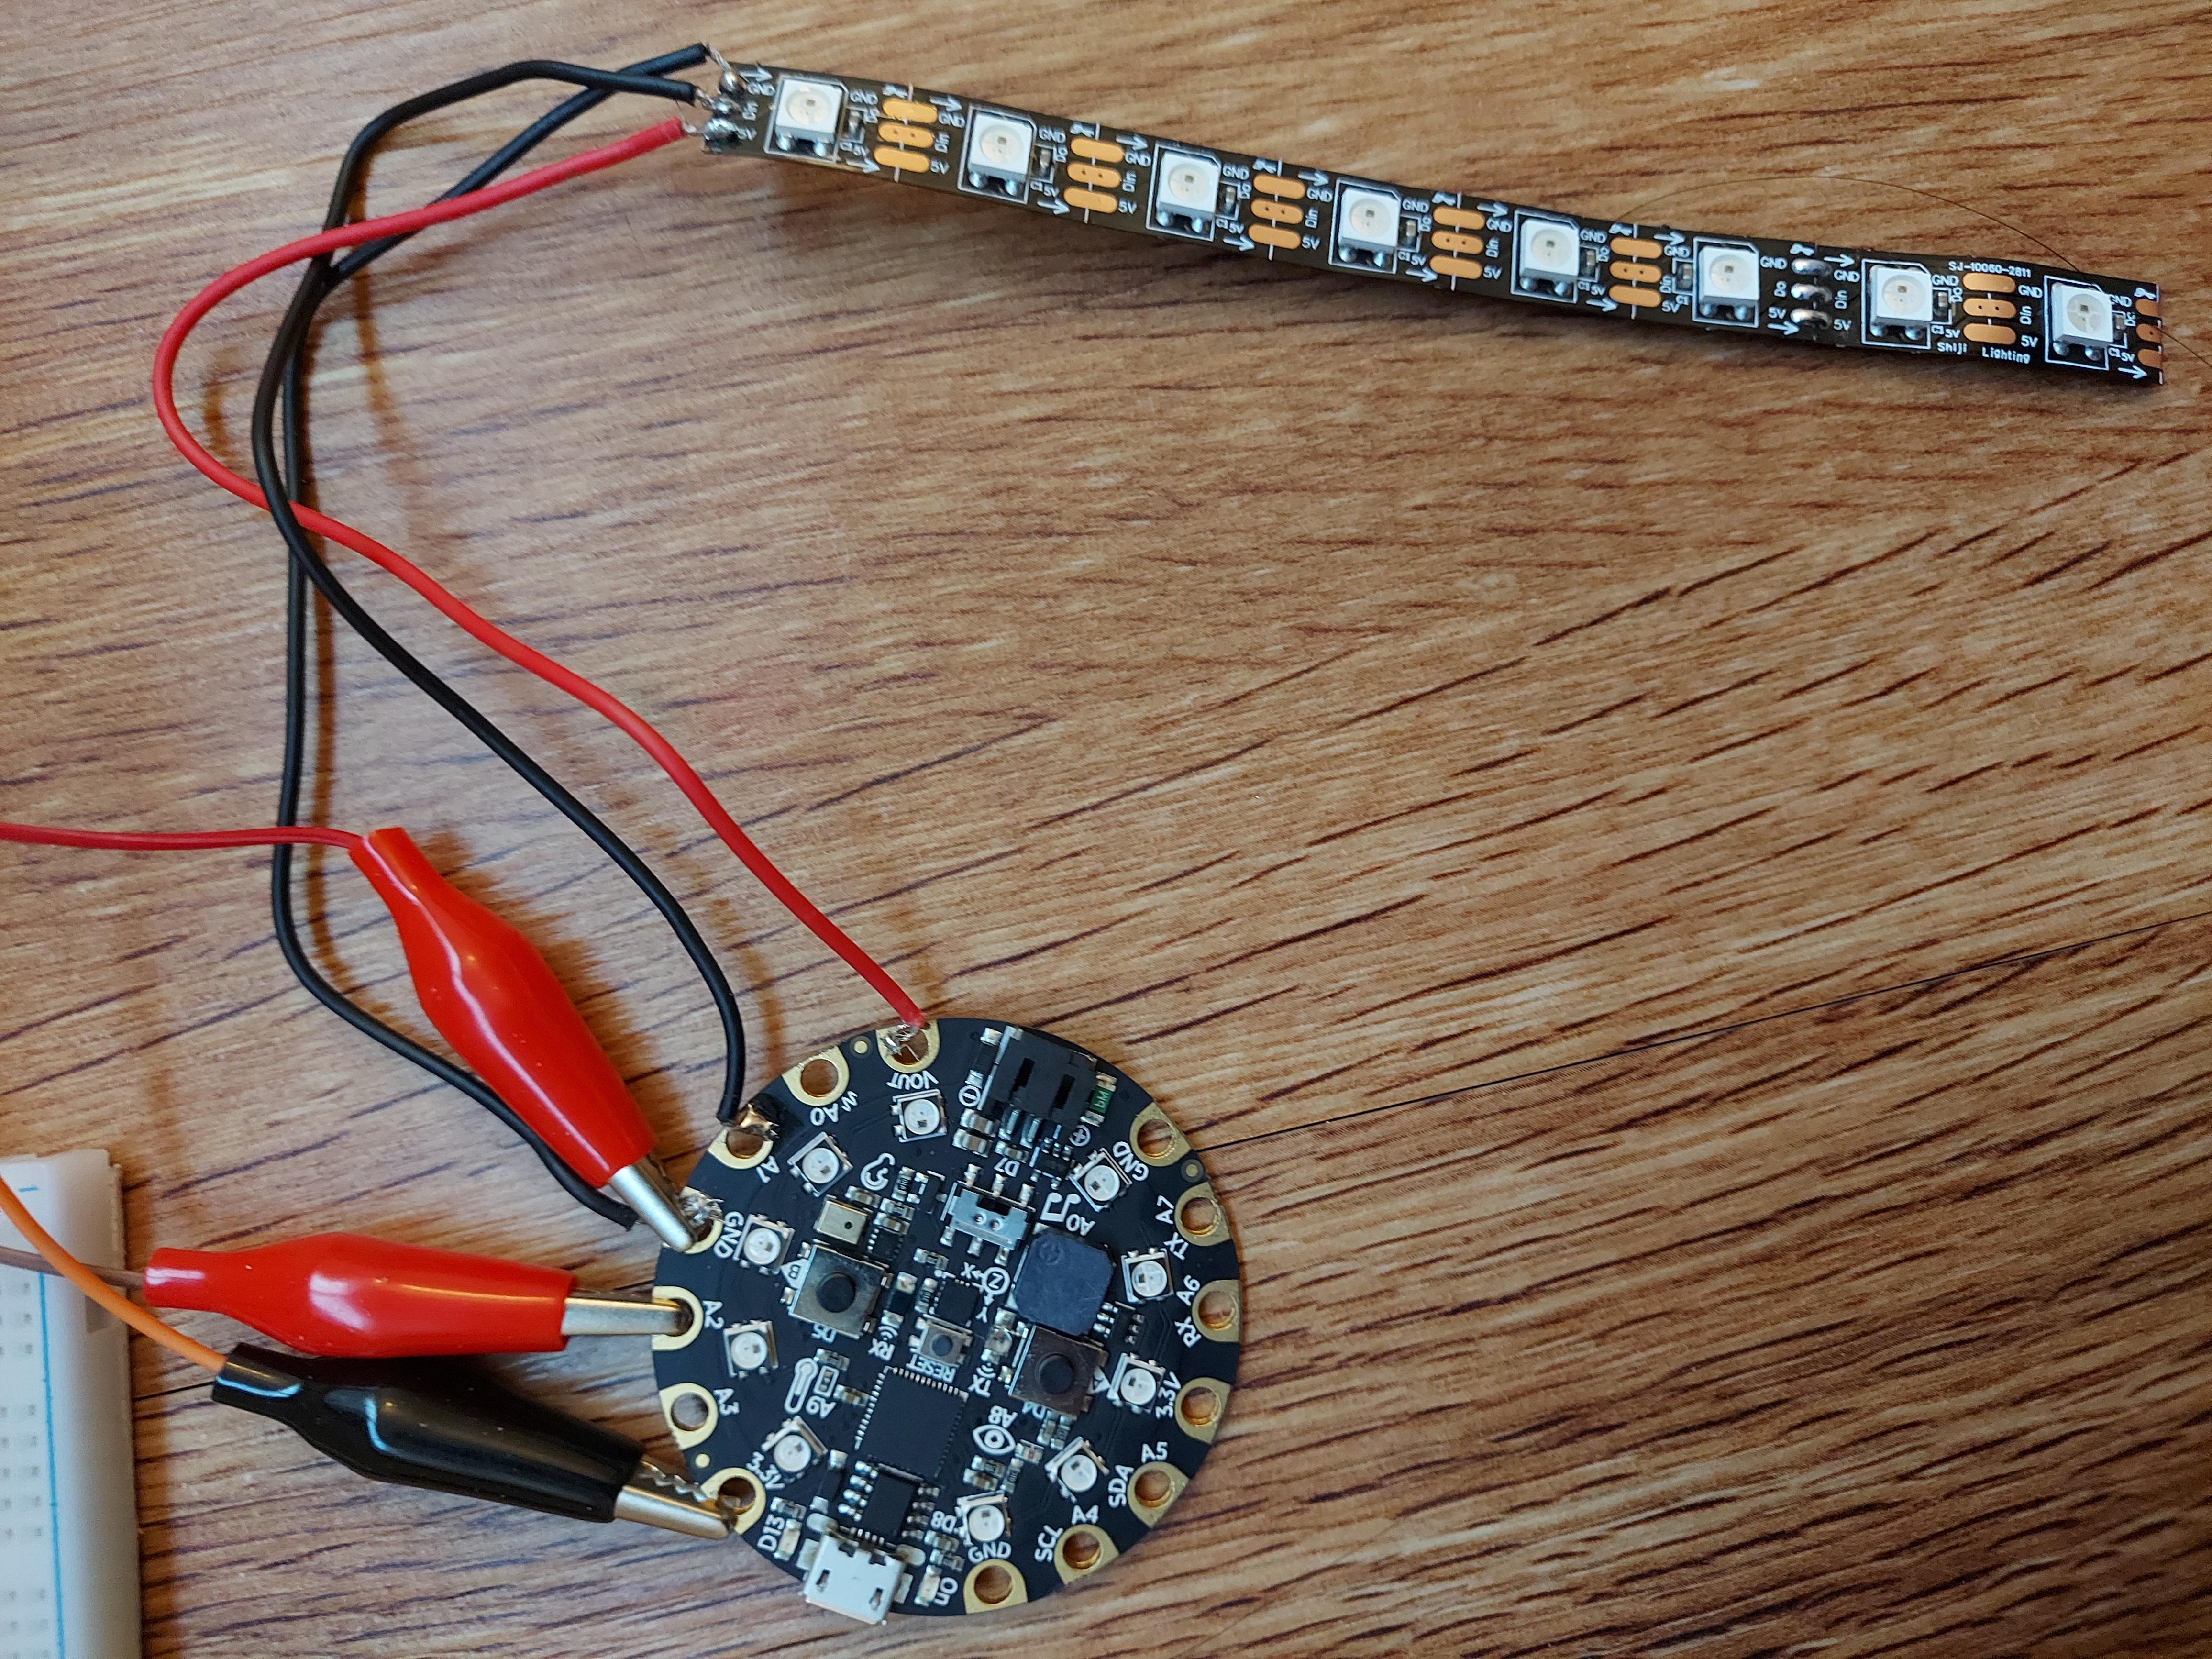
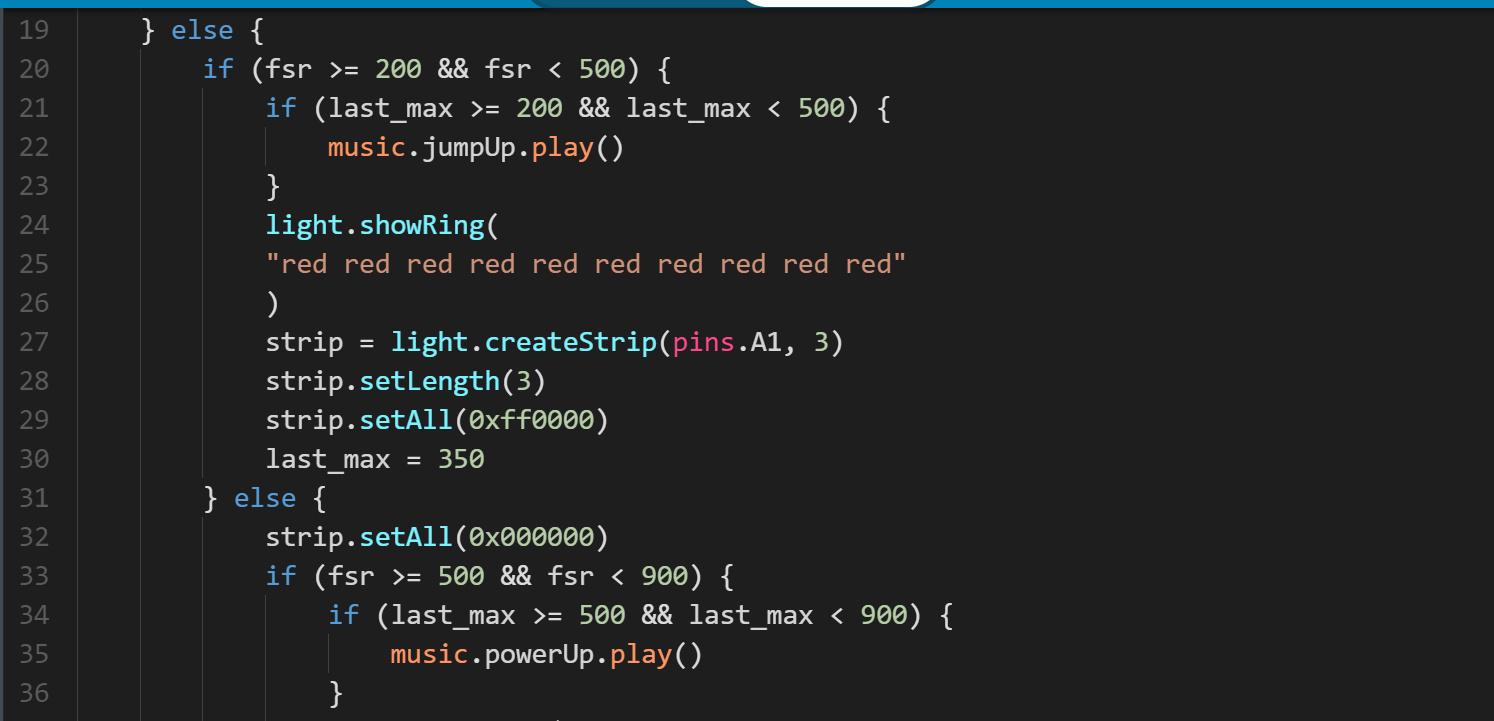
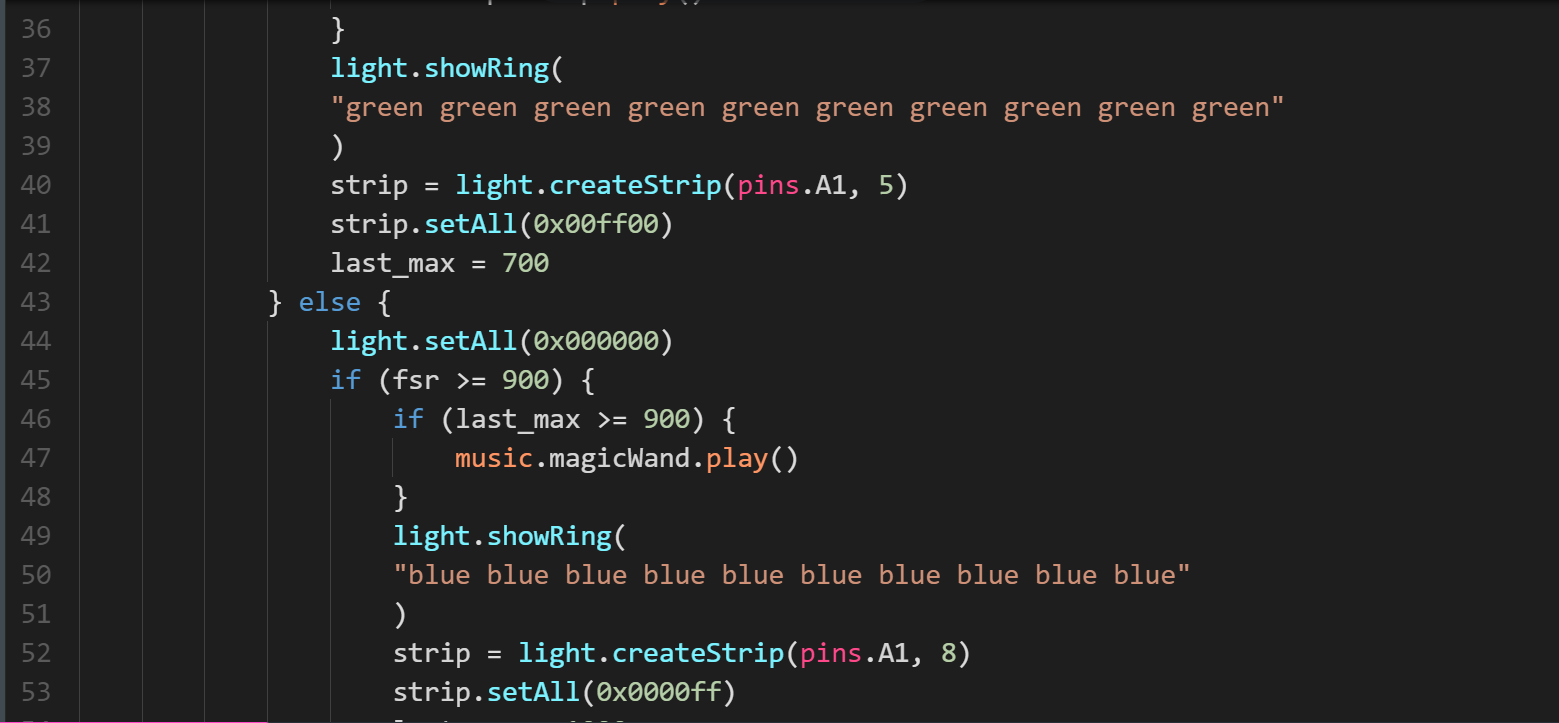
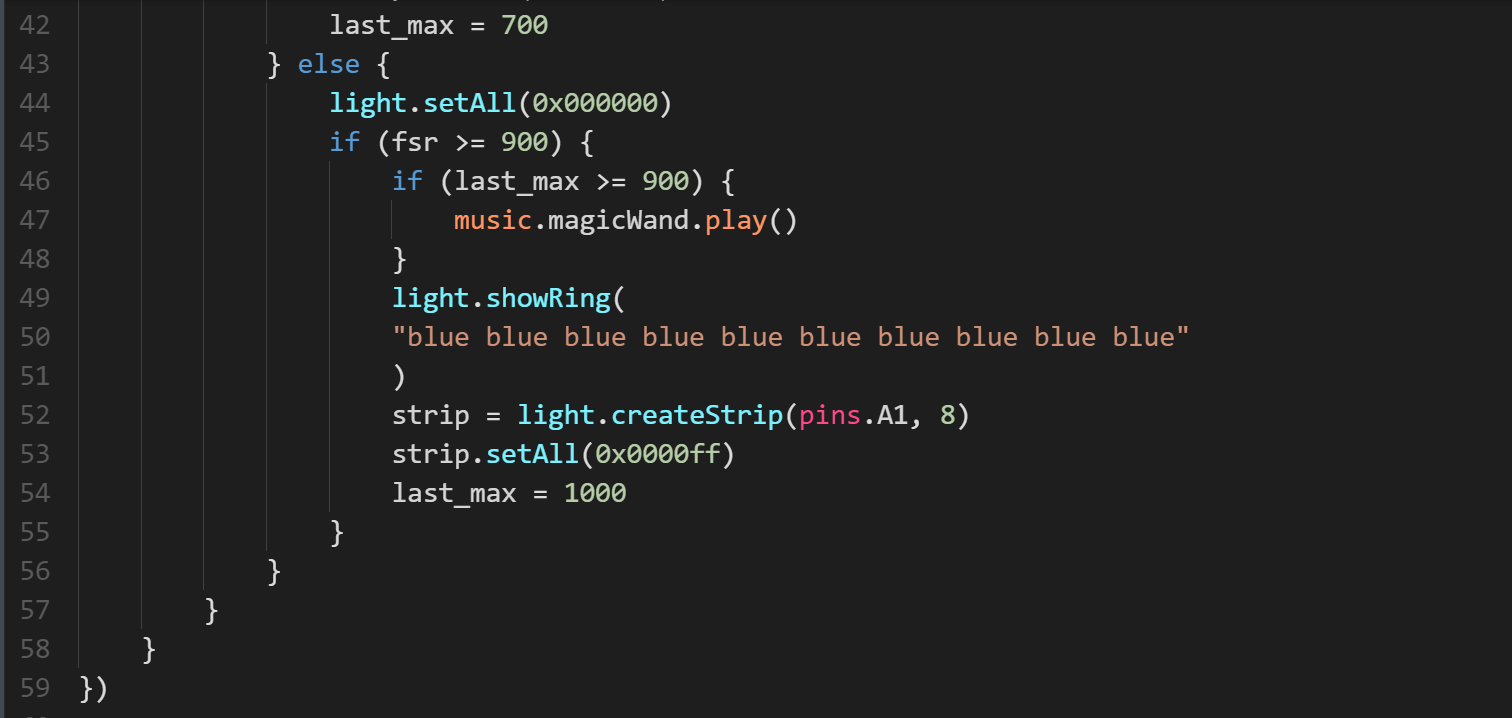
- Solder one end of the wires to the neopixel strip and solder the other end to the CPX as shown above.
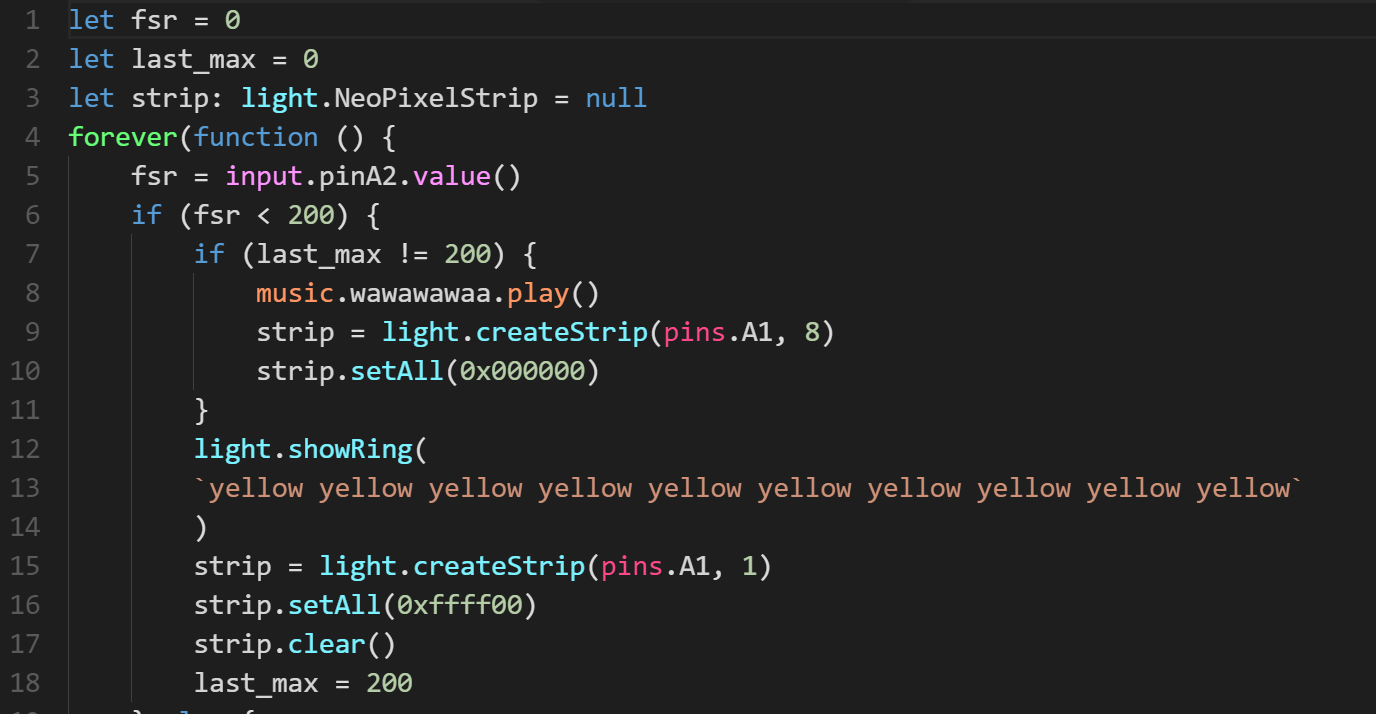
- Type the above code in makecode.
- The readings gotten from step 2 indicate that the major changes occur when pressure is less than 200, between 200 and 500, between 500 and 900, and above 900.The above code turns the neopixels on the CPX yellow when force applied is less than 200. When between 200 and 500, the neopixels turn red. Between 500 and 900 force input, the neopixels turn green. When a force greater than 900 is applied the CPX neopixels turn blue.
- Every color change is accompanied with a different sound. The neopixel strip changes color according to CPX neopixels.
Step 4: Add Decorations
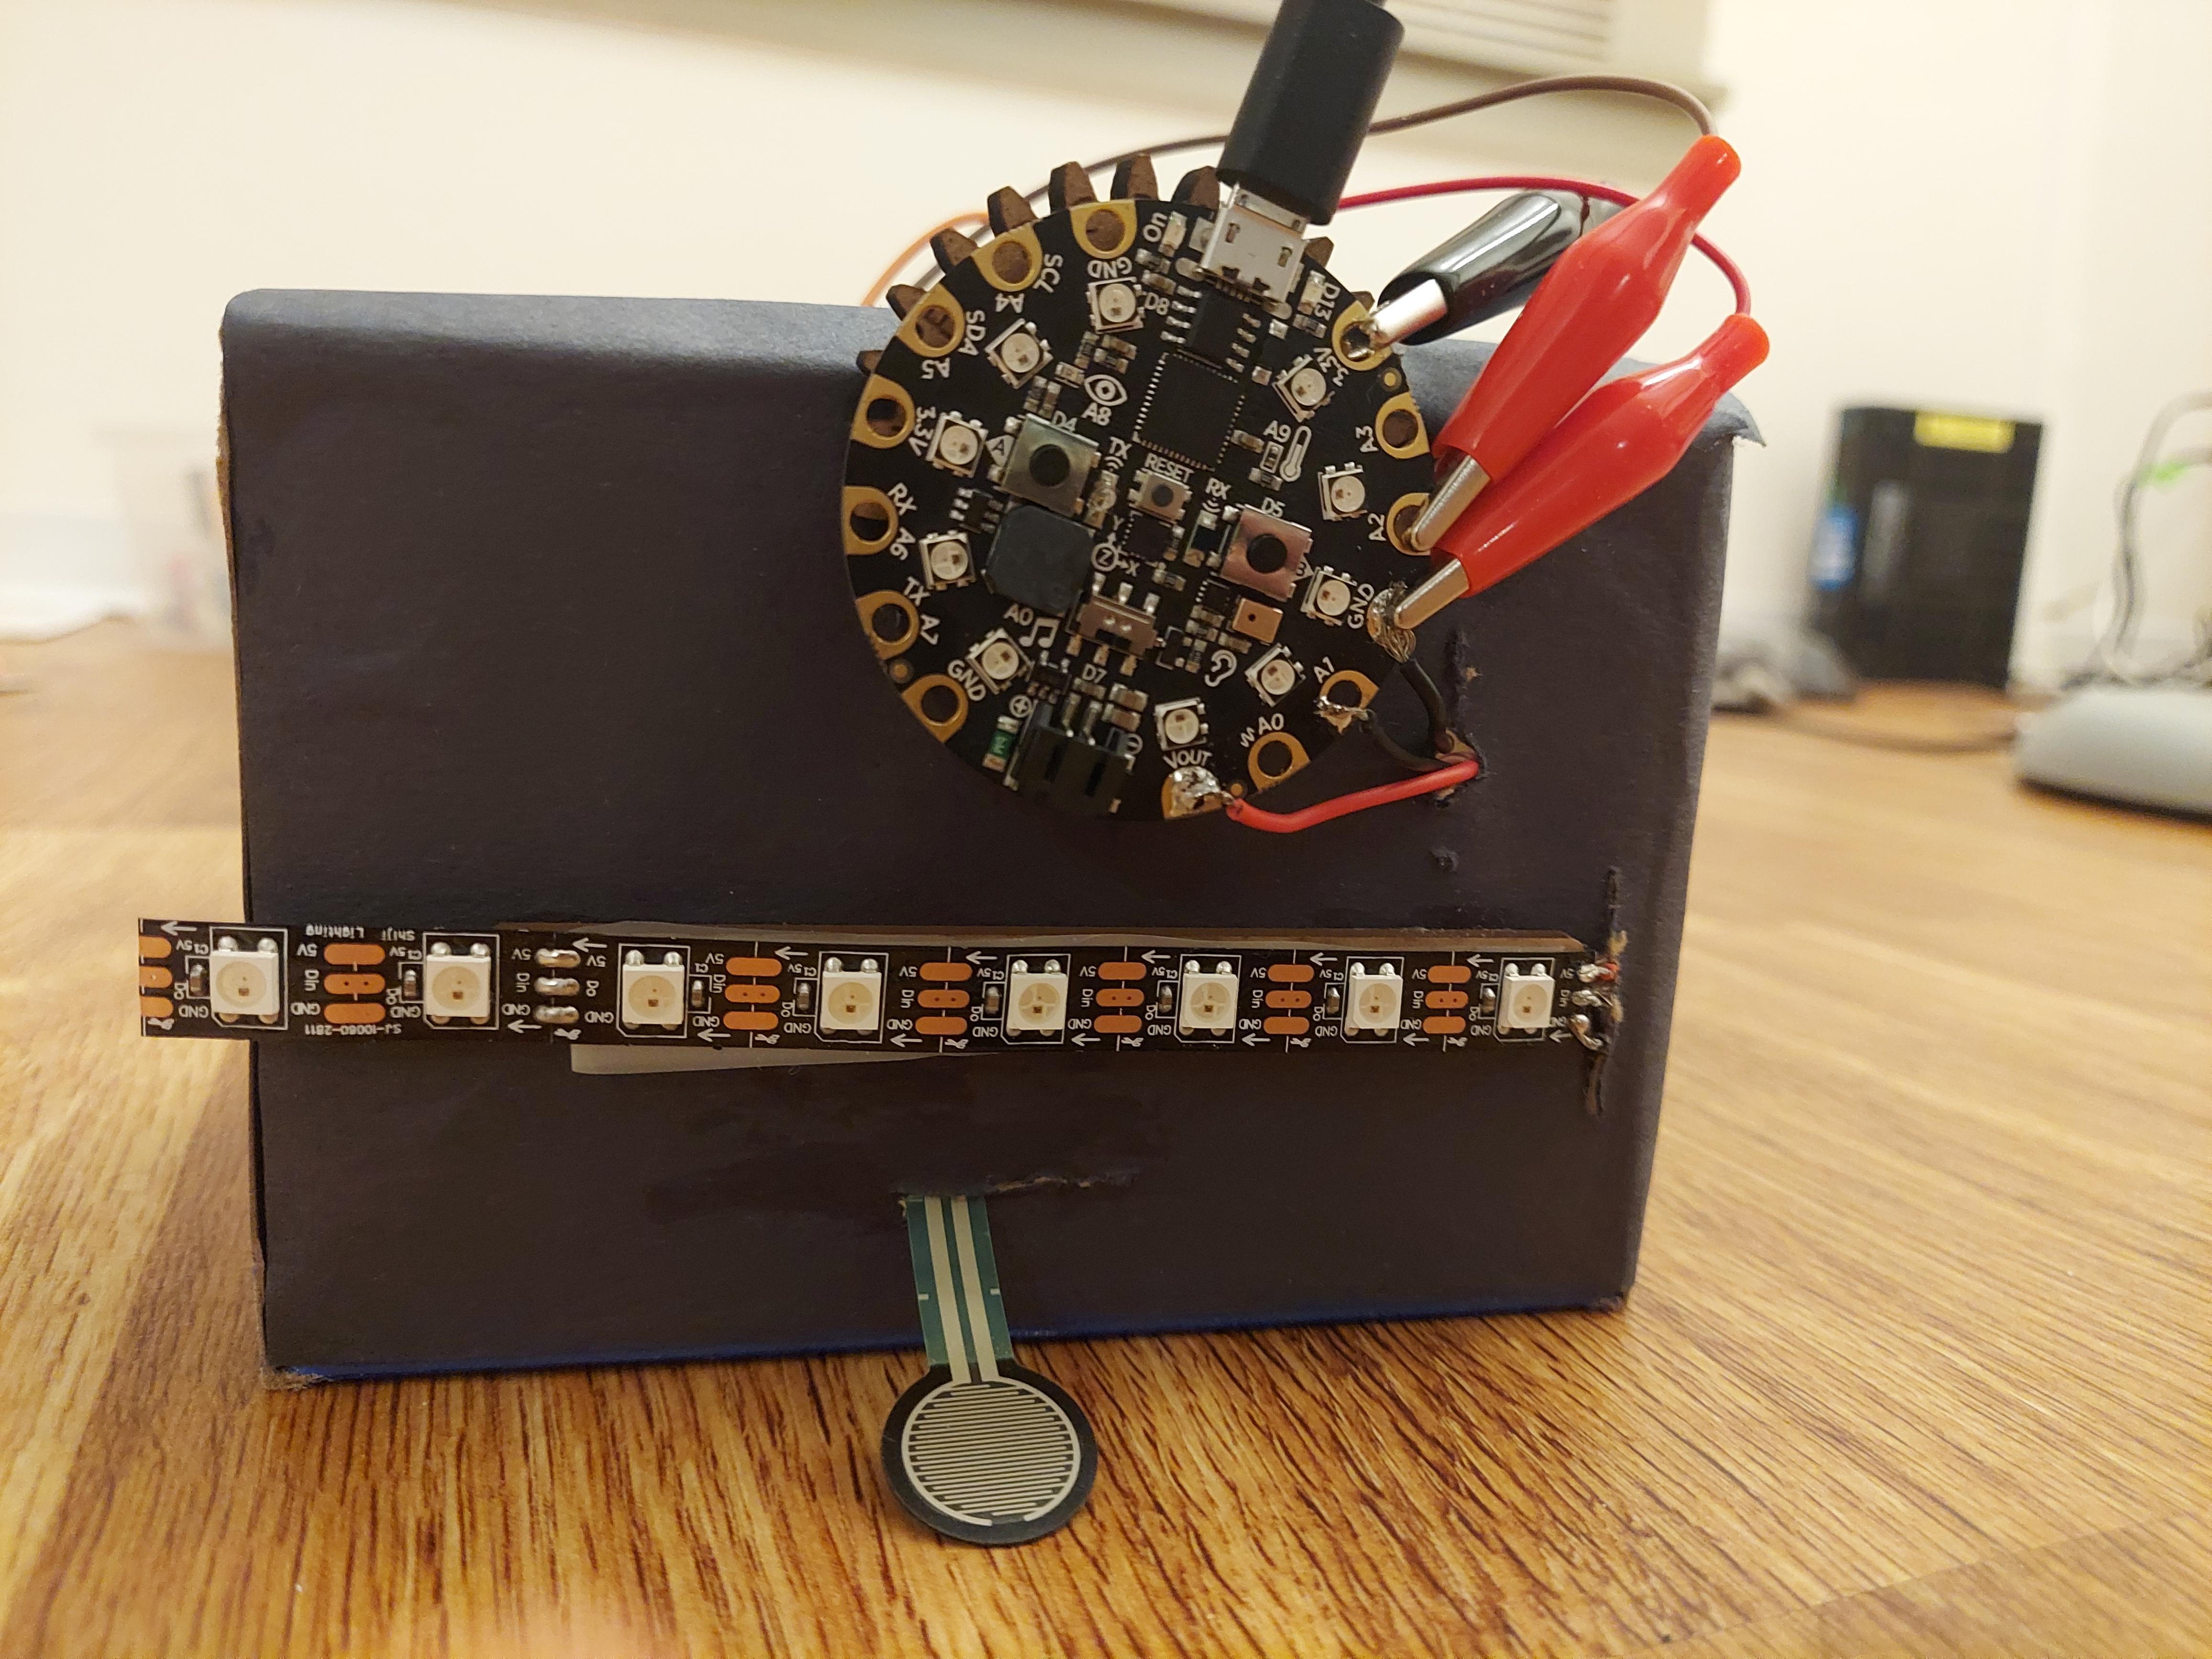
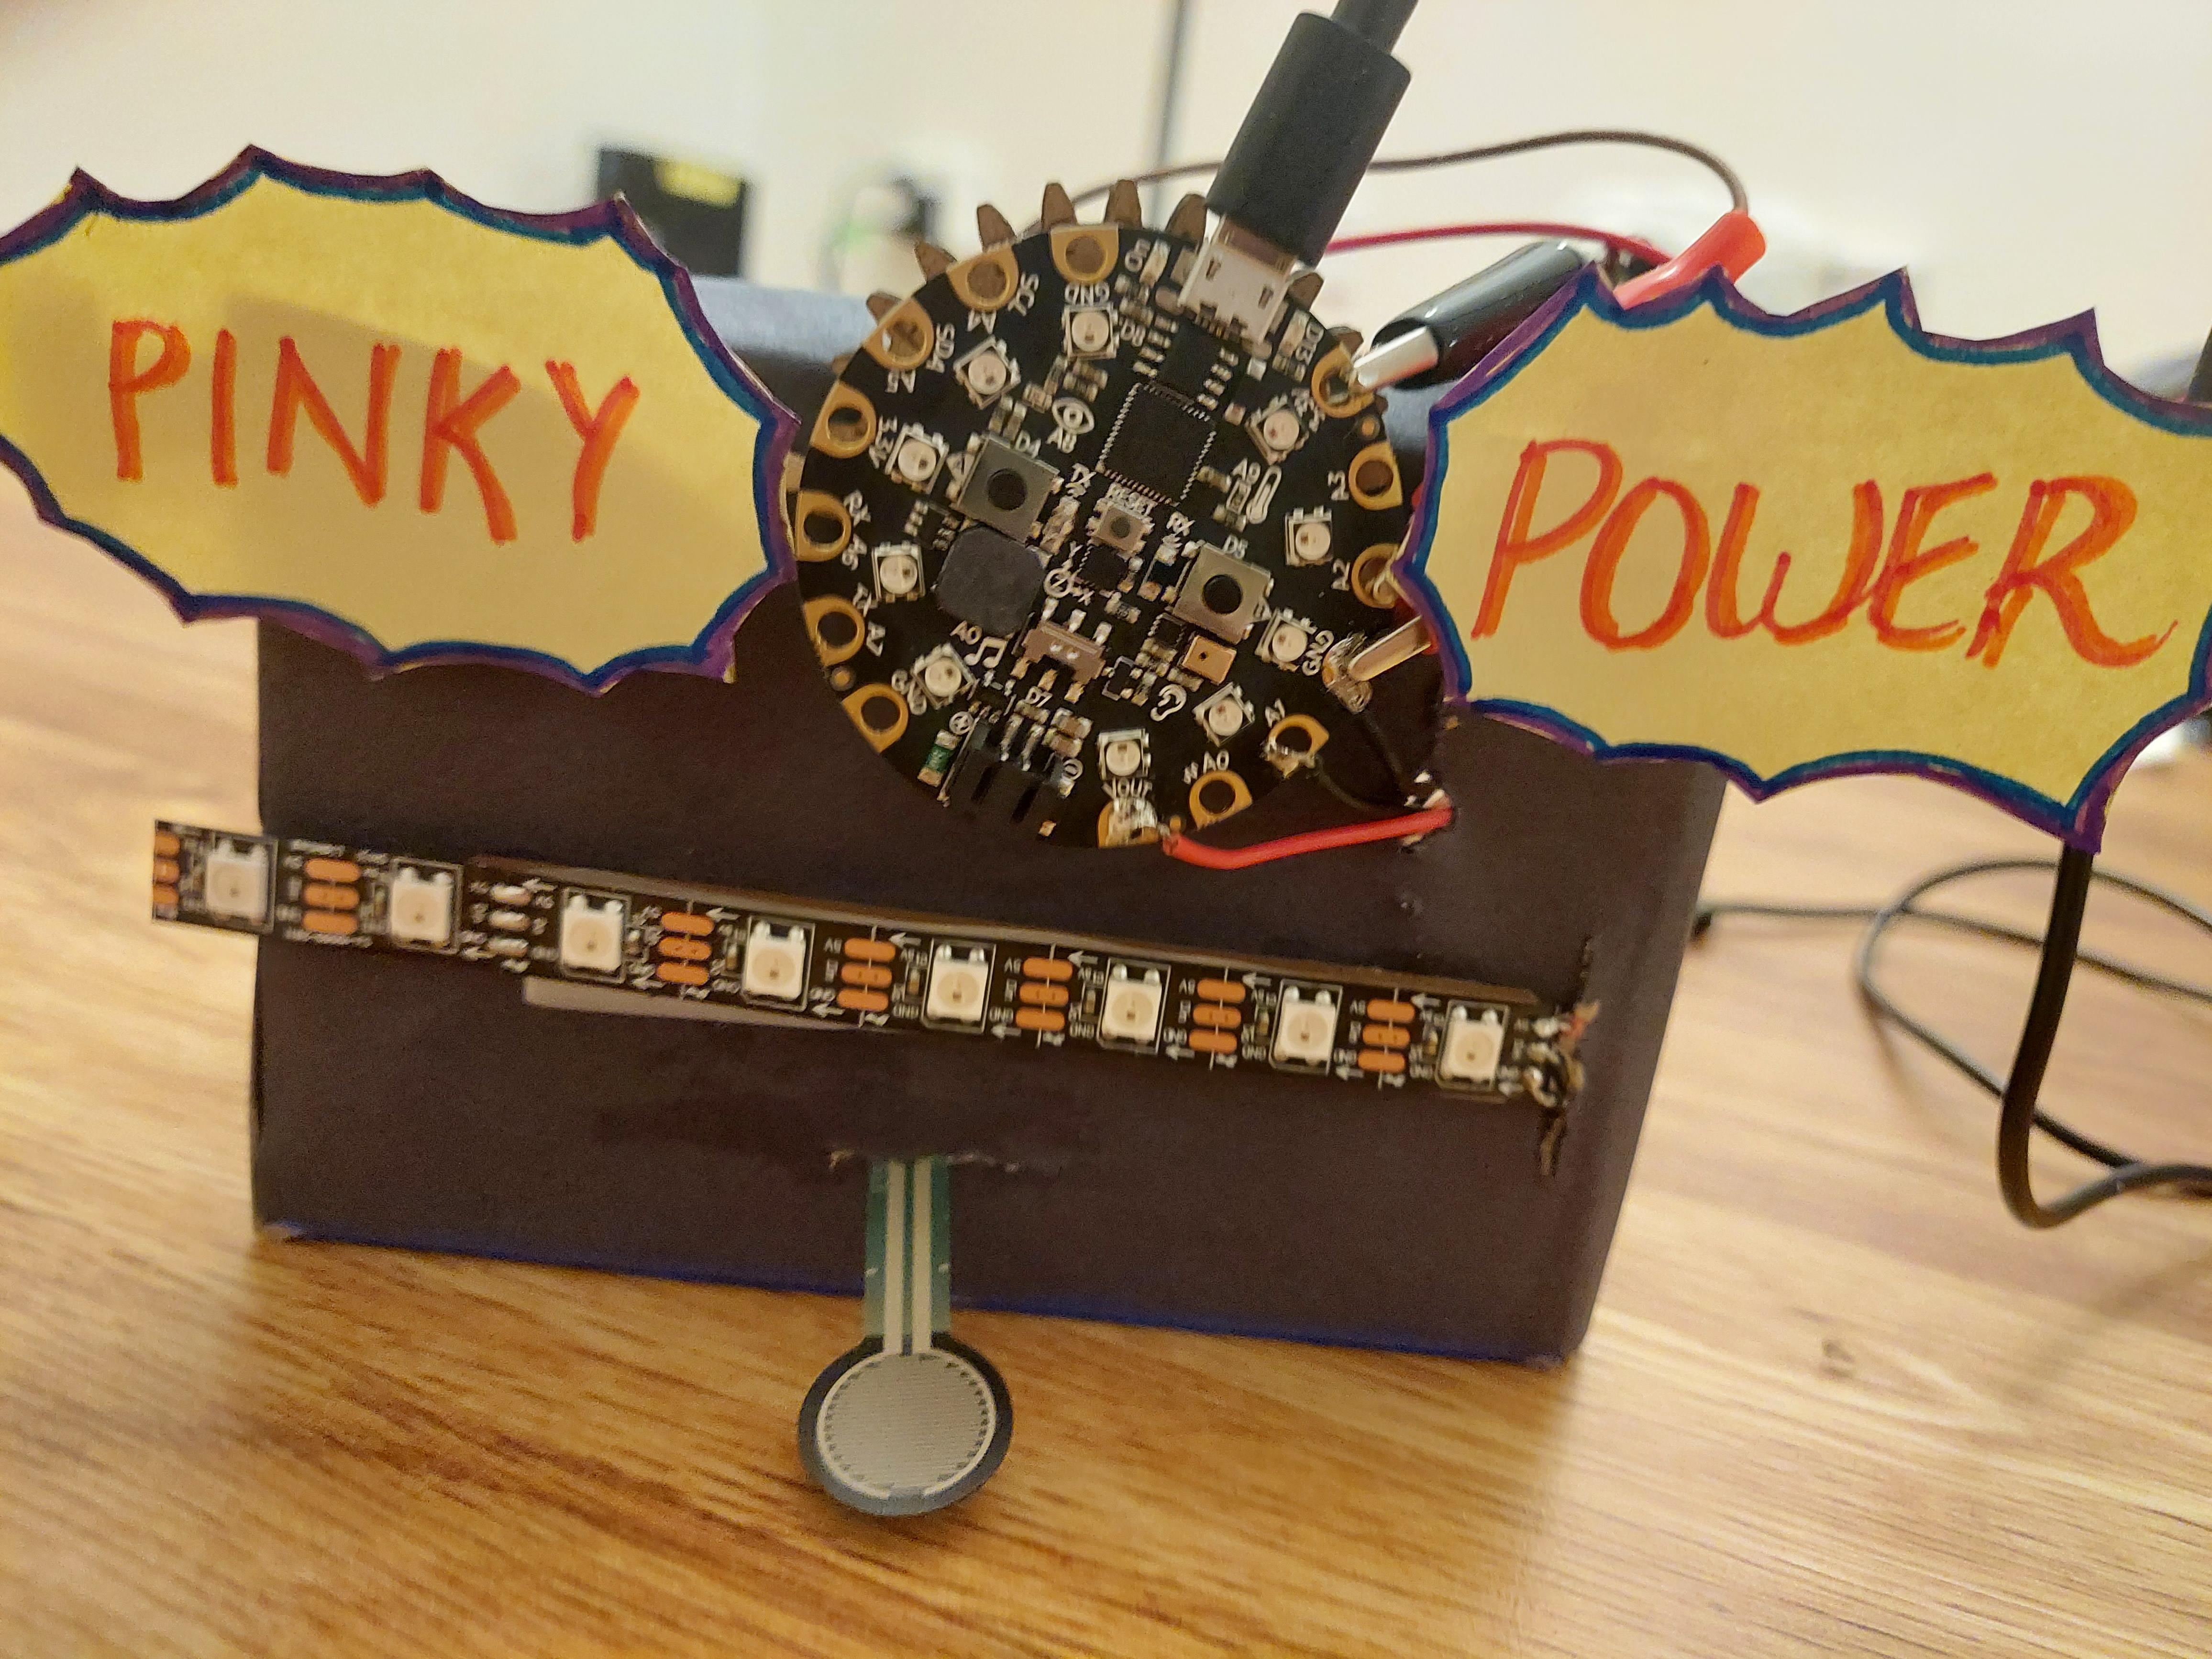
- Take a box and cover it with colored paper of choice. Make a hole at the top and three holes in the front. Place the breadboard inside the box from the opening on the side.
- Pass the alligator clip to breadboard pin cables through the top hole.
- From the bottom most hole, pass the force sensitive resistor’s top half.
- From the leftmost hole pass the neopixel strip inside the box and bring it out through the rightmost hole.
- Attach the neopixel strip and the CPX to the front of the box.
- Connect the USB to the code and run the code.
Step 5: Results
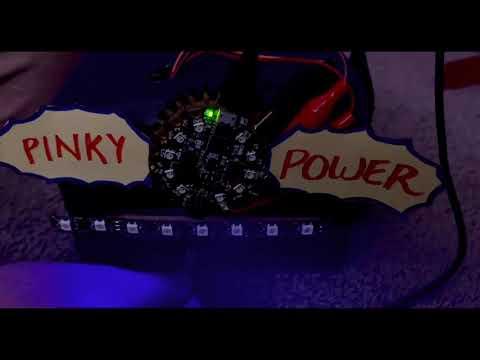
This is how the foi\