Pinky Power
.jpg)
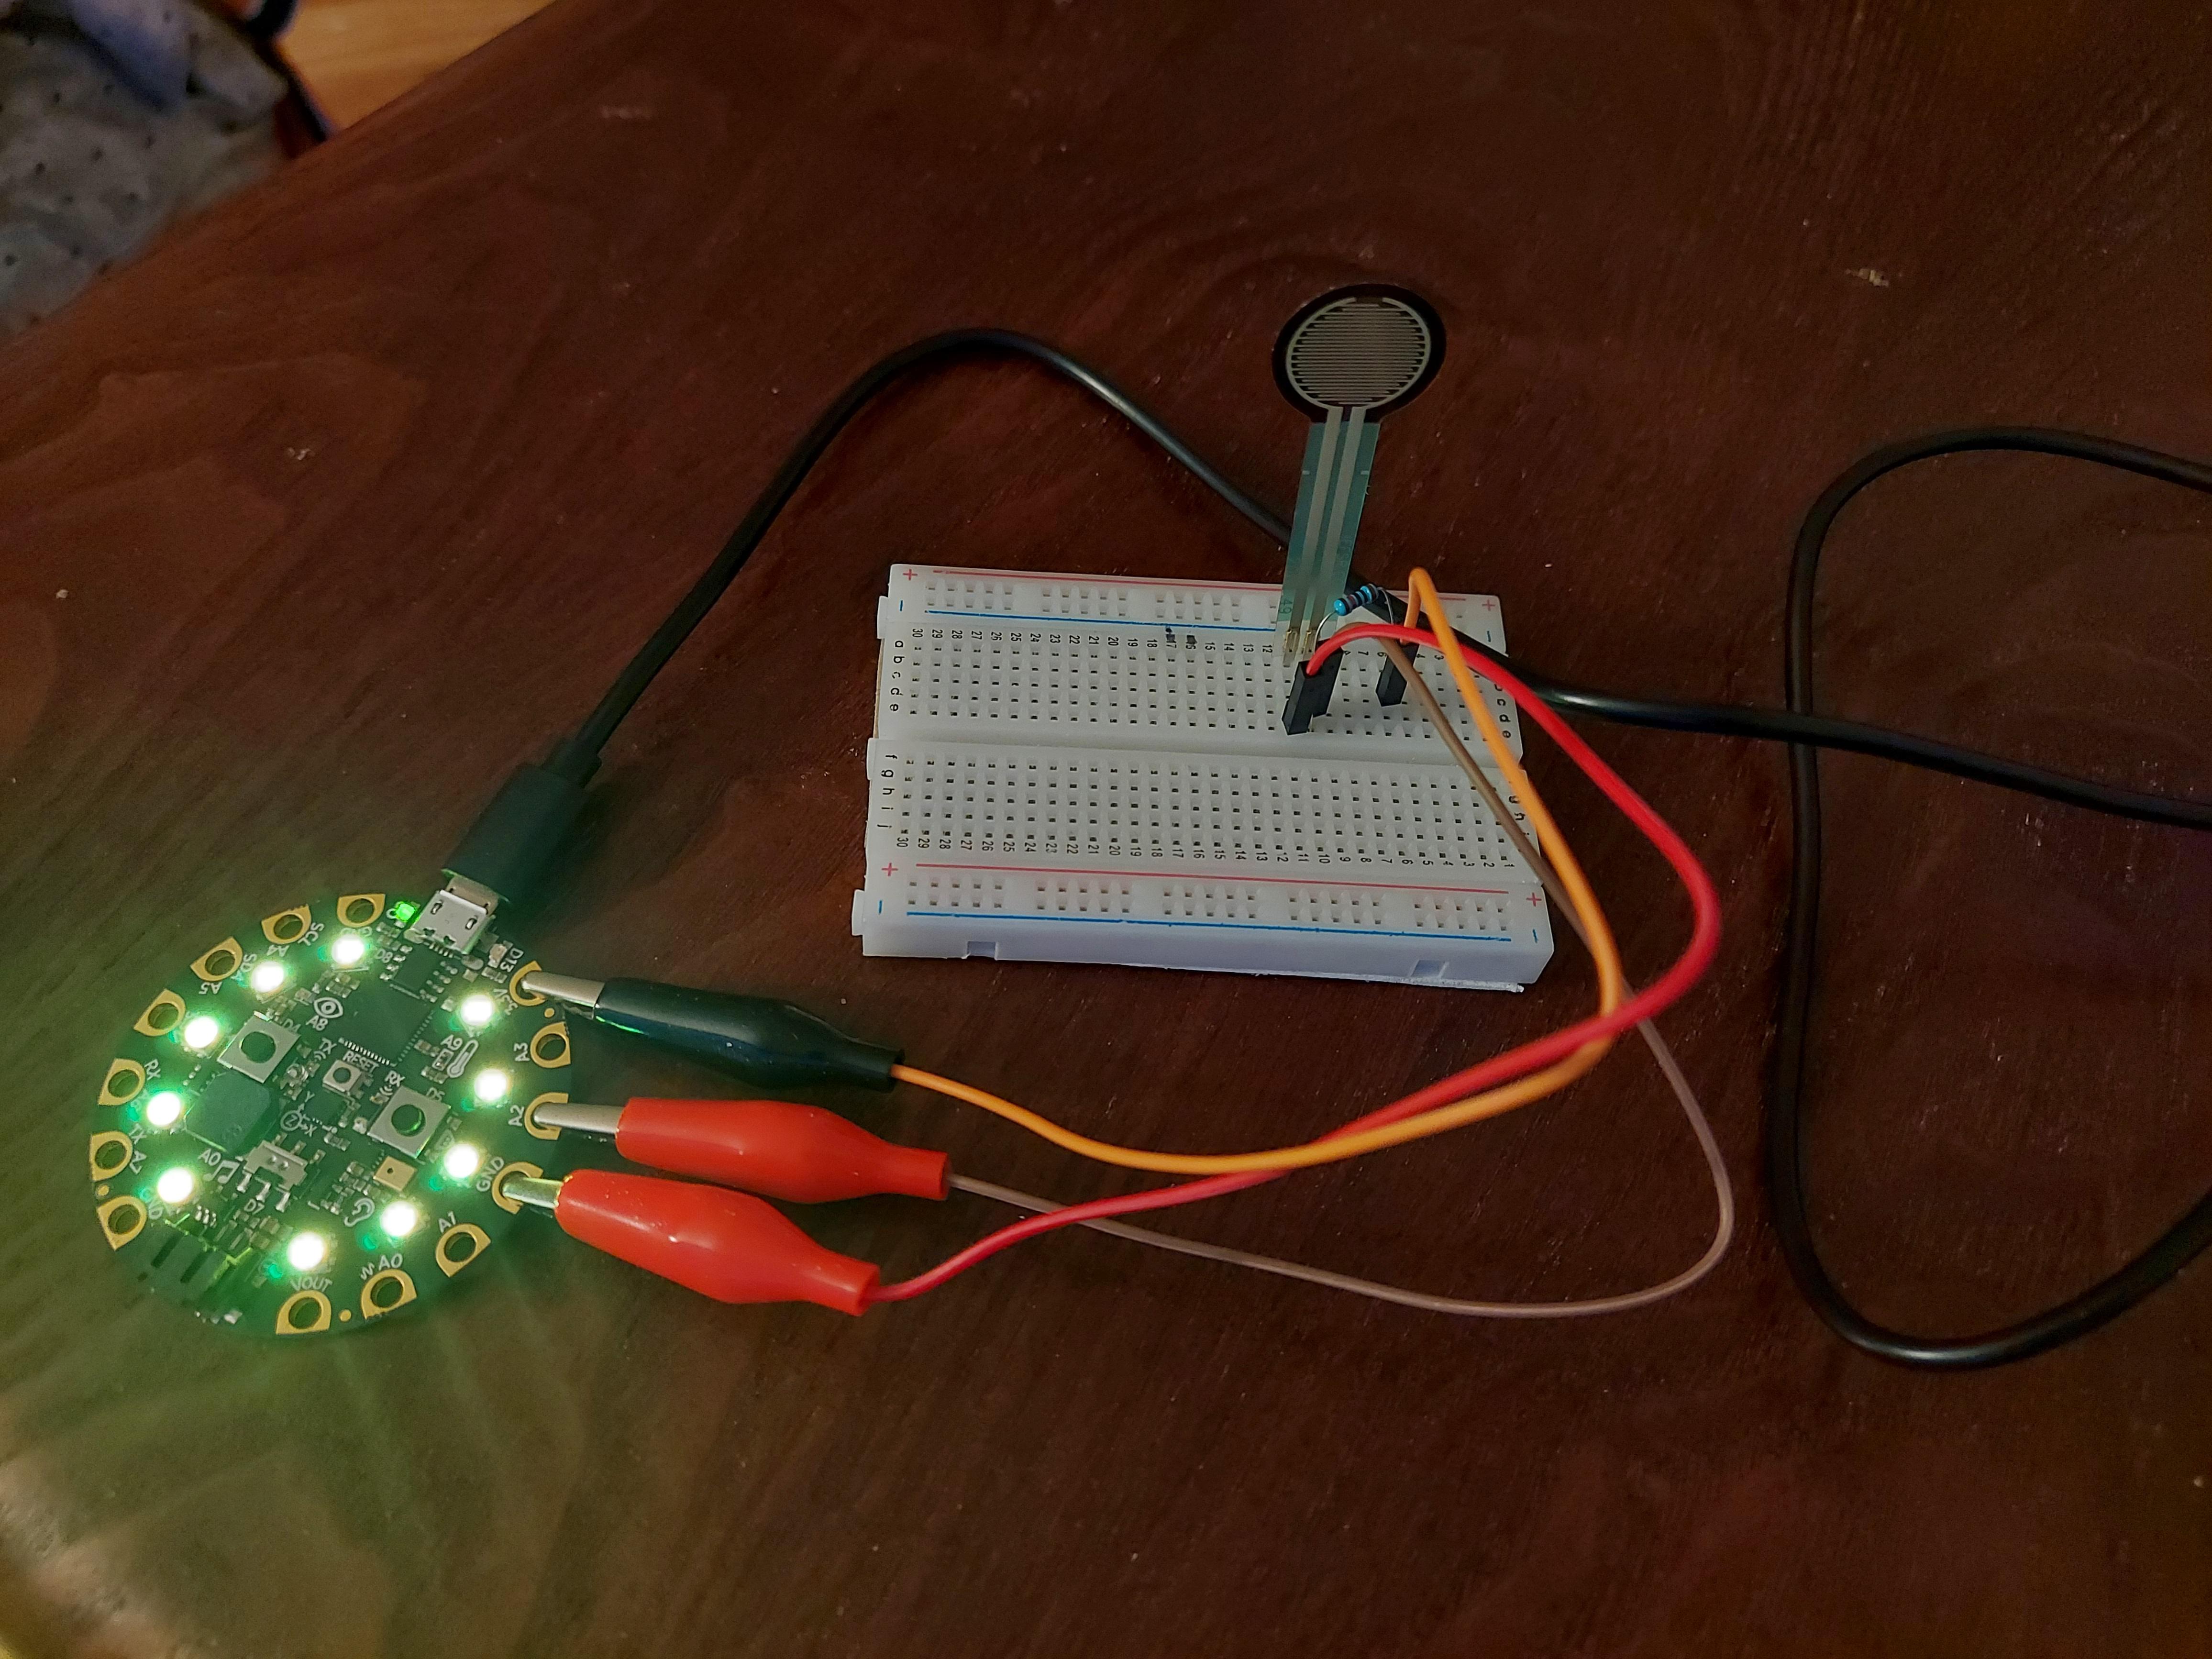
This circuit helps us visualize the amount of force exerted by a finger by seeing the color of neopixels on the CPX. Different colors show the change in the amount of force applied on the Force Sensitive Resistor(FSR). Since the FSR is very sensitive to the slightest amount of pressure applied, using the pinky finger gives the best results, hence the name Pinky Power.
Downloads
Supplies
1 Breadboard
1 Force sensitive resistor
3 Alligator Clip to Breadboard pin cables
1 CPX (Circuit Playground Express)
1 10,000 ohm Resistor
1 USB cable
Step 1: Making the Circuit for Get the Readings
.png)
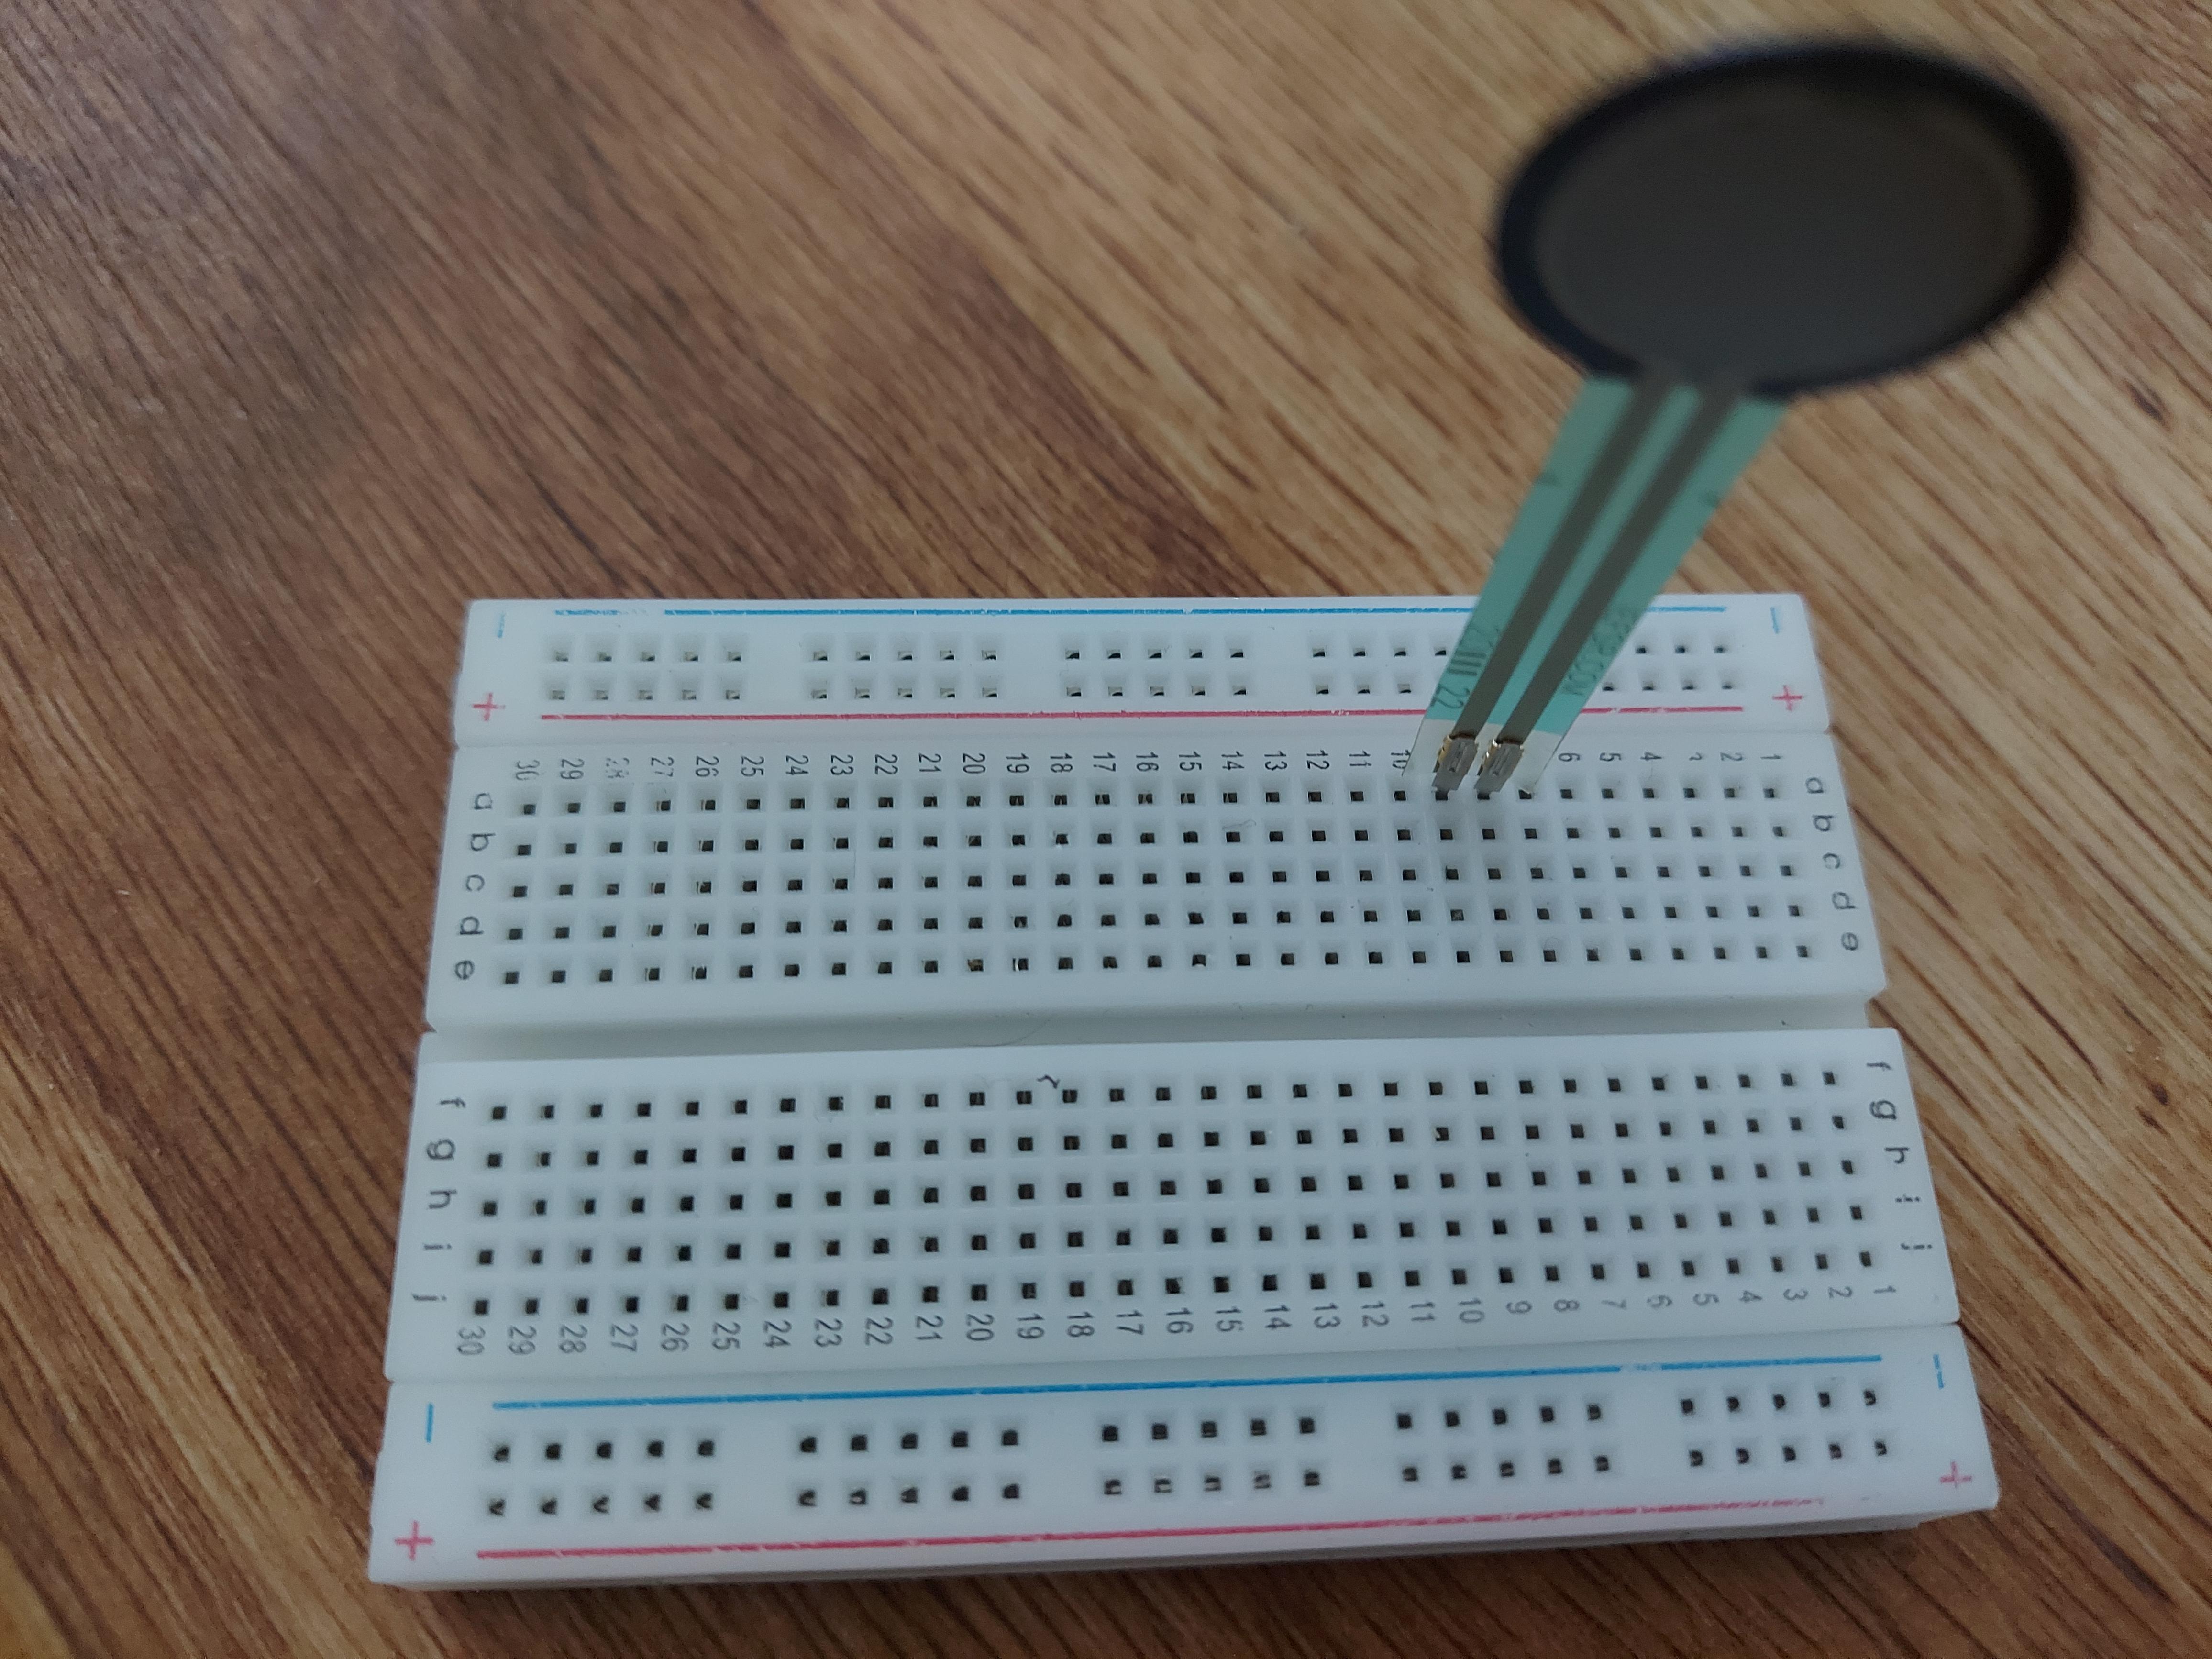
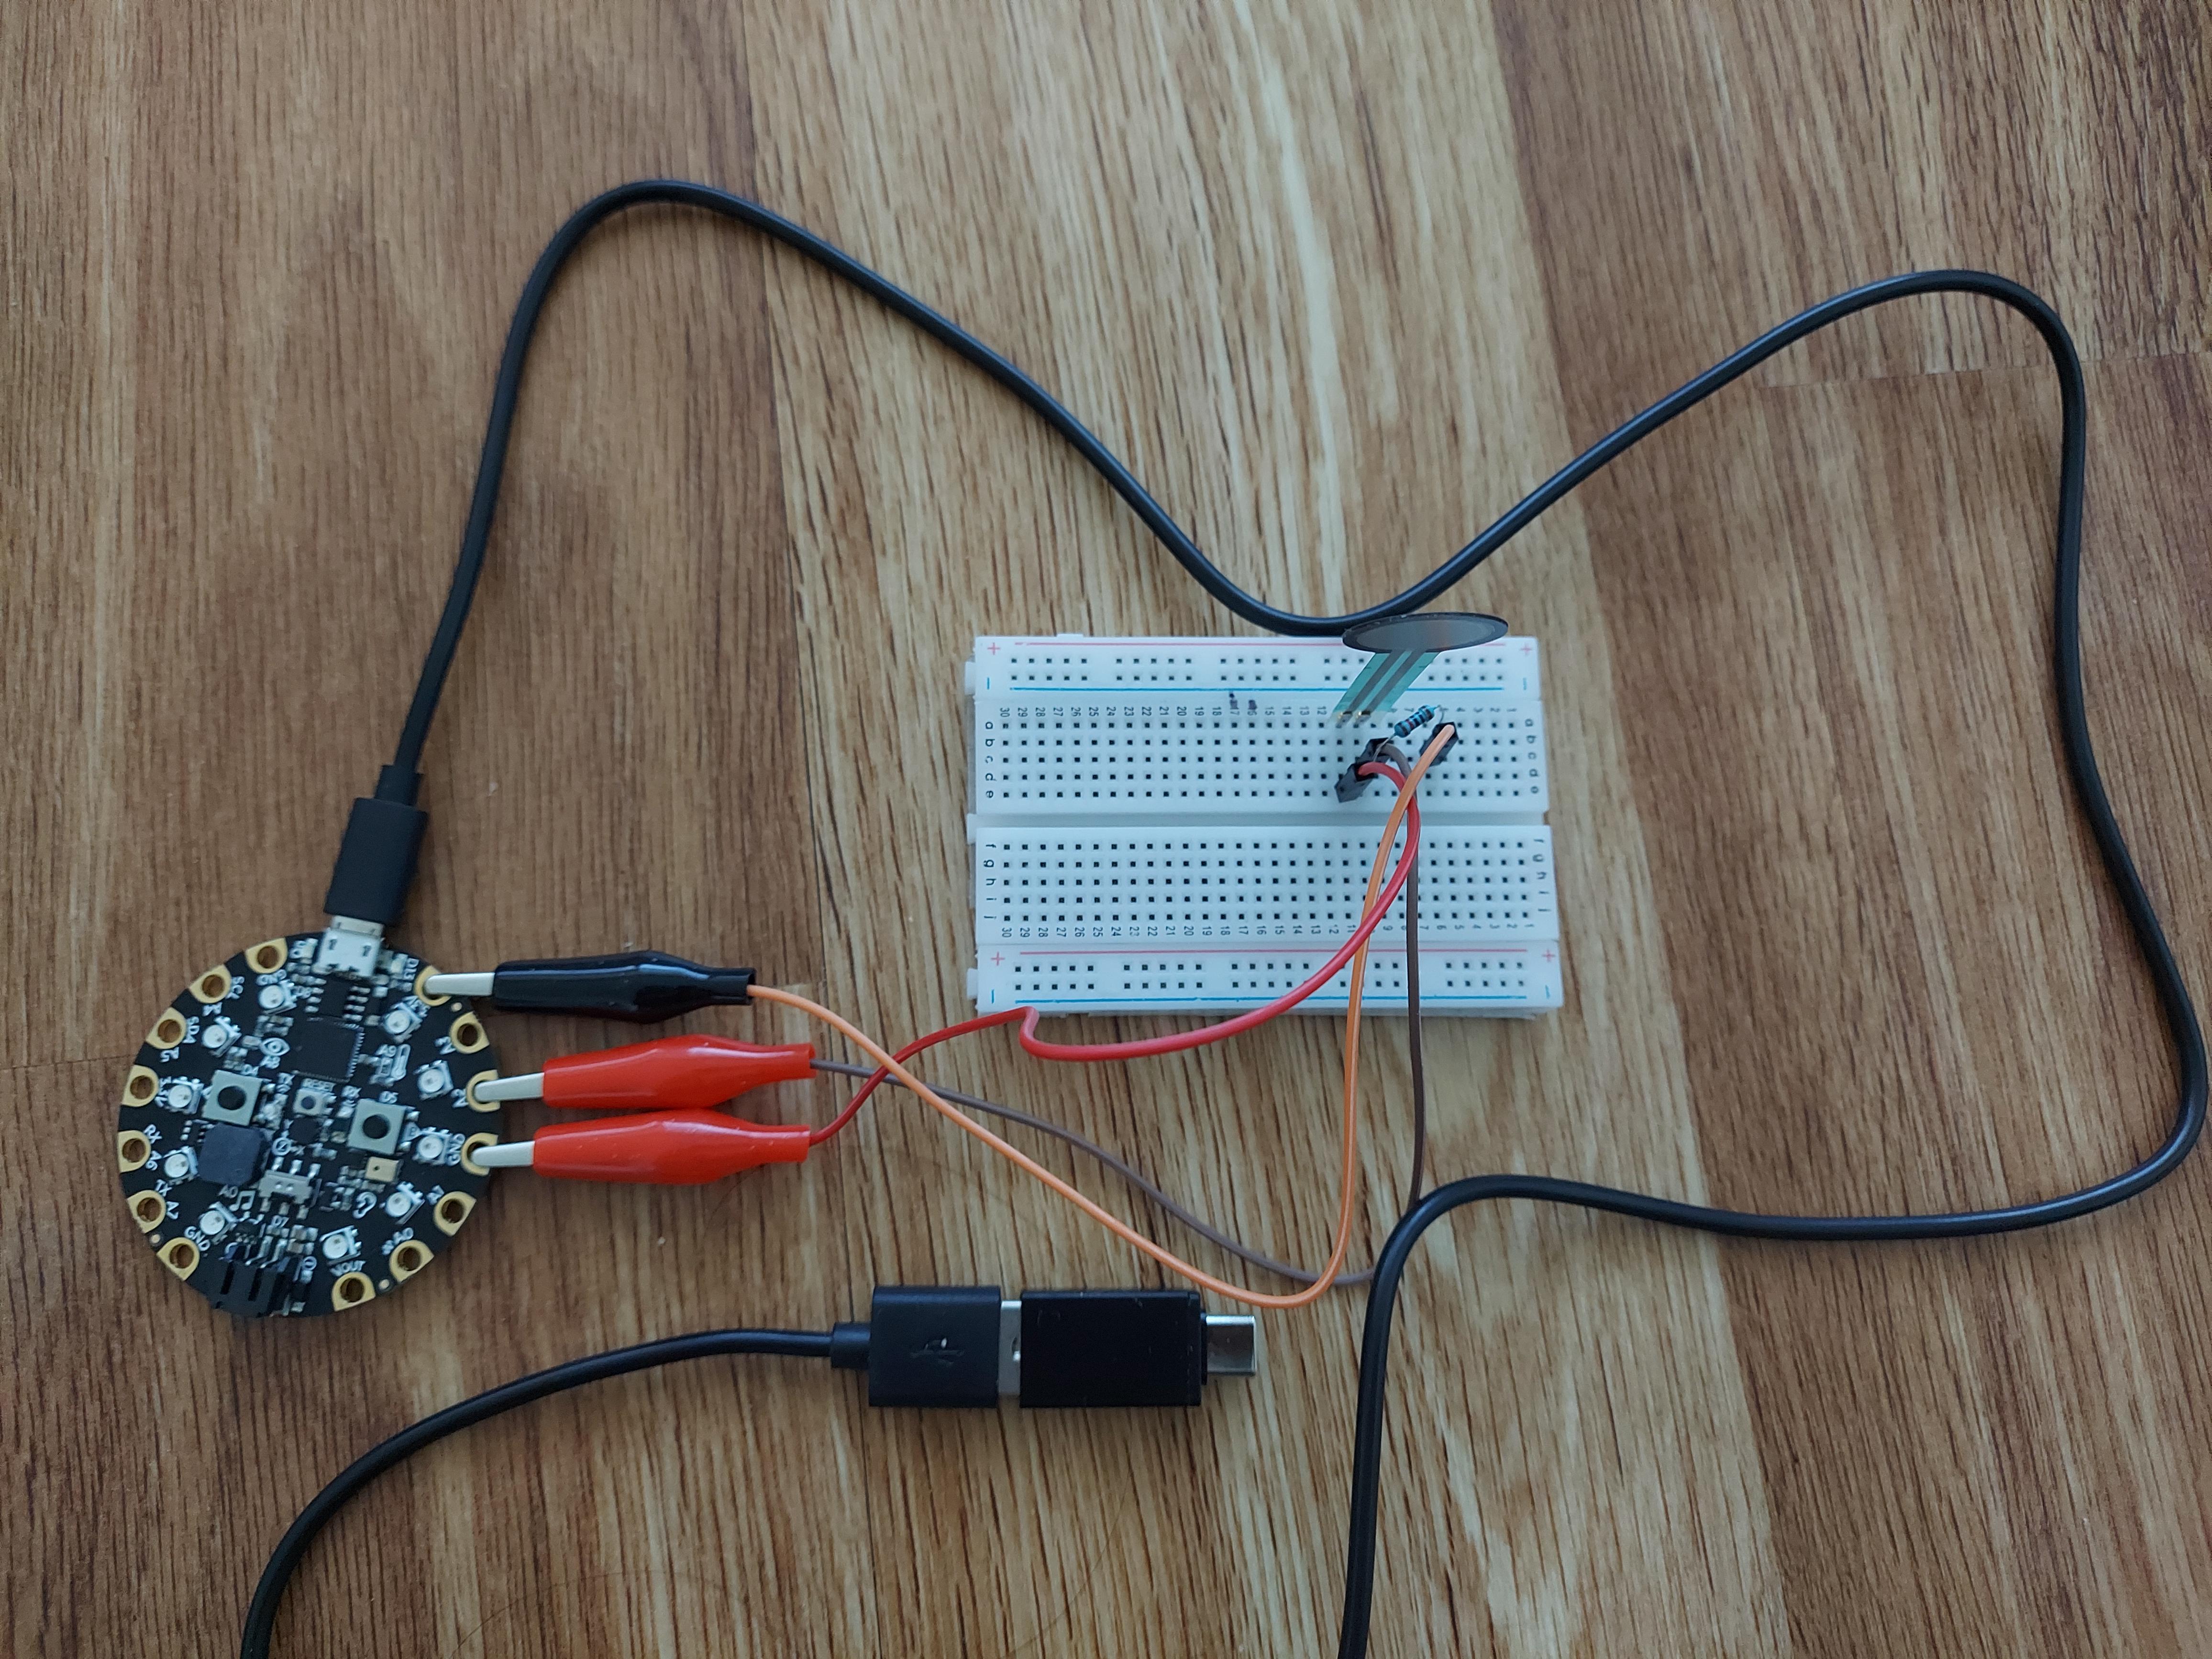
- Place the ends of the force sensitive resistor on the breadboard at points a8 and a9.
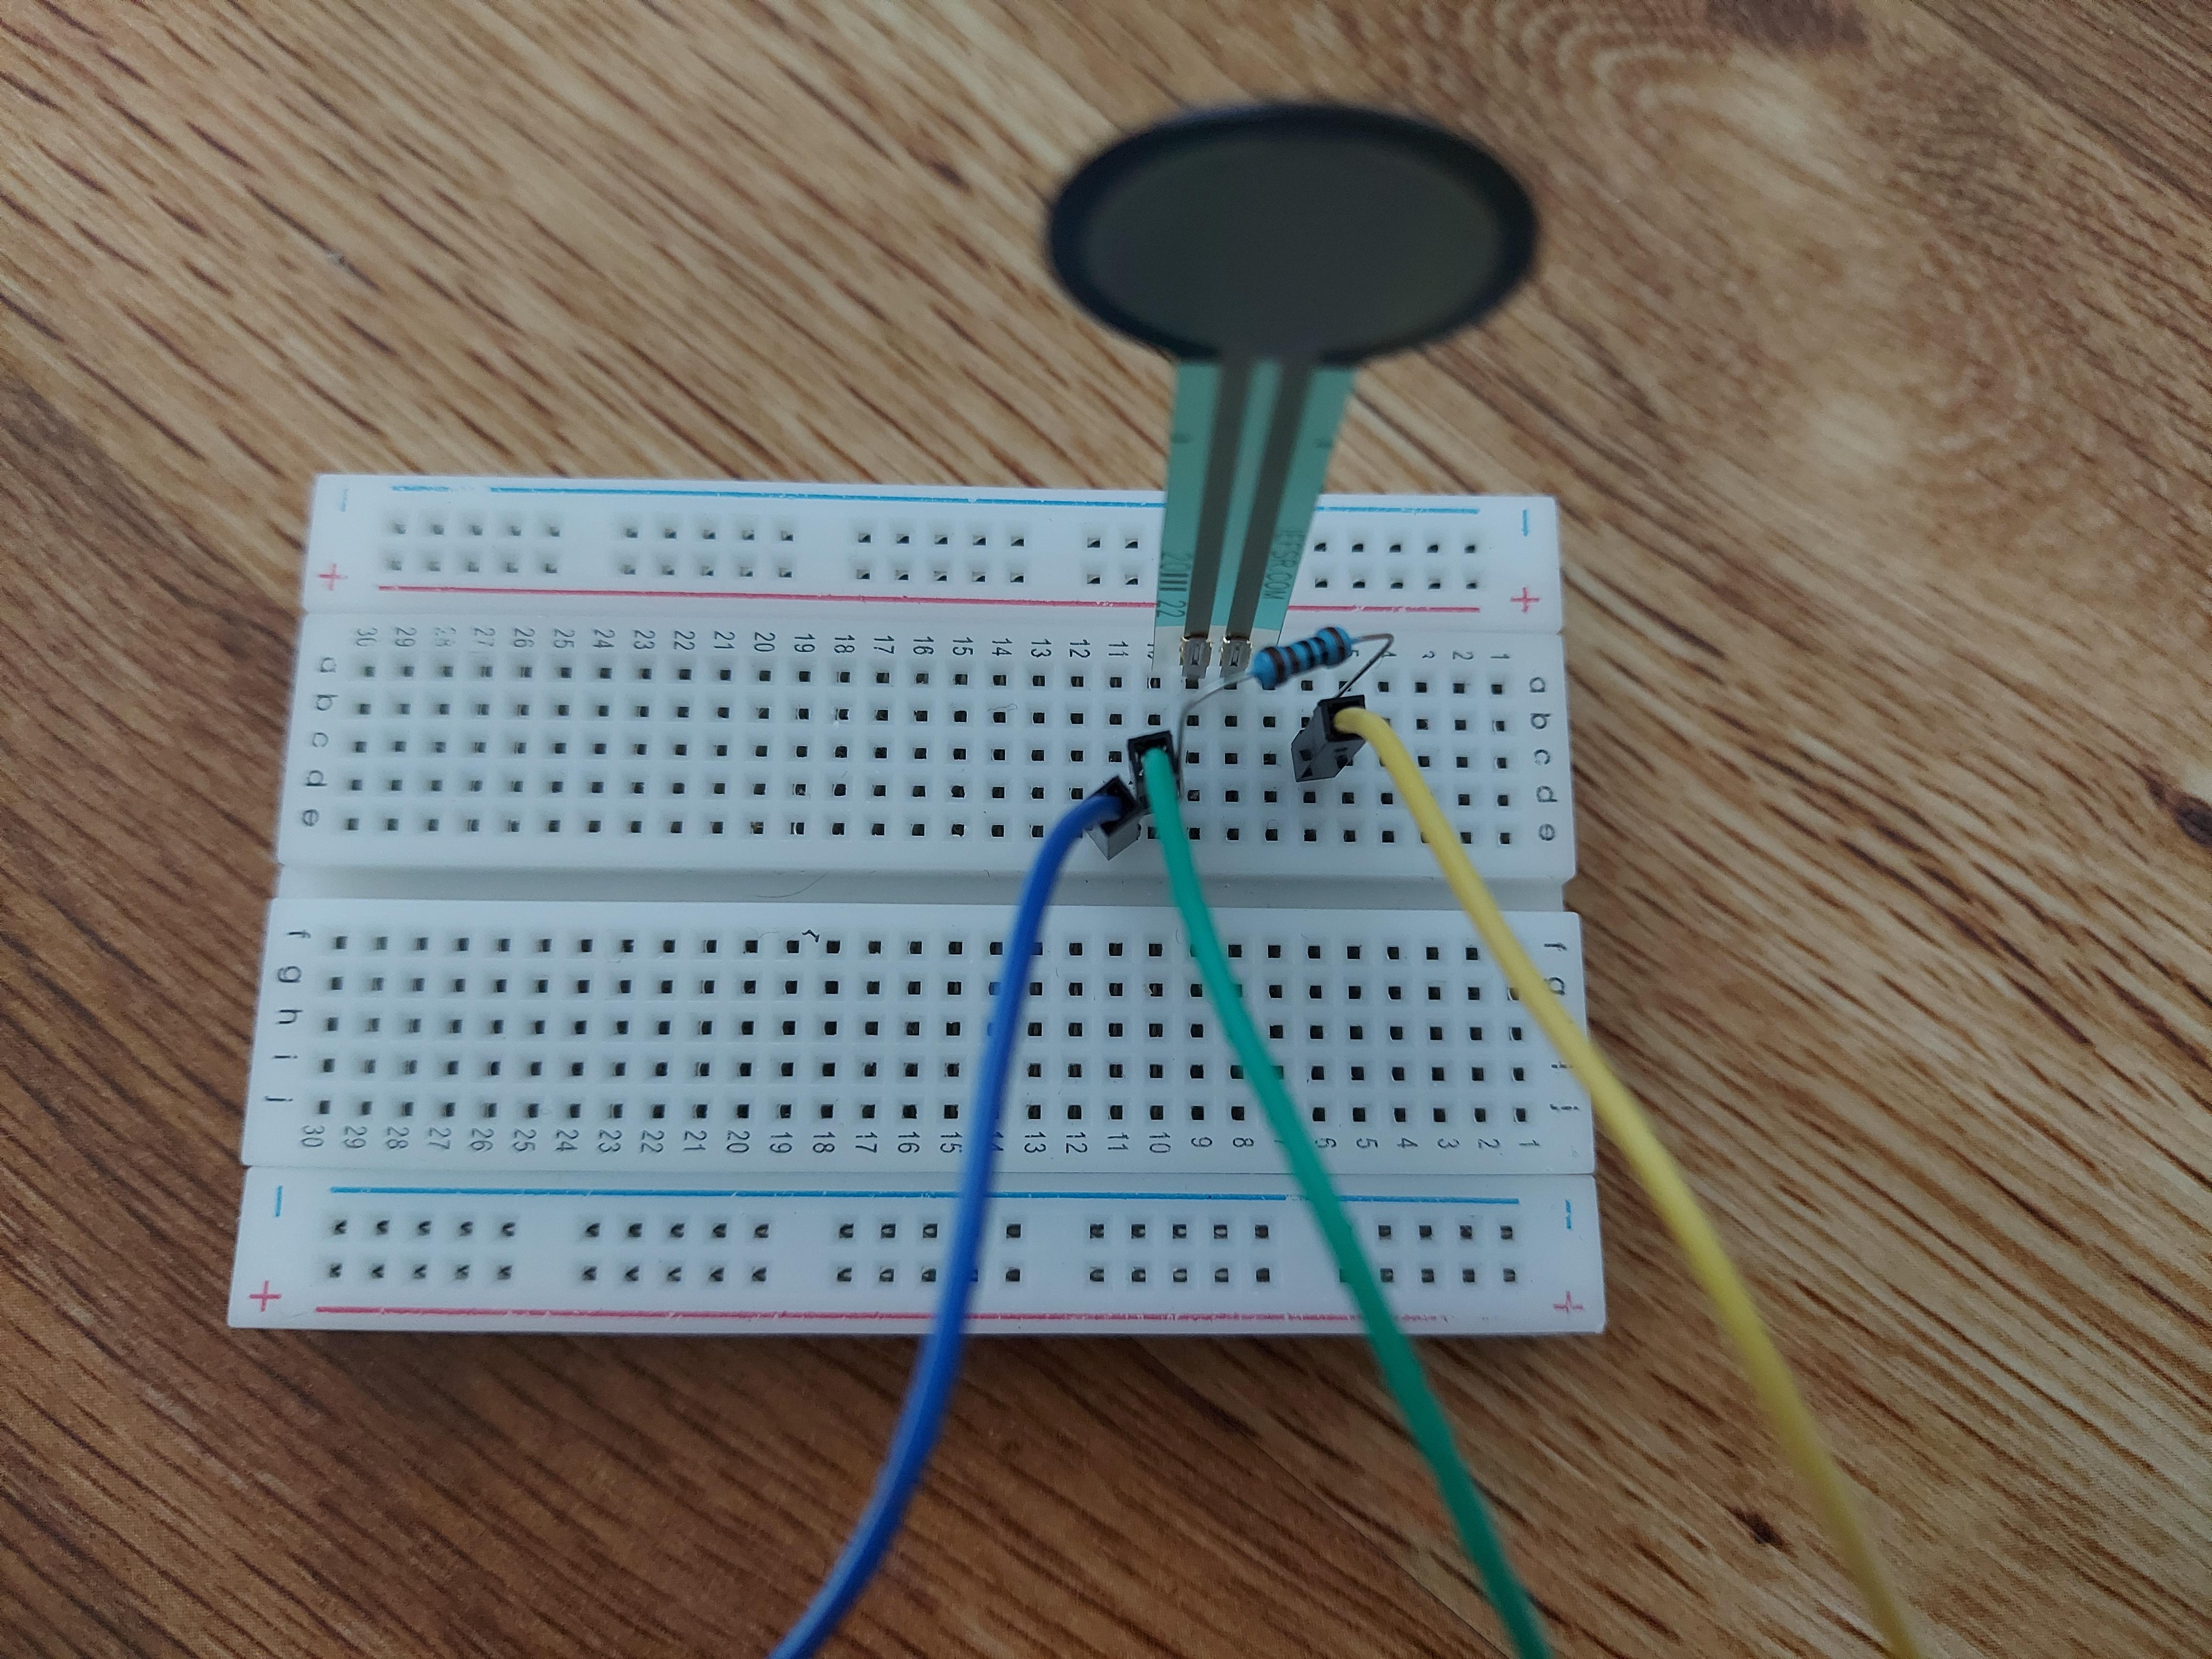
- Place one cable on point c6, another on d10 and the third one on e11.
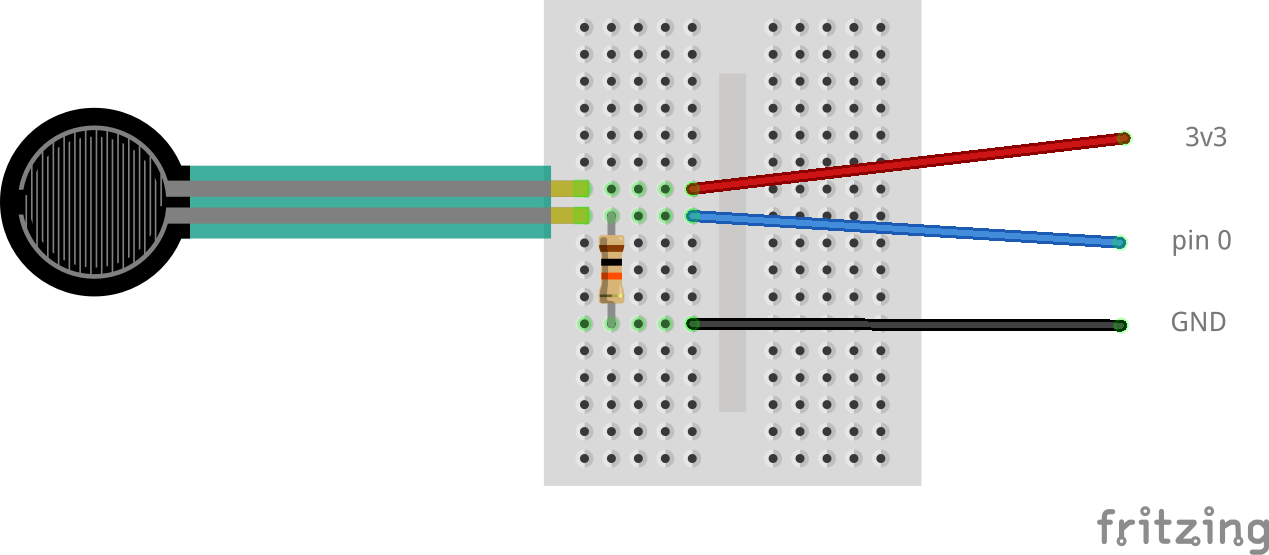
- Connect the alligator clip to the breadboard pin cable at c6 to 3.3V pin on the CPX.
- Connect the alligator clip to the breadboard pin cable at d10 to any pin on the CPX (here I have attached it to A2 pin).
- Connect the alligator clip to the breadboard pin cable at e11 to the ground or GND pin on the CPX.
- Place the resistor on pins b6 and e10.
- Connect the CPX to the computer using the USB cable.
Step 2: Getting the Initial Readings
.jpg)
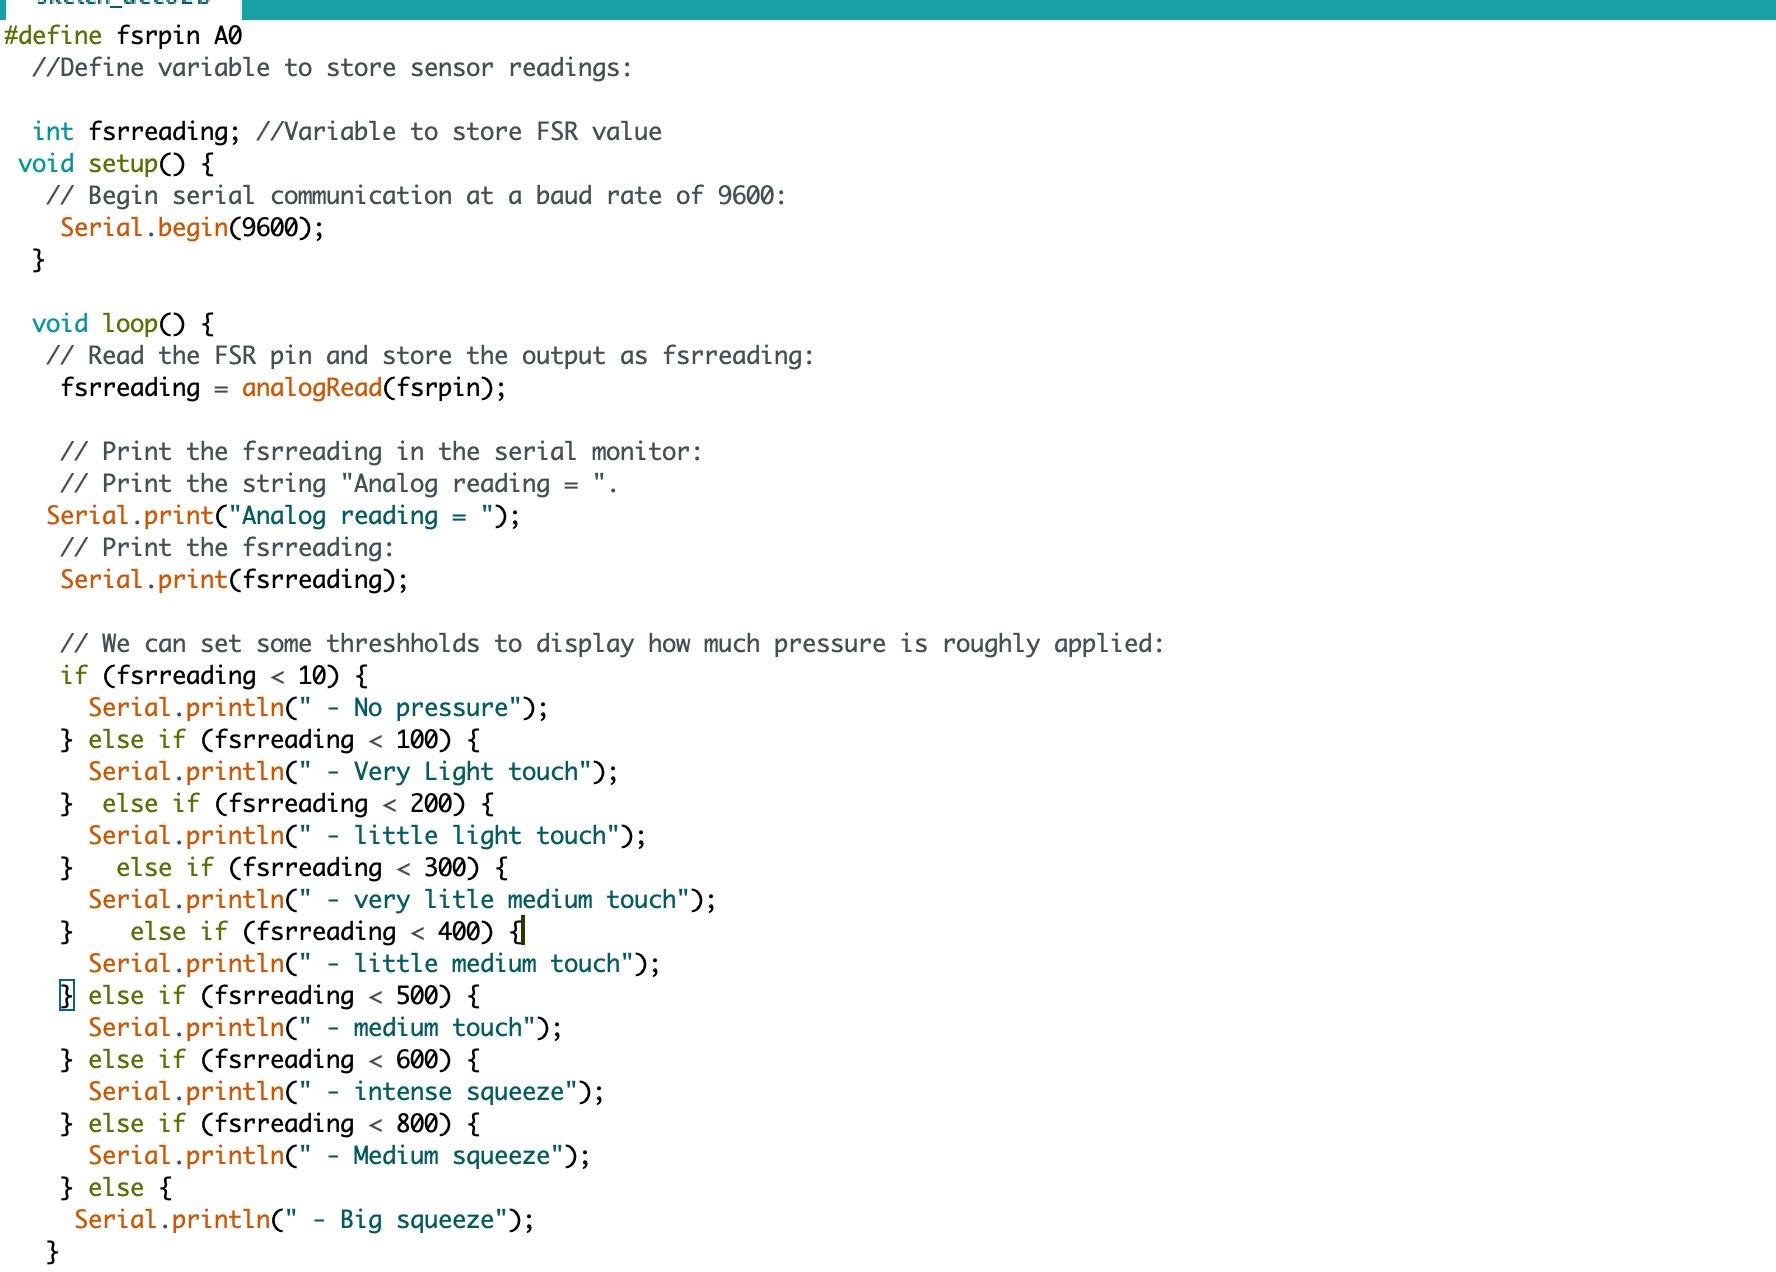
- Type the code in the image above on Arduino.
- Run the code and see how application of force on the force sensitive resistor produces spikes on the graph shown in the console.
- Take note of the major pressure readings that bring out noticeable change in the graph.
Step 3: Code to Visualize the Force Applied on the FSR
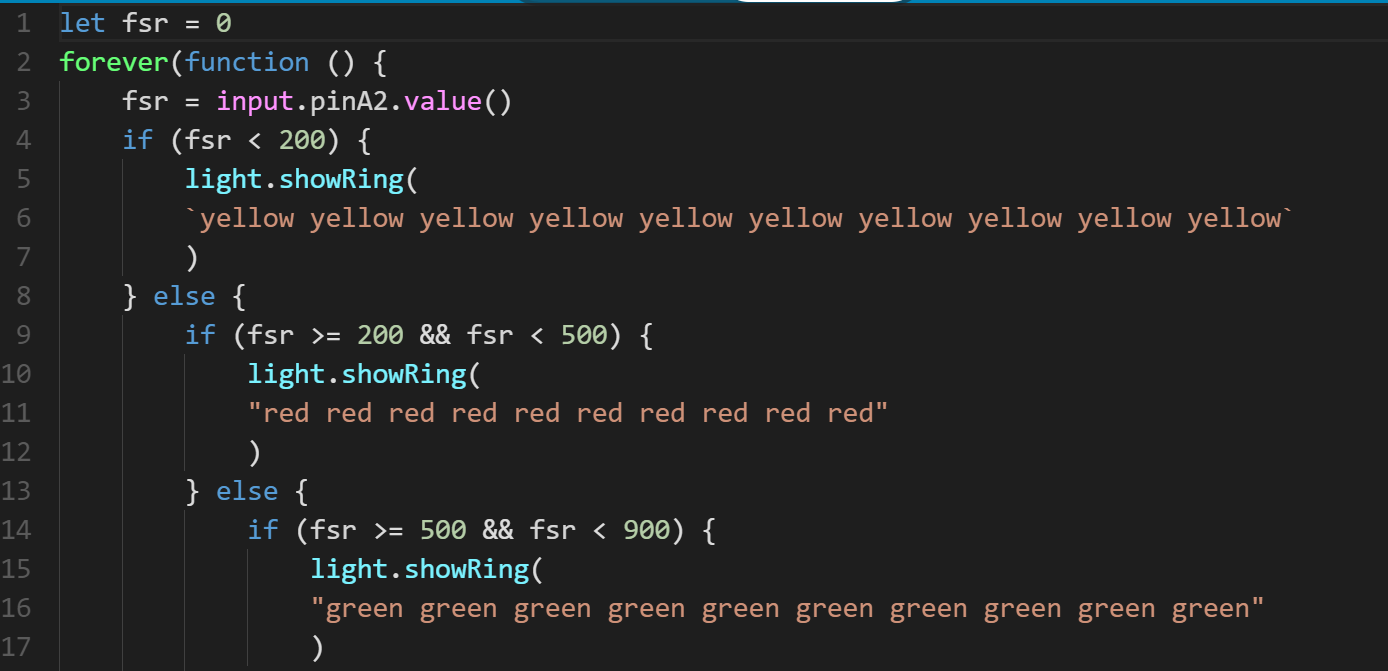
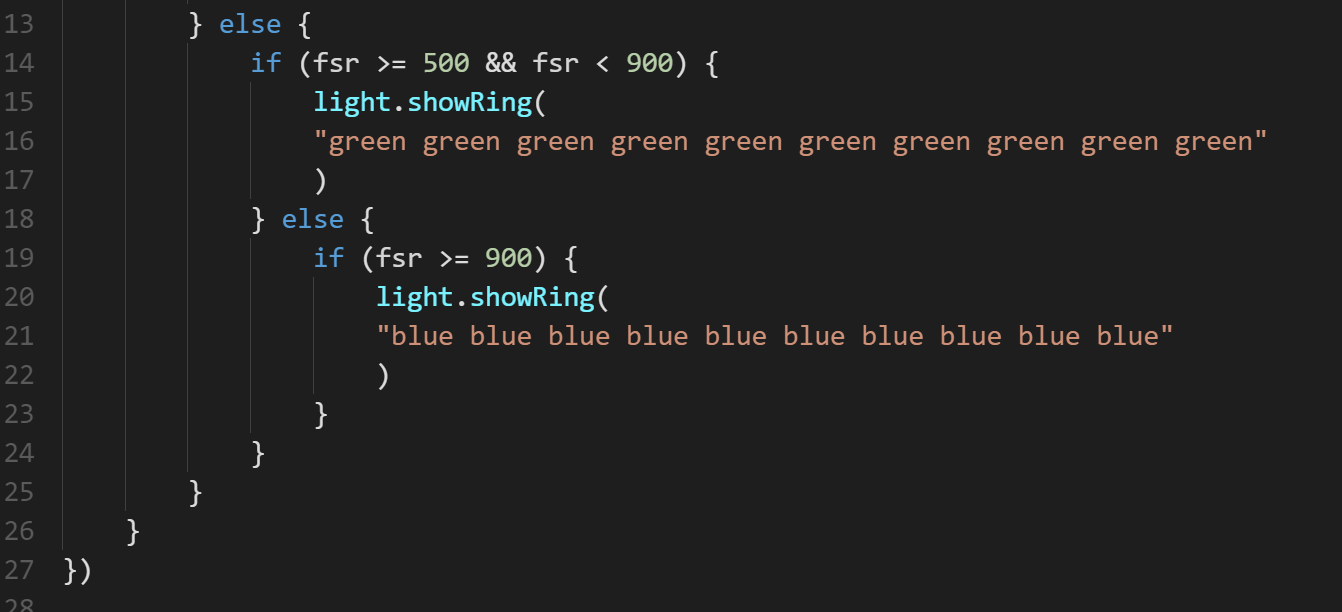
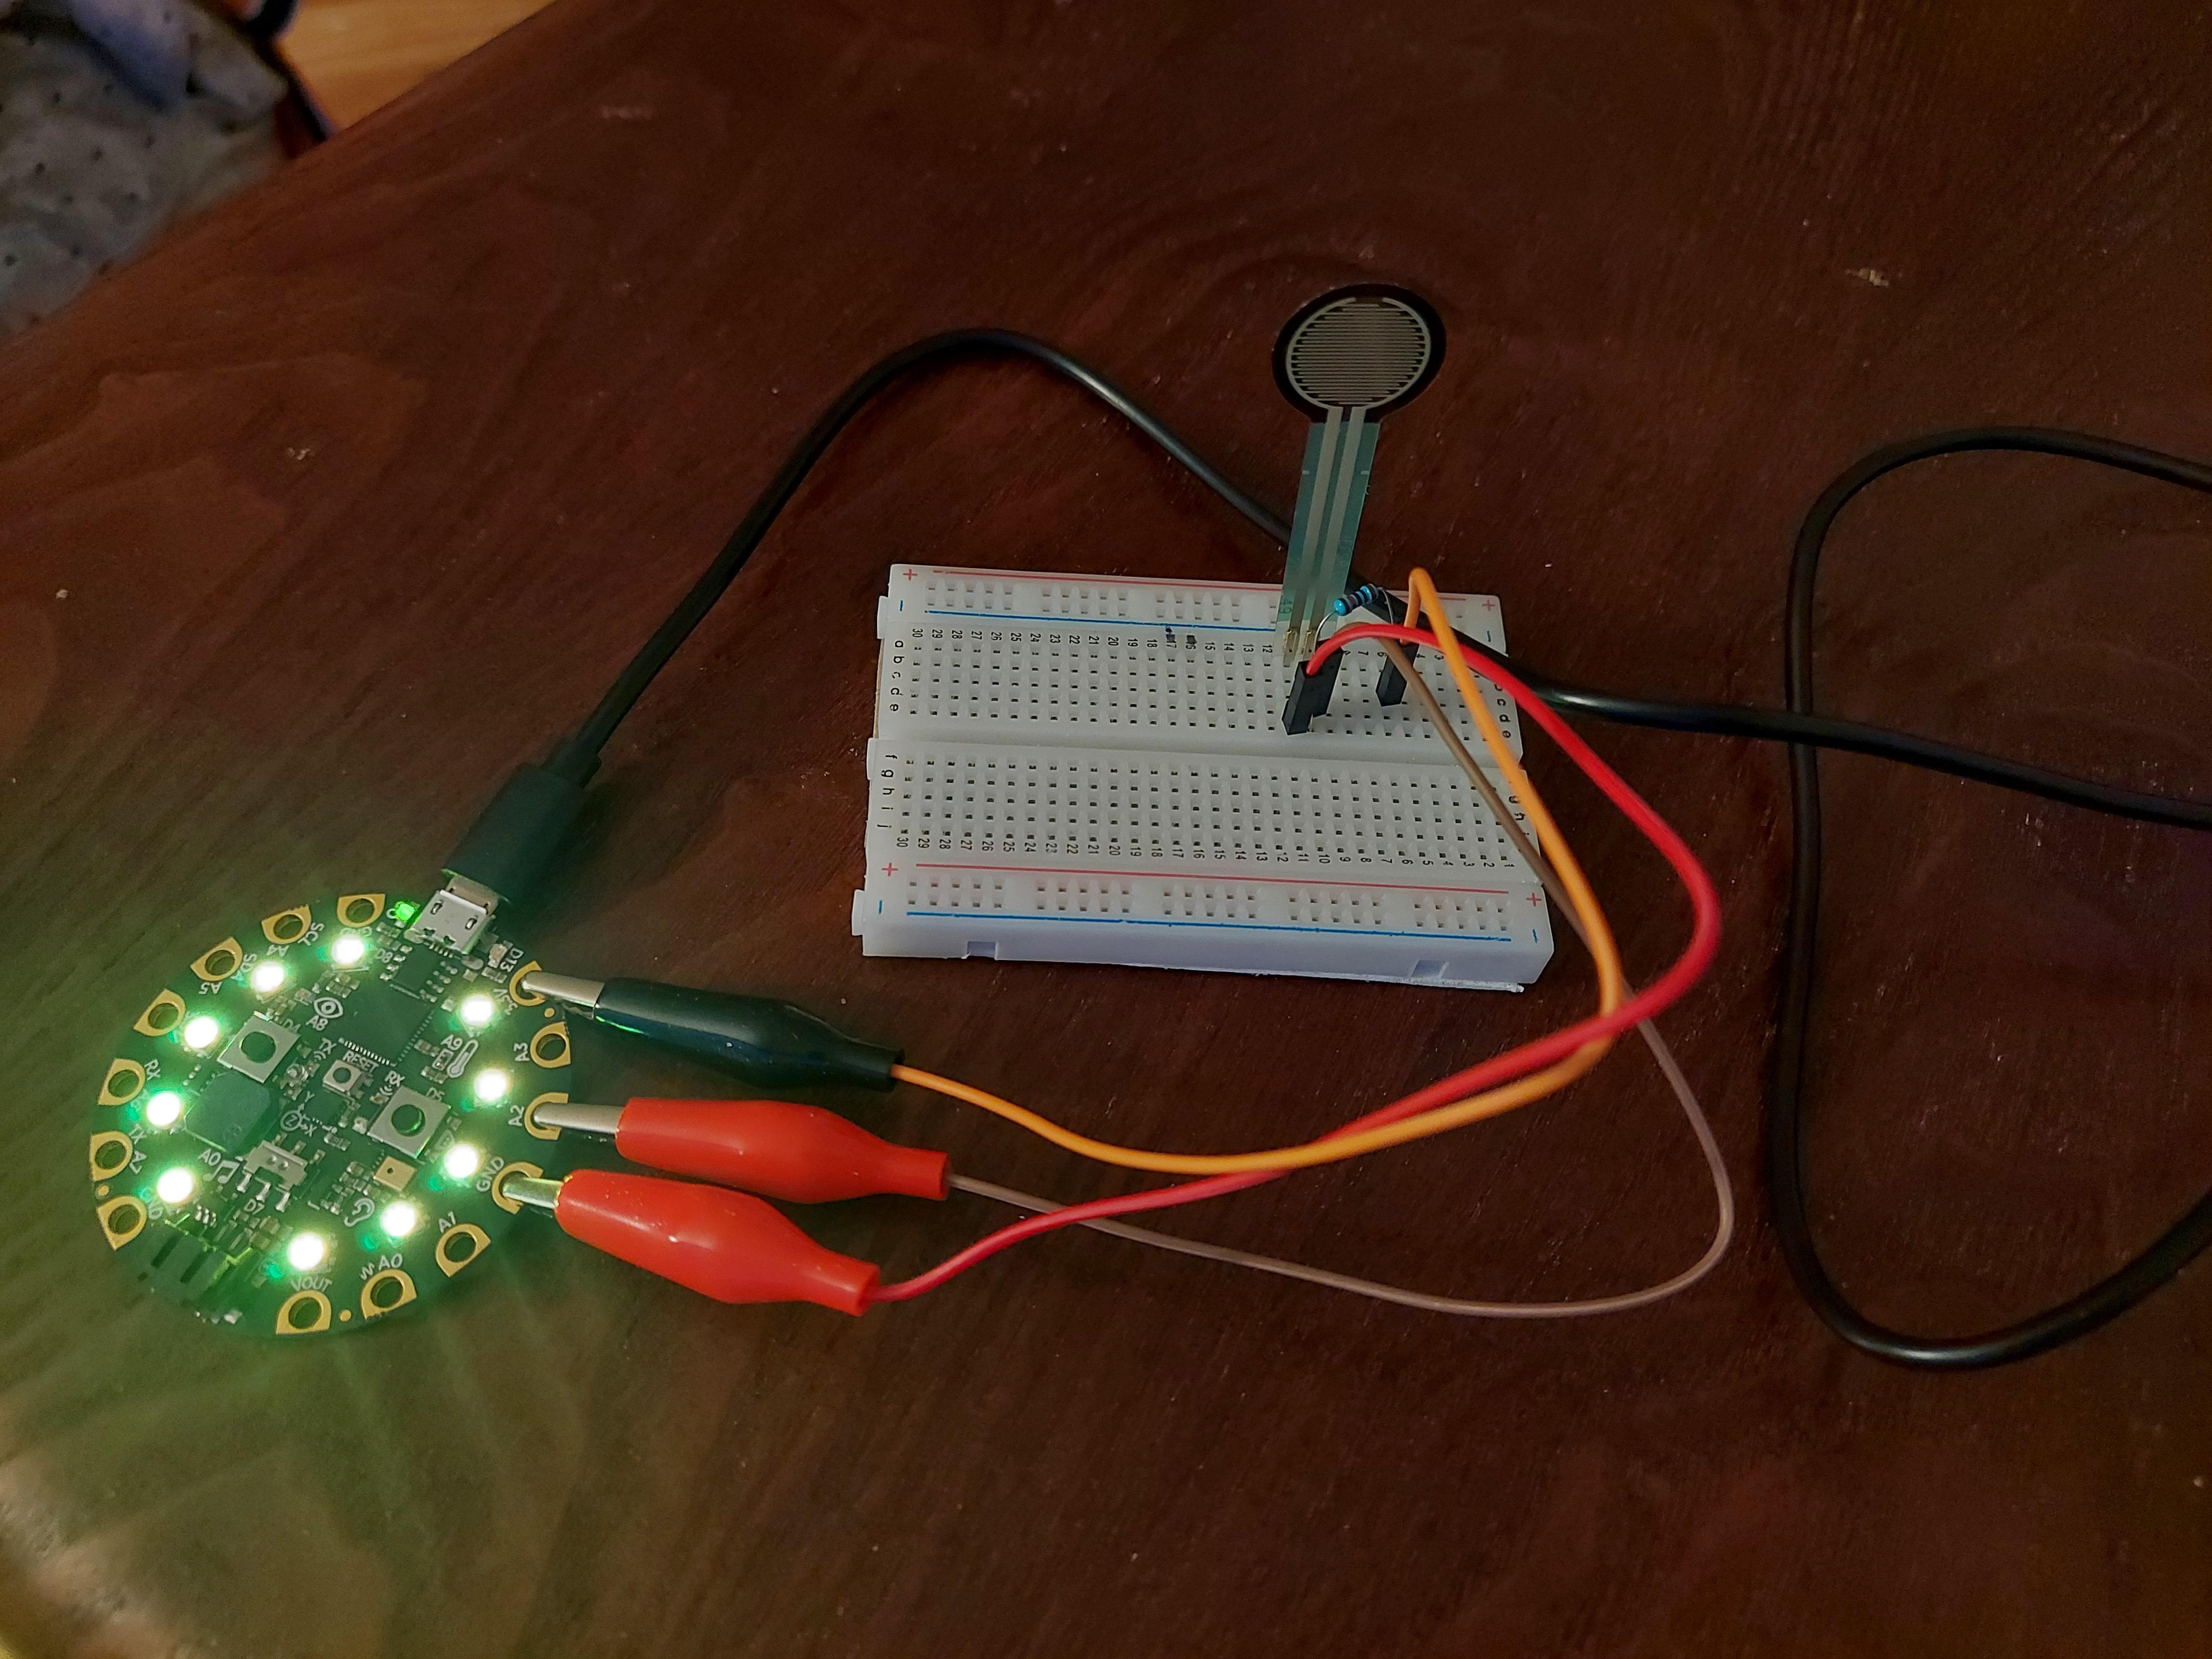
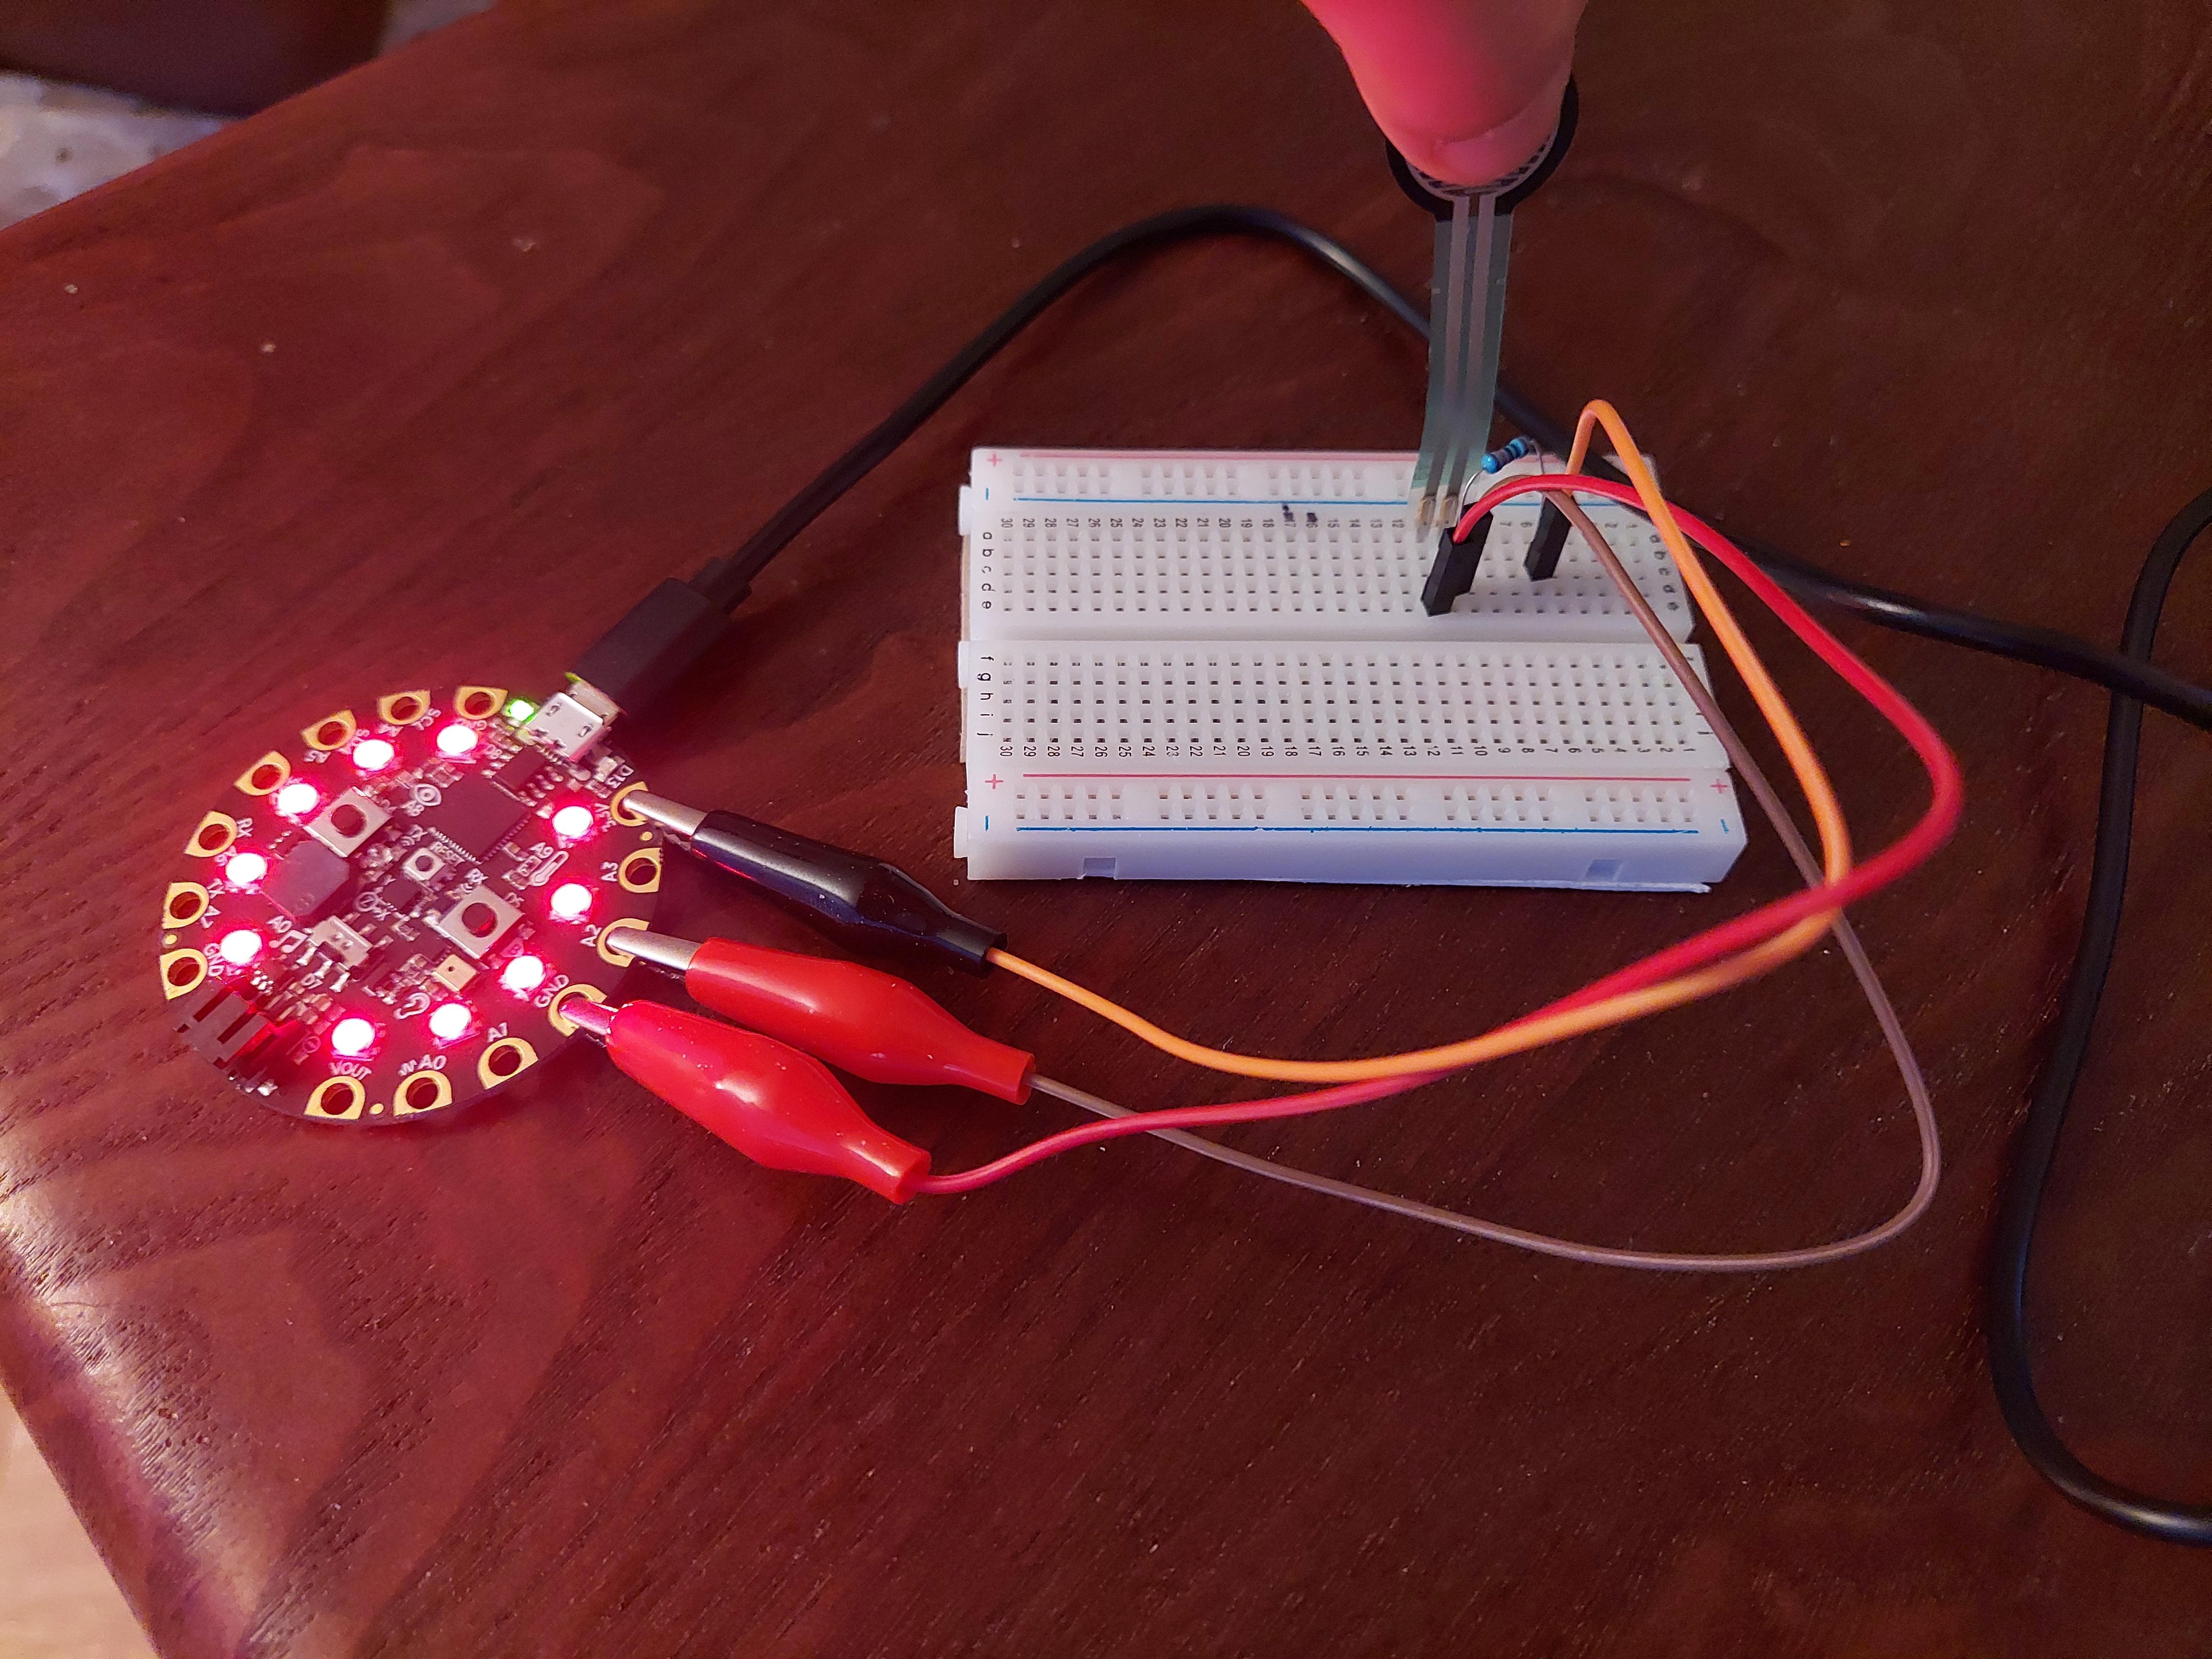
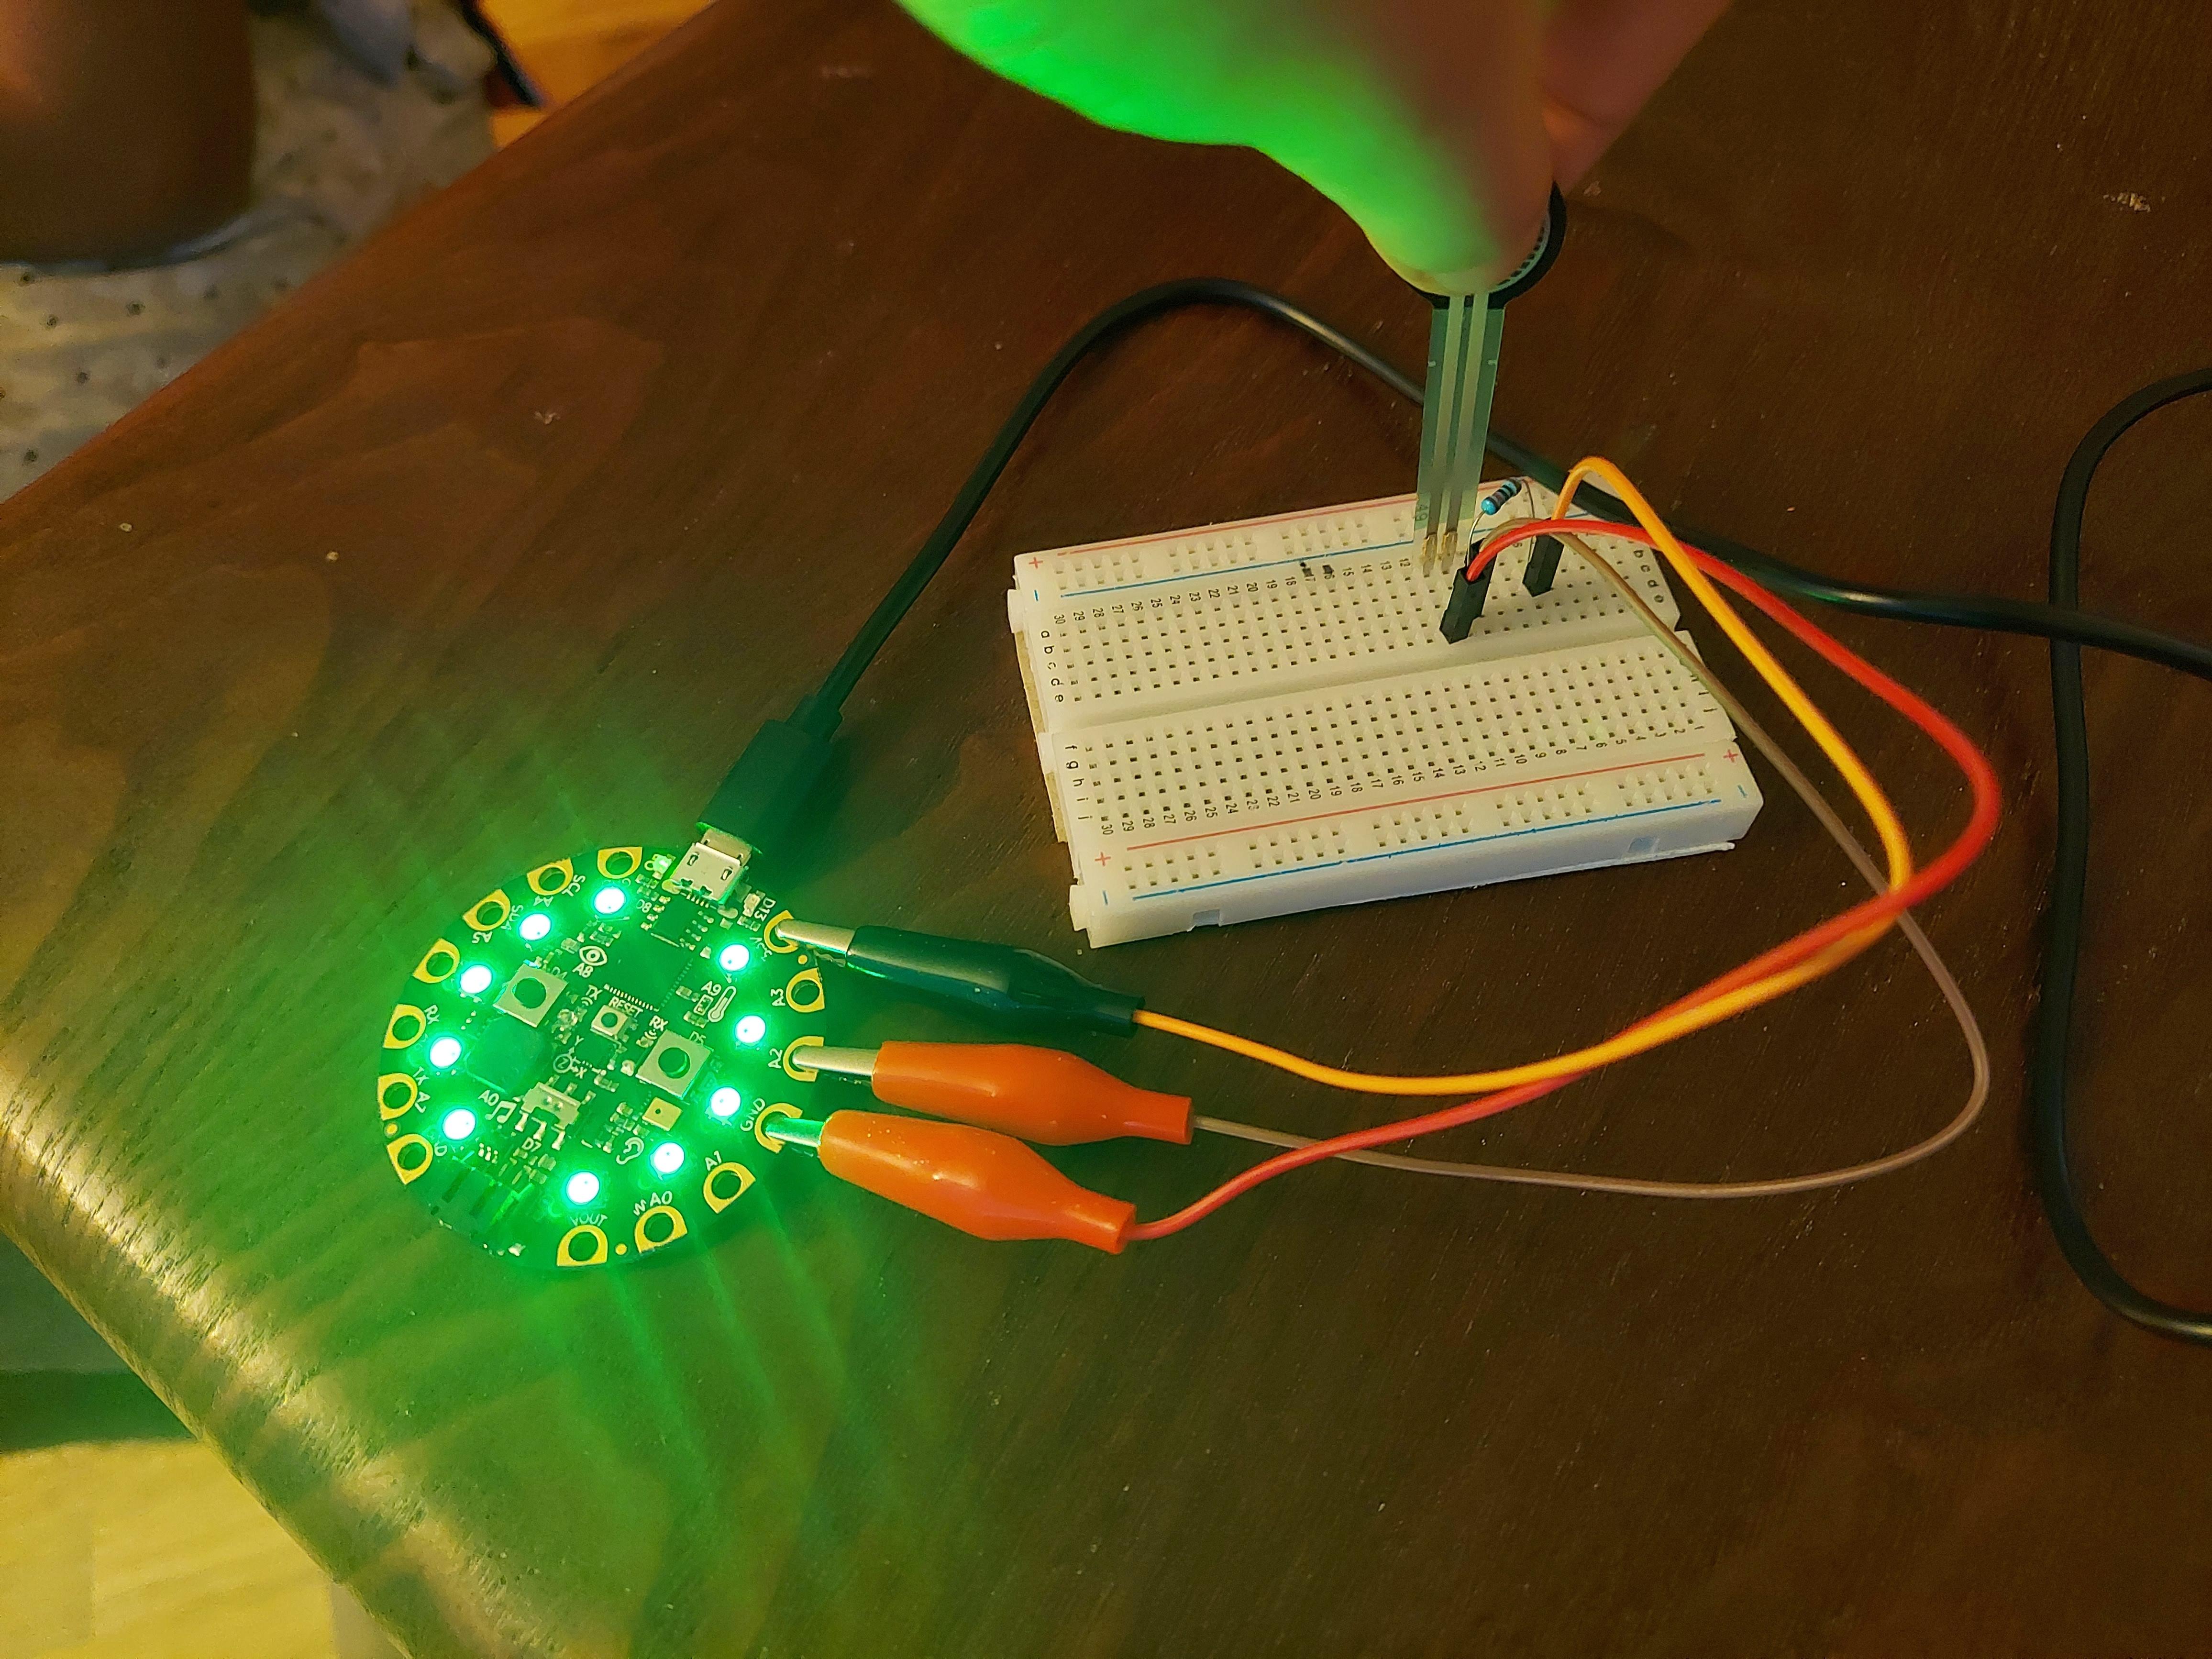
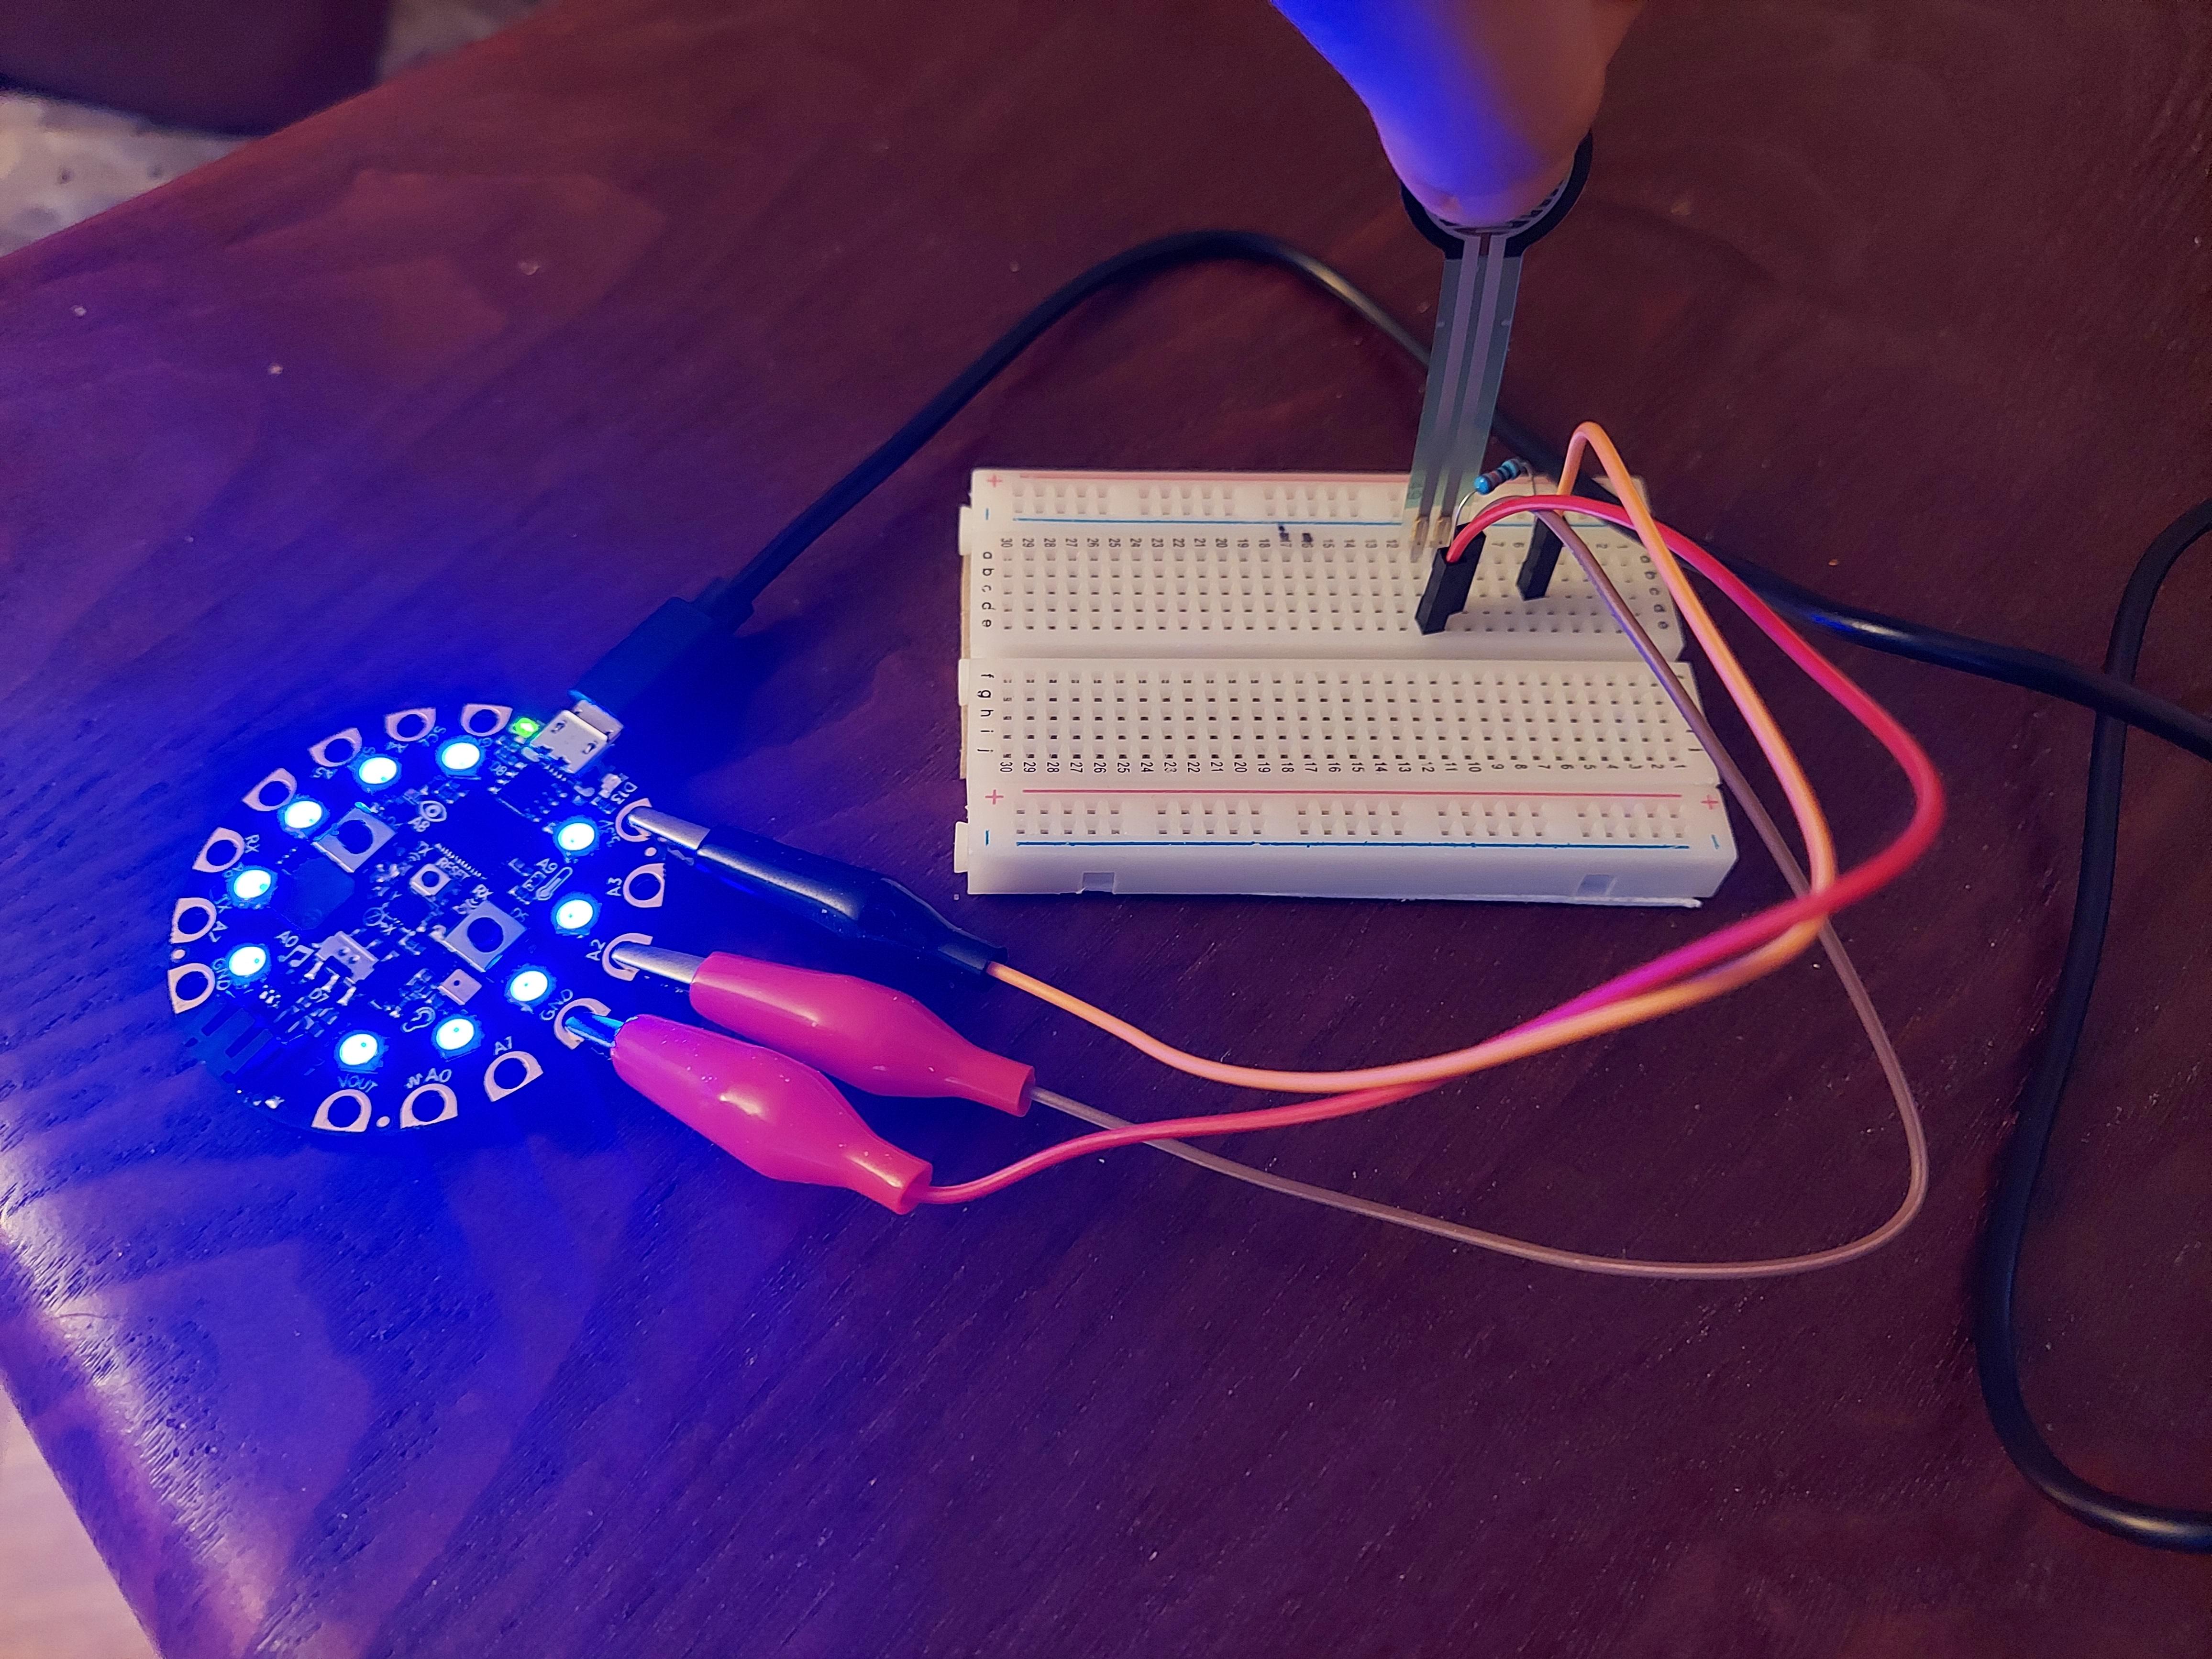
- Type the above code in makecode.
- The readings gotten from step 2 indicate that the major changes occur when pressure is less than 200, between 200 and 500, between 500 and 900, and above 900.
- The above code turns the neopixels on the CPX yellow when force applied is less than 200. When between 200 and 500, the neopixels turn red. Between 500 and 900 force input, the neopixels turn green. When a force greater than 900 is applied the CPX neopixels turn blue.
- Download the code from makecode and run it. You will see that applying different amounts of force will constantly change the color of the CPX neopixels.
Step 4: Results
A video demonstration of the final outcome
Downloads
Plans to Upgrade This Project
I plan to upgrade this project by adding sounds and a much better visualization through lights. I also plan on showing exact numbers on the console to help better understand how this works and bring it a step closer to being like the arcade games.