Pinhole Eclipse Viewer (State-Themed)
by OnTheBrink in Workshop > 3D Printing
2160 Views, 3 Favorites, 0 Comments
Pinhole Eclipse Viewer (State-Themed)
)
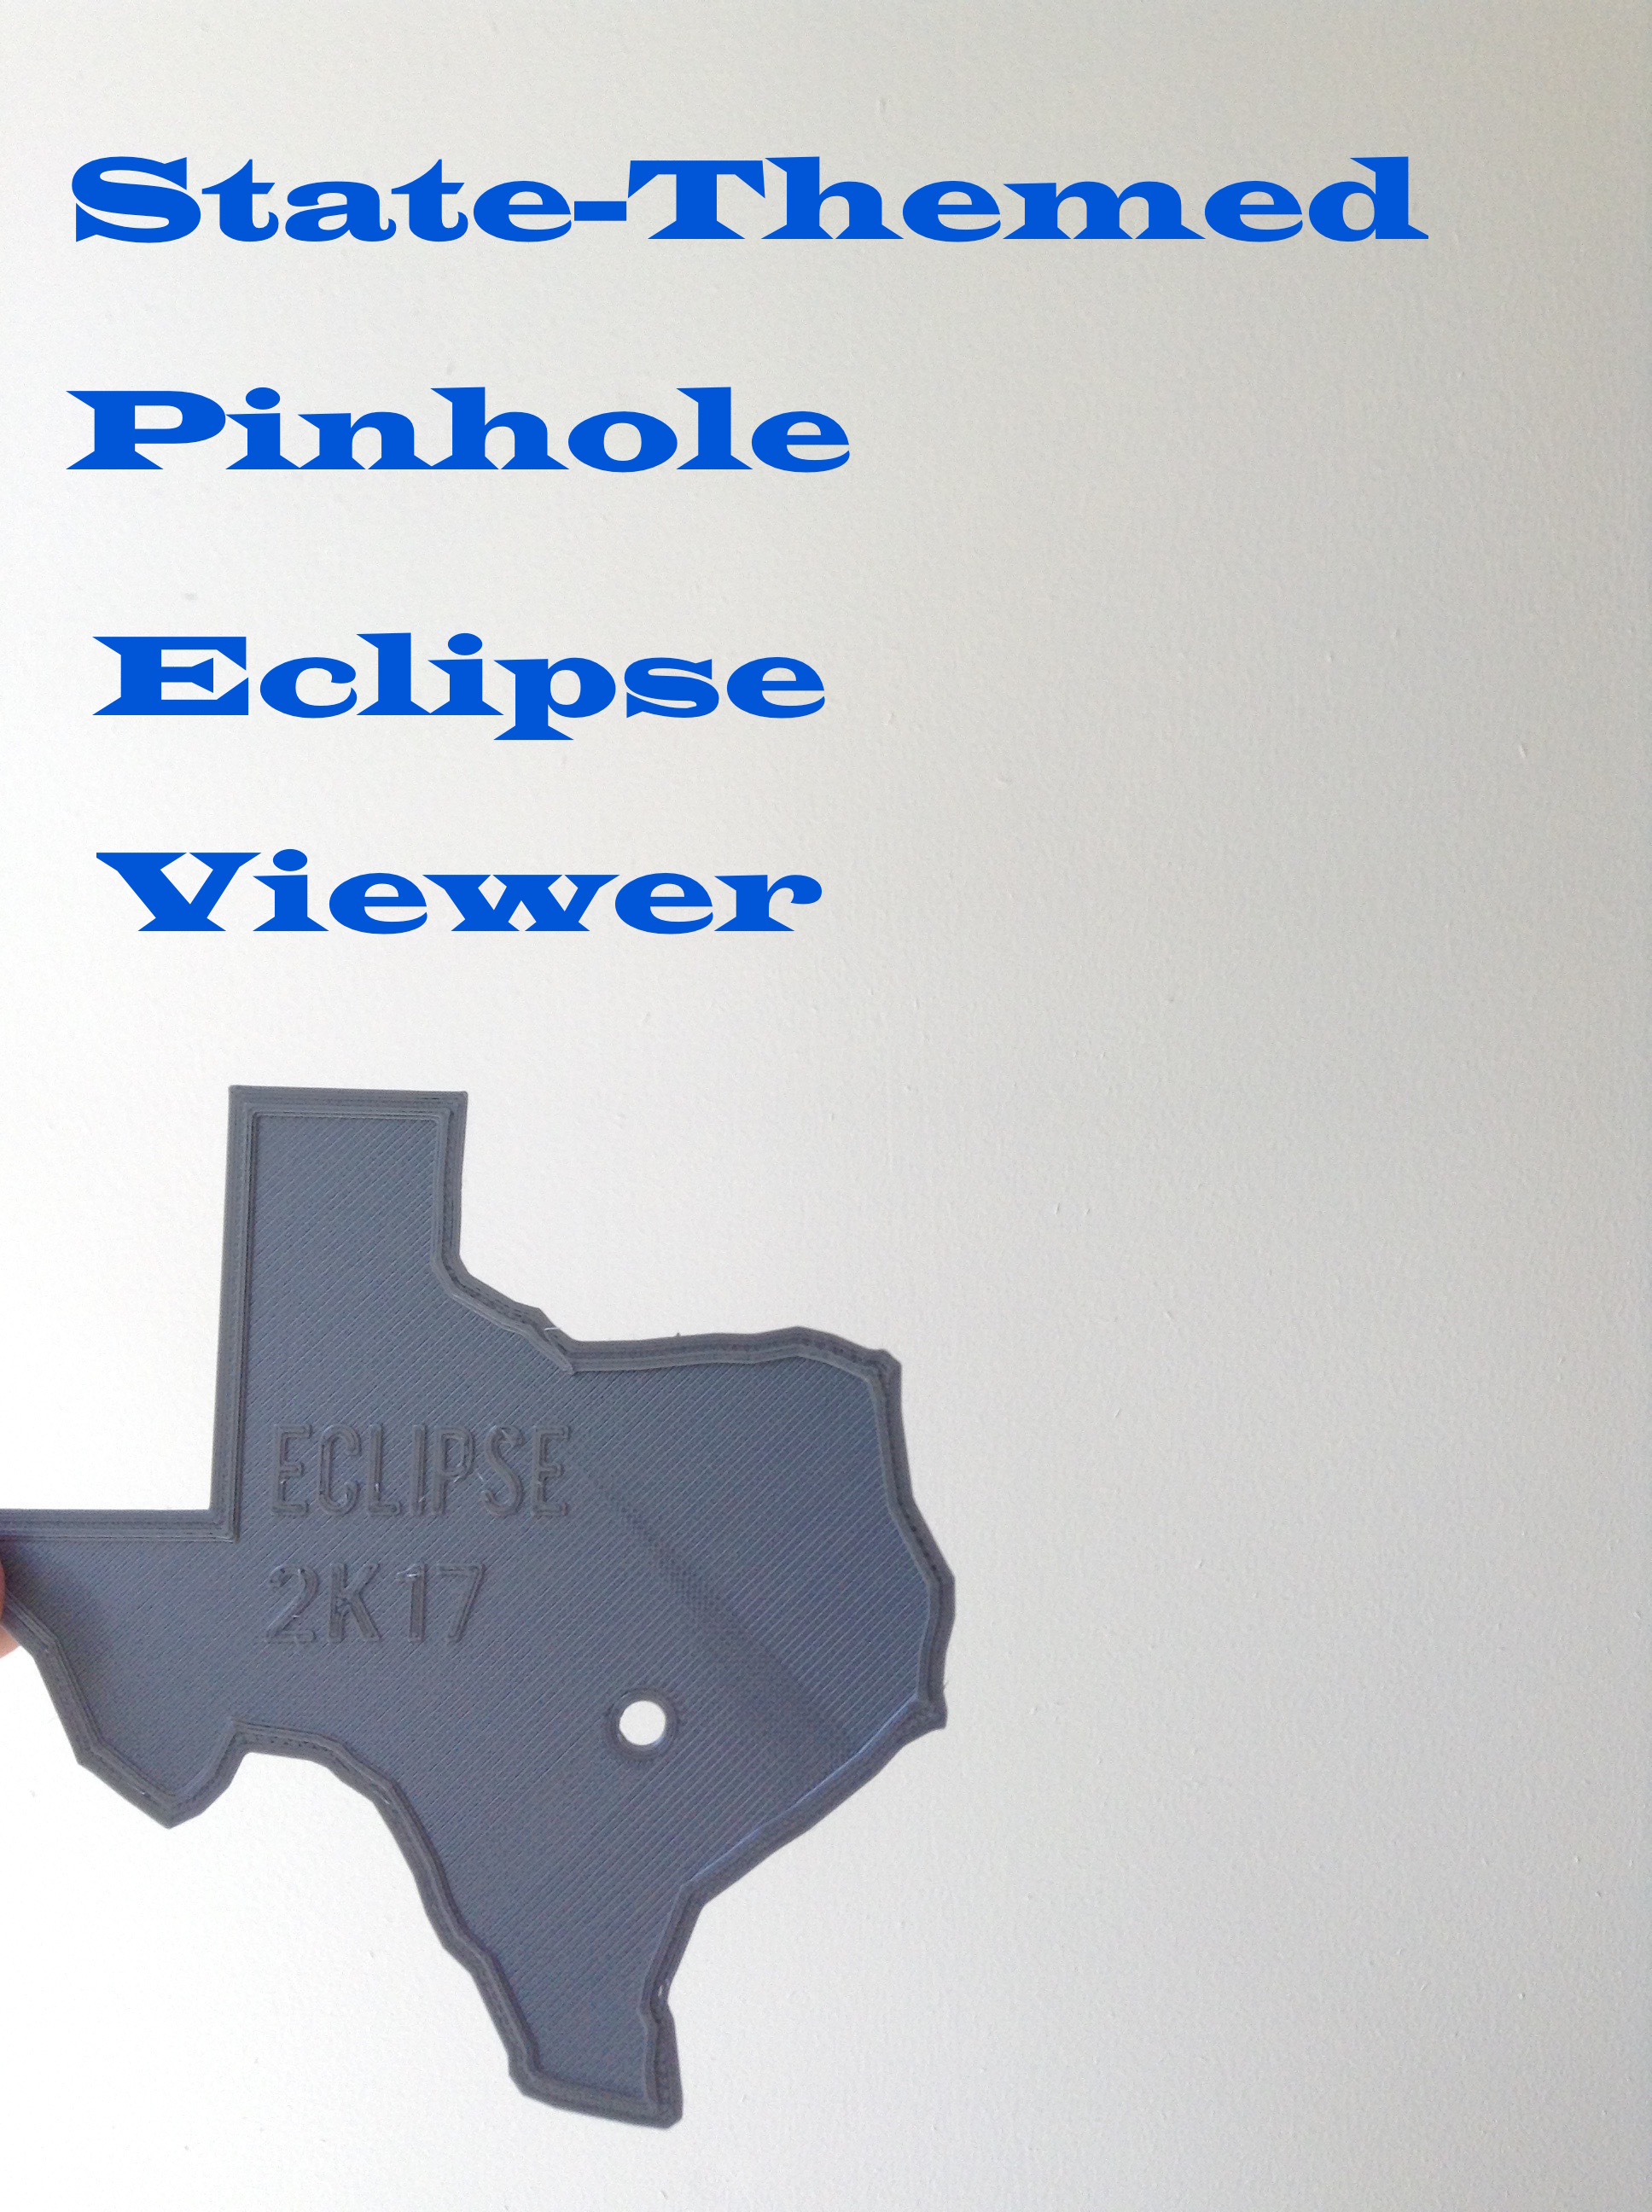
Hello everybody! Today, I'm going to show you how to make a pinhole projector for viewing the upcoming solar eclipse.
I made video on this project as well, so give it a click.
Parts/Software
For this project you will need:
- TinkerCad software
- Slic3r
- 3D Printer w/ PLA filament
That's it. This is mainly a design tutorial, so you want need much for making this projector. You don't even need a printer, you could just order the print from a printing service. Anyway, let's design this thing!
Designing the Viewer
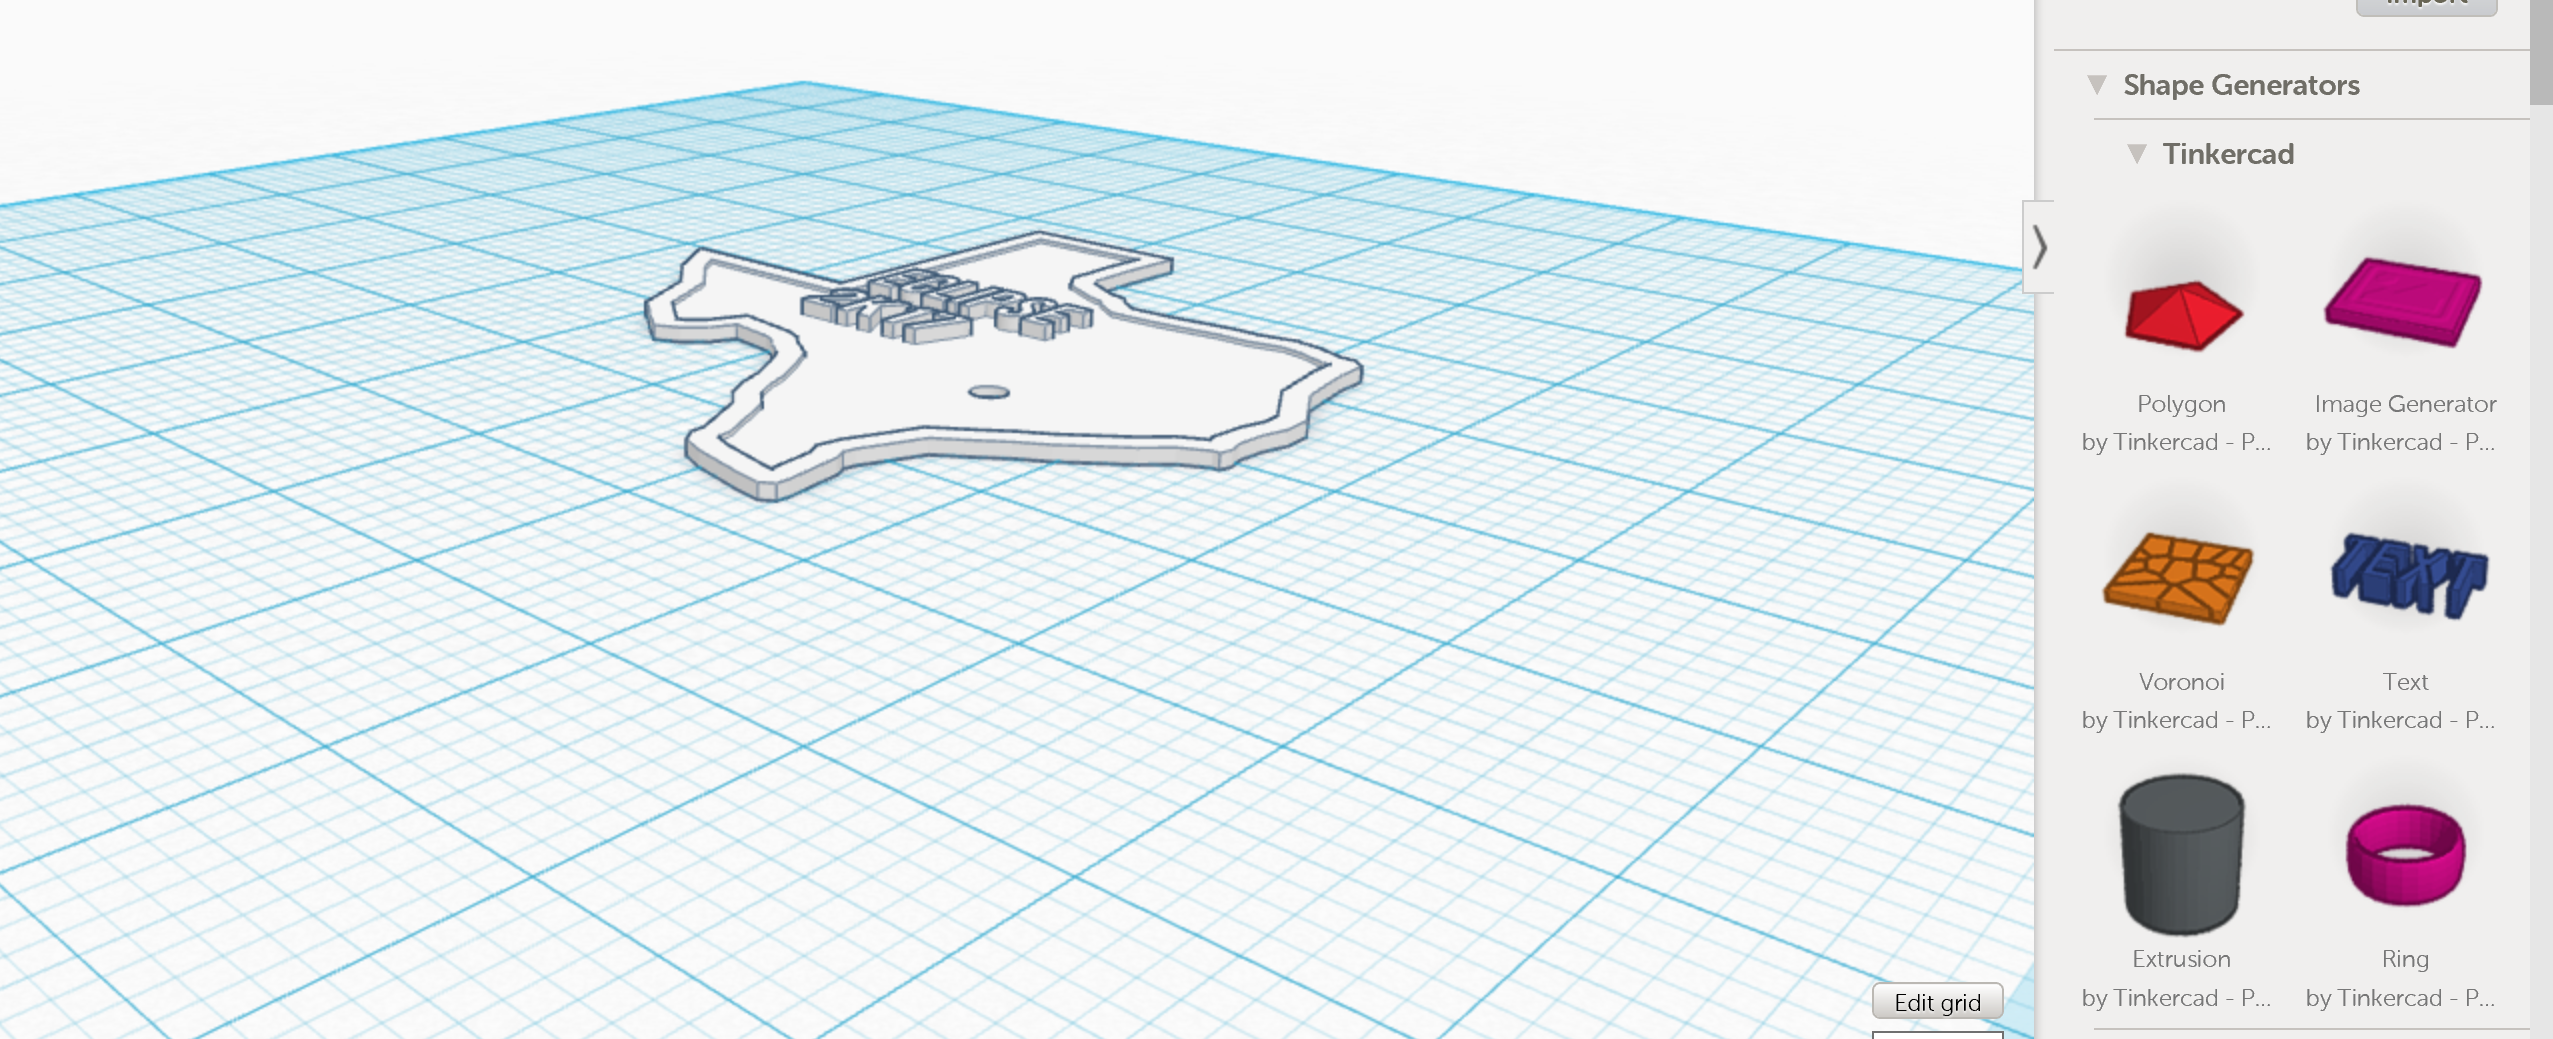
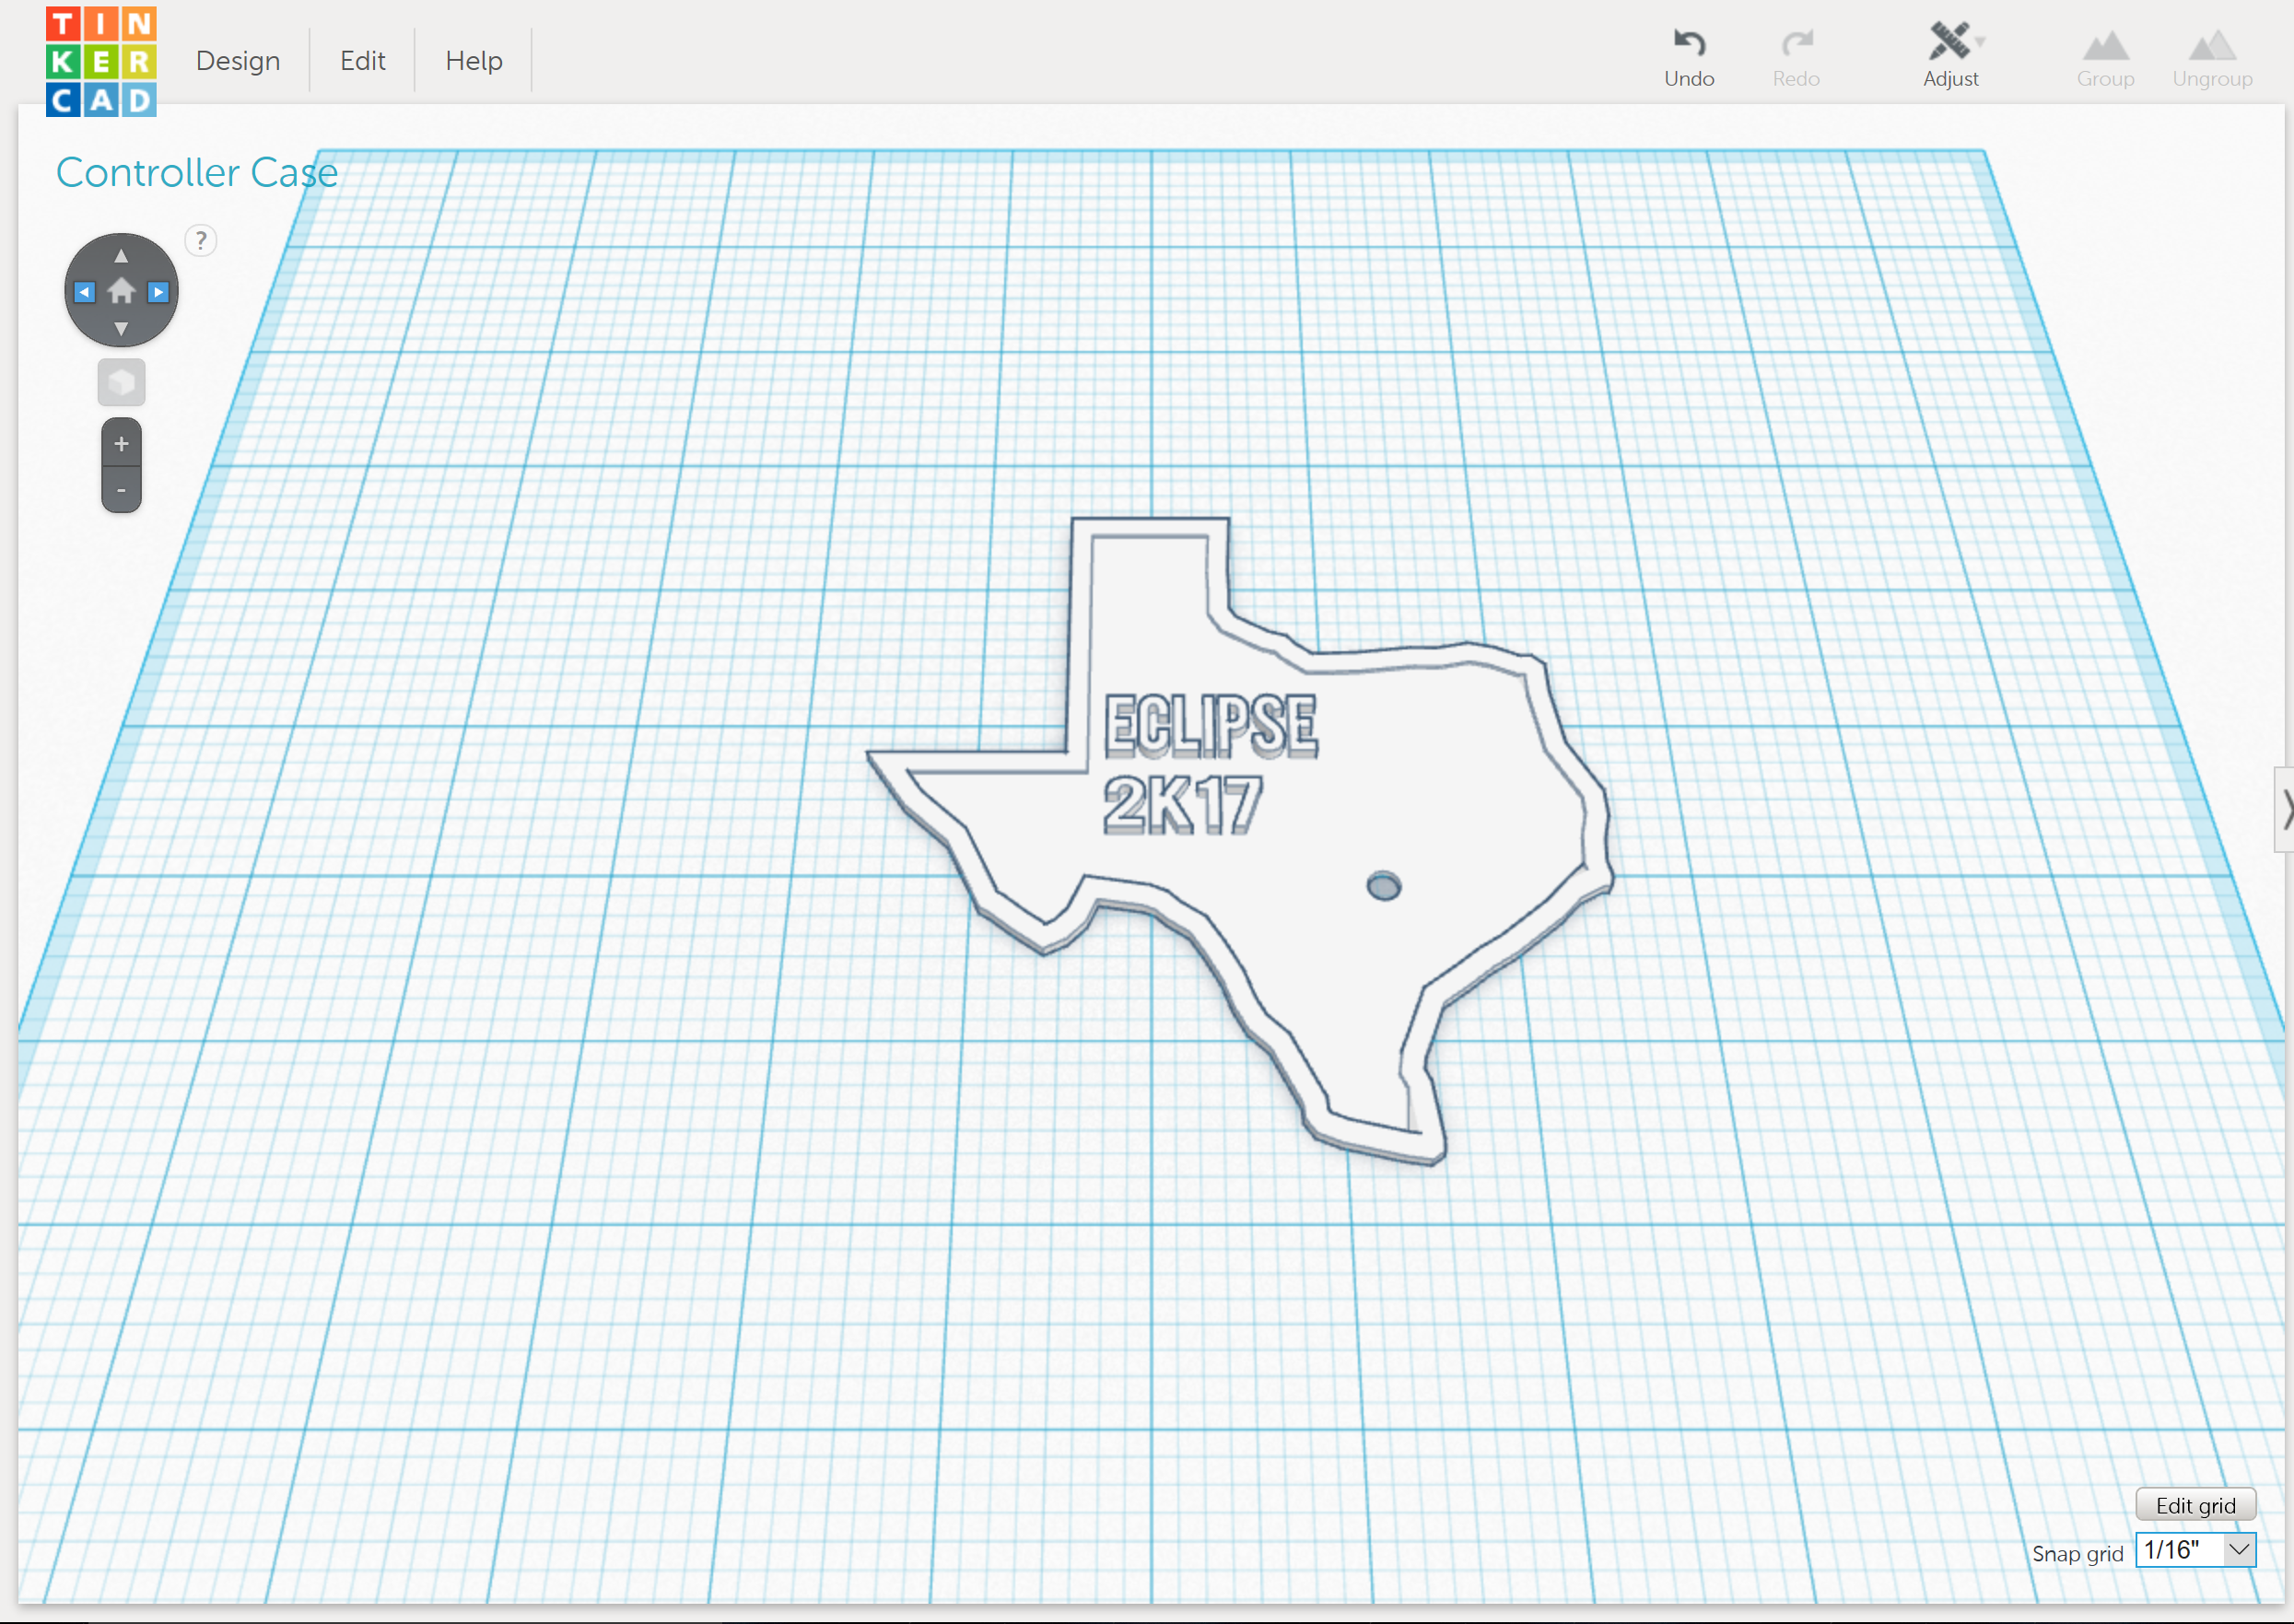
- First, find a .stl file of your state. You can find any state template on Thingiverse if you don't want to make one yourself. Make sure to save that file.
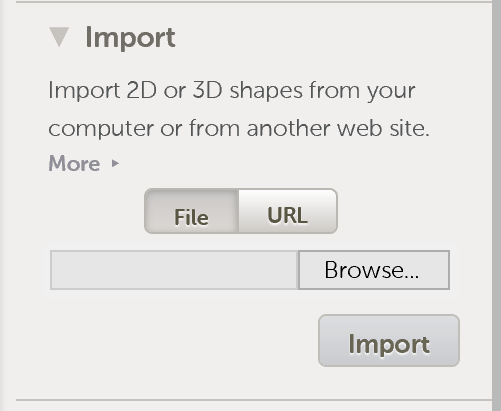
- Open TinkerCad and click on the Import button. That will open a file finder menu, and you will want to select the state template you found earlier. Size the state to proportion. I made my Texas model 4in X 4in, but it is up to you to size it accurately.
- Now drag and drop a cylinder on to the grid. Shrink the cylinder to proportion and drag it to roughly where the capital of your state is located. Make sure to make your cylinder a hole.
- Once you have the hole centered on the state object, group them together.
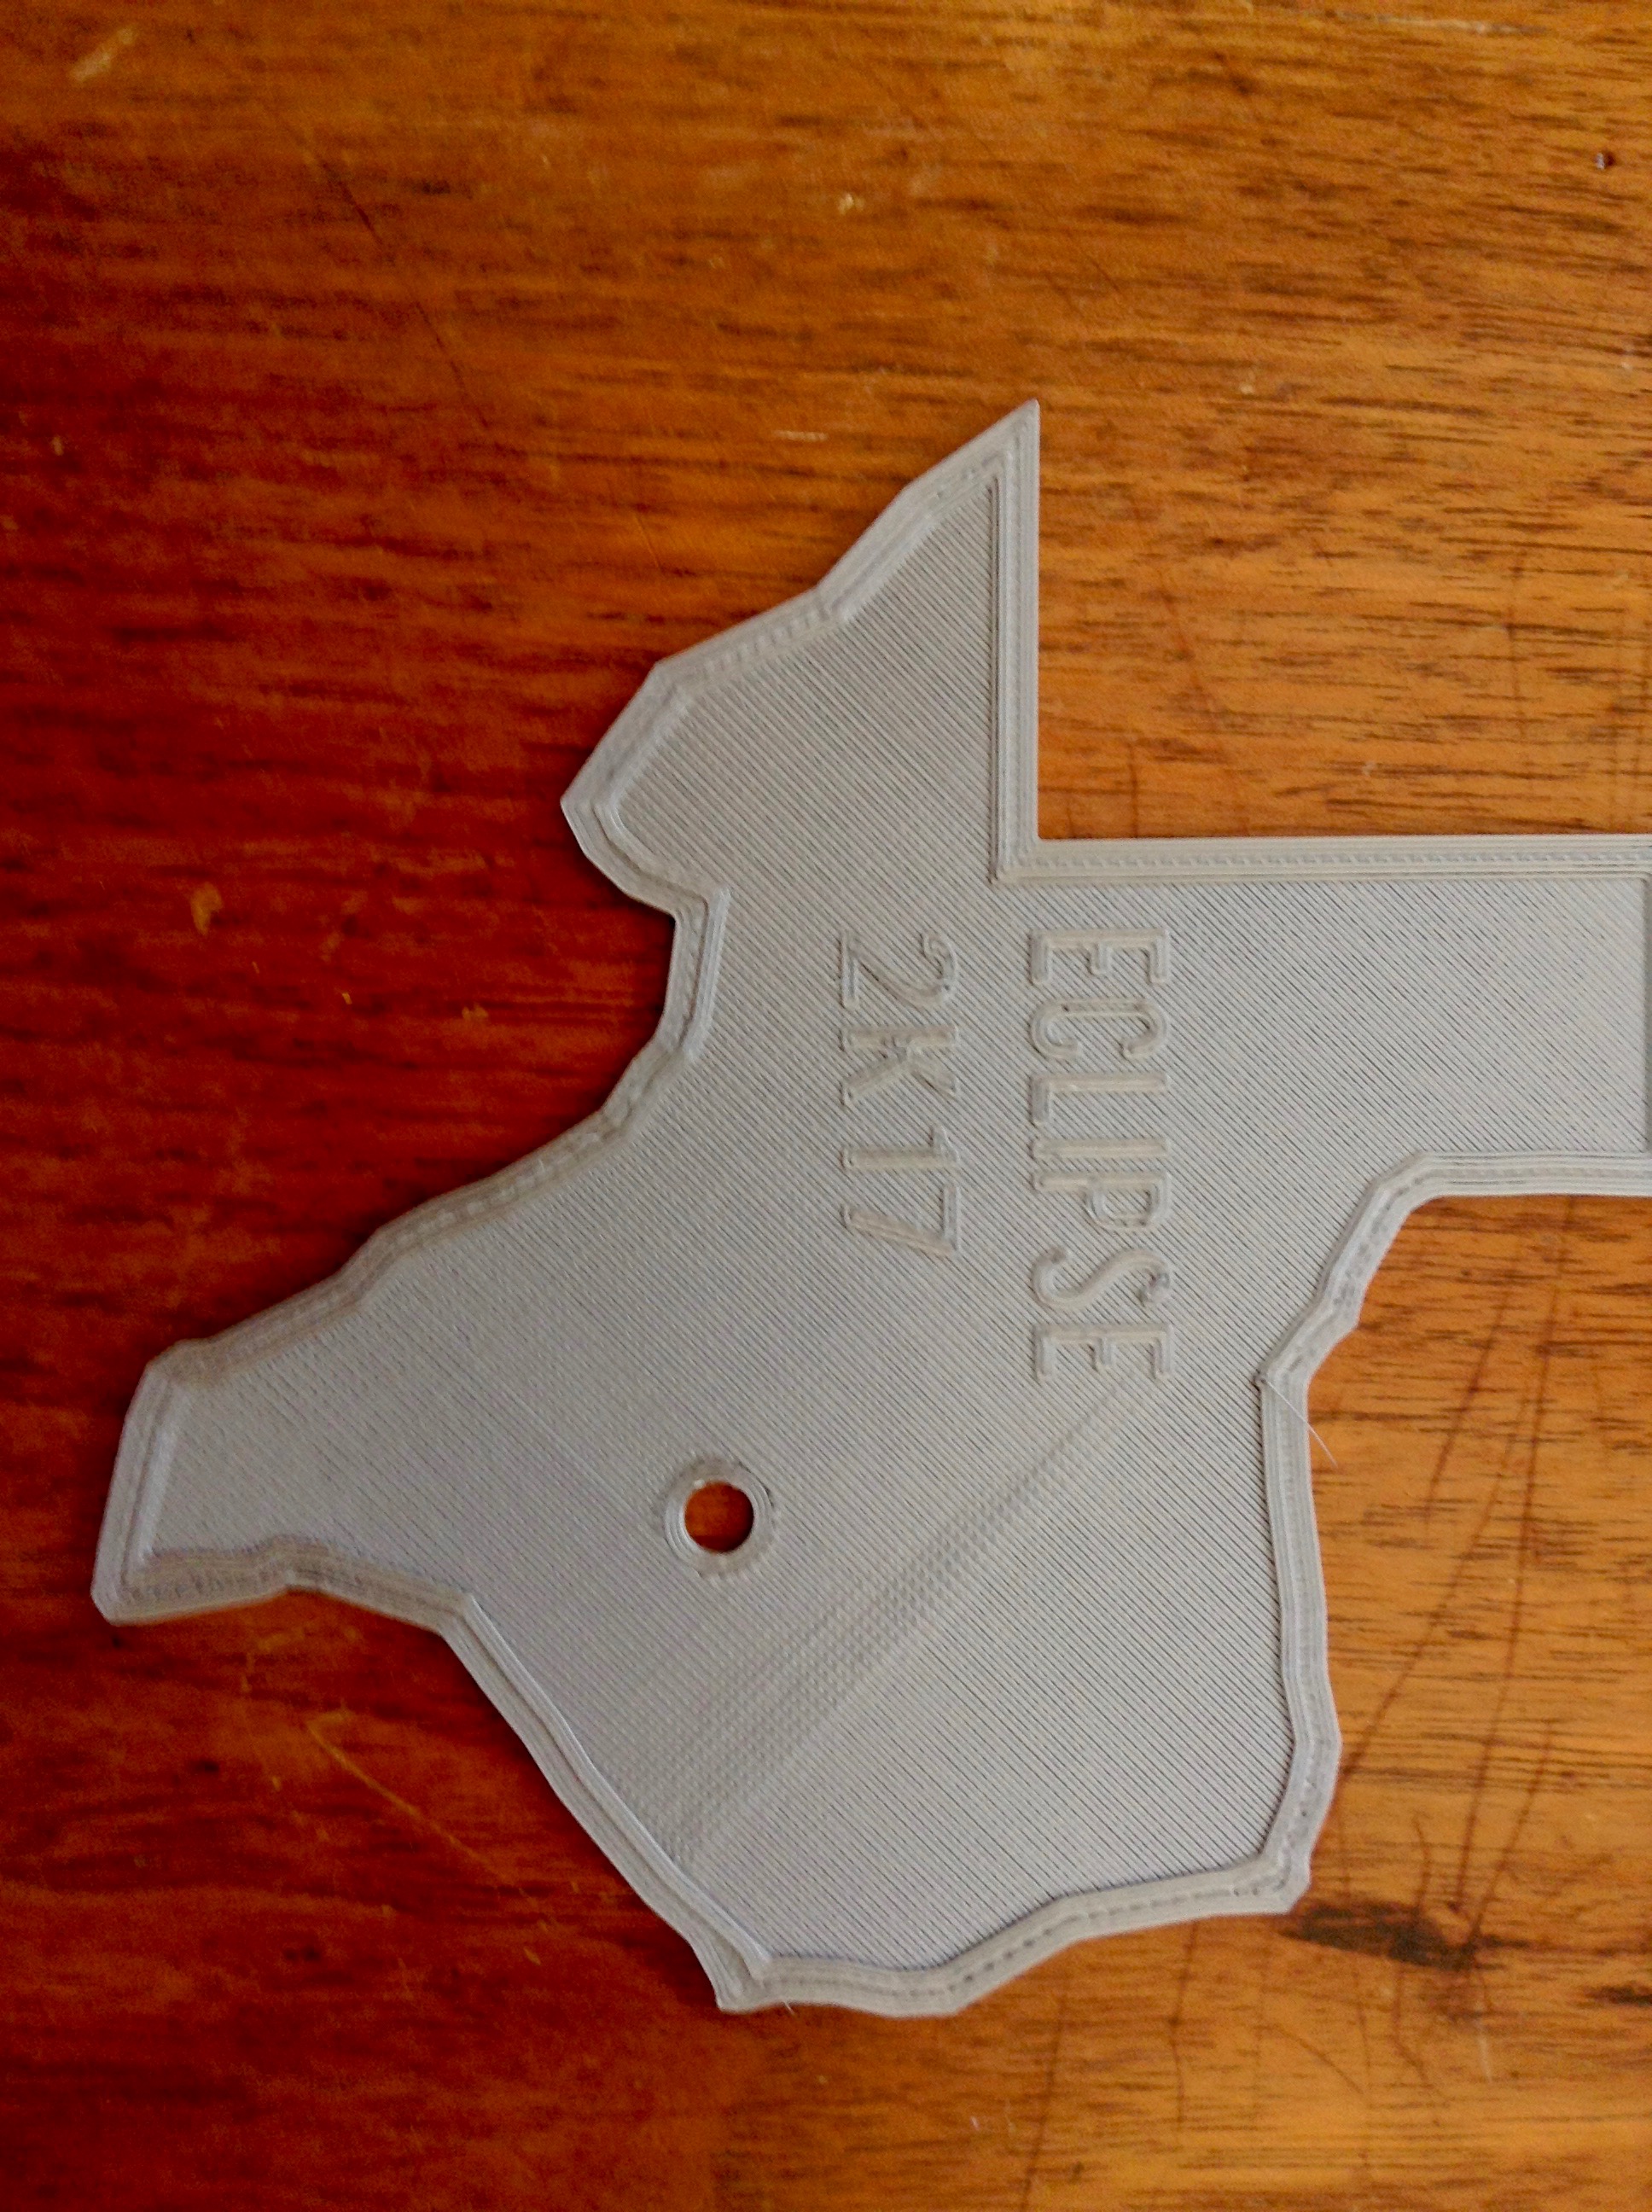
- Your projector is finished. I added some text using the "text" object to make the viewer a little cooler, but that is just a design preference, not a necessity.
On to printing!
Printing
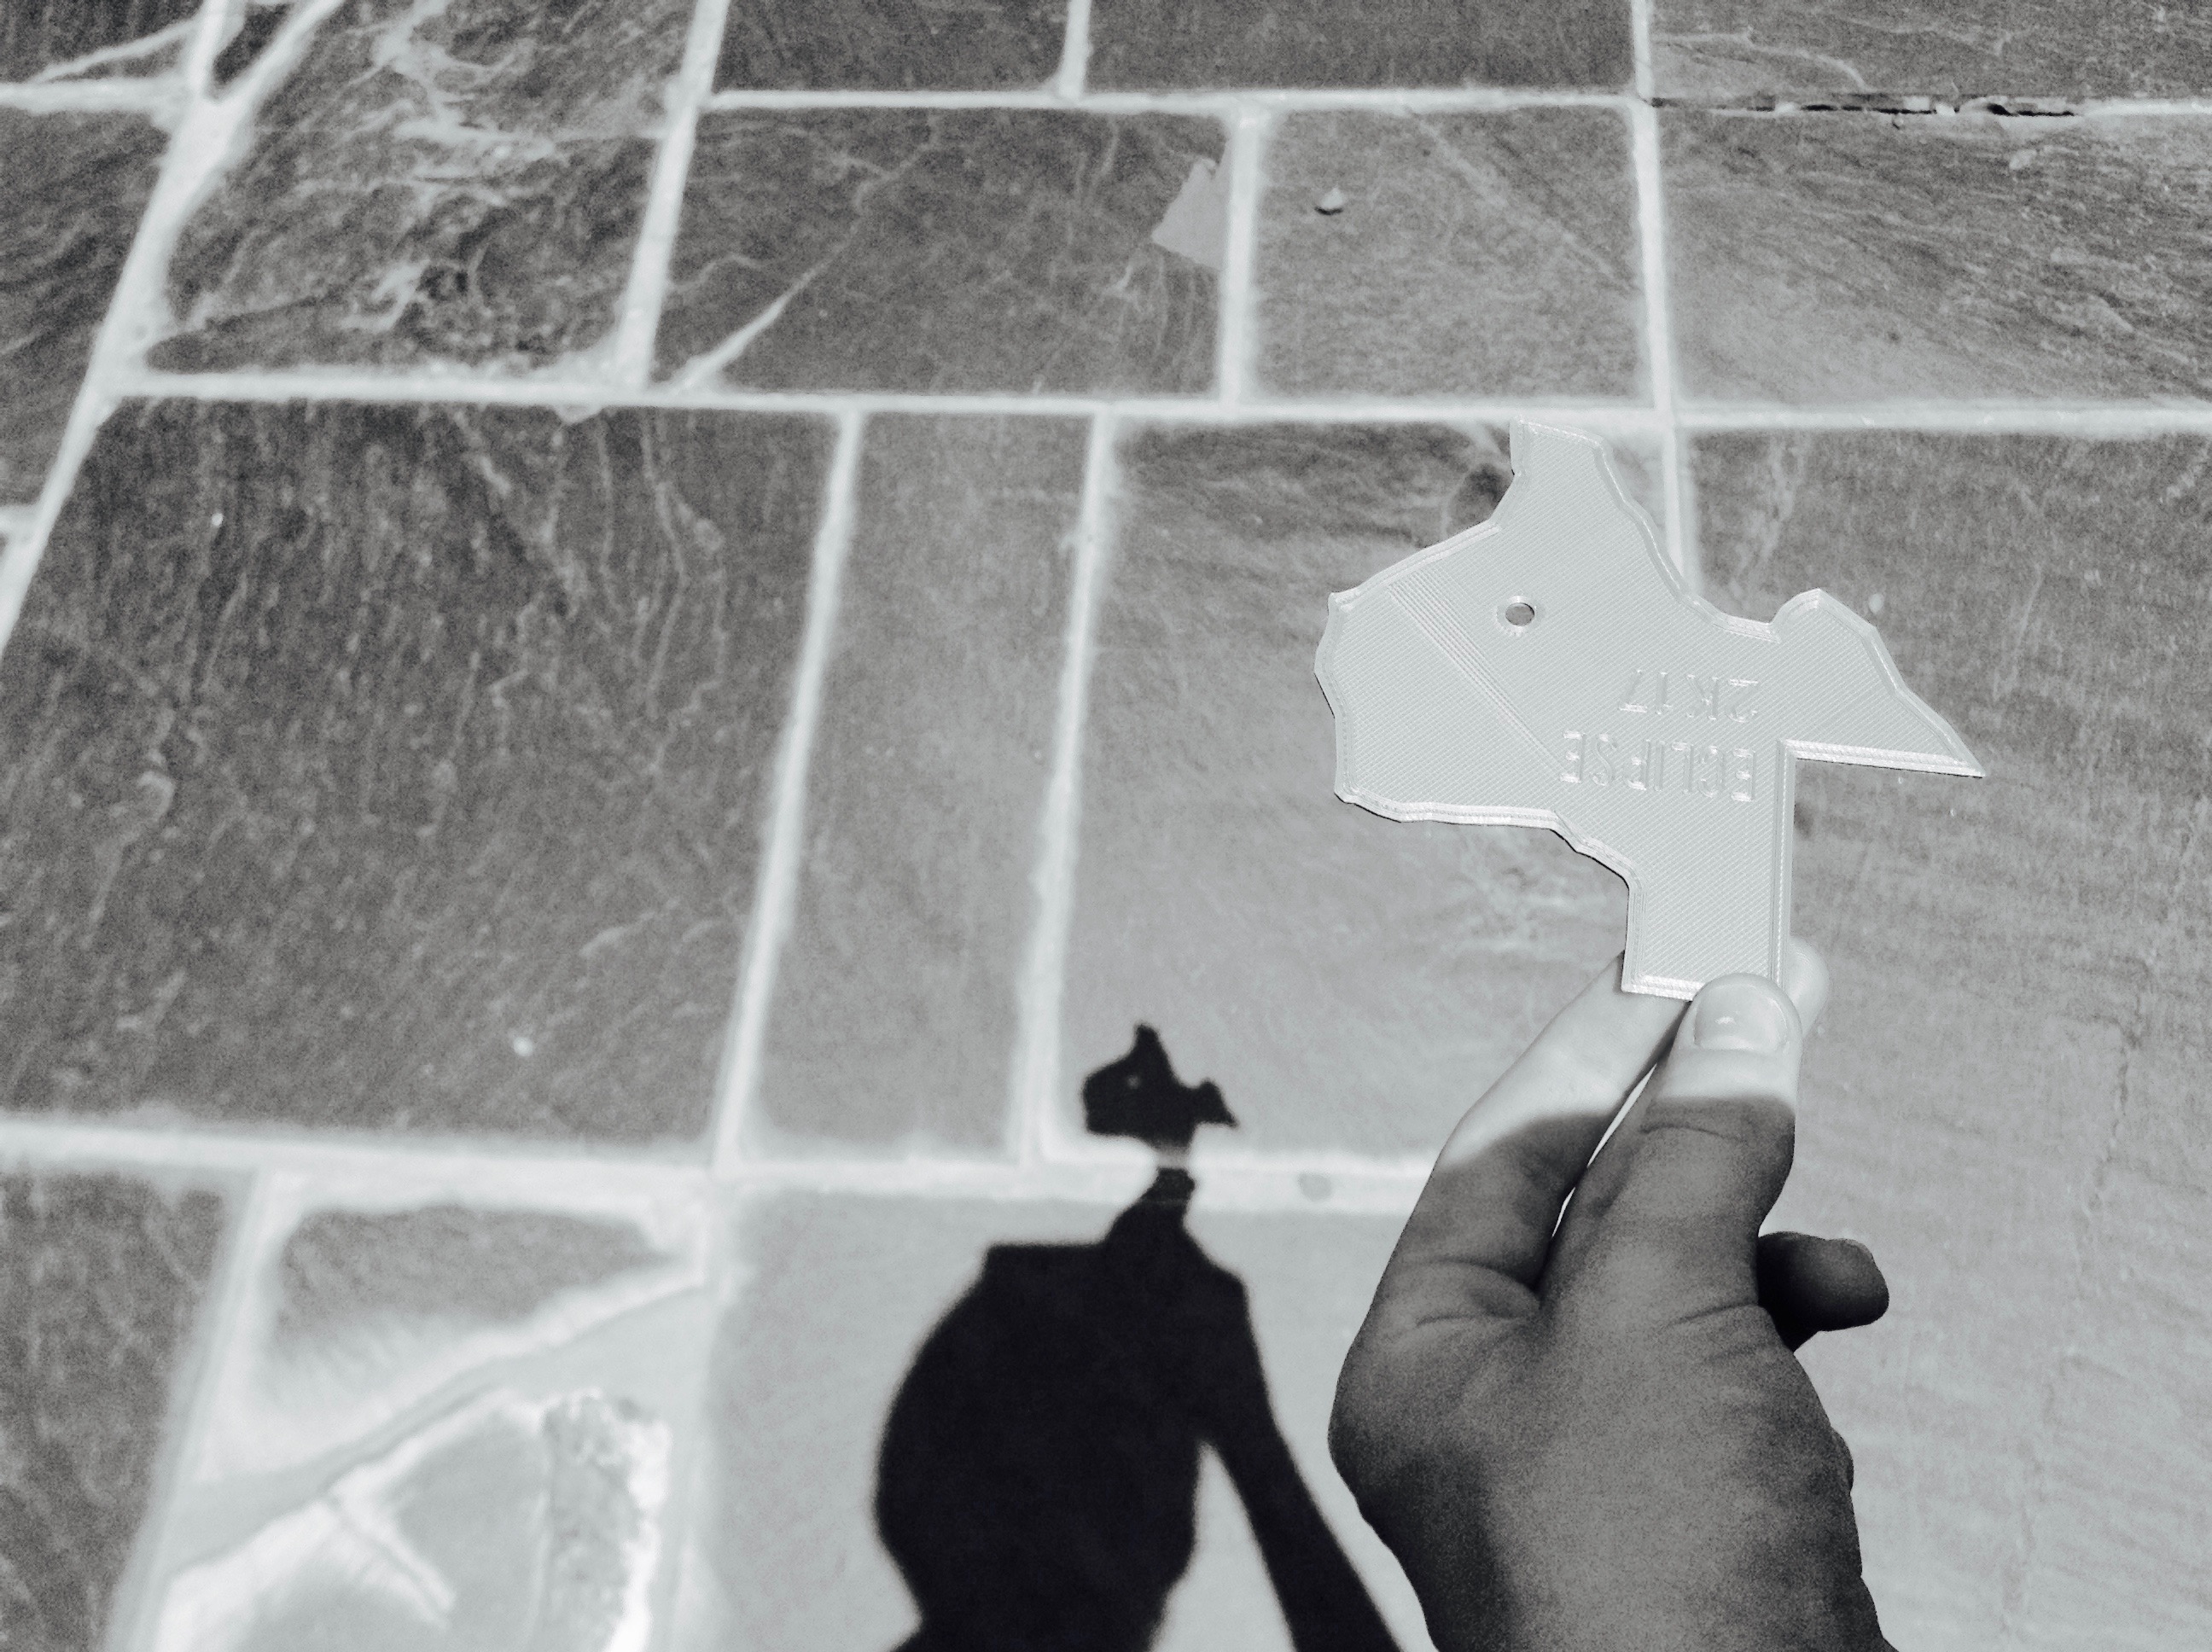
Anyway, the .stl file for the Texas version are above, so just follow the directions for if you have or do not have a 3D printer. Make sure to slice the files before you print.
STEPS IF YOU HAVE A 3D PRINTER
Upload these files into your SD card or upload them to your printer. Keep that print time in mind when scaling the files up or down. Load the new g code files into your 3D printer (I use a PRUSA is MK2, so I just put the files onto a SD card, but if you have a wireless printer, just upload the files wirelessly). Start the print and you are done.
***STEPS FOR SOMEONE WHO DOES NOT HAVE A 3D PRINTER
First, Choose the printing service you want to use. I recommend that you use 3D hubs, since their file sharing system is very easy to use. Upload the files and chose the hub you want to use. The hubs also give you the option of filament you want to use. Most filaments would be fine for this project, just use common sense when choosing. For example, printing this crossbow in a super flexible filament would not be that great of an idea, since the functionality of a crossbow is based on having a tense frame. The site will guide you through payment and the hub will give you an estimated delivery date as well
Downloads
Proper Use
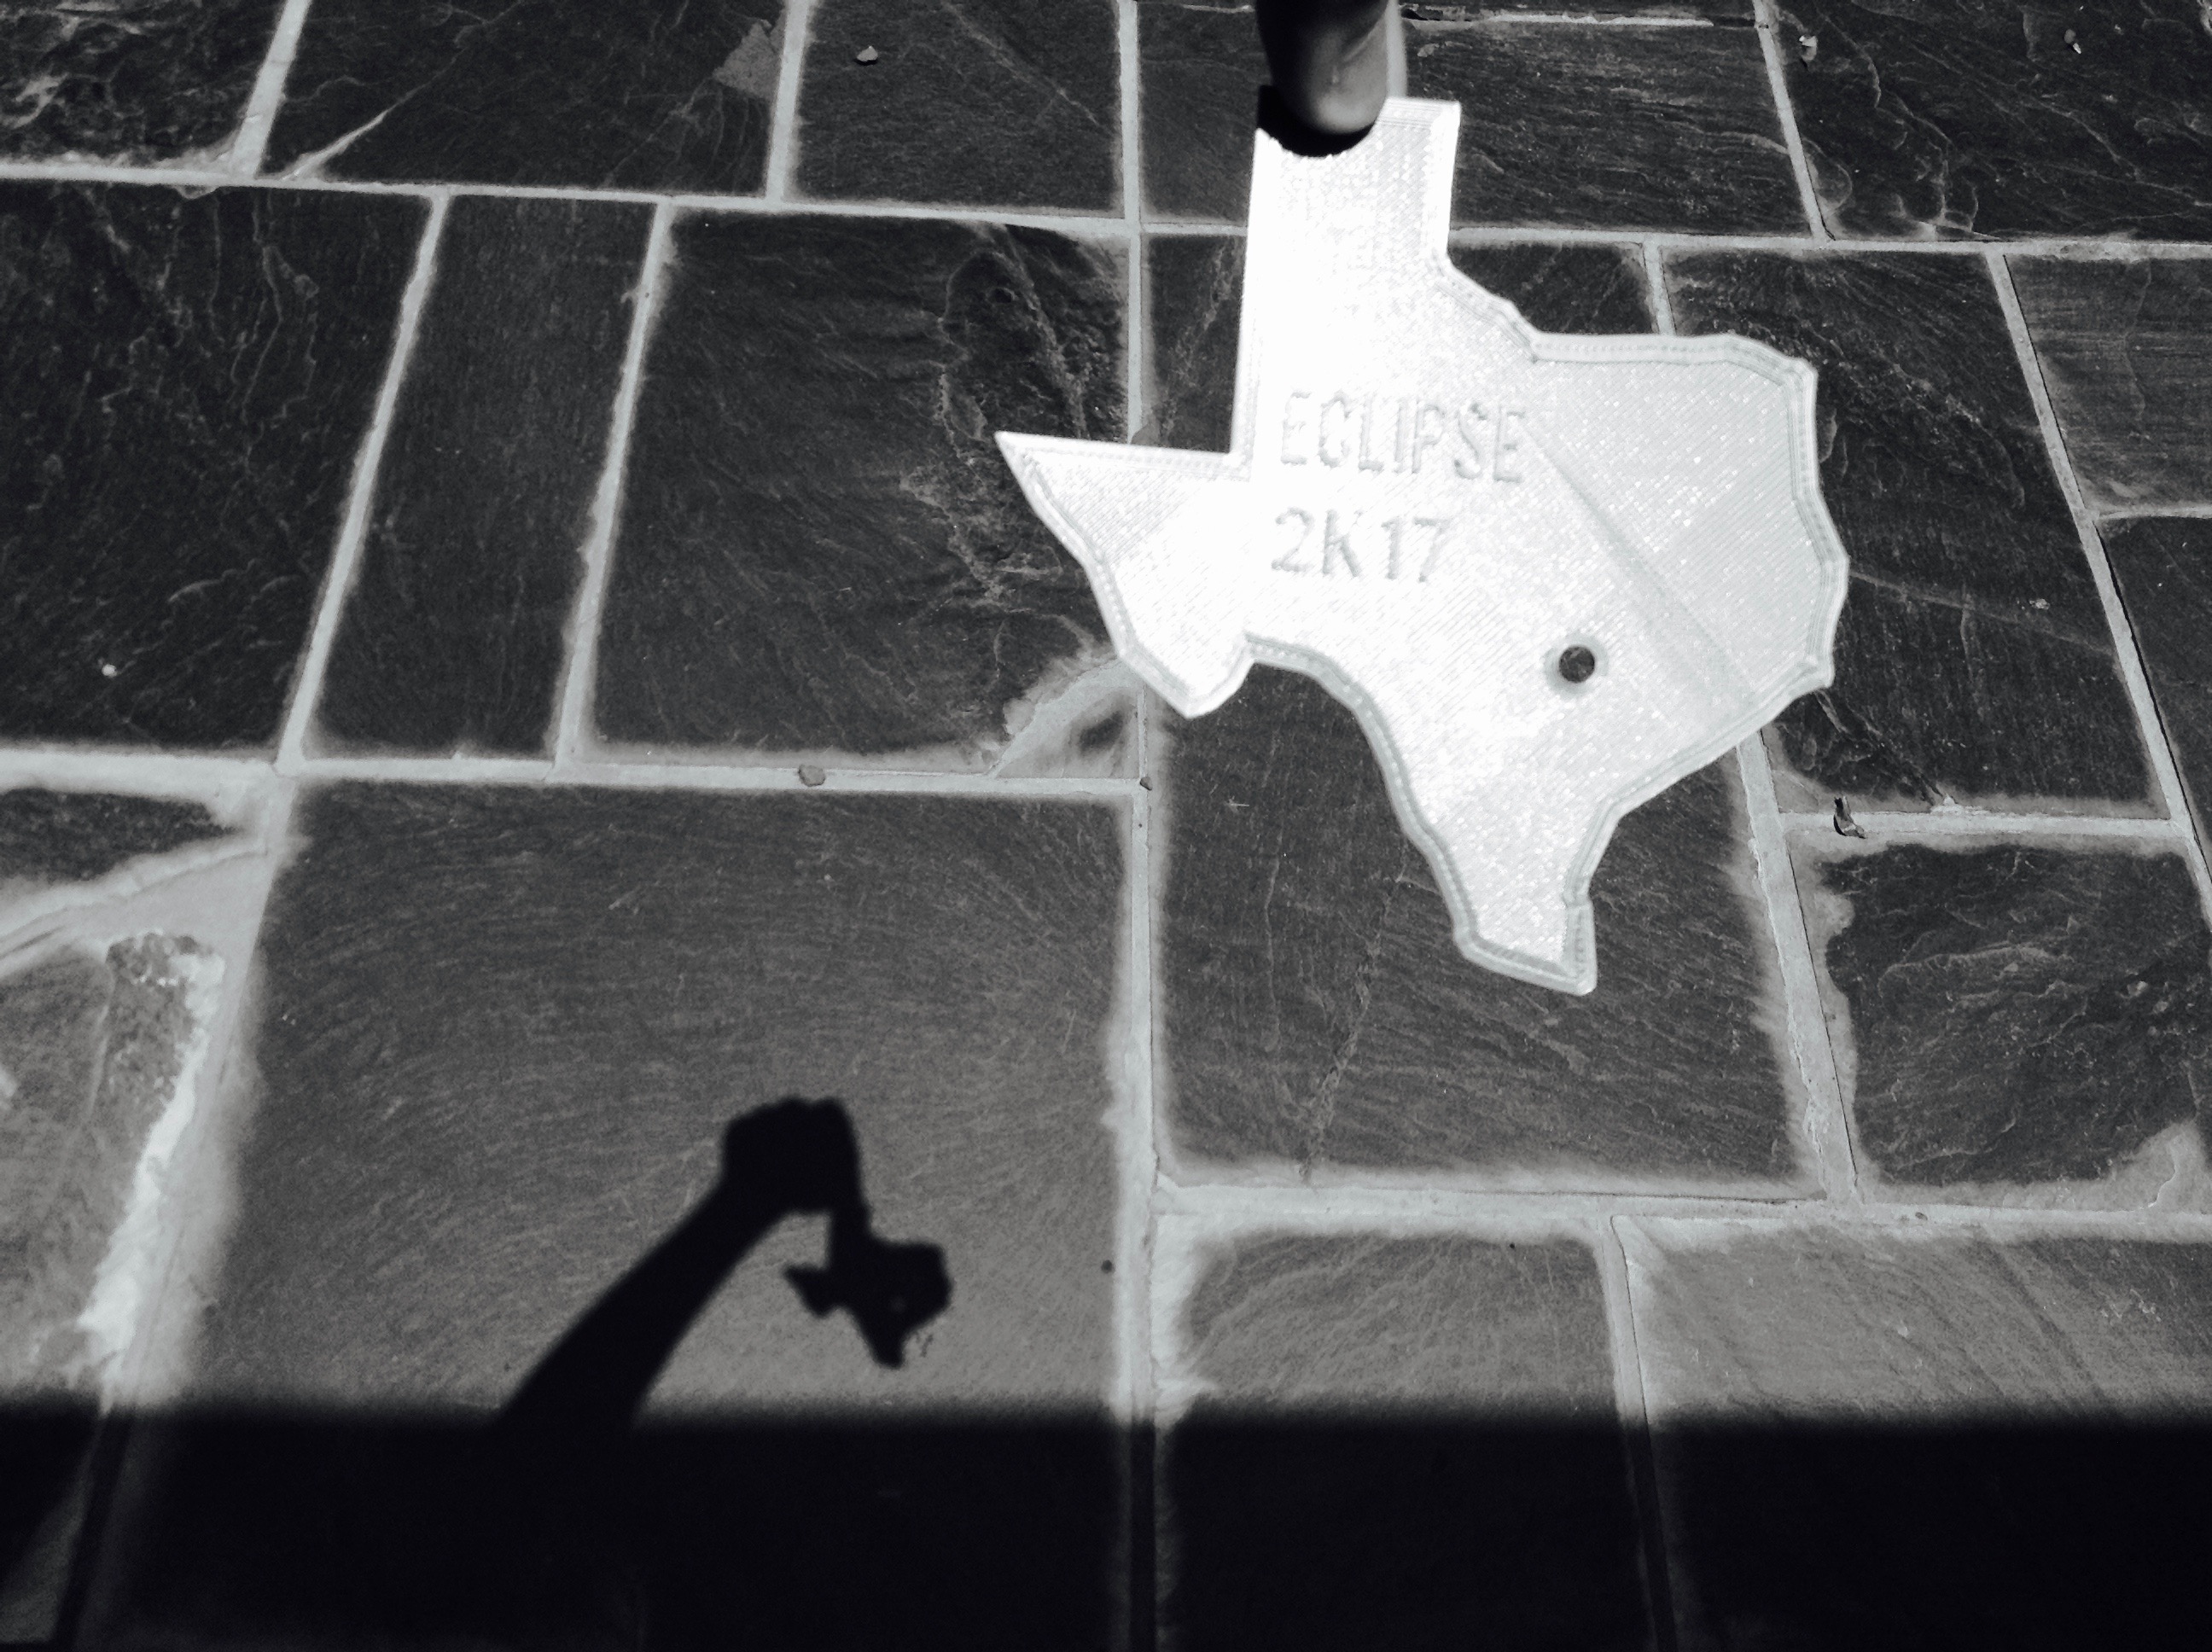
The projector works by creating a shadow with a circular hole that light can shine through. That seems pretty obvious, but here's where it gets interesting. When there is a solar eclipse, the light coming through the hole is blocked in the same proportion as the moon is blocking the sun, simulating the eclipse. This is a neat way to "see" an eclipse without having to purchase special goggles. Anyway, thanks for reading, and, as always, Happy Making!