Pieced Together


Buildable laser cut press-fit parts made with Fusion 360.
Supplies
Material: 1 inch plywood
Hardware: CNC Laser Cutter
Software: Autodesk Fusion 360, Save DXF For Laser Cutting Extension, Adobe Illustrator
Initial Concept

My initial idea was to make a bear or animal-like creature holding a cone of ice cream.
Designing the Base


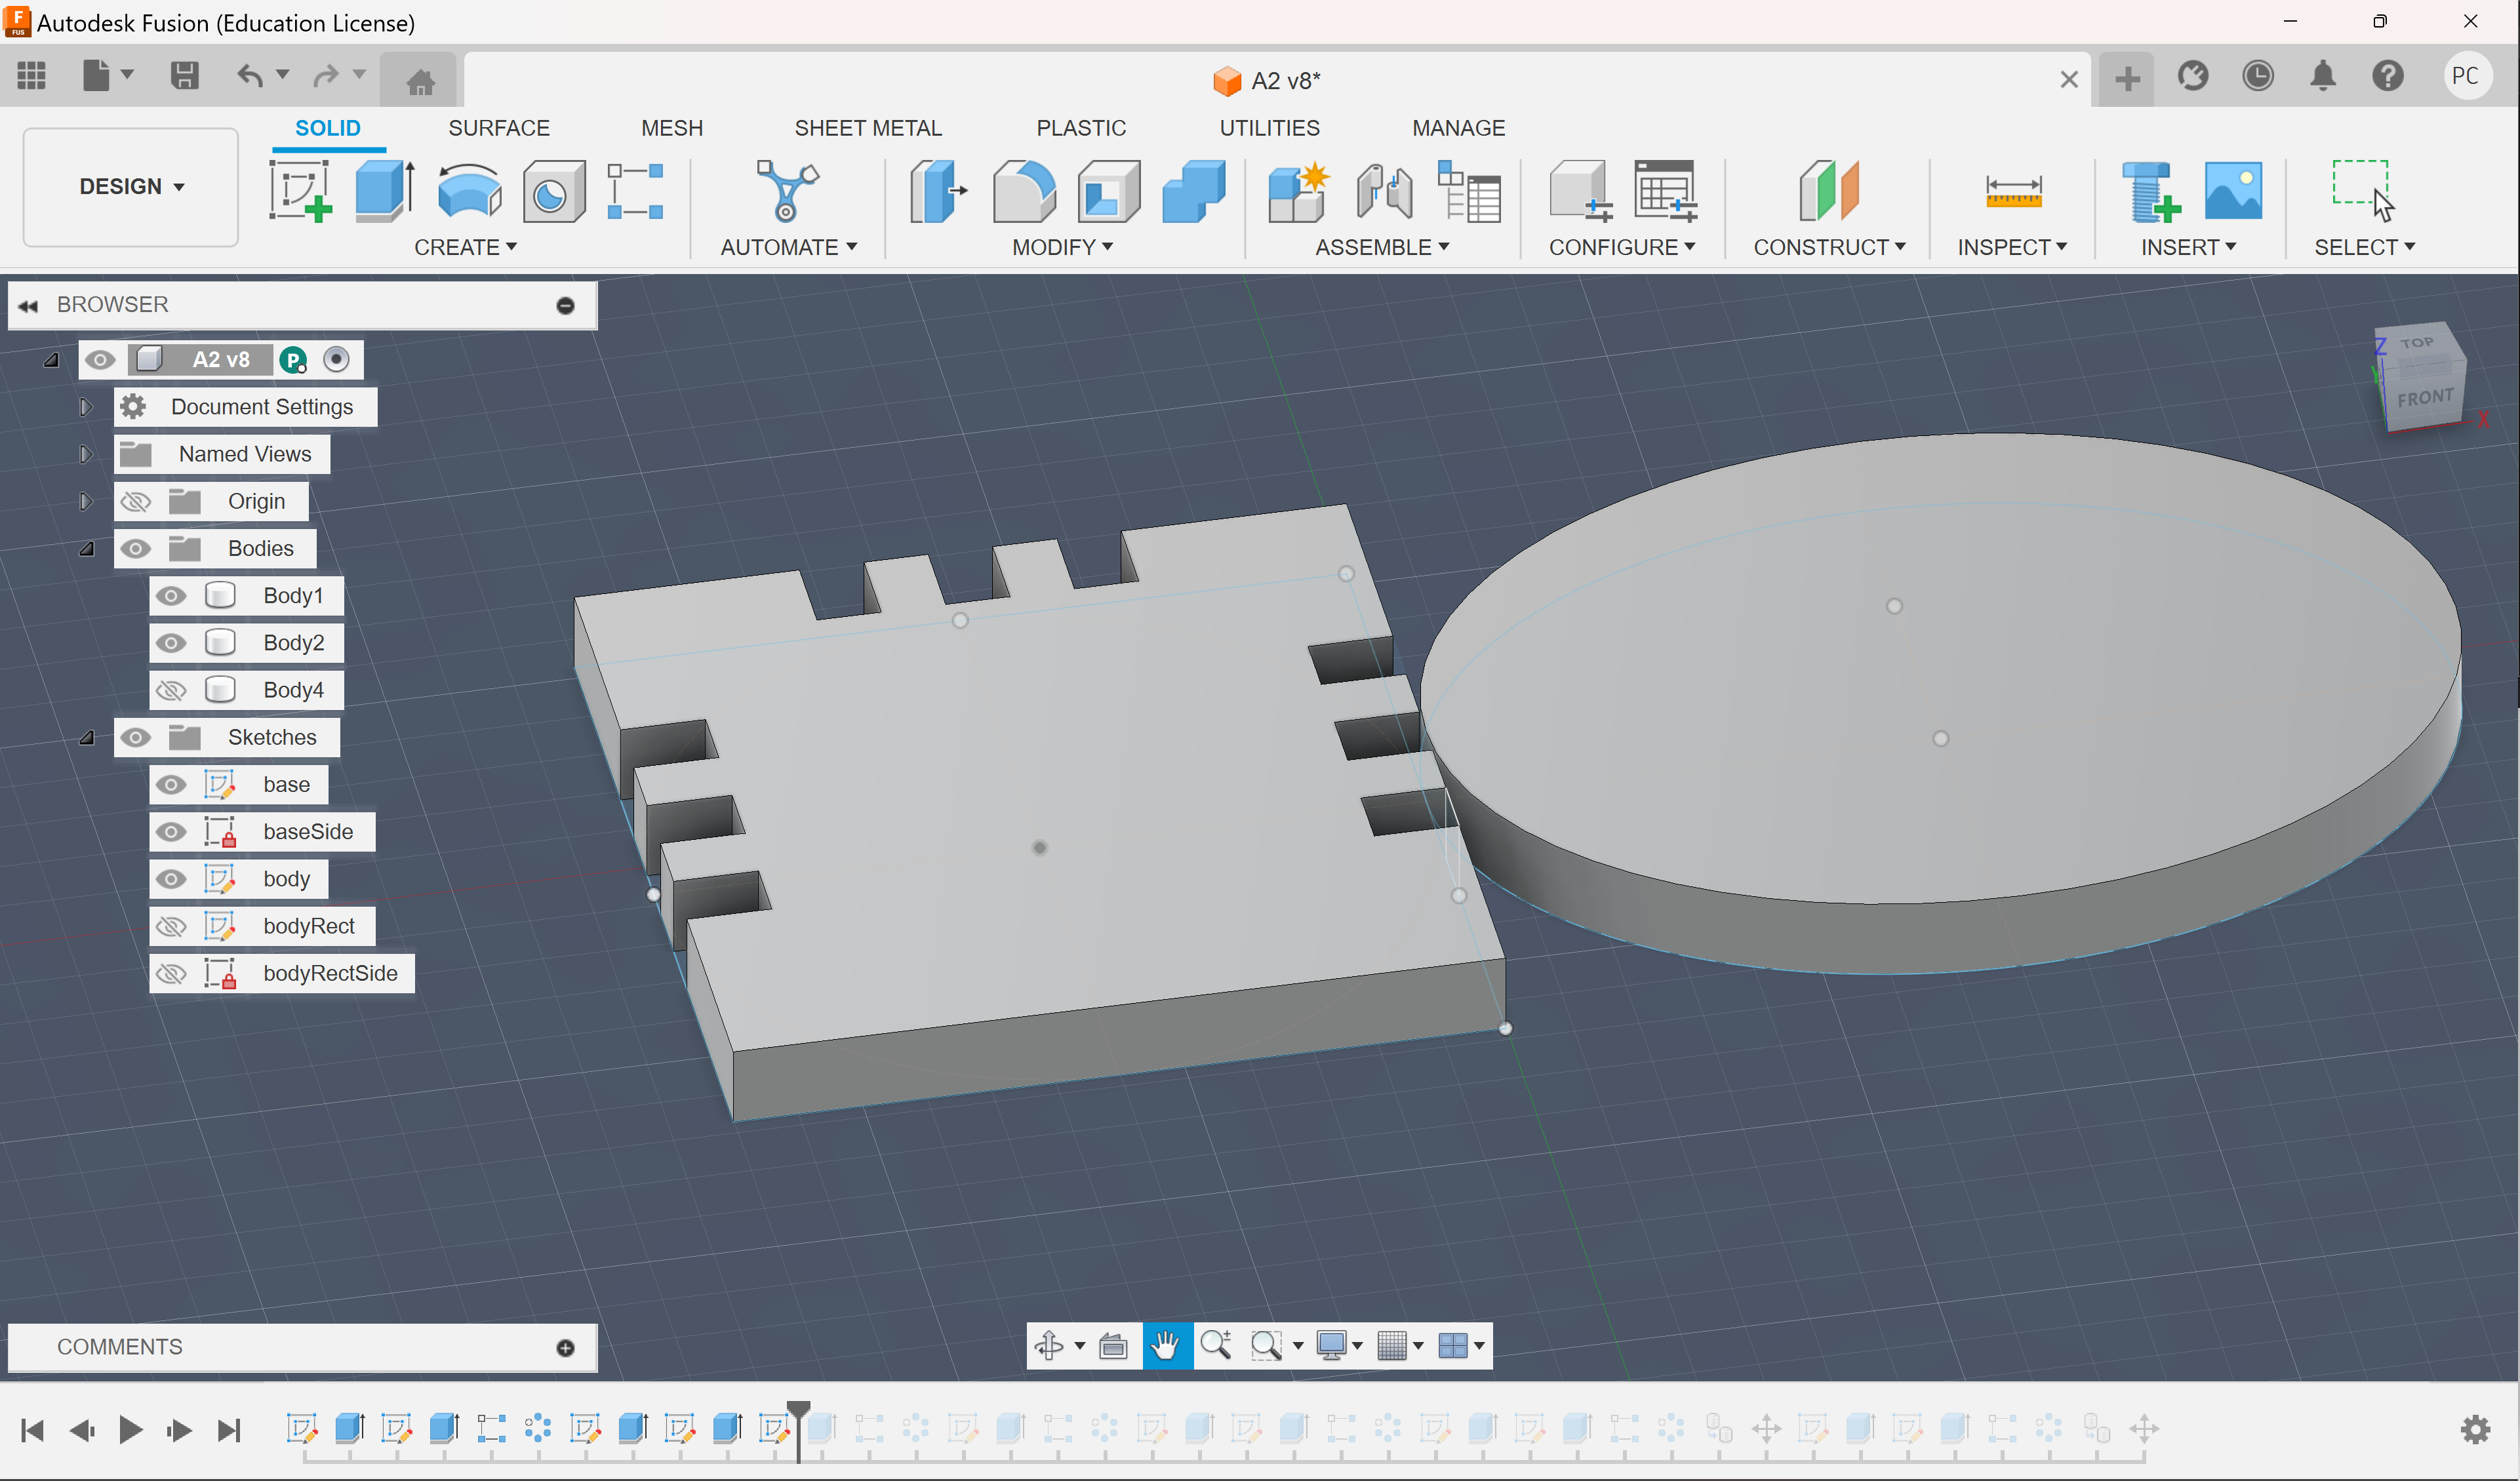
To get acquainted with Fusion 360, I followed the initial tutorial to create the base on which the animal would stand. I also decided to suppress one side of the circular pattern so that only 3 sides would feature the cuts.
Abandoning Ellipses


I then made an extruded ellipse that would act as the animal's body. However, I ran into trouble trying to form notches on the ellipse because I could not figure out how to create the sketch on a planar face that corresponds to the edge of the ellipse's body. Despite an ellipse being used in the example file, I did not ultimately determine how to replicate it. I know there is certainly a very easy step that I missed while trying this out (and I would love for someone to explain it), but I opted to continue creating polygons for the sake of time.
Thus, I transformed all of the circular body parts in my drawing into 4-5-sided polygons.
Designing the Remaining Parts


Replicating the process of creating the base, I designed the remaining body parts.
To do this, I swapped my initial notchHeight for the materialThickness so that the pieces would stand up. I did this for all of the notches because I ultimately decided that not only would it be fun to see my creature come to life, but if all the pieces fit together, then I could play around with the final build as much as I wanted.
I also dropped the ice cream from the design due to a lack of time and a desire to spend more time learning the software. However, maybe I will add these details in the future.
Export and Adjust in Illustrator

I exported each piece using the DXF extension with a 0.15 mm kerf. I chose this kerf so that the pieces would be loose enough to be taken apart and continuously rebuilt. I then added them to an Illustrator file, where I made final adjustments for the CNC machine. I also copied additional "head" and "body" parts in Illustrator so that I could increase my build options.
Cutting Out the Pieces


Cutting the pieces was a smooth process. I set the power to 85%, and it cut all the way through most of the pieces except for a few small spots.
A Continuous Build


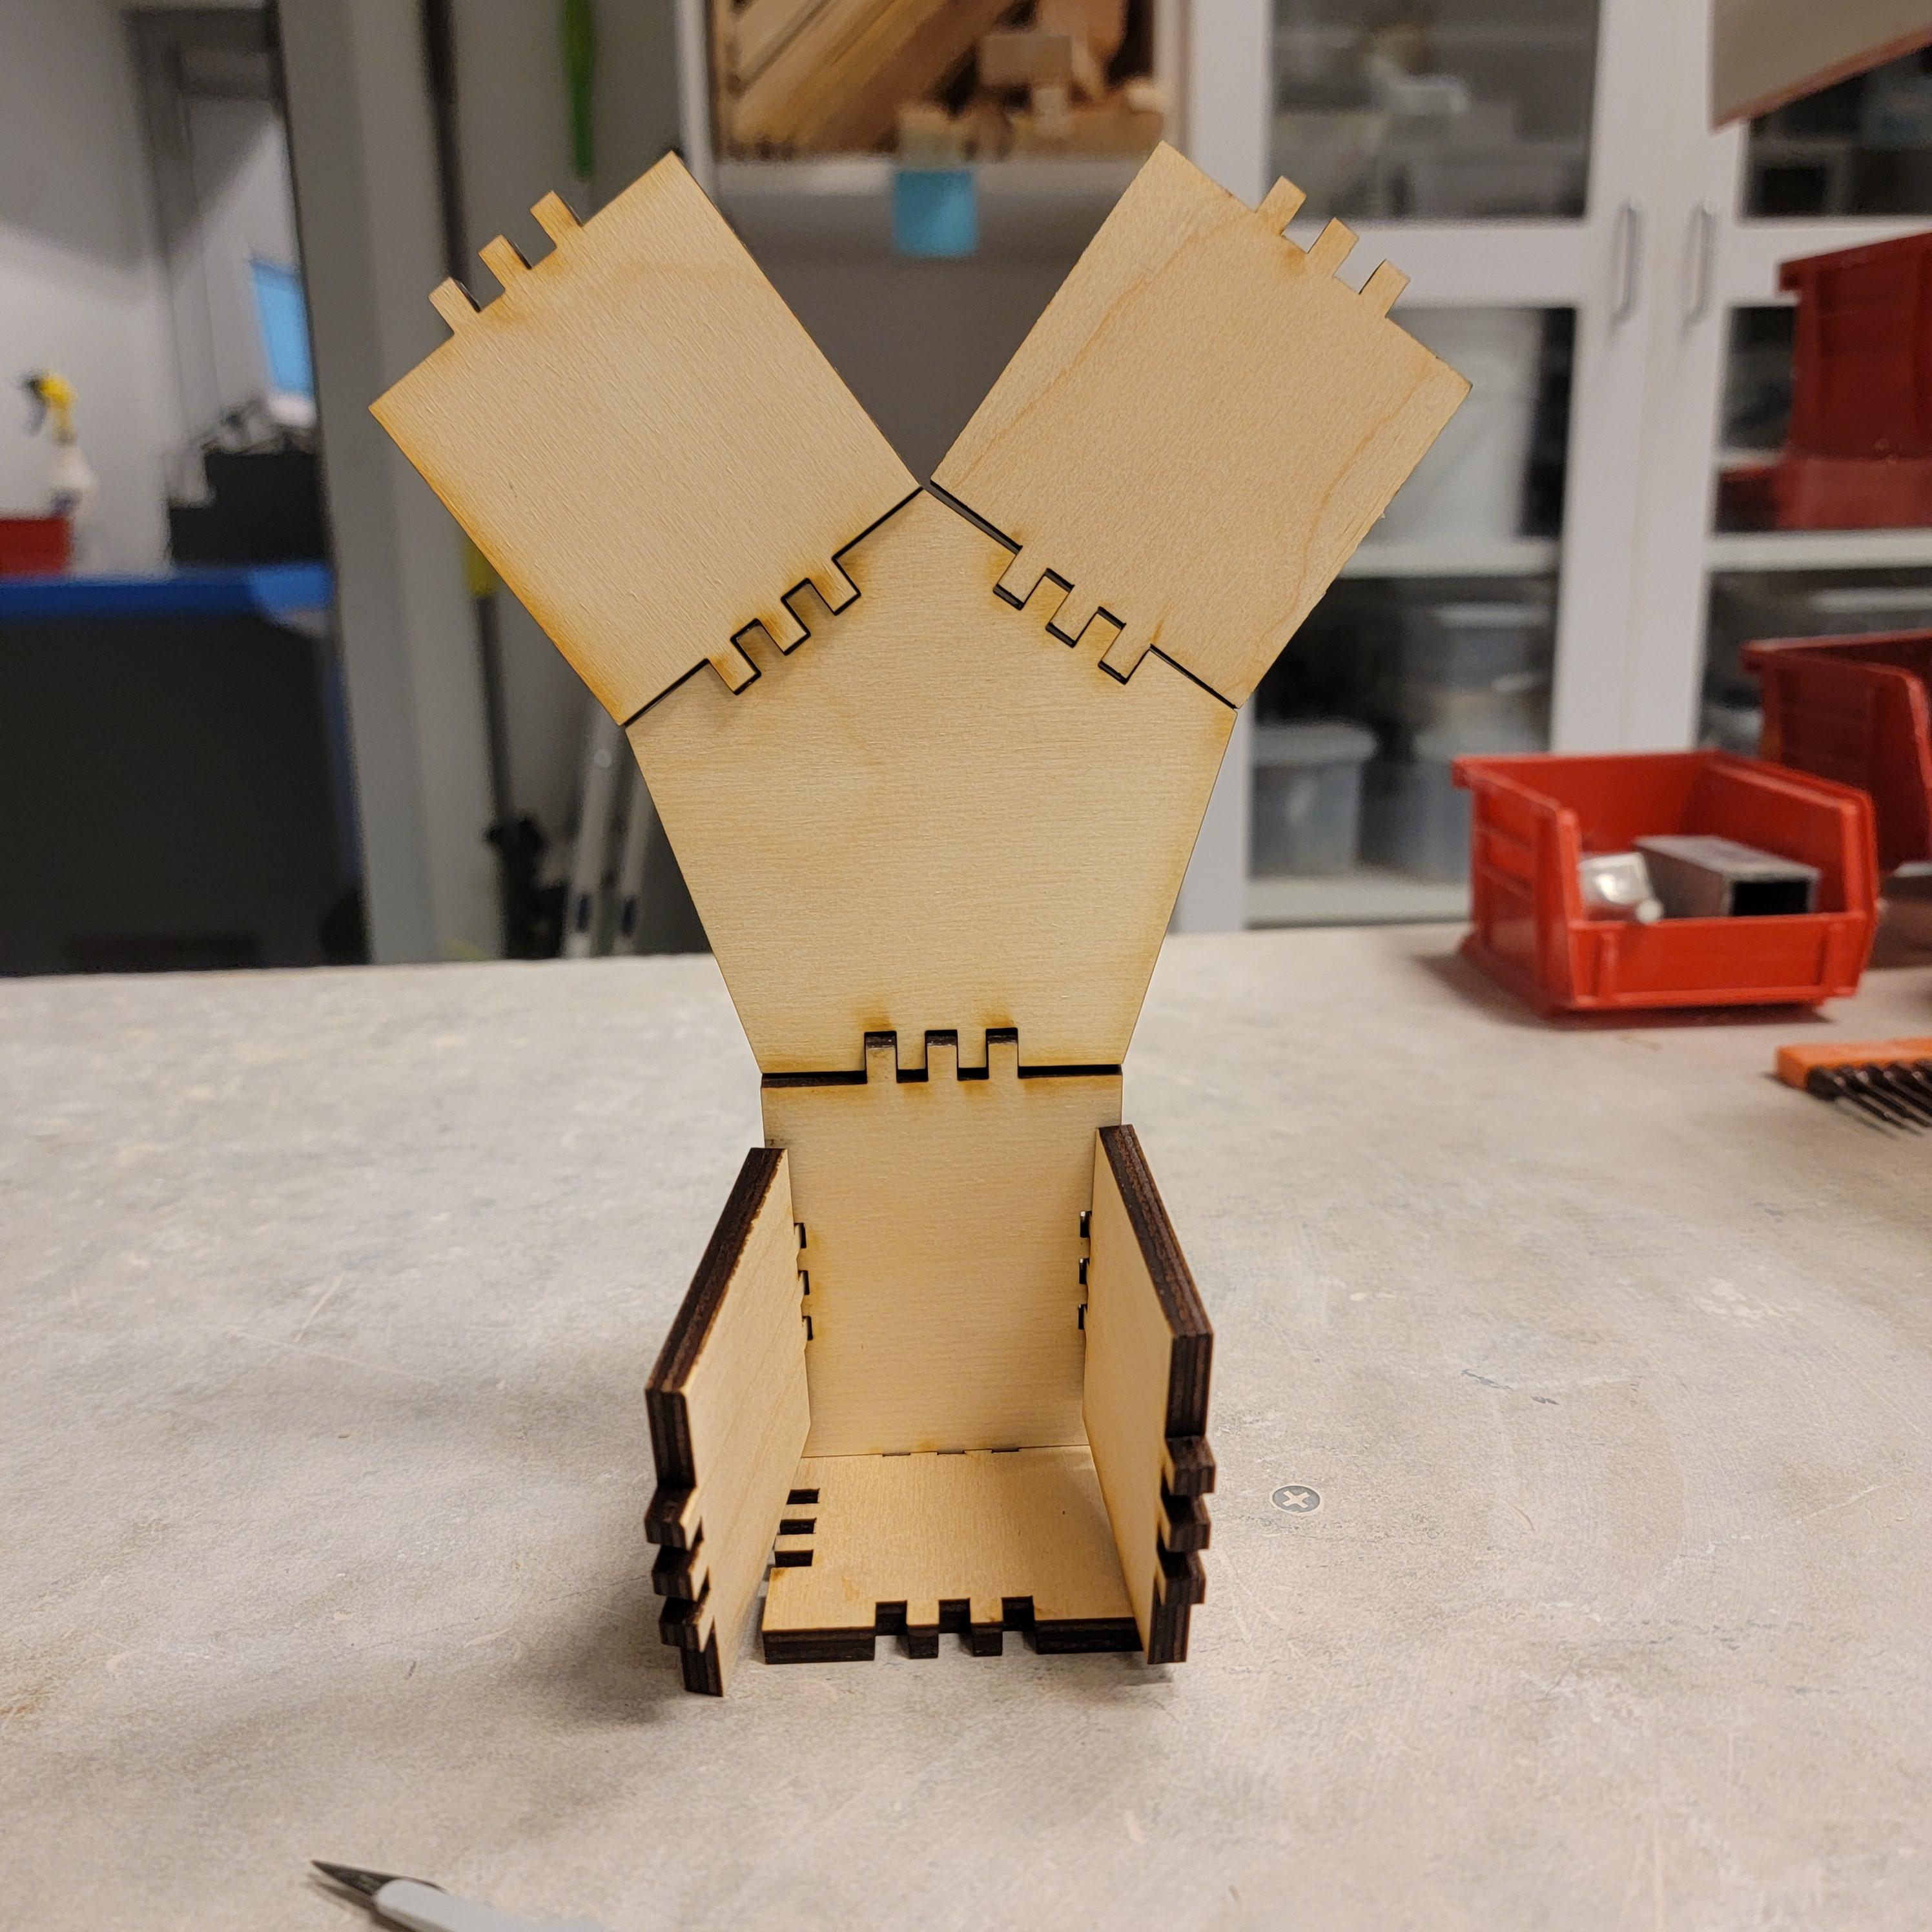
I started by actualizing my original design. I then had some fun trying various other build combinations. Like legos or other popular press-fit toys, my desire to play with the pieces and endlessly build was unavoidable.
However, I will note that the kerf/cut was slightly inconsistent with each piece, so some pieces fit a bit more loosely than others, while some parts did not fit together at all. Additionally, the size of the pieces made them heavy, so I struggled to balance some configurations.
Nevertheless, as I played, I continued to come up with other parts that would work well with my current set. In the future, I may make some more pieces, both small and large, so that I have a full, diverse set.