Pie Topped With Pi Using Tinkercad
by AwesomeRiham in Design > Websites
618 Views, 3 Favorites, 0 Comments
Pie Topped With Pi Using Tinkercad

Using Tinkercad I'm going to show you how to make a pie that is topped with pie. If you have any question you can write them in the comments.
Supplies
1. Tinkercad and some experience using it.
2. 3D printer if you are planning to 3D print it out
Making the Pi
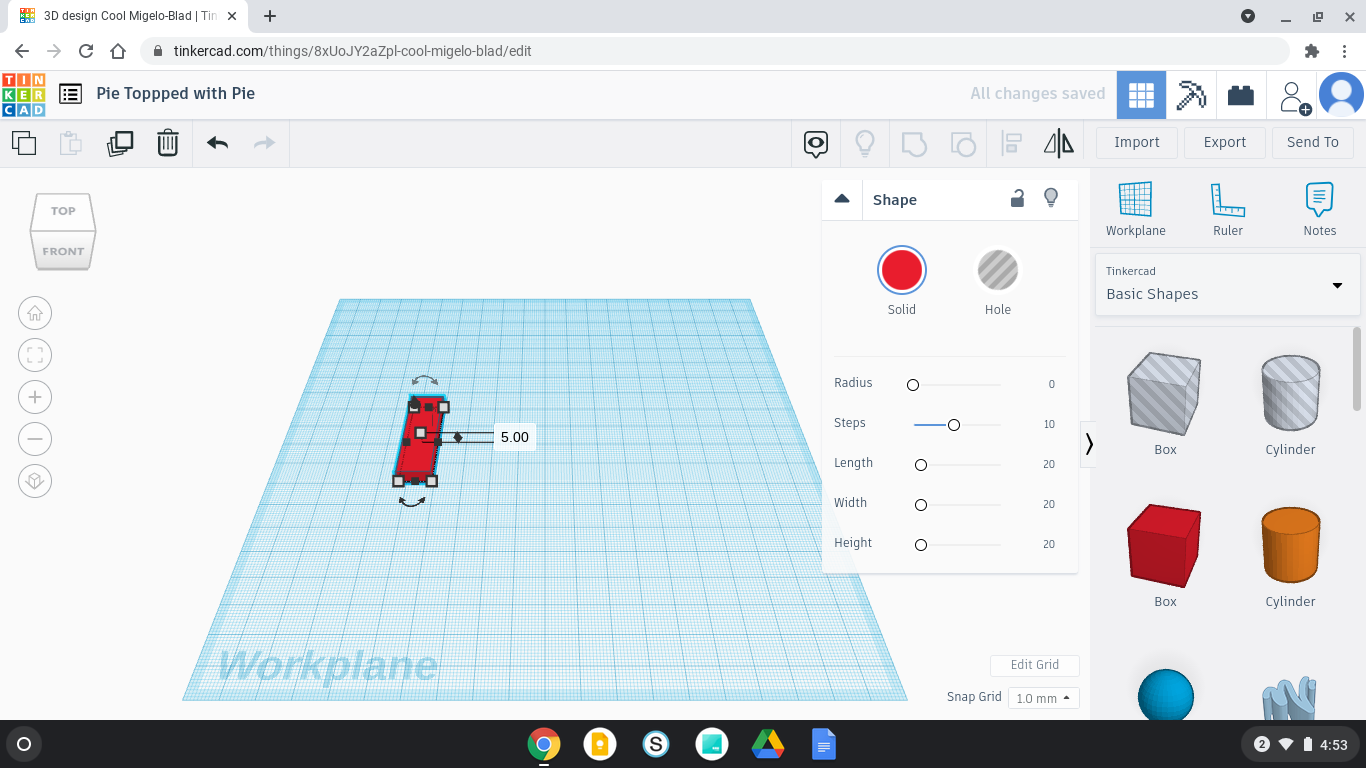
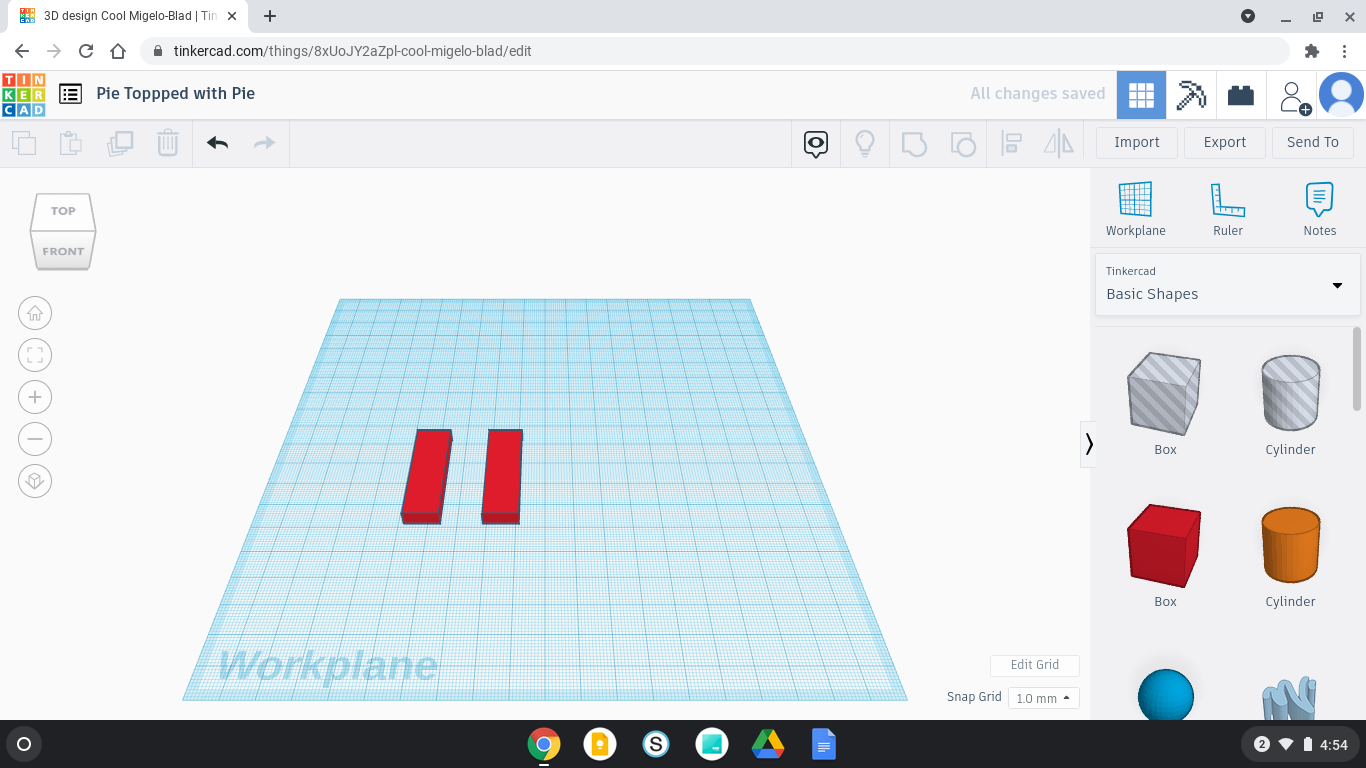
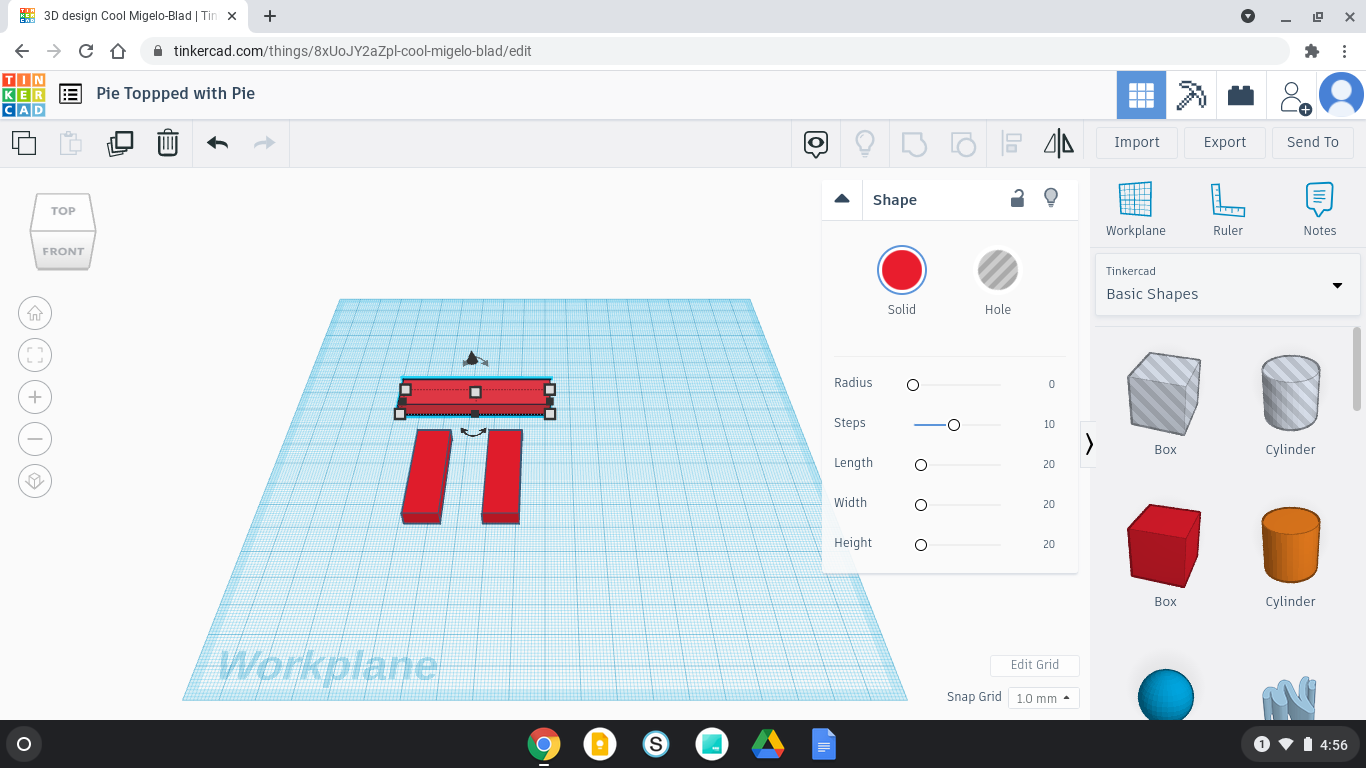
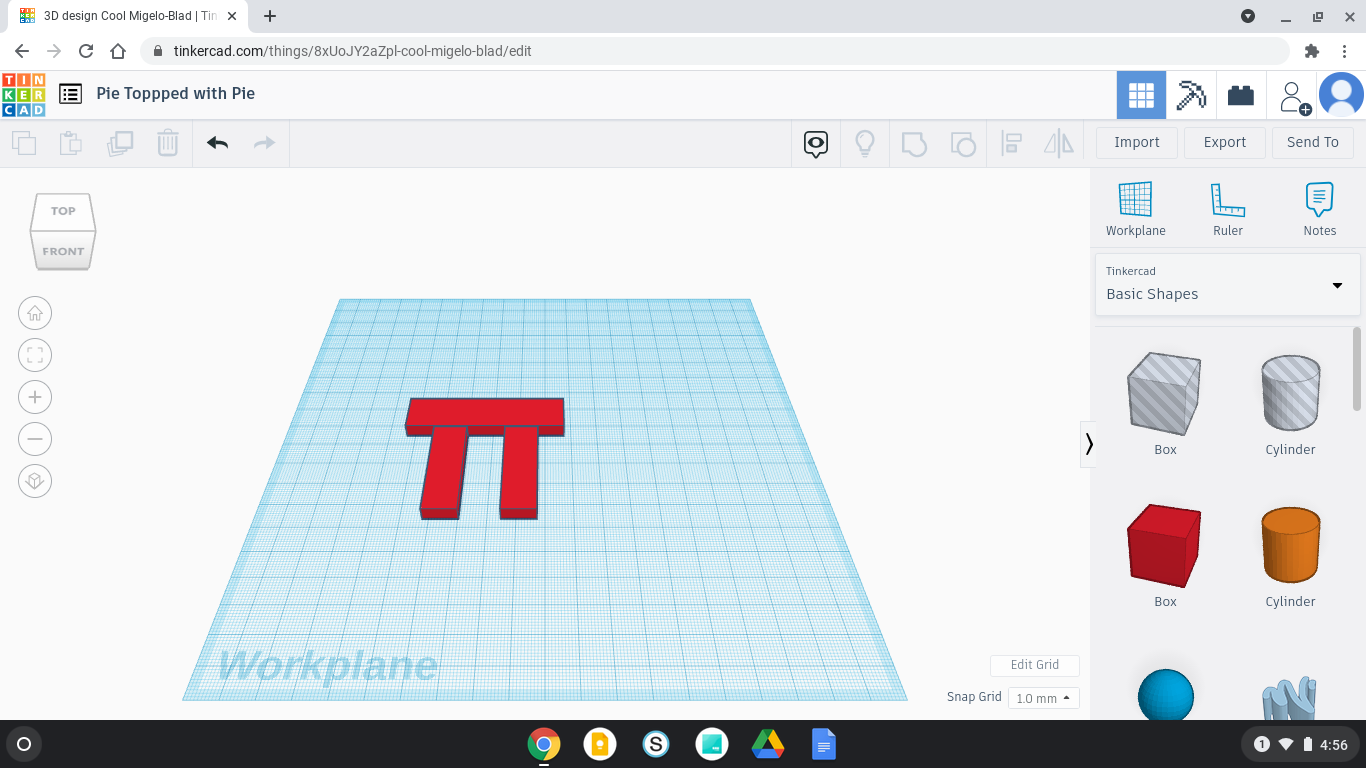
Get a square and press the corner and put the length as 35 and width as 5 then press the dot on top and enter 5. Click on the square and press ctrl+d and press the right arrow on your keyboard and that should move the other one to the right. Get another square and press on the corner and put in 3 as length and 41 as width. Put it in front of the legs then select it then press ctrl+g. If you don't know how to press somewhere on the workplane keep holding and pretend your dragging something and a box appears then do this and make sure it is in the box then press ctrl+g.
Making the Pie
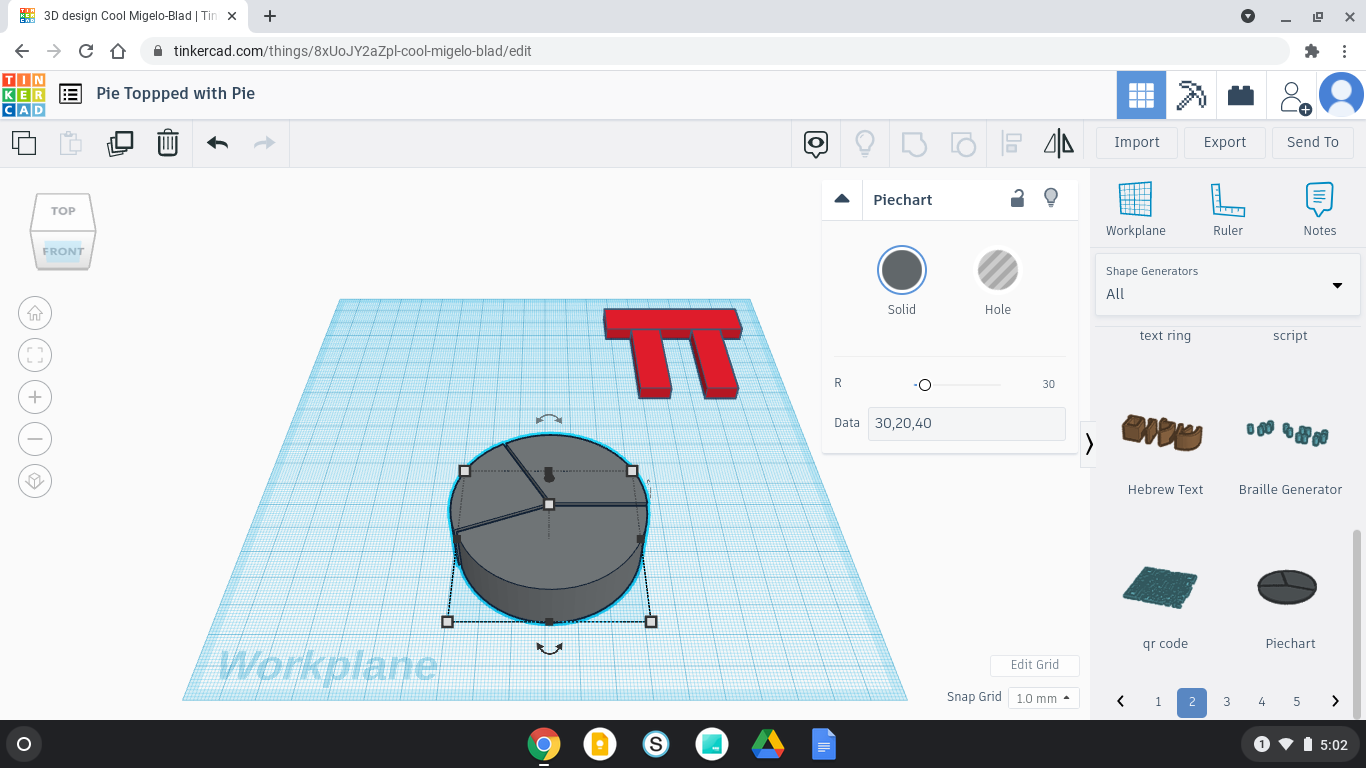
Above the shapes there should be something that says basic shapes press it and go to all. Go to the 2nd page and find the pie chart and put it in the workplane. Press on the dot on the top and enter 18 then go back to basic shapes and change it's color to orange.
Putting a Hole in It


Get a grey cylinder and press the dot on top and change it to 15 for the corner put 50 in both boxes and put it in the pie chart make sure it's not going through the bottom if it is presson the cylinder and raise it using the black cone.
Filling It
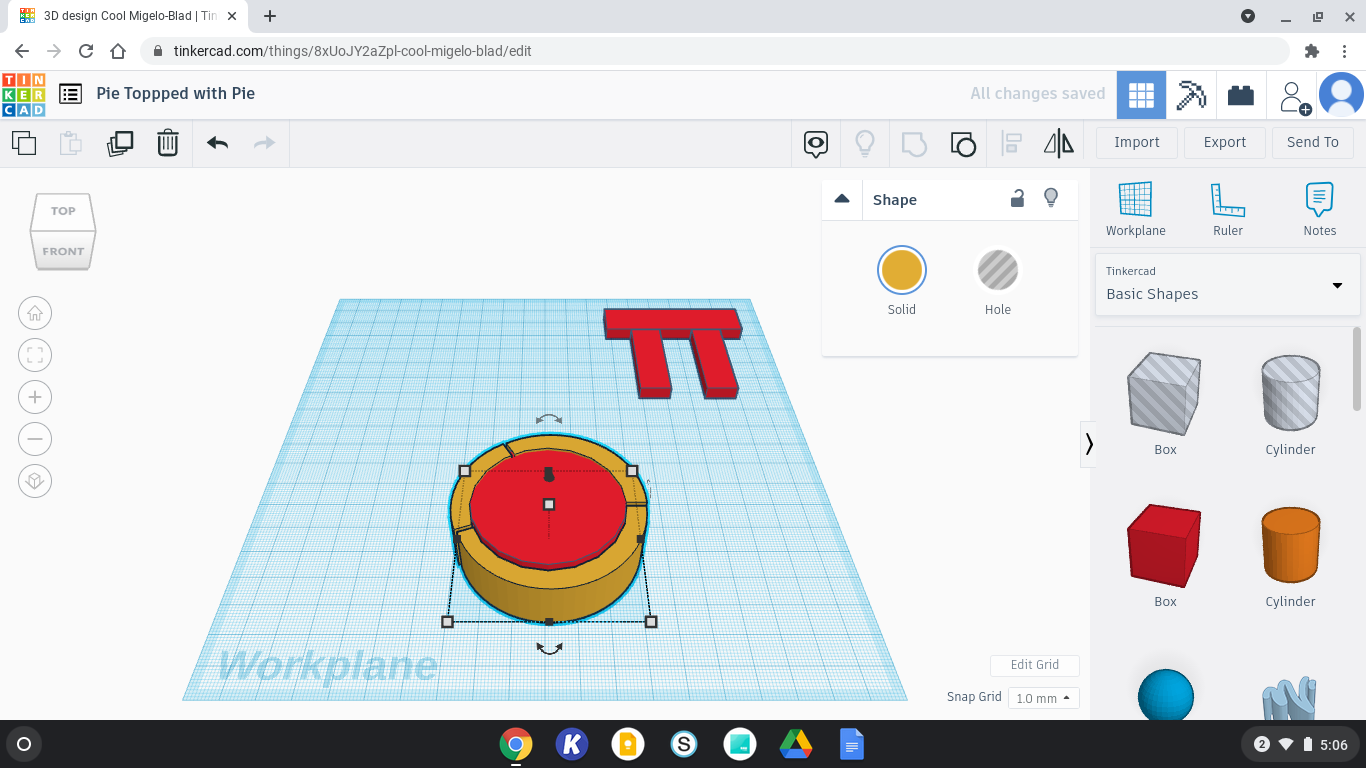
Get a orange cylinder and press the dot on top and change it to 15 for the corner put 50 in both boxes and change it's color to red then put it in. Make sure it's not going through the bottom if it is press on the cylinder and raise it using the black cone.
Covering It

Get a square and press the corner and put the length as 35 and width as 5 then press the dot on top and enter 5. Click on the square and press ctrl+d and press the arrows going side to side and enter 90 if it turns the wrong way undo and use the other arrows.
Putting the Pi on Top
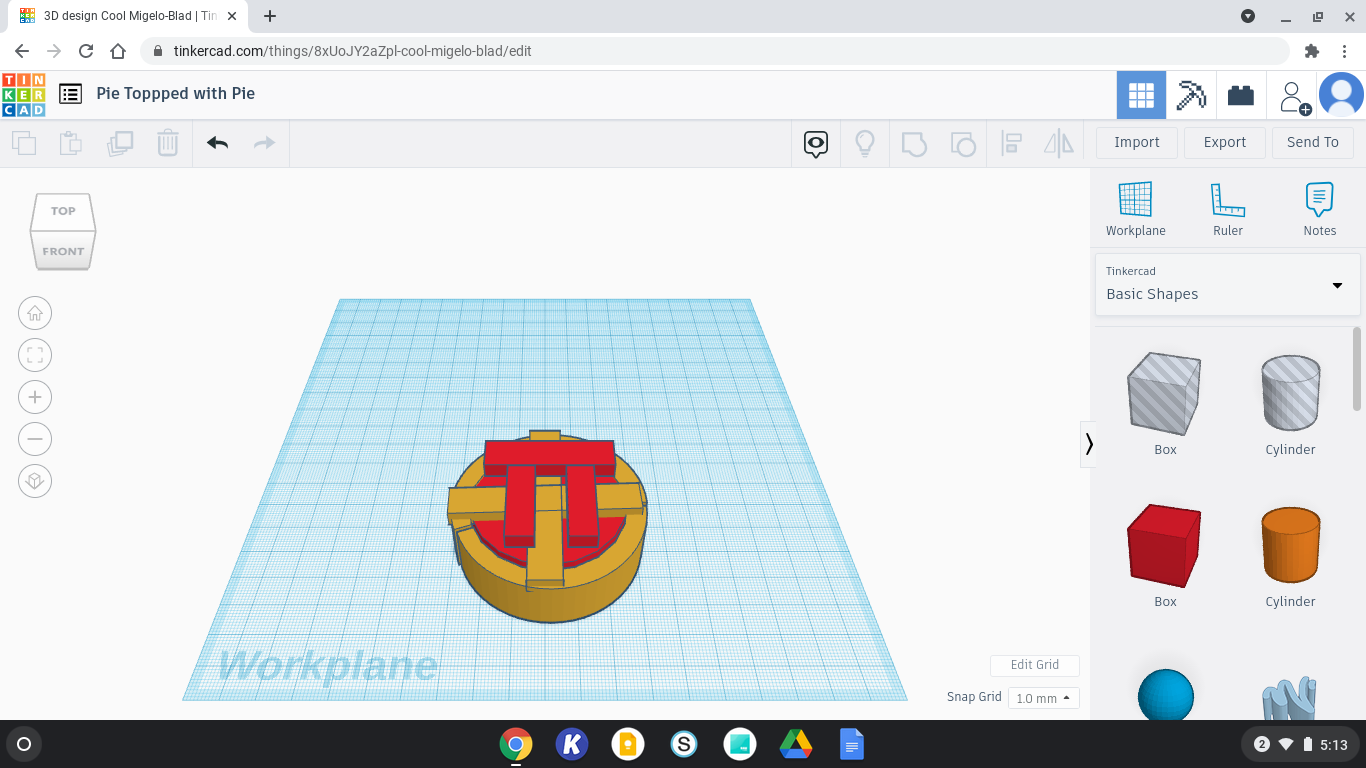
Raise the pi using the black cone and put it on top of the pie. If it is big use the dots on the front and back and side to side to make it smaller. Select it then press ctrl+g.
Finished!

Now you can 3D print it out if you want to.