Picture Frame With Aluminum Inlay
by Handsome Matt in Workshop > Woodworking
2444 Views, 11 Favorites, 0 Comments
Picture Frame With Aluminum Inlay
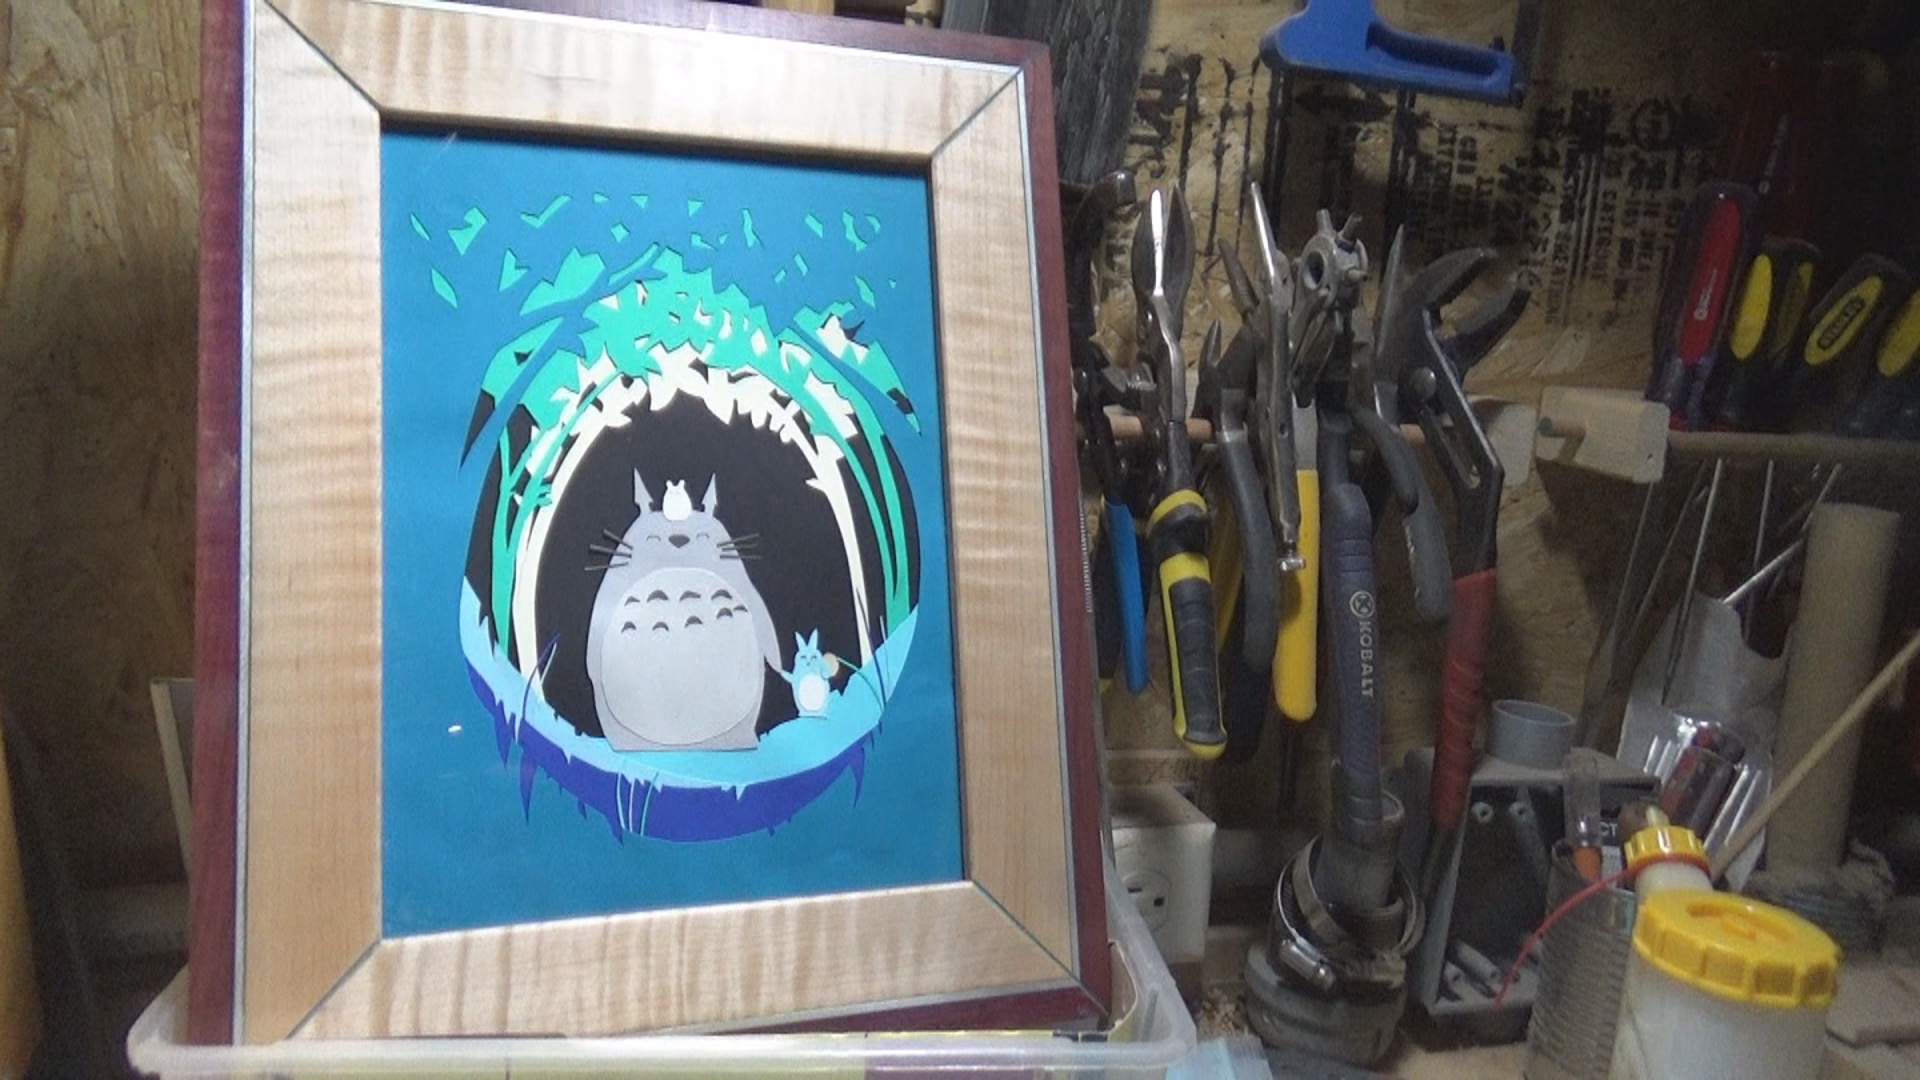
I've become more and more fascinated with integrating metal into my woodworking. This is a simple project that yields incredible results.
The materials will vary but:
1-2 types of wood at a minimum
Aluminum
2-Part Epoxy
Wood glue
Finish of some kind
Glass or Plexiglass
Artwork or Photo
Plywood.
Tools:
PPE
Table Saw
Miter Saw
Belt Sander
Orbital Sander
Hammer
Cutting to Size
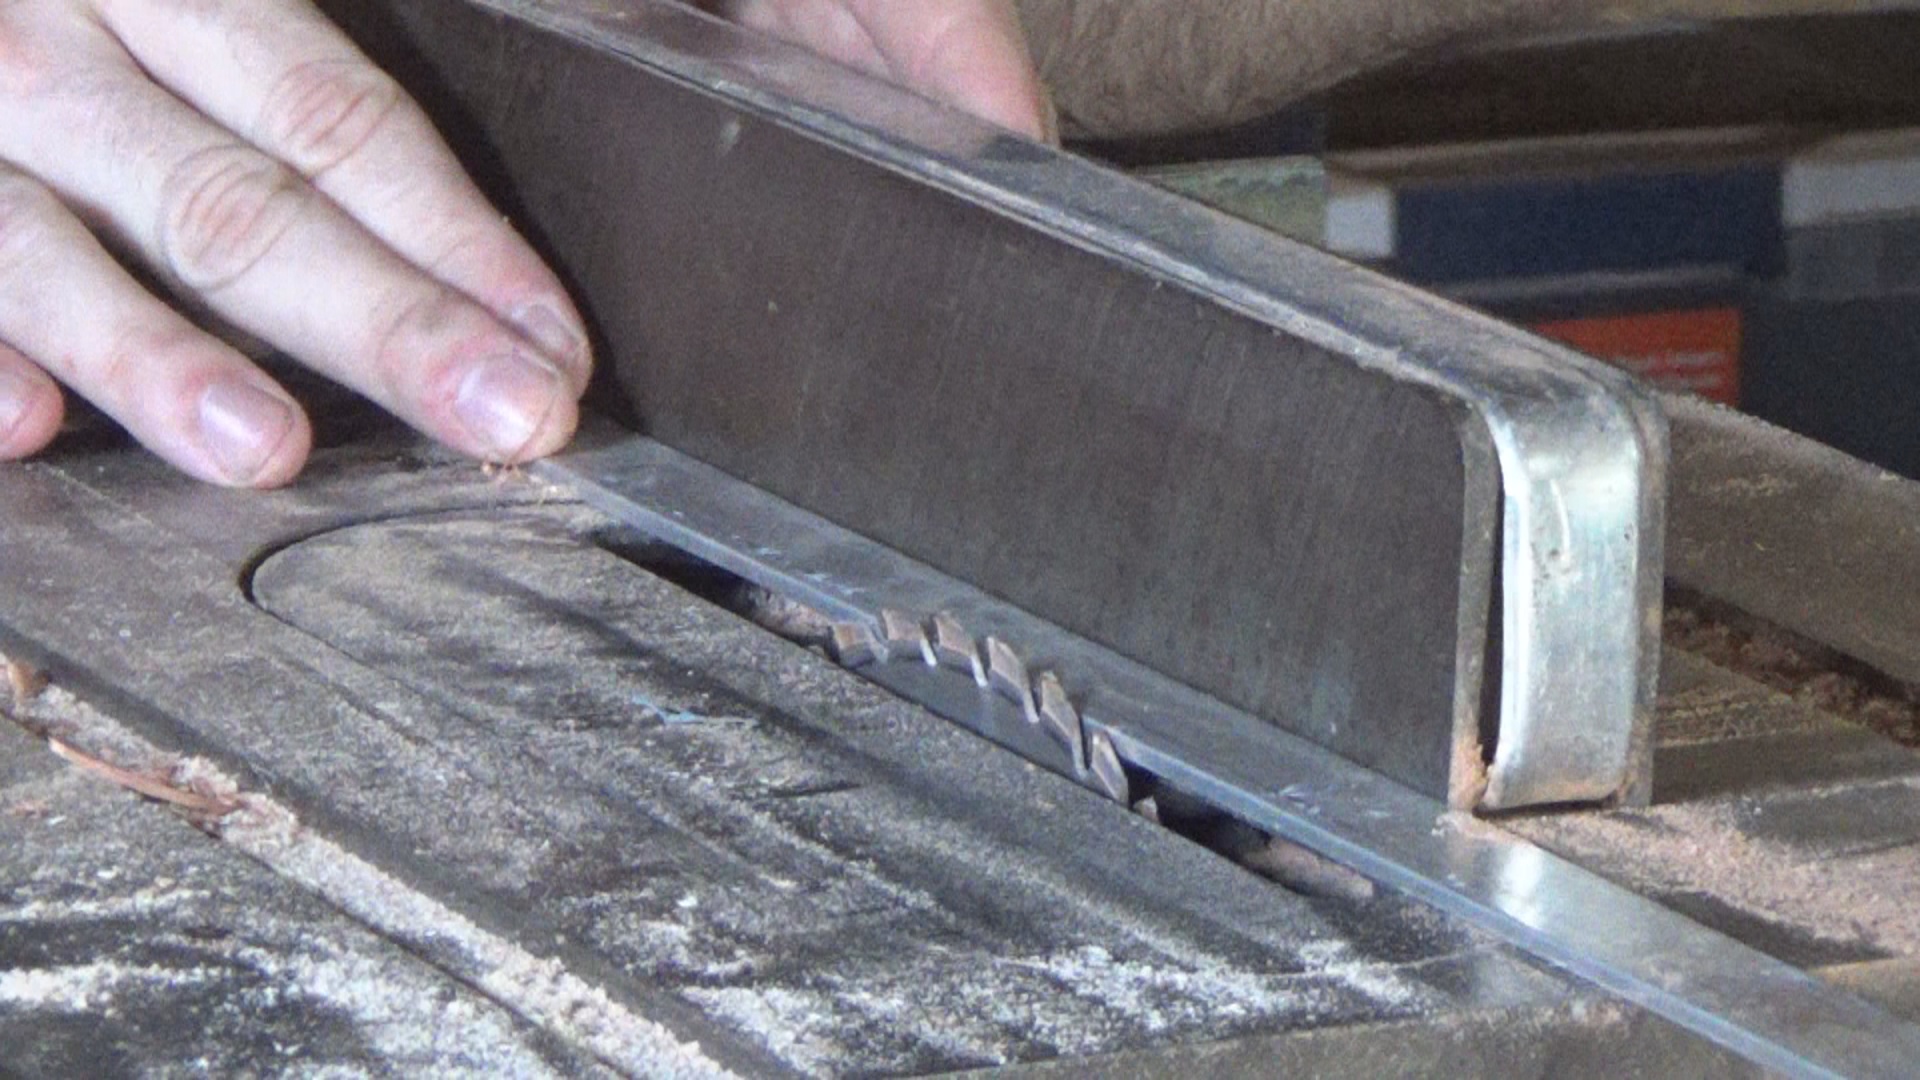
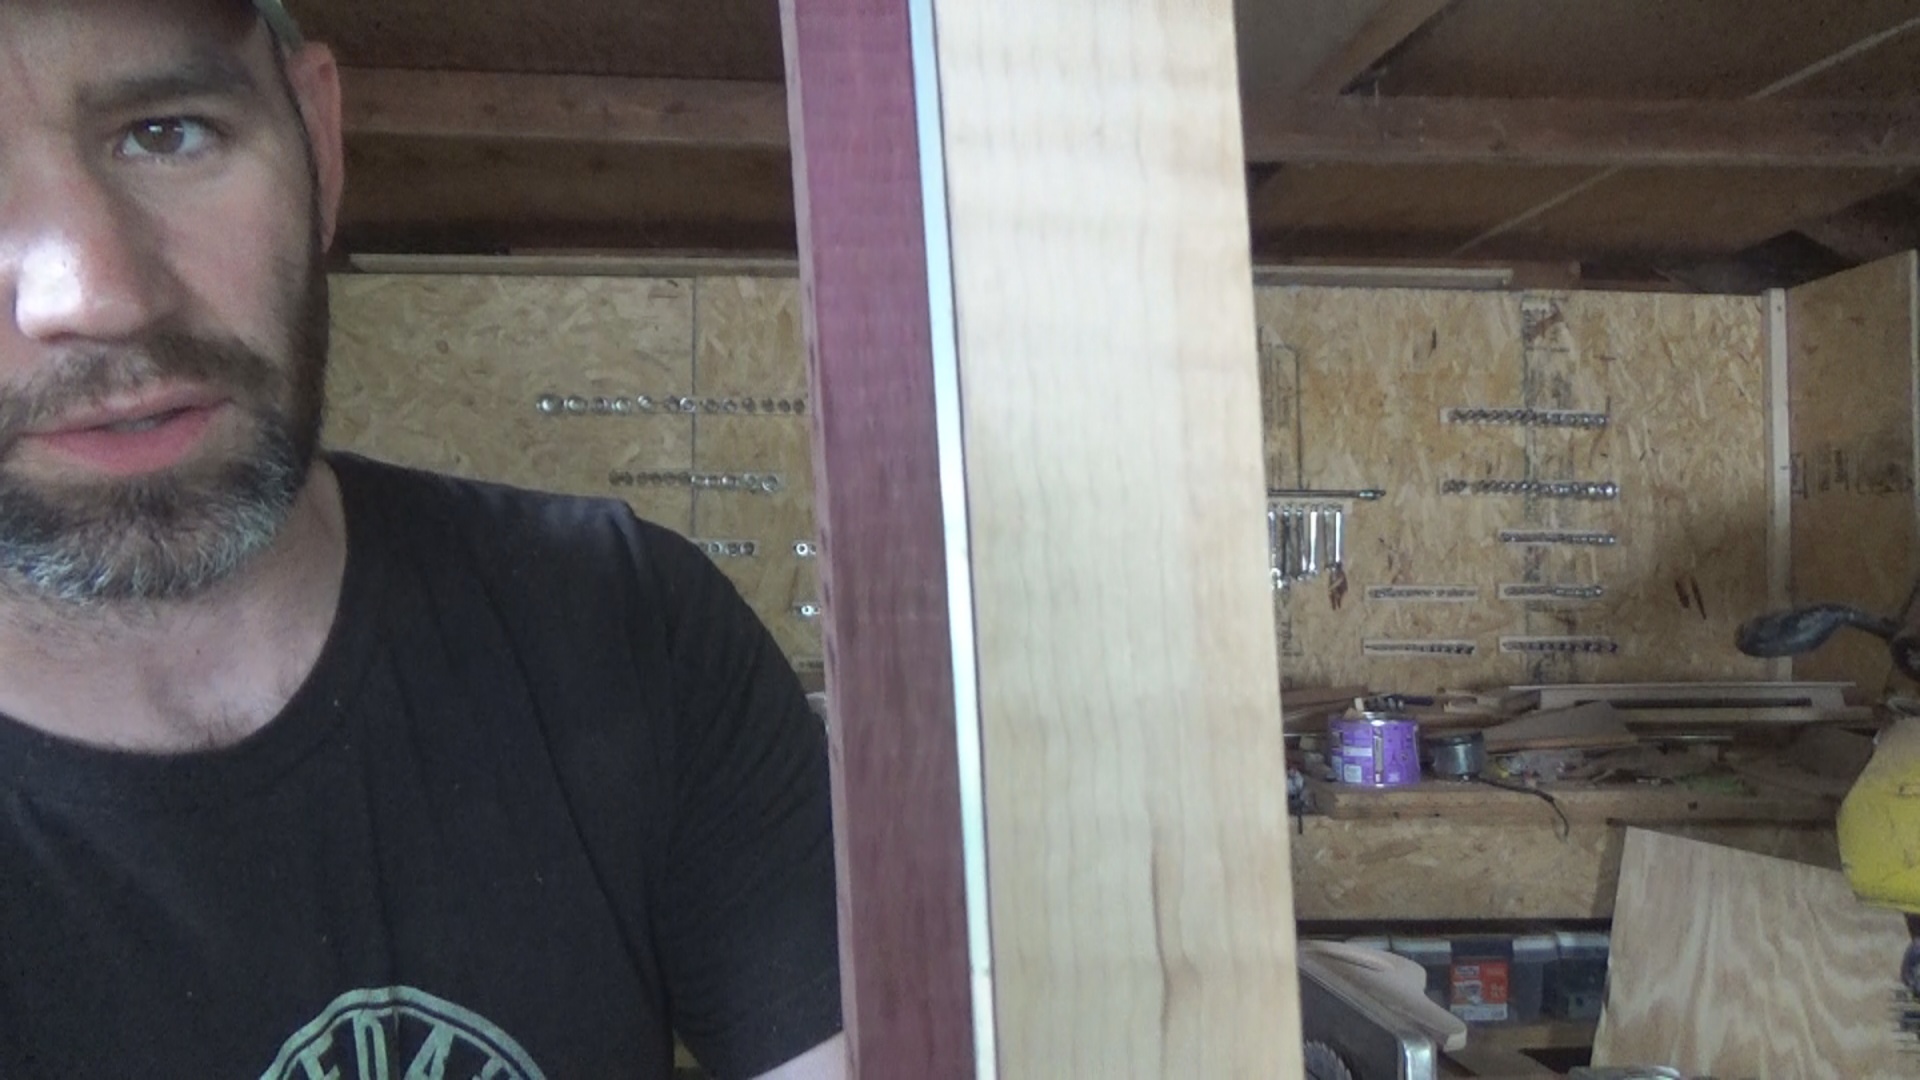
There are two tricks here to save time. Firstly, the thickness of the wood should be equal to the thickness of the aluminum. Secondly, we're going to do one glue up and then cut the blank down to size.
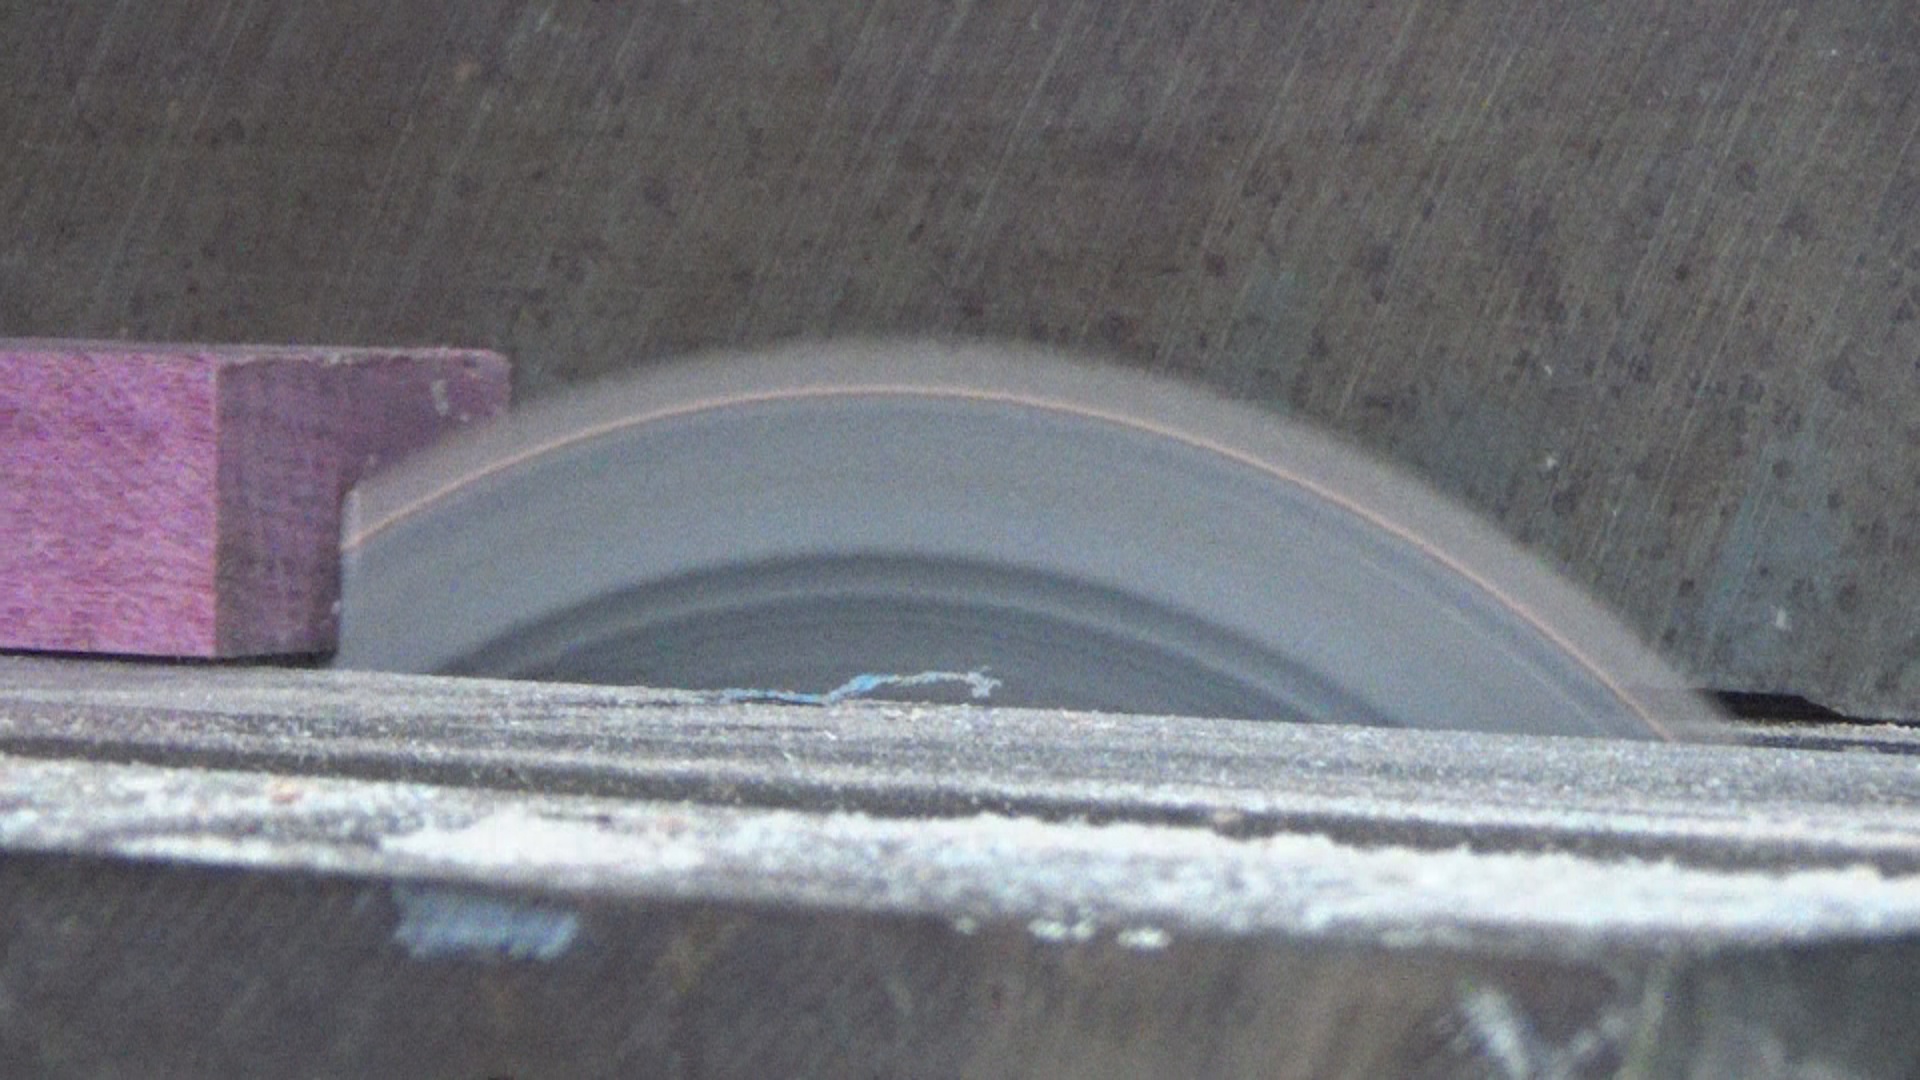
The maple came from the box store near me and was already cut to 3/4" thick. The purple heart just needed trimmed down on the table saw. Whenever possible I like to use a story stick or the actual piece I'm trying to match, as opposed to measuring. It's easier than measuring.
The Glue Up
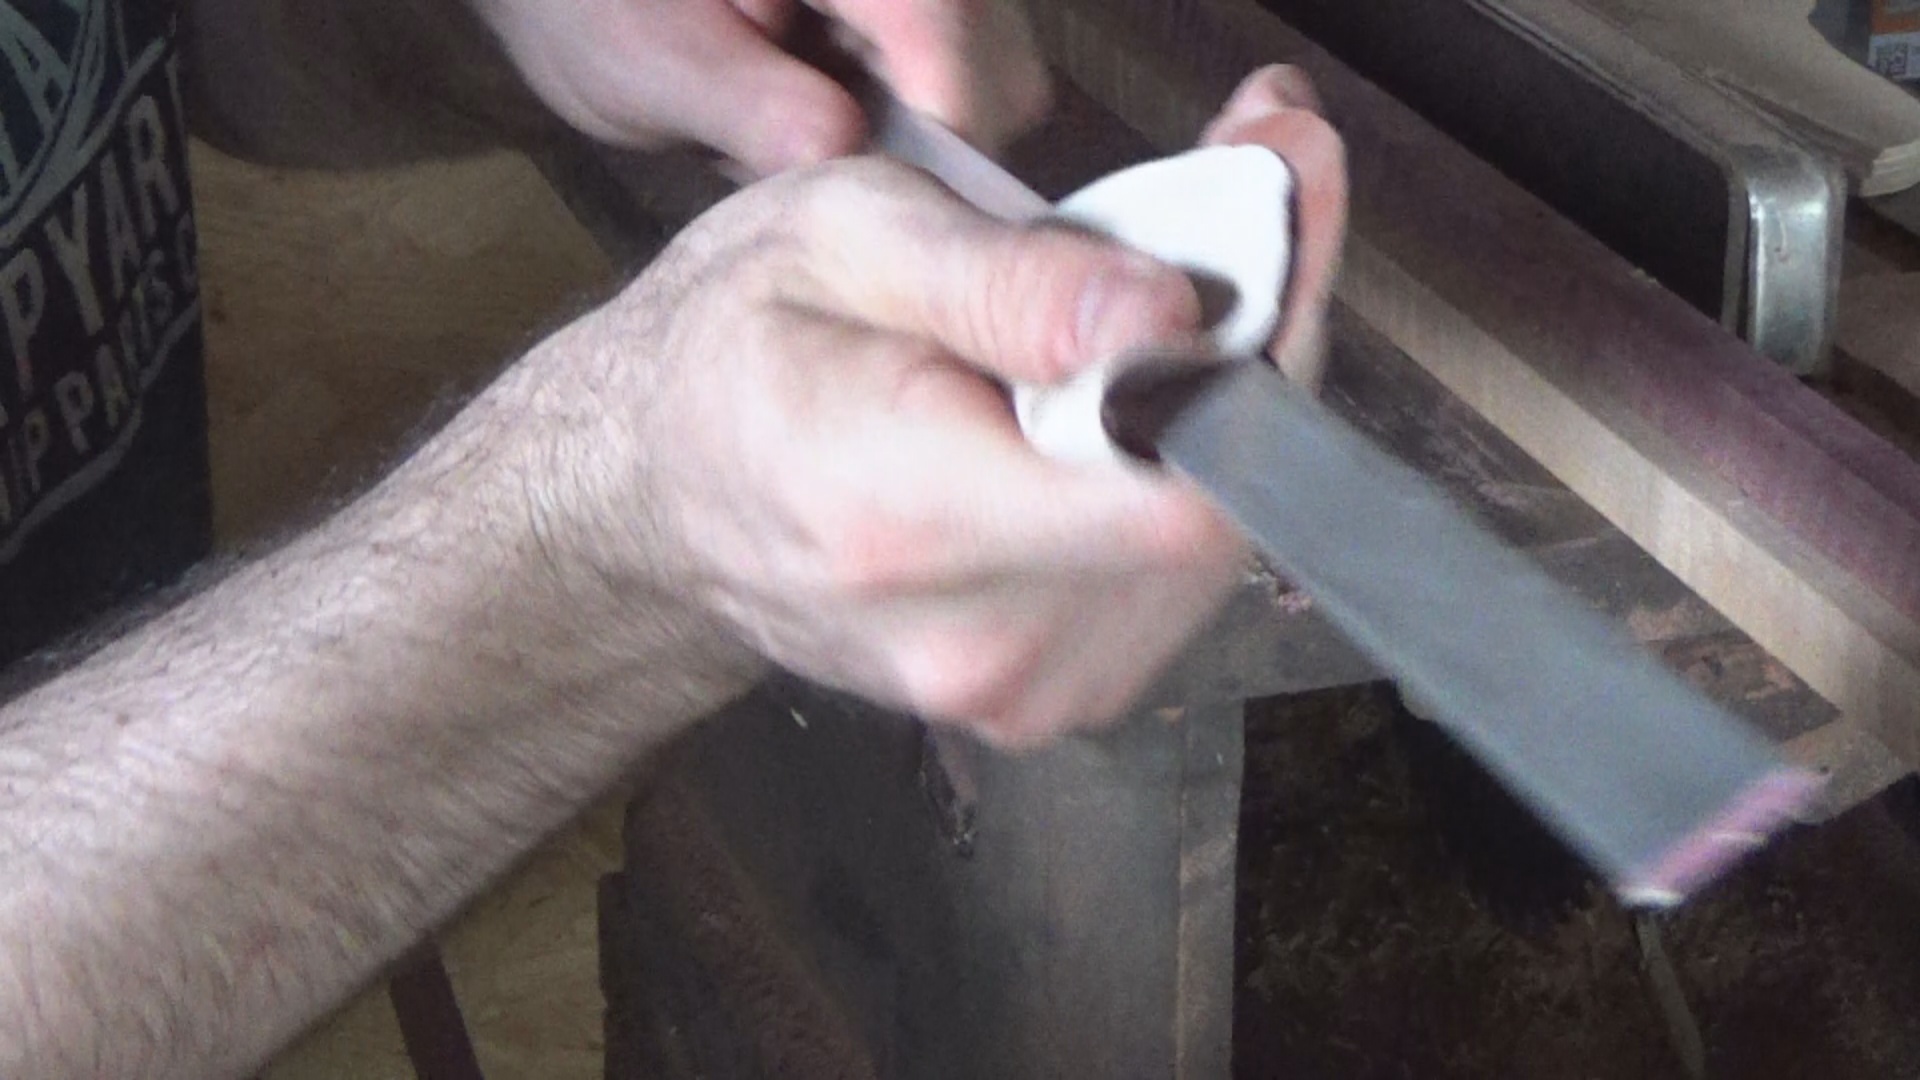
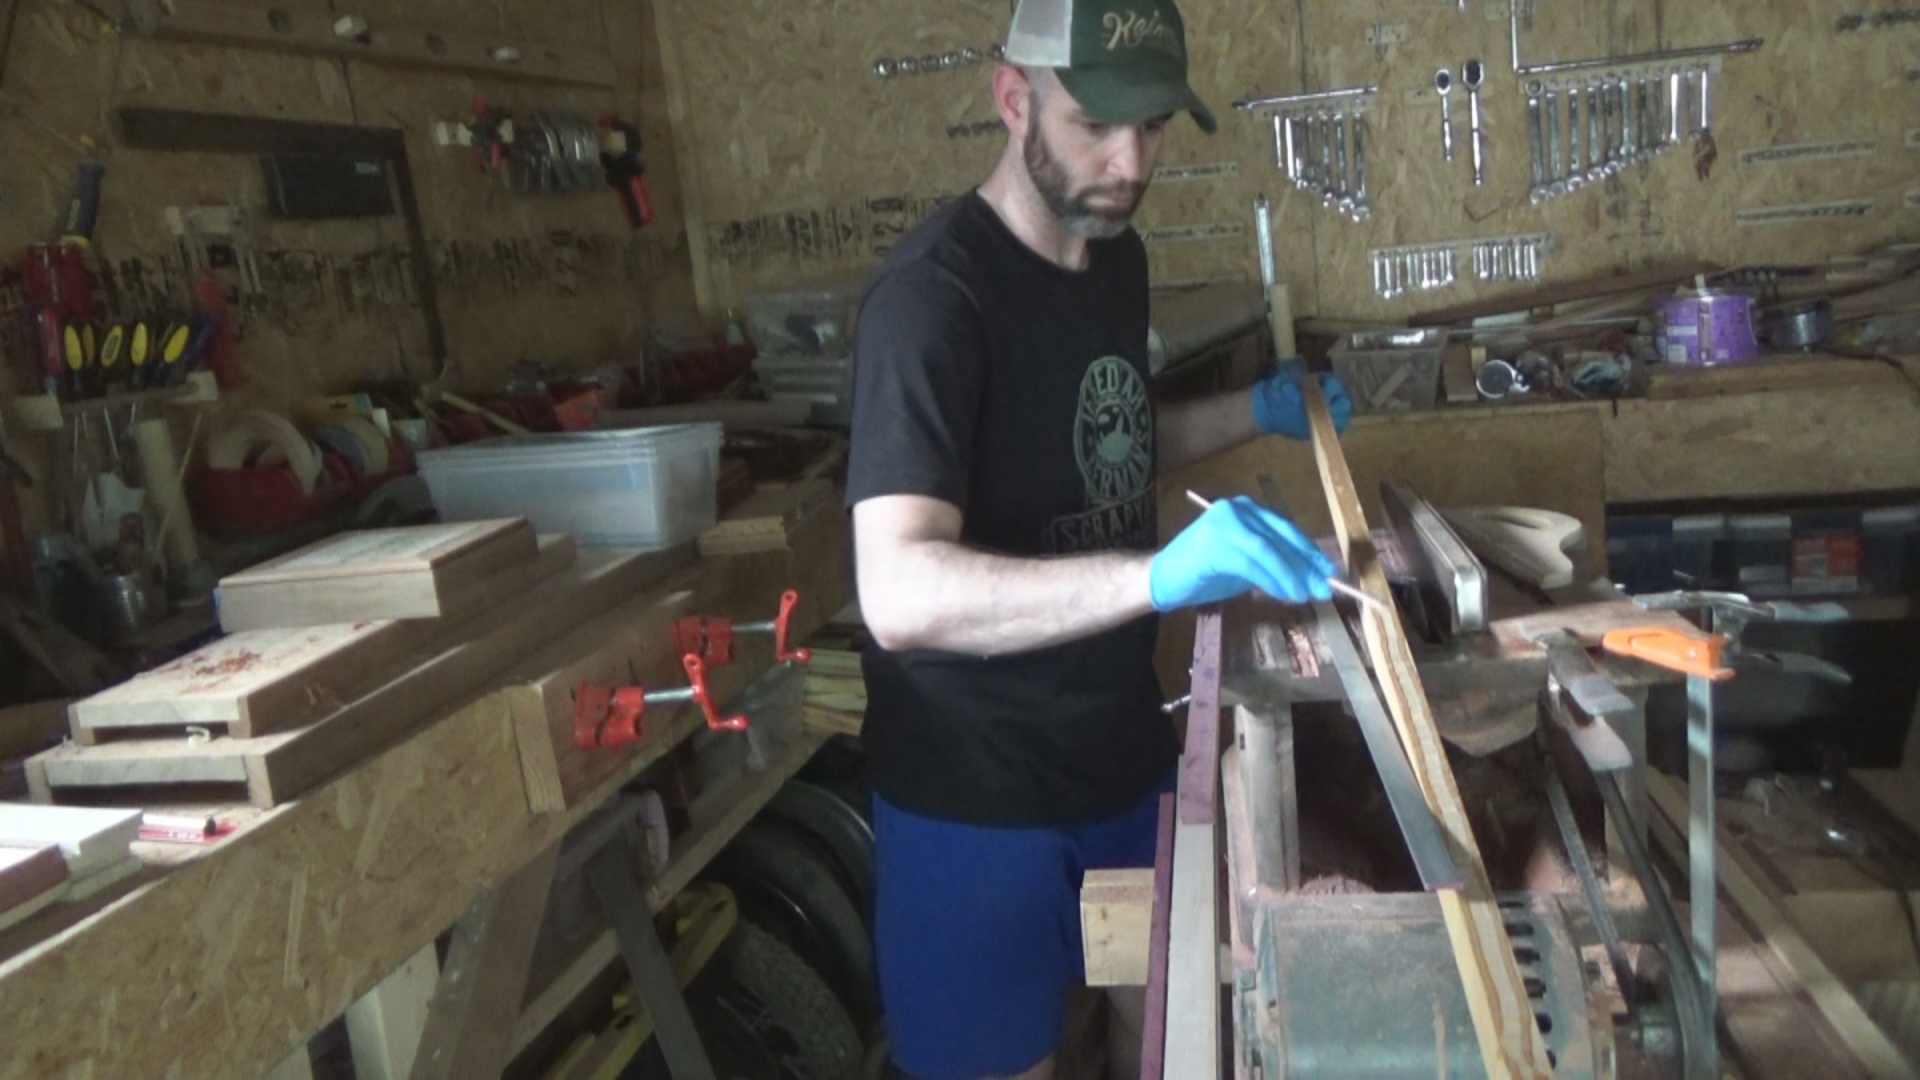
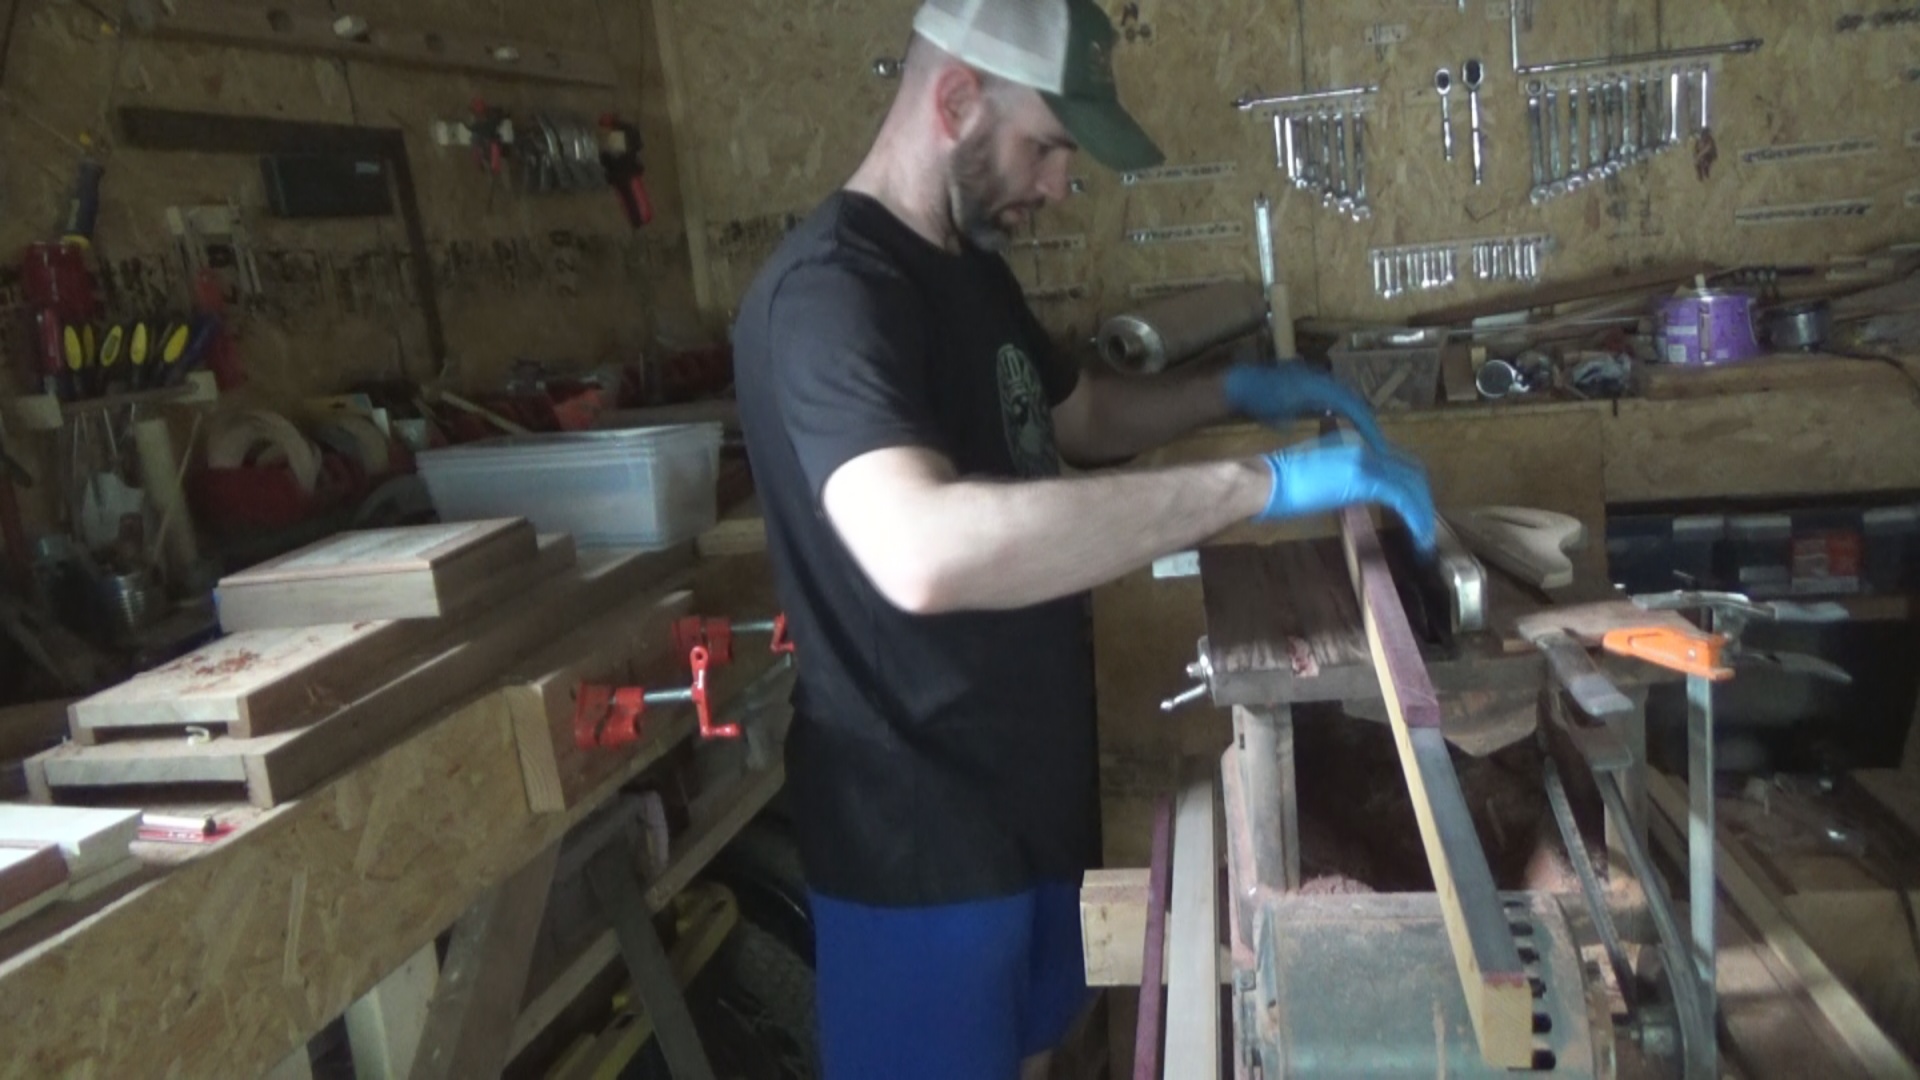
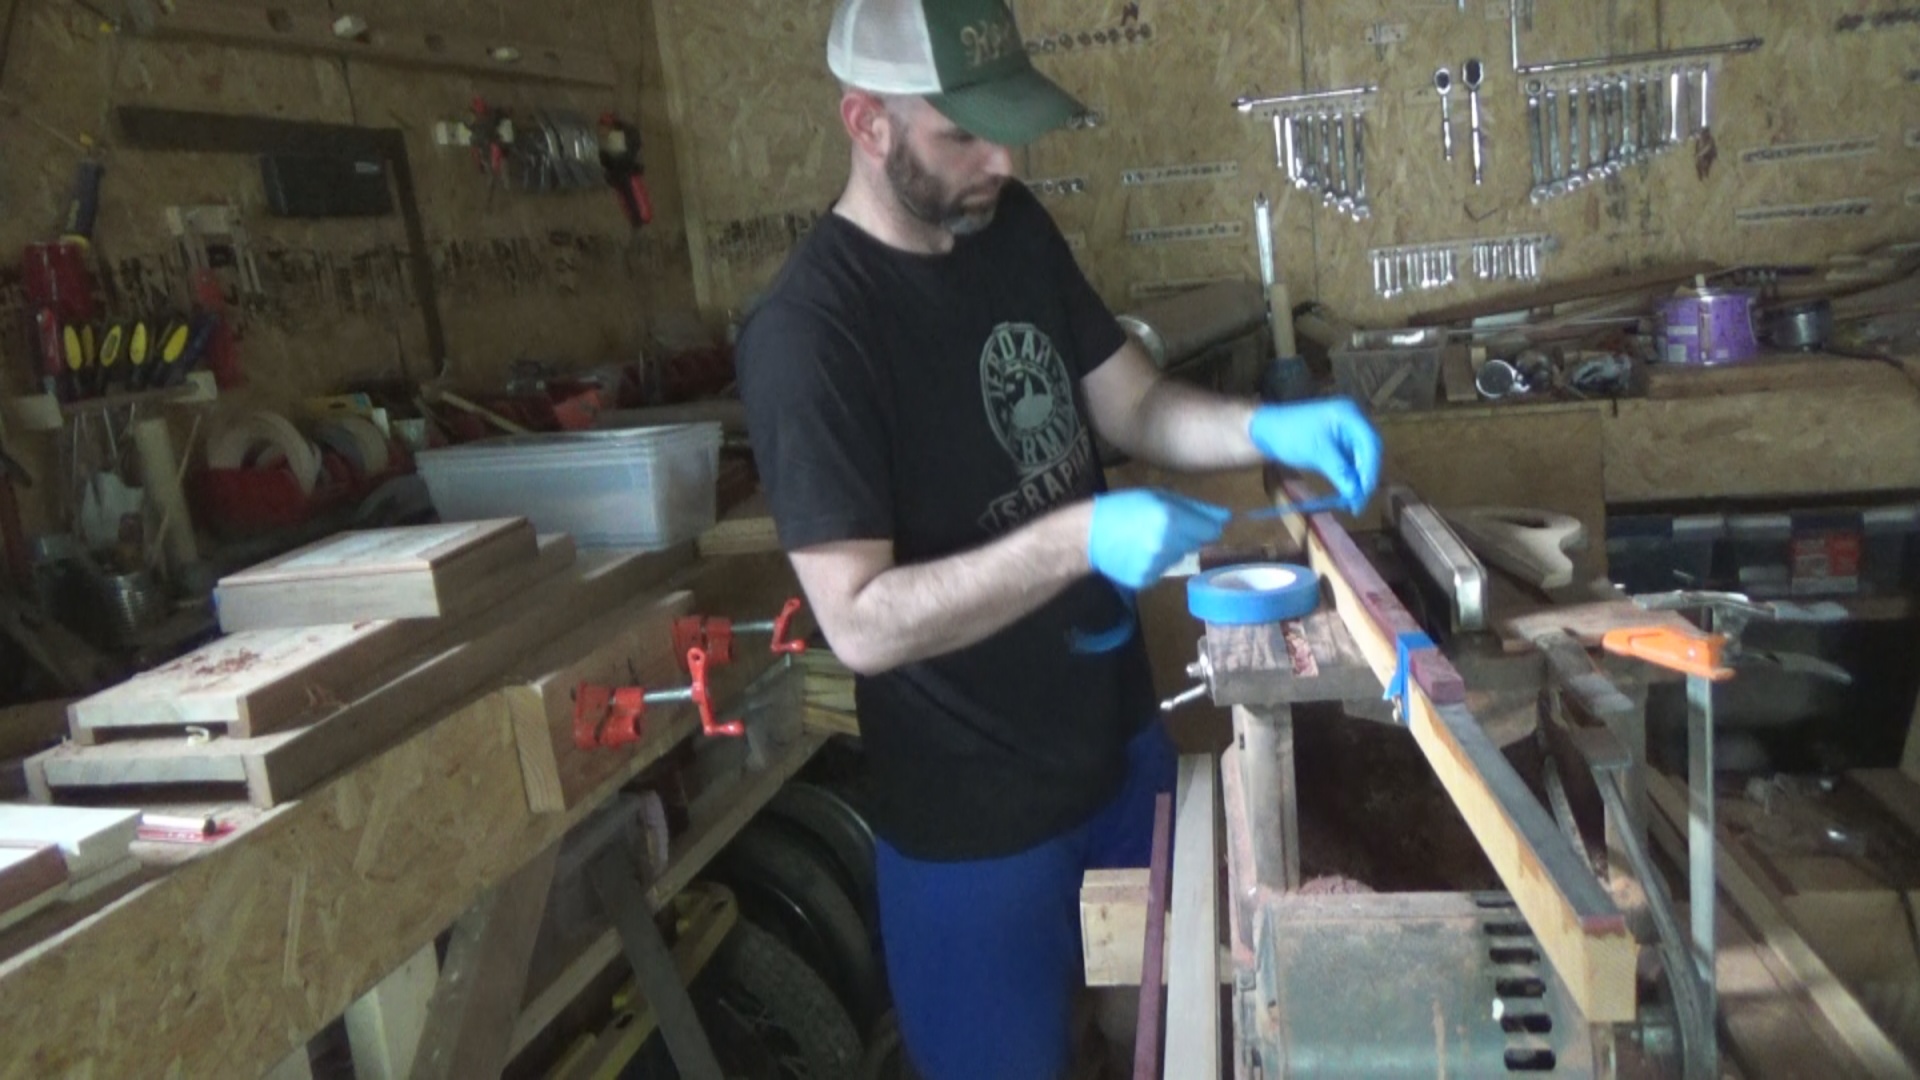
Use a slow setting epoxy as this will make things much easier and less stressful. When gluing aluminum, surface prep is essential. Sand and clean the surface thoroughly to give the epoxy something to bite into. For something this long it's easier to spread the epoxy onto the long edge of the wood and mix in-situ. Instead of using clamps, masking tape worked better in what turned out to be a very messy but fun glue up.
Cutting to Size
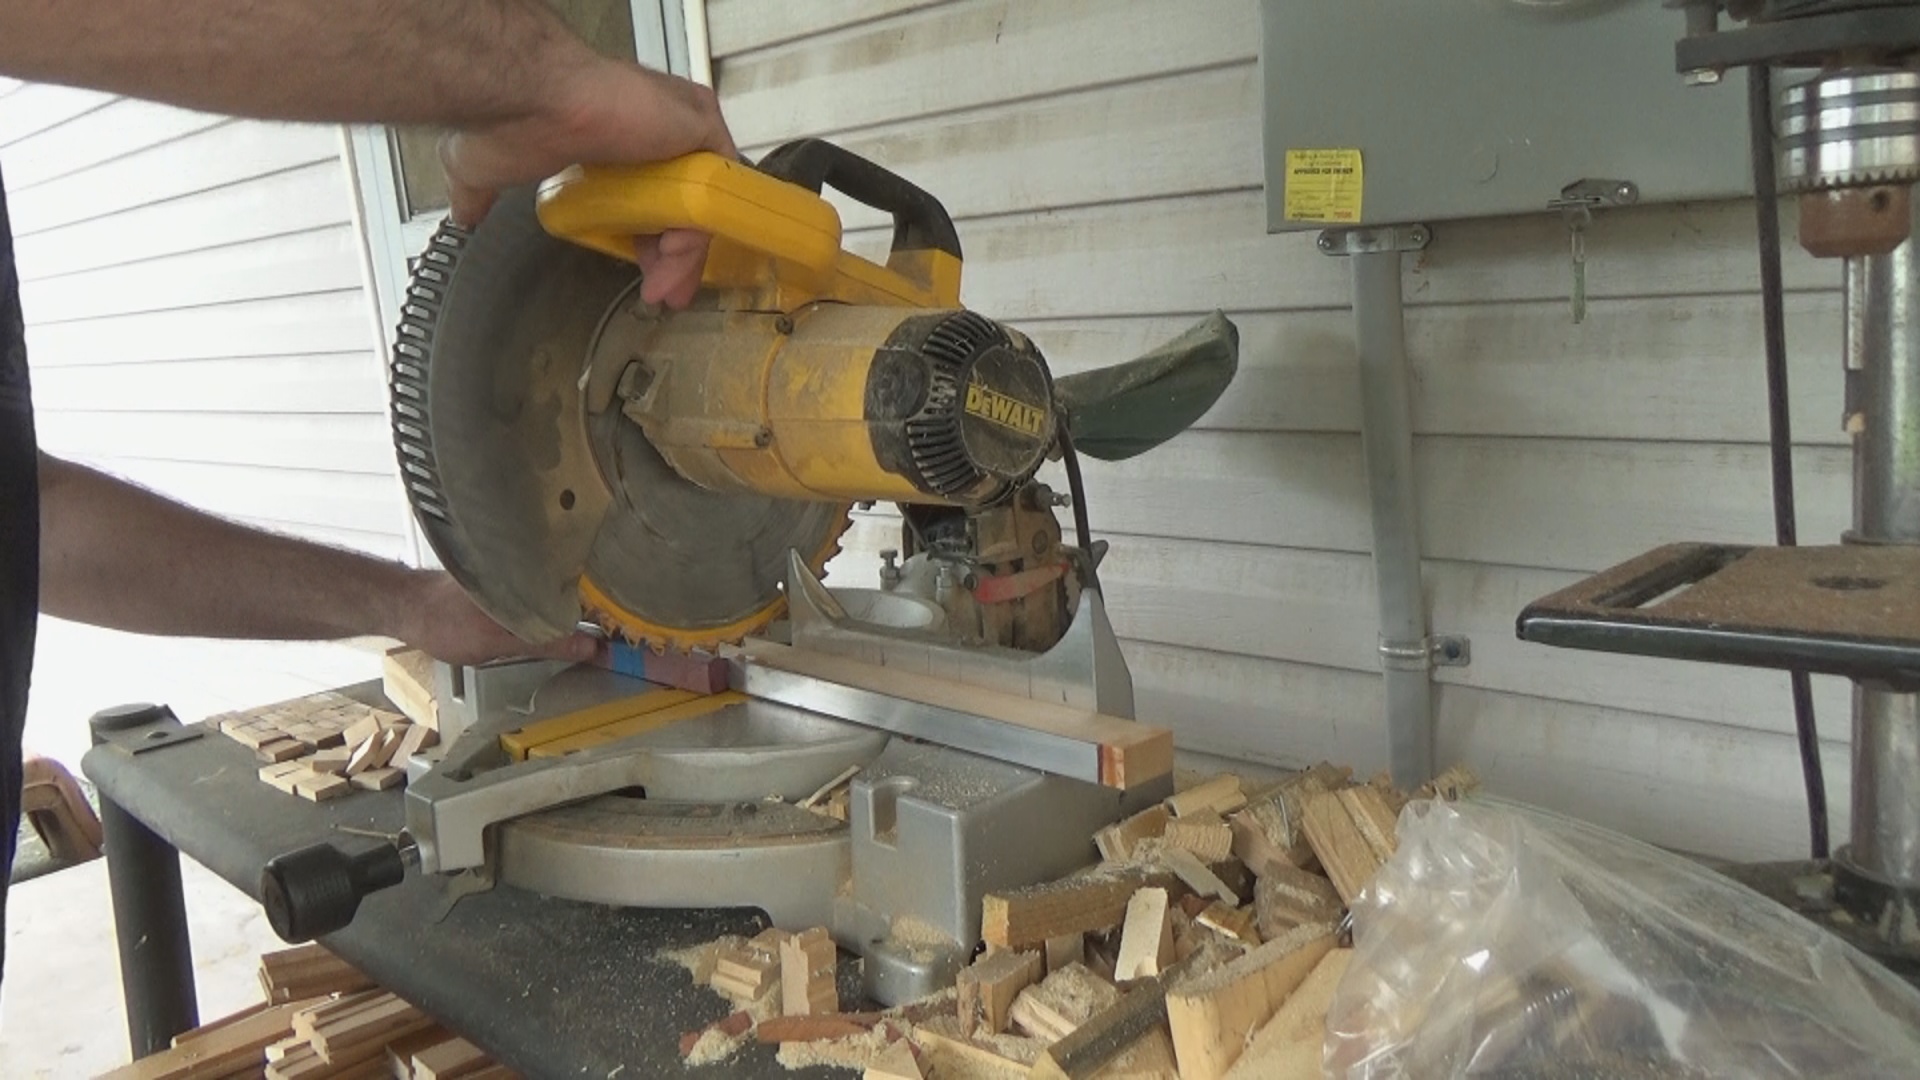
After the epoxy sets up the blank is ready for cutting. Most aluminum is soft enough to be cut with woodworking tools provided care is taken. Aluminum will soften if it gets hot and begin sticking to the blades on a saw, it can even deform and try to wrap itself around the spinning blade. Use lighter pressure and slower feedrates when cutting.
Trim the edges flush to being with. I wanted an opening in the frame to be 8"x11" with the maple facing inward. After trimming the edges flush, I made a 45 degree cut that connected to the outside corner. After that I measured 8" along the length of the maple and made another 45 degree cut. Repeat until all four sides are cut to their final lengths.
For good measure, stack and line the two 8" pieces up and cut one side at 45 degrees. Then repeat for the 11" pieces. This ensures that both pieces are the same length.
Bevel and Rebates!
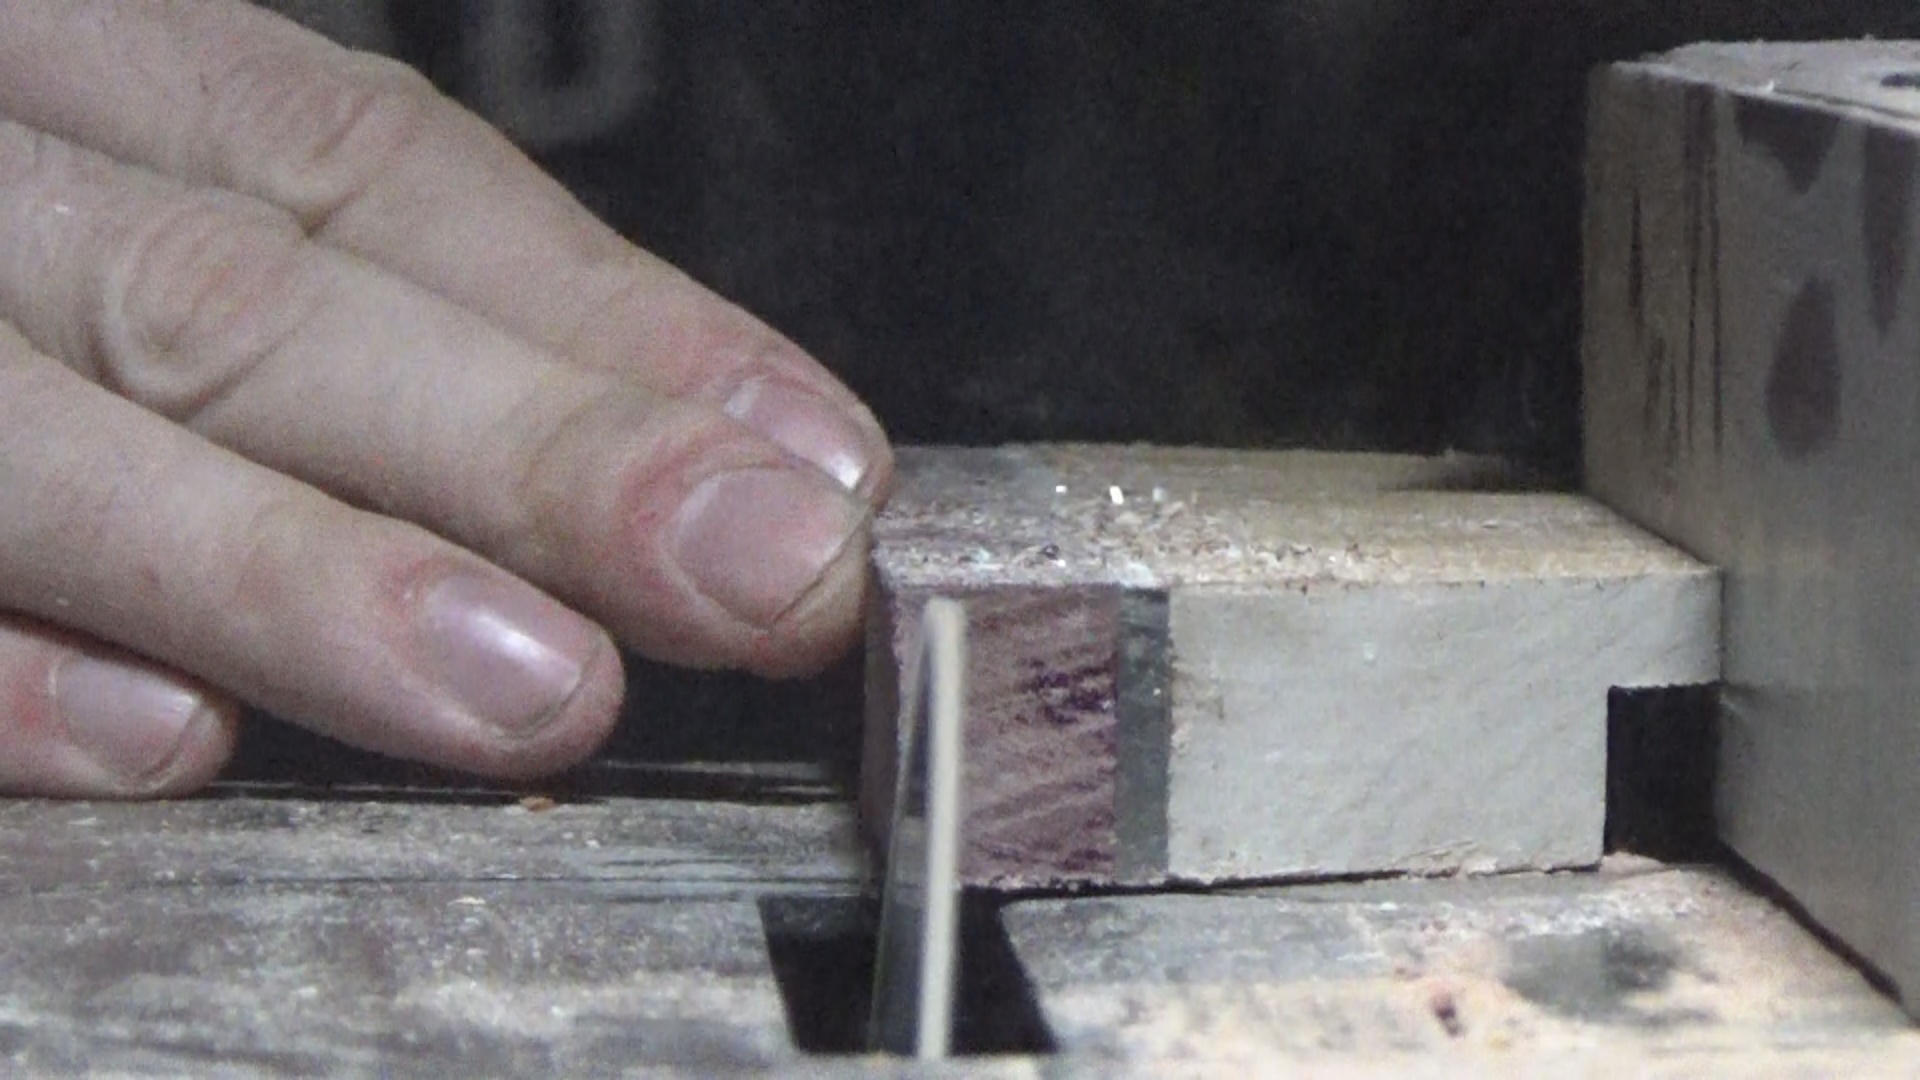
I used a table saw to cut a rebate in the back to allow space for the glass, artwork and backing. A router or shoulder plane would be a good touch as well. Make sure it's not much wider than the artwork or matting to prevent sliding around.
After that was finished I tipped the saw blade 10-15 degrees, readjusted the fence and cut a bevel into all four exterior edges. This is purely optional but it does add a little bit of style.
Sanding
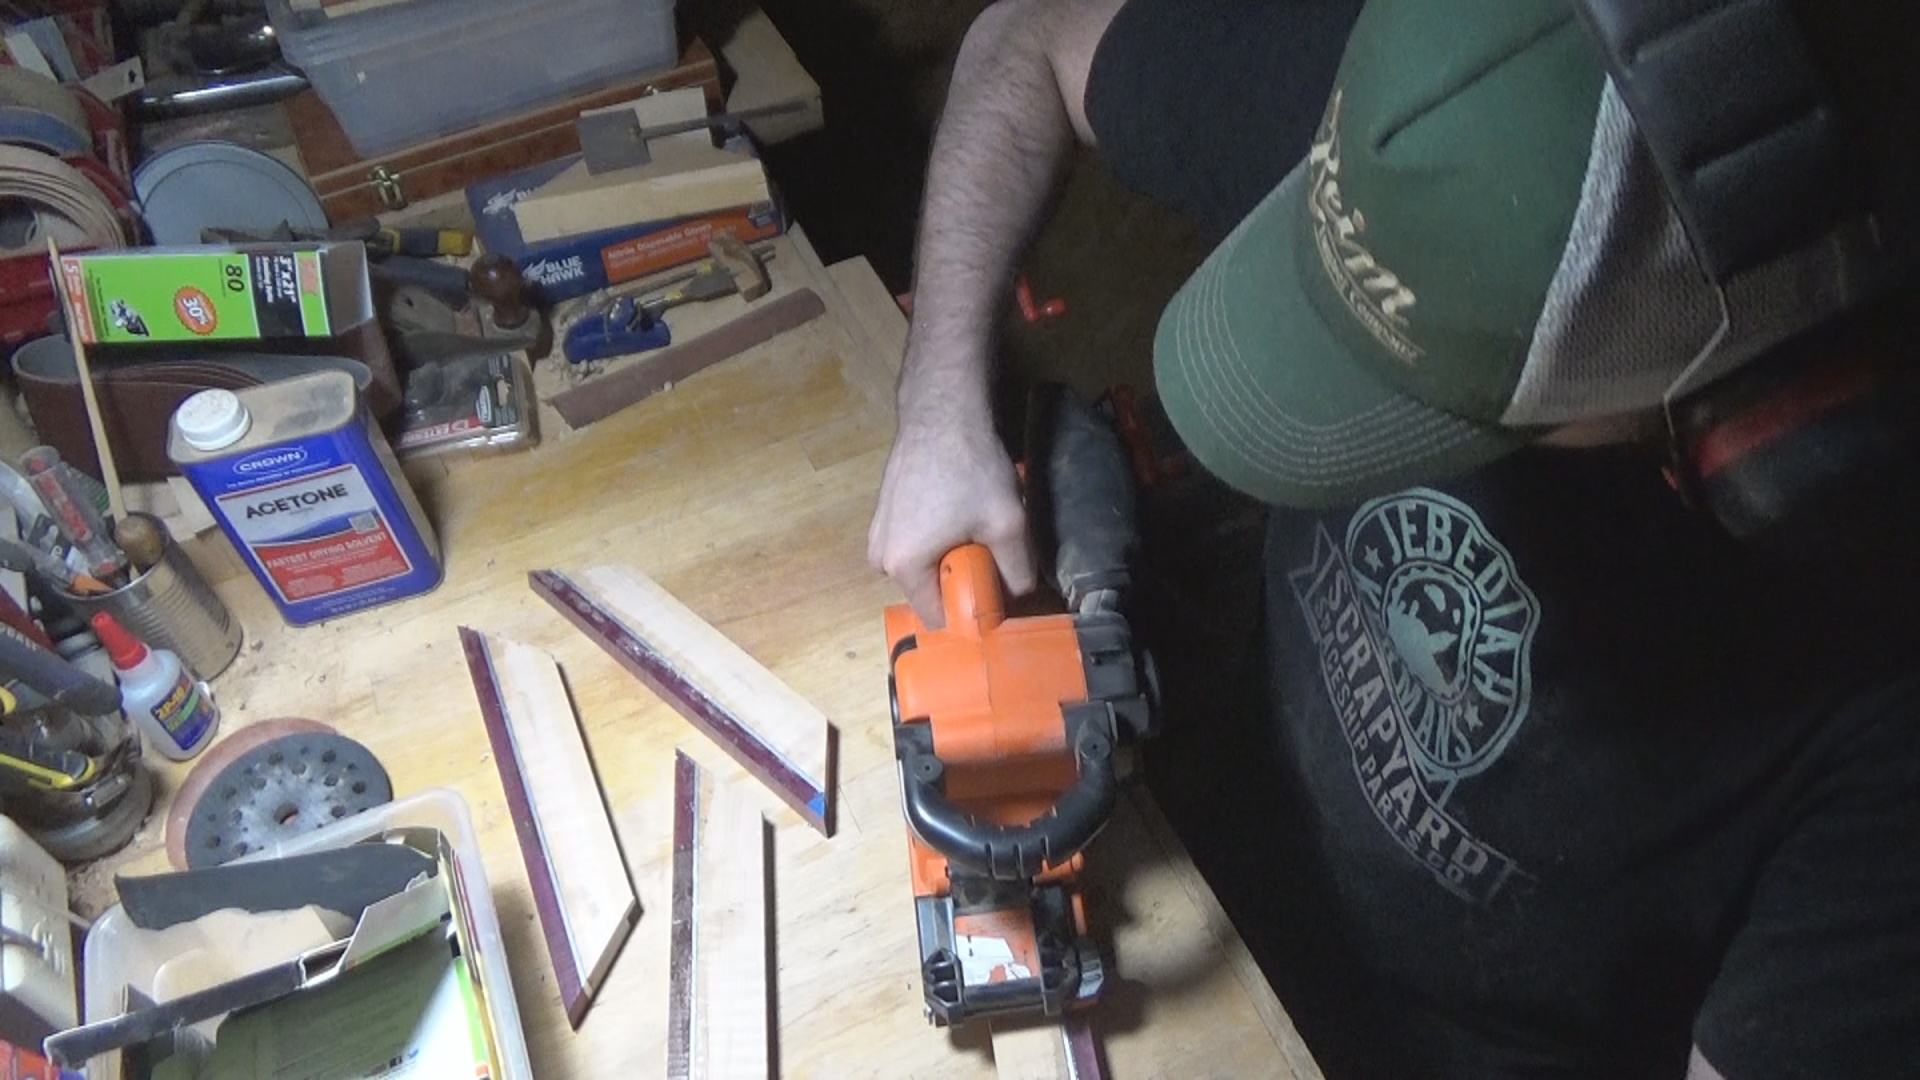
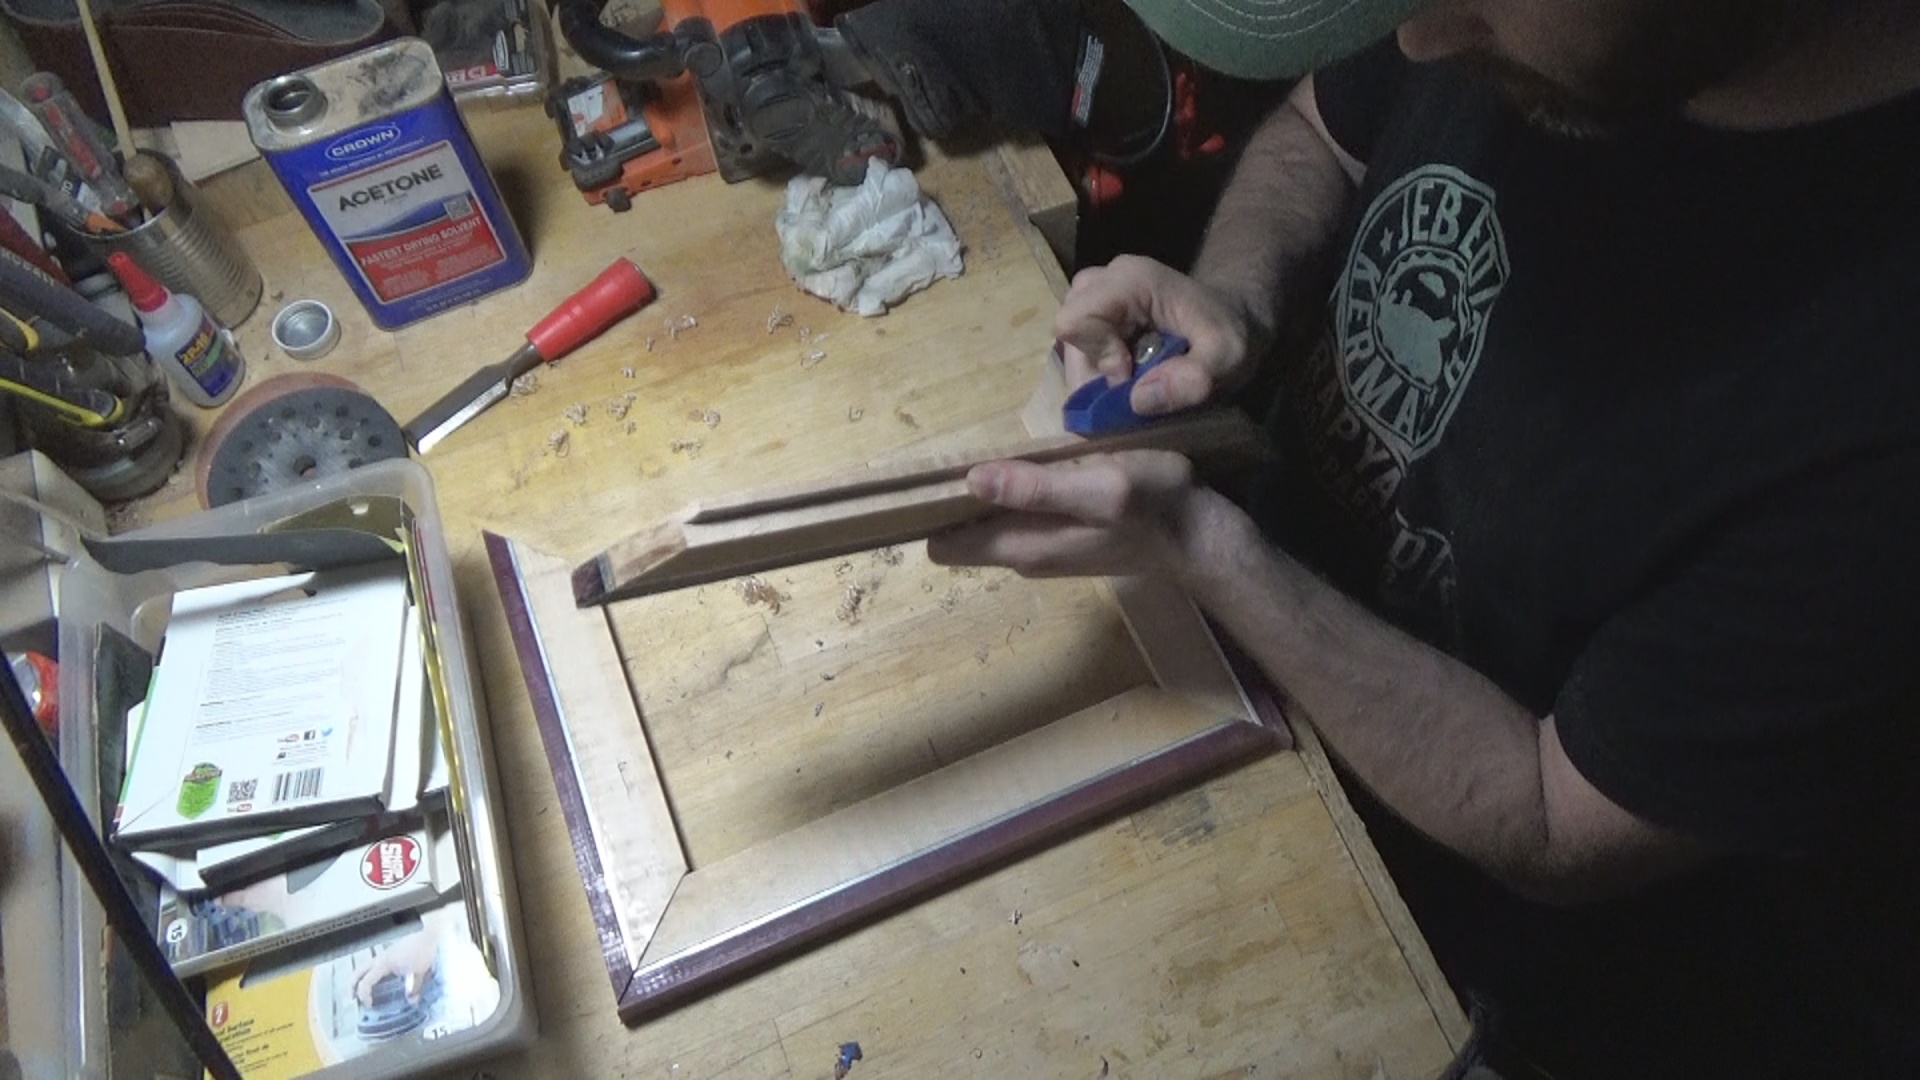
Apart from waiting for the glue to dry, this will be the second longest step in making the frame. Epoxy softens when heated and sanding generates quite a bit of heat. Use a rough grit to quickly remove any squeeze out that wasn't wiped away and to level the surface. Afterwards just work through finer and finer grits.
I took the time to put a chamfer on the inside edge to add another little detail.
Finishing
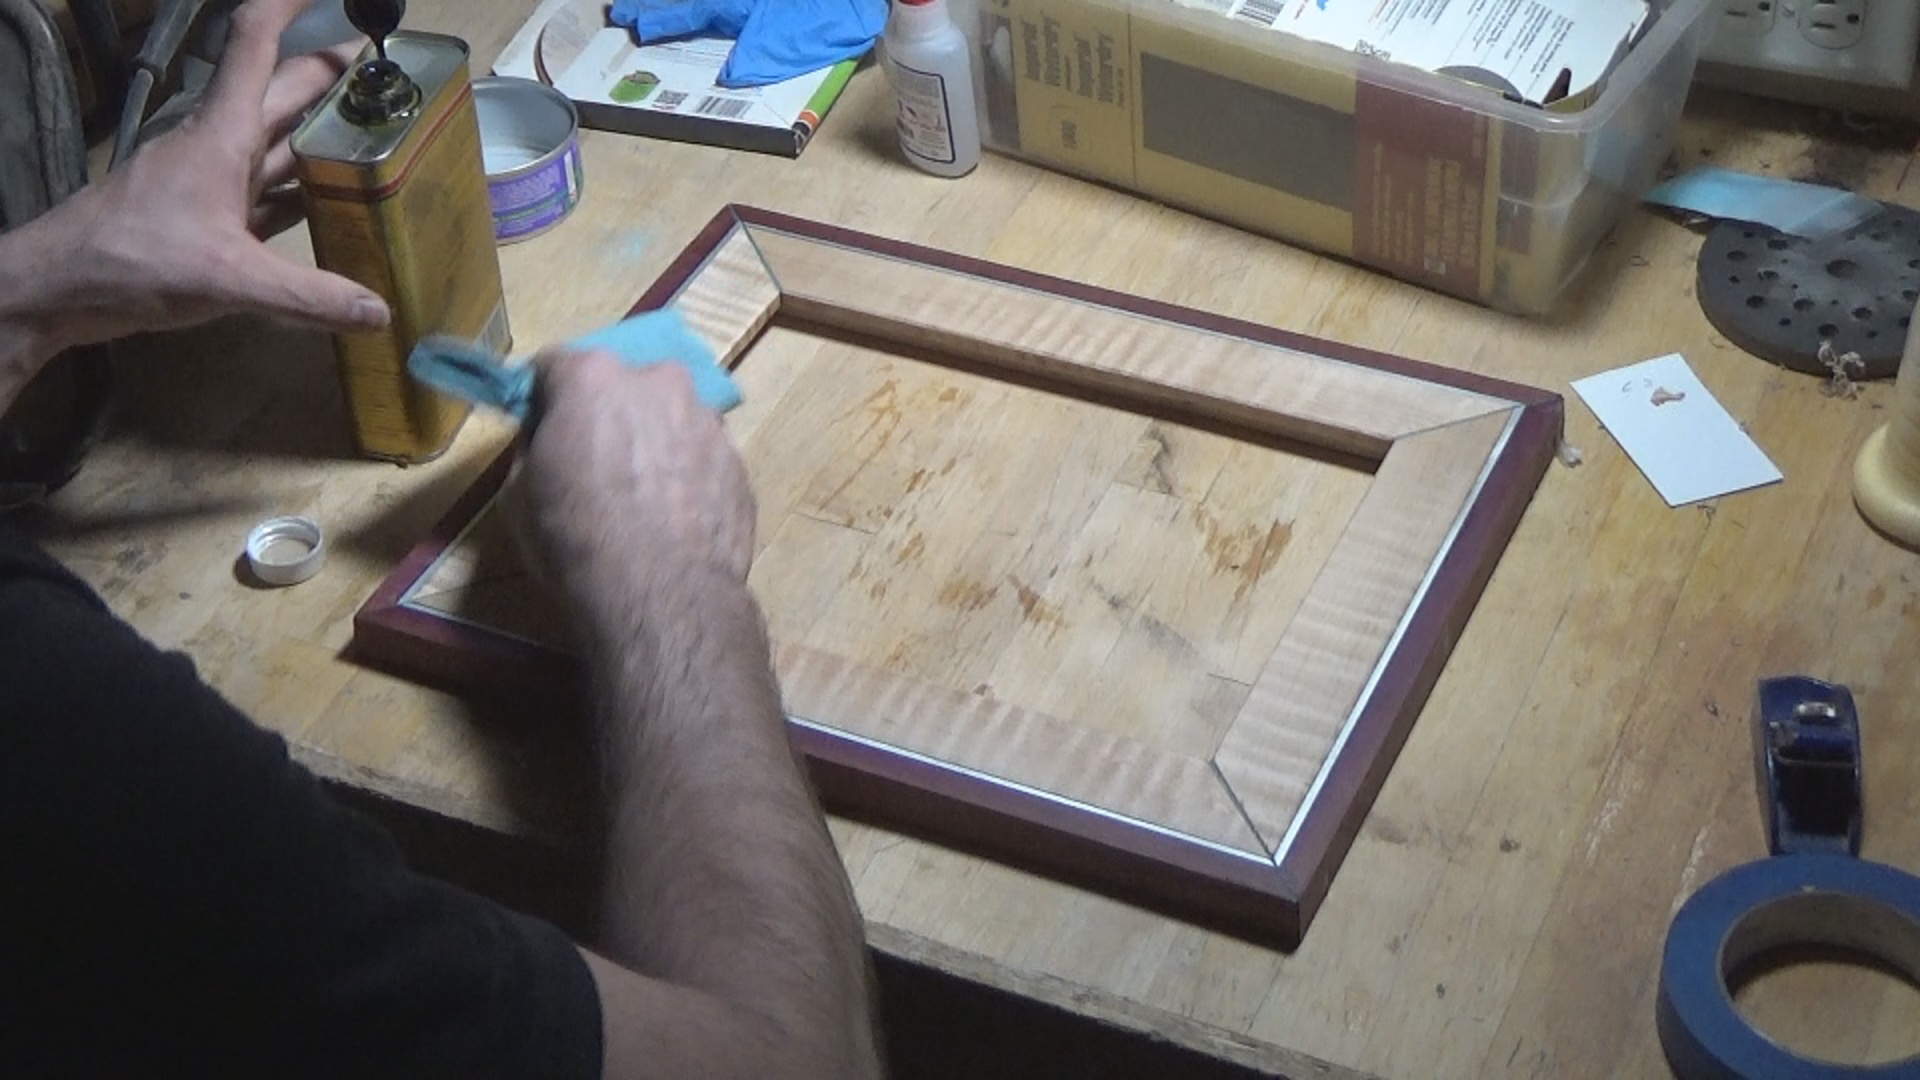
This isn't going to be a high wear piece making it the perfect choice for a high luster, low protection finish that will highlight the grain and character in the wood. Whichever finish chosen is based on personal preference. For this project I used wipe-on poly and applied using a blue shop towel.
Glass, Art, Backer Sandwich
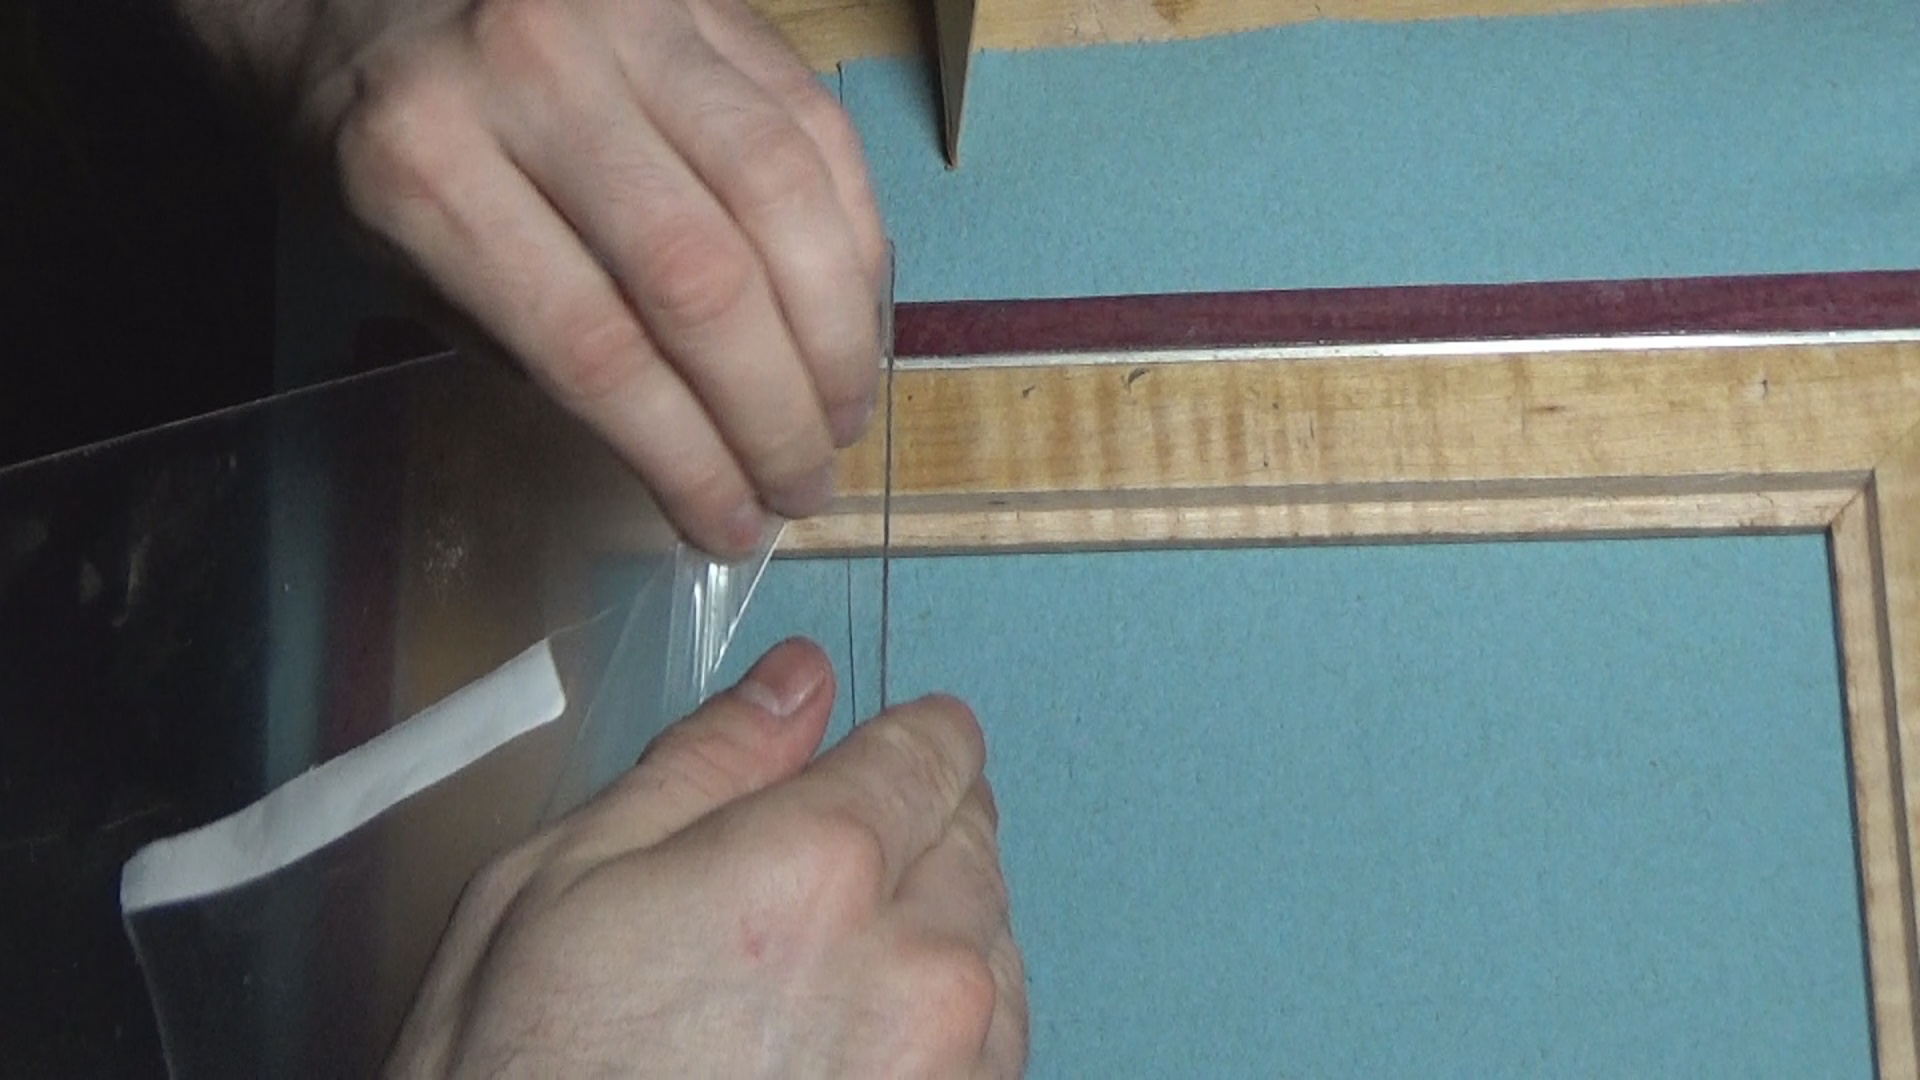
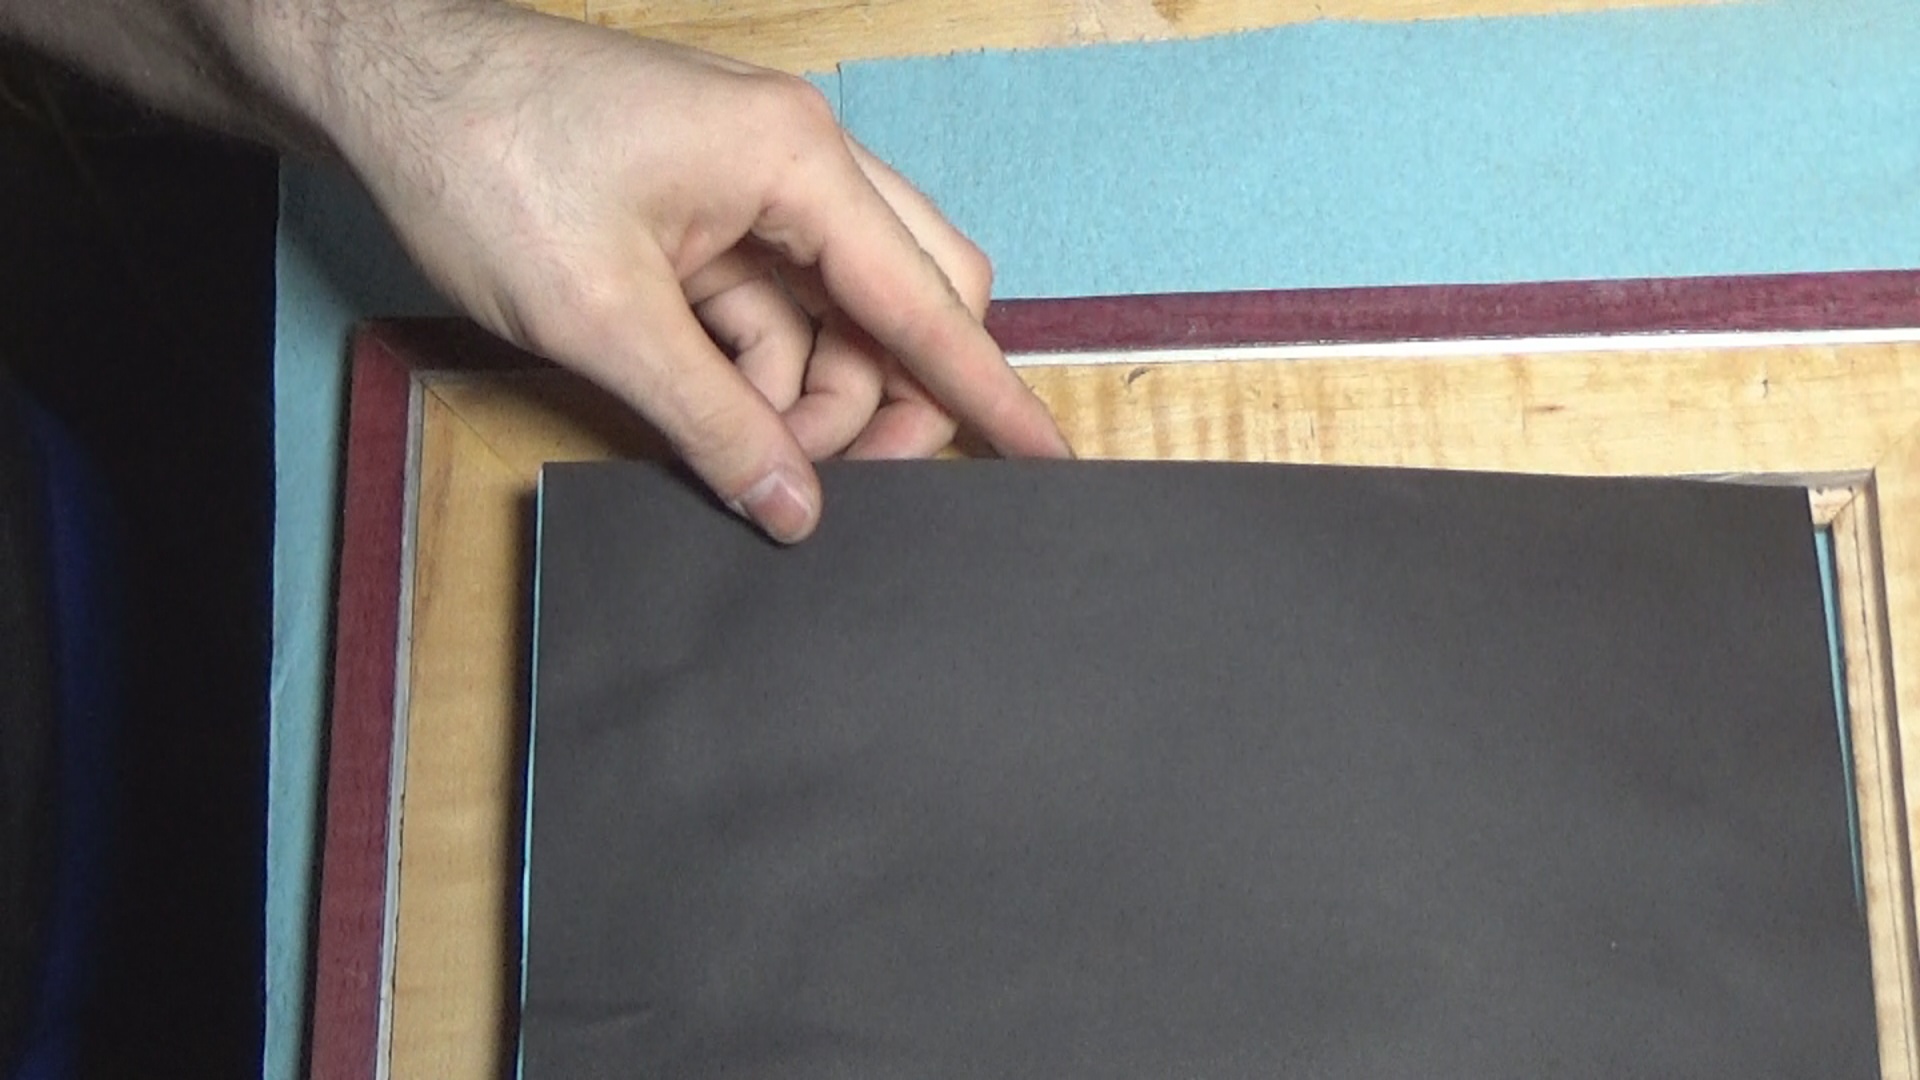
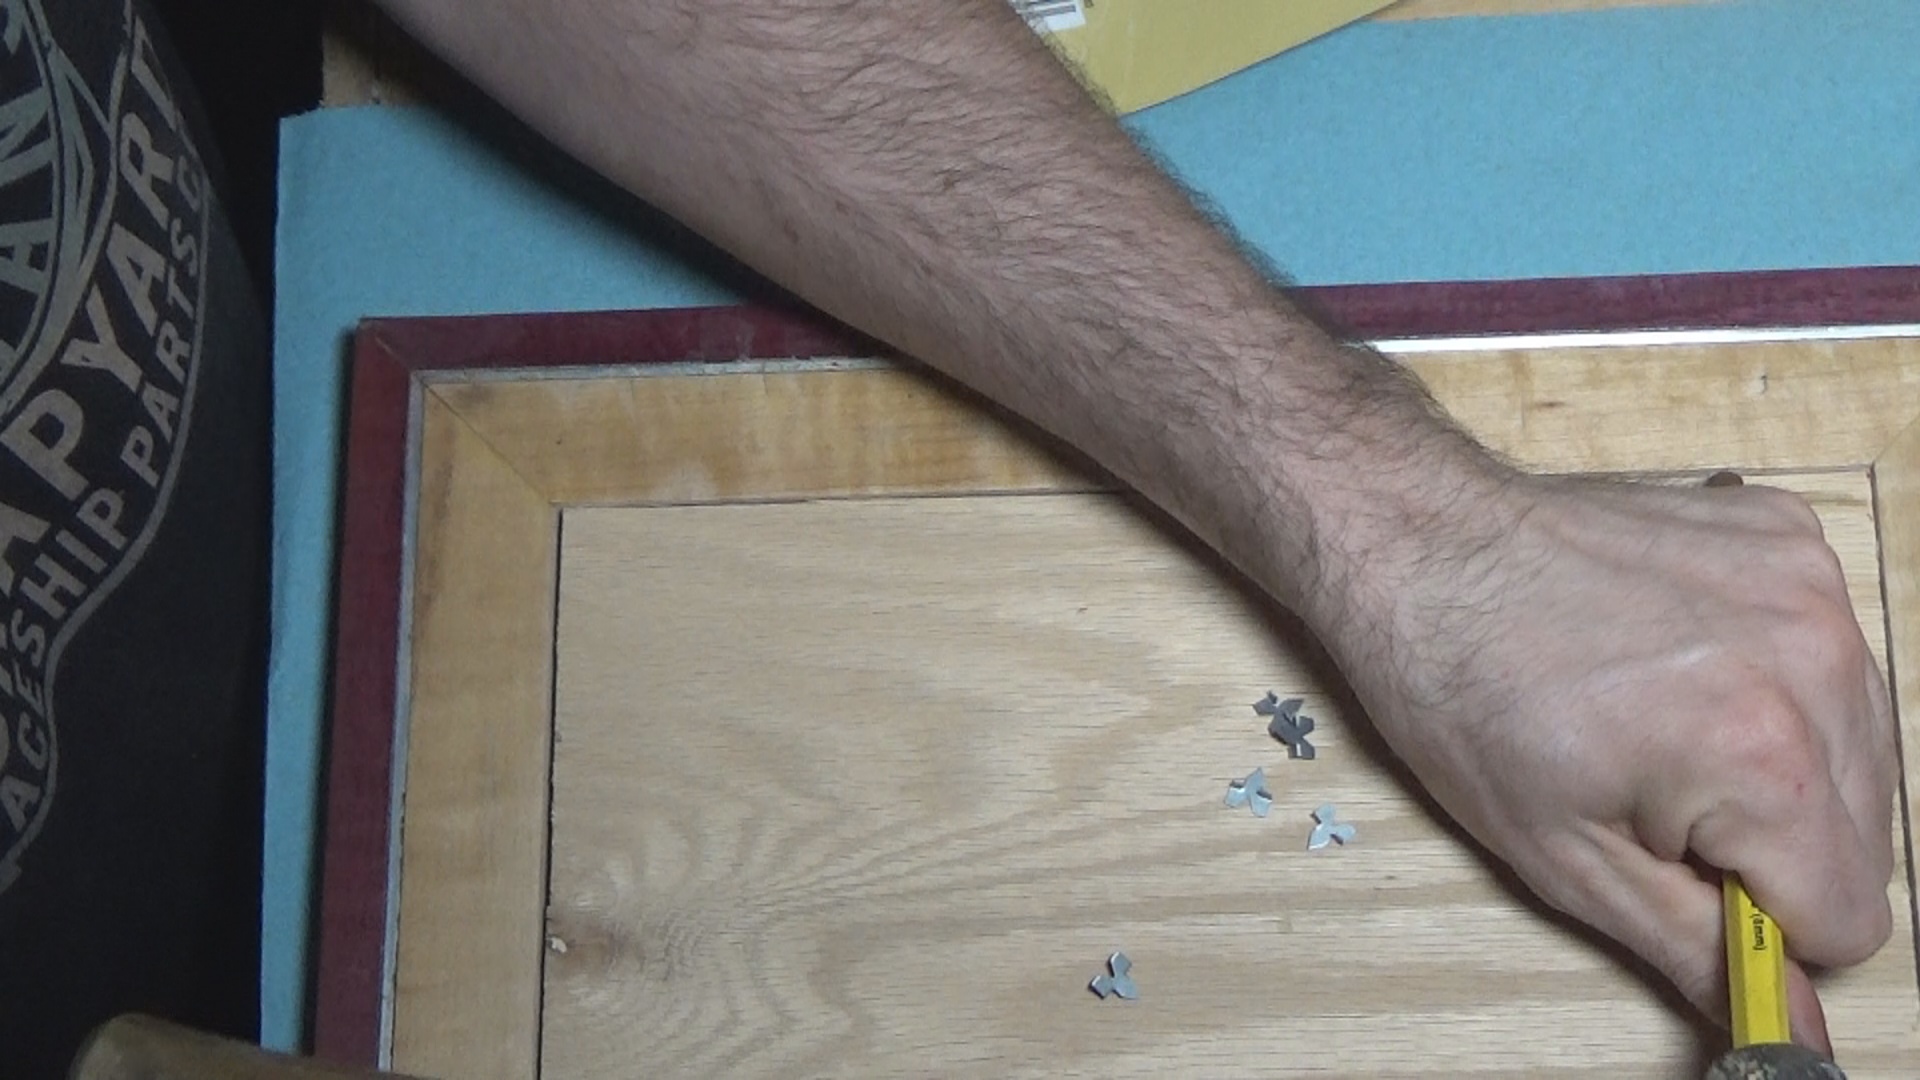
Plexiglass can also be cut on the tablesaw, but most hardware stores can cut a piece to size for little to no charge. Wait until the frame is assembled before ordering the glass to ensure the proper fit. The plywood piece is going to be cut to exactly the same size as the glass. There are an almost infinite number of ways to hold art in a frame, for this one I used glazer points, but really the sky is the limit here. Maple is about the hardest wood I'd recommend for glazer points, anything harder and they won't go in.
Hardware for hanging is the same. They're all reasonable good, and even a few nails with some wire between them works.
Step Back and Enjoy

You've done it! Now find a good spot to set your frame and artwork and enjoy.