Pico Emoji Keyboard
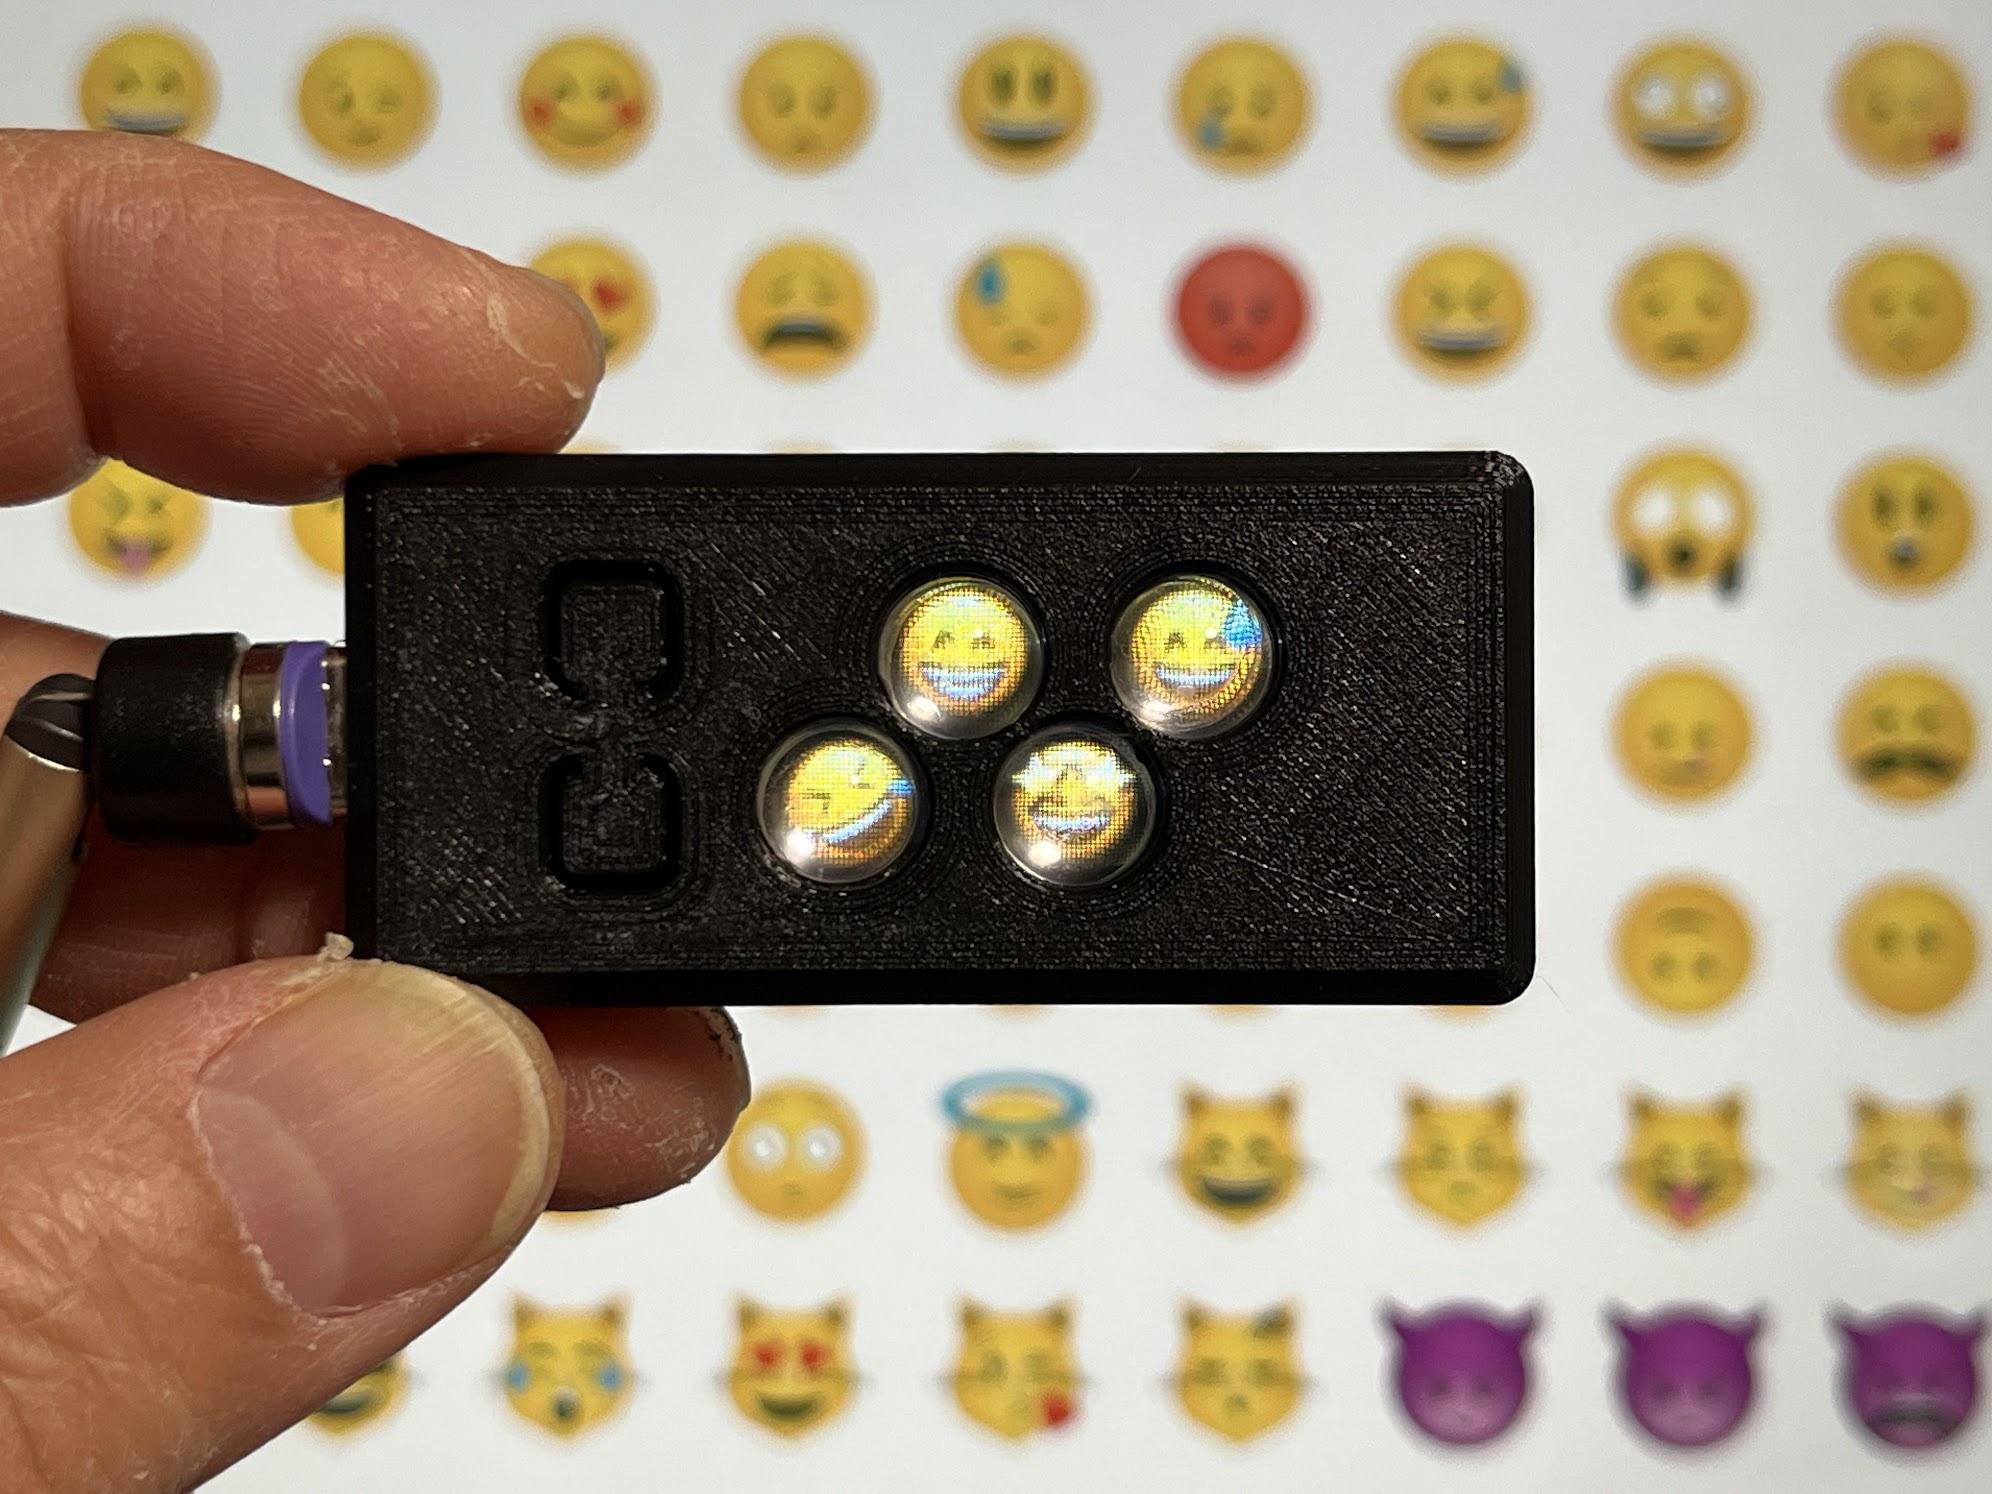
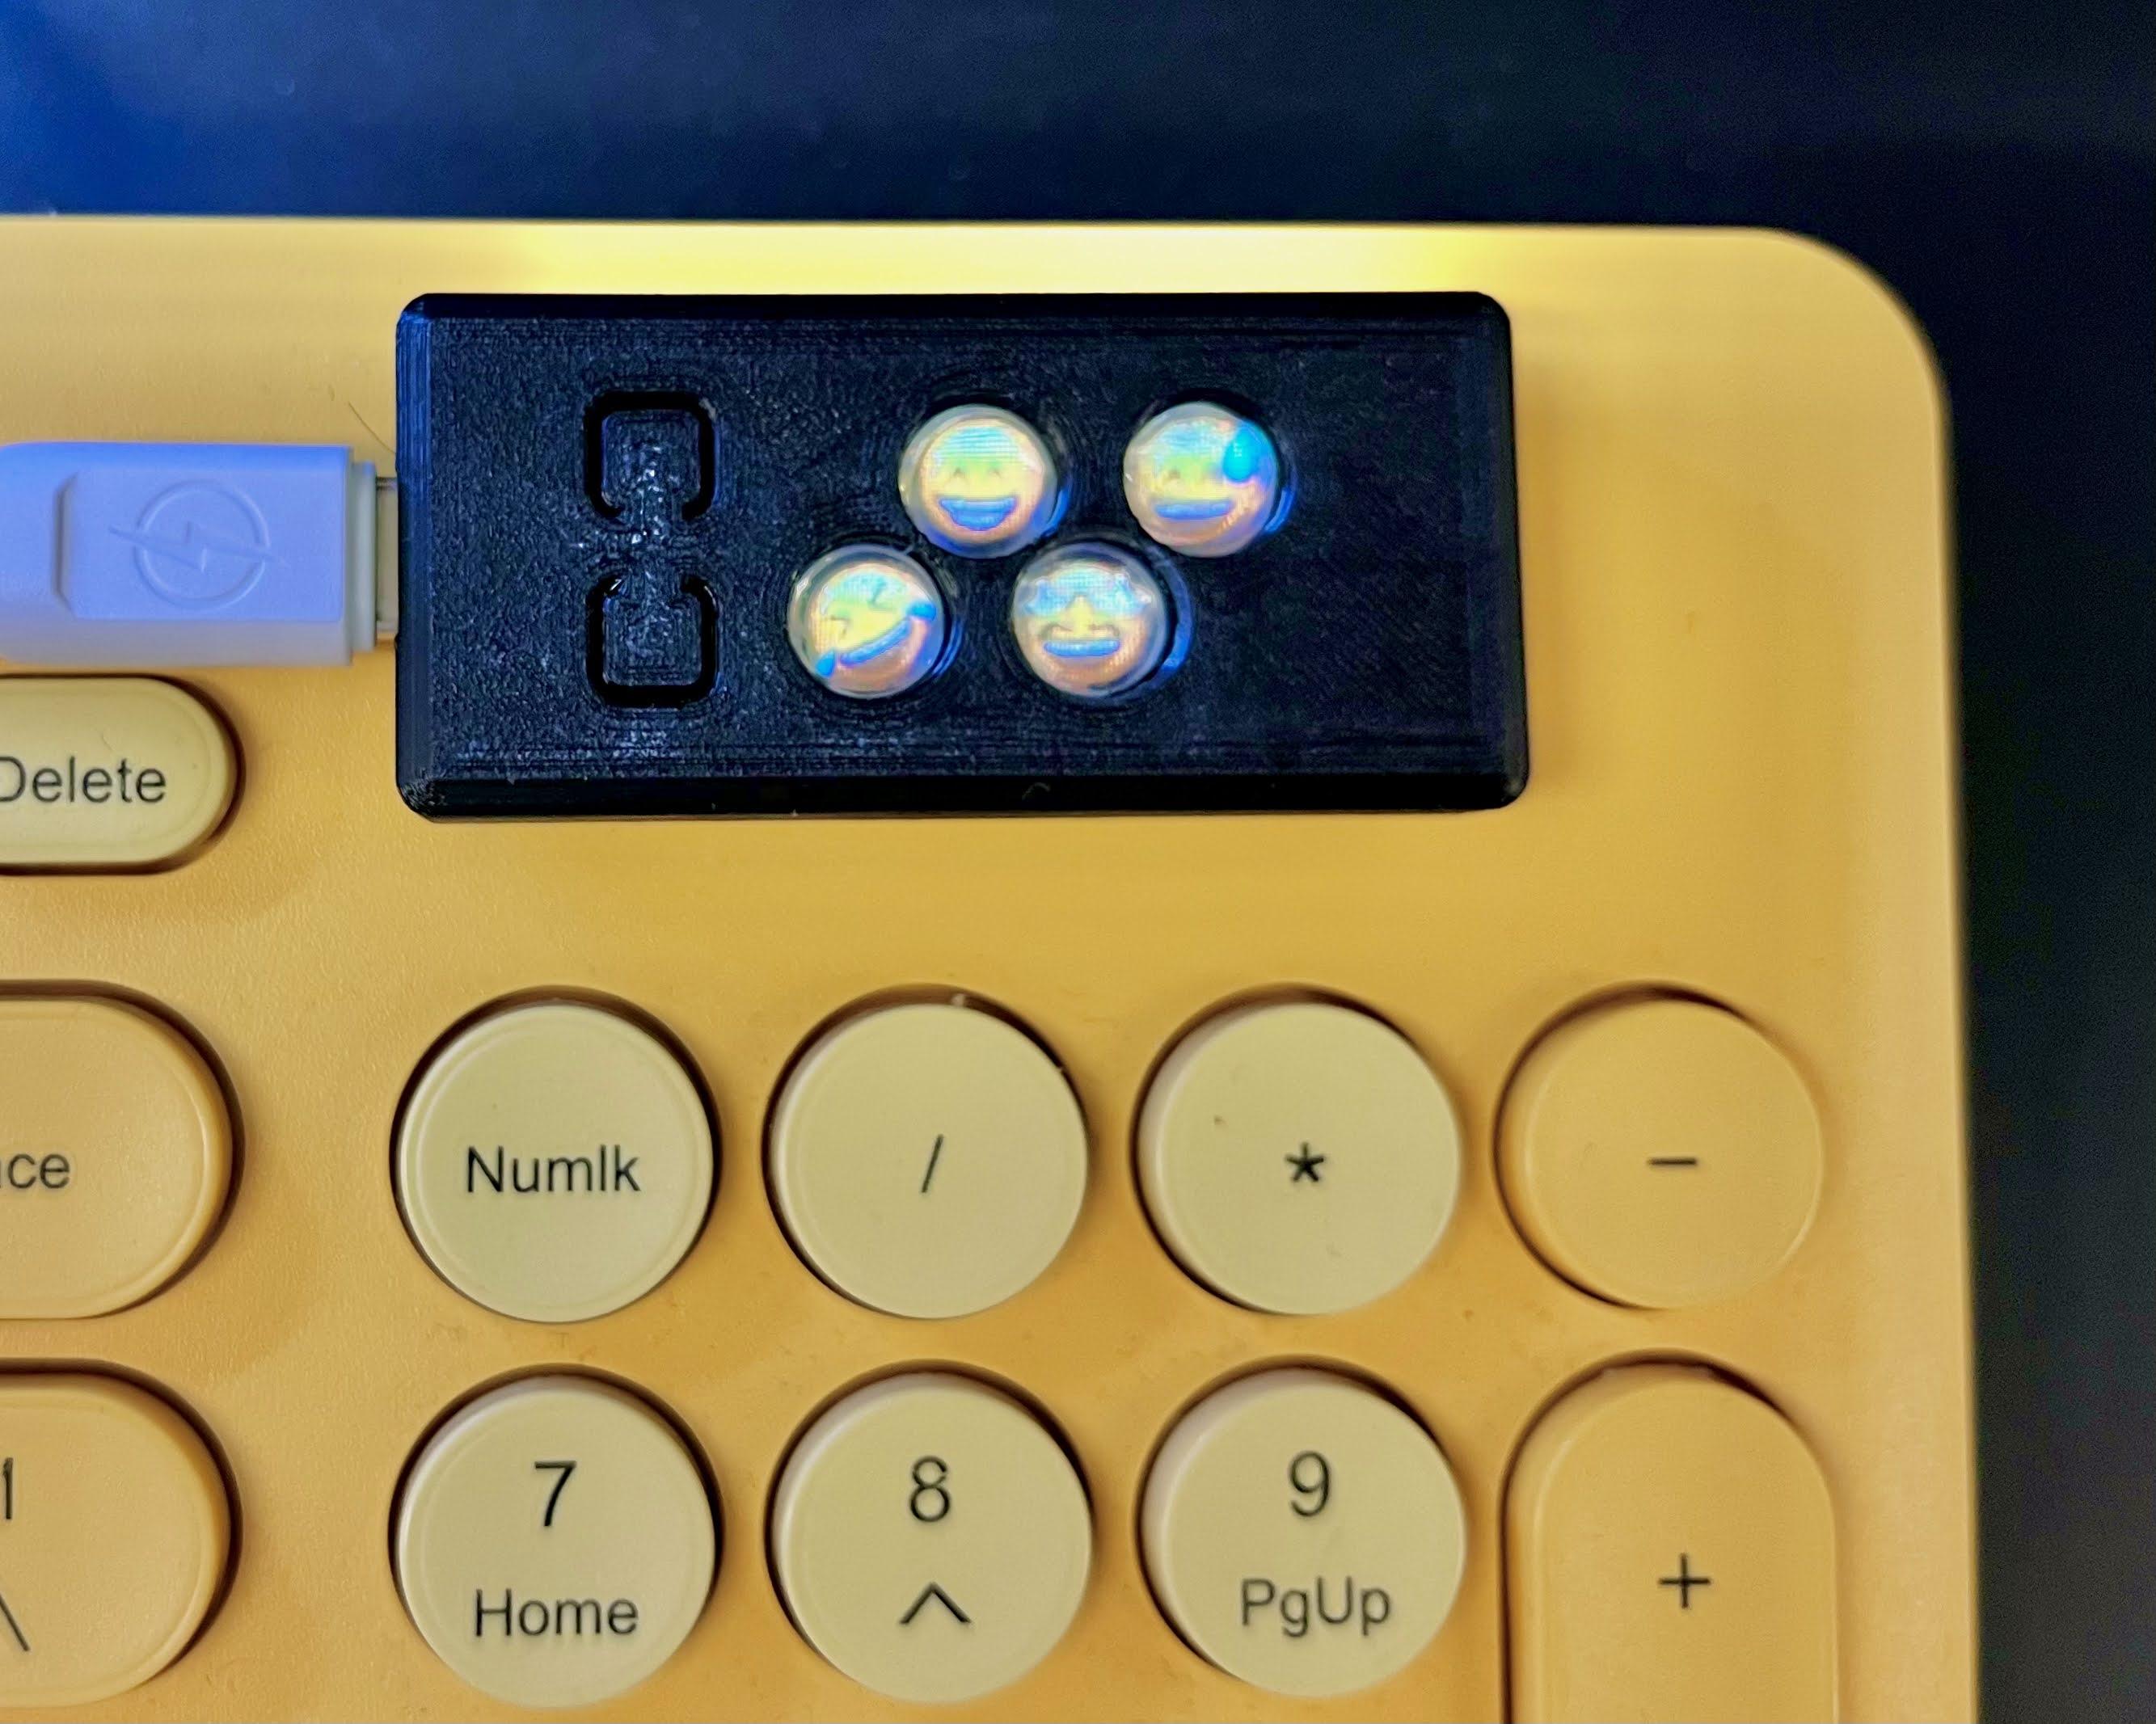
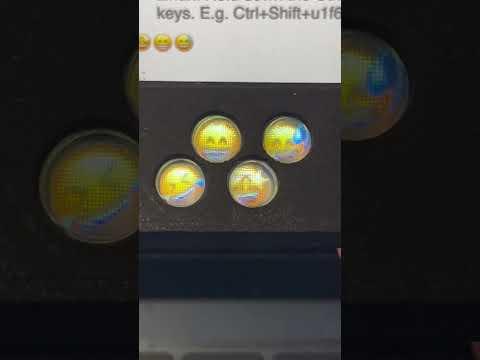
This instructables show how to use a simple Pi Pico display dev board build a Emoji keyboard with customized display button caps.
Since the button cap display images are customizable and the output Keycode also controlled in the program, you can decide any key or even a series of key combinations for each key pressed.
Supplies
- Waveshare 0.96 Inch LCD Display Pi Pico Dev Board (Both RP2040 or RP2350 should be ok)
- Four SMT 3x6x2.5MM 2PIN Tactile Button
- 8mm Clear Water Drop Stickers
- 0.4-0.5mm thick PET transparent film (only requires a tiny pieces 21x32mm)
What Is Emoji?
The first emoji sets were created by Japanese portable electronic device companies in the late 1980s and the 1990s. Emoji became increasingly popular worldwide in the 2010s after Unicode began encoding emoji into the Unicode Standard.
As people already using emoji in daily communications, you may not know it evolved from last centuries special font type character's mono pictures to current dedicate standard Unicode code points and can display in color pictures. If you want to know more you may start from below Wiki page.
Ref.:
Unicode Input
As said Emoji already have standard Unicode code points, there are still no common input method for the Emoji.
For the touchscreen device like mobile phone or tablet, it can simple replace the software keyboard area to a list of Emoji for the input. But how about the device like desktop or laptop computer that using physical keyboard for input?
A common way still depends on GUI, a widows dialog show a list of Emoji just like mobile do, then select the Emoji by mouse pointer.
Since most Emoji characters fall in UTF16 code page, a single USB HID Keycode cannot represent input an Emoji character. If you insist input by a physical key button just like this project do, different operating System (OS) have their own method:
- Windows: Start from IBM PC BIOS in last centuries, It provides an "Alt code" input method. Hold down the Alt key then type the Keycode with NUMPAD and then release Alt key can input corresponding character. Current Windows still provide similar input method for inputing Unicode character. E.g. Alt+128515 input 😀 Emoji character Grinning Face.
- MacOS: Add keyboard input method Unicode Hex Input, select the input method then hold down Option key, type the surrogated hex value and then release the Option key. E.g. Option+d83d+de01
- Linux: Hold down the Ctrl and Shift keys, type u, release all button, type the Unicode hex value and then press the Enter key. E.g. Ctrl+Shift+u, 1f601, Enter
Ref.:
https://en.wikipedia.org/wiki/Unicode_input#Decimal_input_(Alt_codes)
https://en.wikipedia.org/wiki/Unicode_input#Hexadecimal_input
https://devblogs.microsoft.com/oldnewthing/20240702-00/?p=109951
https://www.alt-codes.net/smiley_alt_codes.php
Note:
Even the OS can input the Emoji Unicode characters, not all applications can handle and display the UTF-16 characters correctly. E.g. in Windows, built-in Notepad and Office various applications can display Emoji correctly, but most other applications not.
MacOS Unicode Hex Input

In MacOS, input Unicode characters by hex code requires the Unicode Hex Input input source:
- Open System Preference
- Select Keyboard
- Select Input Source
- Add Input Source
- Select other -> Unicode Hex Input
- If the Unicode hex code larger than 4 digits (FFFF) then it is requires convert to surrogate pair, e.g. 1F601 become D83D+DE01
- Before input, ensure selected correct input method
- Hold Option key, type d83d, optionally type + key, type de01
- 😁 Emoji character typed
Ref.:
https://www.webnots.com/how-to-use-unicode-hex-input-method-in-mac/
https://russellcottrell.com/greek/utilities/SurrogatePairCalculator.htm
Hardware Design
Raspberry Pi Pico dev board can program as a USB keyboard, so I selected Pico in this project.
I would like to display the Emoji on the buttons at a very low cost design, so I selected a Pico dev board with a tiny display in the middle and have many GPIO surrounded it. We can direct soldering SMT button on the GPIO, the button is a little bit higher than the display. Then we cover a PET file on the display and buttons. Then add some transparent embossed material on top of the display. When we push the embossed material, the PET film will trigger the button push near the embossed material.
My original idea is each 40x40 pixels display an Emoji, so a 80x160 display can show 8 Emoji at the same time. However, when I decide the GPIO to button mapping, I found many GPIO already occupied. LCD used up 5 GPIOs in the middle of one side, RUN(reset) pin in the middle of another side. So my final design only has 4 buttons.
Soldering Work
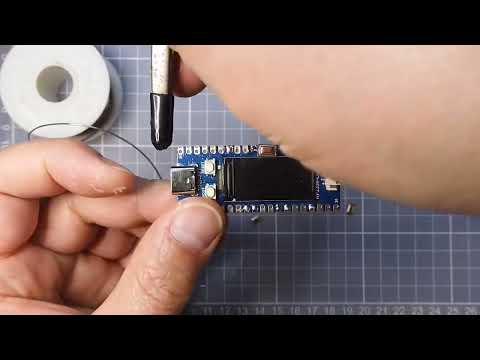
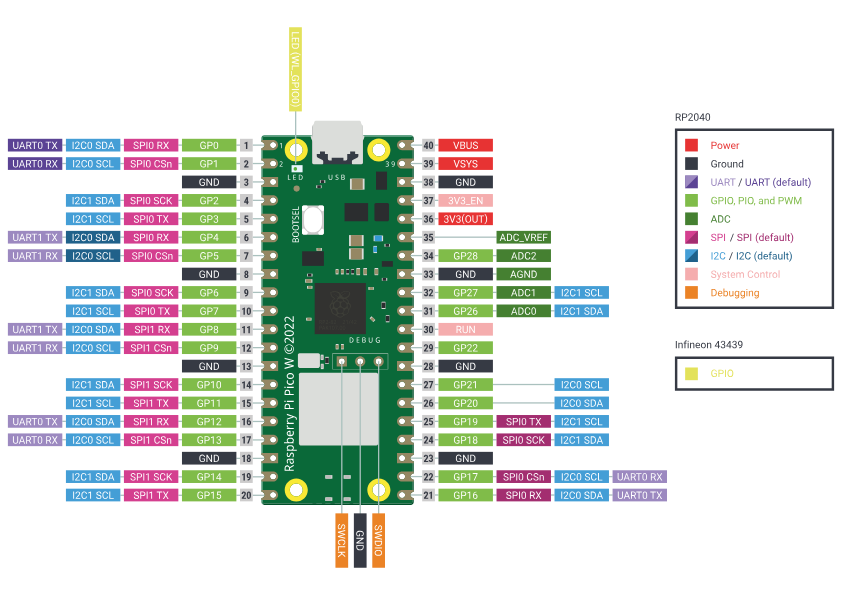
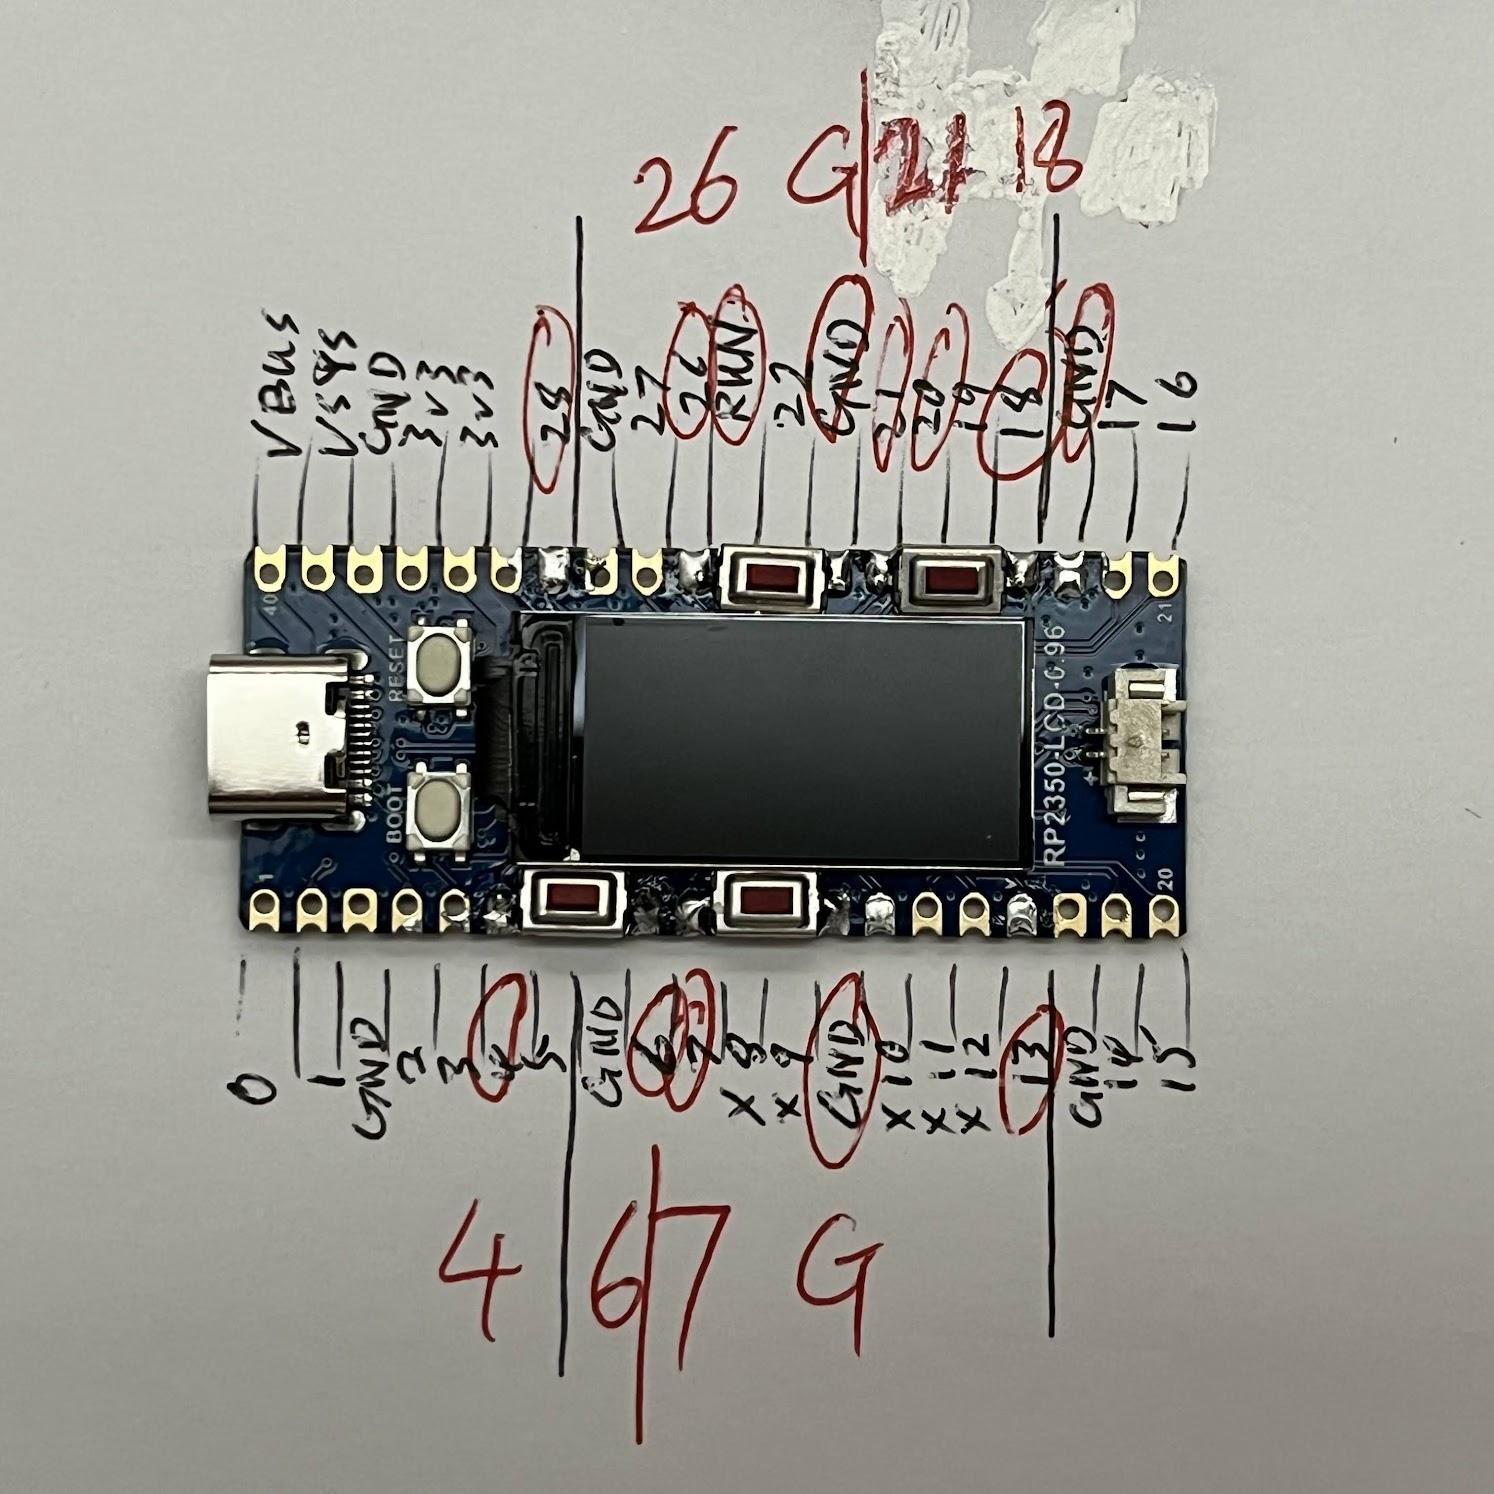
Please follow the video for the soldering work. The pins are fully compatible with Official Pi Pico so attached the pin map for your reference.
Here are the connection summary:
- Pin#31(GP26), Pin#28(GND) connect to button A
- Pin#27(GP21), Pin#24(GP18) connect to button B
- Pin#6(GP4), Pin#9(GP6) connect to button C
- Pin#10(GP7), Pin#13(GND) connect to button D
Software Preparation
Arduino IDE
Download and install Arduino IDE latest 2.x version if not yet:
https://www.arduino.cc/en/software
Arduino-Pico
Follow installation step to add Arduino-Pico support if not yet:
Arduino_GFX Library
Open Arduino IDE Library Manager by selecting "Tools" menu -> "Manager Libraries...". Search "GFX for various displays" and press "install" button.
You may refer my previous instructables for more information about Arduino_GFX.
PNGdec
Open Arduino IDE Library Manager by selecting "Tools" menu -> "Manager Libraries...". Search "PNGdec" and press "install" button.
arduino-littlefs-upload
Follow installation step to add arduino-littlefs-upload plugin if not yet:
https://github.com/earlephilhower/arduino-littlefs-upload?tab=readme-ov-file#installation
Note:
You may refer to Arduino Documentation for the details on how to import library to Arduino IDE.
Source Code
You can find and download my source code at Github:
https://github.com/moononournation/PicoEmojiKeyboard.git
In the file PicoEmojiKeyboard.ino:
Select and uncomment the define for your target OS using this Emoji keyboard.
Image for Button Display

I am using GIMP to create a 80x160 PNG image for the button display. You may modify the emoji.xcf for your own use.
Upload

Upload program
- Open PicoEmojiKeyboard.ino in Arduino IDE
- Tools menu -> Board -> Raspberry Pi Pico... -> Raspberry Pi Pico (or Raspberry Pi Pico 2 depends on which dev board you bought)
- Tools menu -> Flash Size -> 4MB (Sketch: 2MB, FS: 2MB) (or other option with FS allocated)
- Press Upload button to compile and upload the program
Upload Image
- Press Ctrl+Command+P (Ctrl+Shift+P for Windows/Linux) to open Command Palette in Arduino IDE
- Input "Upload LittleFS to Pico/ESP8266/ESP32" then enter
- Wait a while for LittleFS upload complete
3D Print
Please download and 3D print the case at thingiverse:
Assembly
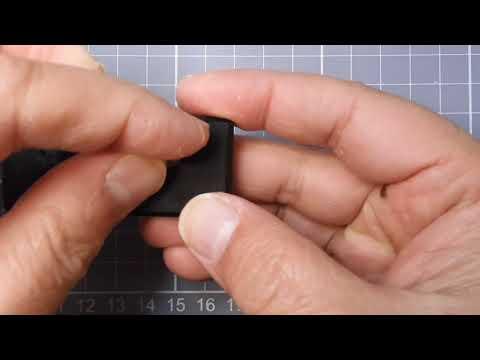
Please follow the video for the Assembly.
Enjoy!
You can type Emoji now!
The next step is customize any emoji you usually type. You may also utilize the Boot button for switching the Emoji set...