PiZero Colored Weather Station
by Zihatec in Circuits > Raspberry Pi
6923 Views, 13 Favorites, 0 Comments
PiZero Colored Weather Station
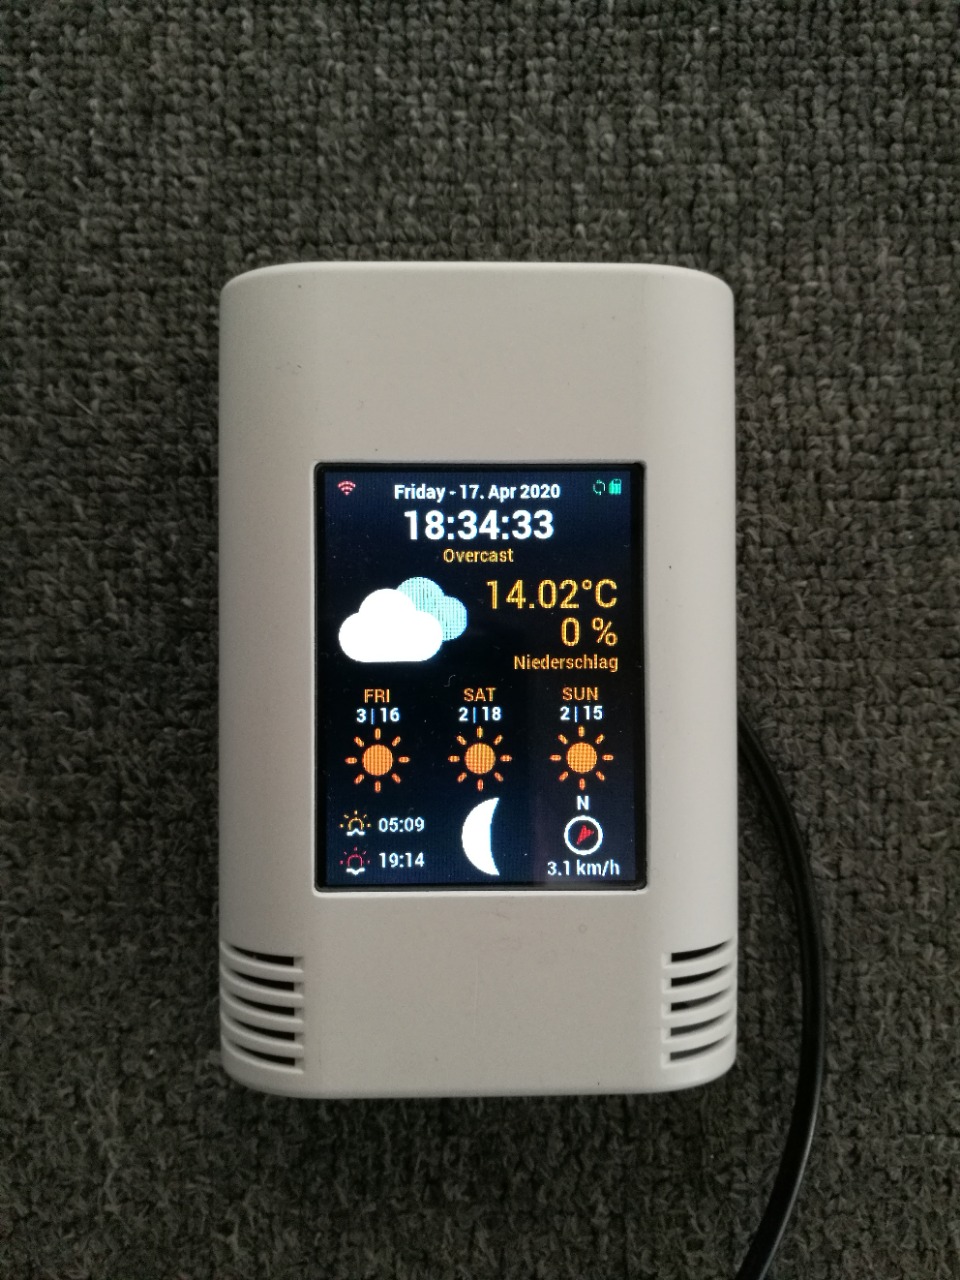
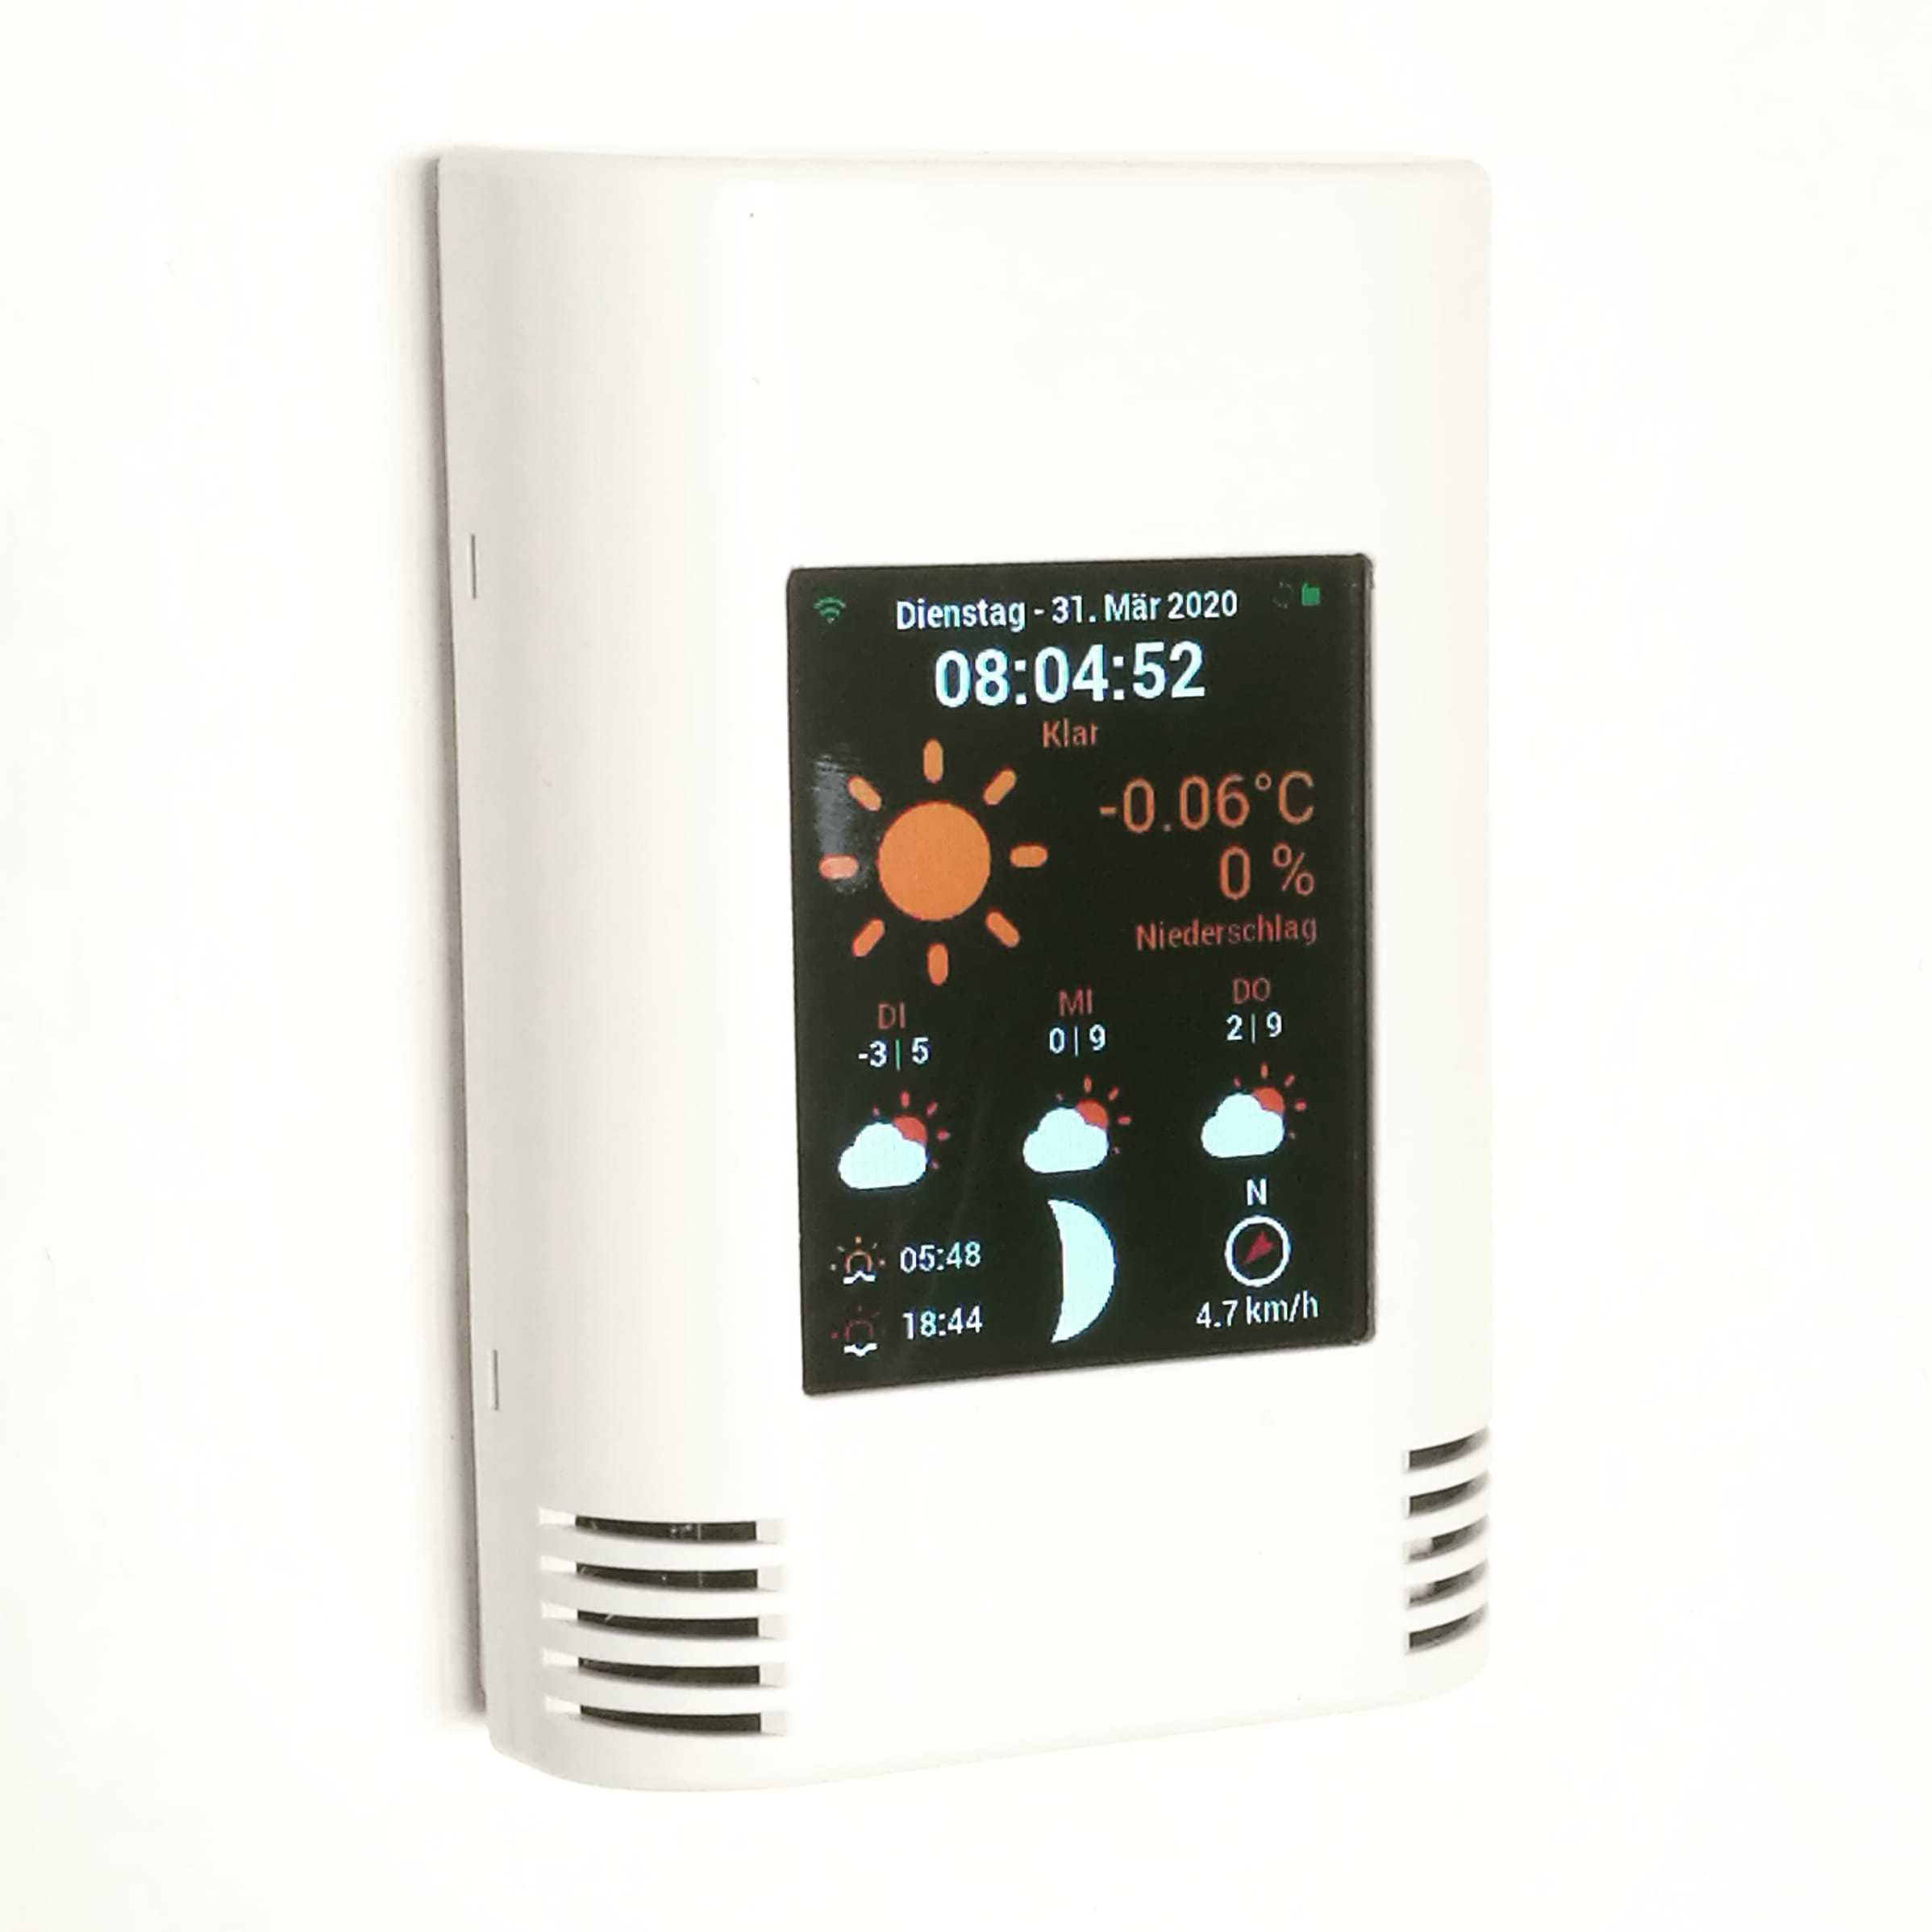
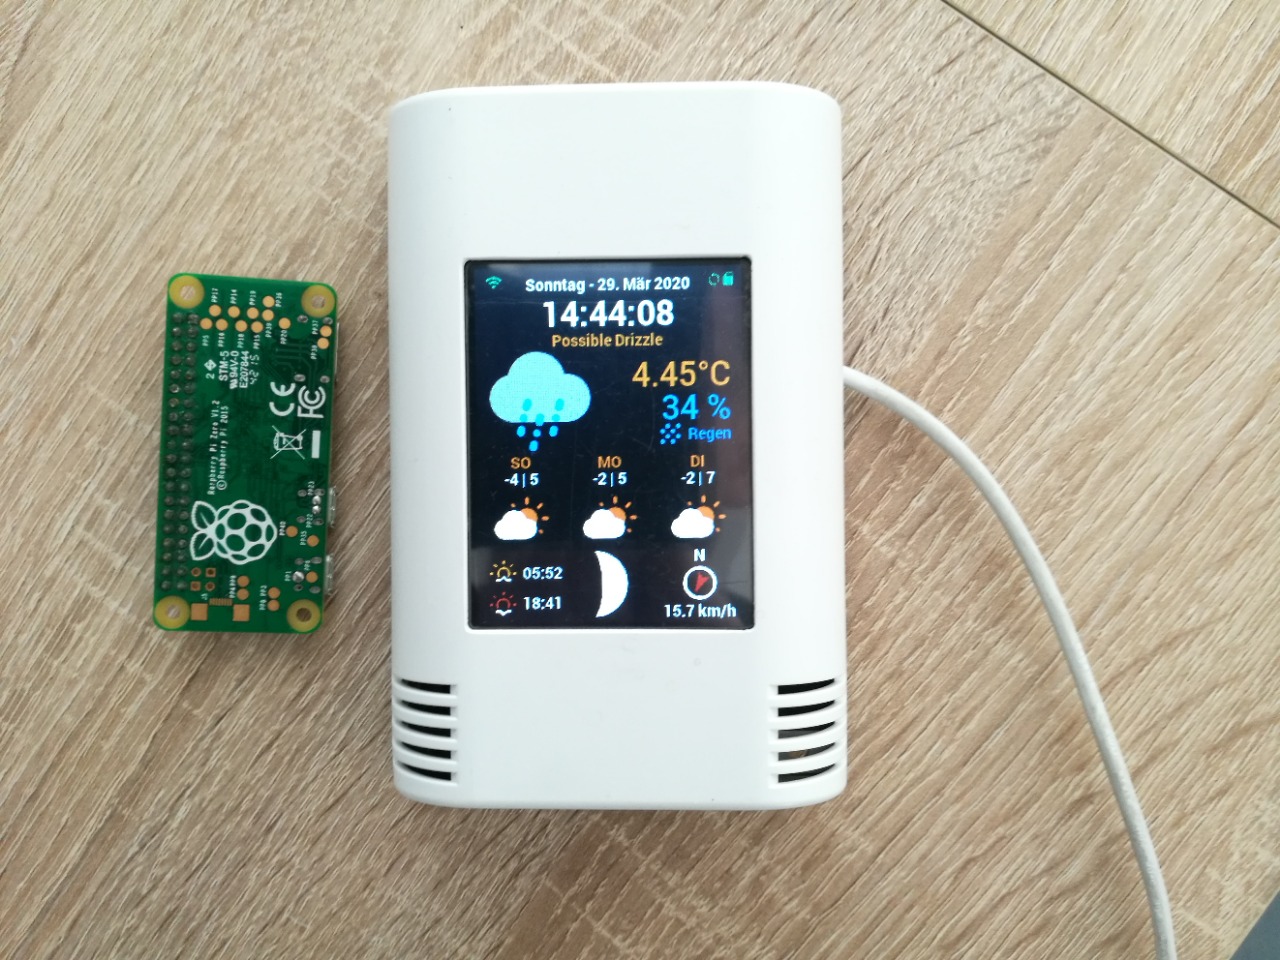
I want to show you in this project how to build a nice looking weather station based on Raspberry Pi Zero W for wall mount with weather forecast and coloured 2.8 inch TFT screen.
Tools & Materials
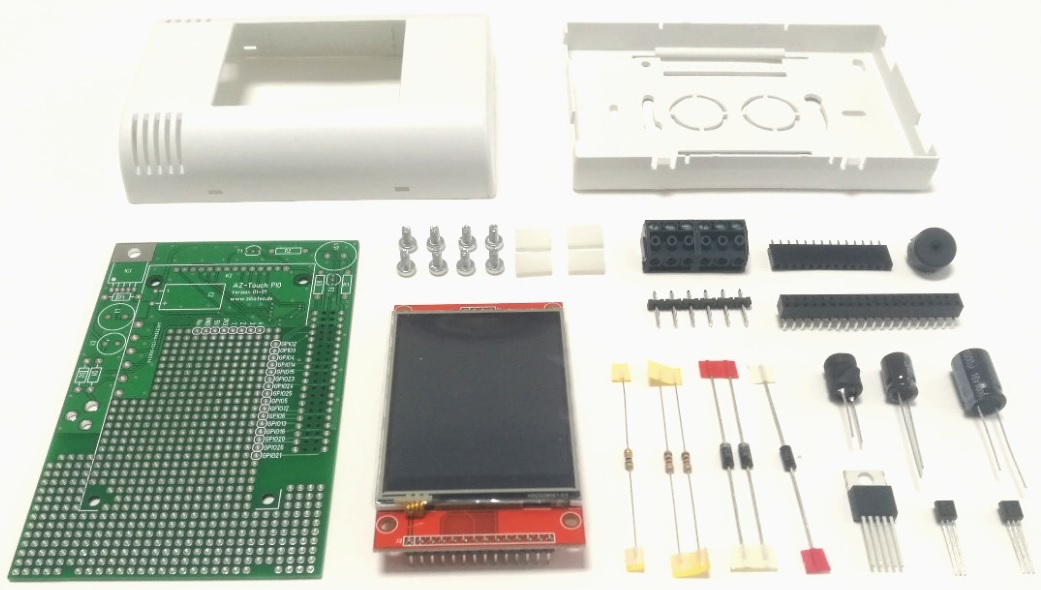
Materials:
- Raspberry Pi Zero W
- AZ-Touch Pi kit
- SD card (8GB or bigger)
Tools:
- Soldering iron
- solder wire
- long nose plier
- mini side cutter
- multimeter
Assembly
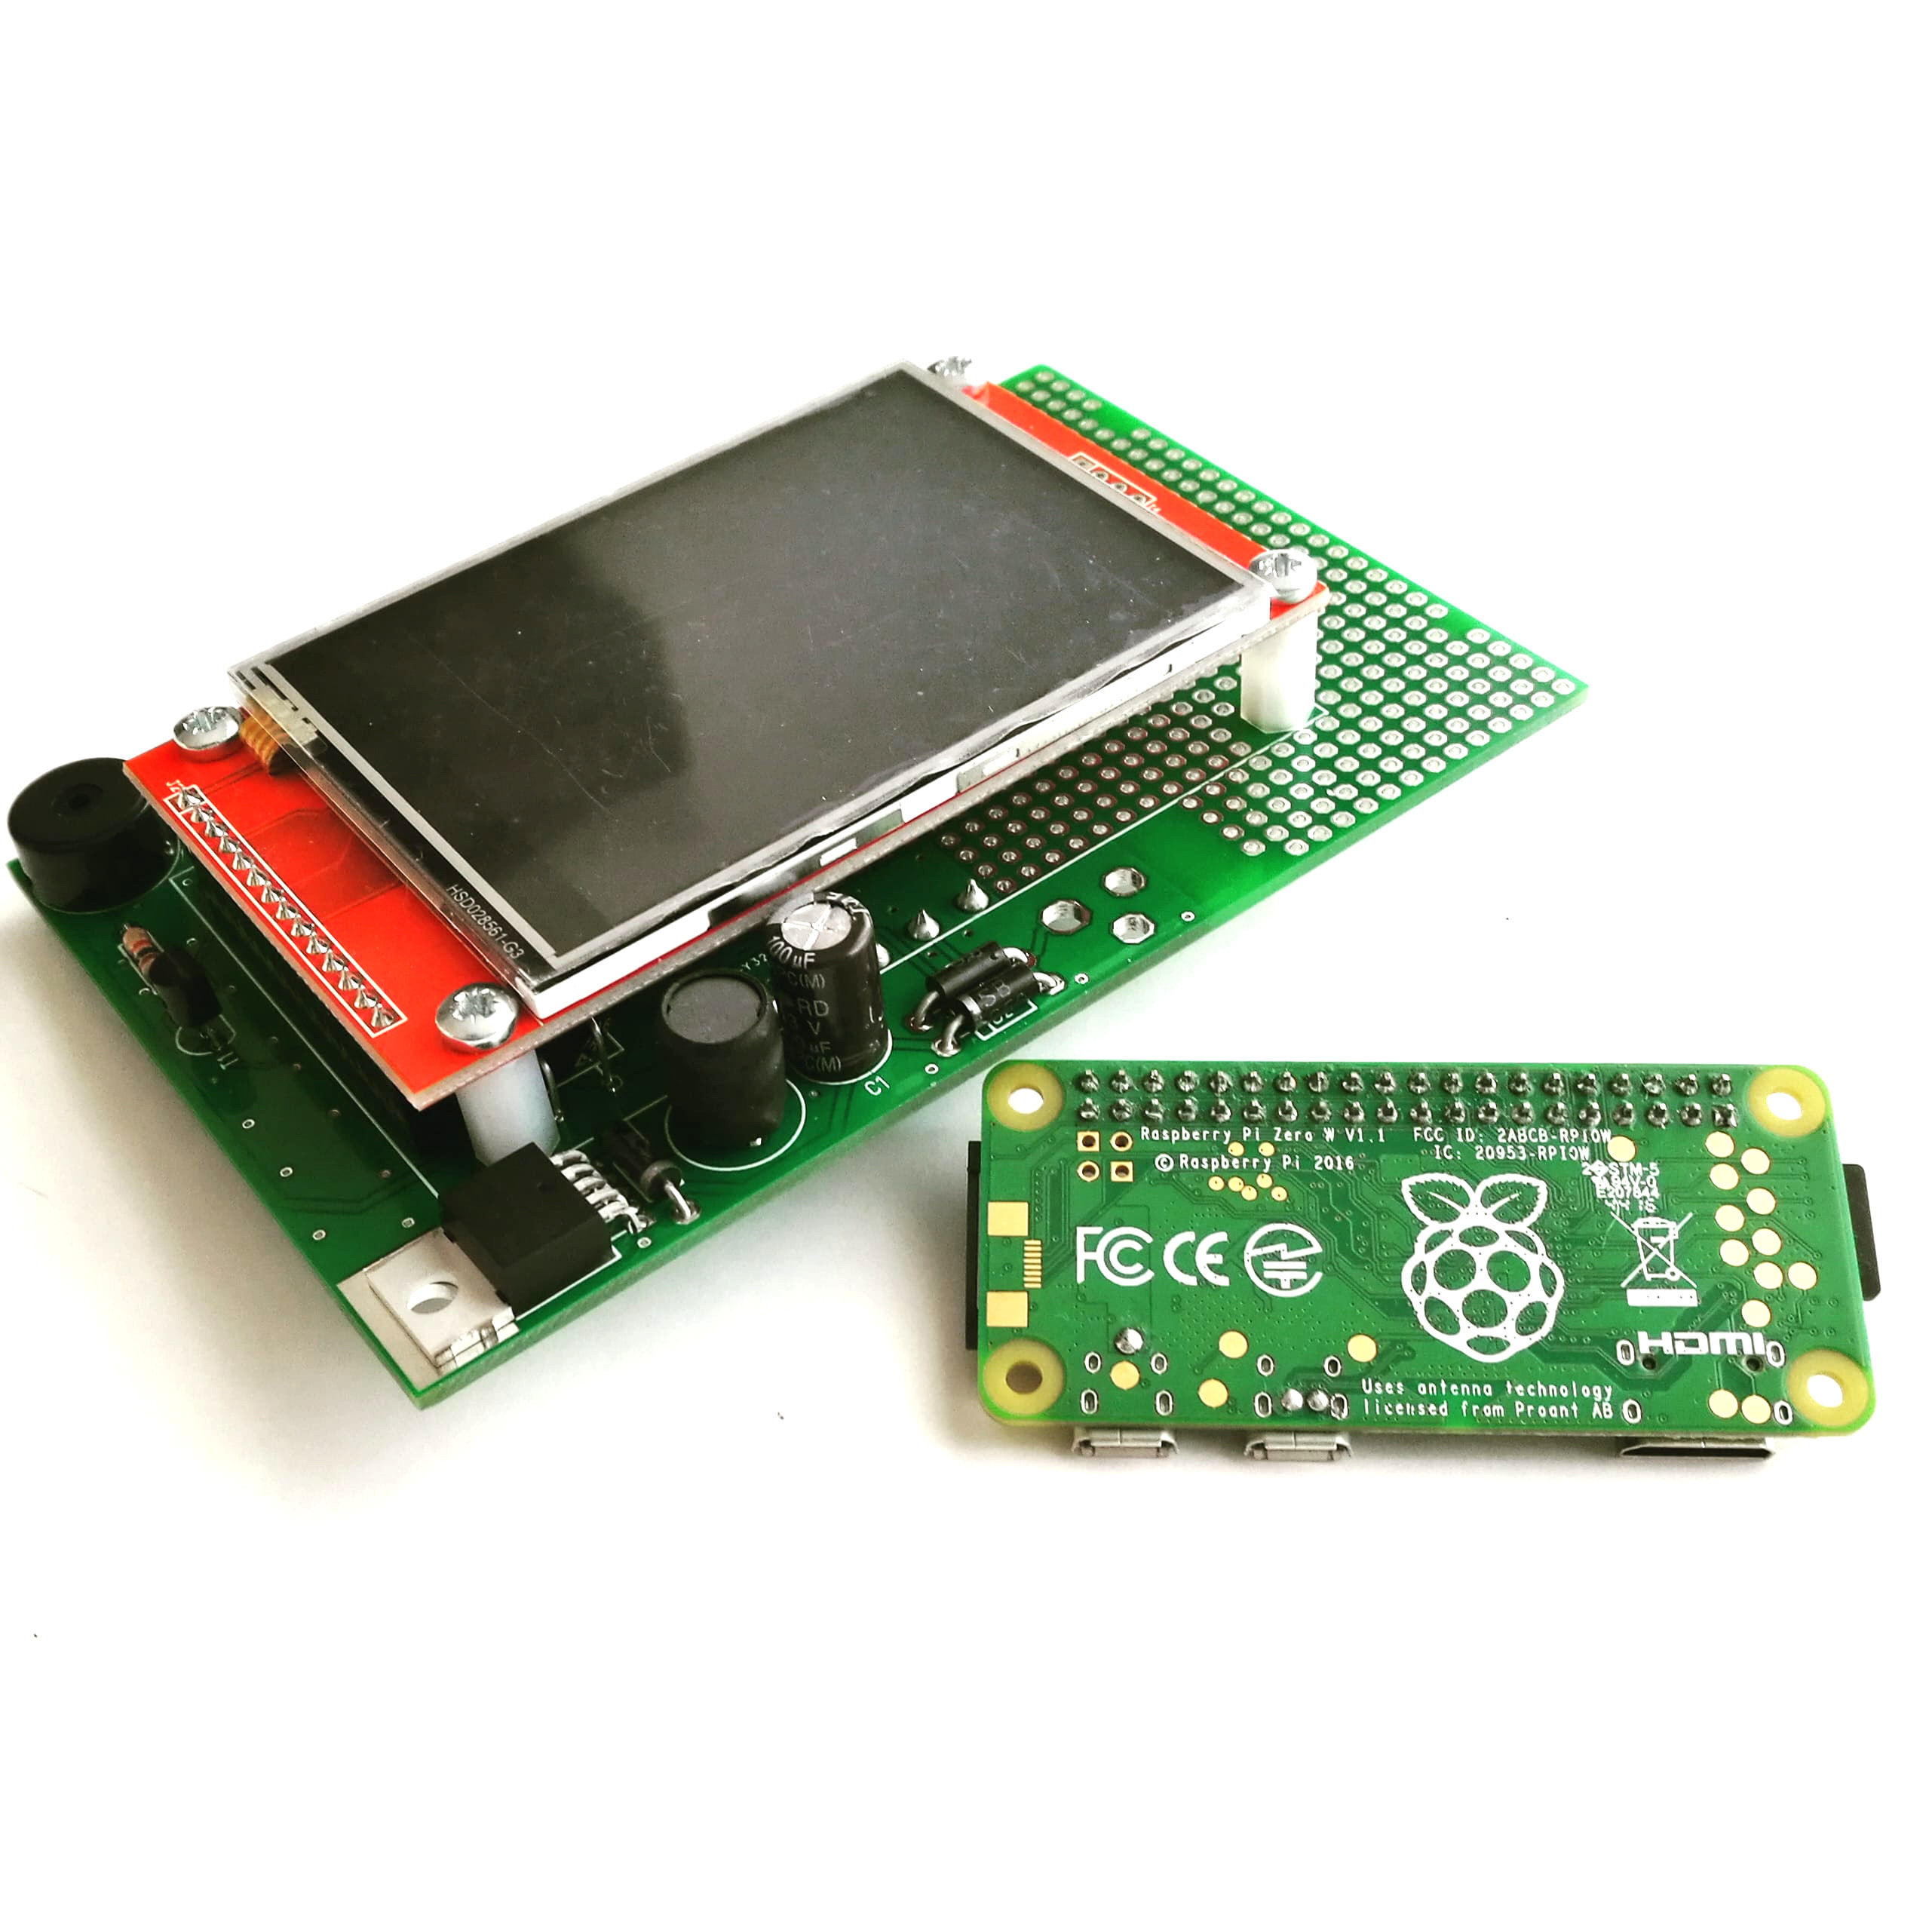
This project based on our AZ-Touch Pi0 kit for Pizero. Please follow the attached assembly instruction.
Software
The software based on the great work of LoveBootCaptain.To make it compatible to AZ-Touch it was needed to recompile the rpi--display-overlay driver. You will find a copy of the changed driver and prepared Raspbian image here
Installation
Download the image and copy it with Win32DiskImager to an SD card. You can follow this tutorial to setting the Wifi headless.
Weatherbit.io Account
Go to weatherbit.io and register for a free account to get an API key
Edit the Config File
Now establish a SSH connection (via Putty) to the PiZero!
cd
cd WeatherPi_TFT
sudo nano config.json
- replace xxxxxxxxxxxxxxxxxxxxxxxxx in "WEATHERBIT_IO_KEY": "xxxxxxxxxxxxxxxxxxxxxxxxx" with your own API key
- replace de in "WEATHERBIT_COUNTRY": "de" with your country code
- replace en in "WEATHERBIT_LANGUAGE": "en" with your preferred language
- replace 10178 in "WEATHERBIT_POSTALCODE": "10178" with the postal (zip) code of your city (default loaction is Berlin)
- for language-support, please refer to -> Weather.io API Docs
Reboot your Pizero. The weather station will start automaticaly after reboot.