PiHole Ad Blocker With 3.5" Display
by Puffball101961 in Circuits > Raspberry Pi
46326 Views, 403 Favorites, 0 Comments
PiHole Ad Blocker With 3.5" Display
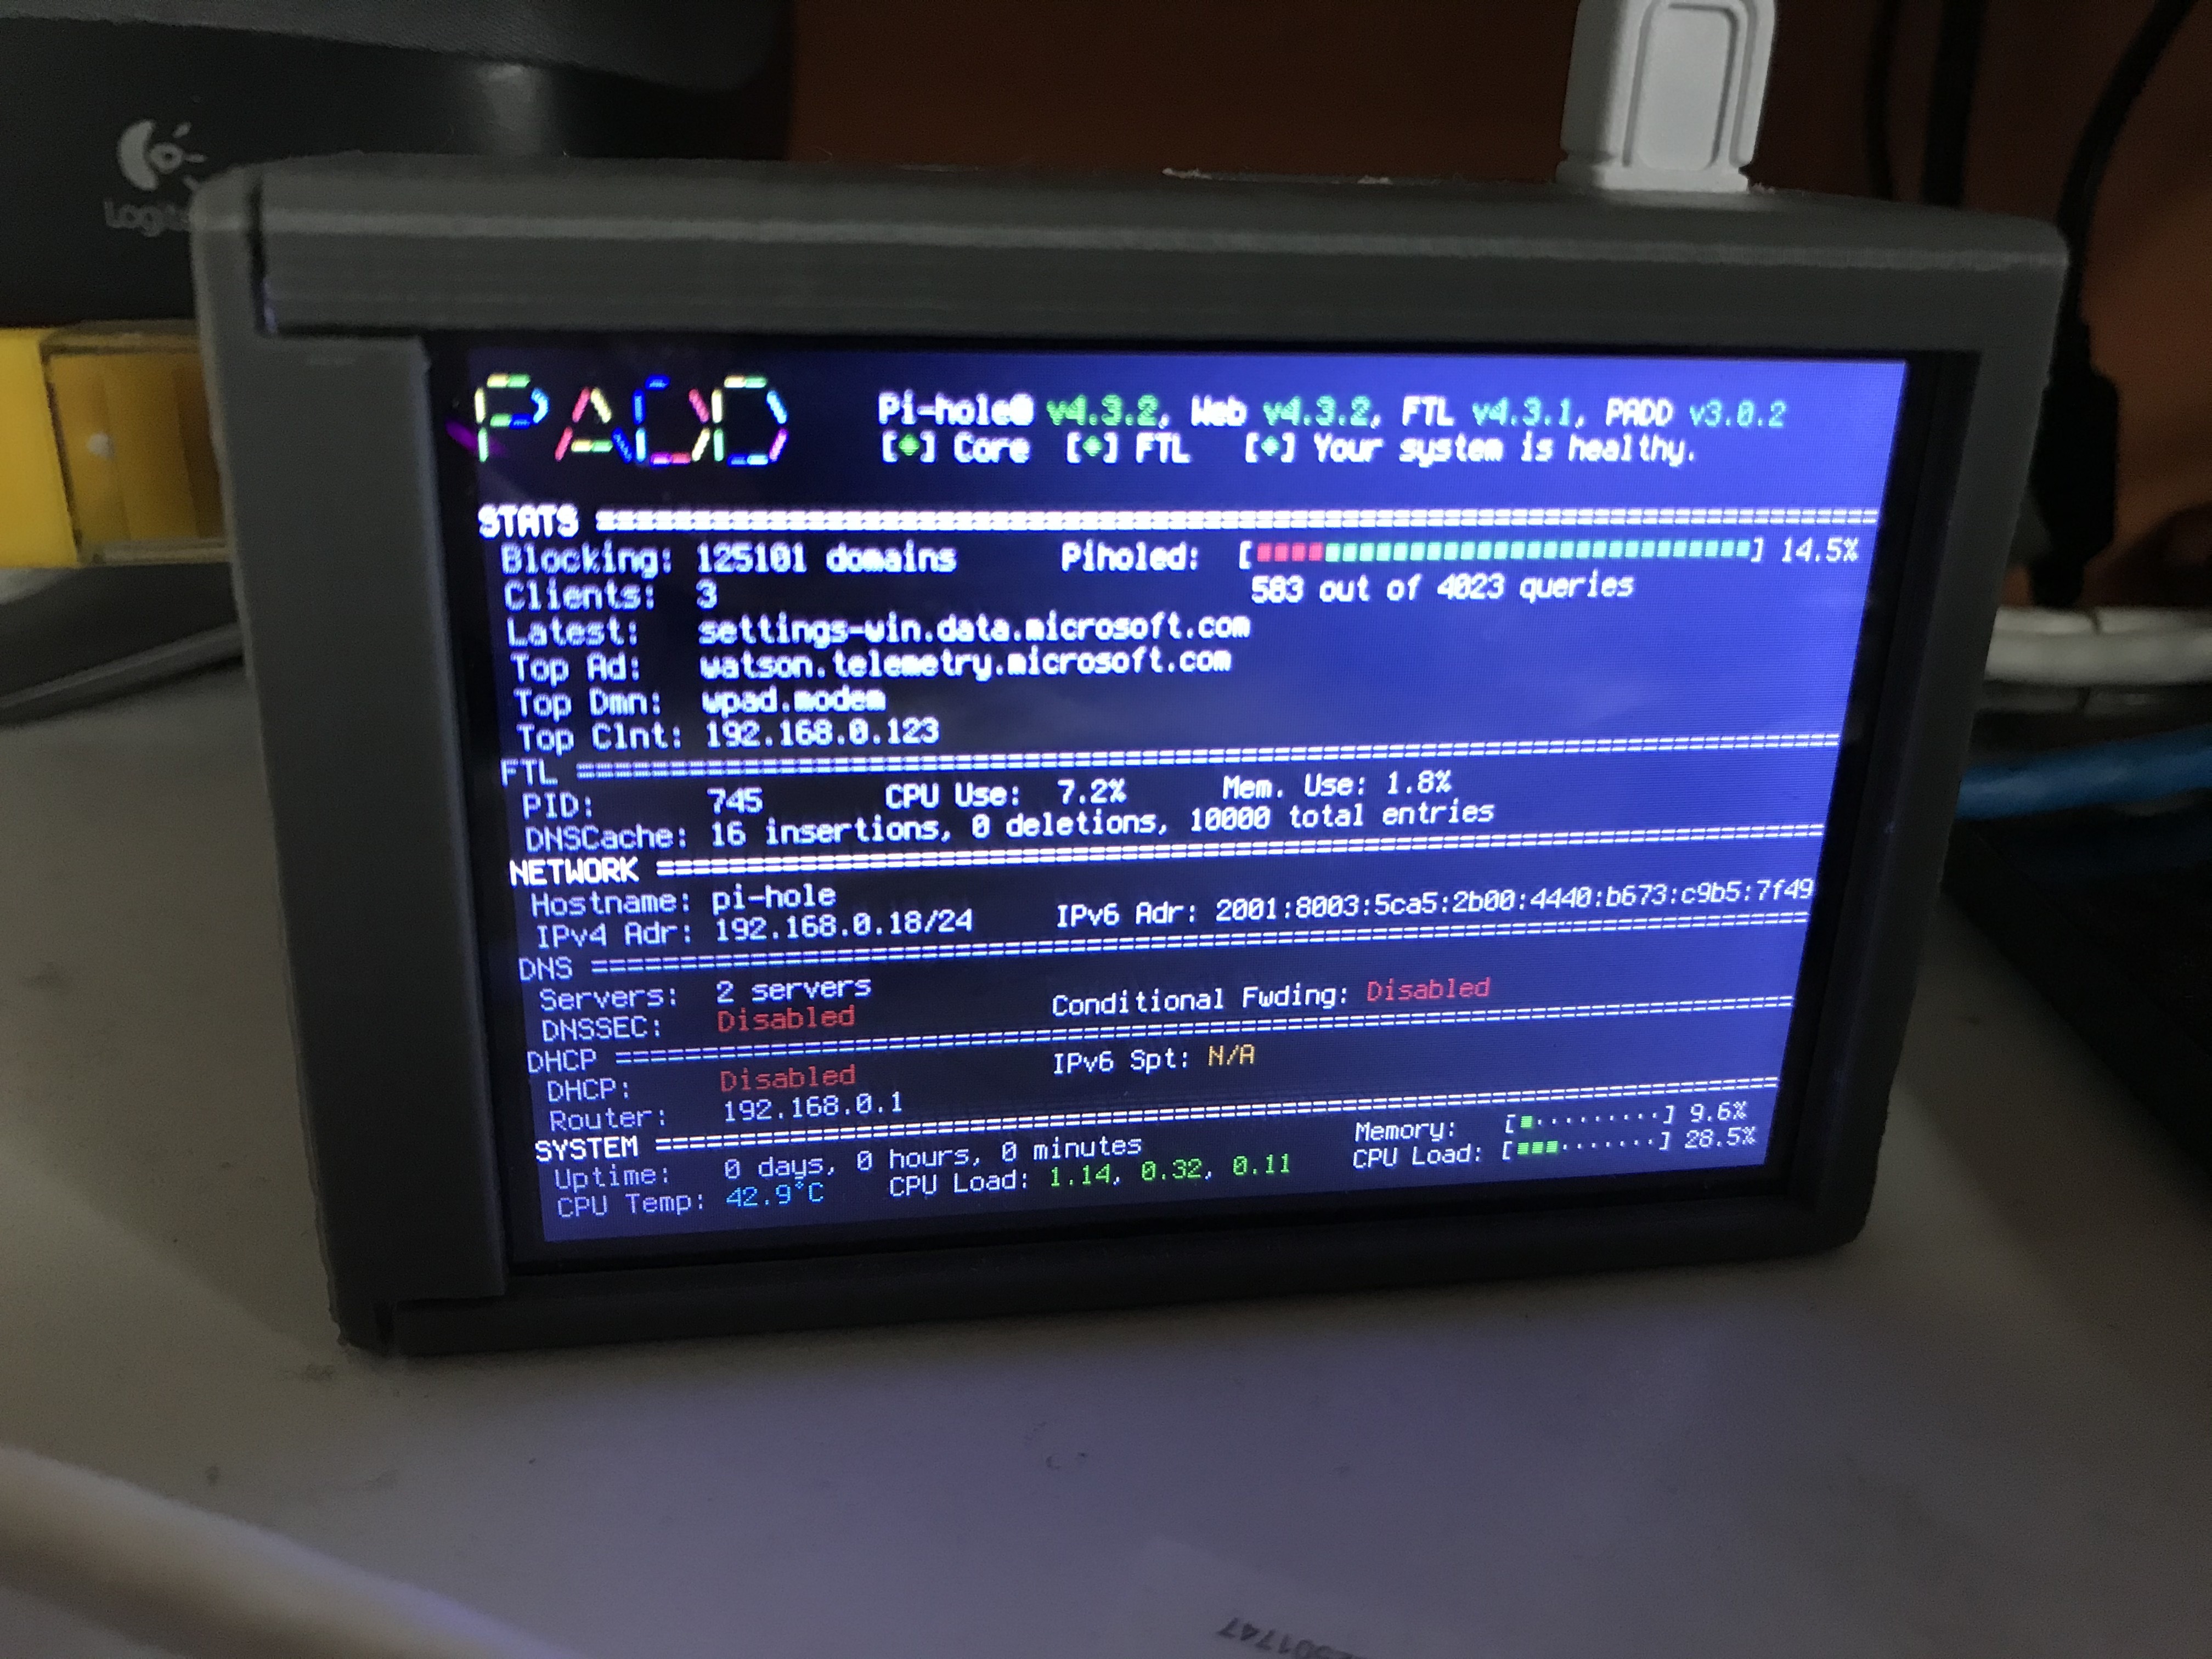
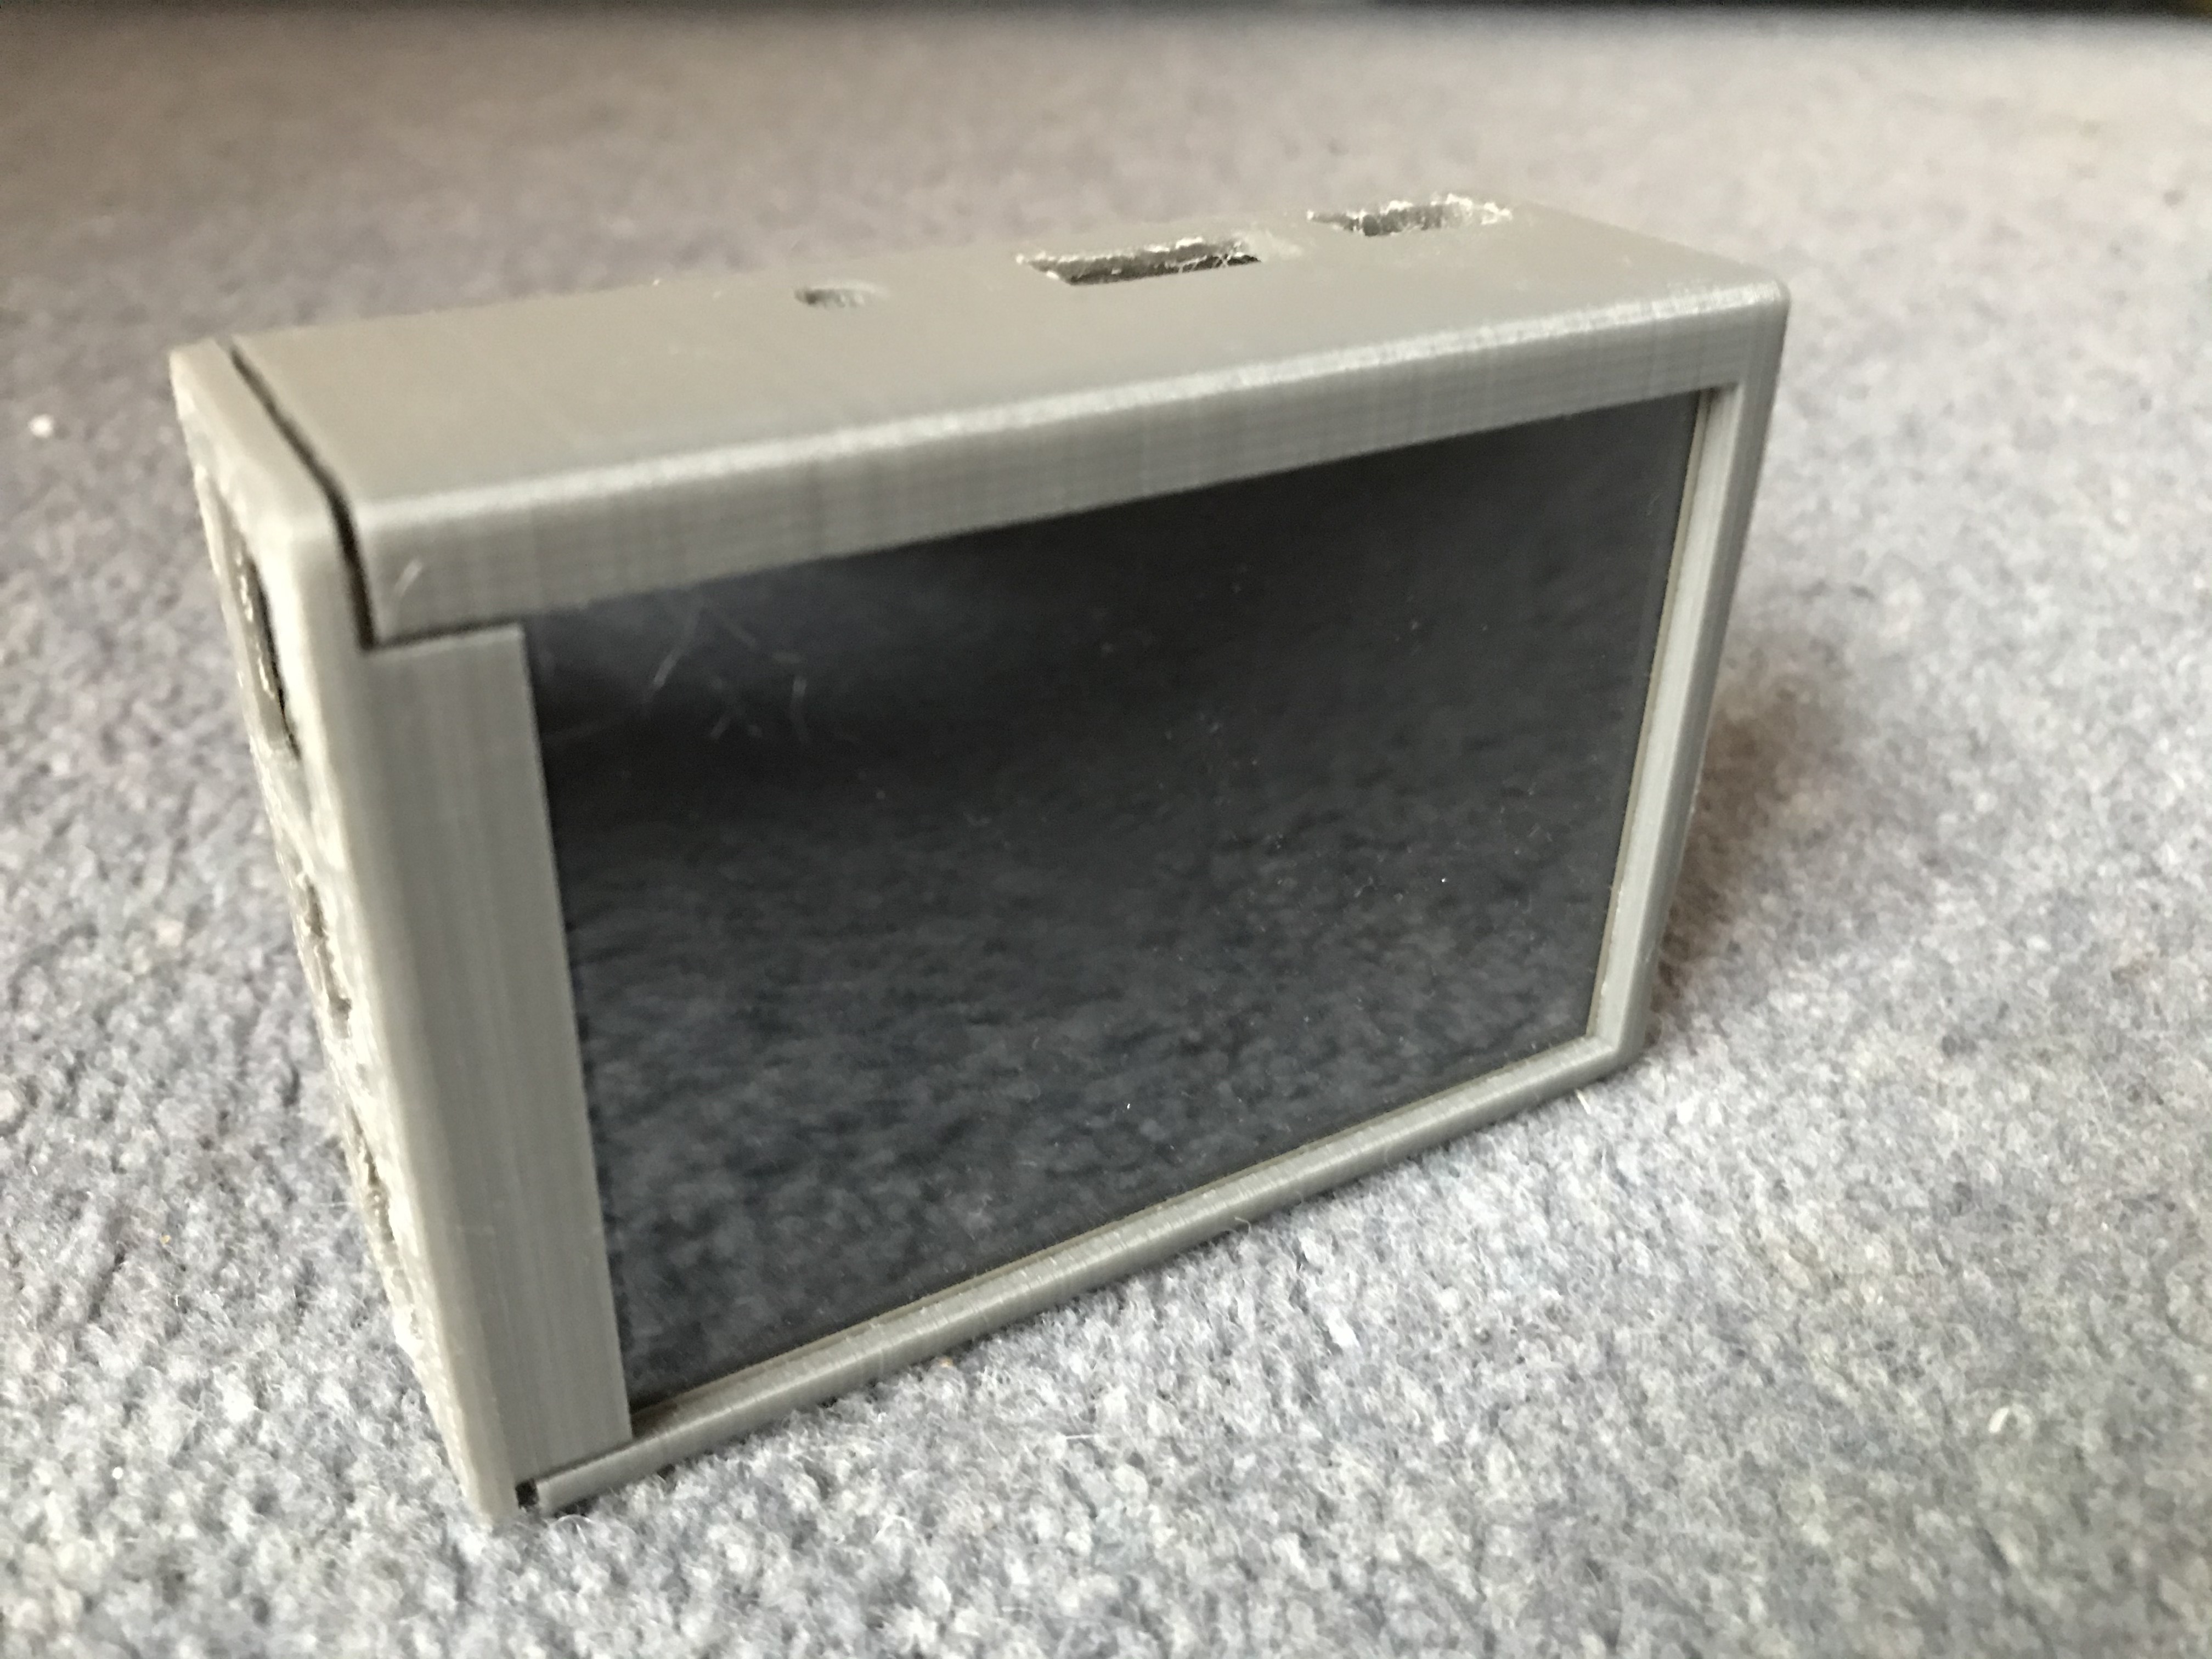
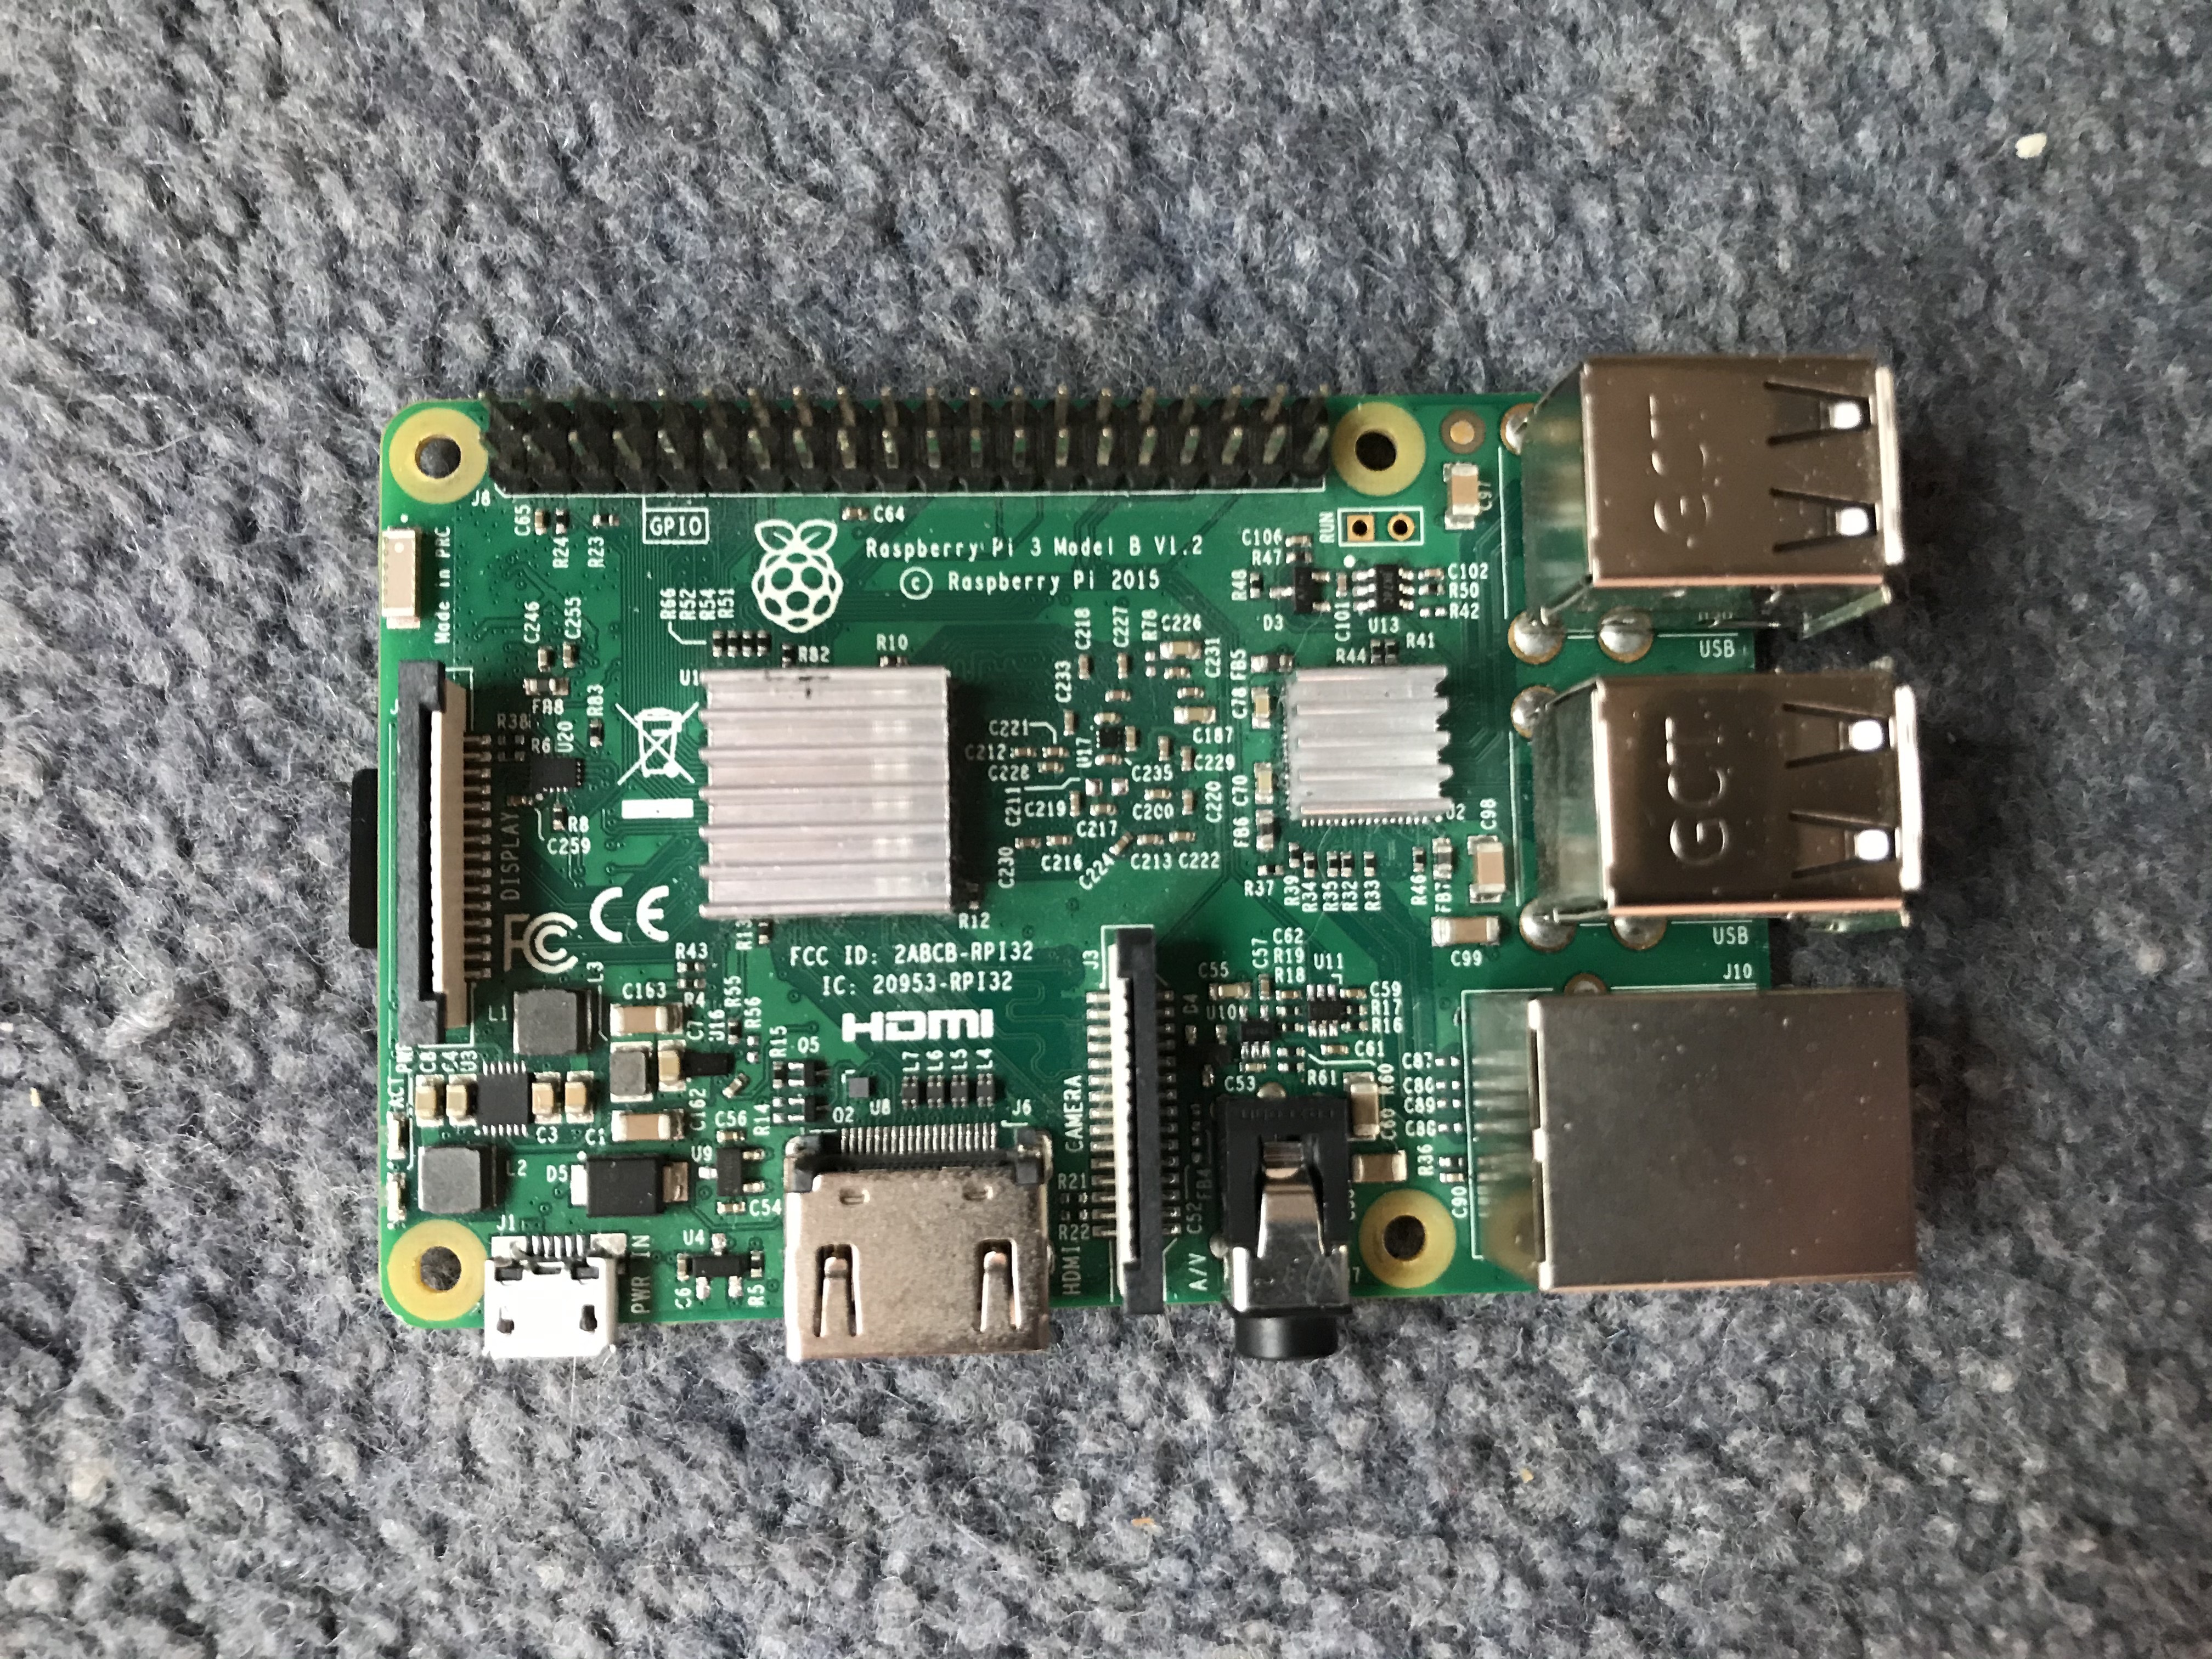
Welcome to my tutorial on how to create a really awesome ad blocker for your whole network! The Raspberry Pi runs software known as Pi-Hole and PADD to block ads and display statistical data such as the Pi-Hole's IP Address and the amount of ads blocked.
Supplies
You Will Need:
- Raspberry Pi 3/4, Either will do, and it can be the + variant if you choose.
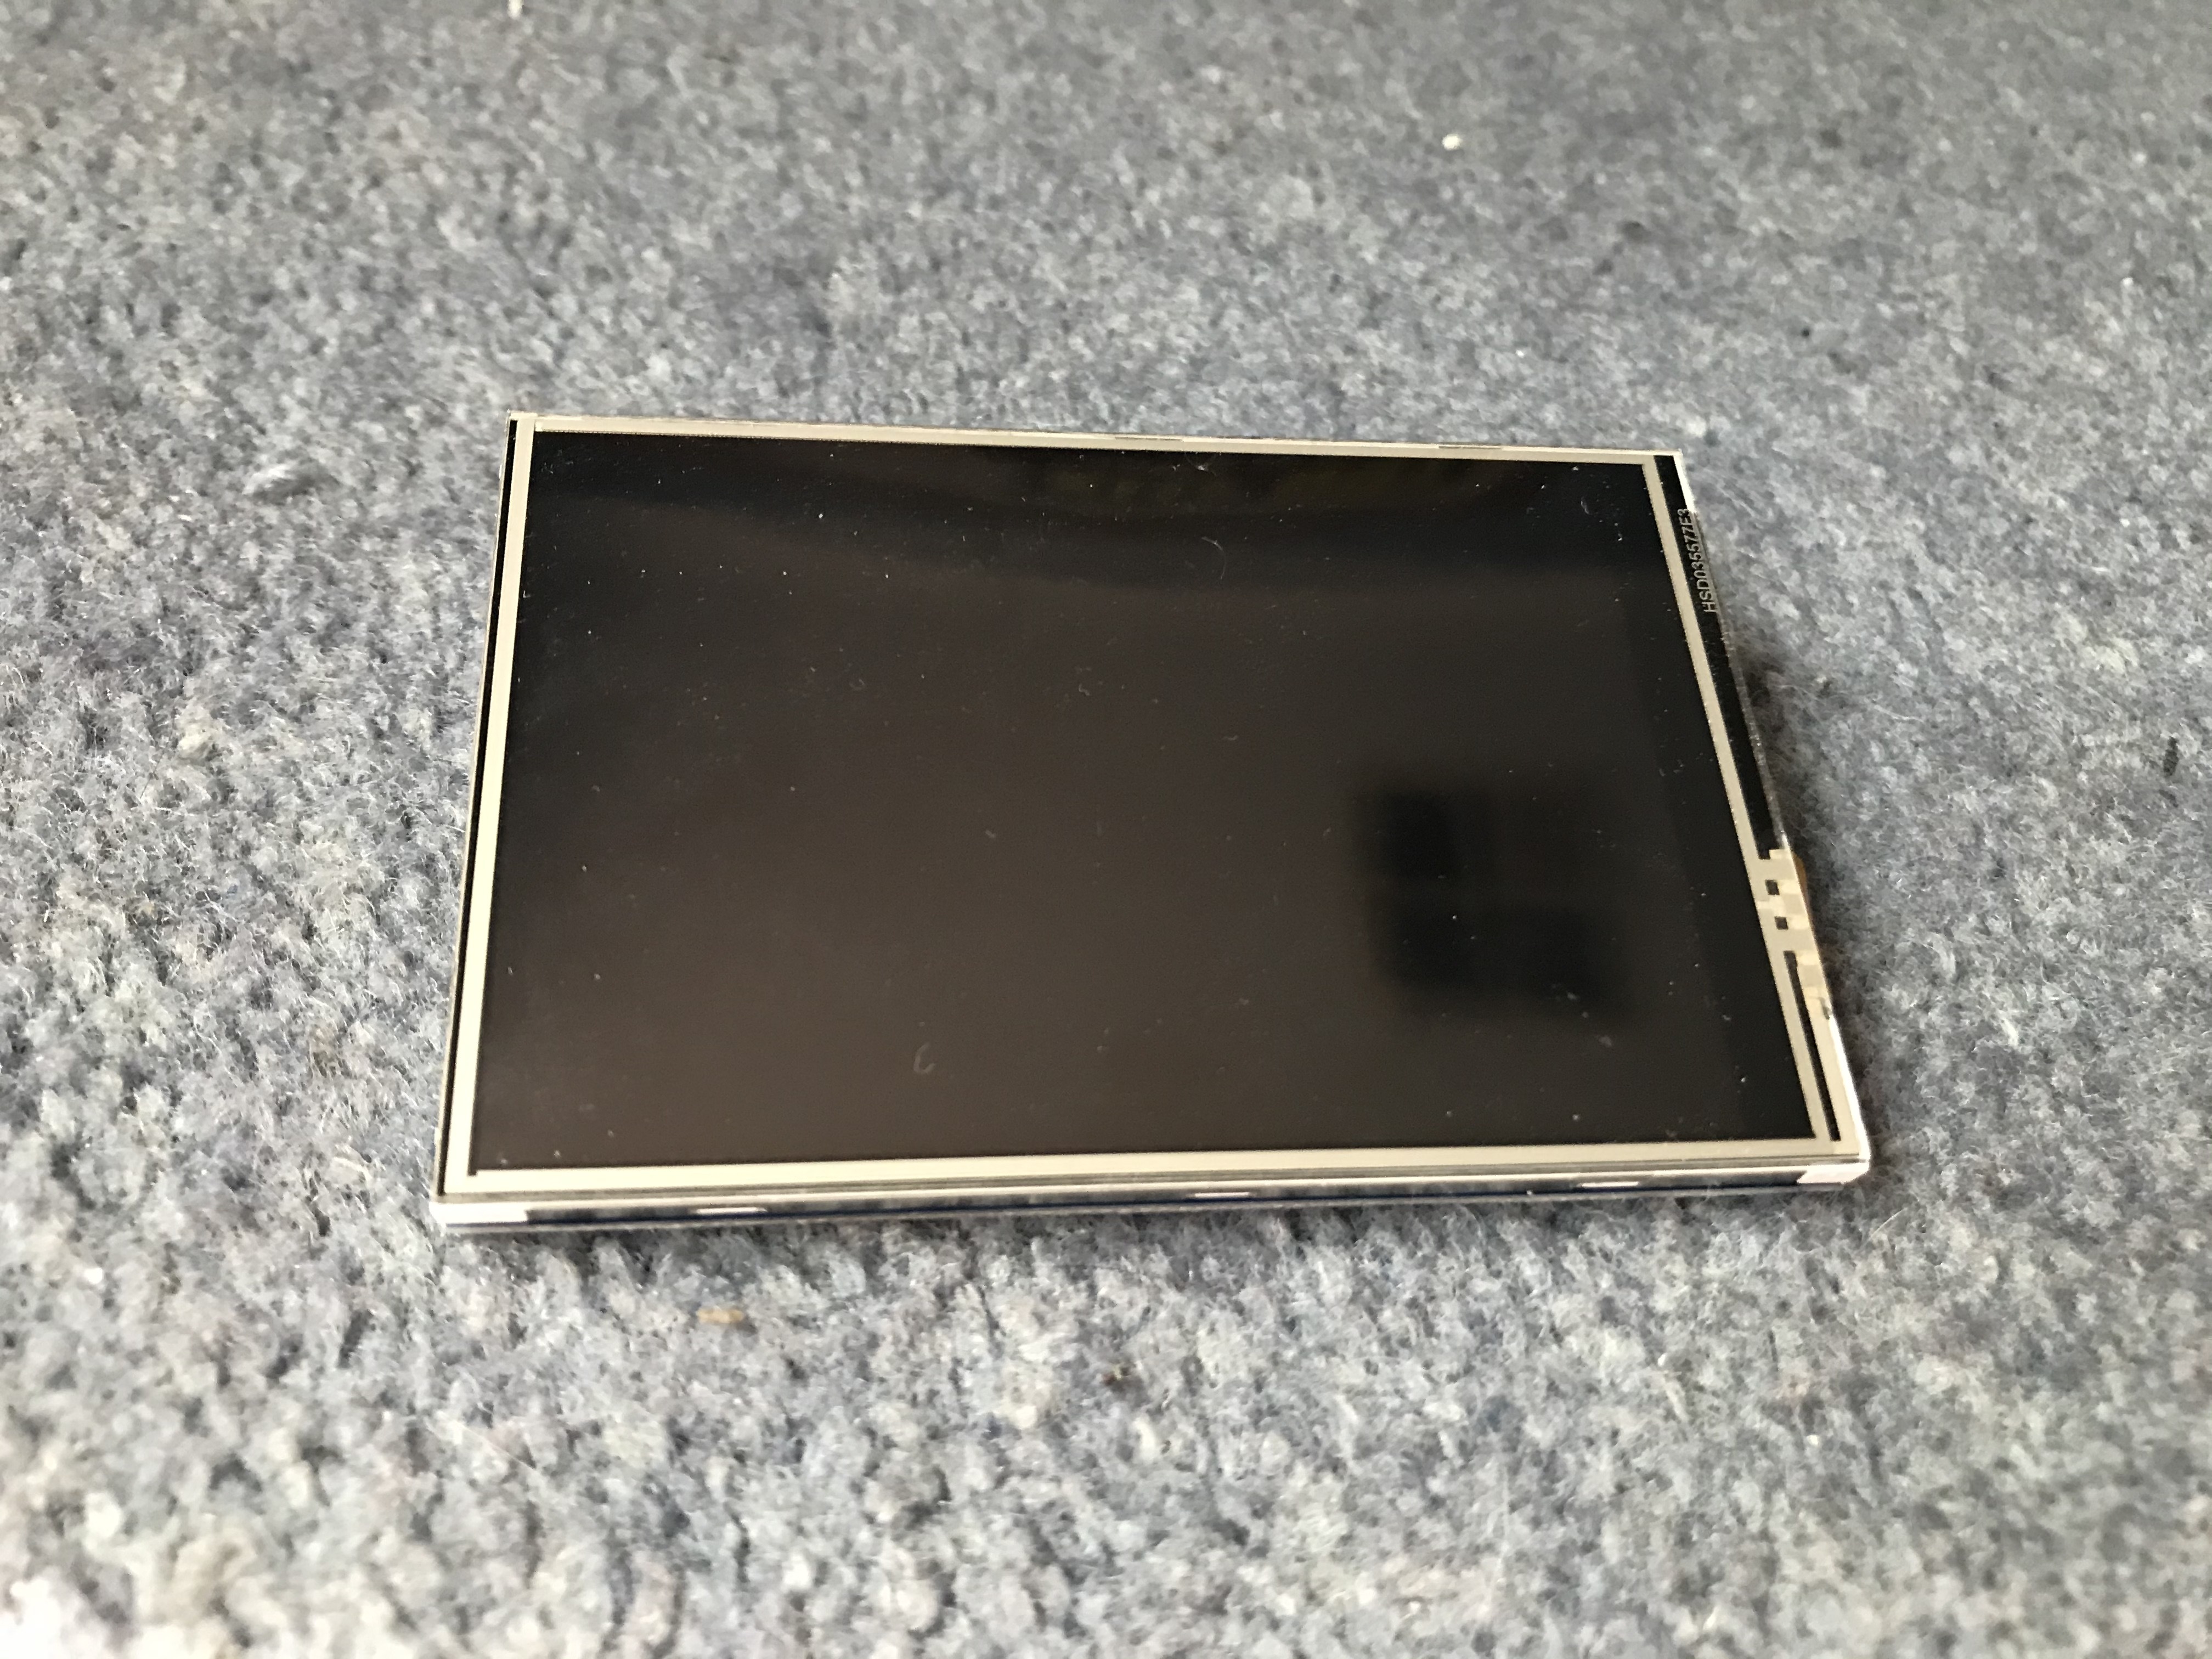
- 3.5" Raspberry Pi Display, I found a cheap one on EBay for around $20 AUD.
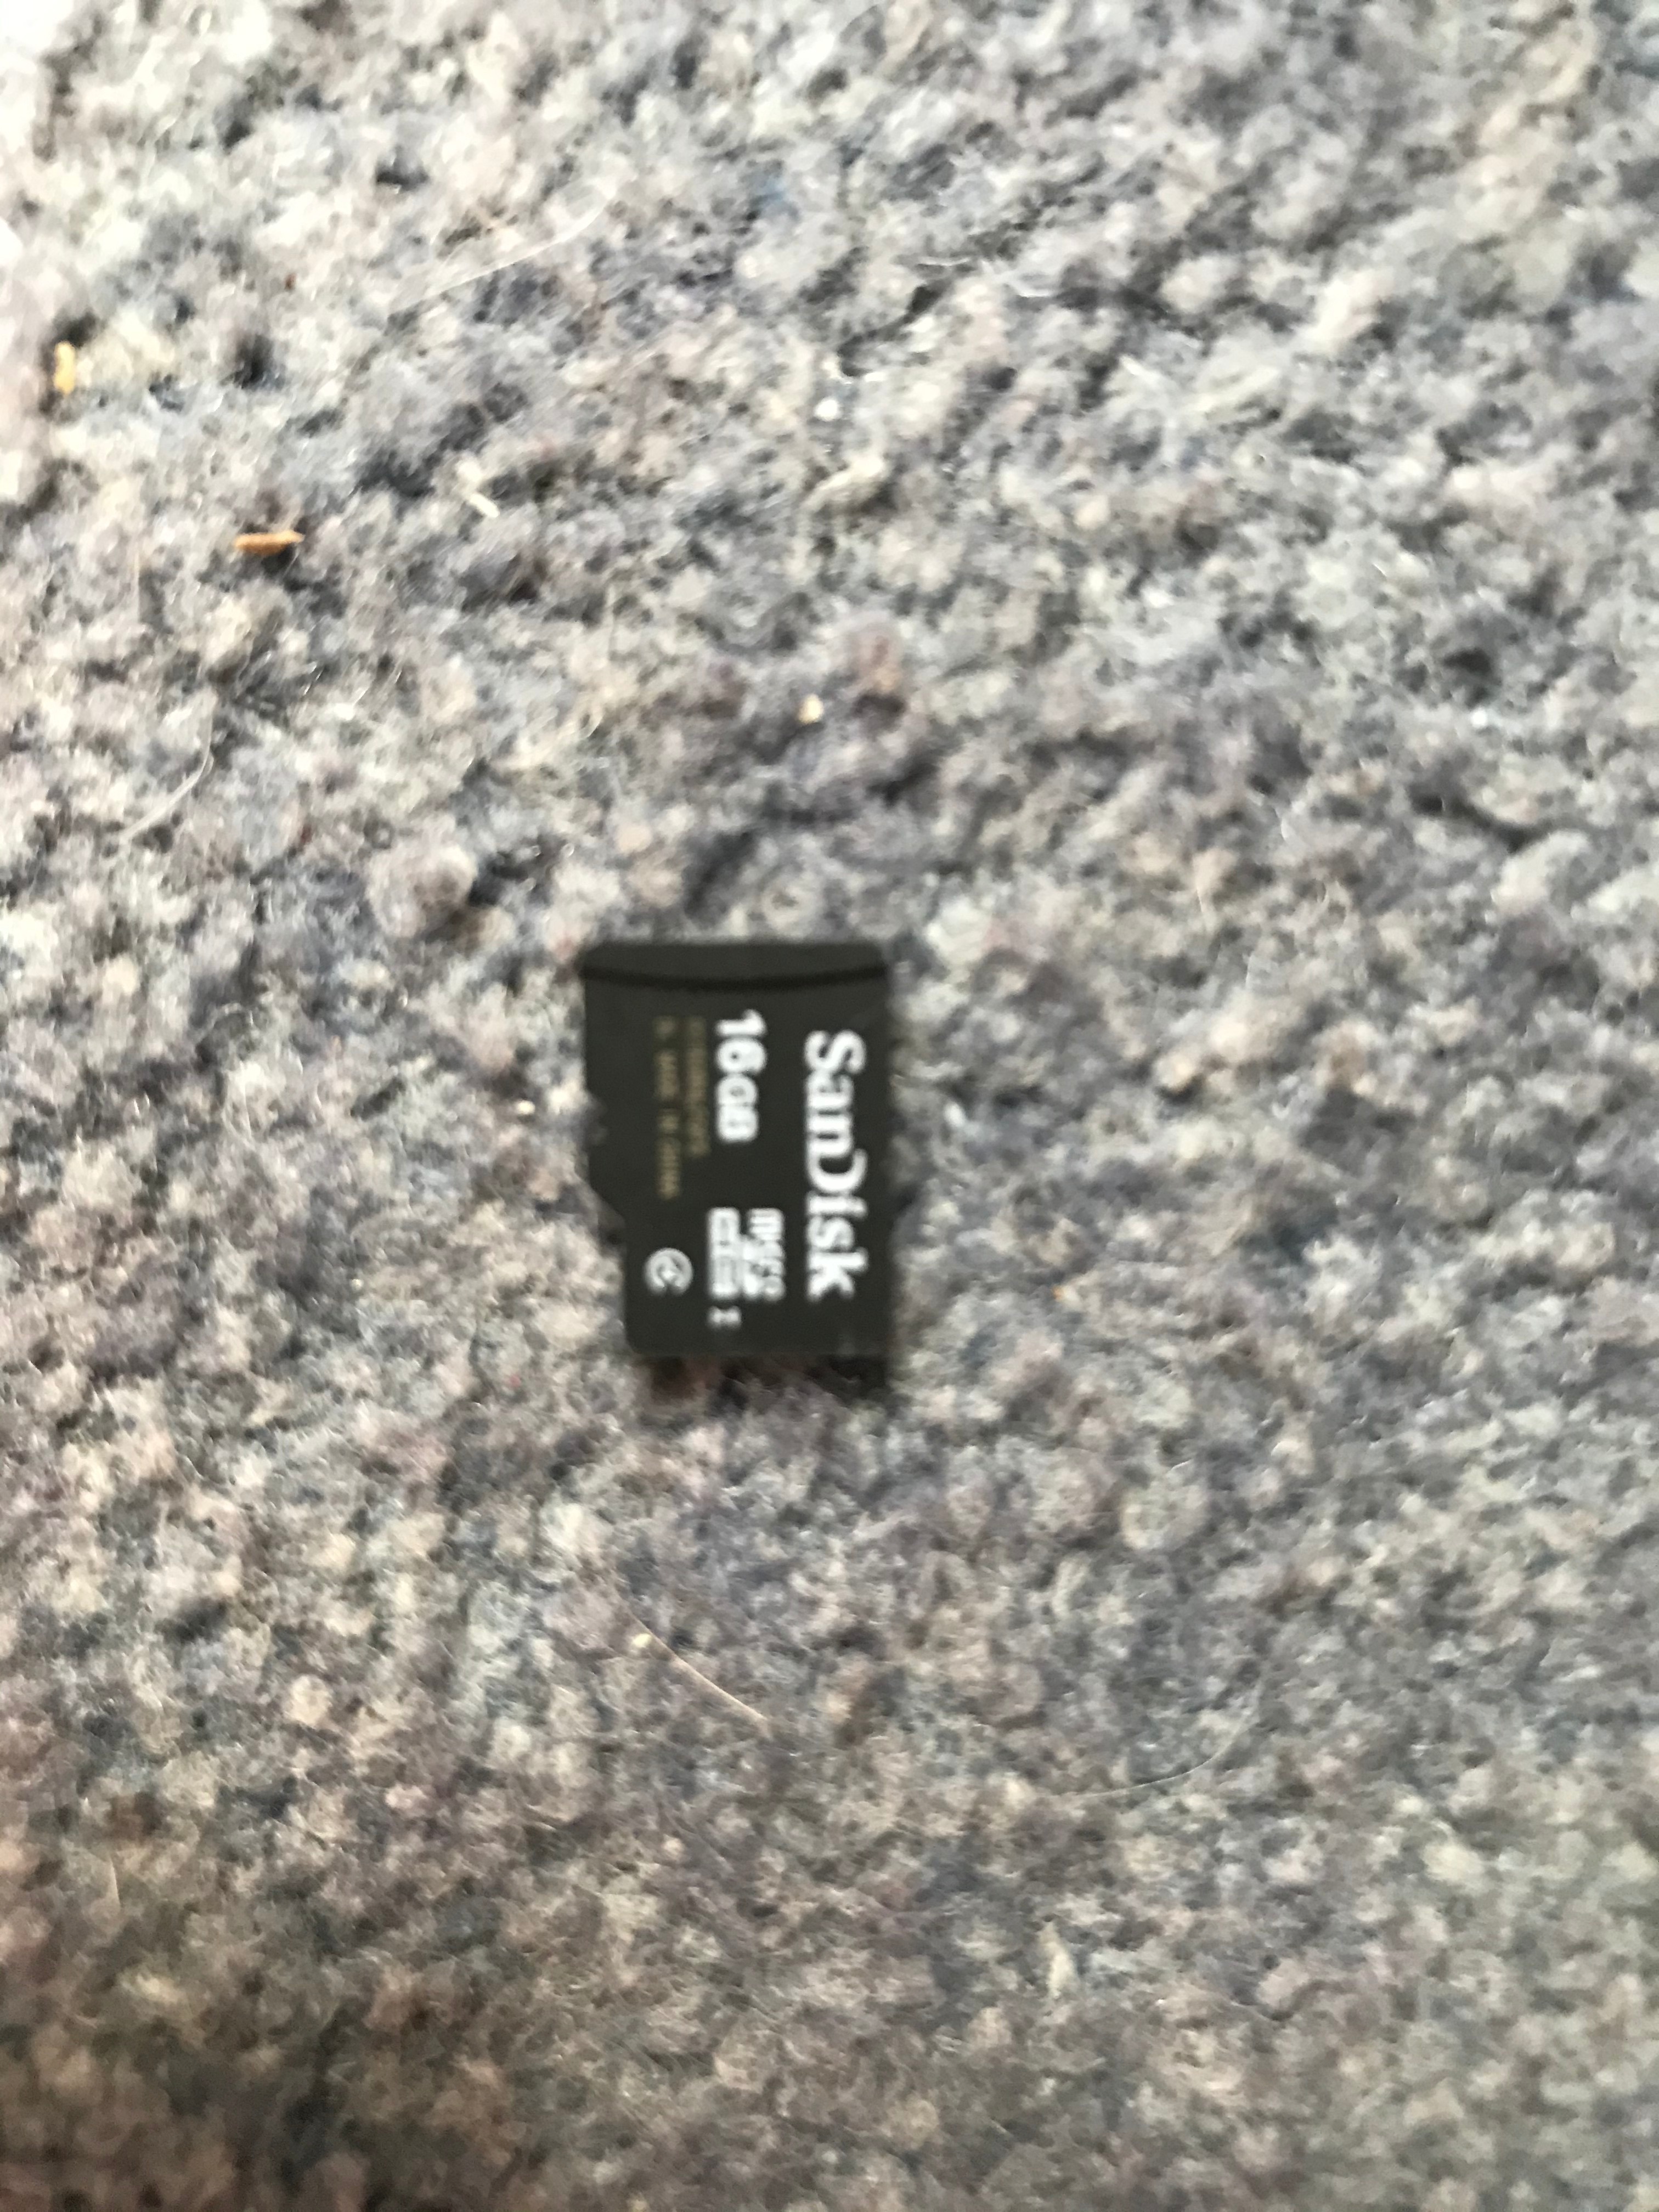
- A Reliable 8gb Micro-SD Card, I Used a 16gb SanDisk card because it was what I had around and I have had good luck with it in the past.
- A 3D Printer or Access To A 3D Printing Service, Technically this is optional if you don't want a case, but it is highly recommended.
- Ethernet Cable, Used to provide faster internet to the Pi
- Router, To Connect Your Pi To
- Raspberry Pi Power Supply, I Recommend the official Raspberry Pi power supply, but any USB power supply that can supply 5V at at least 2.5 Amps should be fine.
- A Windows PC, The software used in this instructable may have equivalents for Mac and Linux, but i'll be covering the Windows side.
- A Micro-SD to USB Adapter, Used to connect the SD card to your computer. Optional if your computer already has a slot.
Preparing the SD Card for the Pi
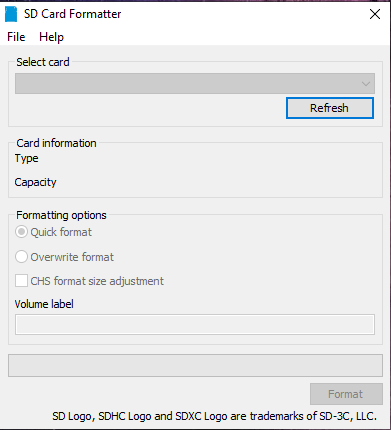
This is pretty simple, but before we flash the SD here is the software you will need :
- SD Card Formatter, It can be downloaded from sdcard.org's website.
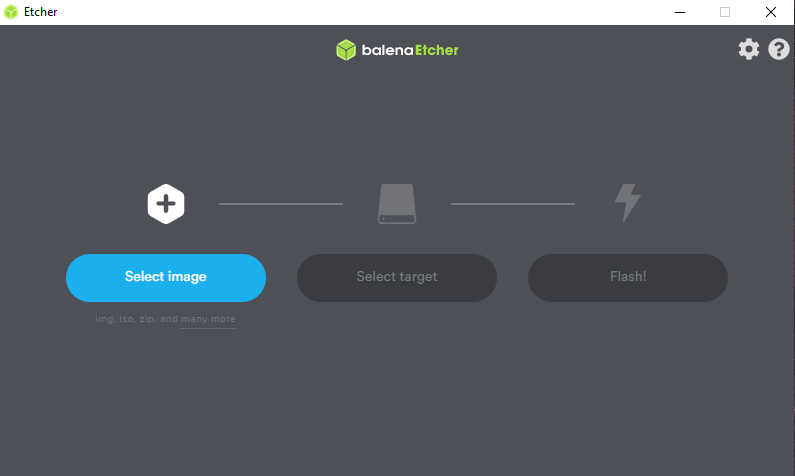
- Etcher, Used to flash the Card. You can also use Win32DiskImager instead if you prefer.
- The Latest Raspbian Lite Image, Make sure to extract the .zip you get
Ok, we have gathered our software, lets get started.
First we need to Format the SD Card. We do this by opening SD Card Formatter, Plugging in out SD card and choosing it from the list at the top of the window. Make sure you select your SD card, not another drive. Ensure there is nothing important on the card as everything will be deleted on the card. Once you are ready click 'Format'. It shouldn't take too long to complete. Once it has finished you can close out of SD Card Formatter
Next we need to flash the card. Open Etcher and click the blue button that says 'Select Image' and browse to find the .img file you downloaded earlier and select it. Next your SD card should already be selected by default, but if it isn't just change it by clicking the button. Once you have confirmed that all the selections are correct, click 'Flash!'. This will take a few minutes, and once it is done you can close out of Etcher.
Finally we need to enable ssh and connect to wifi. Open File Explorer and click on 'boot' on the left side. You should be presented with a list of files. Right click and create a new text document, then name it ssh and remove the .txt extension at the end. Note, you will have to have 'Show File Extensions' enabled in order to do this. Click Yes and an empty file called ssh should be present. Next we need to create a text document again, but name it wpa_supplicant , replacing the .txt with .conf. Right Click it and select edit and paste this text into the file, substituting your wifi details in:
country=US
ctrl_interface=DIR=/var/run/wpa_supplicant GROUP=netdev
update_config=1

network={
ssid="WIFI_SSID"
scan_ssid=1
psk="WIFI_PASSWORD"
key_mgmt=WPA-PSK
}
Make Sure to Save The File Once You Are Done!
Eject the SD Card, Put it in the Pi and you have finished preparing the card!
Installing Pi-Hole Through SSH
Now we are going to install the holy grail of software, Pi-Hole.
Again, we need some software to continue, so download this:
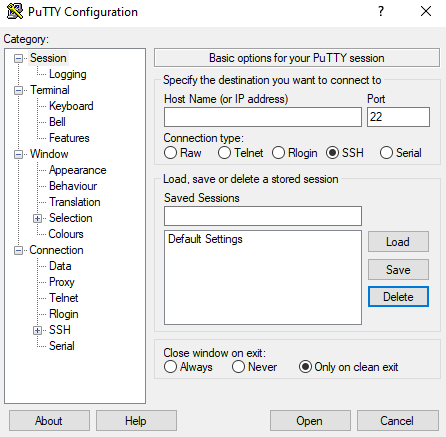
-PuTTY, we are going to use this as an ssh client.
Before we connect to our Pi, we need to find the IP Address of it. The simplest way to do this is to login to your router using it's IP and find a device name 'raspberrypi'. Search the instructions of how to do this for your router and the routers password, as all routers are slightly different. Once you have the IP Address of it open PuTTY and in the Host Name box type in your IP Address, then click 'Open'. A Warning will pop up, just click Yes and you will be brought to a black terminal with a login. Type the username 'pi' and the password 'raspberry'. Once logged in successfully you should be brought to a command line with pi@raspberrypi. Now you want to paste in the following code:
curl -sSL https://install.pi-hole.net | bash
It should start downloading the installer and then automatically start installing.
It will present you with a series of screens, in which you will press ok, or yes, and for the Upstream DNS server choose Google.
If you want to be able to use the Web Interface more easily we can change it's password, by typing
pihole -a -p
In the terminal.
Pi-Hole should now be installed! Of course you could just use Pi-Hole without the display, but whats the fun in that?
Installing PADD and a 3.5" Display, and 3D Printing the Parts
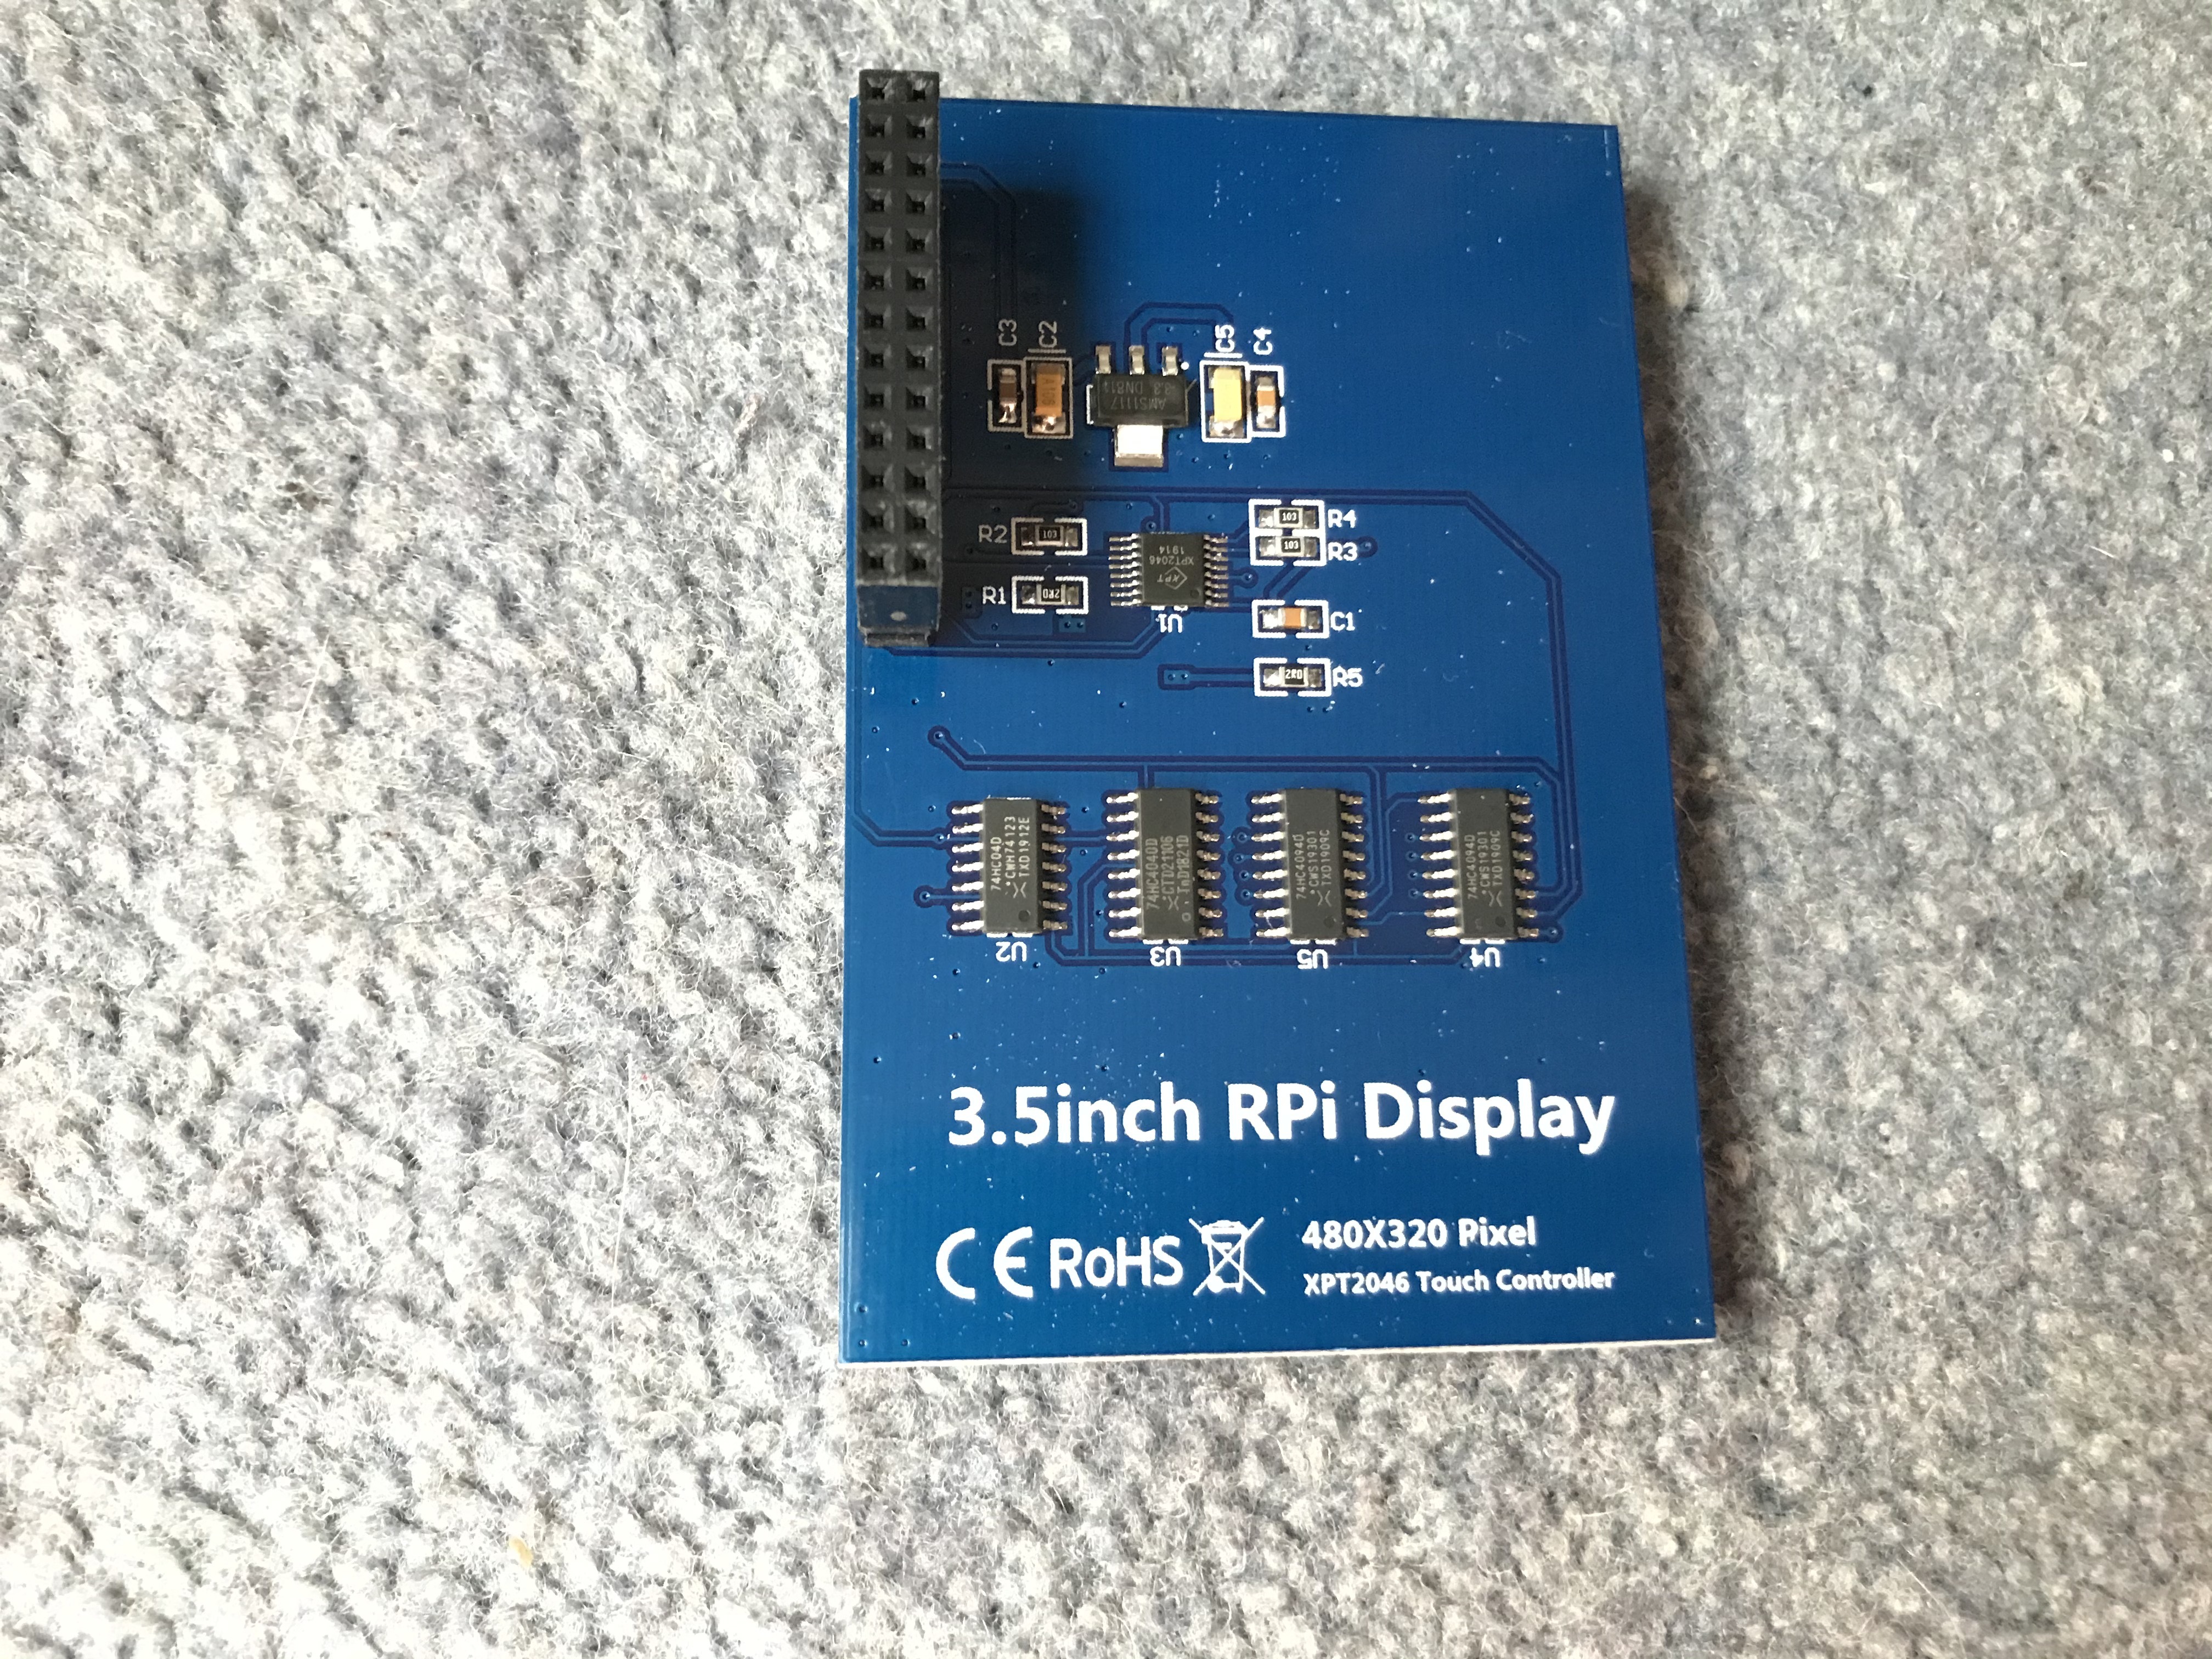
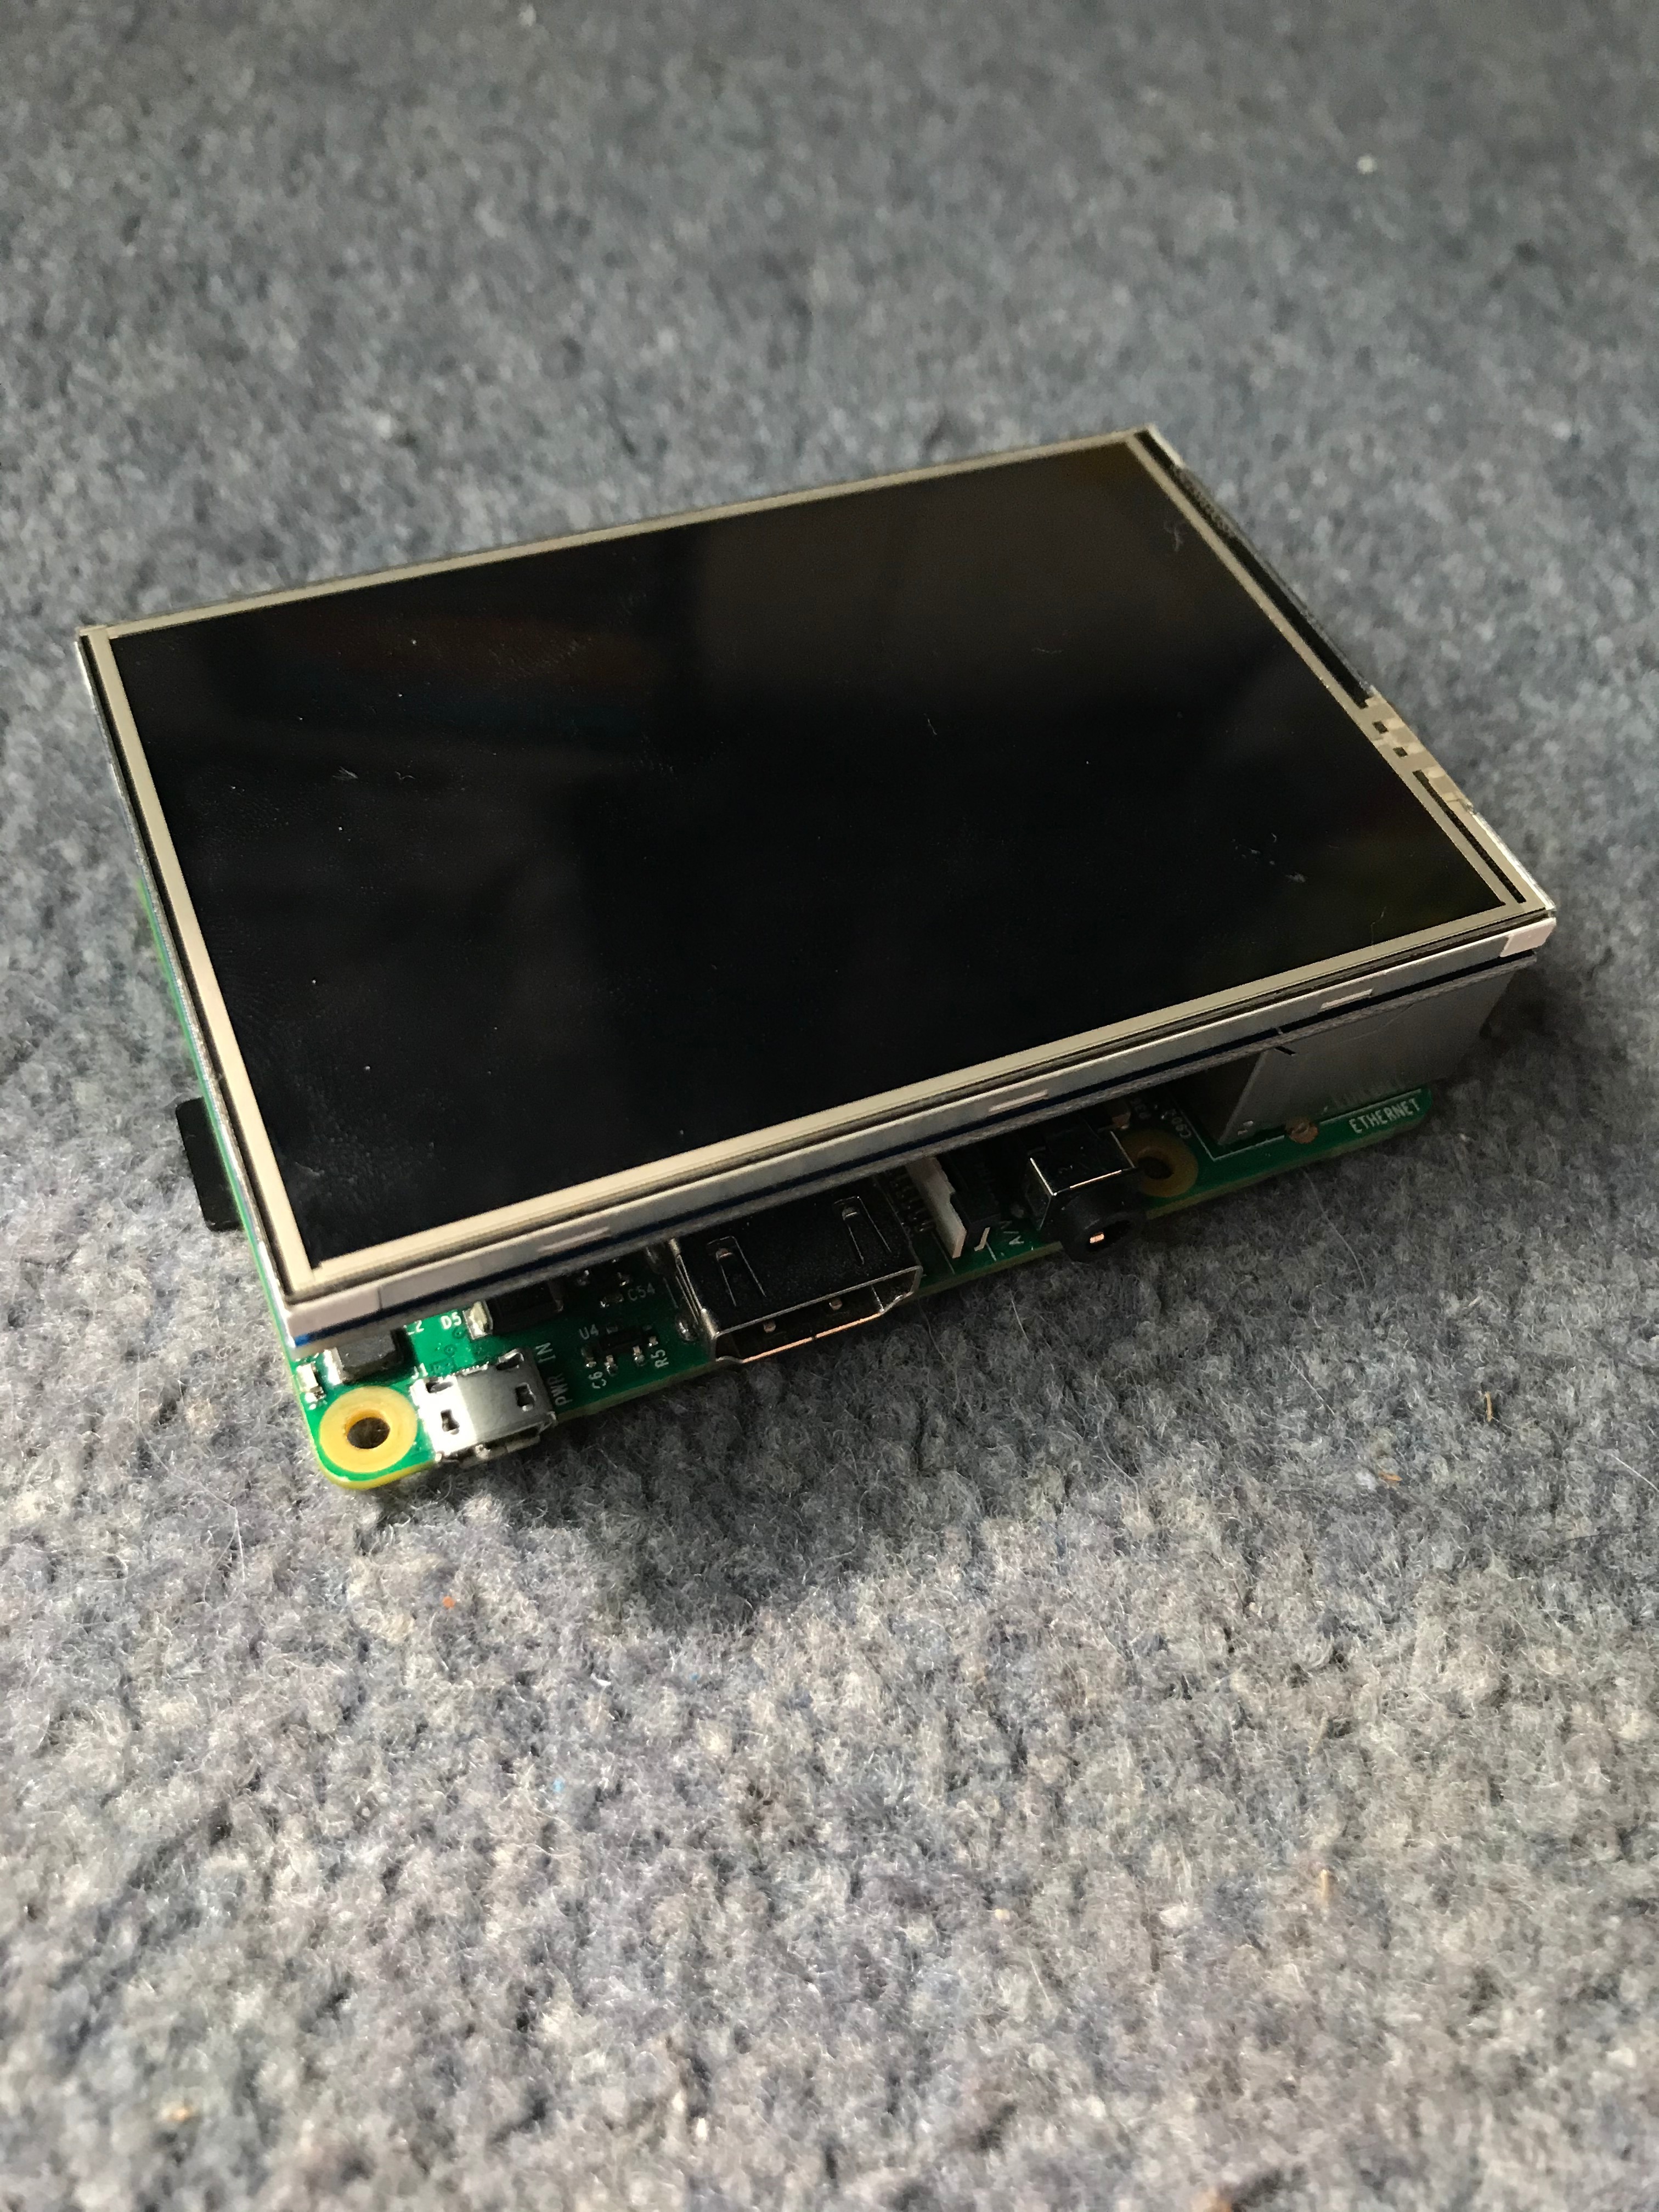
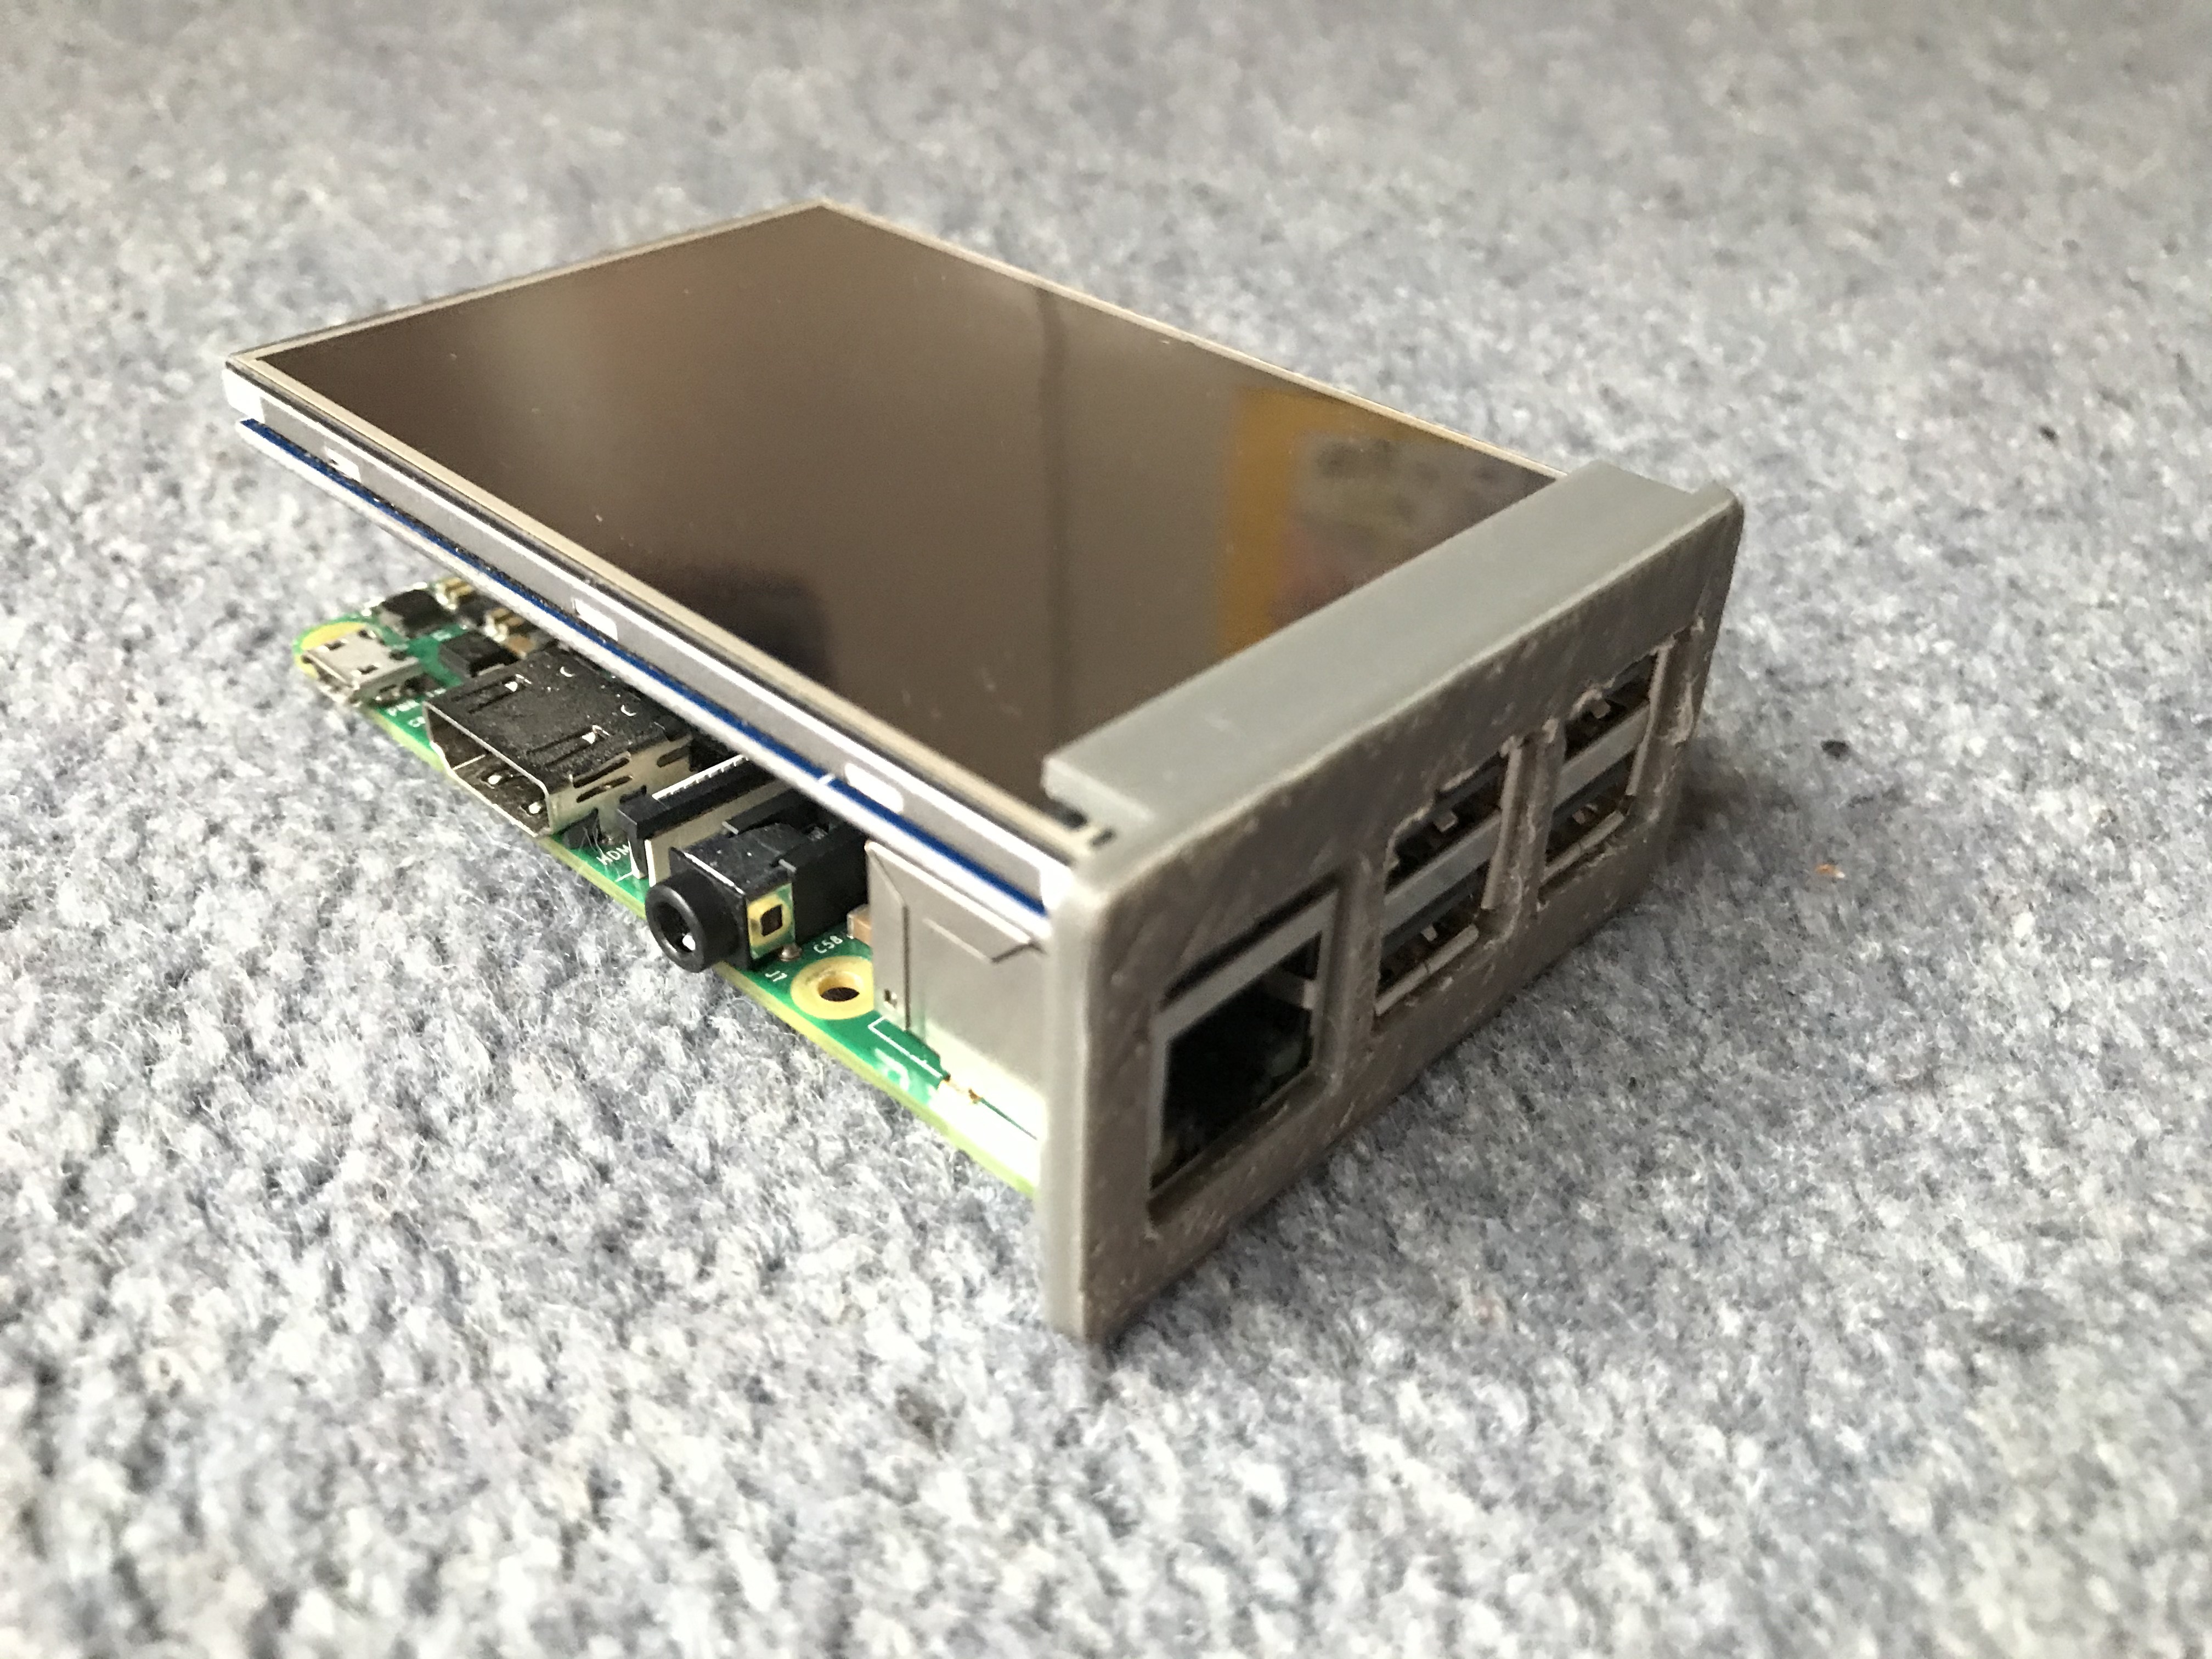
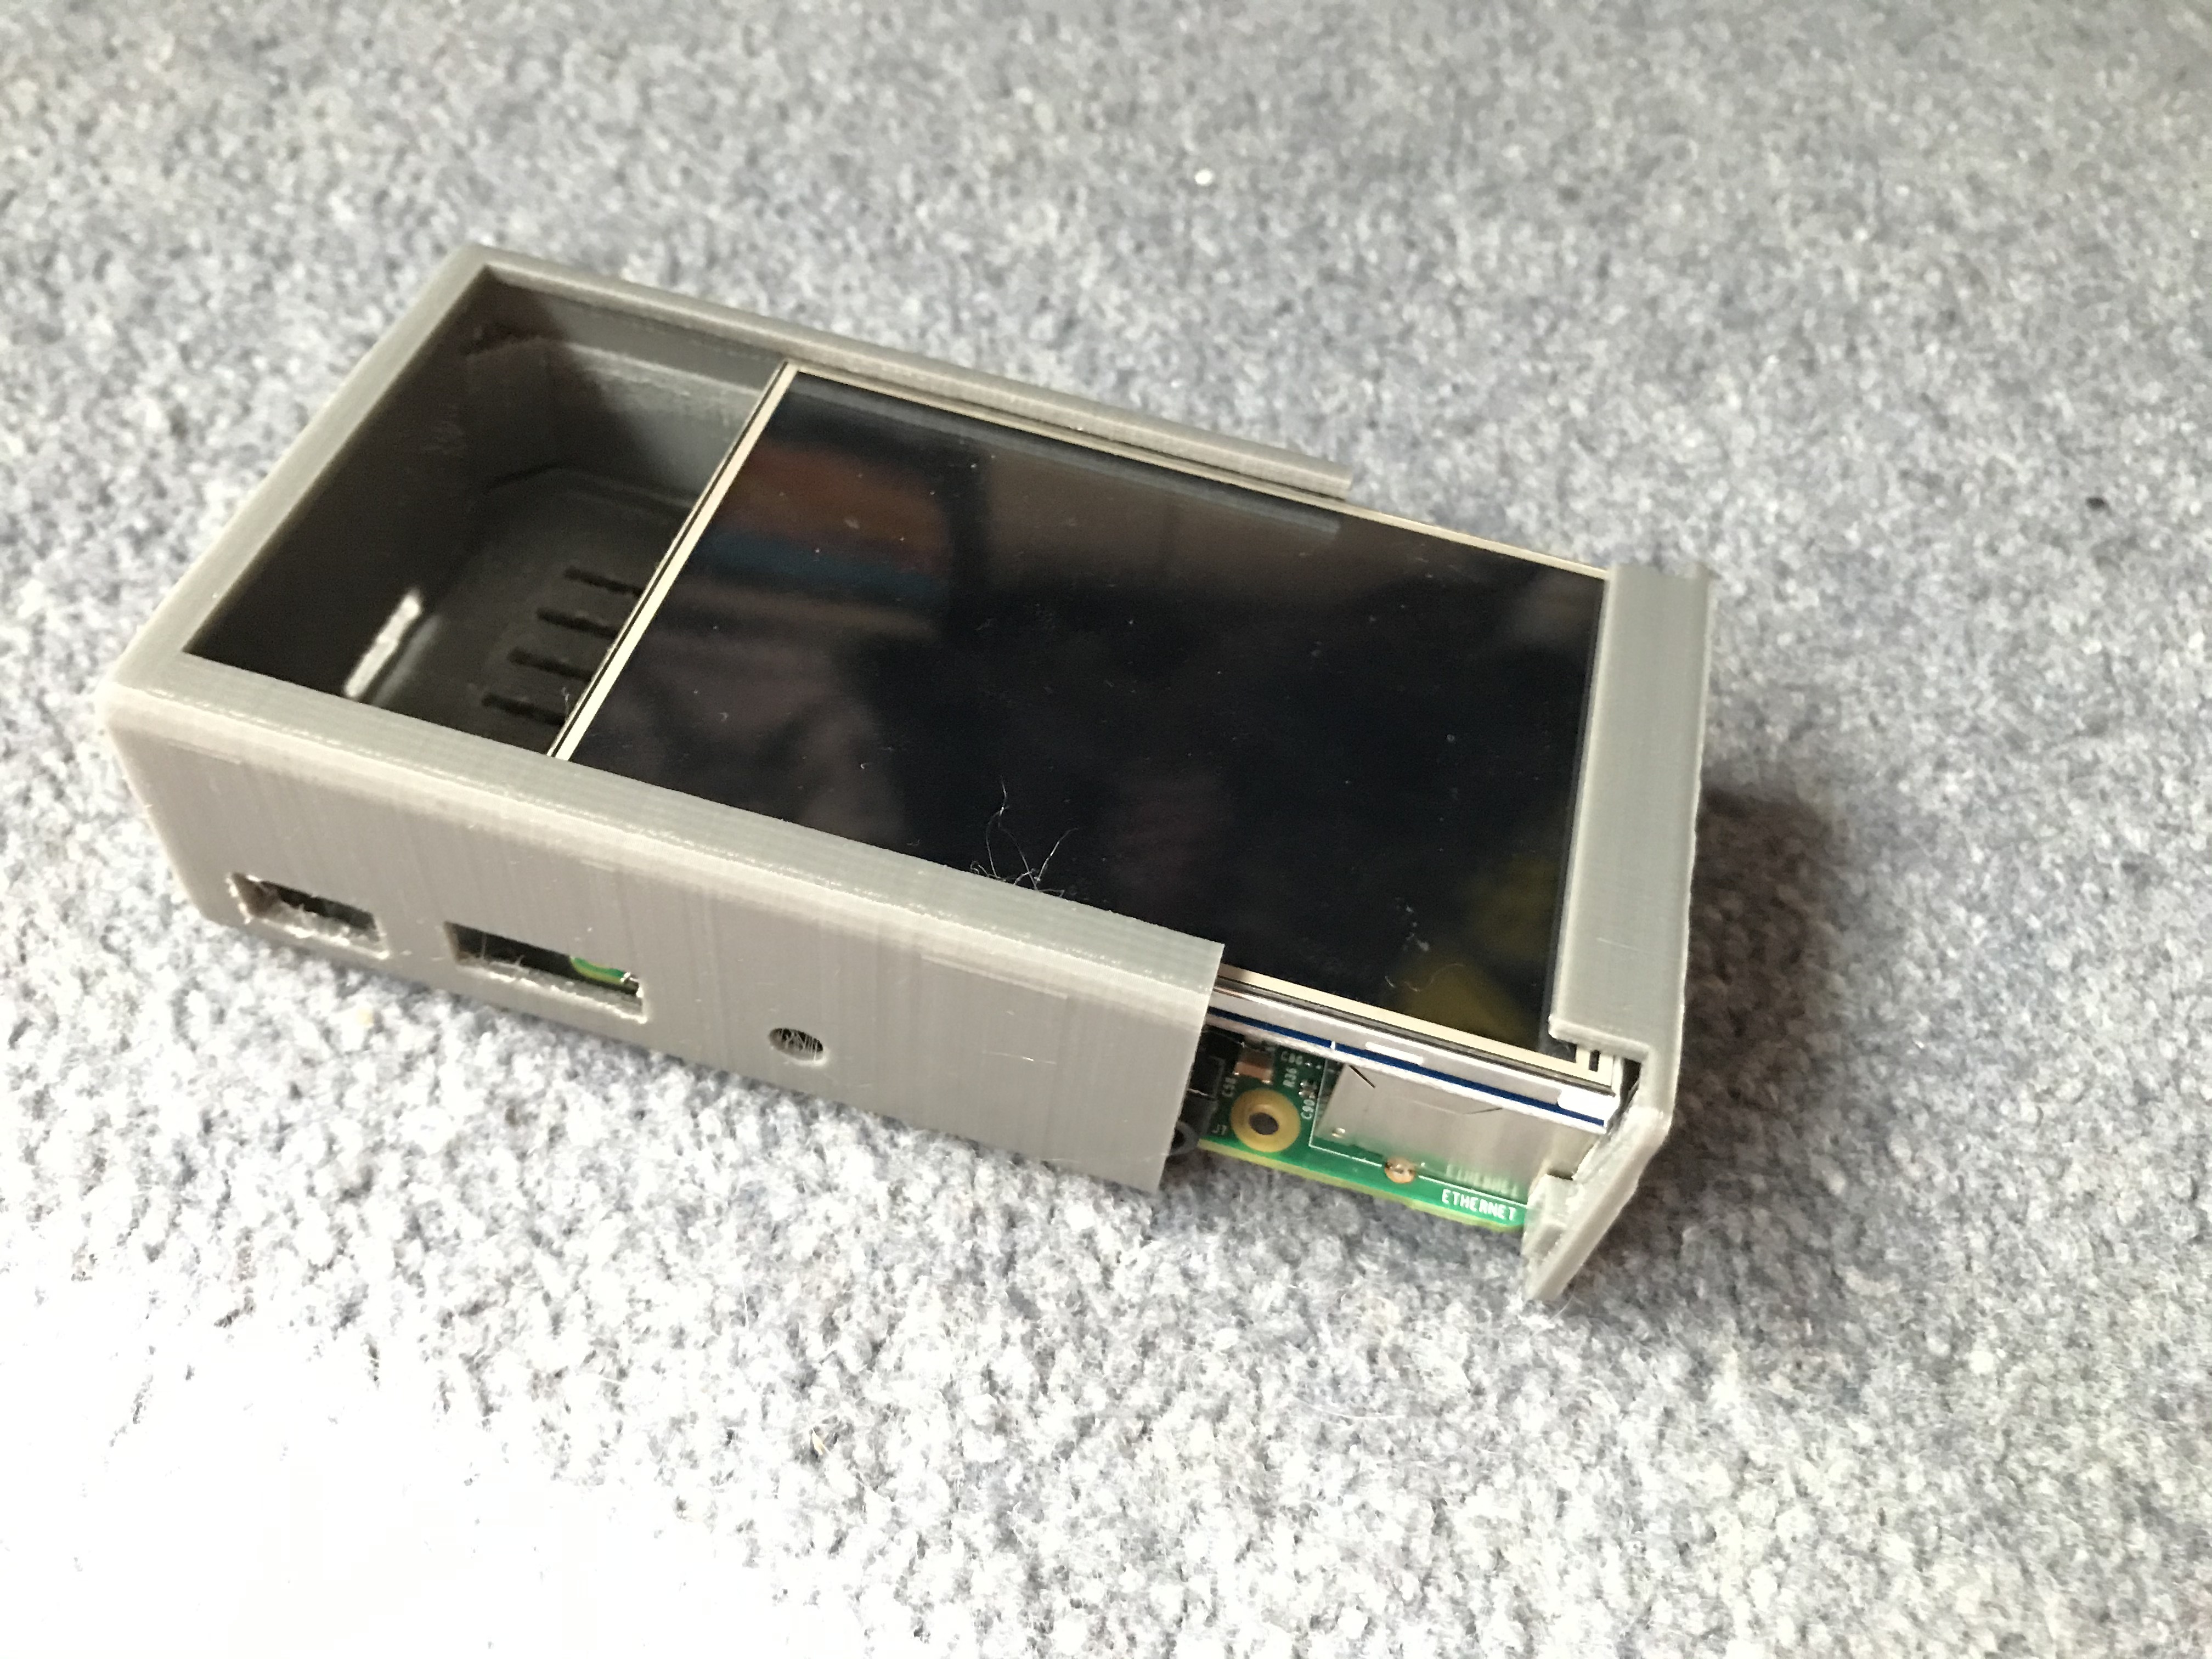
Now we are going to install PADD, which displays our Pi-Hole stats on a display. This step is a little more terminal based though, but don't be turned away, it is very simple.
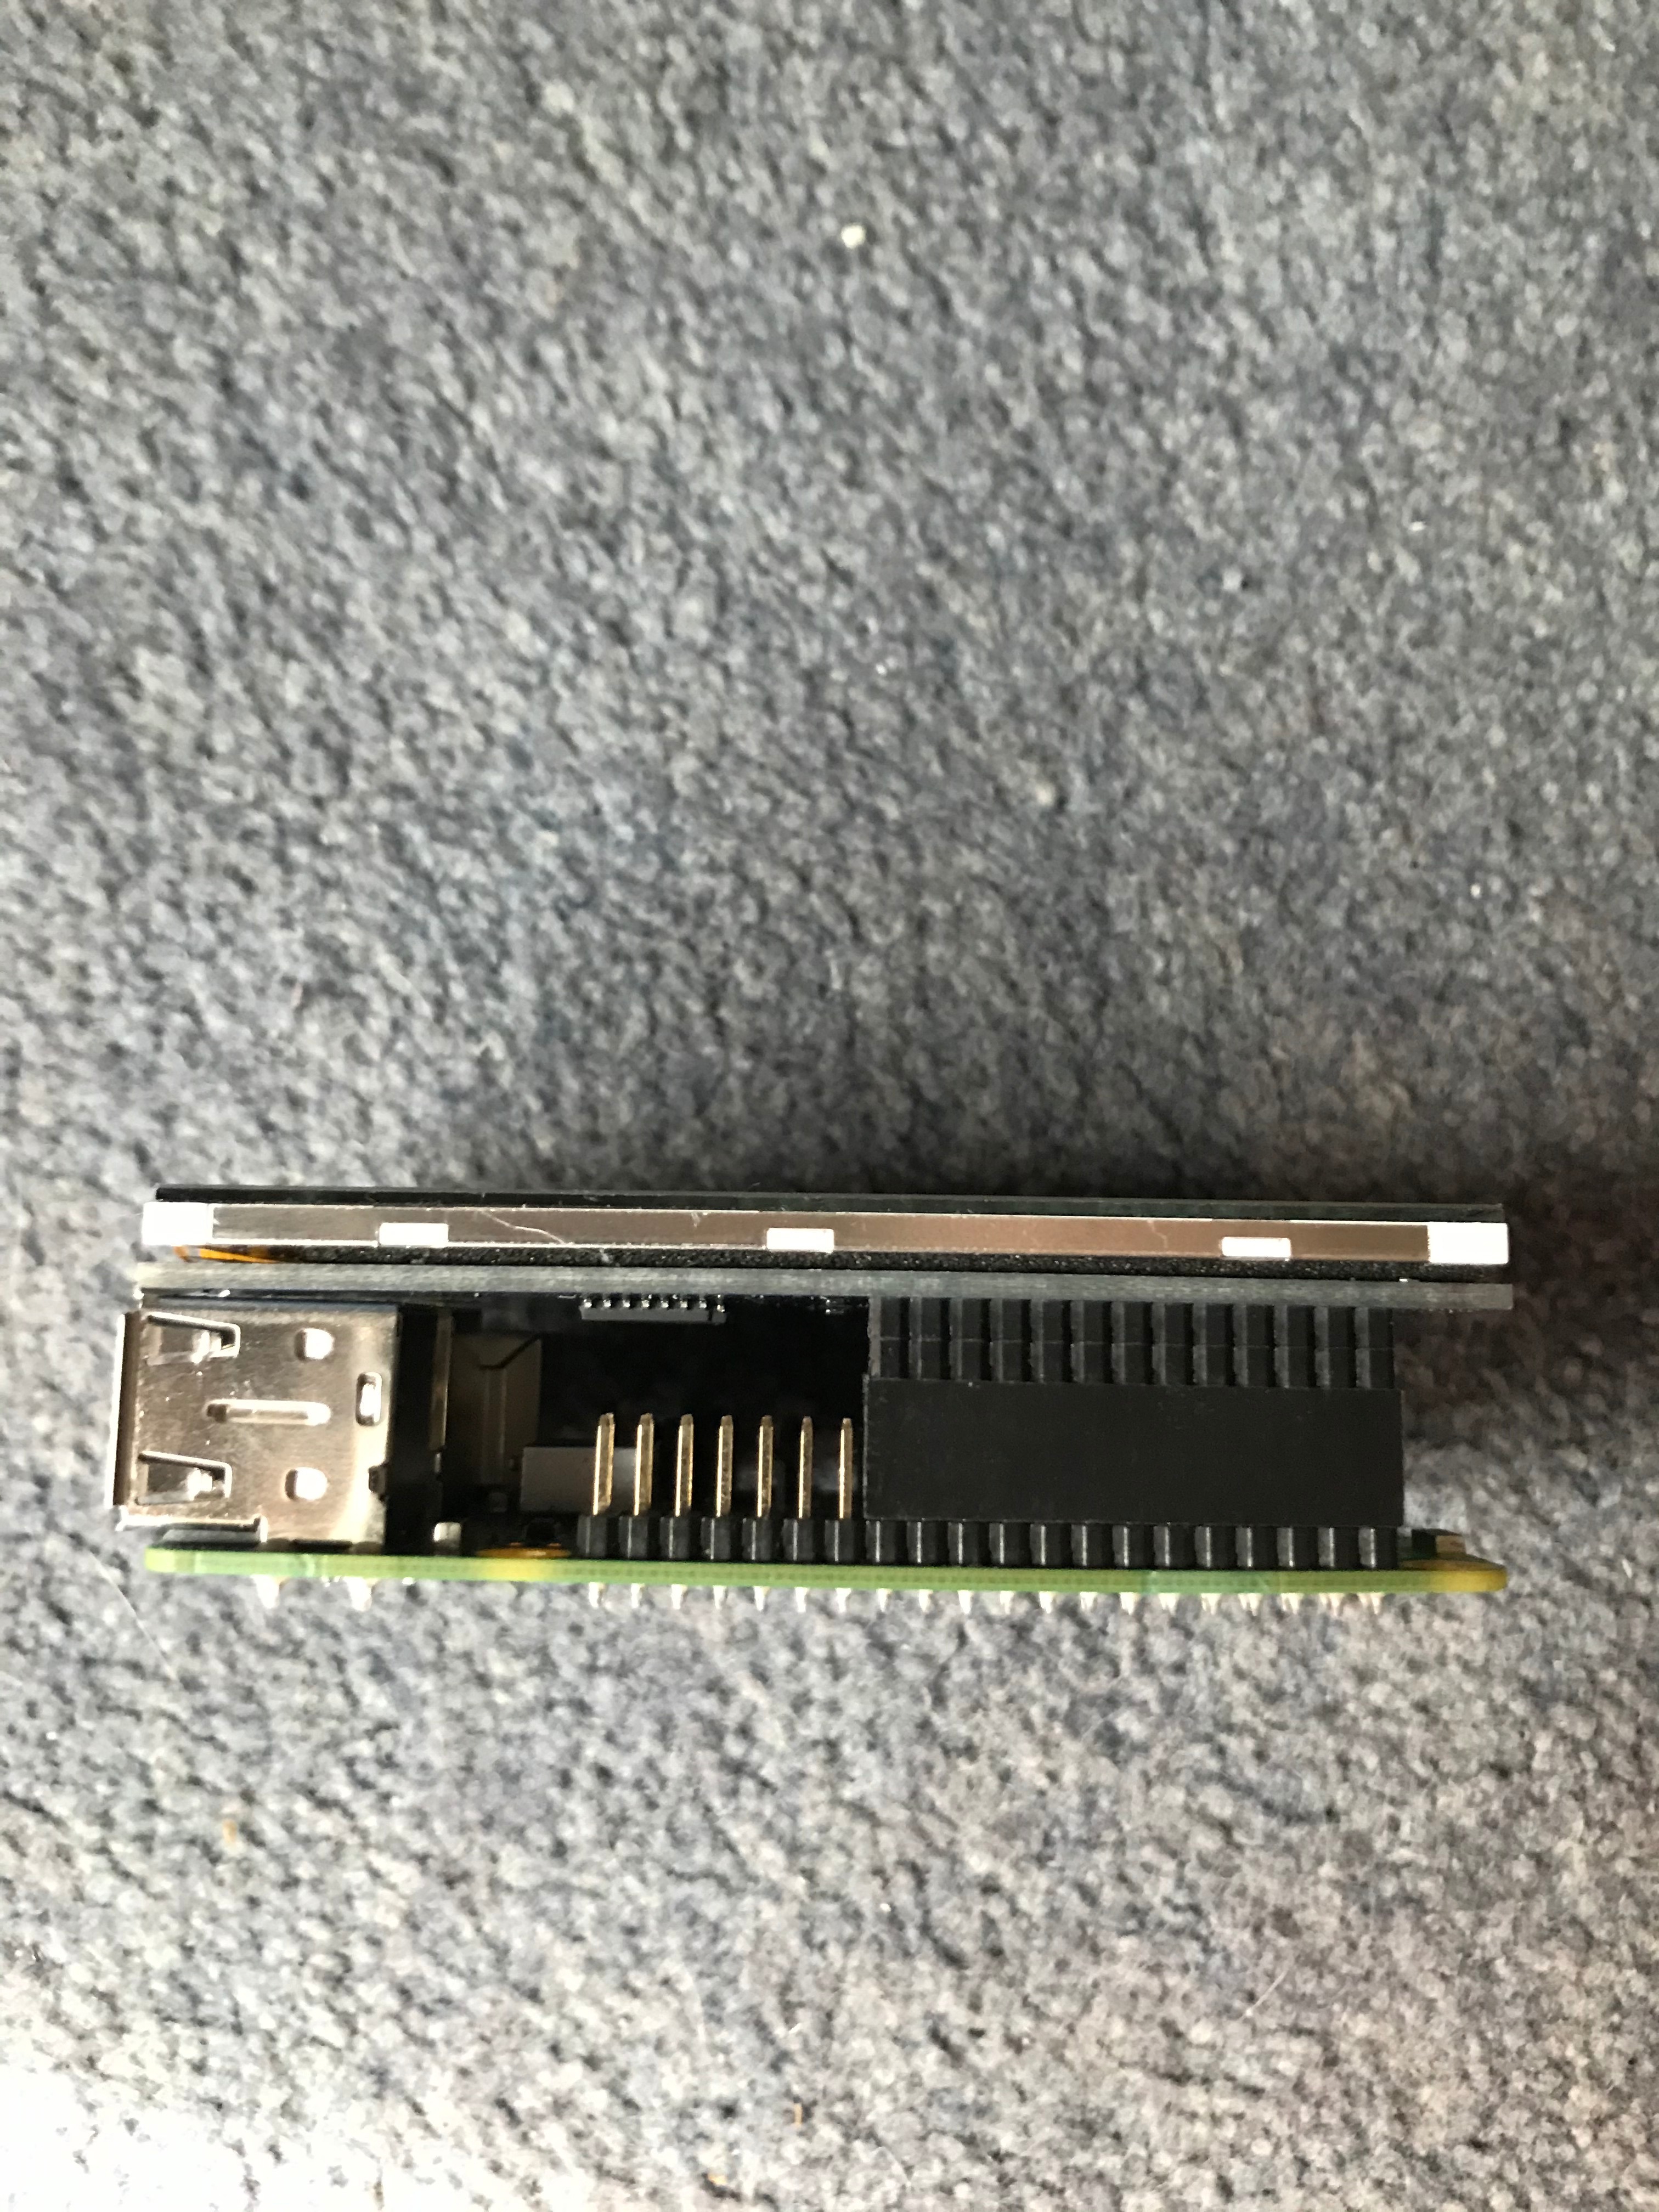
Before we install PADD, we need to install our Display. Ensure the Pi is off and Disconnected from power and attach the screen as shown in the picture, and if connected correctly the display should line up with the rest of the Pi.
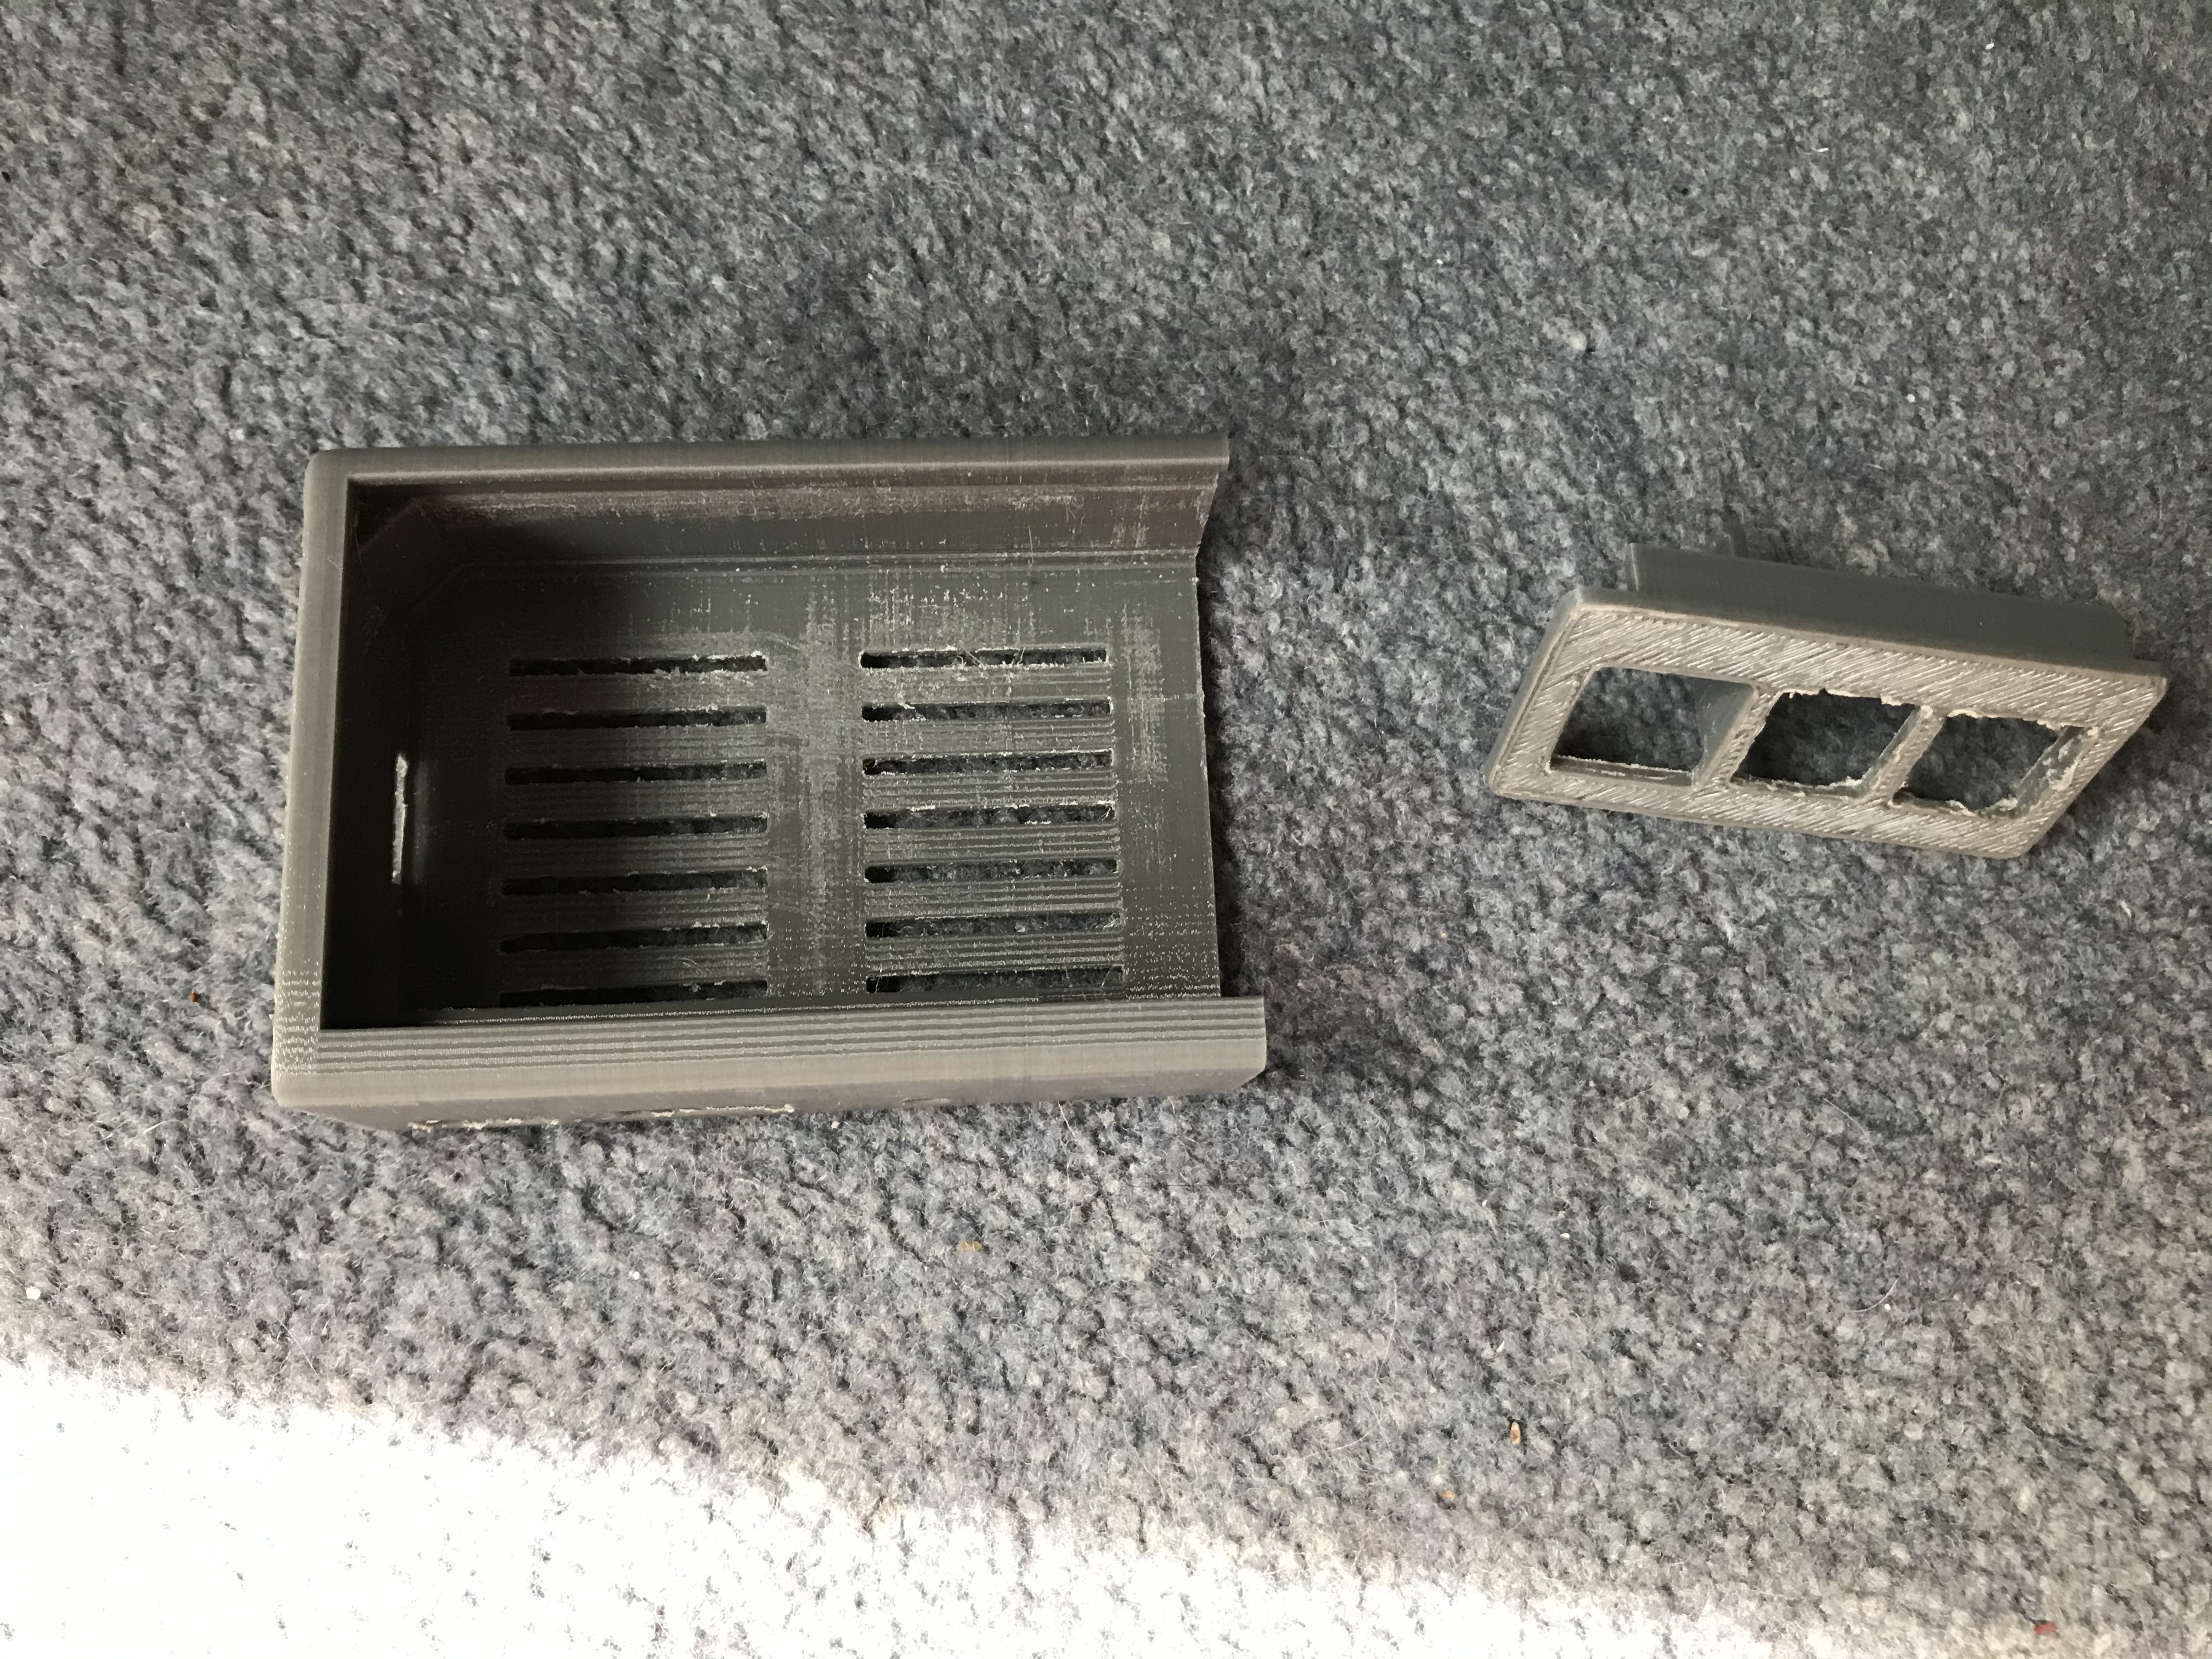
The 3D Printed Case Can Be Found Here: https://www.thingiverse.com/thing:1895374
Now You Need to attach the front piece to the USB and Ethernet Ports, as shown in a picture. Then just slide the package into the sleeve and it should all come together nicely. You can close it permanently with some glue, but I left it loose because it was already a pretty tight fit.
After that you need to install the drivers for your display. This is different depending on the display, but in my case I have a display that runs off Waveshare drivers perfectly. Because this is different for every display I won't show how to do it here, but a quick search on YouTube should give you your answer.
Once you have the display working, so when you boot the pi it displays the terminal on the Pi we are ready to install PADD.
To Install PADD we need to run the following commands in the terminal:
cd ~
wget -N https://raw.githubusercontent.com/jpmck/PADD/master/padd.sh
Once it has downloaded we need to execute this to make the file executable:
sudo chmod +x padd.sh
Now we need PADD to execute on startup. We do this by modifying a special file.
sudo nano ~/.bashrc
Then Using the down arrow on your keyboard scroll down to the very bottom and paste in this:
# Run PADD
if [ "$TERM" == "linux" ] ; then
  while :
  do
    ./padd.sh
    sleep 1
  done
fi
Then Reboot Your Pi With
sudo reboot
Changing the PADD Size From Regular to MEGA
By Default the PADD display will only be at the Regular Size, not utilising all of the screen, but we can change that!
First we need to SSH into our Pi, this was covered earlier. Once you are at the terminal type:
sudo dpkg-reconfigure console-setup
A Menu Should appear with many options, we need to select UTF-8, or if you know what the other encoding settings are give them a try if you want. Next select Guess Optimal Character Set, then select Terminus and then 6x12. Once you have followed these steps reboot with
sudo reboot
Configuring Your Router for Network Wide Ad-Blocking
Now this is the step where it all comes together, and you can actually see the result of your hard work. Login to your router through its IP Address, again not covering it because it is different for every router, and find the DNS configuration setting. If your router does not have this option (like mine) proceed straight to Step 6. Once you have located the DNS Server Options you will need to replace the Primary DNS server IP with the IP displayed on your Pi, under IPv4 address. Do this for all of the DNS IP's including Secondary, Backup, etc. Apply the changes, and depending on your router you may need to reboot the router.
Once setup your whole network will be using Pi-Hole as it's DNS server, so any ad traffic will be blocked.
Configuring the DNS Server on a Selection of Devices
This method should be used if your router doesn't allow changes to the DNS server or if you just don't want everyone on your network on the same Pi-Hole.
The Method Is Different For Every Device:
Windows 10:
Open Control Panel and click Network and Internet
Click Network and Sharing Center, Change Adapter Settings, right click on your network and click Properties
Find Internet Protocol Version 4, double click and click Use the following DNS server and type the Pi-Hole DNS IP in both fields. Go Back to the Properties List.
Find Internet Protocol Version 6, double click and click Use the following DNS server and type the Pi-Hole DNS IP (The IPv6 one this time) in both fields.
Just in case, reboot your PC
Linux:
https://www.addictivetips.com/ubuntu-linux-tips/ch...
macOS:
https://serverguy.com/kb/change-dns-server-setting...
iOS (iPhone):
Open Settings
Click Wifi, and the 'i' next to your connected network
Scroll down to DNS and click on Configure DNS
Click Manual, remove the existing DNS server IP's and put in Pi-Hole's DNS IP
Android:
Open Settings
Click on Wifi, and forget the network you are currently connected to
Reconnect to it, click Advanced Options, and set IP Settings from DHCP to Static
Scroll down to find DNS 1 and 2, and put in your Pi-Hole's DNS IP in both
Updating Your Pi-Hole
Updating Pi-Hole is very easy. To see if your Pi-Hole has a new update available in the top right of the display it will say Update Available! To update simply SSH into your Pi-Hole and run:
pihole -up
And Your Pi-Hole should Update!
All Done!
If you followed all the steps correctly you should have an amazing ad blocker which is really good at what it does.
Thanks SO Much for Voting for My Instructable for the Raspberry Pi Contest, I Got Second :) !
If you have any further questions, concerns or issues that arise please leave a comment and I will respond as soon as I can!
Check Out My Other Projects
Interested in more Raspberry Pi projects? Check out my Crypto and Stock Ticker, with RGB Matrix panels and a Raspberry Pi 3A+ as the brains of the operation.
Check it out here: Cryptocurrency and Stock Price Ticker