Pi Cam - a Remote Raspberry Pi Desktop/Camera/Server
by Mukesh_Sankhla in Circuits > Raspberry Pi
41149 Views, 397 Favorites, 0 Comments
Pi Cam - a Remote Raspberry Pi Desktop/Camera/Server


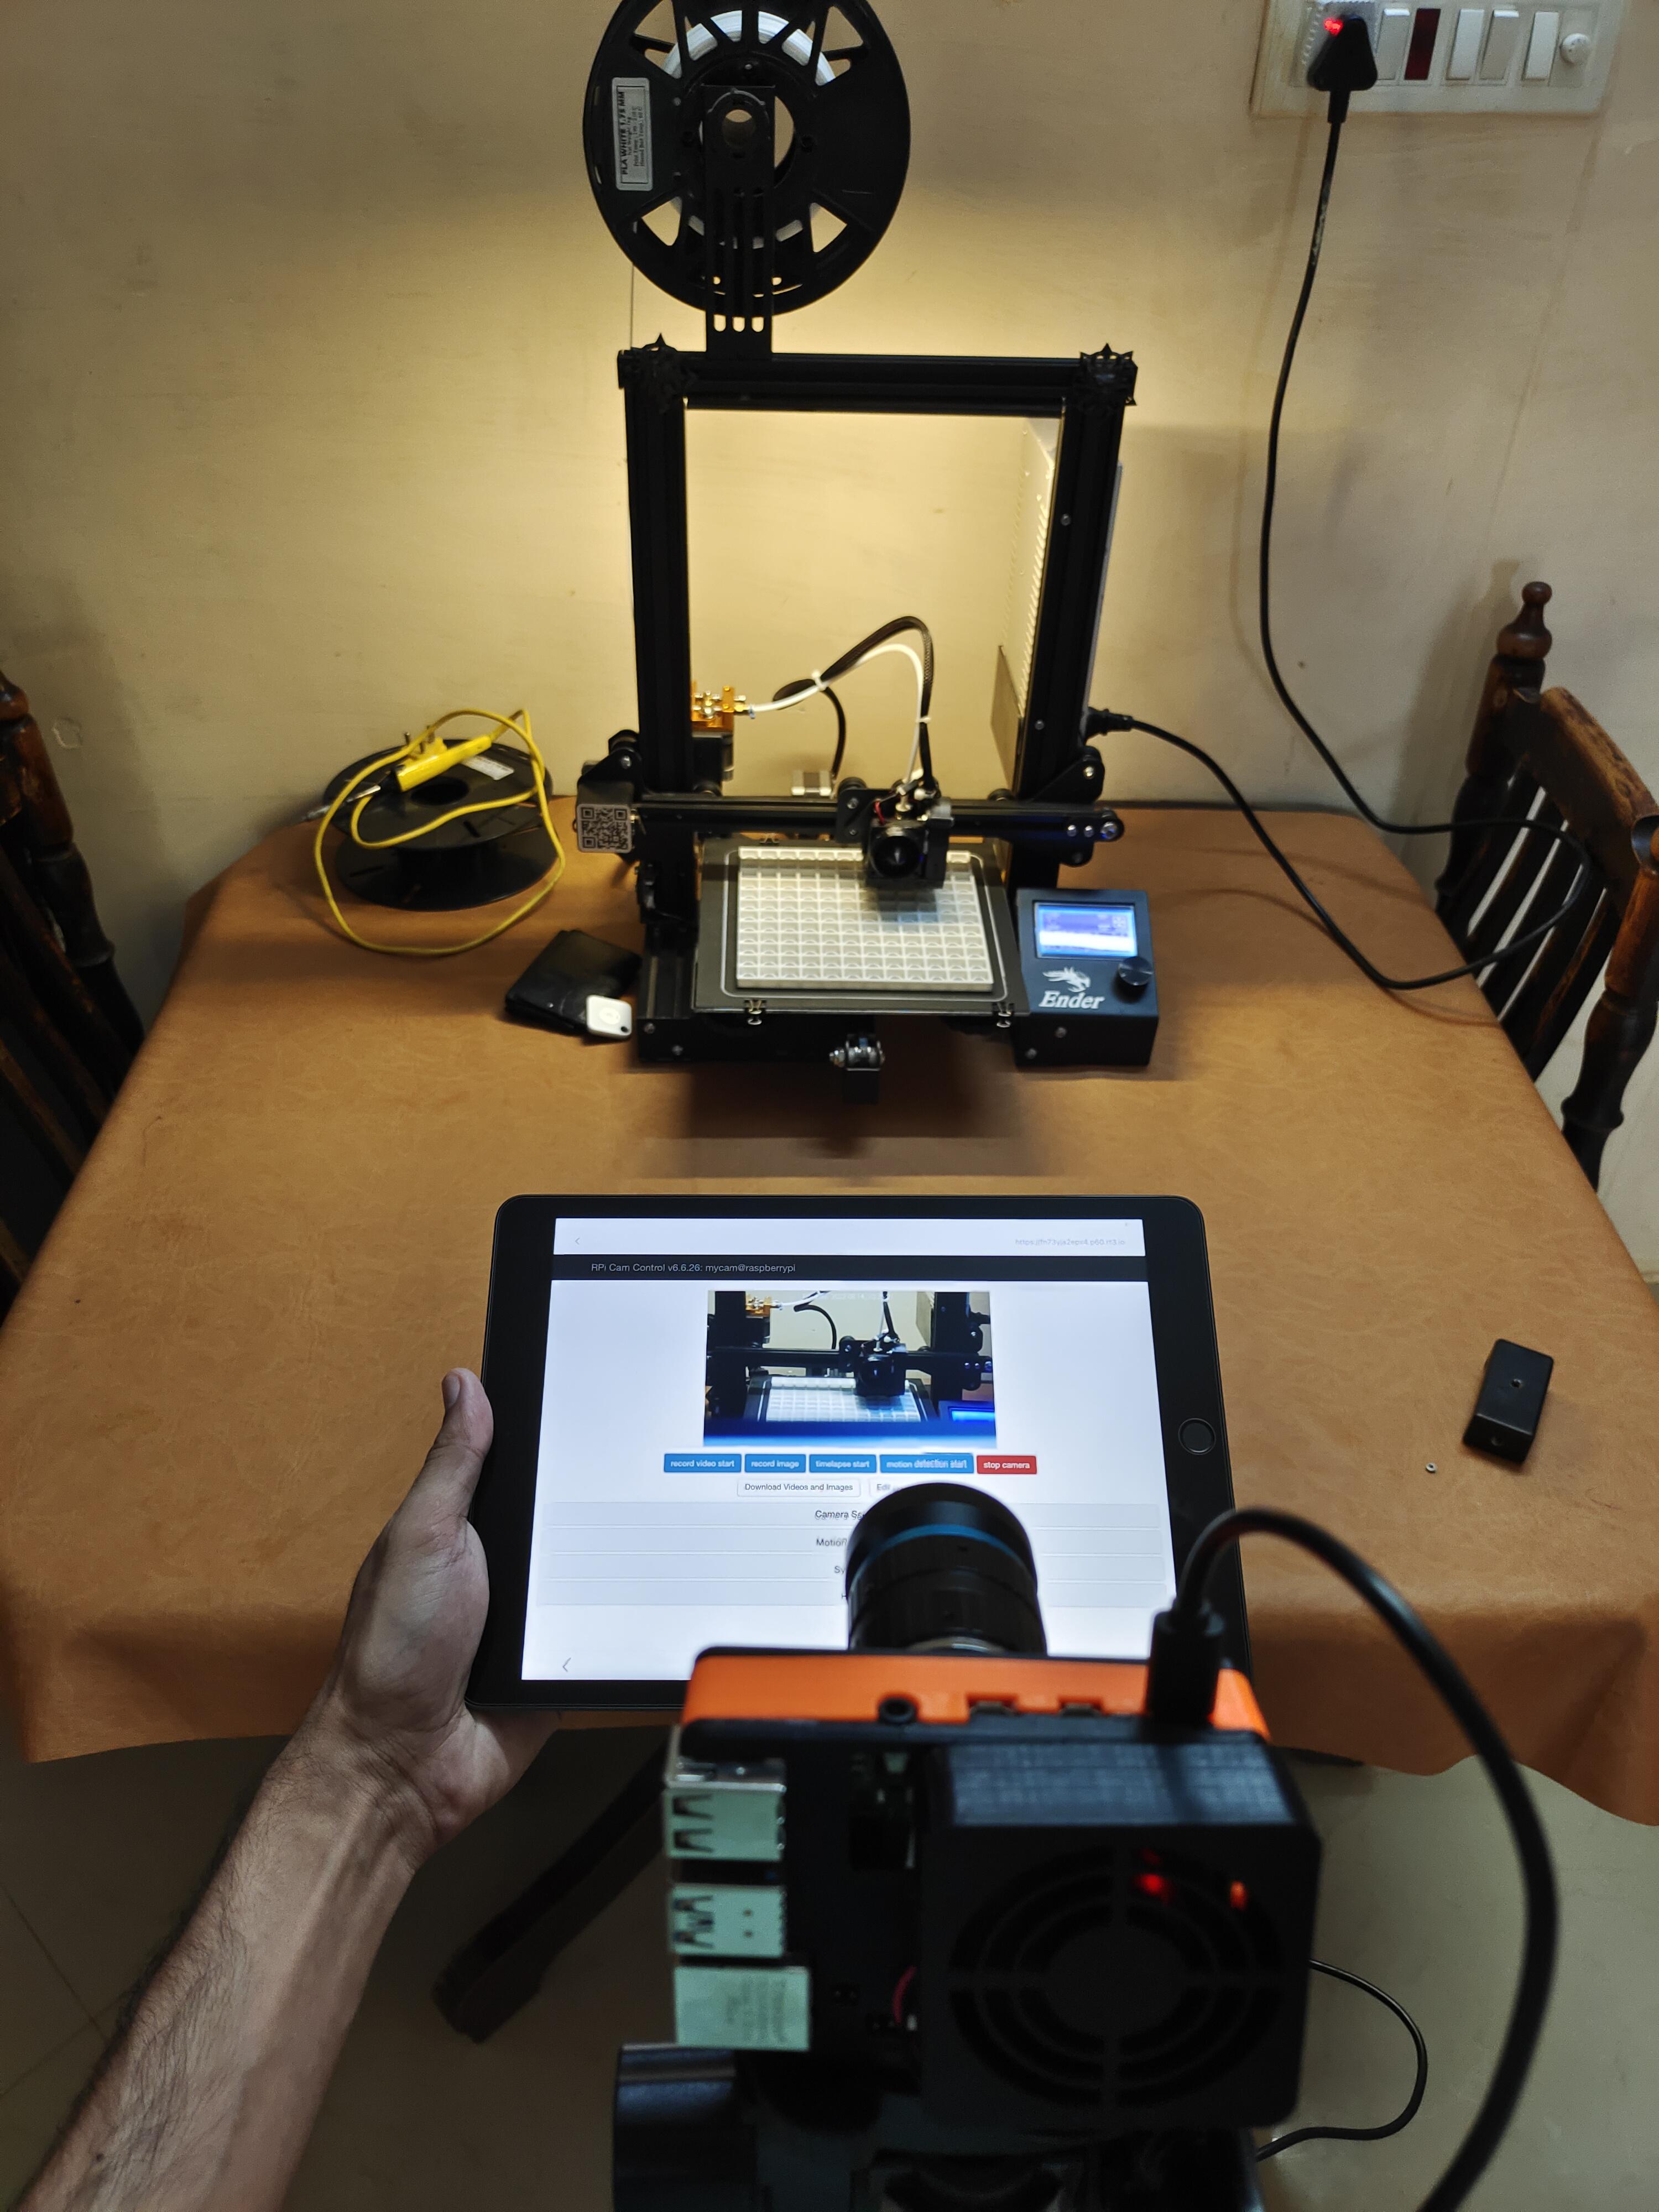
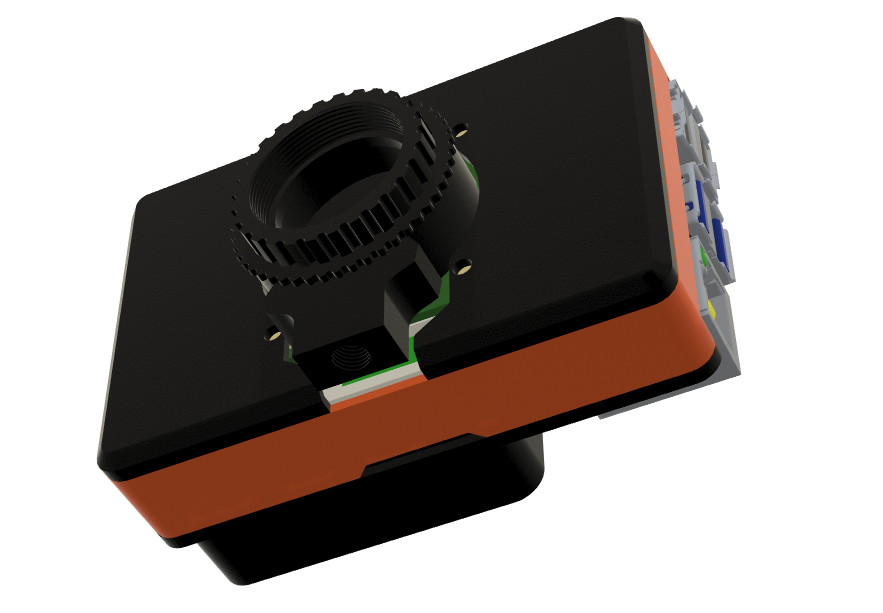
Pi Cam is a 3D Printed Remote Raspberry Pi Desktop/Camera/Server, It' can be your 3D Printer monitoring system, Camera (Record Photos/Videos/Time-lapse), Server, and a Linux desktop. And the good part is because we are using Remote-it service we can access all this remotely from anywhere in the world.
Thank You NextPCB:
This project is successfully completed because of the help and support from NextPCB. NextPCB is one of the most experienced PCB manufacturers in Global, has specialized in the PCB and assembly industry for over 15 years. Not only could NextPCB provide the most innovative printed circuit boards and assembly technologies in the highest quality standards, the fastest delivery turnaround as fast as 24 hours.
Guys if you have a PCB project, please visit their website and get exciting discounts and coupons.
Only 0$ for 5-10pcs PCB Prototypes:Nextpcb.com/pcbprototype
Register and get $100 from NextPCB: Nextpcb.com/coupon
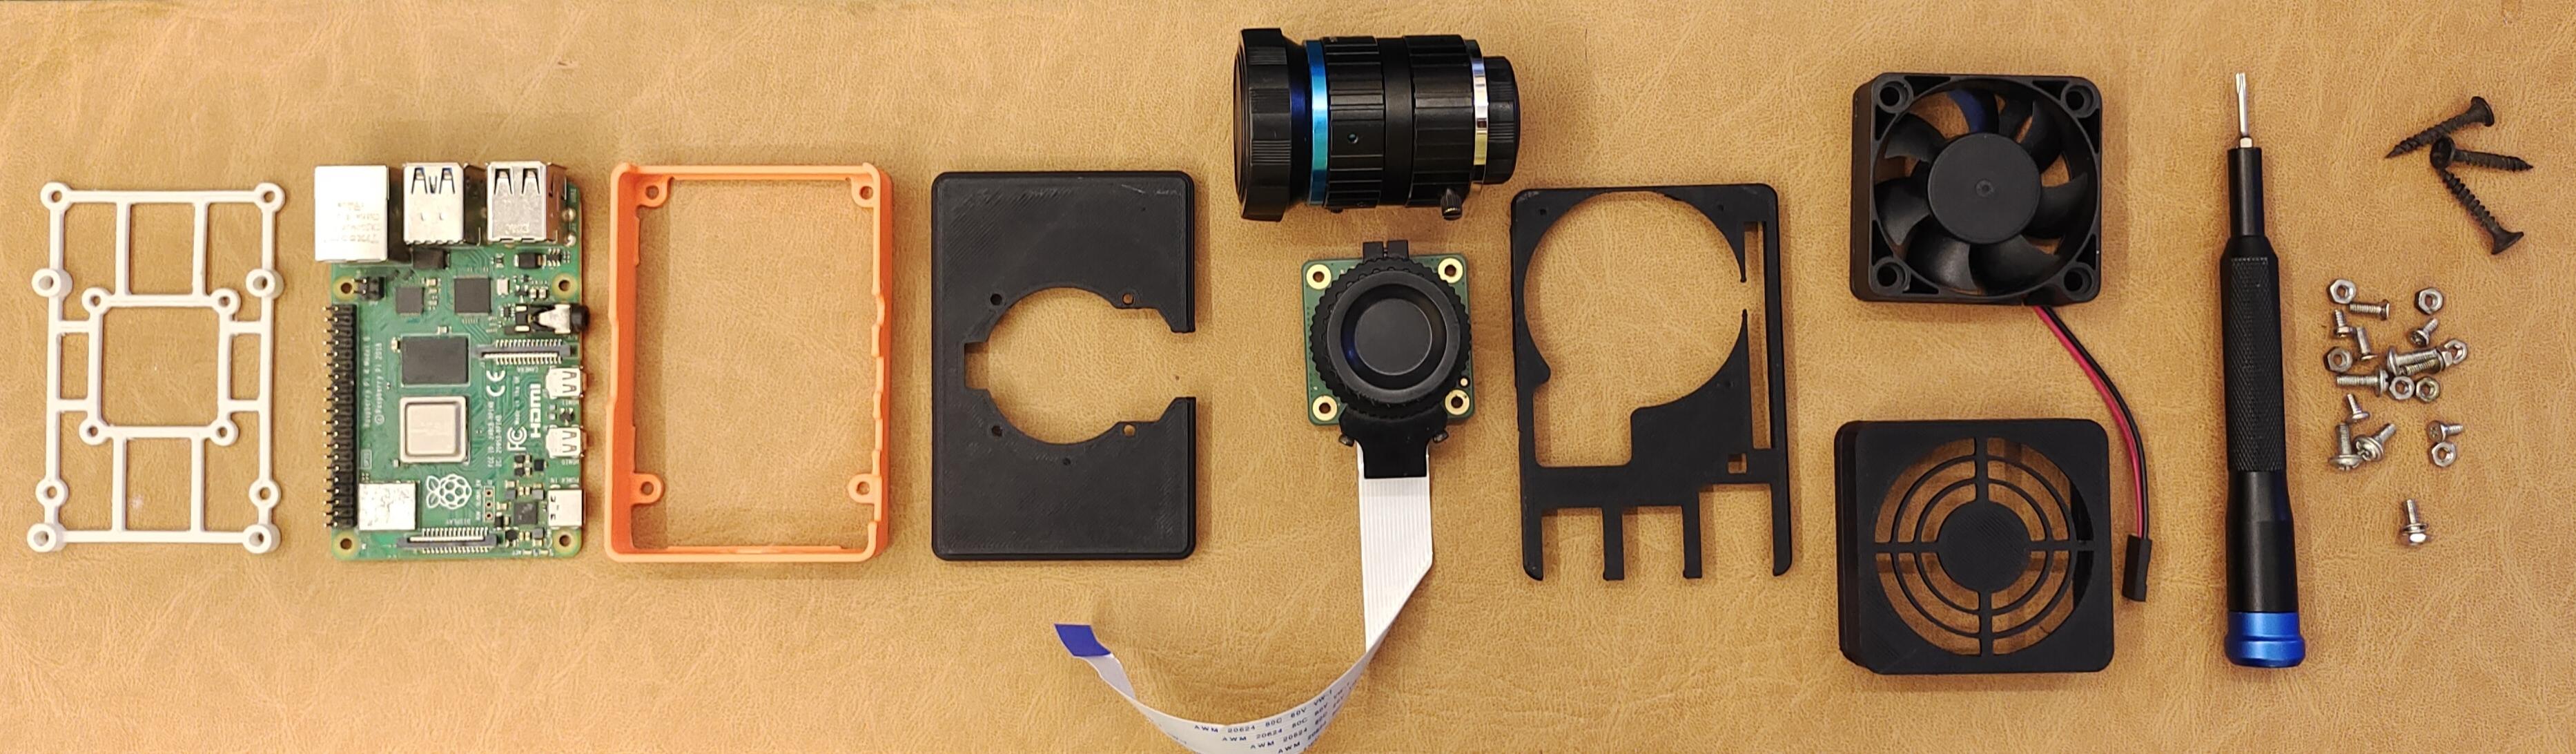
Supplies
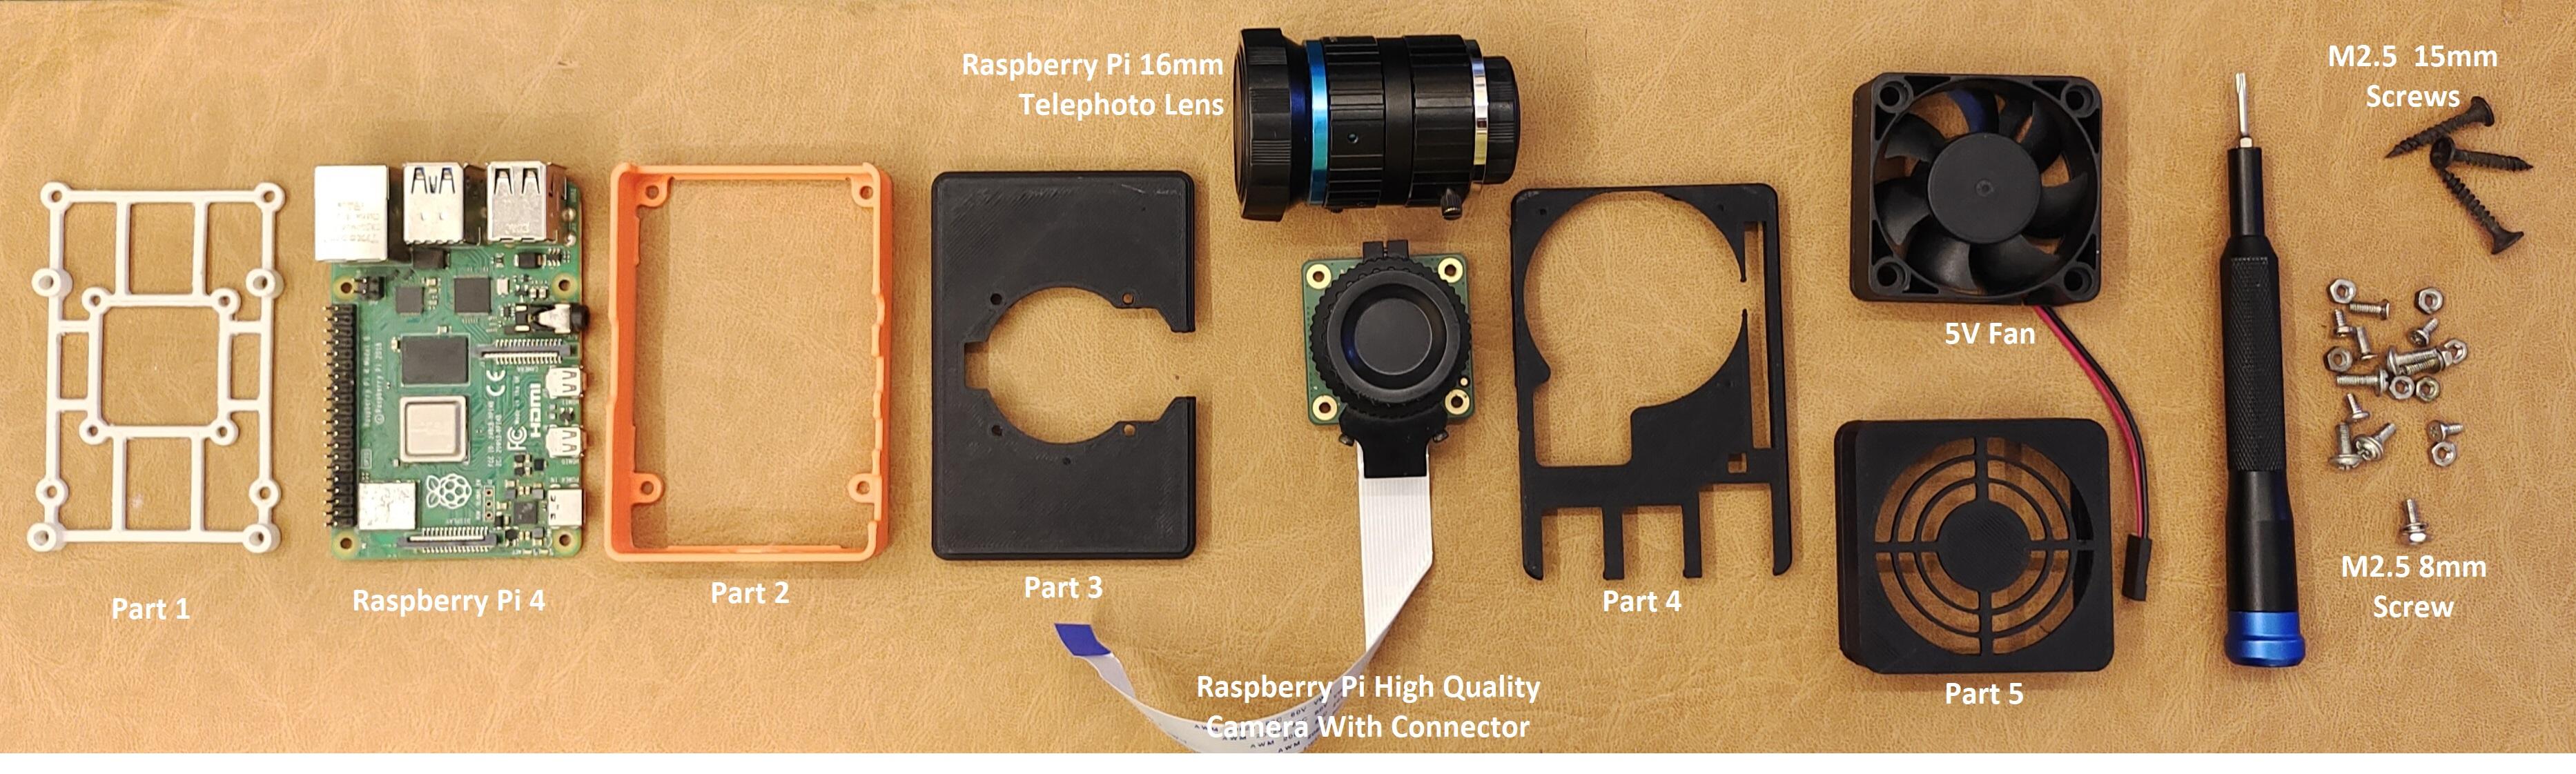
1x 16mm Telephoto Lens or 6mm Wide-angle Lens
3D Printed Parts
Fusion 360 Design and 3D Printing
- I have designed the Pi Cam case in Fusion 360
- You can Modify The Design Model in Fusion 360 Software
- 3D Print all the parts given Click For STL Files
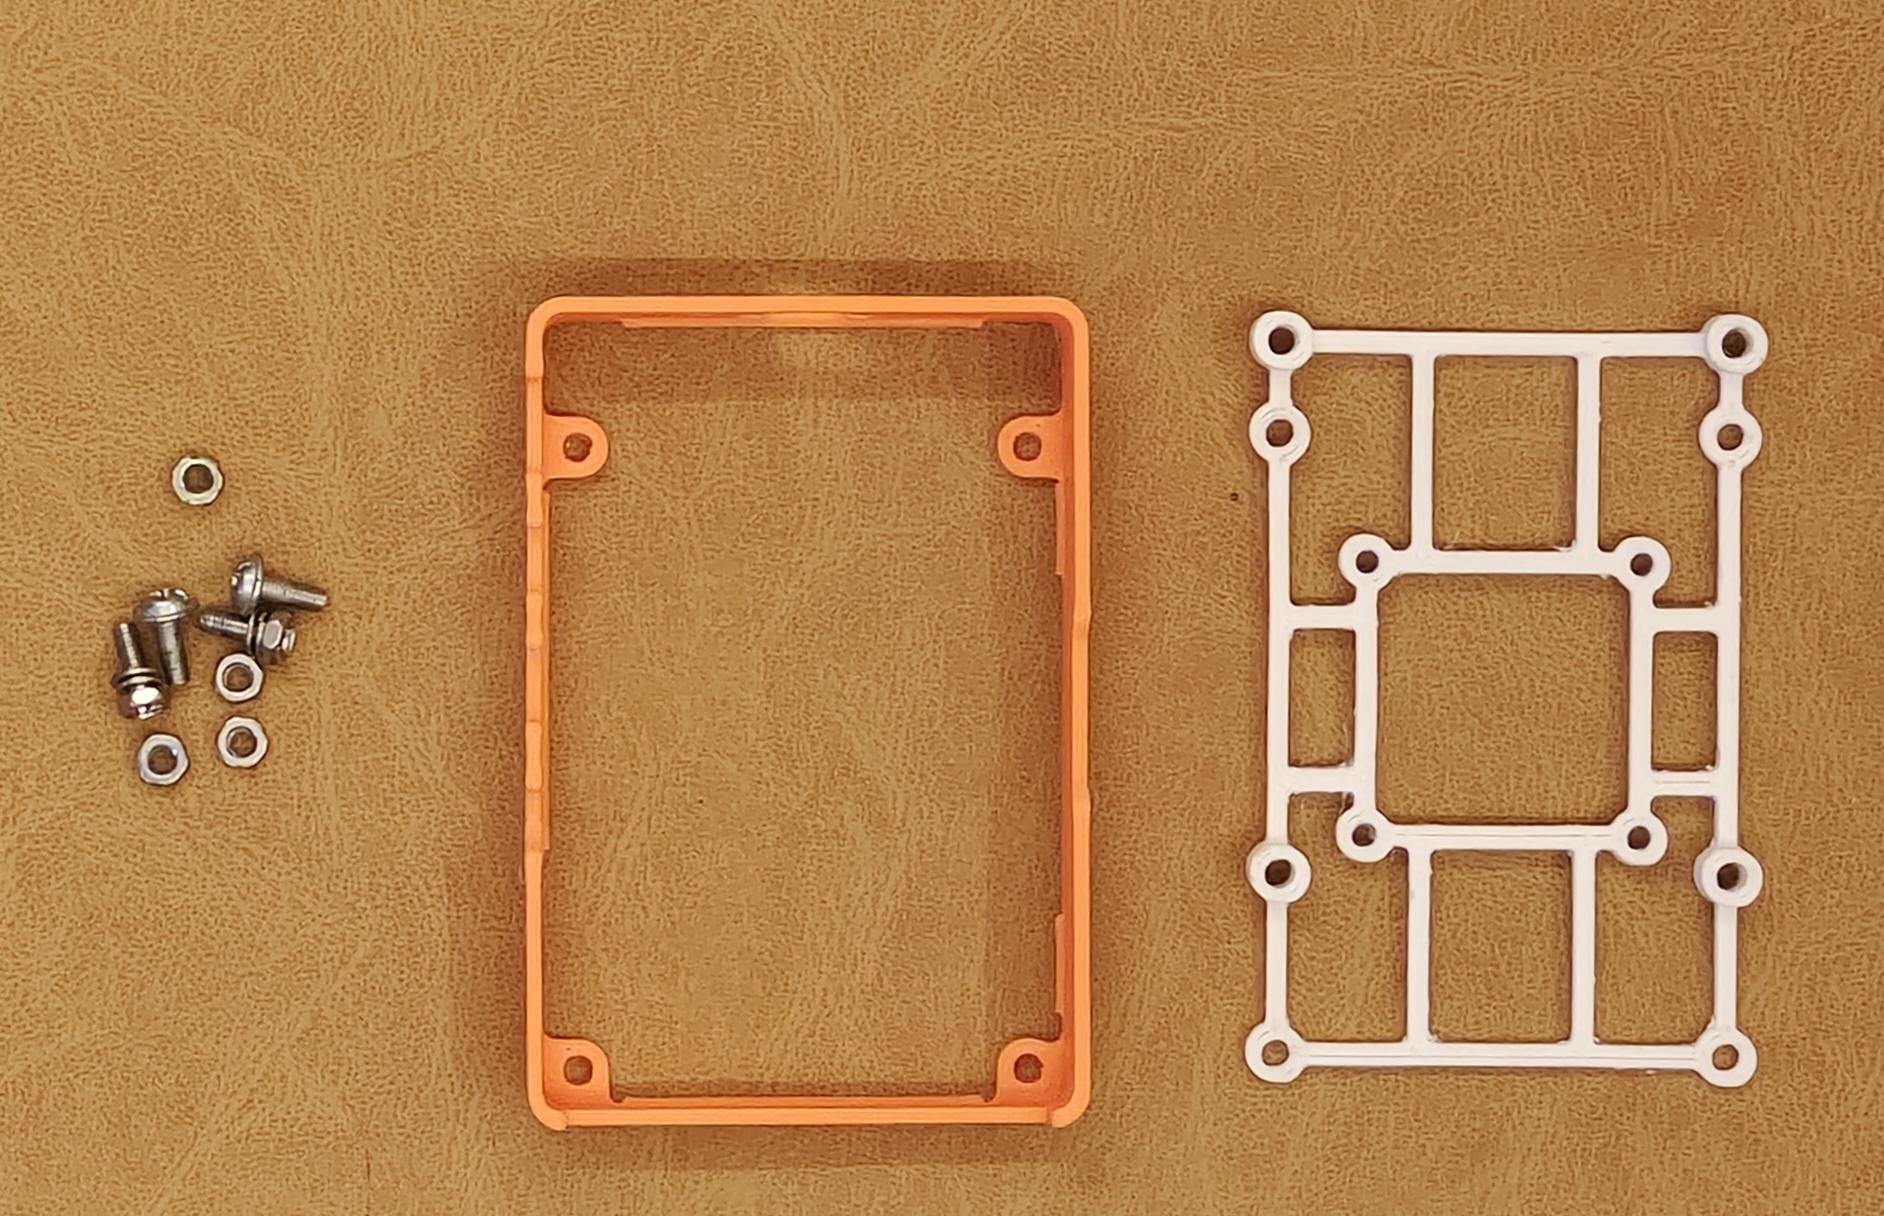
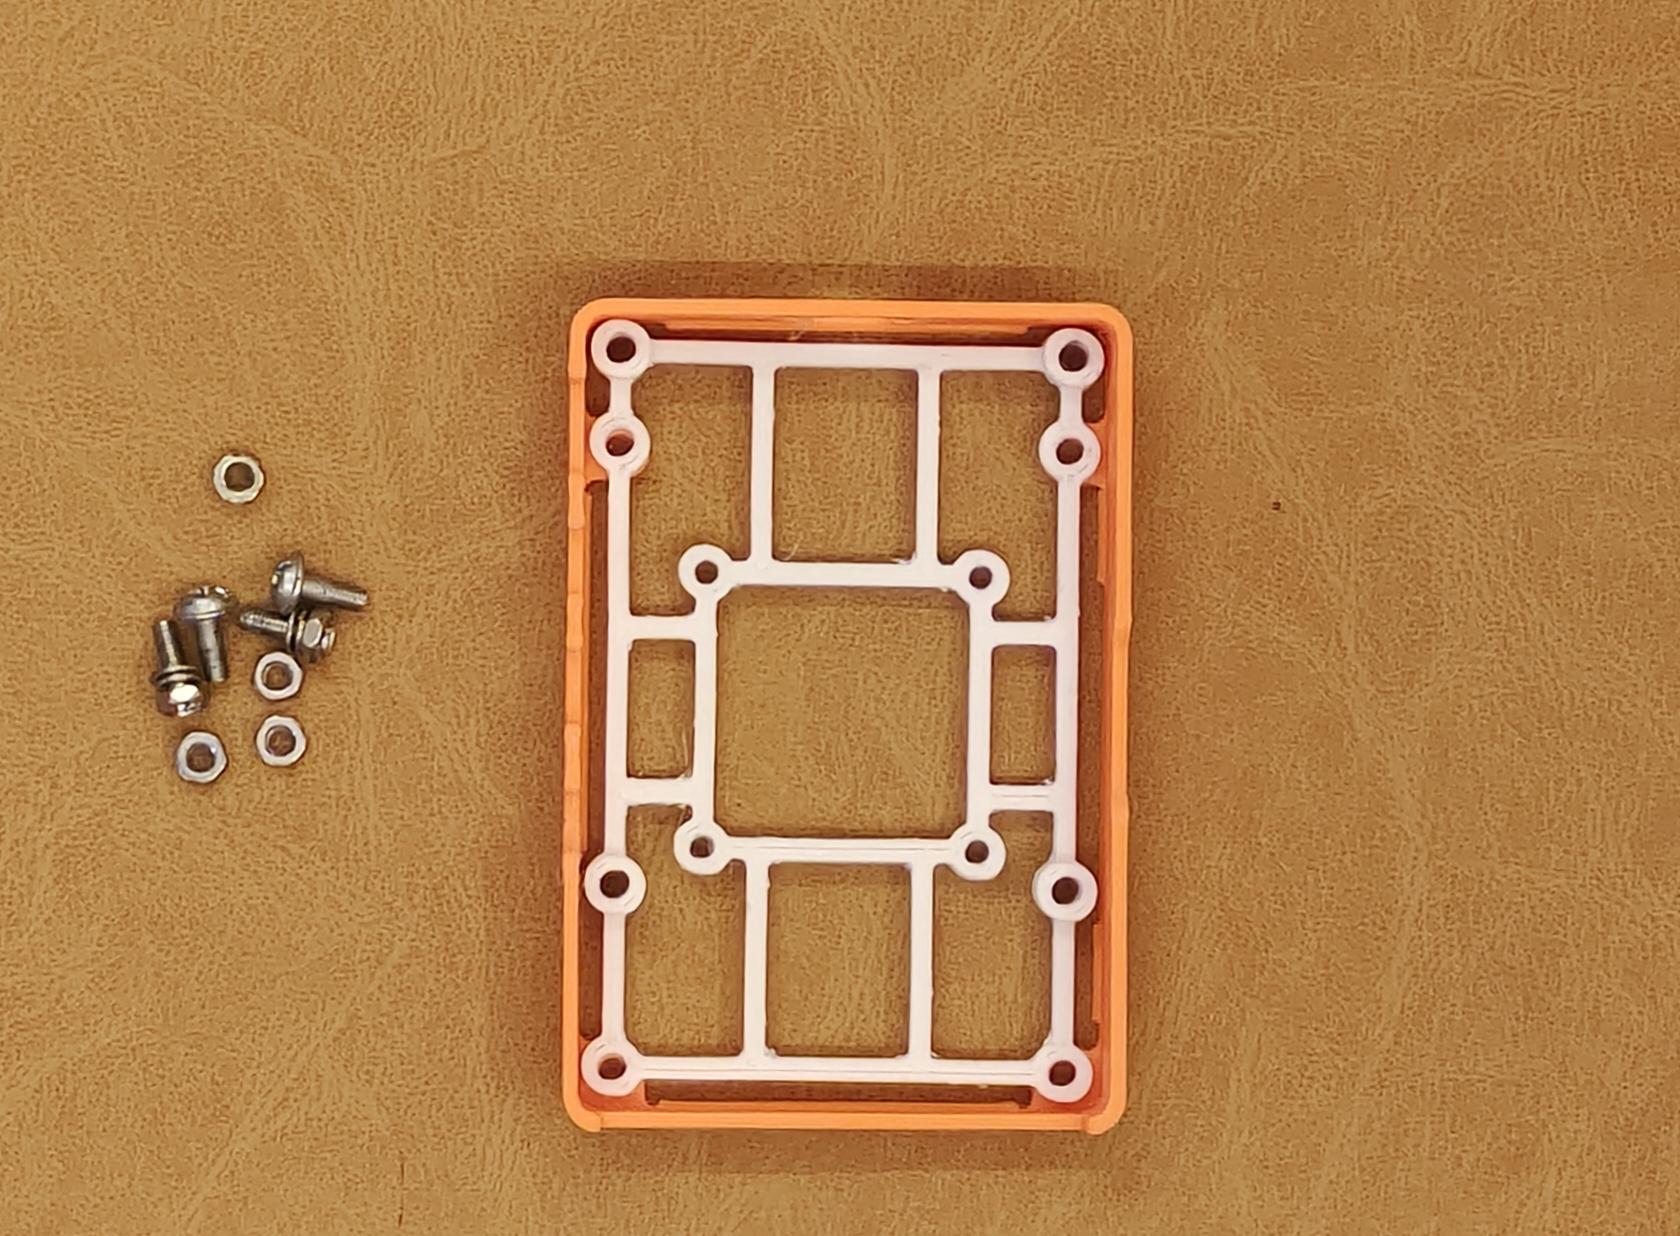
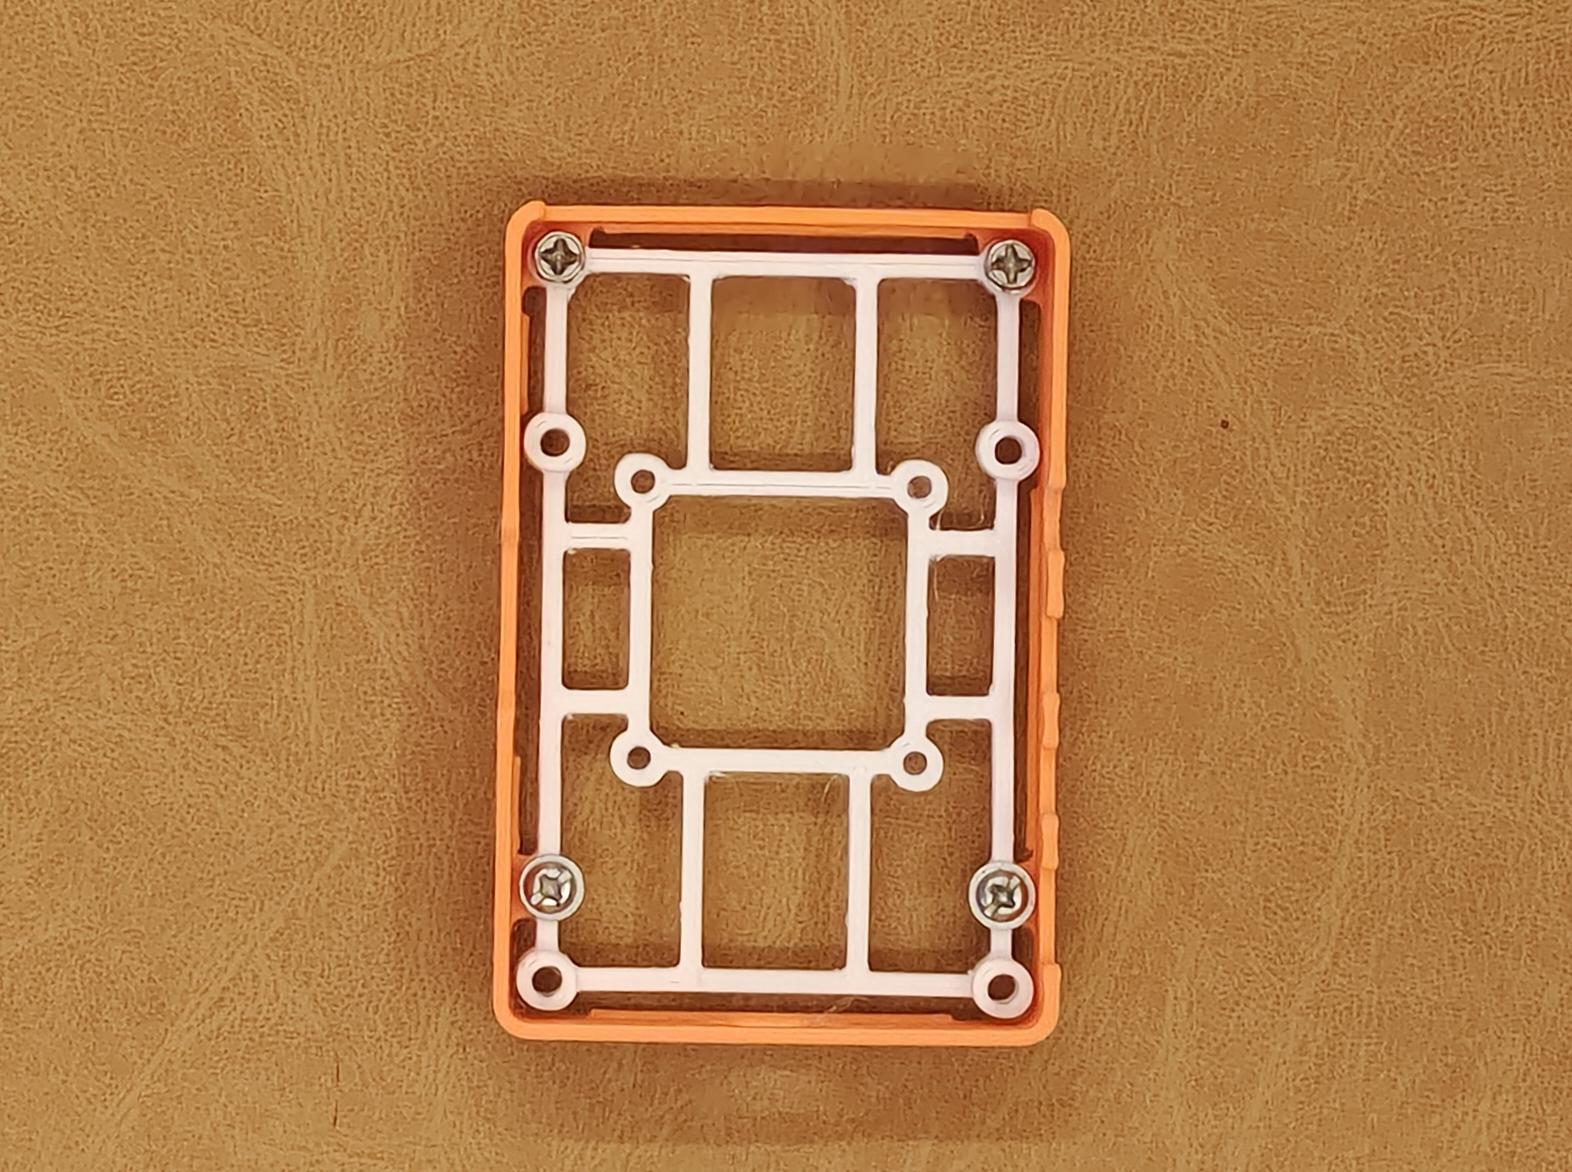
- Assemble the 3D printed parts as shown in images with the help of 8mm screws.
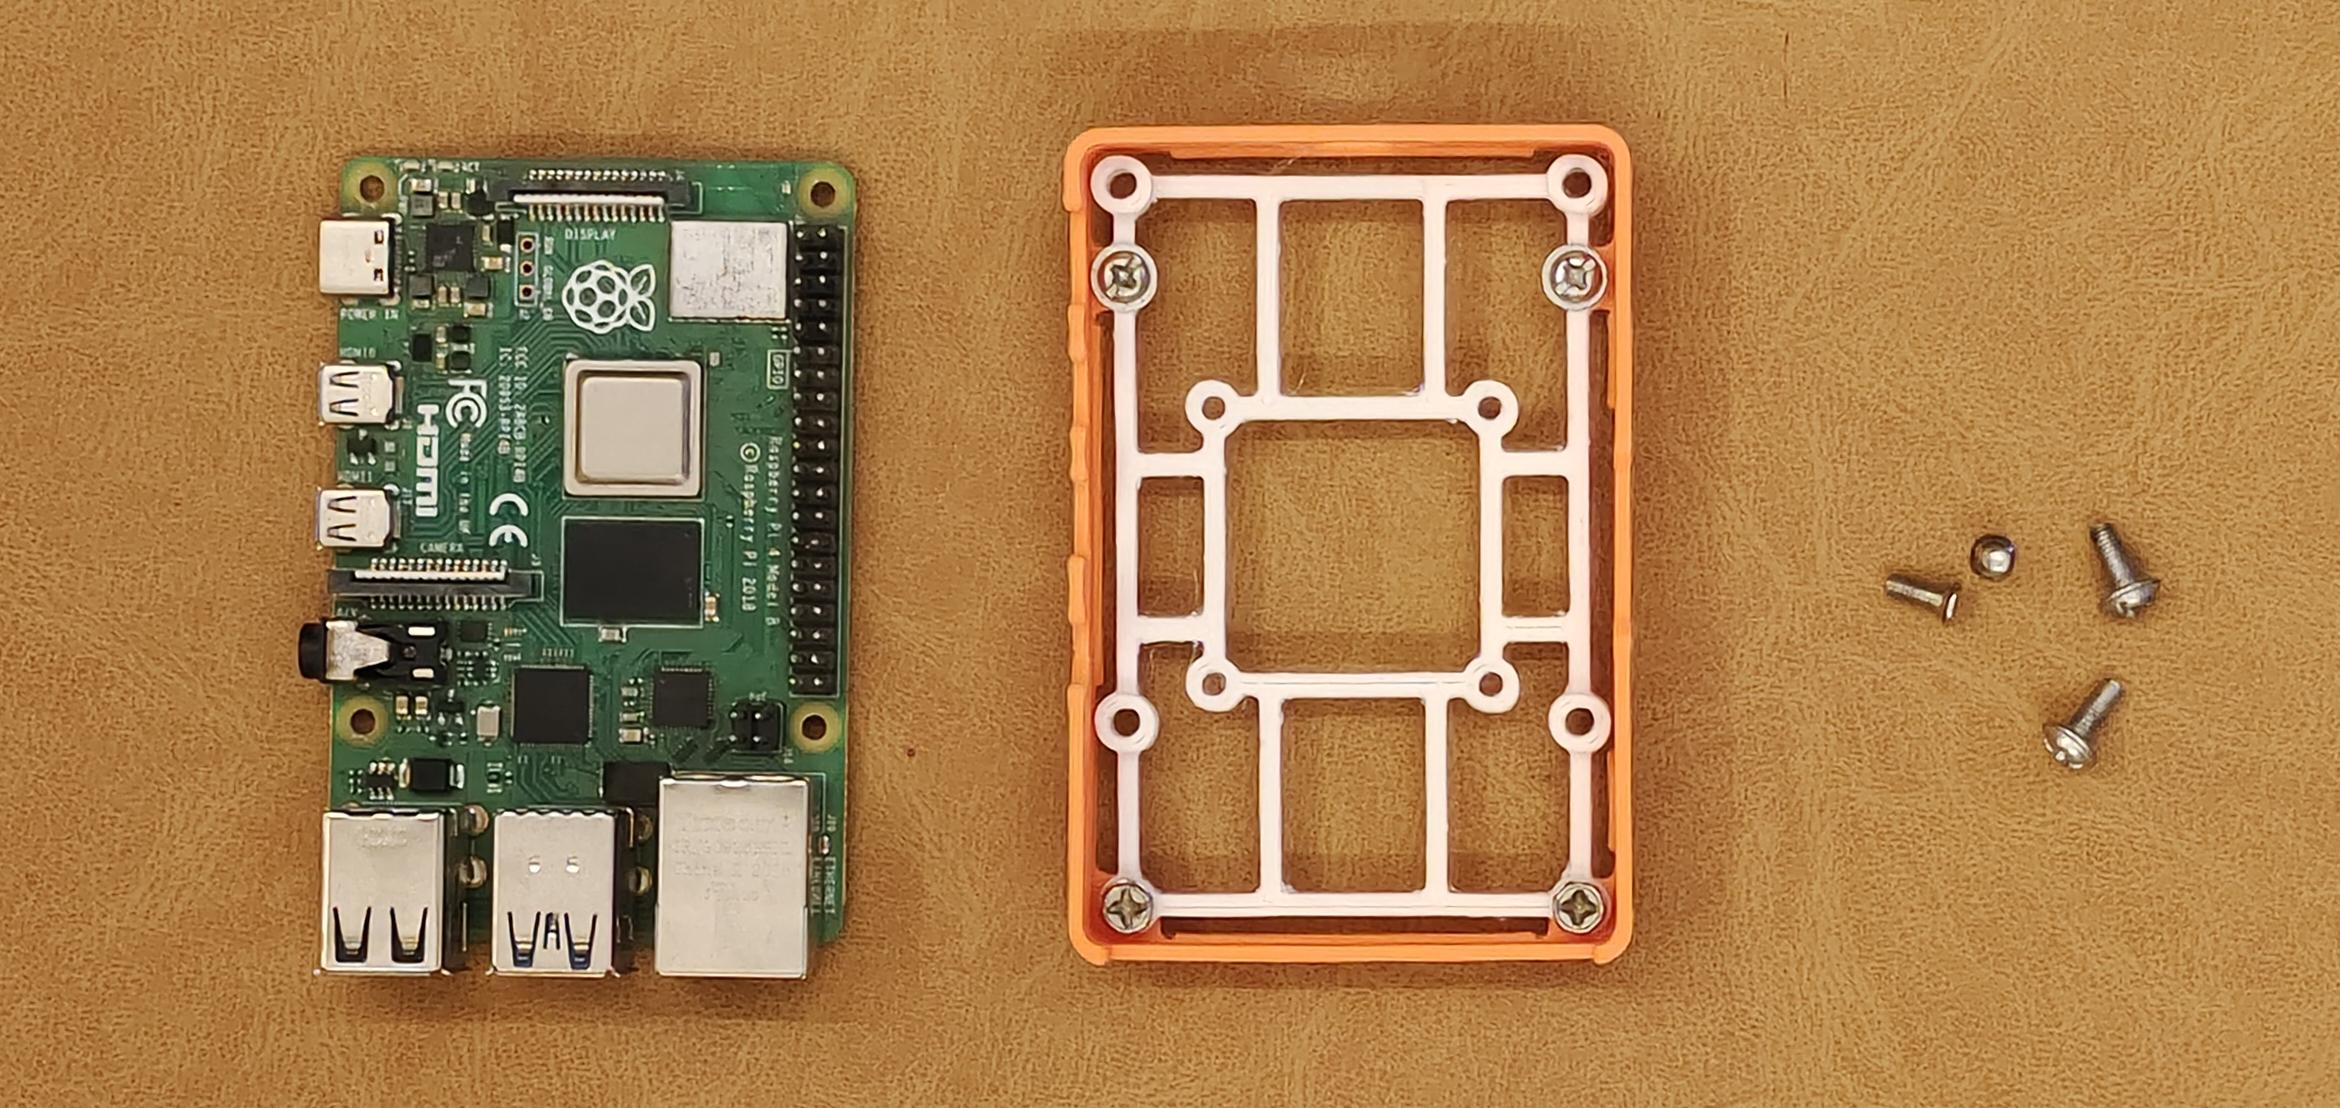
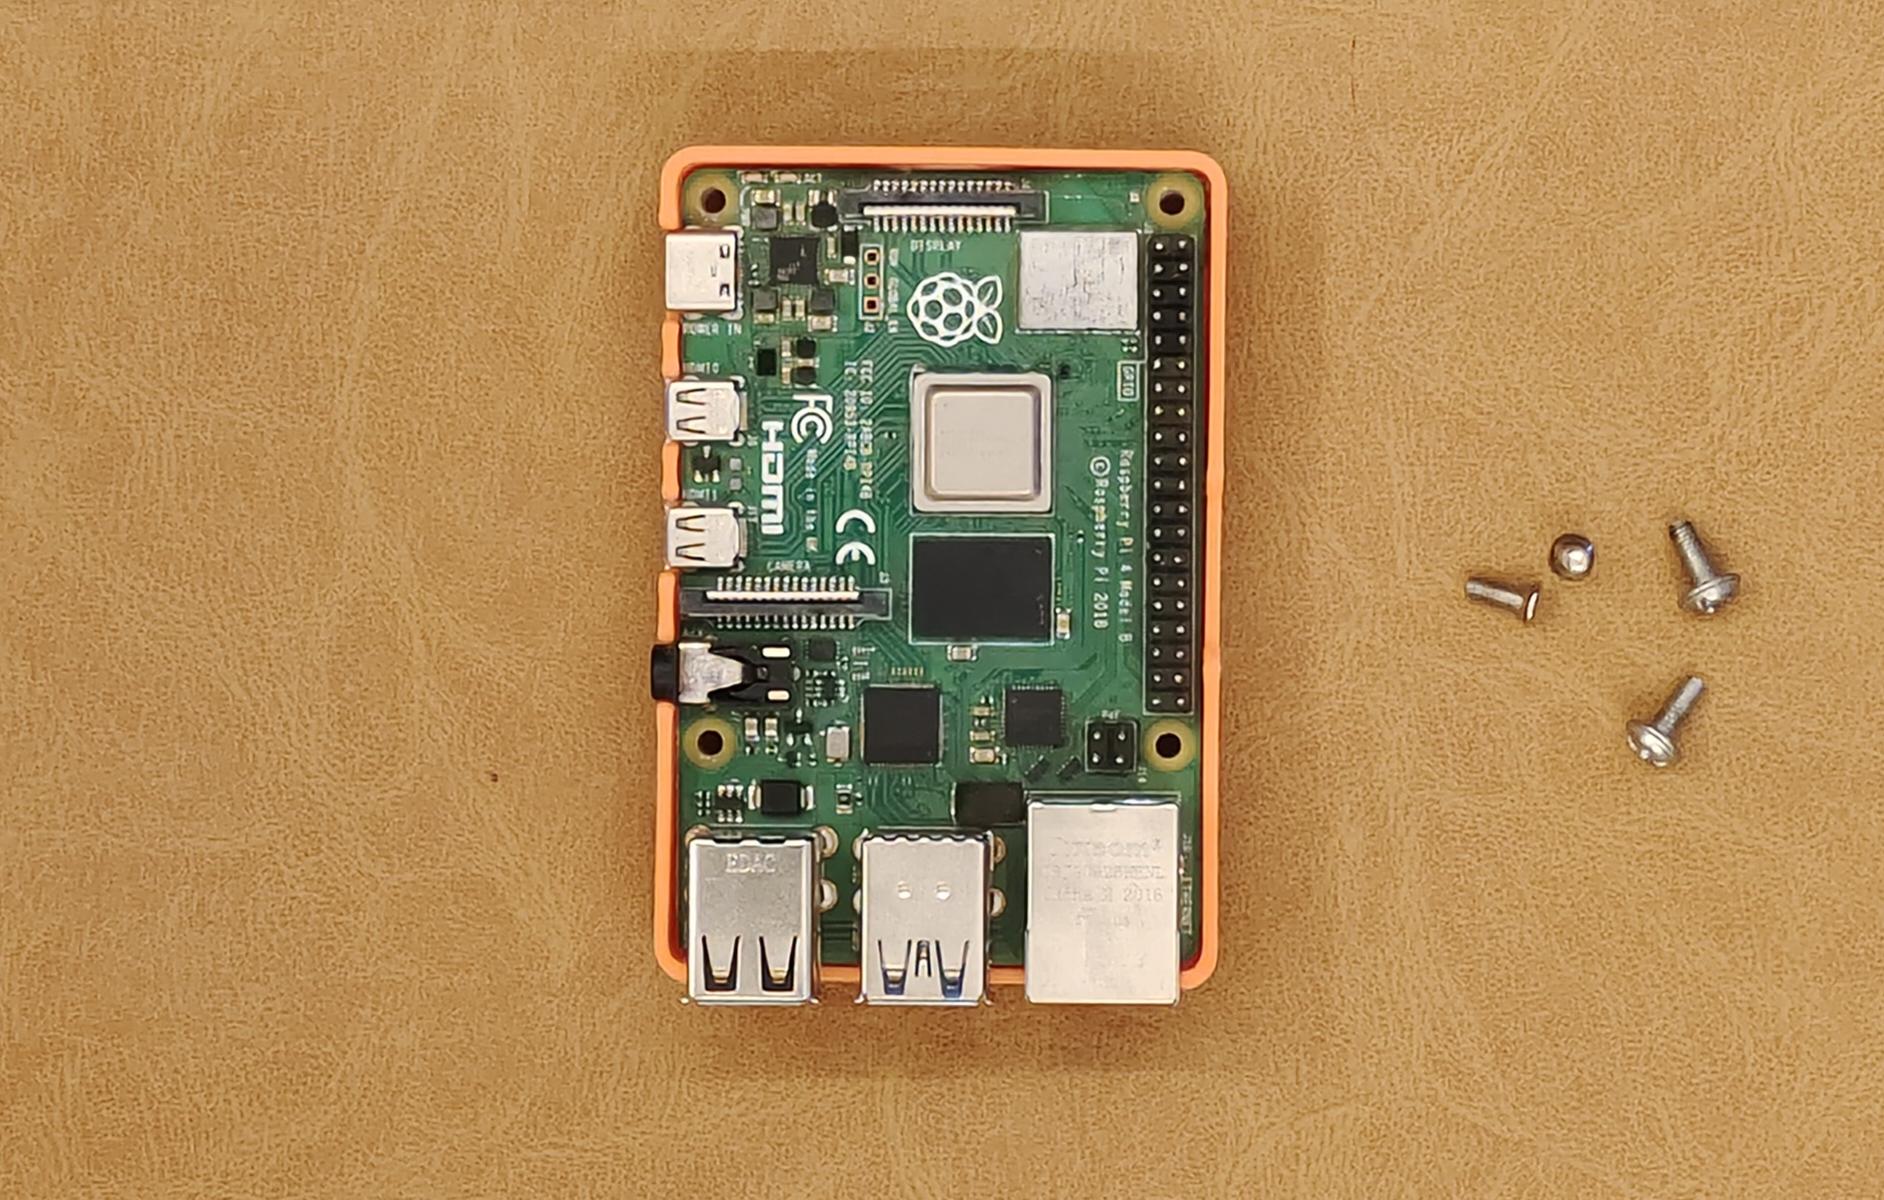
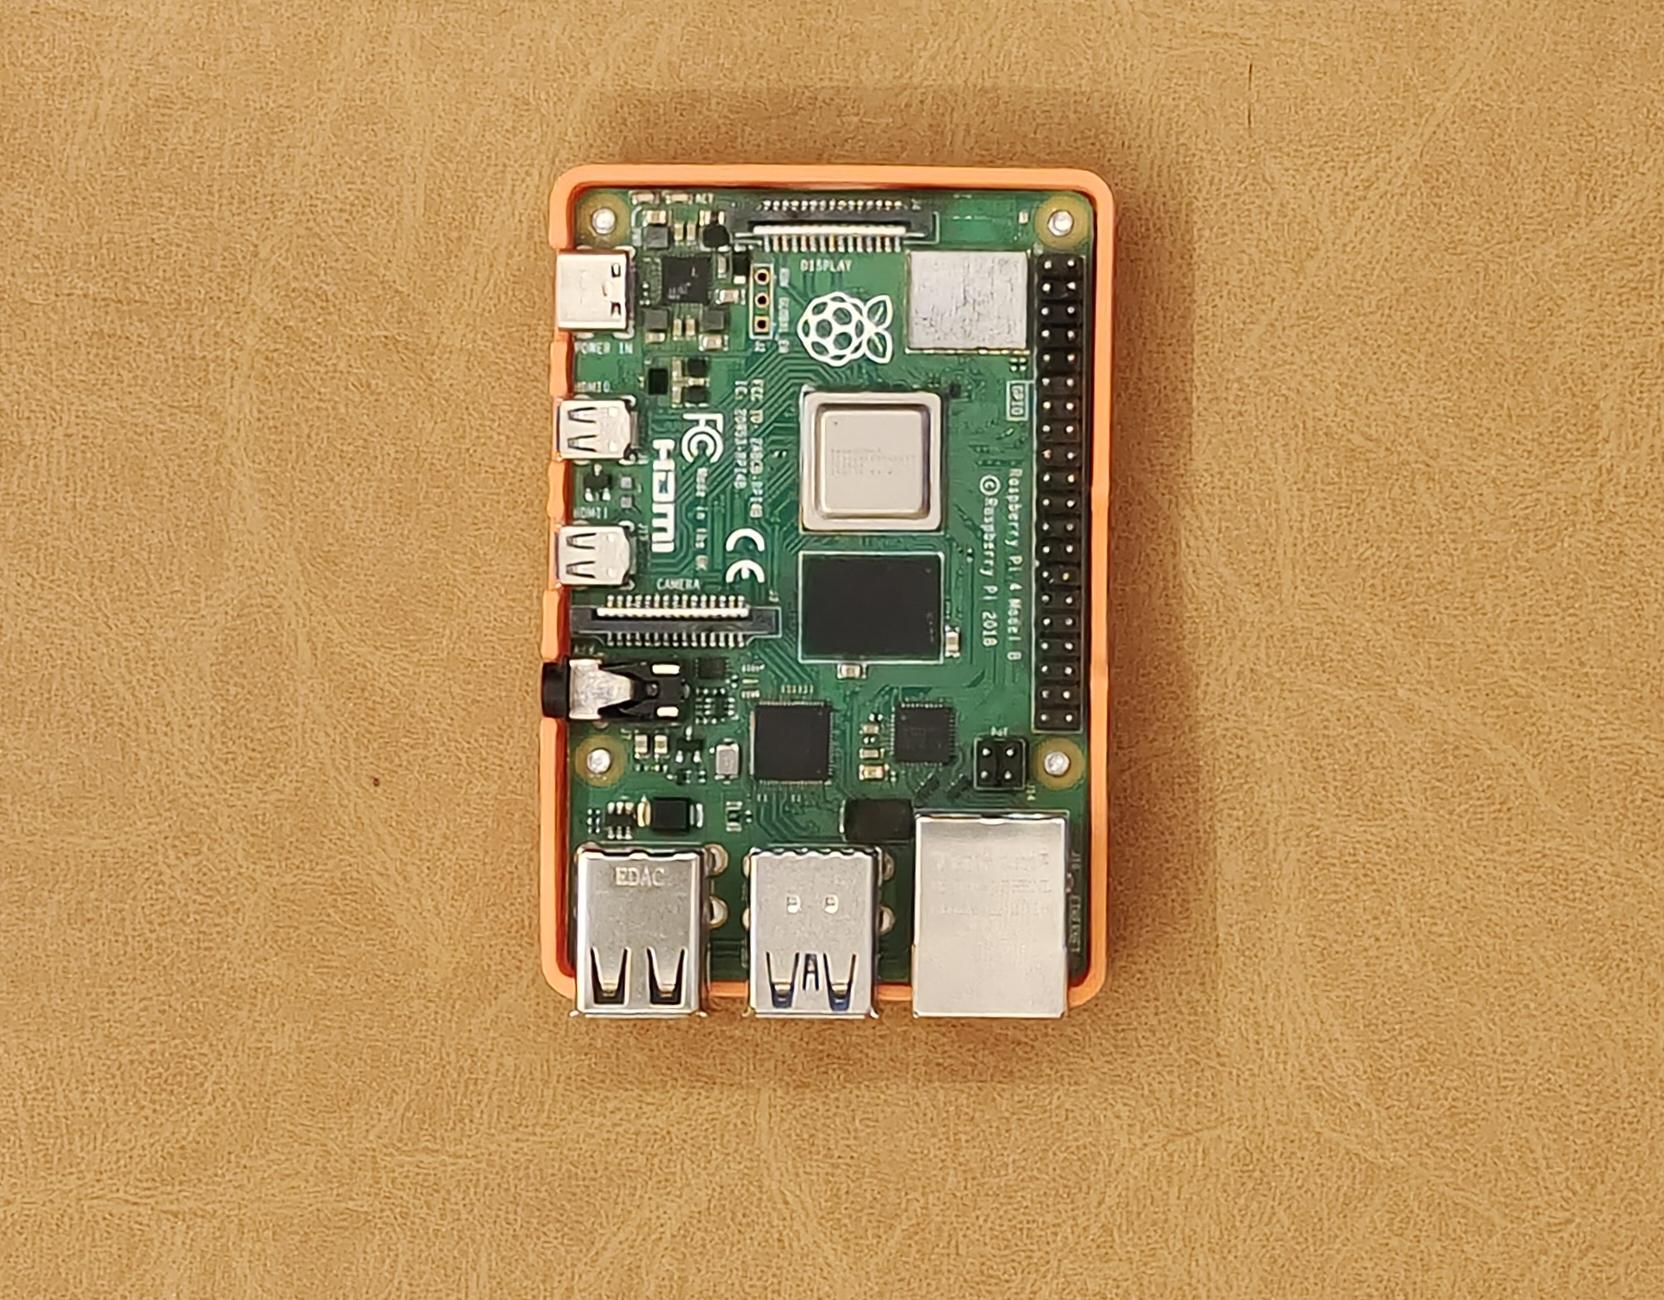
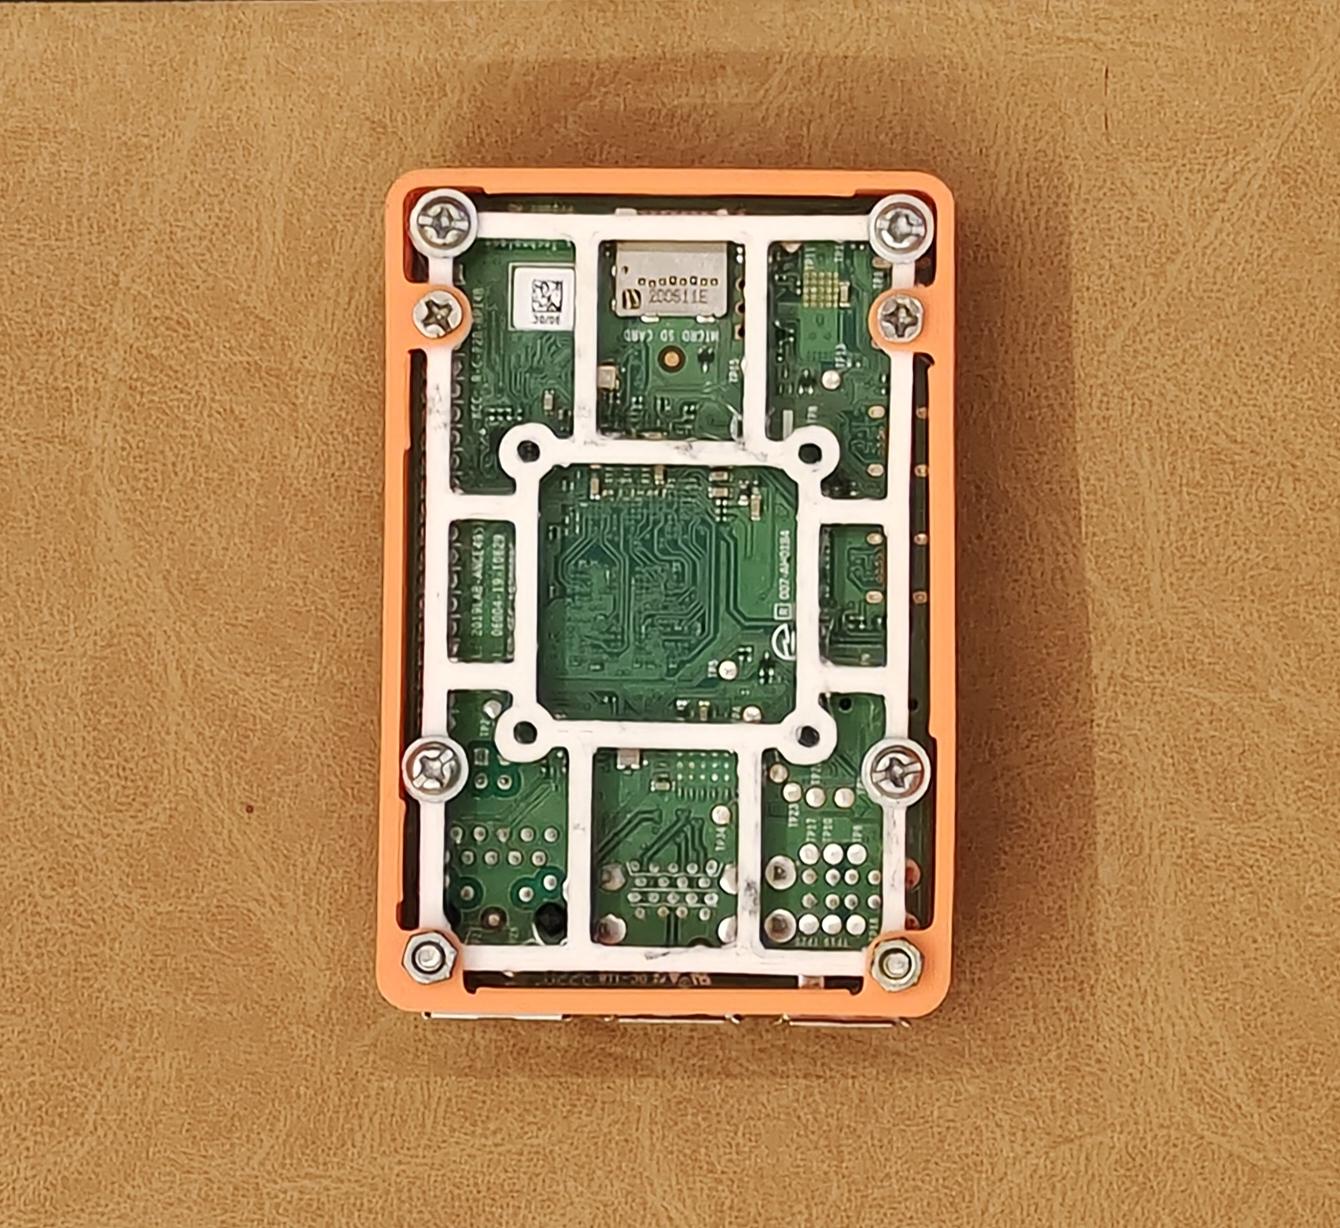
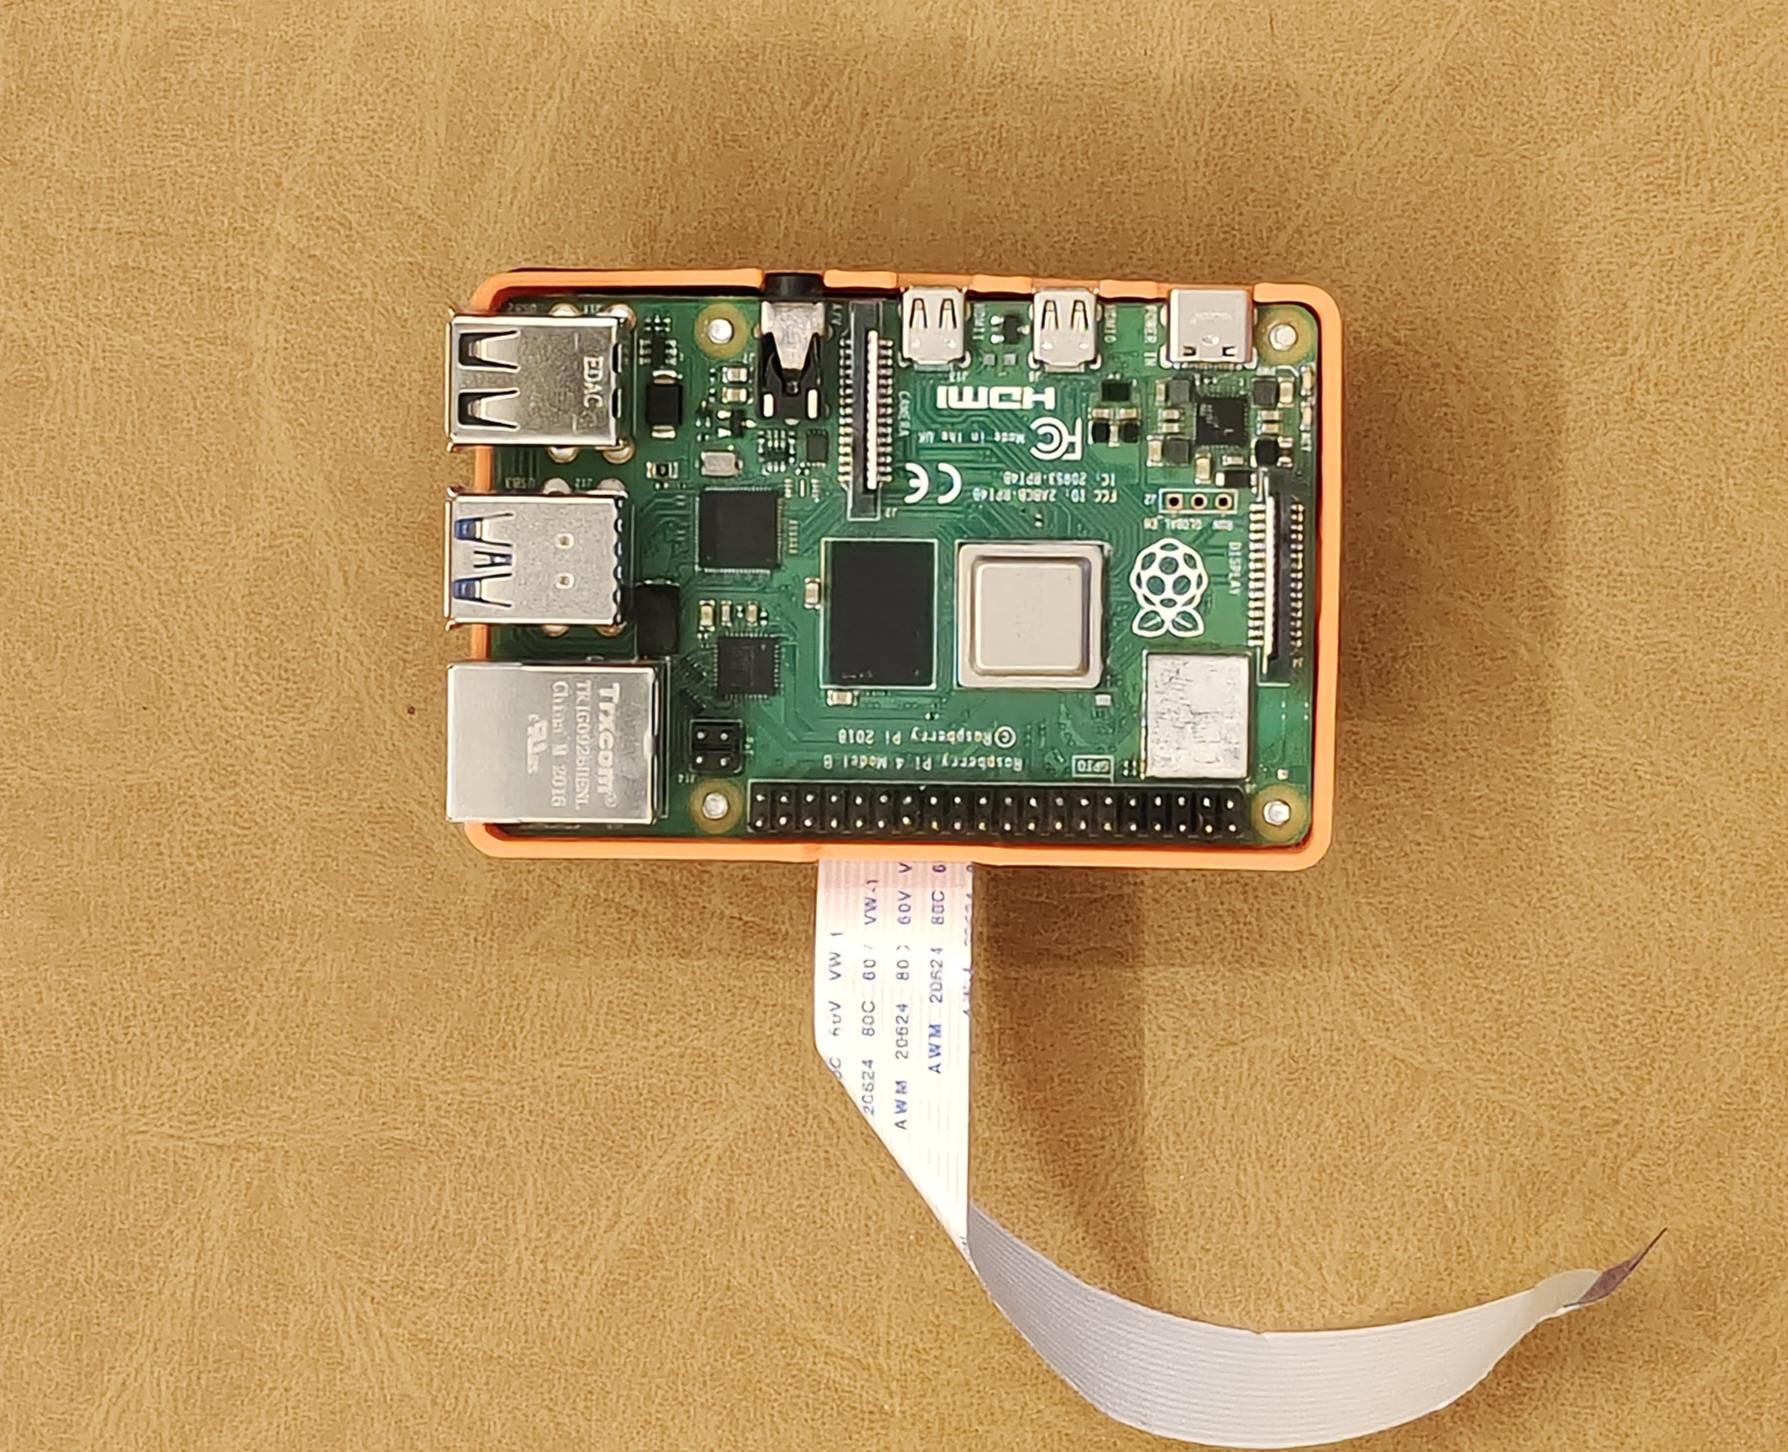
- Put the Raspberry Pi in assembled 3D printed enclosure and fix it with 8mm screws.
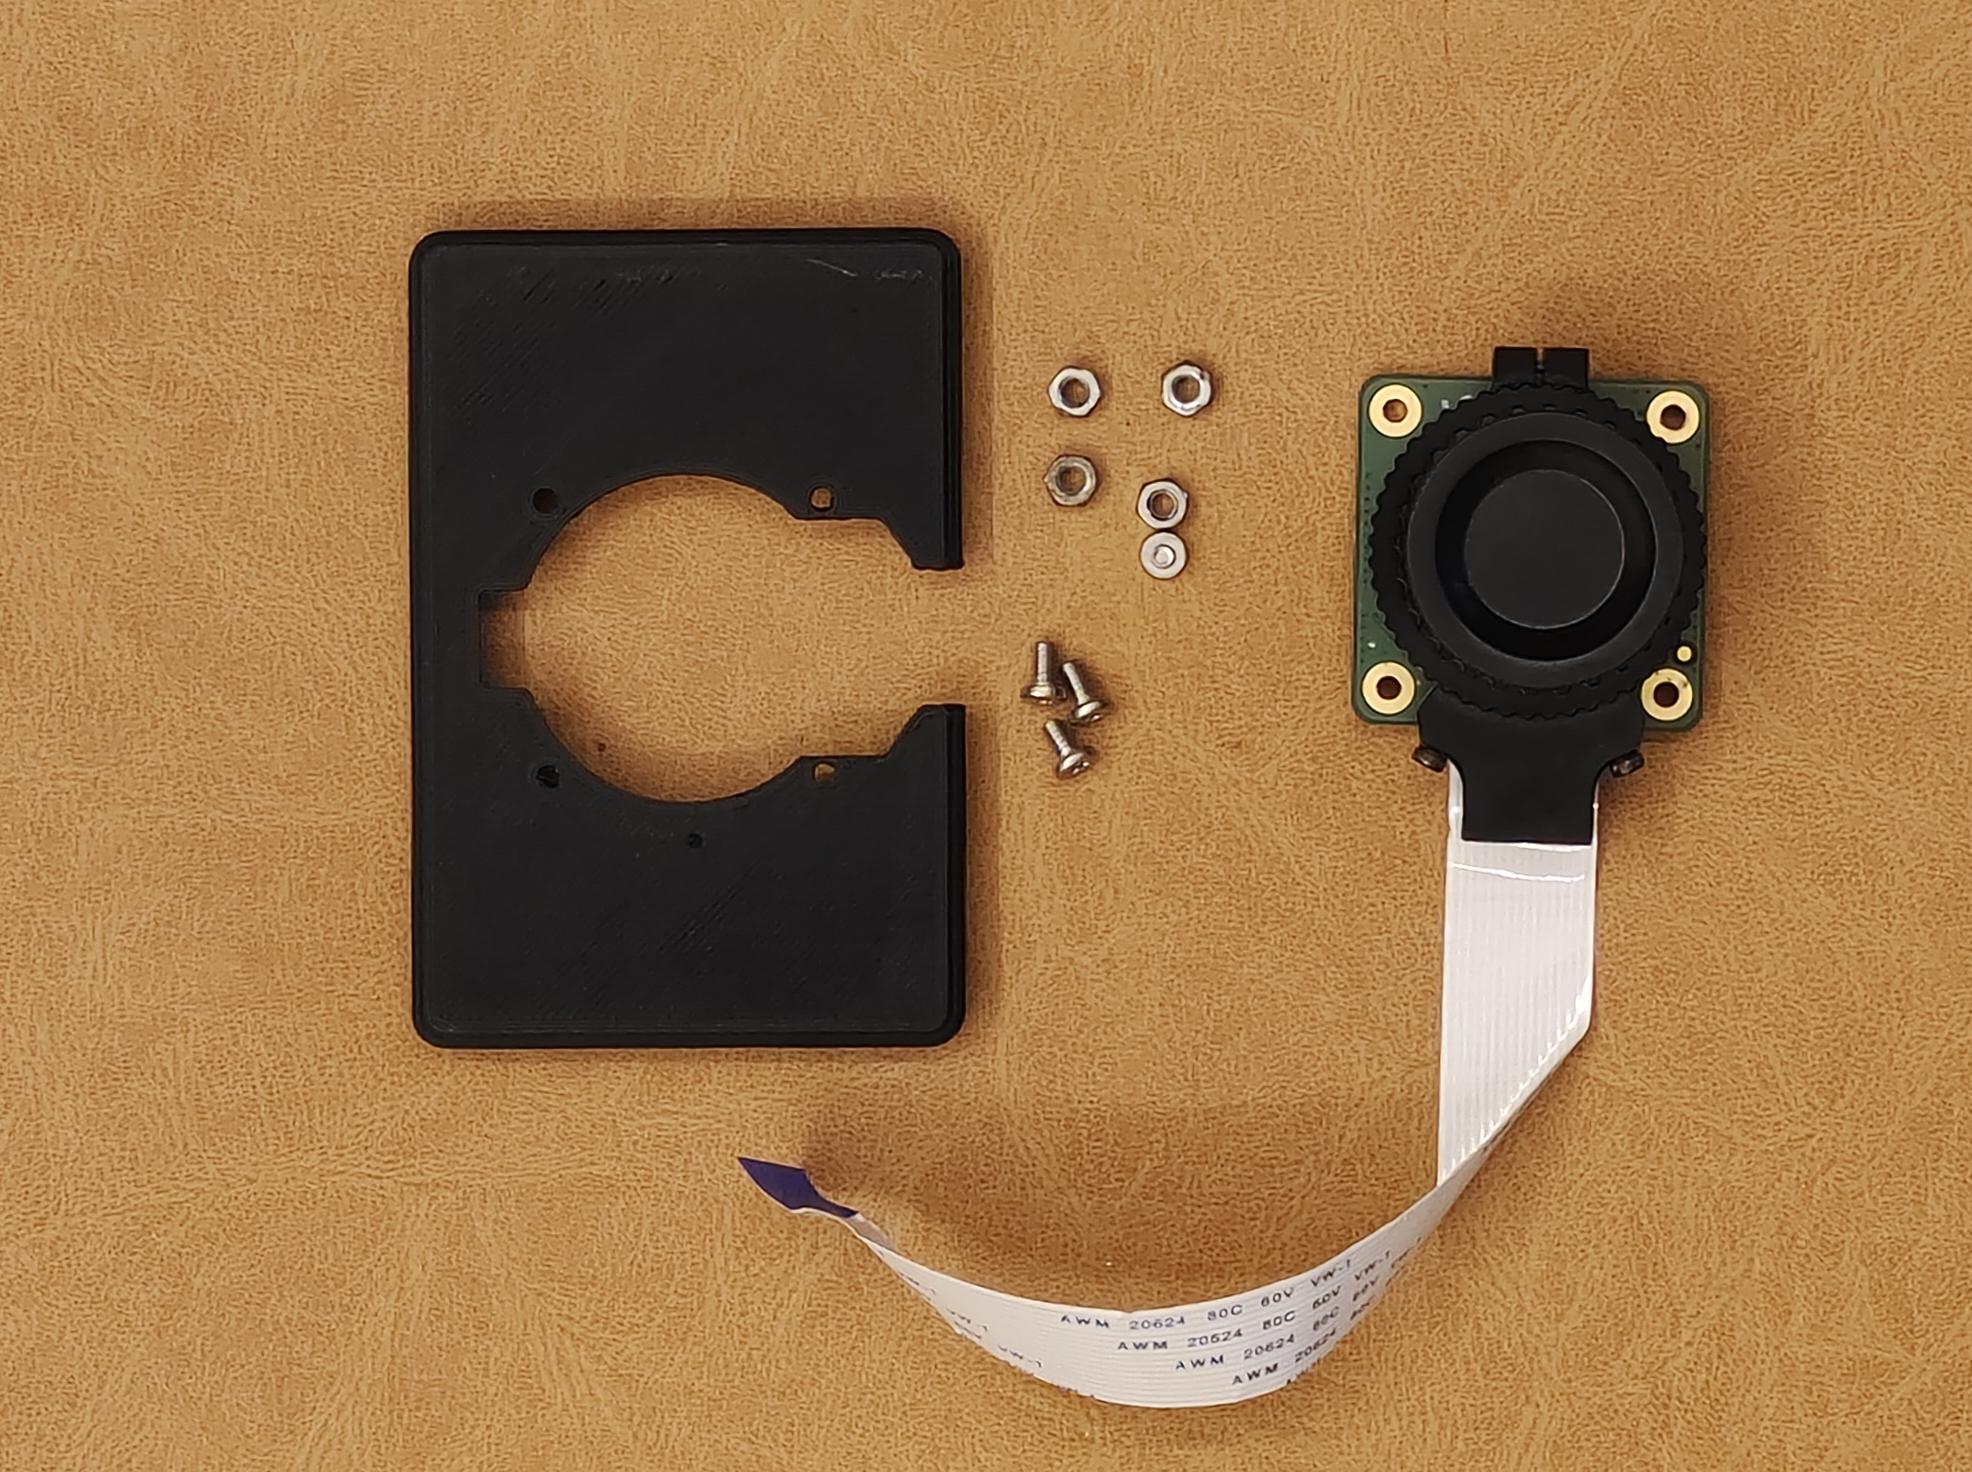
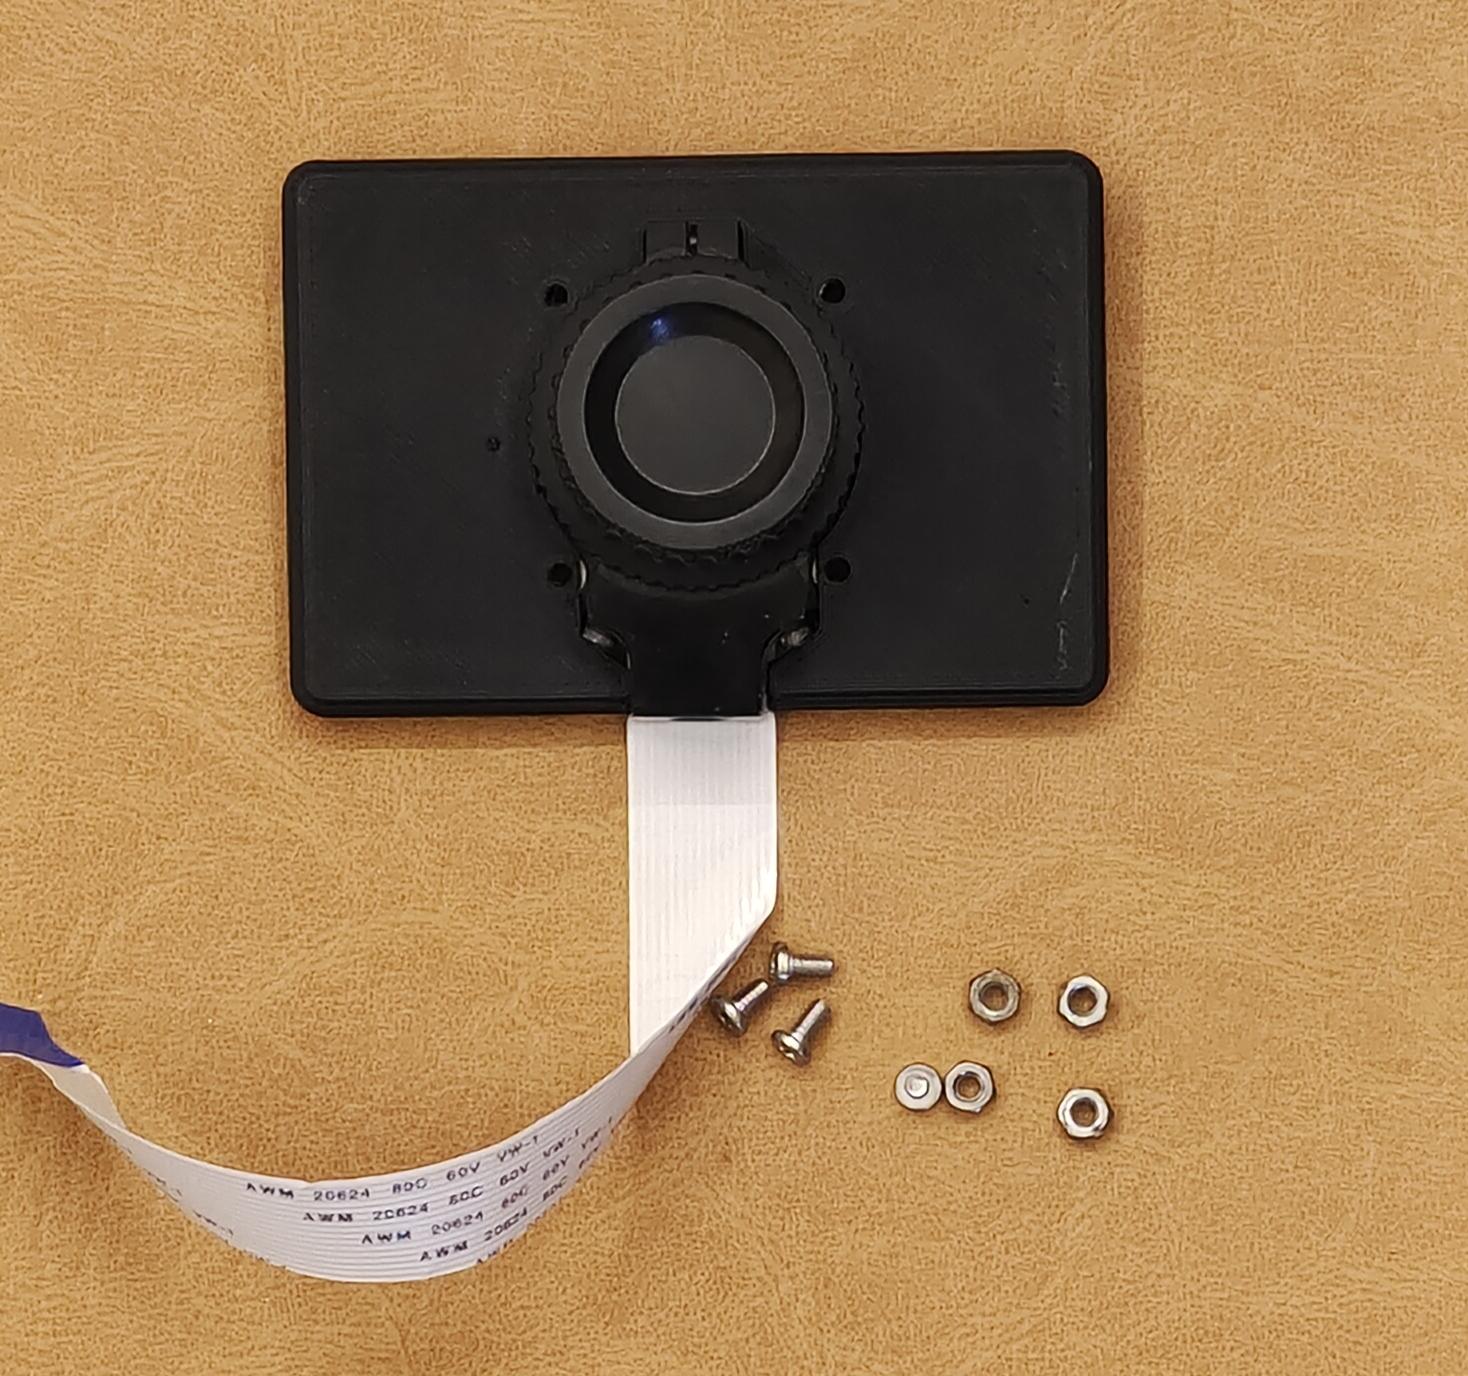
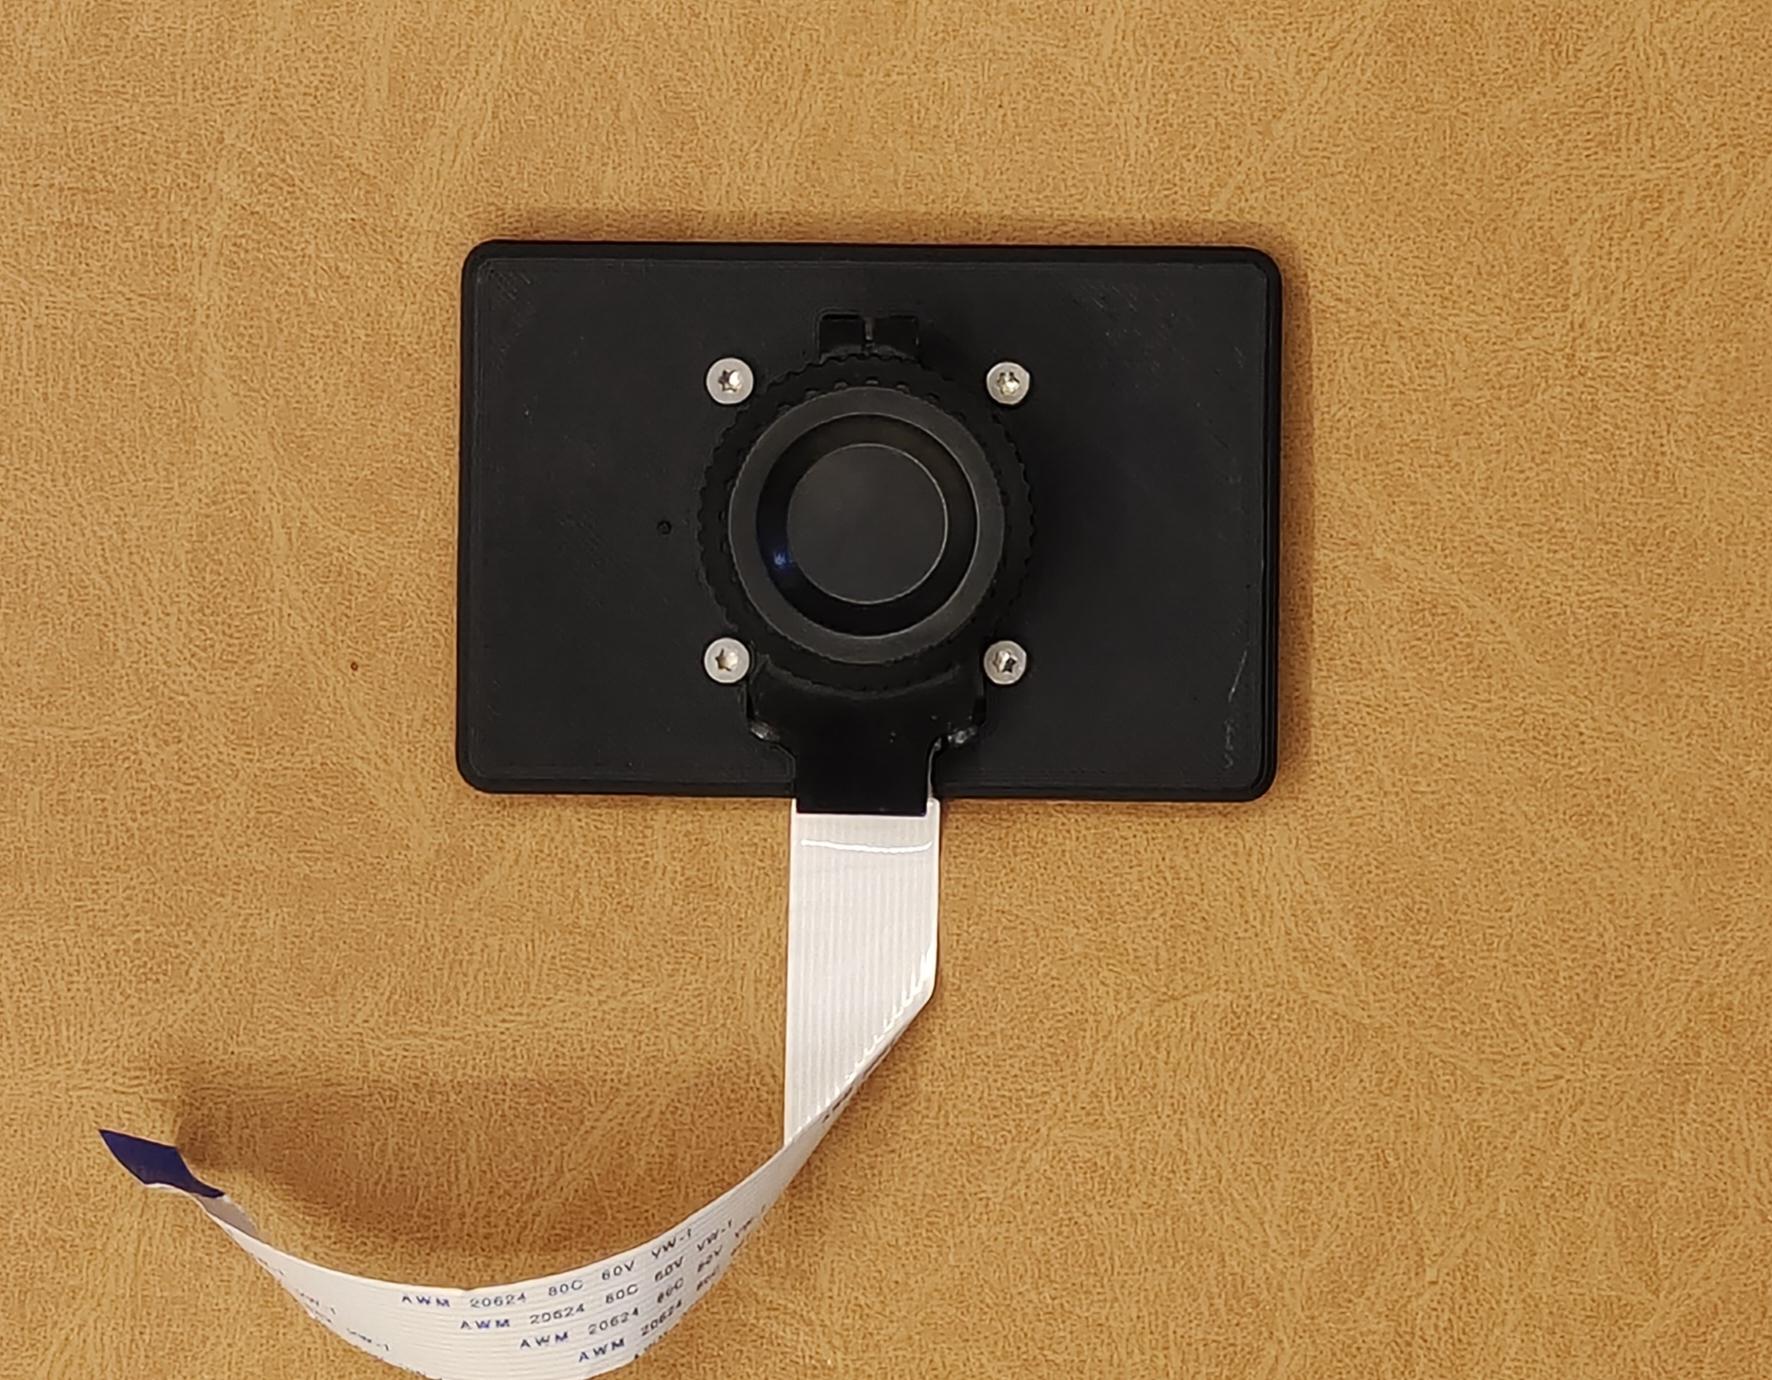
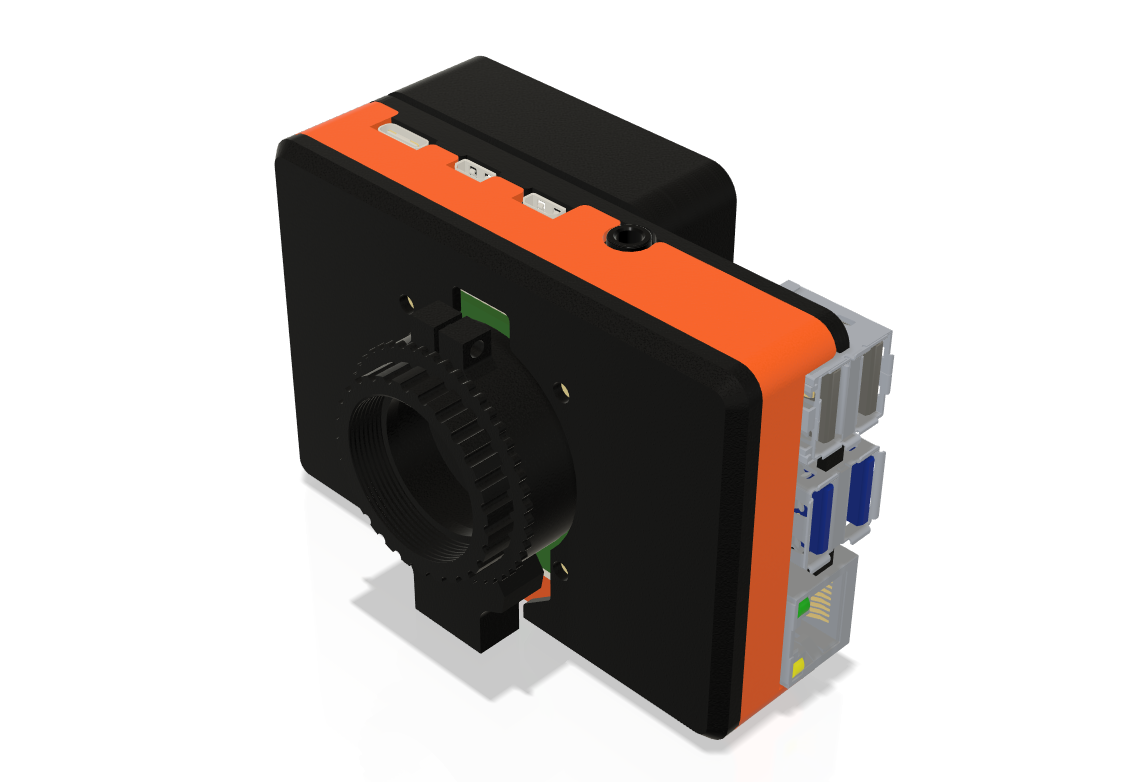
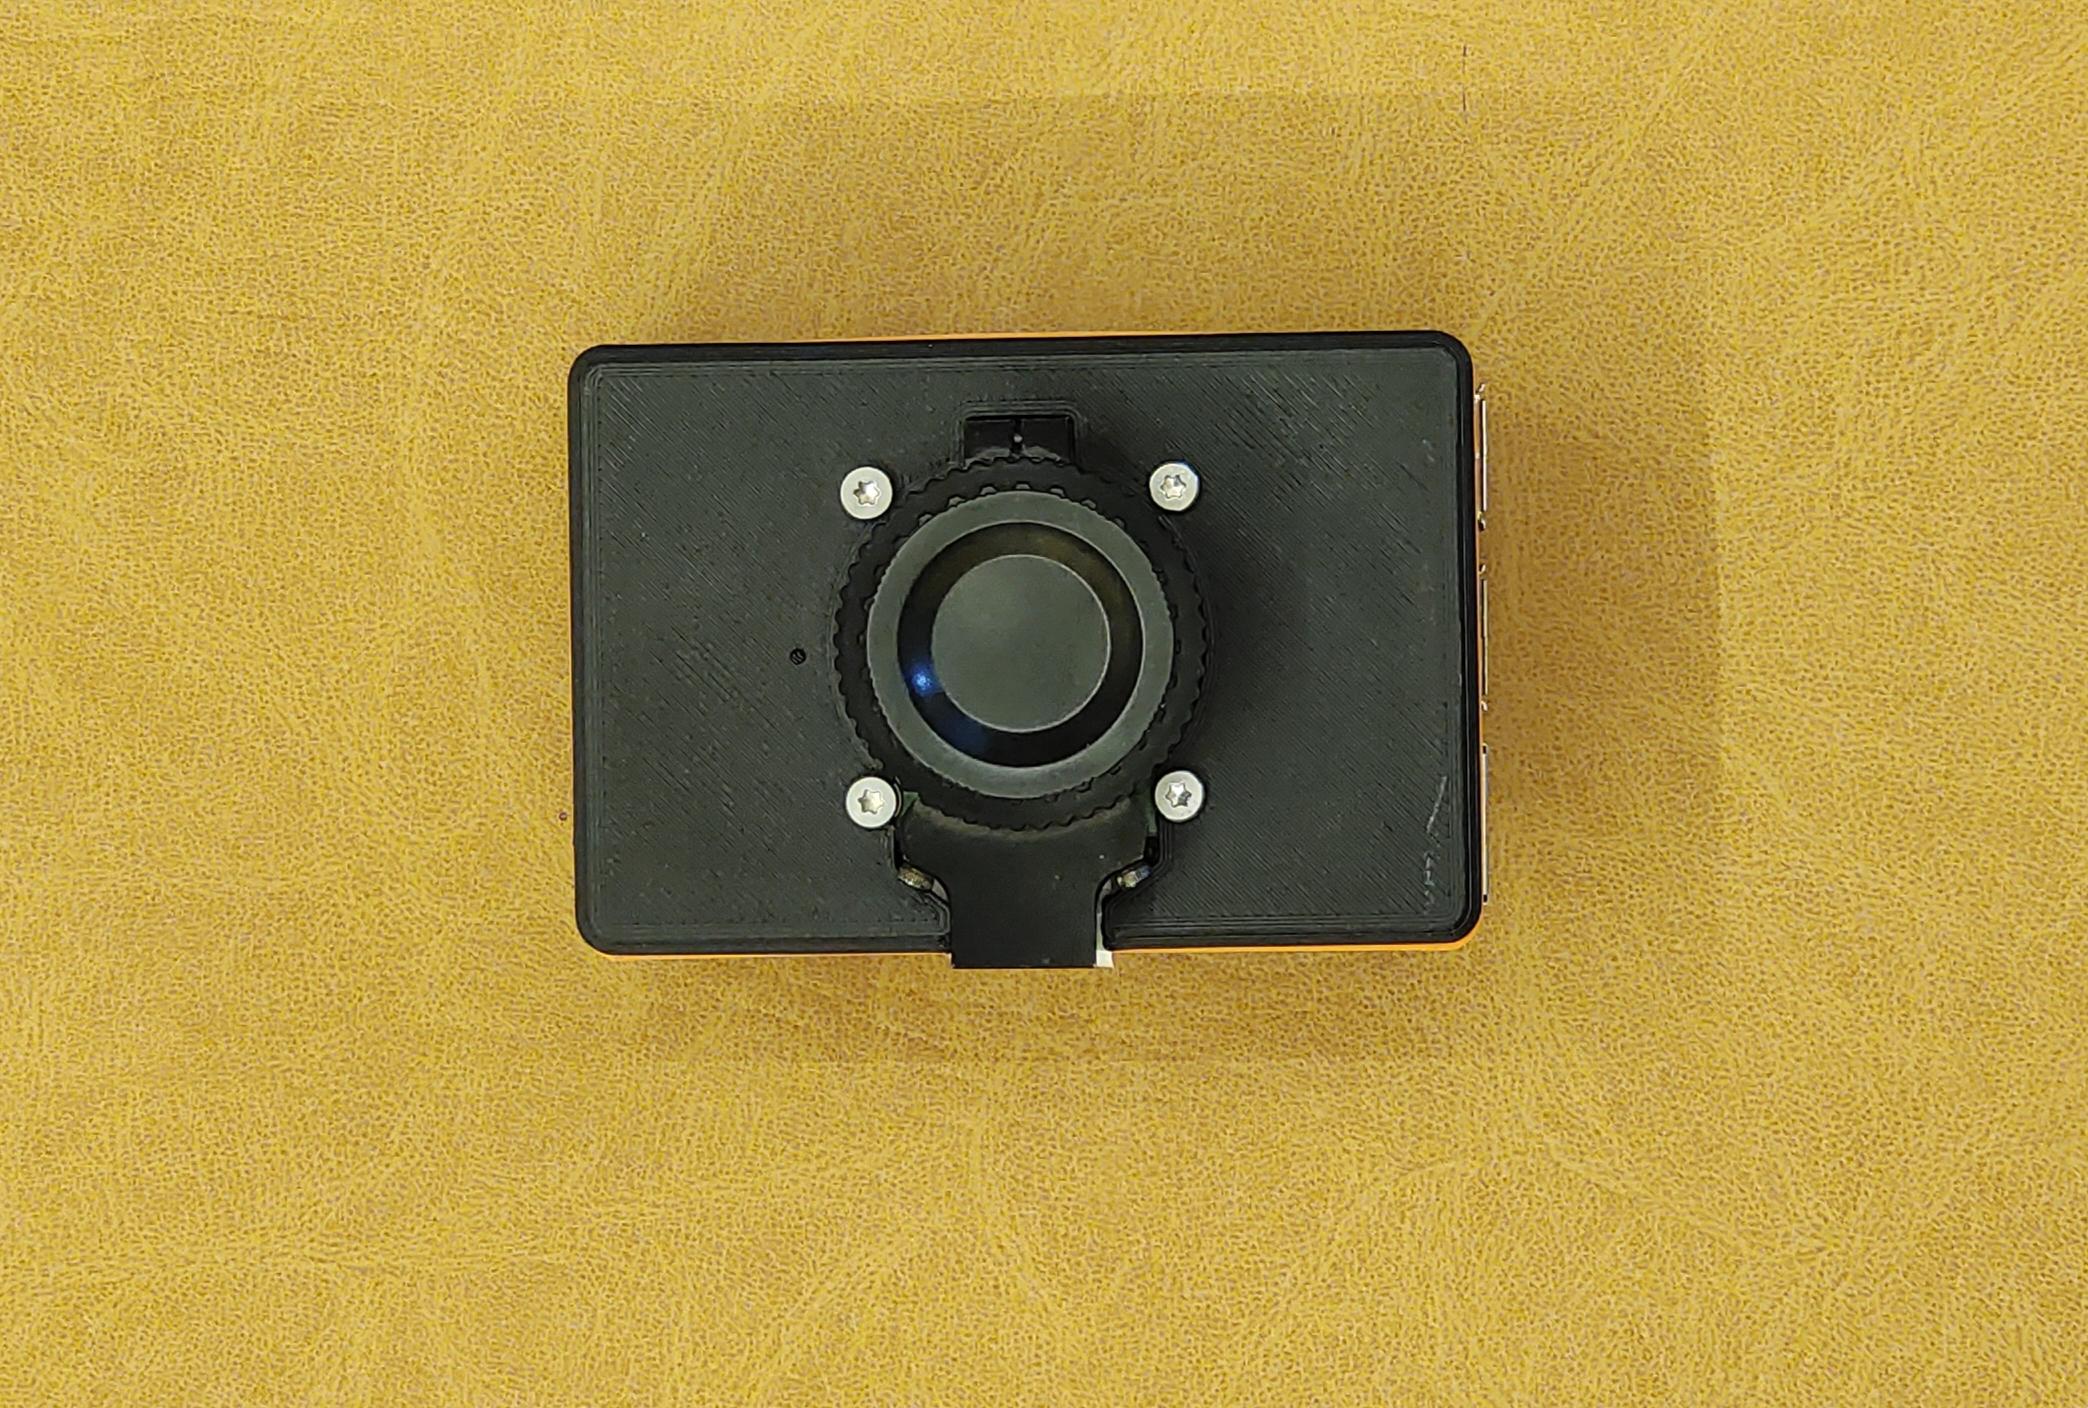
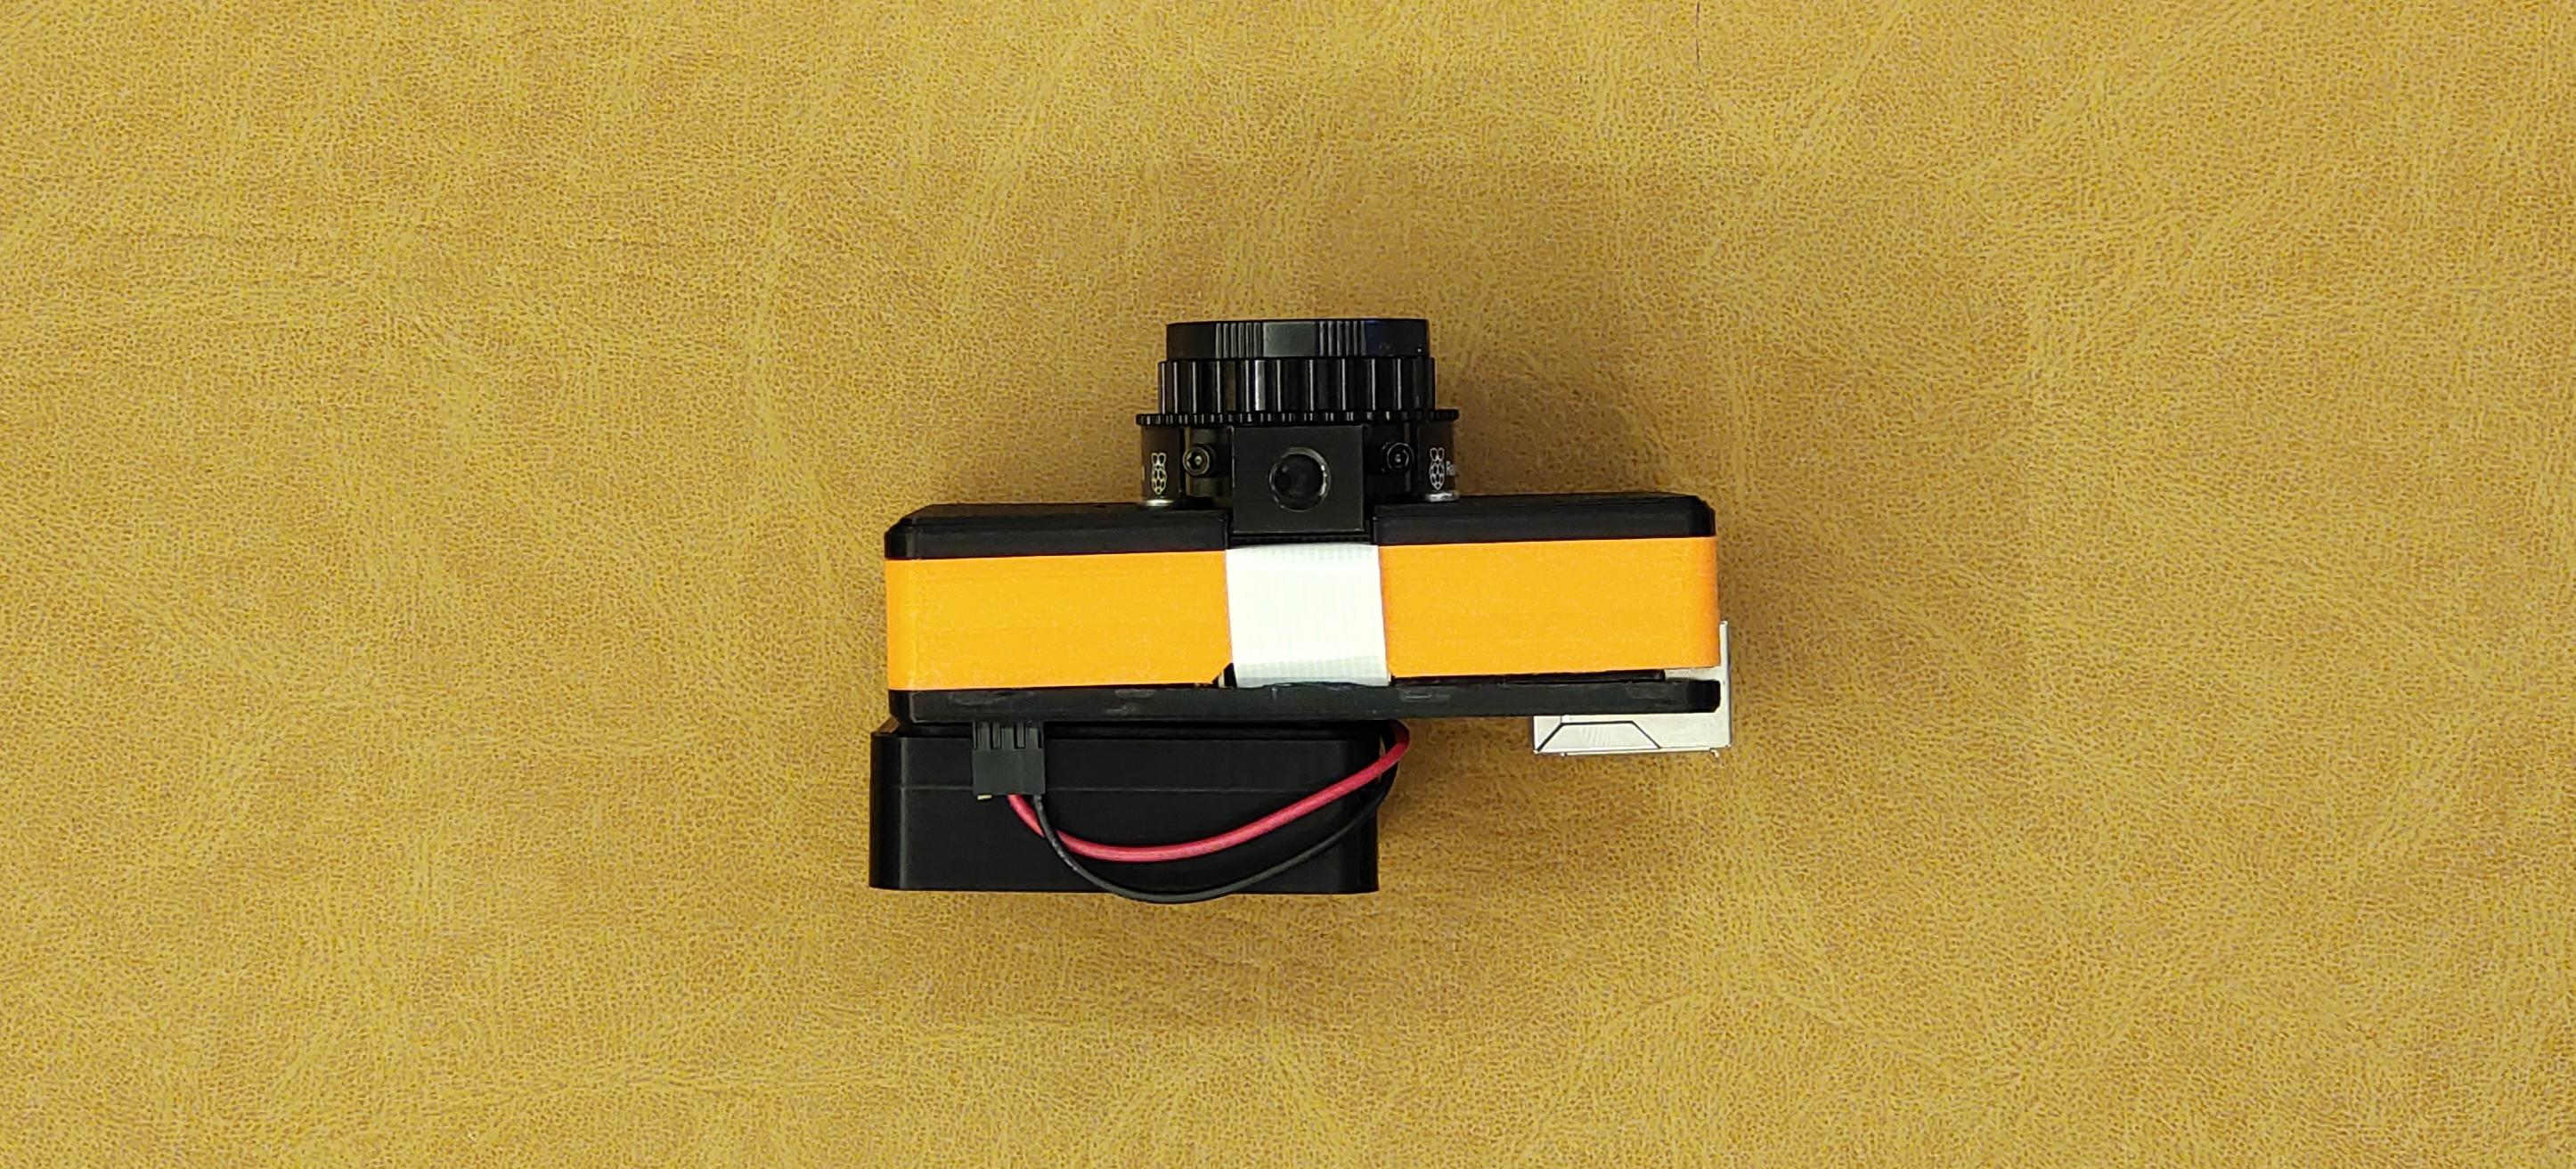
- Take the part3 and fix the camera module to it with the help of 5mm screws as shown.
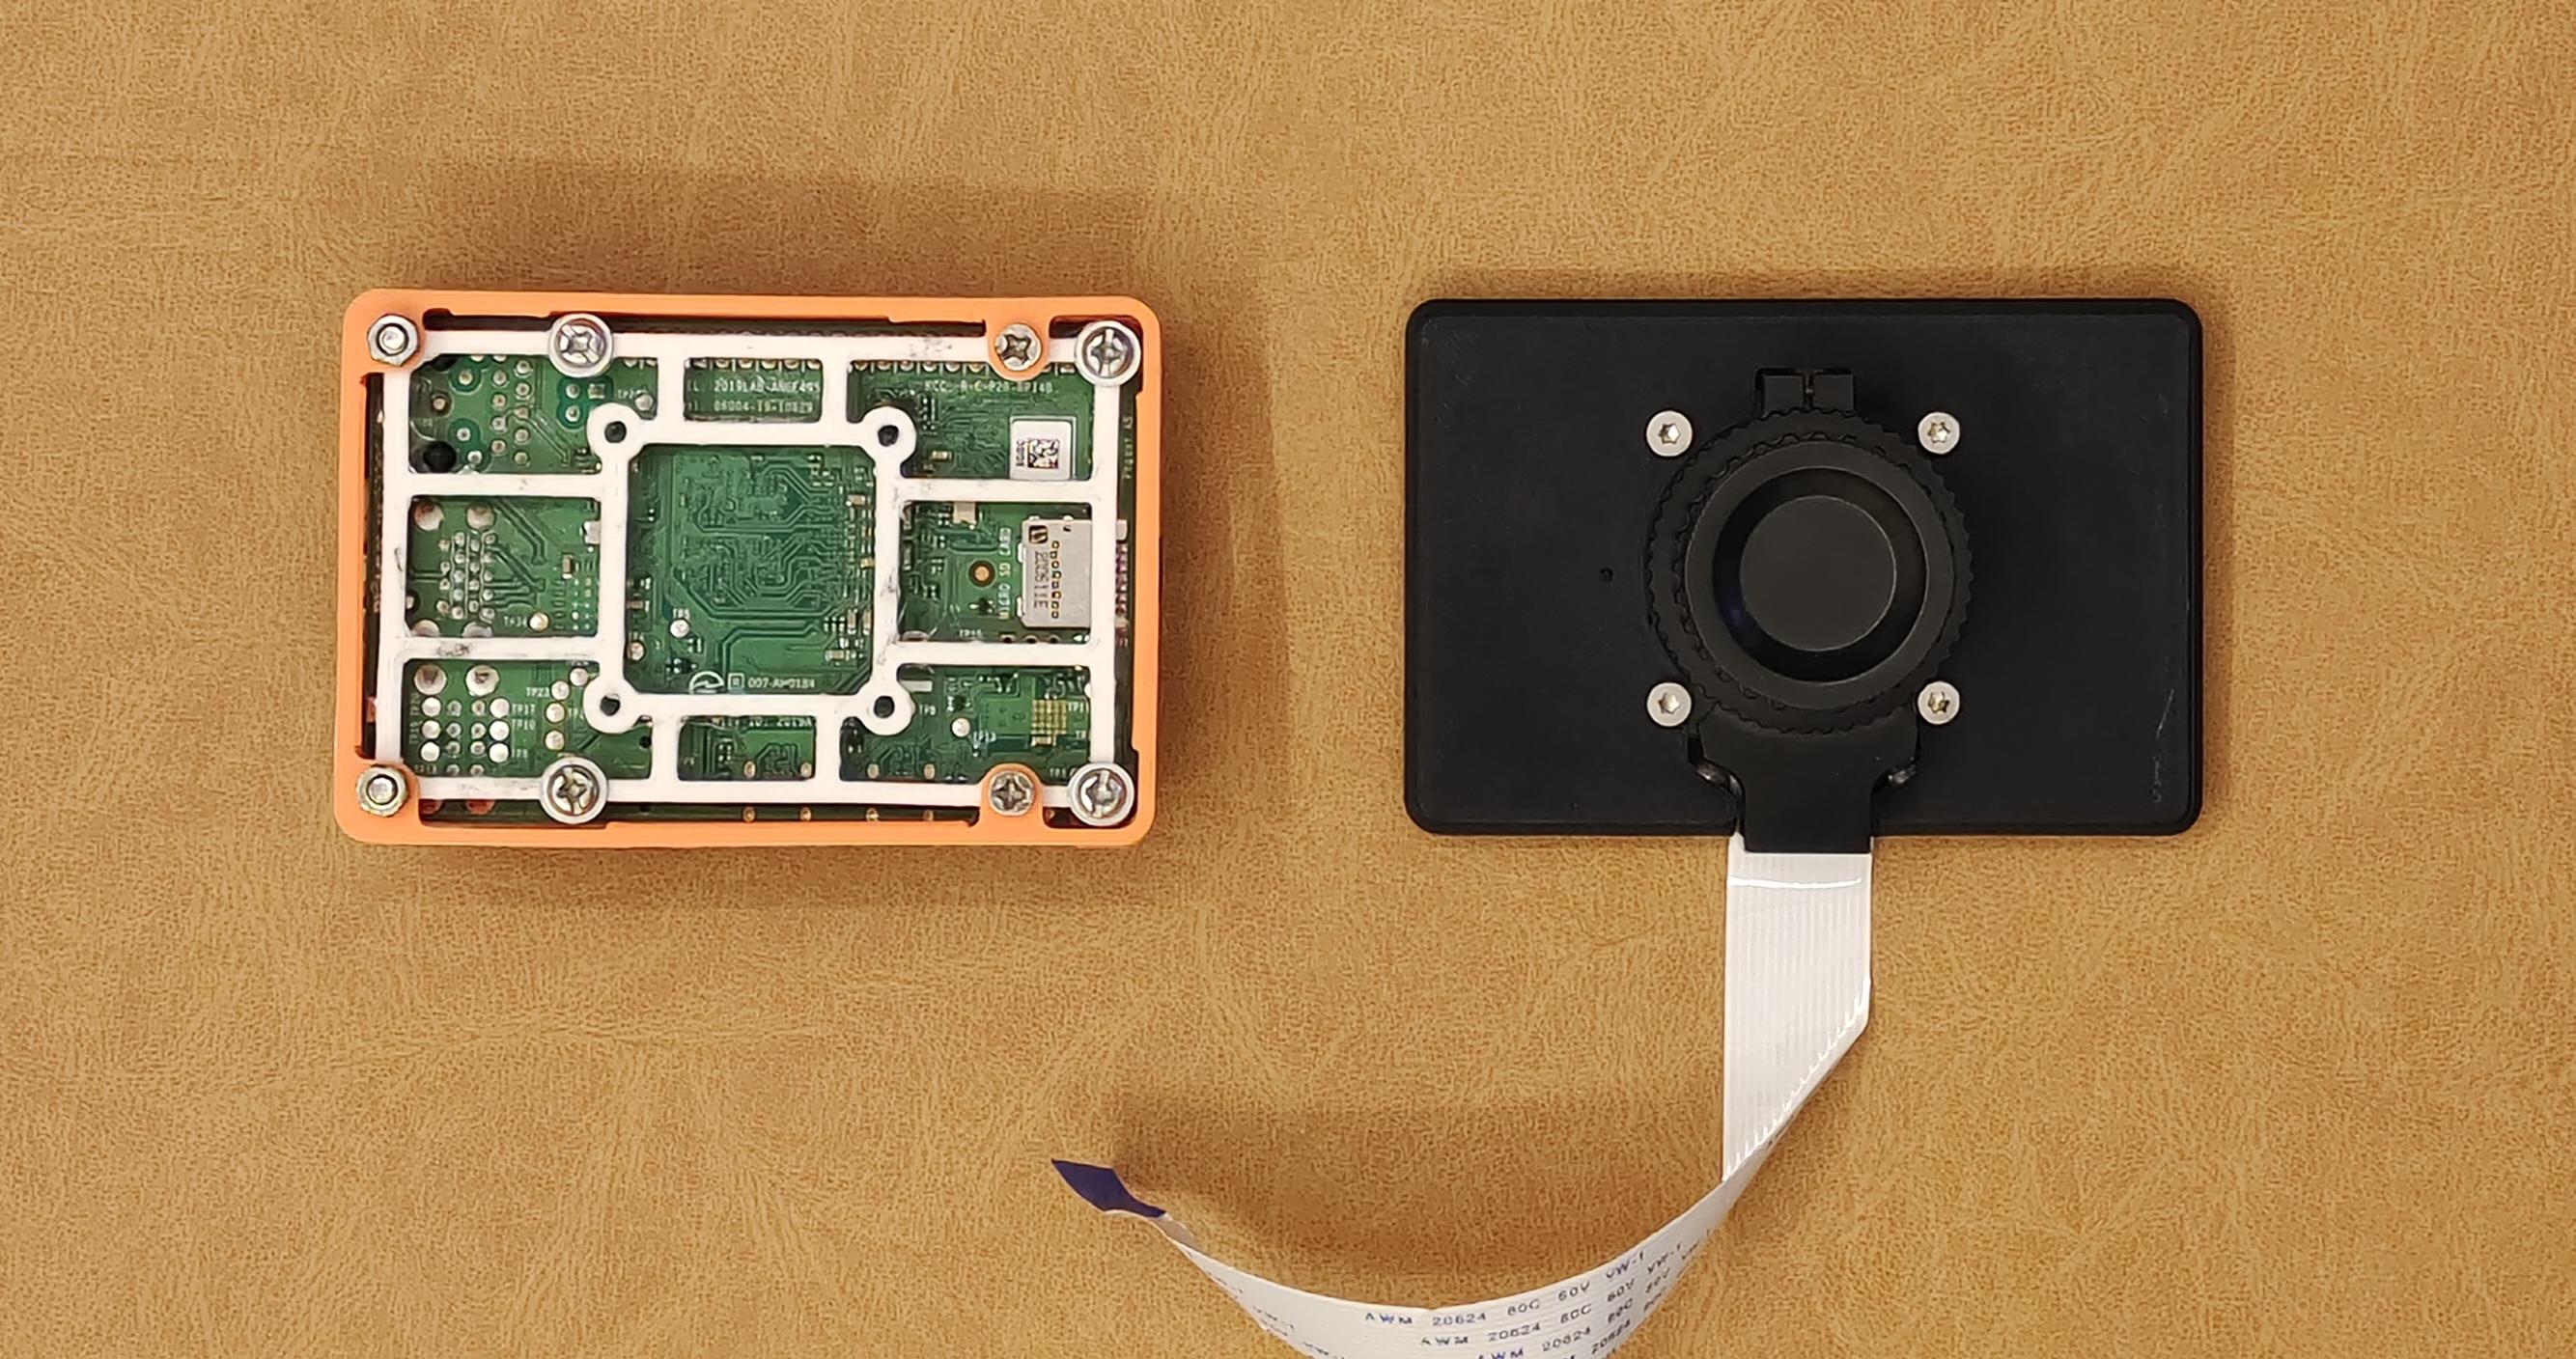
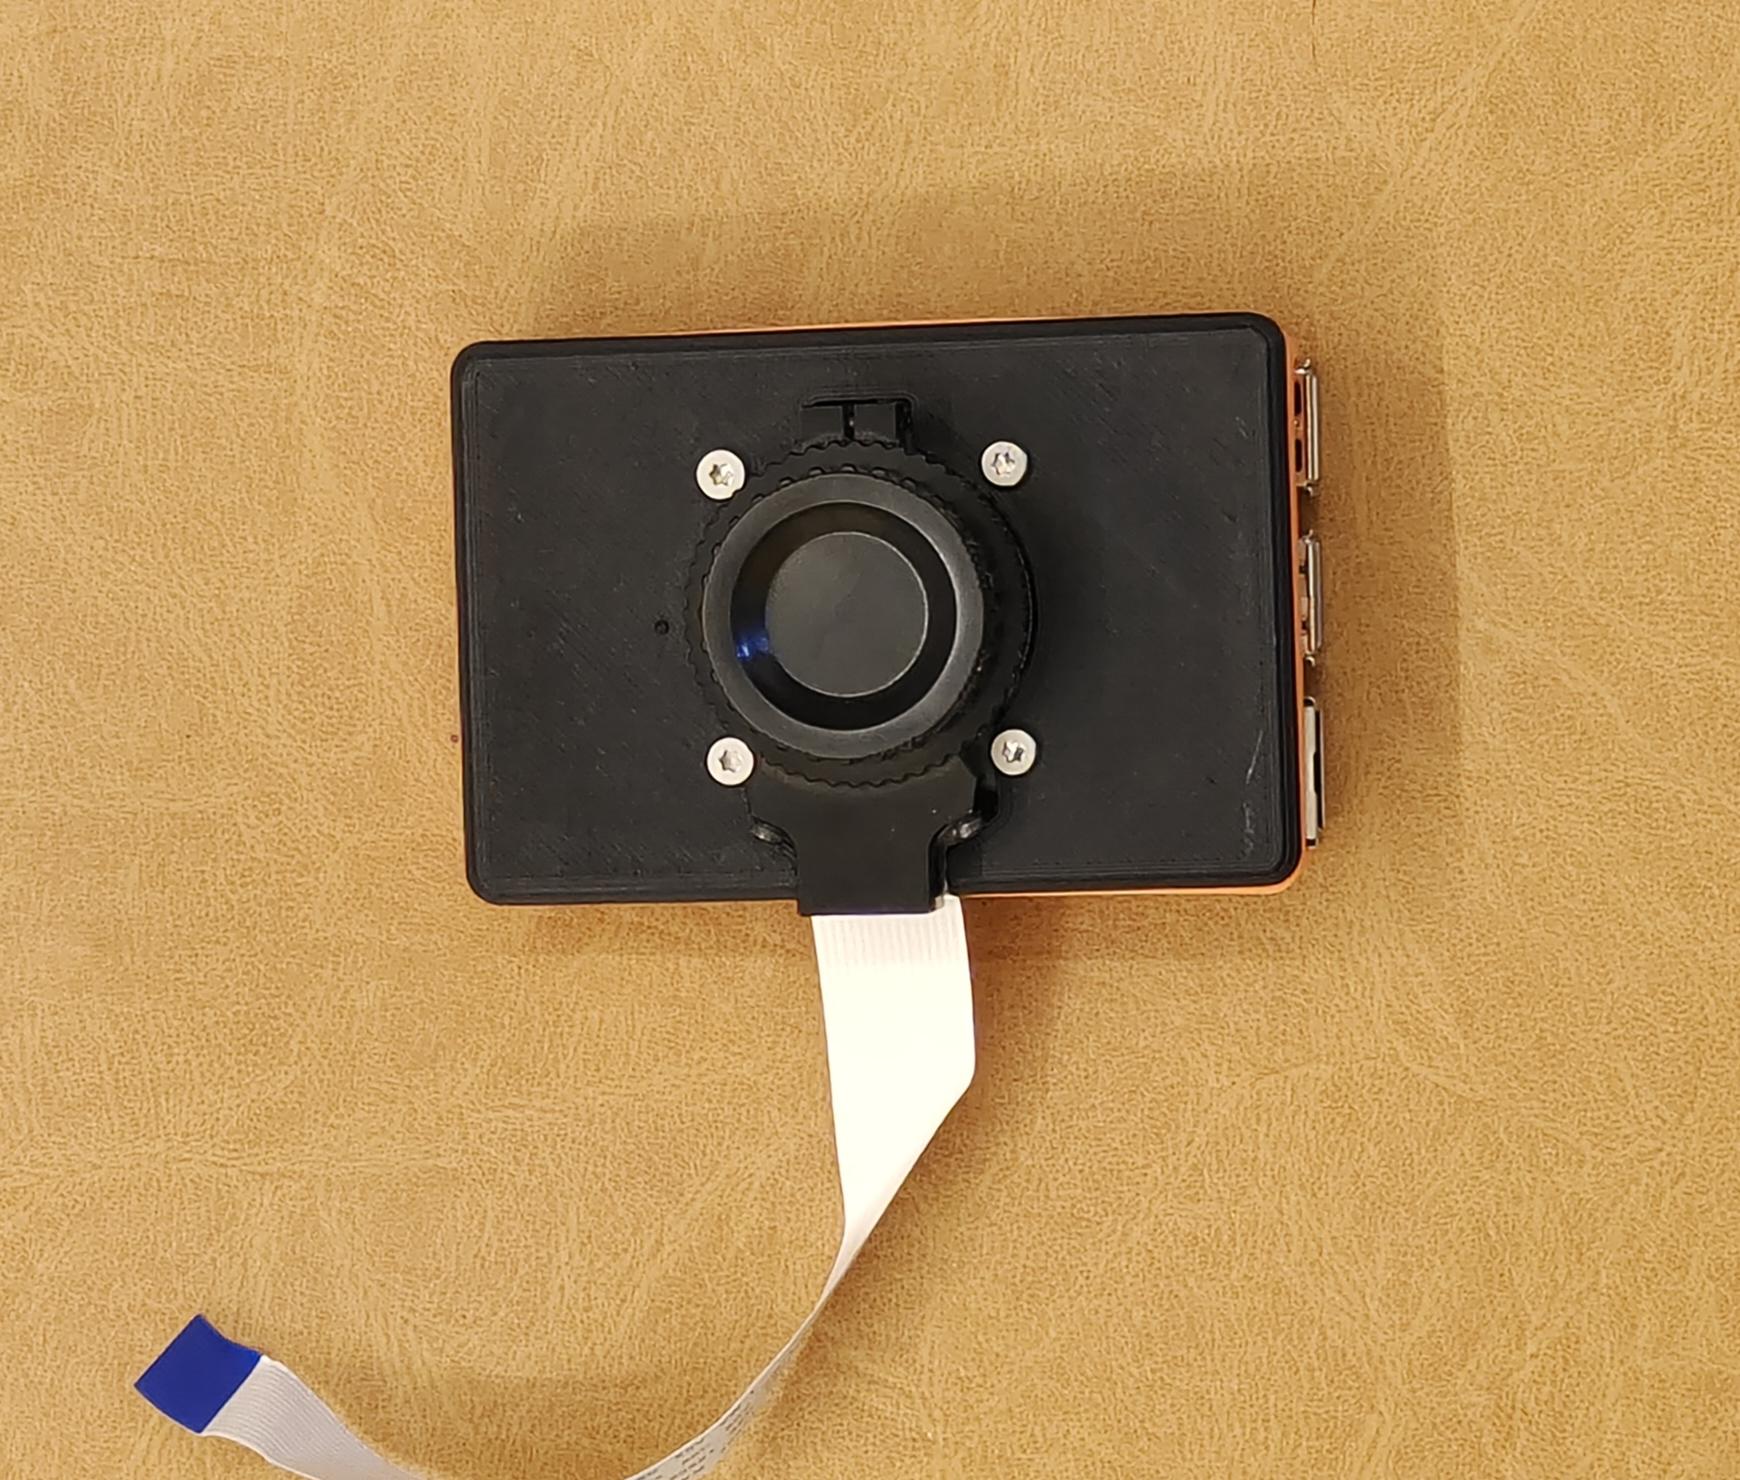
- Snap the camera assembly into raspberry pi assembly.
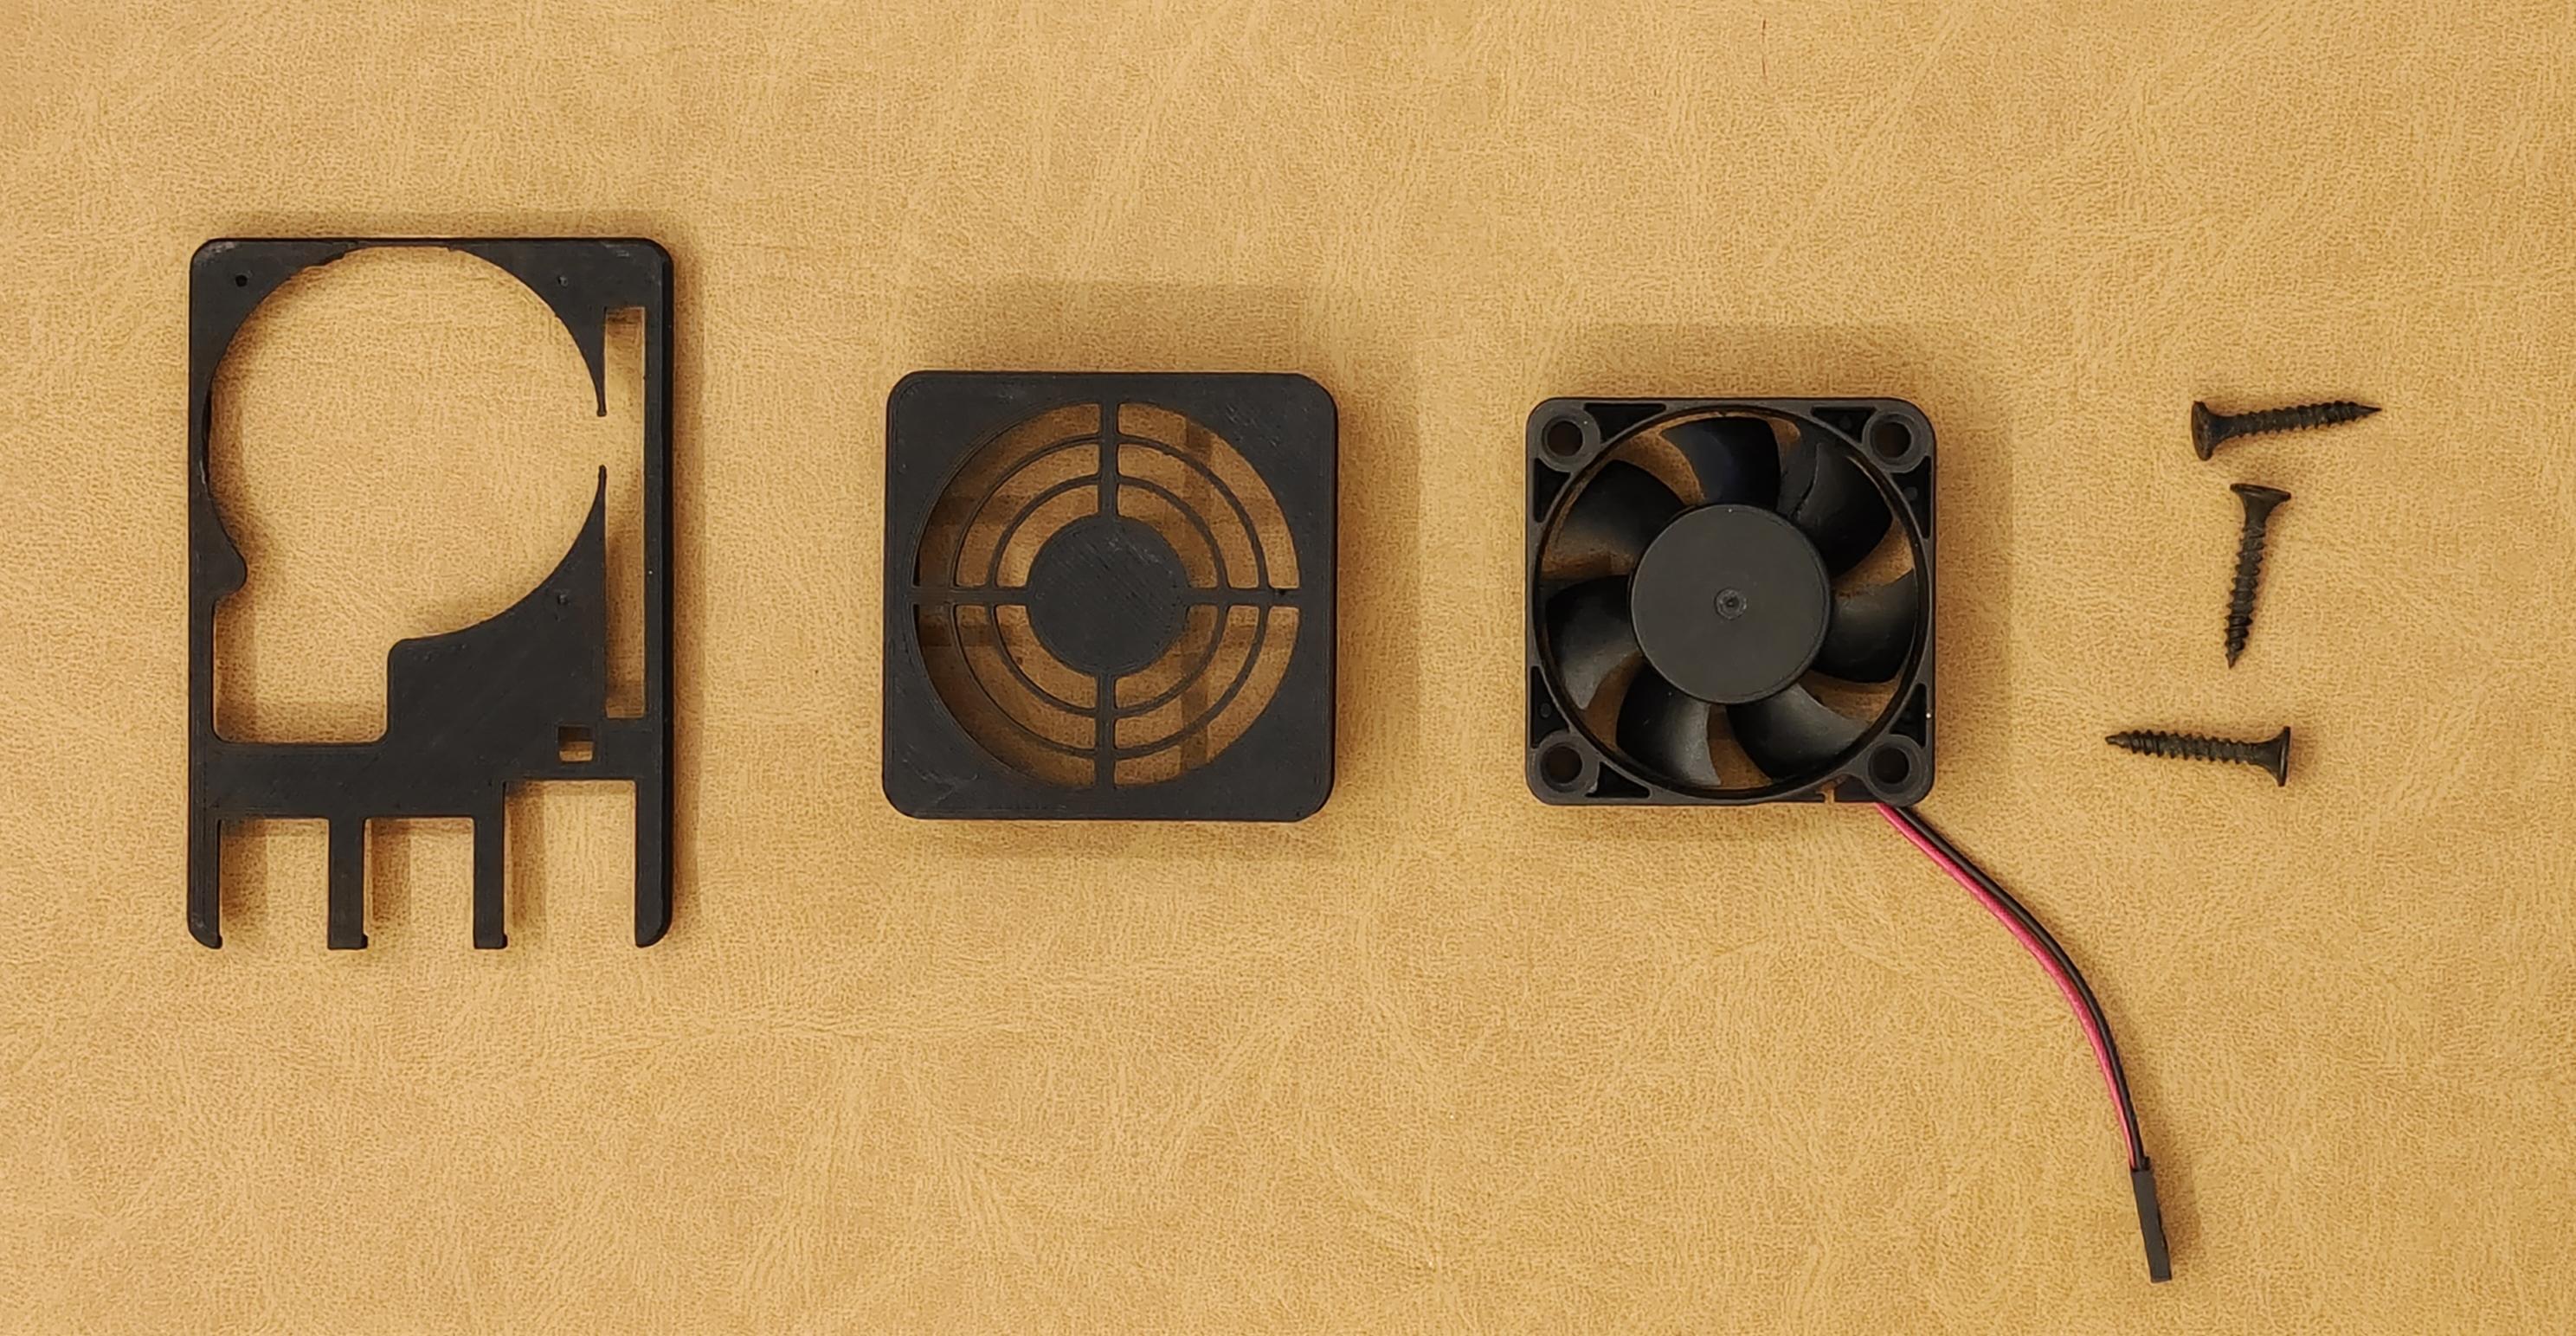
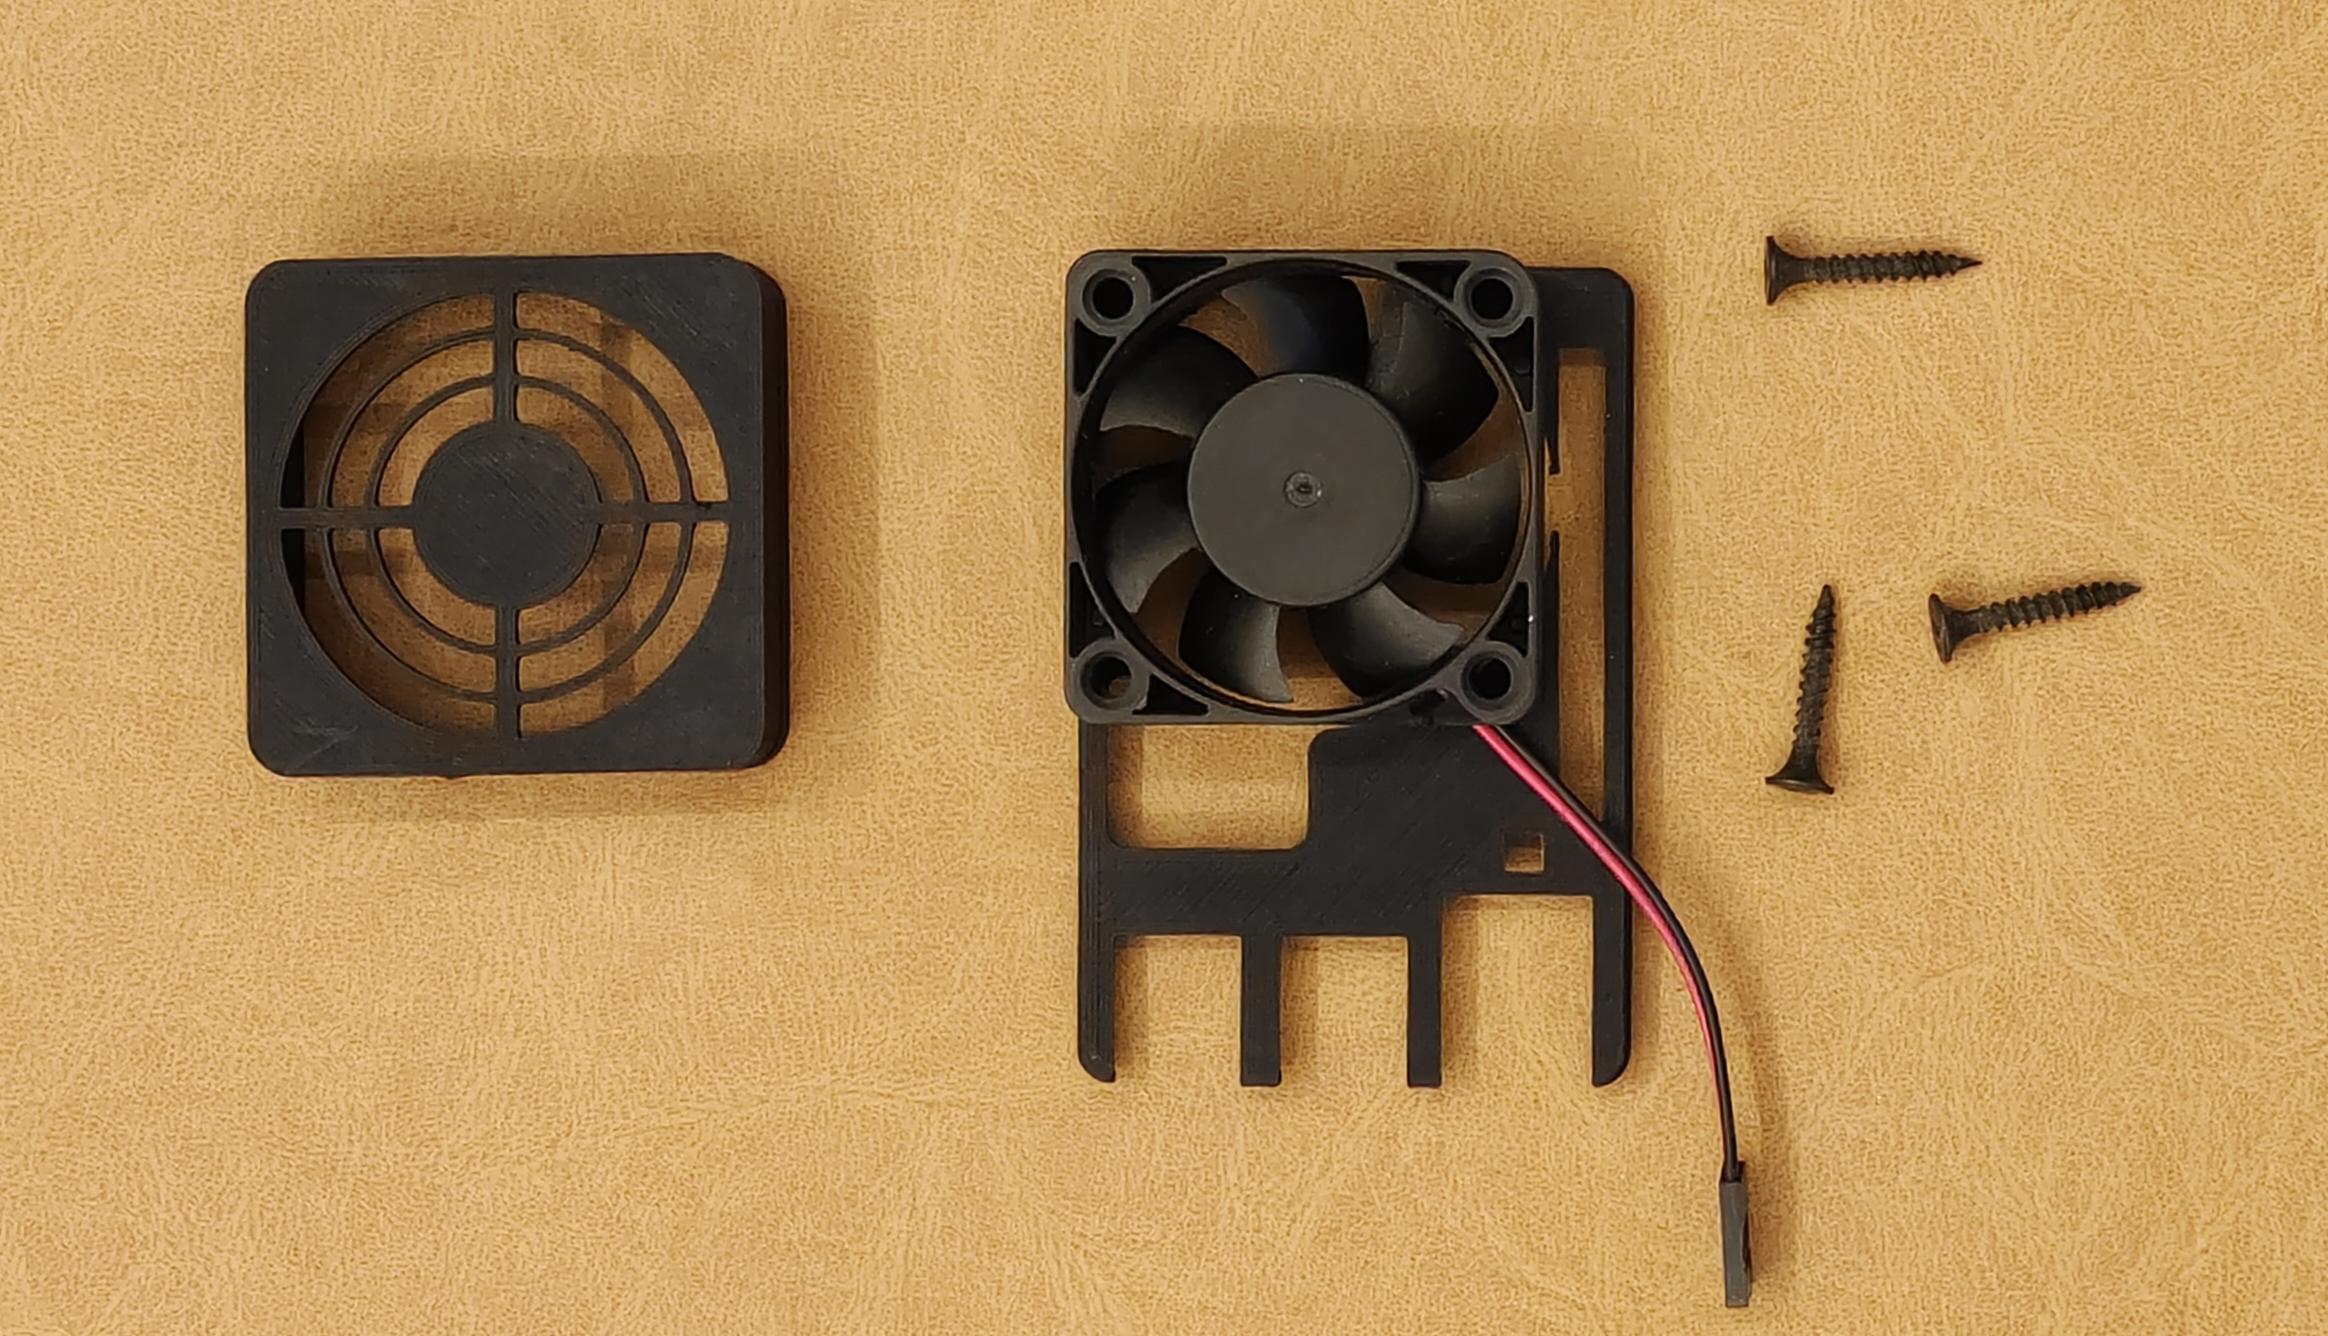
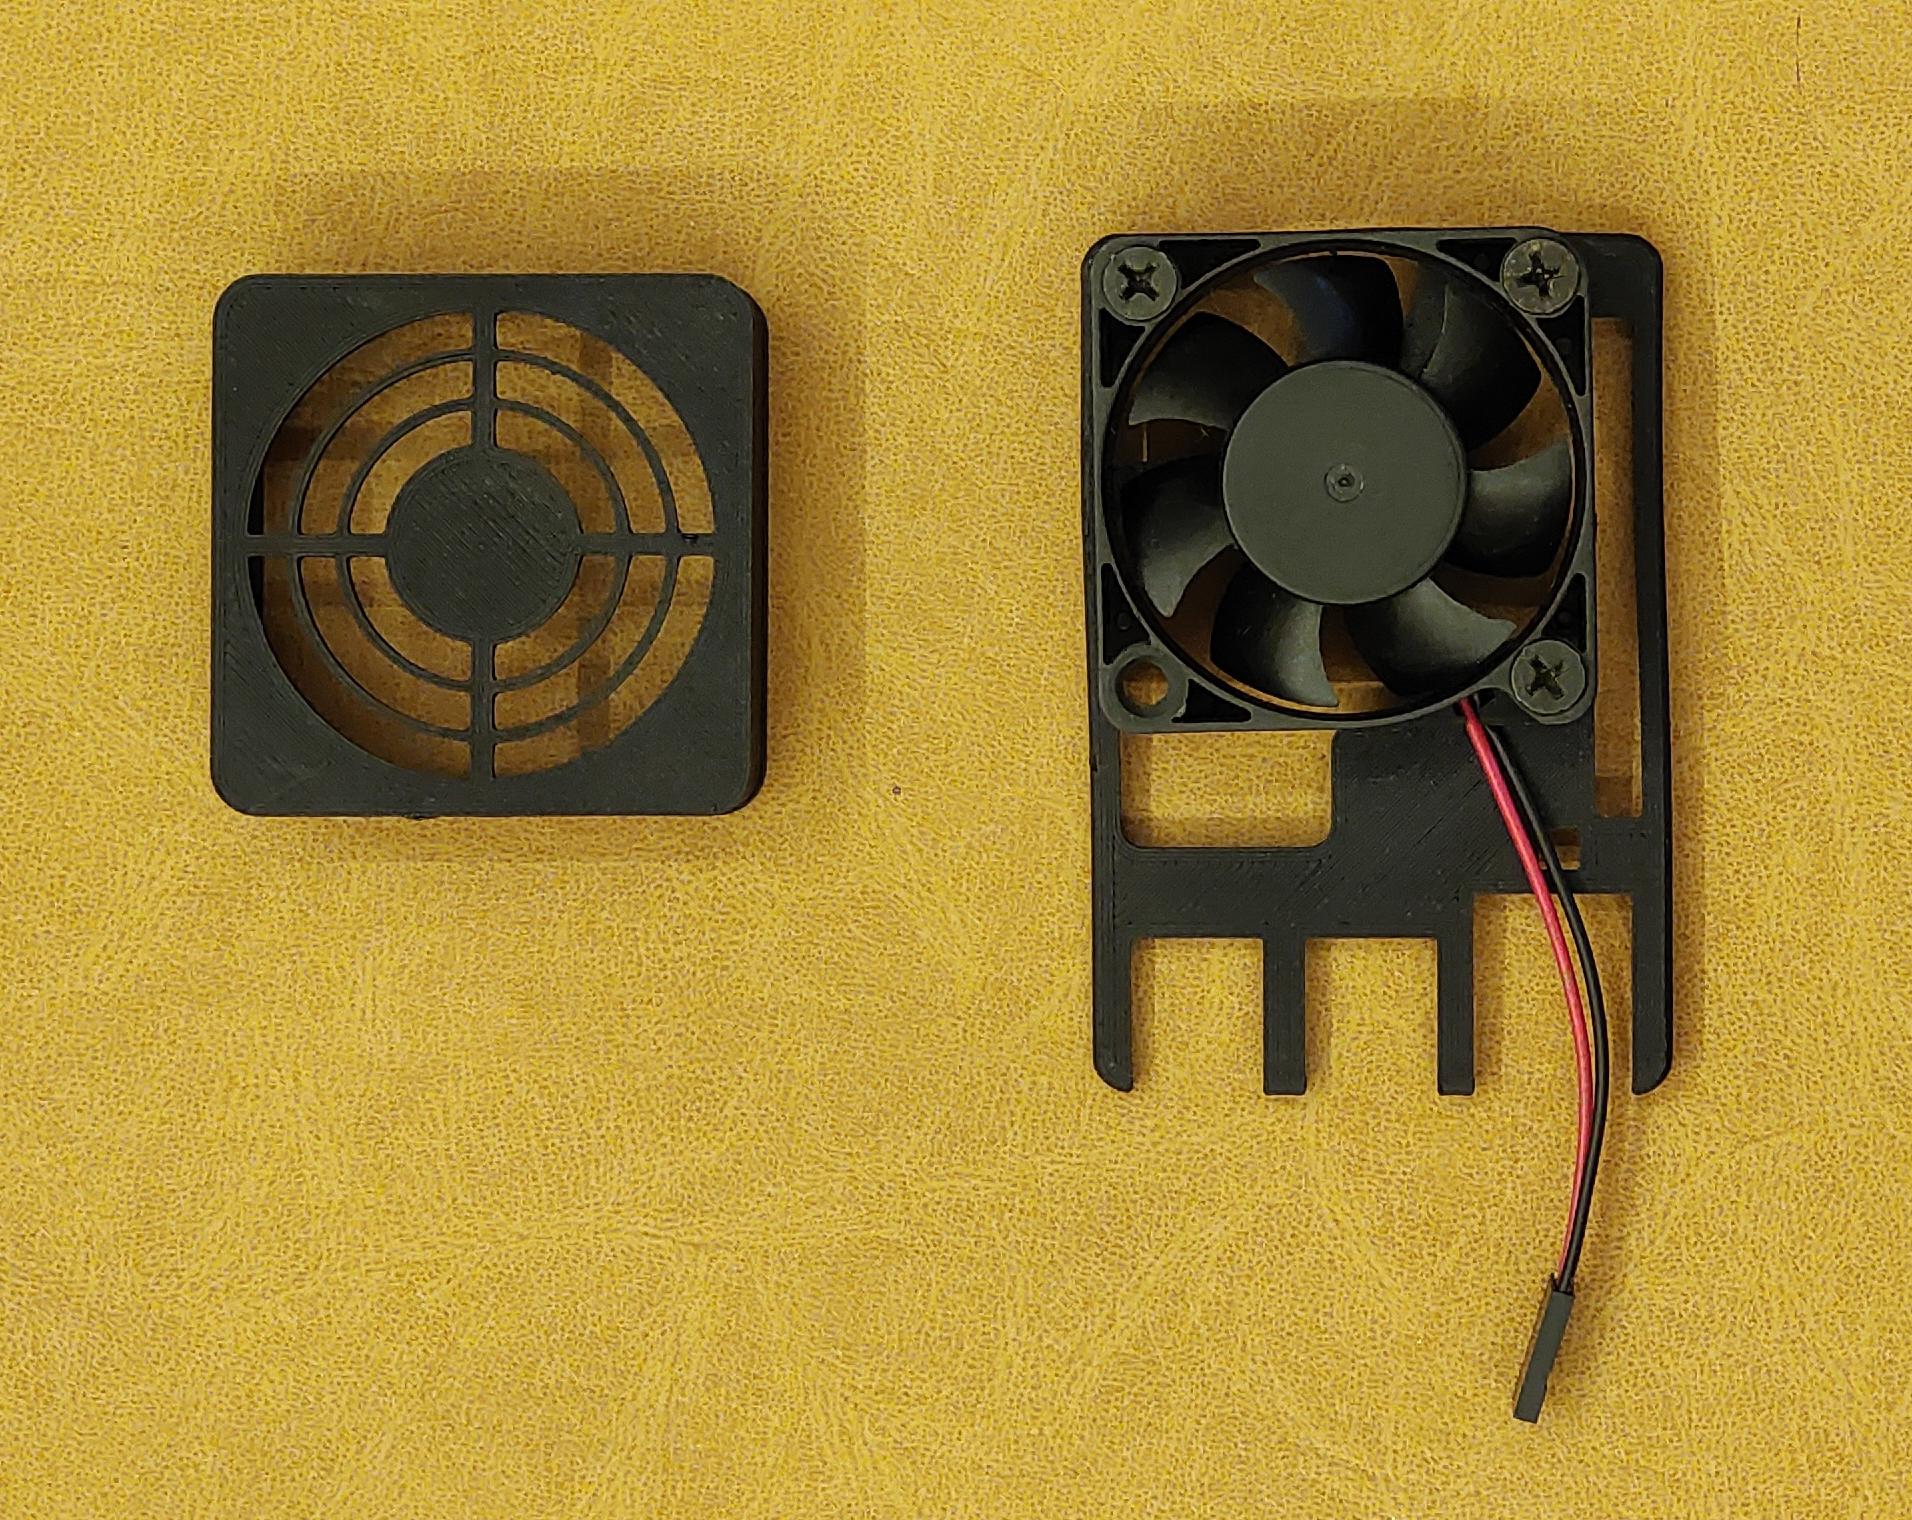
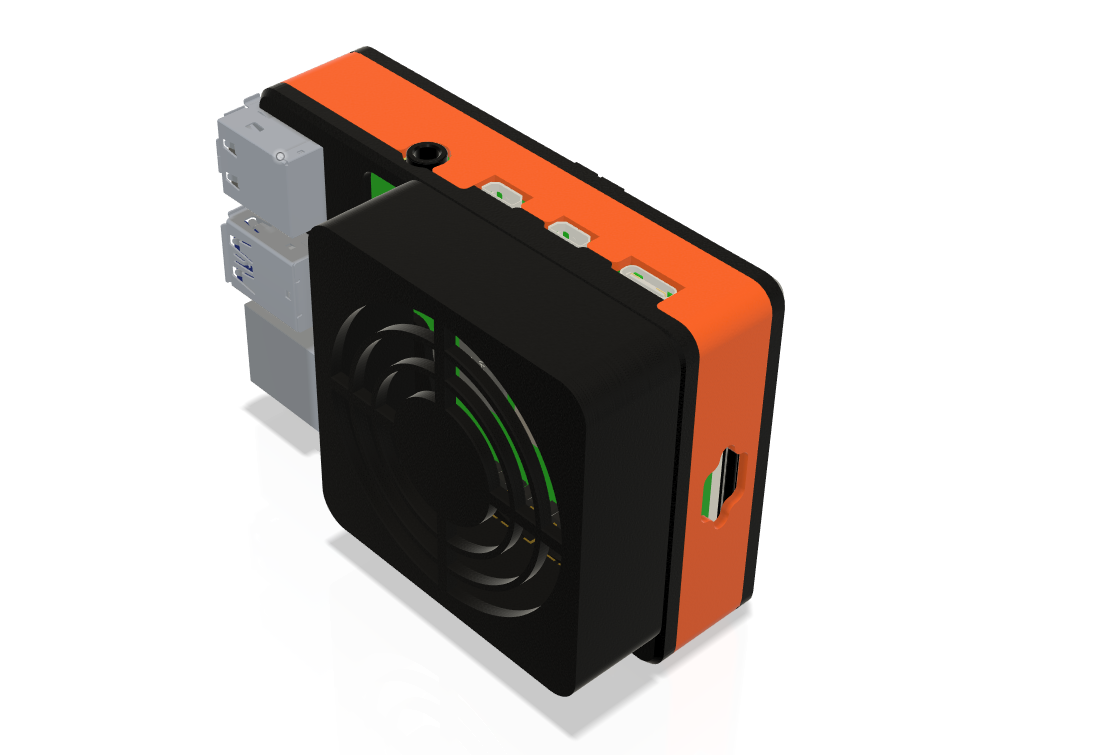
- Attach the 5v fan to part 4 using M2.5 15mm screws.
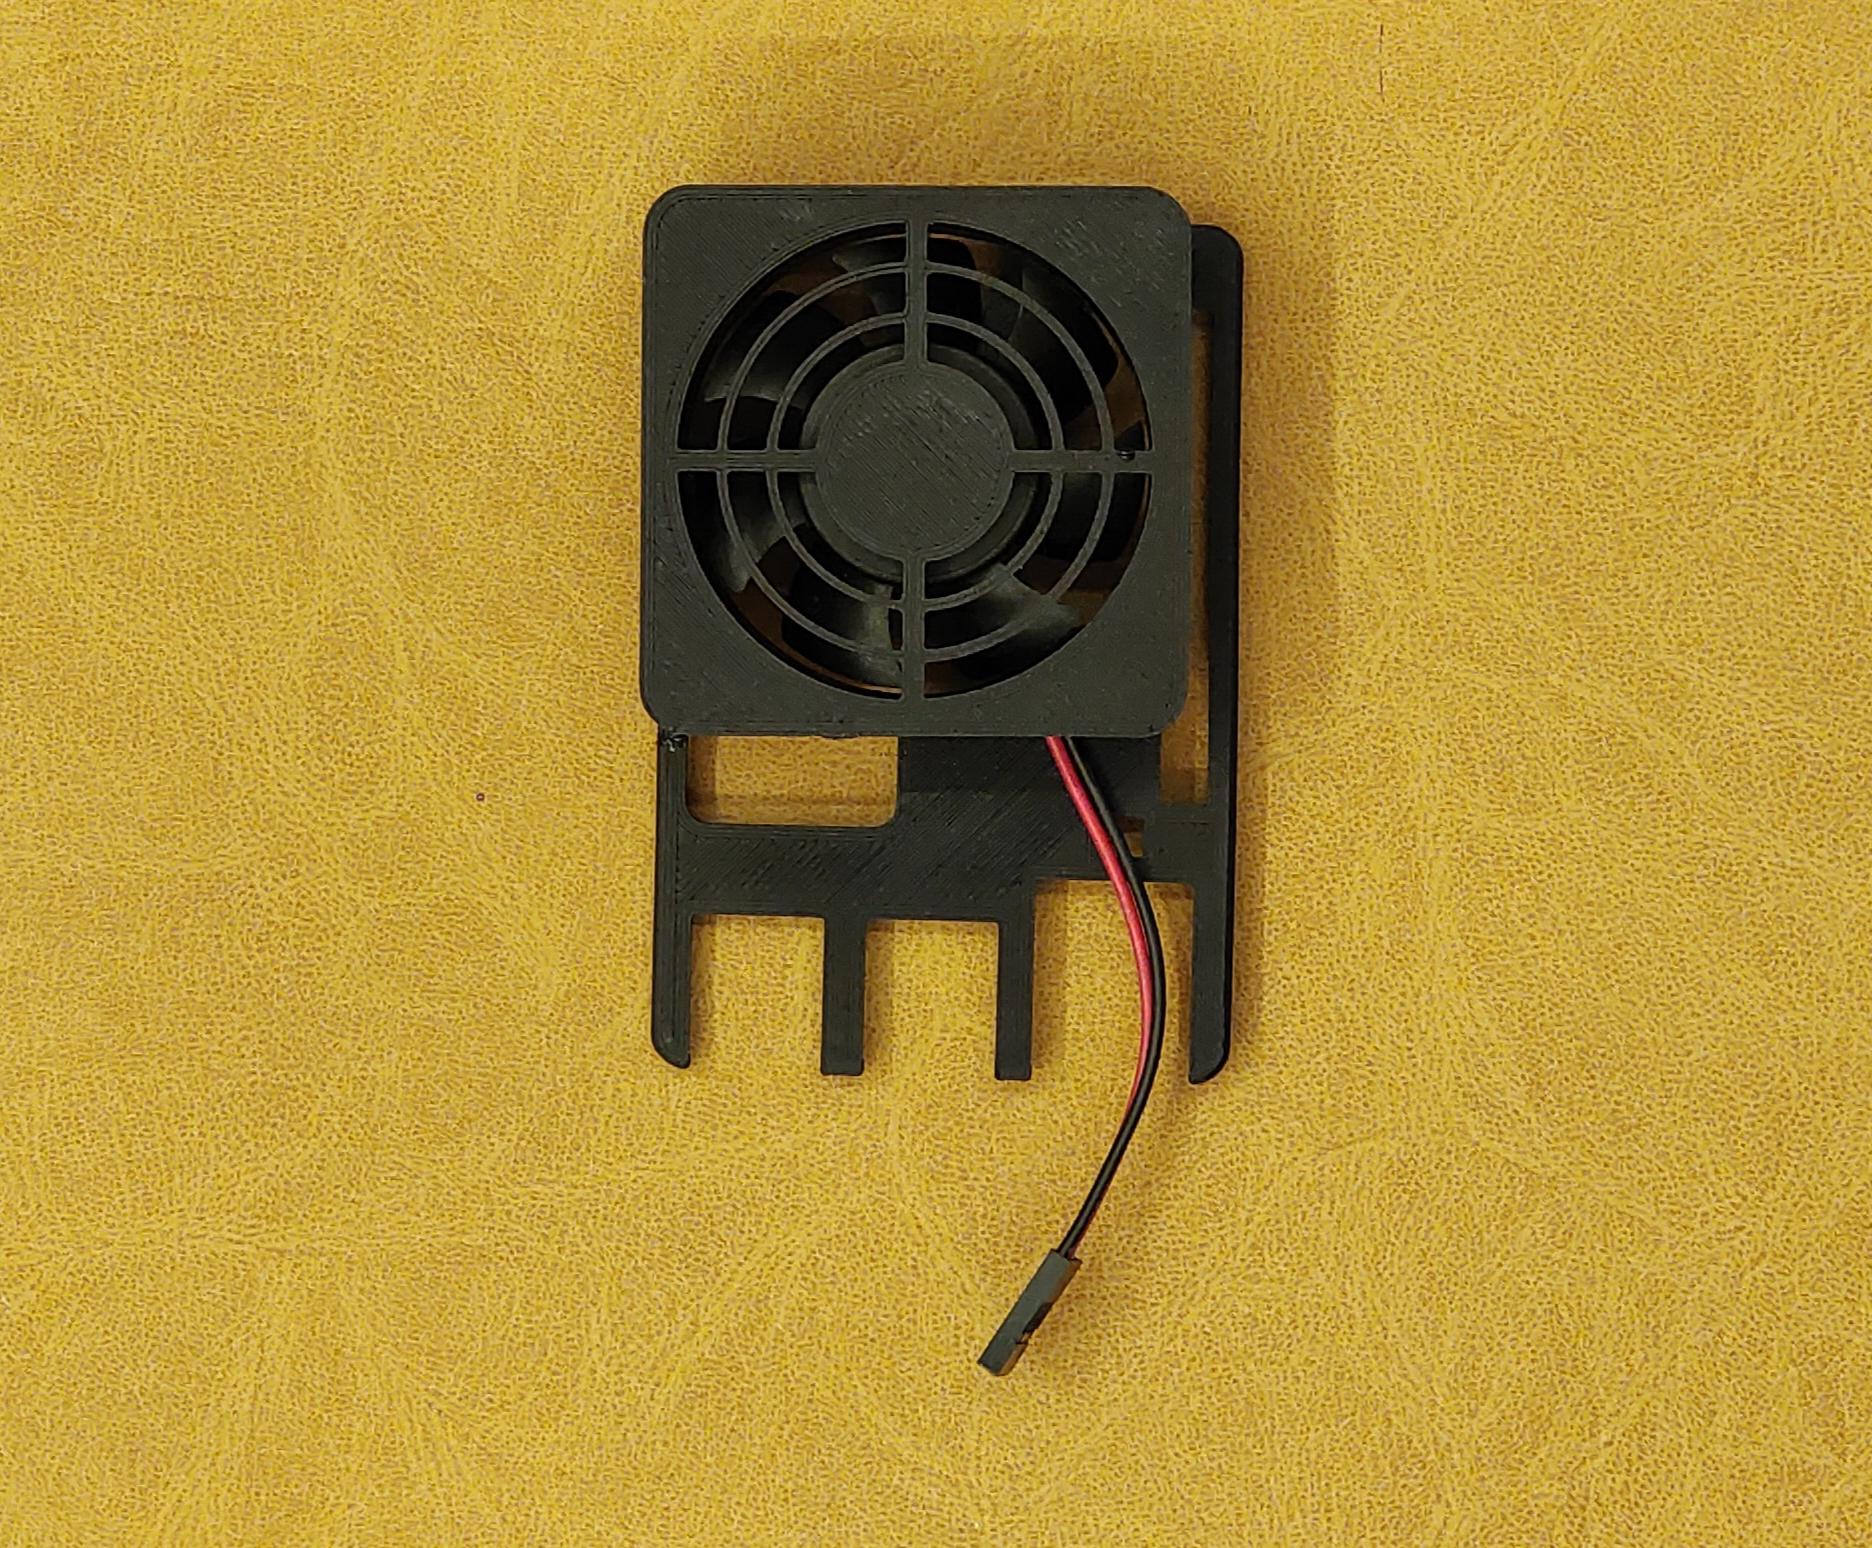
- Snap the fan cover(part 5) onto the fan.
(Don't use the screws that I used for adding the fan because they may damage the board if not used properly)
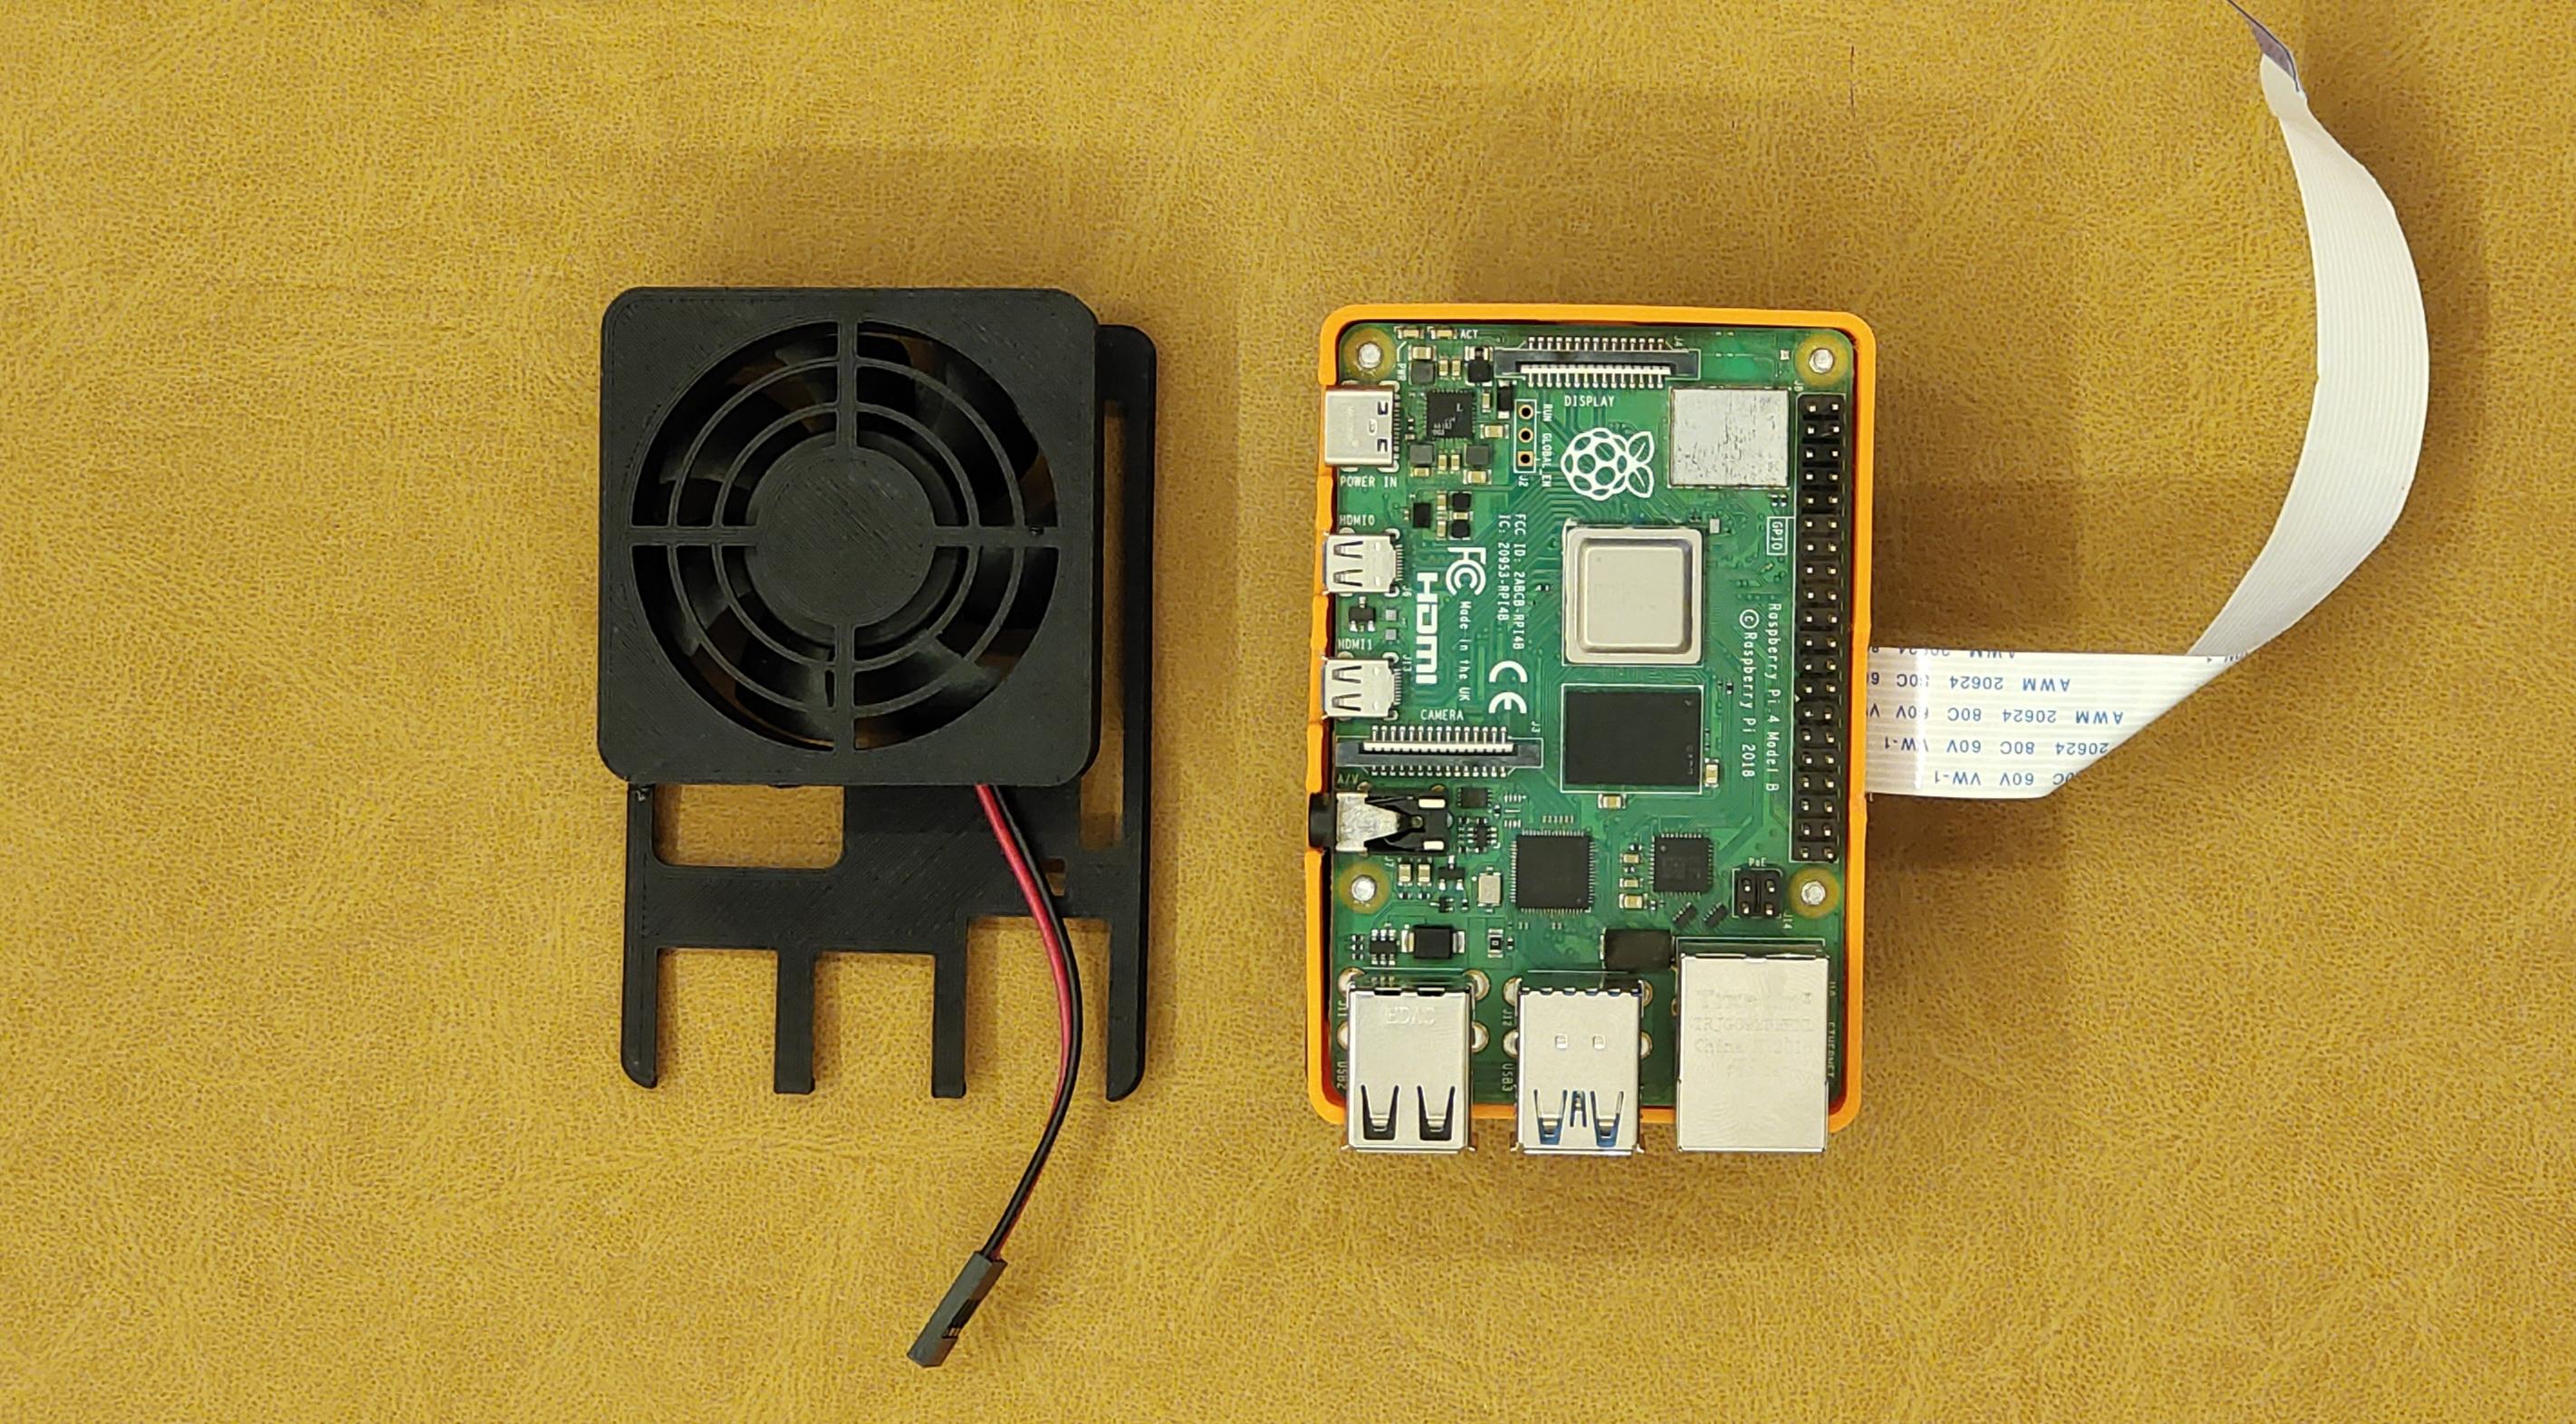
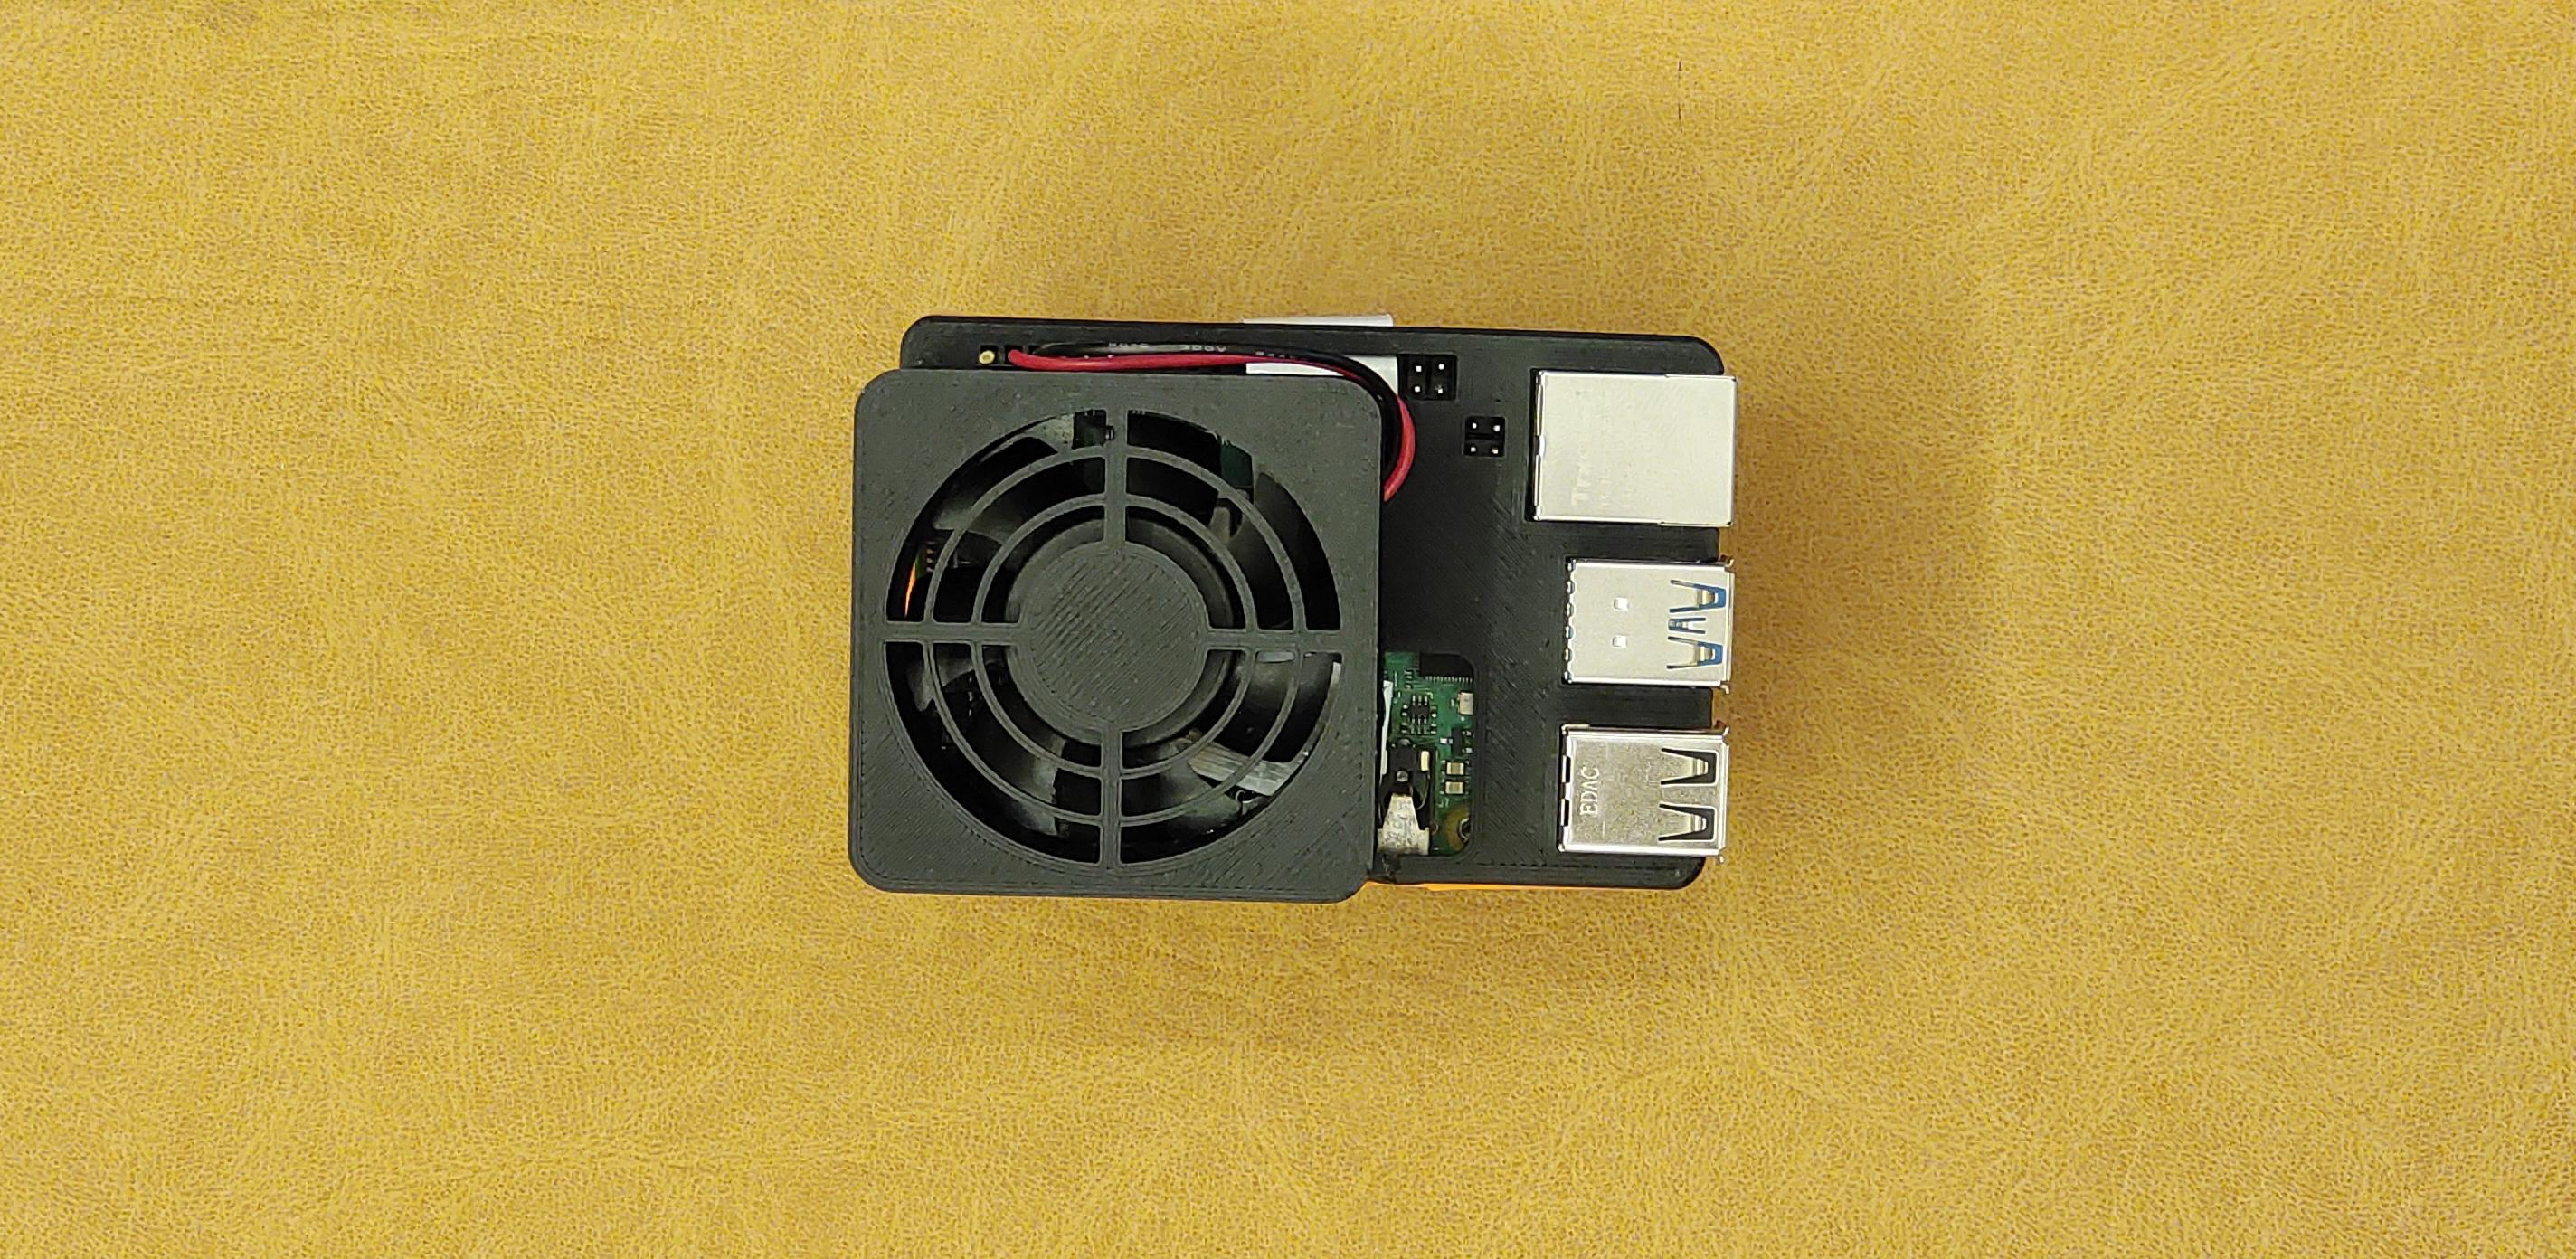
- Snap the fan assembly into main assembly after connecting the camera cable and folding it inside carefully.
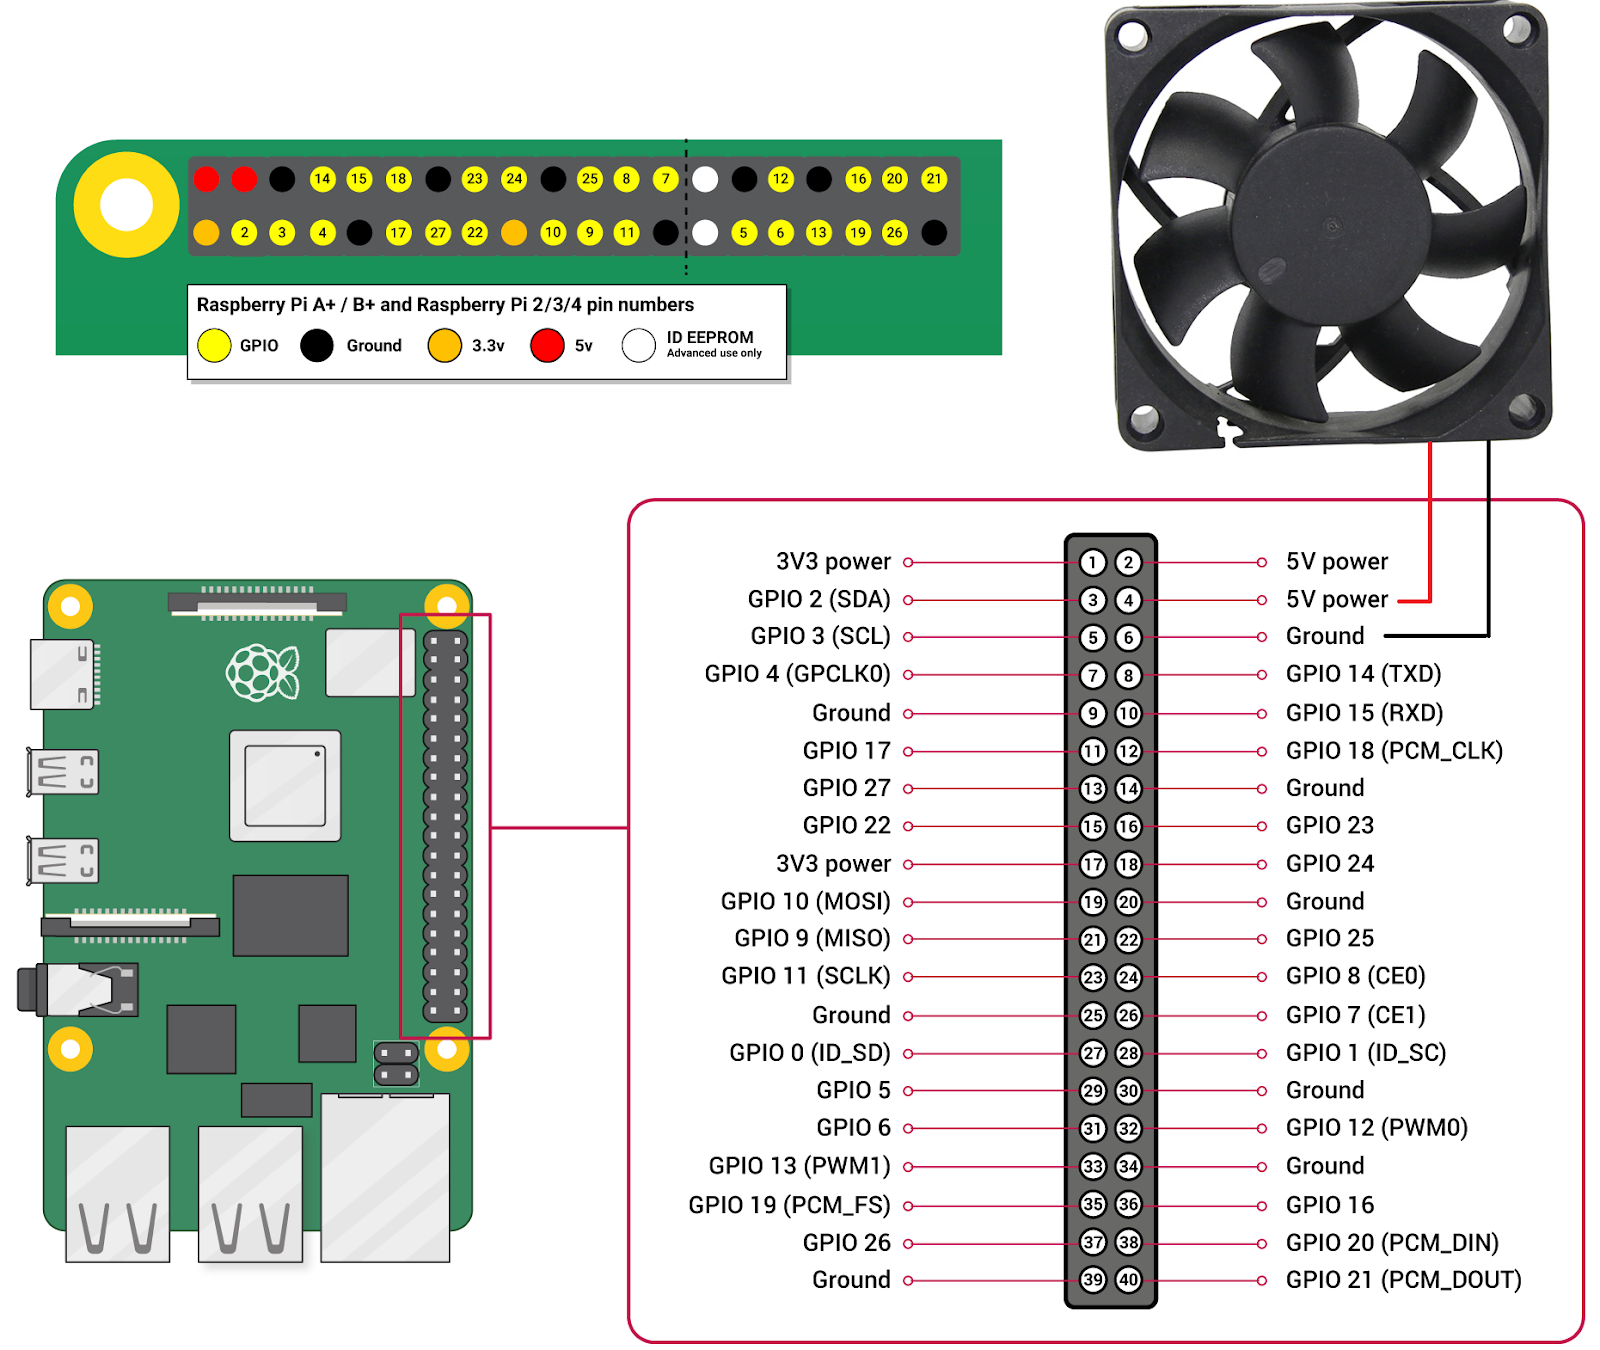
- Connect the 5V fan to GND and 5V DC
- You can use some glue if you feel that its not a tight fit.
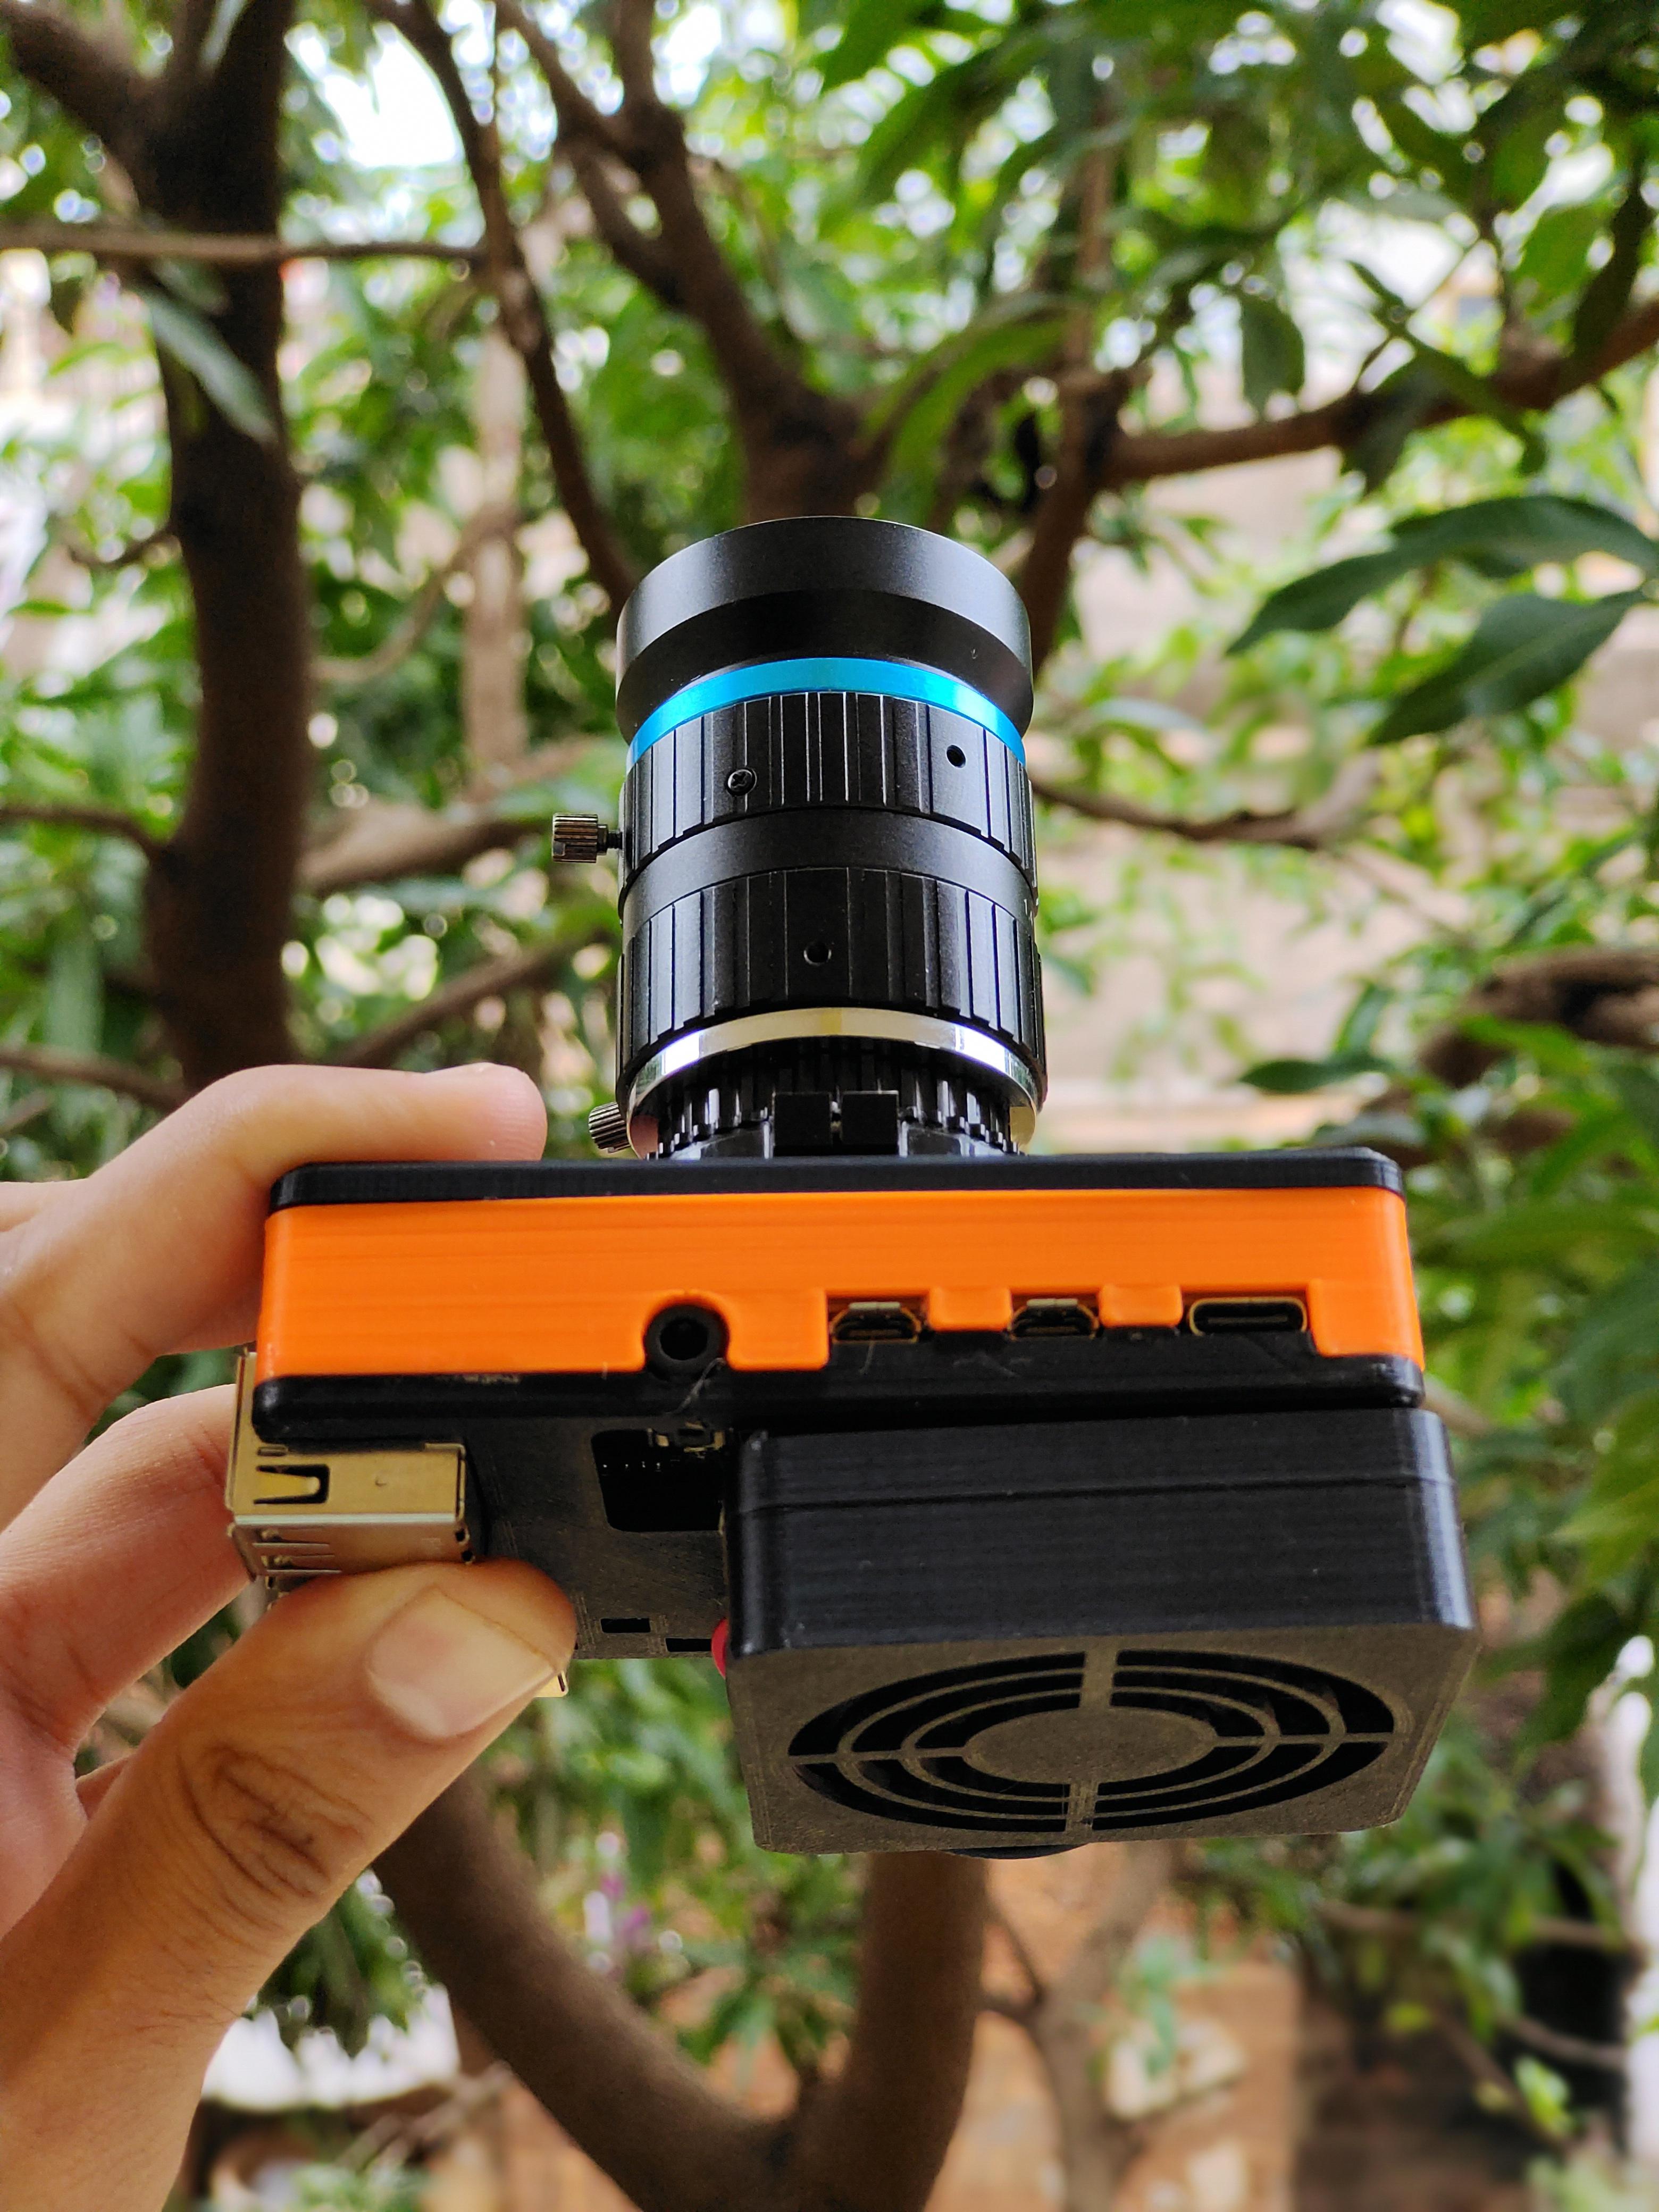
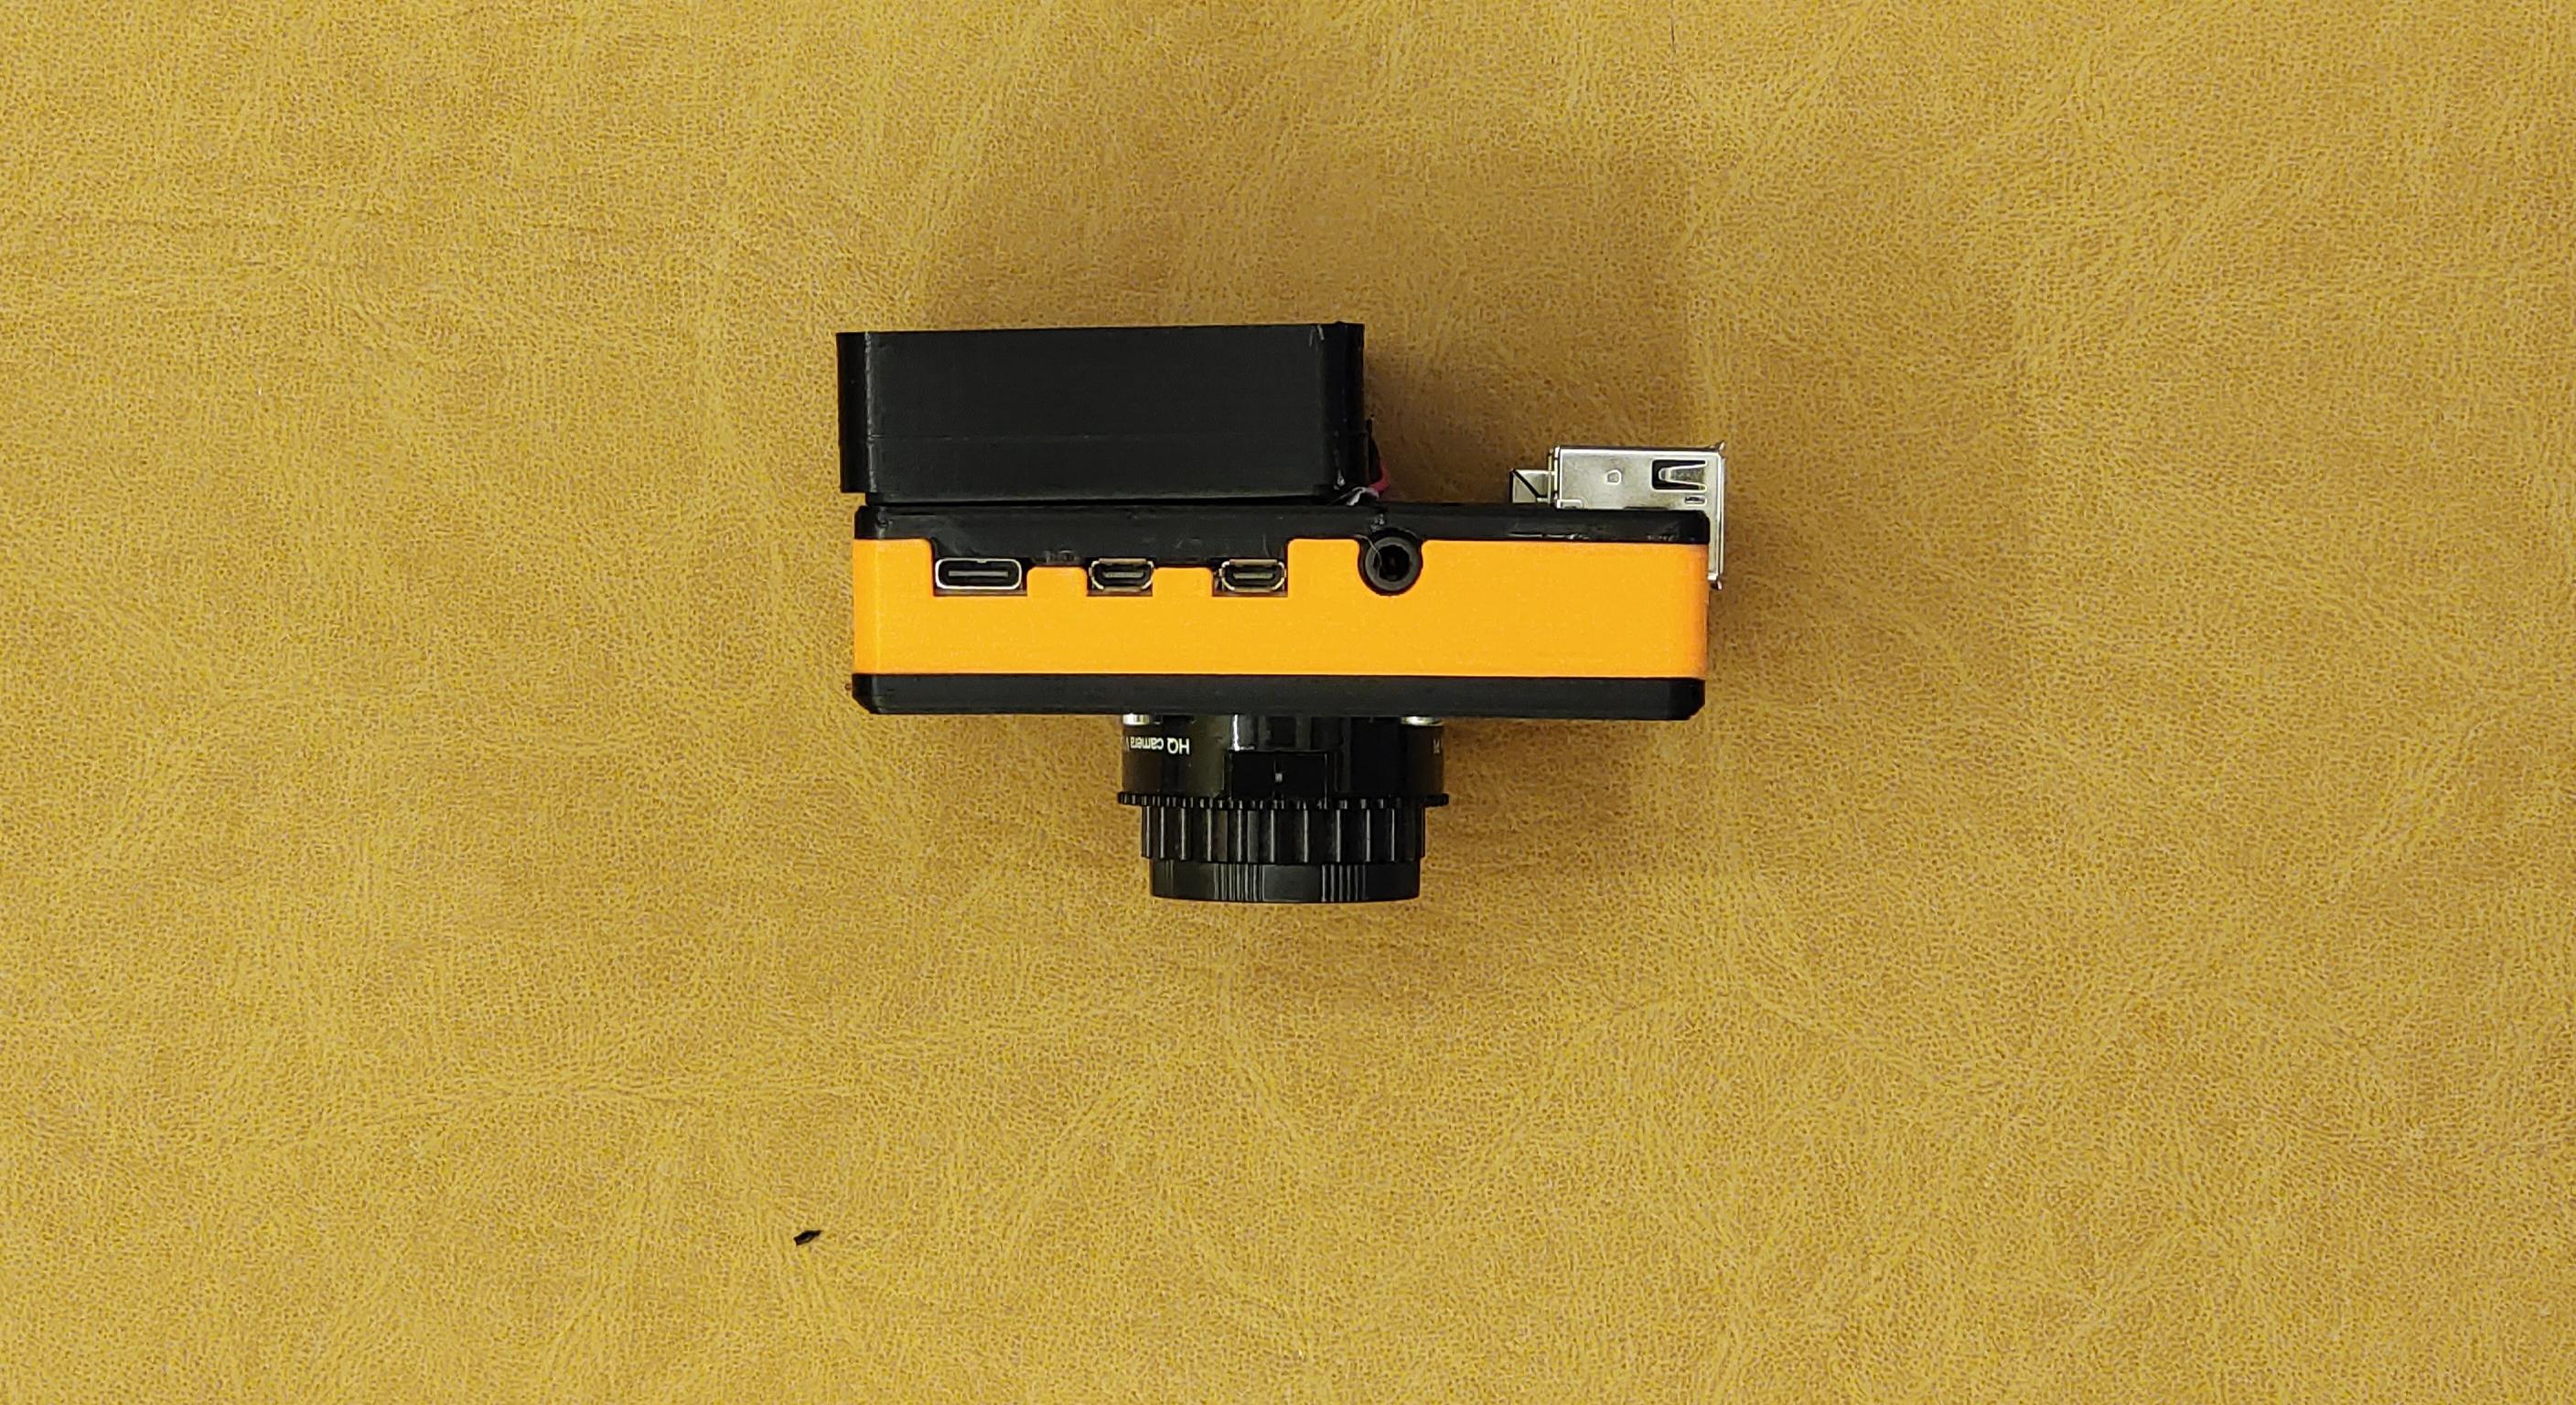
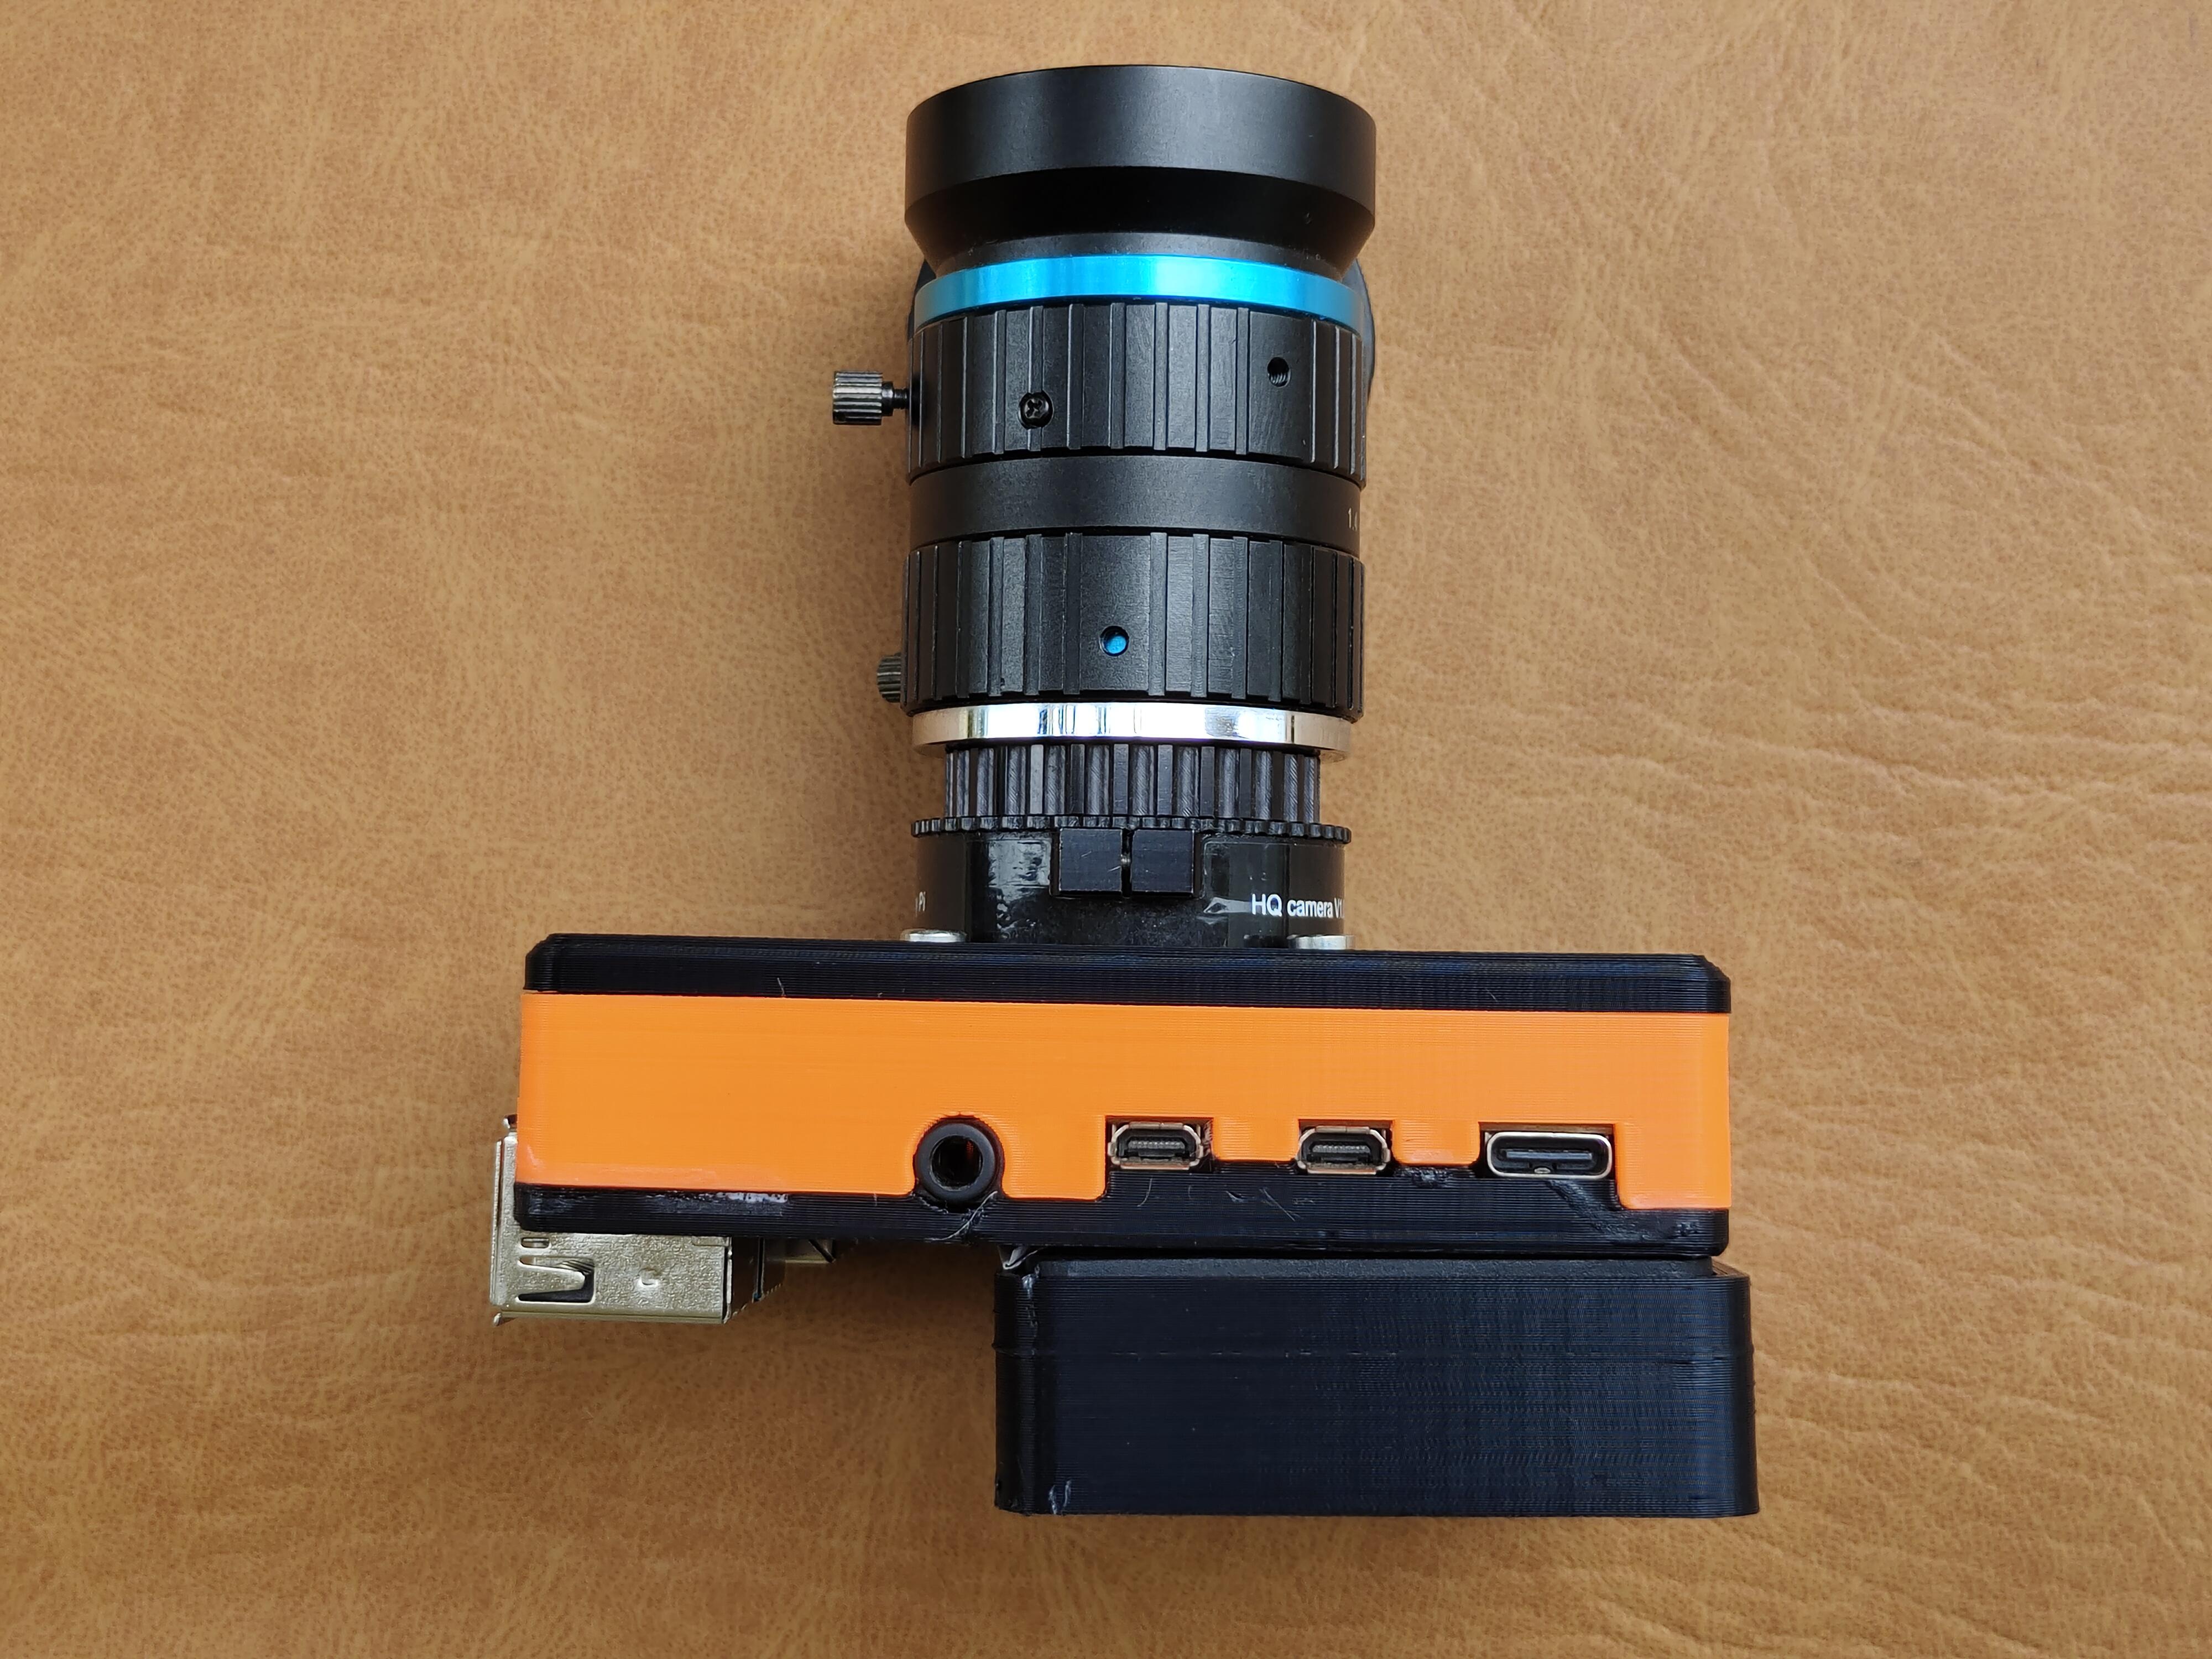
- Now put the Lens on the camera and you are good to go.
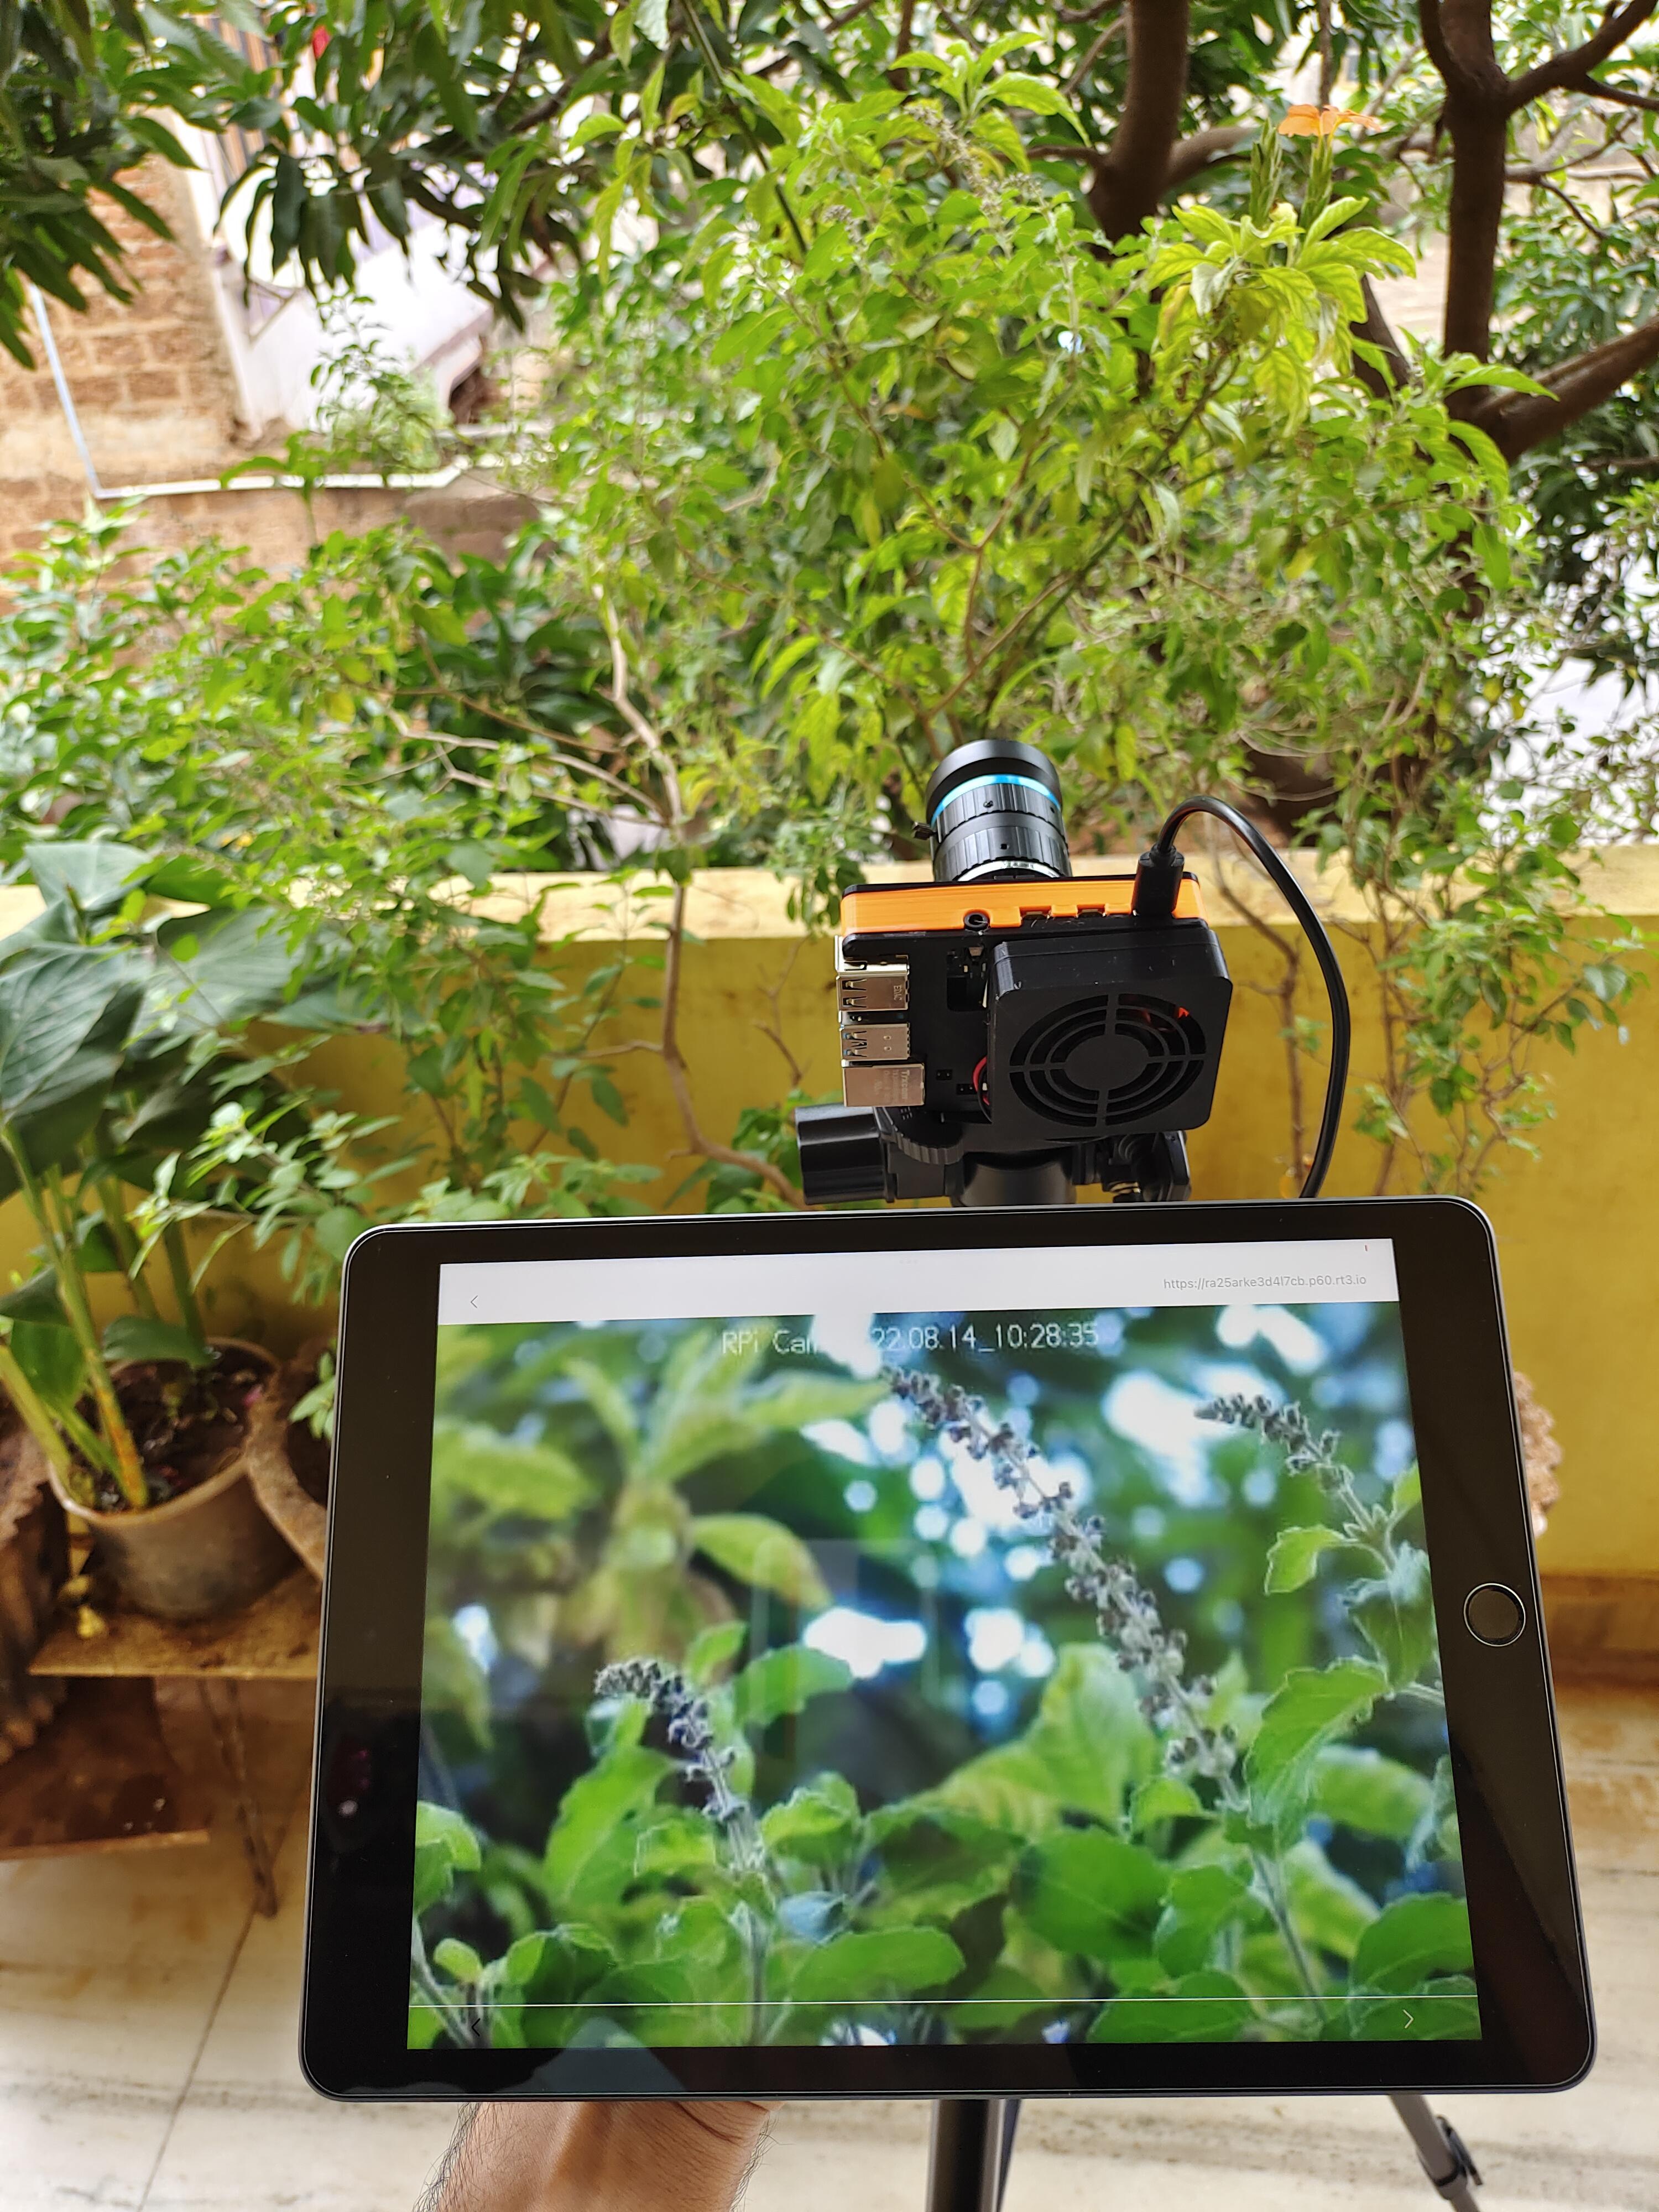
(I have a 16mm telephoto lens the images on the lens are zoomed that means I have to place camera far from subject to capture full frame object but the background bluer it gives is amazing it is good for photography you can use 6mm wide-angle for wide frame)
Create Account
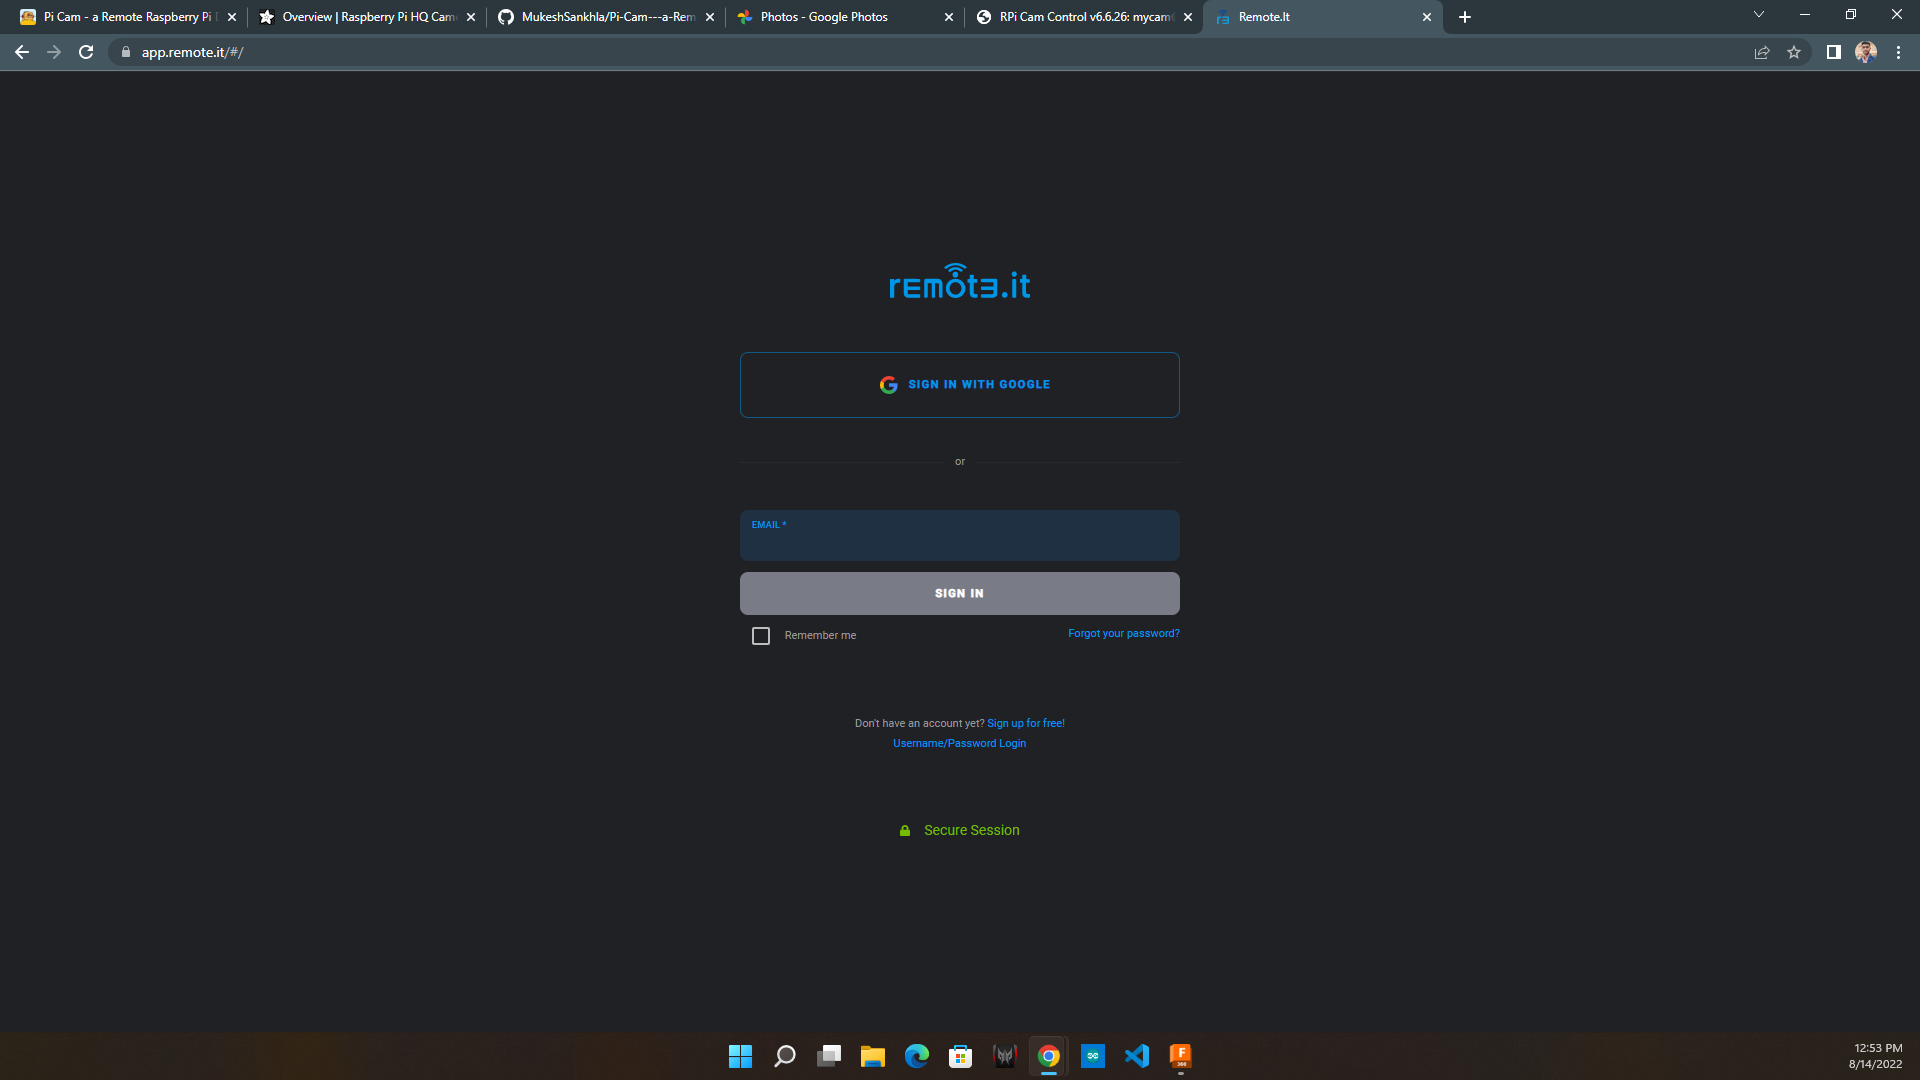
- Create a remote.it account and login with email and password.
Setting Up Remote VNC


- First install the Raspberry Pi OS on the memory and setup the system.
- Connect the system via HDMI to a external monitor.
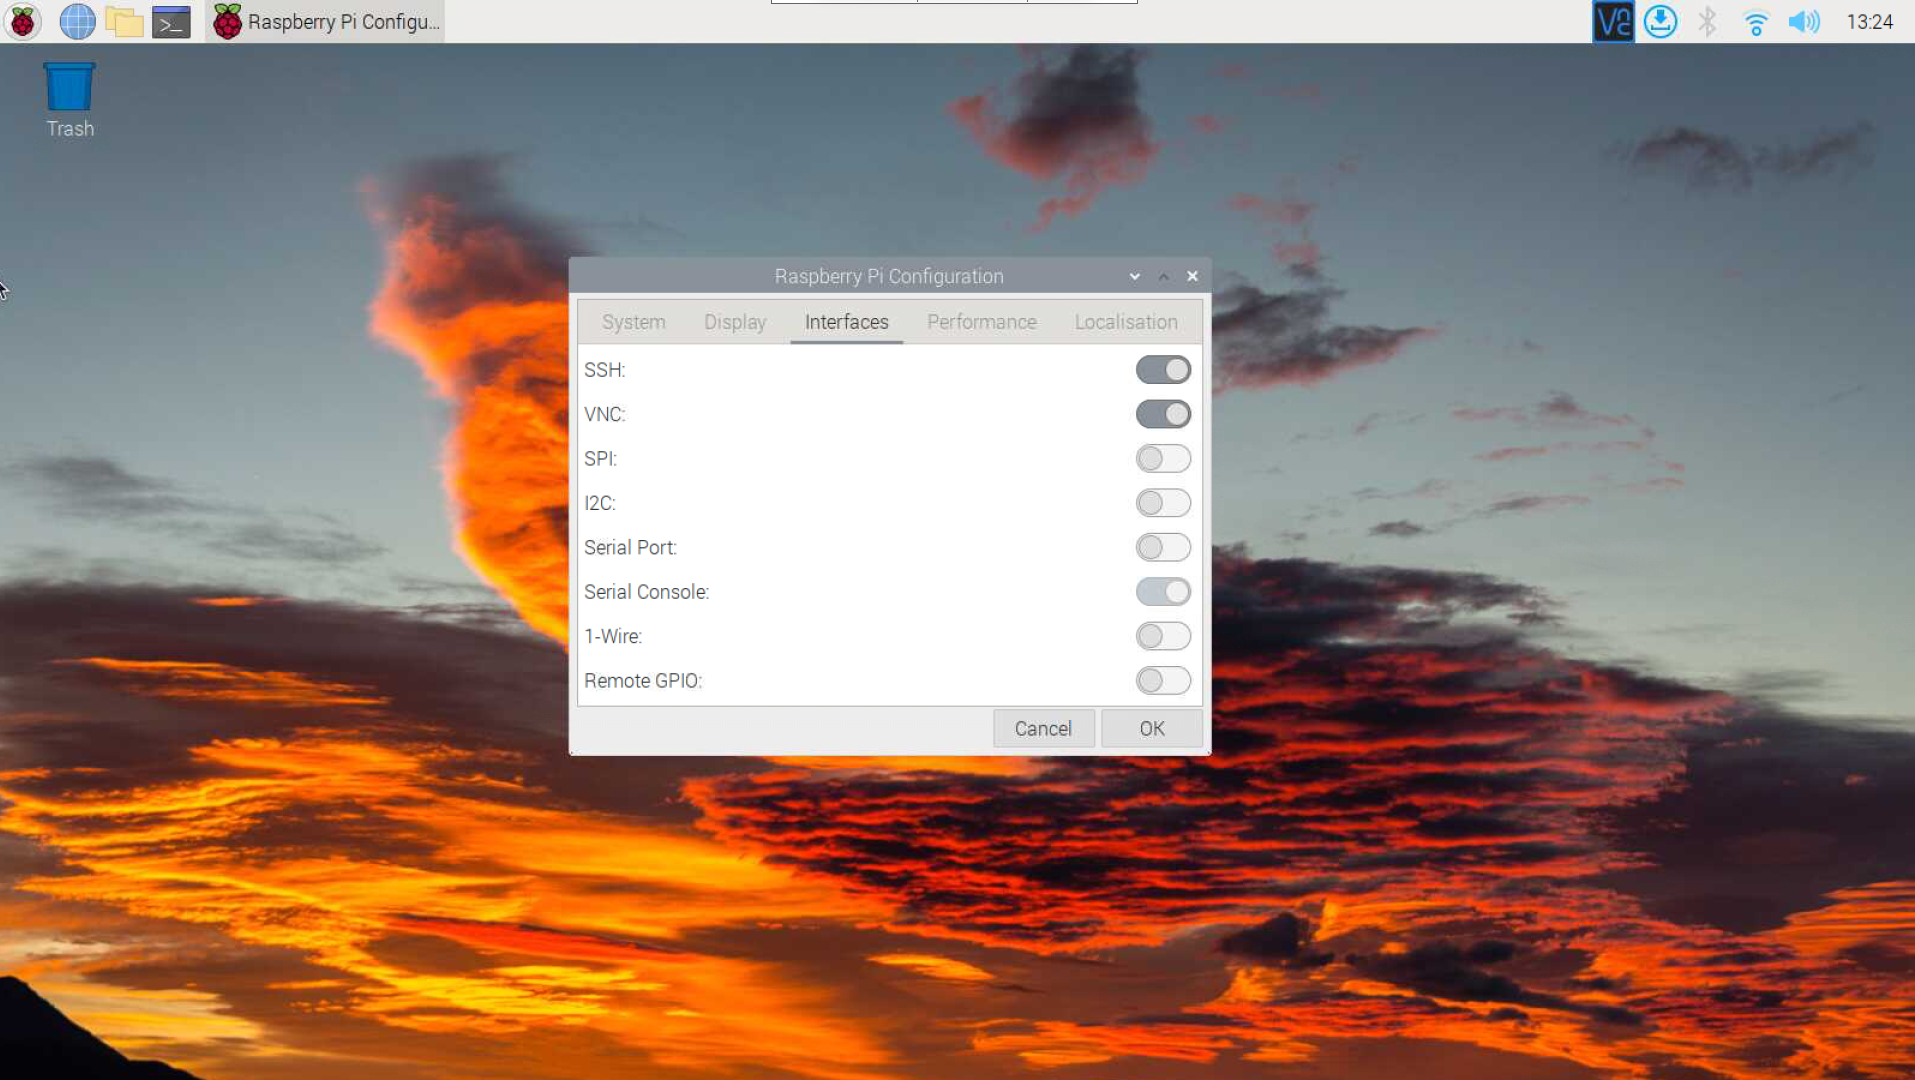
- Enable SSH and VNC Viewer.
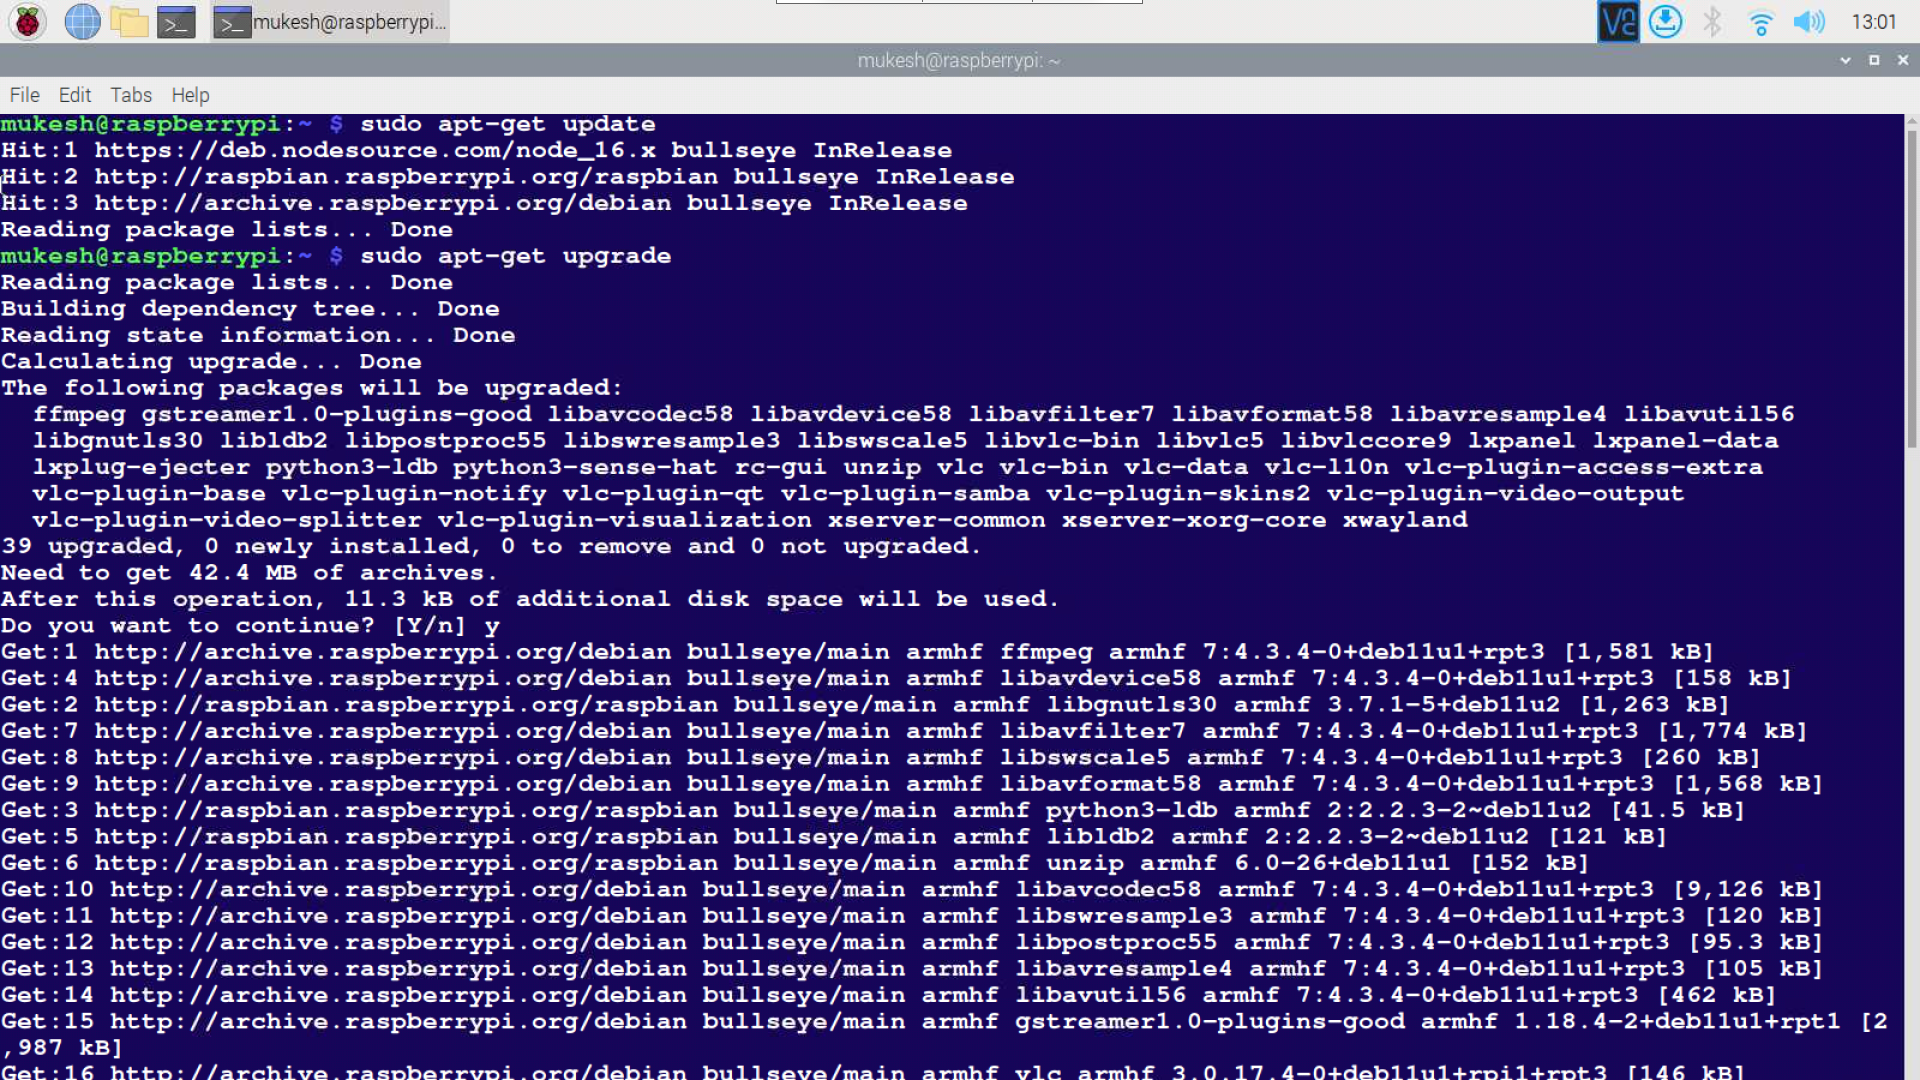
- Run the commands
sudo apt-get updatesudo apt-get upgrade
- If it asks for any permission (Yes/No) type y and enter.
- Run the following command for installing Remote.it service on Raspberry Pi.
sudo apt install connectd
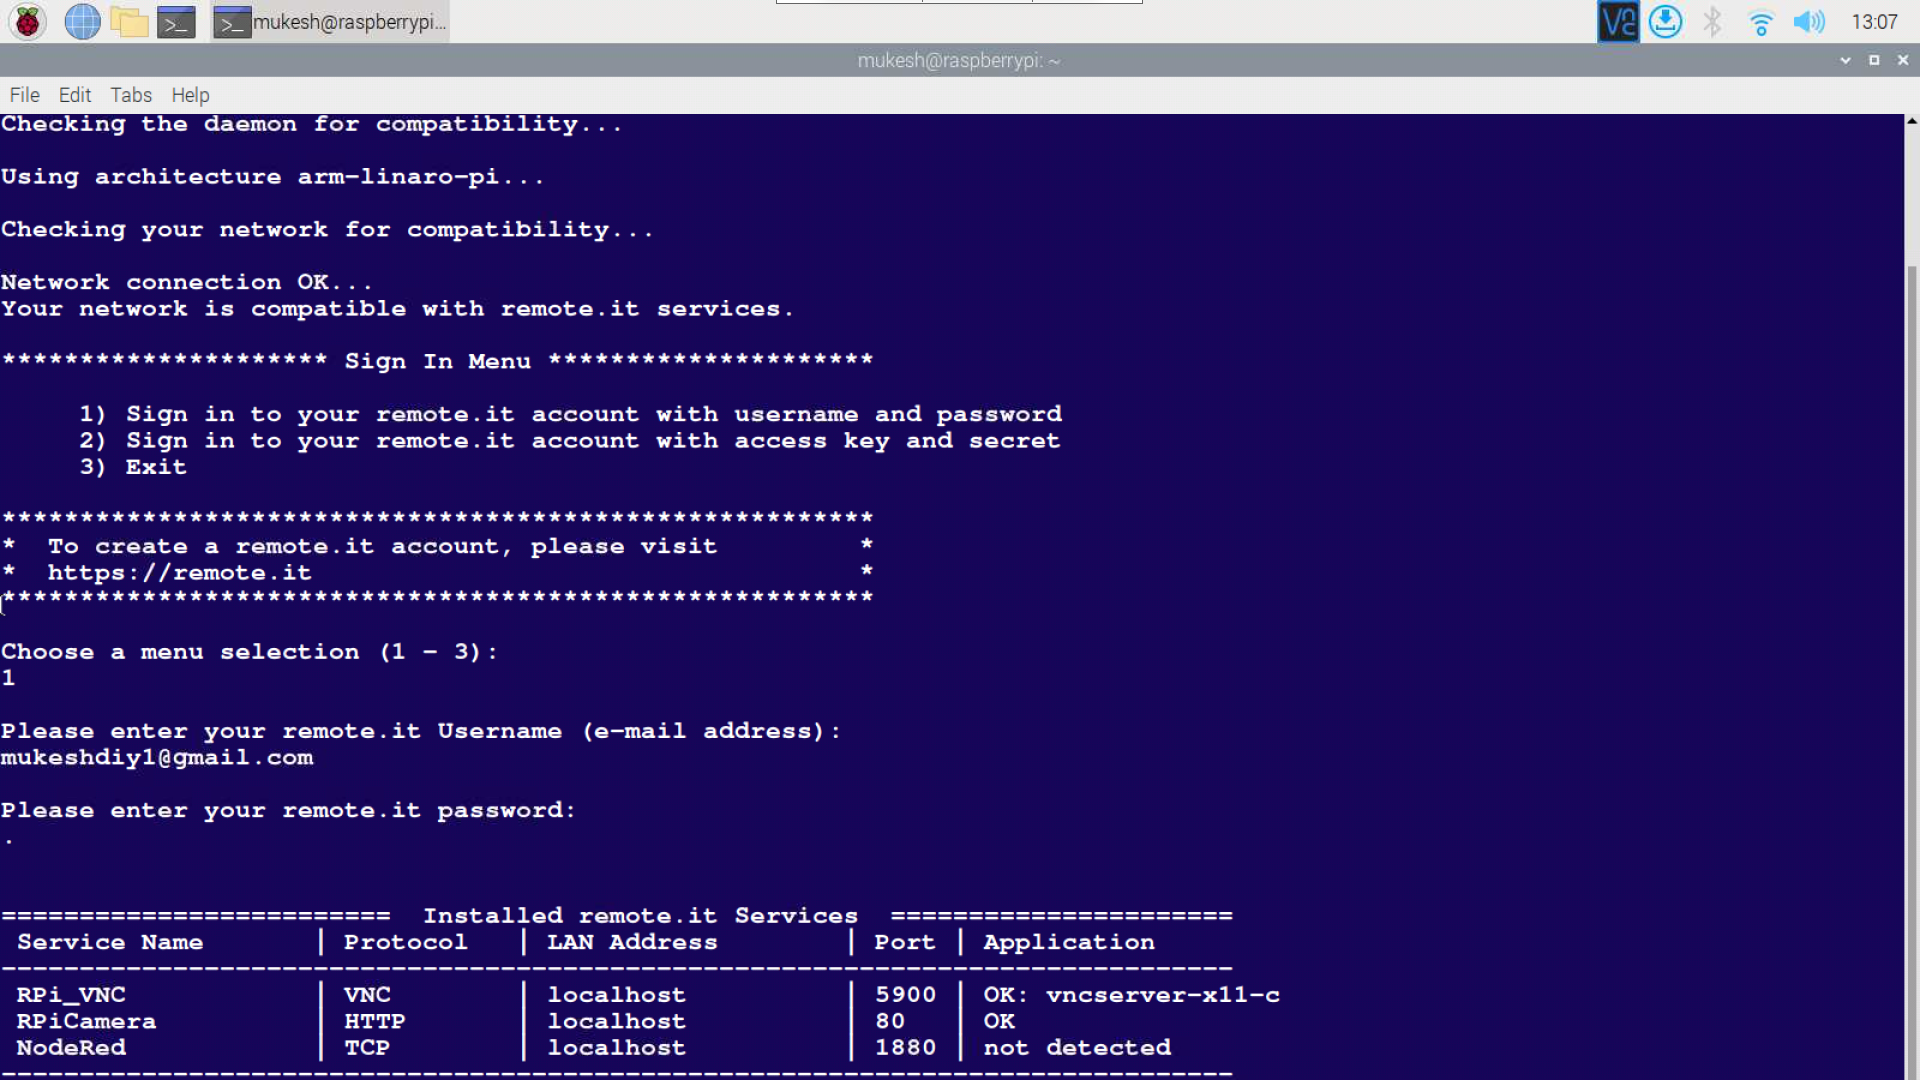
- To launch the service run following command
sudo connectd_installer
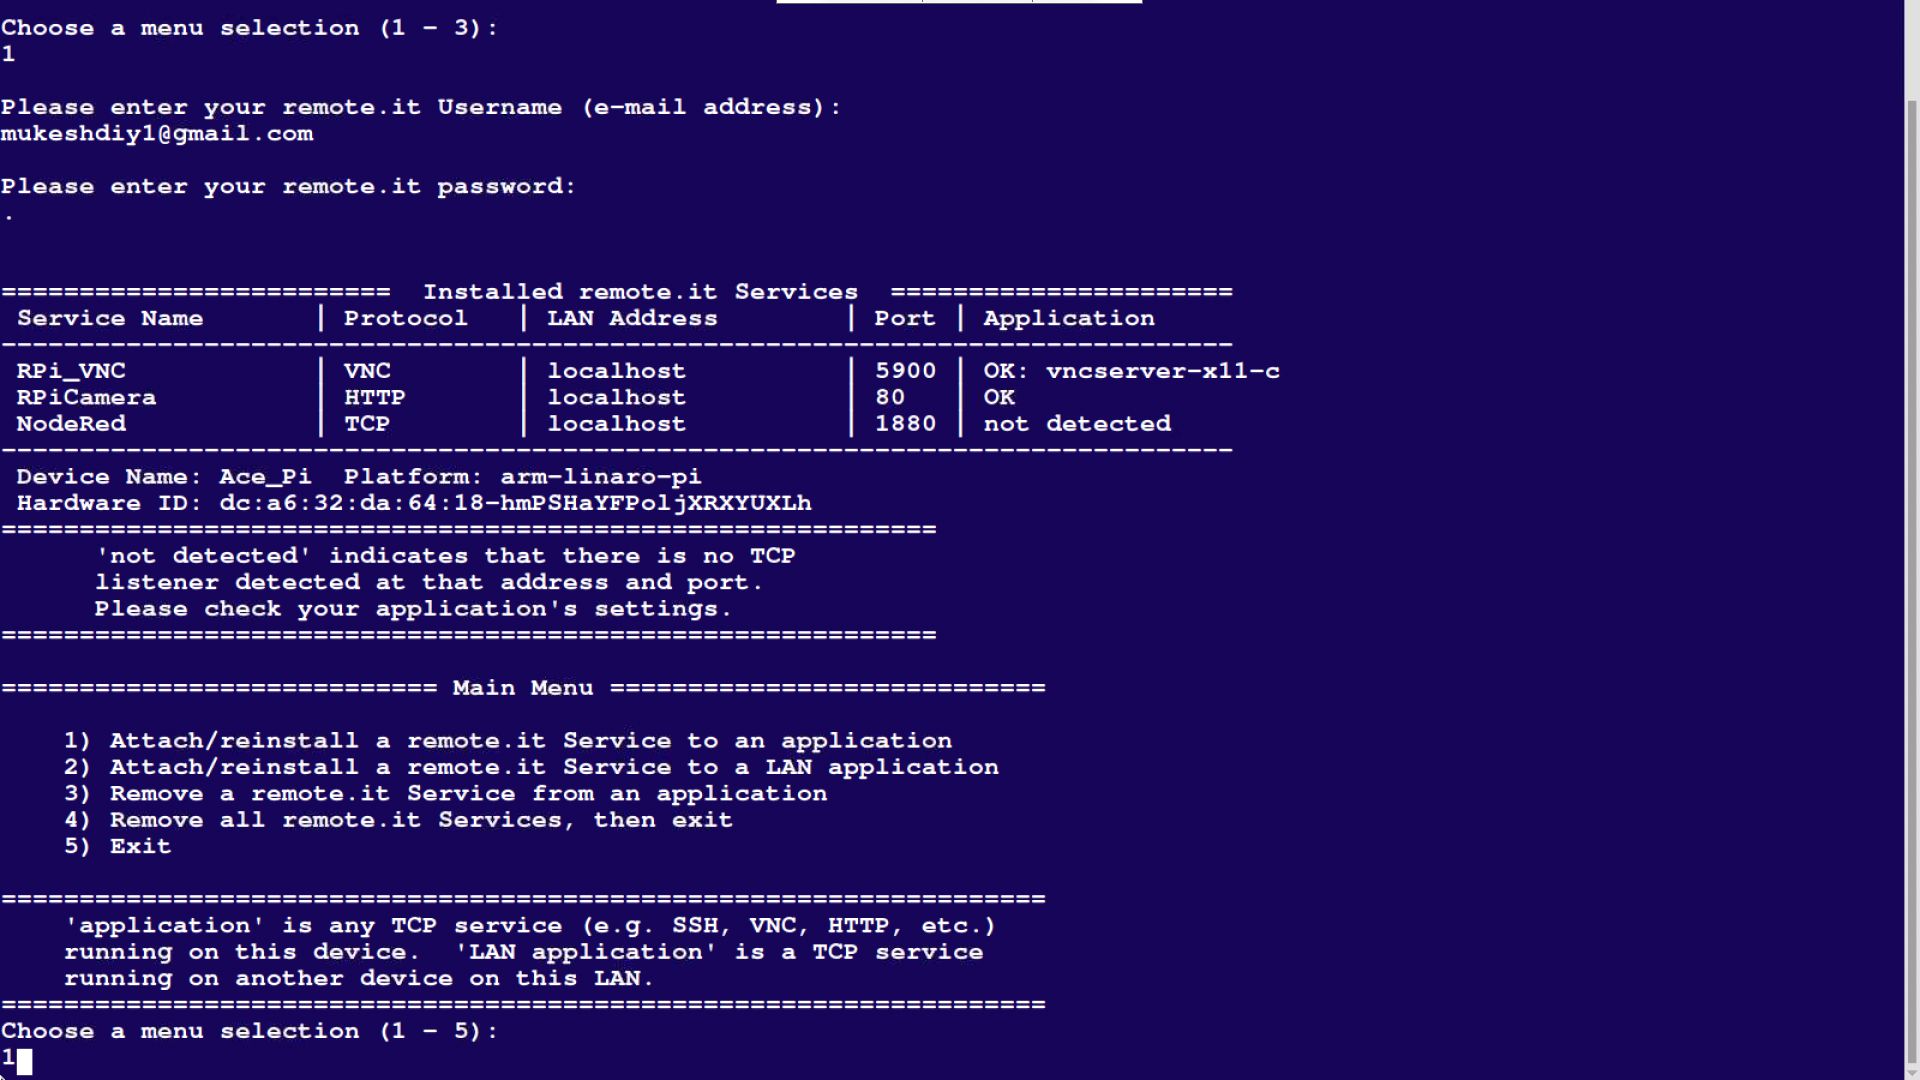
- Now select the option 1 and login with your email and password.
- After login you will find the active services and different options to add remote services.
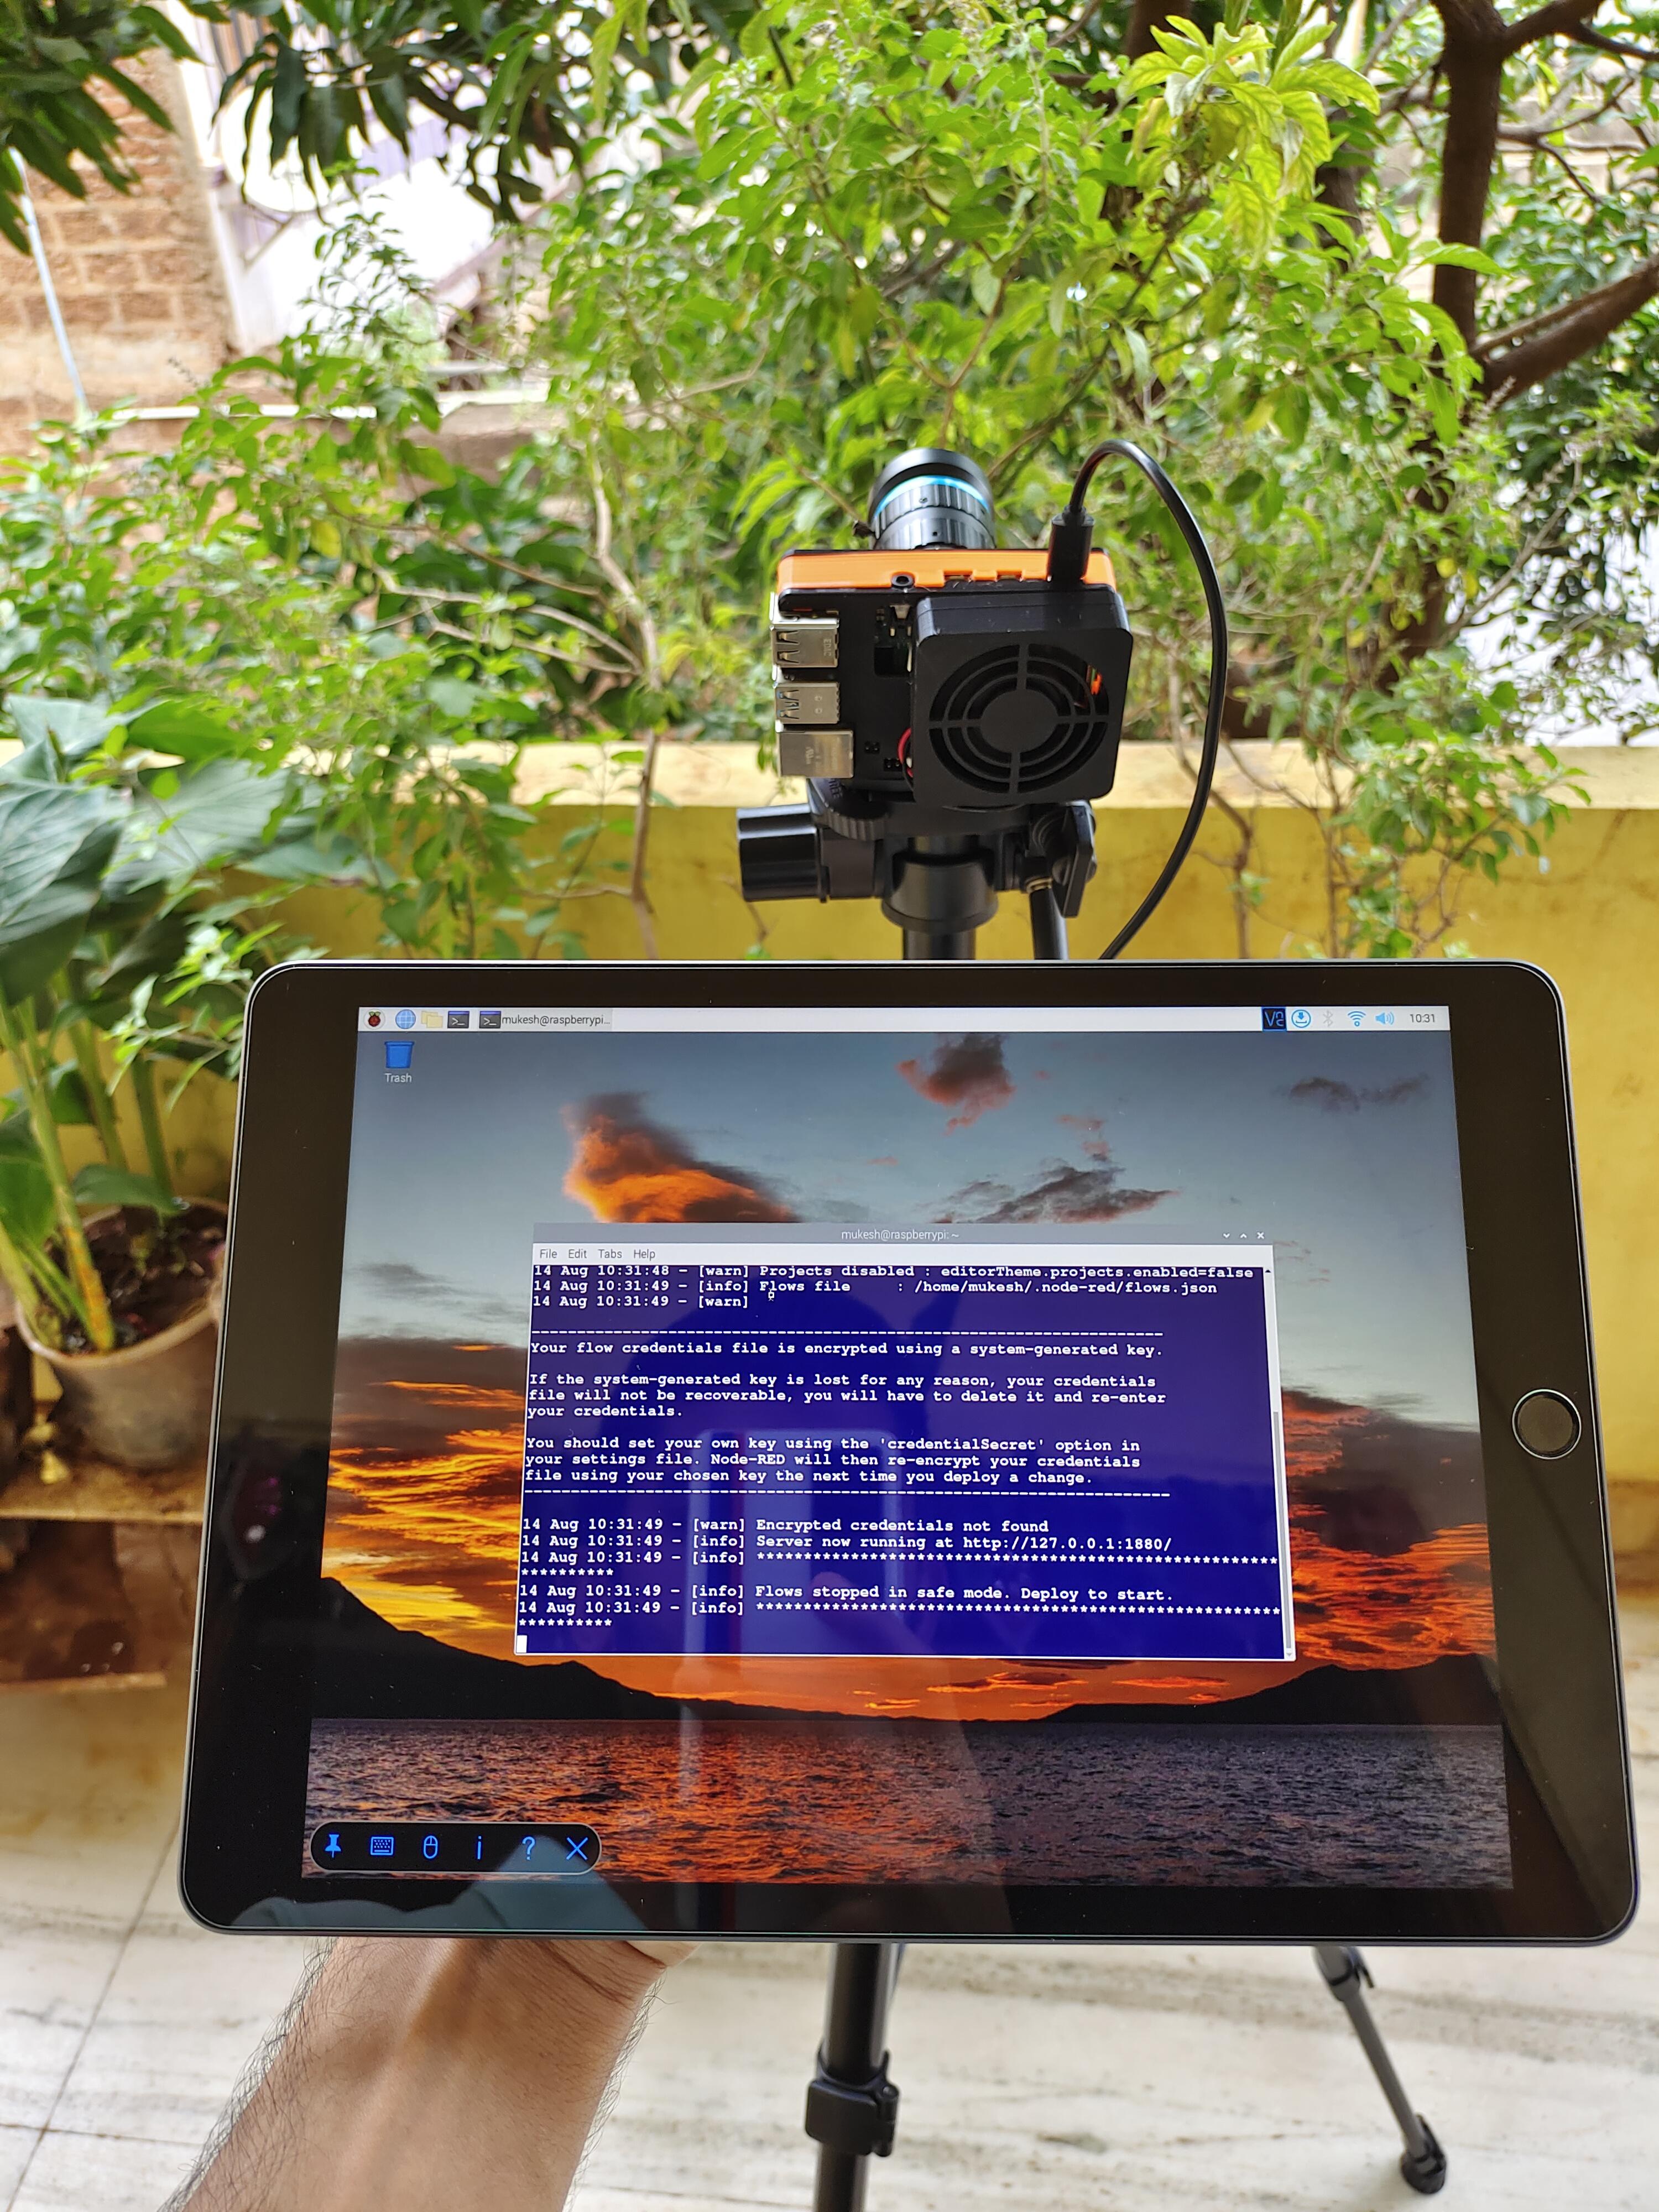
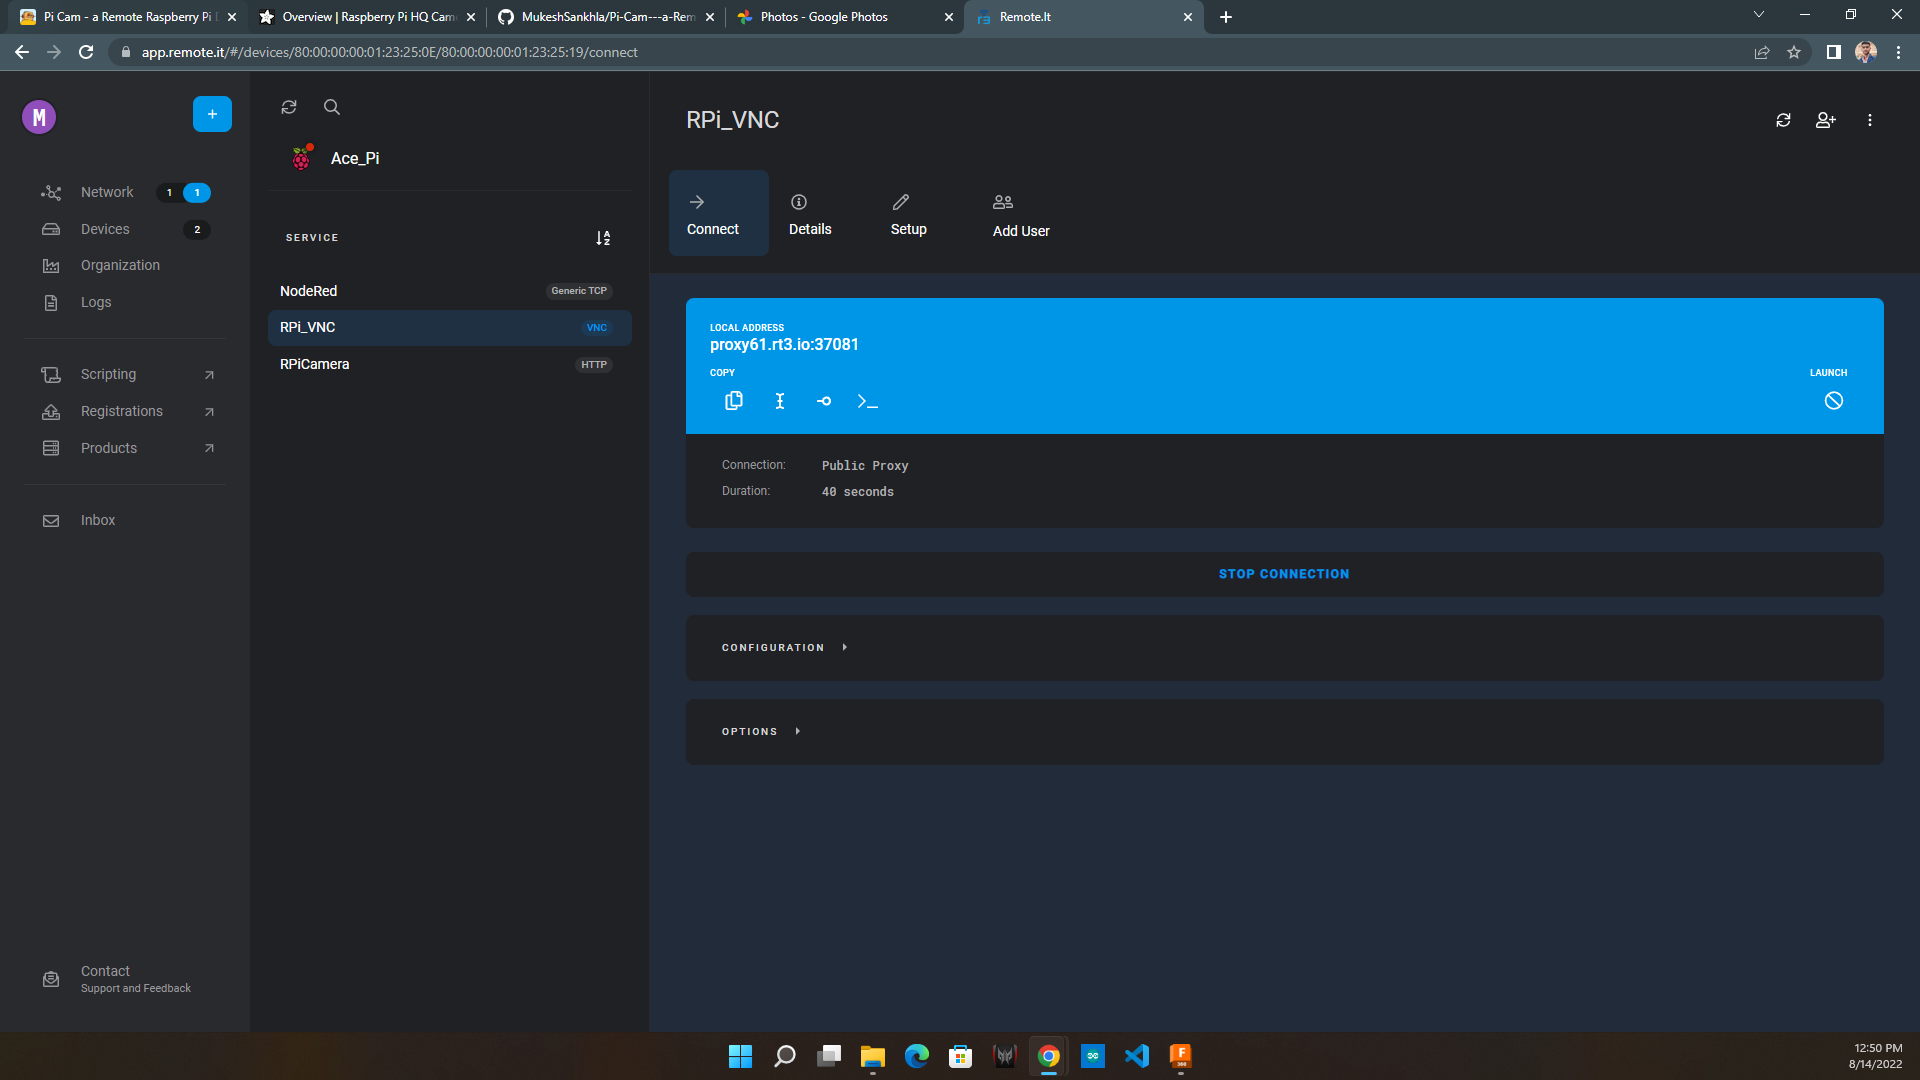
- You can choose option 4 for activating remote VNC service and type the name for you service.
- After registering the service you can find the attached service with your given name you can connect it and launch it in VNC viewer with your Raspberry pi name and password.
Setting Remote Camera
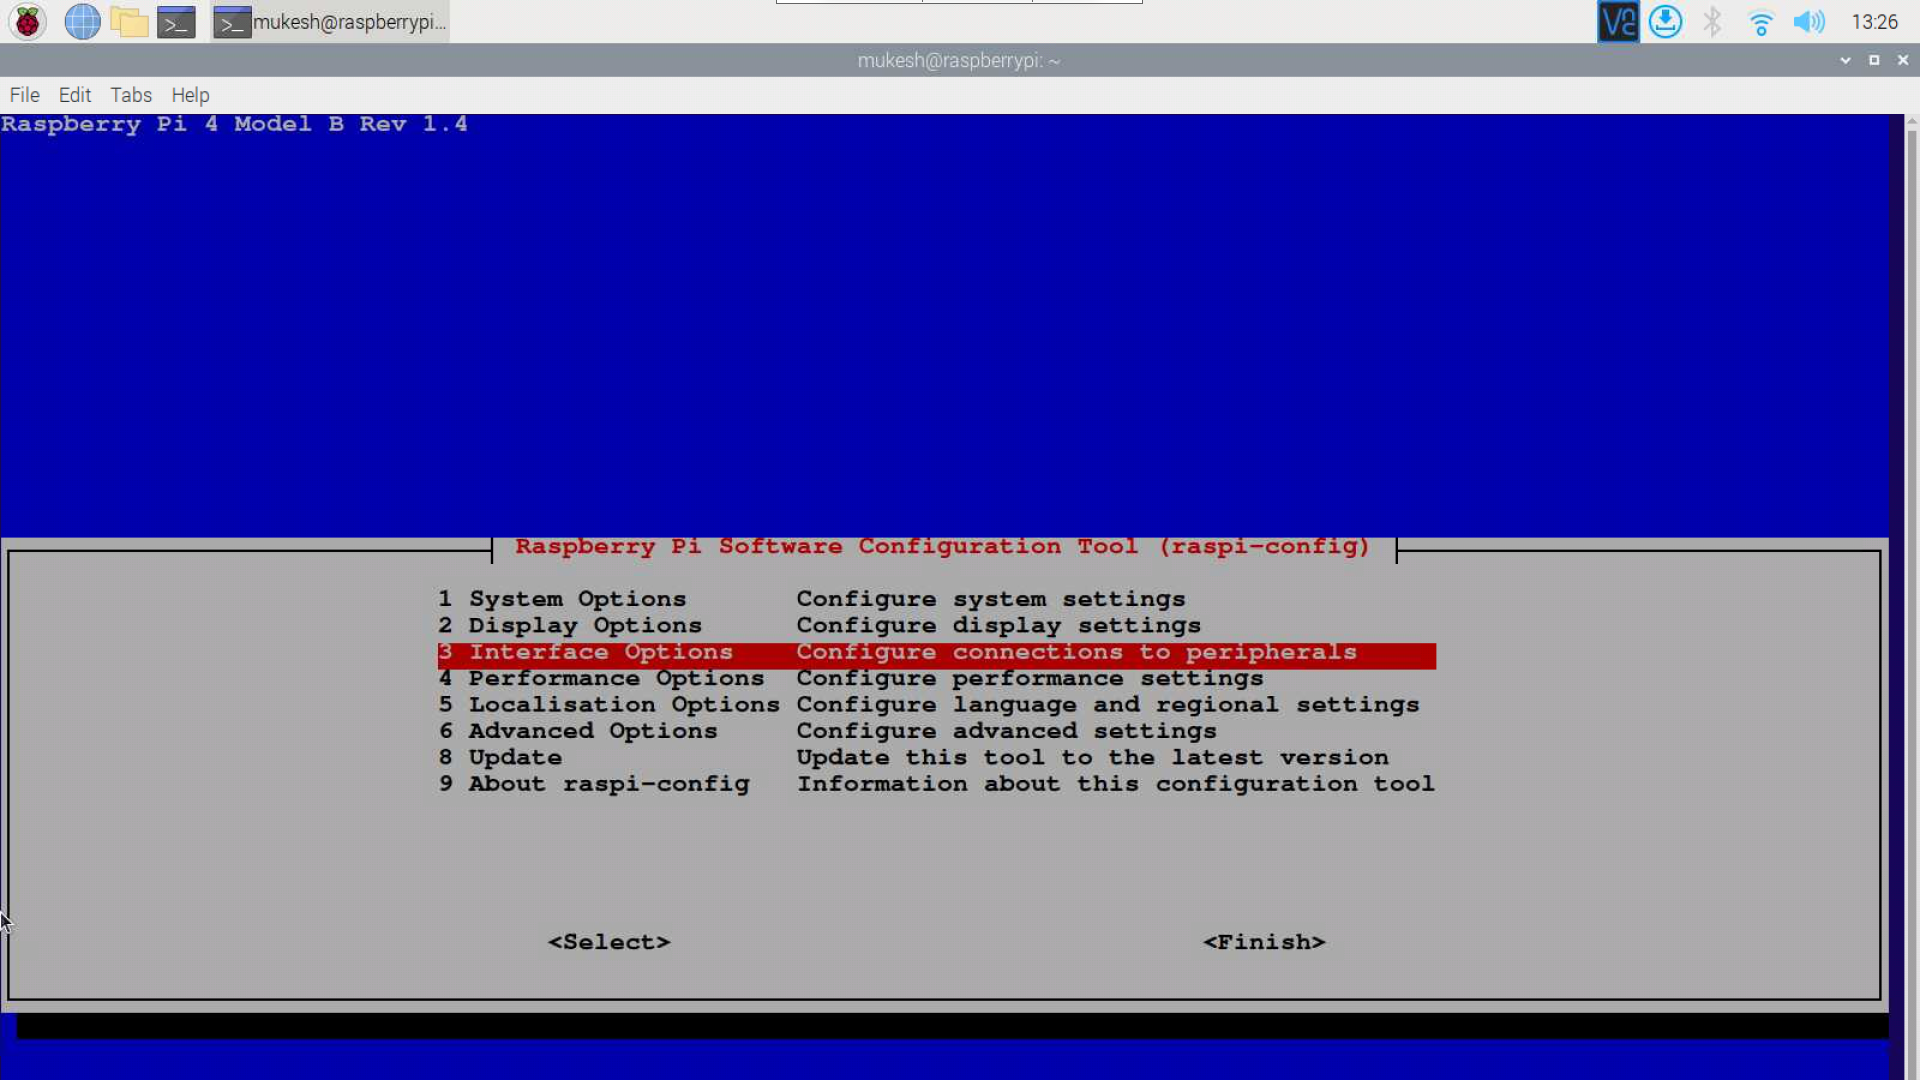
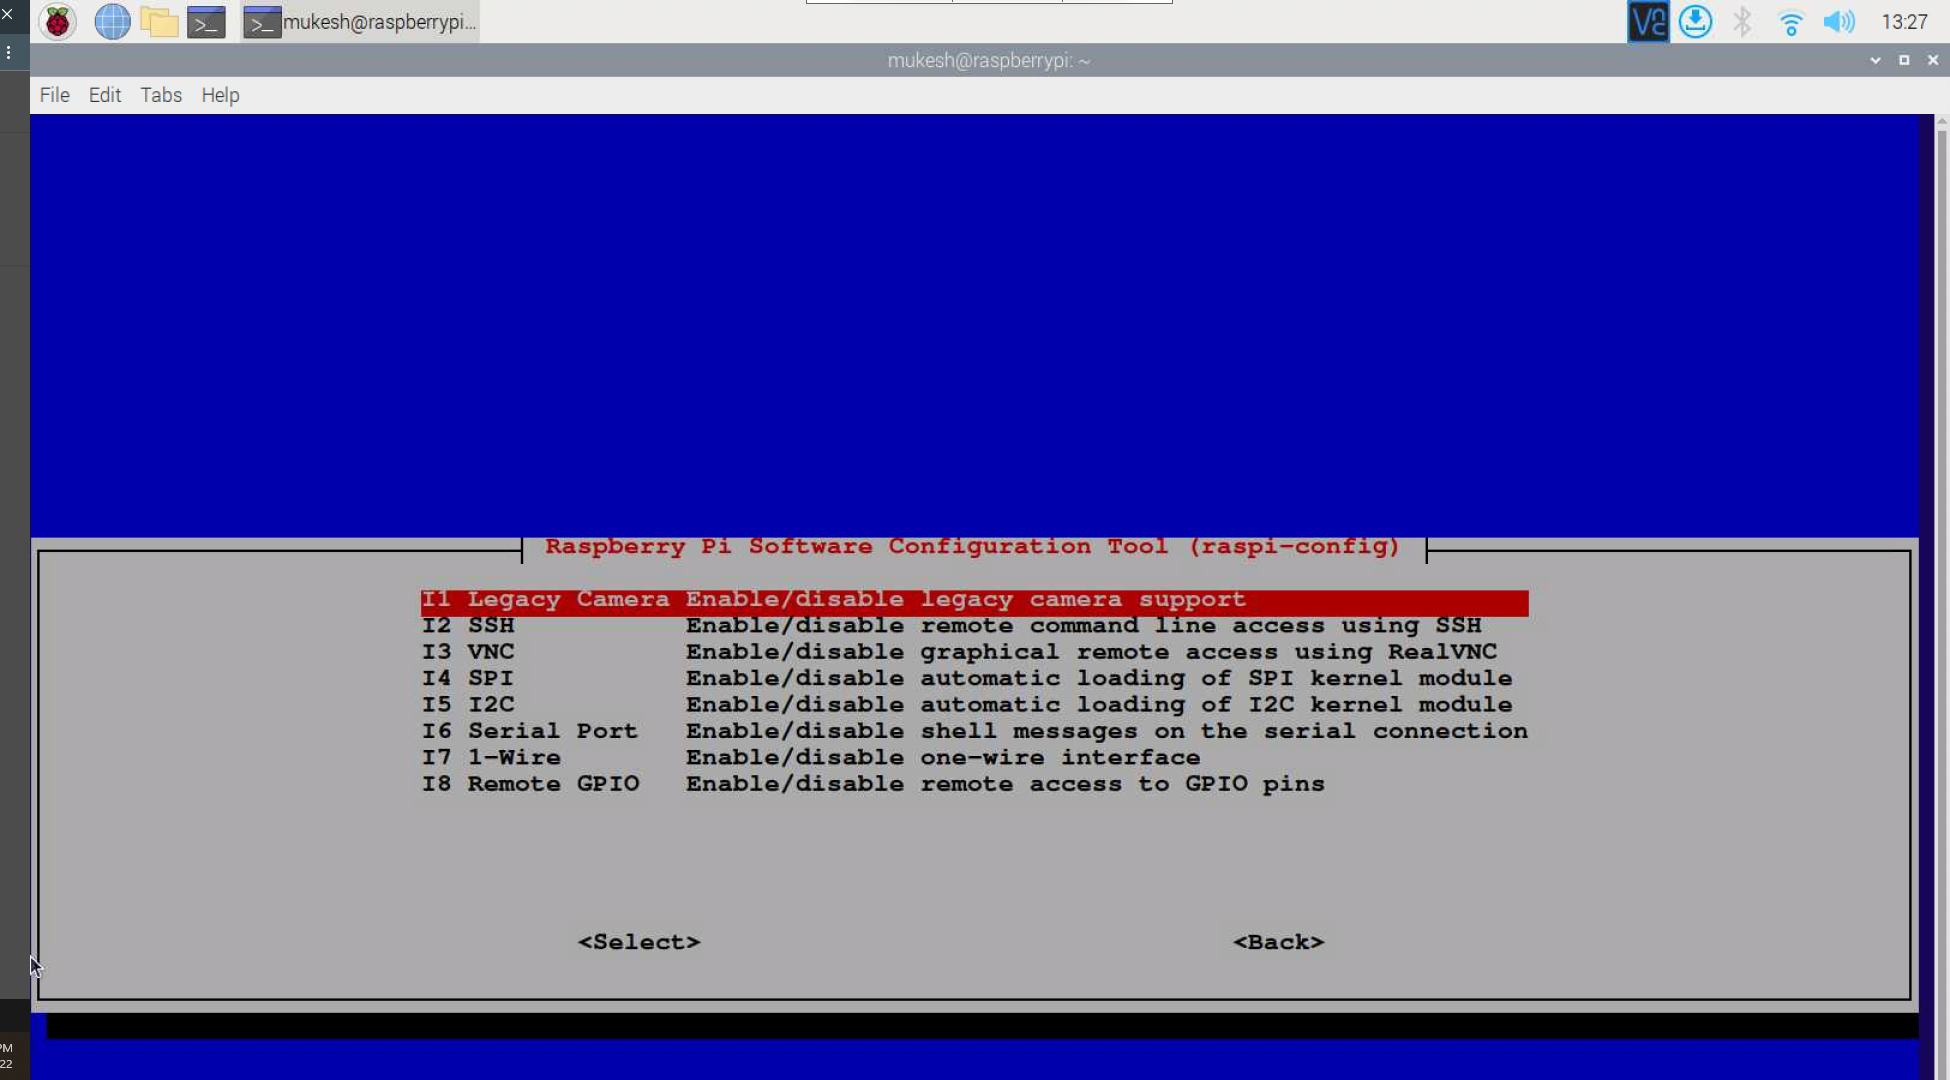

- First enable the legacy camera by typing the command and navigating to the legacy camera enable option.
sudo raspi-config
- Now install the raspberry pi camera web interface by typing the commands
sudo apt-get install gitgit clone https://github.com/silvanmelchior/RPi_Cam_Web_Interface.gitcd RPi_Cam_Web_Interface./install.sh
- If you get error while ./install.sh command you can run the command
apt-get update --fix-missing
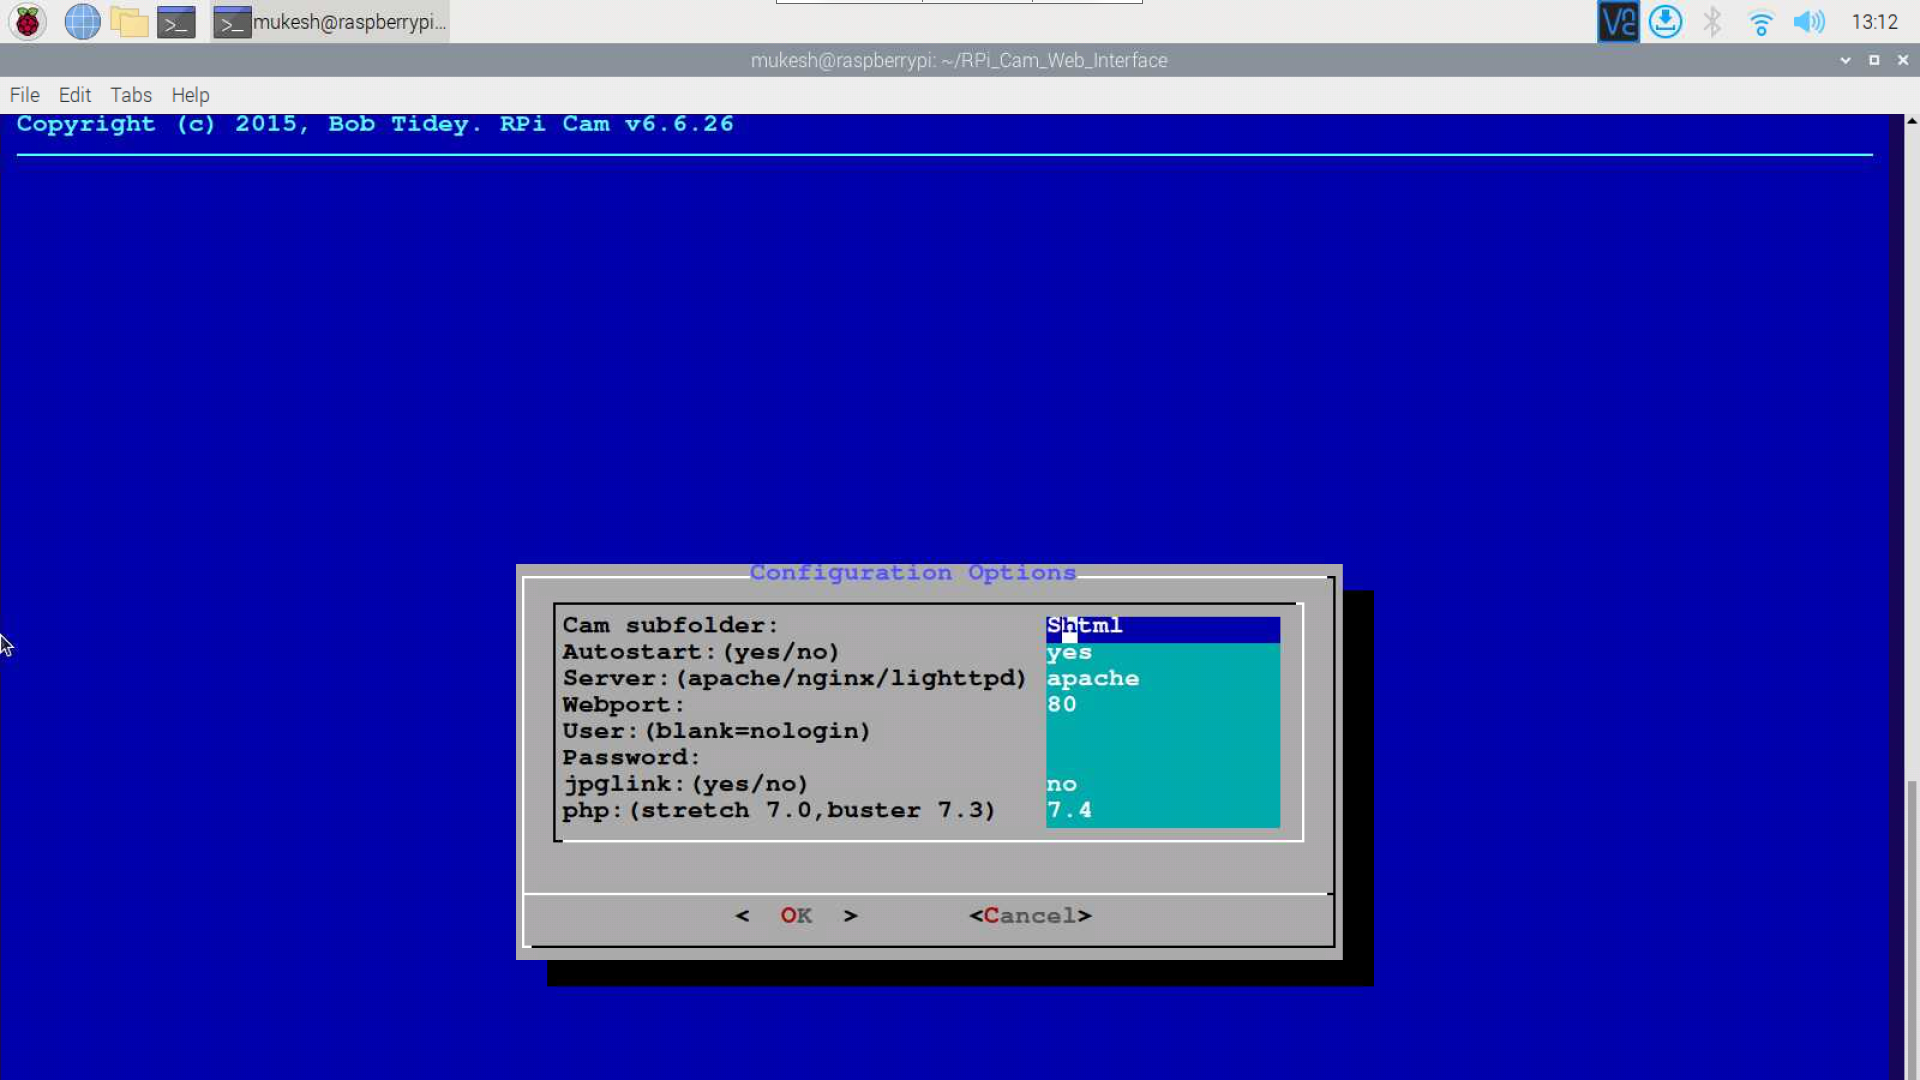
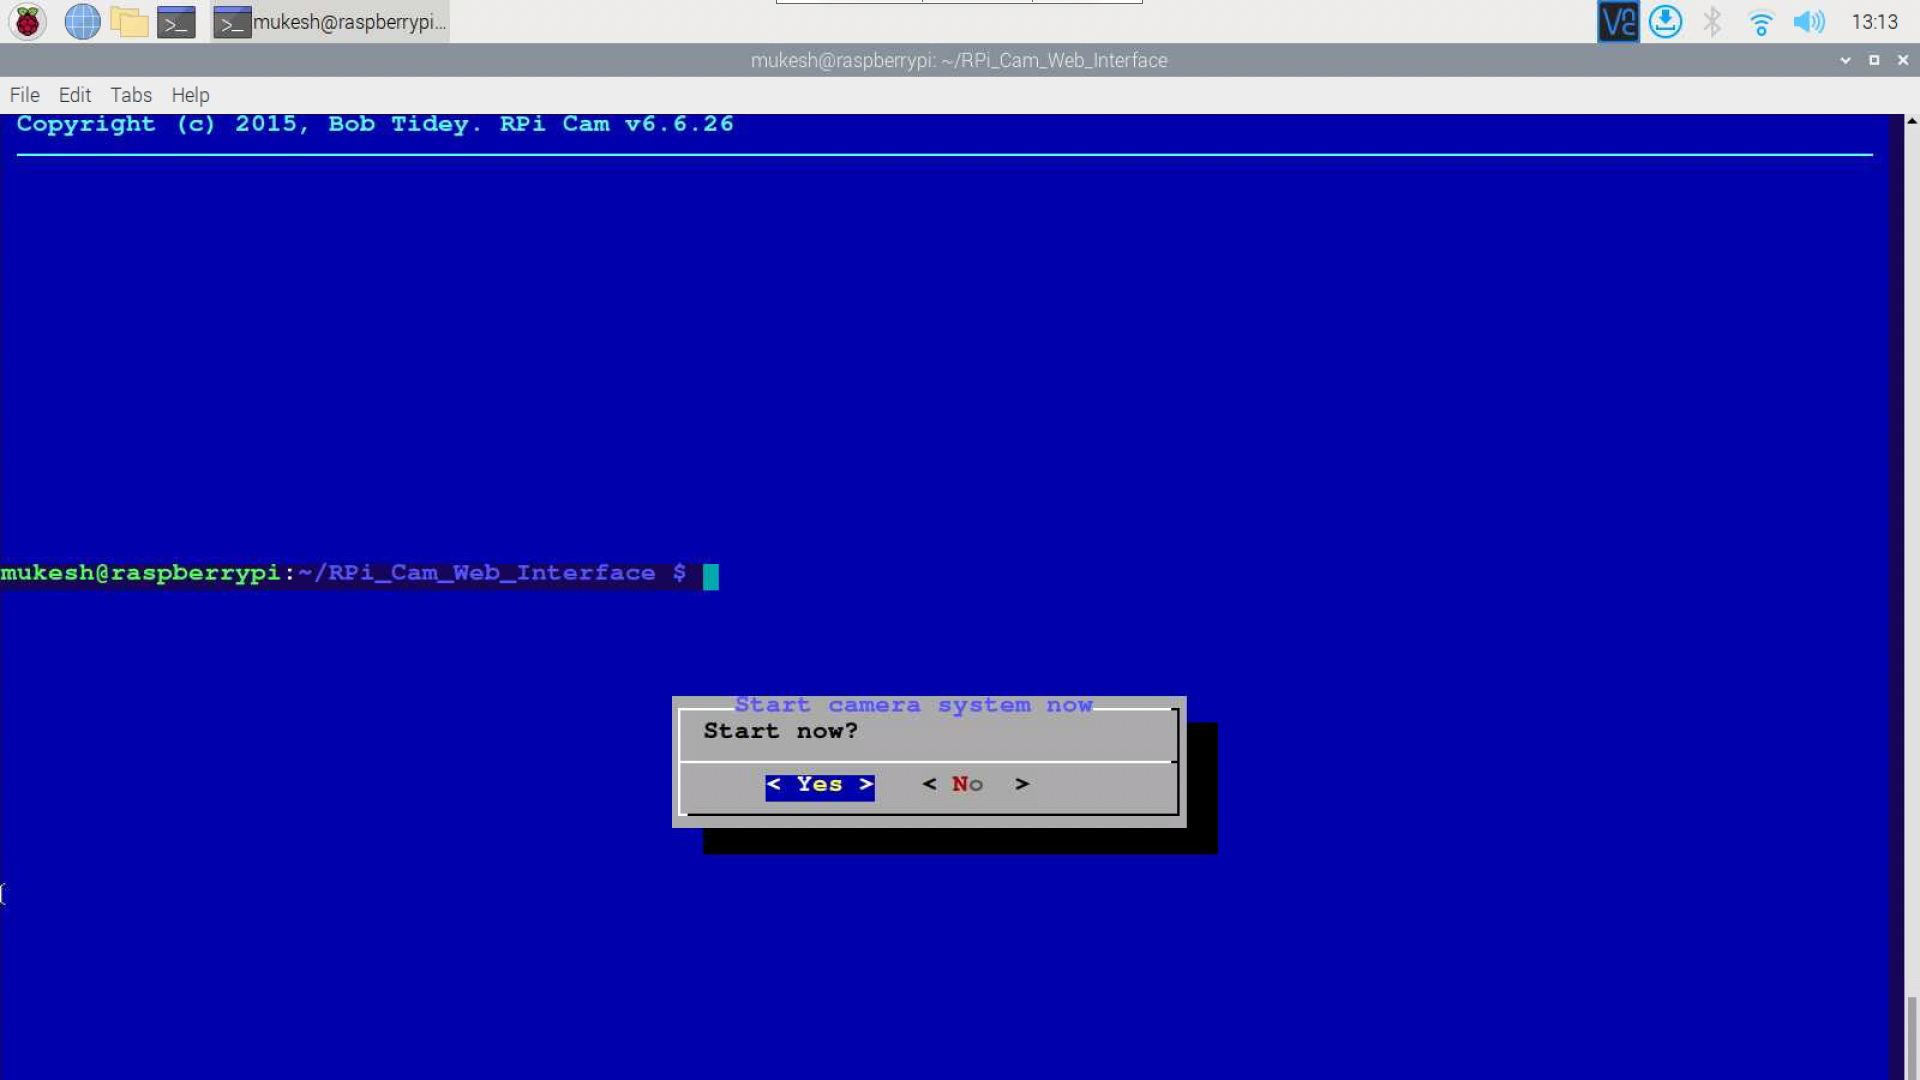
- You will get the image 3 screen where you can save the settings as mine.
- Now again run the command and login with remote.it email and password.
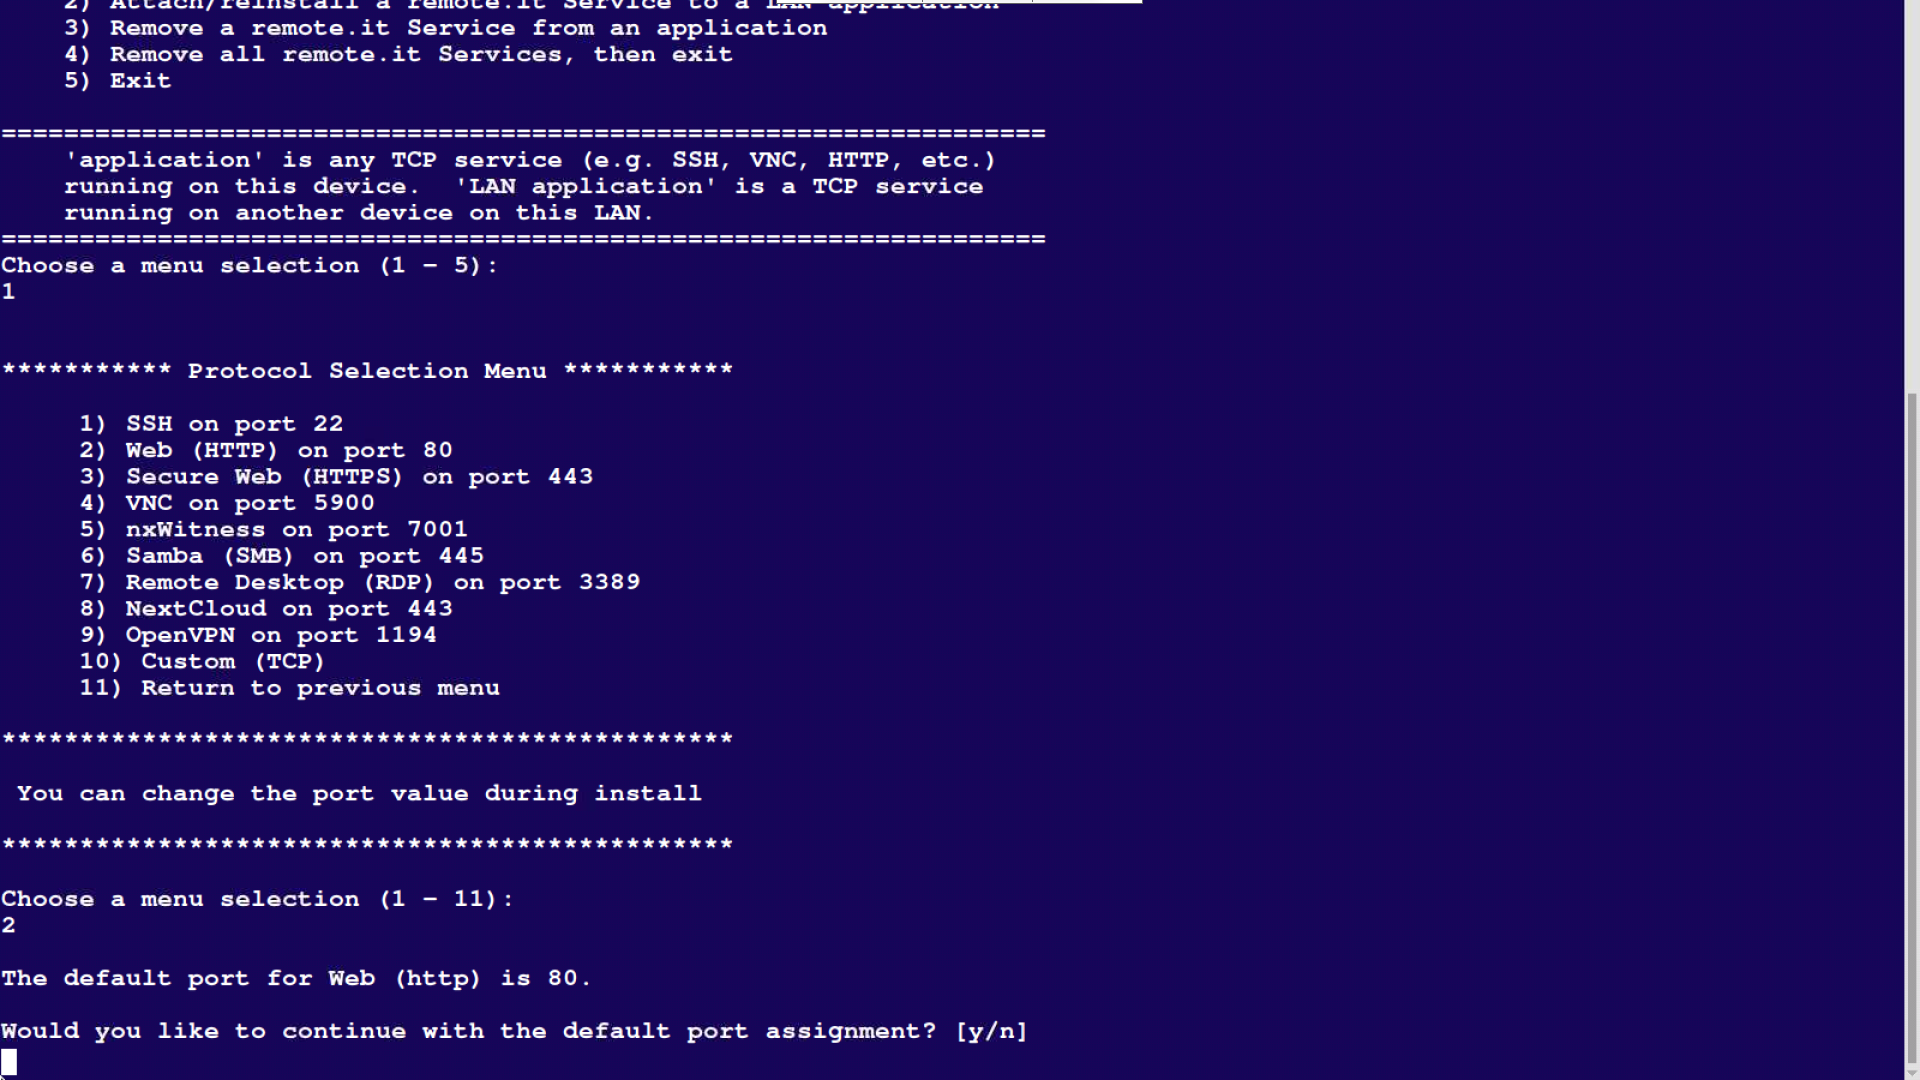
sudo connectd_installer
- Select the option 2 since we are forwarding HTTP port 80
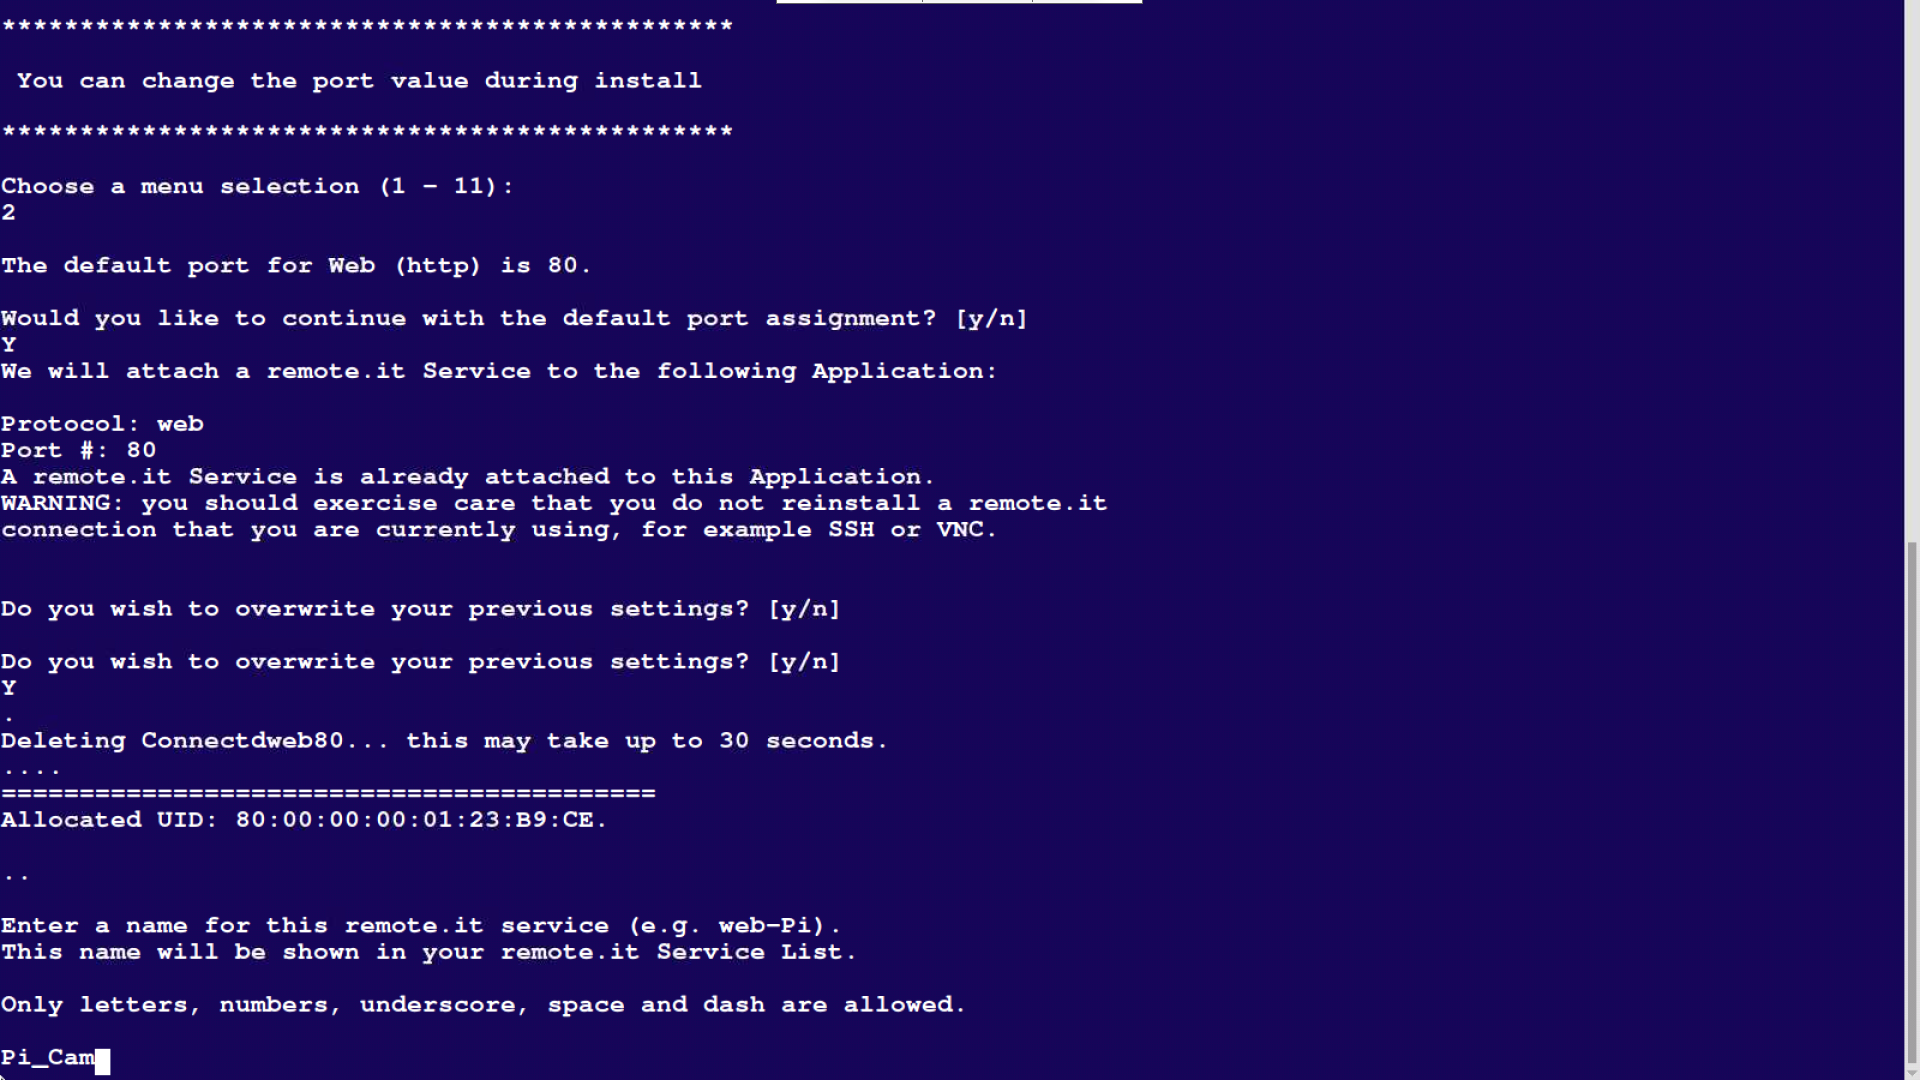
- You can name your camera service
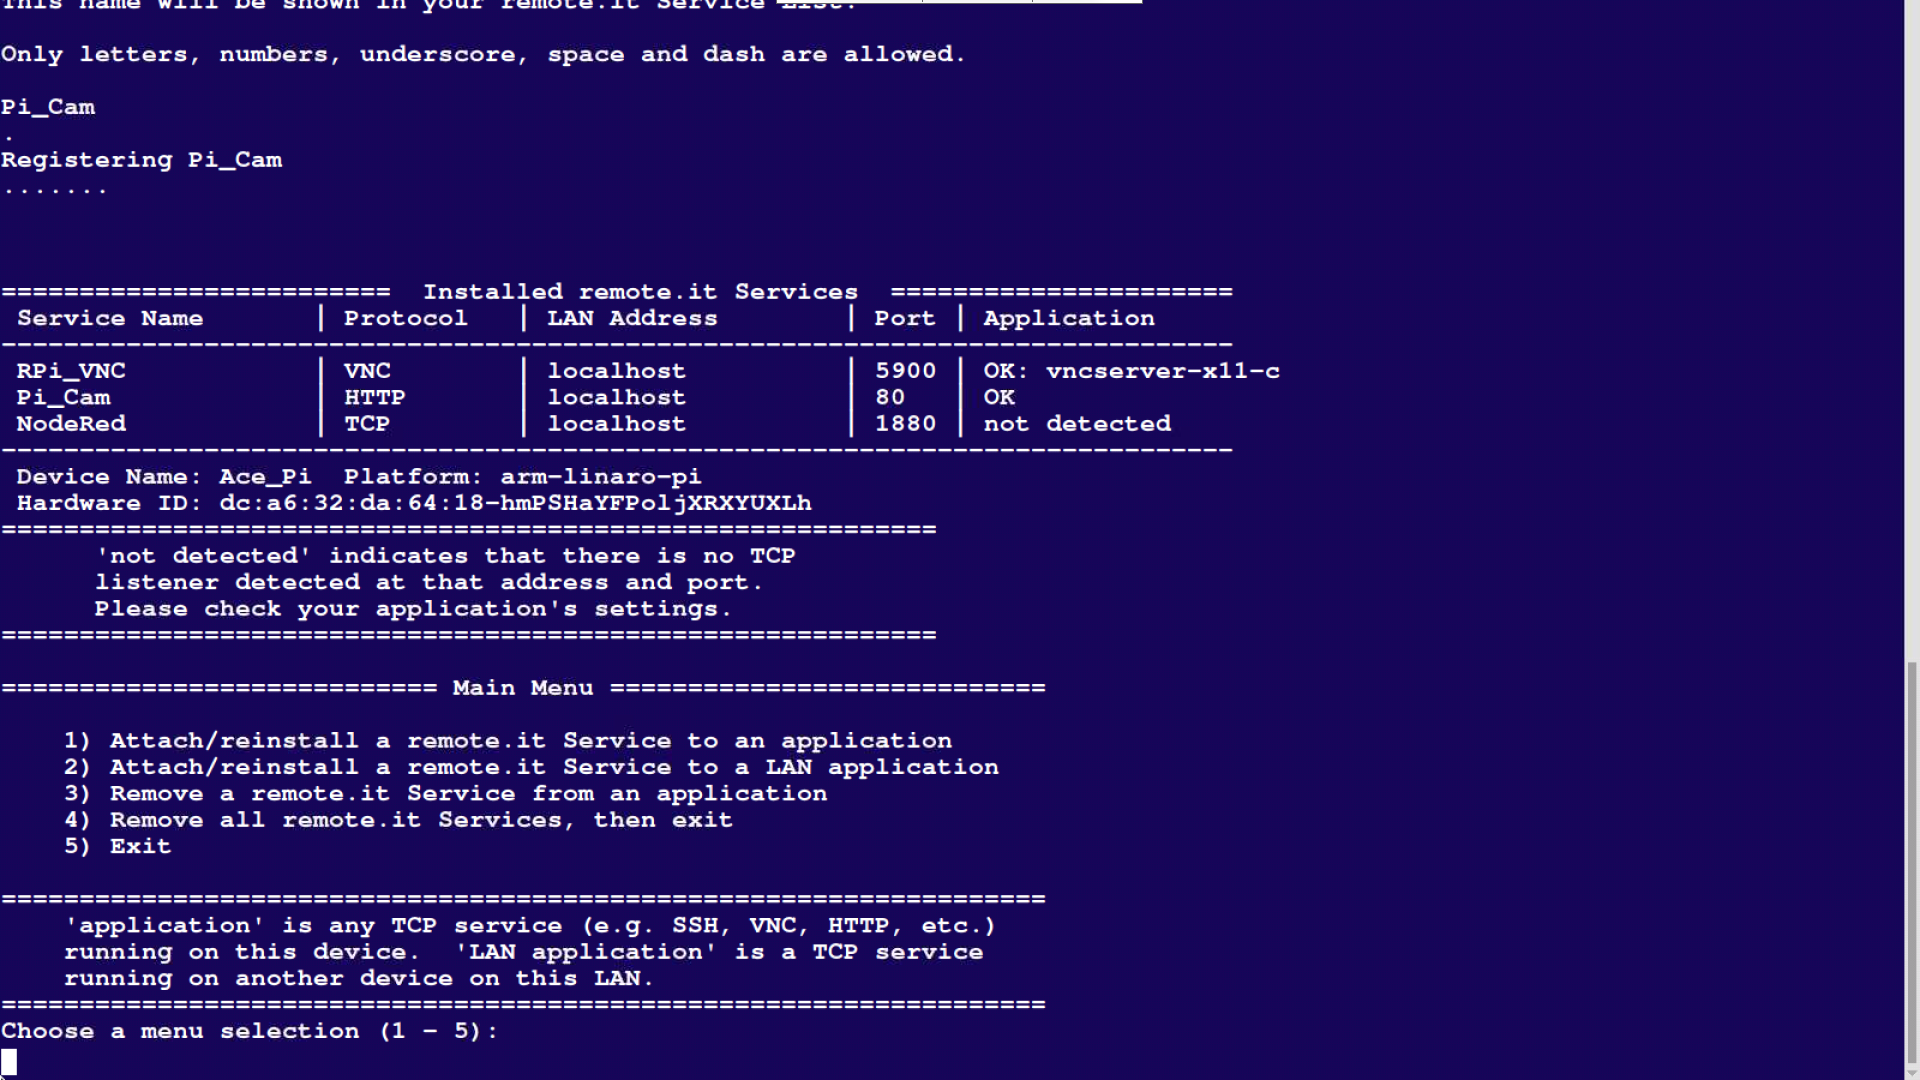
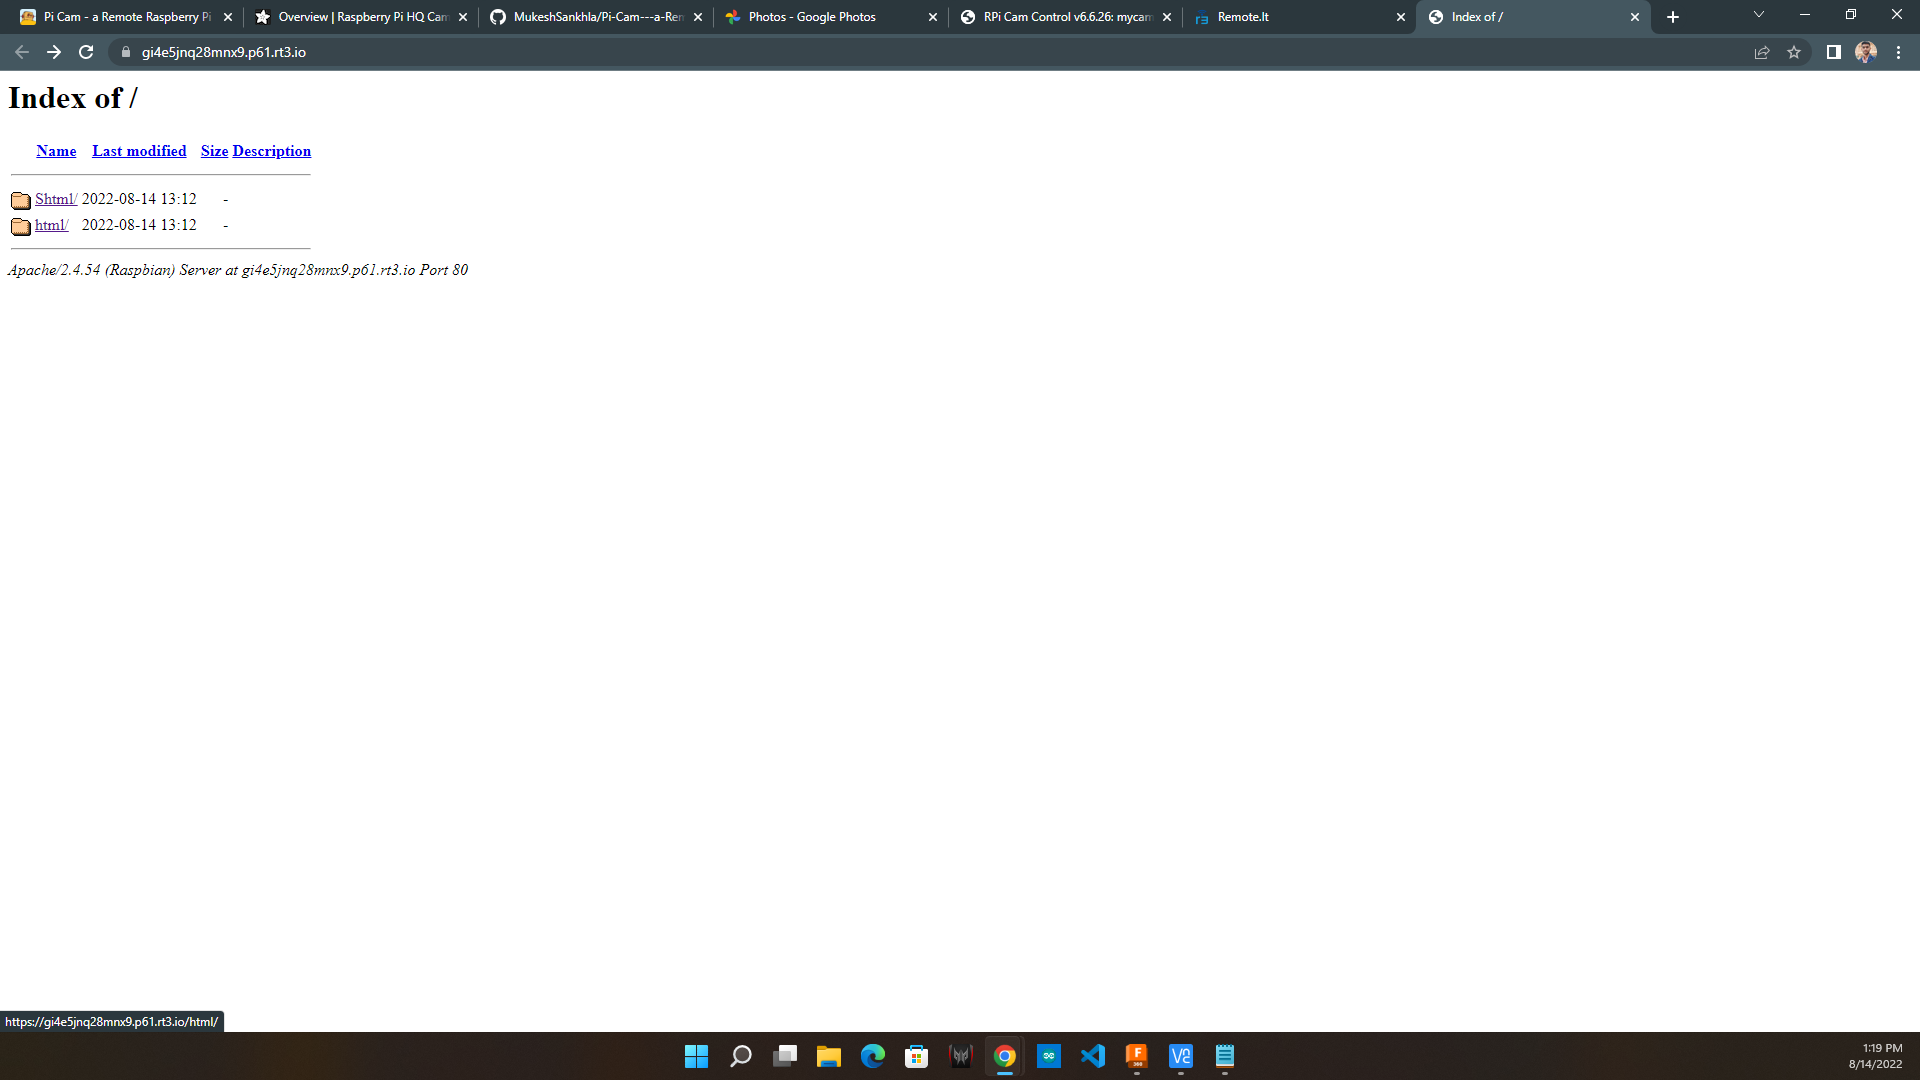
- After successful registration you will find the service in your account with your given name.
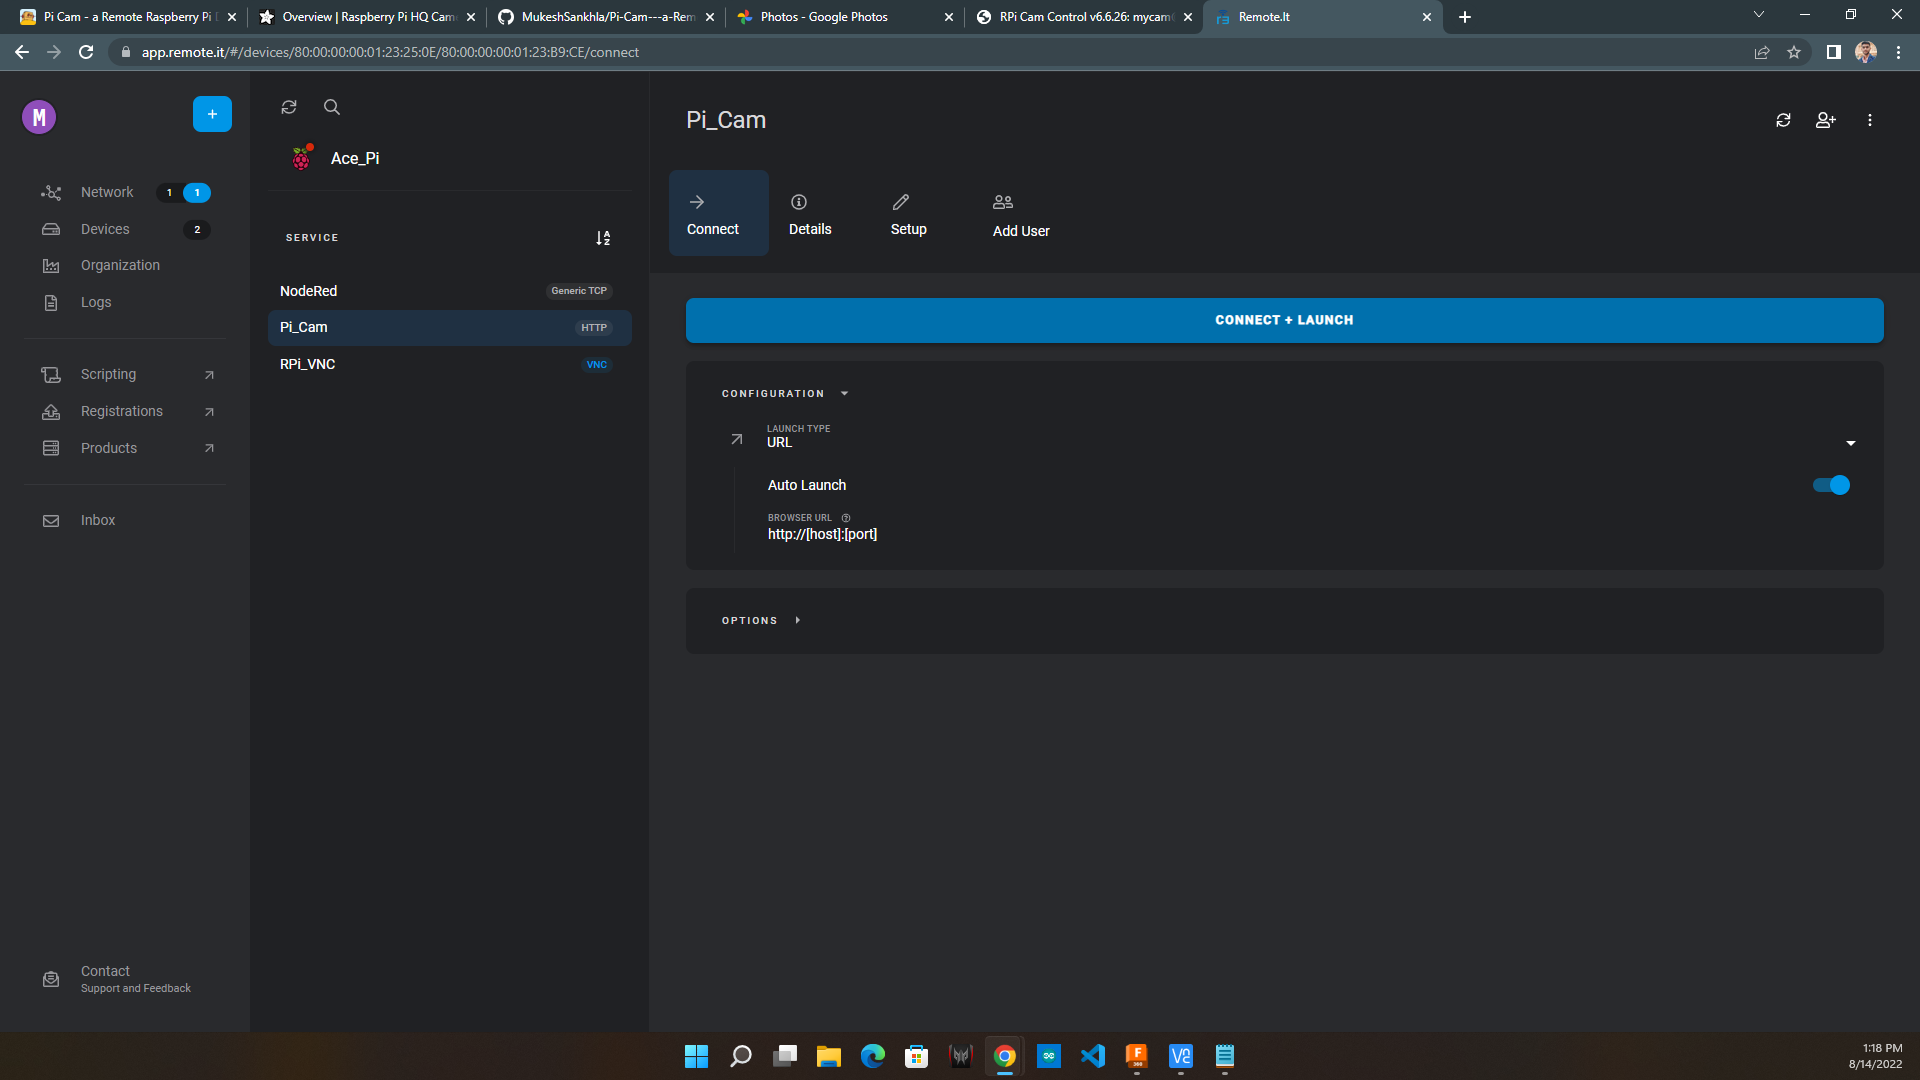
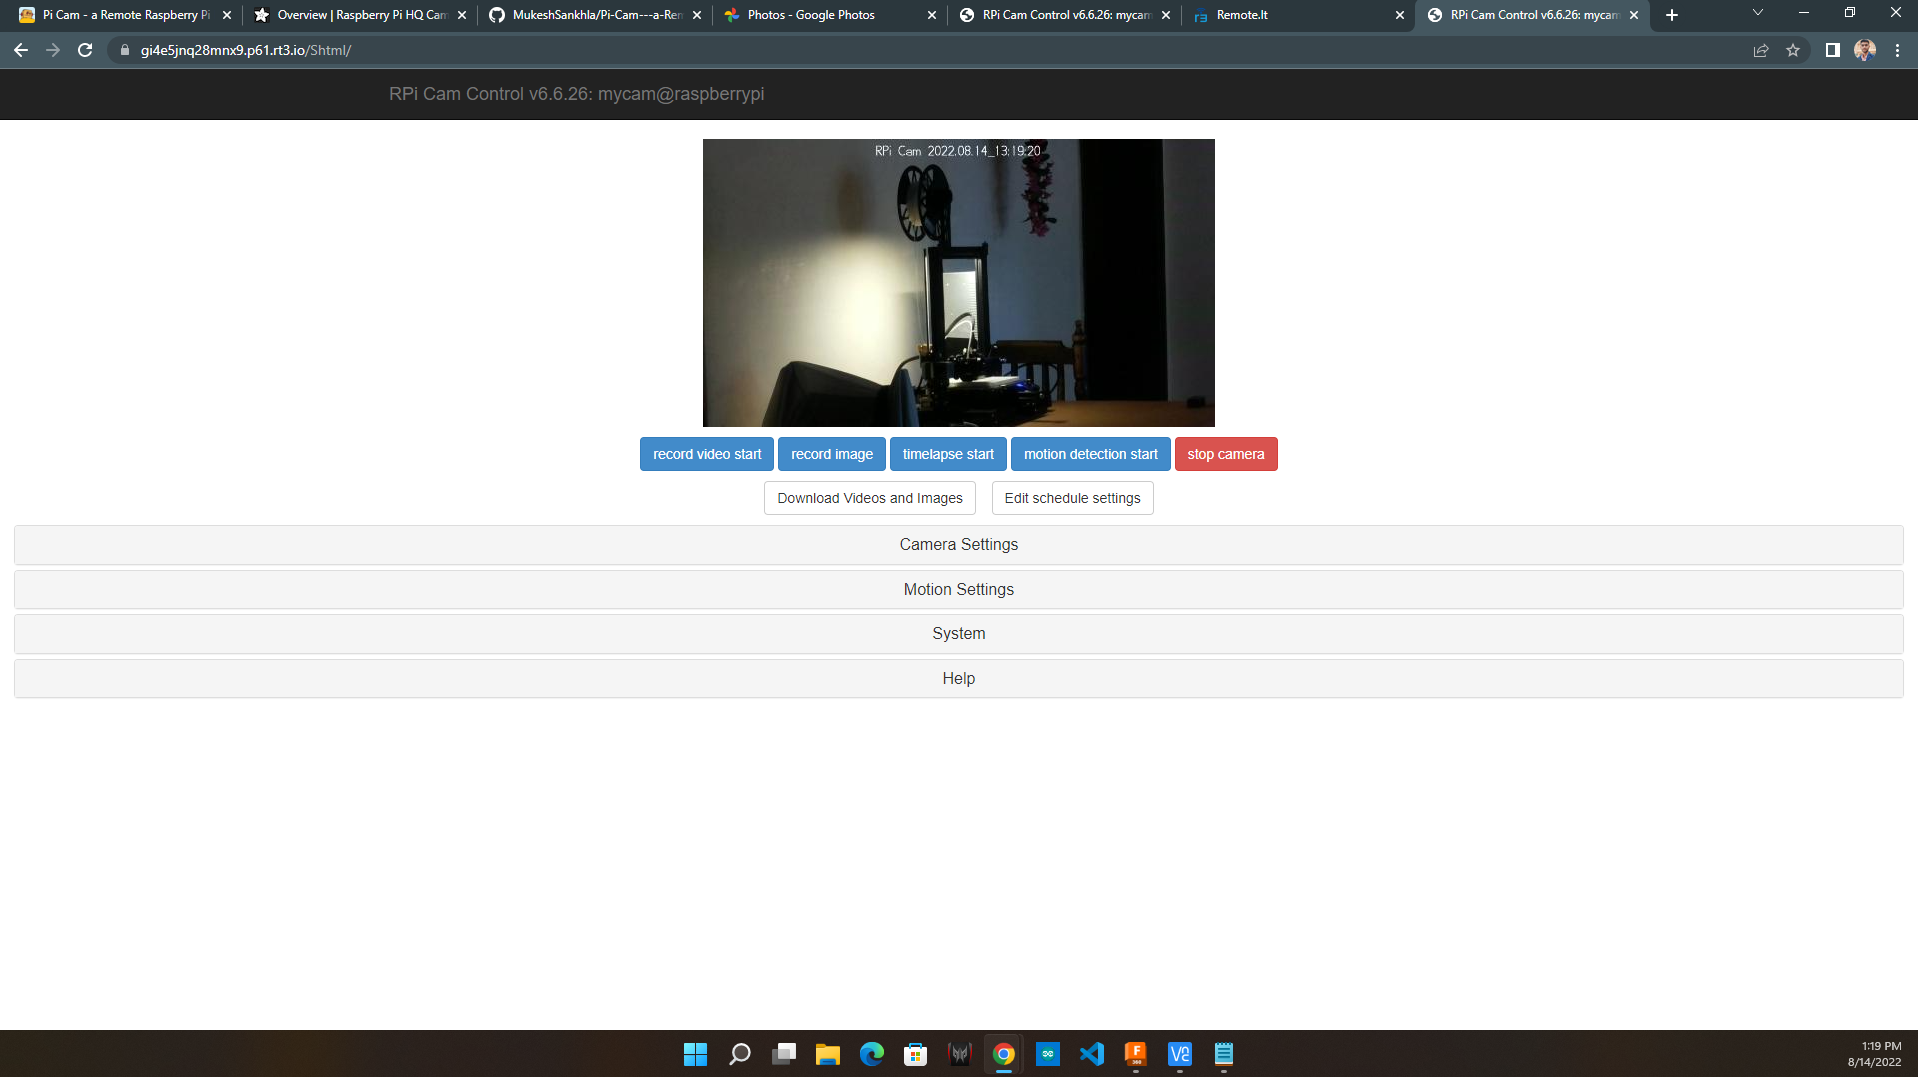
- After connecting and launching the service you can record and download photos, videos and time lapse.
- There are many settings in the web interface you can change according to your need.