Photoshop Yourself Into Movies
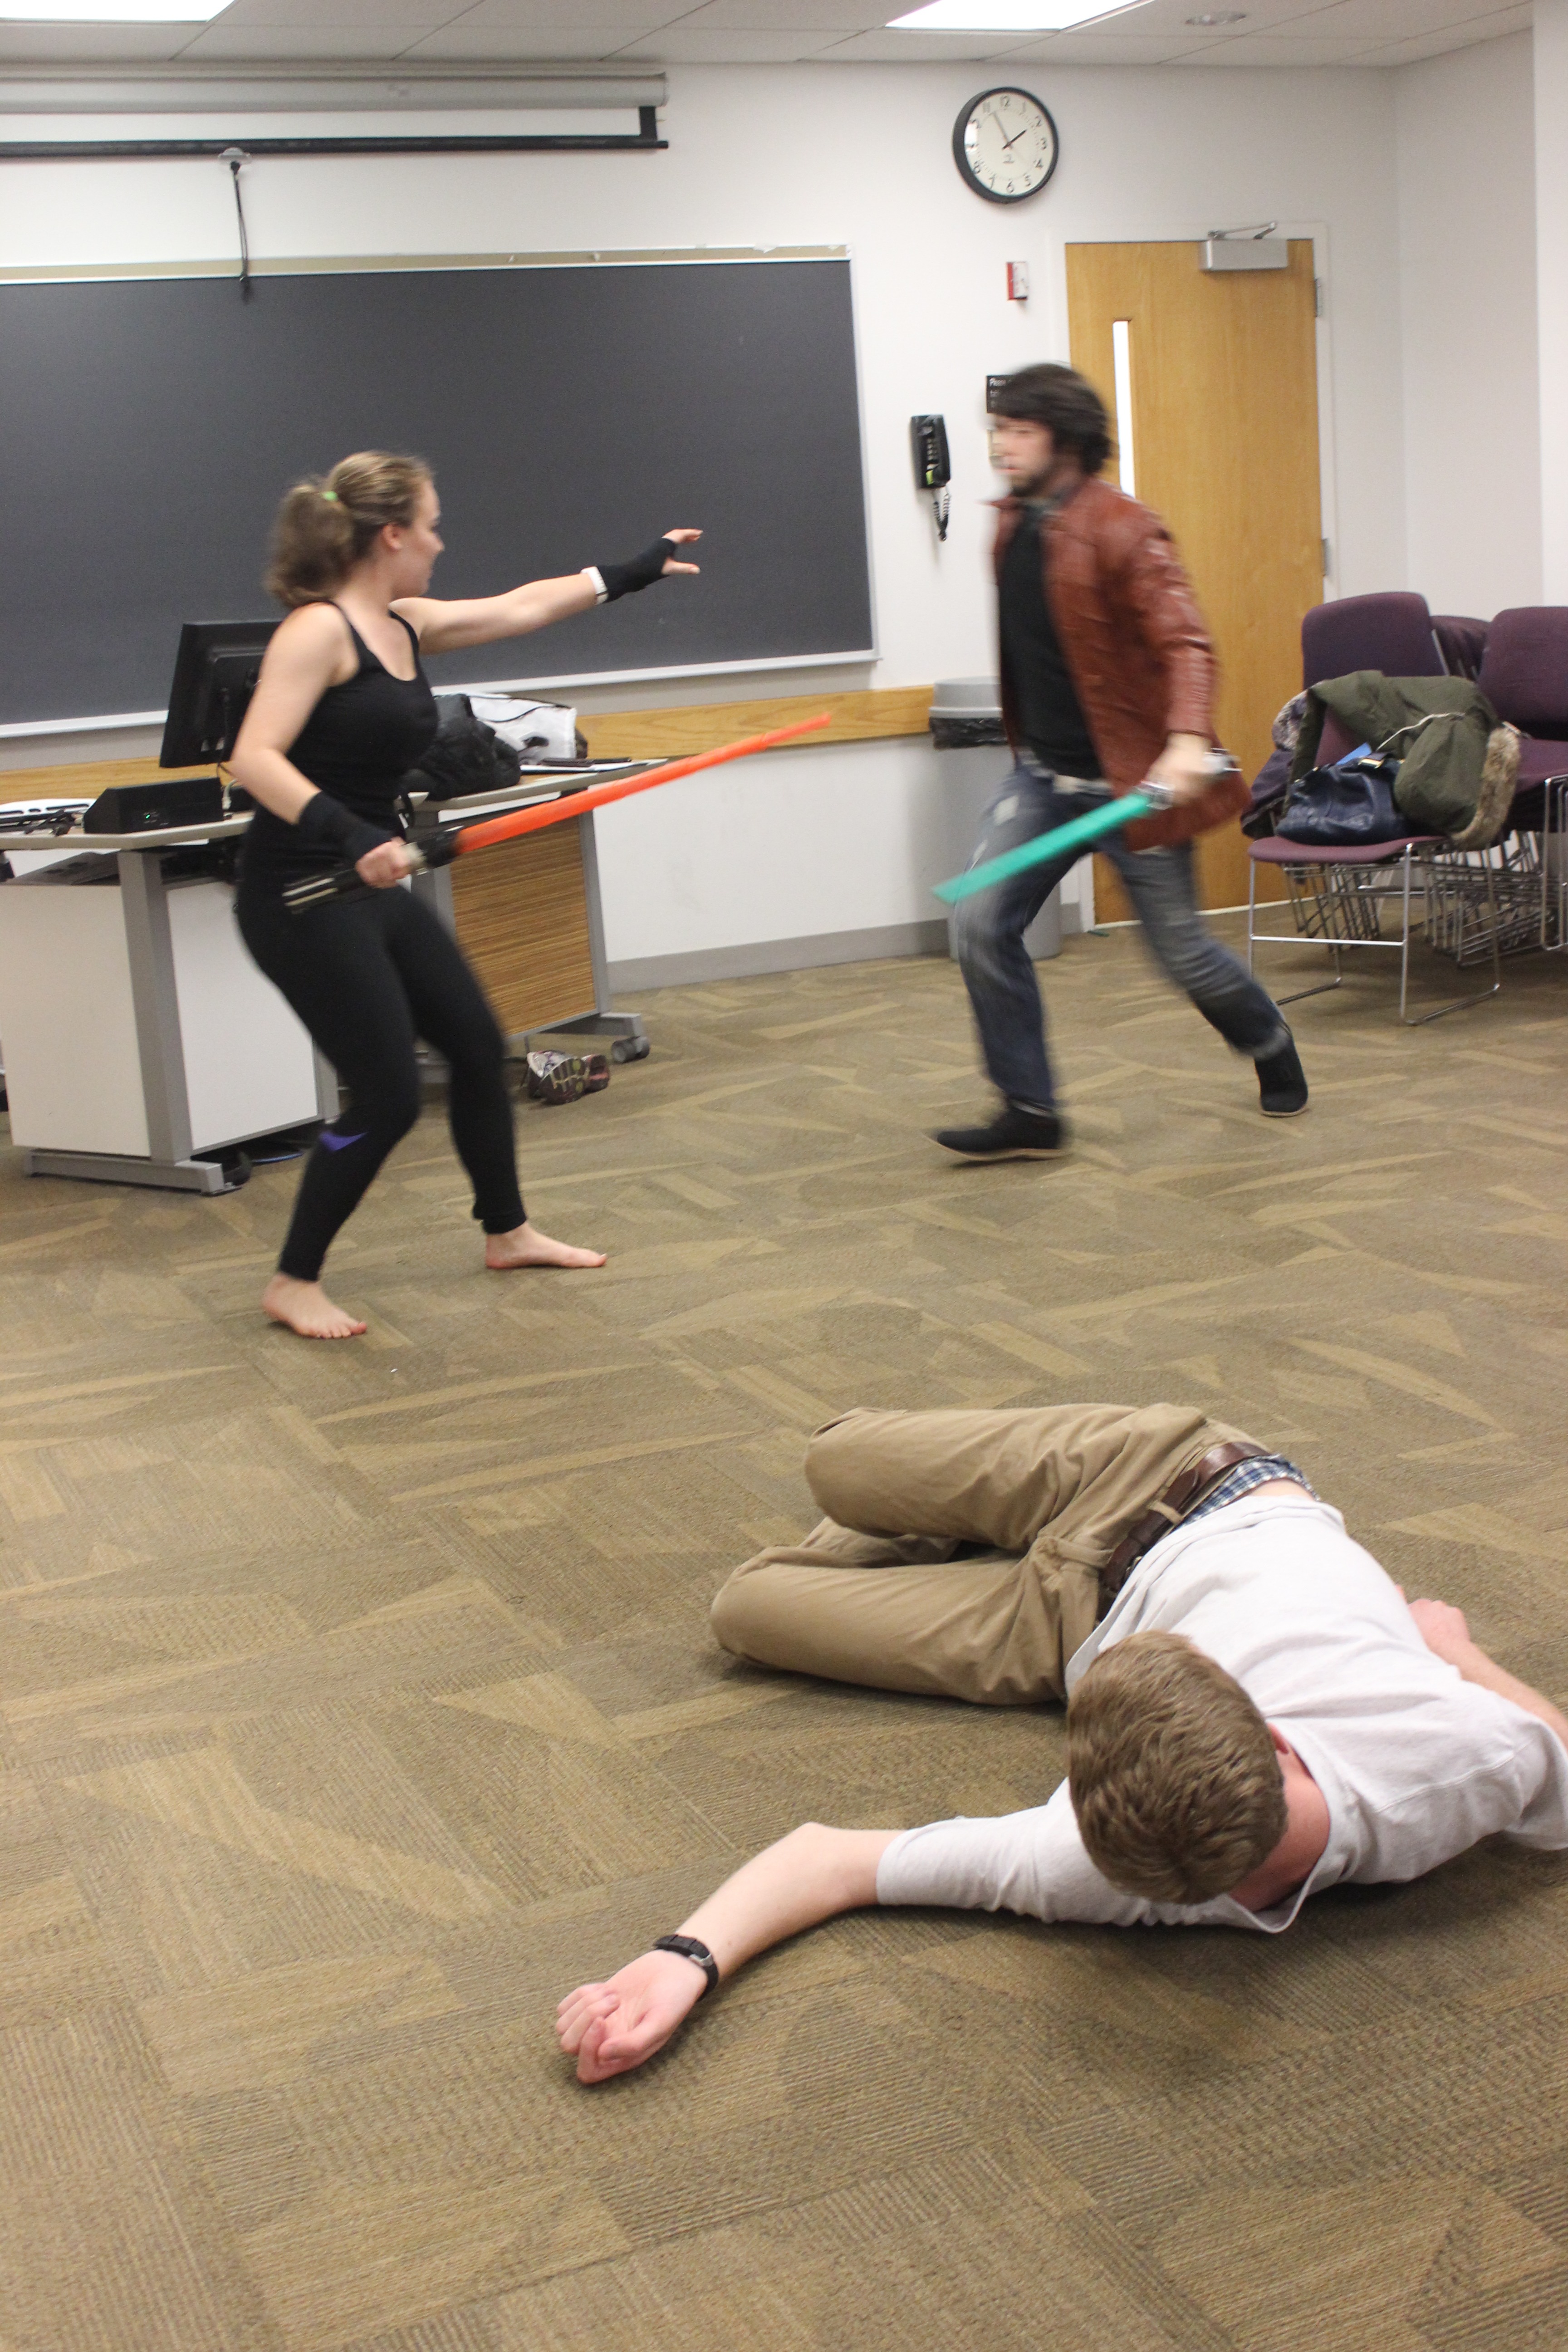

In this instructable, I'm going to show you how to put your pictures into movie stills. I'm by no means a professional, but using some basic skills, hopefully you can make something cool. (I'm editing pictures from a recent stage combat class I taught into Star Wars: The Force Awakens).
Materials:
- Pictures of you and your friends!
- A photo editing program (I'm actually going to use Pixlr which is from Autodesk and is free)
- The internet (if you're here, you're probably good to go)
- Imagination!
Note: All photos belong to me. Do not use my pictures for any purpose without permission! Thank you!
Background (ft. Clone Stamp Tool)
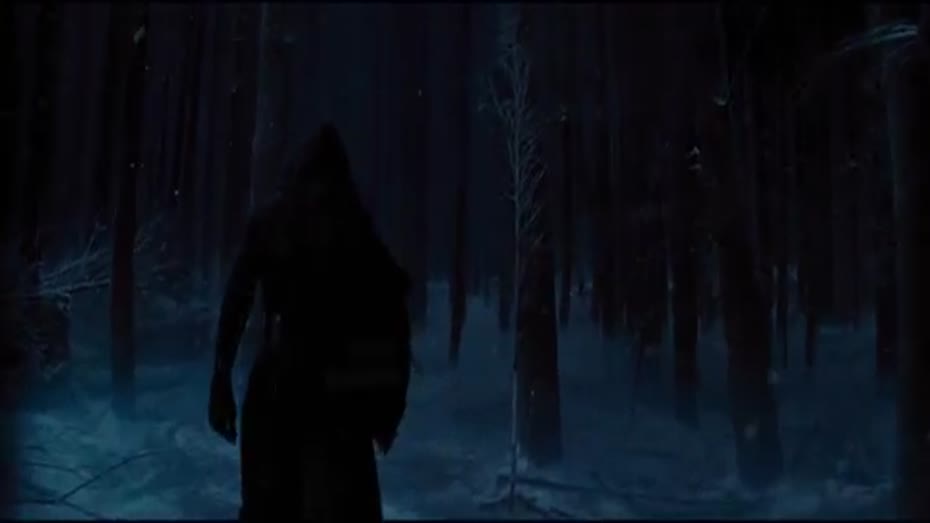
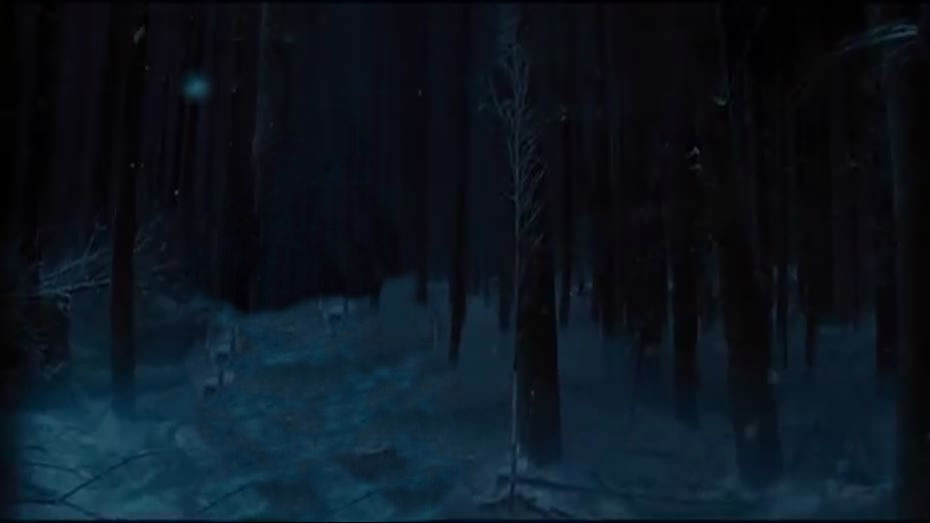
First, open up your background in the photo editing program If you're lucky, it'll be good to go and can skip this step. If you're like me, you'll need to remove a figure from the image, but that will give you time to practice my favorite photoshop skill, the clone stamp tool.
The clone stamp tool usually looks like an old-fashioned rubber stamper. In order to use it, find a section of your photo that is similar to the area that you want to cover up. CTRL-click that spot, and then hold down the mouse and drag over the areas you want to cover up. The key to doing this is using short strokes and changing the area you're copying often. For me, it was a little trickier in the trees than the snowy ground because the trees need to keep running straight to the ground. For smaller spaces, the size of the stamp can be adjusted. Don't worry if it's not perfect, soon you'll be covering this area up.
Edit Yourself!
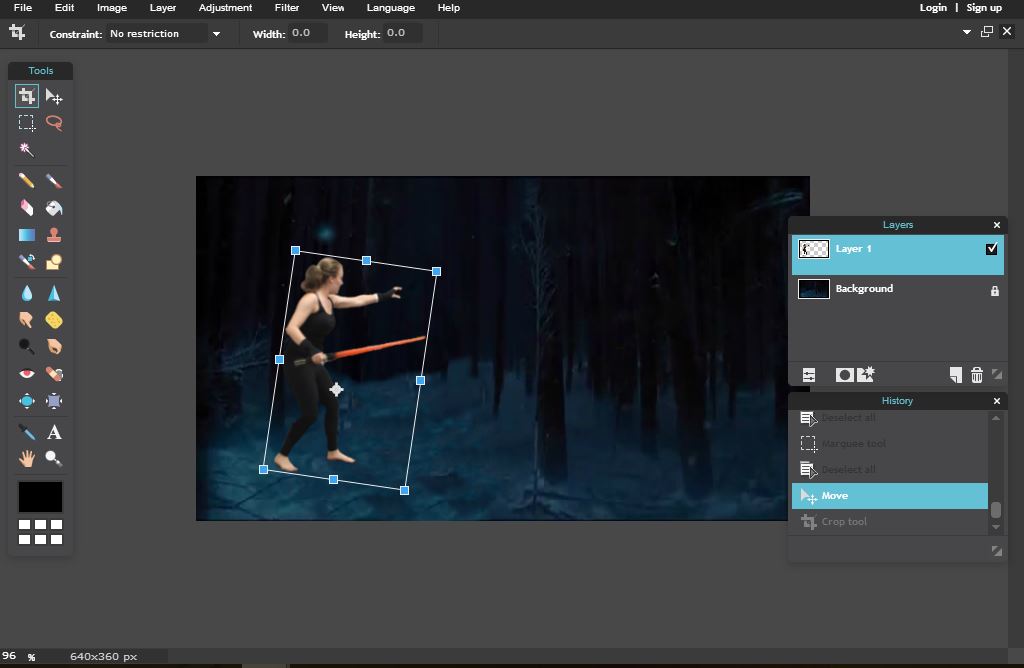
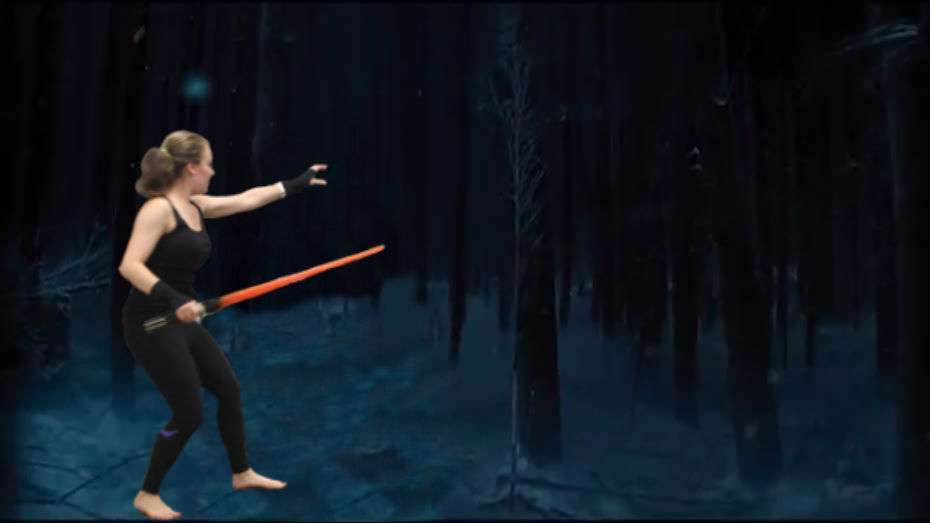
So presumably you are in a photo with other things and not just a transparent background, in which case you need to seperate yourself from the background. In Photoshop, you have it easy. The magic wand tool can help you to automatically select yourself. It might not get your whole body the first time, but you can keep expanding the bubble. In Pixlr and other programs however, this tool is not as developed. You should use the lasso selecting tool to very carefully outline the body. I like to make a loose selection around the entire form and copy it over the background before zooming in very close on each section and then selecting the excess and deleting it. If your form doesn't fit on the background, you can undo placing it in the new image, then go to the original image, Edit>Resize Image, and make it smaller.
Now, you're probably still the wrong size for your background. No worries! In order to just adjust the size of the layer you're working in, go to Edit>Free Transform, and you can play with size, proportions, and rotations until it looks right.
Becoming Part of the World
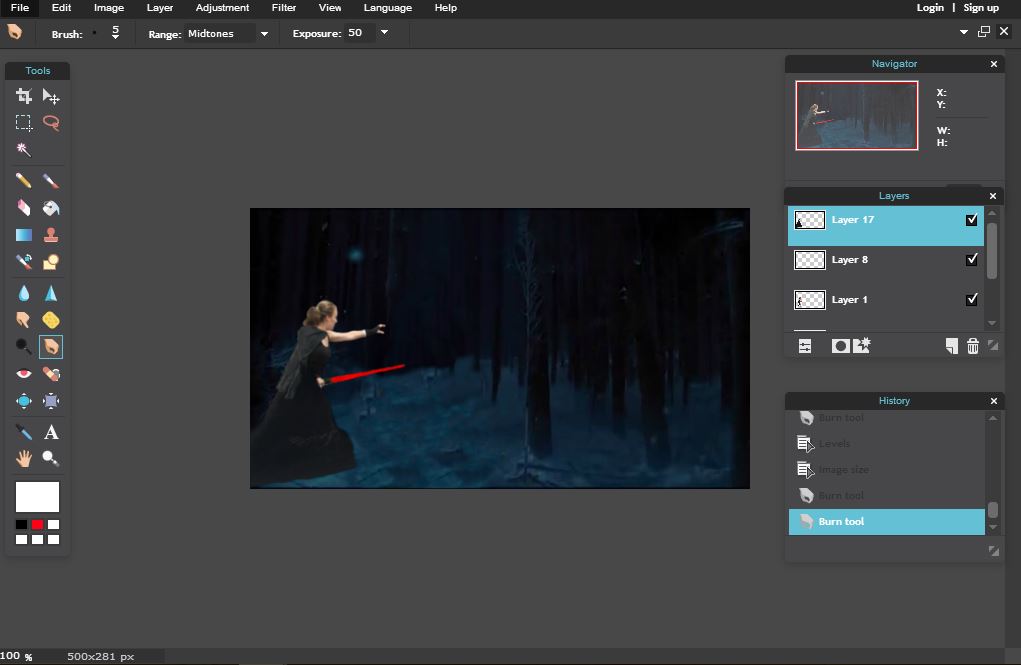
So that last picture was pretty nice, but I don't look like I belong on Starkiller Base, so let's just touch this up a tad more.
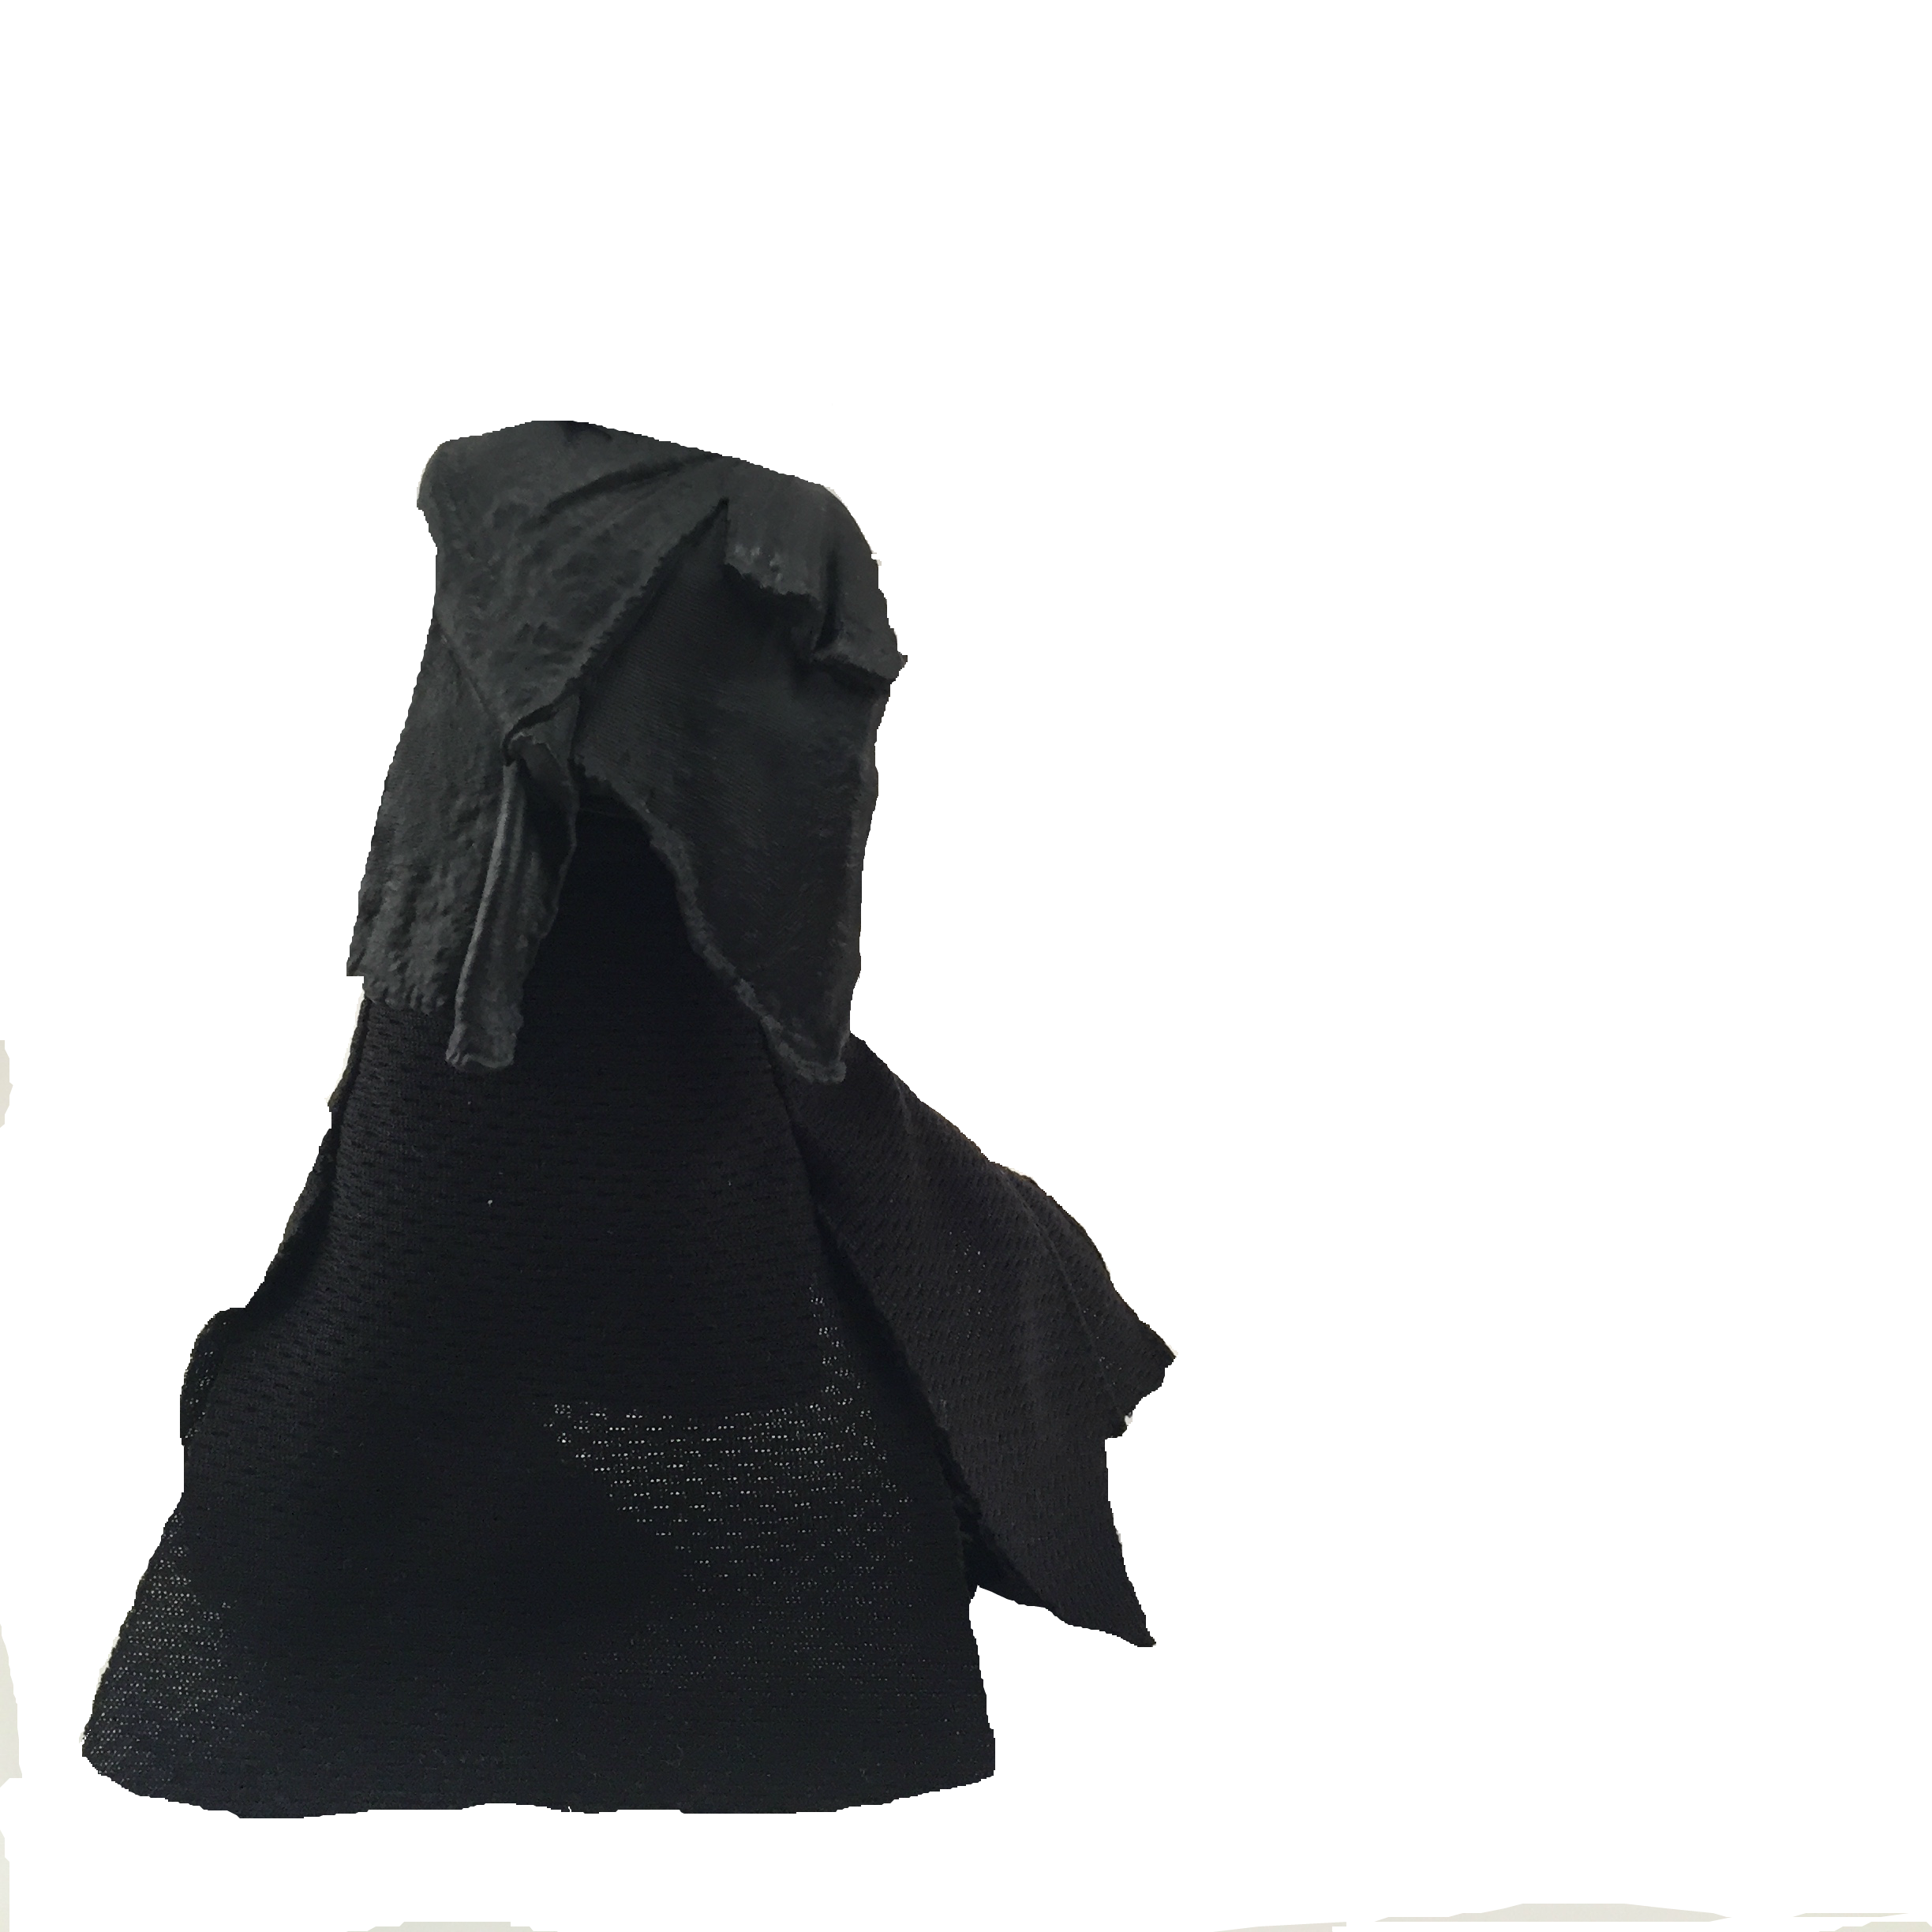
First, I found a picture of a cloak (after all it's snowing. What am I doing wearing short sleeves?) Using the same skills I discussed in the last step, I put the cloak on me. I also used Free Distort, which is similar to Free Transform, but it doesn't keep the proportions intact, so I could properly fit the cloak onto my body.
There were two problems I ran into here. First, I wanted to make the lightsaber look nice without actually copying another one into the image. I just saturated the colors and I'm satisfied, but not thrilled. Second, and I knew this was coming, the more you manipulate an image, the lower quality it becomes. These photos were taken on a cell phone, so they weren't high resolution to start, and as I edited them, my body became slightly pixelated.
This is the fun part of the edit and where you learn to make your photo editing skills better! Make it yours and make it unique!
Finishing Touches
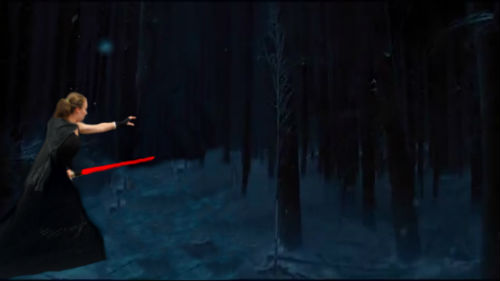
Okay, once you're happy with the way everything fits together, we'll move on to the finishing touches. First, you want to edit the coloring. The lighting in your photo might be off, or the scene is dark. Go up to the Adjustments tab and play around with the color, saturation and hue options.
When that's done, we're really close to the end. Go to the layers you've made and right click>Merge visible. Finally,I like to go over the edges of what was each layer with the blur tool just to make them look cohesive.
Good work!