Photoshop Tutorial - How to Replace/remove the Sky
by GladMinds. in Craft > Digital Graphics
5912 Views, 11 Favorites, 0 Comments
Photoshop Tutorial - How to Replace/remove the Sky
Hi, this is my first Instructable
This tutorial details how to remove and/or replace a background with a different one.
In this tutorial I remove the skyline and replace this with a different skyline taken from another image.
The tools I will be using in this one will be concentrated on the Magnetic Lasso tool and the Quick selection tool.
All Landscape images have been taken from Creative commons.
I would suggest that when you look for an image on Creative Commons, use the google image search and select the sizing menu and click "large". You get a much better quality image which is perfect for photoshop.
I have started creating Photoshop tutorials on YouTube and will continue to post them on a weekly basis, as and when I post the tutorials on YouTube I will create a Instructable as well.
If you like my work, can you take a second and Subscribe to my YouTube channel as well. Every little sub and view helps .. :)
YouTube page - https://www.youtube.com/user/gladminds
GladMinds website - www.gladminds.com (Full site coming soon)
GladMinds Twitter - https://twitter.com/gladminds
Thanks for watching.
Fire Up Photoshop
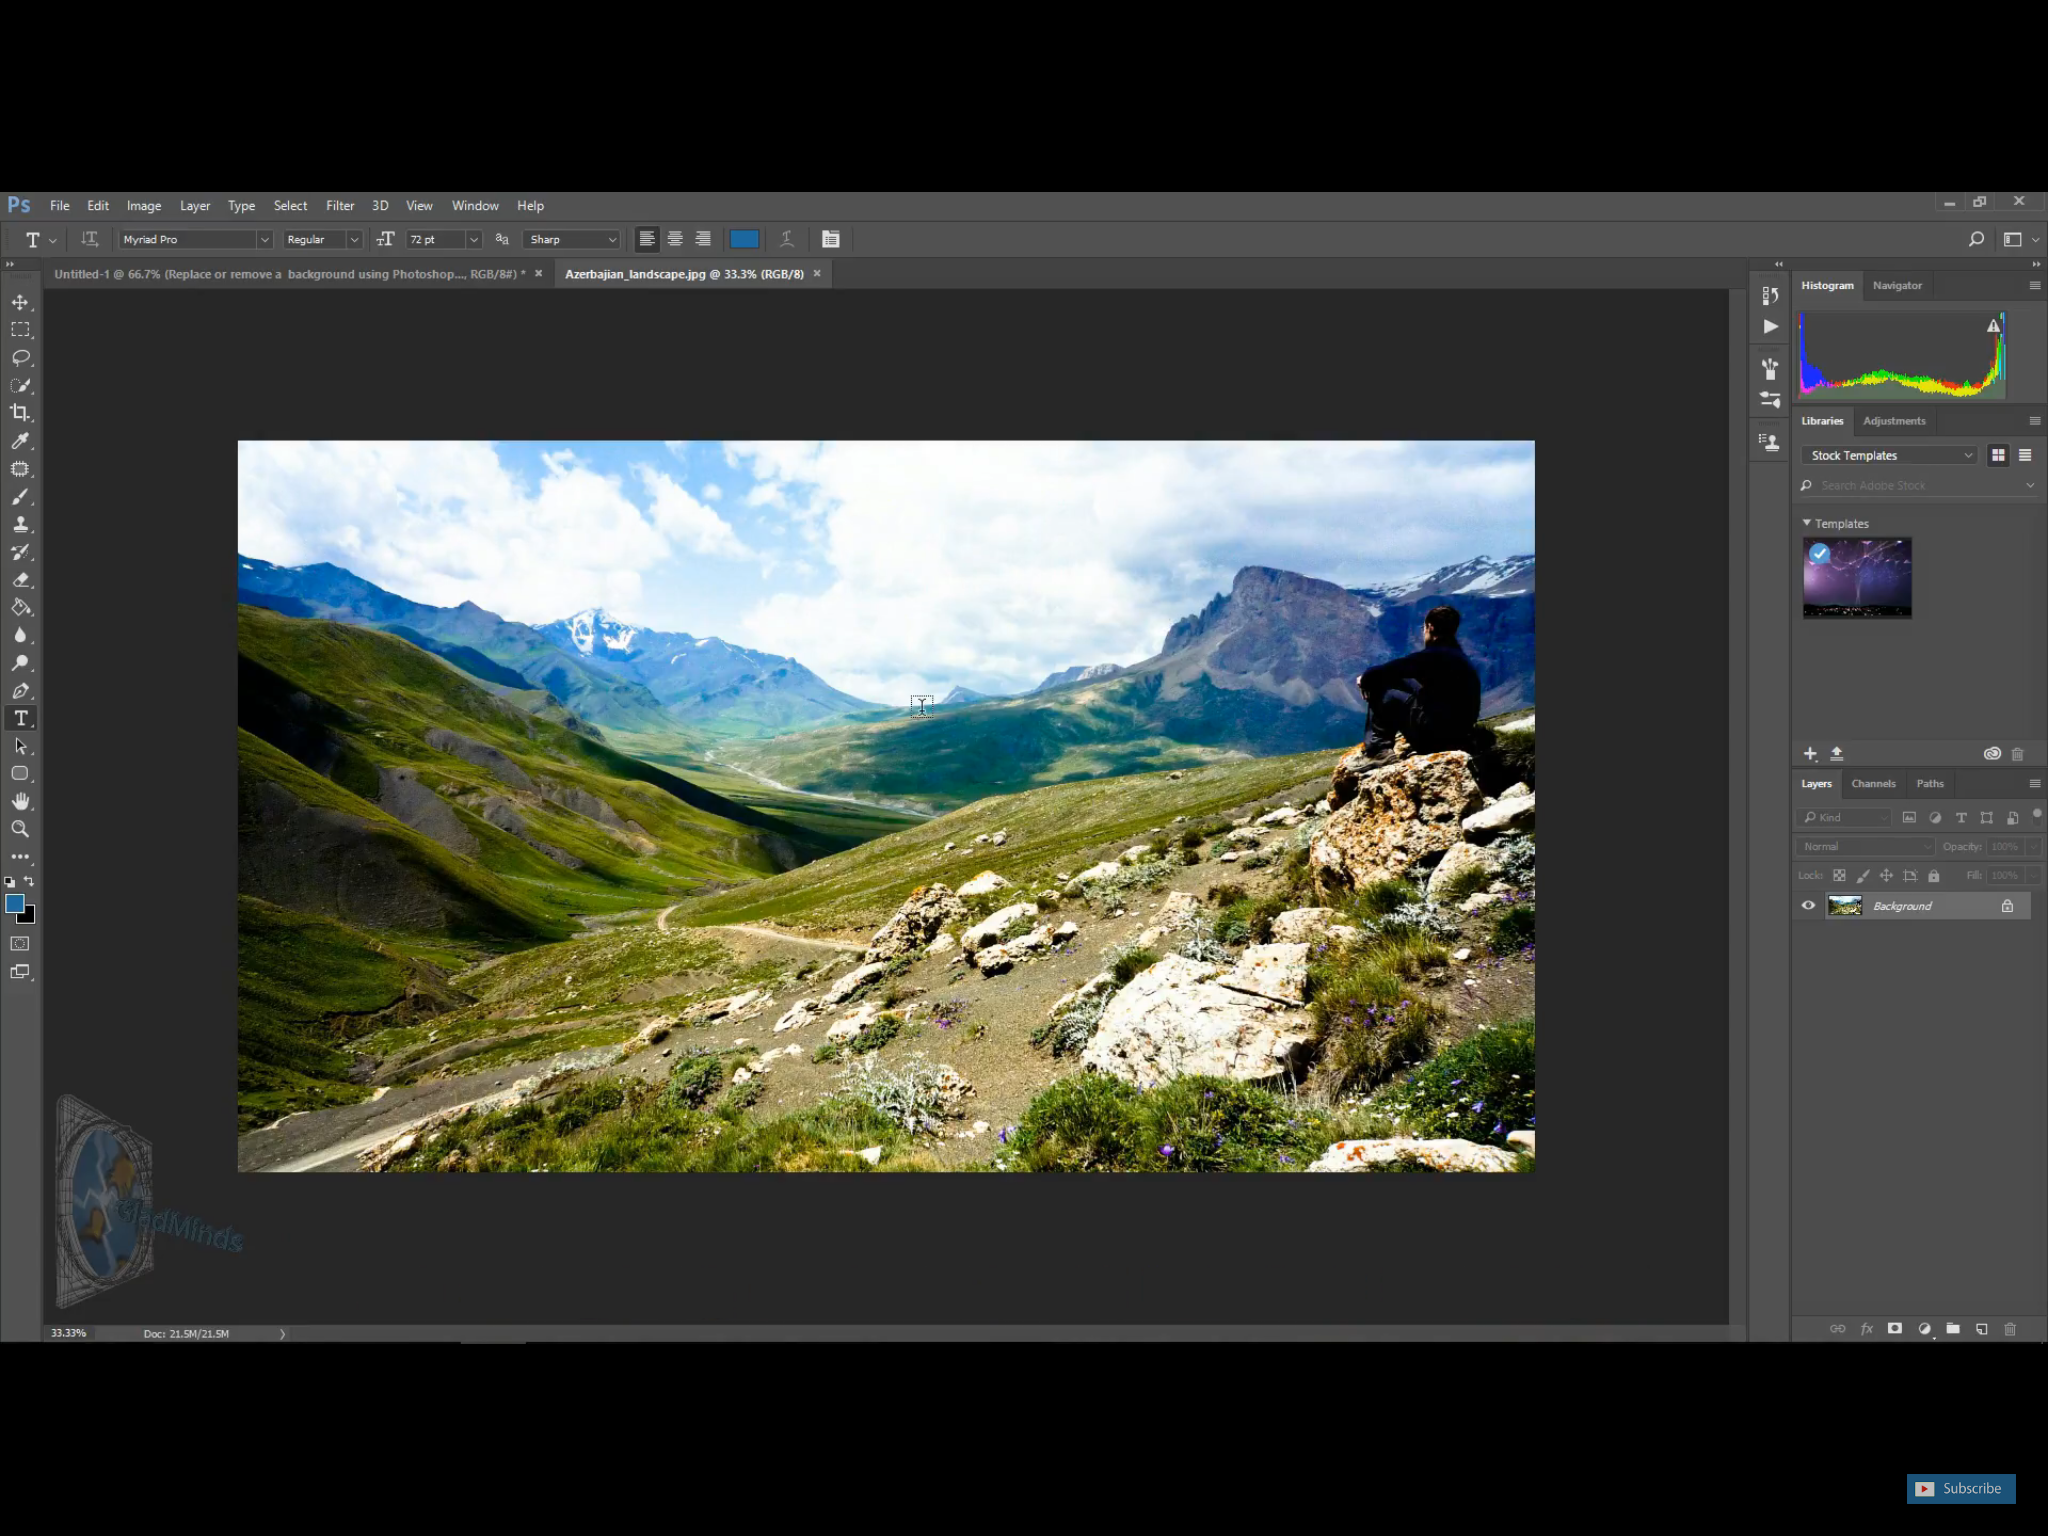
Open up Photoshop, in this tutorial I'm using Photoshop cc 2017. If you want to have a try before you buy you can download a free 7 day trial directly from Adobe using the following link. www.adobe.com/uk/downloads.html
Open up your image, for this tutorial I'm using an image freely available from www.creativecommons.org (Under the creative commons license, this can be used for modifications and reuse)
Duplicate Layer
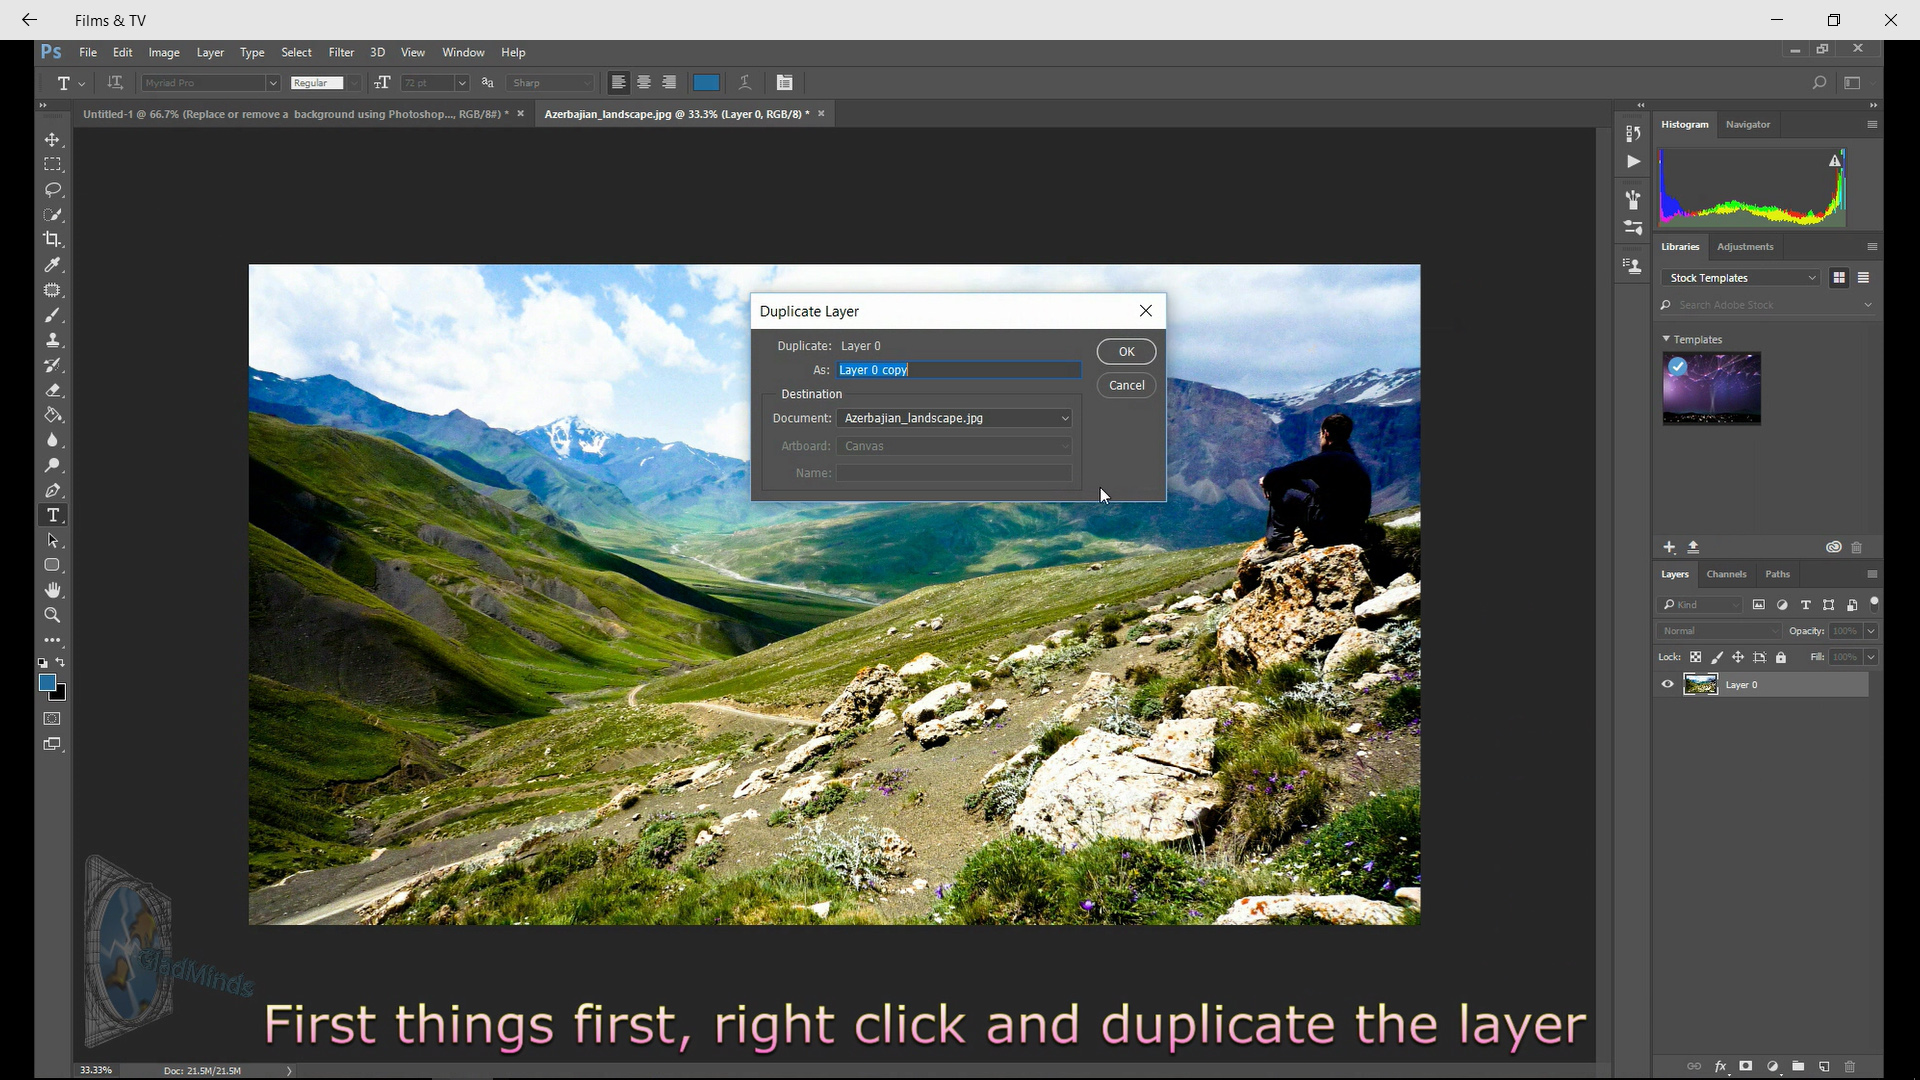
Right click on the first layer and click duplicate layer. This will create an exact copy of the previous layer. I always duplicate a layer as it is handy to compare what you are working from and obviously working too.
Select Magnetic Lasso Tool
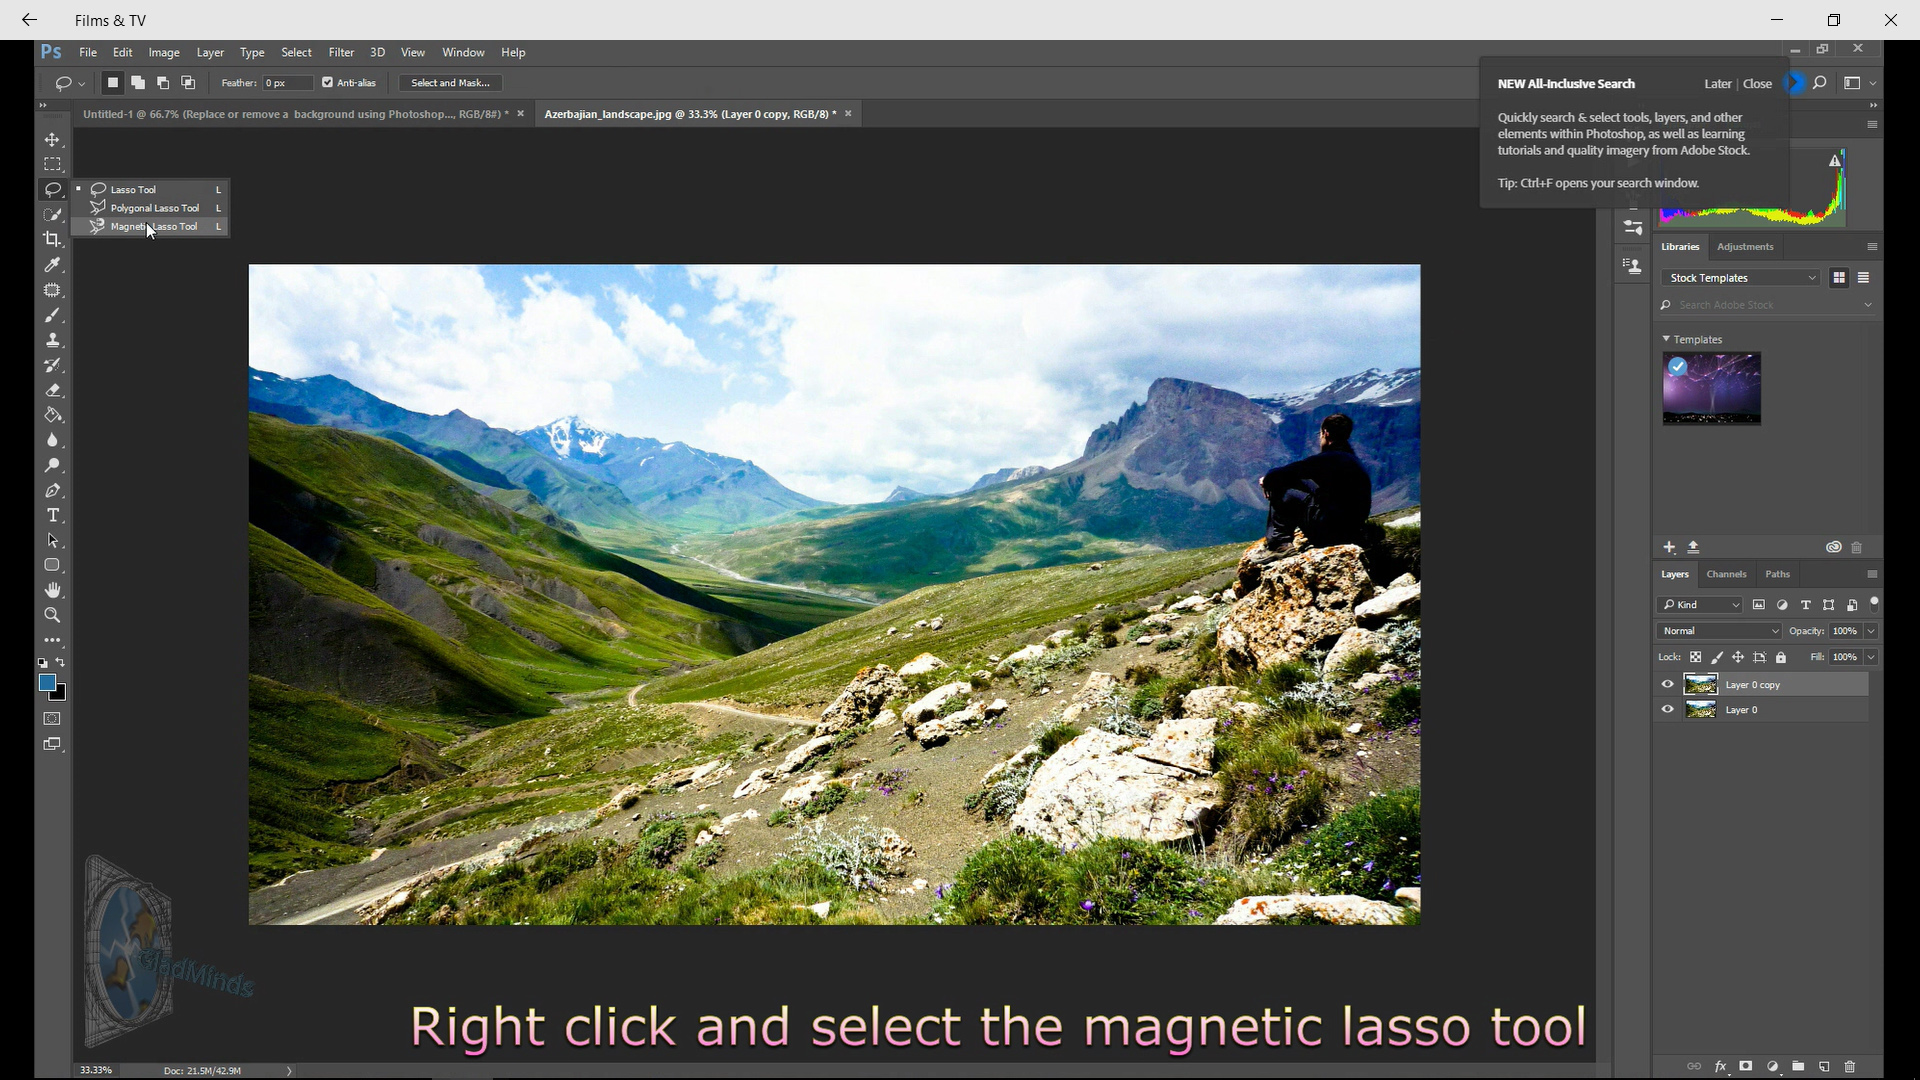
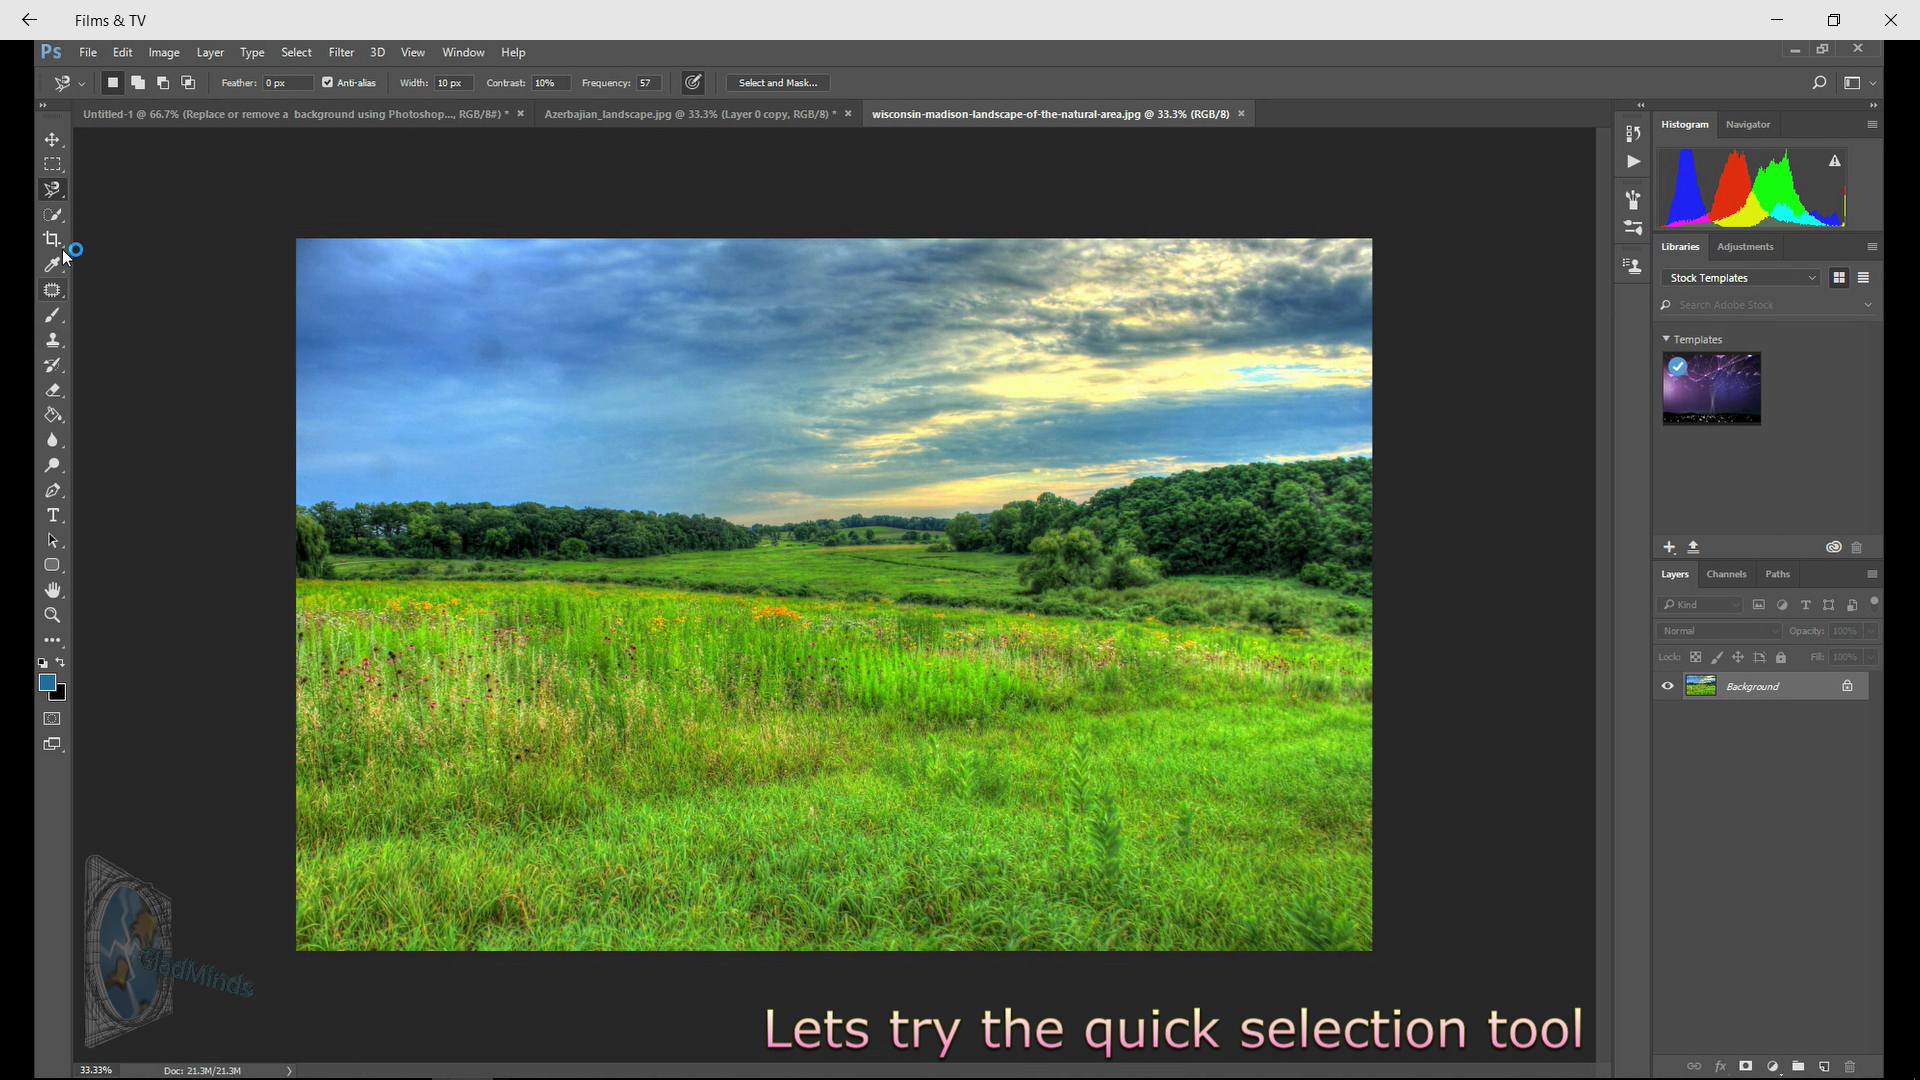
I quite like using the lasso tool, some people opt for the pen tool, but for the basis of this tutorial we'll concentrate on the magnetic lasso., for this image I've the magnetic lasso tool options set to the following.
Feather - 0
Anti alias - ticked
Width - 10
Contrast - 10
Frequency - 57 (changing the frequency will increase the amount of anchor points)
Tracing Across the Outline of the Mountain
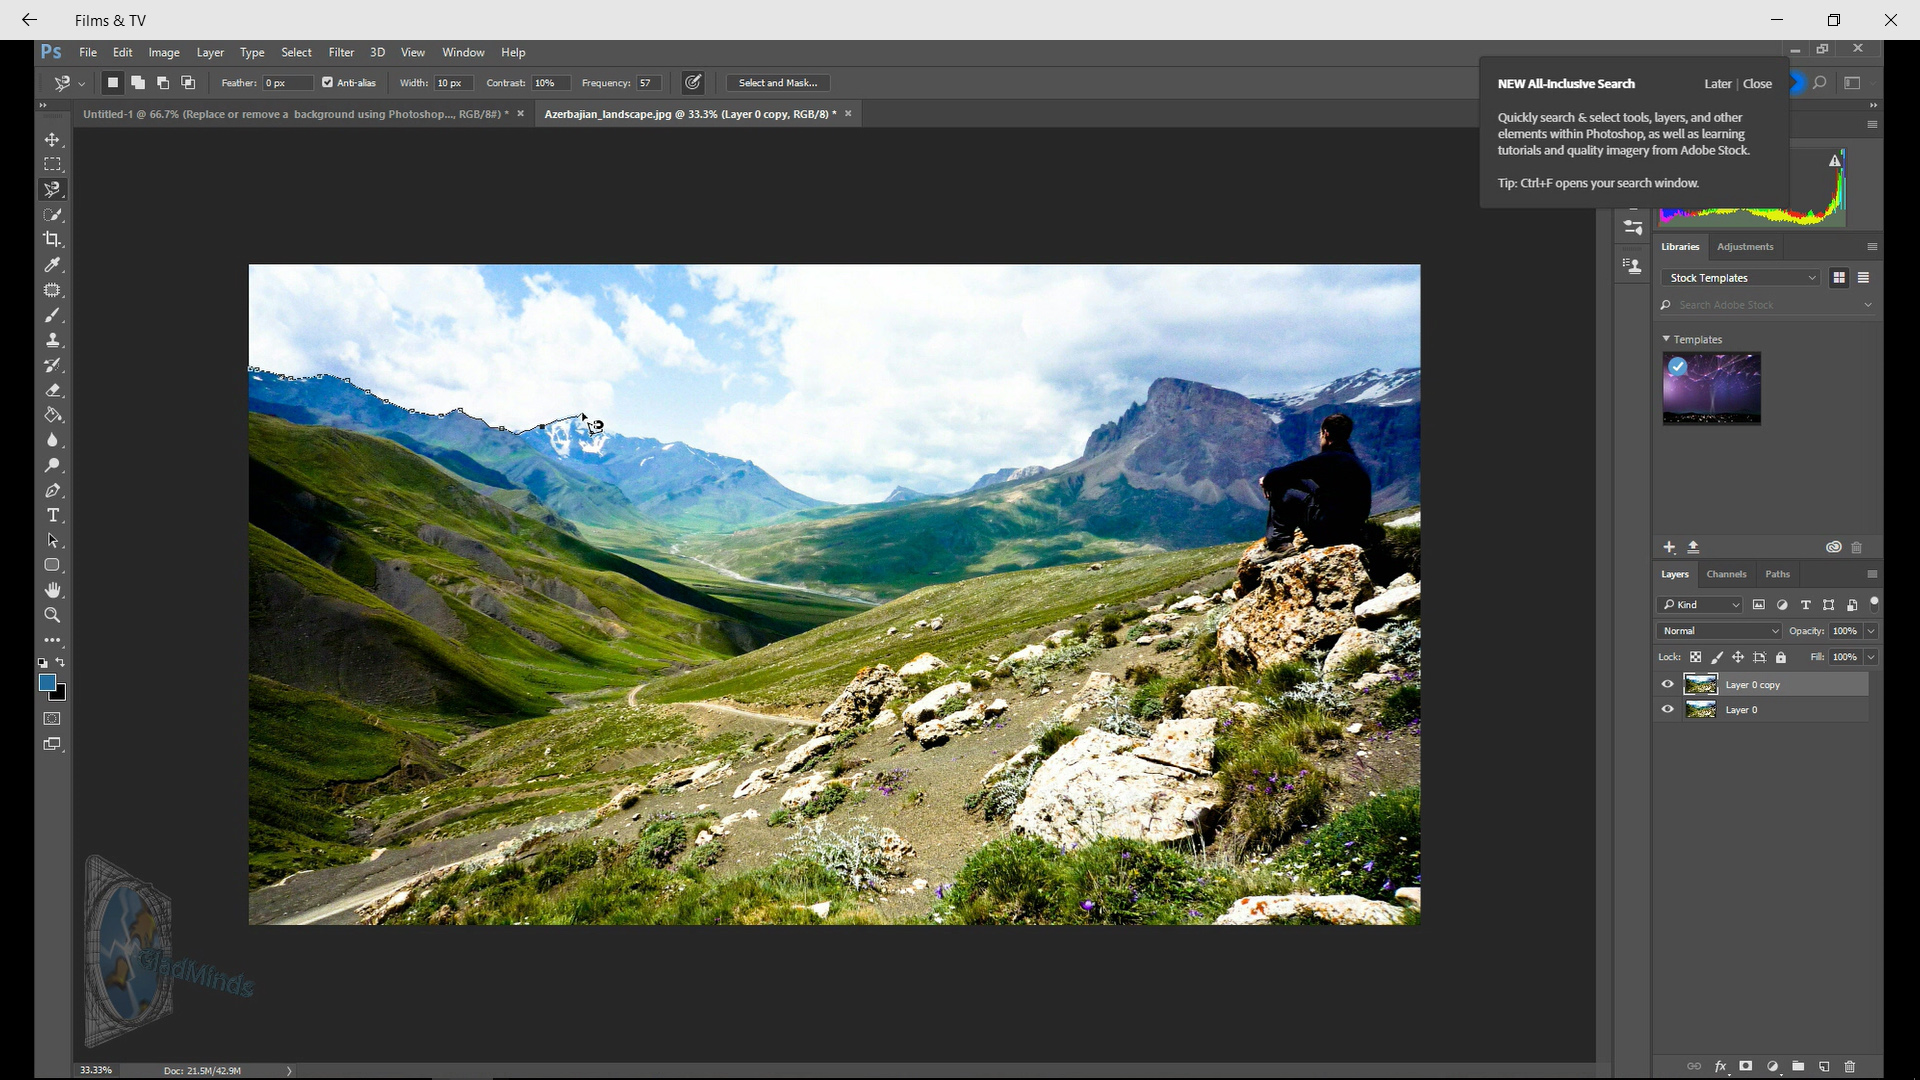
Take the magnetic tool and slowly and carefully trace across the mountains outline, if you make a mistake use the backshift button to delete any newly created anchor points.
Cut Out the Sky
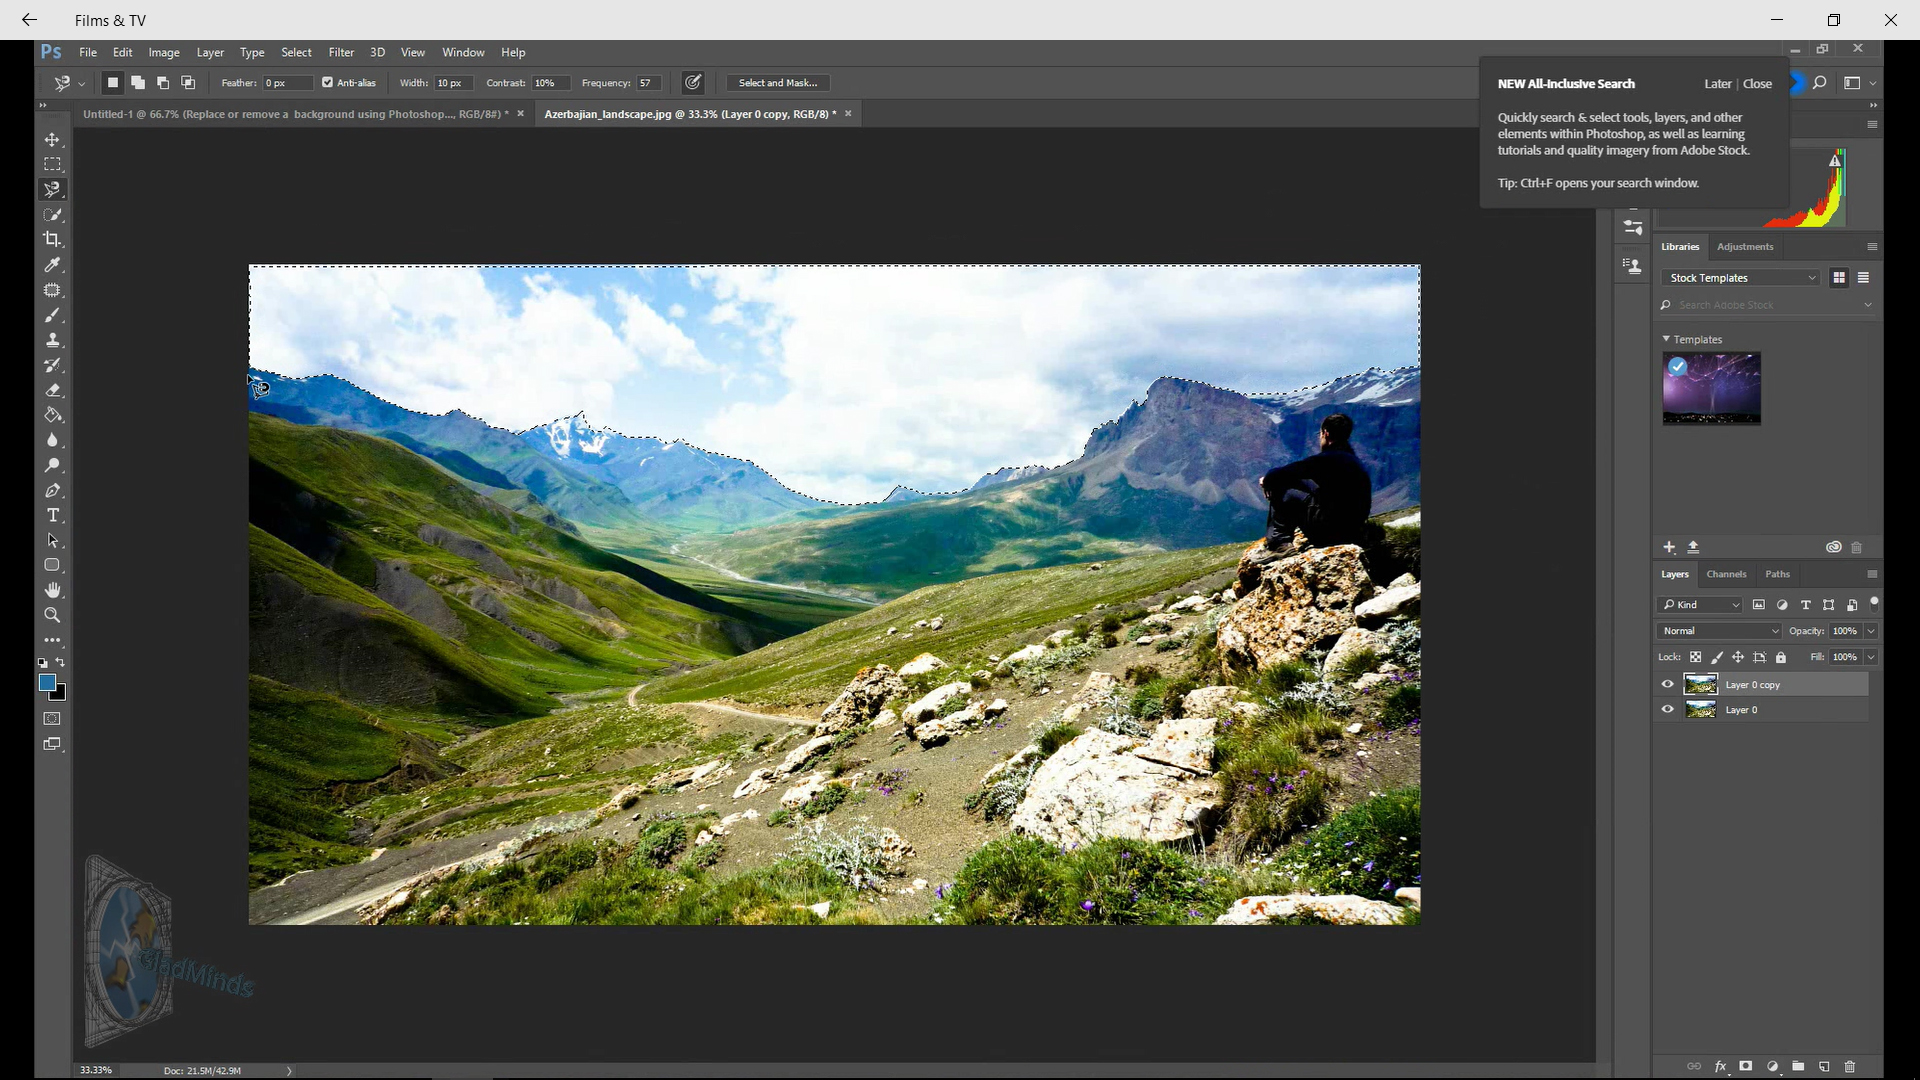
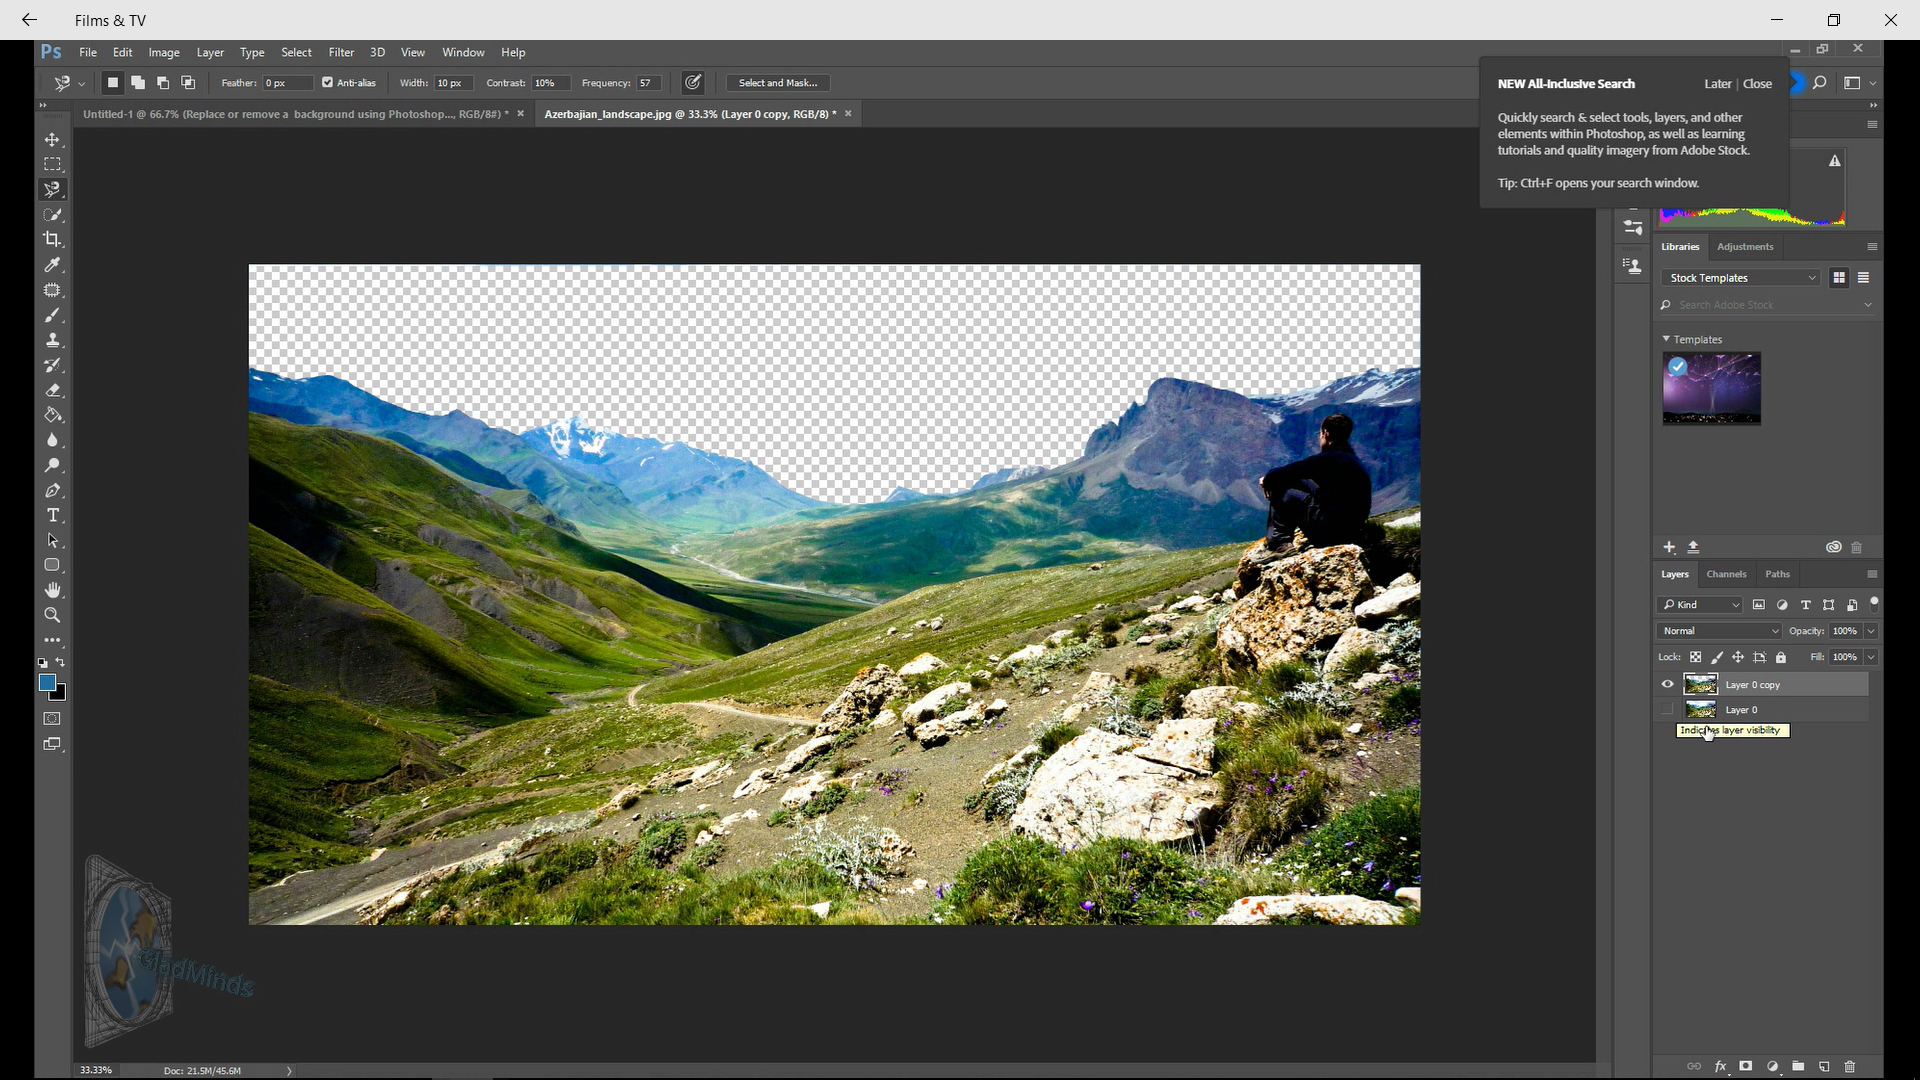
When you have traced across the mountains outline trace outside of the image to the initial anchor point and double click. This will complete the selection and you will be presented with what some refer to as the marching ants.
Go to Edit - cut and then hide the lower layer.
The sky will now be gone and you will have something similar to the second image.
The Skyline Alternative
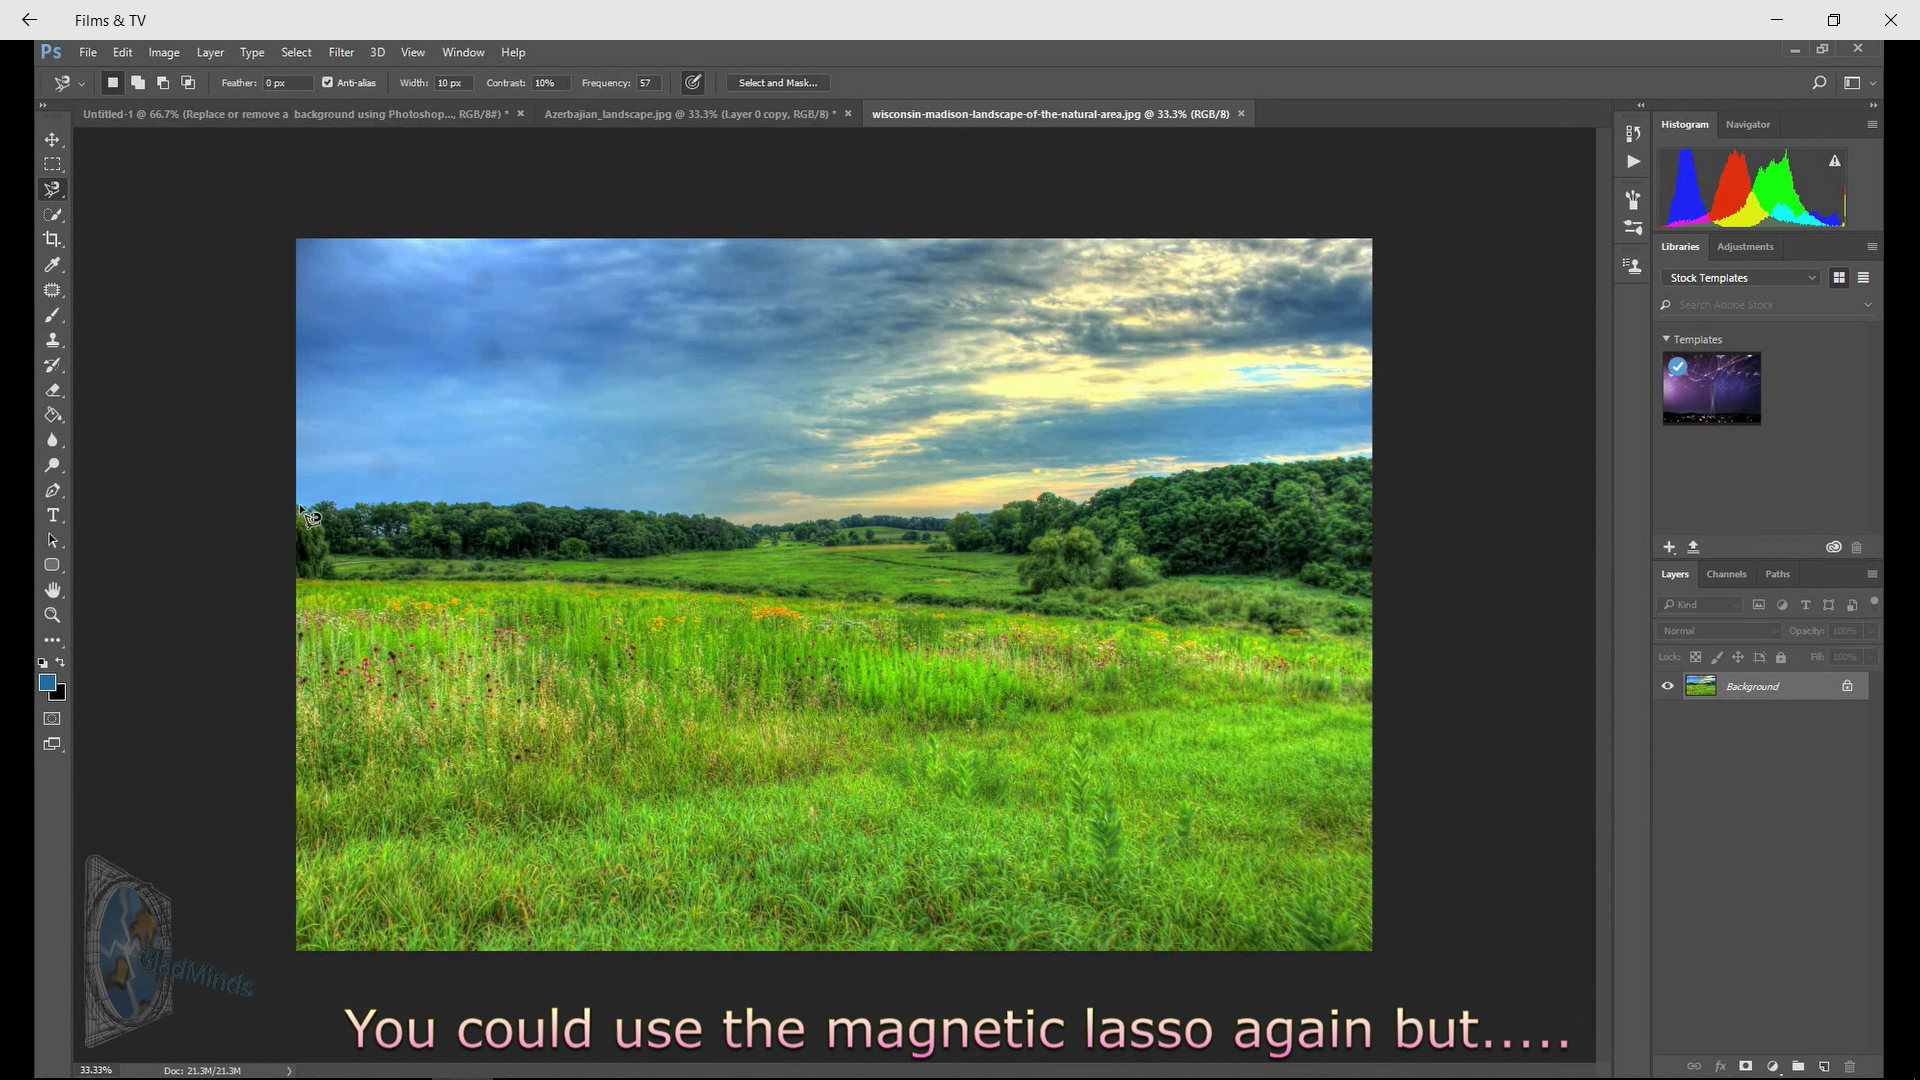
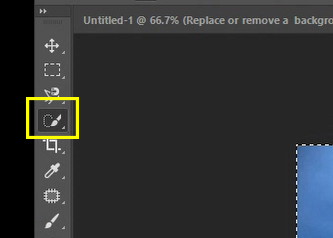
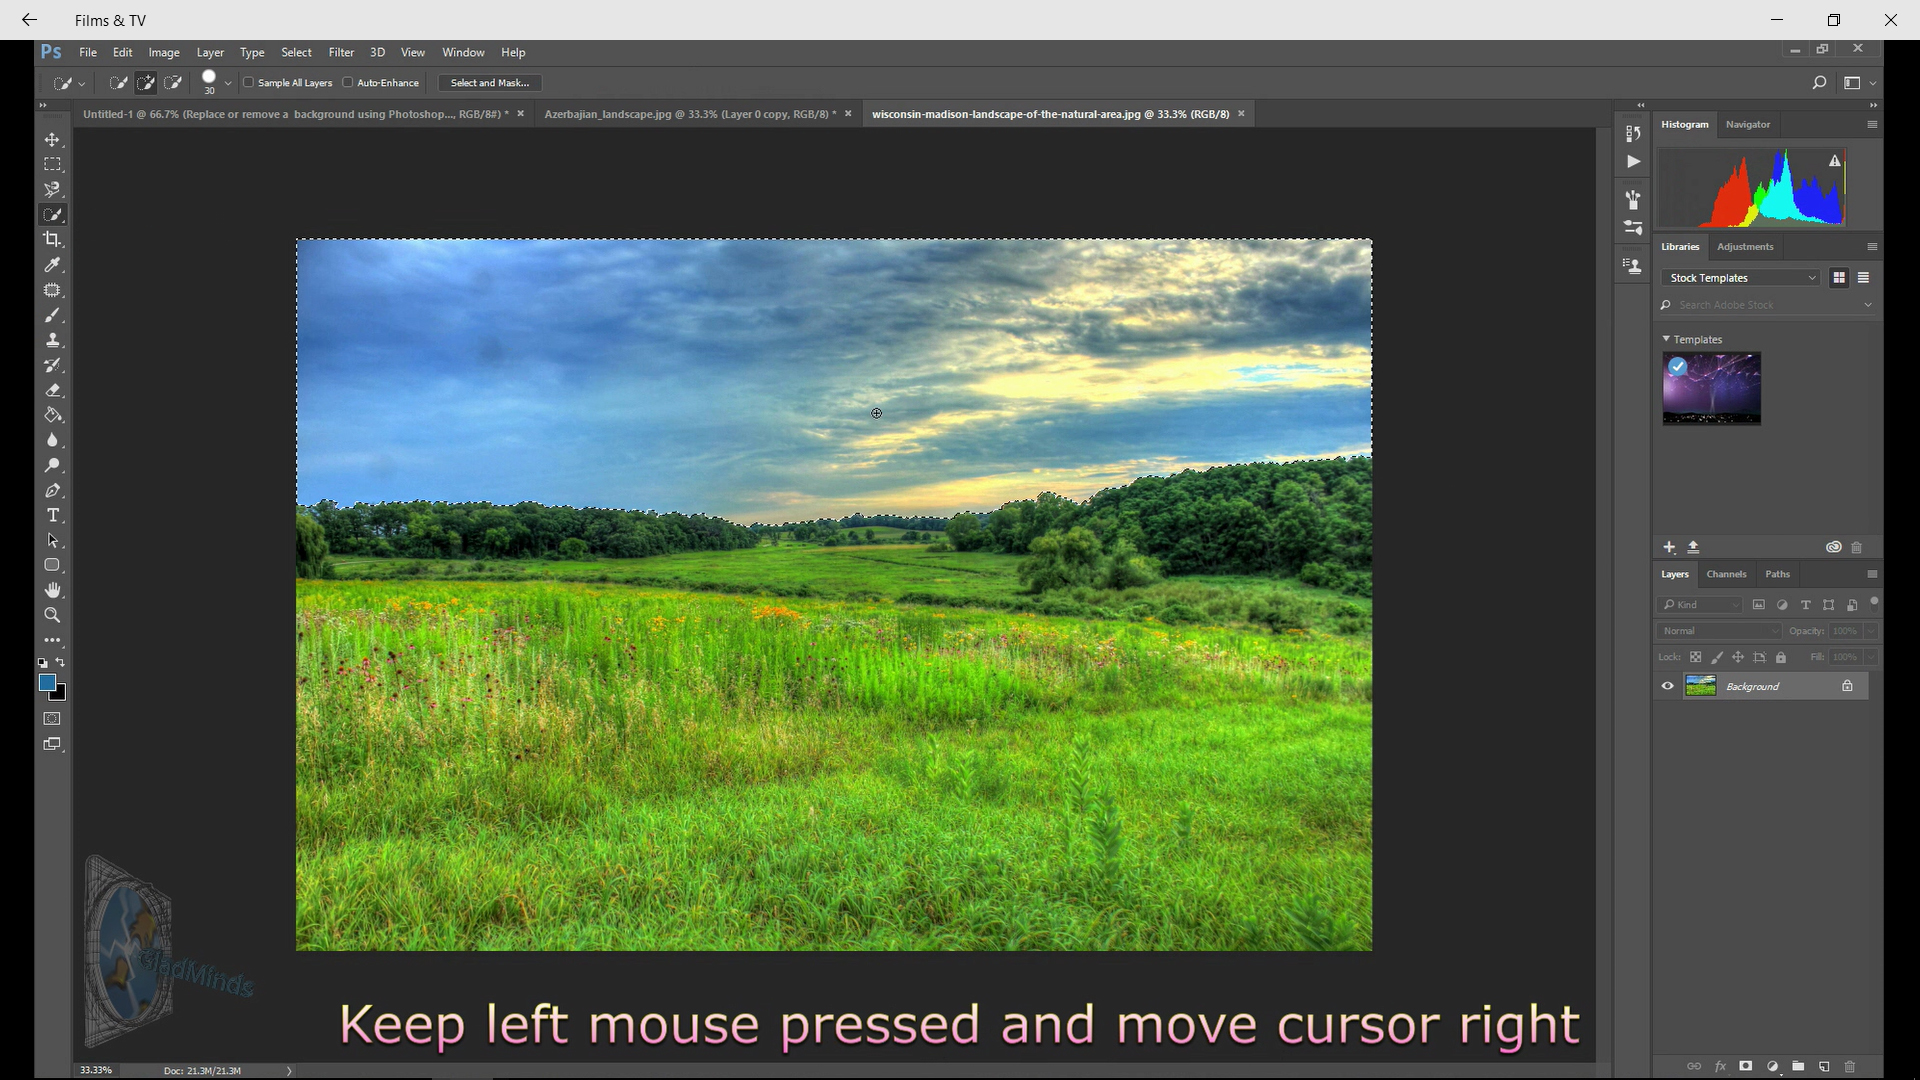
Previously we used the magnetic tool, but we can now try the Quick Selection tool.
Grab the quick selection tool and drag across the new skyline, the quick selection tool is especially adapt at selection certain skylines and will automatically follow defined edges.
Go to Edit - copy
Pasting the New Skyline

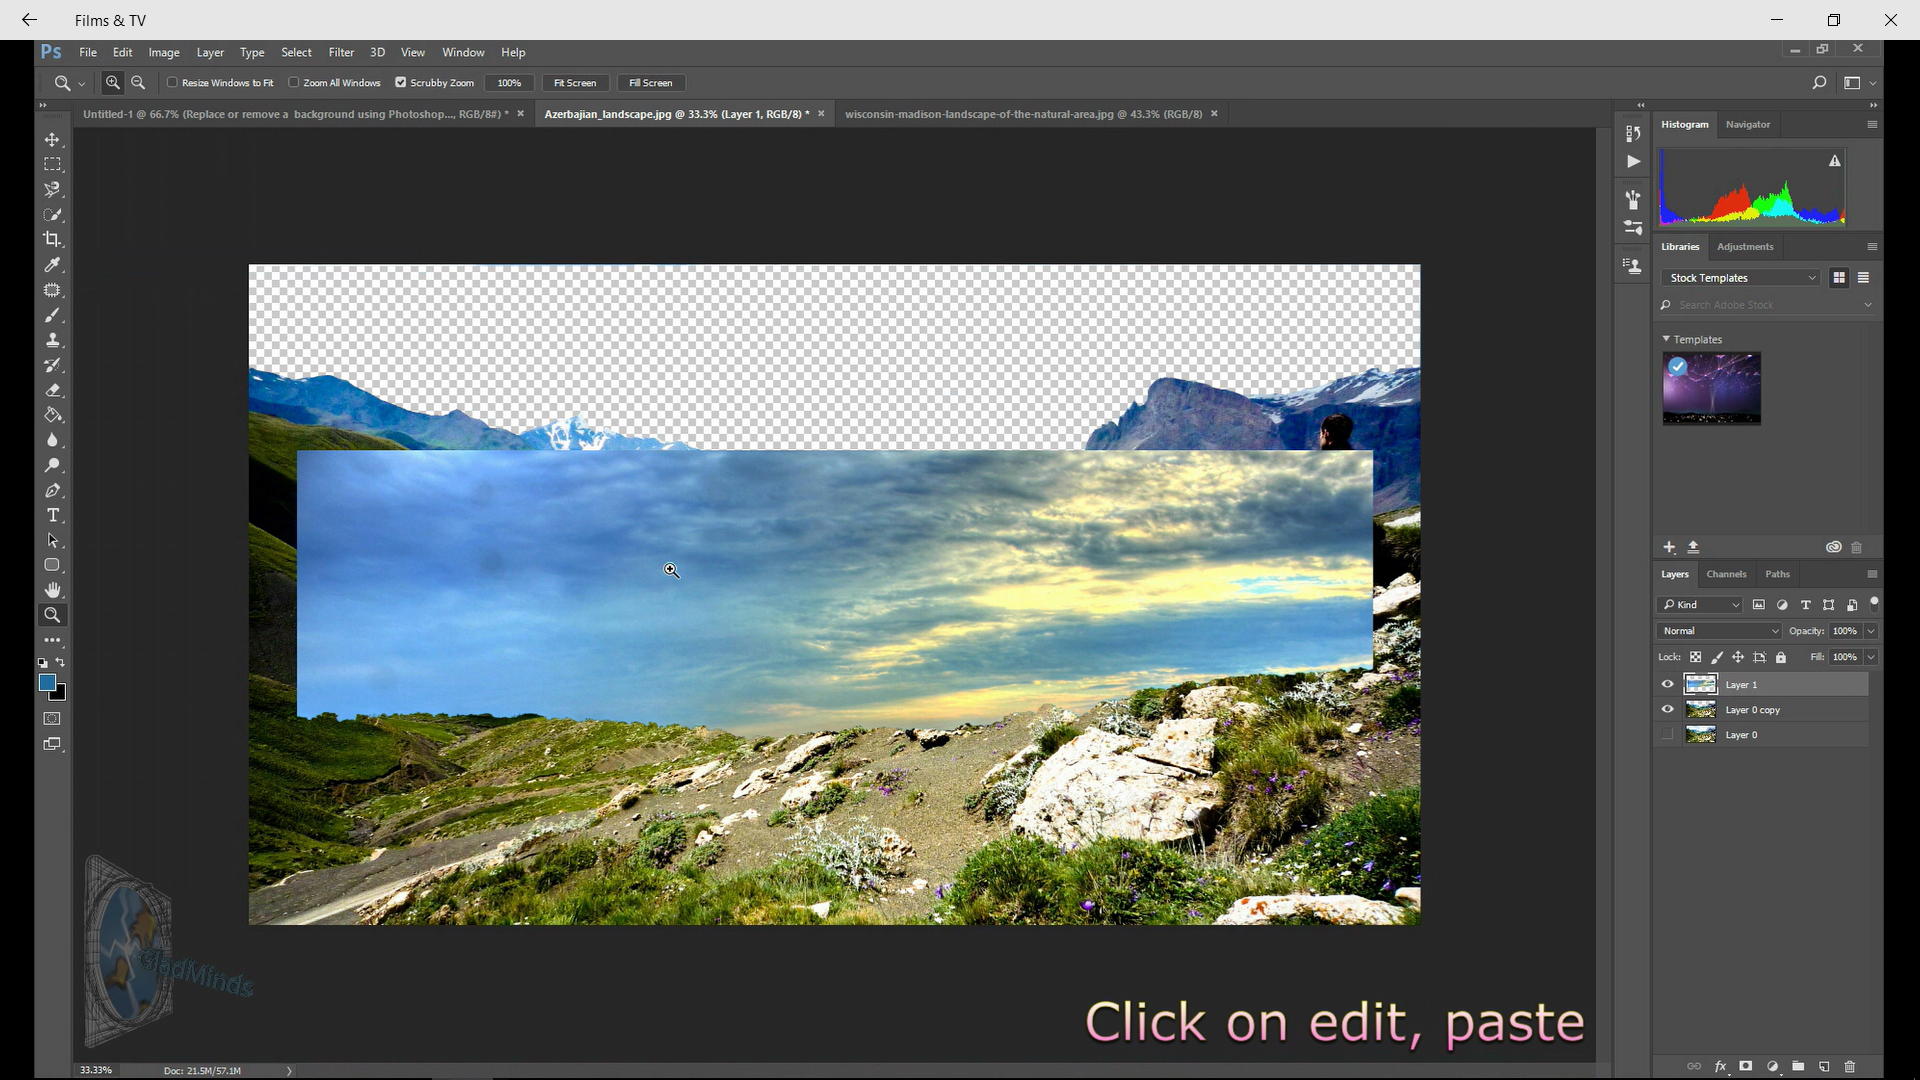
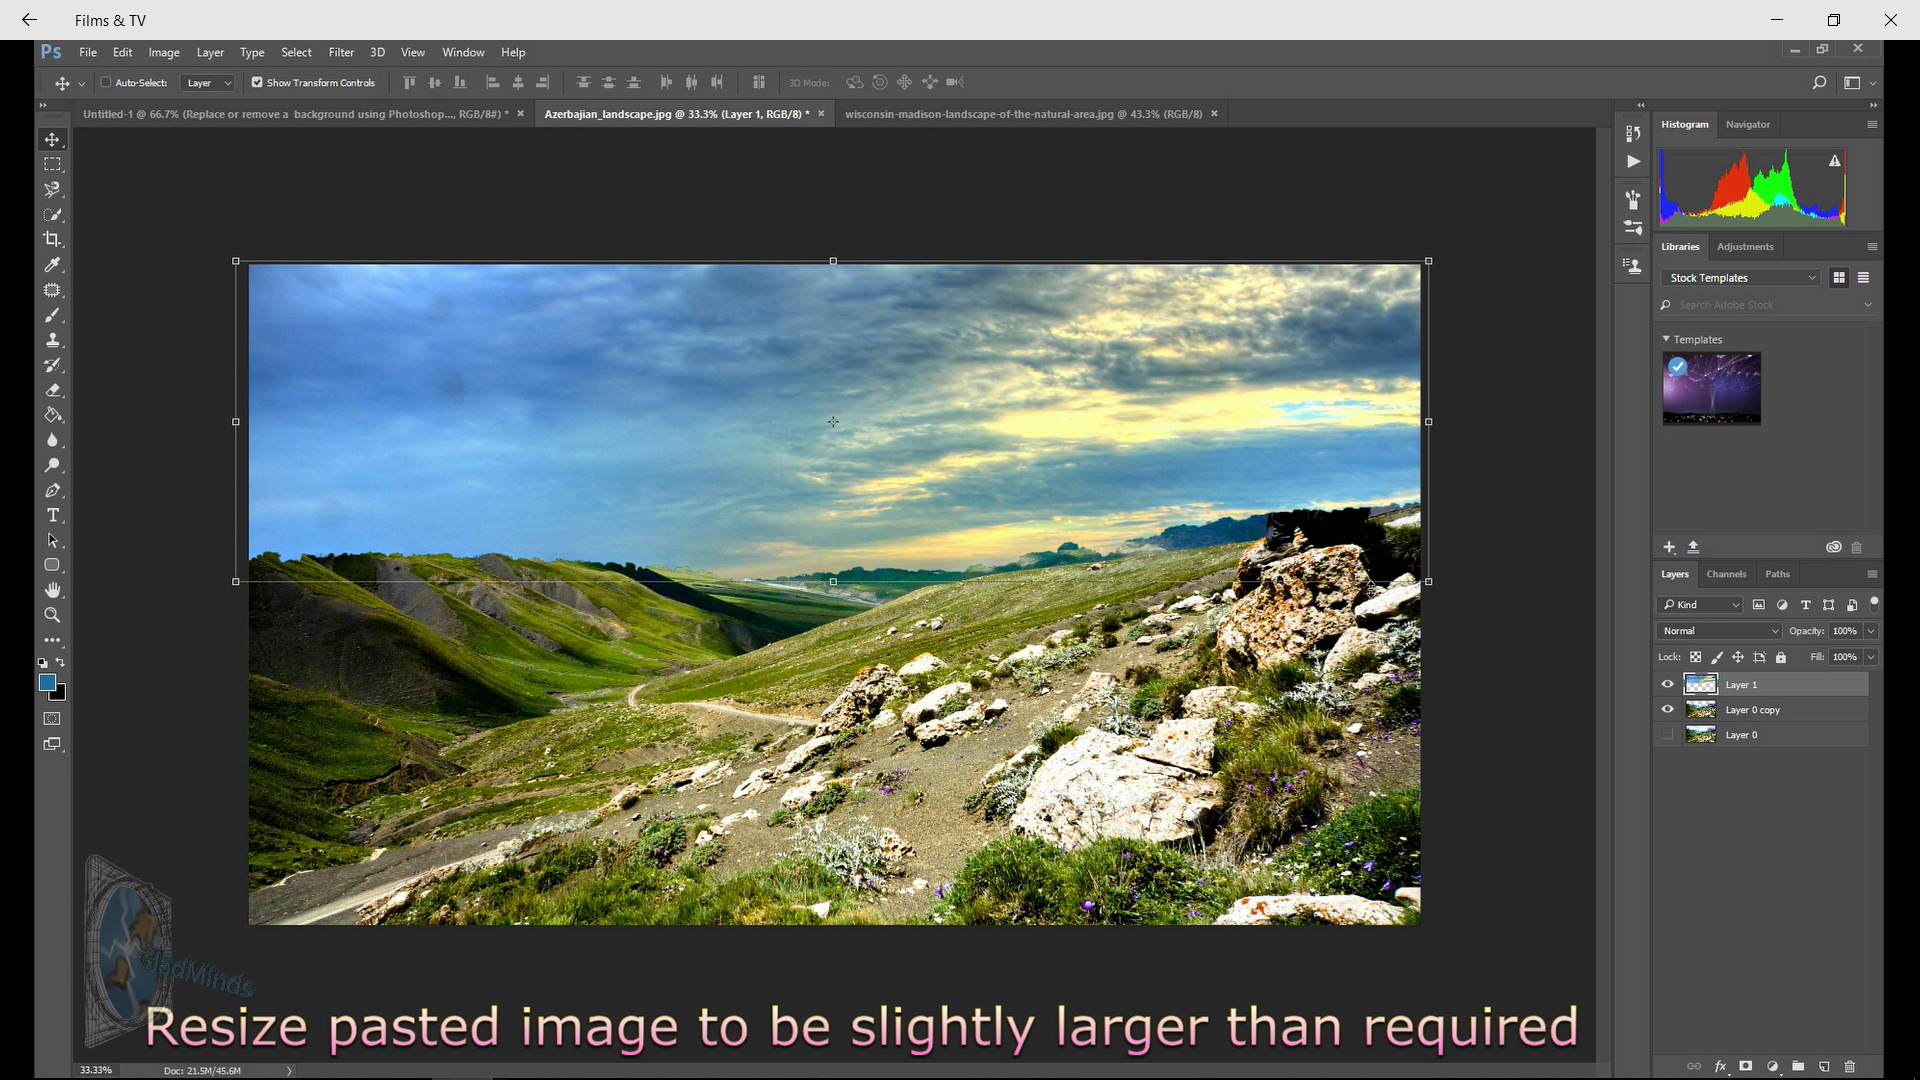
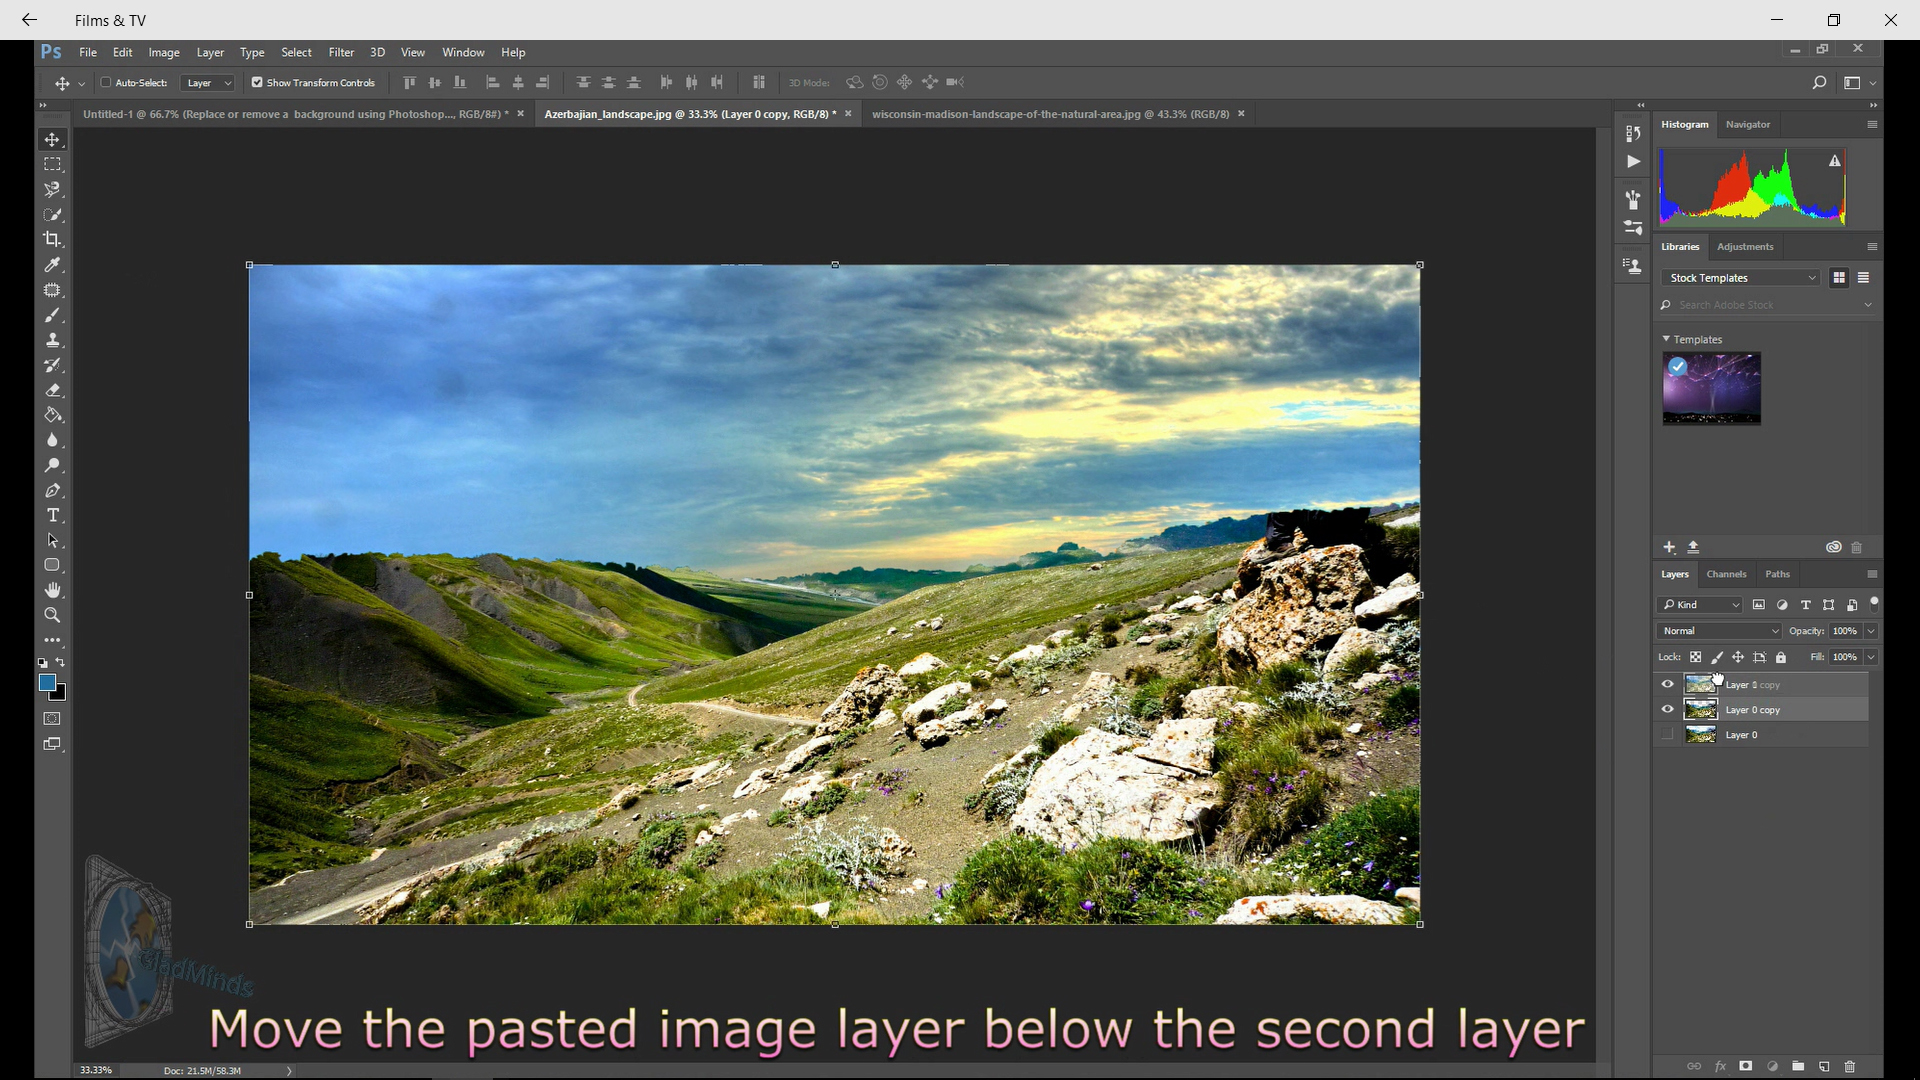
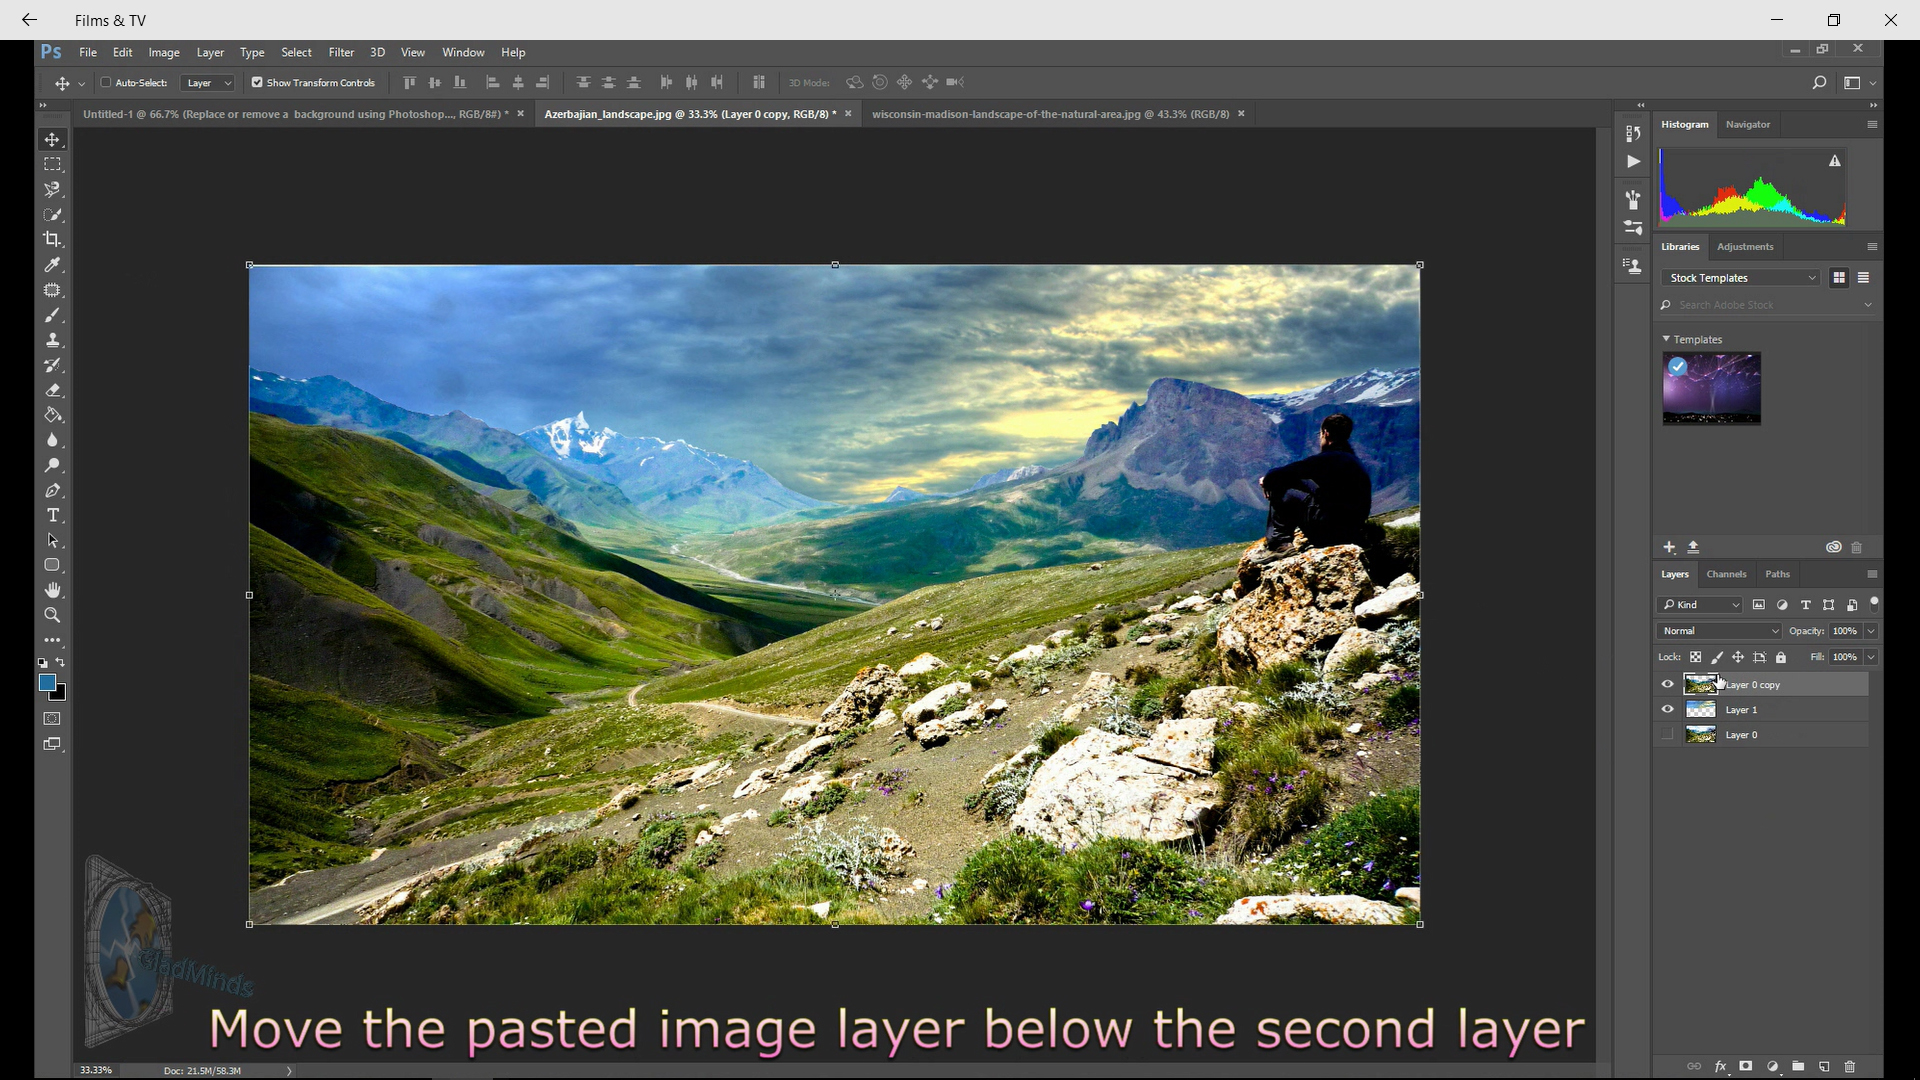
Go back to the image we removed the sky from and click on Edit - Paste.
The new Skyline will appear, it will be slightly smaller than the image we require buts that's easily remedied.
Grab the move tool and position the pasted image over the transparent skyline, using the keyboard select Ctrl T
This will select the Transform tool, using the Shift key and the left mouse button, grab one corner of the new skyline and resize this pasted layer to be slightly bigger than the transparent section.
Now rearrange the layers so the new pasted layer is below the transparent layer.
Now we have the new skyline completely behind the mountains, thereby almost completing out image.
Using Blur Tool - If Needed
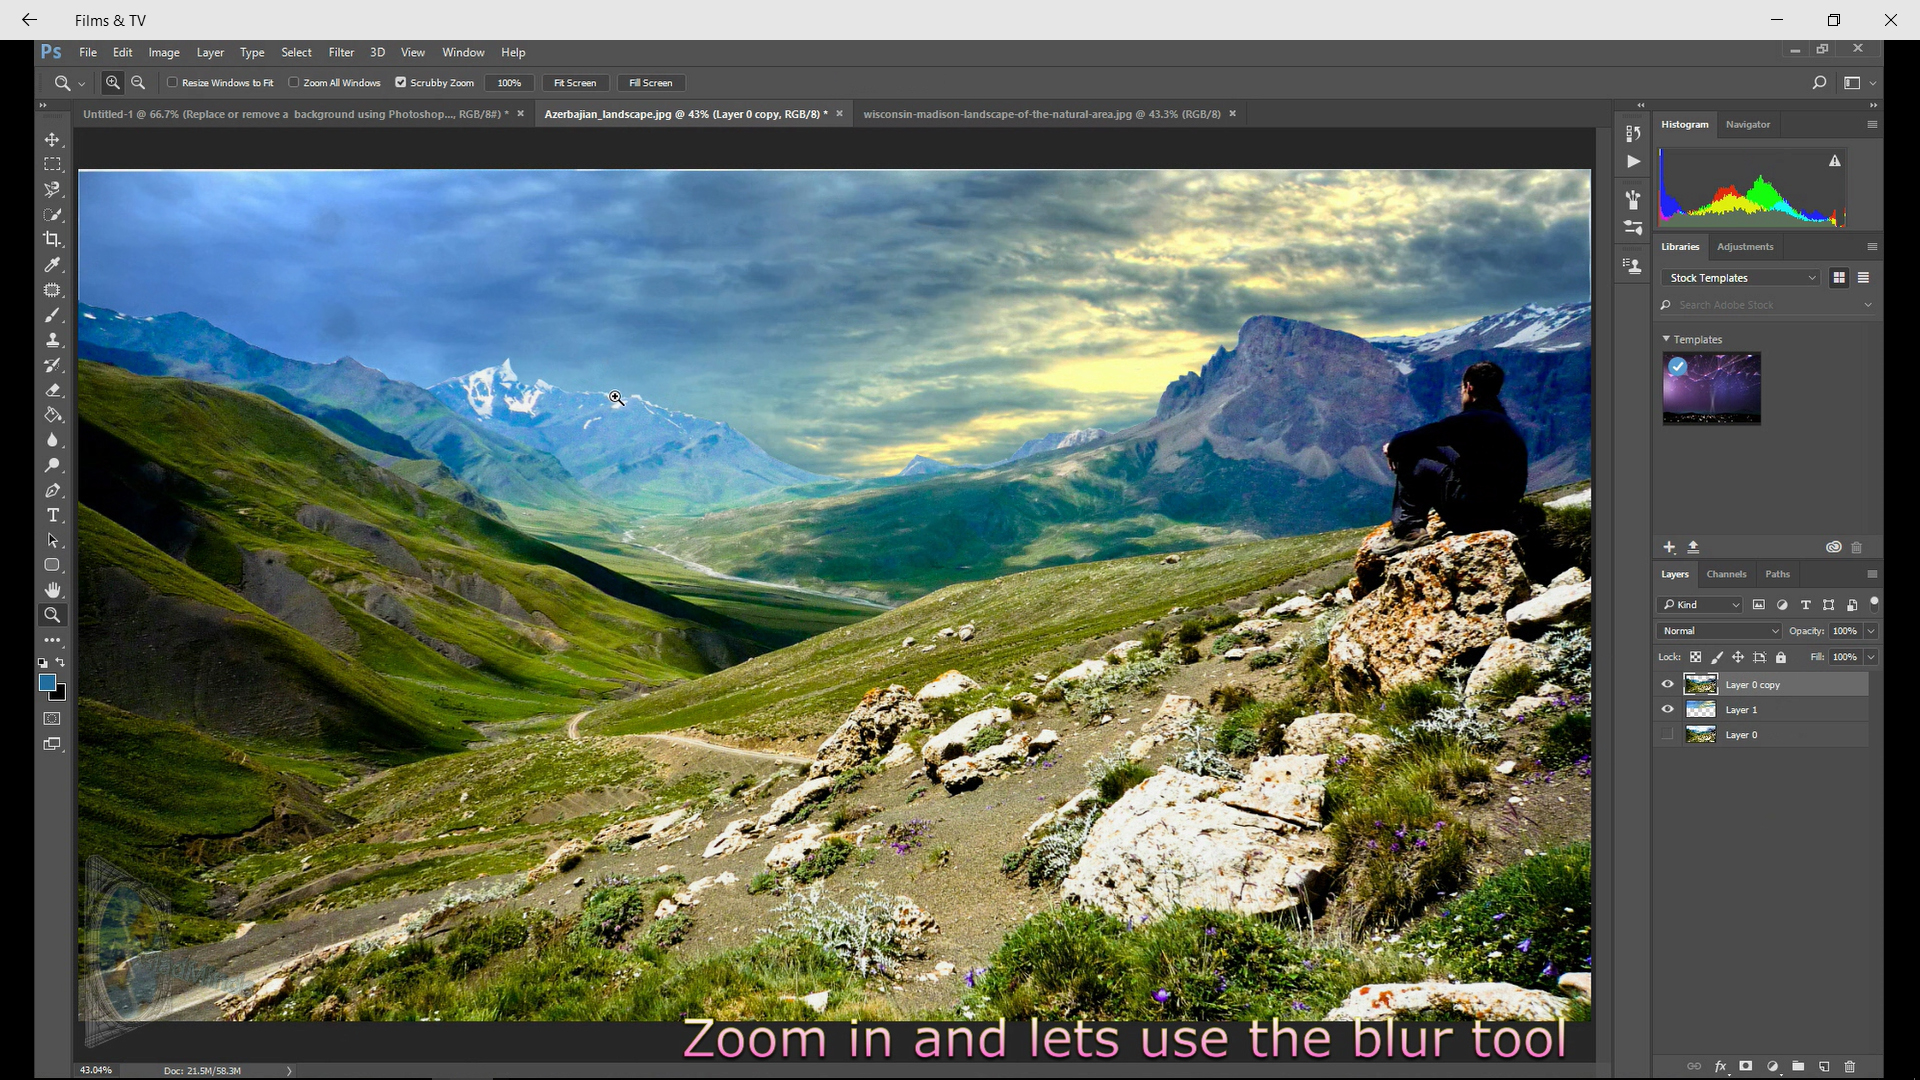
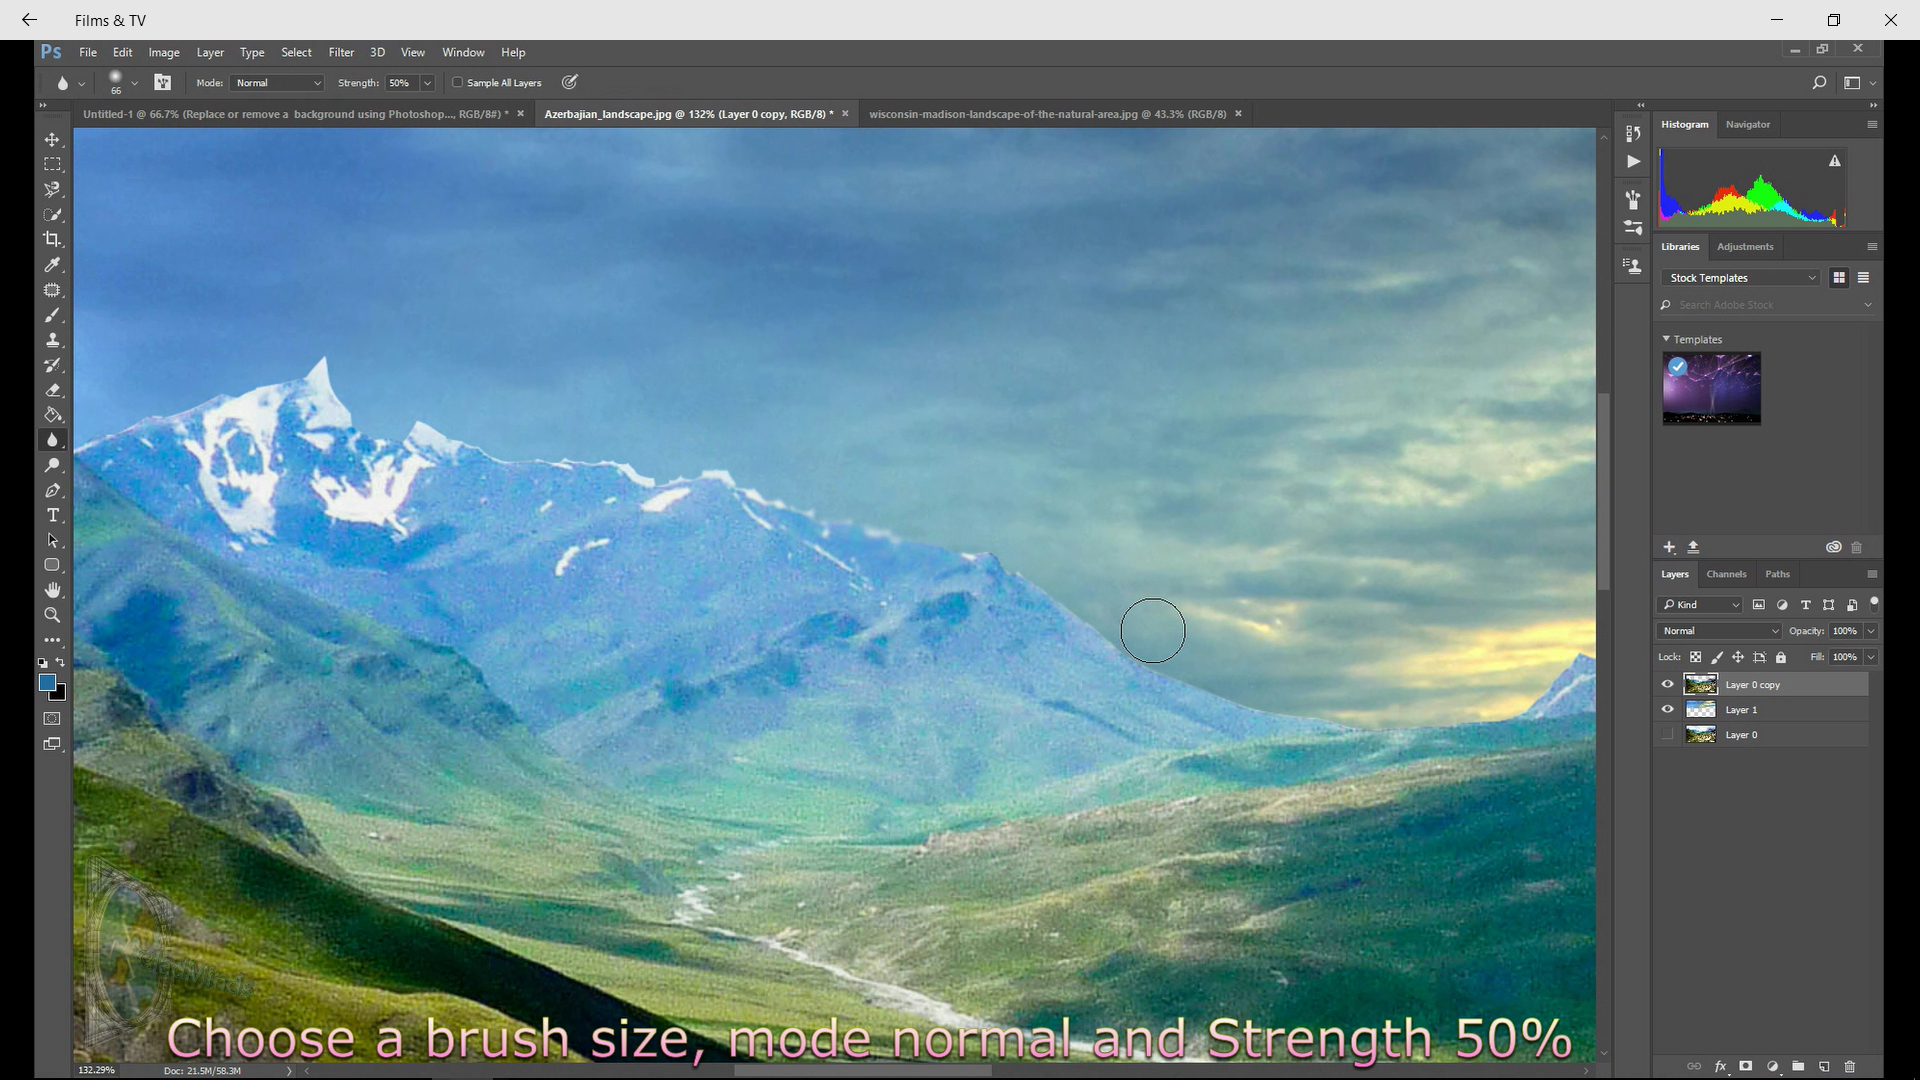

Now we are nearly finished, you can use the blur tool to go across the outline of the mountain to soften the look, of course this is entirely up to you but I find that this sometimes can complete a Photoshop edit and also can sometime help hide any imperfections.
The full video tutorial can be found on YouTube.
Again, thanks for taking the time to have a look at this Instructable.
Cya on the next one. :)