Photoshop Tutorial
.jpg)
_Artwork.png)
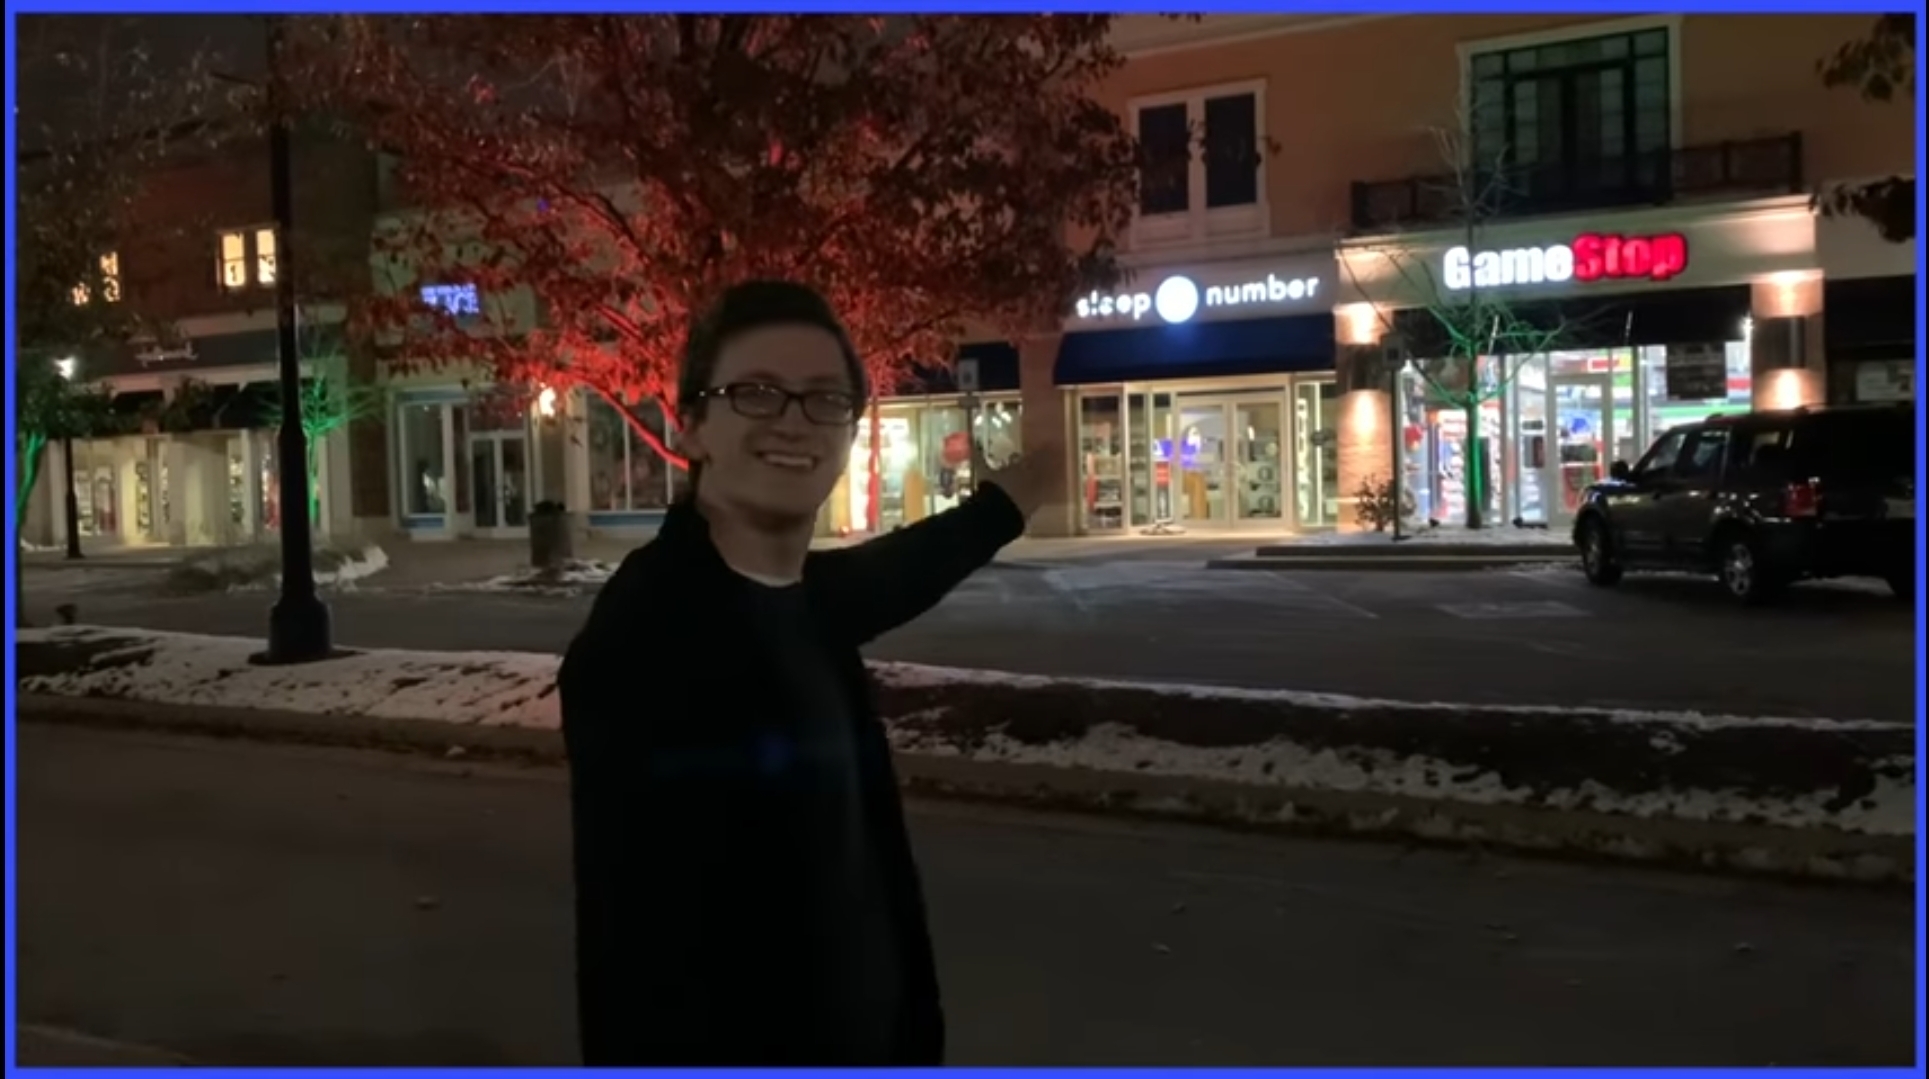
Welcome to the tutorial! Today I'll be showcasing how to recreate the inner machinations of my mind. Also knownas "File Name: CHAOS CHAOS"
Step 1: in the Middle of Nowhere
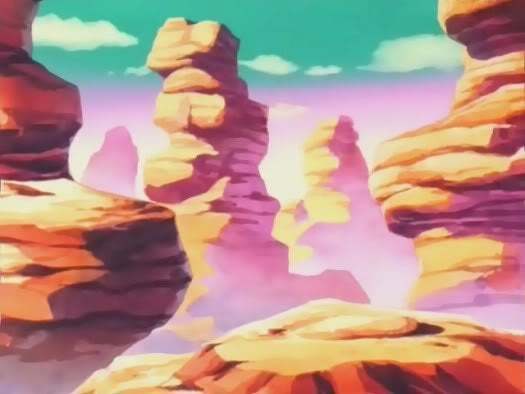
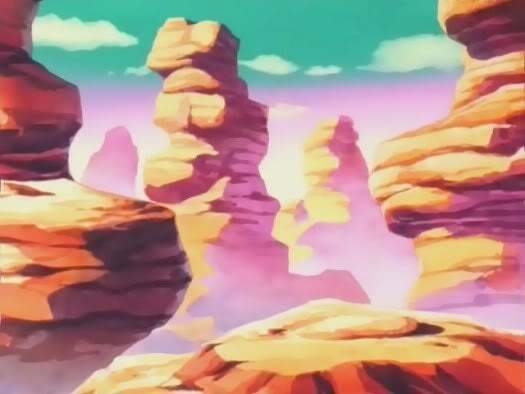
Start with opening your background image of the wasteland. Its ratios do not matter but it’s preferable that they remain where they are.
Step 2: Layers on Layers
.png)
.png)
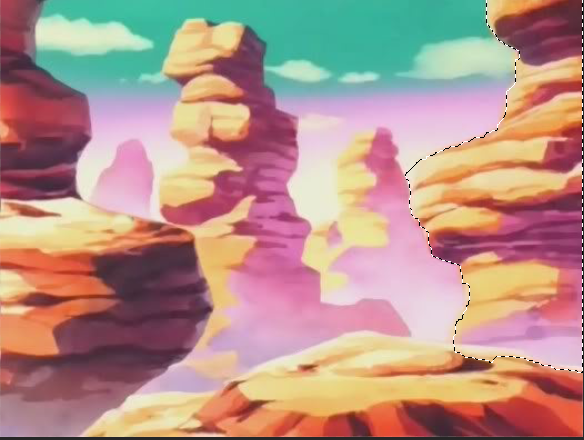
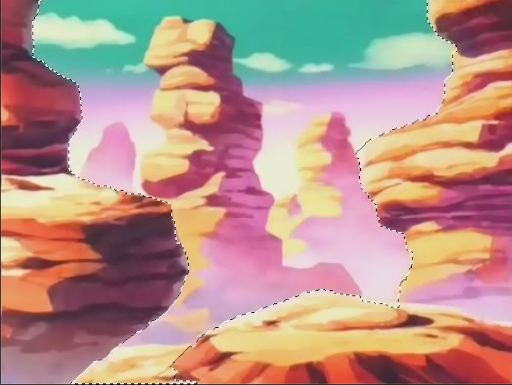
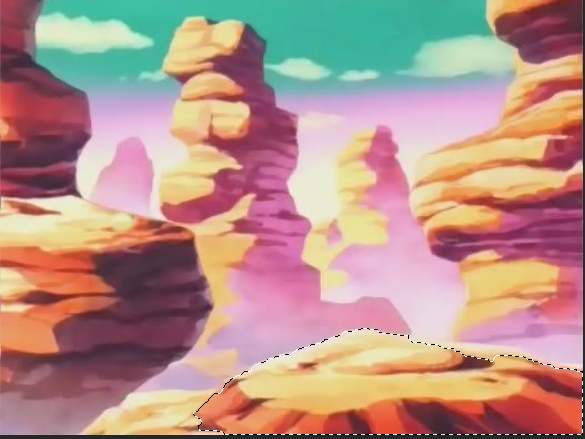
Using the quick-selection tool, go through and cut each of the showcased formations onto their own separate layers. Names are unimportant but you should preferable title them layers 1-4 accordingly.
Step 3: Quick-Selecting EVERYTHING
.png)
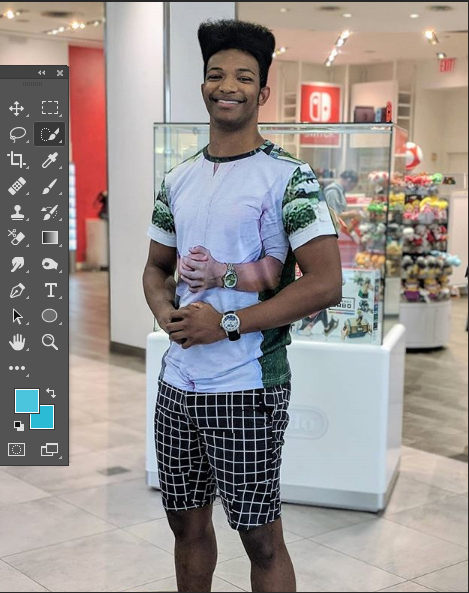
On the non-background images, go through individually and crop cut out characters/people so that they can be placed into our background. The images were already provided in introductions
Step 4: Now Comes the Tedious Part
.png)
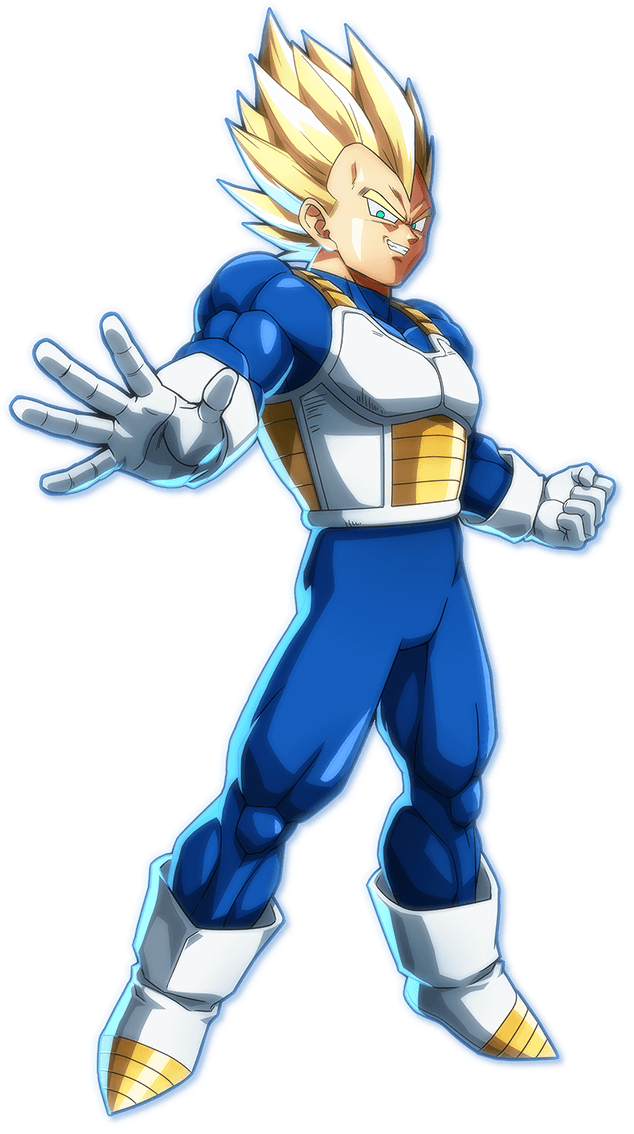
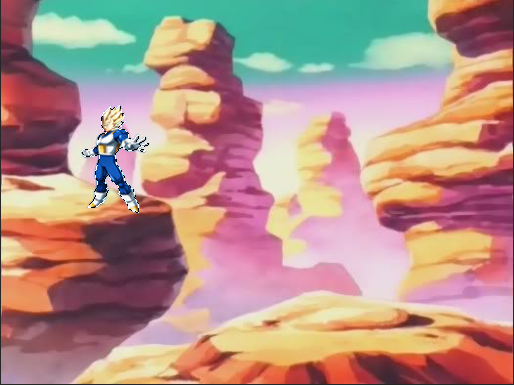
This is the part that's going to suck immensely, so I'll go through each character/person individually based on difficulty. Starting with Vegeta, play him atop the leftmost rock formation. Be sure to flip him around since his base image comes with him facing left instead of right.
Step 5: Darkness to Light
.png)
.png)
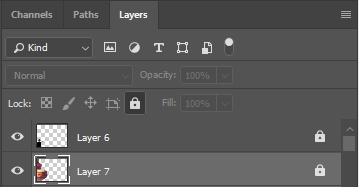
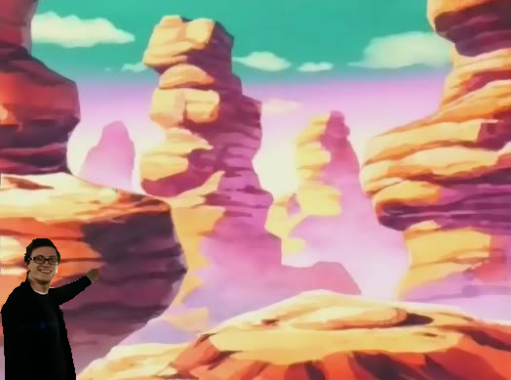
Next comes Scott the Woz. Place him in the front of the leftmost rock formation. If you have trouble with this, make sure to draw his layer above the rock's in the corner box (Shown above). Next, using the dodge tool (found under the gradient tool), go over him a few times to brighten him up so that he can appear nature in the image.
Step 6: Running Away!
.png)
.png)
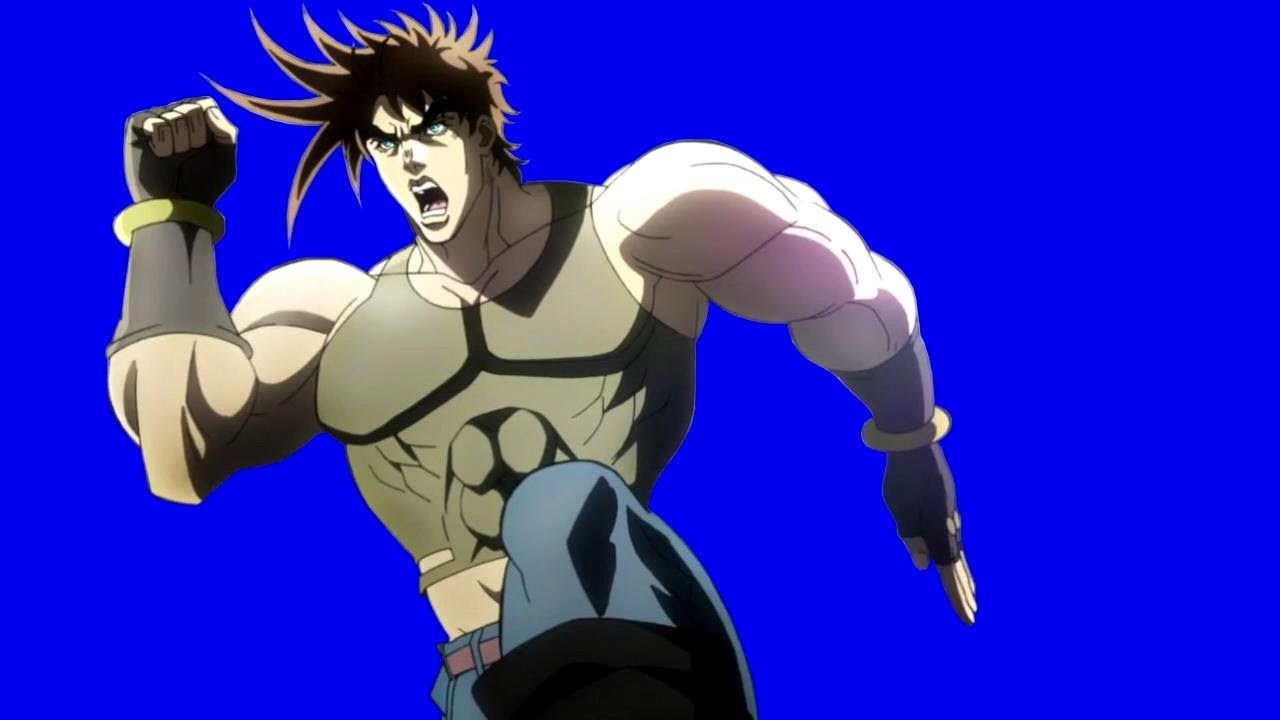
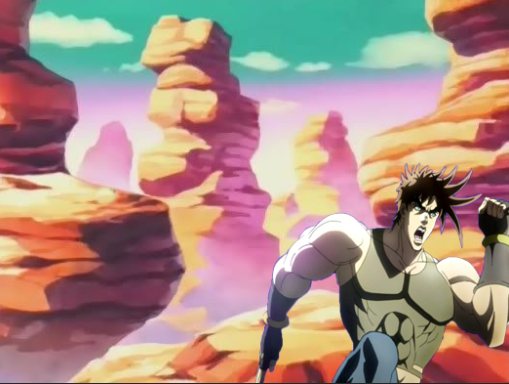
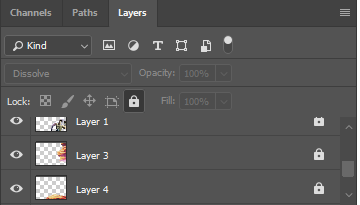
Place Joseph in front of both the rightmost rock formation along with the bottom one. Once again, layer management is key here in ensuring he doesn't disappear behind the 2 rock formations. At this point, your image should look something along the lines of this.
Step 8: Joycon Man
.png)
.png)
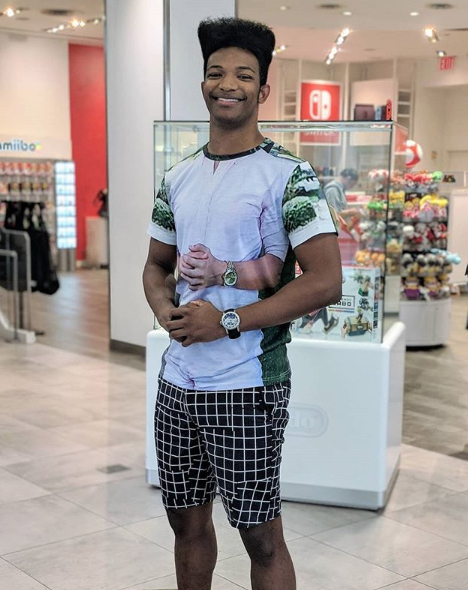
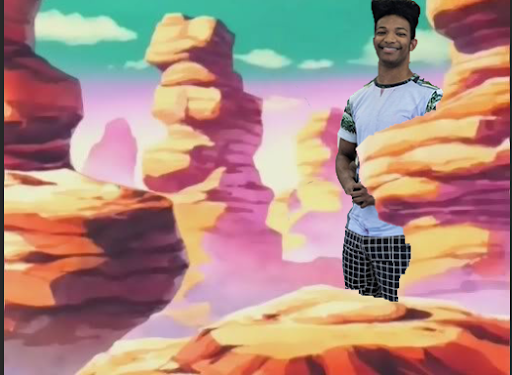
Placing Etika is somewhat of a weird thing to do, but simple in terms of how it looks afterwards. Remember how with other layers you had to place the characters above certain layers? In this case, you do the reverse and place him below the bottom and right formations. Be sure to keep him above the layer 1 (which should be your furthest background)
Step 9: the Giant Rat
.png)
.png)
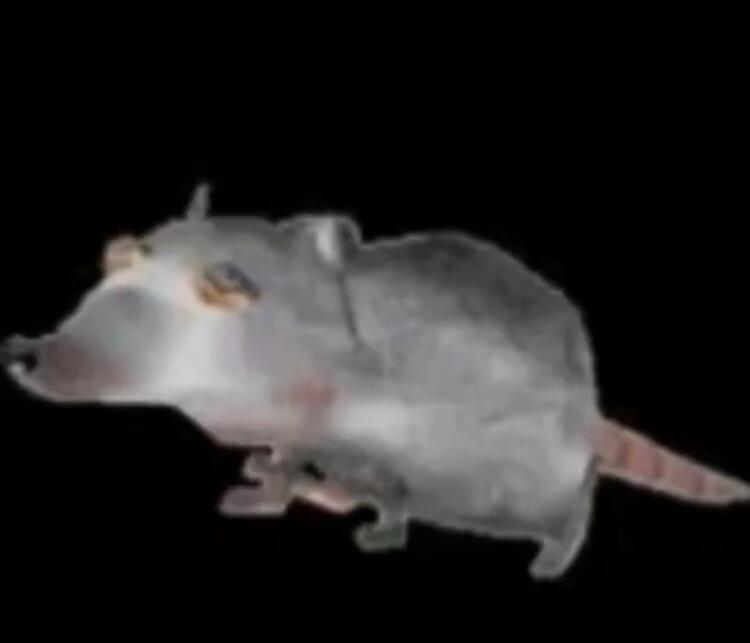
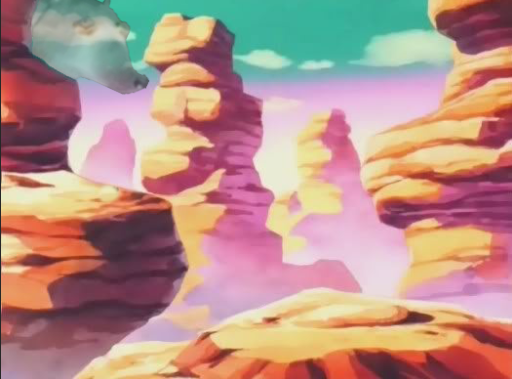
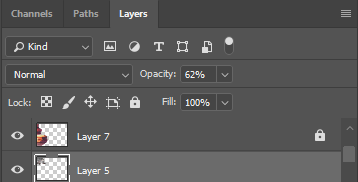
If you've been following along this far, these next 2 steps should be a breeze. Place in your giant rat near the upright corner, below the left formation's layer. Afterwards, decrease the opacity on him to around 62%.
Step 10: Profit
.png)
.png)
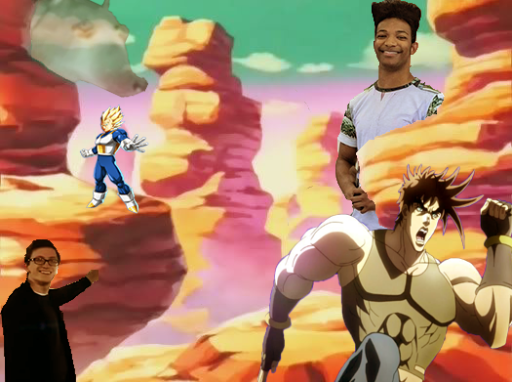
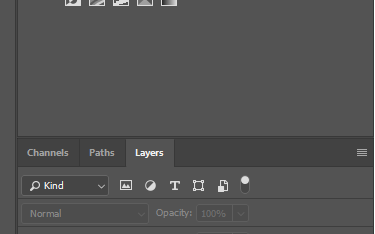
Now your image is complete! To around it all out, flatten your image using the triple bar shown above, then add a color balance to your image with +39 Red and -39 Yellow