Photoshop Retouching | Skin Smoothing, Eye Enhancement and Divine Ratio
by Digital Flame in Design > Digital Graphics
5934 Views, 201 Favorites, 0 Comments
Photoshop Retouching | Skin Smoothing, Eye Enhancement and Divine Ratio
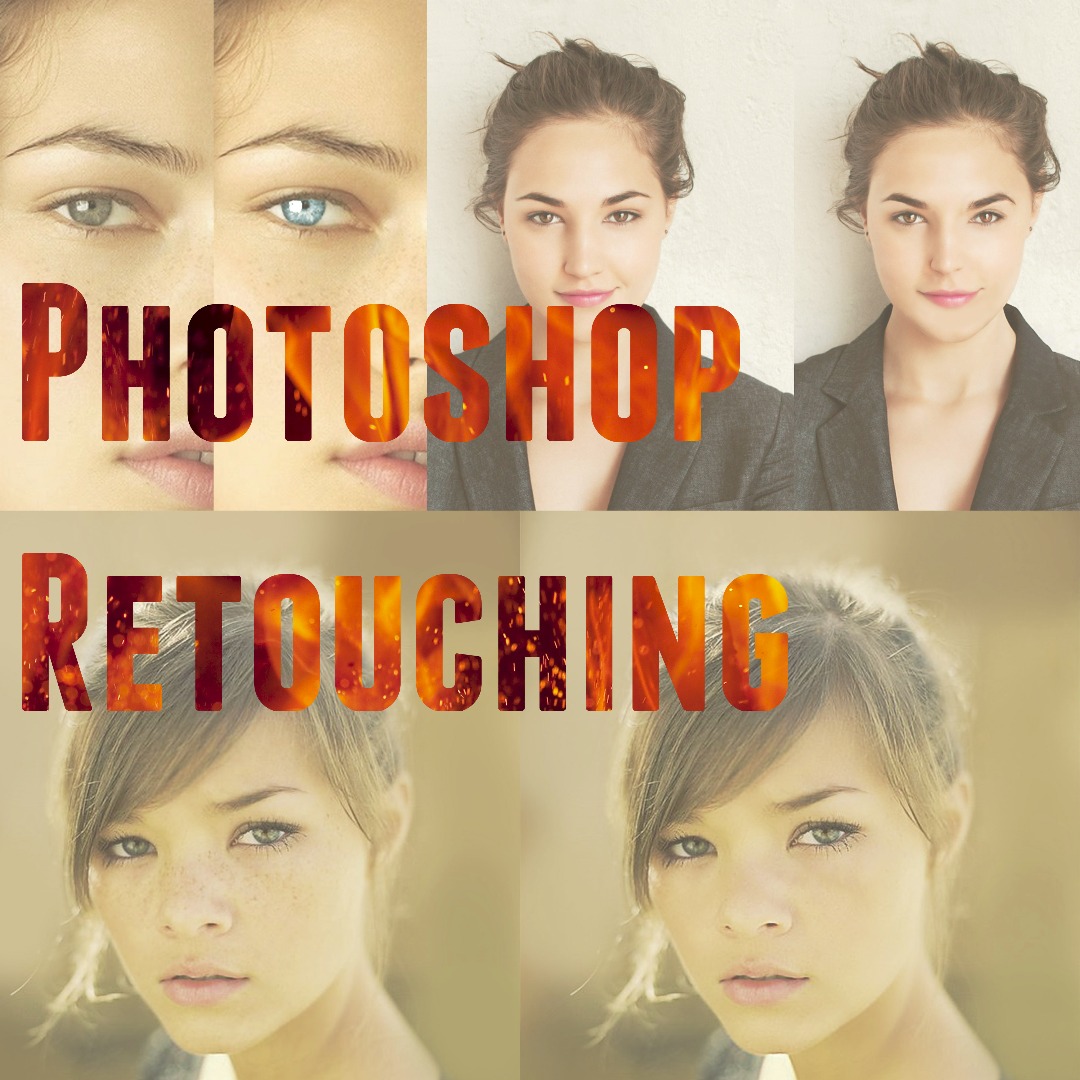
OK; Photoshop retouching.
Its the thing that you either scoff at how bad it has been done or gawp at the skill.
Actually you don't need much skill. It's all about technique. Which soon you will know!
Today I teach you how to do;
Skin smoothing with band stops! Steps 1-7
Eye enhancement with invert, divide and hue! Steps 8-12
Making the human face scientifically more beautiful using the divine ratio (phi), warp and more nerdiness! Steps 13-18
While your still here, why don't you *cough*-vote! -uhh... Leave a comment!
(Just a tip for all of the tutorials, scale up your picture to have a width of 4000px before you start on it (unless it already has 4000+, this is because it looks good if you work big then scale down, but not if you start small and scale up!) (Optional)
Also a quick disclaimer. Beauty can lay in imperfection. The skin and eye tutorial aren't that much of a change to a person, just like better lighting and makeup! The phi however, can be better or worse depending on your opinion. I explain that averageness was attractive from time of instinct and has effect on subconscious so A) You may/may not like it (opinion) and B) I wouldn't do this (Phi) unless for a piece of art (see the cyborg render at the penultimate step) or on a model, as Culsh said, it's no longer a picture of that person once edited that much!
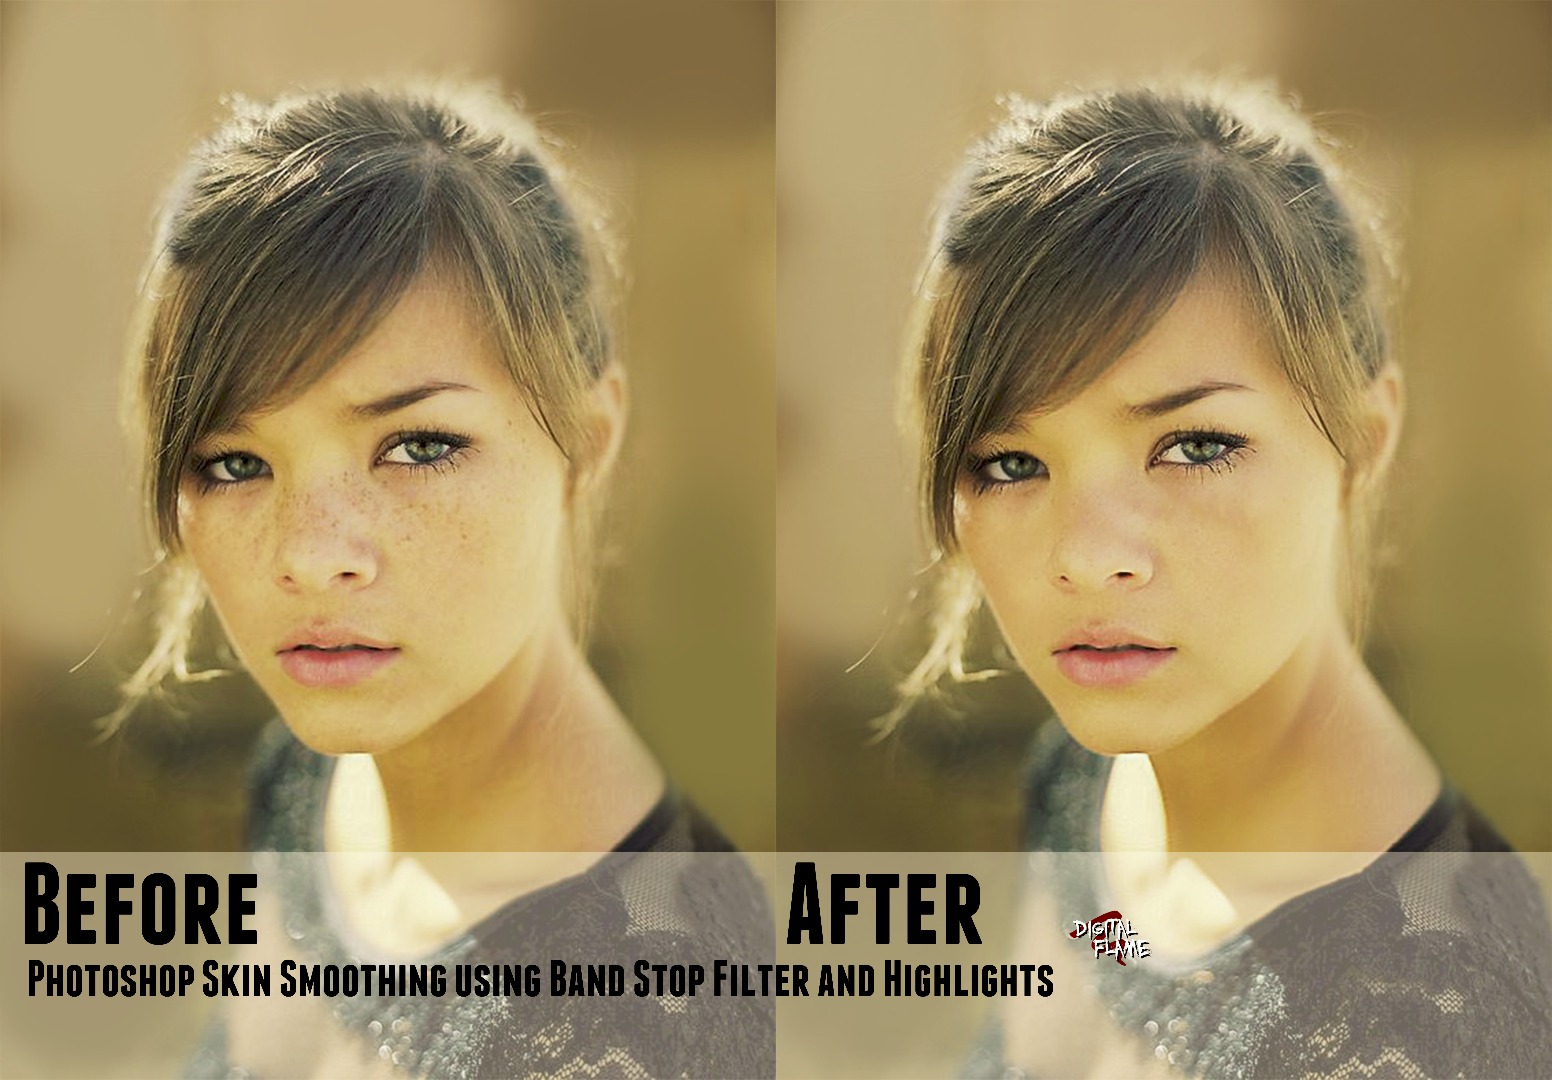
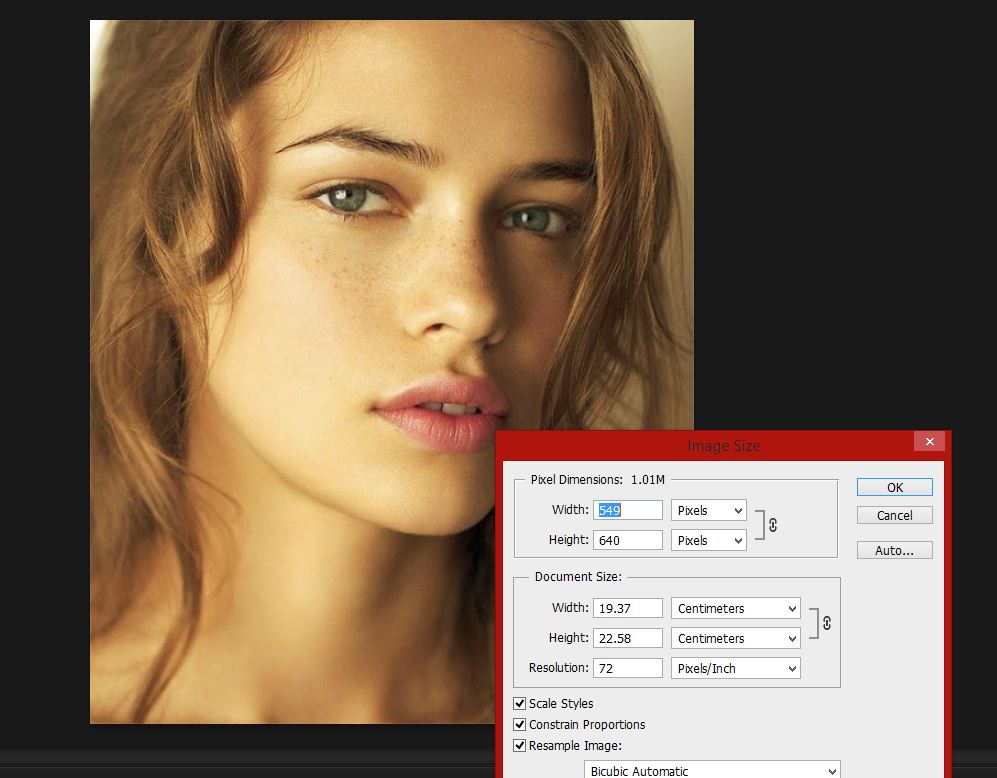
Skin Smoothing
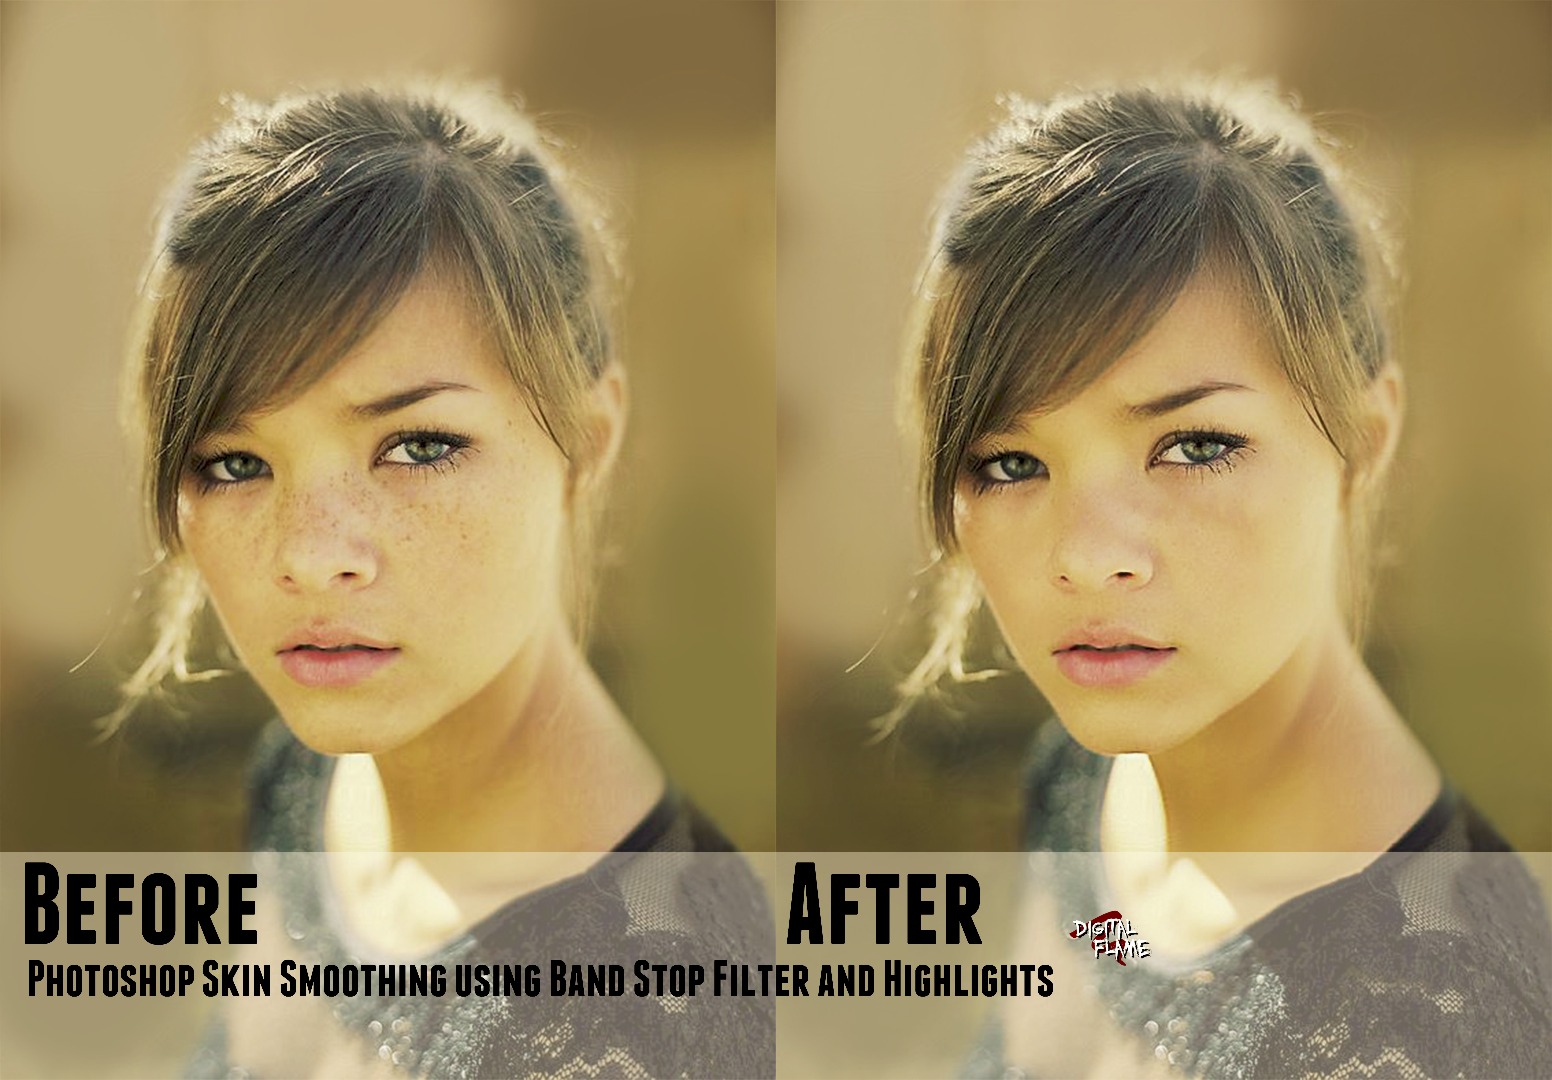
Instead of going ballistic with the brush tool and spot healing brush; use this great professional technique!
You can use this to smooth out the occasional freckle, spot, blemish or wrinkle completely, create especially good looking skin, or create skin so glossy it looks like plastic. The good thing with this technique is you can vary the power!
Heal
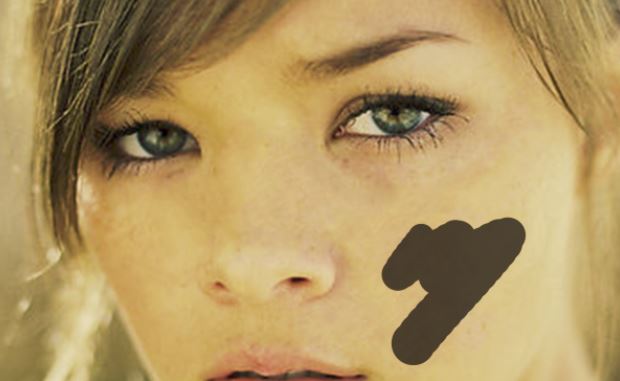
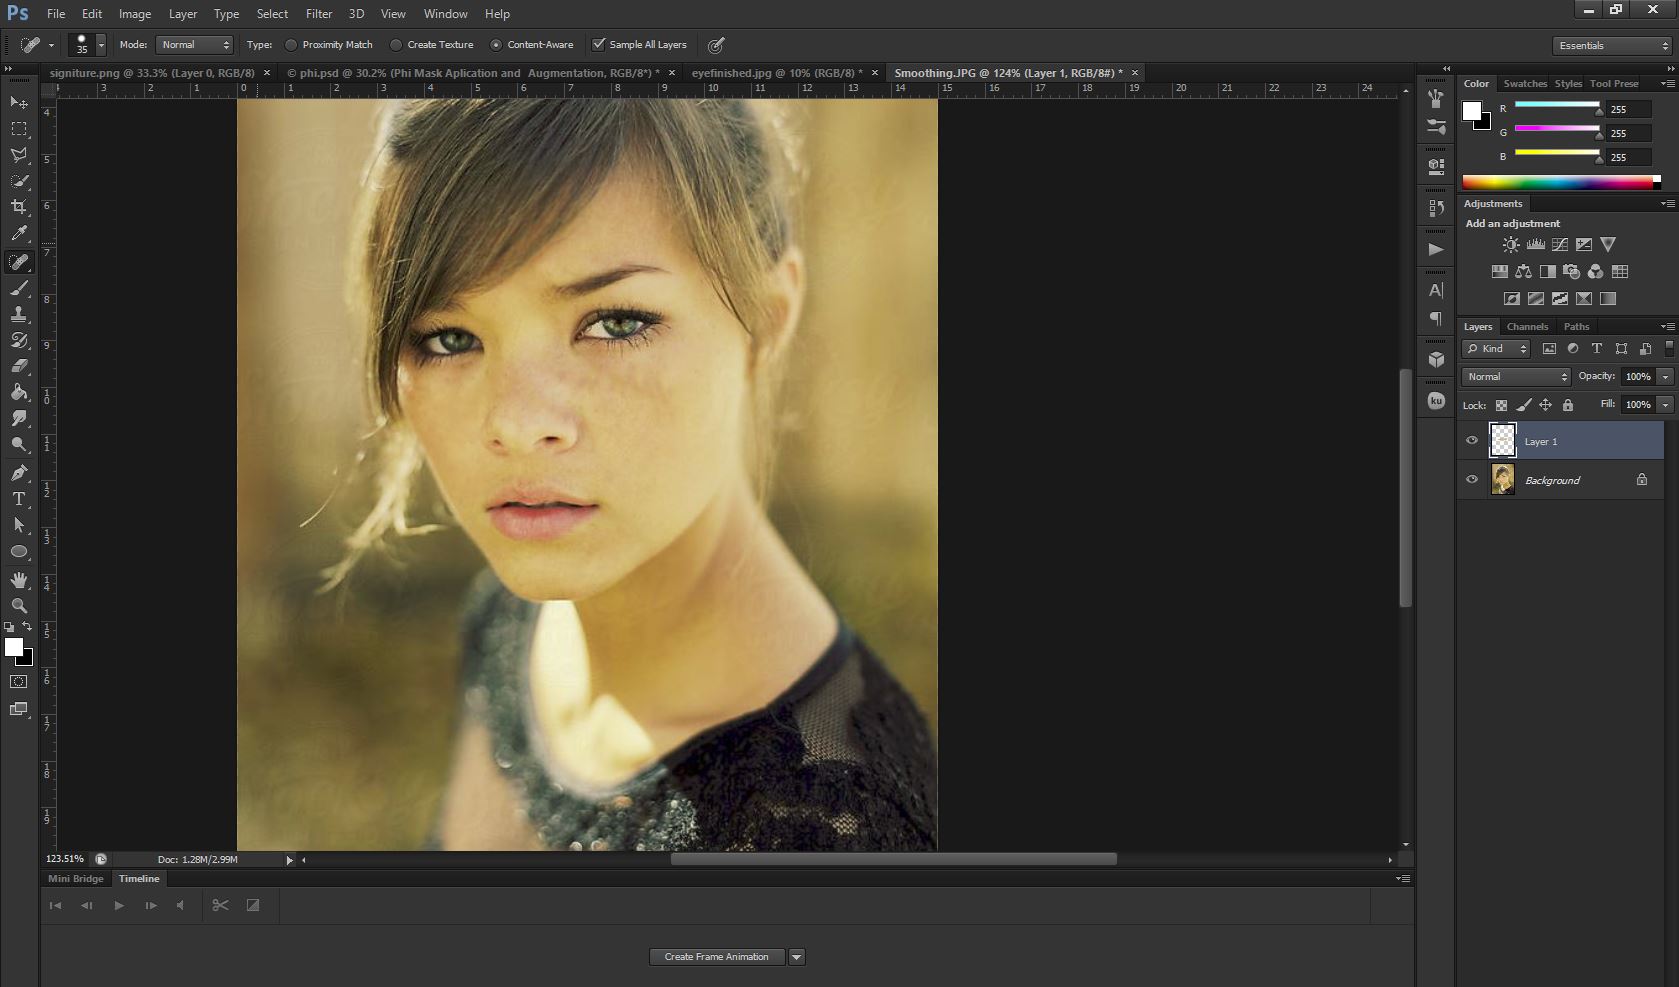
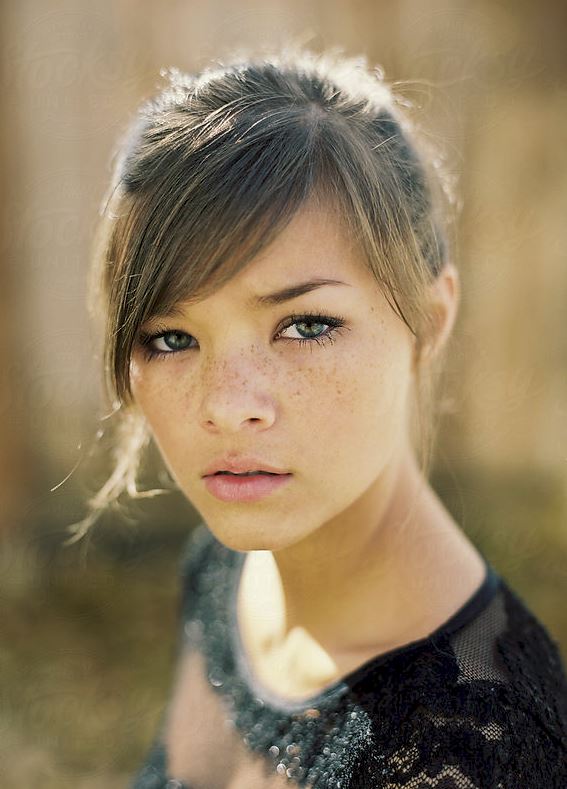
Take your Image into Photoshop and use the spot healing brush to clean up any freckles, spots and or blemishes. (It must be the spot healing brush, above brush or press J)
Shade in any blemishes and Photoshop will content aware fix it.
Be careful around eyes, lips and other dark spaces as it will try and pull from those to make it appear like an infected burn. (*sarcastic*) Lovely.
Duplicate and Blur
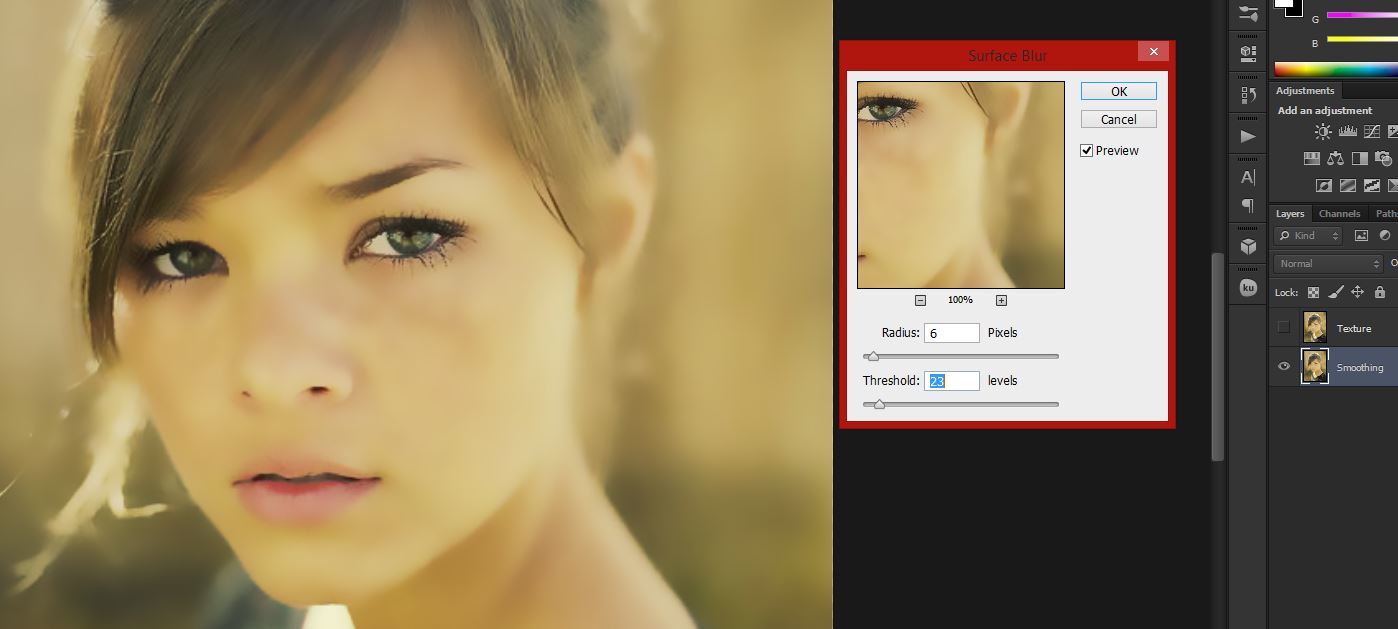
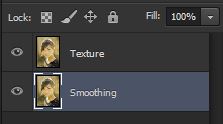
Duplicate into THREE layers. This is quite important! You can't see the third layer in the pictures as I put it in after but that was a mistake on my part!
Right click>duplicate.
Name the bottom one Base
Middle one Smoothing
and the top one Texture
Hide all but the Smoothing Layer. (Eye icon on the left of the layers)
With the smoothing layer selected, do
Filter>Blur>Surface_Blur
Removing Blemishes Completely Mess around with the settings and try to blur it just until you can no longer see the blemishes.
Smooth skin Mess around with the settings and try to blur it as much as you can while still being able to identify edges. (Like in the first photo)
Plastic Skin (Good for robot photo manipulation! (Step 19))Mess around with the settings and try to blur it as much as you can while still being able to identify edges, then do a little more so that the edges blur a fair bit but you can still recognize them. For extra glossy plastic repeat the whole tutorial again once done and go absolutely mental with the highlights section.
Plastic Skin for an Award Winning 3D modelling Expert If you are an expert in Photoshop, modeling software and real life art and you took the photo of the model. You could cast/scan/photograph and render with 123D design to create a model of the face, use blender or z brush to change to a plastic texture with hard highlights and then add a big light source in virtual space; before slapping on a multiply blend mode at the same angle. I couldn't do this without several months so maybe that should be an Instructable in itself!
Texture and Mask
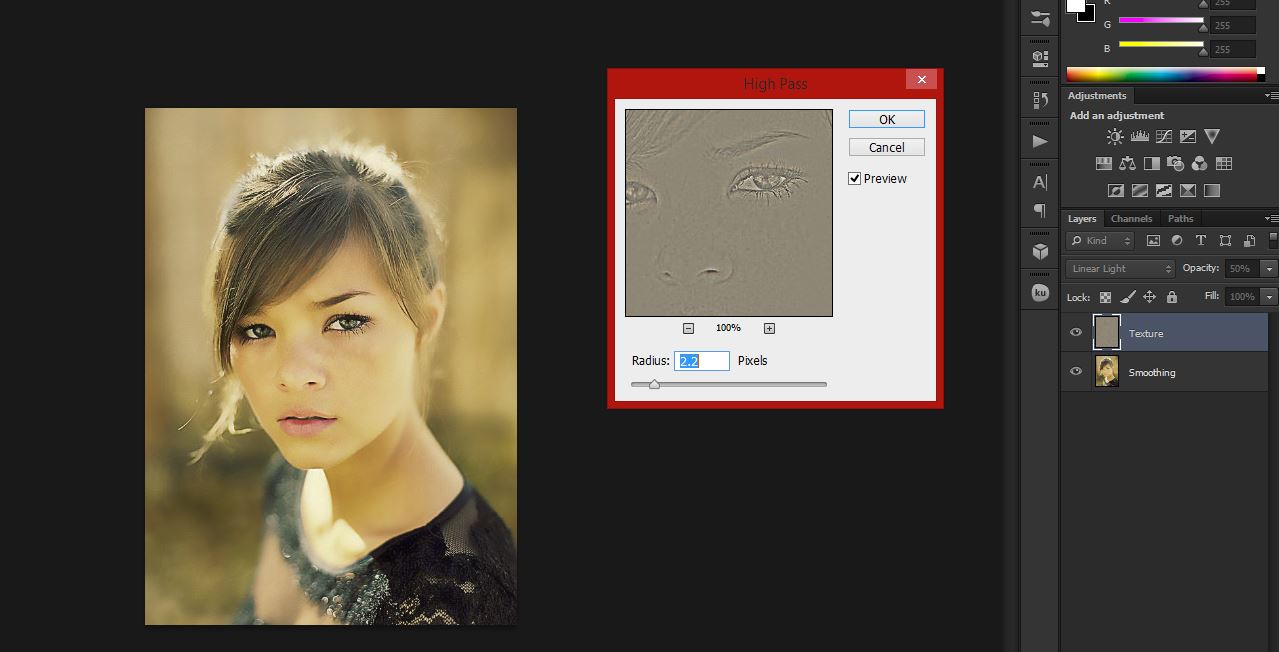
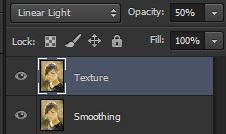
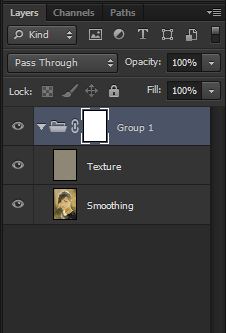
Make the texture layer visible and choose blend mode linear light and opacity 50%.
The do
Filter>Other>High_Pass
choose the desired smoothness and hit OK! This is our frequency filter or band stop. It will only let through the desired frequencies!
Group the above two layers (texture and smoothing) (Ctrl+G / Cmd+G)
With the group selected click the mask button (beneath the layers panel, looks like white rectangle with a hole in the middle).
With the white mask now selected, turn it black with invert (Ctrl+i / Cmd+i) then paint the skin white with the default soft brush. (This is so that it doesn't smooth clothes, eyes, hair, etc...)
Highlights and Shadows Part 1
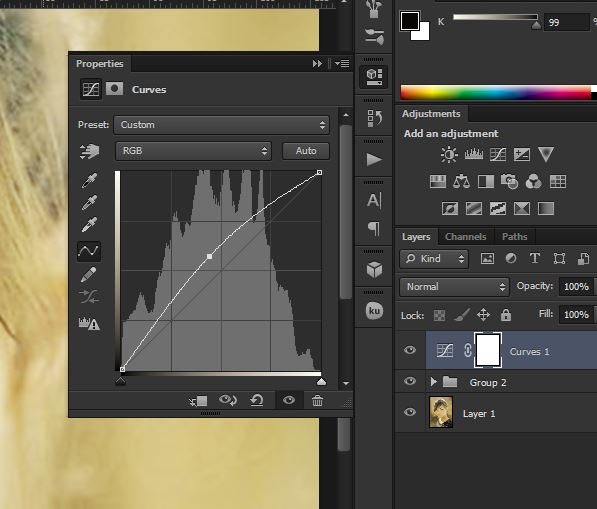
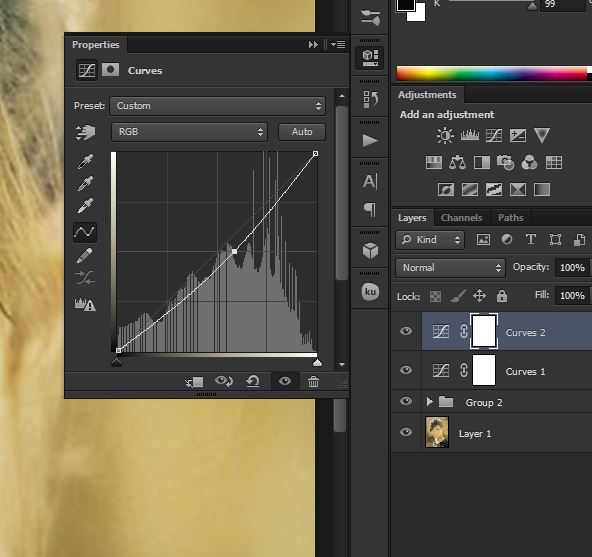
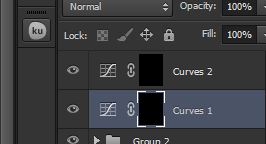
Now we have smoothed the skin, and removed all blemishes we are now going to make it appear glossy.
Unfortunately we have to do this manually by manually adding in highlights and shadows.
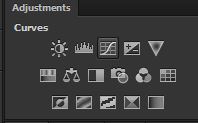
Create two curve adjustment layers.
Make one curve lighter and one darker. Use the pictures to help you replicate this.
As previously said make more steep curves for plastic like skin or if your model is in a dark room with small lighting like a torch.
Don't do this step (and the next) if you are only removing a blemish.
Highlights and Shadows Part 2
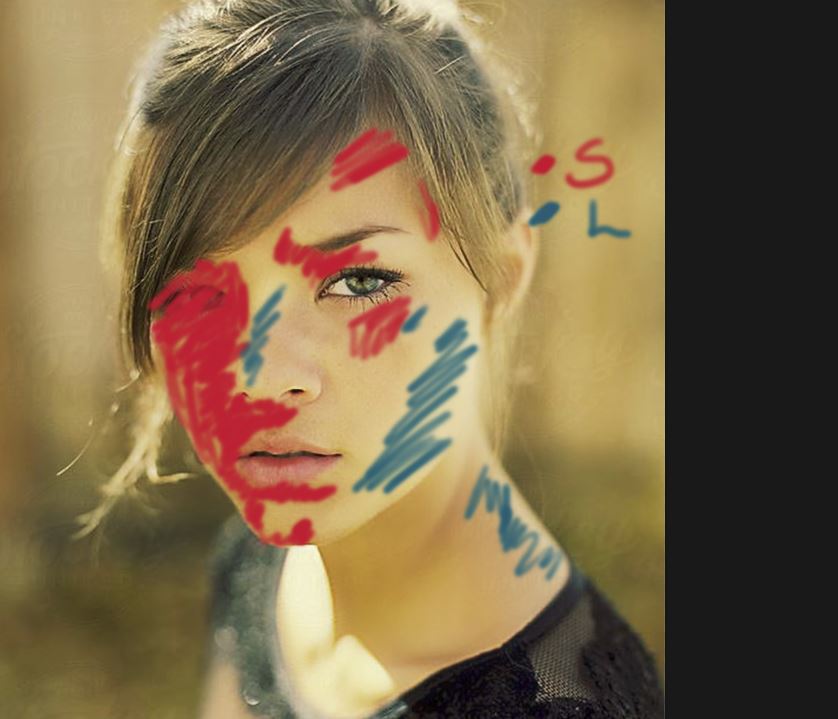
Mask both curve layers (Mask button described in step 4) and yet again, invert them (Ctrl+i / Cmd+i).
Paint in using white, where the Shadow and Light should be. I drew the picture above to help you, think about the light source of the picture and how the light falls.
(edit: I missed a big shadow under the chin on the neck in the picture)
Smooth Skin: Really soft brush
Really smooth skin: Soft brush
Plastic: Hard Brush
If this worked successfully, be proud of yourself, most people do it the lazy way with a soft, white brush on low opacity or the dodge tool!
Skin Smoothing Done!
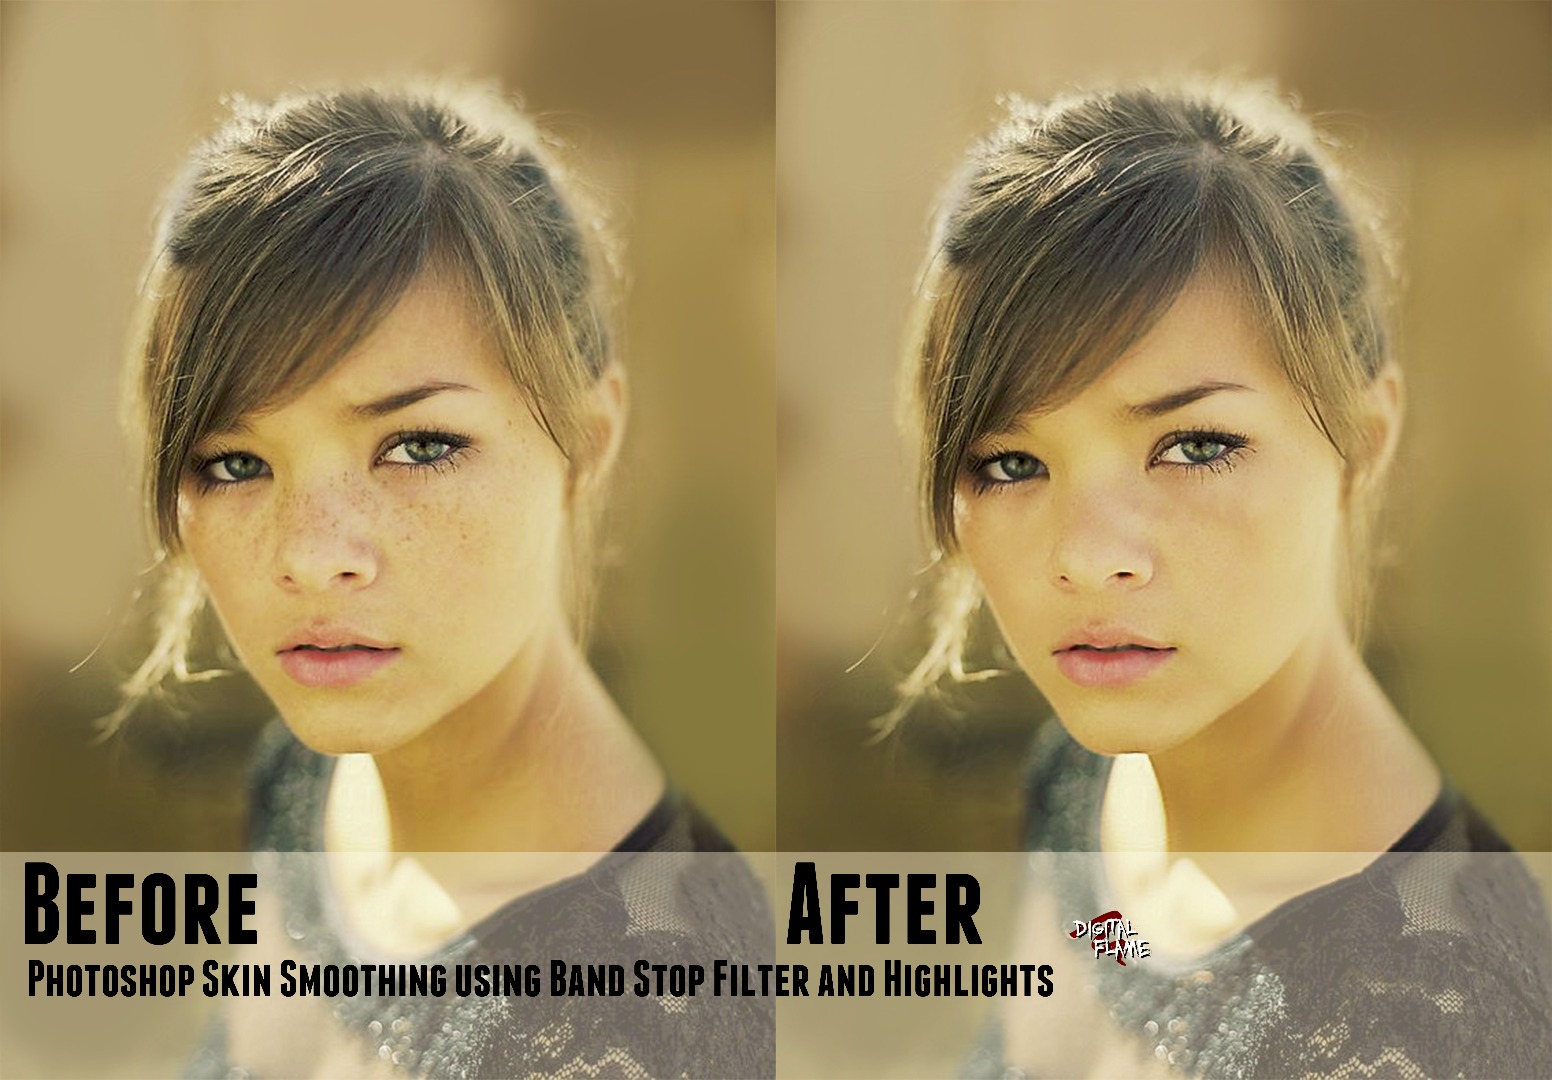
Epidermal!
Well done! Hope you liked! see the next step for Eye enhancement!
If you found this helpful, there's always that free bright orange vote button in the corner!
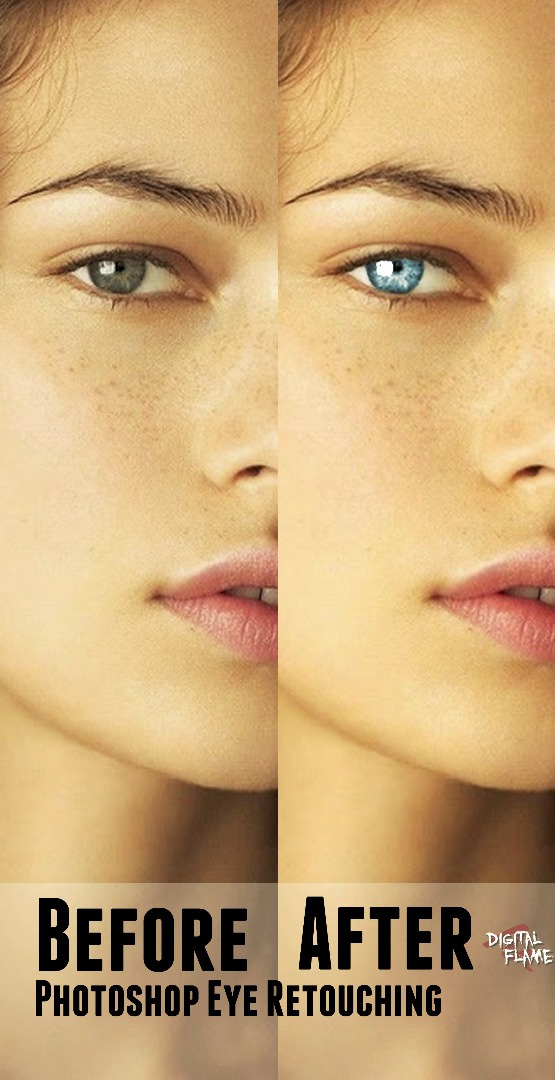
Eye Enhancement!
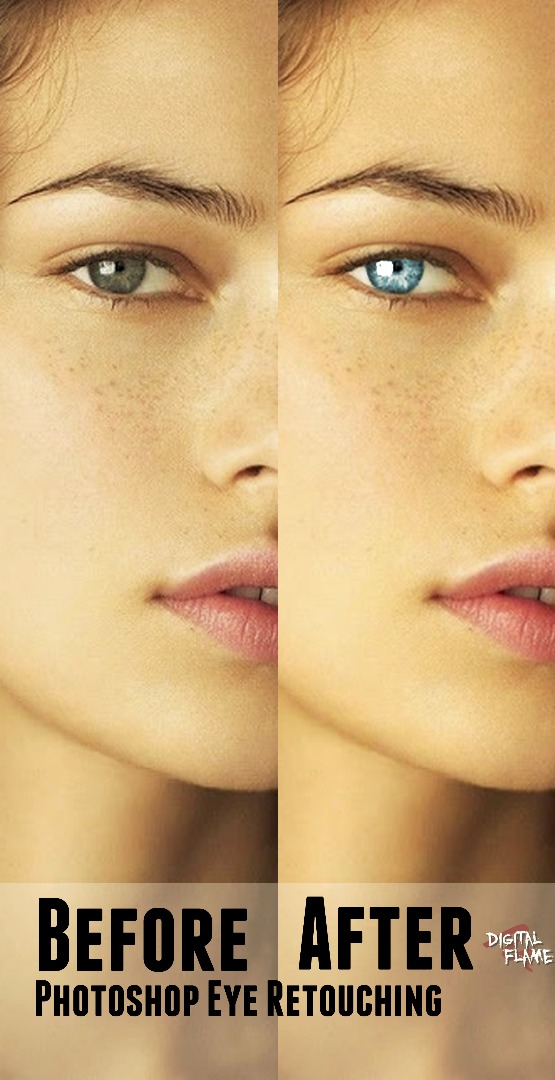
Photos don't usually capture the eye in its full glory, and shining studio lights in to get a good photo may be painful;
So use this quick, painless and easy technique!
You can brighten the eye and change the colour to make it seem anything from better lighting in the photo to piercing blue almost robotic eyes. (Step 19)
Cut Out the Eye
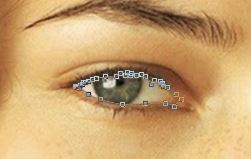
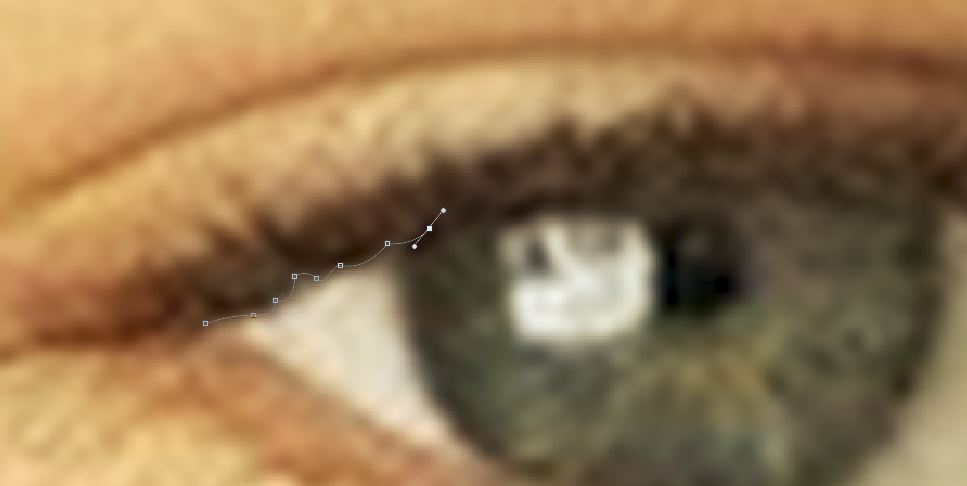
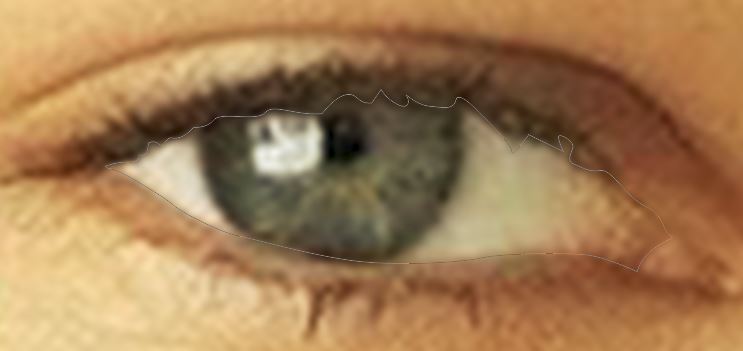
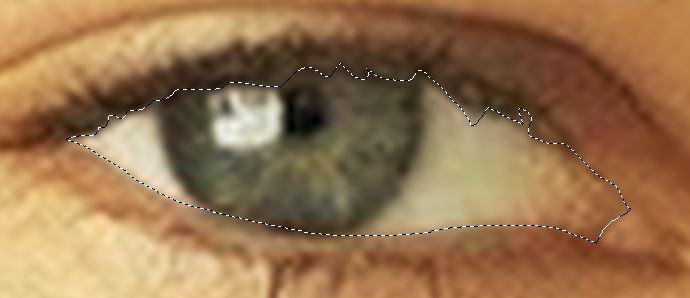
Copy and paste the eye (just the iris if your feeling lazy) into a new layer.
Use the pen tool if you want to do it perfectly.
Doing the whole eye means that the effect will blend a bit more though it isn't really that noticeable and takes a fair bit longer.
Also if your are feeling really lazy use the elliptical marquee tool, select the iris, then remove excess with alt+lasso tool or add extra with shift+lasso tool. Though as I said the pen tool is a lot better!
Invert the Inverted Invert Layer
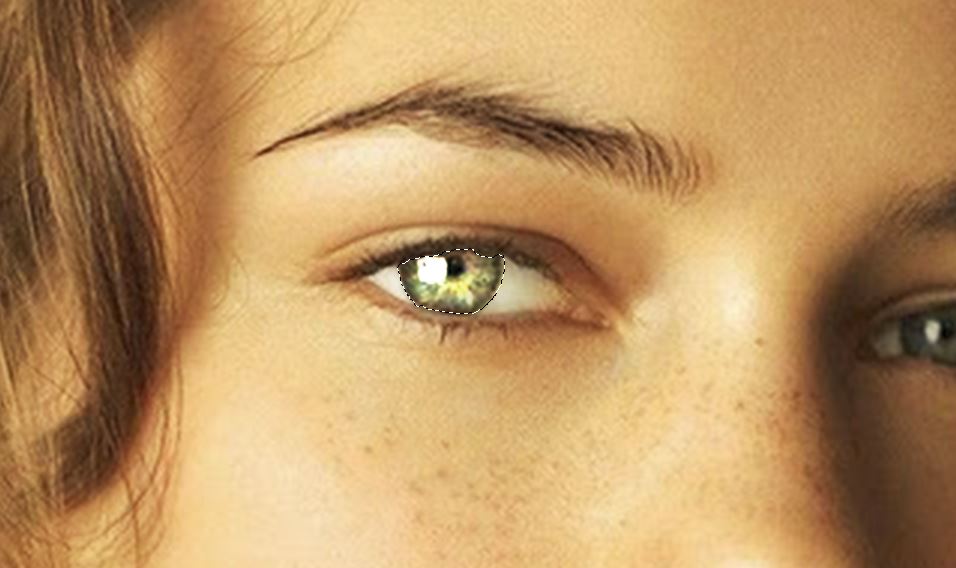
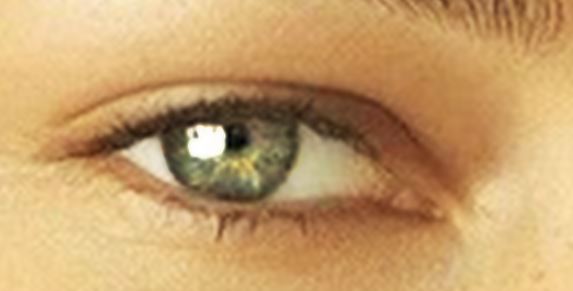
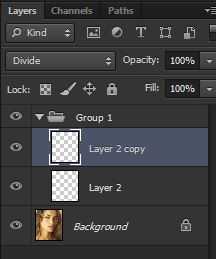
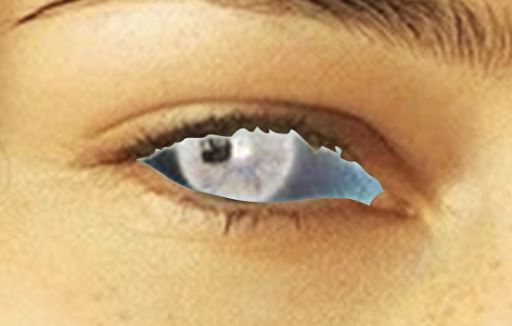
Ctrl+i / Cmd+i to invert and then invert it again by setting the blend mode to divide!
This brightens the eye.
Hue (Colour Changing)
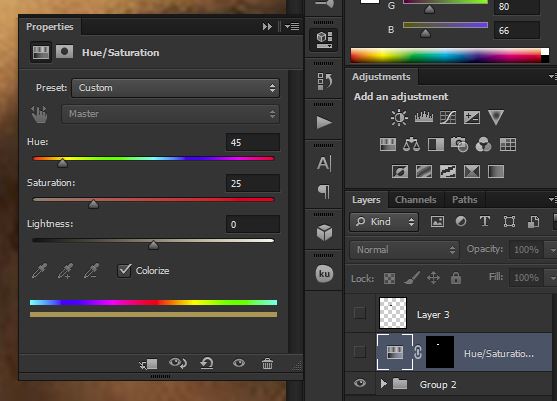
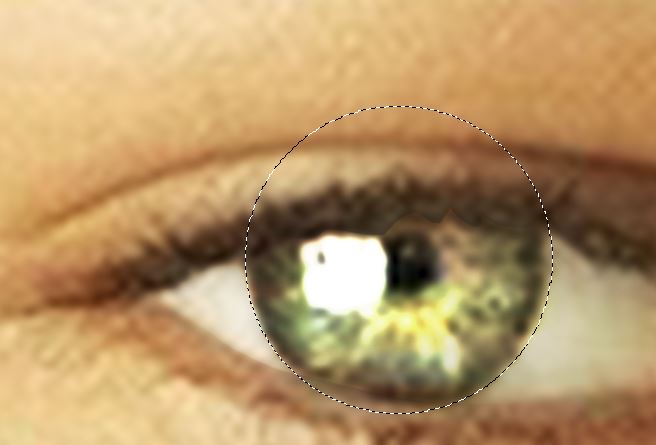
Ctrl and click the divide layer to select the area it uses. Then click the hue adjustment button.
By previously selecting the eye, it automatically masks everything for us!
Making sure to select colourize, select a vibrant colour for your eye!
Feather the mask with black and white using a soft brush to blend the colour!
Spectacular!
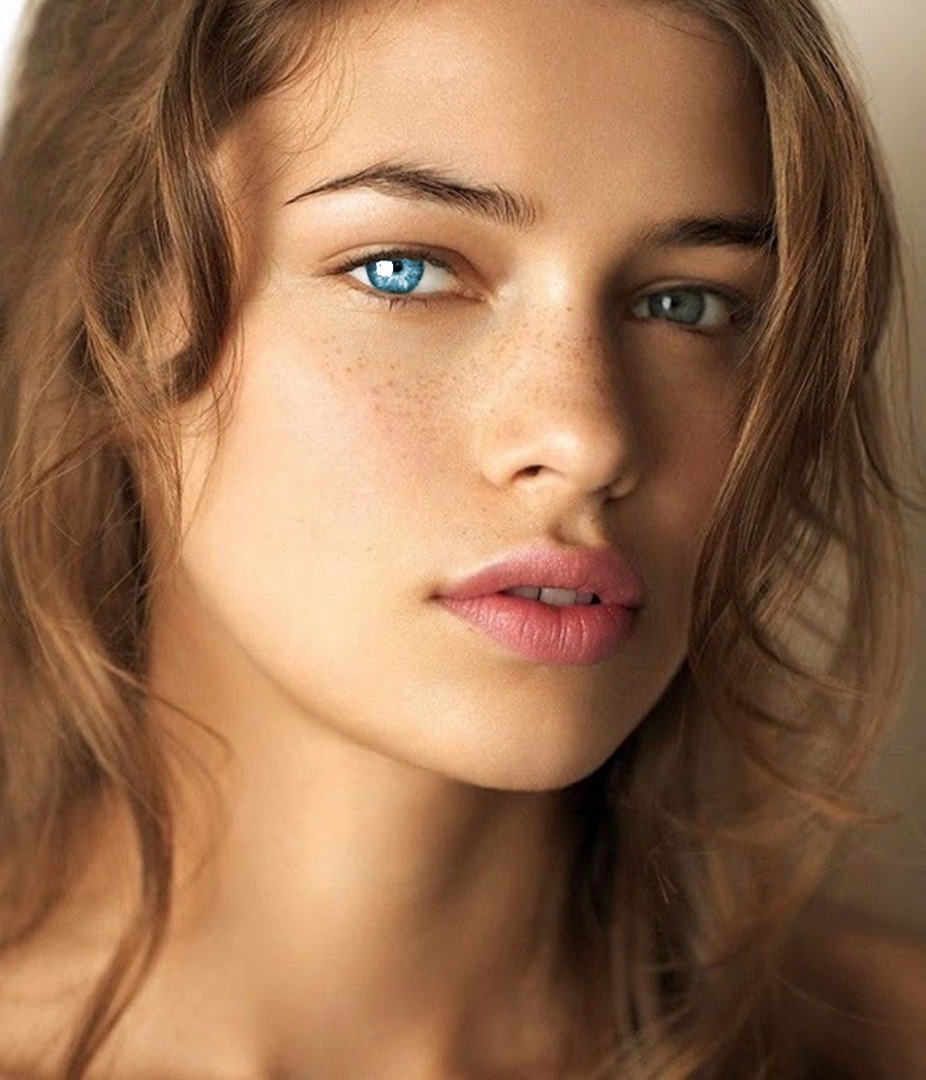
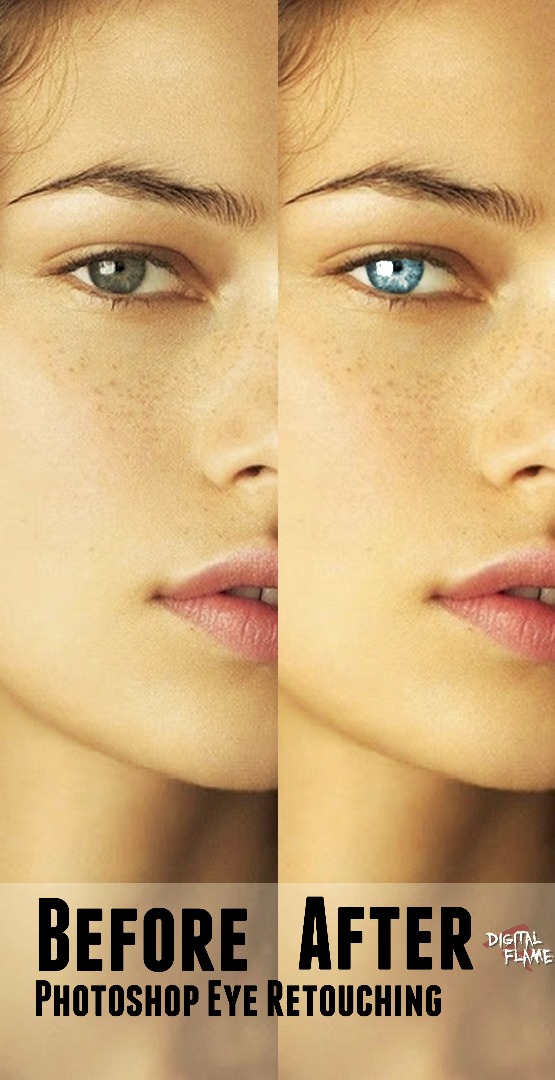
Done!
You can already see the massive difference that this quick and handy trick makes!
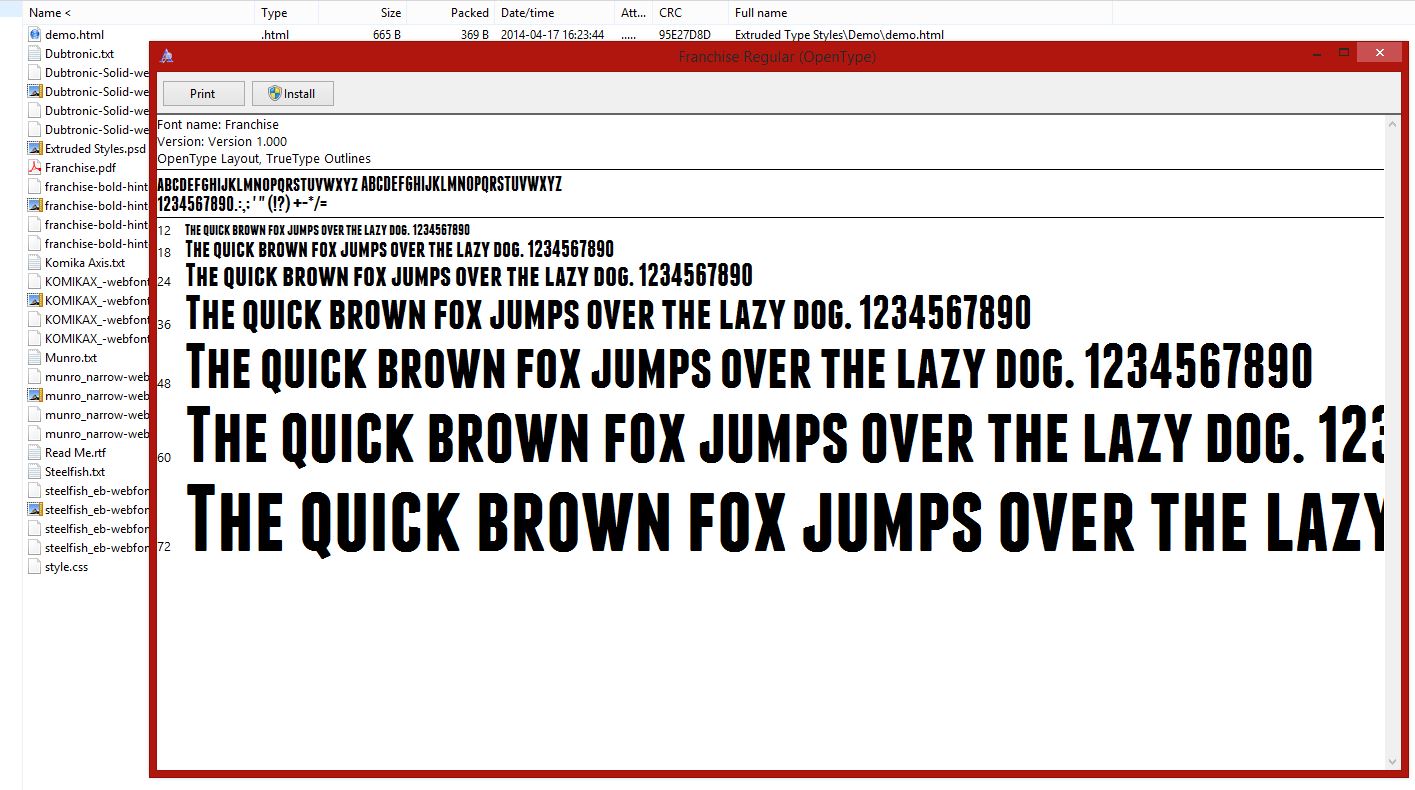
If you're interested in the font used, it's Creative Market's Franchise Font
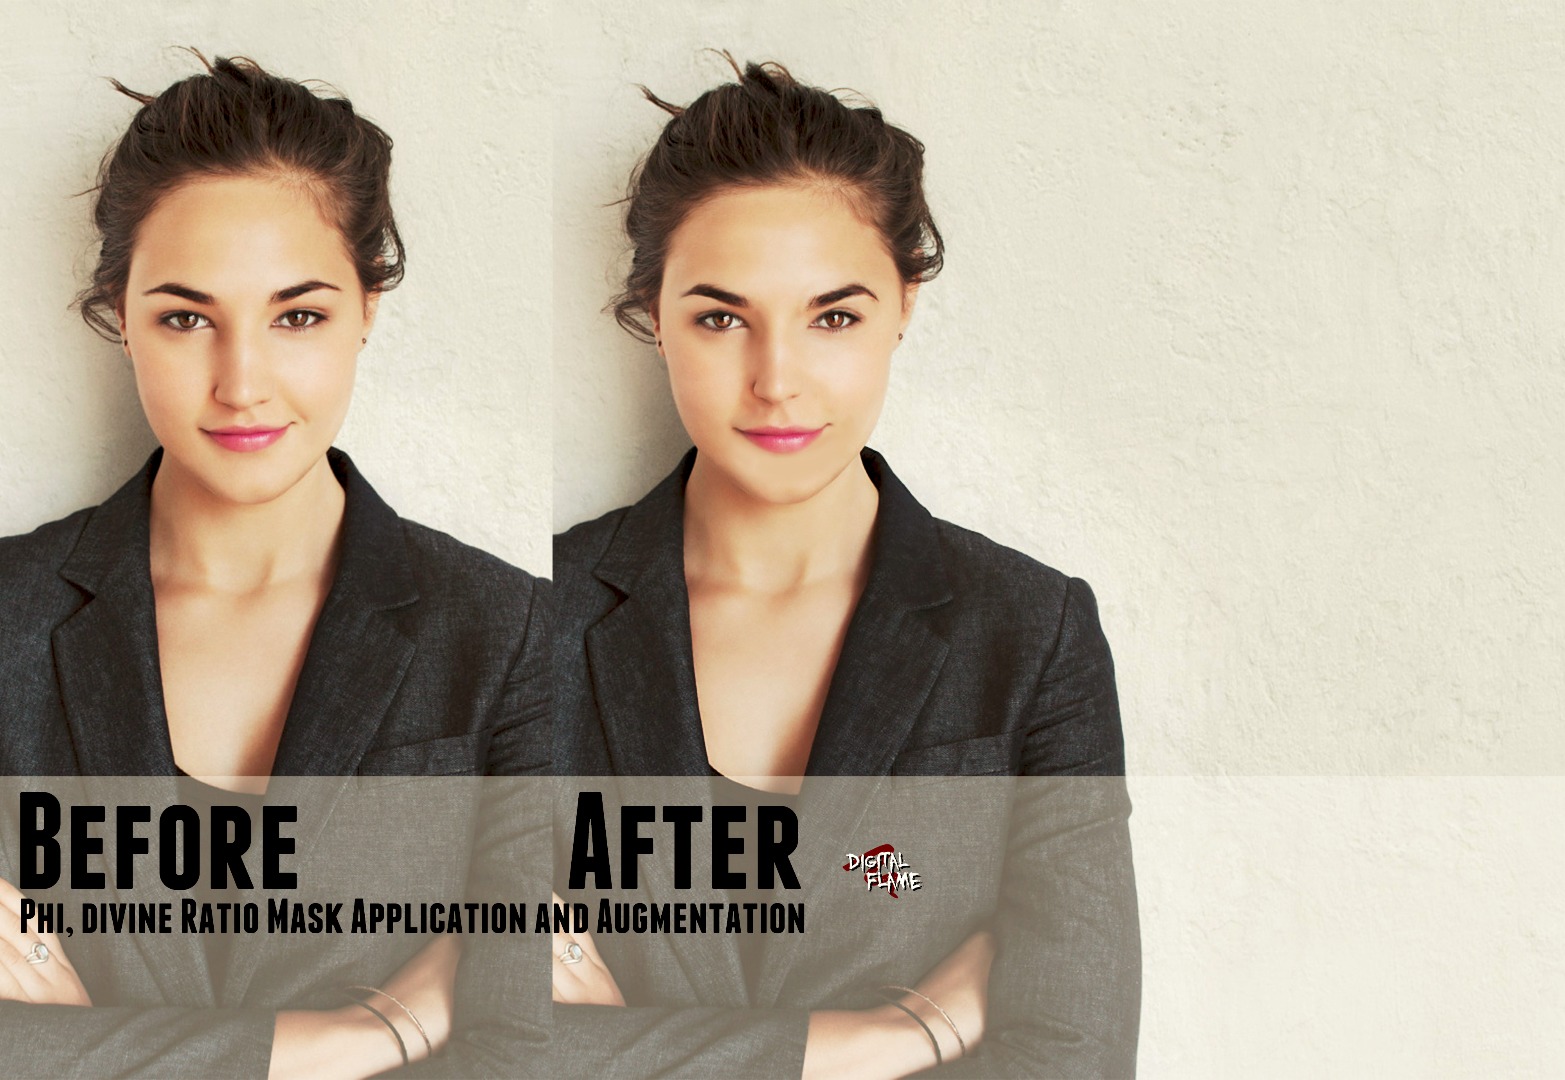
The Divine Ratio
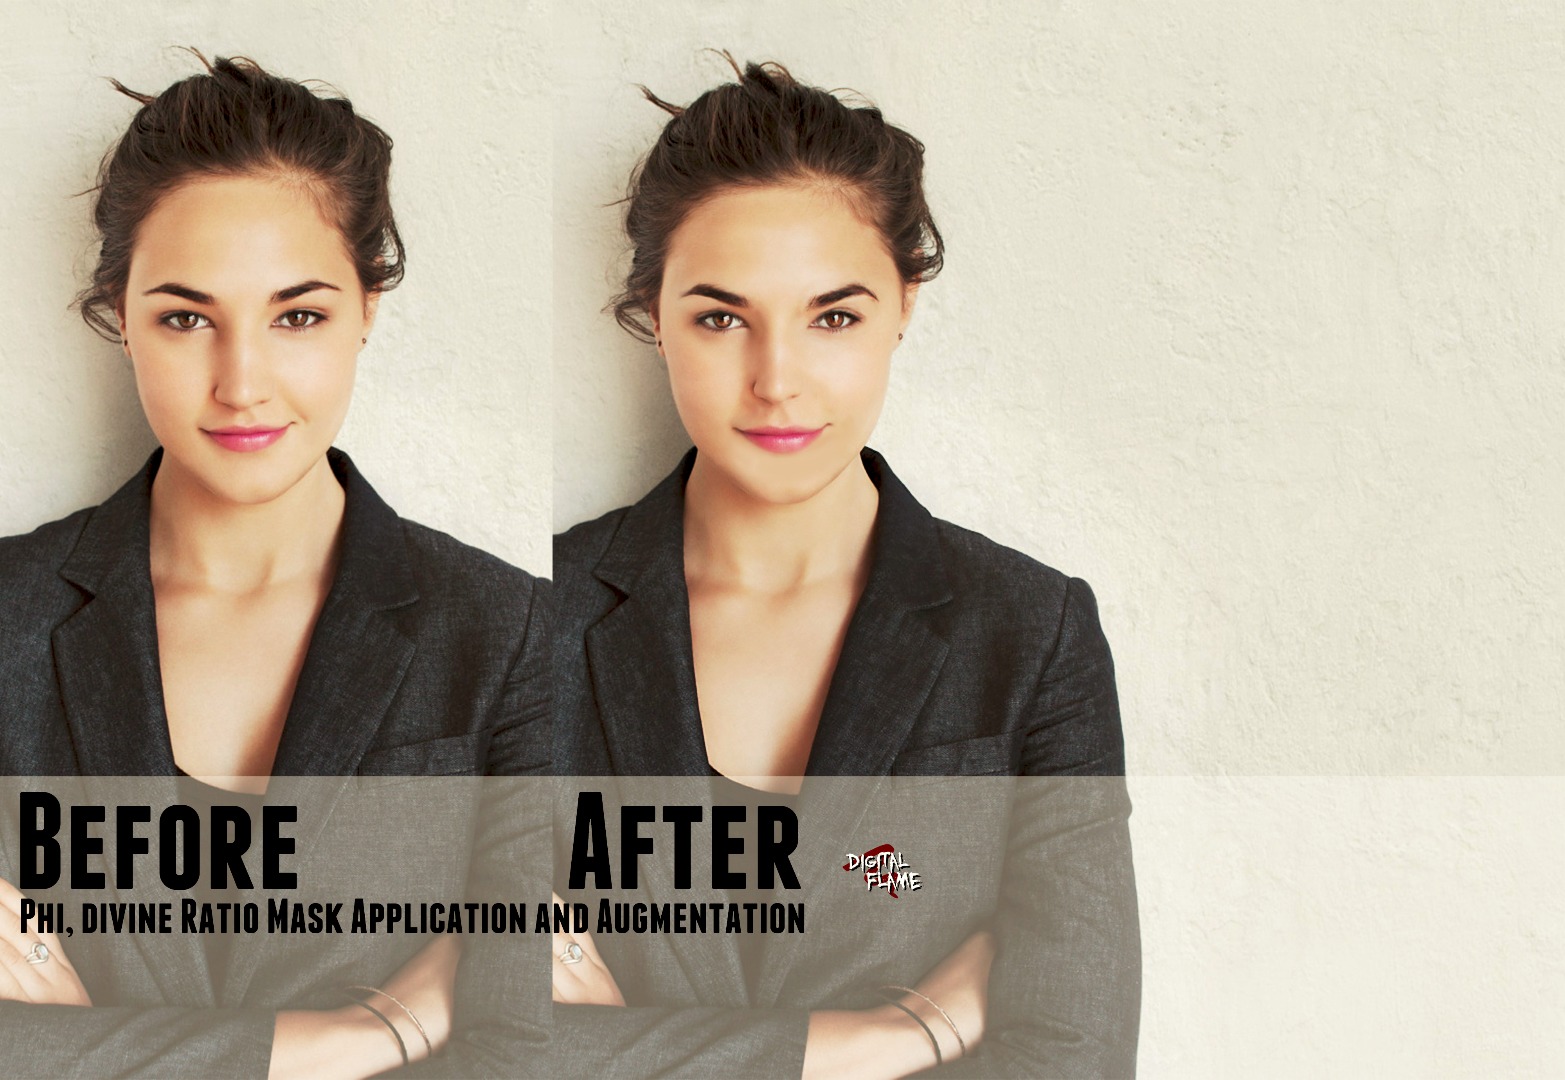
The Divine, or Golden, Ratio is a complicated Ratio that I won't go into the details of right now.
Long story short, humans look for the most perfect, average thing in their subconscious as it is safest and has no imperfections, a good thing in the wild.
That is our concept of beauty in short. Rearrange the facial features into the most beautiful form on Photoshop with this technique.
You probably already read the 'disclaimer' in the intro and understand about opinion instinct and when it is right to use this, so I won't gibber on!
Blank, Cut and Sperate
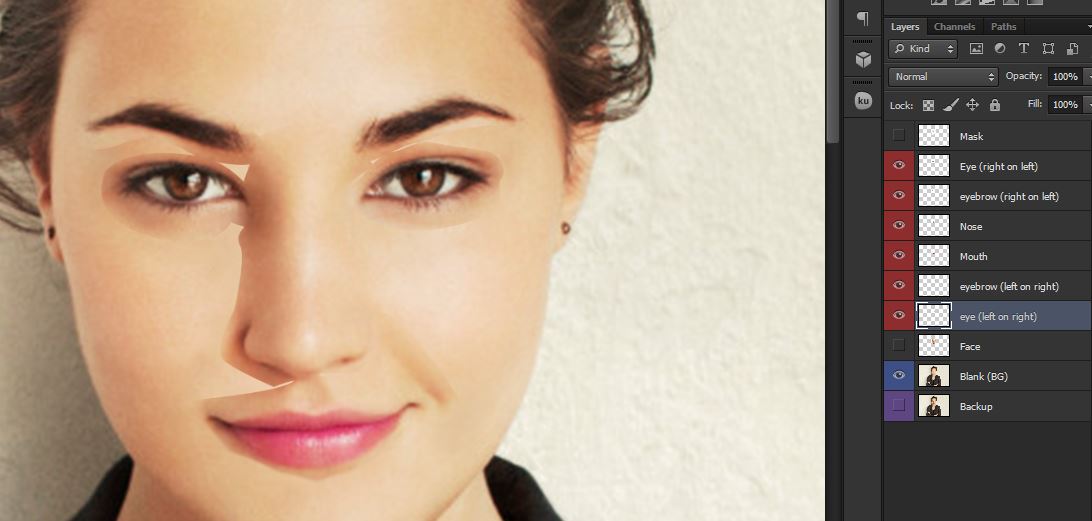
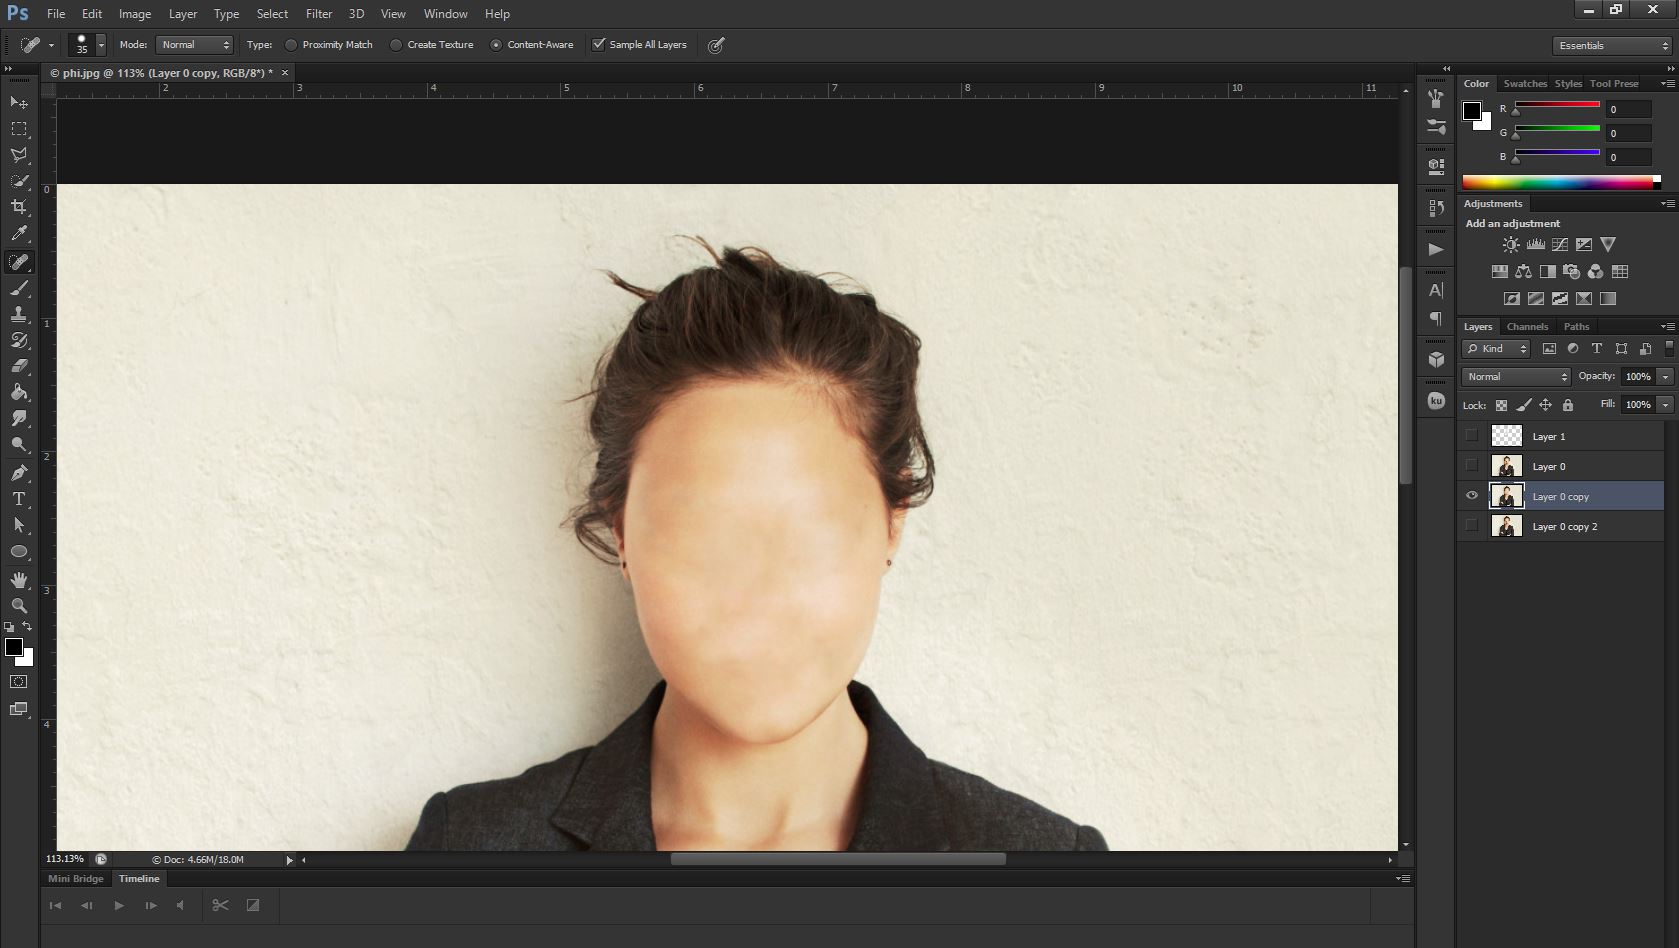
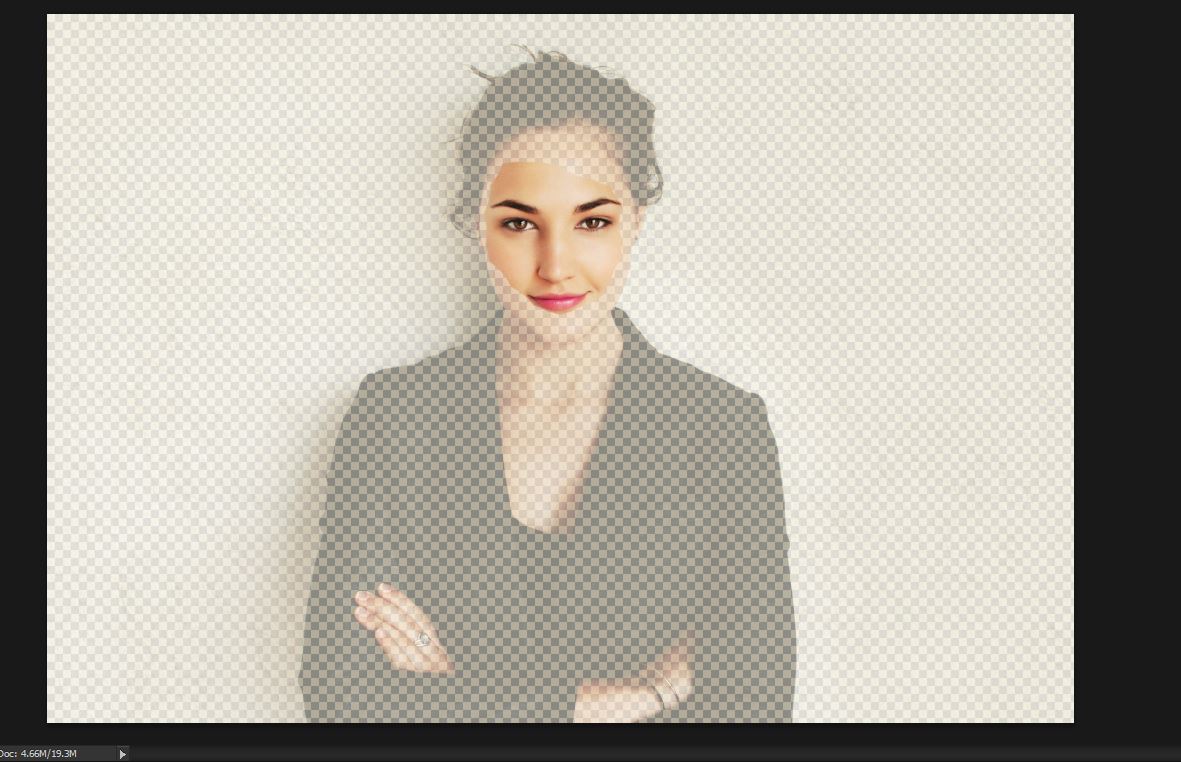
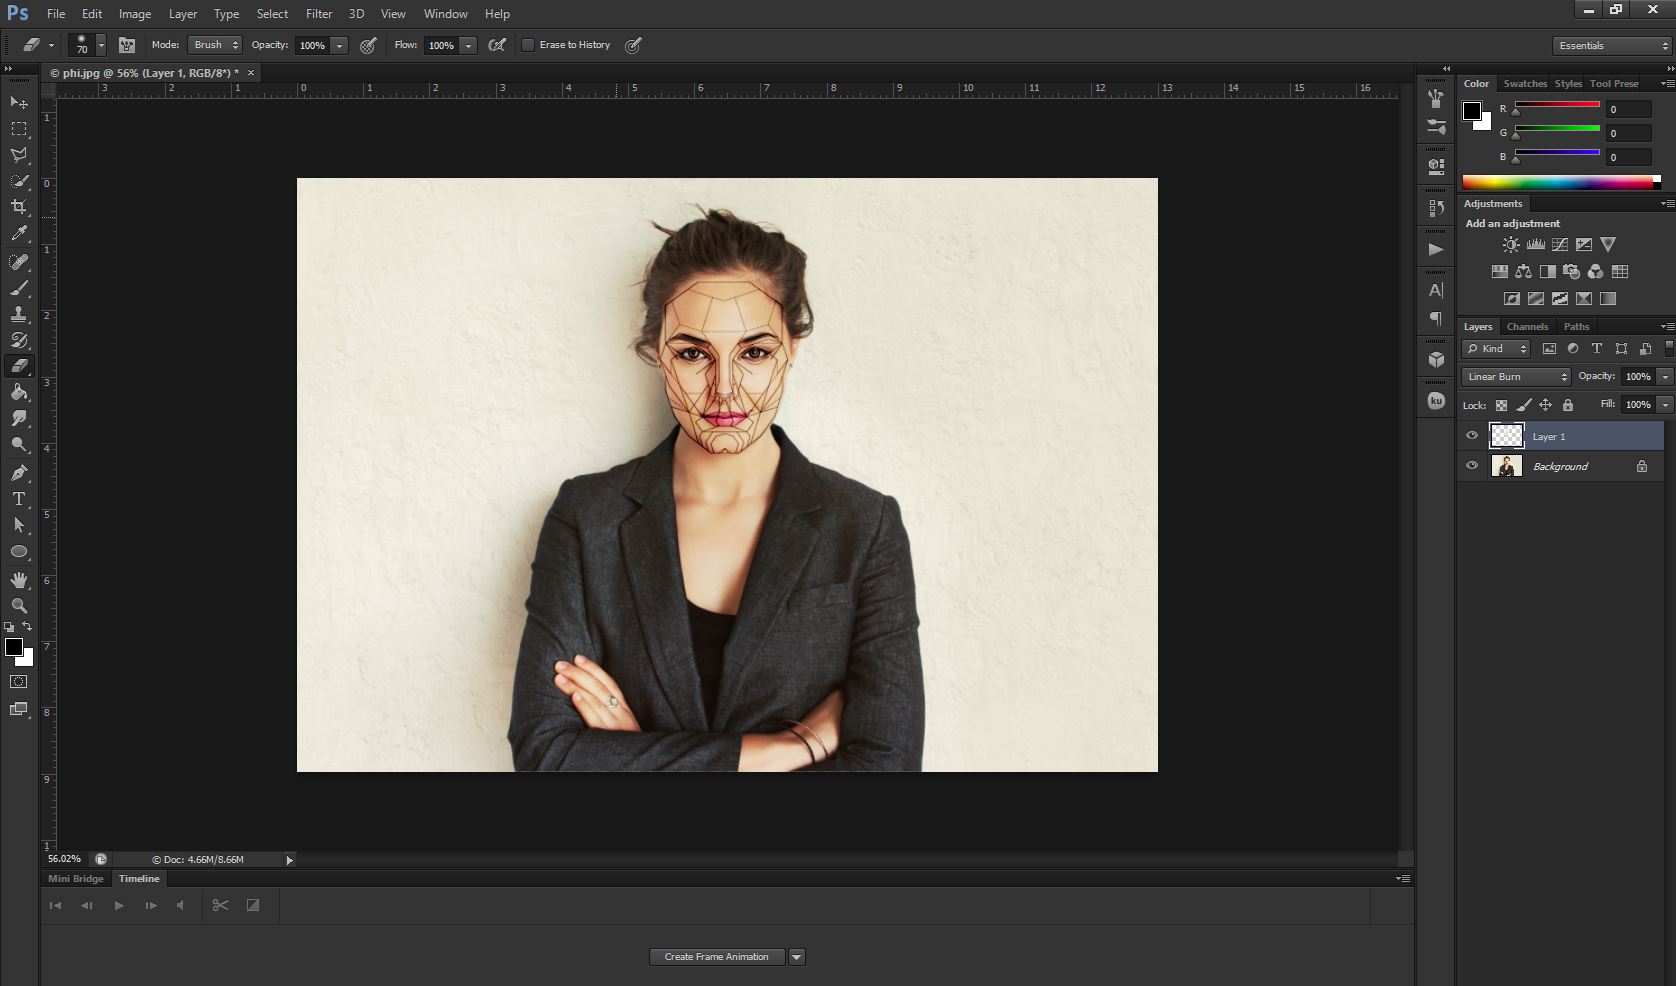
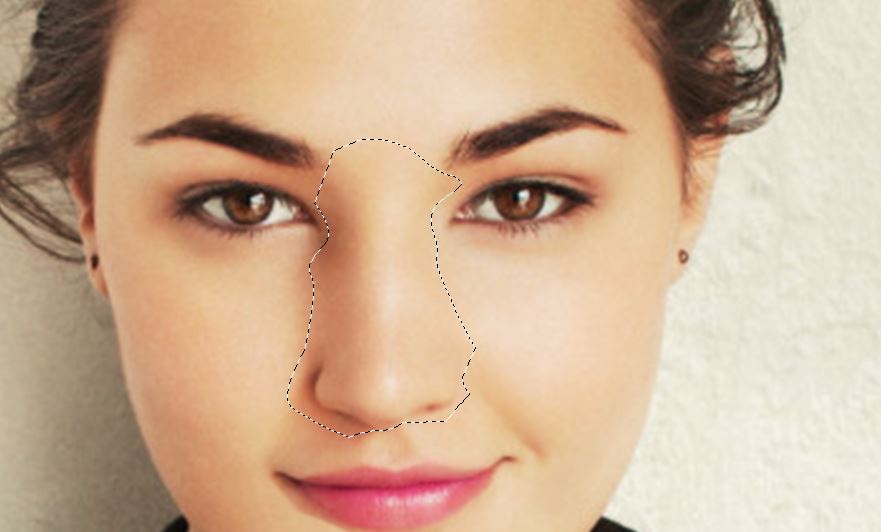
Duplicate into two layers.
Blank one out with the spot healing brush tool.
Cut out the face from another and then separate the features (like individual eyebrows) into different layers.
Augment, Warp and Weave!
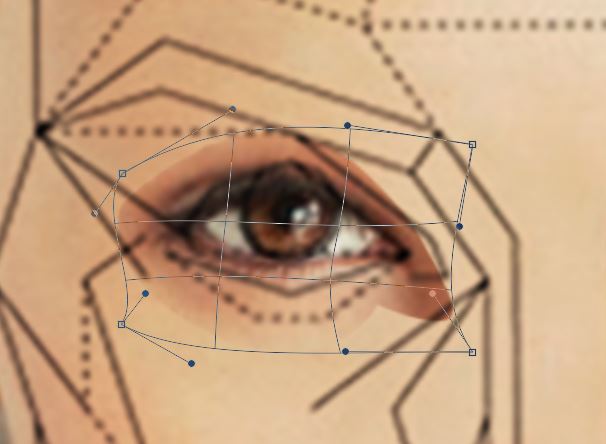
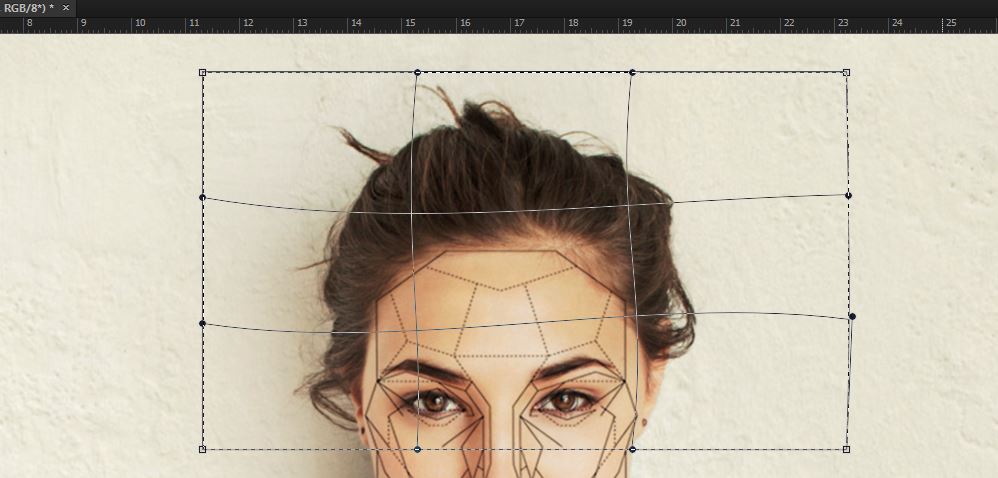
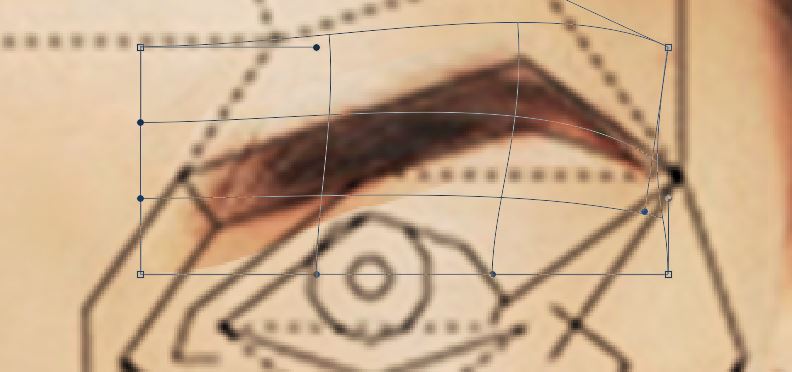
Using liquify and warp (basics of warp shown in toothy apple)
Edit>Transform>Warp
(I didn't use liquify as I find it too specific)
Augment to the shape of the phi mask of which you can find here:
http://mindtrippingshow.com/wp-content/uploads/201... (put layer on multiply to remove white background)
Patching Patch Work
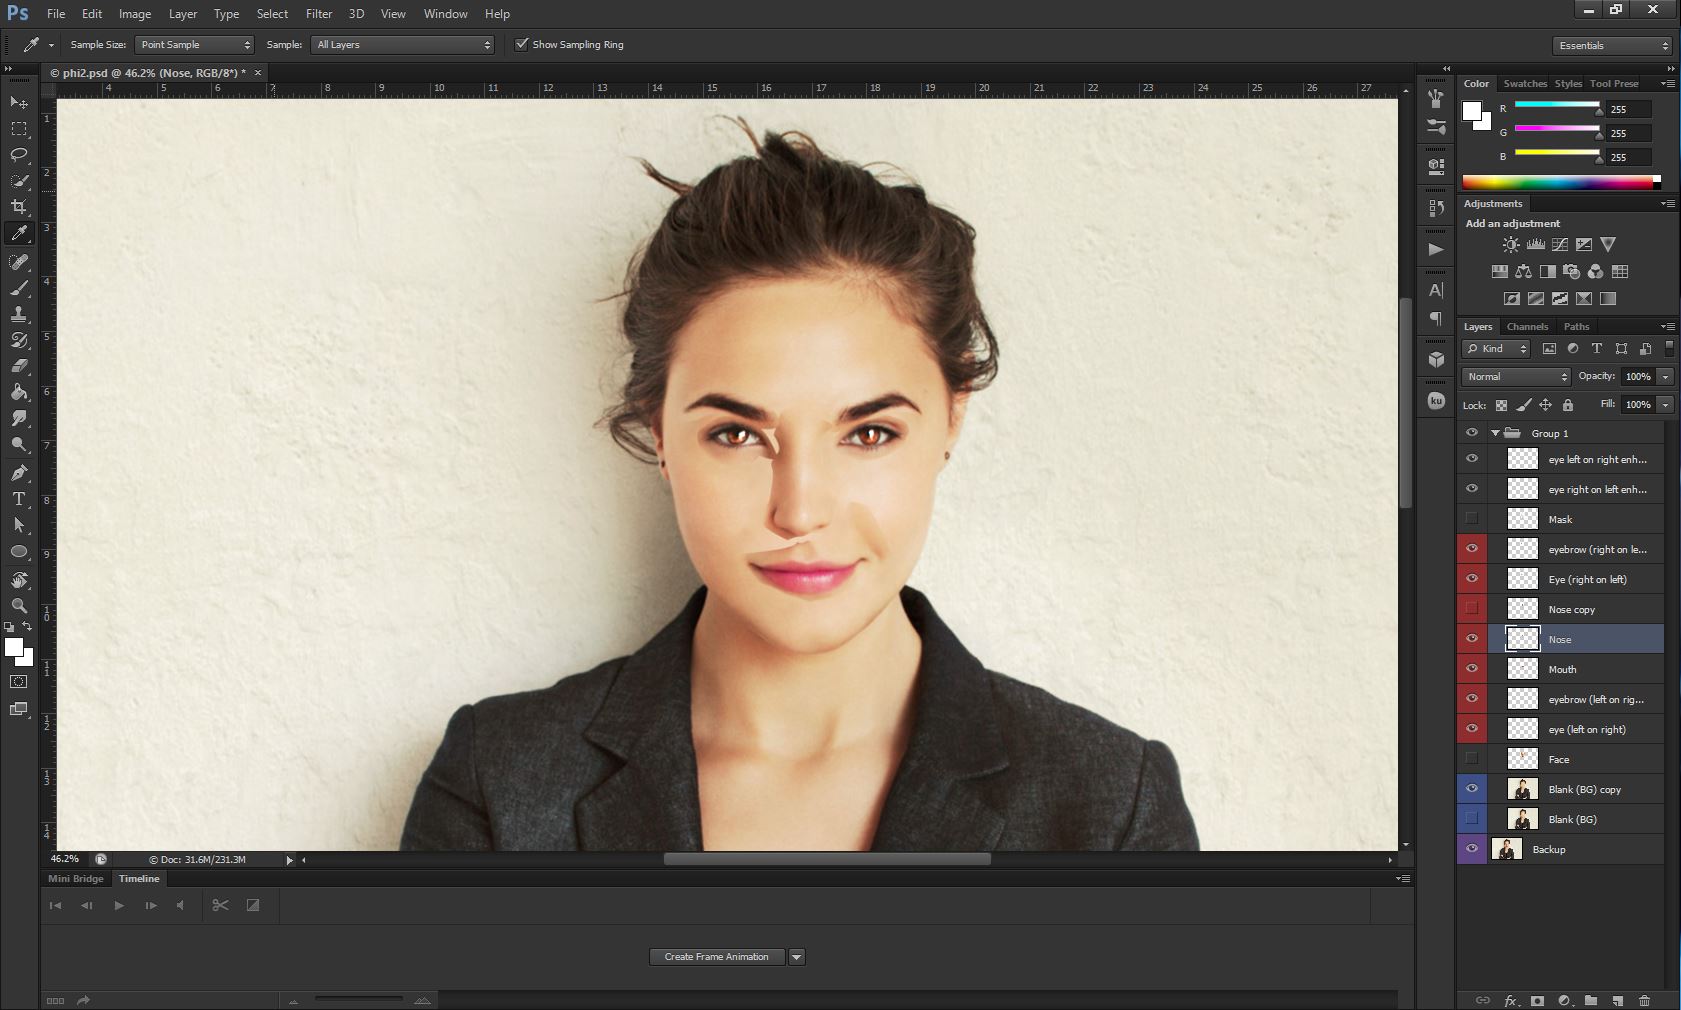
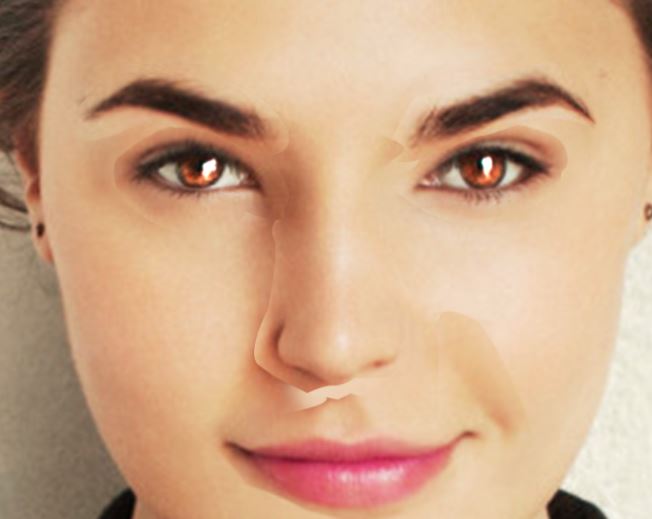
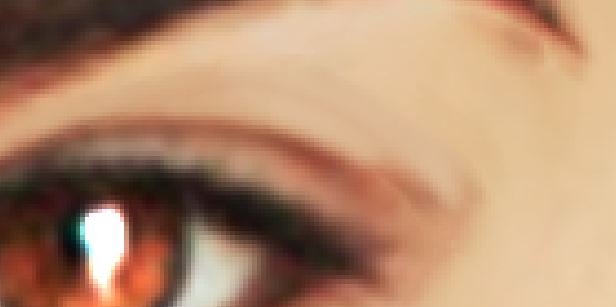
Patch up your patch work face with soft brushes, spot healing tool and clone stamp.
Pretty simple, easy, but long winded.
Not much to say here so maybe I could hint at something...
... I wonder what that orange button does...
What? No! It says publish!
Further Blend
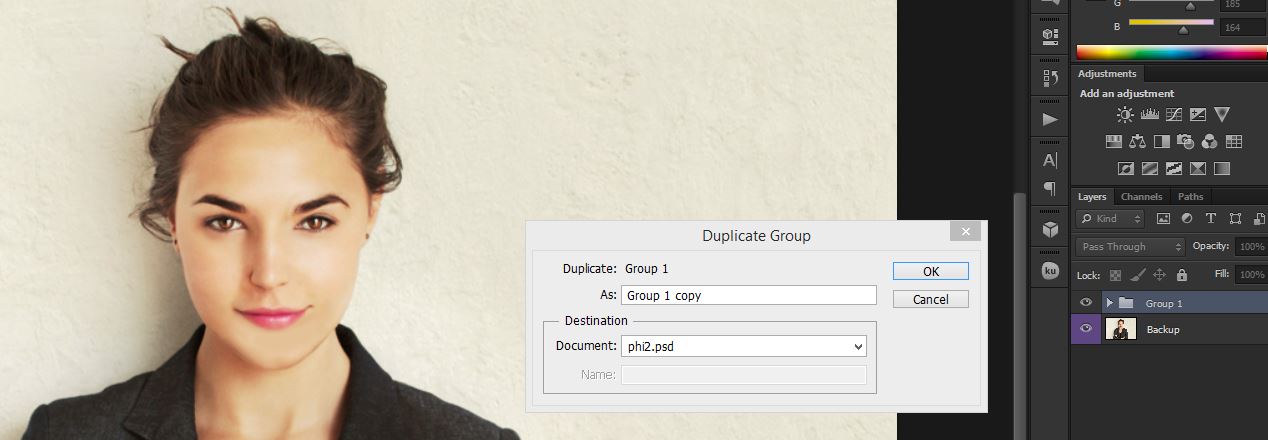
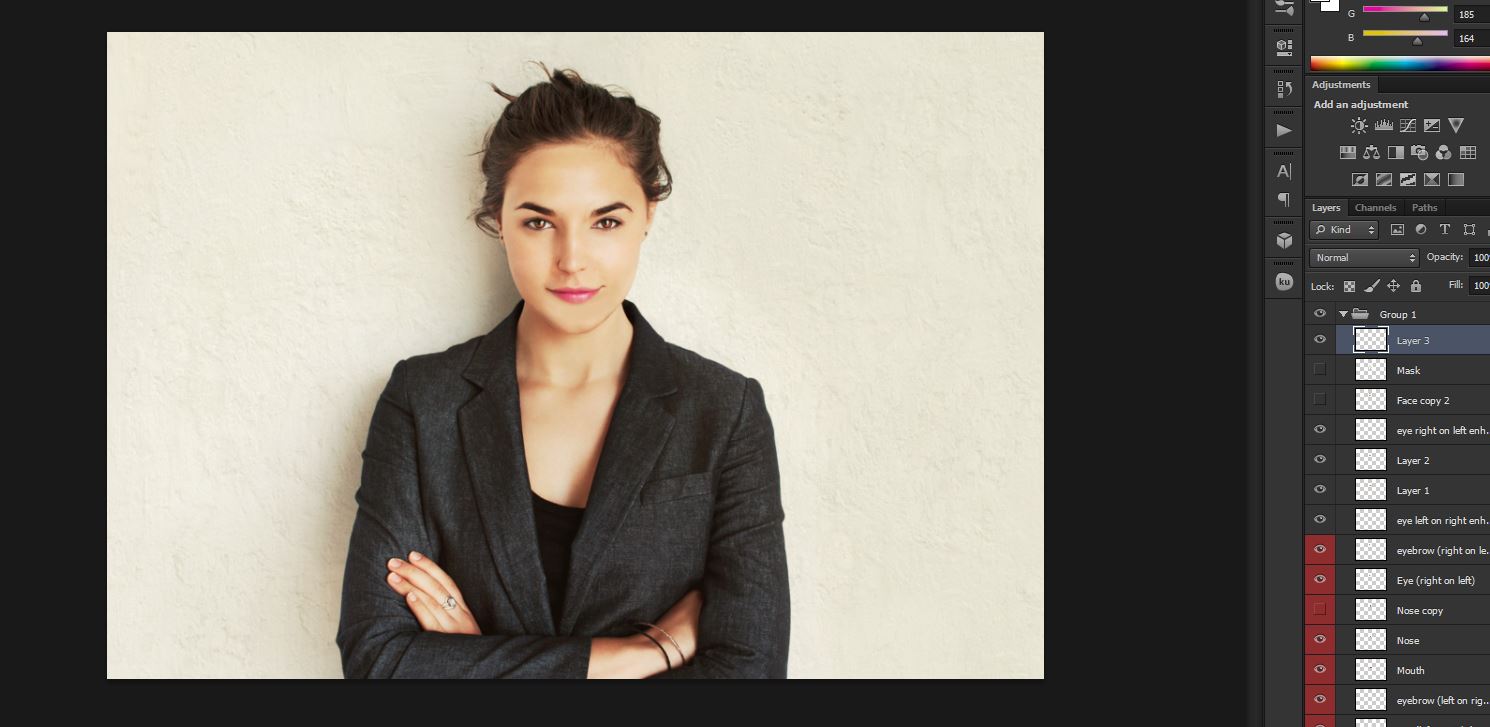
To further blend and patch, I used the skin smoothing technique I showed previously!
Phinished!
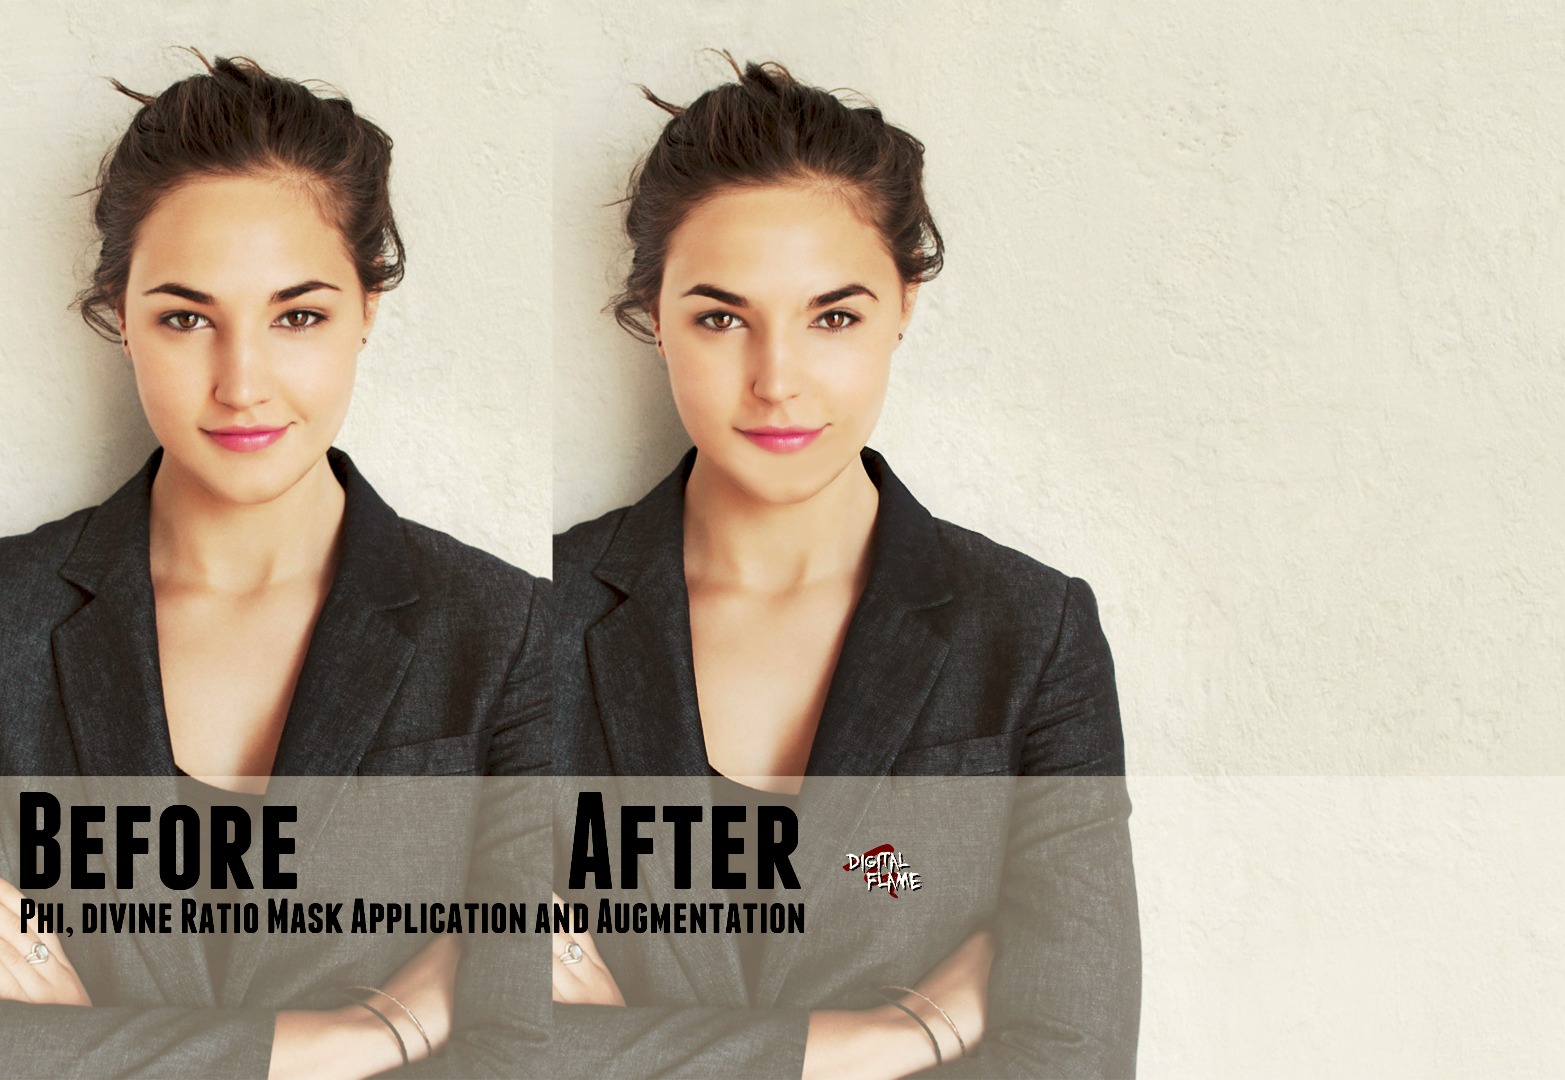
Haha, excuse the Golden phunny phun! It was Divine!
No? no. Oh come on; that was good!
Perceptual studies
"Studies by psychologists, starting with Fechner, have been devised to test the idea that the golden ratio plays a role in human perception of beauty. While Fechner found a preference for rectangle ratios centered on the golden ratio, later attempts to carefully test such a hypothesis have been, at best, inconclusive." Quote Wikipedia.
In other words this is not guaranteed to work, it is a matter of the image, the person and opinion.
Example and Resource Tips
.jpg)
These tips and techniques don't just have to be for beauty retouching!
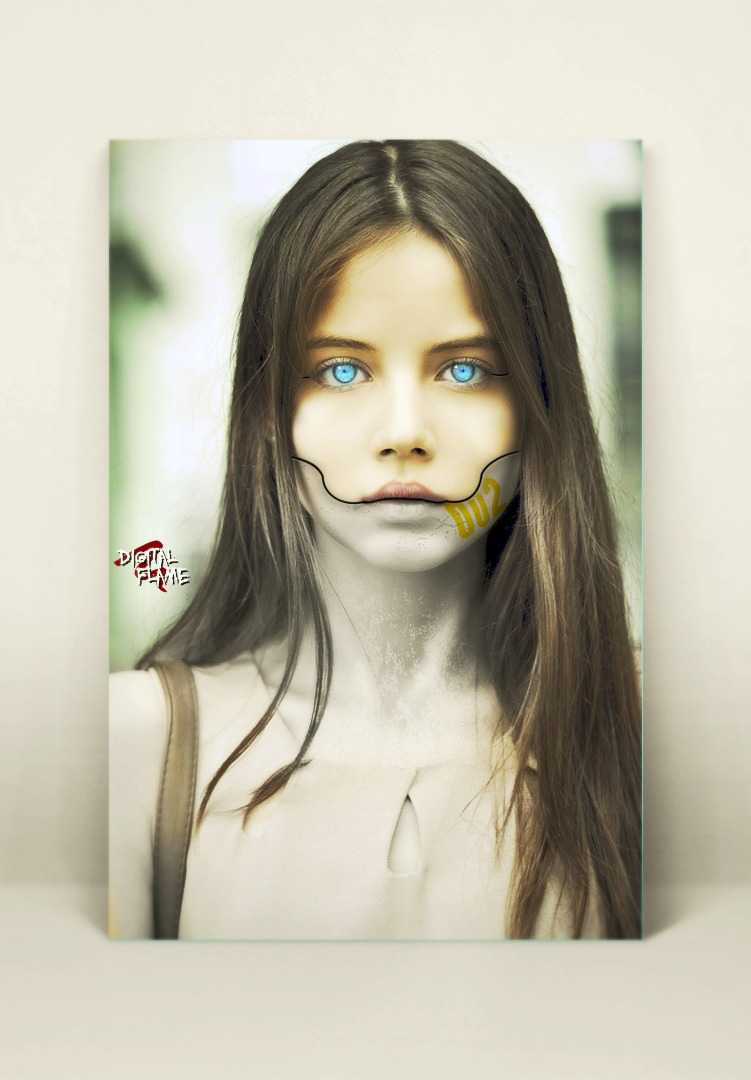
I slapped together this example of a 'Cyborg' in under 30 minutes, Named "Reboot".
I used the skin smoothing technique to give halfway between good skin and plastic, enhanced the eyes, made the pupils smaller like a camera, gave a line for "separation lines" and applied inner and drop shadow with the drop shadow being white. Then I grayed out the bottom and added Creative Market's grunge textures and Franchise font.
I darkened the picture with curves and gave a luminescent glow to the eyes by (a brilliant technique!) creating a new layer of completely black fill, changing to linear dodge and adding to orbs over the eyes with a blue soft brush!
Next I pasted it onto another of Creative Market's resources, the realistic Flyer Card Mock Ups, to give a display feel.
Creative Market really is a brilliant site for resources with many free resources every week!
Done!
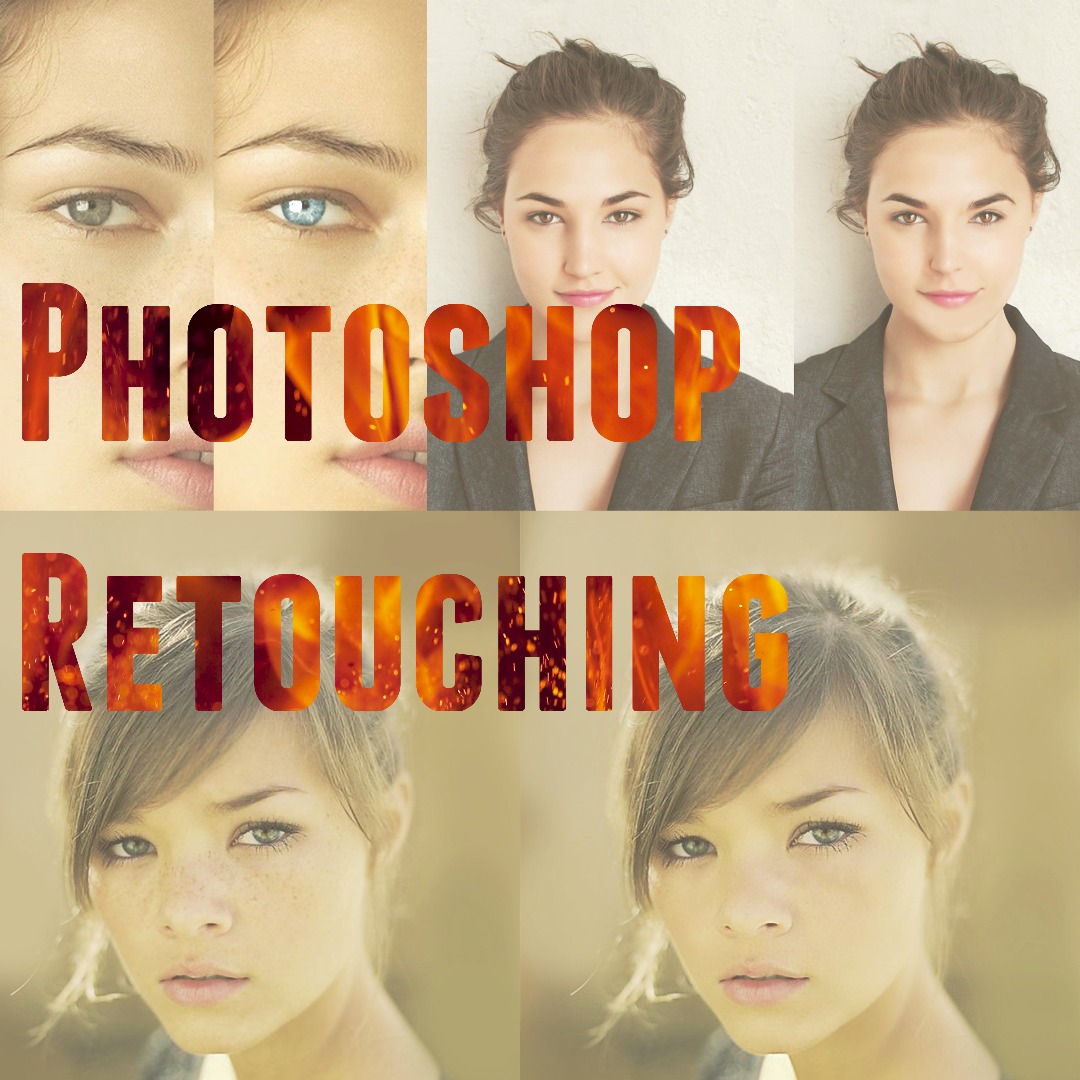
Well done if you made it this far!
I hope you found it interesting!
If you enjoyed, struggled, found interesting or found mistakes; be sure to leave a comment below and I'll get back to you as soon as I can! I like comments! (and votes >:D )
These really are helpful in artwork but just think of your reasoning if you are going to be using it on your online dating profile or something :)
And as always, *cough*-vote! Huh? What?
-Digital Flame