Photoshop Project
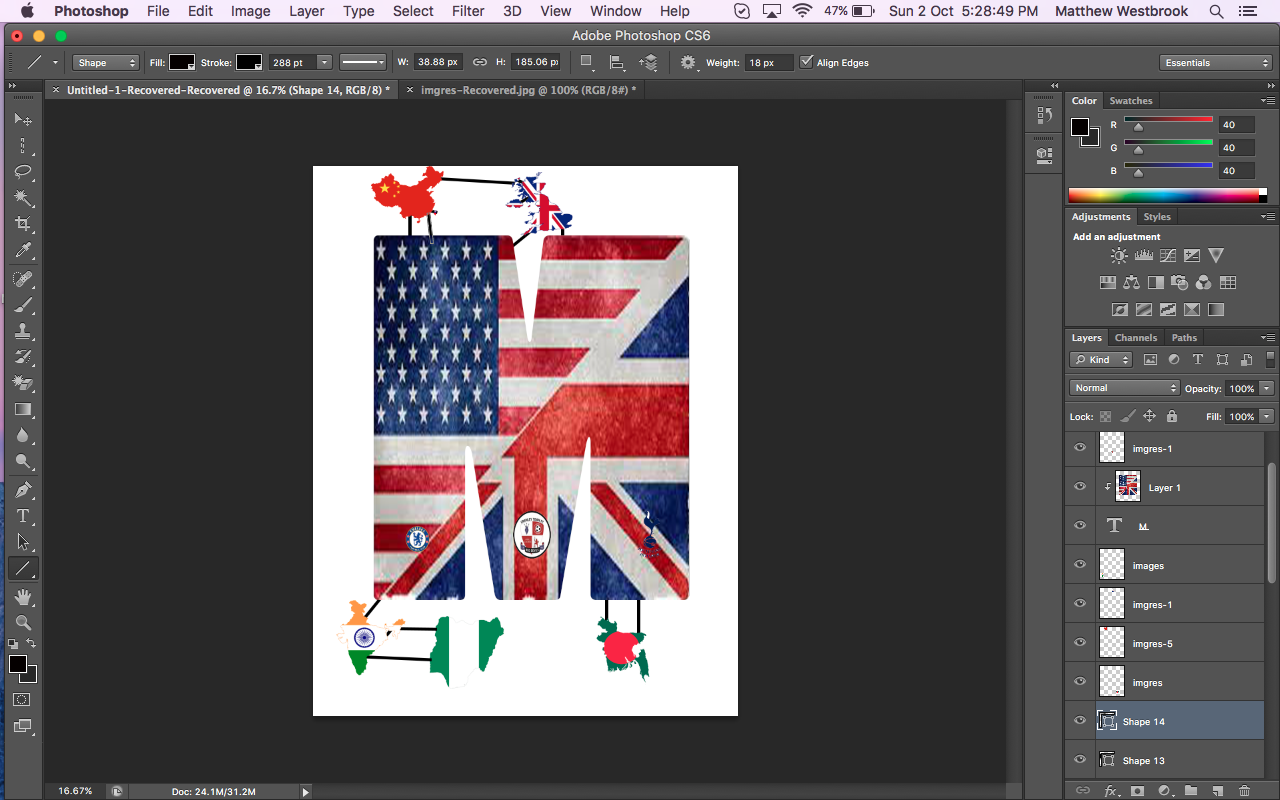
This is a project on how to make and add in pictures into a letter. In this project I will help you with the Letter M because it is the beginning of my first name. Also adding in pictures into the letter, such as two countries which I am from. This is the final project. The reason behind the lines is to keep all the countries attached to the letter.
Starting Off
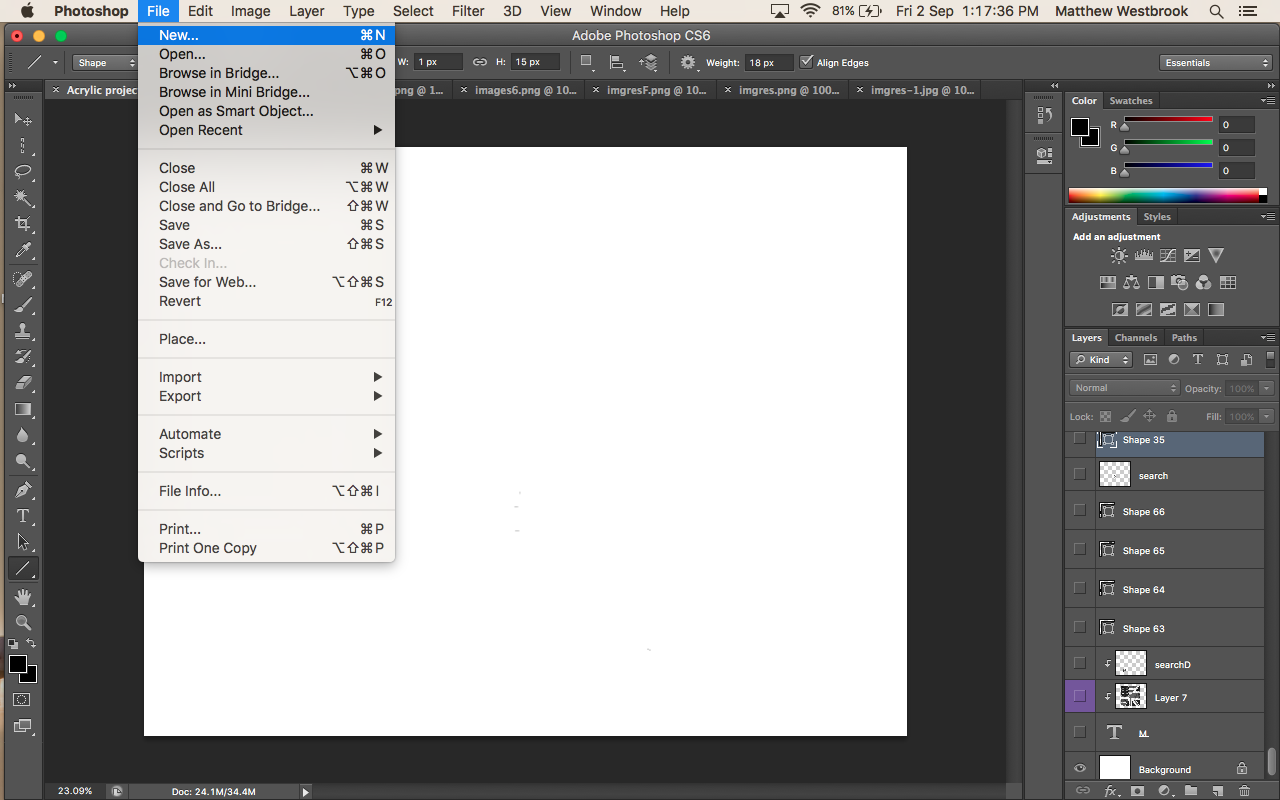
First you will need to open Photoshop then on file press new as seen above.
Sizing Your Background
Then press image on your tool bar on the top of your screen, after that hover above image rotation and click 90˚ CW meaning it will change the whole page 90˚
Editing and Fonts and Size of Letters
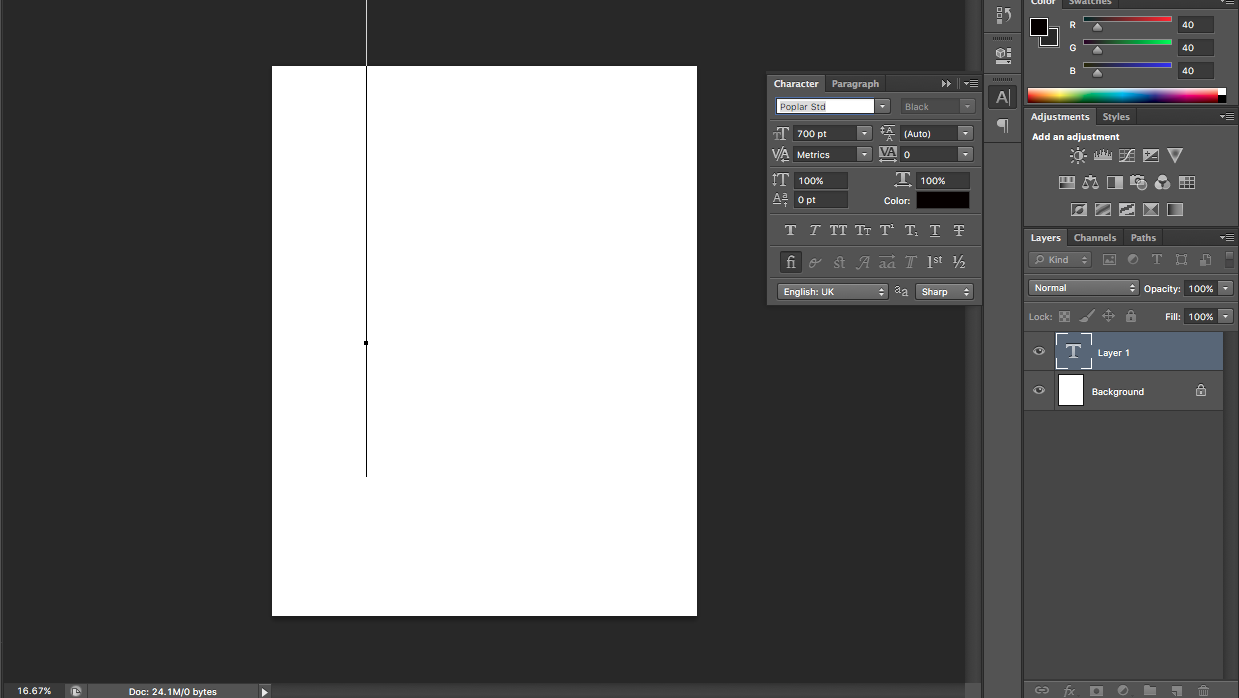
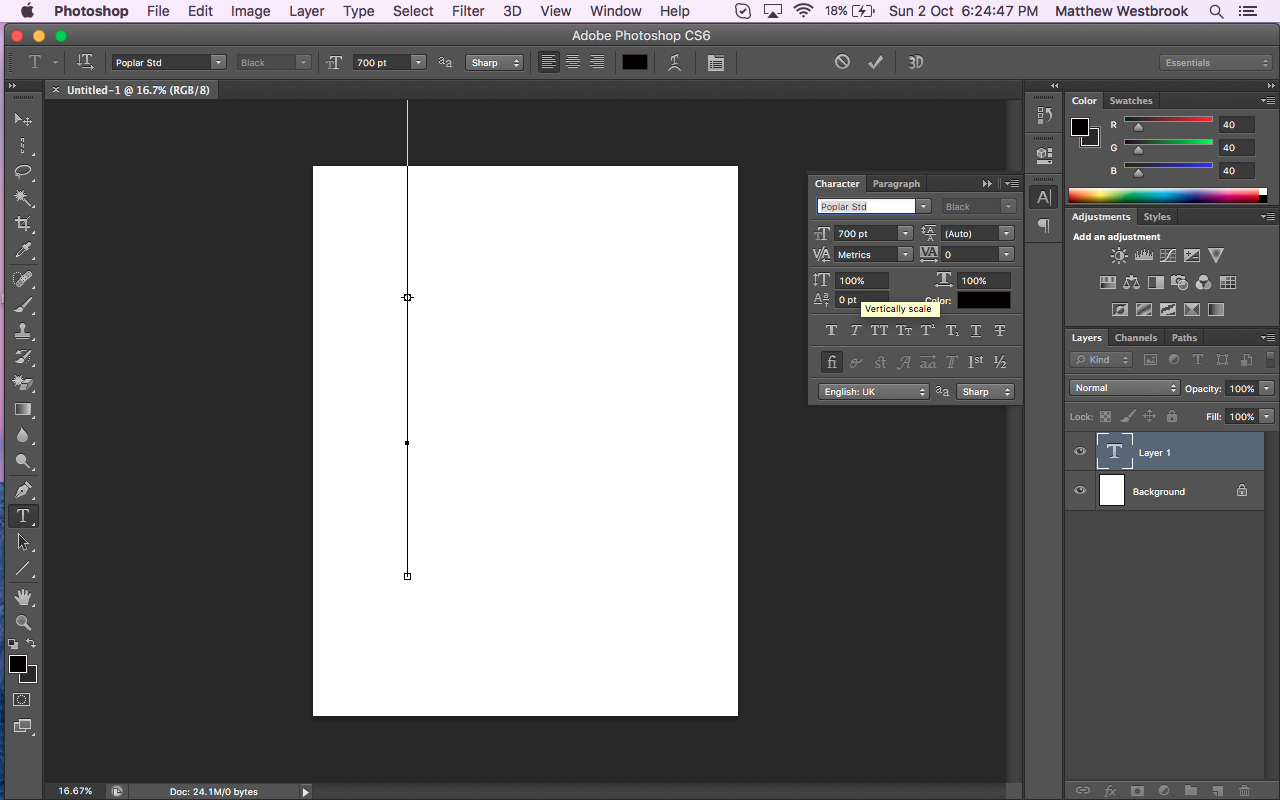
Then what you want to do next is press T on the sidebar then you will want to press (command T) If you want a big letter/letters you will want around 300-700pt. Also if you want a thick font using (Popular Std)
Looking for Your Picture
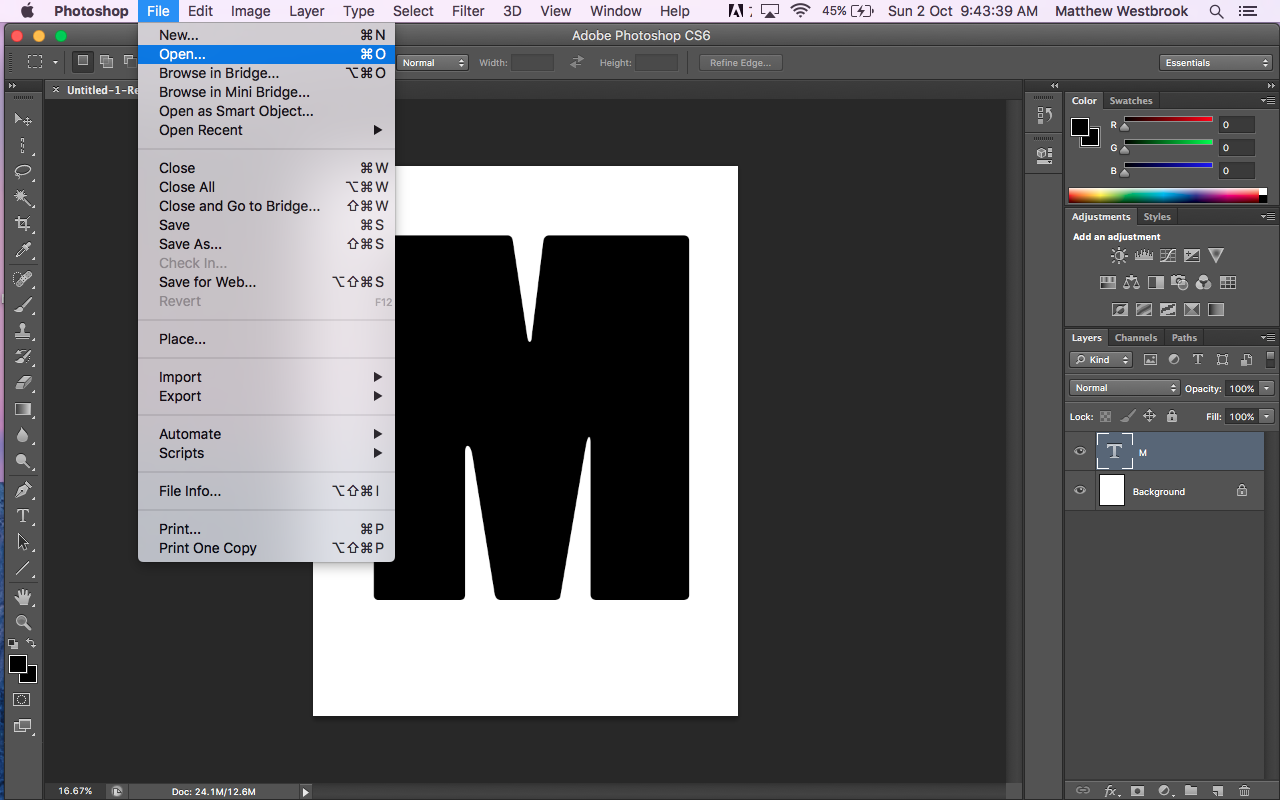
Next you will want to pick your photo by hovering above (File, then press Open) and chose your picture.
Putting Your Picture in Your Letter
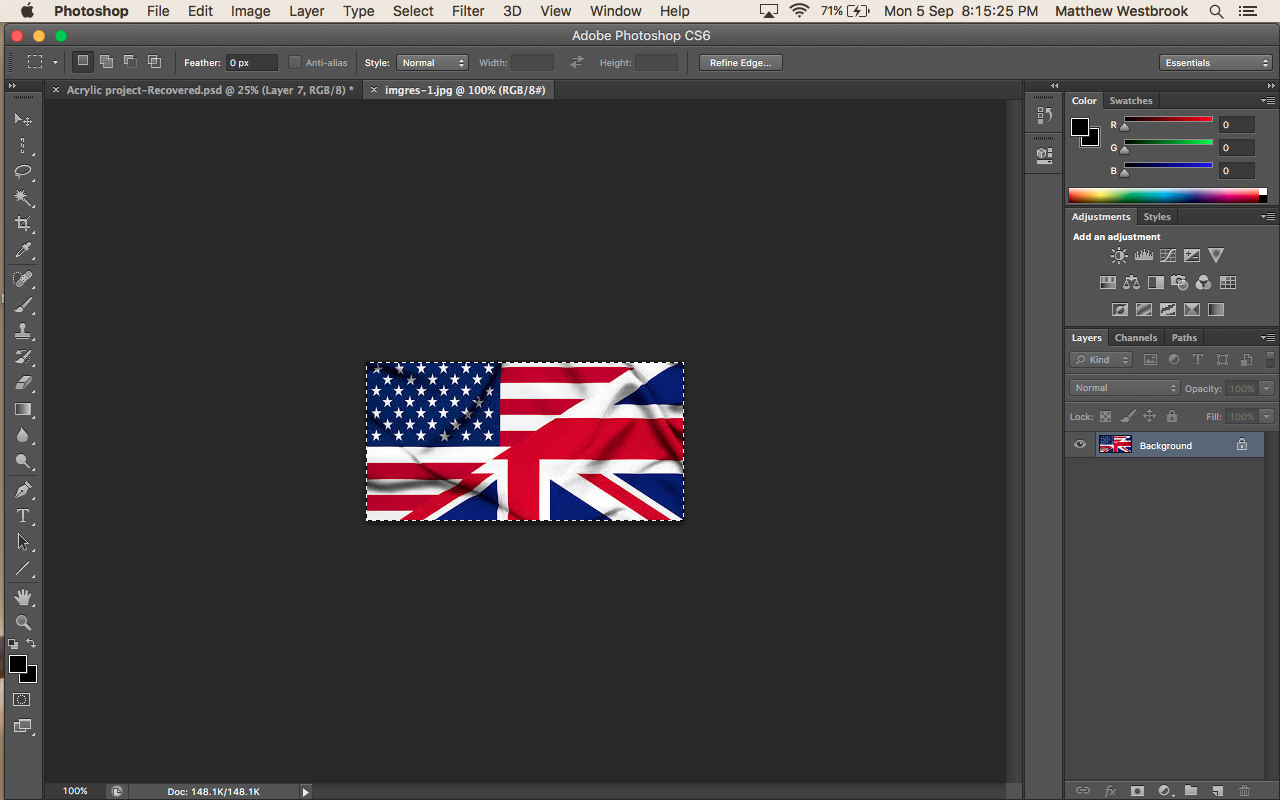
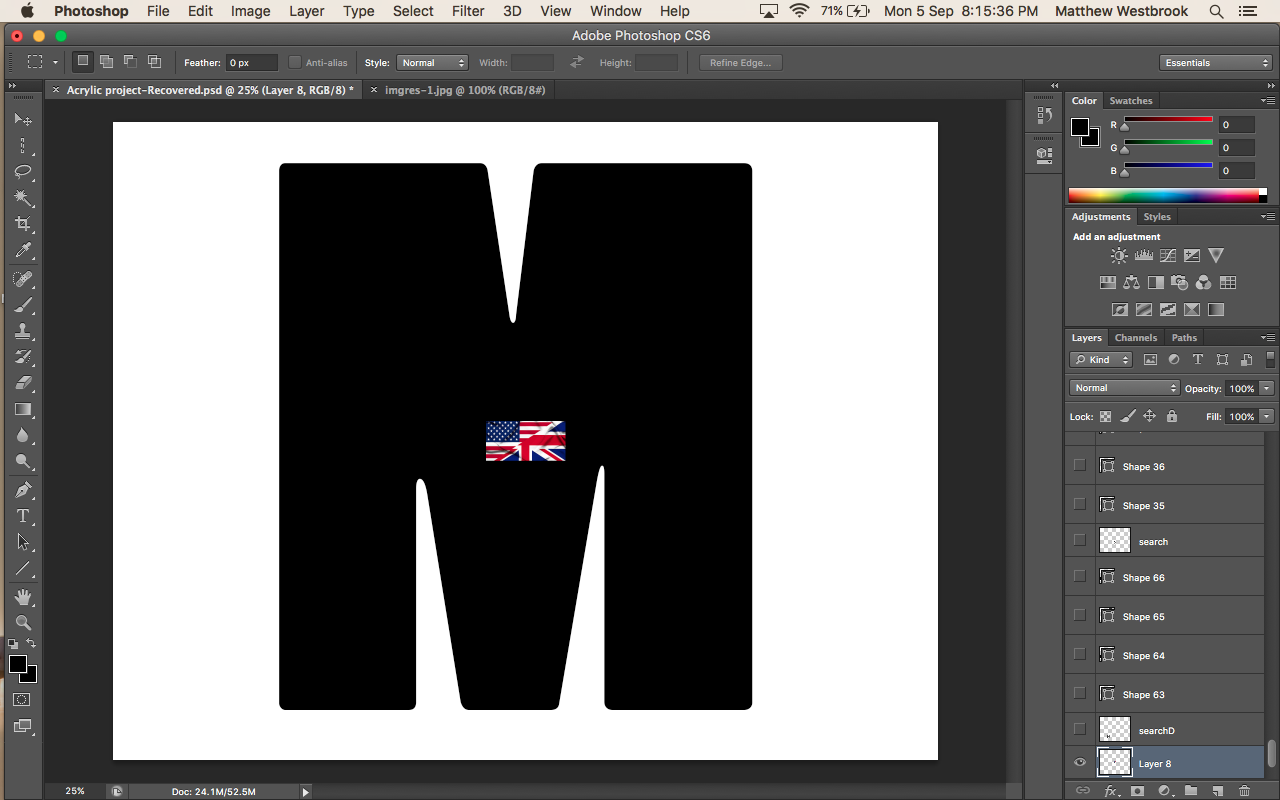
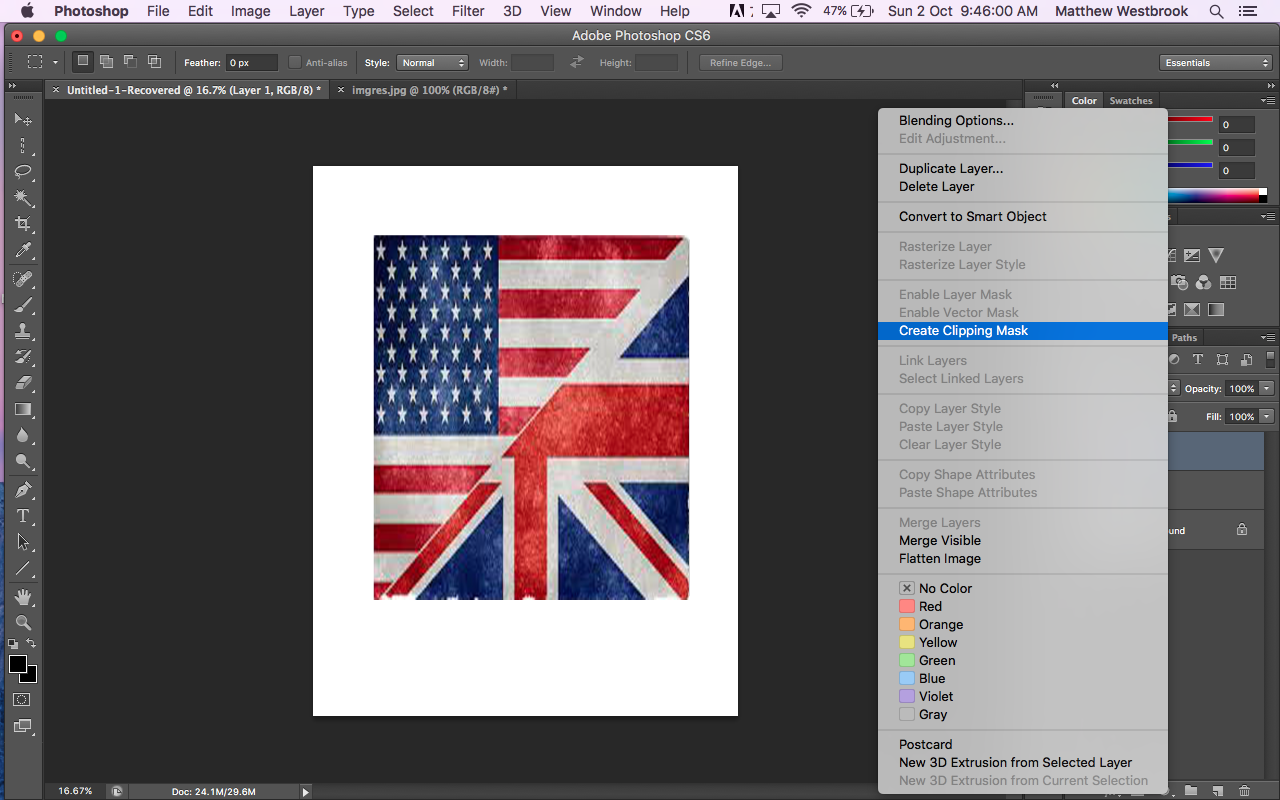
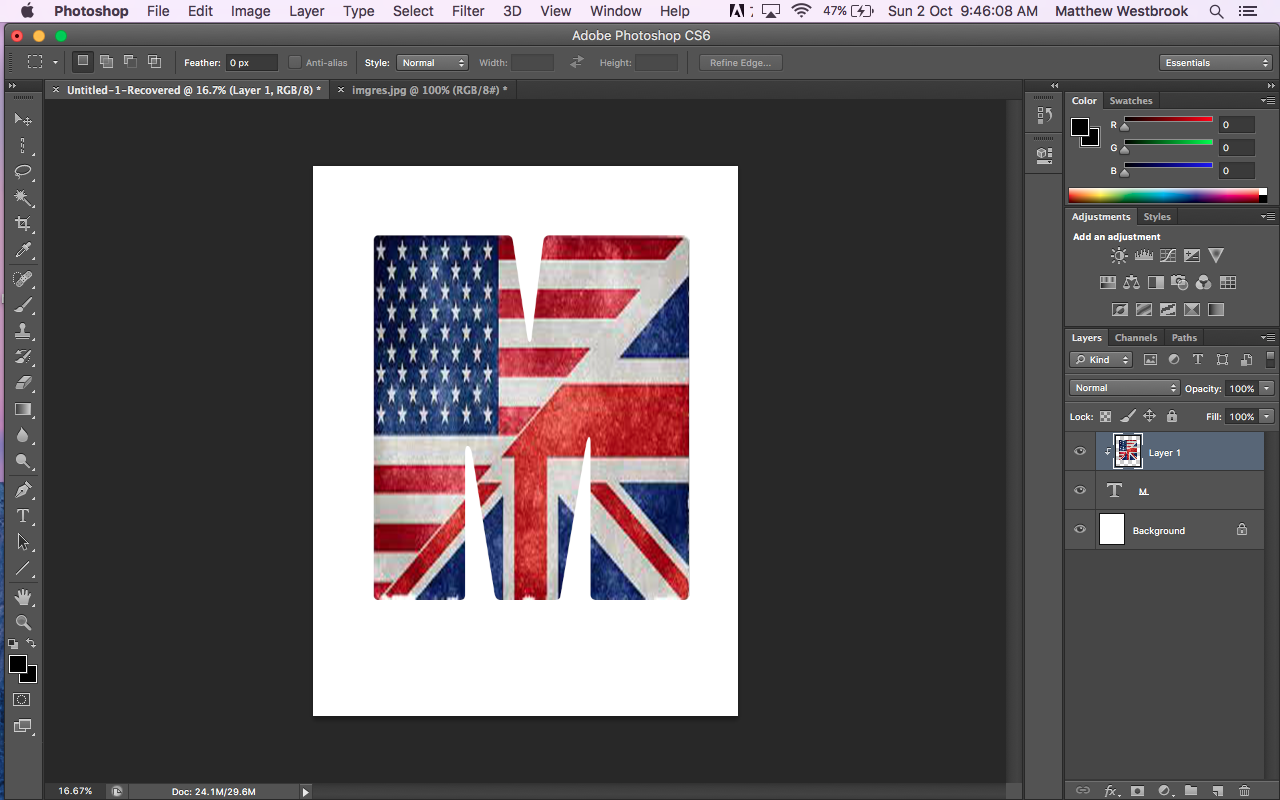
Now it is on another slide, then drag it on top of your first slide. Now it should be in the middle of your page, what you want to do next is press (command T) and there should be little squares on the edges of the picture drag to the width of the Letter. As you see the picture it may be blurry and still have those squares, what you want to do now is press (Enter or Return). Now looking at the pictures above with the full American and England flags in a box there should be a list on the right, and the sentence or words highlighted in blue is what you need to click ( release clipping mask) This will bring your Letter out with the picture inside it.
Final Touches



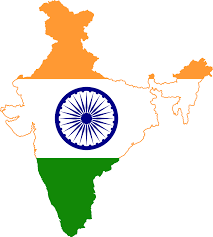
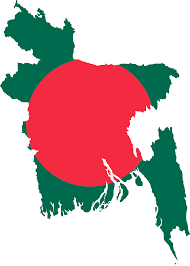
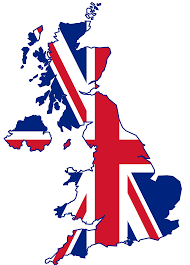

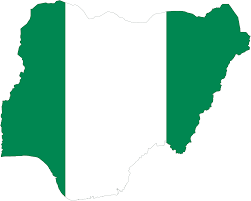
Now with the other pictures to add in just drag and drop and position the pictures to where you want.