Photoshop 104: Digital Flash Fill
by royalestel in Design > Digital Graphics
11463 Views, 15 Favorites, 0 Comments
Photoshop 104: Digital Flash Fill
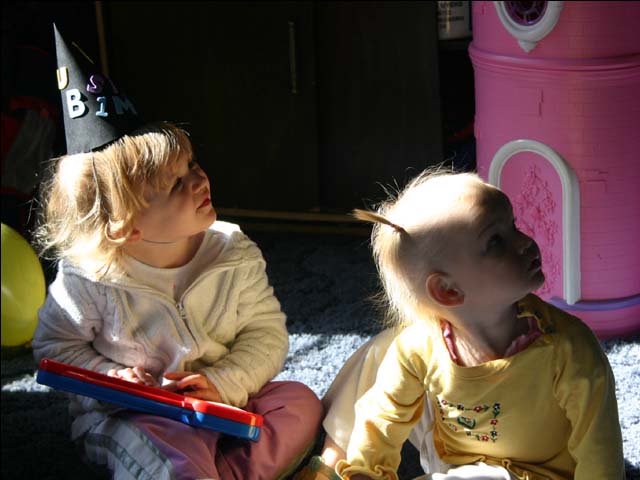
This instructable will show you how to create a digital flash fill for your underexposed family pics. The process can be automated, which allows you to adjust entire video sequences.
If you appreciate this instructible, please visit my blog for more ideas:
GoodCleanCrazy
I use Photoshop 6.0 (since it's the only copy I own). Your mileage may vary with other paint programs. (Cricket paint anyone?)
Alright, why would you use a digital flash fill? Well, if there are some parts of your image that are very dark, like say, the face of your daughter, you could lighten it to a usable tone. Not only that, but this method is a semi-automatic, painfree way to lighten dark parts of an image.
Duplicate Your Background Layer
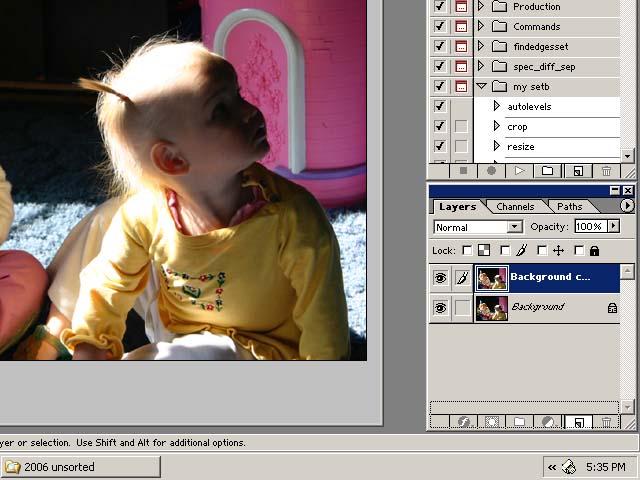
Duplicate your background layer by dragging the layer name to the "new layer" icon at the bottom of the layers palette.
You should now have a duplicate layer named "Background copy."
You should now have a duplicate layer named "Background copy."
Blur the Duplicate
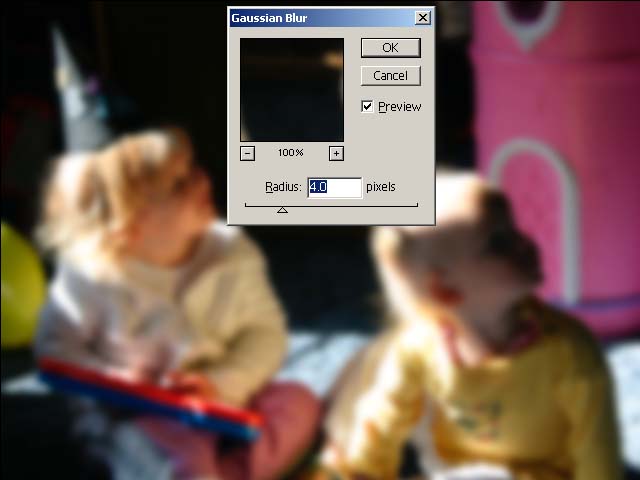
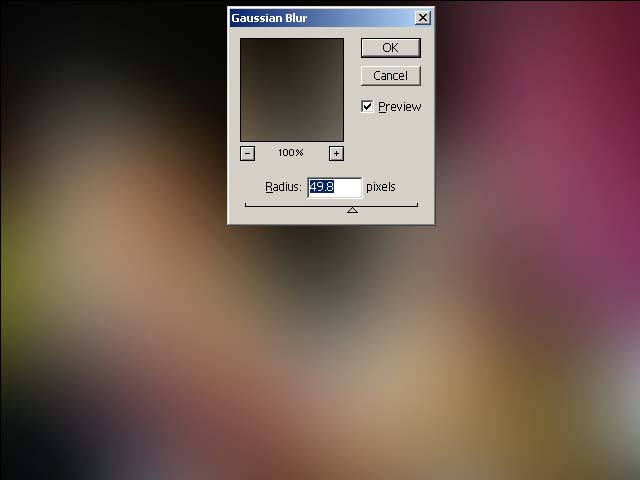
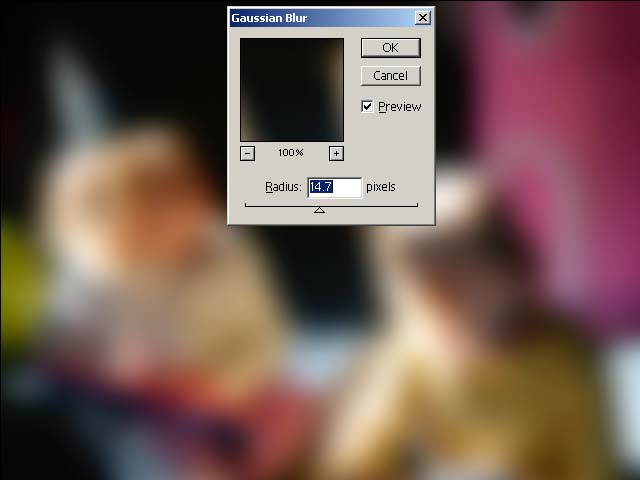
Apply a Gaussian blur to the image (Filter>Blur>Gaussian Blur).
Adjust the radius of the blur until no fine details can be seen, but the image is still barely recognizeable (i.e. I think I can still call that a person . . .).
Do not try to copy the numerical values you see in this example. The values change depending on the size of your picture, and so you'll have to eyeball it yourself.
Invert the Duplicate.
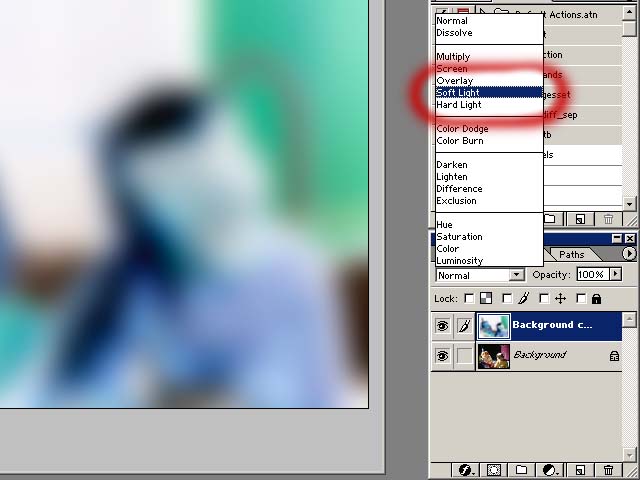
Now invert the blurred duplicate by hitting Ctrl+I on your keyboard (what is it, Command+I on a Mac?) or by going to Image>Adjust>Invert.
Change the layer blend mode to "soft light." The "soft light" blend mode is a special proprietary Adobe blending mode that nobody I know really knows how it works. It will be just fine for lightening shadows for us.
Change the layer blend mode to "soft light." The "soft light" blend mode is a special proprietary Adobe blending mode that nobody I know really knows how it works. It will be just fine for lightening shadows for us.
Adjust the Opacity

Now you should have an image that's actually a bit too bright in the shadows and looks quite funny. Adjust the layer opacity to correct this.
A good rule of thumb is:
If you look at your final image and can tell that it has been adjusted in Photoshop, you've done too much adjusting.
In this case I think the left half of the baby's face was a bit too bright, so I toned it back a bit.
That's pretty much it! For your convenience, I've automated these steps and put it into a Photoshop action set below.
Just save it in your C:\Program Files\Adobe\Photoshop 6.0\Presets\Photoshop Actions\ folder, or wherever other .atn files can be found on your hard drive.
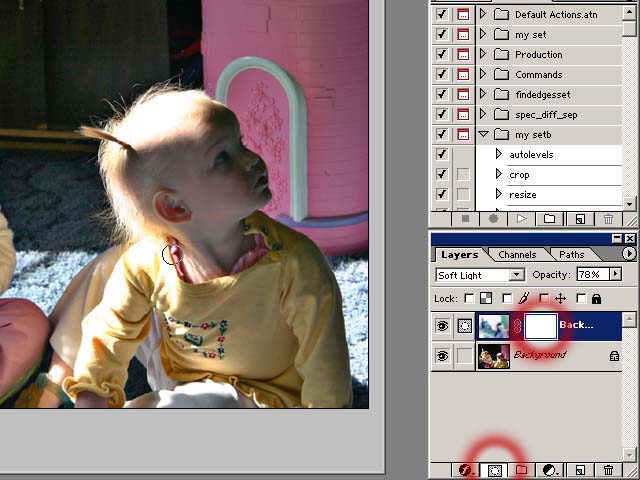
If you want to tweak the flash fill, you can paint a layer mask like in the next step.
Tweak It! Paint a Layer Mask
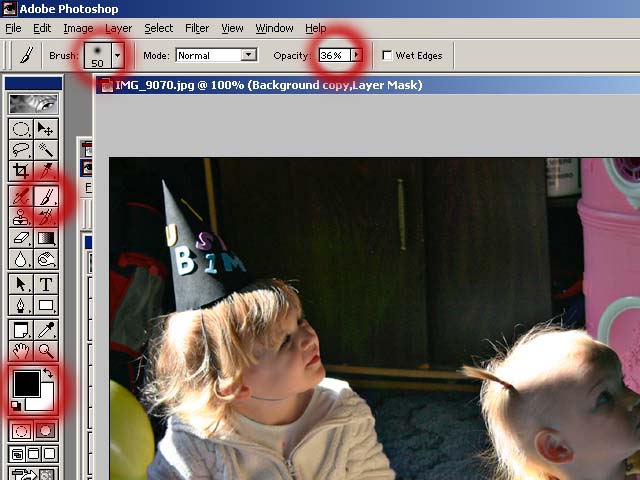
For the unwashed Photoshop masses, a layer mask is a black and white image where black is transparent and white is opaque.
You can use it to selectively control what parts of the layer are visible without damaging the actual layer data.
So, select a paintbrush, adjust it's opacity, and make sure your paint colors are black and white. Then just paint on your layer.
You should see subtle lighting changes where you paint, revealing the underlying layer.
Behold What Your Work Hath Wrought!

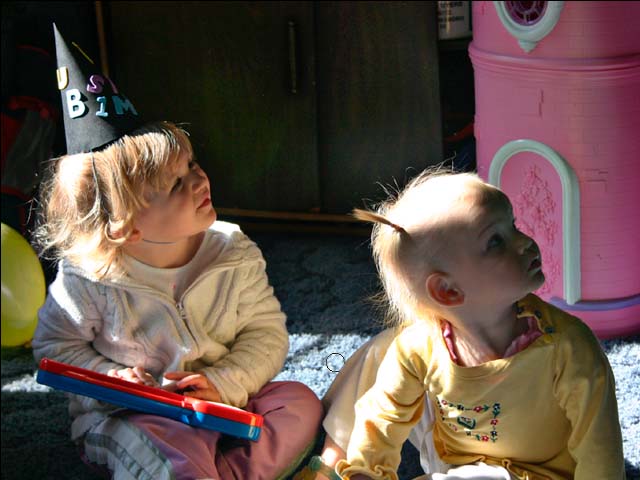
Now compare your work to the original by clicking the eye icon next to the duplicate layer.
Hope this helps!
Happy 'shopping!
Hope this helps!
Happy 'shopping!