Photopea Tutorial
This Photopea Tutorial will show you an easy way to make an interesting image.
These 9 simple steps encompass some simple tools that have cool effects.
Supplies
Computer with Photopea
Preparing the Document
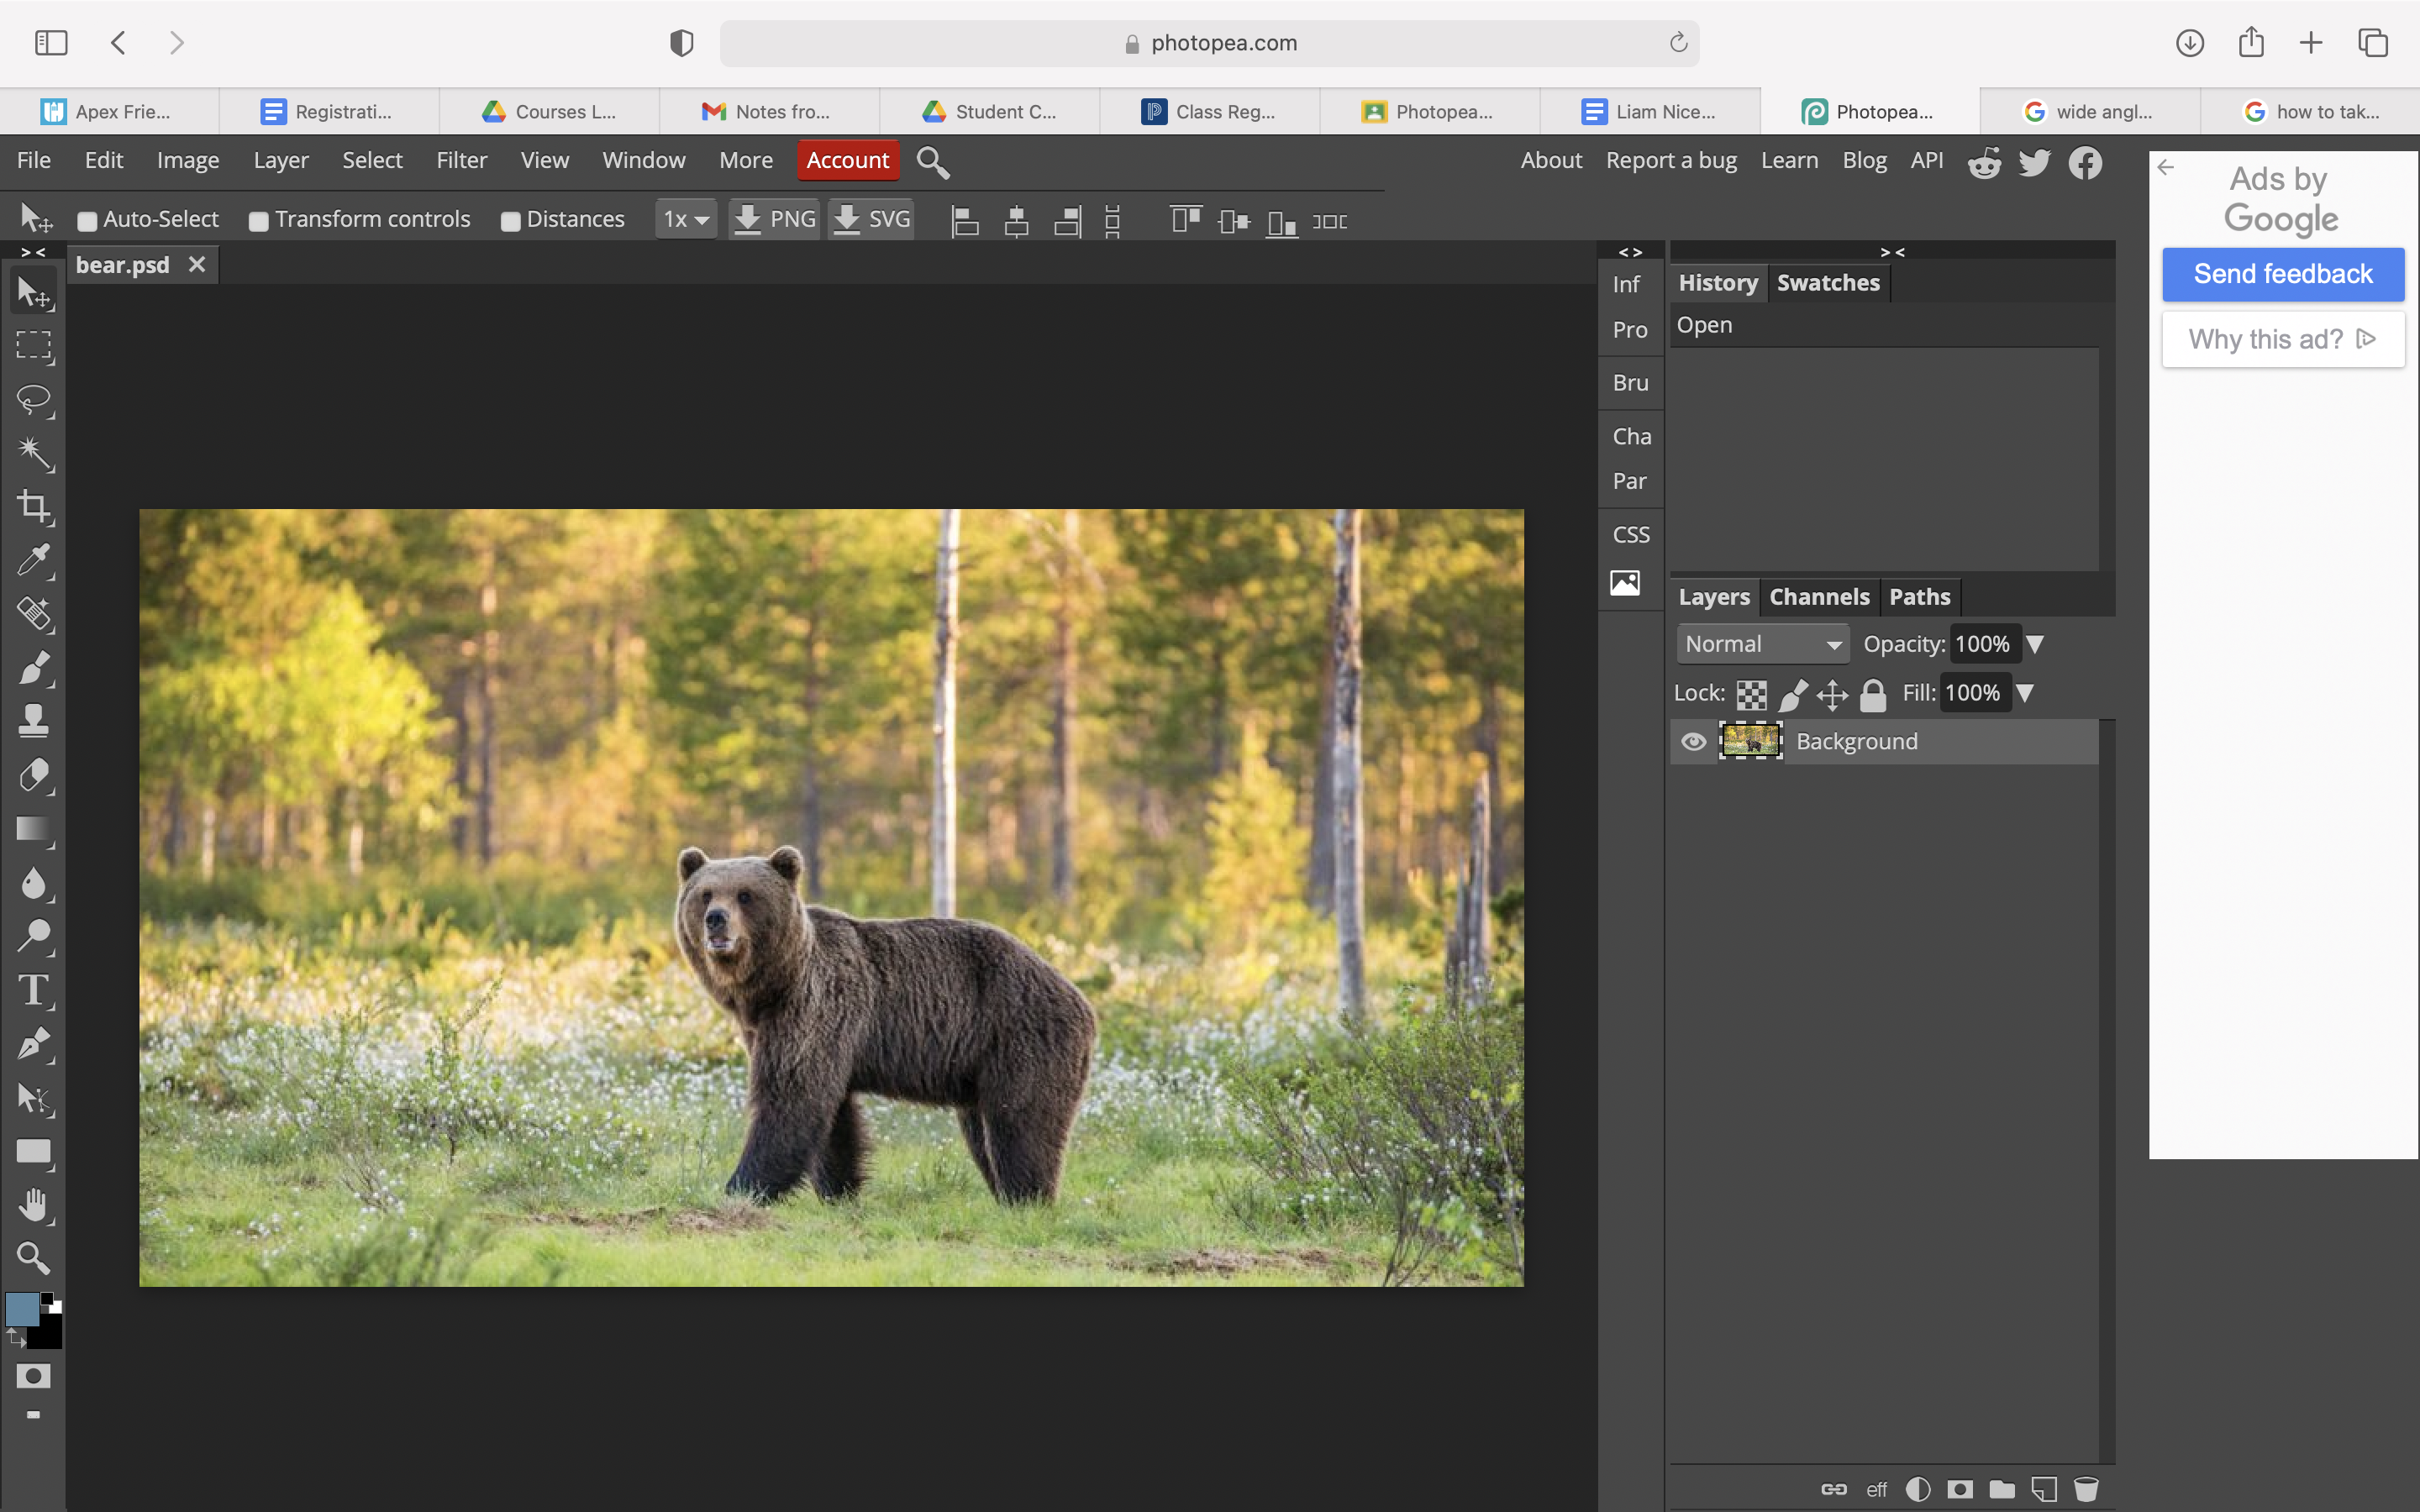
To start things off, we're gonna open up an image from our computer.
This can be any wildlife picture with a central focus point.
For this example, I'm going to be using a picture of a bear in a clearing in the woods.
Brightening the Focus Point
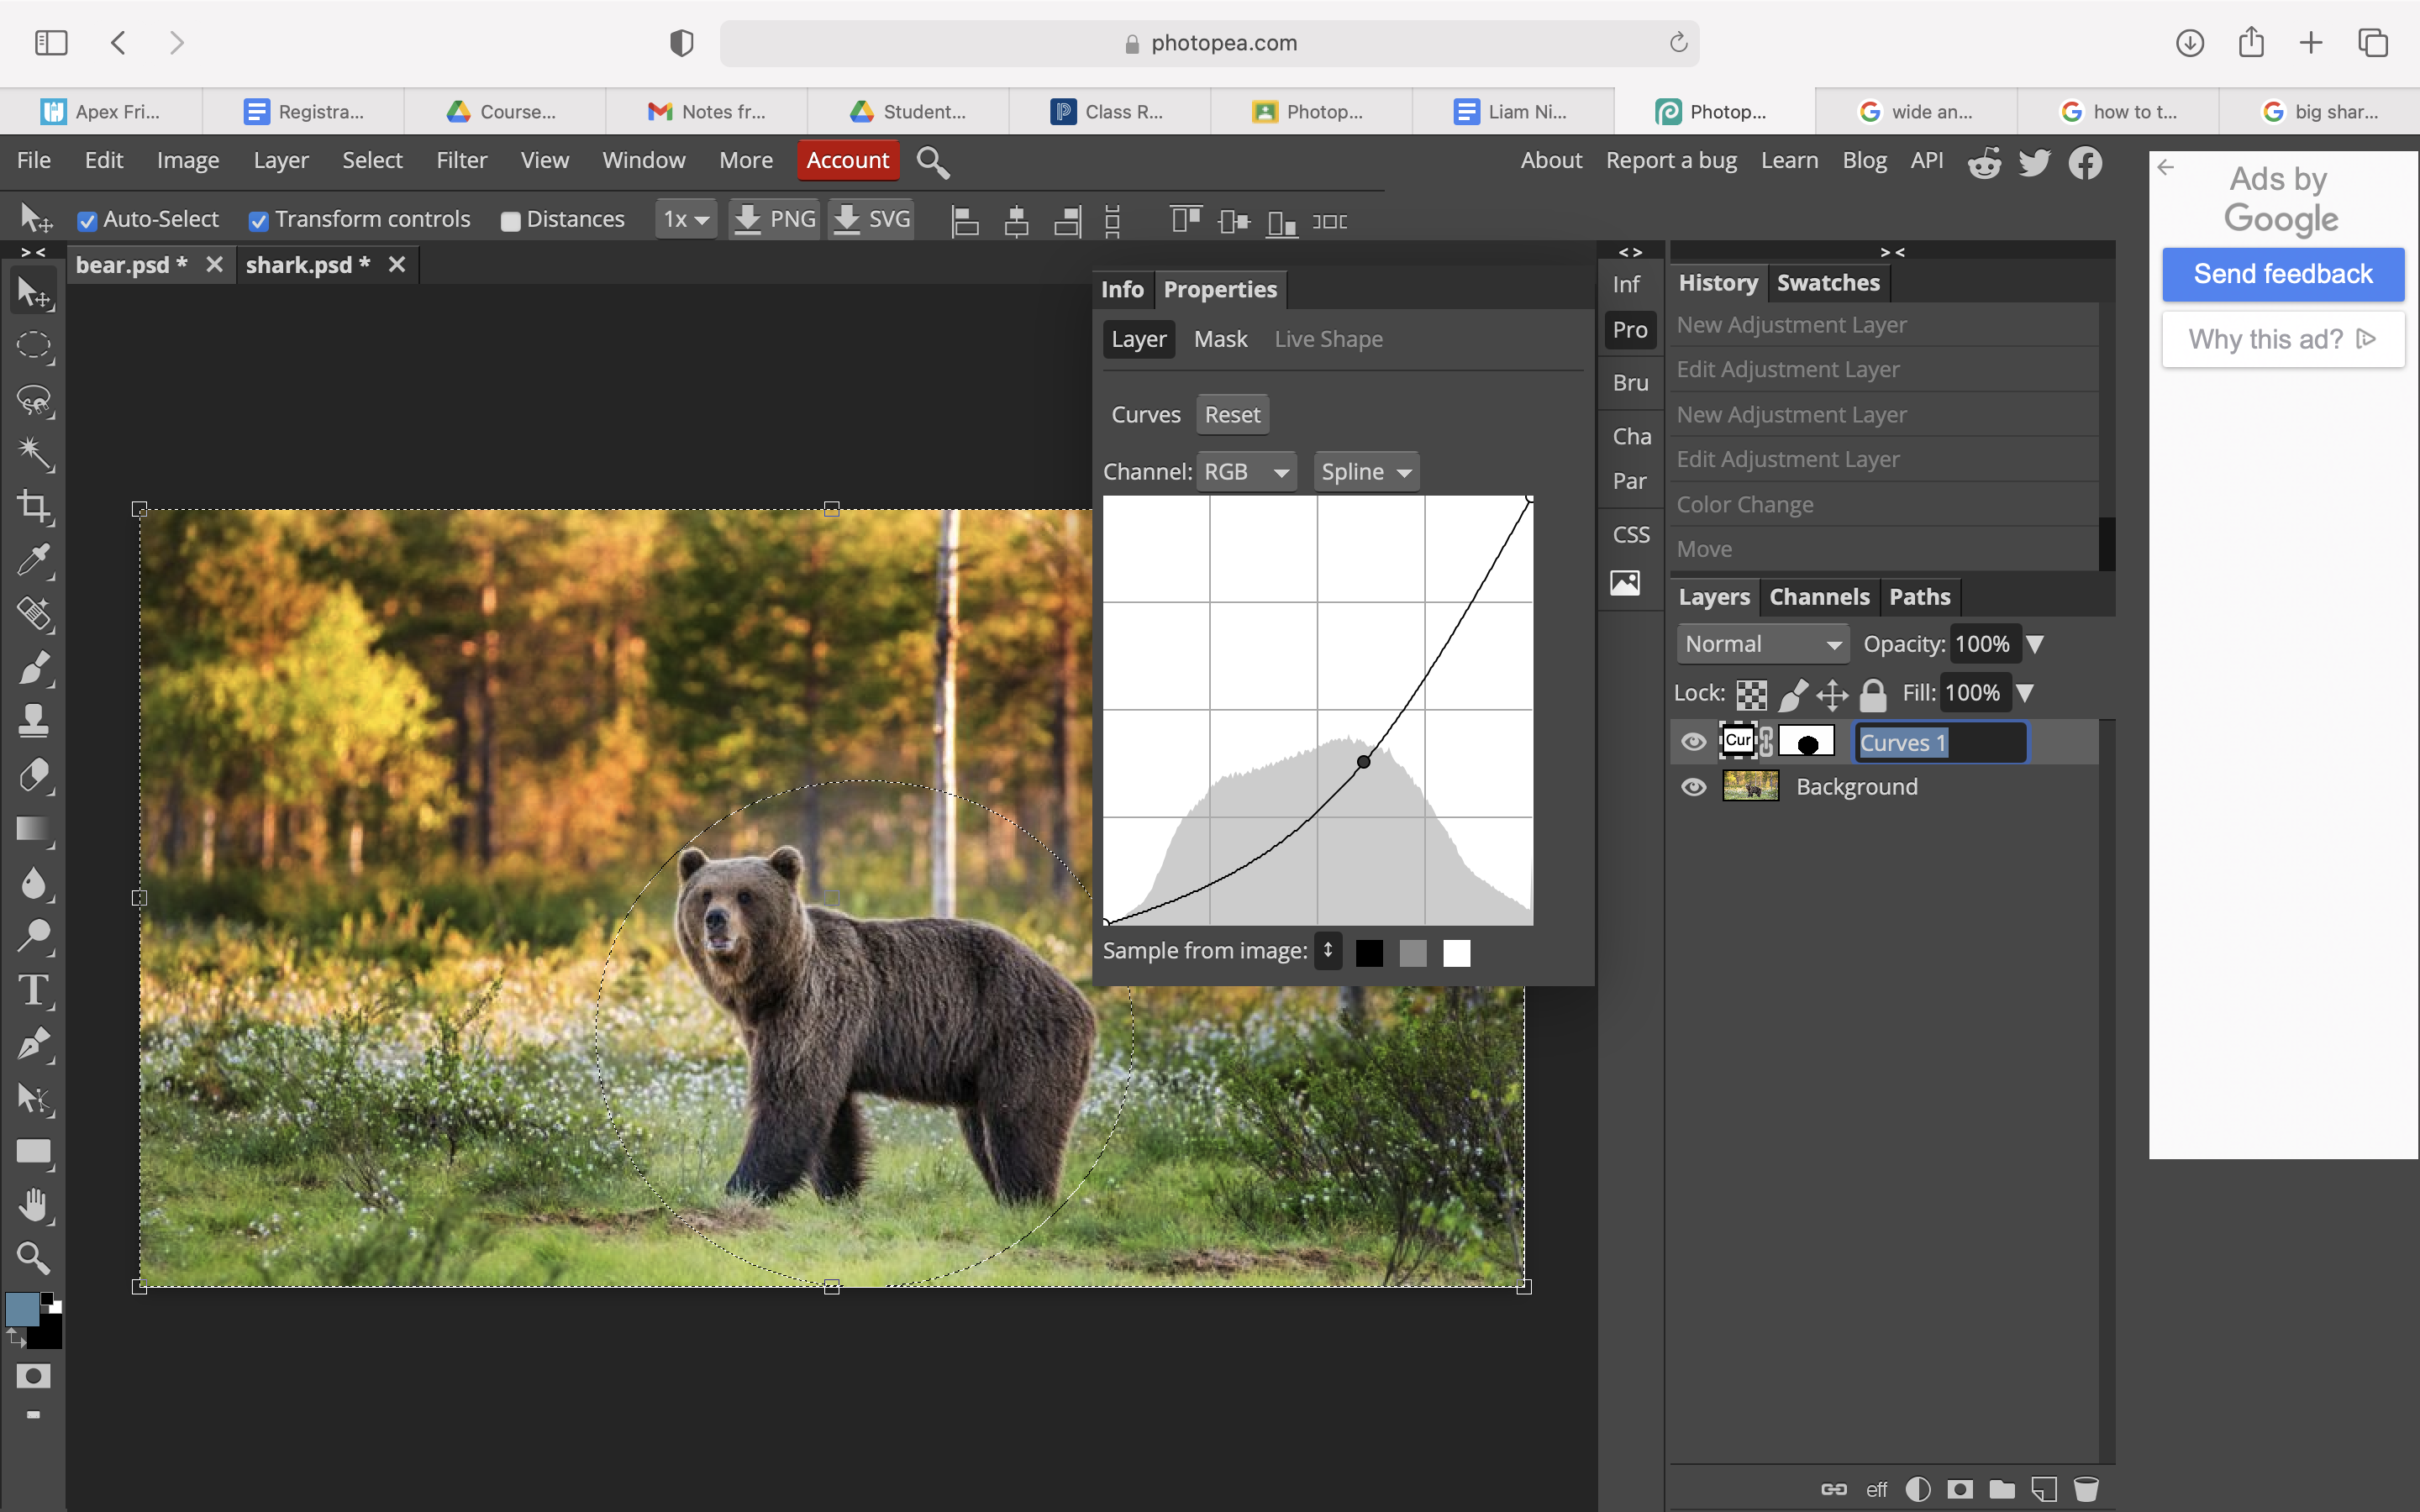
- Use the Ellipse Select tool to make a circle around the focus point.
- Right click, and select Inverse
- Click layer, select New Adjustment Layer, and select Curves
- Move the middle of the line slightly down until the bear is a little brighter than everything else
- Select Mask, and move the Feather slider to the right until the brightness is smoothed out
Add in a Sea Creature
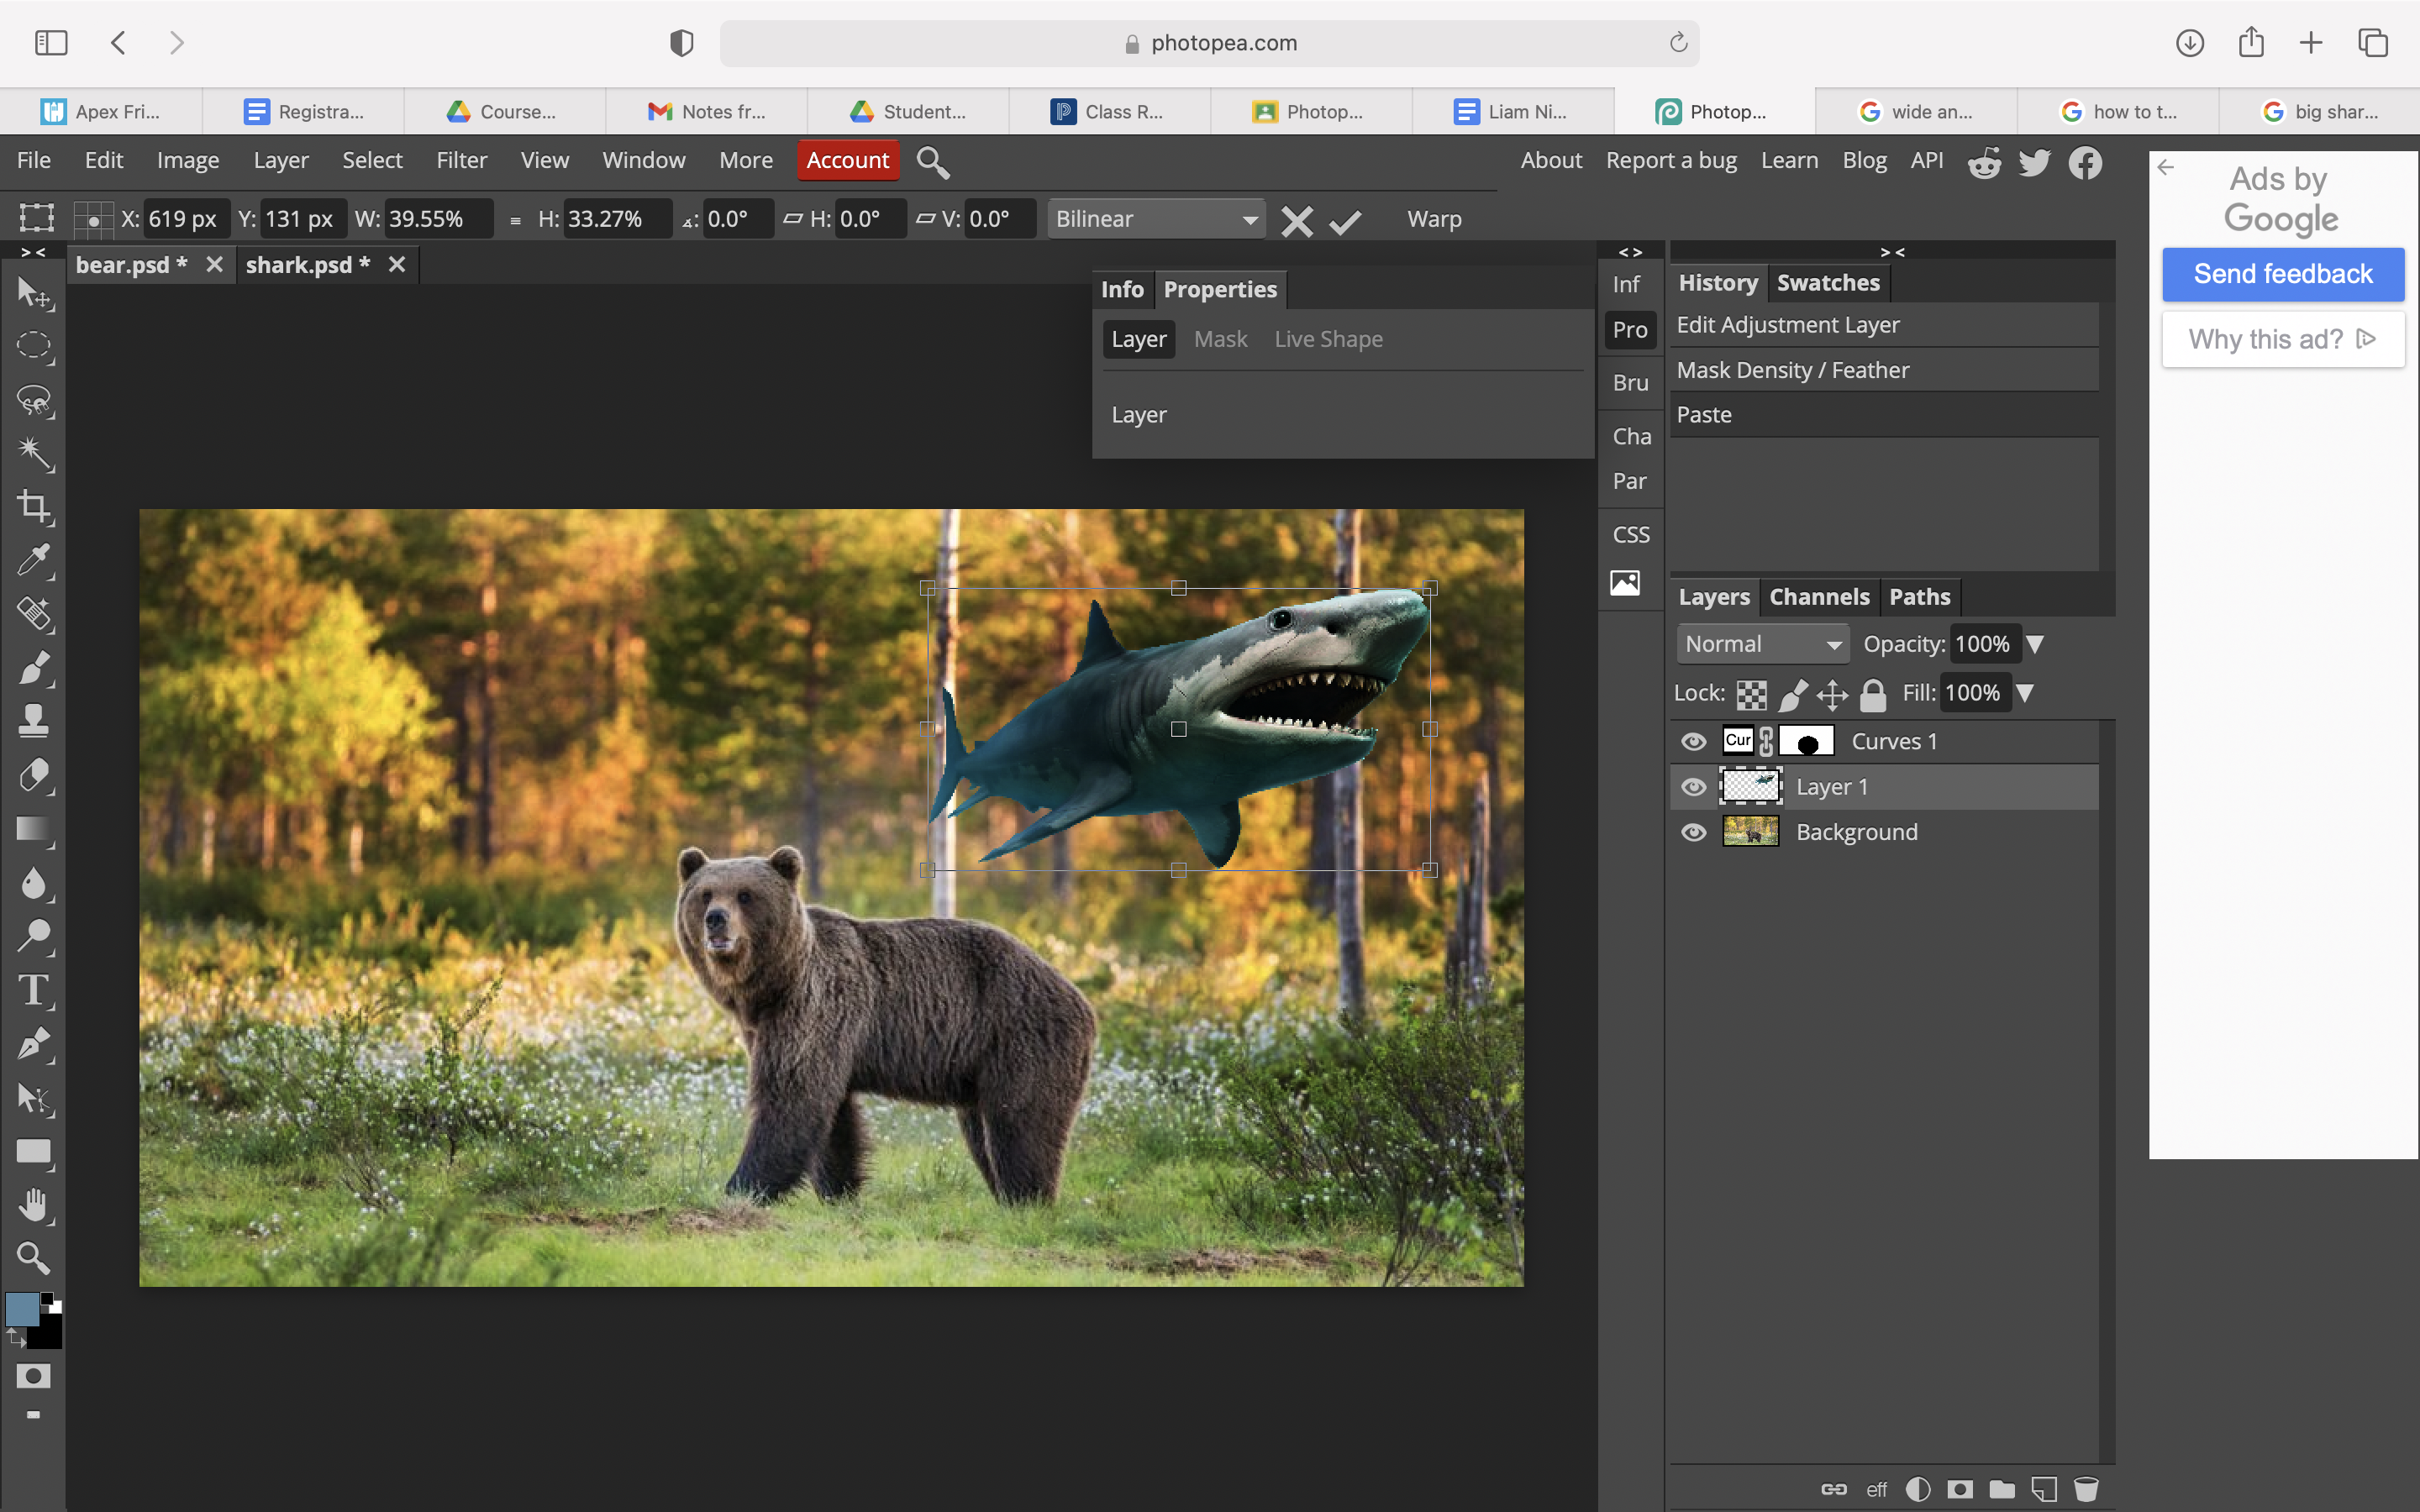
- Select File, Open
- Open up a picture of a sea creature (For this example, I am going to use a shark)
- Use the Magnetic Lasso Select to outline the creature accurately
- Copy the selection, go back to the original image, and paste it
- Select the move tool, tick the Transform Controls box, re-size it and move it to a location that looks good
Add in a 2nd Sea Creature
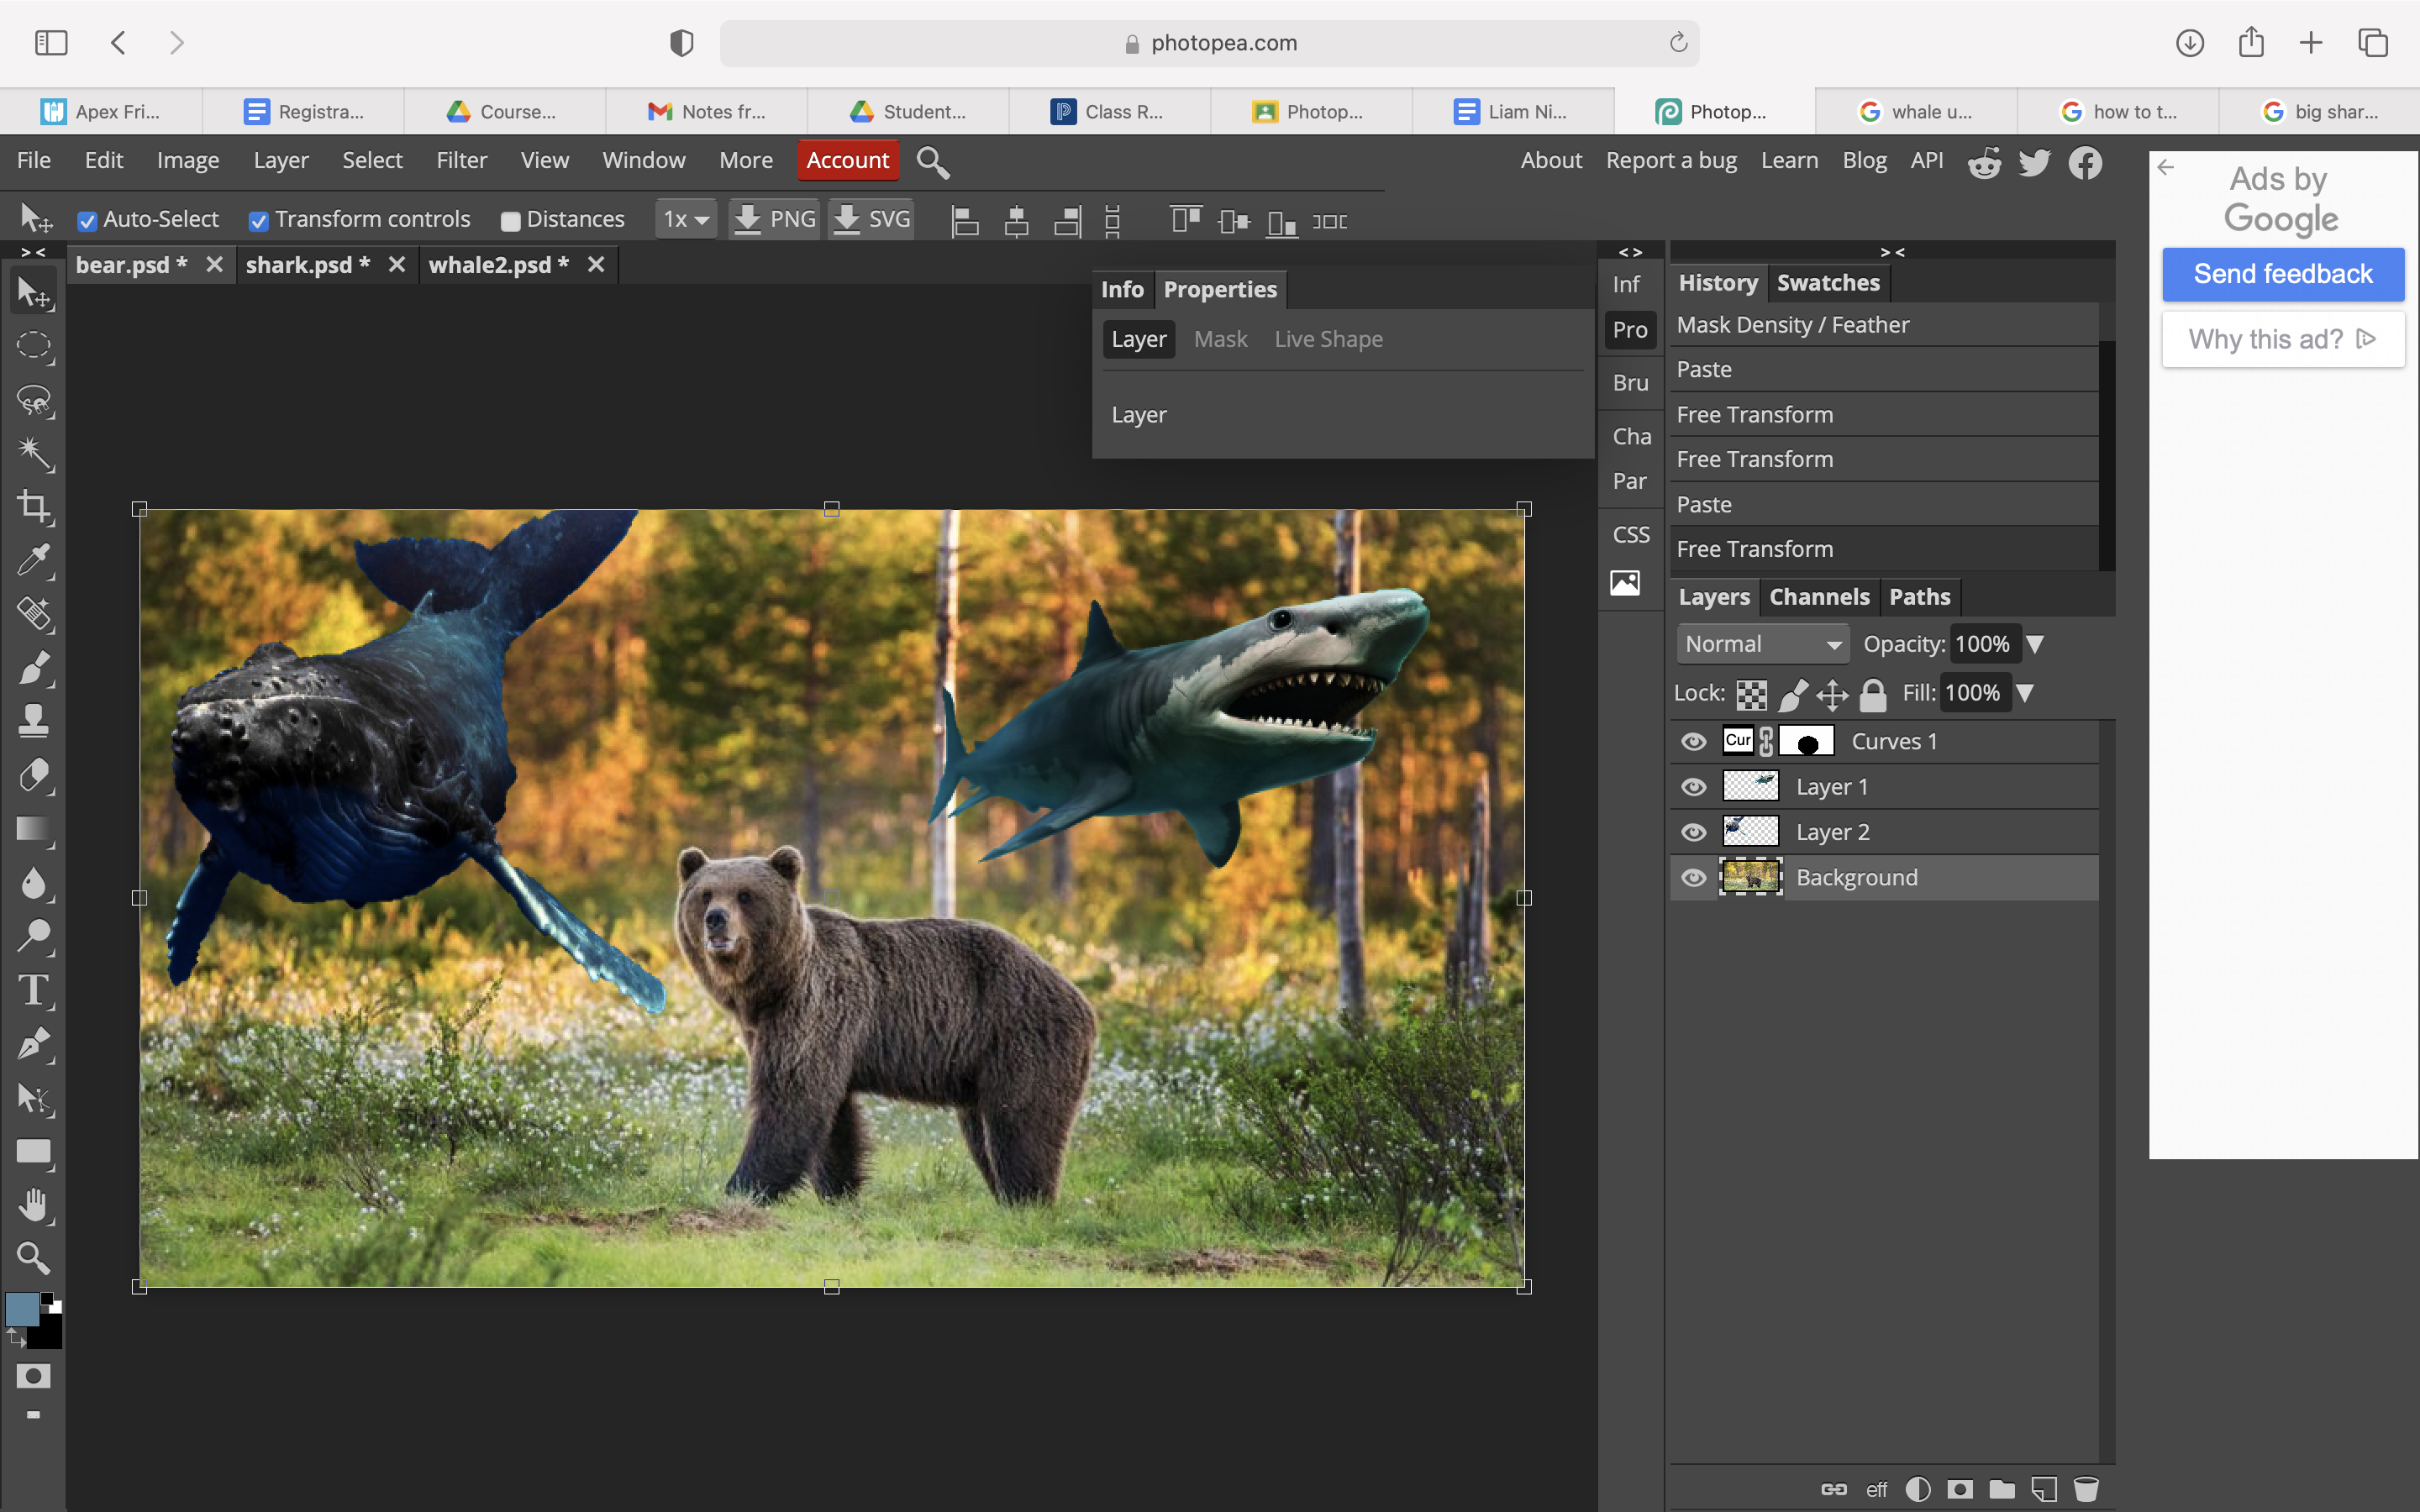
- Select File, Open
- Open up a picture of a sea creature (For this example, I am going to use a whale)
- Use the Magnetic Lasso Select to outline the creature accurately
- Copy the selection, go back to the original image, and paste it
- Select the move tool, tick the Transform Controls box, re-size it and move it to a location that looks good
Add in a 3rd Sea Creature
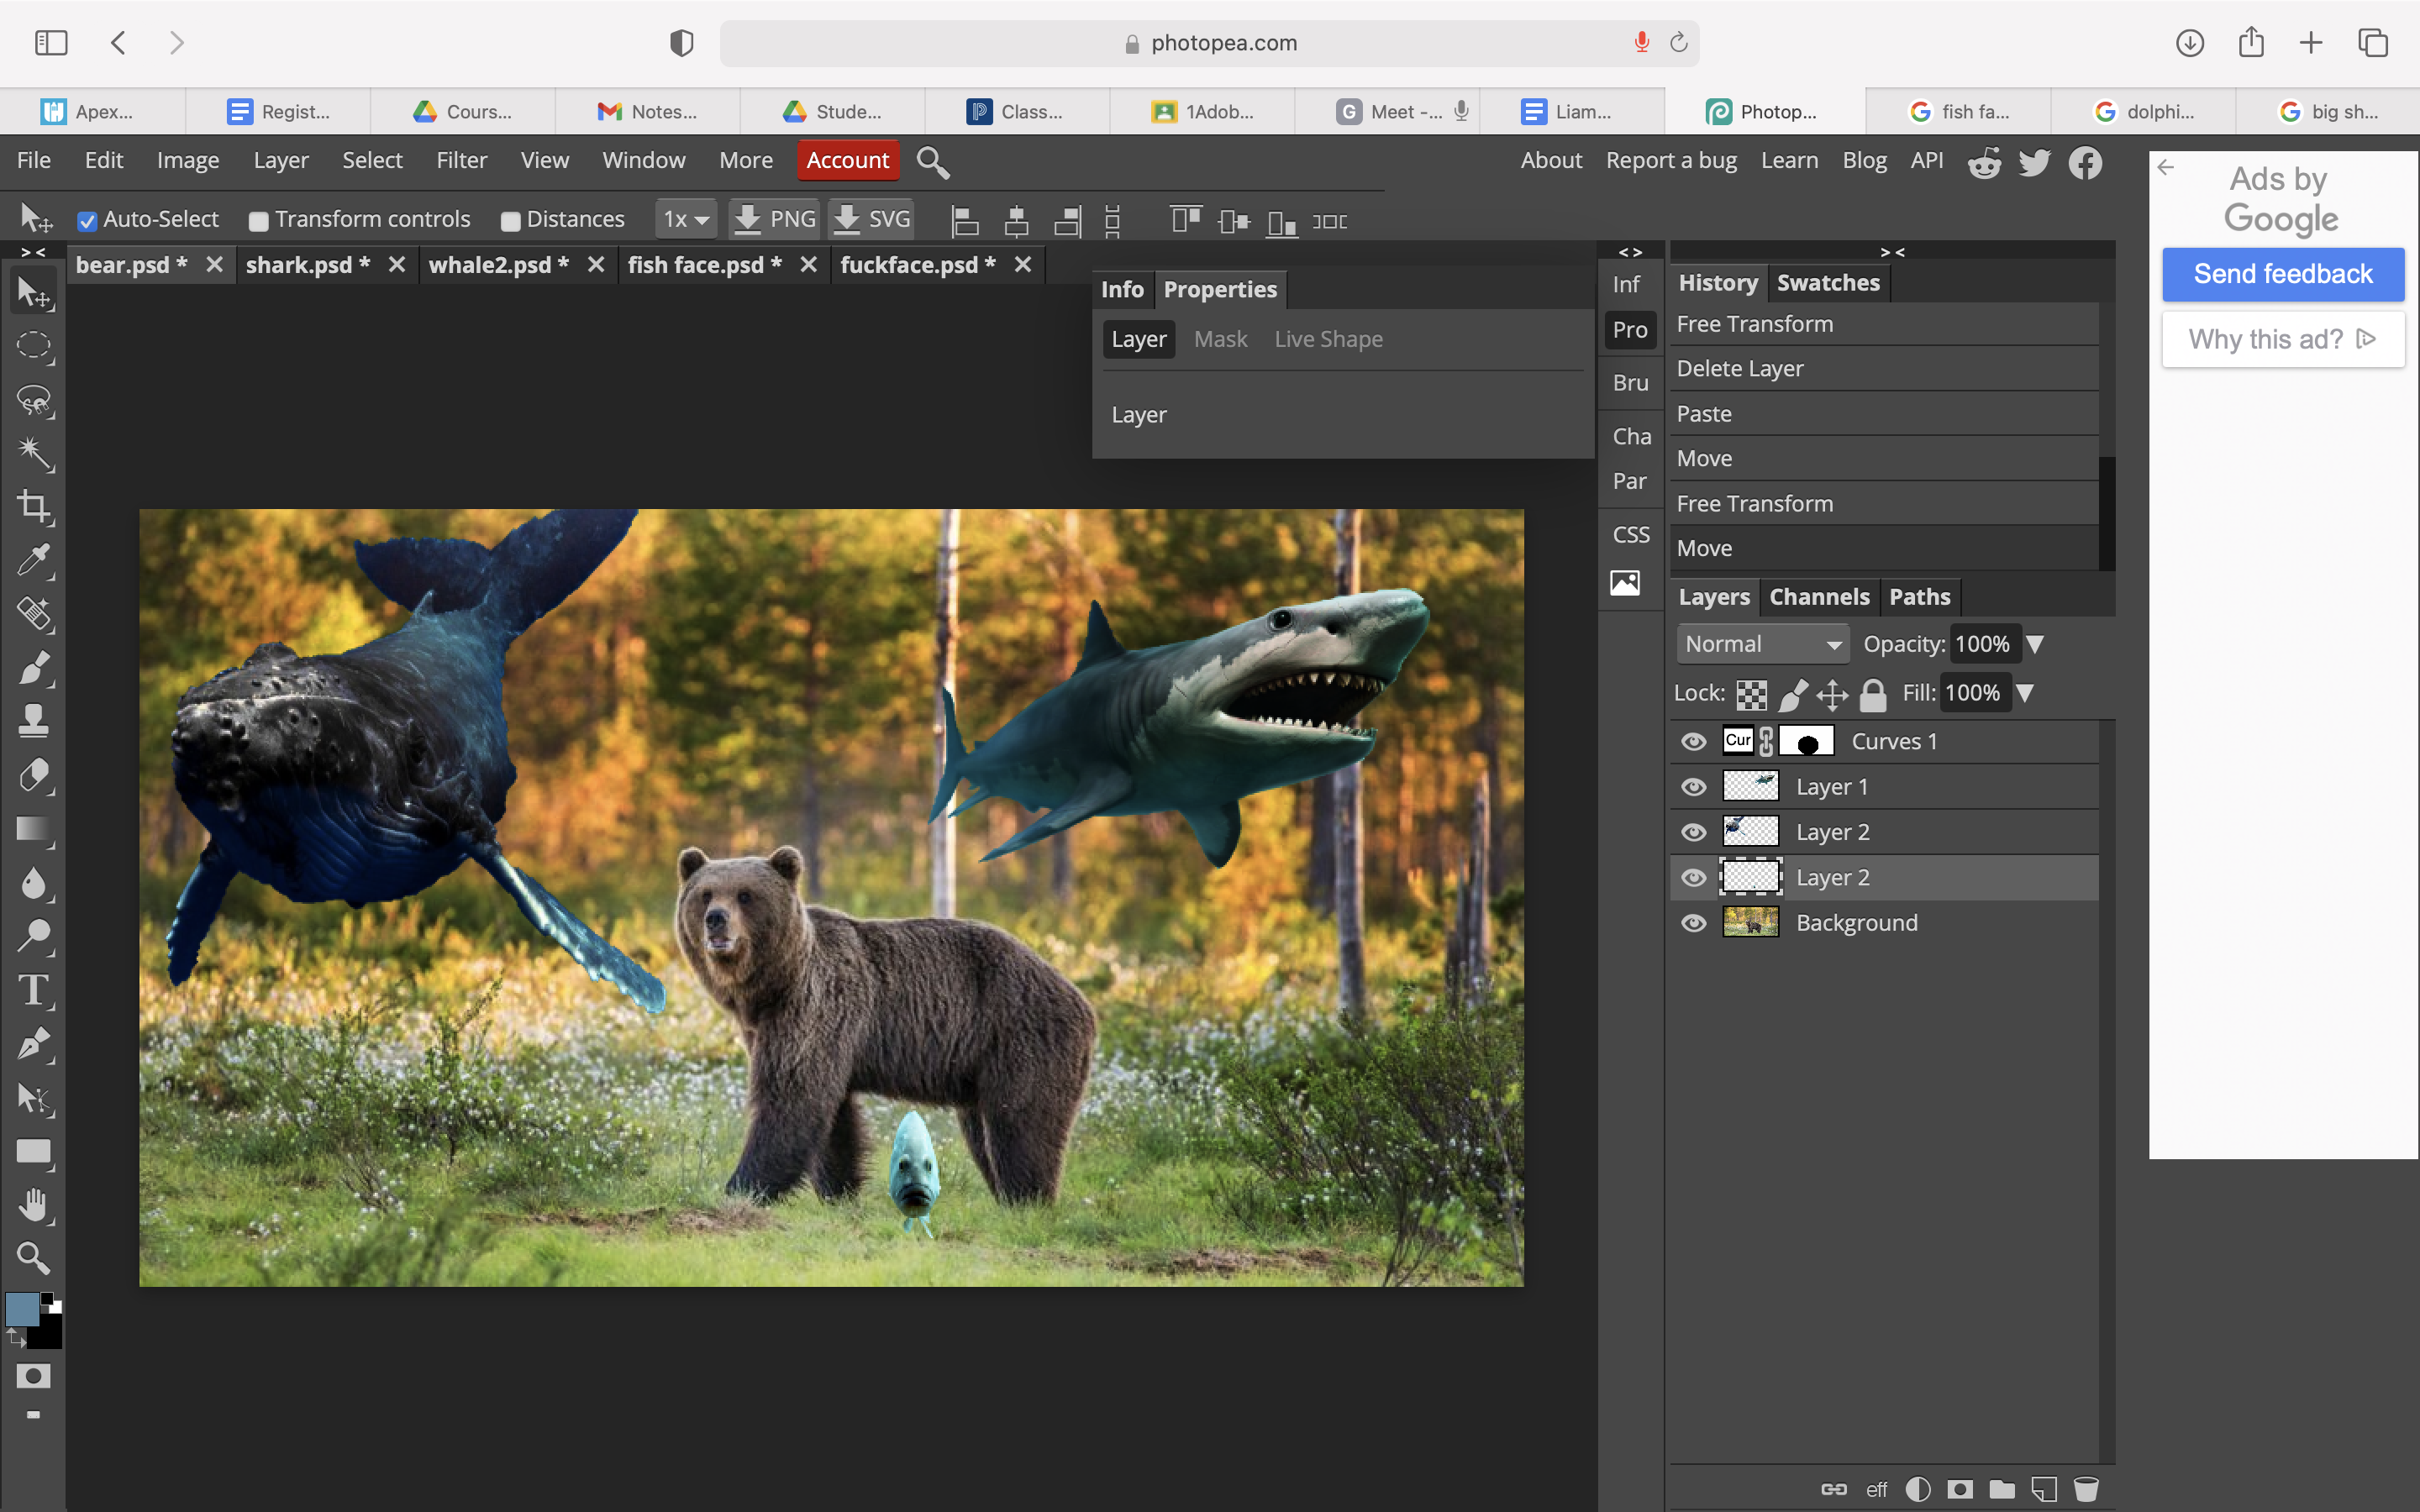
- Select File, Open
- Open up a picture of a sea creature (For this example, I am going to use a fish)
- Use the Magnetic Lasso Select to outline the creature accurately
- Copy the selection, go back to the original image, and paste it
- Select the move tool, tick the Transform Controls box, re-size it and move it to a location that looks good
Add in a 4th Sea Creature
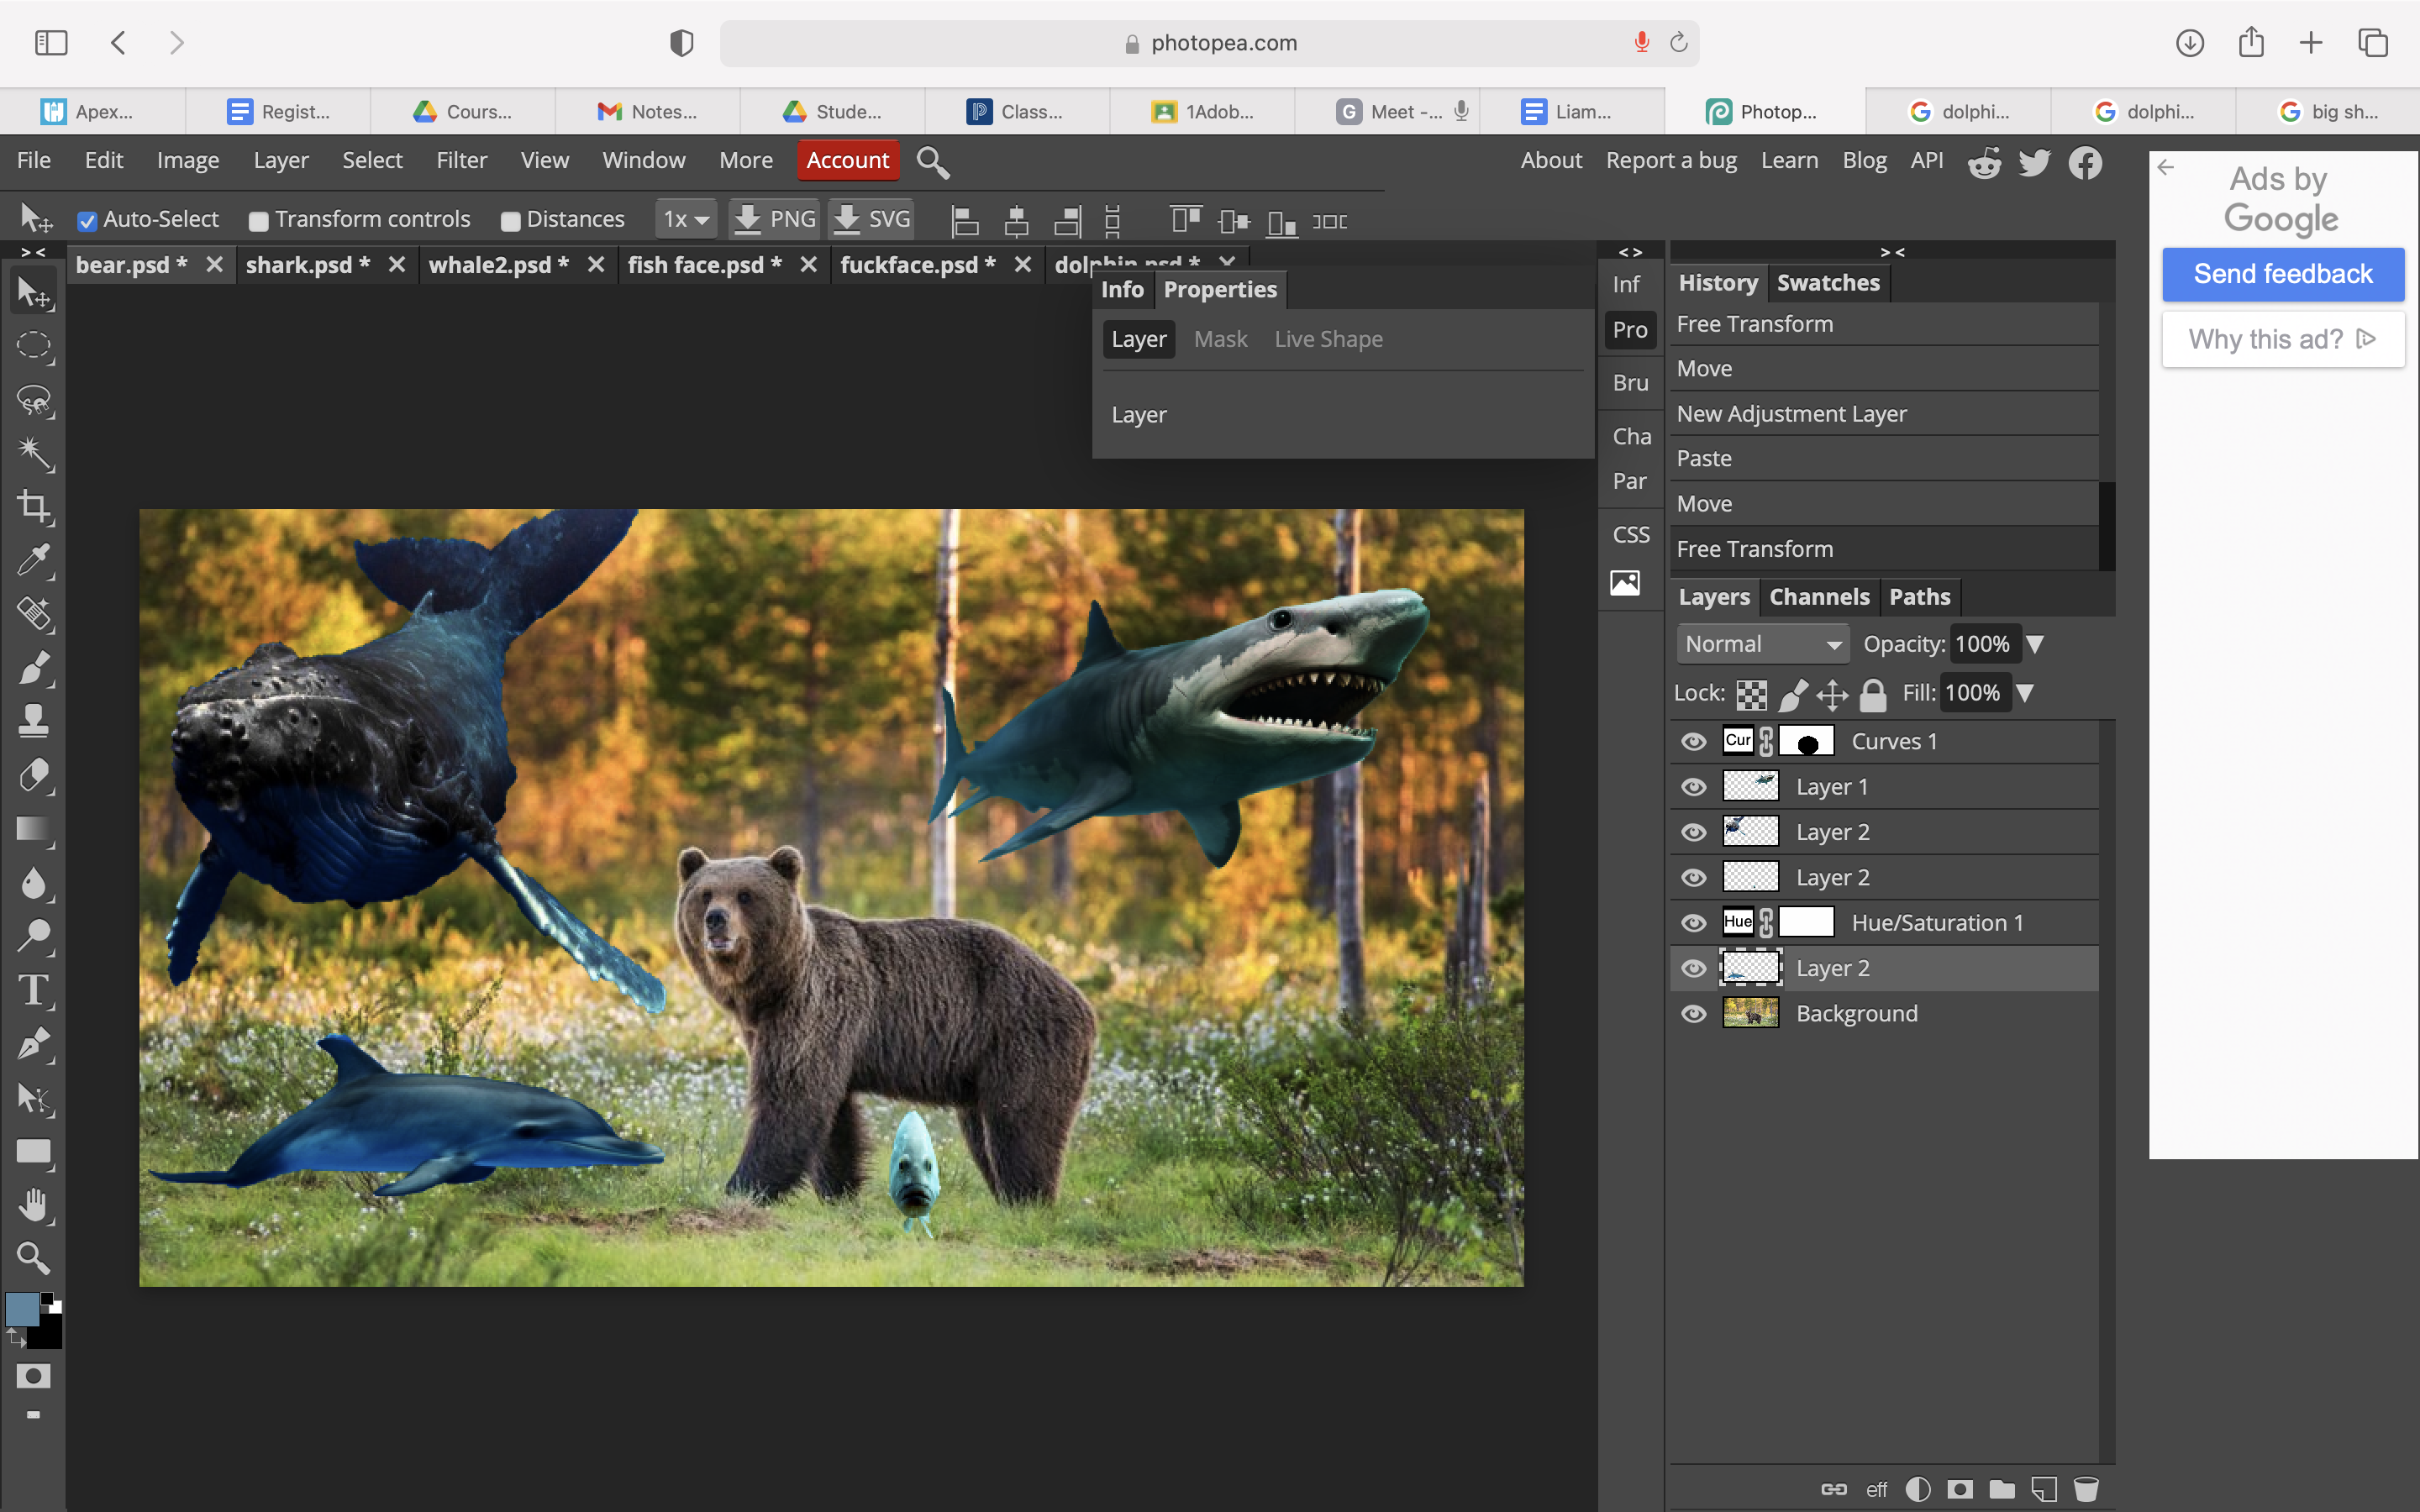
- Select File, Open
- Open up a picture of a sea creature (For this example, I am going to use a dolphin)
- Use the Magnetic Lasso Select to outline the creature accurately
- Copy the selection, go back to the original image, and paste it
- Select the move tool, tick the Transform Controls box, re-size it and move it to a location that looks good
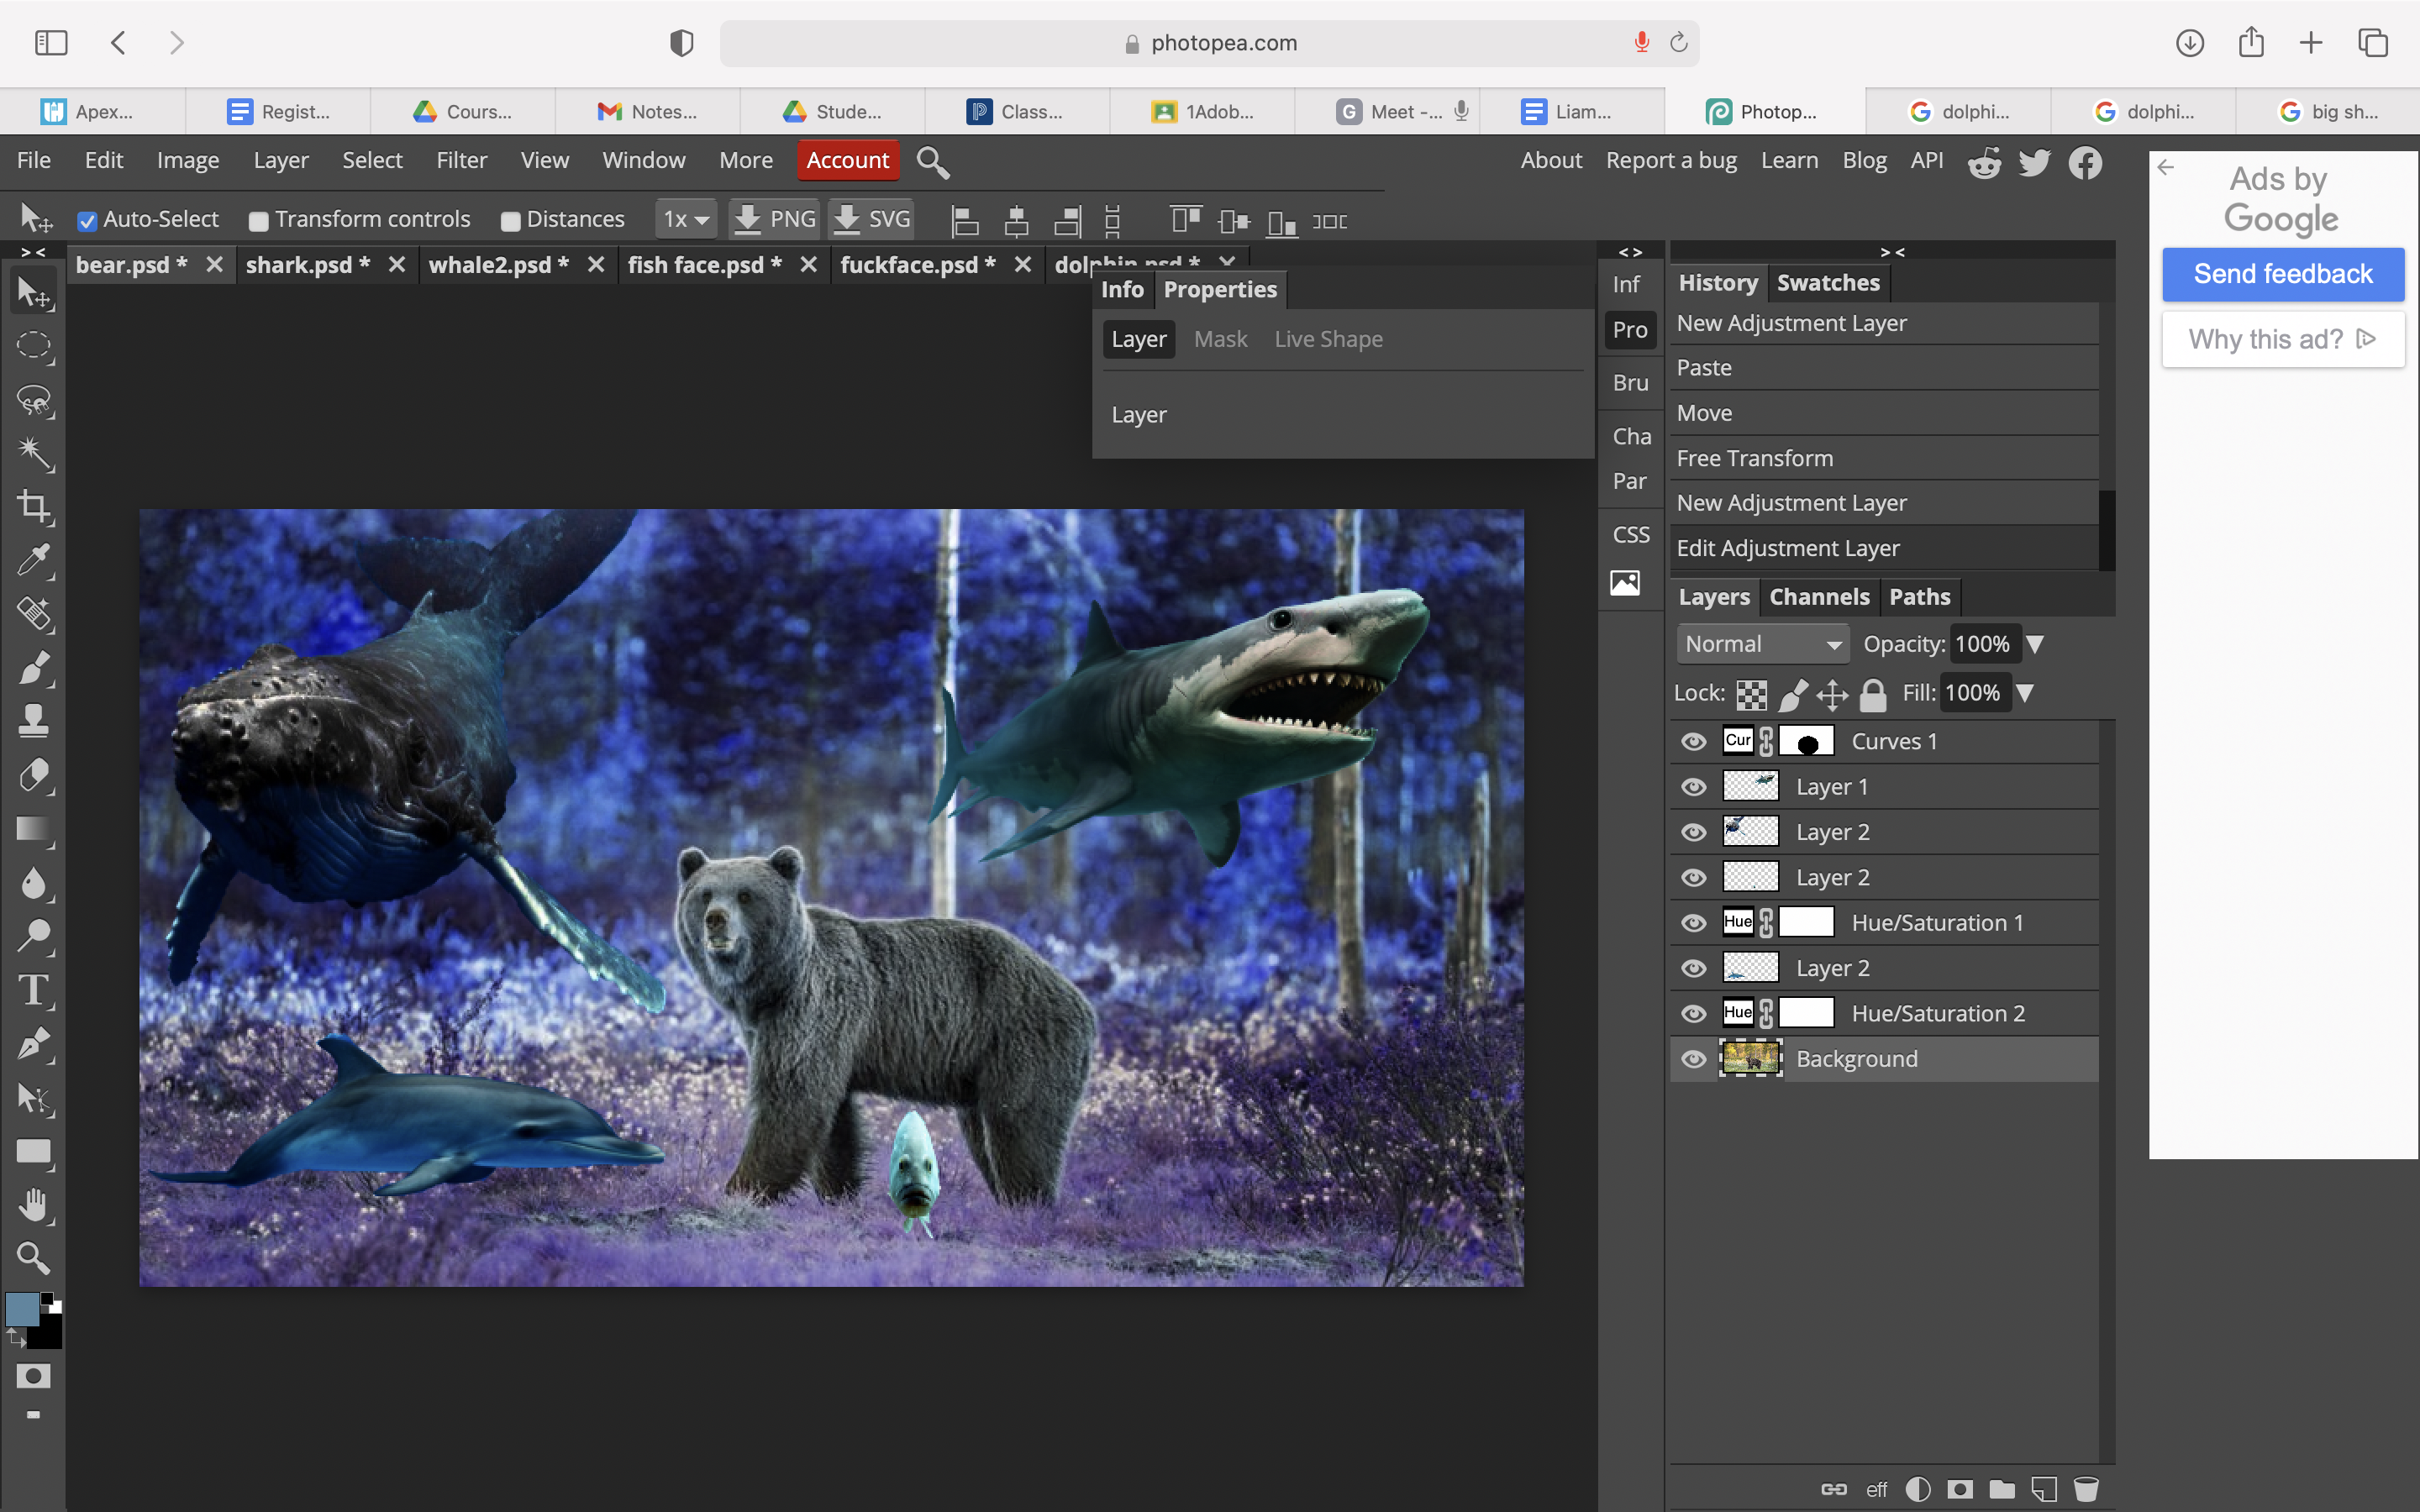
Adjust the Hue and Saturation

- Select the Background layer, then click Layer
- Create a New Adjustment Layer for Hue/Saturation
- Move the Saturation slider to about -30
- Move the Hue slider to about 180, this creates a dark blue, somewhat sea-like effect
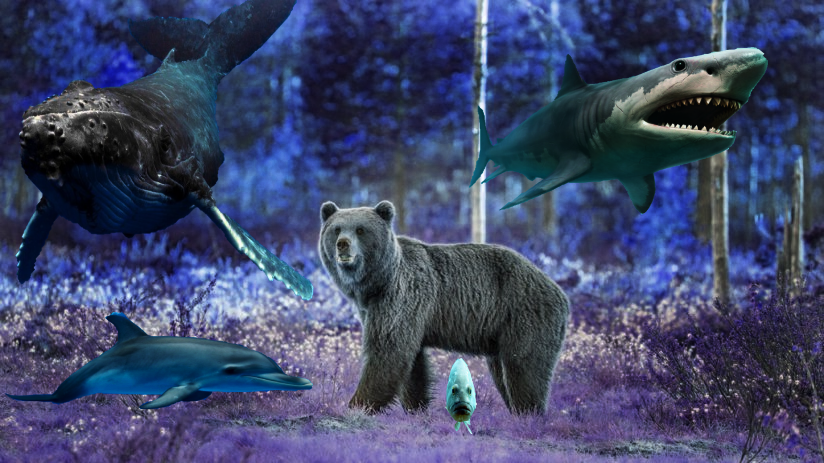
Admire
The last step is to simply admire this absolute beauty of a picture that you can do in less than 10 minutes