Photography Tips and Tricks for Perfect Instructable Photos
by badarsworkshop in Circuits > Cameras
10505 Views, 200 Favorites, 0 Comments
Photography Tips and Tricks for Perfect Instructable Photos
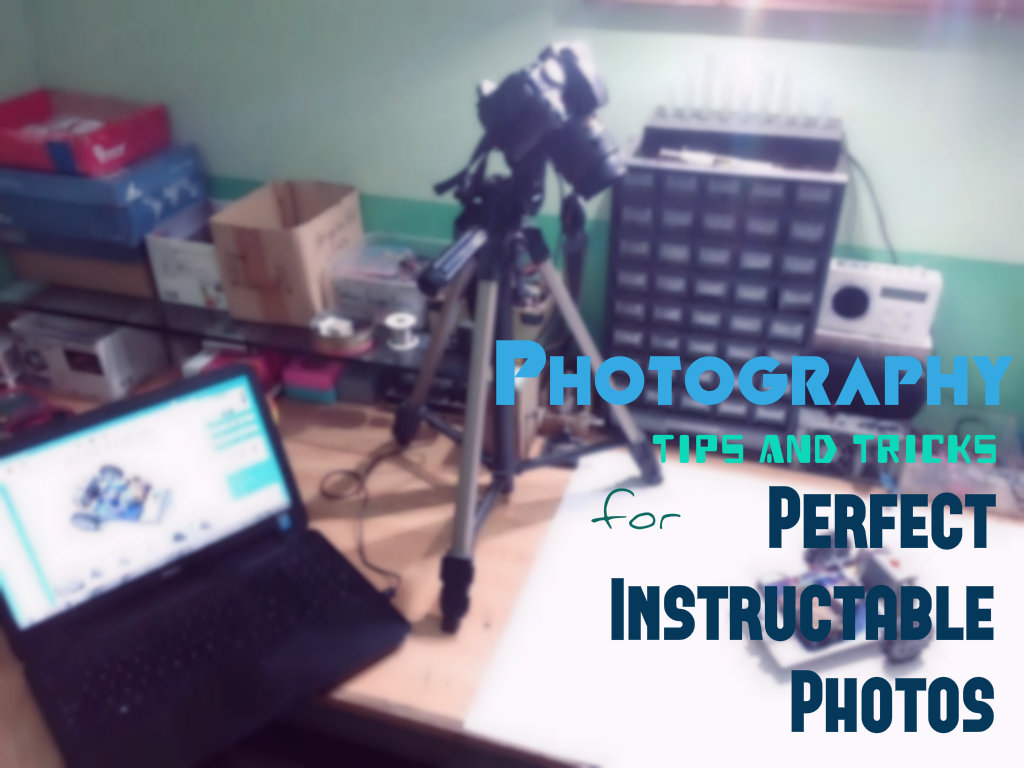
Ever since i got into the world of instructables and have started posting instructables i have faced a trivial challenge. I see many pro authors posting instructables with absolutely amazing photos showing their step by step process. At that stage even if i tried i couldn't achieve such pacifying photos. I wish i could have learned these things at that time instead of years of trial and error.
So there are some key problems faced by the novice authors, myself included:
- Capturing every step seems difficult and time consuming
- The background on the photos is often the messed up work place where we are working
- Lighting is poor hence the images are poor
In this instructable we will go over all these aspects and discuss some more tips and tricks as well. I will be discussing all these primarily with respect to DSLR users but some will also be helpful to the digital camera or mobile users.
Back to Basics
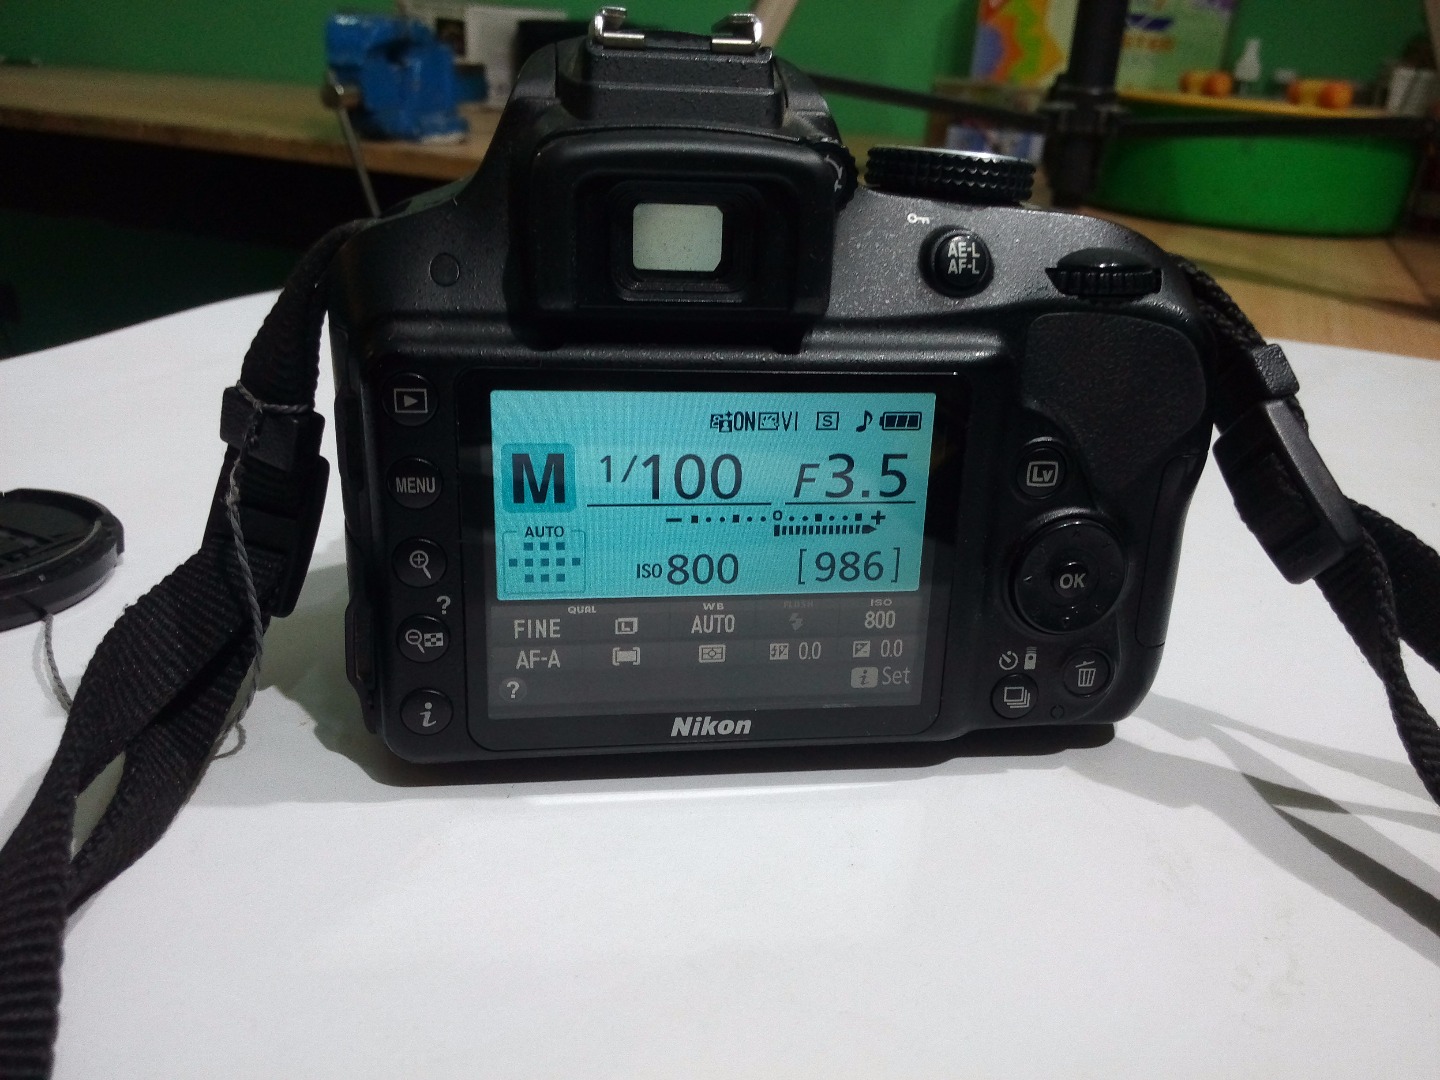
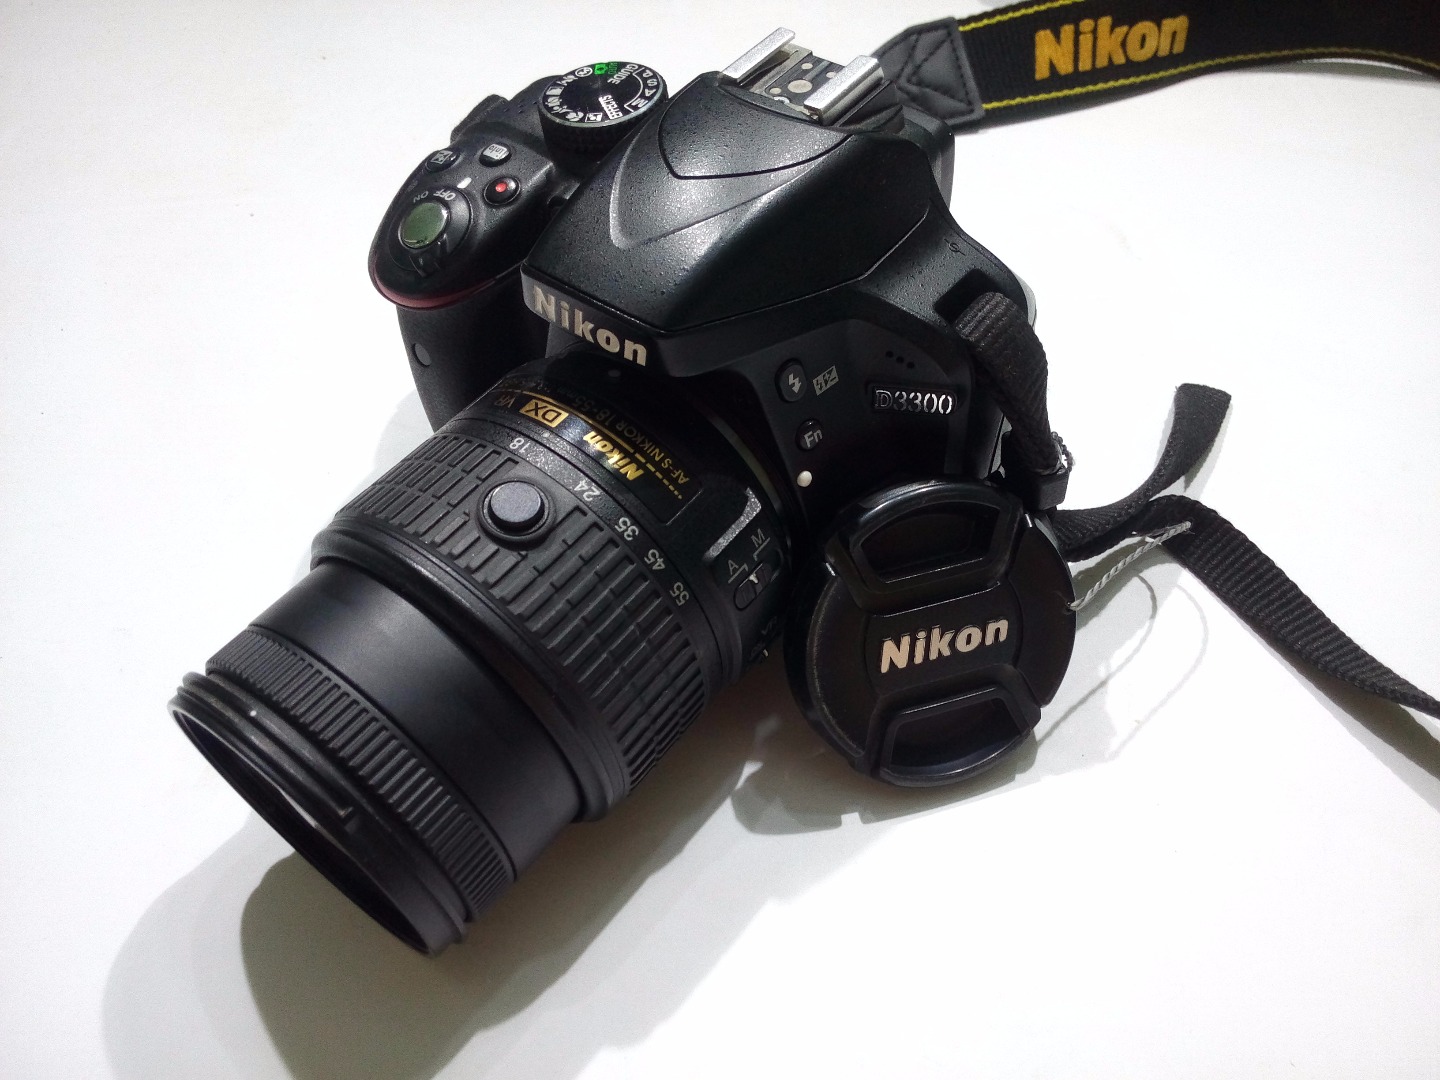
Before you can get into the advanced level of photography its important to know about the basics. Well i wont go into the details because i know they are boring so just an over view.
Okay so with respect to a DSLR there are three main things that define the image you capture
- Shutter Speed
- ISO
- Exposure
1. Shutter Speed: This is the amount of time the shutter which is basically like the eye lid is open during taking a photo. While it is open the sensor is exposed. So longer the shutter speed, longer the time for exposure, brighter the image. Shorter the shutter speed, shorter the time for exposure, dimmer the image. And the reason why you can crank it up to like 1/2 or 1 s is because the image will become blurry due to movement and vibration.
2. ISO: This is the sensitivity of the sensor which captures the image. Higher the ISO, more sensitive and brighter the images. Less ISO, less sensitive so dimmer the image. And what is stopping from increasing the ISO too much is that at higher ISO the image becomes grainy.
3. Exposure: This is the diameter of the shutter while it is open during capturing. Larger the diameter, more light can reach the sensor, brighter the image.Smaller the diameter, less light can reach the sensor, dimmer the image. So what is stopping us from increasing the exposure is the fact that most stock lenses got only up to a maximum of 3.6 exposure. Prime lenses go higher but they are expensive and i am doing this instructable with stock equipment.
Did somebody mention flash. Well flash is a good tool if you know what you are doing but the flash on the DSLR is useless and results in very bad images. So just forget the flash.
Setting Up a Perfect Background
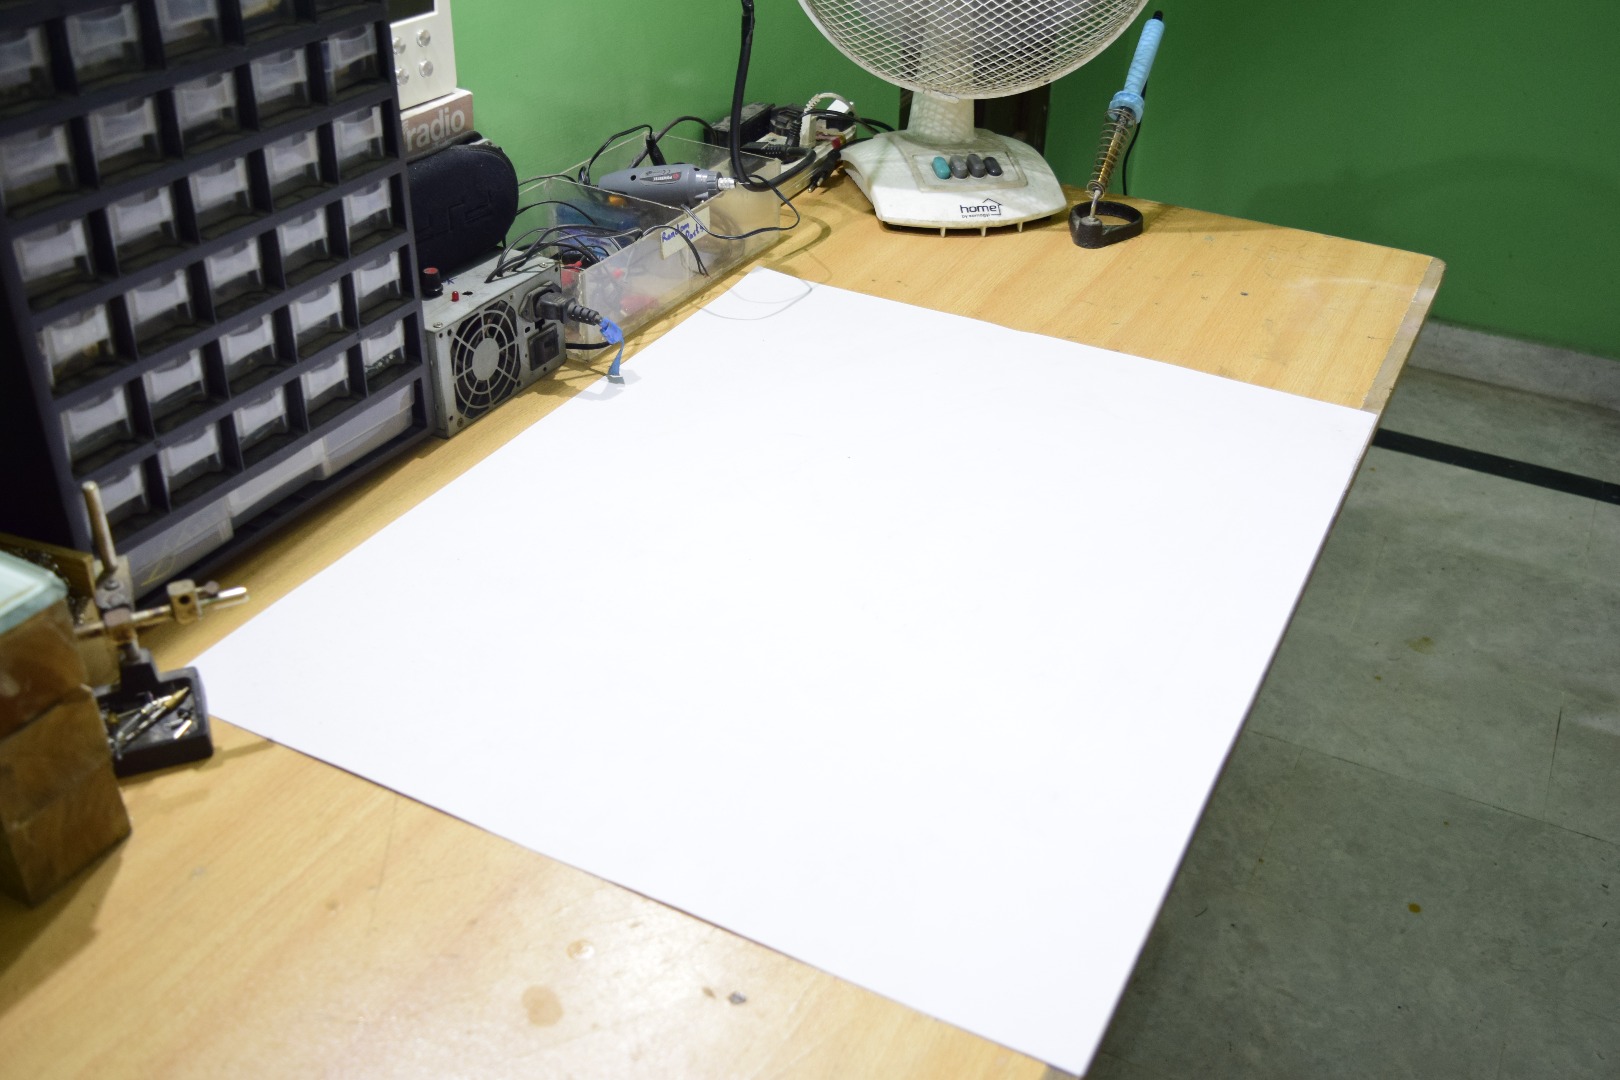
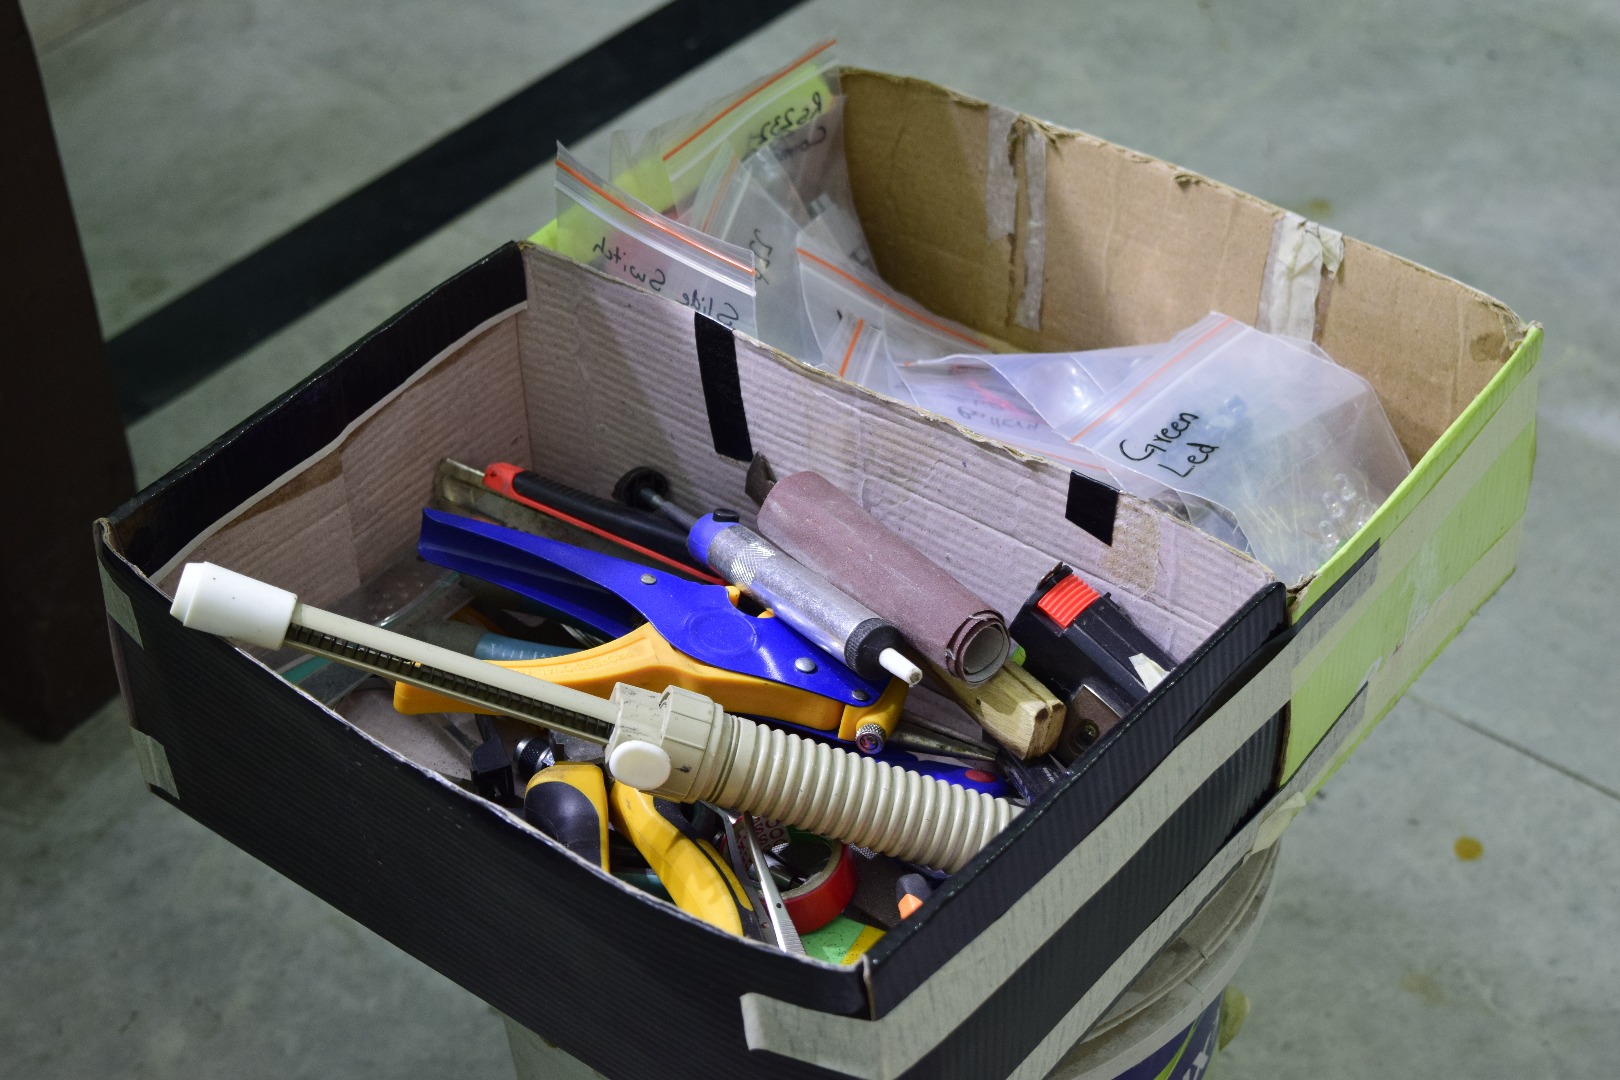
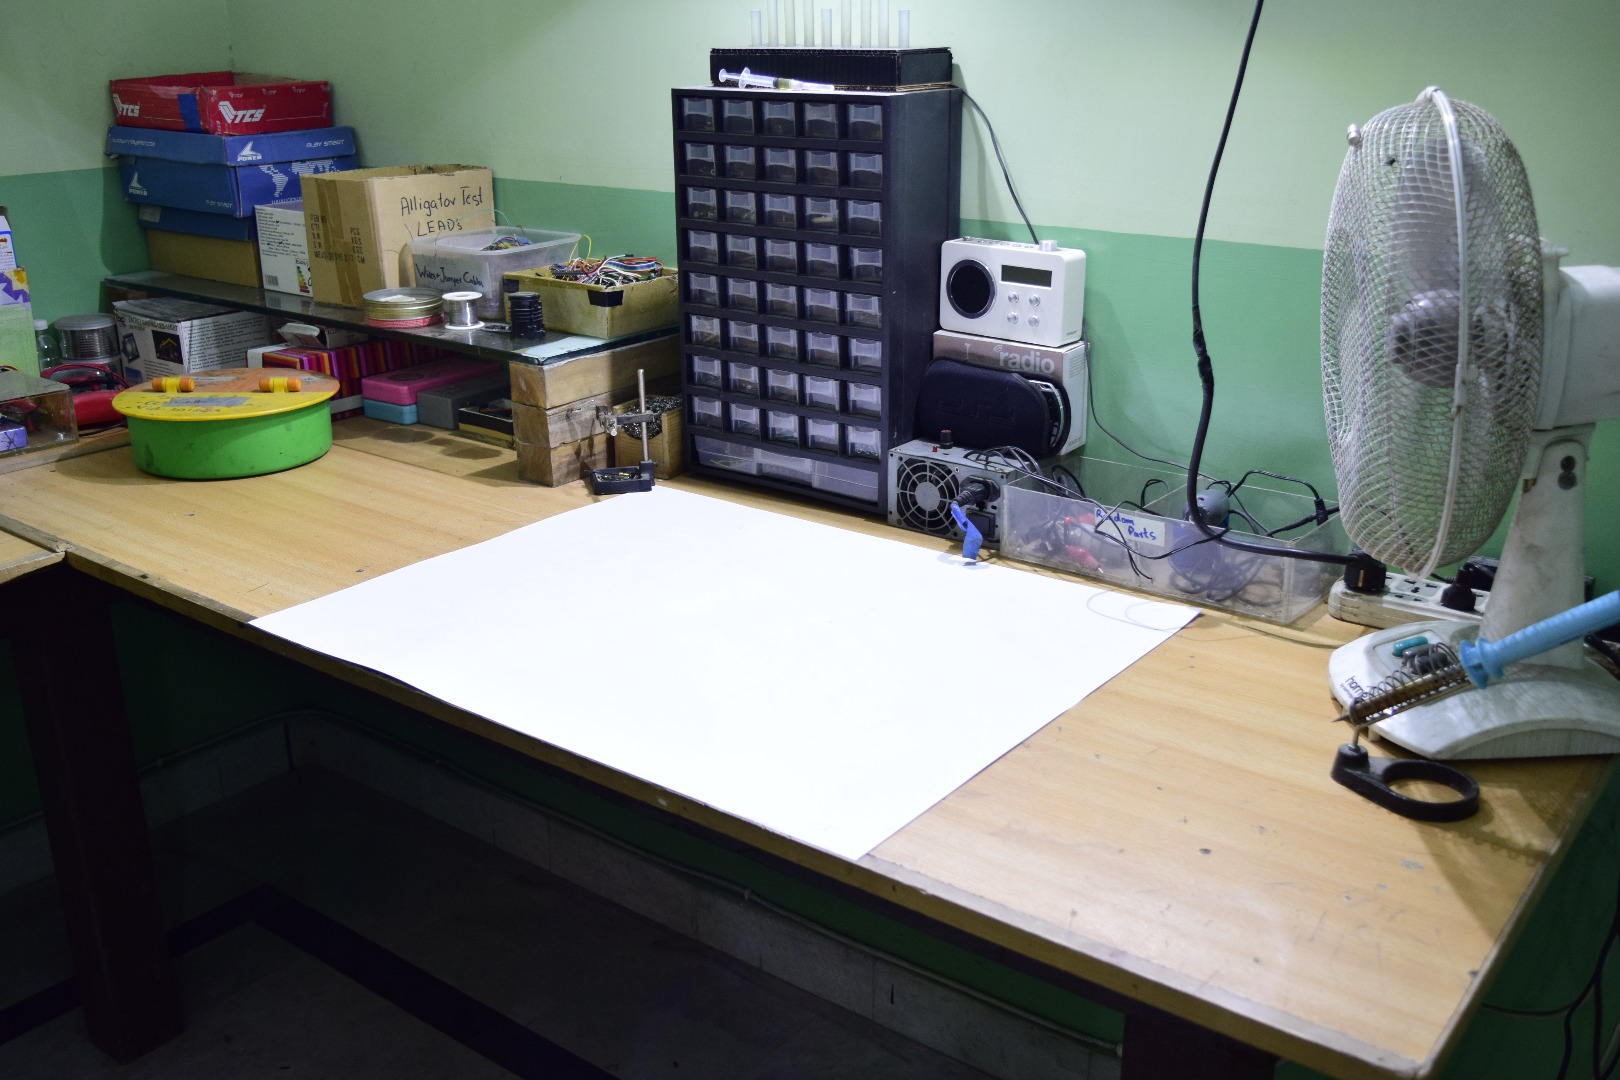
The first thing we should get into is setting up a good background for you images. Now mostly instructables are about small stuff. Which we work on our work table. I dont know about you guys but my work table is quite unpleasant with holes and glue remnants and burnt areas and what not.
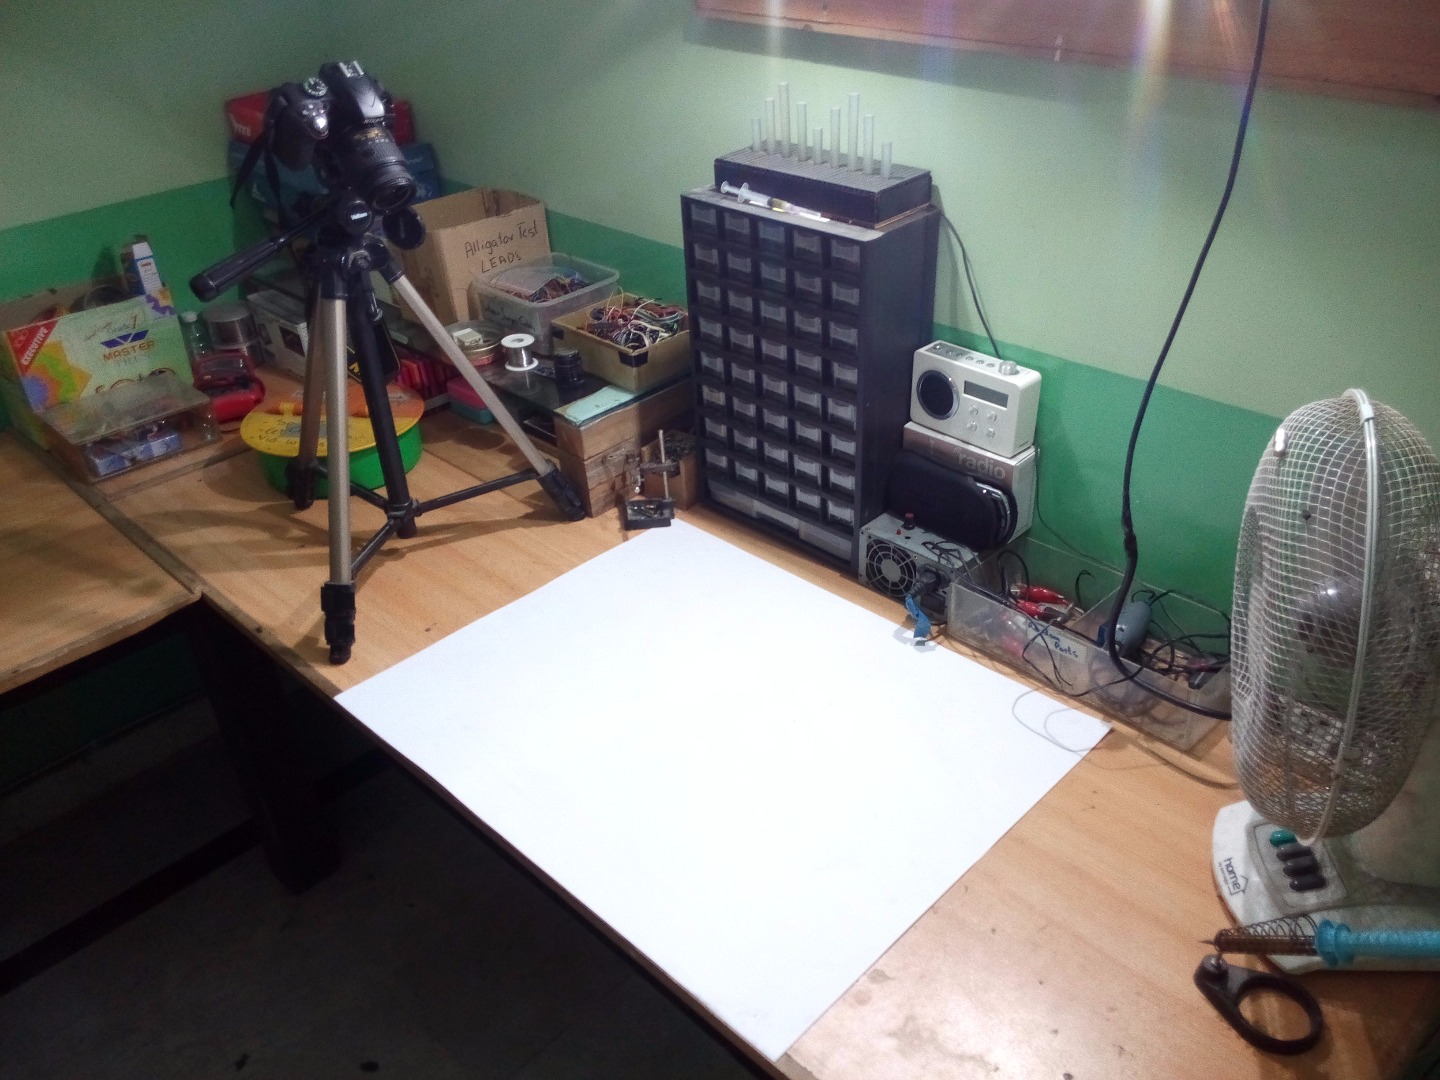
So what you can do it while making an ible you can use a white chart paper for the background. Place it on you work bench. It is quite help full as it brightens the images. Makes anything on it prominent. And it looks neat.
There is also this issue of messy working habits where we have like all our tools on the work table. Well you have to over come that habit. Keep a box nearby and put all you tools there so not to clutter the table. When taking images only the things that need to be in the image should be. Any extra wires, tools, material etc should go in their designated place. Which brings me to another point that it is also important to have a good and tidy work table where there is a designated place for everything.
So as an alternate to the white chart paper i have seen many Pros use a safety cutting mat which is green in color. Well that is nice but i wouldn't recommend it because for starters its expensive. If it gets burnt or drilled it cant be replaced and its darker shade so the images are less bright. Chart paper are cheap and can easily be replaced for every instructable.
Setting Up the Ideal Lighting
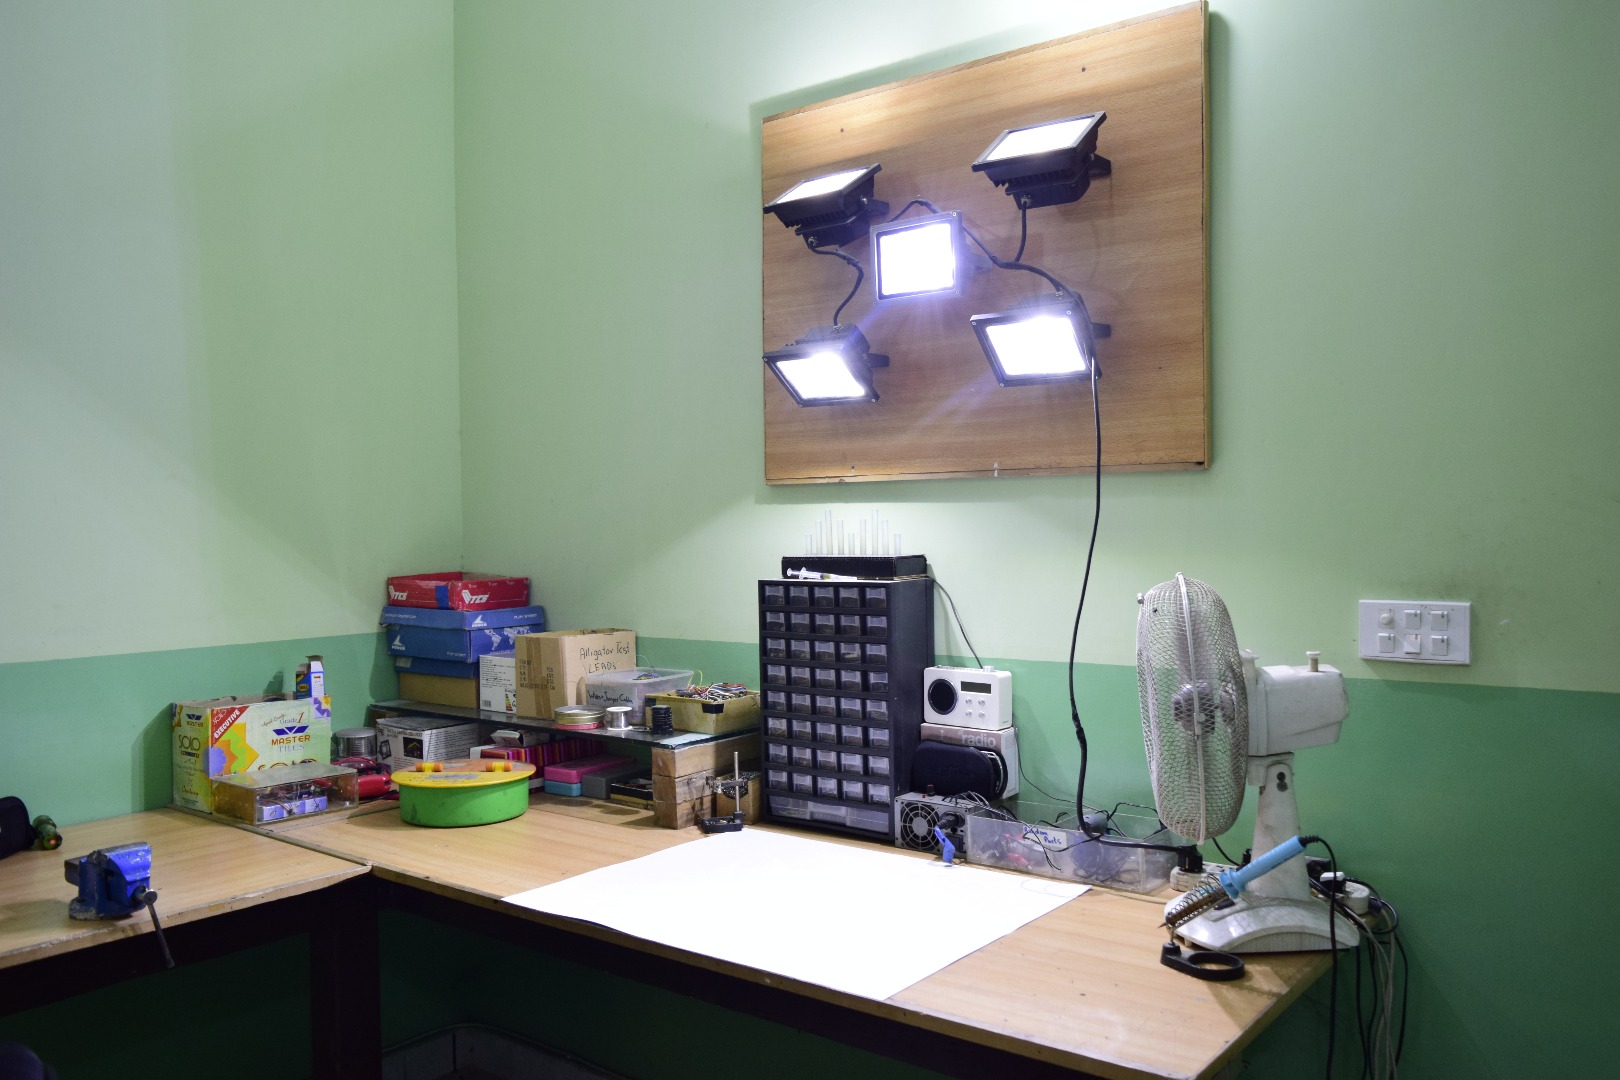
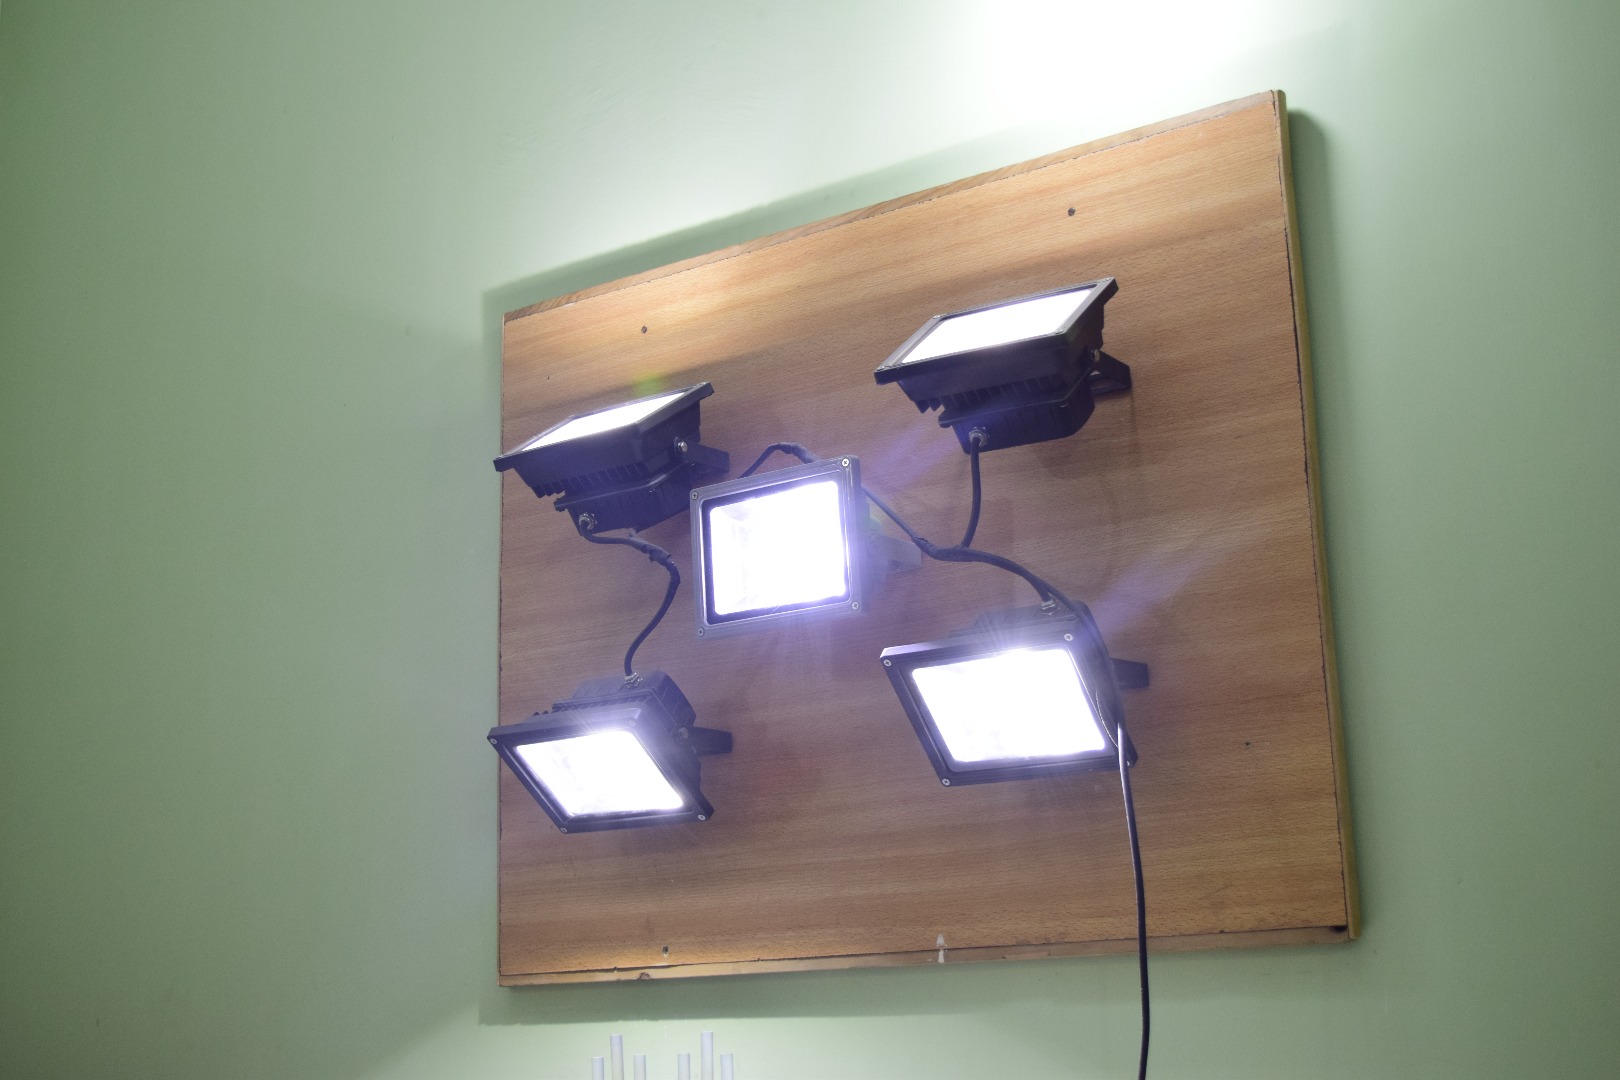
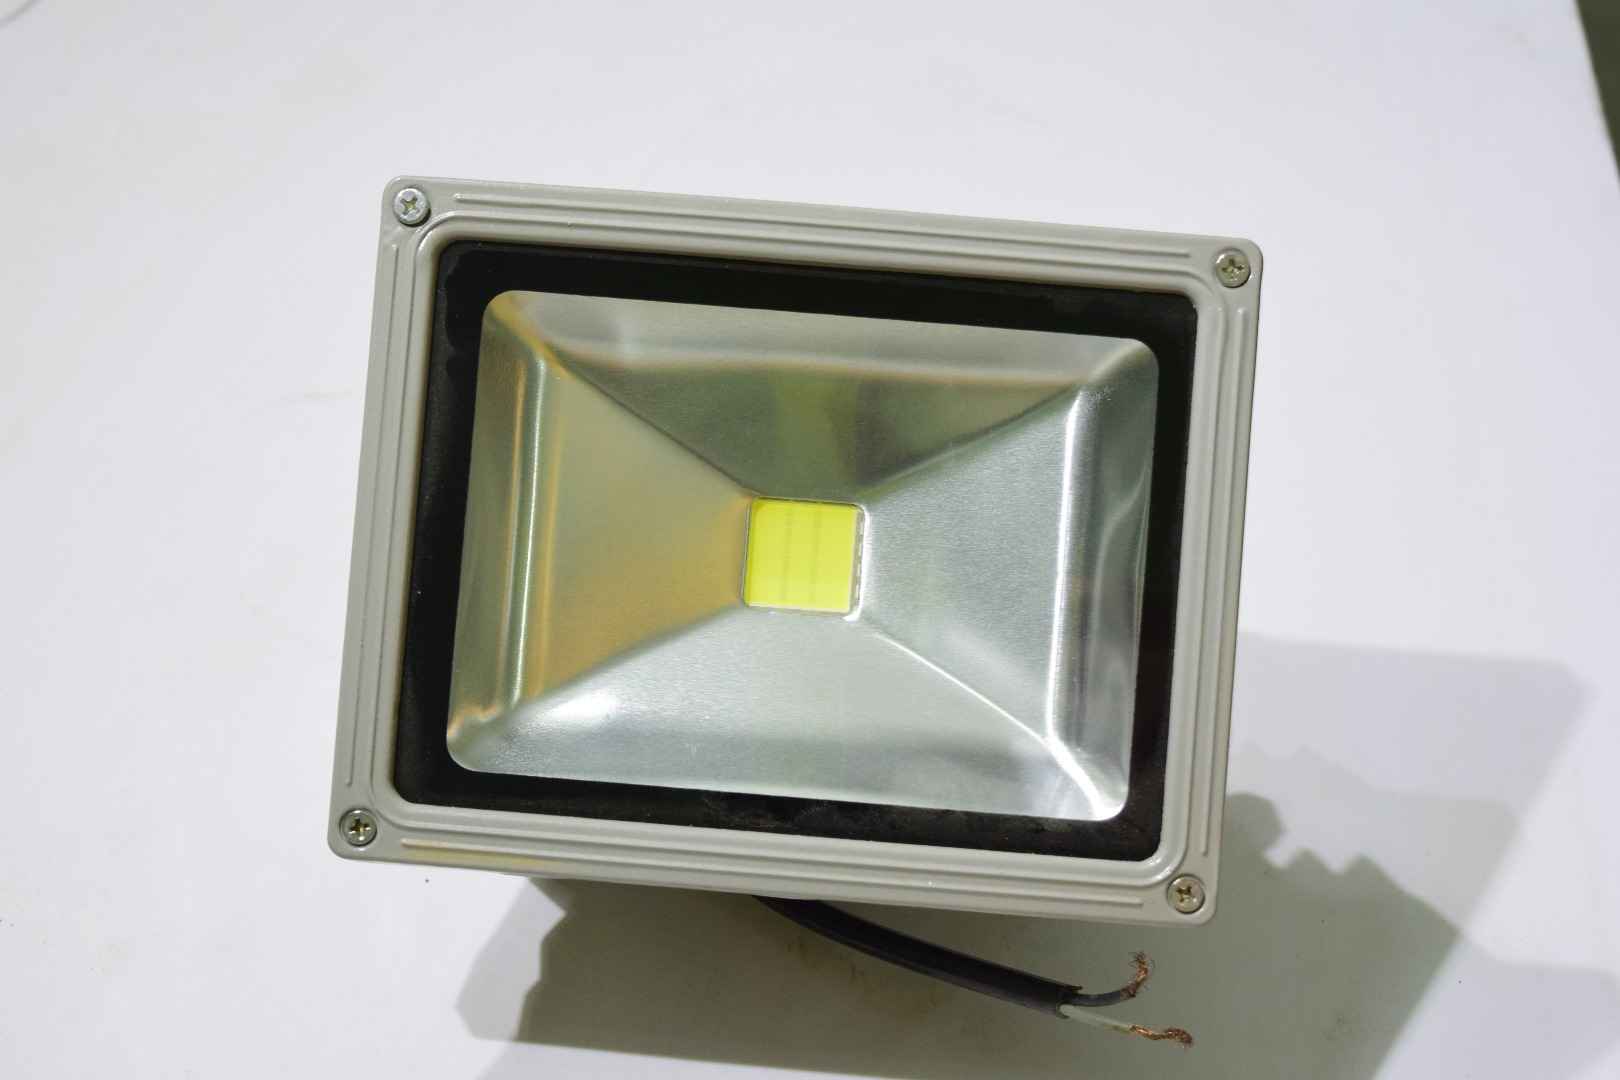
Despite what you may have heard, there is no good alternative to pure white light. A DSLR cannot perform well under poorly lit situations. So its very important that we set up good lighting.
Now for our purposes the standard lighting in a room is not enough and we need more. So what i have done and what i recommend you to do as well is go ahead and buy 4 to 5 20 Watt LED Flood Lights. These are very popular there days and you can get them here
Mount them on top or you work table and position them like i have so that light bounces off the wall and there are less shadows.
When you have like four of the right above your work table then dim images wont be a problem anymore.
Setting Up a Tripod
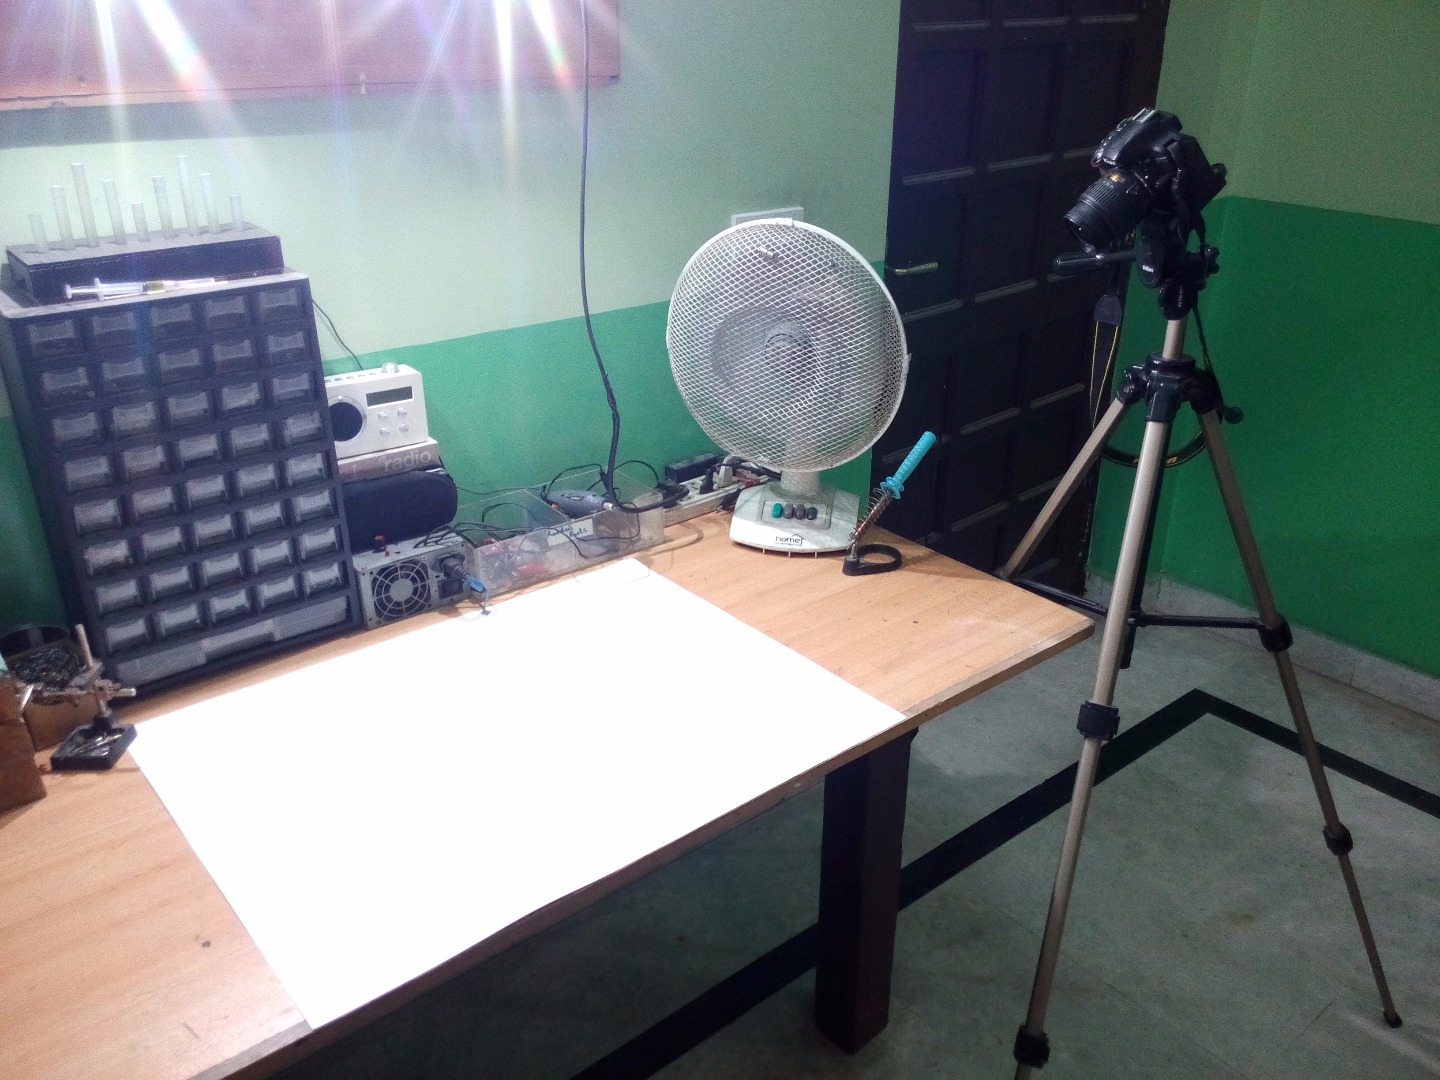
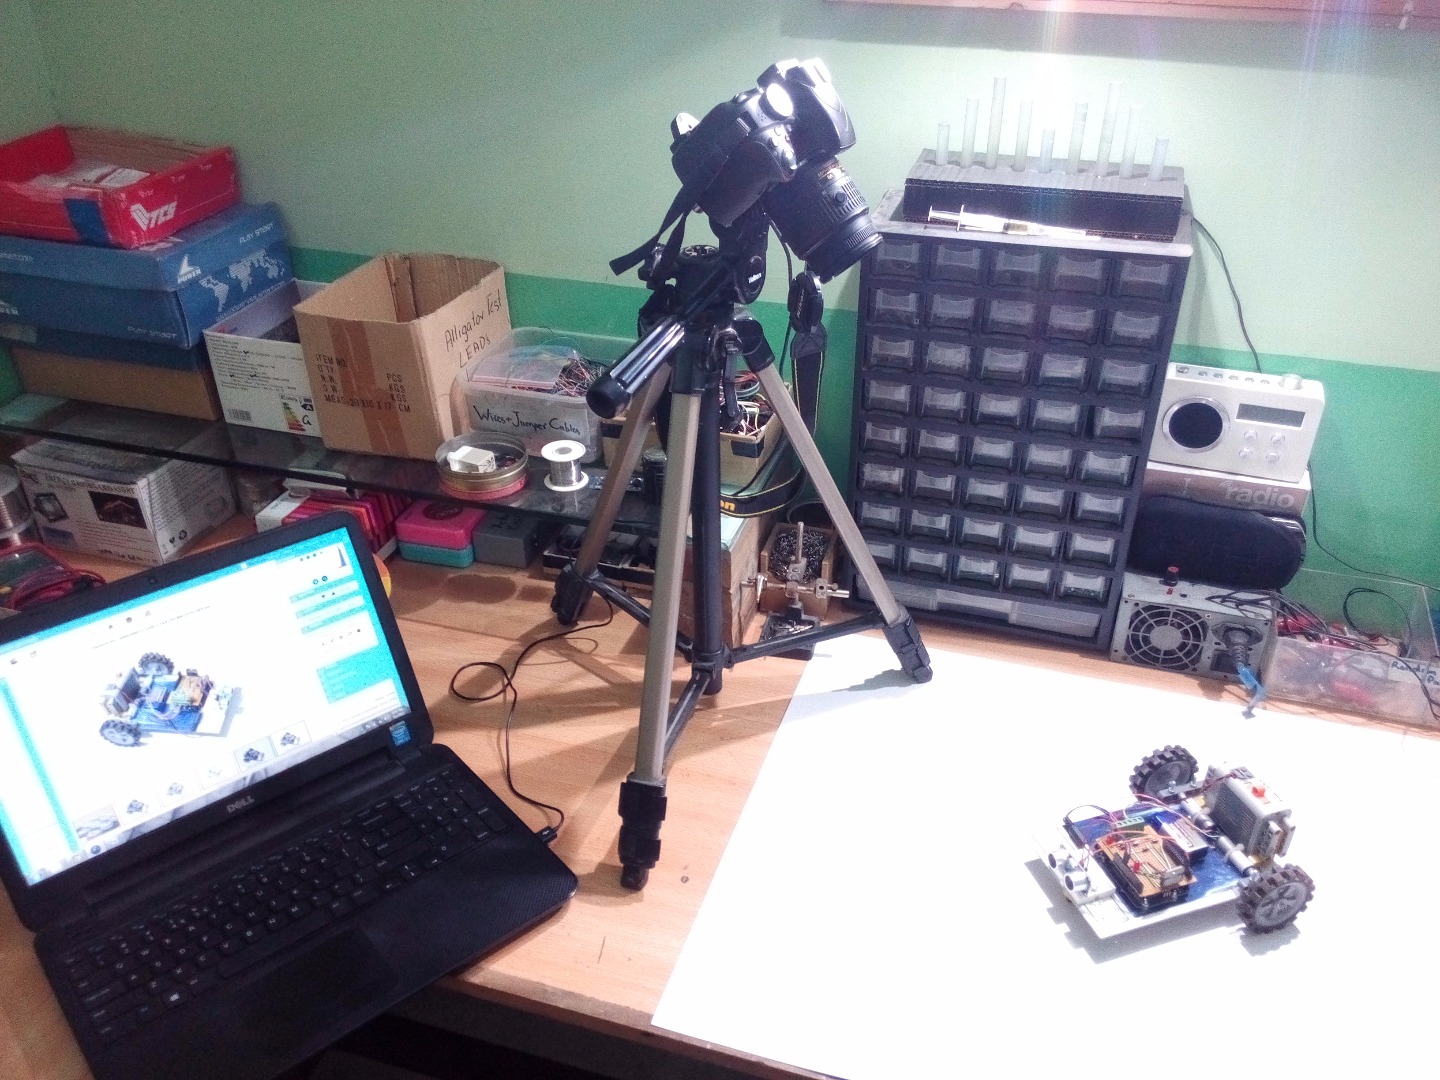
Well it is not rocket science that taking images by hand after every step can be a real pain. And the tripod can ease your burden. It allows you to set up a shot and then frees your hand for holding the object to be captured.
If you have seen some instructable you may notice that ibles in which the steps are captured in detail are much more like-able. Images in which the authors hands are doing the work are appreciated more. So a tripod will help you in that matter.
Tripods have become real inexpensive like this one but i would recommend to invest a bit in a good quality tripod as it would be worth it. I am using a Velbon tripod which my parents bought before my birth and it is still functioning perfectly. Something like this is what i would recommend.
The Perfect Software
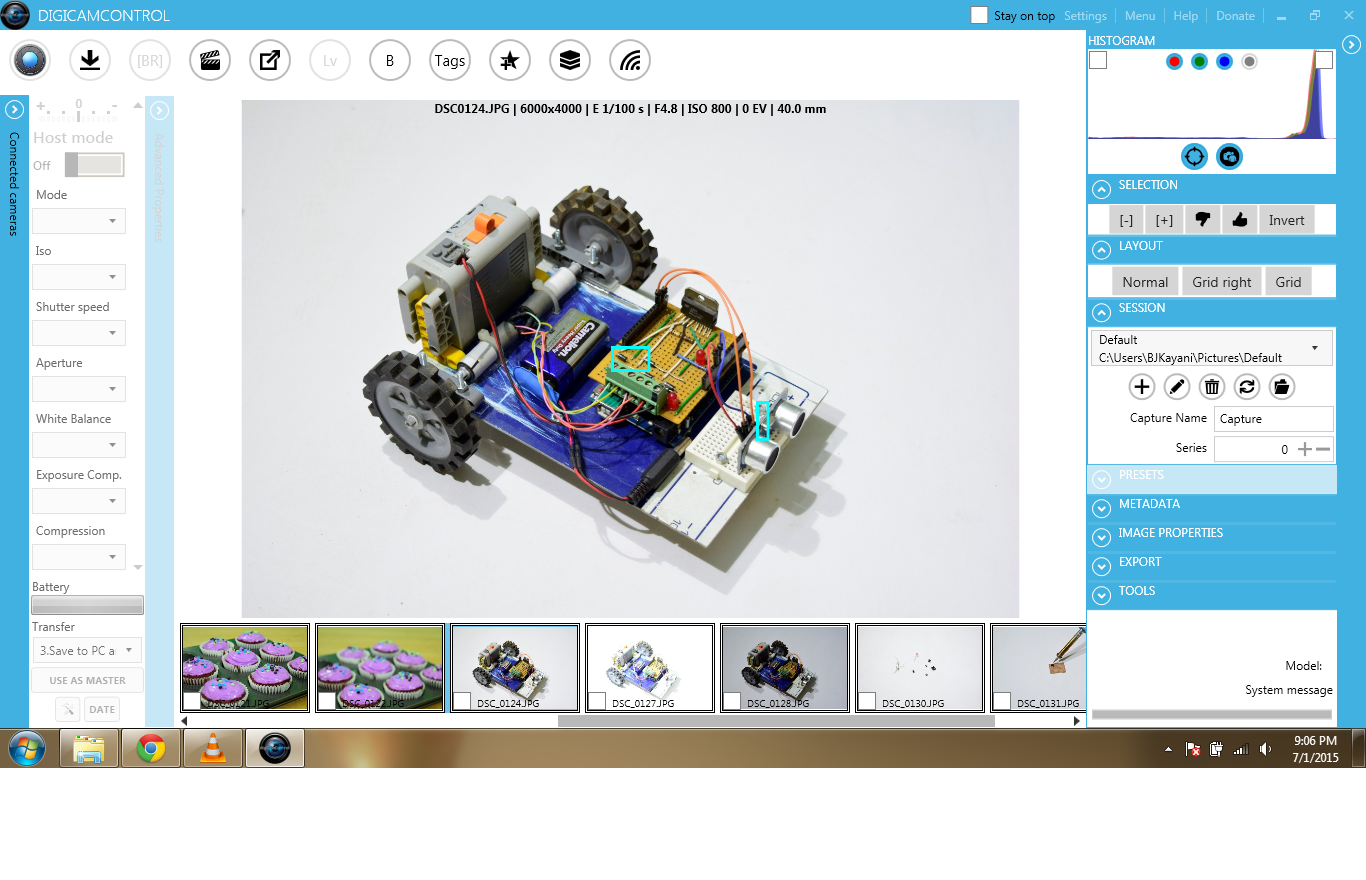
Recently i discovered that i could connect my DSLR to my laptop using a USB cable and it would allow me to control my DSLR's every move with my laptop.
At first i was skeptical about the practicality of this but when i started using it, it was amazing. Taking the images of every step has become easier than ever.
The software is digiCAMControl and you can download it for free from here. After installing the software all you need to do it plug in you DSLR and the software will do the rest. Once linked up you can change all your setting, view live feed and capture images from your laptop. The best part is that each image you capture will be automatically saved in your laptop as well so no need to transfer the images. You can view your image instantly and detect problems otherwise unnoticeable on the DSLR display.
The shutter release can be activated by the space bar on your laptop. What i do is keep my laptop and tripod assembly on my left hand side of the work table. If i need to capture and image i hold the object with my right hand and capture using the left. Or if i need to use both hands the timer function can be activated through the software as well. The software also allows for live view on the laptop so i don't need to stand up and view the DSLR to check if the object is centered. I can just view it on my laptop while sitting, adjust accordingly and capture the image.
Ease the Shutter Release
Well there are many ways to actually capture the image or in technical terms activate the shutter release.
1. The first one and the most basic is the little shinny button on the DSLR.
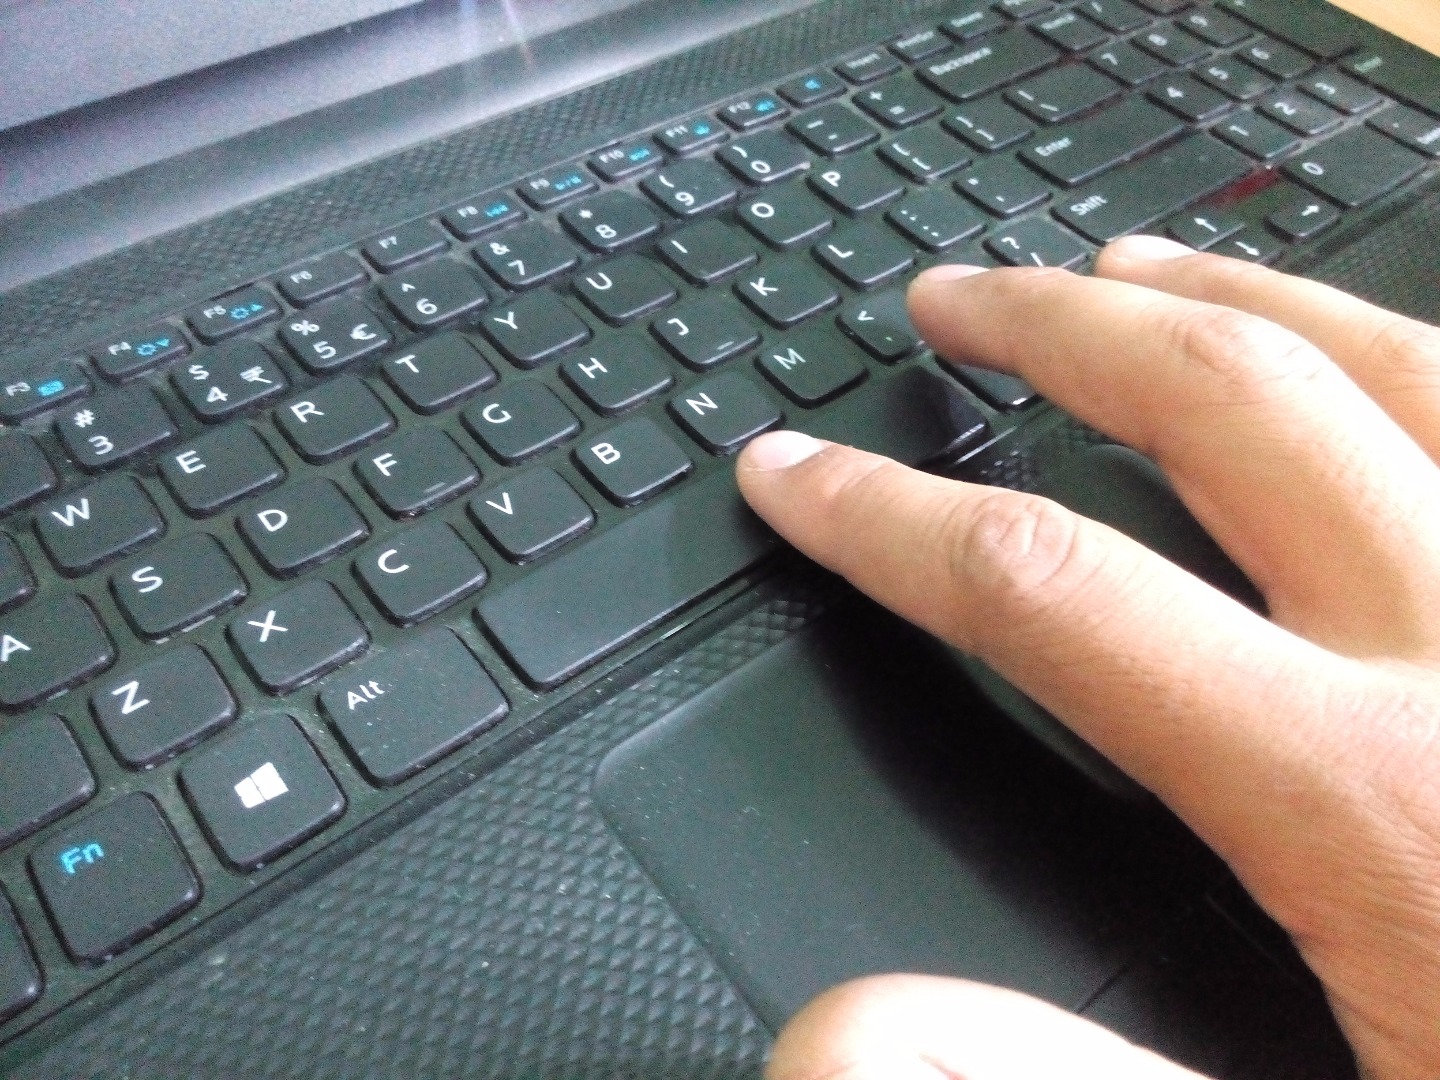
2. If that doesn't work for you then you could hook your DSLR to the laptop and release the shutter from the software using the space bar.
3. Another method which i haven't tried yet but i think would be pretty cool is to buy a wired or wireless keyboard. Hook it up to you laptop and place it on the floor so that you can press space bar using you feet and release the shutter while having both hand available.
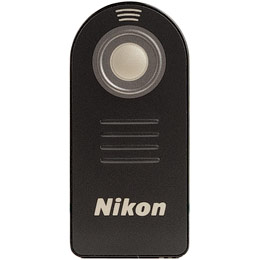
4. The Infrared Remote Shutter Release from Nikon is also another way of doing it although it is mostly used for self portrait.
5. The timer function is a time tested technique which still proves very helpful for me.
Striking the Perfect Balance
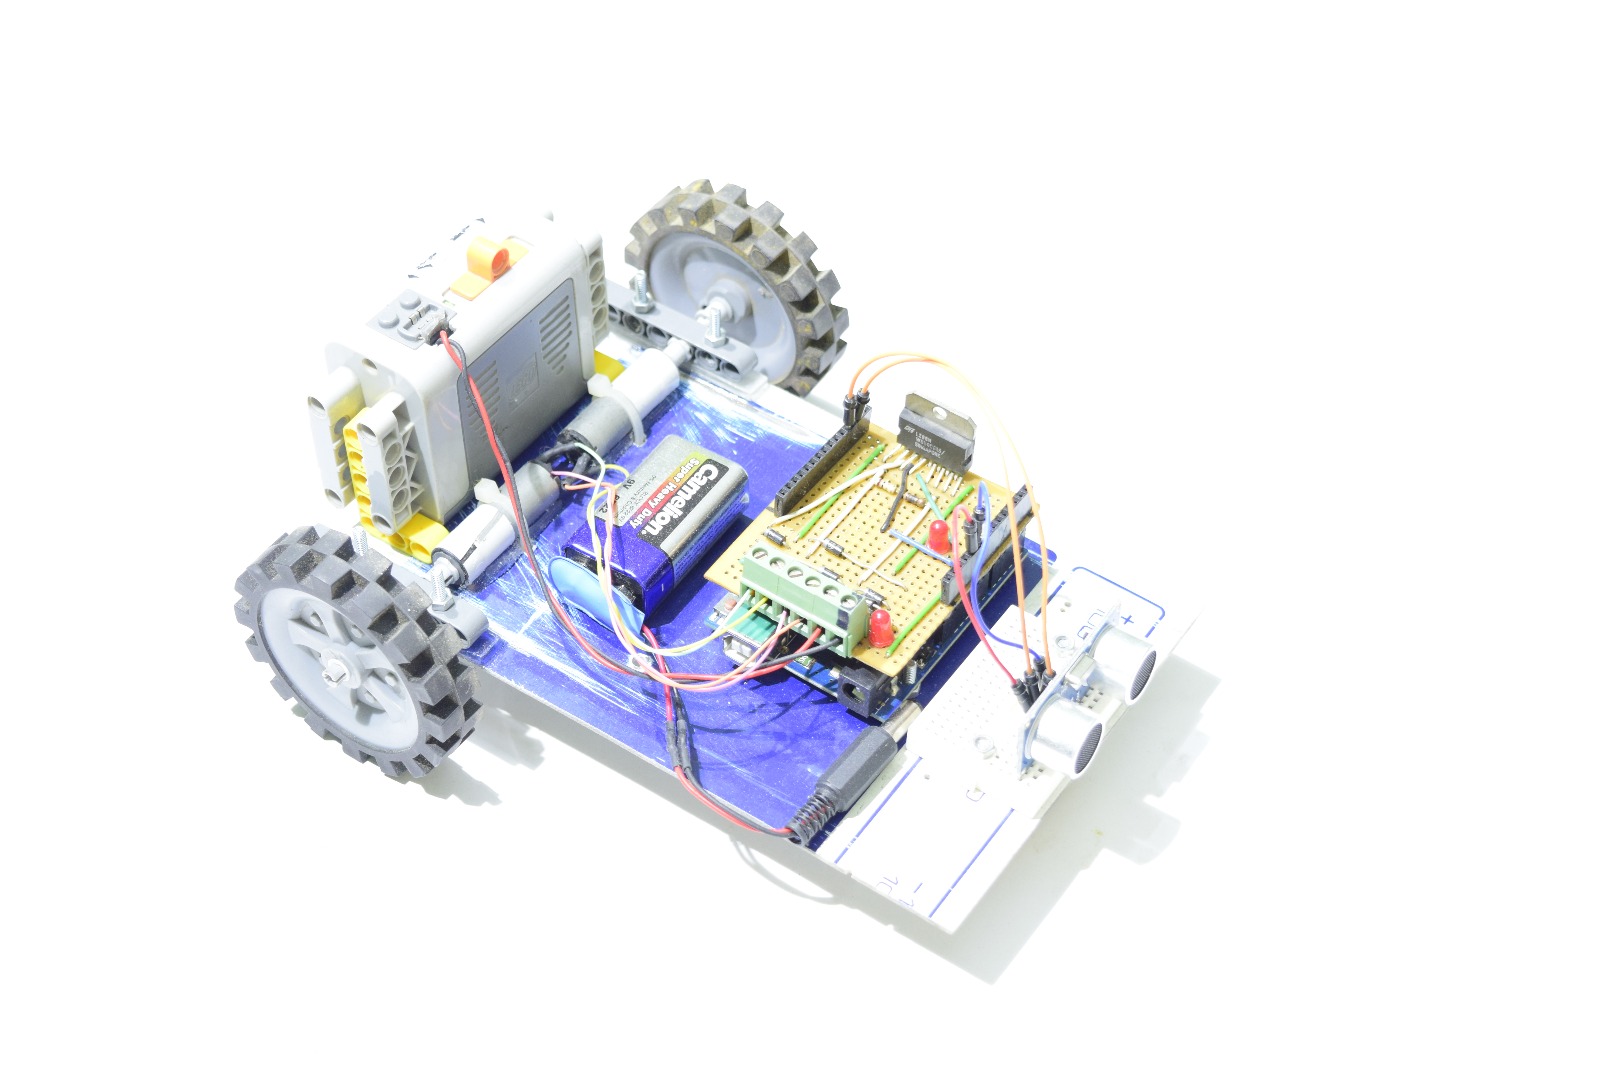
So now i am going to assume that you have set up your work table with all the lighting and background and tripods. It is then time to fiddle with the settings to achieve the perfect images. I am going to assume that you are a novice.
So first thing to do is to set the exposure at F 5.6 and then forget about it. Now i am not going into the detail of how to change the setting because its different for different brands but you can refer to your DSLR's manual for that.
Set the ISO to 800 and then forget about that as well.
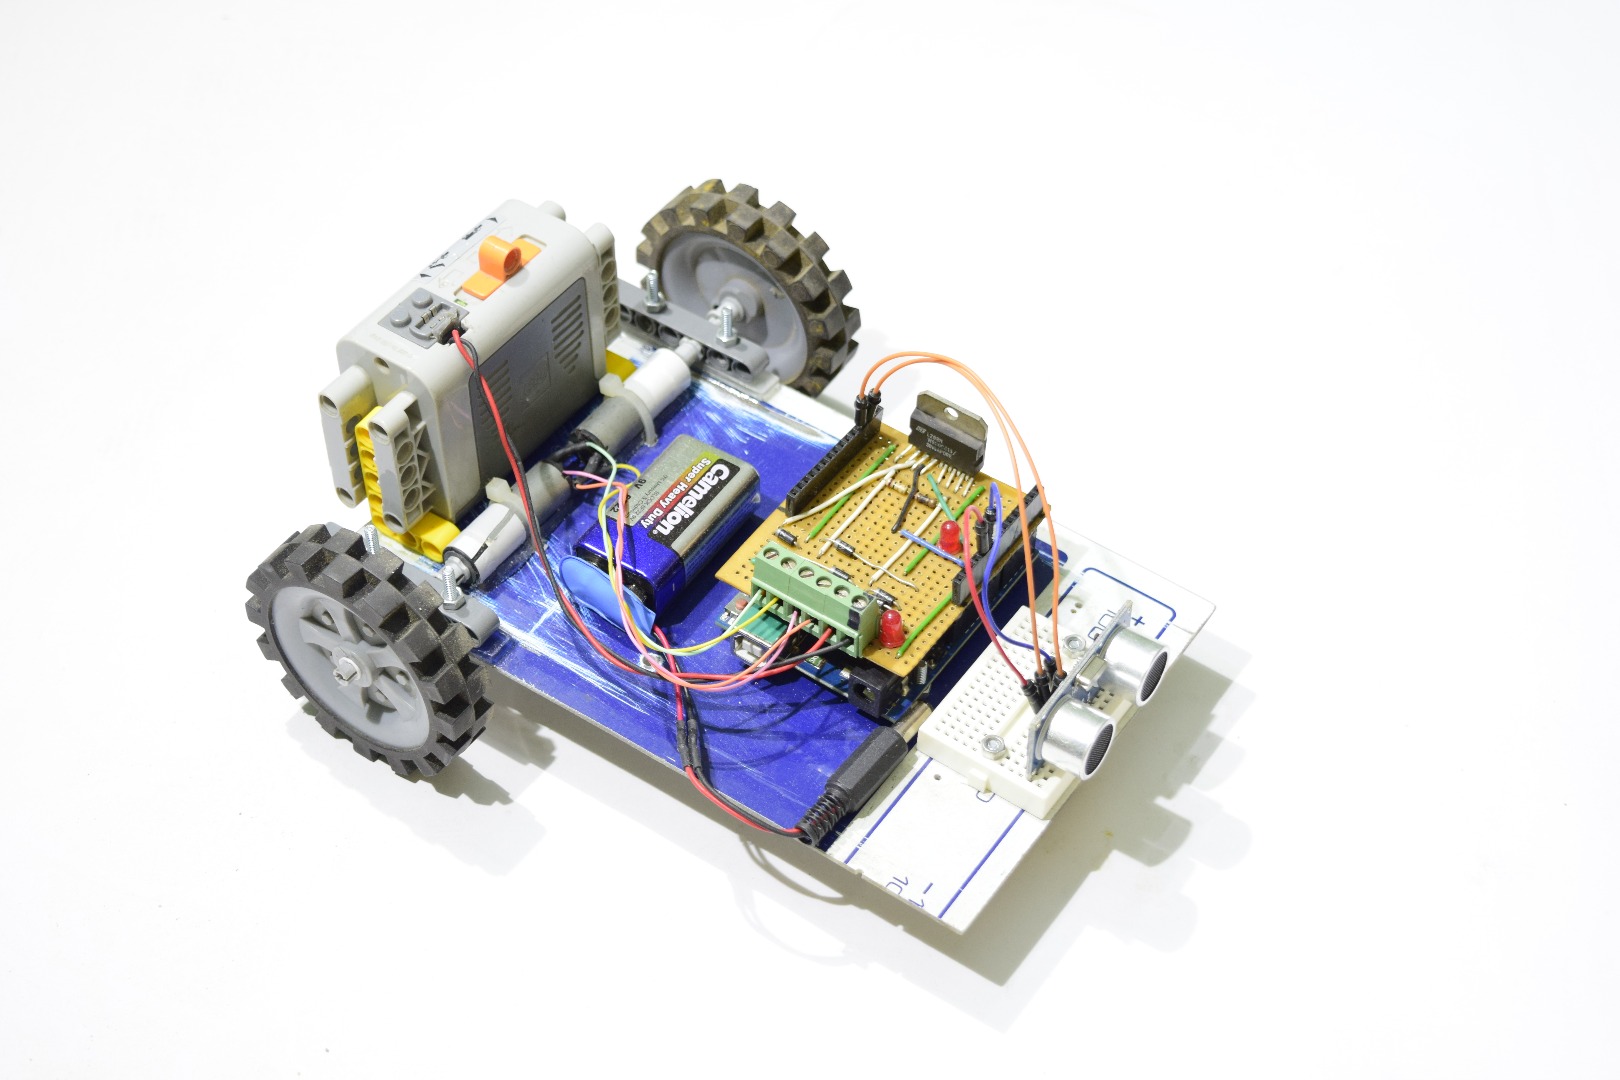
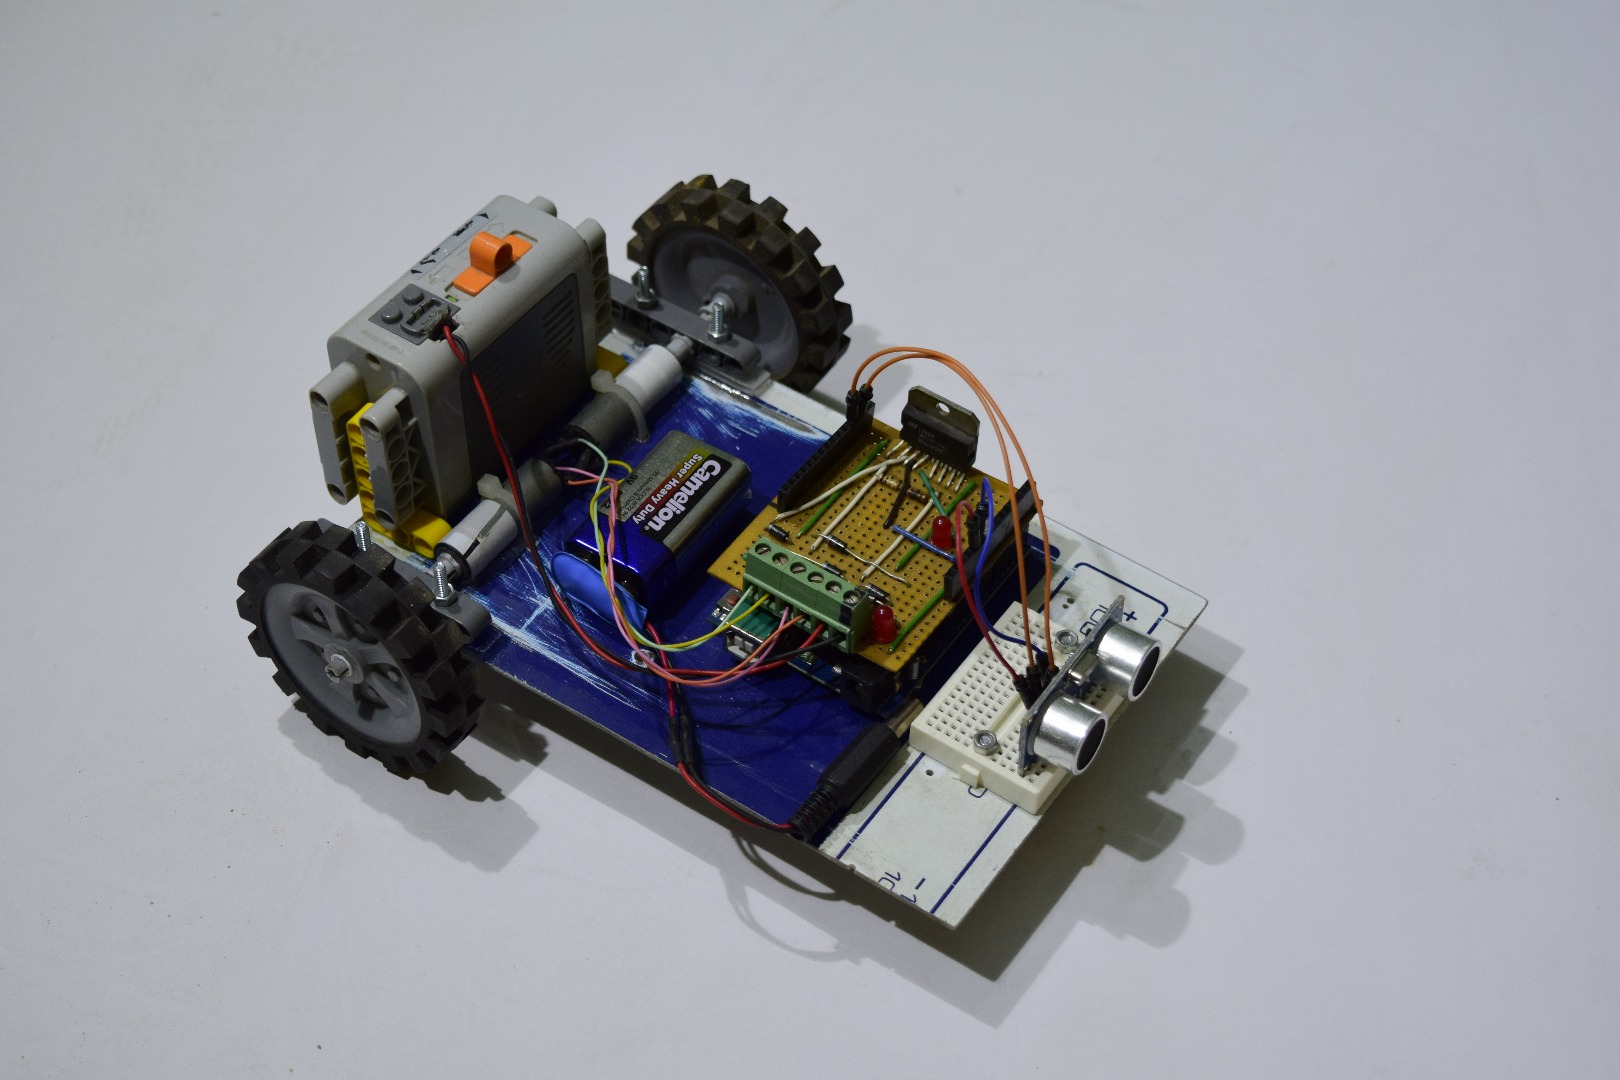
Now to actually vary the brightness we will use the shutter speed. Start at about 1/50 and go up as you need to. Test each increment by taking a photograph. Ok so if you get a good image like the one i have taken withing 1/50 to 1/200 shutter speed then your lucky.
But if not then you need to adjust the ISO. If the shutter speed is 1/50 and the image is still too dark for your liking, then raise the ISO to 1600 and repeat the shutter testing.
If the shutter speed is at 1/200 and the image is still too bright for your liking then decrease the ISO to 400 and repeat the shutter testing. Don't go beyond 1600 ISO and stay within 1/50 to 1/200. If your not getting good results then your lighting isn't proper.
Composition
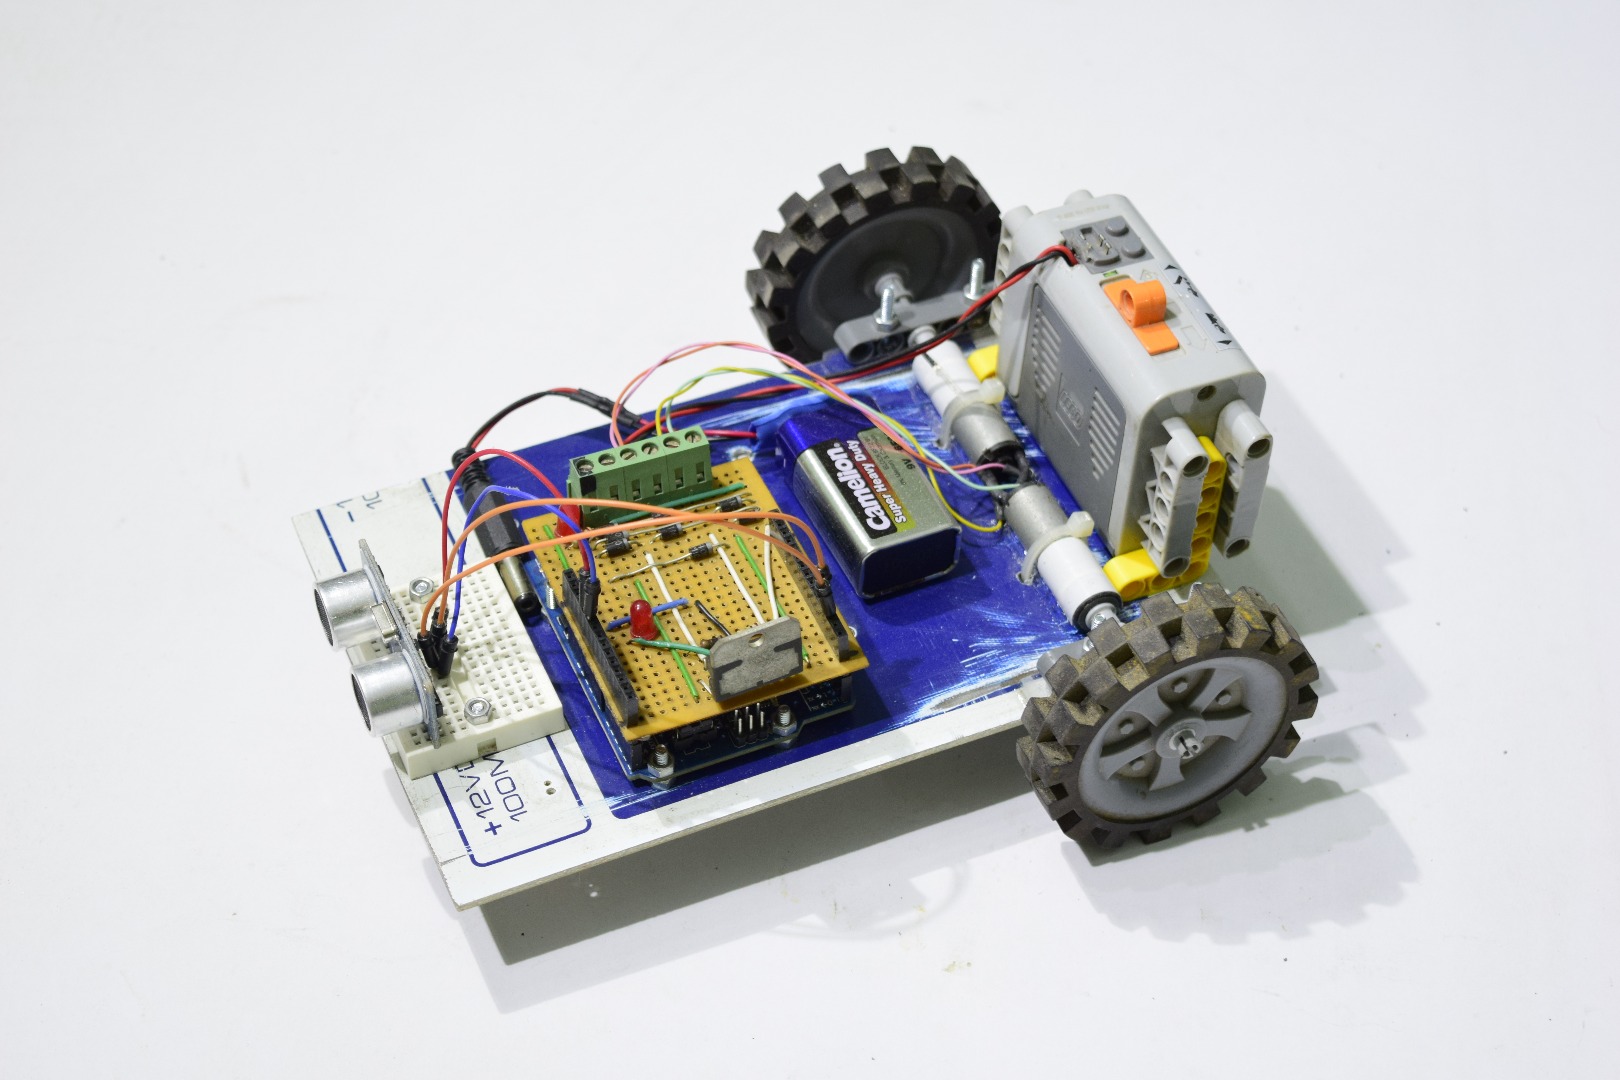
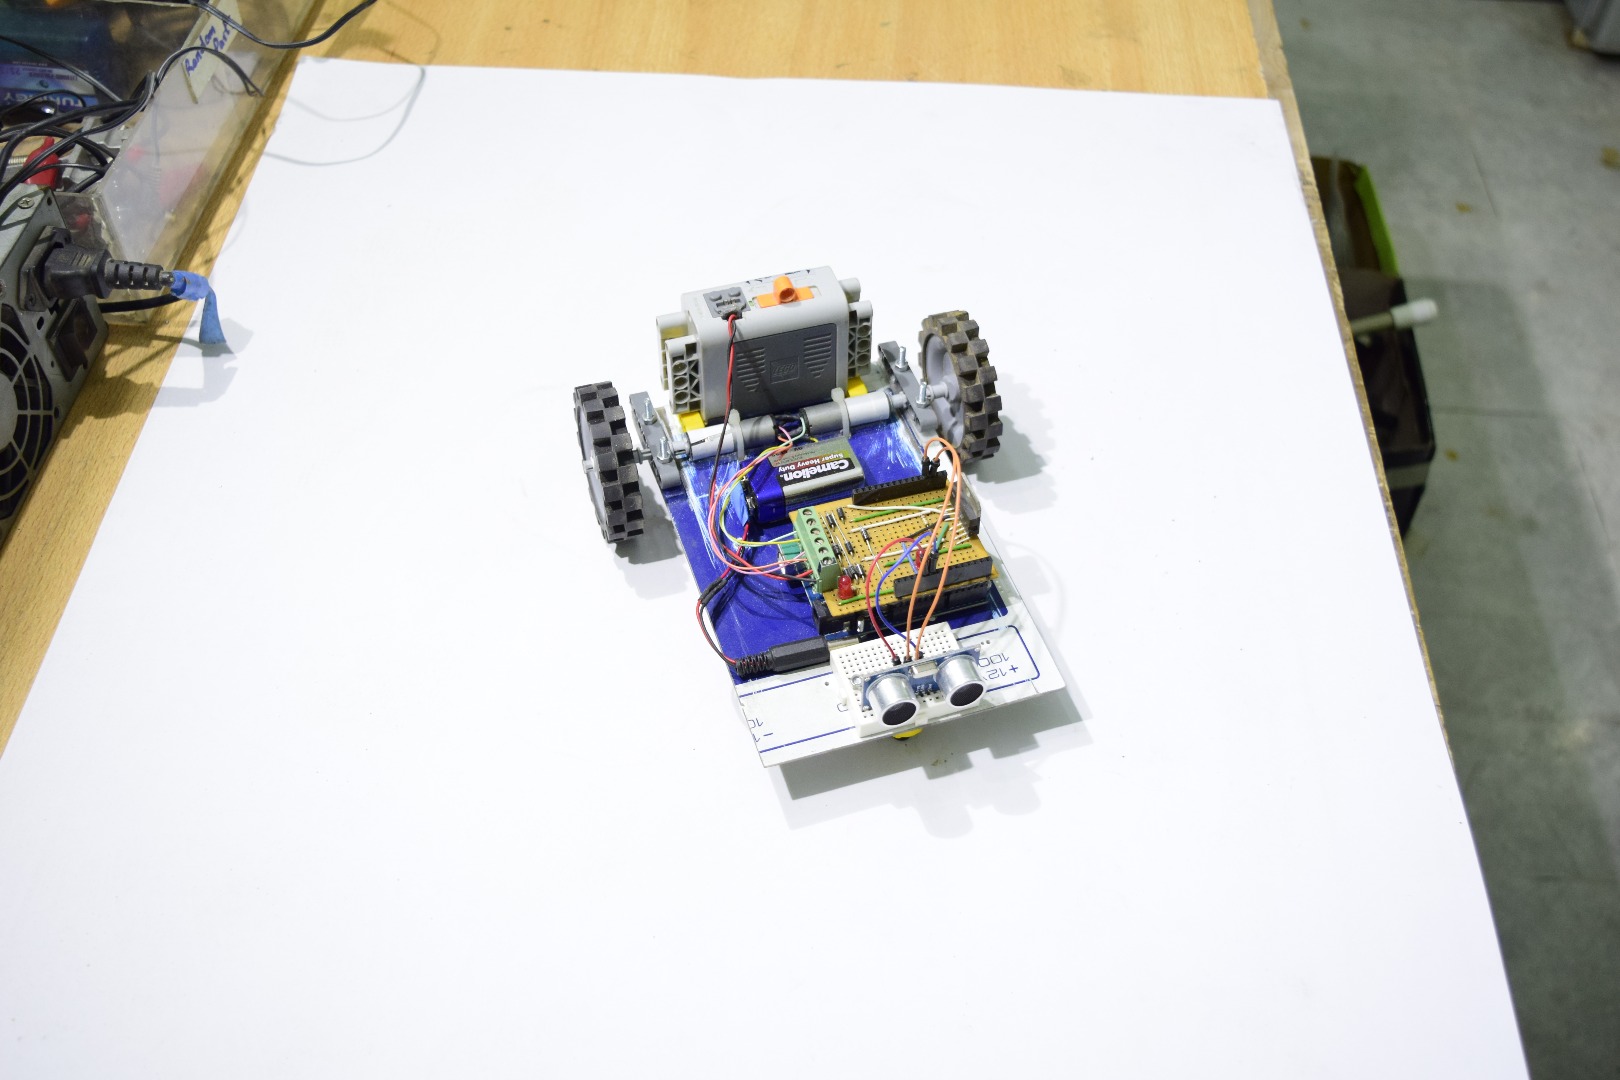
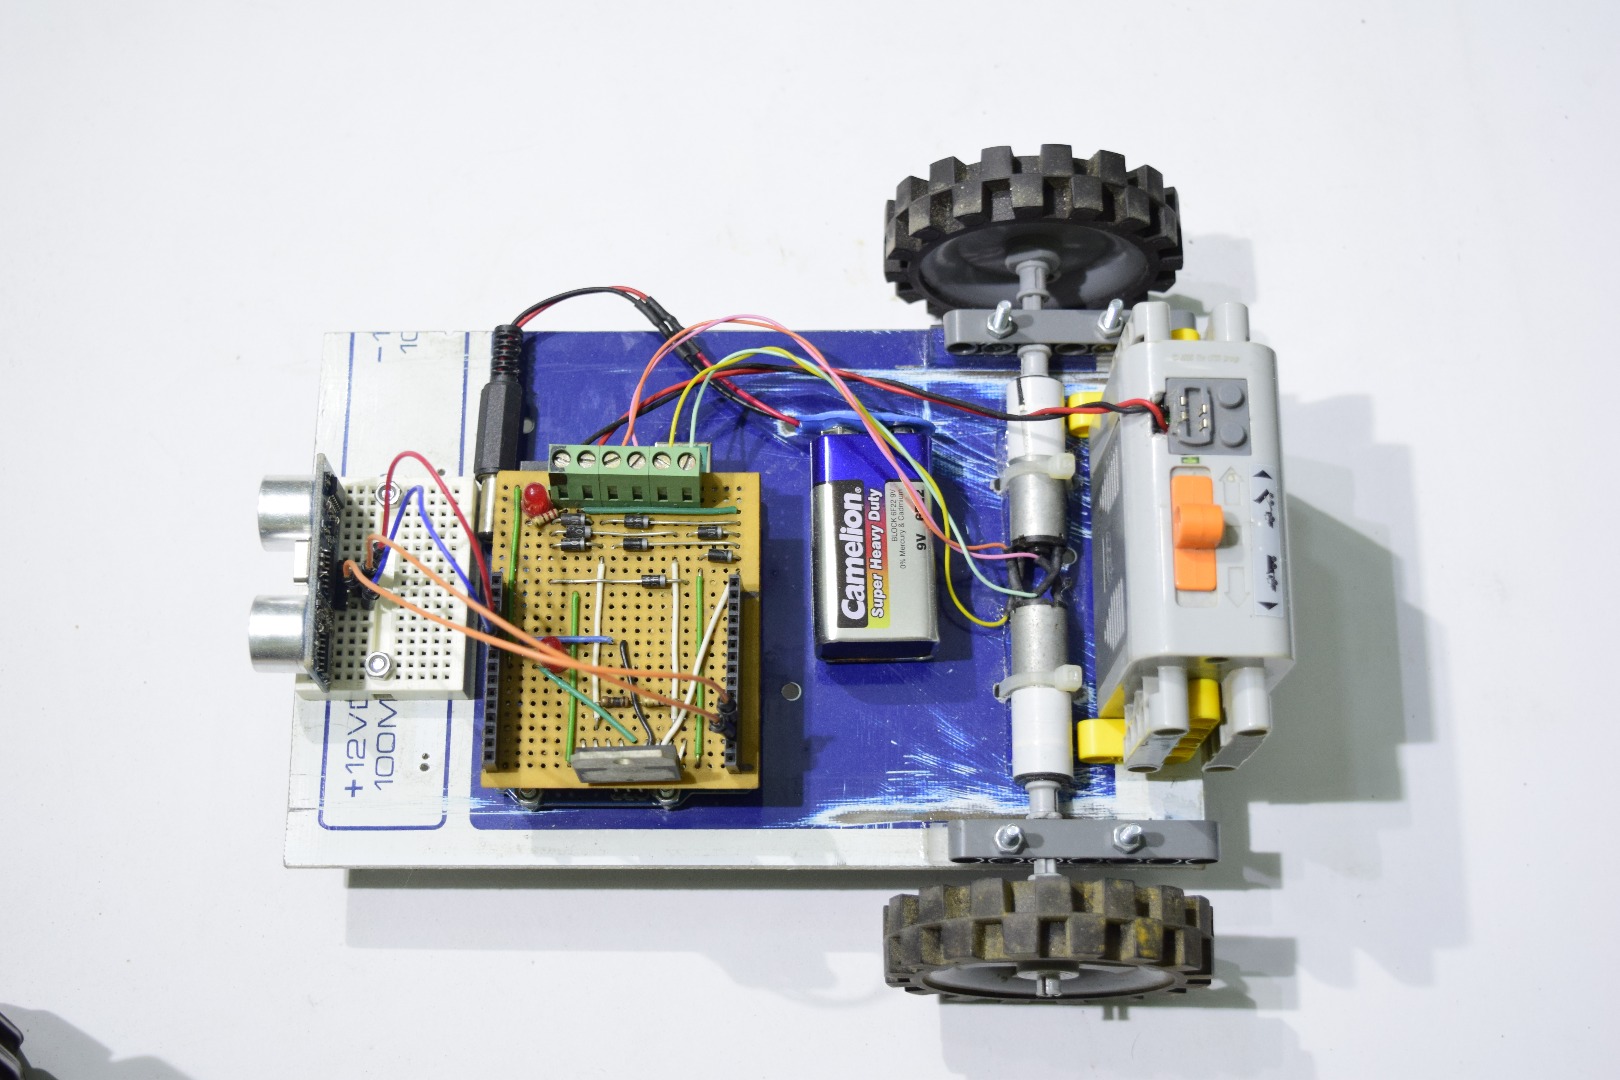
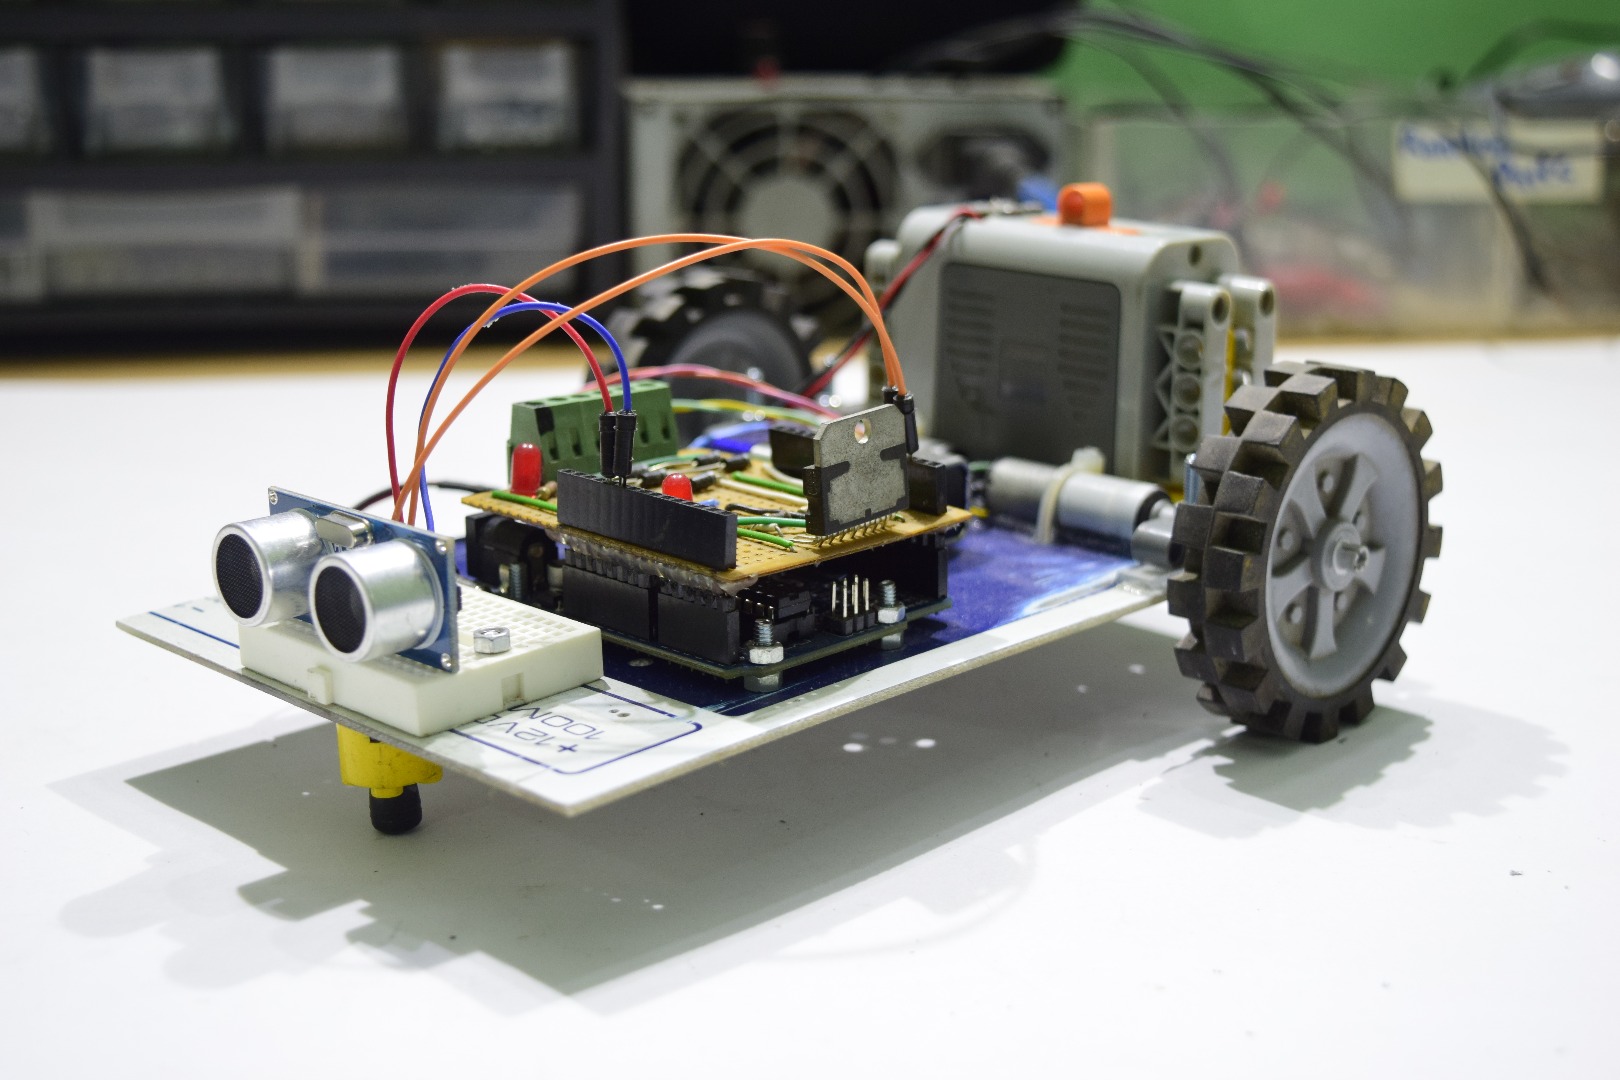
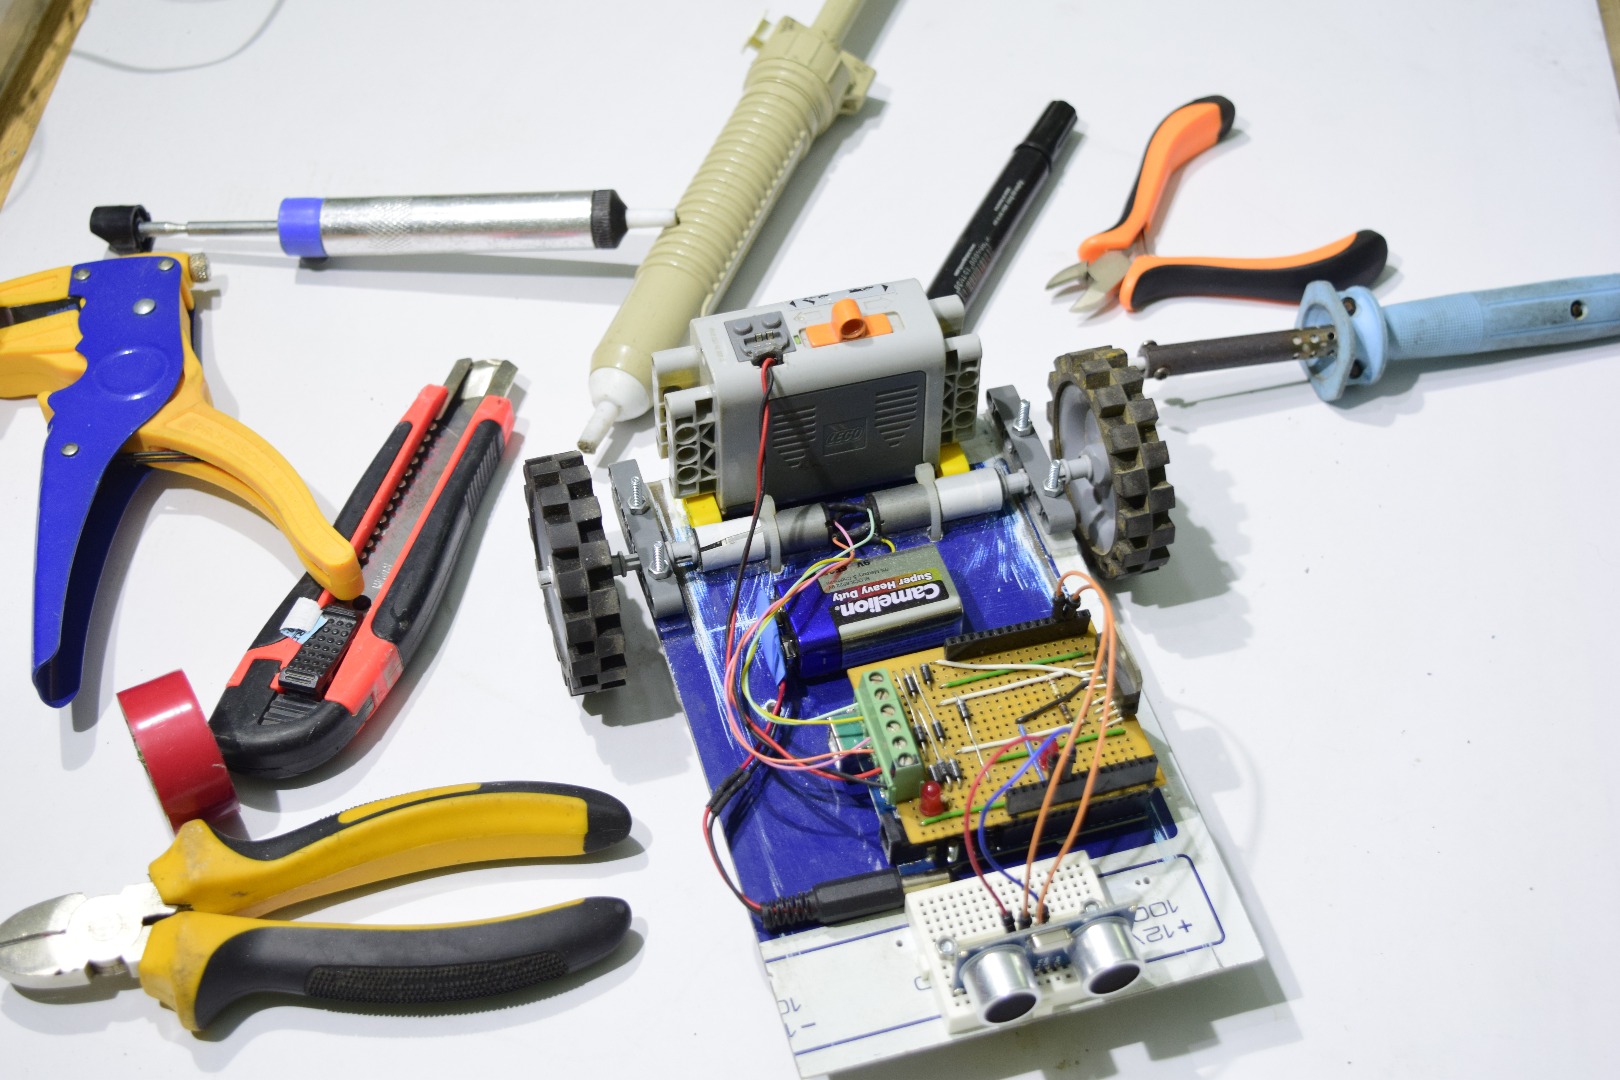
Composition is basically the boundaries and contents of you image. What it shows and at what angle it is taken. It is also a vital component of good images.
A good composition would include the following aspects:
- It would be from an angle of about 45 degrees. Not from the top or from the side
- It would only contain the necessary objects to be captured. Sometimes it is a good idea to place some tools and work material in the frame as well as long as it doesn't give an untidy look.
- It would be from such a location that the light source doesn't cause a visible shadow. If the show is invisible and on the hidden side then its no worry.
- Placing the camera not exactly opposite to the light source but at such an angle so that glare doesn't occur nor shadows appear.
- Making sure that if you have chosen a white background for example, the frame doesn't overshoot from that background giving it an unprofessional look.
Editing

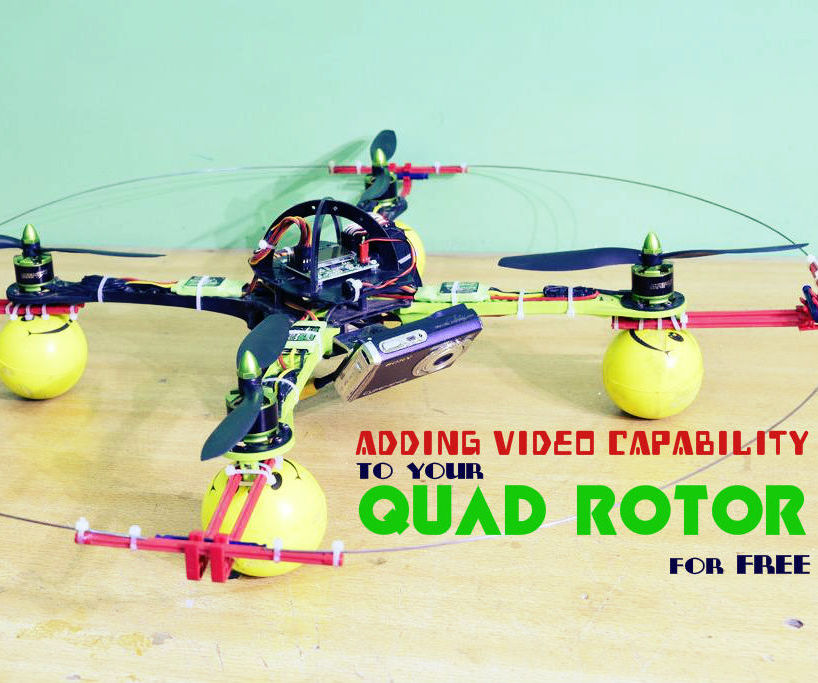
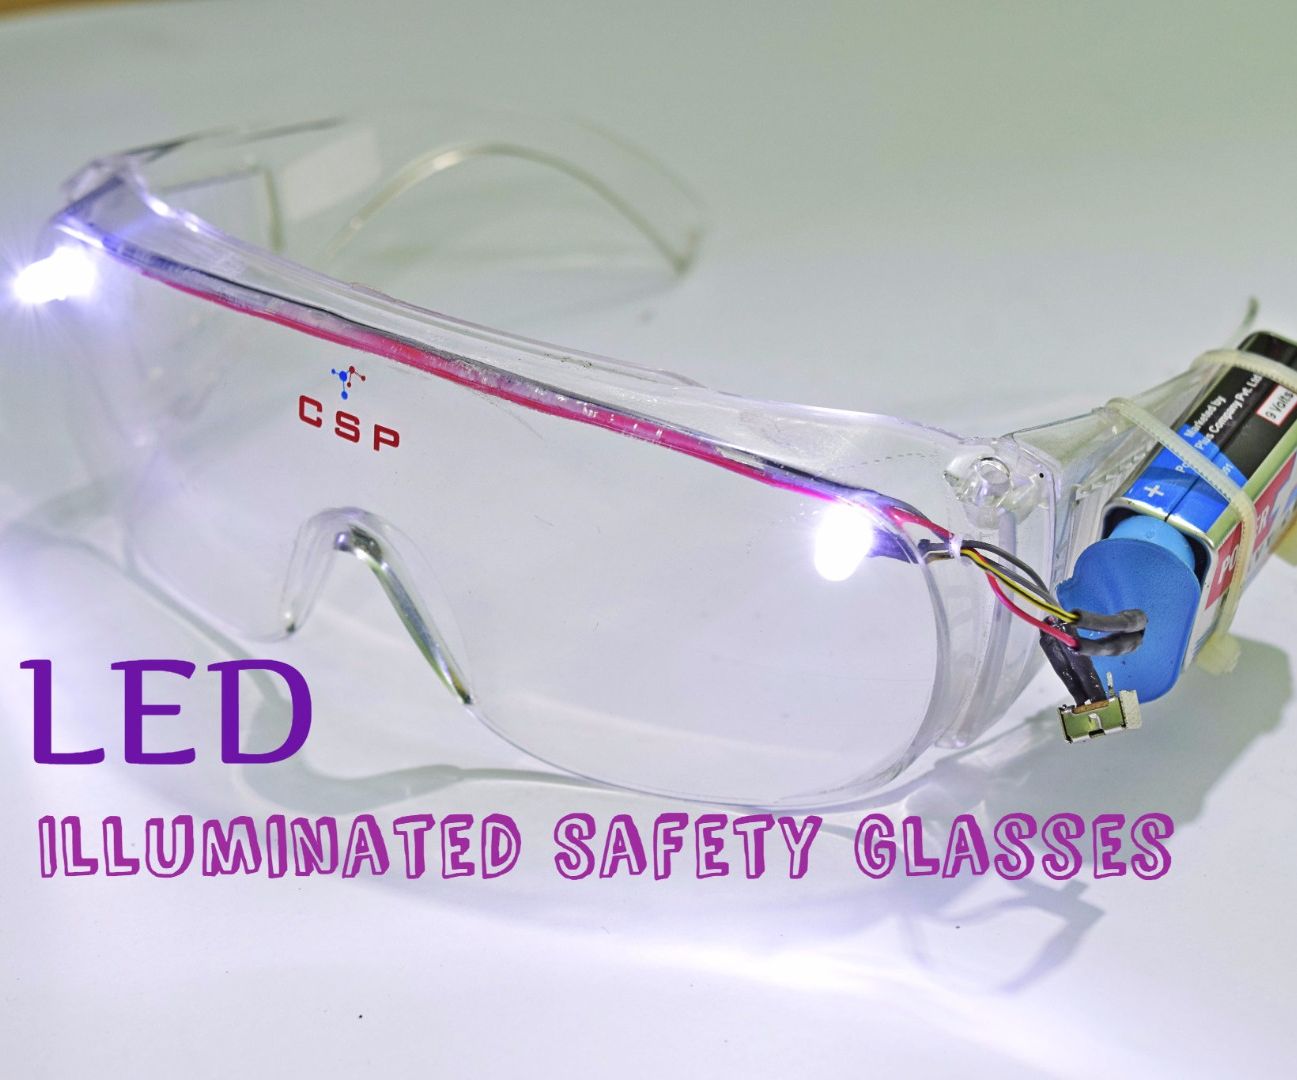
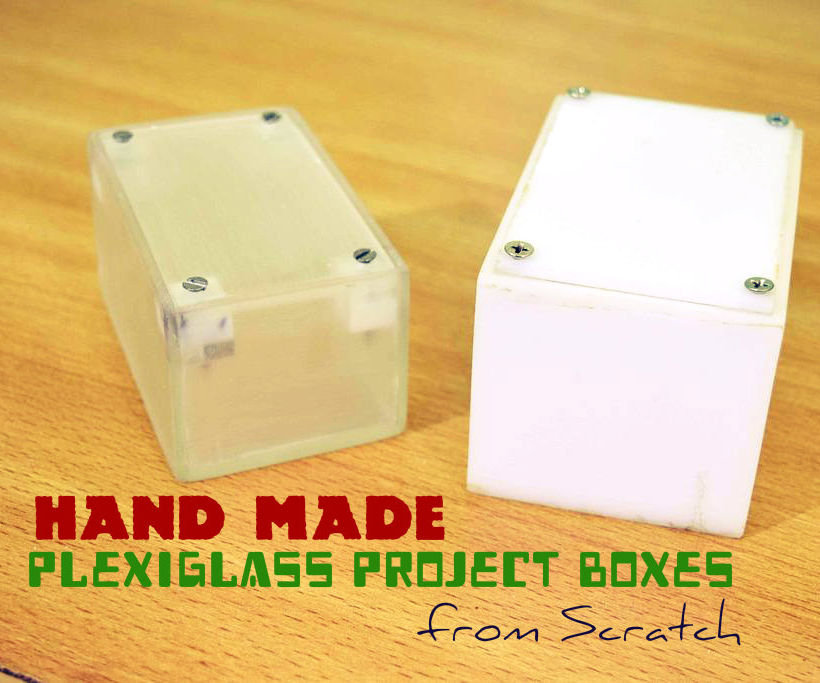

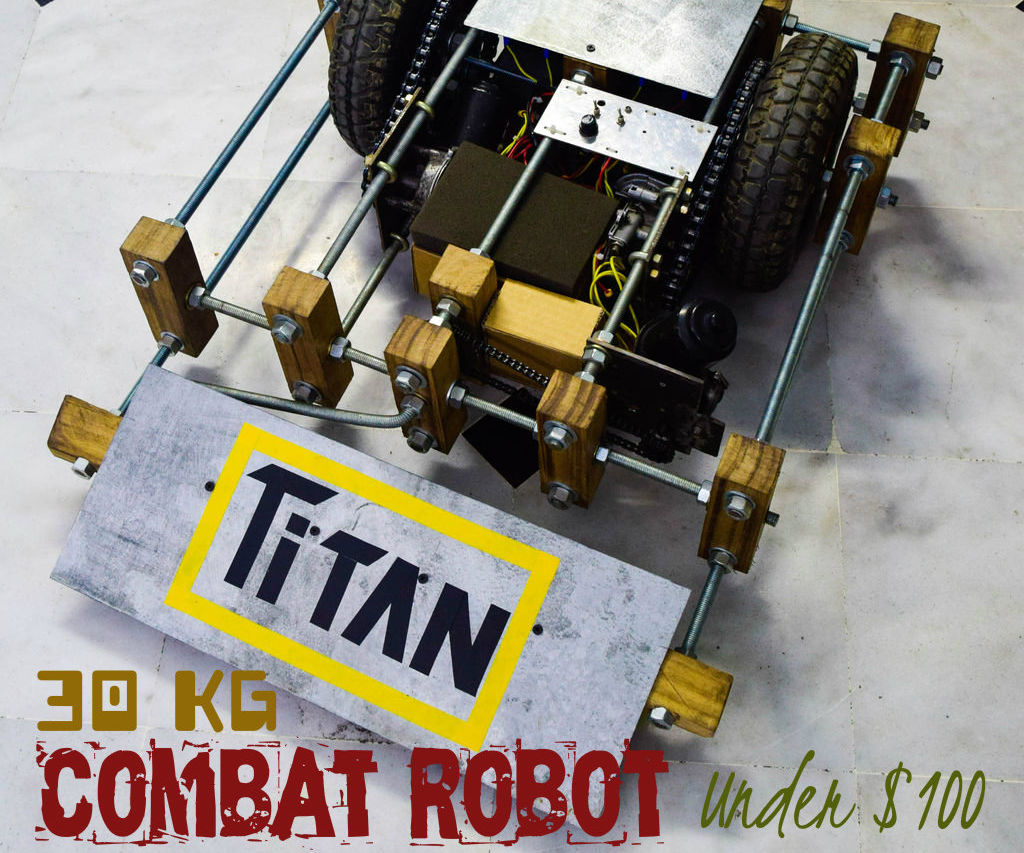
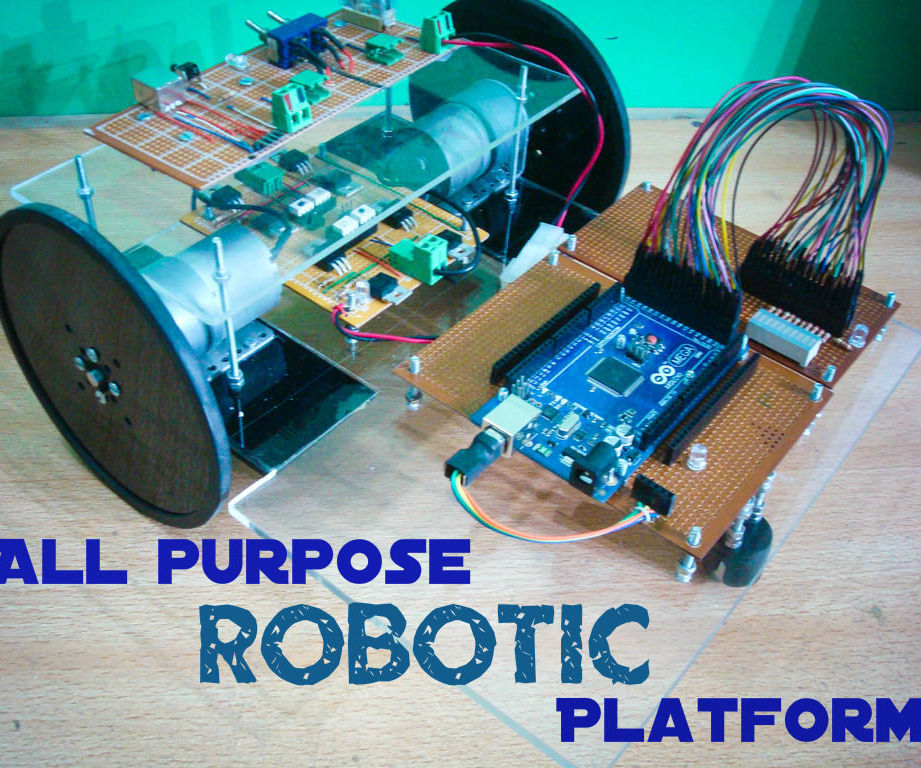
Well personally i have never been a fan of editing. I believe that if you capture the image perfectly you dont need to edit.
But for creating a good instructable it is a good idea to edit your opening picture so that it attracts the viewer. It should also be clear what your instructables about. So no high tech Adobe skills required here. Just use instructables inbuilt pixelr editor.
First add a soothing effect or overlay. One which goes right with the image. Then add text on the image which should be the topic of your instructable. The text should be in a catchy font with bright colors.
The rest of the images in your instructable shouldn't need editing. They should be simple, clear and good.
Final Thoughts
Well i hope these tips were helpful. I am far from an experienced author but i have learned a thing or two in the instructables i have posted and i want to help the new comers. Following these tips will help you make good instructables and hopefully get featured more often.
I request the more advanced users to share some of the tips they have learnt over the years regarding taking good pictures for their ibles.
Thank you for viewing. Comments are encouraged.
Please Vote for me if you like what i have presented.