Photography Lightbox
Want to take nice photos, but just can't get the lights at the right angle? Have you seen those really nice lightboxes that are downright out of your price range? Looking for something fun to do when you should be doing some homework or house chores?
This easy craft is the answer for you! It is customizable to any size and is only limited by the paper and cardboard you have on hand.
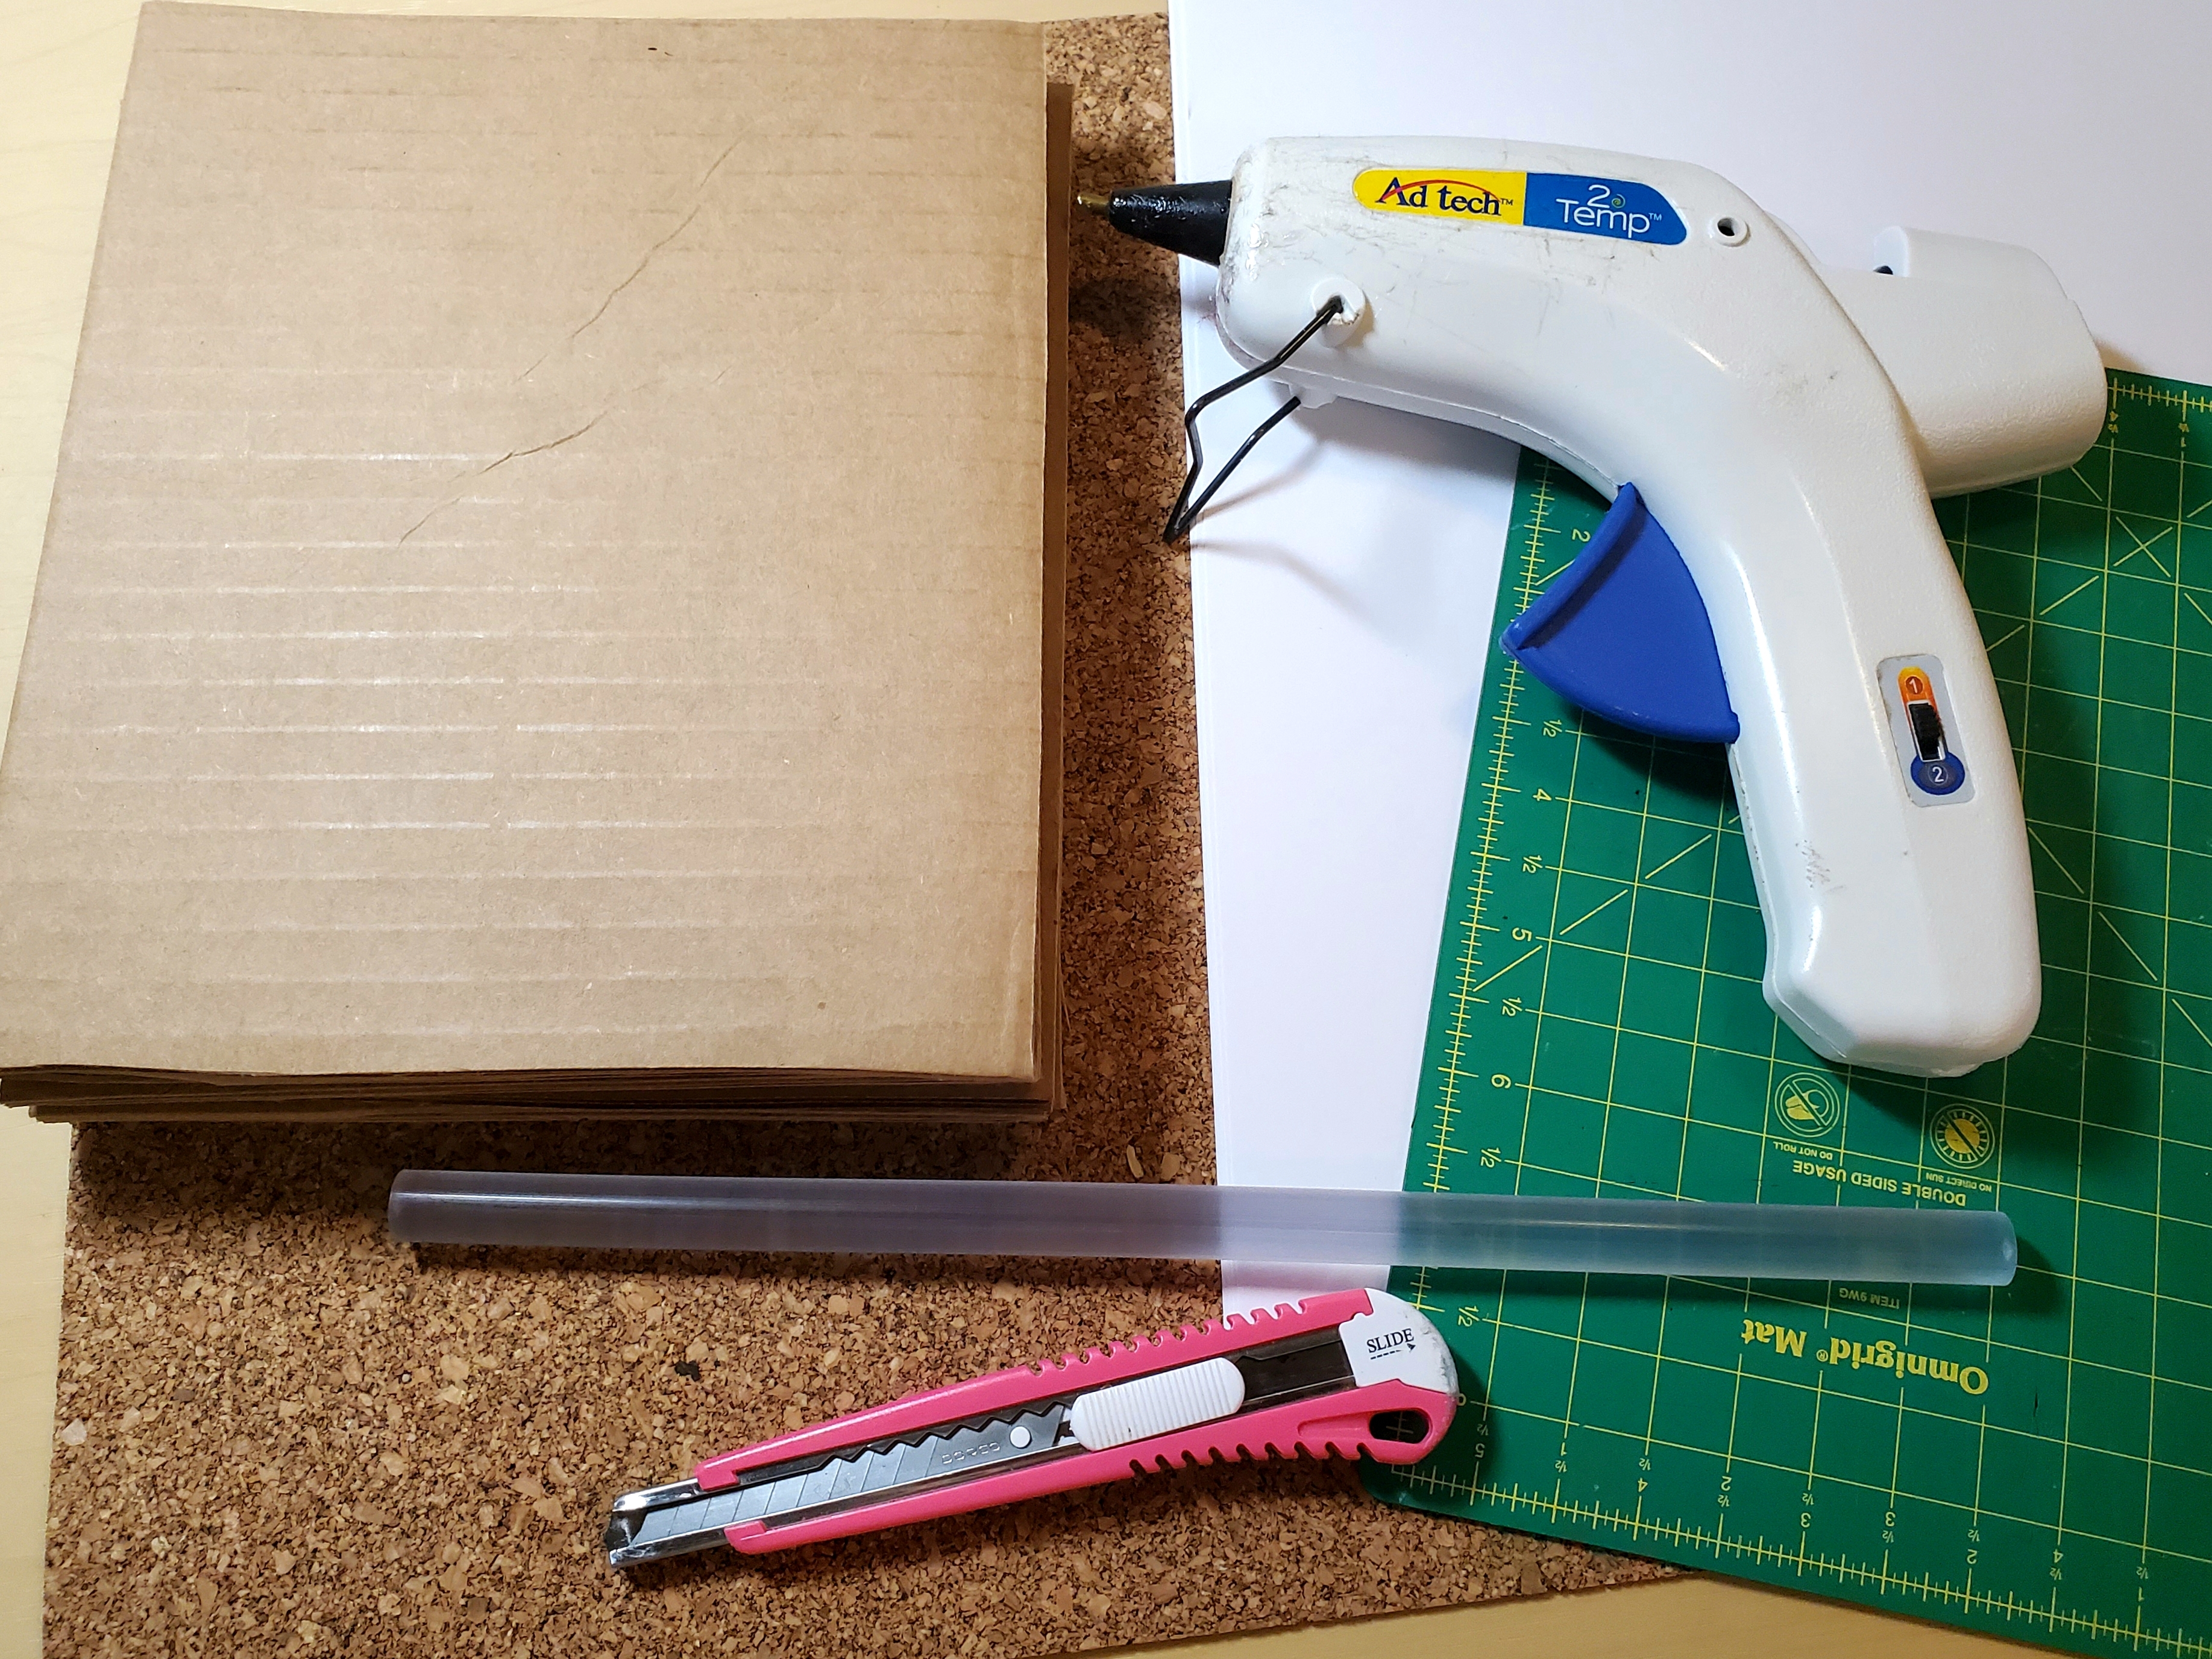
Supplies
Cardboard
Copy Paper
Scissors/
Hot Glue
Thin Cork-board (Or any other kind of background material)
Cut the Cardboard
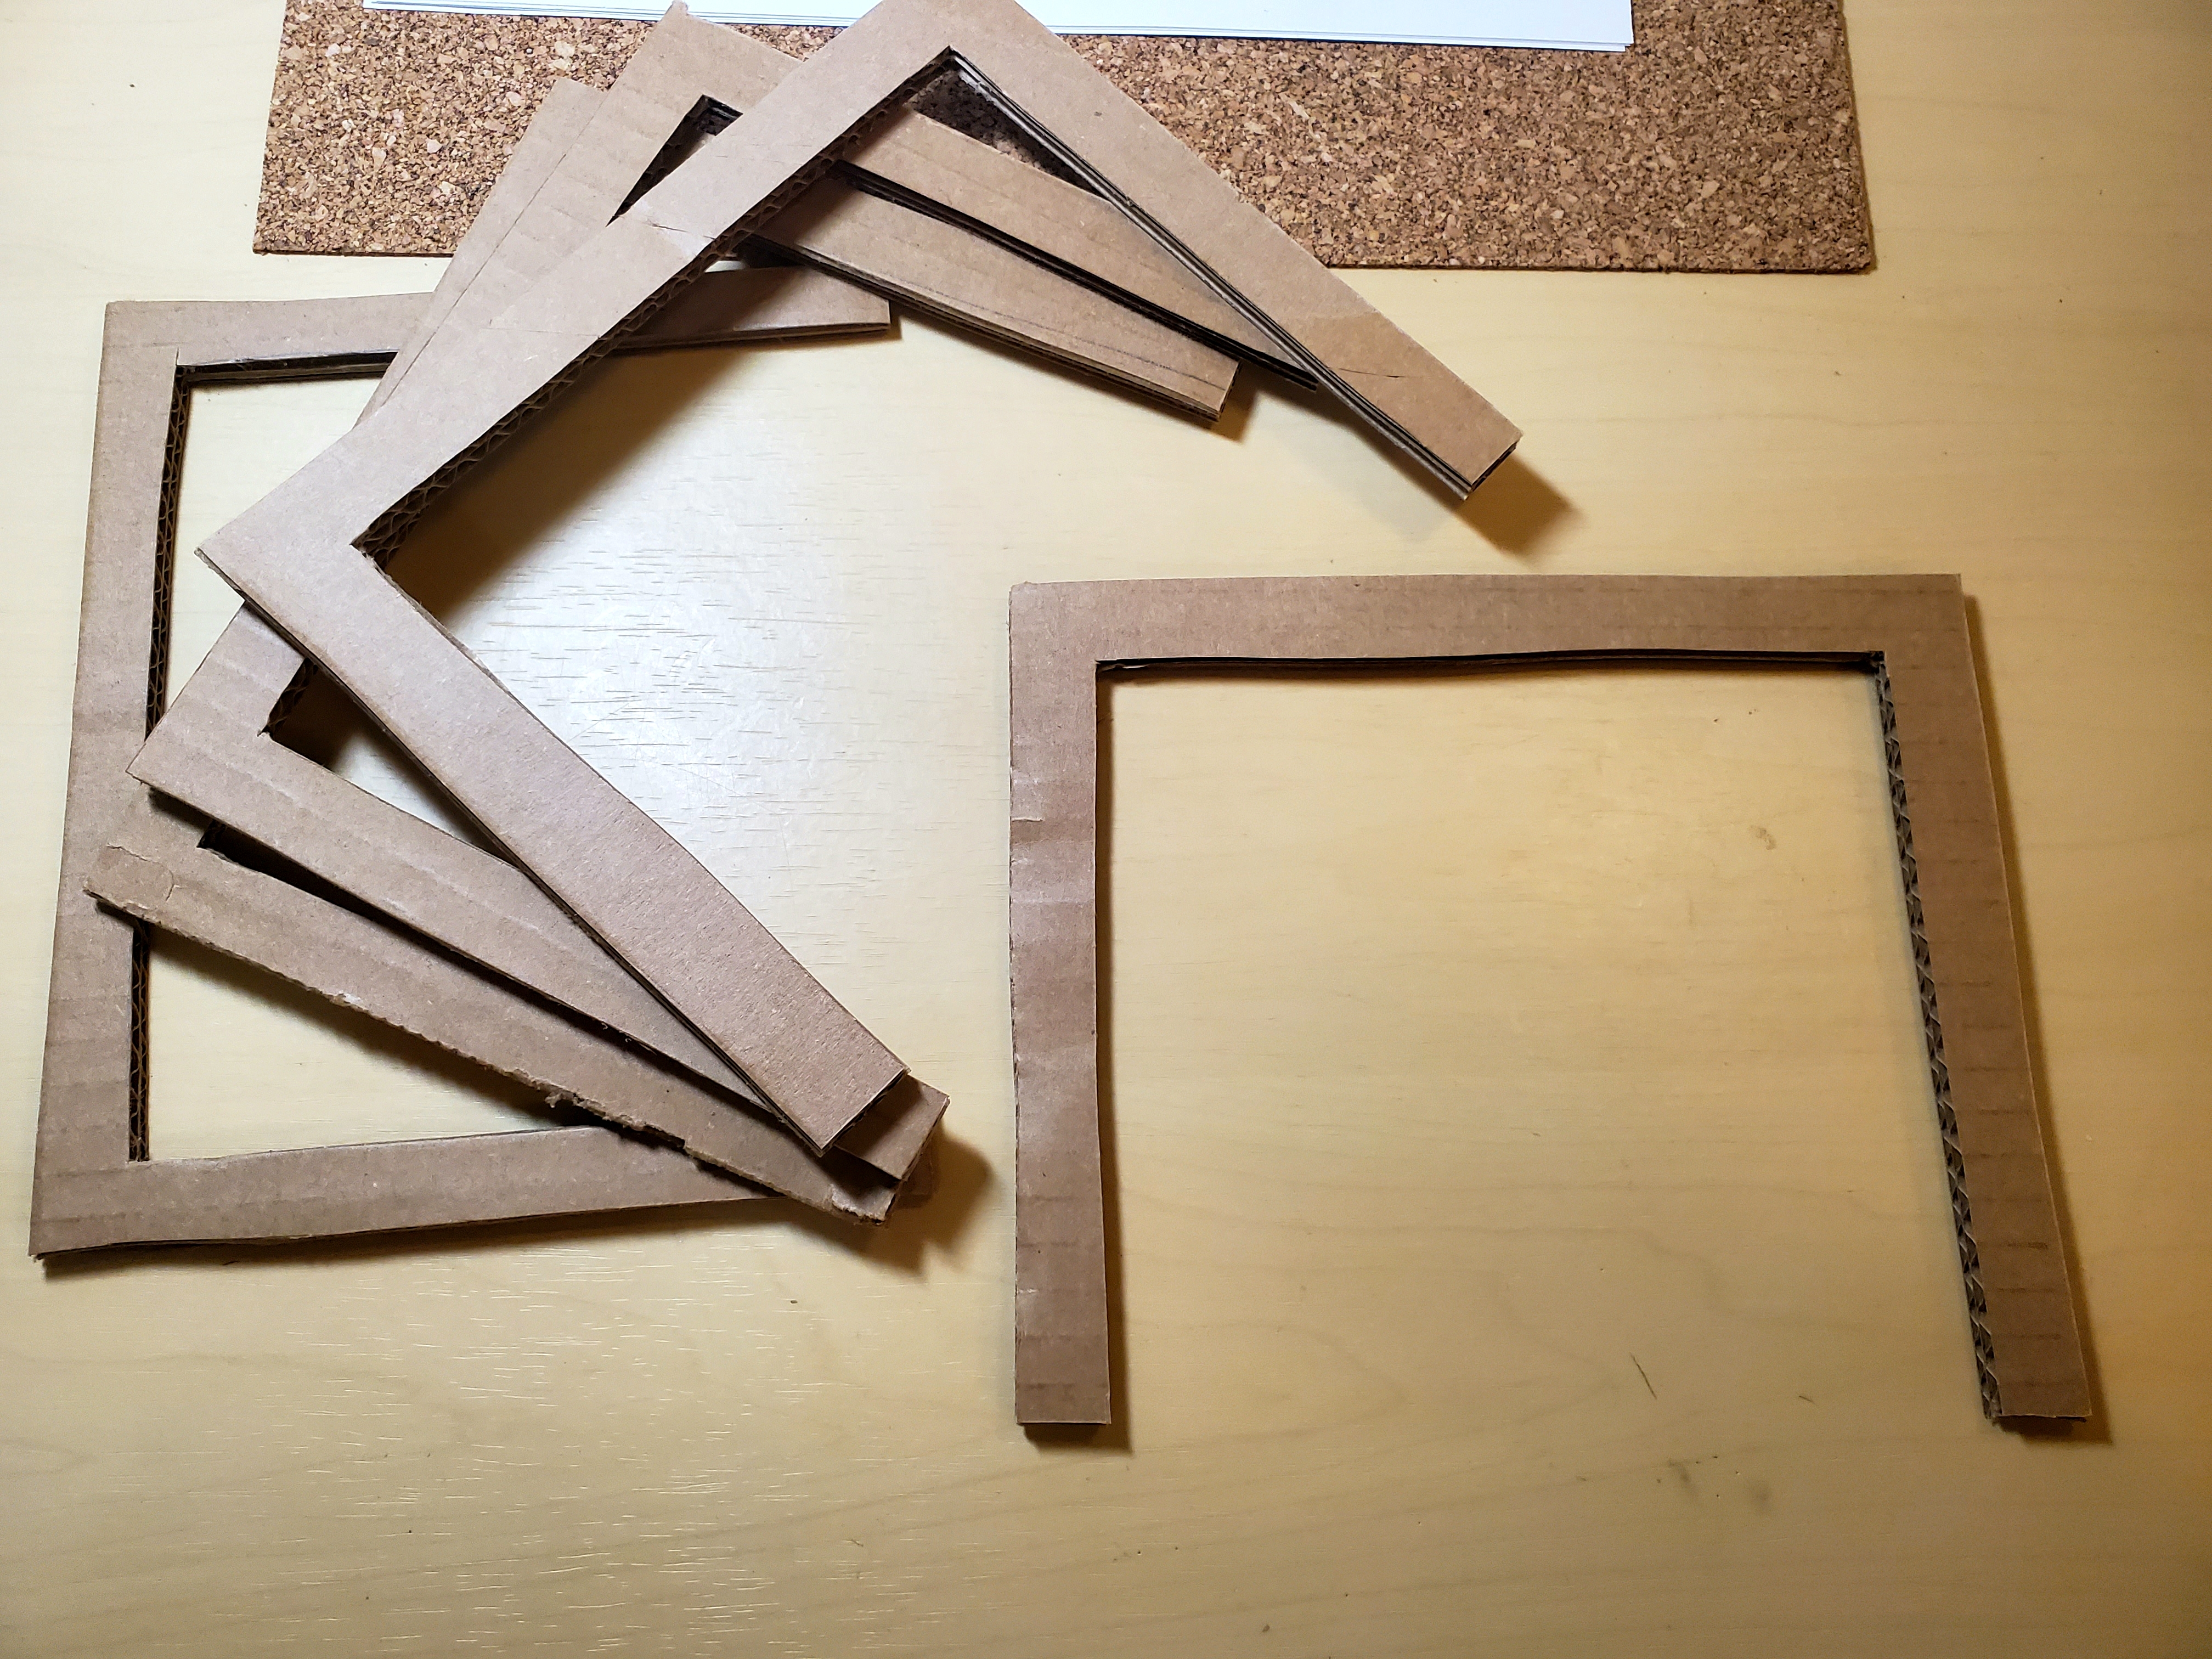
If you have a box already made, you can use that. Simply cut along each side of the box to remove the center of each side.
For this project, I didn't have a box, so I used some scrap cardboard and cut these u shapes out. You need 4 u-shaped pieces. (I cut out an extra)
Assemble the Box!
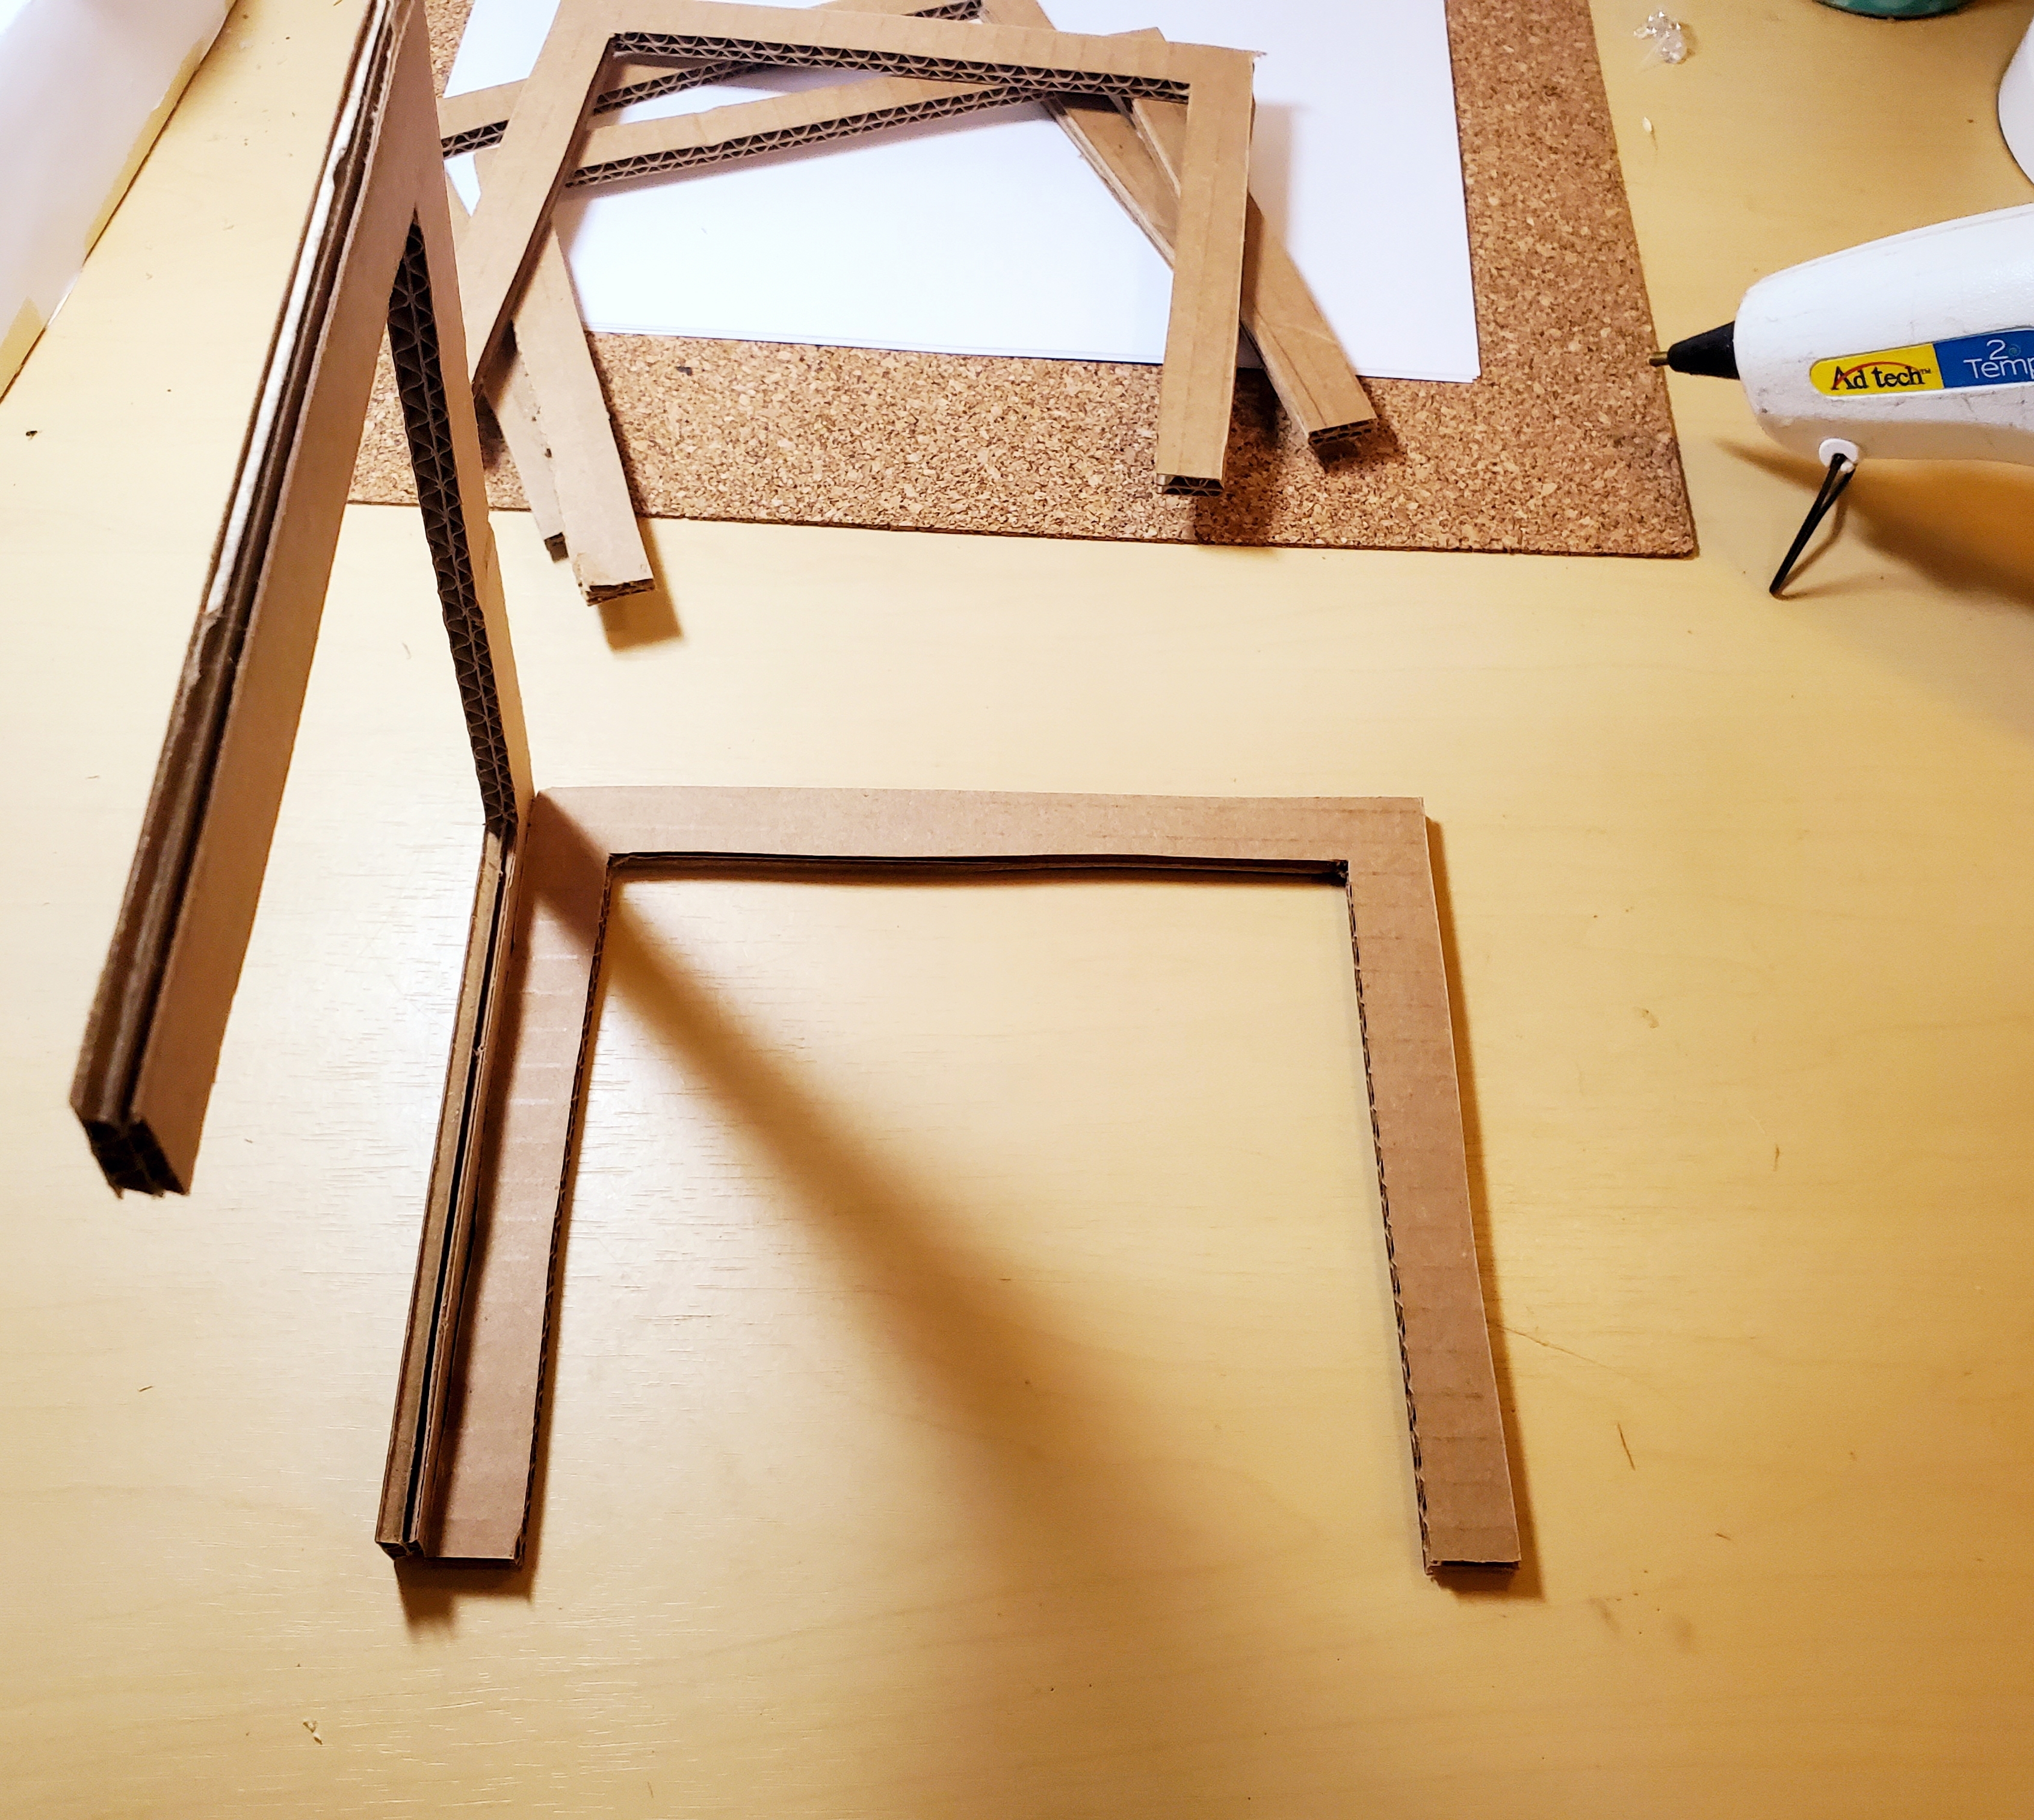
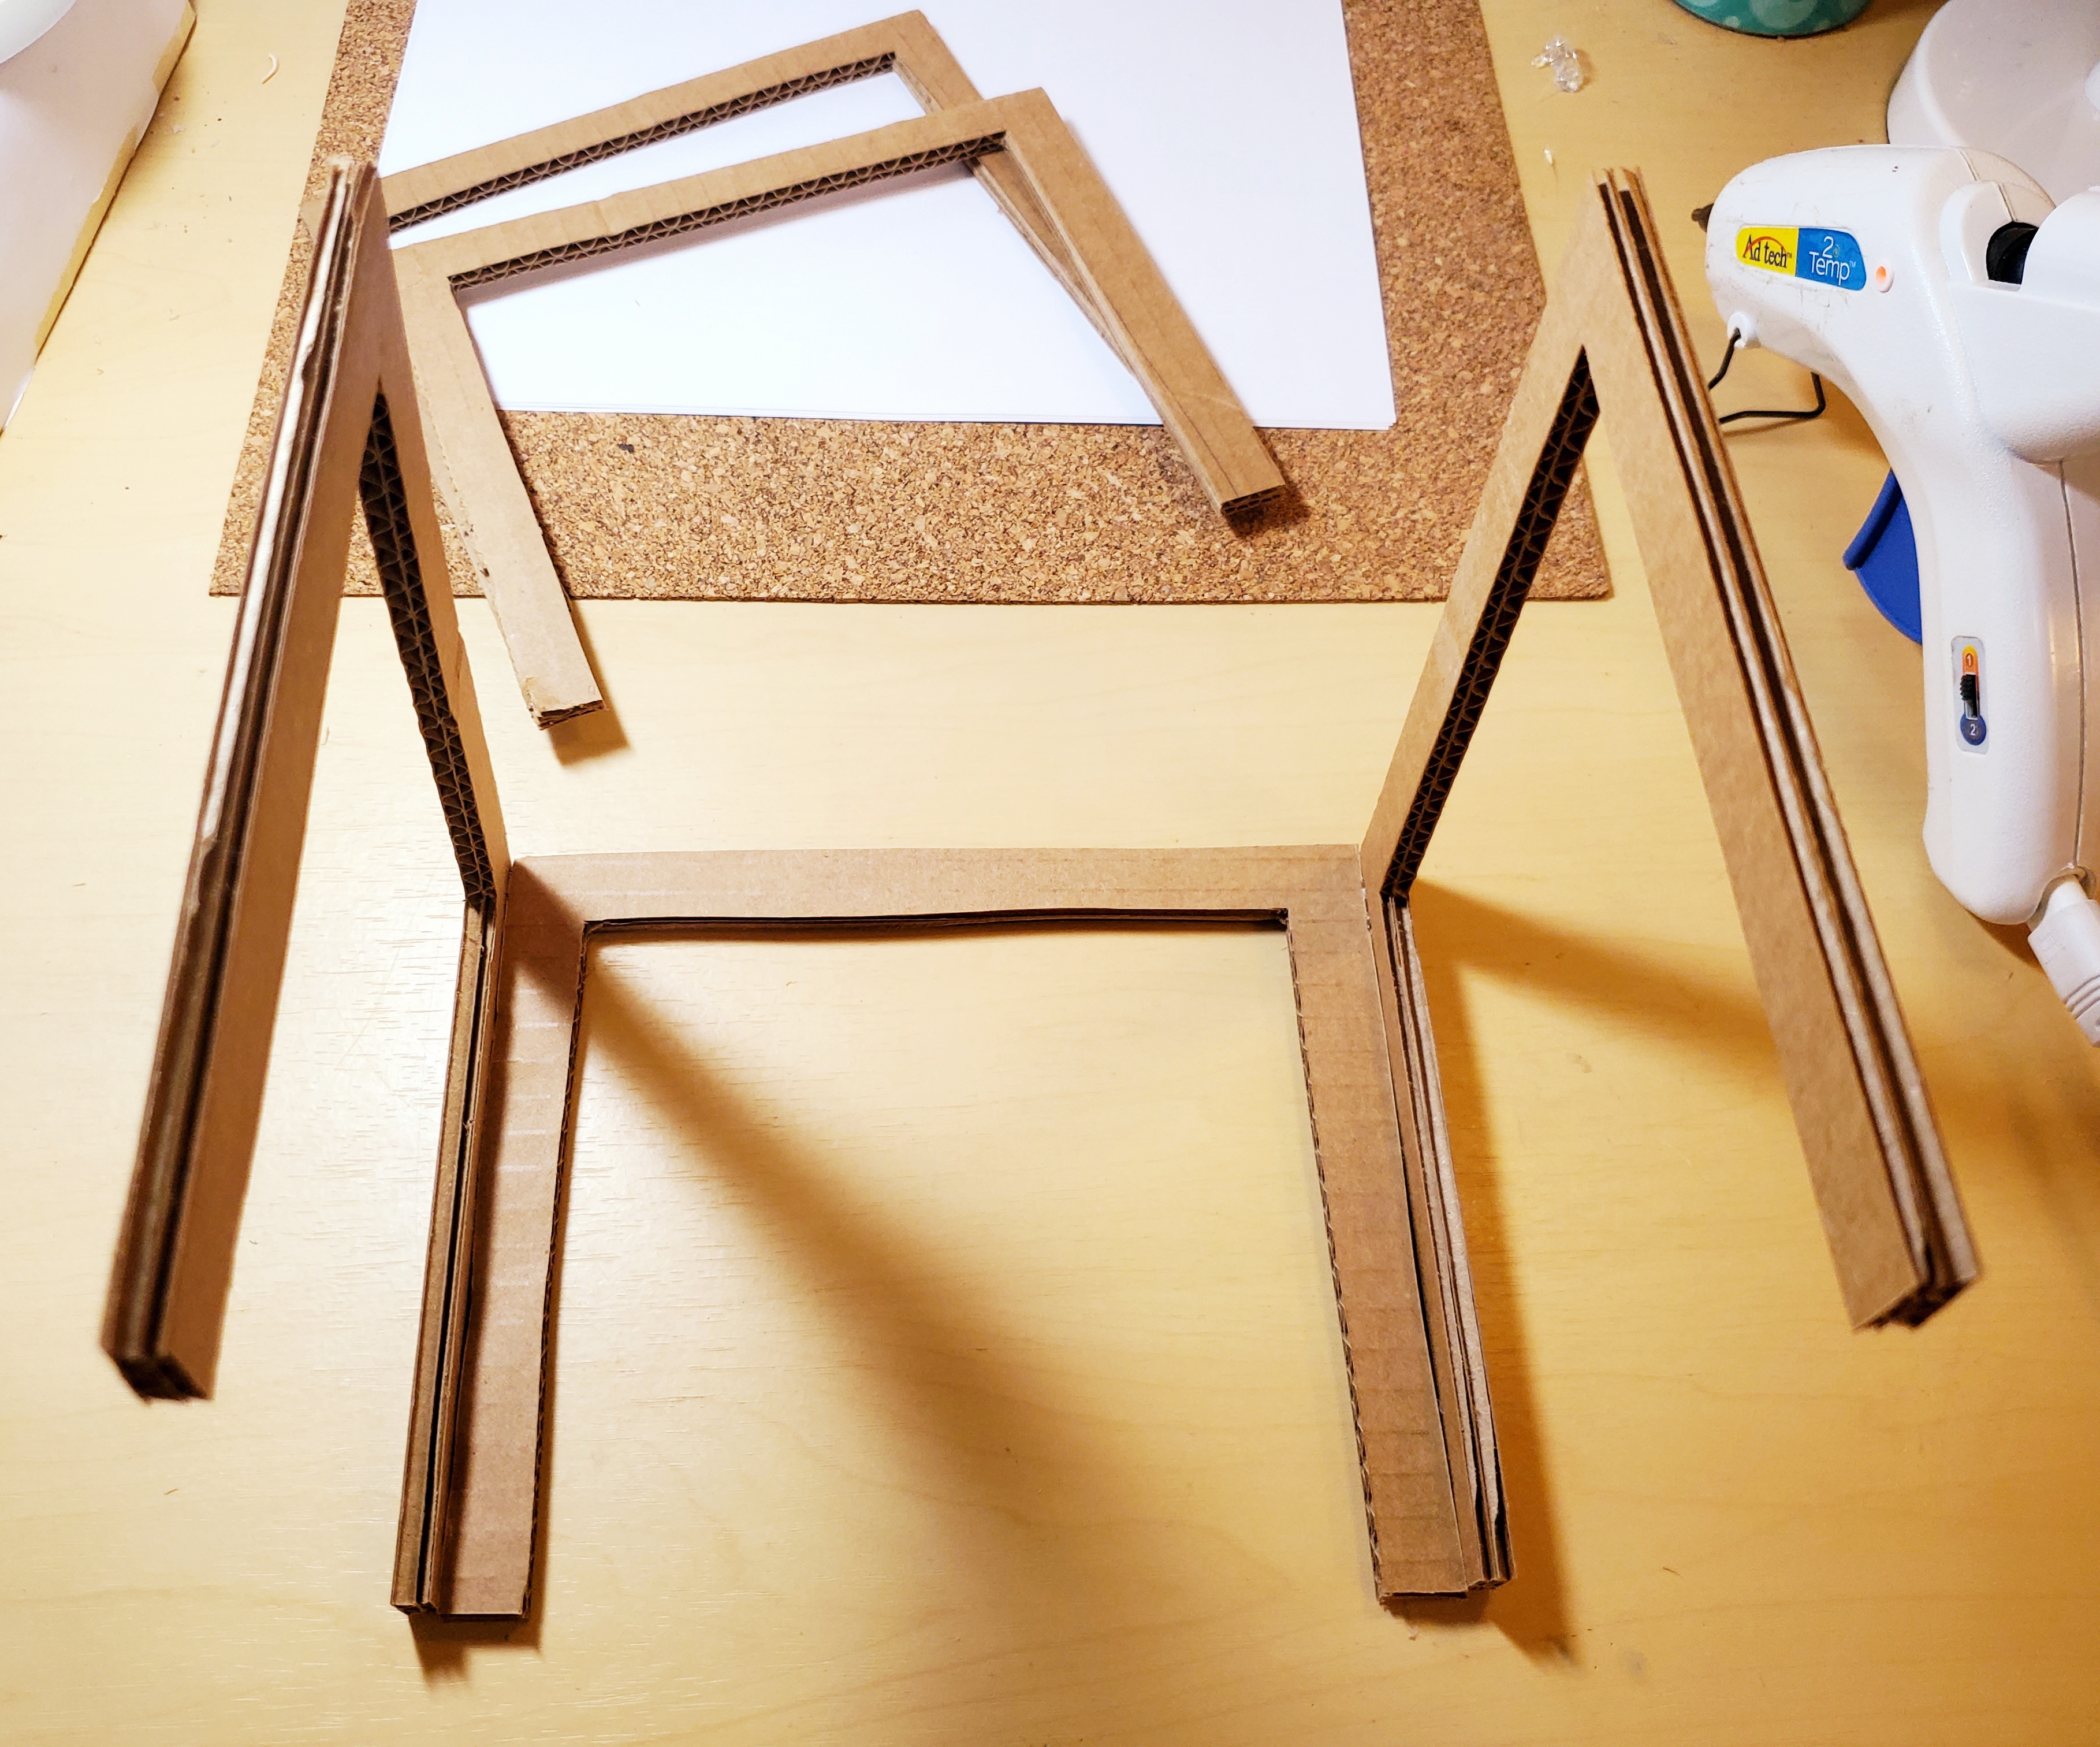
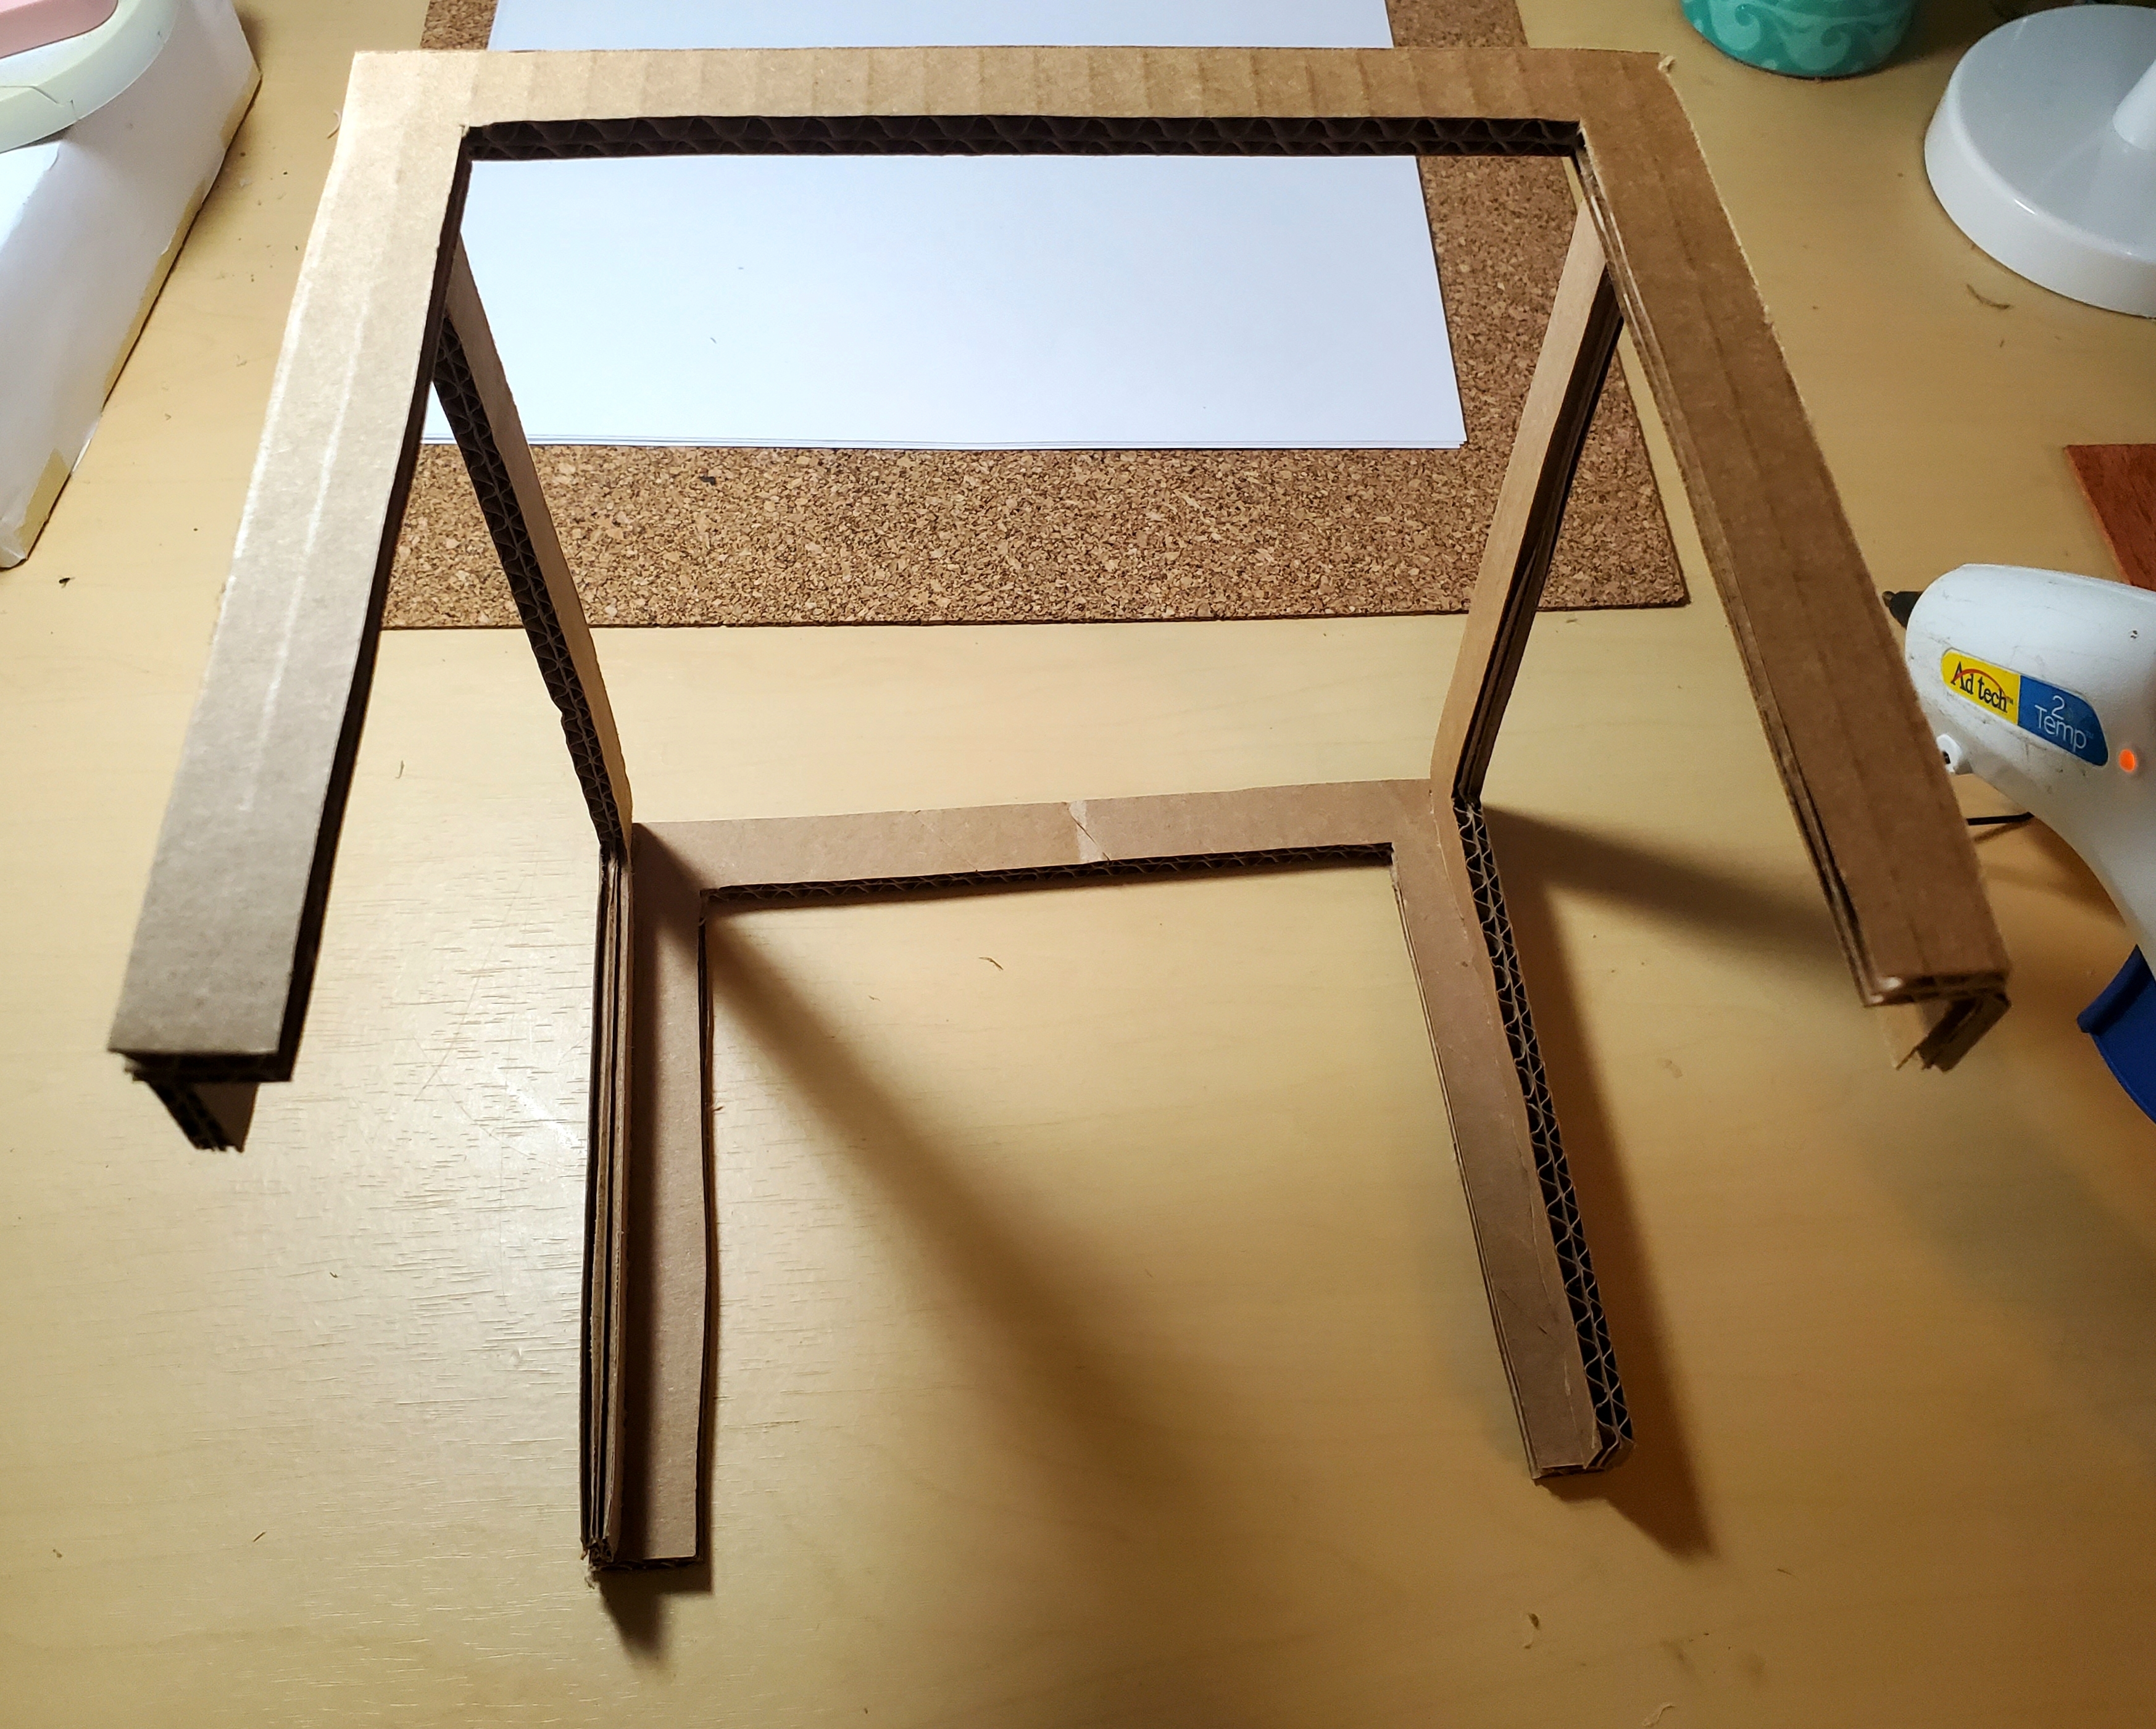
Attach all the sides together using hot glue. You've got to work fast before it hardens! I like to use the hotter setting on my glue gun.
Add the Paper
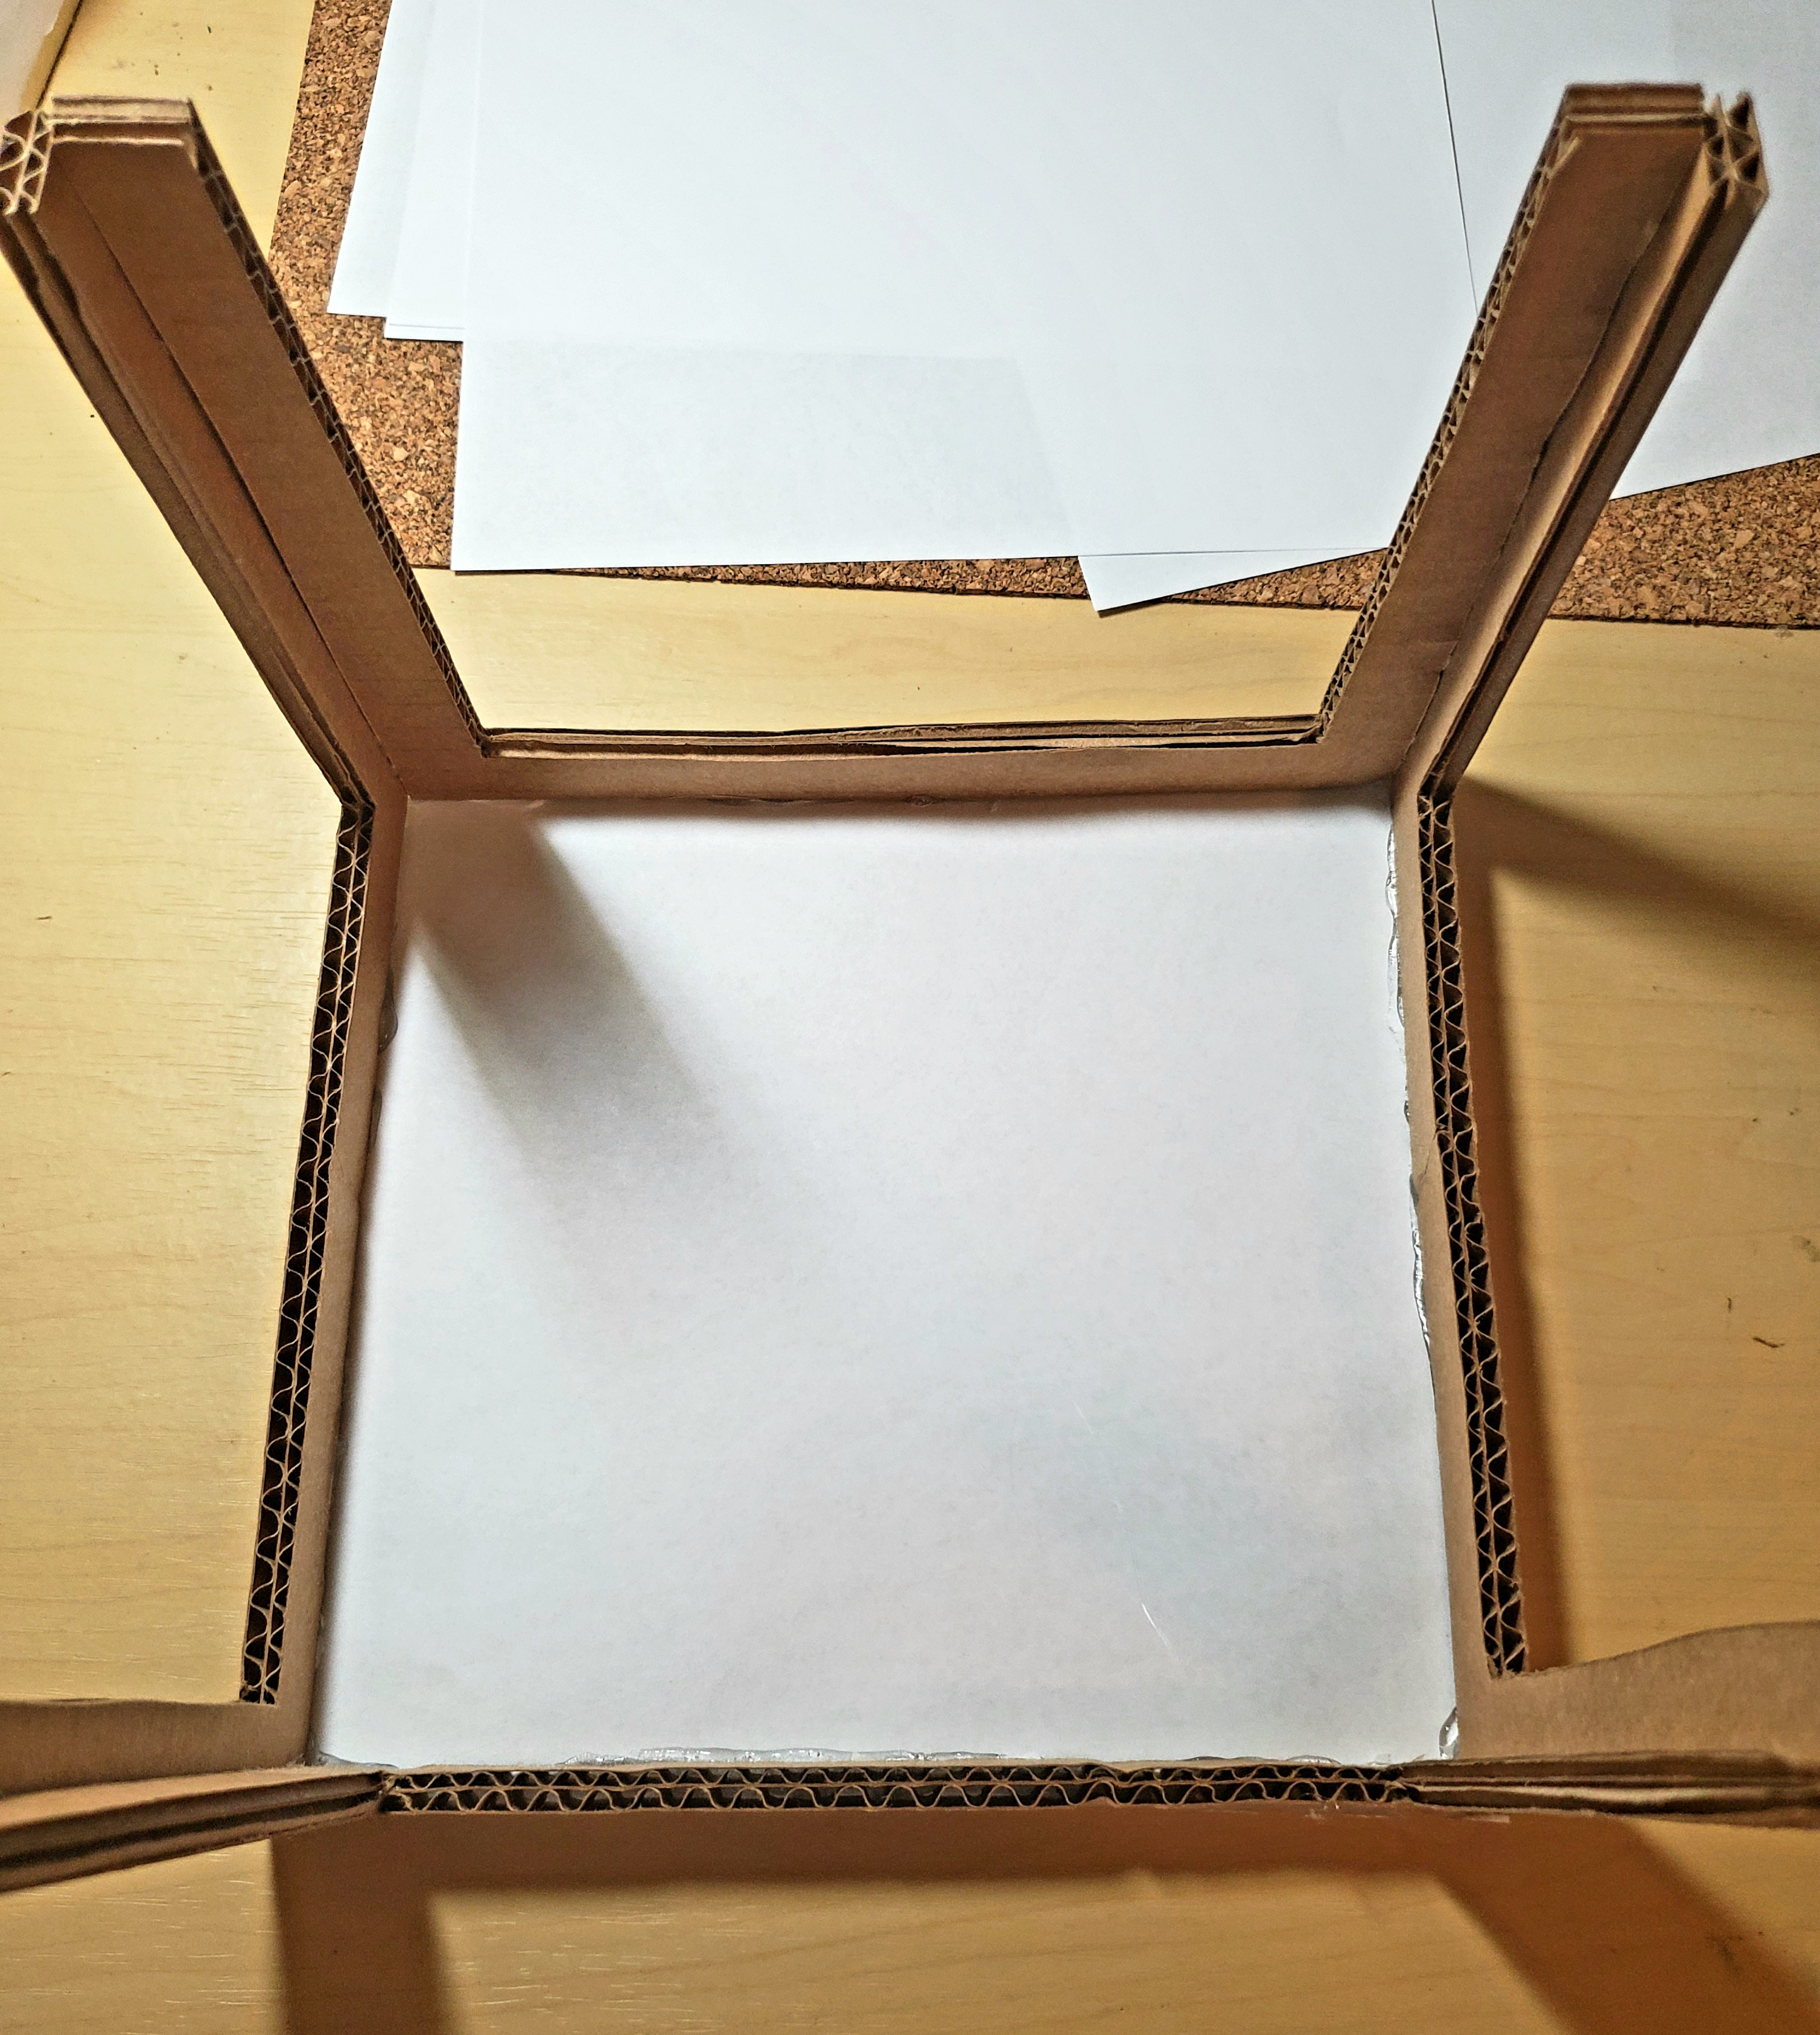
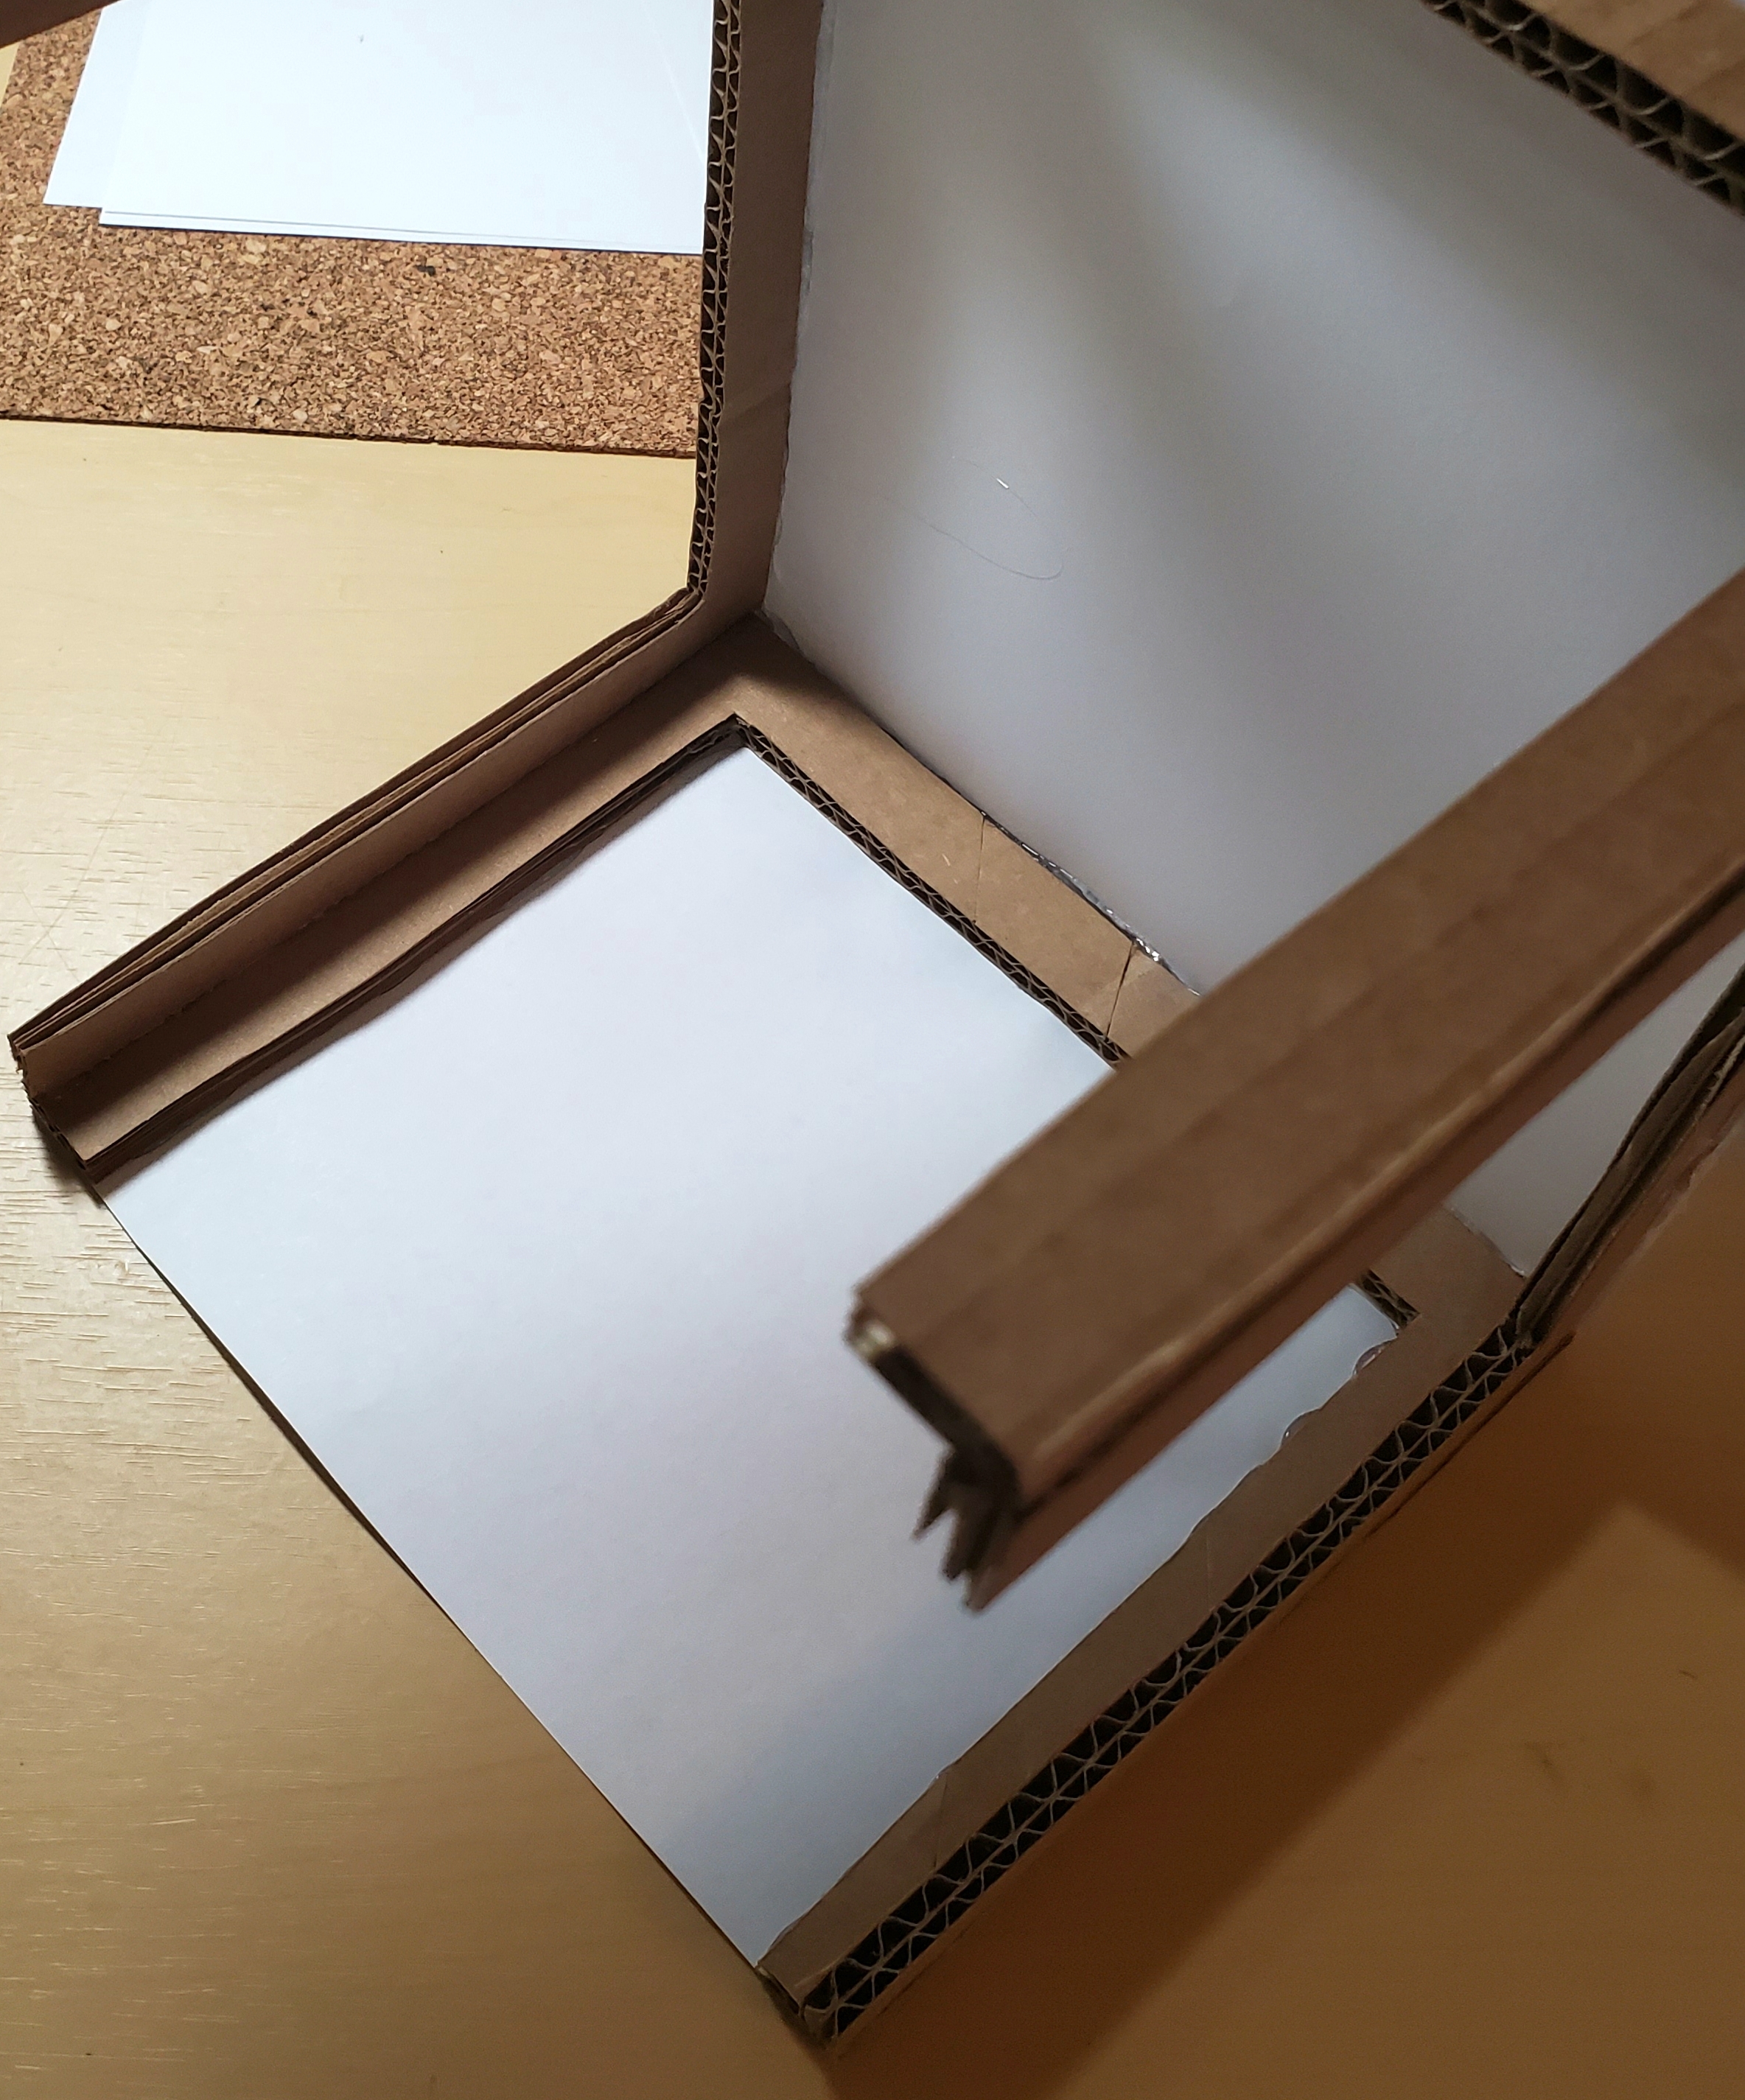
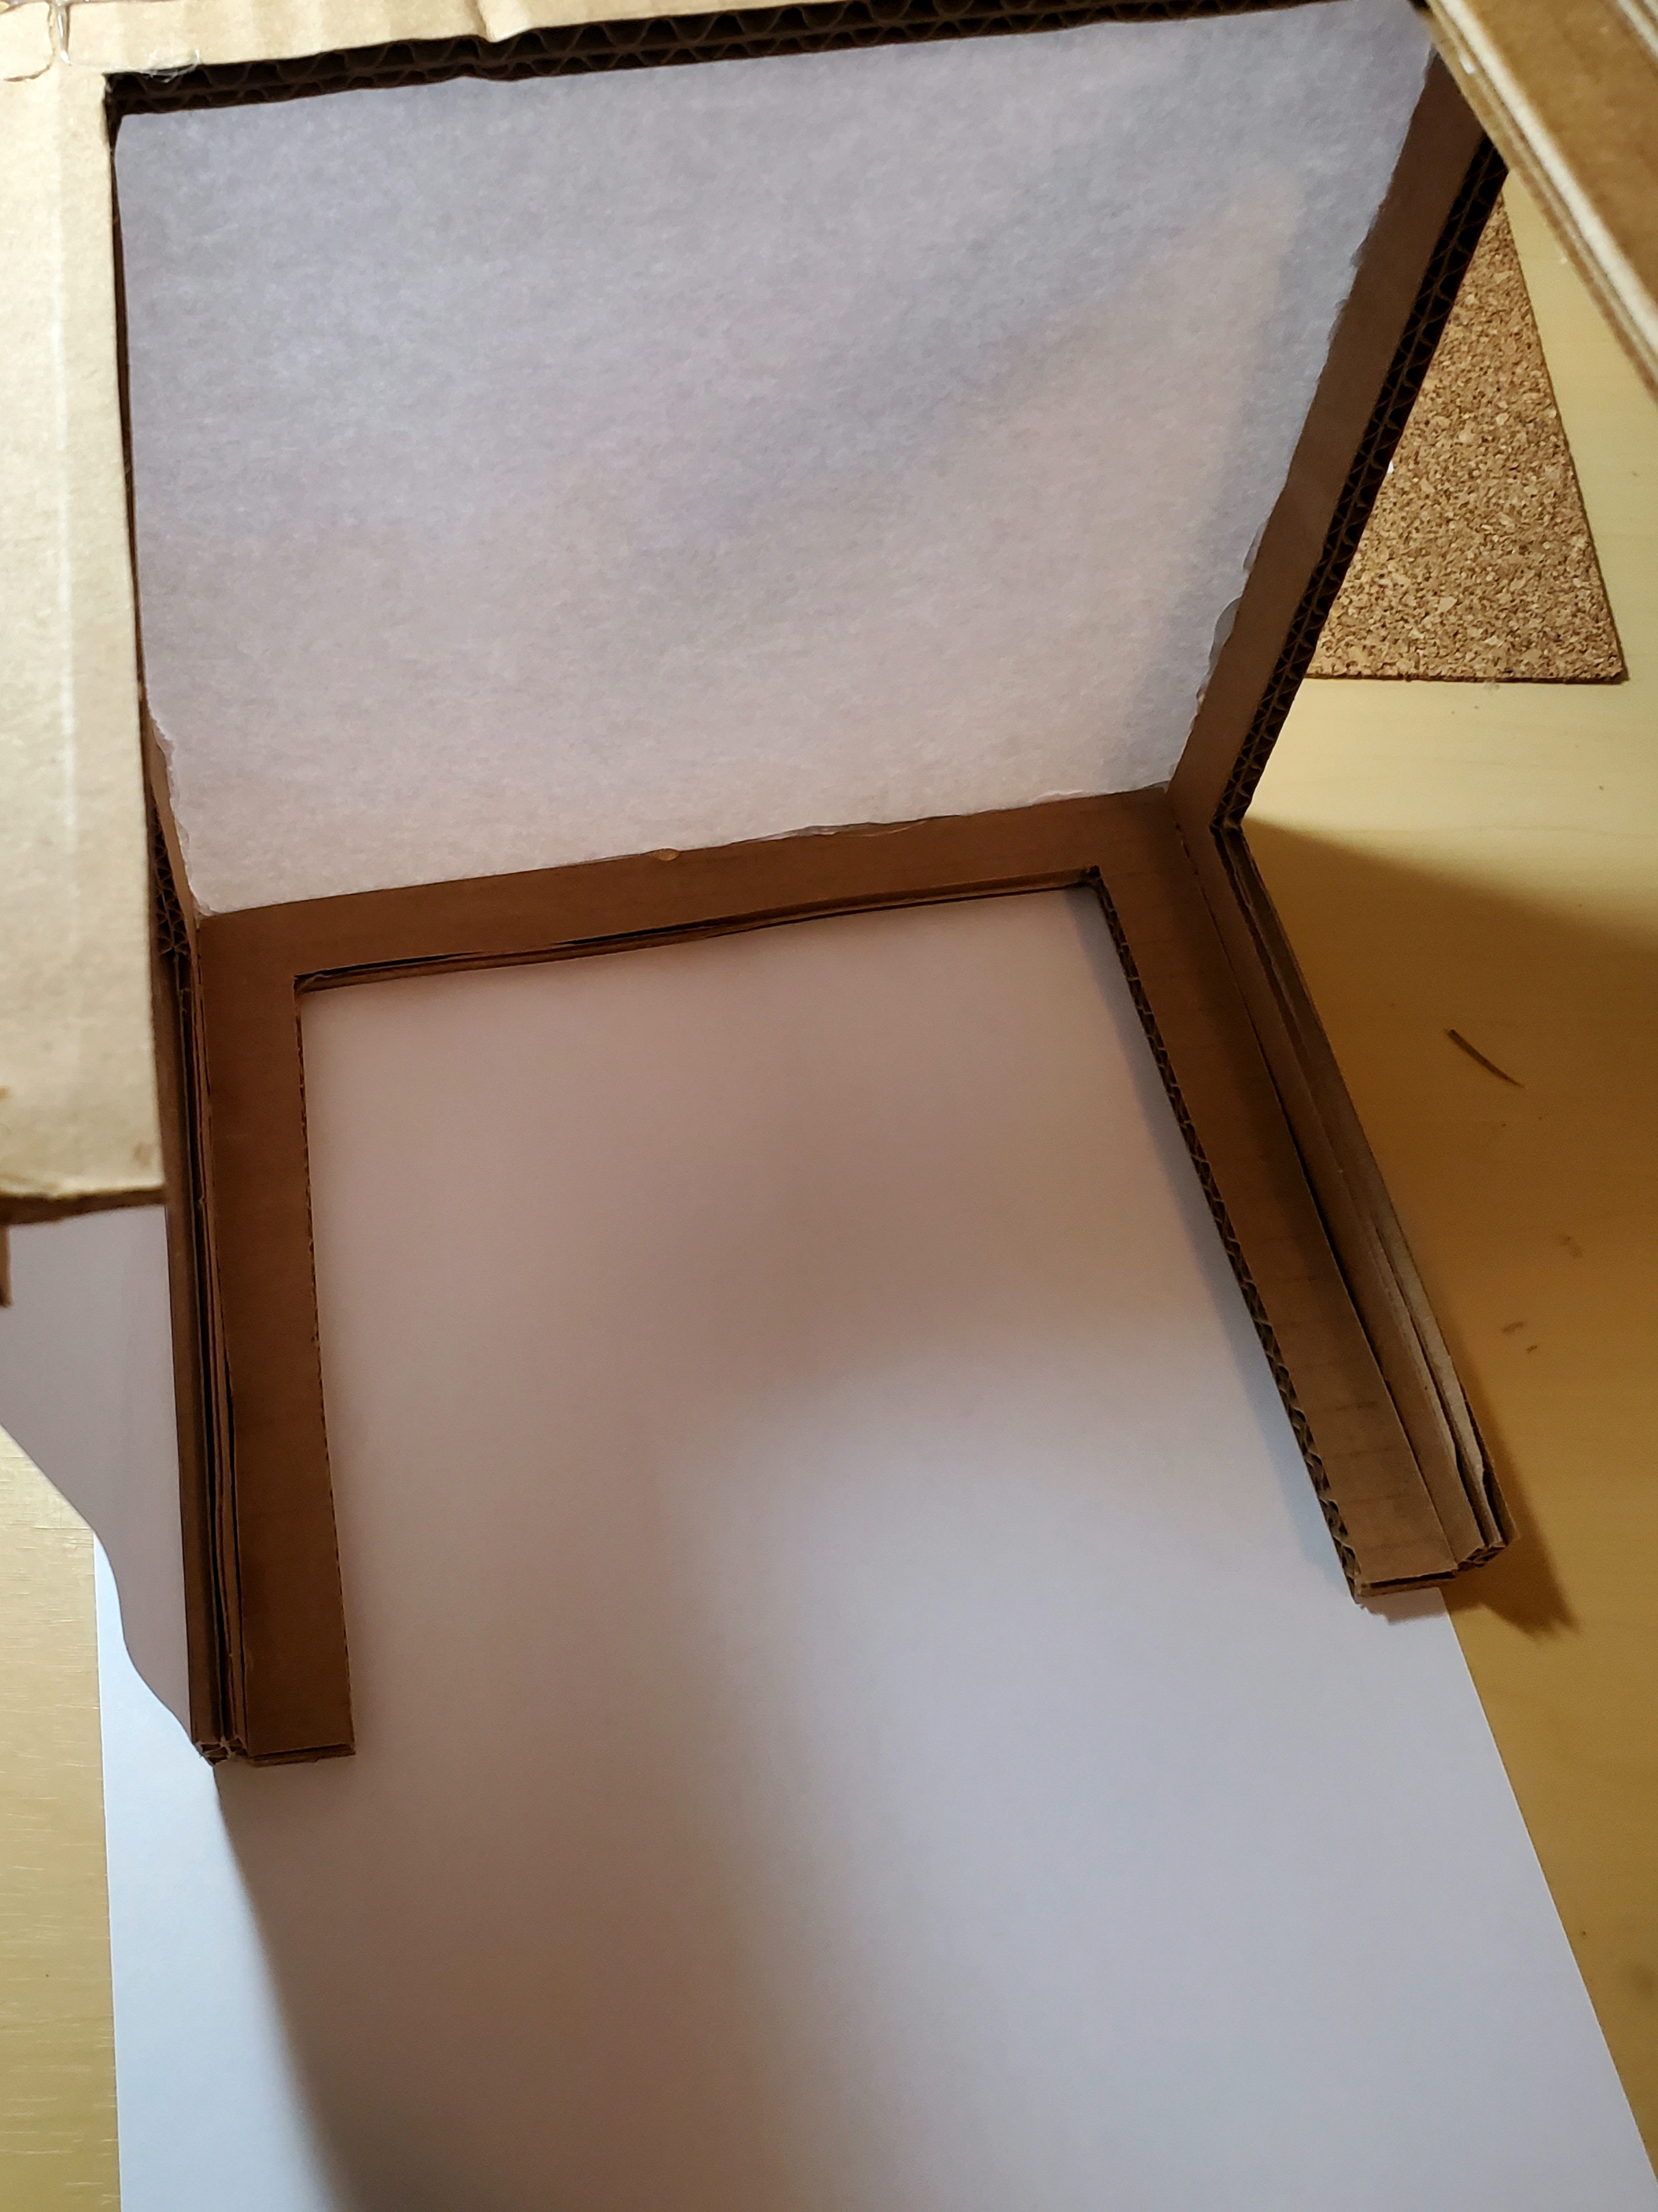
Once your box is made, add paper to all but the open ended side.
To do this, place your paper on the table. Put hot glue all around the opening of the cardboard side you want to cover. Then lay the glued side down on top of the paper. Press around until the paper is securely in place.
Since we glued the paper to the outside of the box we can trim off the excess paper once it is glued in place. If you trim the paper before, you can glue it to the inside. It just takes a little more patience and time.
Repeat for all sides.
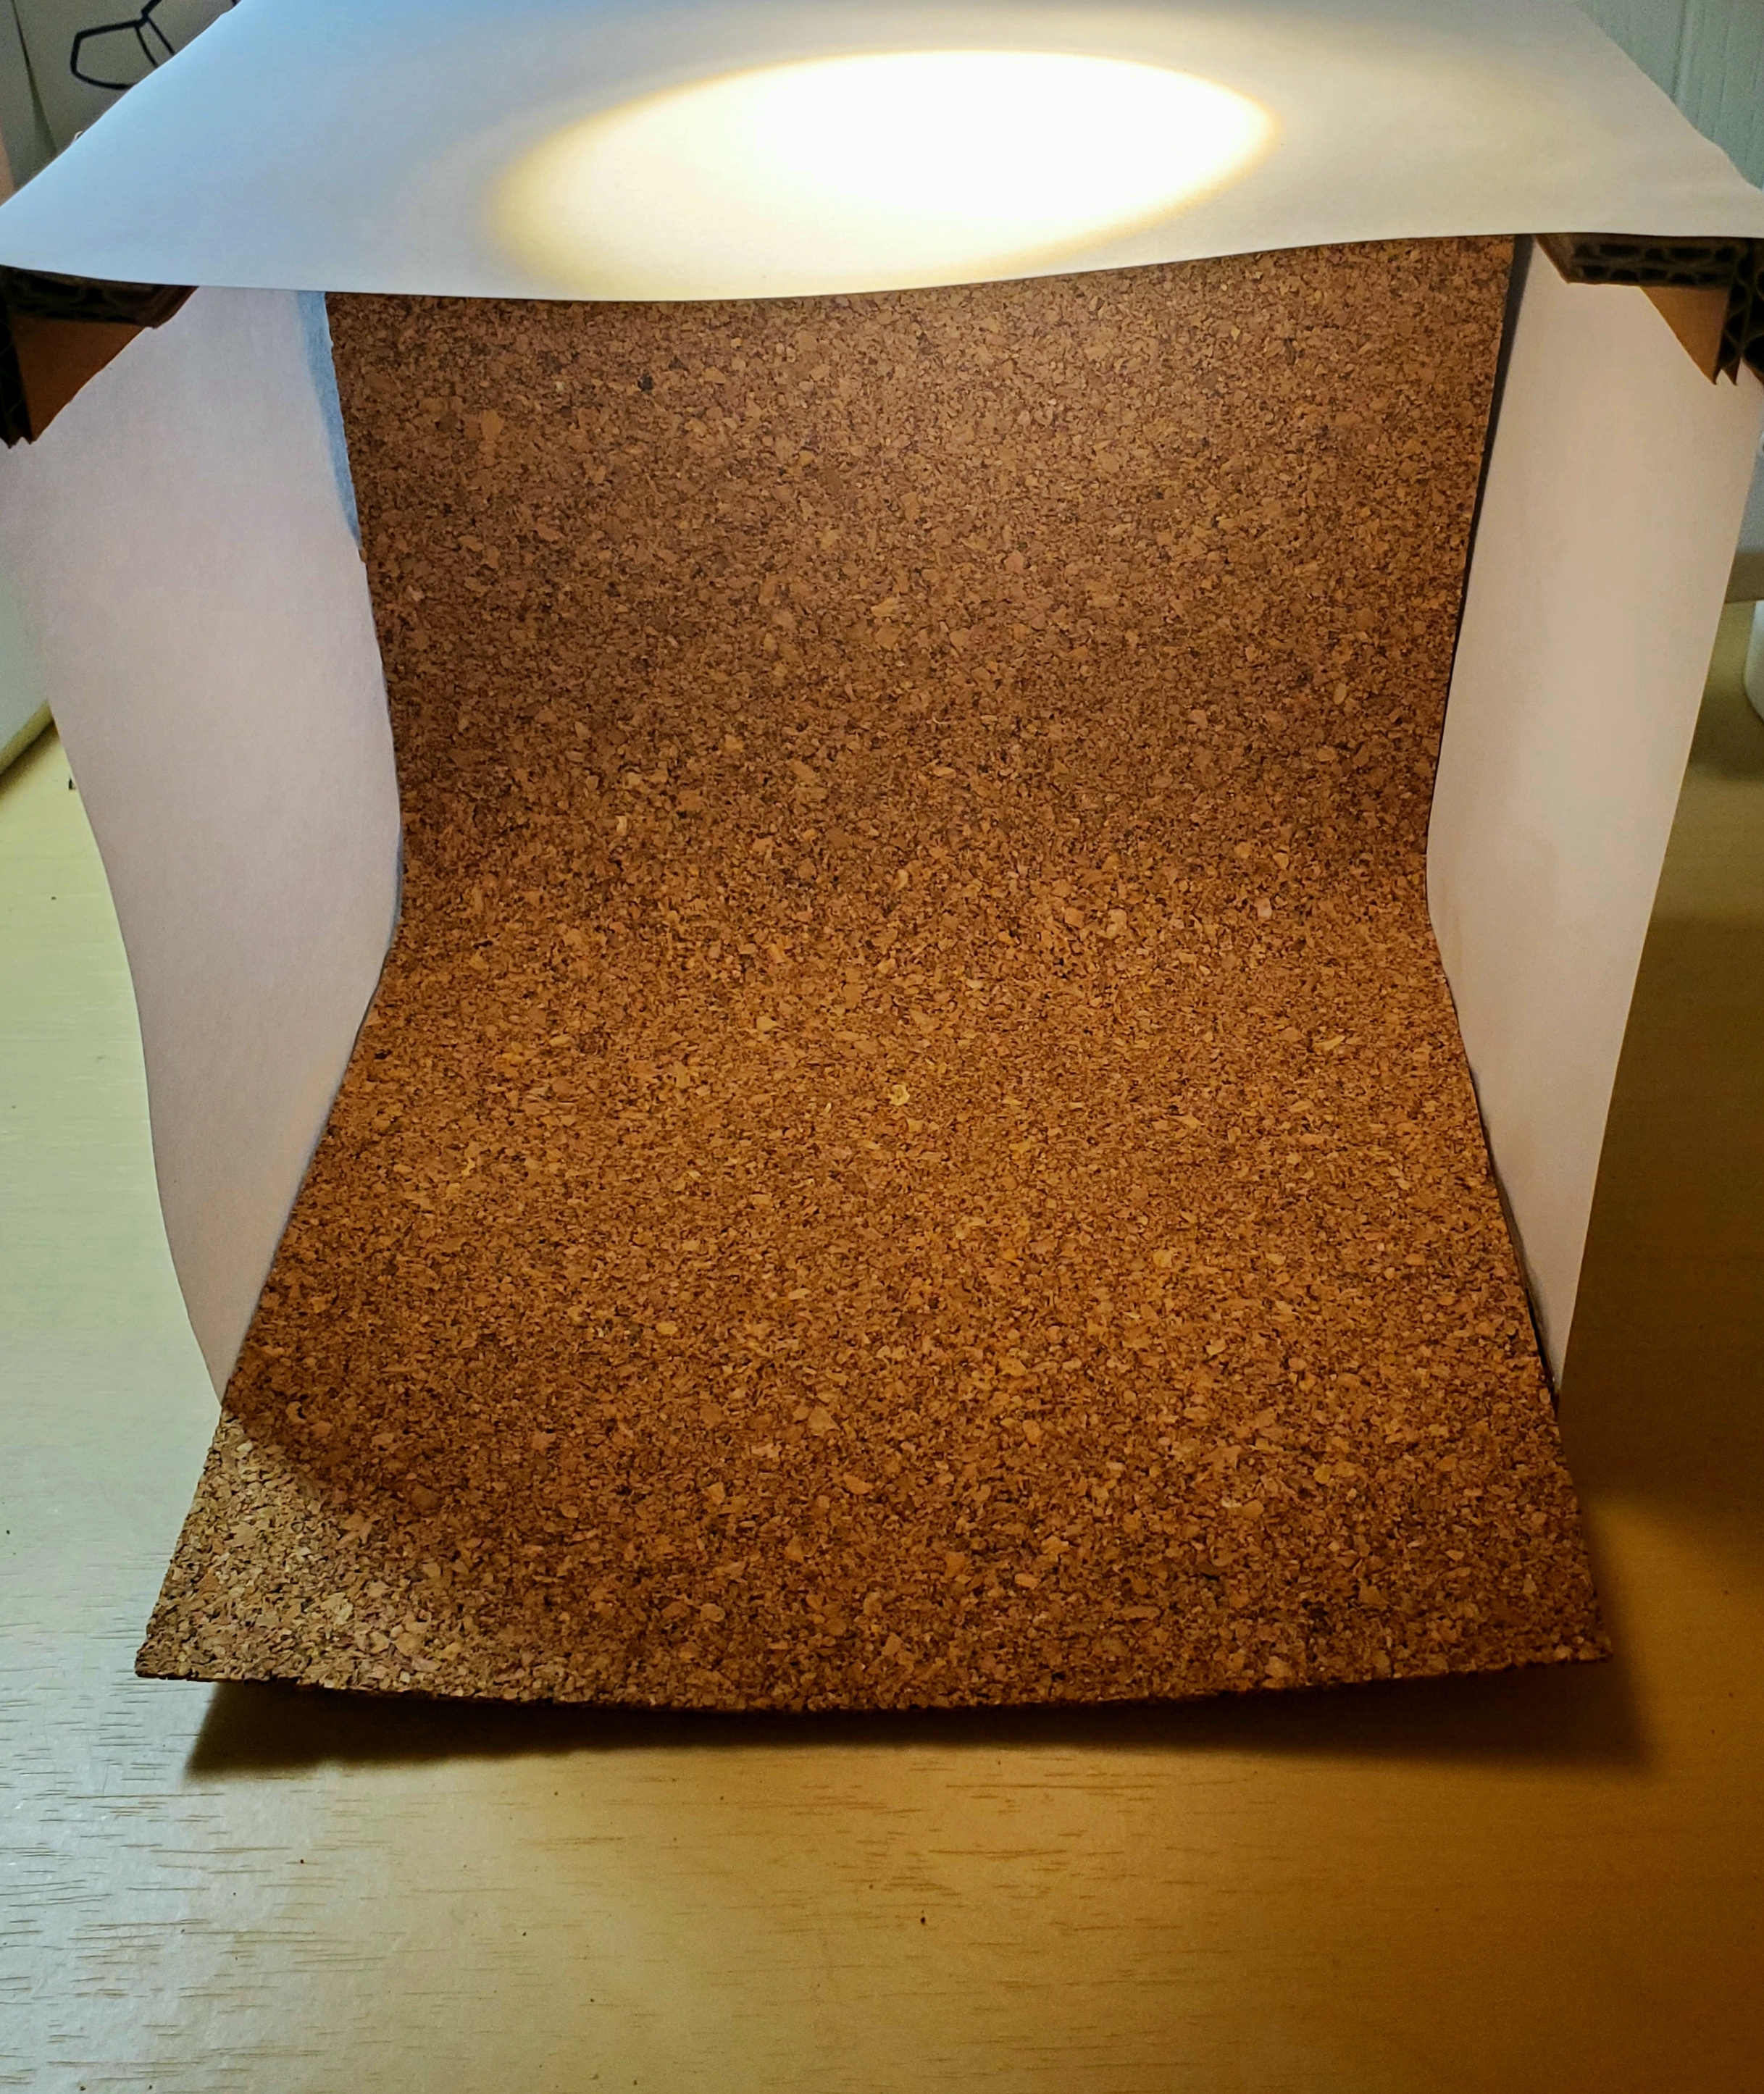
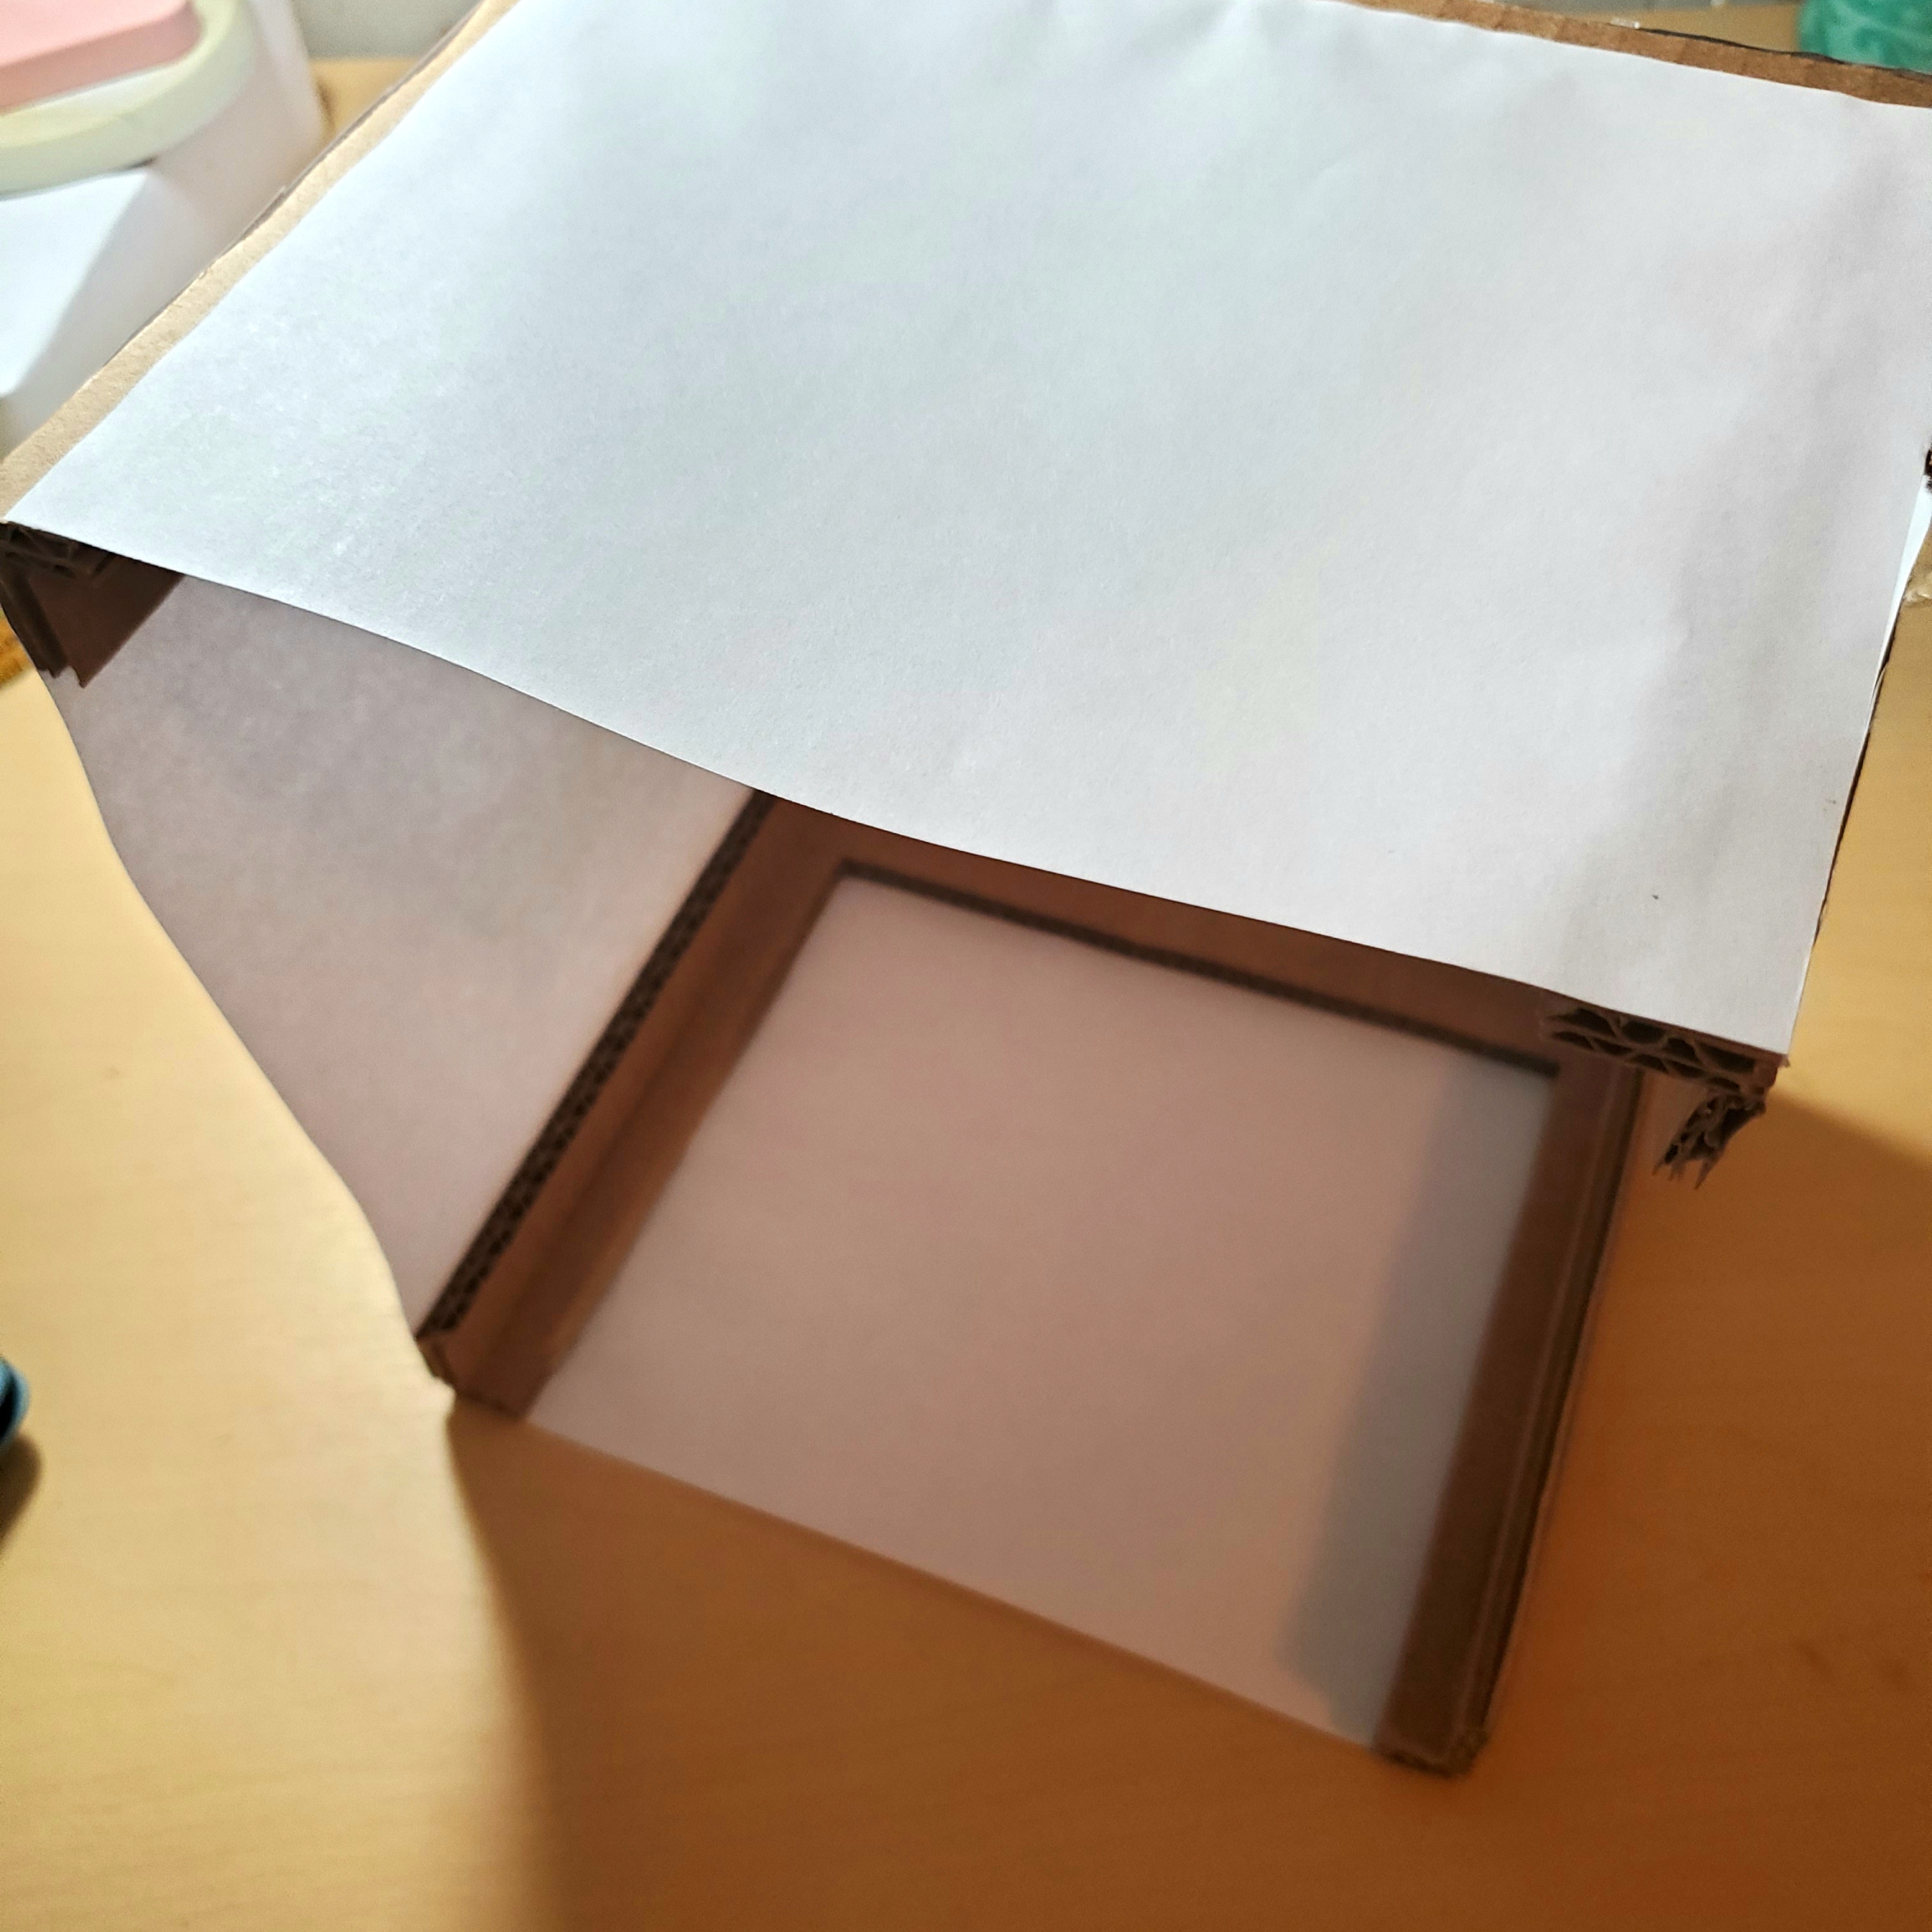
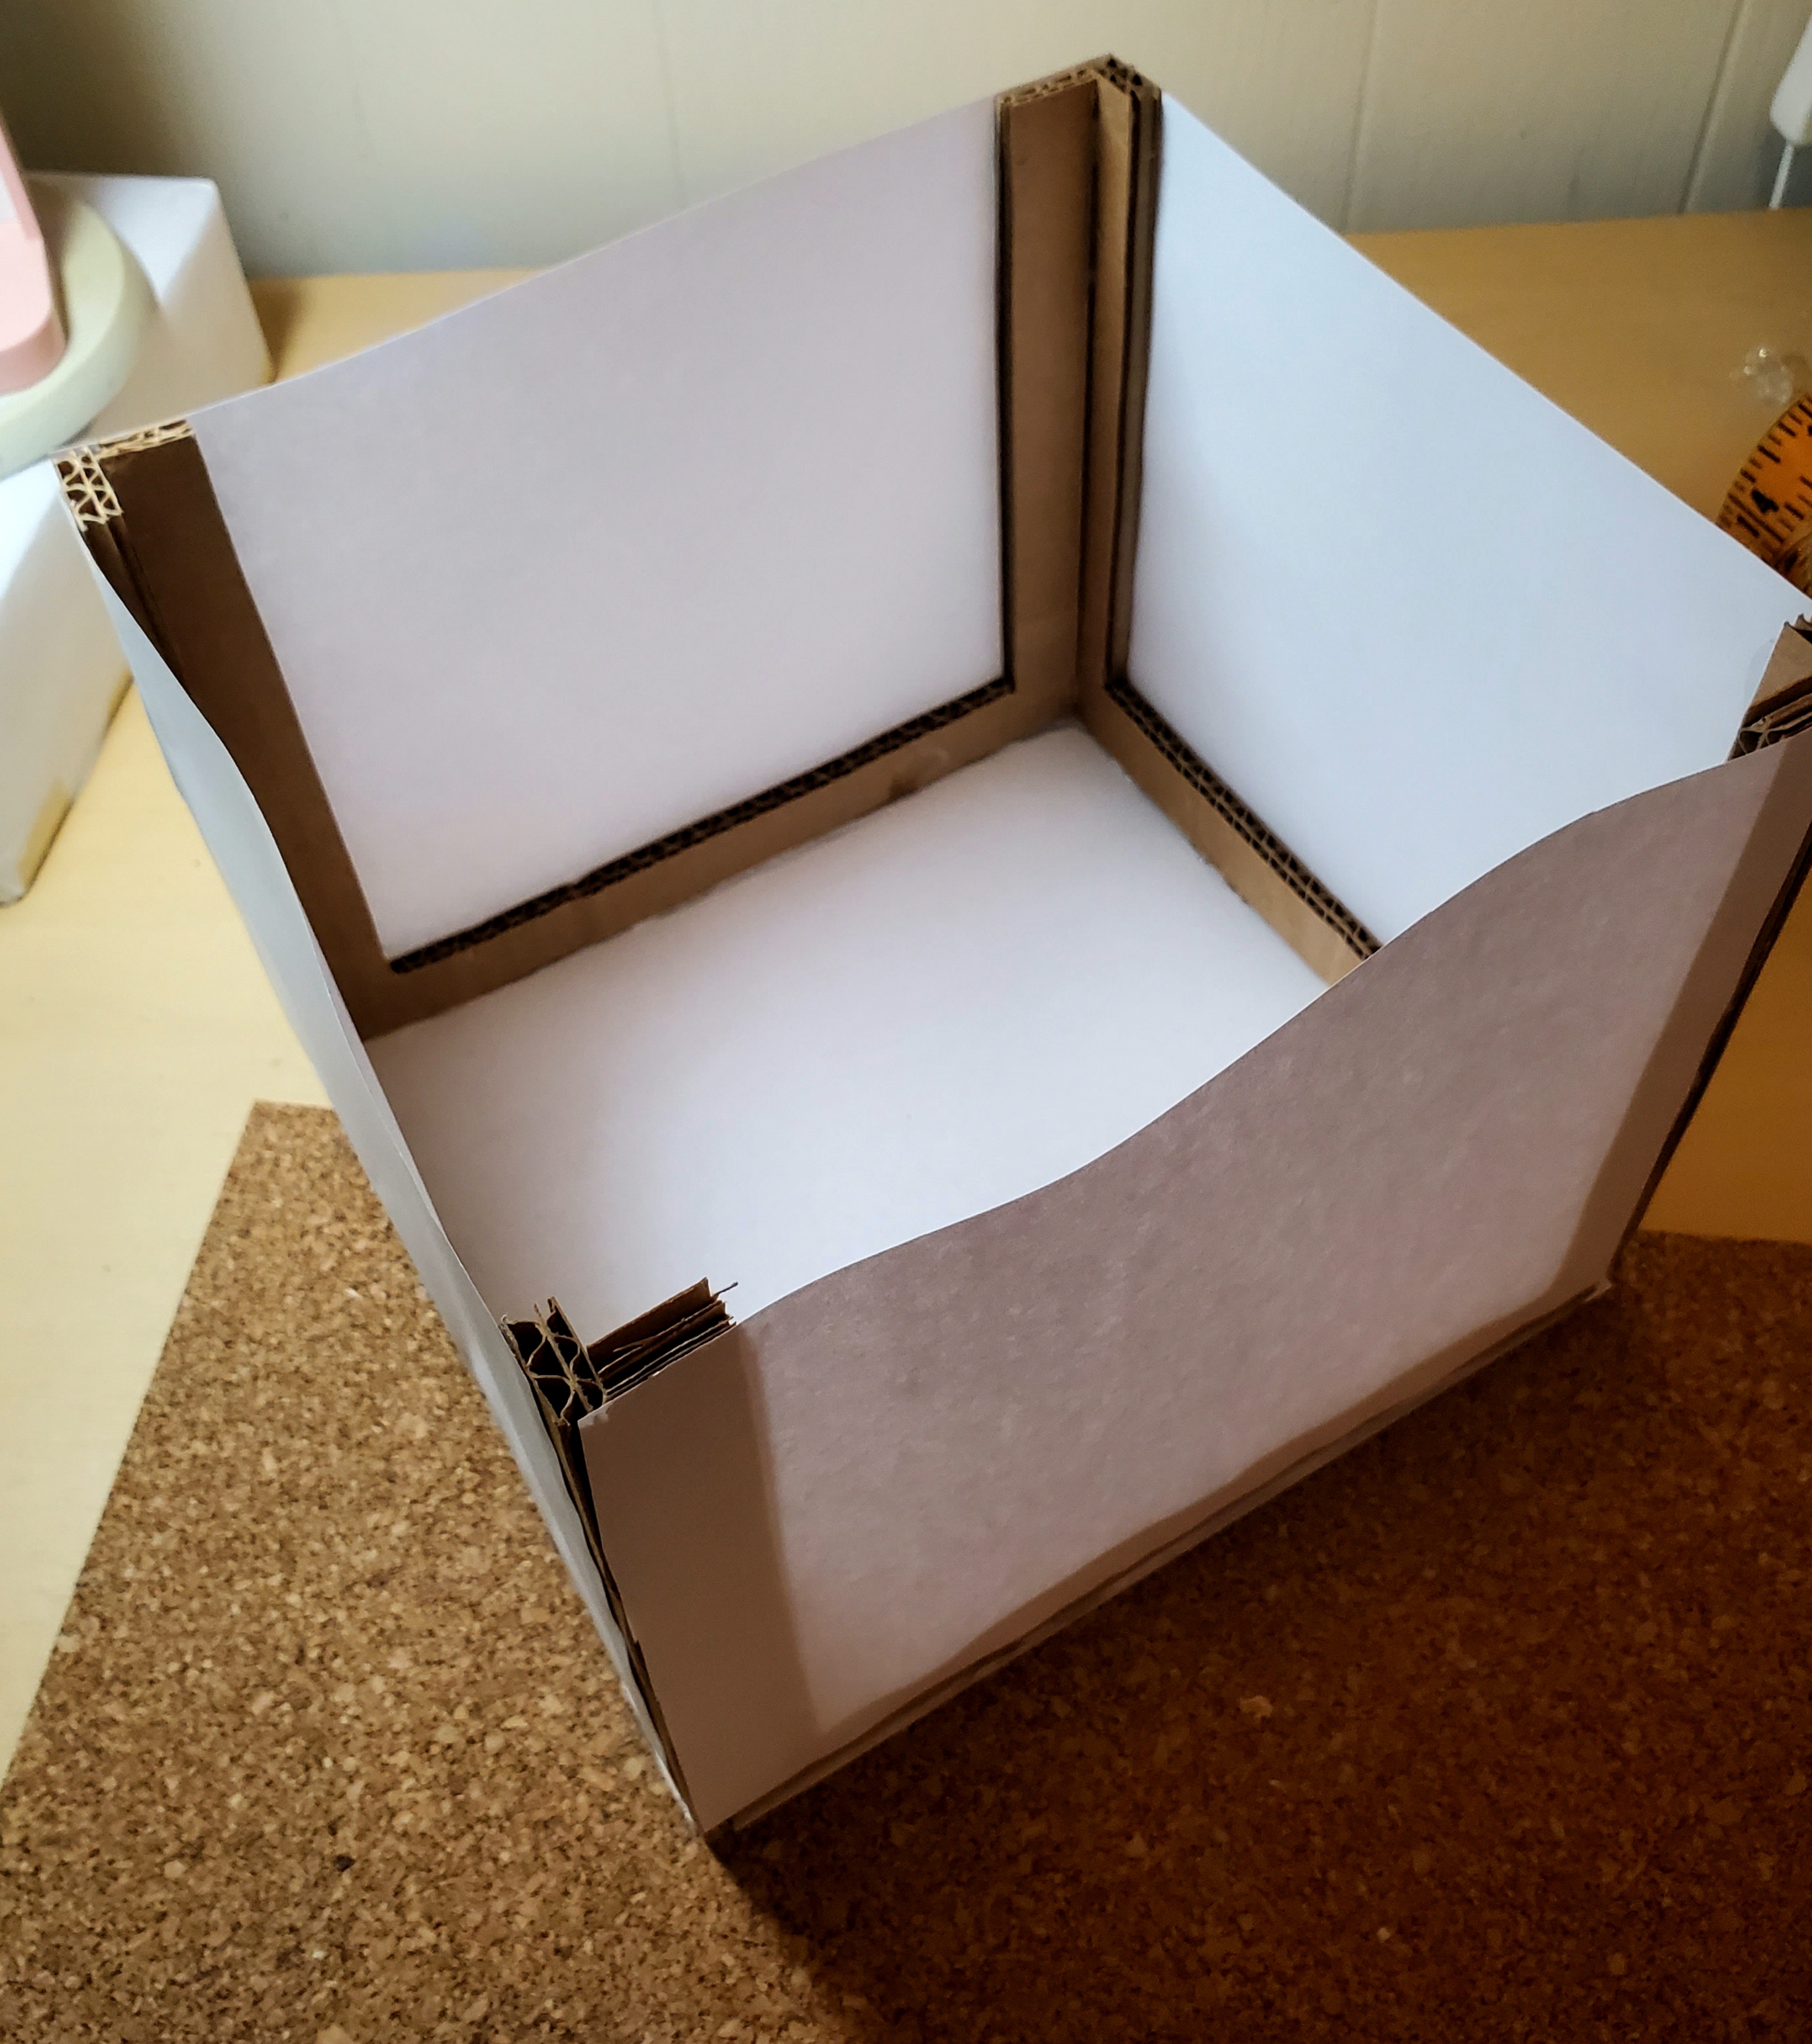
Cut the Background Lining
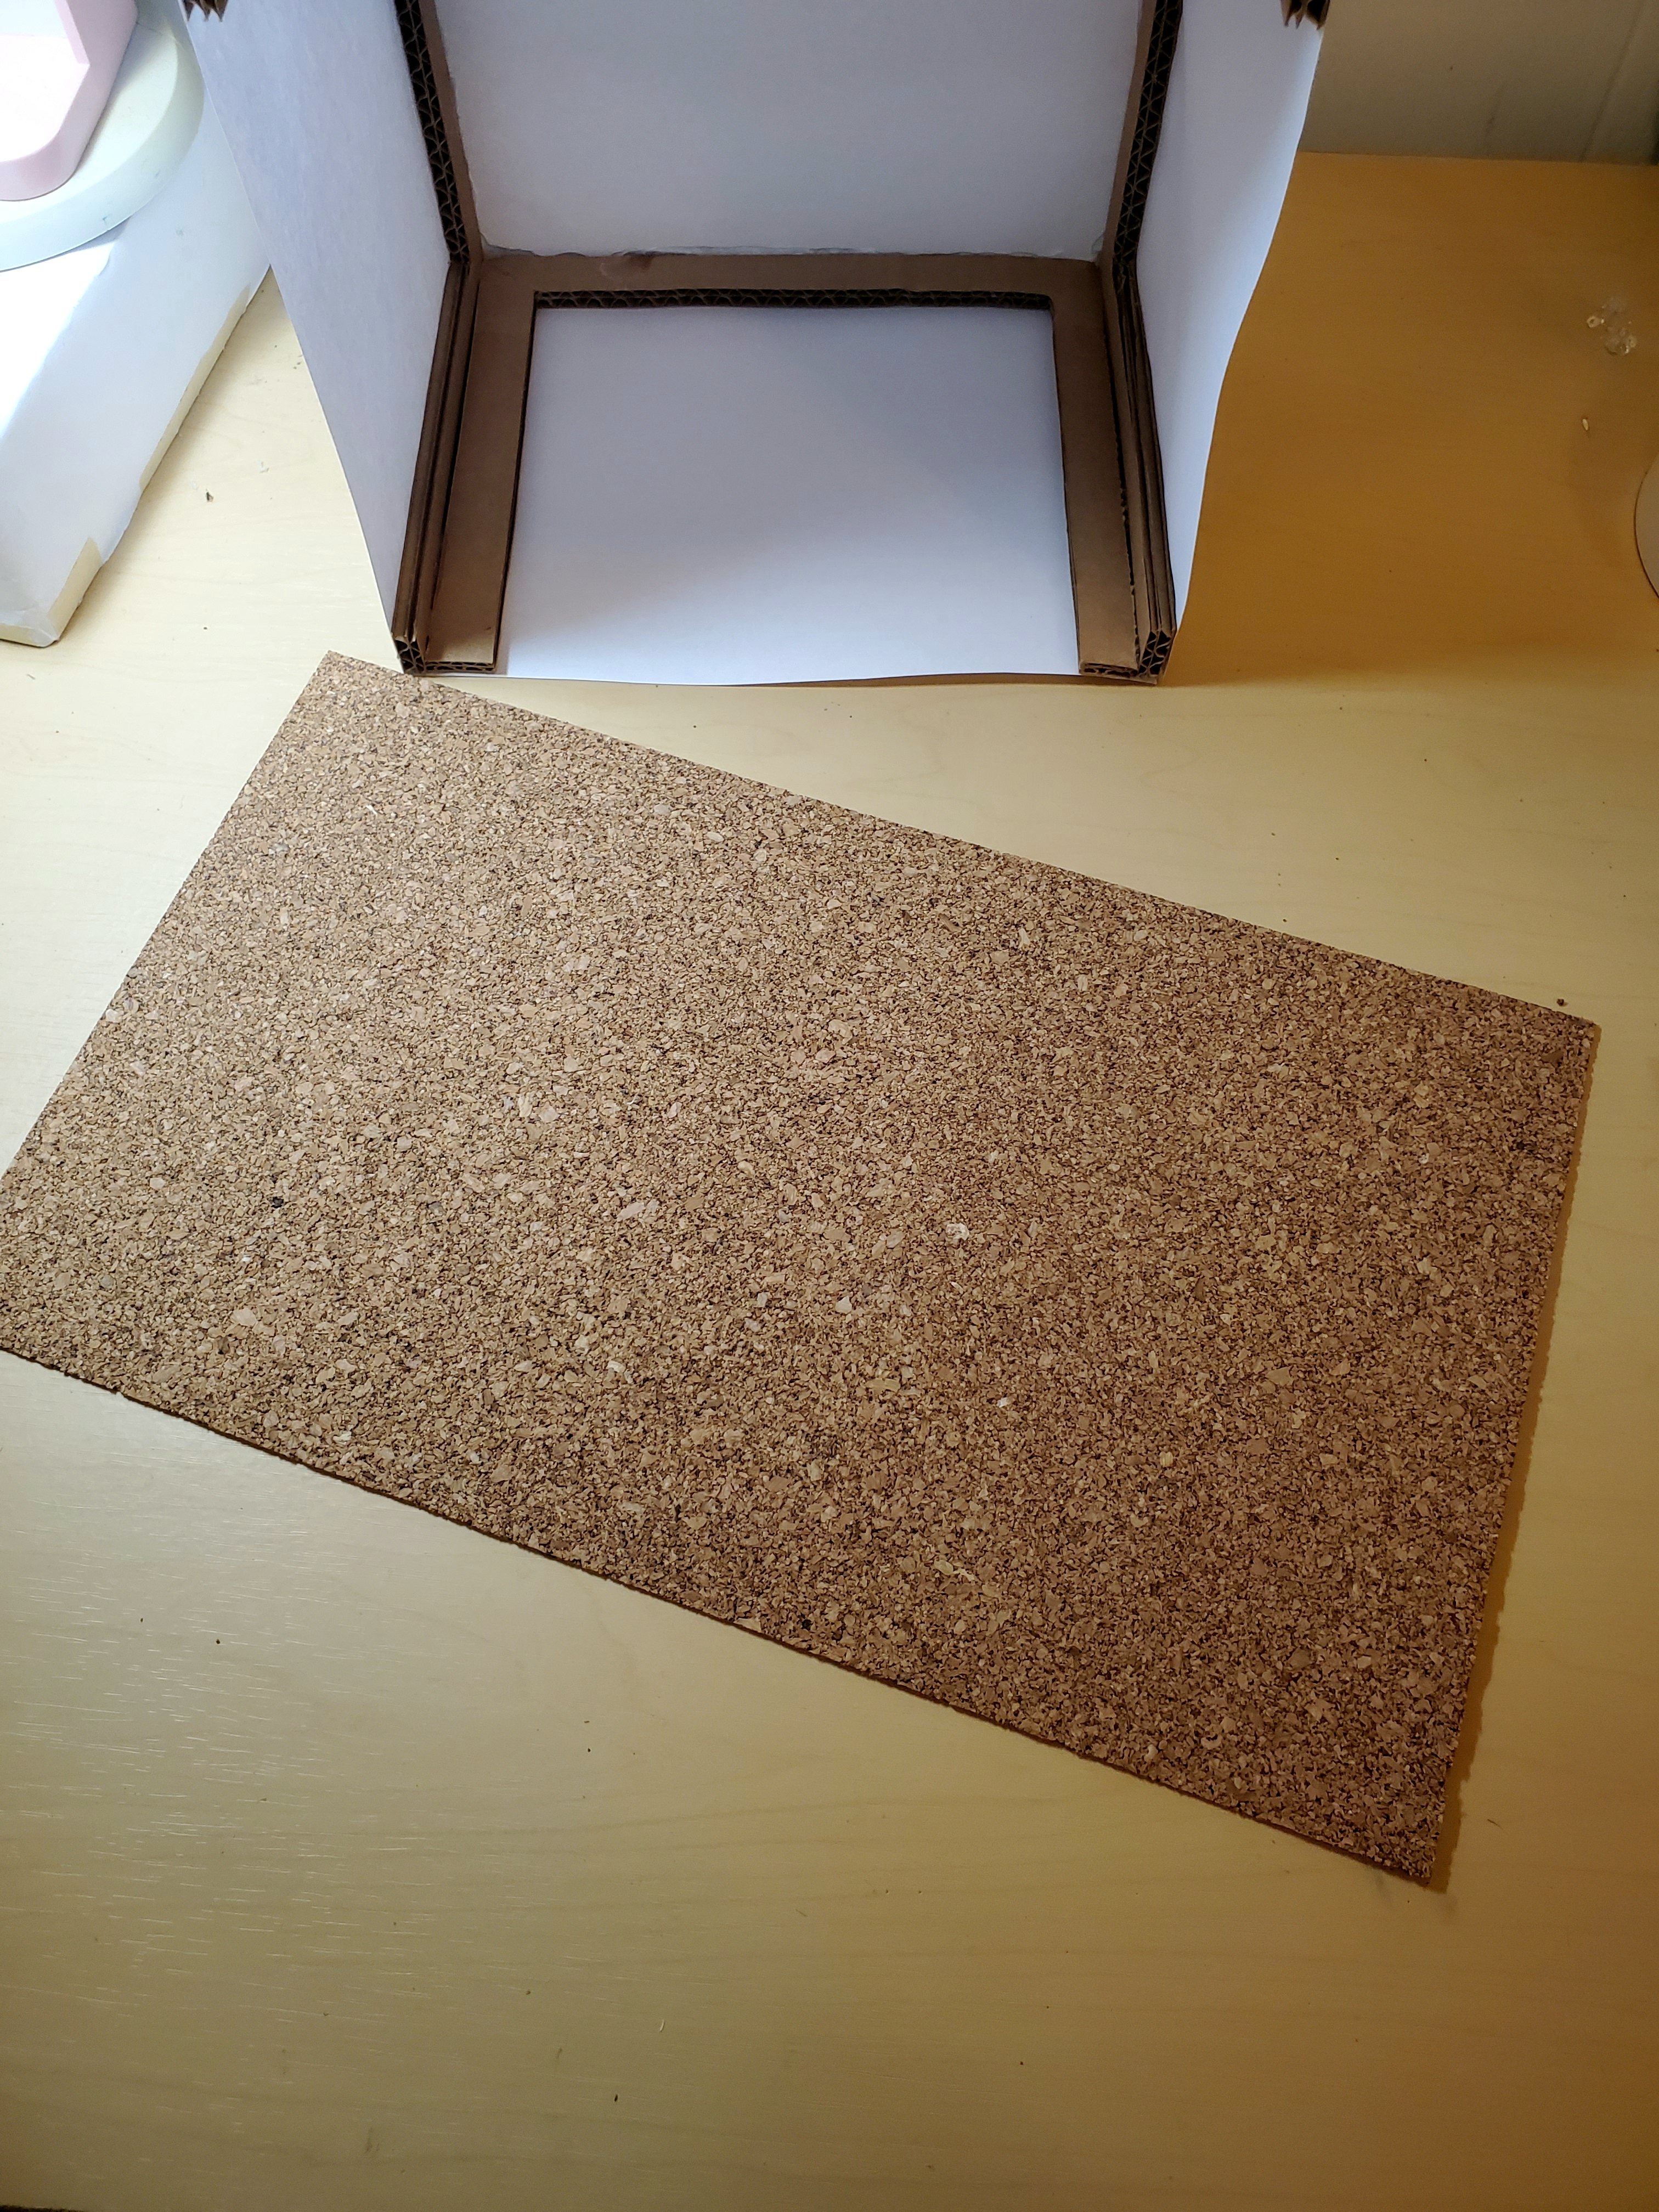
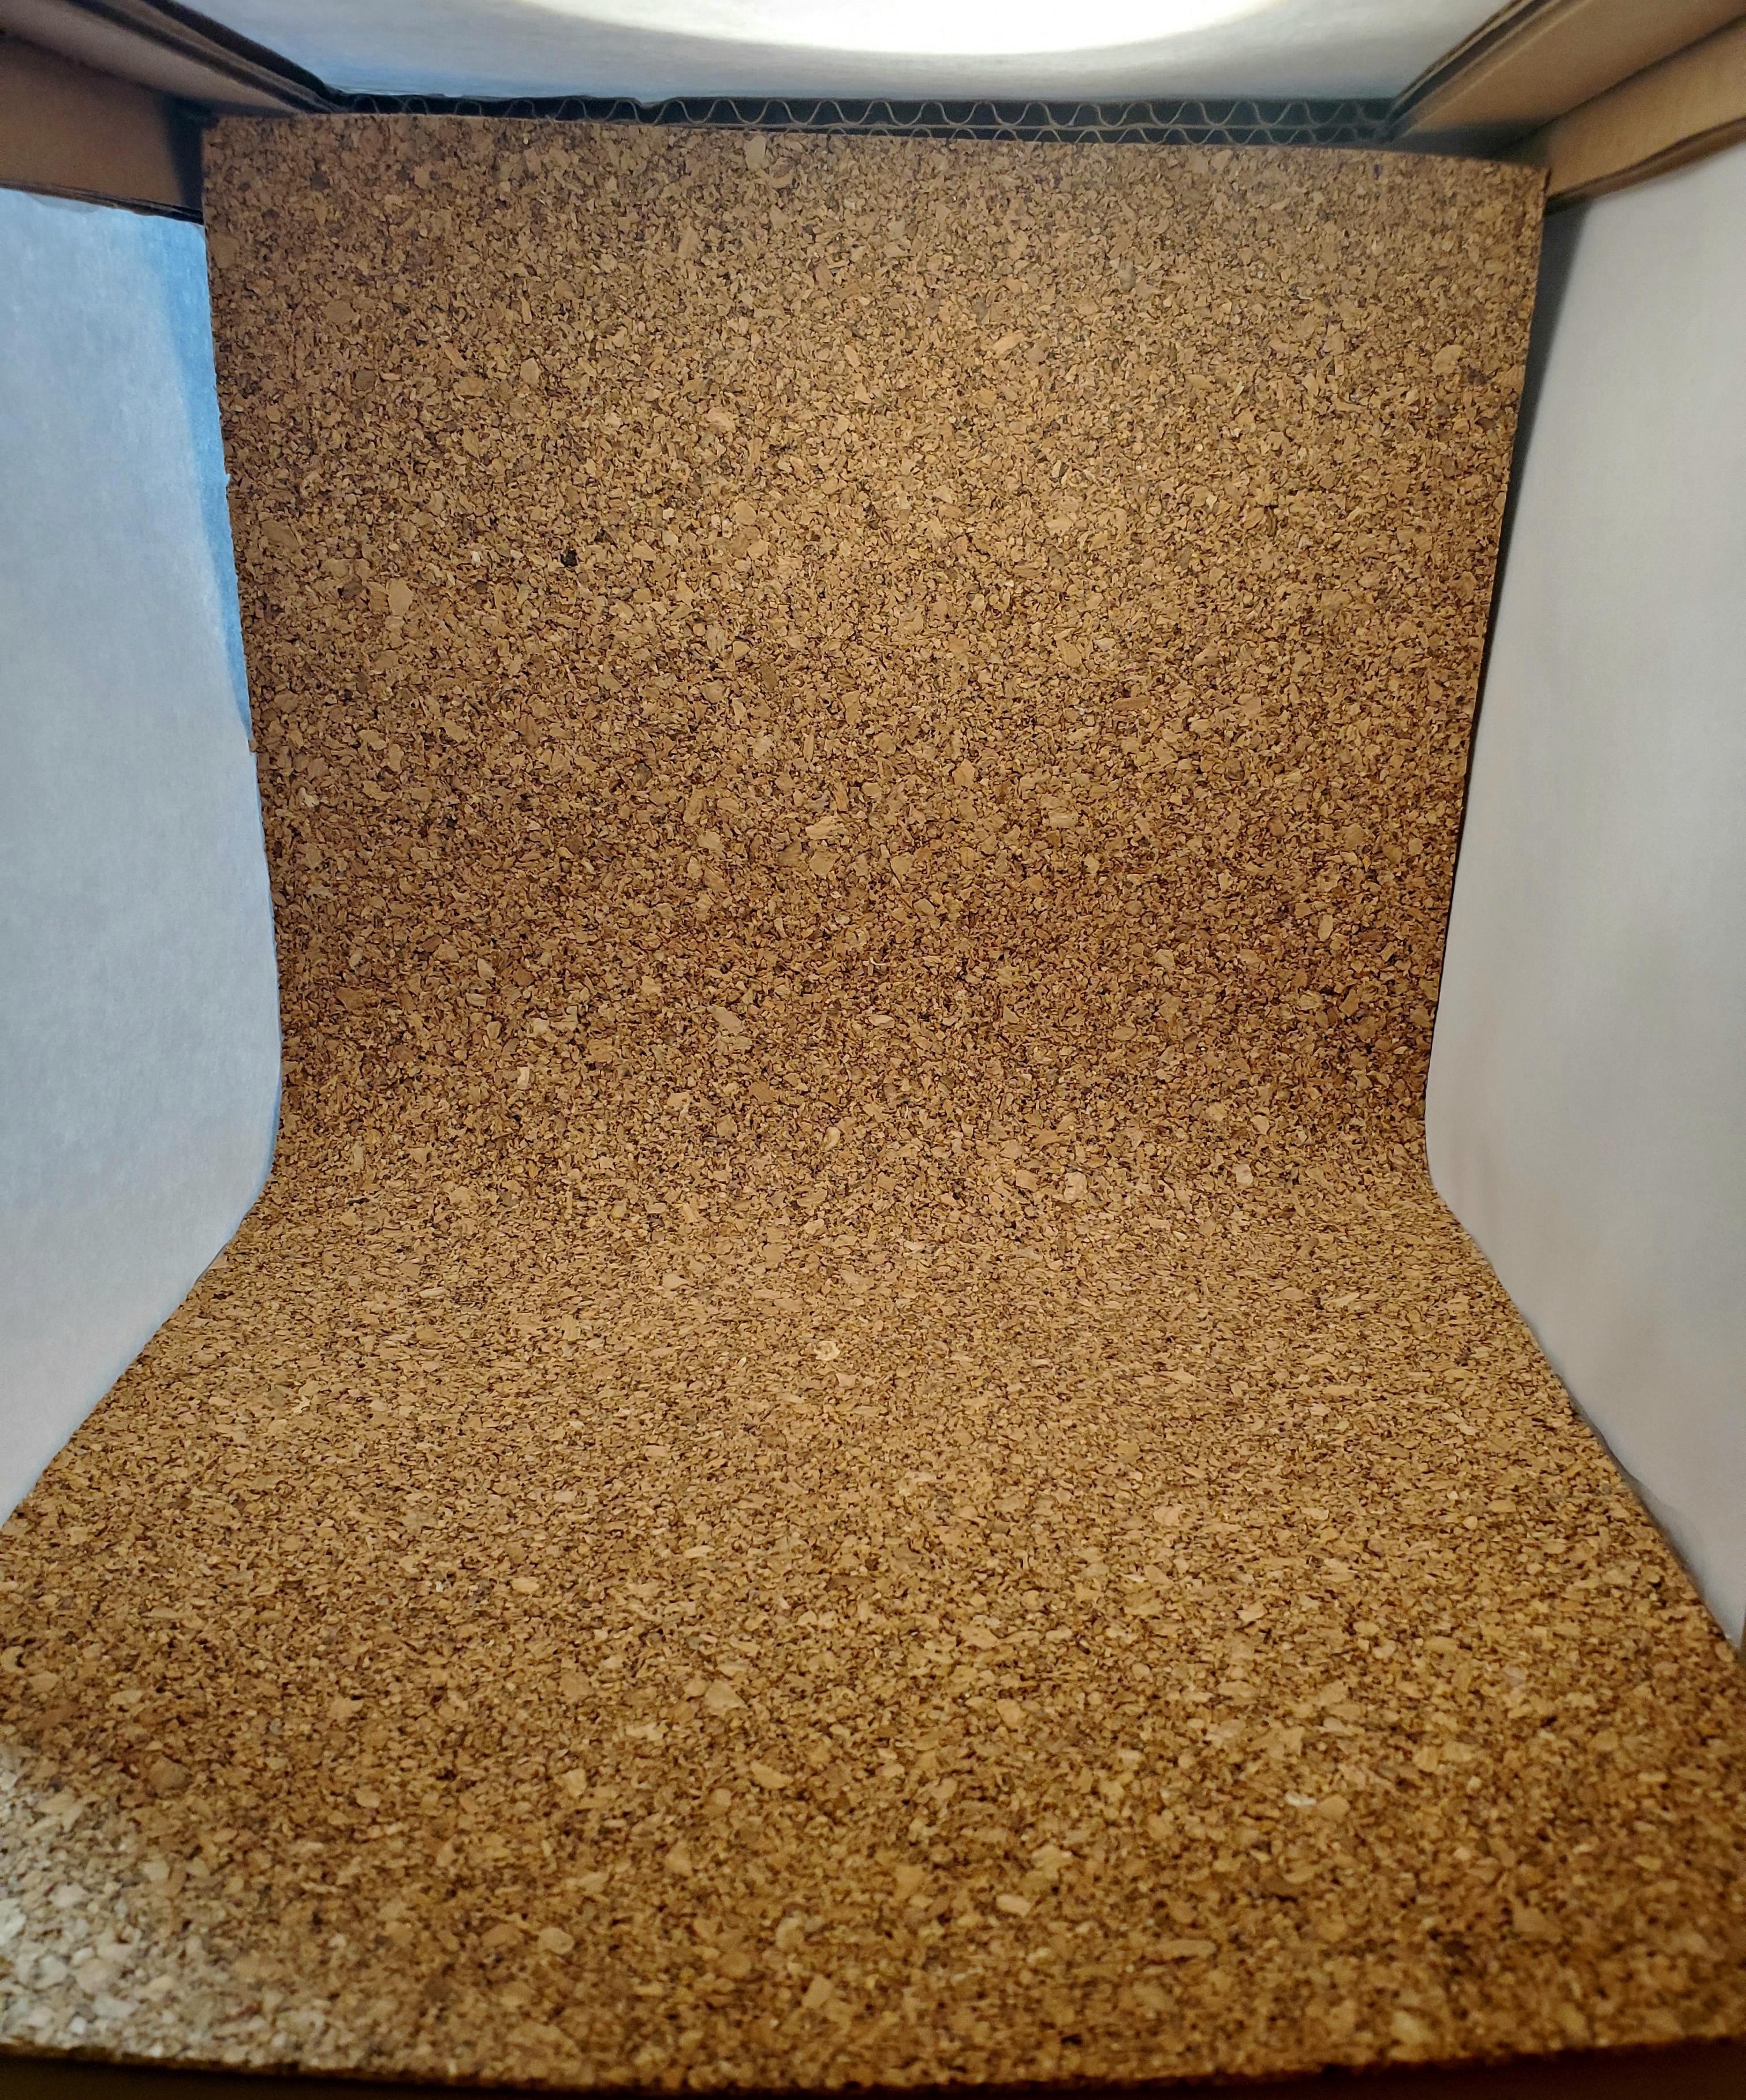
Measure the inside of the box. I measured from paper to paper, not cardboard to cardboard. This gives me just a little bit extra so when placed inside it can wedge between the cardboard snugly at the top and have some overlap at the back and sides so you won't see the cardboard of the box.
You can use any material for this backdrop. If you choose something soft that wont hold itself up, glue it along the top edge only so it can drape down nicely for your pictures.
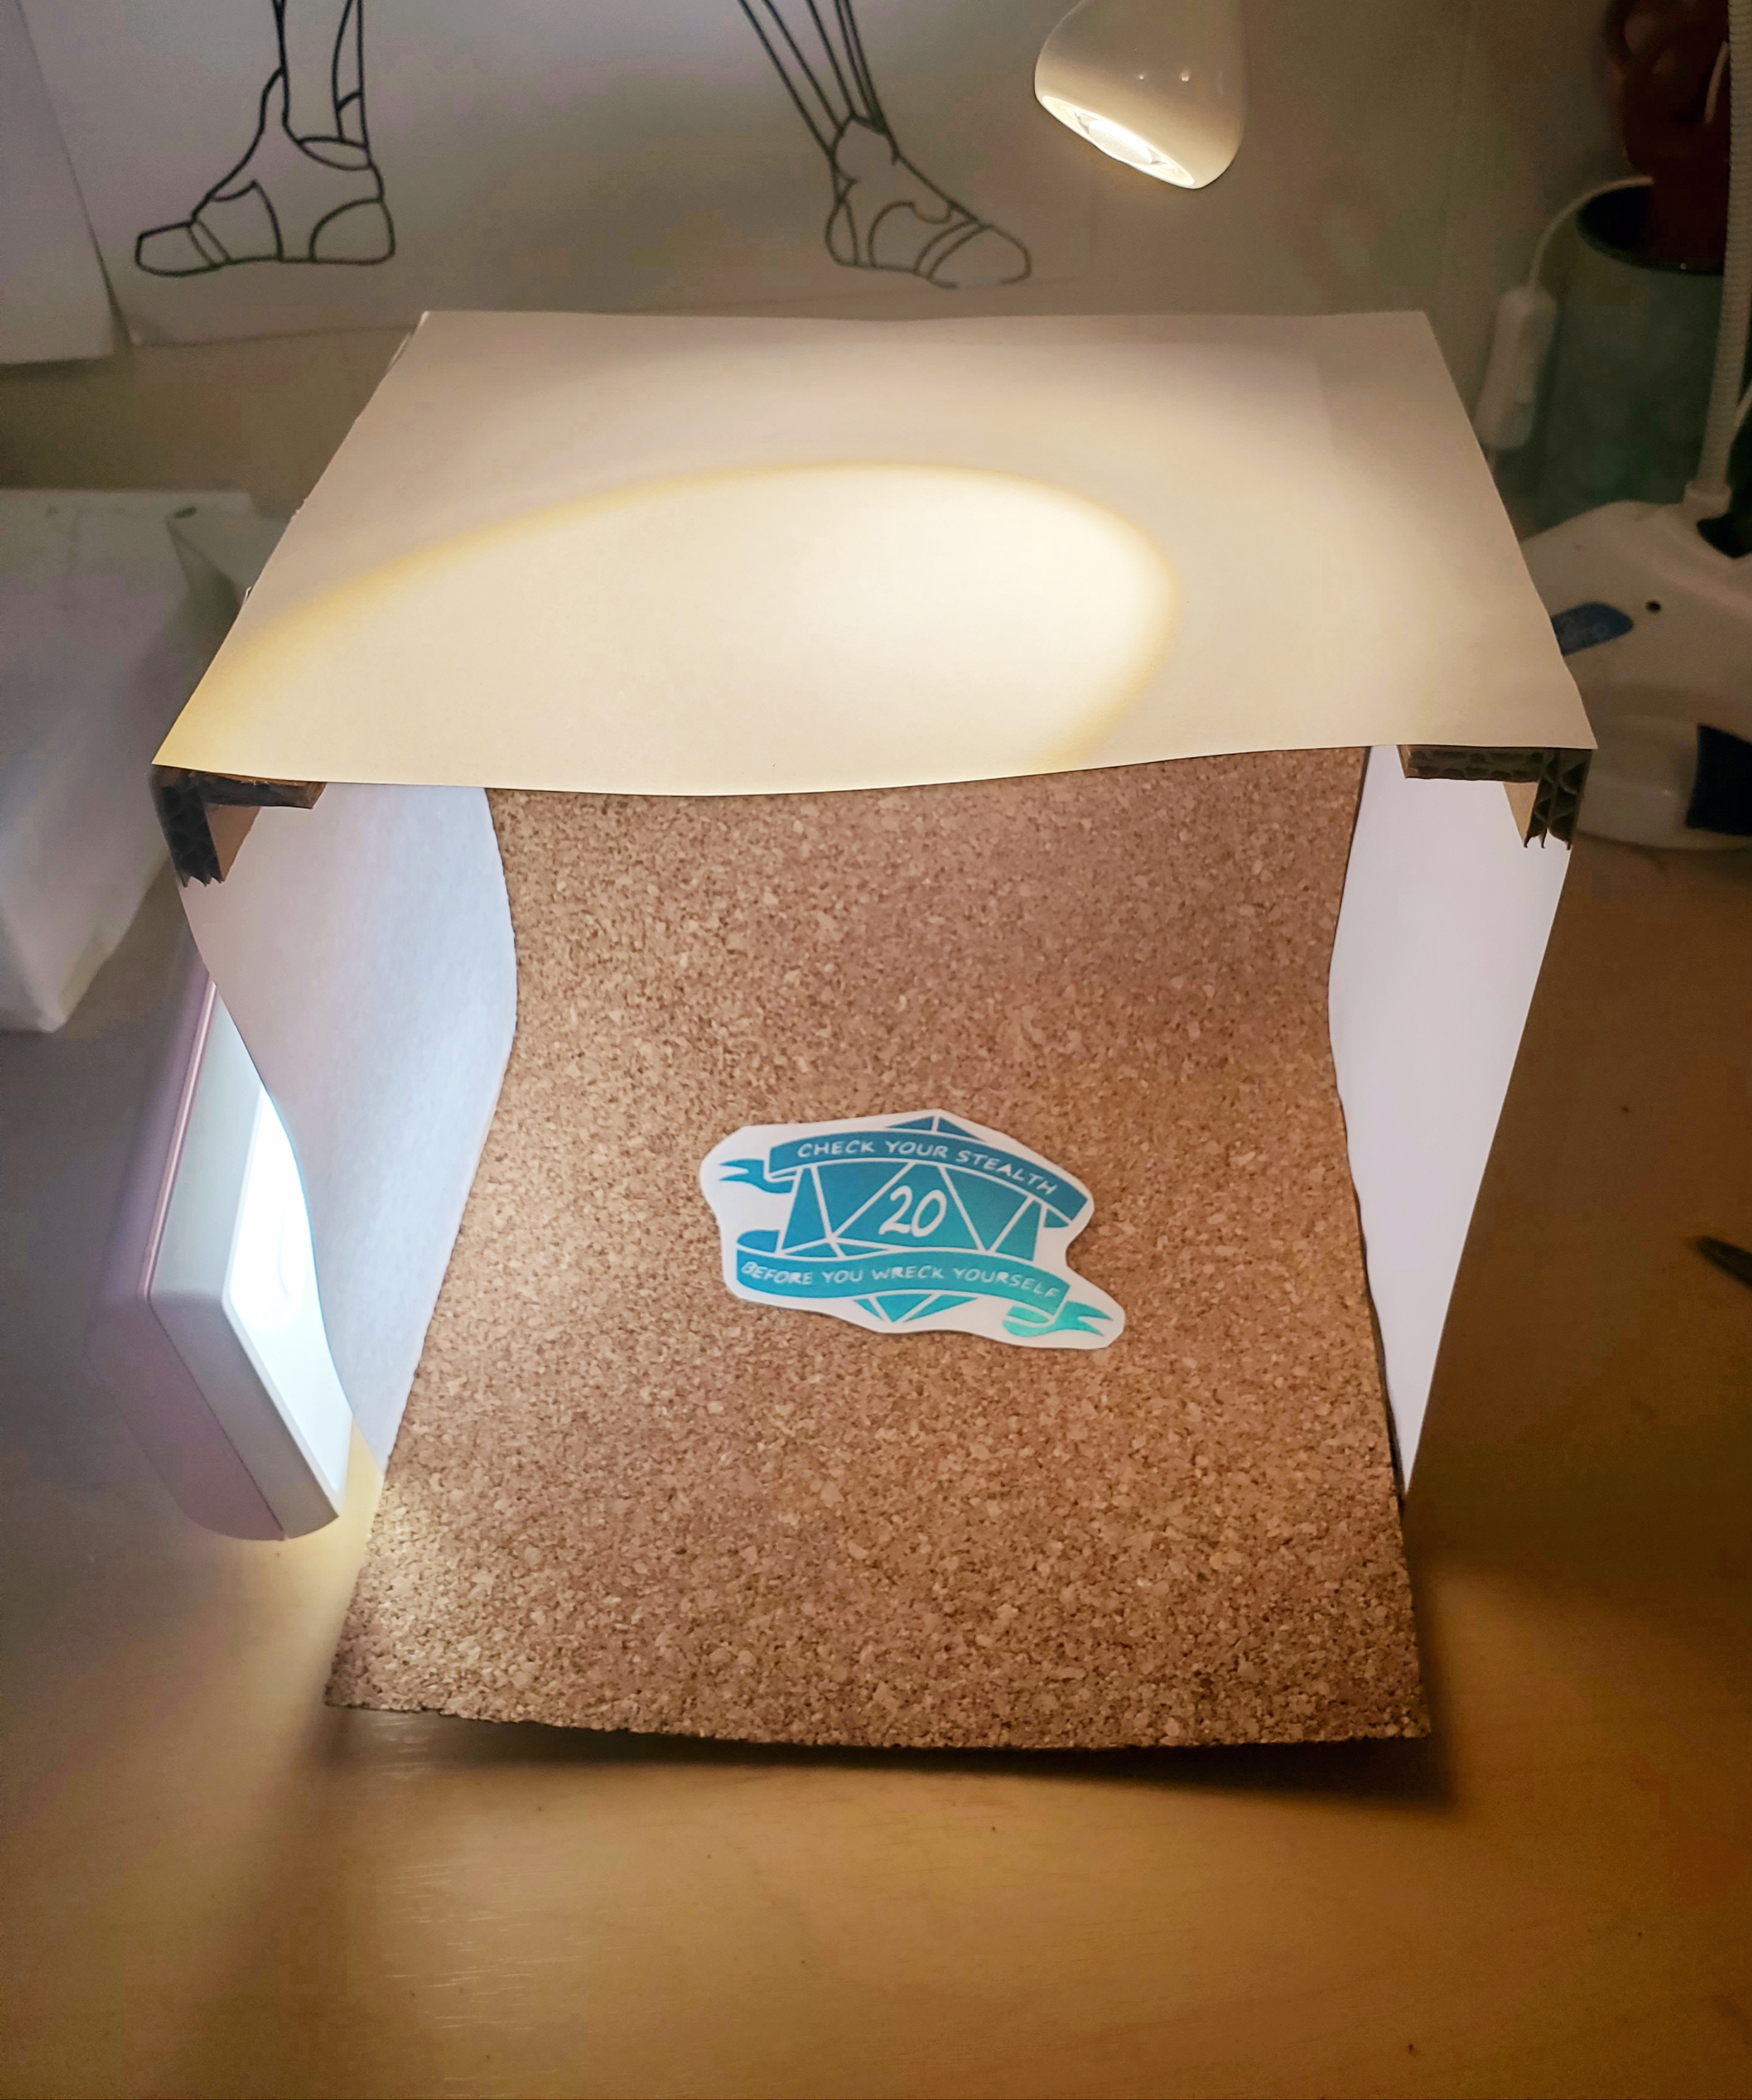
Lights, Camera, Photos!
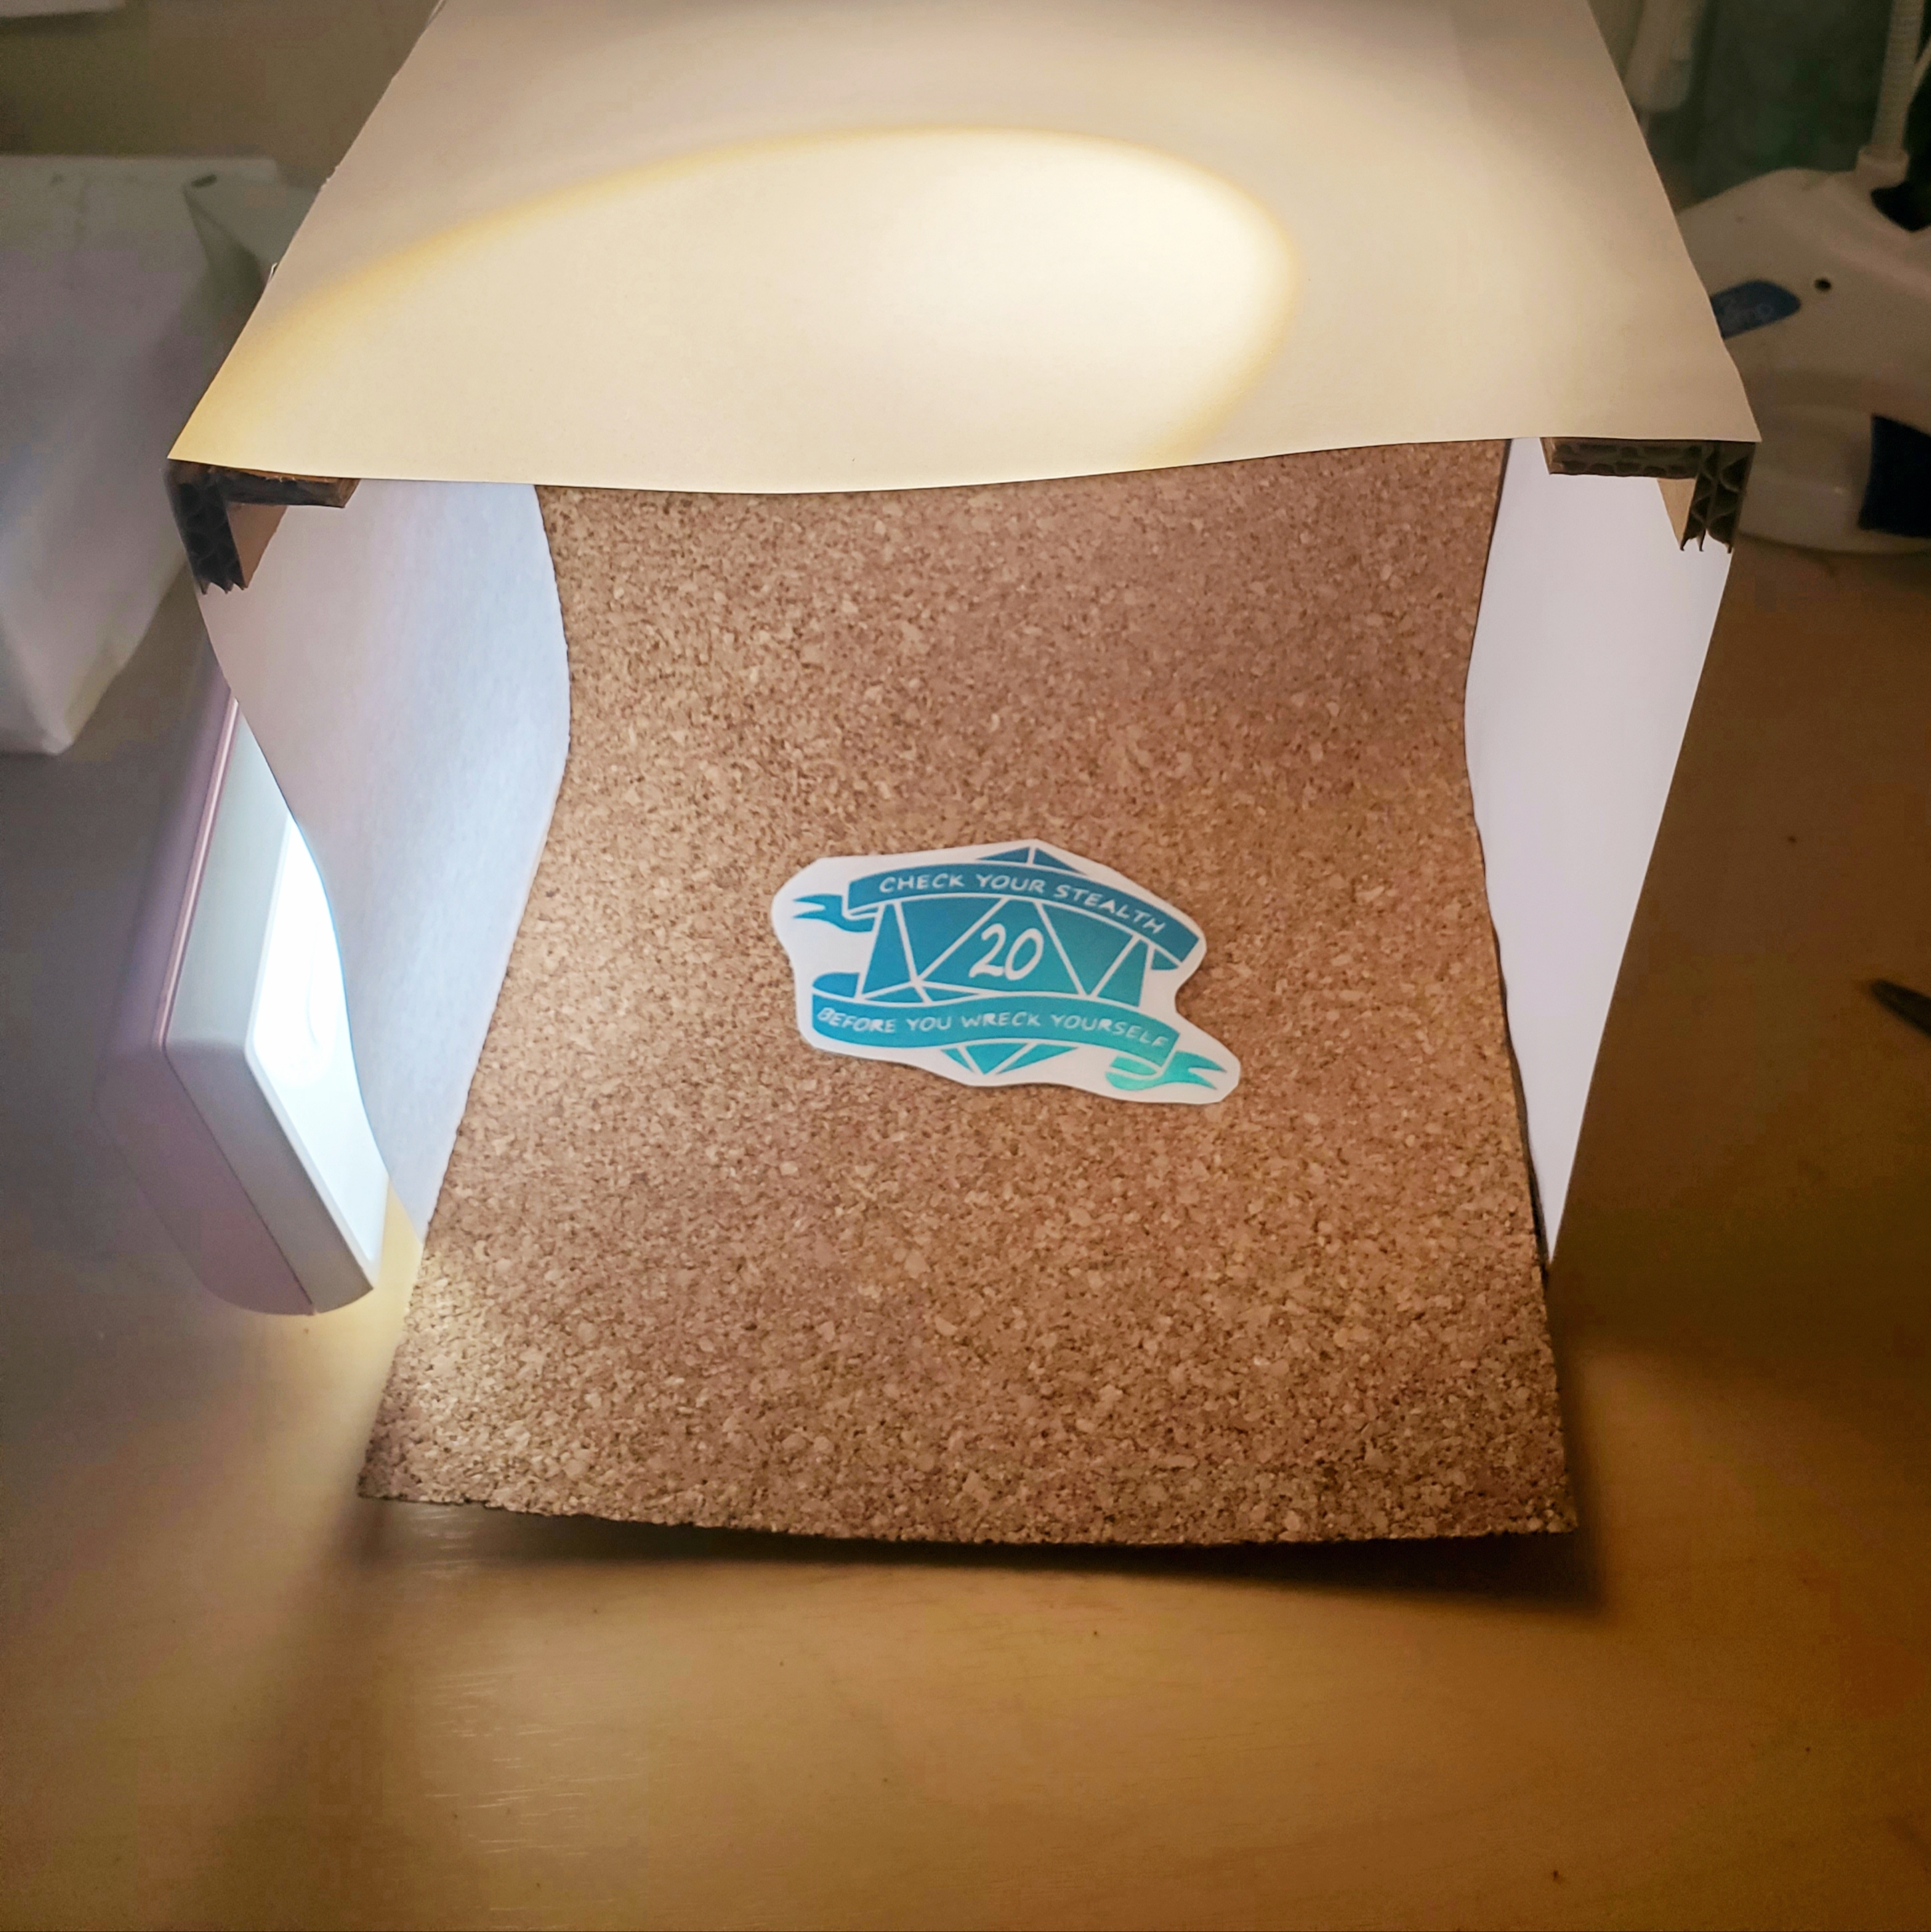
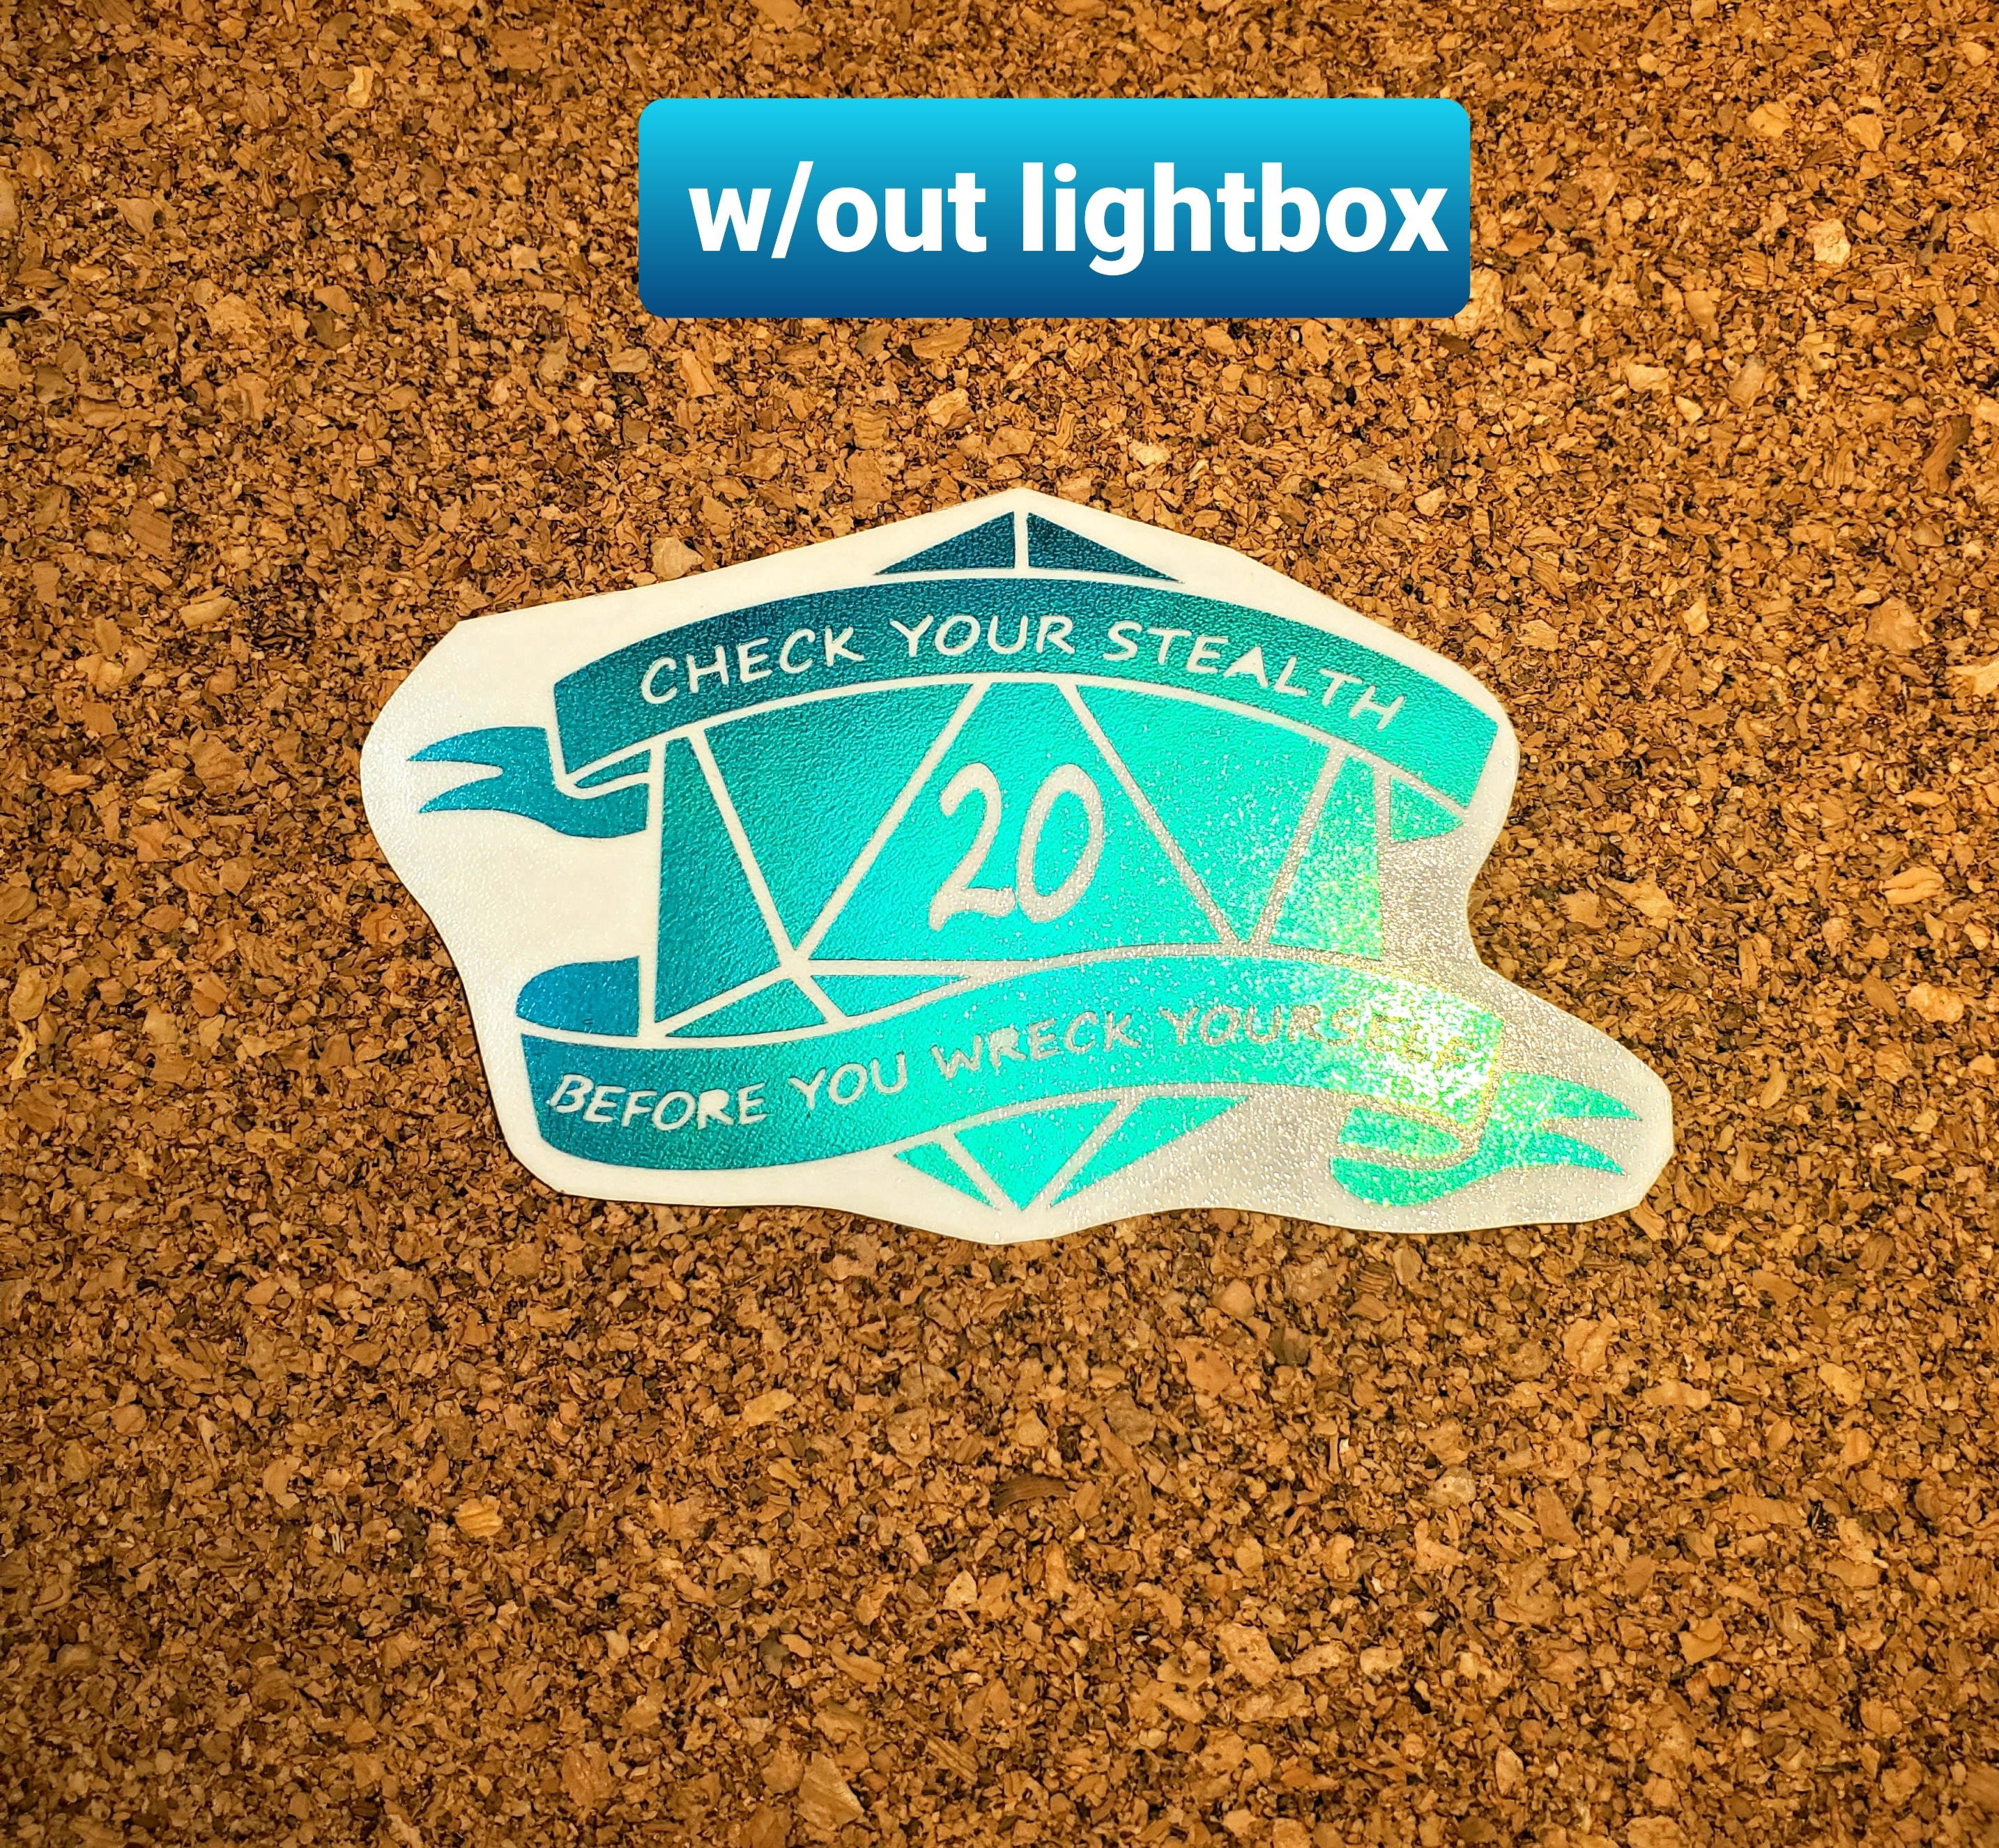
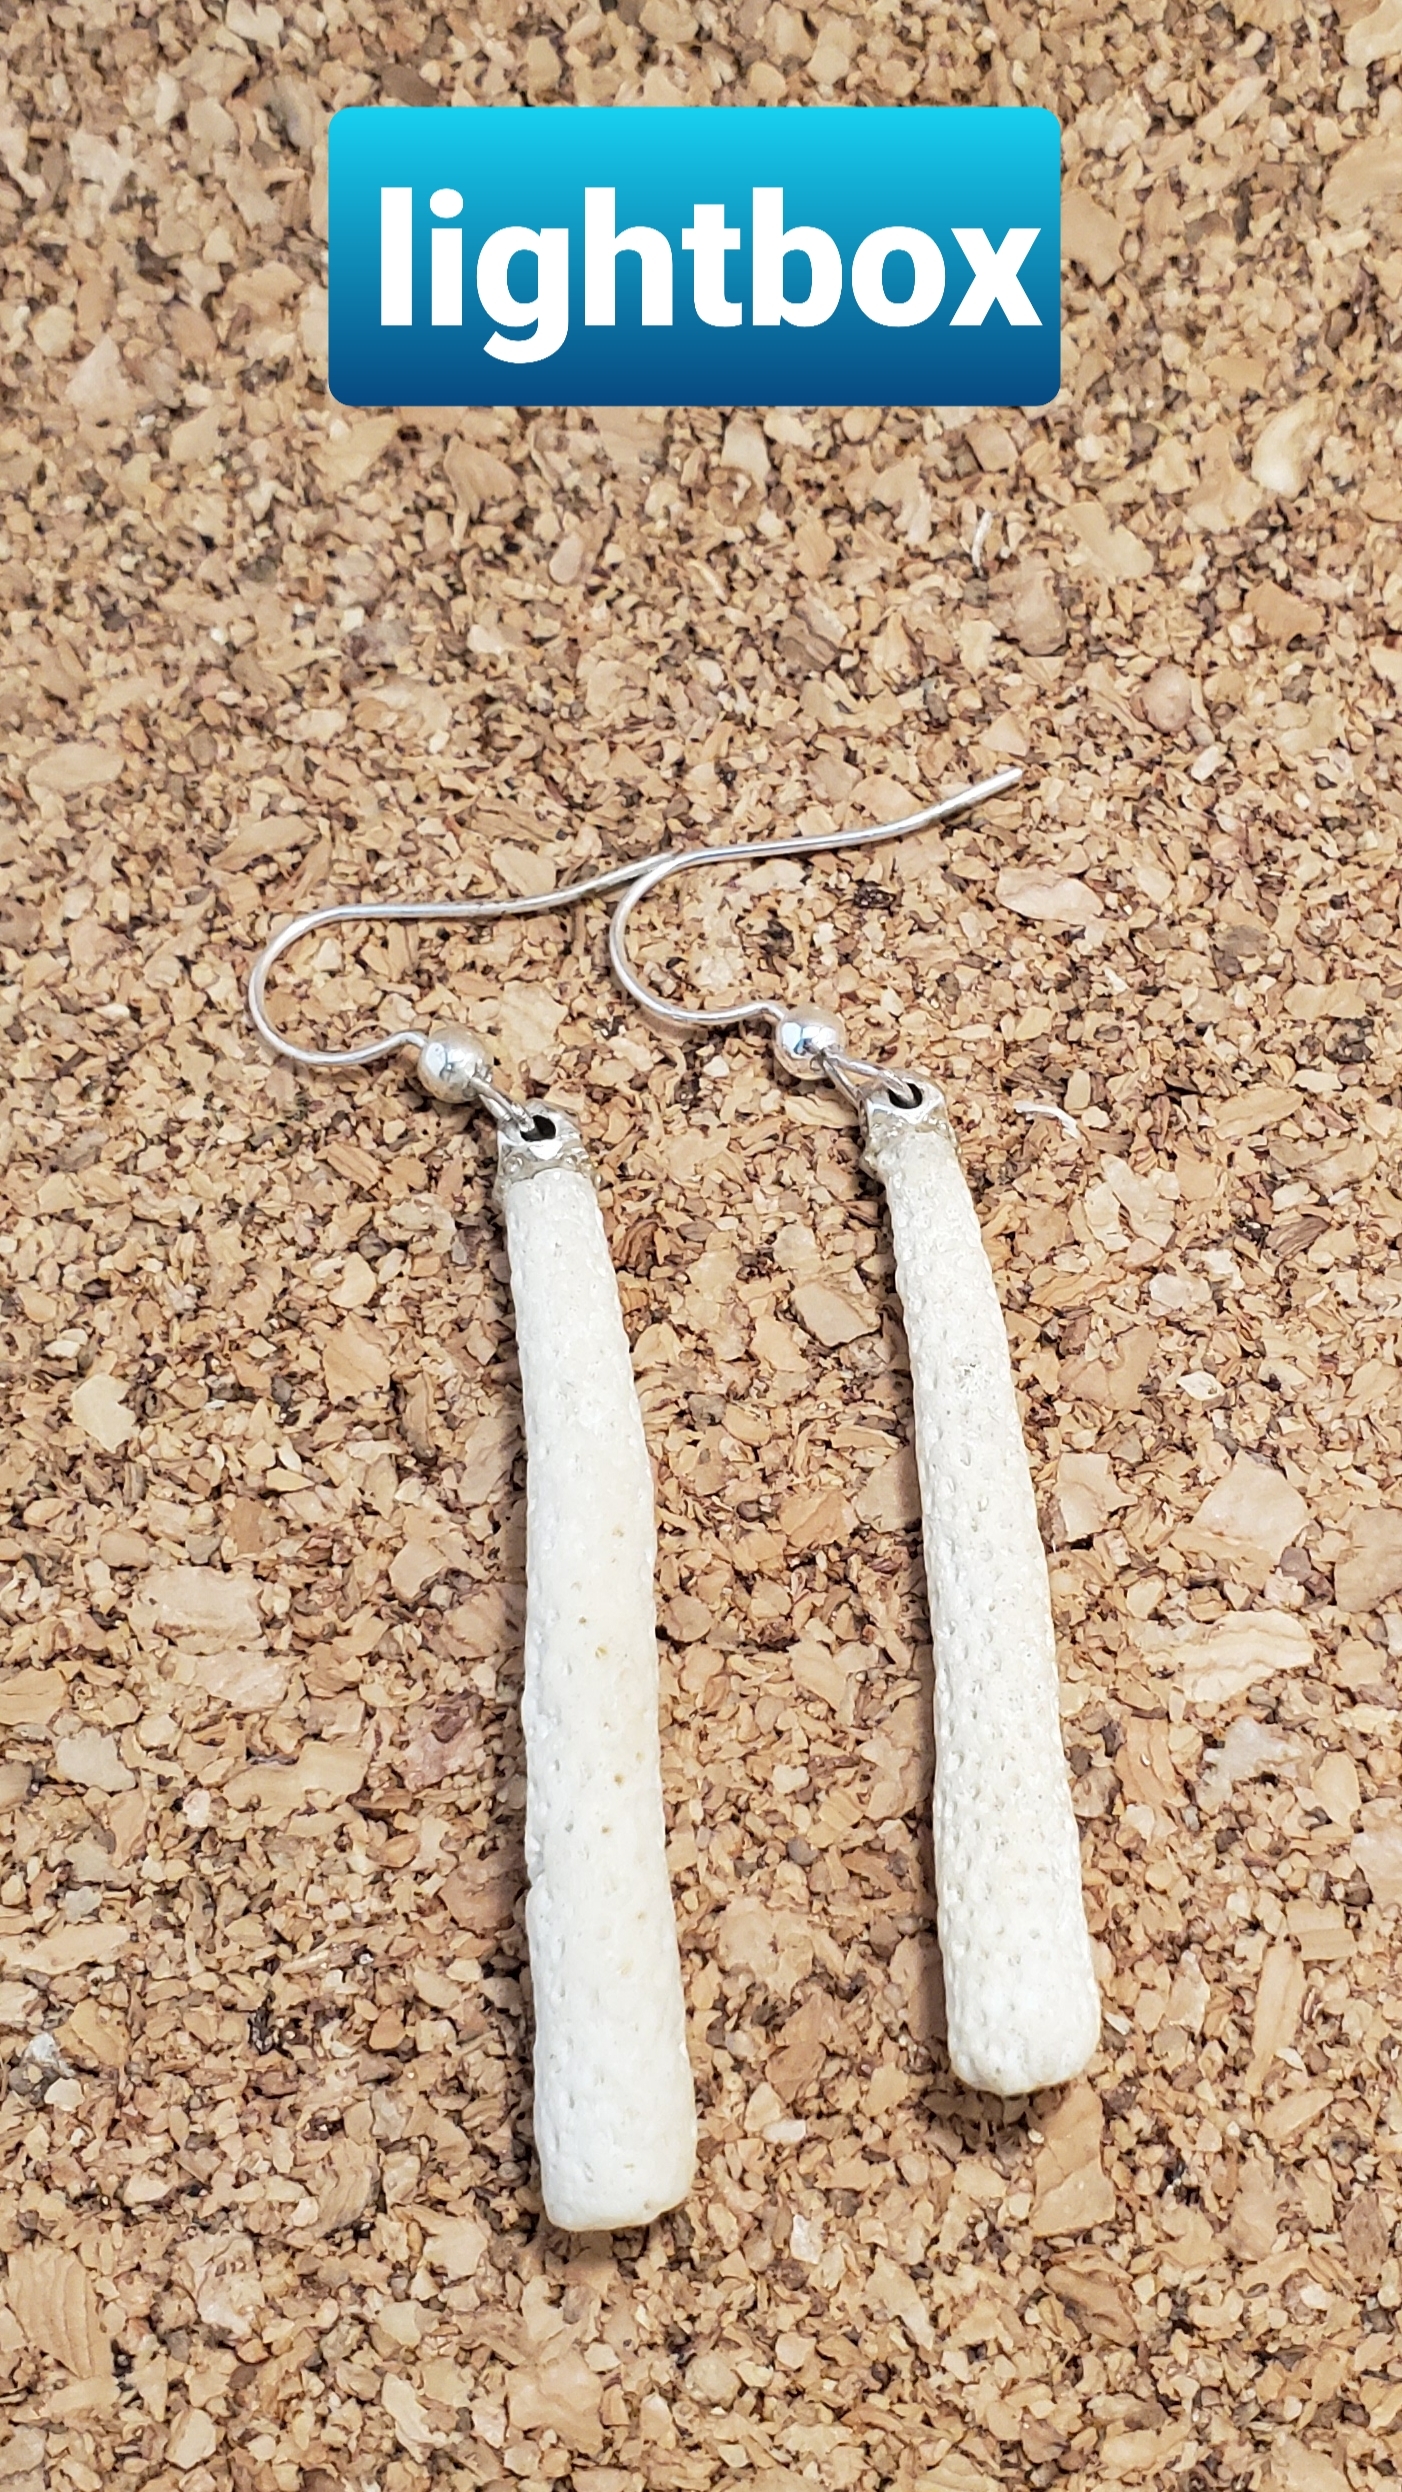
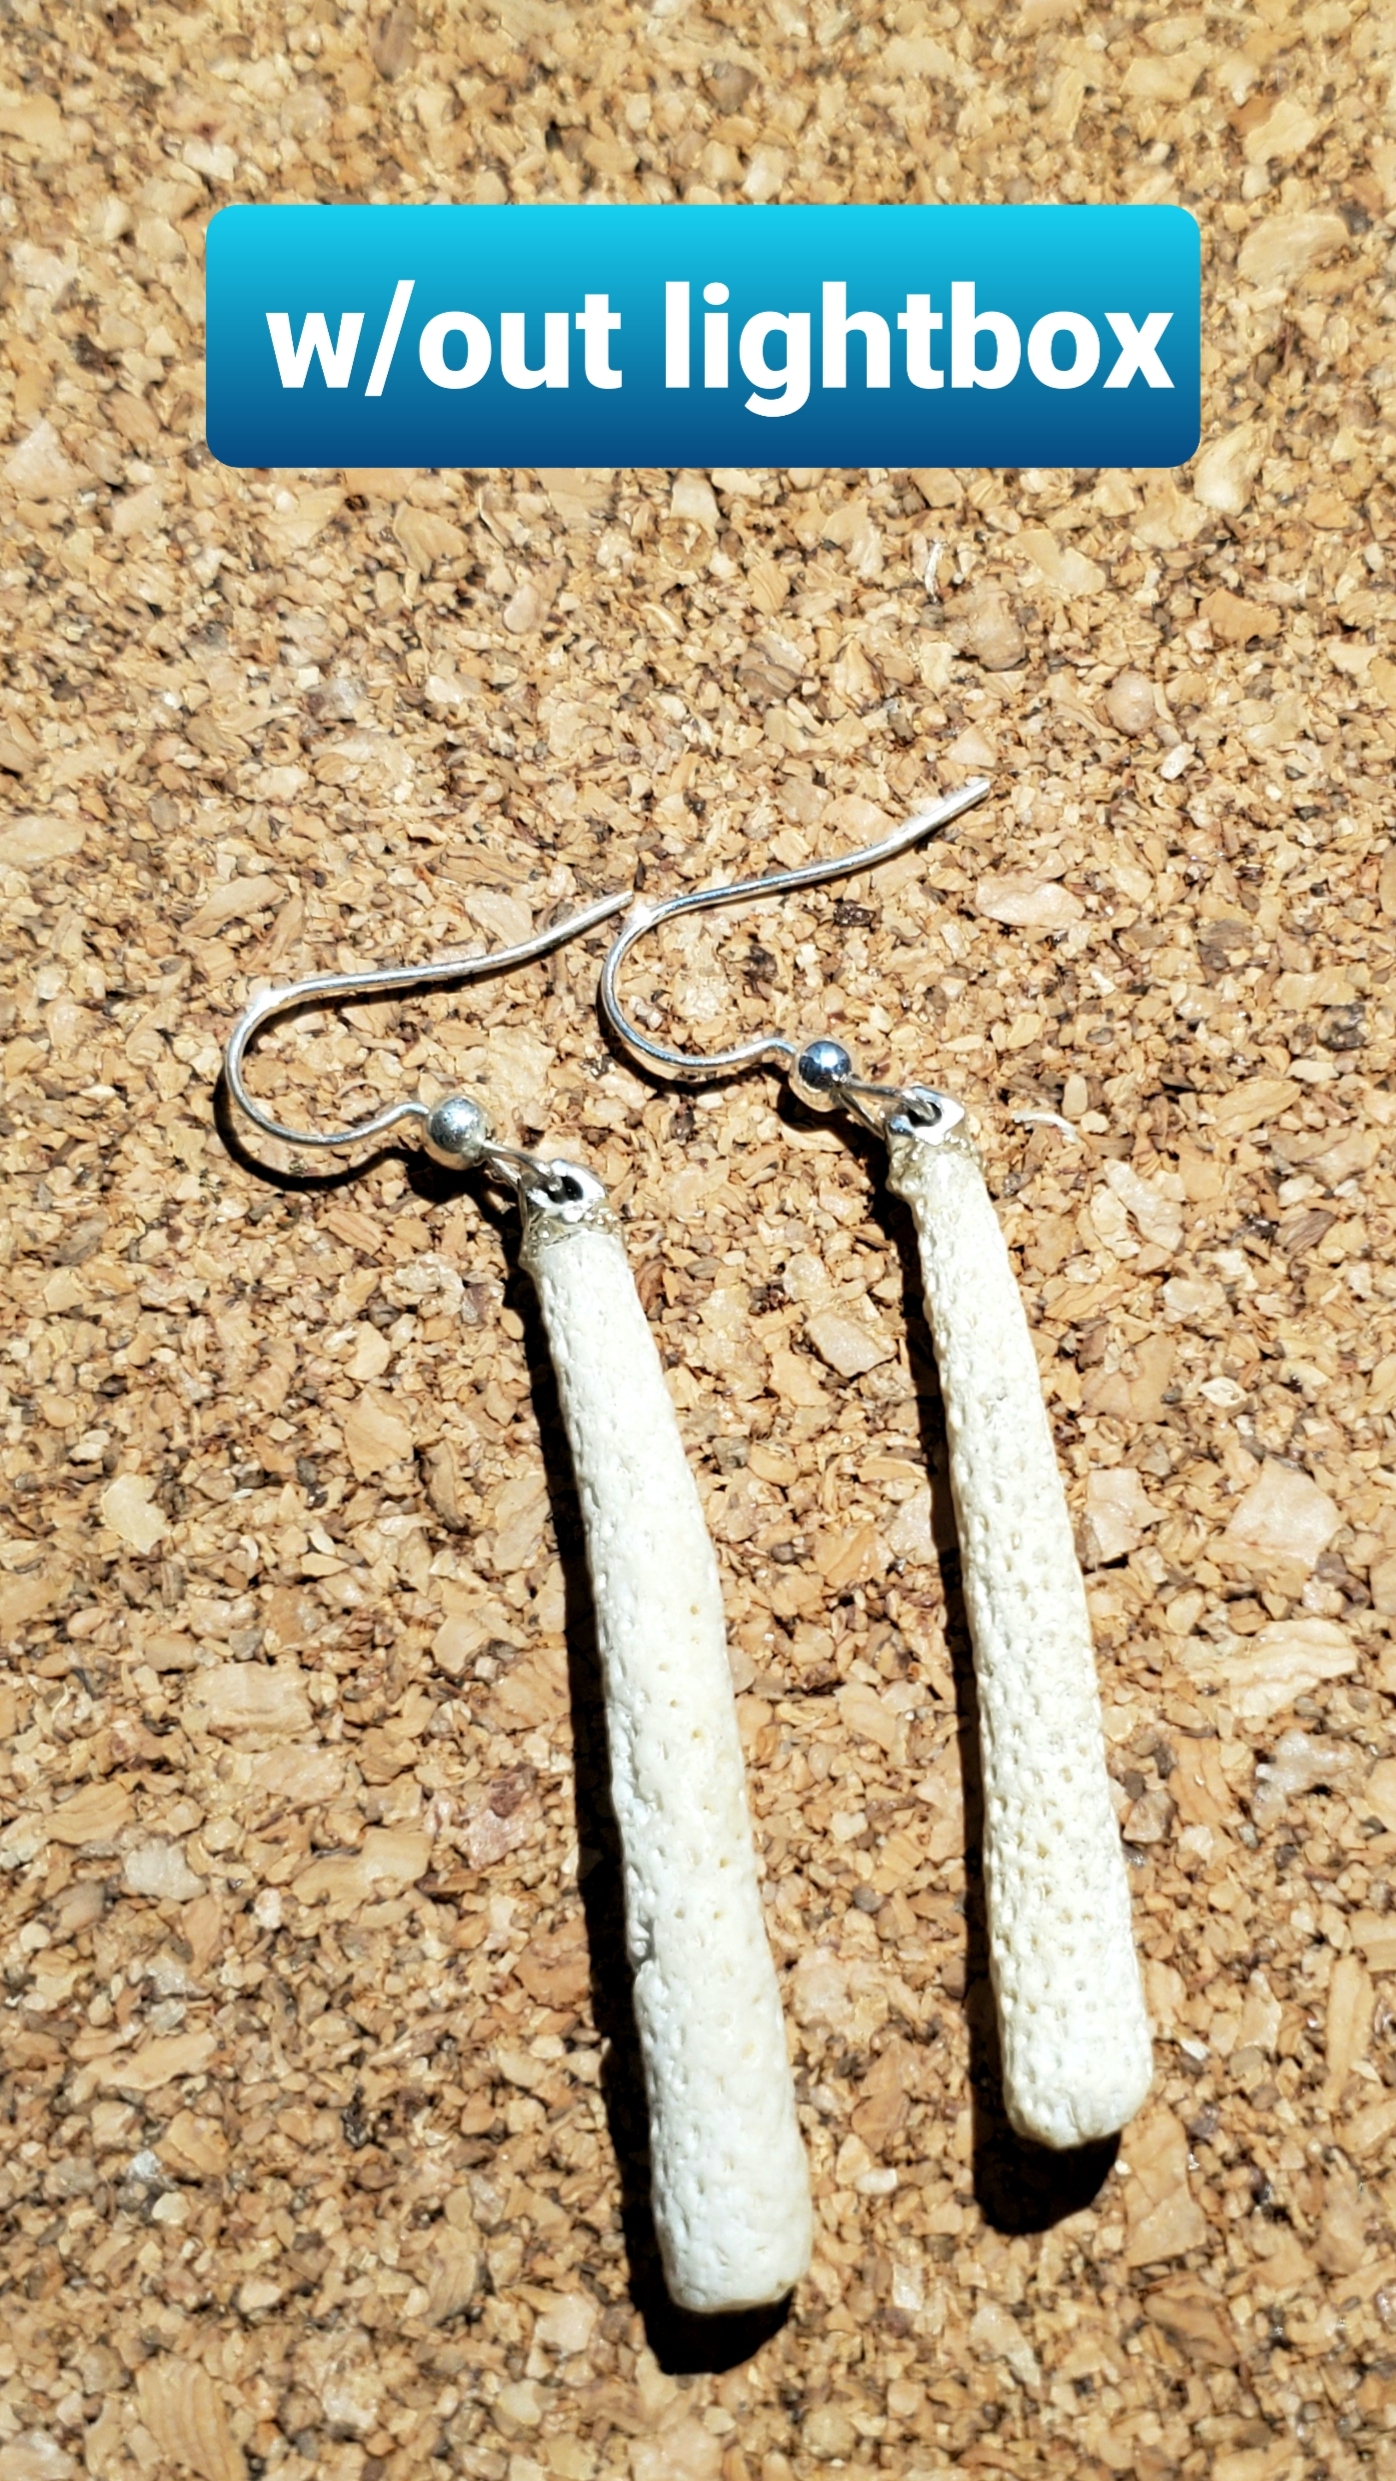
You are all done! With at least 3 filtered sides (4 if you leave the back exposed), you can adjust the lighting in so many ways. Move the lights around until you find something you like.
Check out some of these "with and without" photos I snagged! It can make the world of a difference and cut down on sharp shadows that might detract from you piece.
Due to the small size of this box, I think it will be perfect for photos of jewelry and stickers!