Photographing Flowers and Plants
by thorswolf in Craft > Photography
22791 Views, 70 Favorites, 0 Comments
Photographing Flowers and Plants
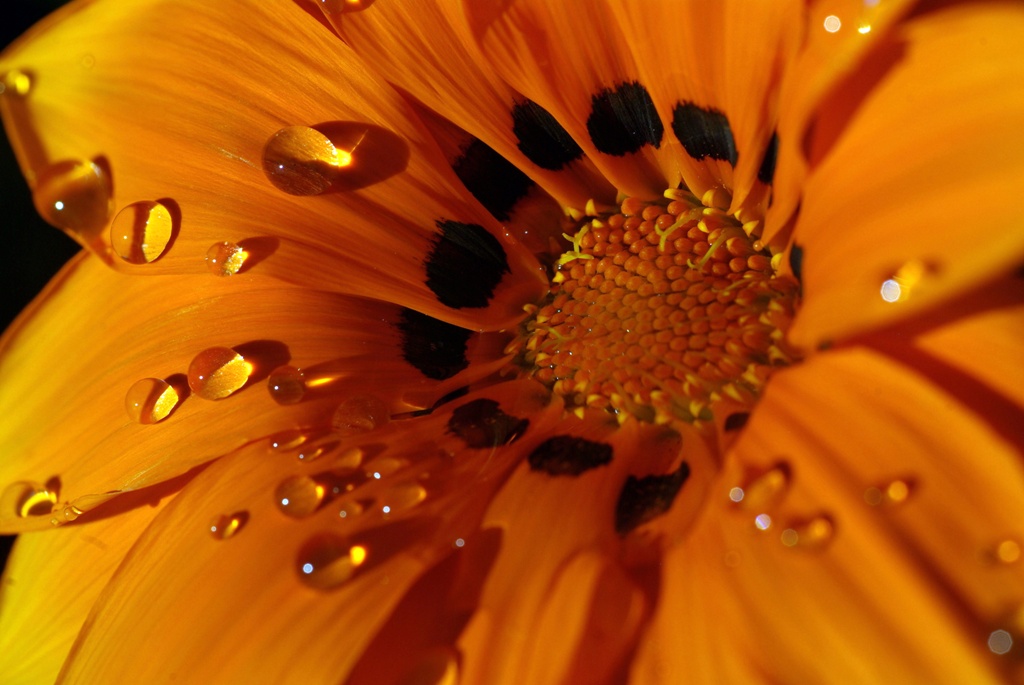
The first question you may ask yourself is: “Why would I read an instructable on photographing flowers?”
Well, other than photos of the family (“…and that’s aunt Alice after she shaved her mustache…”), what winds up on the walls of most people’s homes are images of landscapes, animals and flowers. Rather than purchase a framed picture at the local big box store and pay a premium, wouldn’t you rather just frame your own? Sure! It’s cheaper and you get vast bragging rights.
Also, flowers are by default the perfect subject. They are not reticent of being photographed, they stay in the same spot, and they are not too difficult to make beautiful (unlike, perhaps, aunt Alice).
A few caveats:
• Some of the tips listed apply to ALL photography, some only to flower photography. I will try to differentiate these.
• Some of the tips apply to ALL cameras, some only to more advanced SLR cameras with interchangeables lenses. I will differentiate these as well.
• Mix and match the tips below for various interesting results.
That being said, here are some of the tips I keep in mind when doing some nature photography.
Lighting
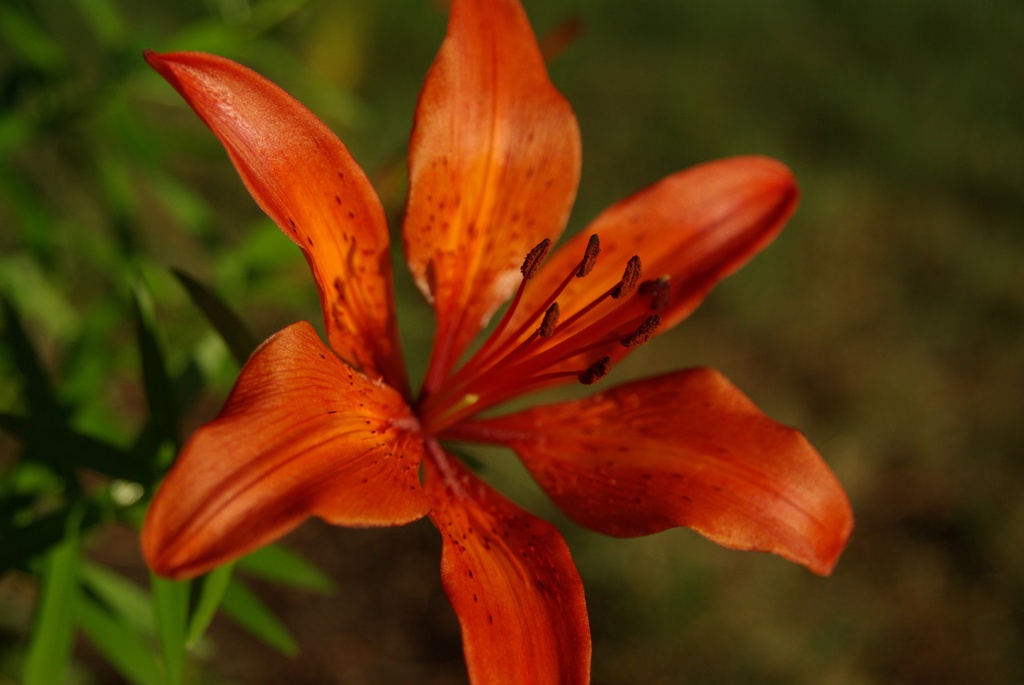
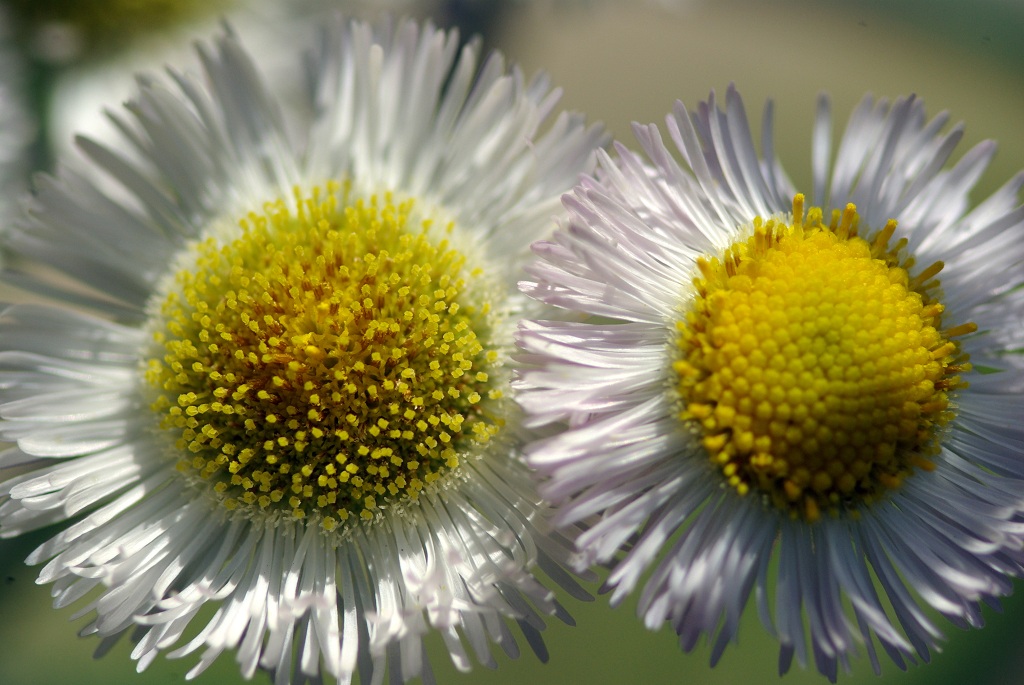
The Magic Hours (applies to landscape and animal photography as well)
Shoot during the “magic hours”. These are usually defined as the first and last hours of sunlight during the day. I fudge with this a little and usually shoot at any time that my shadow is longer than I am tall. Since the sunlight has to travel through more atmosphere at that time of day, the light is redder (warmer) than at other times. Also, the sunlight is diffused more in the atmosphere which makes for softer light and shadows that are less harsh.
By comparison, midday light is very white and casts very dark shadows, making it difficult to balance highlights and shadows.
Lighting (cont'd)
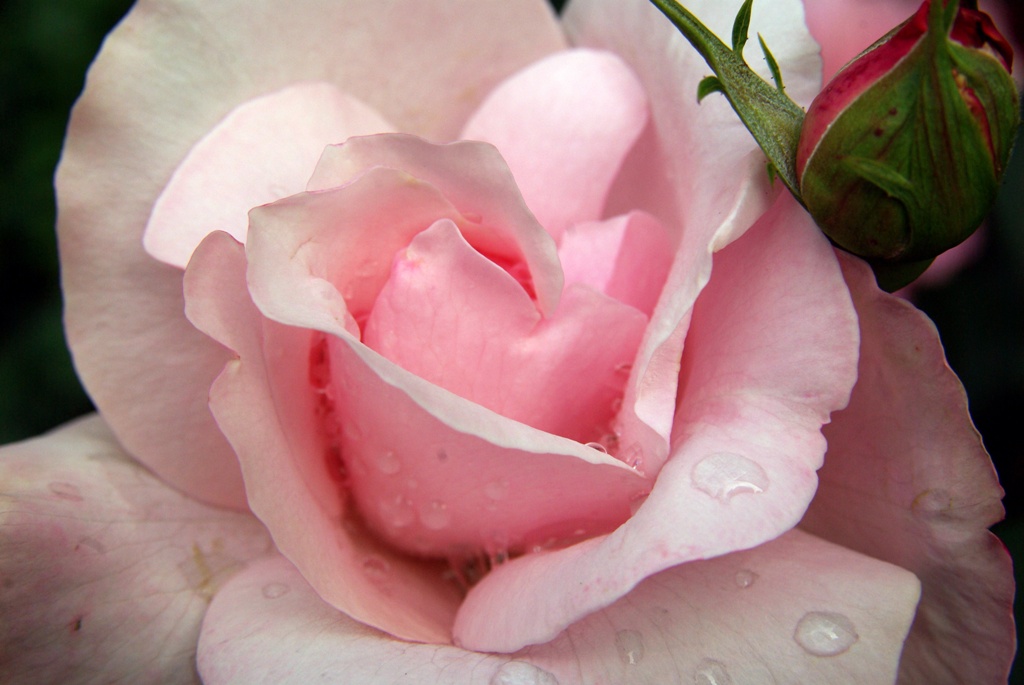
Overcast conditions (applies to animal and portrait photography as well)
Shooting in overcast conditions is also desirable over midday sun. Overcast skies diffuse the light making the shadows very soft. This allow to bring out details from the shadow areas. Look for flowers that may be in a garden shaded by a house, or carry a piece of cardboard, or have someone stand between the sun and your subject.
Note: This is an excellent tip for portrait photography. Take your subjects out of the full sun and into the shade and you'll see an immediate improvement in your portraits.
Lighting (cont'd)
Turn off the flash (applies to all photography)
Direct flash from the camera is not usually conducive to beautiful flower photos. The light from the flash is very much like the light from the direct noonday sun: harsh and white; it casts sharp shadows. The location of the flash on most cameras ( right above the lens) also has the tendency to flatten everything in the picture. This instructable is not about using an off-camera flash (in my opinion, one of the only ways to use a flash properly), so I make it a point to shoot without flash. If there is not enough light to shoot without the onboard flash, I’d rather not shoot.
Backlight
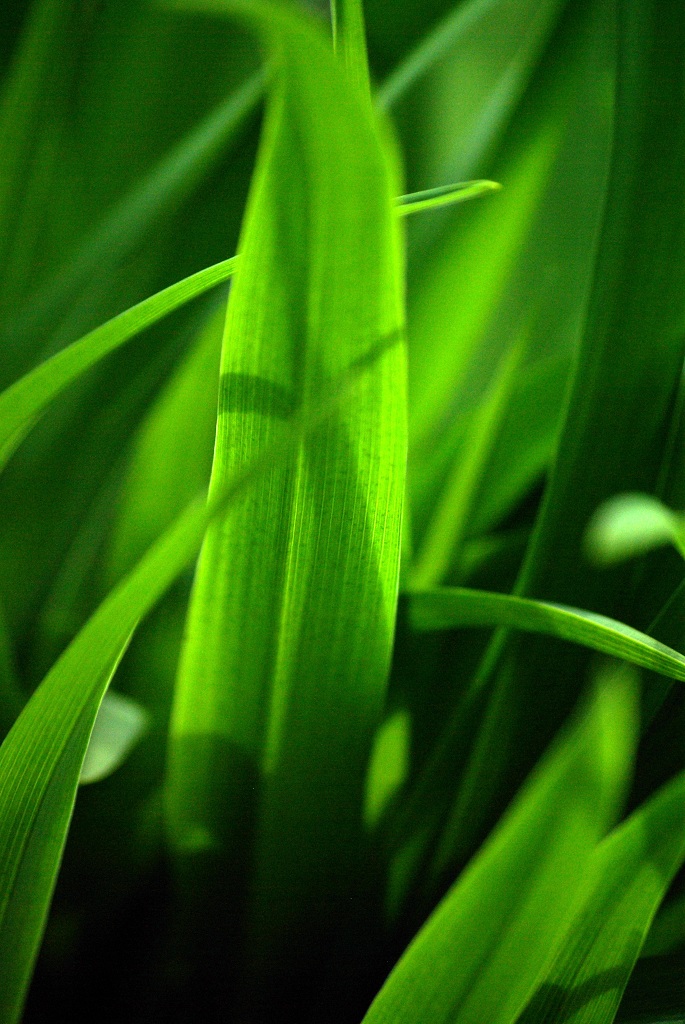
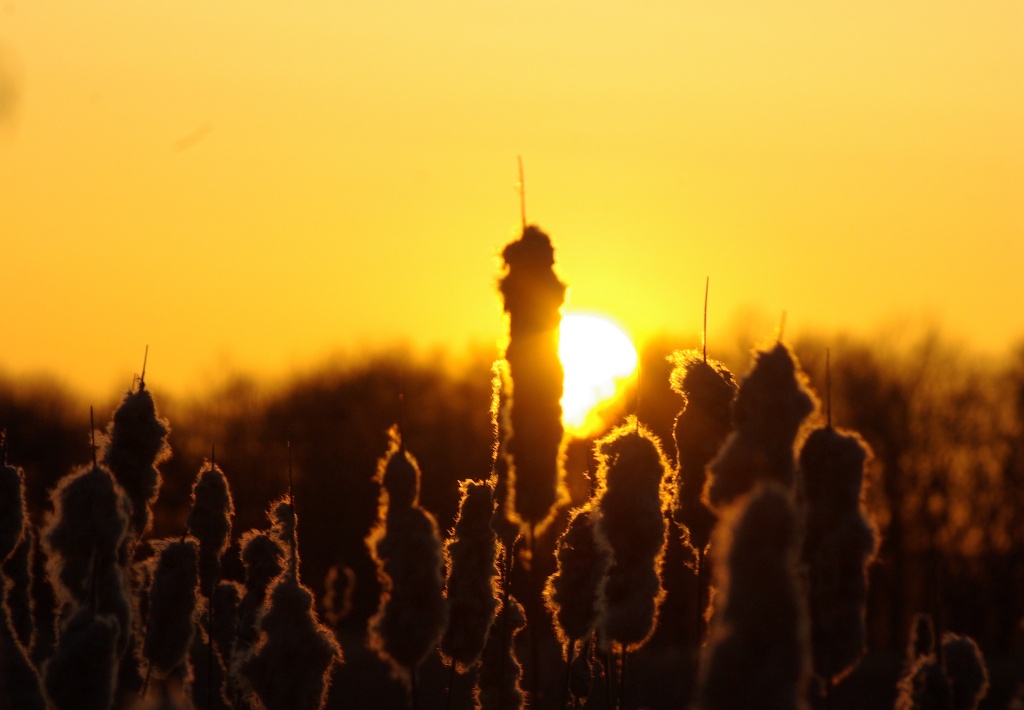
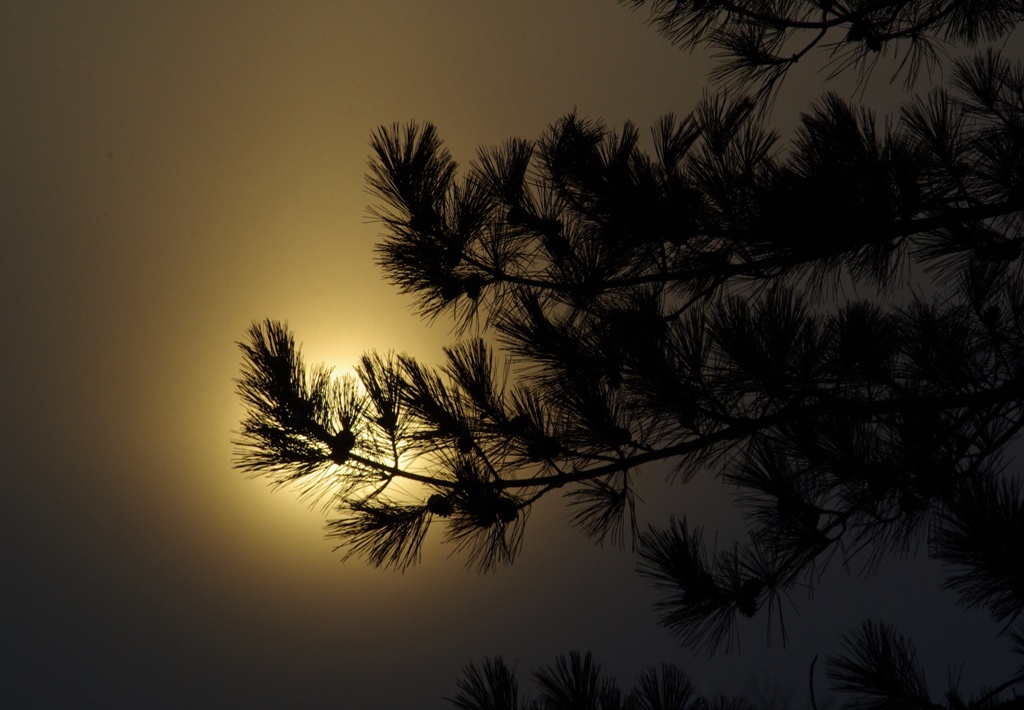
Don’t be afraid of backlight. While it can be difficult to take the photo of a subject when the sun is behind them, it’s totally different with plants and flowers. The effect you get from allowing the sun to filter through petals or to outline certain plants is truly stunning (see above).
Framing


Rule of thirds (applies to all photography)
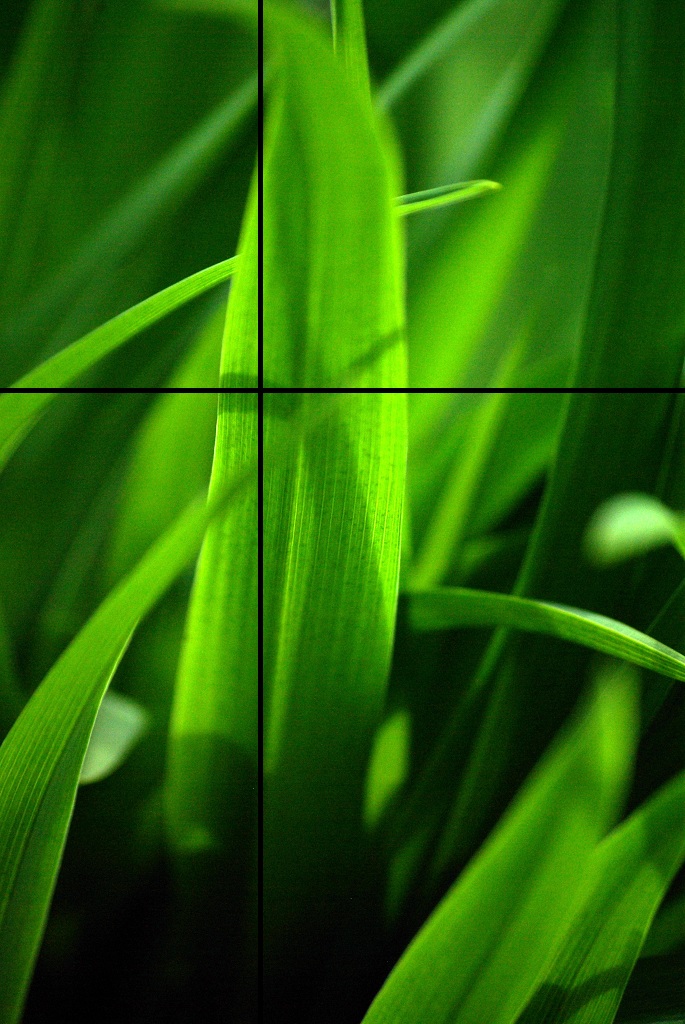
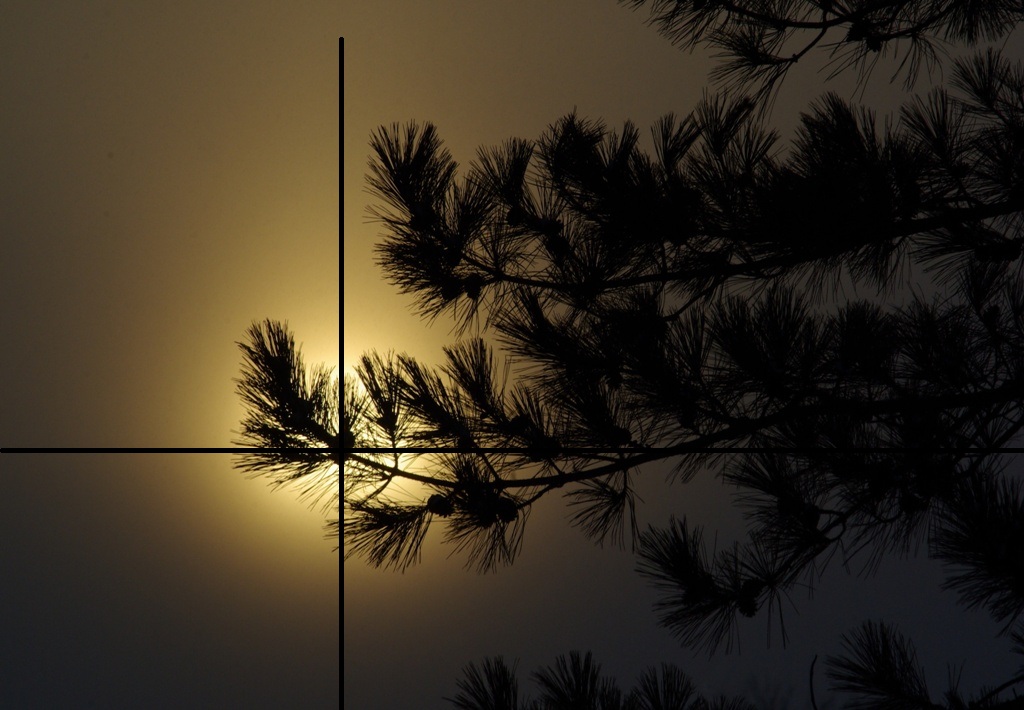
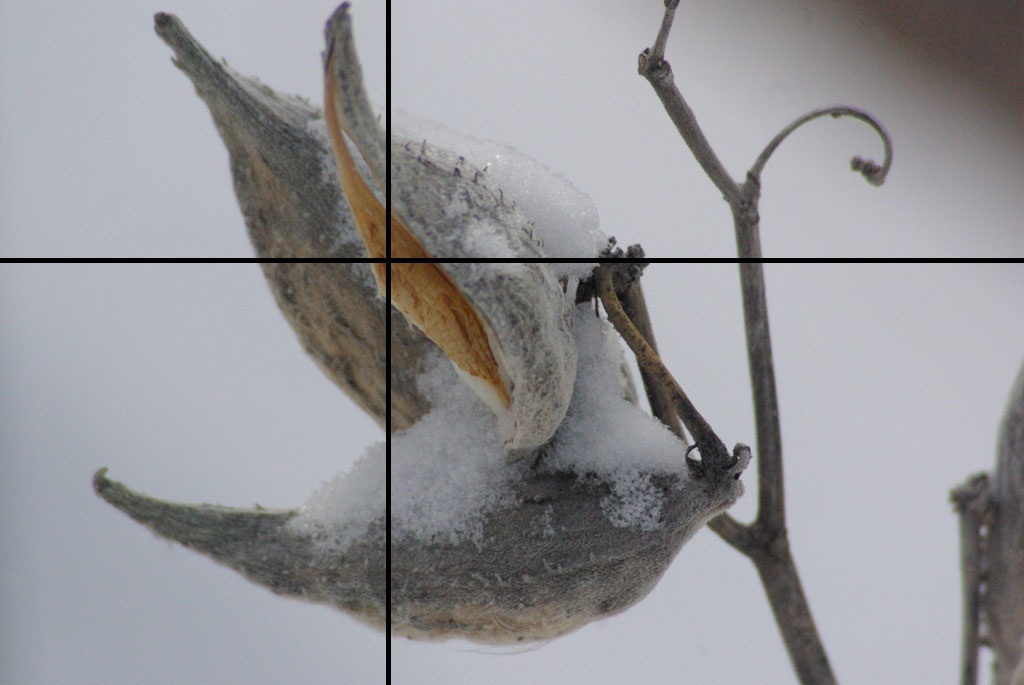
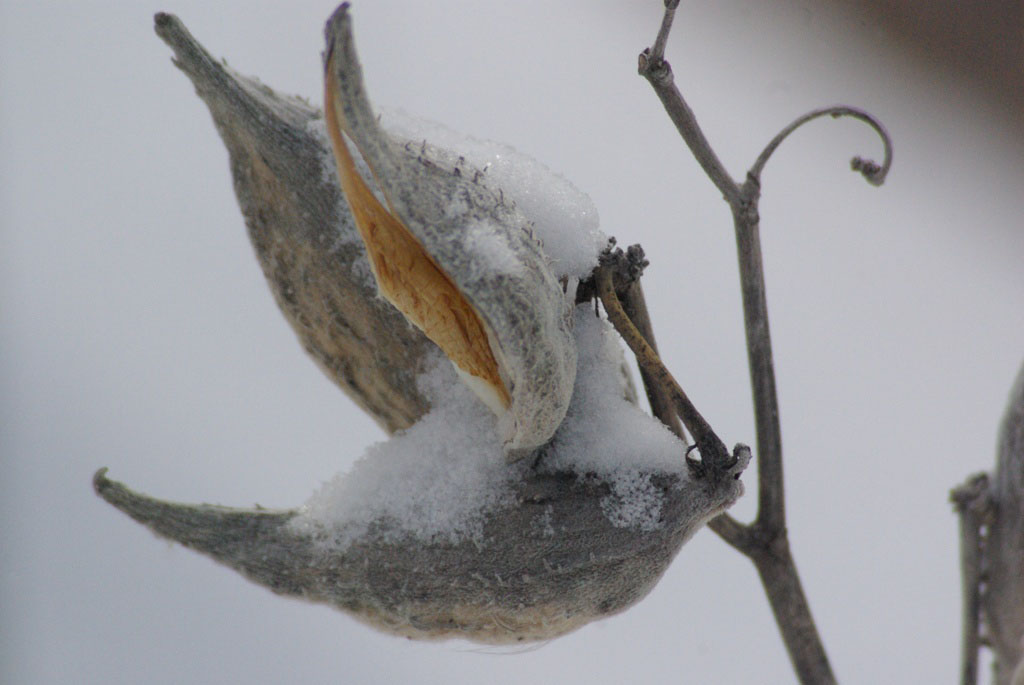
There is a general rule in photography that items placed at the thirds of the photo frame ( 1/3 and 2/3, or .33 and .66) will give a more interesting photo than a subject placed dead center. What few people know is that the rule of thirds is actually derived from the “golden ratio”. The golden ratio is found everywhere in nature (the vertical spacing of the branches on a pine tree’s trunk, the relationship between the valves of a nautilus , etc.) and is a pleasing proportion to the eye. So much so that many items are built with these proportions in mind (architecture, furniture, etc.). Rather than being at .33 and .66, the golden ratio lines in the photo frame are at .38 and .62.
The eye will naturally be attracted to items located along those lines and especially at the intersections of two lines. Take a look above to see samples of the rule of thirds and the golden ratio in action.
Note that this “rule” is a suggestion. There are times when ignoring the rule will actually result in a much better picture. This is all about developing your photographer’s eye. As recommended later, take many shots of the same subject, some following the rule of thirds, some the golden ratio, some ignoring the rule entirely.
Framing (cont'd)
Bokeh (applies to all photography except landscape)
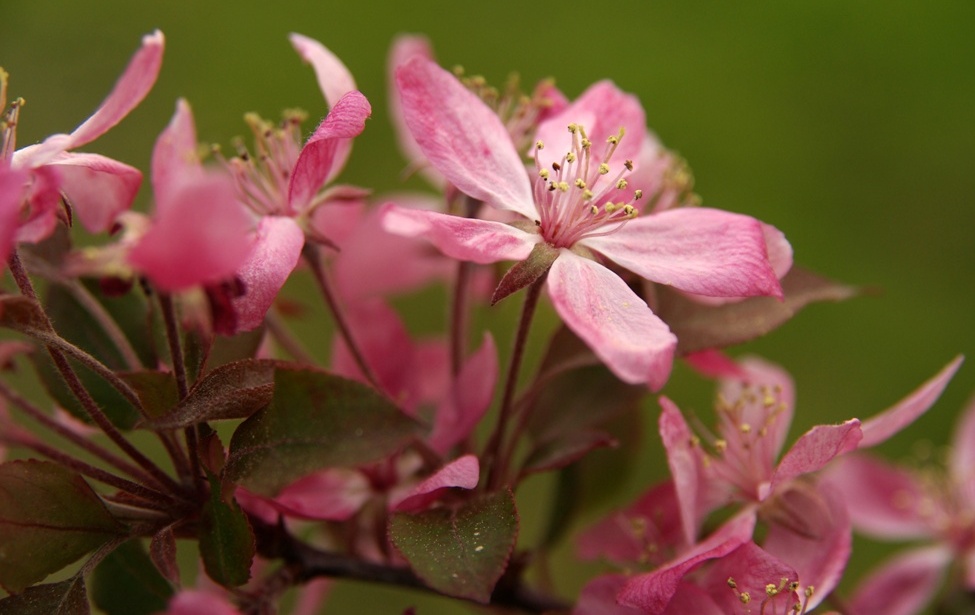
Bokeh (pronounced boh-kay) is the quality of the background of an image that is out of focus (see example below). Bokeh is easy to capture with a SLR, very difficult with point-and-shoot cameras which are manufactured to have as much as possible of the scene in focus. If you are going to have some bokeh in your background, ensure that it is something that will look good. A brick wall rarely gives nice bokeh, especially of your main subject is a flower.
To capture bokeh with a SLR camera, set the aperture (or f-stop) to as wide as possible, which is the lowest number possible. Depending on the lens being used, this is usually between f2 and f5.6.
Framing (cont'd)
Look for a different angle (applies to all photography)
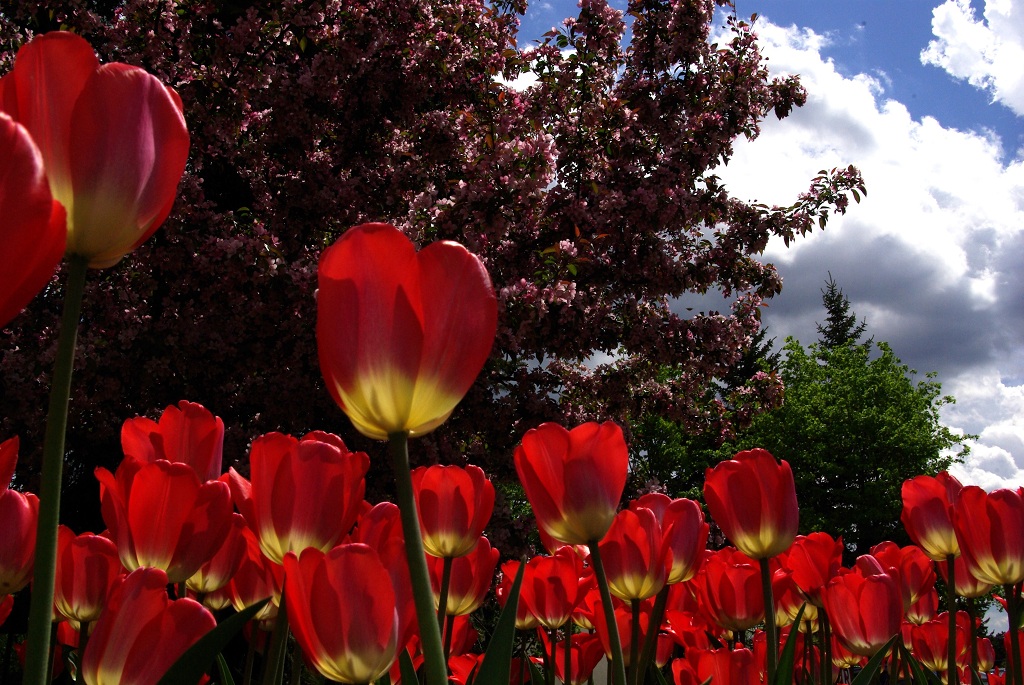
Everyone looks at flowers from a height of roughly 5 to 6 feet. Rarely do we take the time to truly take a look at them from a different angle. For example, in the shot above, the tulips look much more dramatic because they are seen from a point of view that we rarely observe - from below.
Everyone looks at flowers from a height of roughly 5 to 6 feet. Rarely do we take the time to truly take a look at them from a different angle. For example, in the shot above, the tulips look much more dramatic because they are seen from a point of view that we rarely observe - from below.
Framing (cont'd)
Fill the frame (applies to all photography)
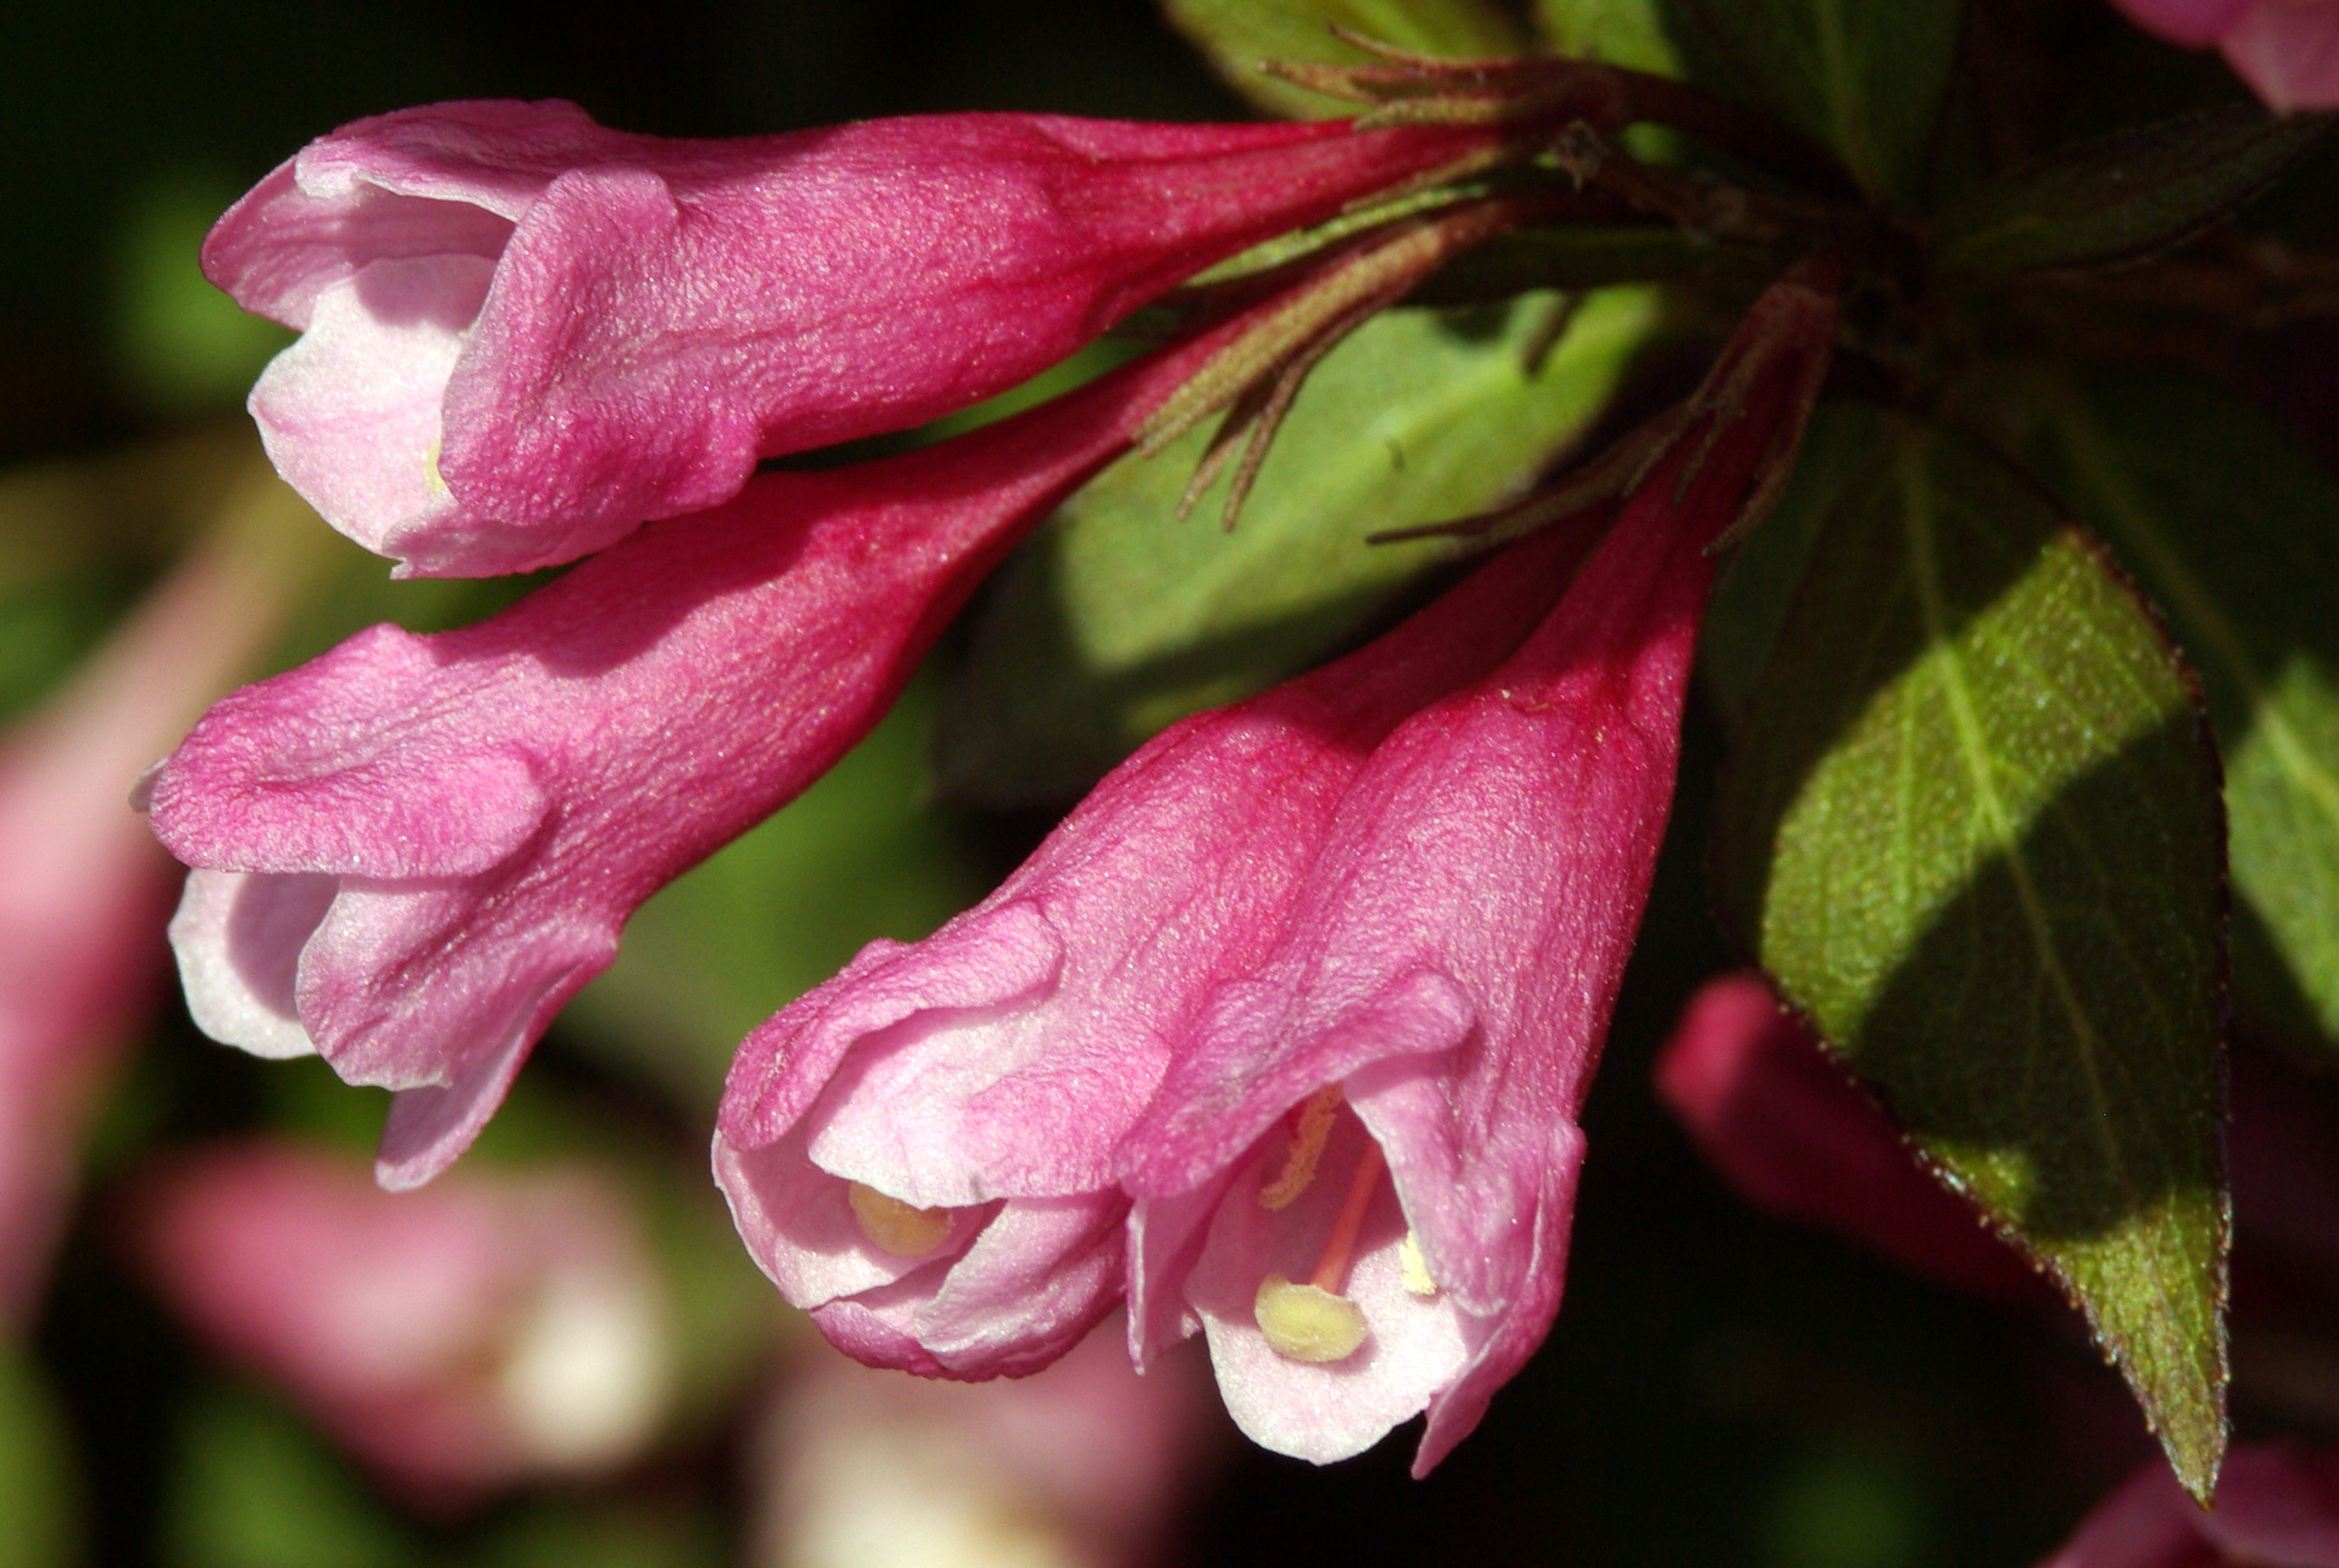
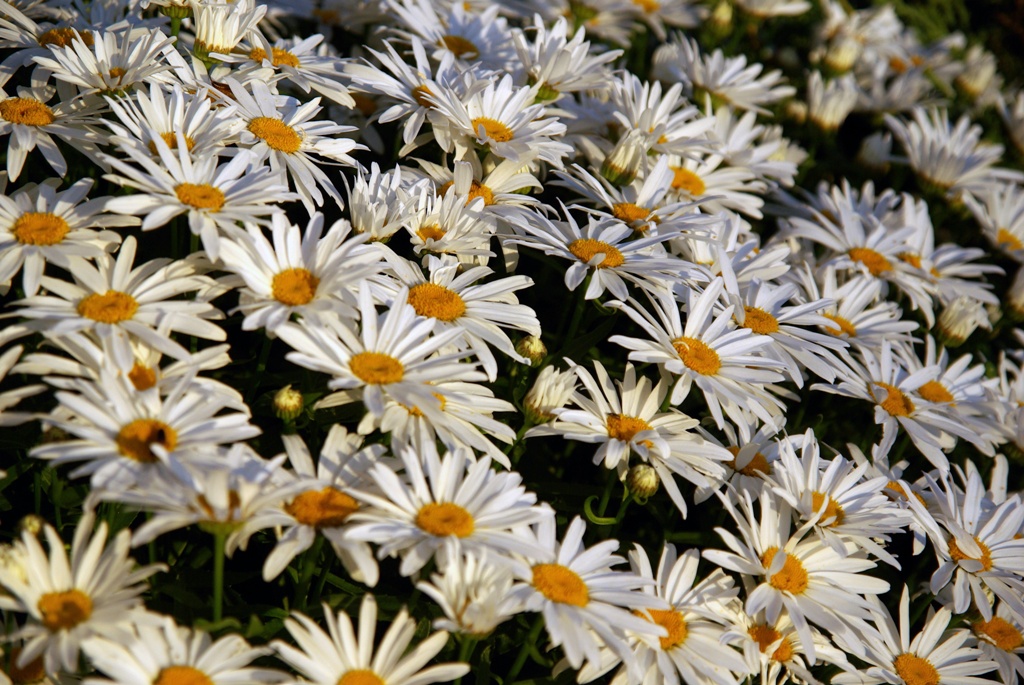
Don’t be afraid to fill the frame with your subject. This tip is probably one of the most important tips that separates okay photography from great photography. If you have a zoom or macro capability, use it. If not, get up close to your subject. If the background doesn’t enhance your subject, it detracts from it. Get rid of anything that detracts from your main subject.
Don’t be afraid to fill the frame with your subject. This tip is probably one of the most important tips that separates okay photography from great photography. If you have a zoom or macro capability, use it. If not, get up close to your subject. If the background doesn’t enhance your subject, it detracts from it. Get rid of anything that detracts from your main subject.
Framing (cont'd)
Capture a detail (applies to all photography)
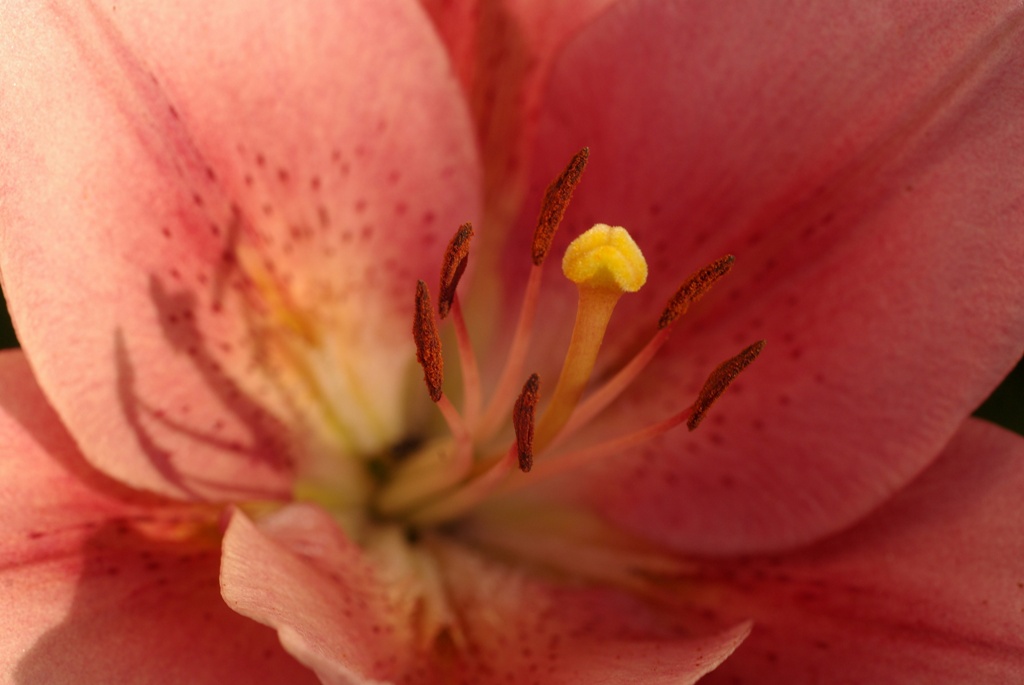
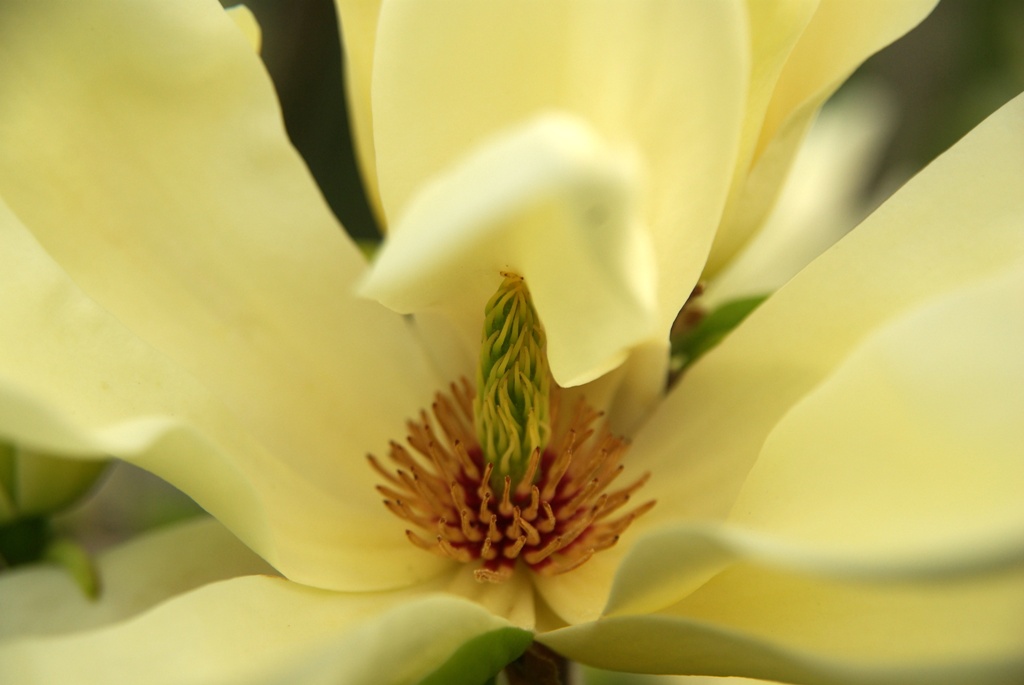
Flowers are marvelous in their complexity and colour. Isolating a single detail can make your photo that much more interesting. Be careful not to catch too close of a detail so that your photo doesn’t become a biology report. But photographing the pistil of a lily up close results in a striking image, much like capturing only the face of a leopard, or just the hand of a baby, or just a pair of lips.
Flowers are marvelous in their complexity and colour. Isolating a single detail can make your photo that much more interesting. Be careful not to catch too close of a detail so that your photo doesn’t become a biology report. But photographing the pistil of a lily up close results in a striking image, much like capturing only the face of a leopard, or just the hand of a baby, or just a pair of lips.
Other Tips
Set your camera properly (applies to all photography)
If you are shooting in the “magic hours” then the regular setting (or automatic white balance setting) of your camera will work fine. If you’re not shooting within those hours, then change your camera’s white balance to “cloudy” or “overcast”. Most cameras, even point-and-shoots, have this setting. This will bump up the yellows in the resulting photos and give you much warmer photos. Not as warm as during the “magic hours” but pretty close.
If you are shooting in the “magic hours” then the regular setting (or automatic white balance setting) of your camera will work fine. If you’re not shooting within those hours, then change your camera’s white balance to “cloudy” or “overcast”. Most cameras, even point-and-shoots, have this setting. This will bump up the yellows in the resulting photos and give you much warmer photos. Not as warm as during the “magic hours” but pretty close.
Other Tips (cont'd)
Capture life
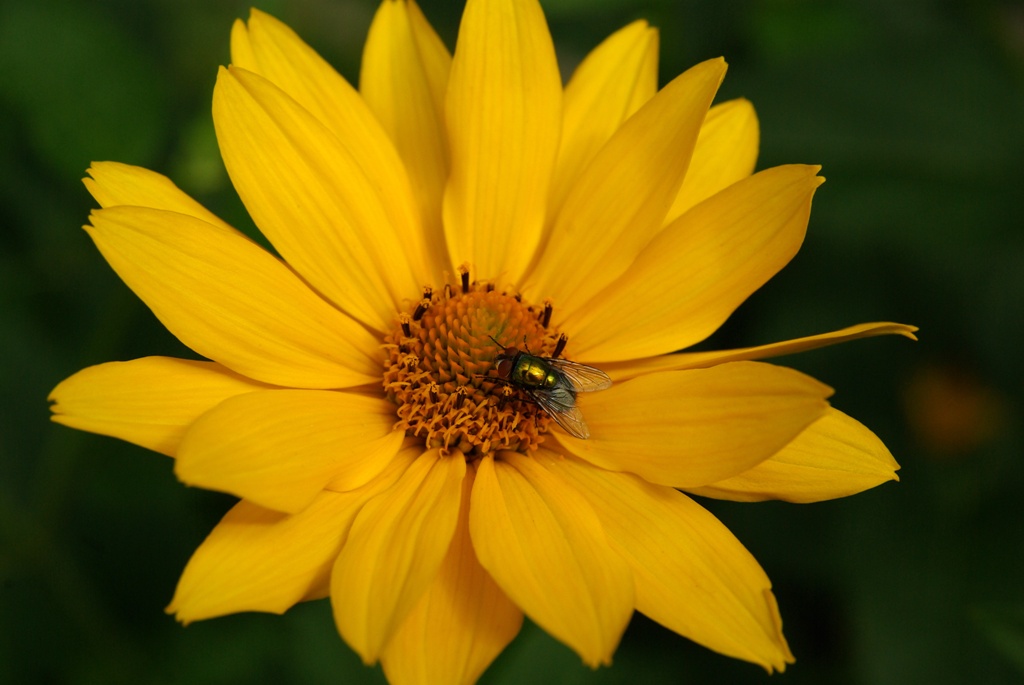
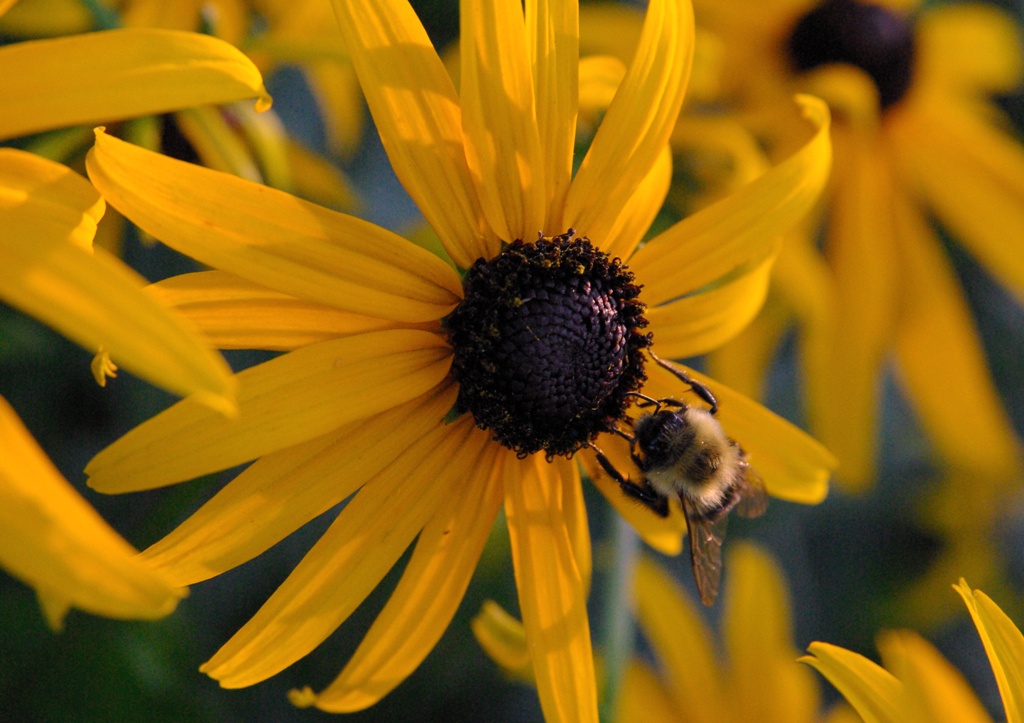
Adding life to your photography is a bonus. Having a bee pollinating or a cat sniffing a flower can add tremendously to your photo.
Adding life to your photography is a bonus. Having a bee pollinating or a cat sniffing a flower can add tremendously to your photo.
Other Tips (cont'd)
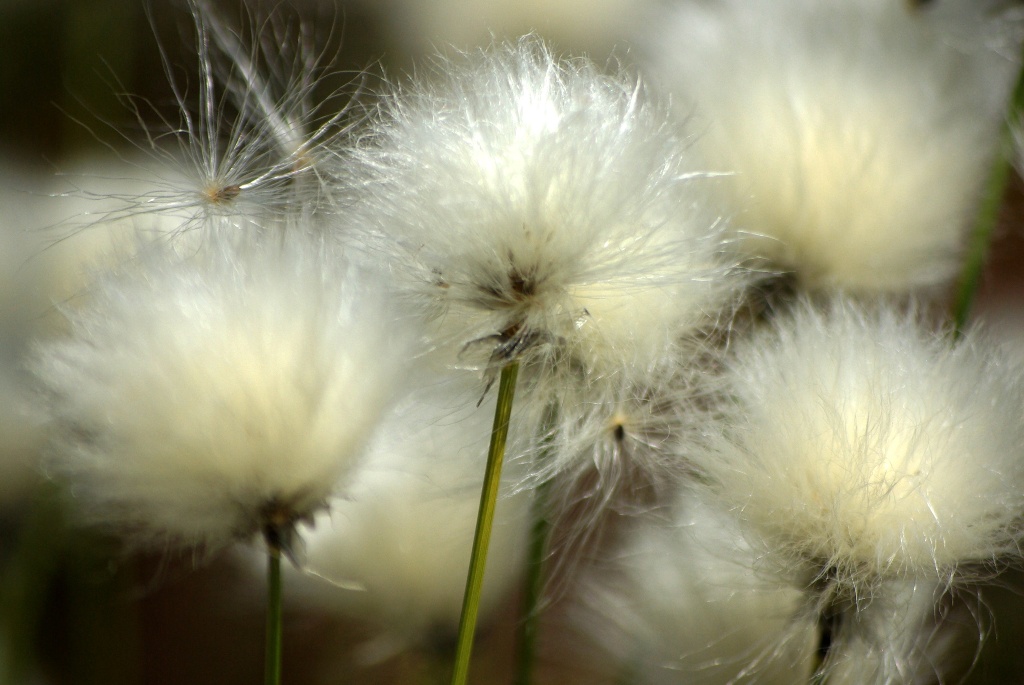
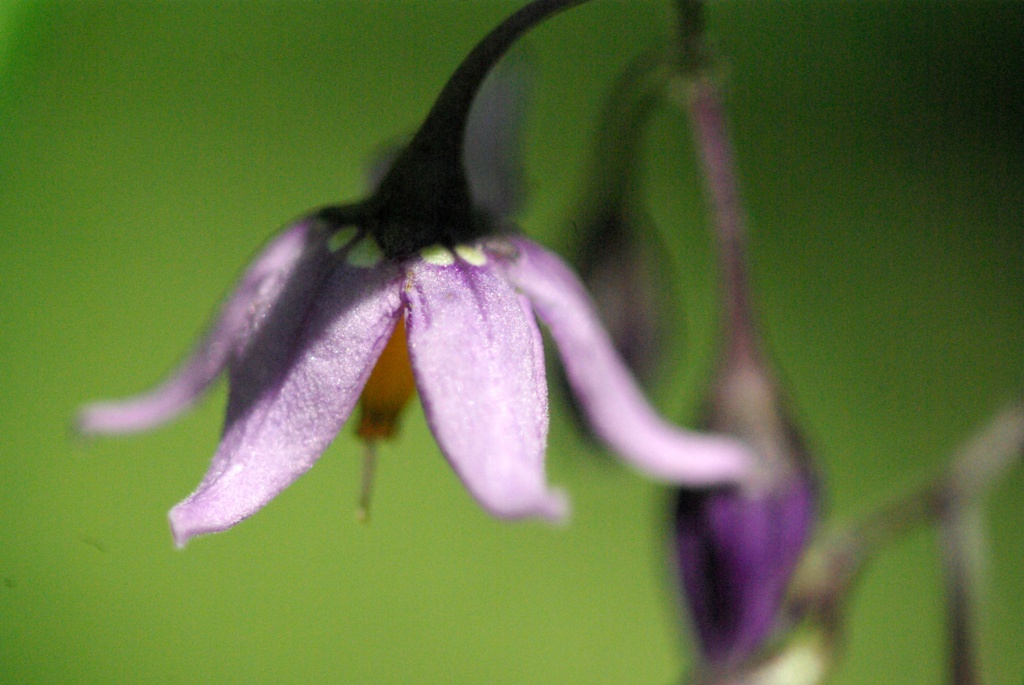
Shoot dozens of frames (applies to all photography)
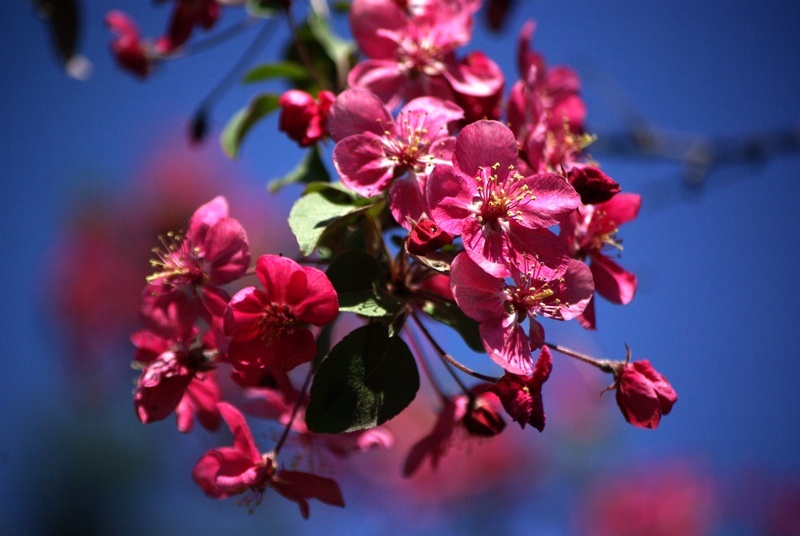
There used to be a time when photography was expensive. In my student days, I remember thinking that every shot was 25 cents out of my pocket… and that was shooting with cheaper black and white film. Today, we have the luxury of capturing as many photos as we want at no extra cost. At National Geographic, a seven week photo shoot often means 12,000 frames captured. Of those 12,000 a few are bound to be exceptional. Take a page from the pros and shoot a lot of frames. Capture as many angles and settings as possible. Your chances of getting a truly fantastic photo increase dramatically.
There used to be a time when photography was expensive. In my student days, I remember thinking that every shot was 25 cents out of my pocket… and that was shooting with cheaper black and white film. Today, we have the luxury of capturing as many photos as we want at no extra cost. At National Geographic, a seven week photo shoot often means 12,000 frames captured. Of those 12,000 a few are bound to be exceptional. Take a page from the pros and shoot a lot of frames. Capture as many angles and settings as possible. Your chances of getting a truly fantastic photo increase dramatically.
Other Tips (cont'd)

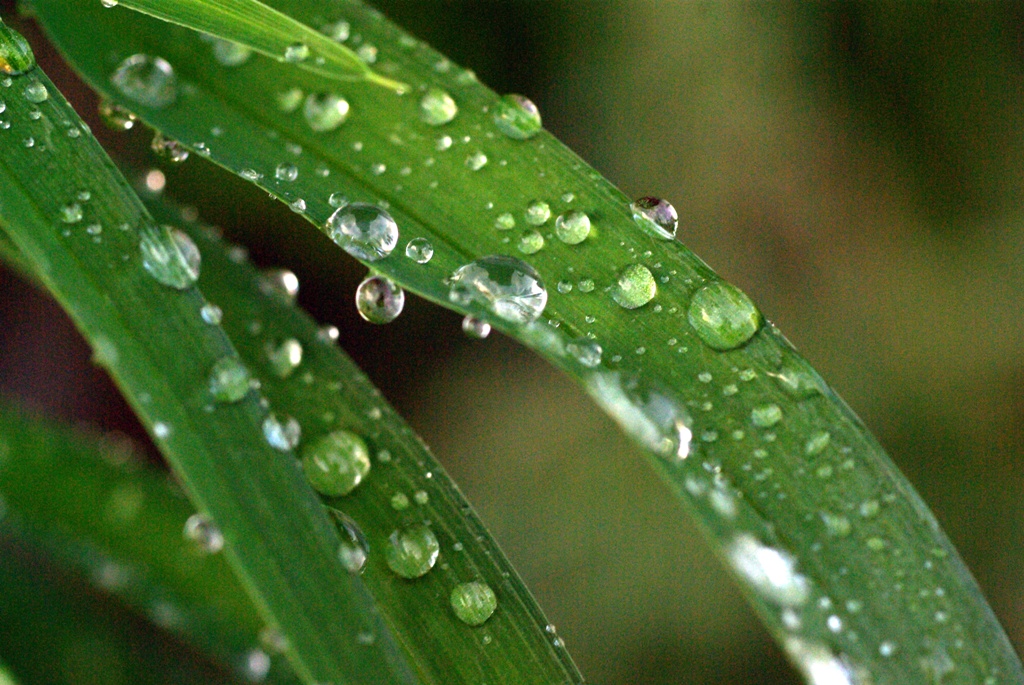
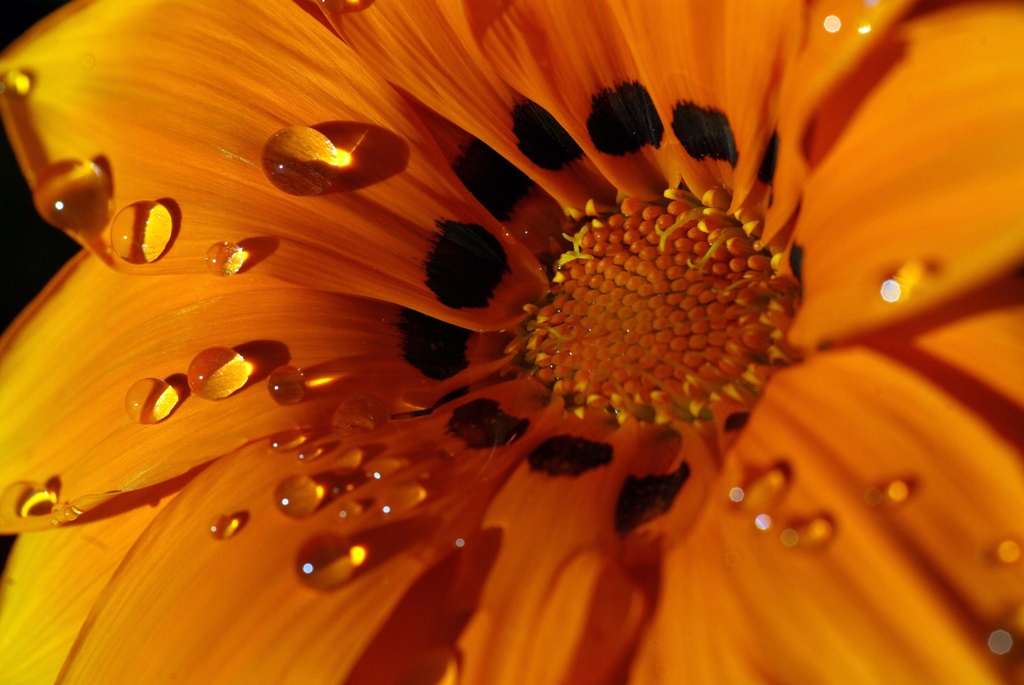
Carry a spray water bottle (plants and flowers only)
The only thing prettier than a flower, is a flower covered with fresh dew or rain. Unfortunately, the dew evaporates quickly, and most camera equipment does not take well to rain. A simple spray bottle can give the same effect. It will also help wash off any dirt or dust on the flower or plant. Take a shot immediately after a light spray to simulate dew, take a shot after a few heavy sprays when the beads have all coalesced into a few fat drops to simulate rain.
Now go out there and shoot some great photos!