Create a Perfectly Black Background in Photography
by AngryRedhead in Design > Digital Graphics
382930 Views, 268 Favorites, 0 Comments
Create a Perfectly Black Background in Photography
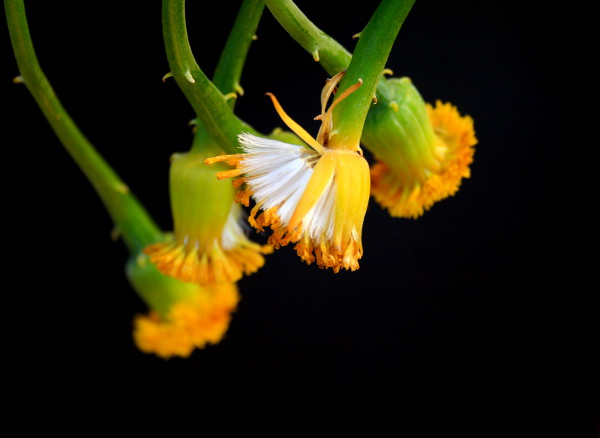
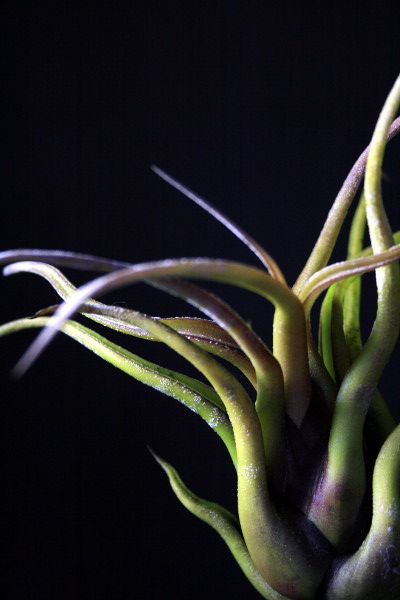
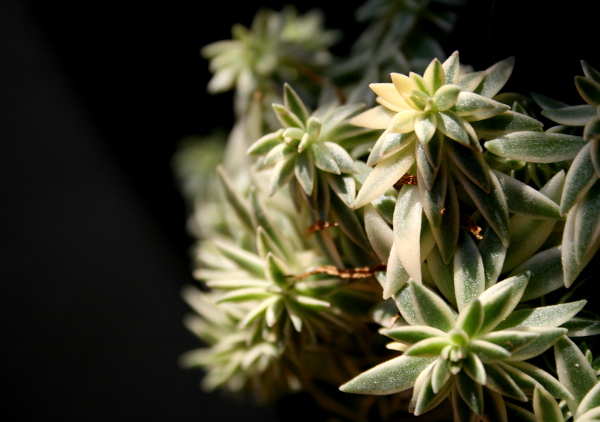
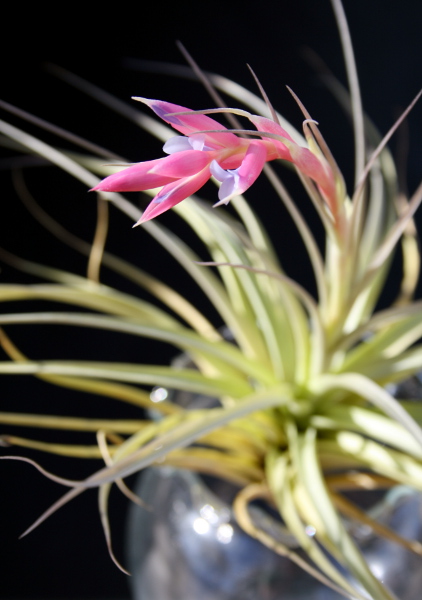
Arranging objects, people, animals, and plants for a photograph can be quite difficult, especially if there's noise (e.g., clutter on the floor). It's much easier to photograph an individual person or thing against a solid background and then add/subtract filler items for context. In gardening photography, this is called a specimen shot where the only thing of interest is an individual plant, flower, or leaf, and this kind of photography can be its own separate category in a gardening photography competition.
White backgrounds show a lot of shadows and imperfections, and something white against something white doesn't really show a lot of detail. However, something white against something black can really highlight the details that might have otherwise been missed, and it's dead easy to create a black background, too.
This Instructable shows how to create a black background in a photograph quickly and inexpensively, and while the examples involve plants, this method is not exclusive to gardening photography of specimens. It can be easily used for photographing items, people, and animals. Probably the best part of this method though is that there is very little editing needed.
To create a perfectly white background, please check out my latest Instructable and get tips on making subjects look shiny and wet!
Materials for Outdoor Shots
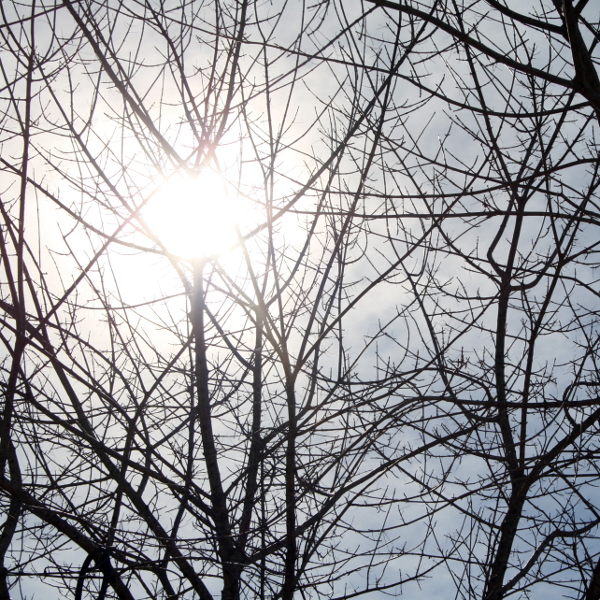
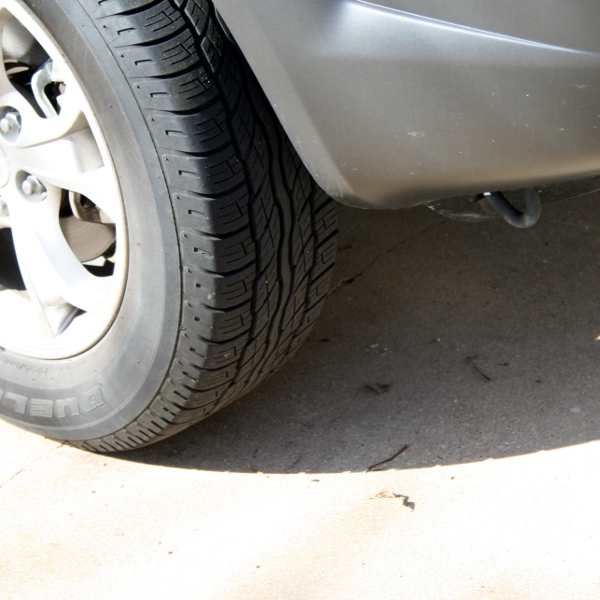
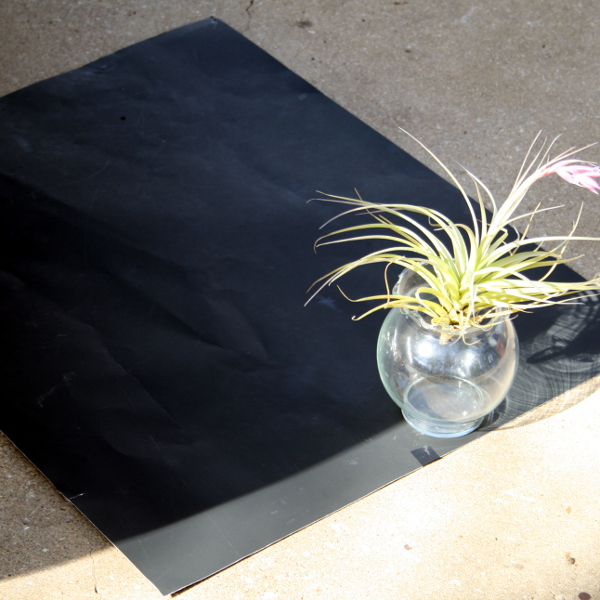
The most inexpensive and potentially the easiest way to create a black background is to photograph outdoors.
You will need a sunny day with long shadows and architectural shade (e.g., a building or a car). If you do not have a dark surface, you will probably want something black to put on the ground such as a sheet of black poster board or black fabric.
You will need a sunny day with long shadows and architectural shade (e.g., a building or a car). If you do not have a dark surface, you will probably want something black to put on the ground such as a sheet of black poster board or black fabric.
Positioning the Outdoor Shot
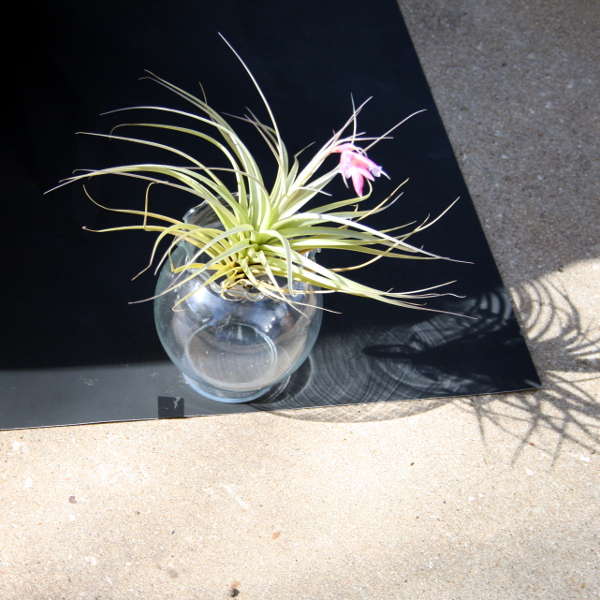
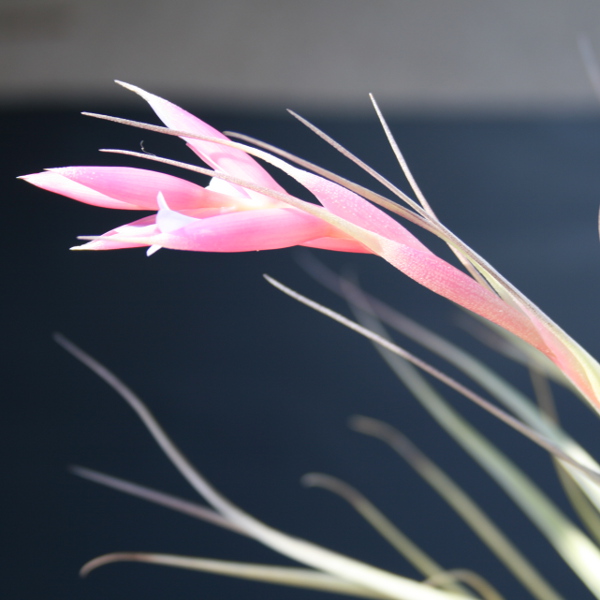
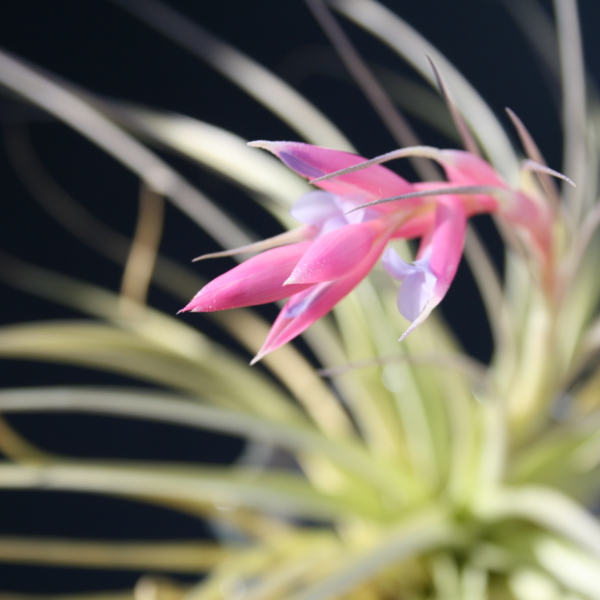
Place the item you're photographing in the sun but right on the border of shade.
Place any necessary black material underneath or behind the item in the shade.
Angle your camera to capture the item with the black, shaded background filling the frame. This might take a few tries to get the angle and arrangement just so.
Once you have the shot, skip to Step 5.
Place any necessary black material underneath or behind the item in the shade.
Angle your camera to capture the item with the black, shaded background filling the frame. This might take a few tries to get the angle and arrangement just so.
Once you have the shot, skip to Step 5.
Materials for Indoor Shots
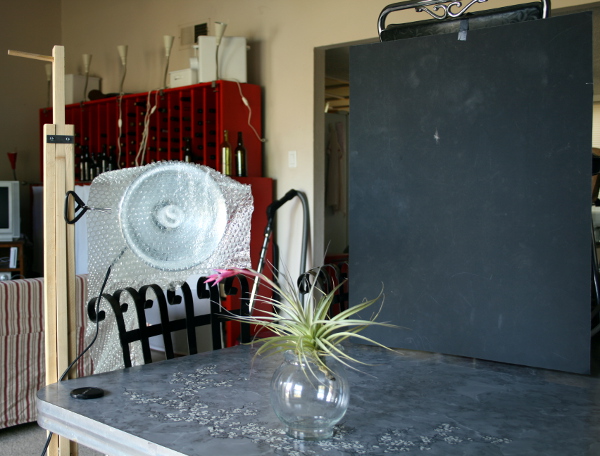
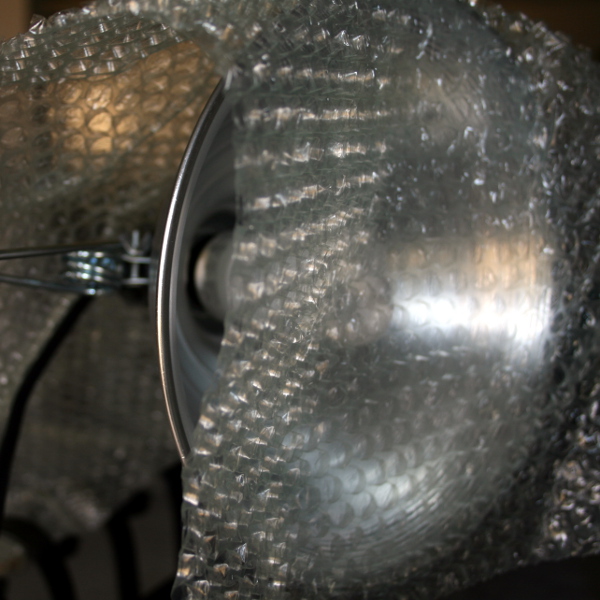
You might not be able to take the shot outdoors for one reason or another, and in this case, you might have to setup something inside.
You will need something black to hang in the background and a spotlight.
Here is how I arranged the setup for my shot:
I placed a chair on the table with a piece of black poster board taped to the back of the chair. I attached a work light with a daylight bulb to a "stick in a can" and hung a piece of old bubble wrap over it to diffuse the light. I kept the curtains open for extra light, and I used a tripod.
Positioning for Indoor Shots
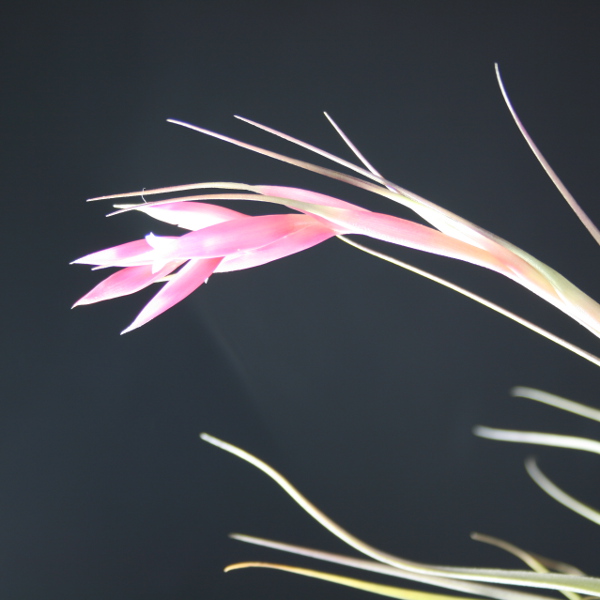
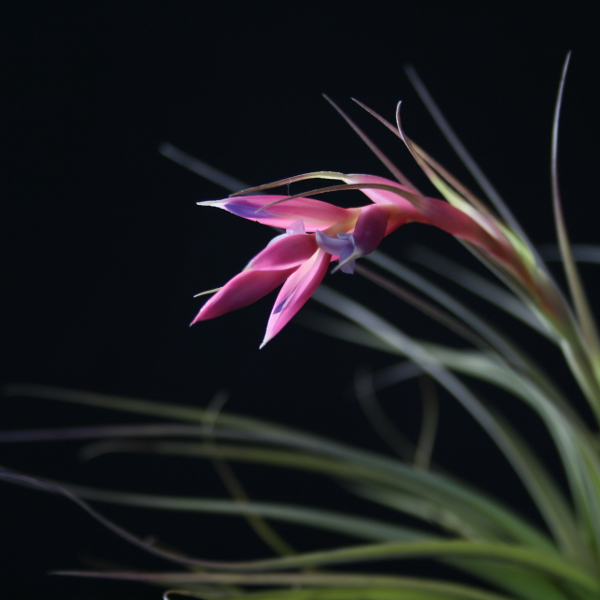
Position the lamp so that it shines on the item but not on the background. This might take a bit of fiddling to get the item and the lamp positioned just right.
Angle your camera to capture the item with the black background filling the frame.
Angle your camera to capture the item with the black background filling the frame.
Editing in GIMP

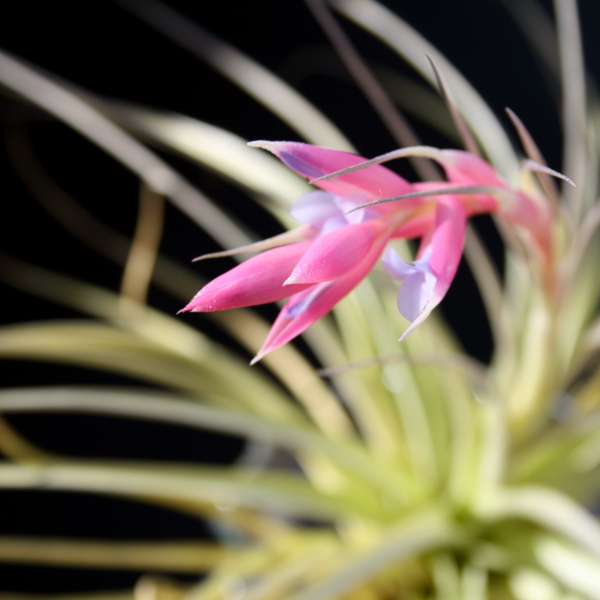
Crop the image as necessary.
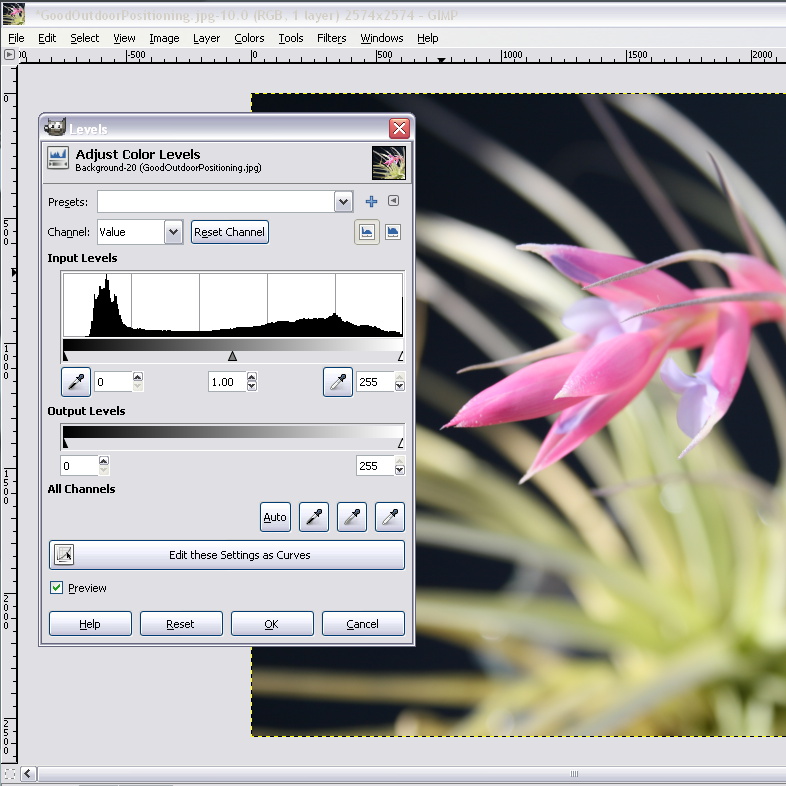
Adjust color levels. "Pick Black Point" will more than likely take care of any adjustments you need to make.
Resize if necessary.
Save As.
Done!
Adjust color levels. "Pick Black Point" will more than likely take care of any adjustments you need to make.
Resize if necessary.
Save As.
Done!