Photogammetry Scanning + 3D Printing an Object
by Jessolsen20 in Workshop > 3D Printing
1072 Views, 16 Favorites, 0 Comments
Photogammetry Scanning + 3D Printing an Object
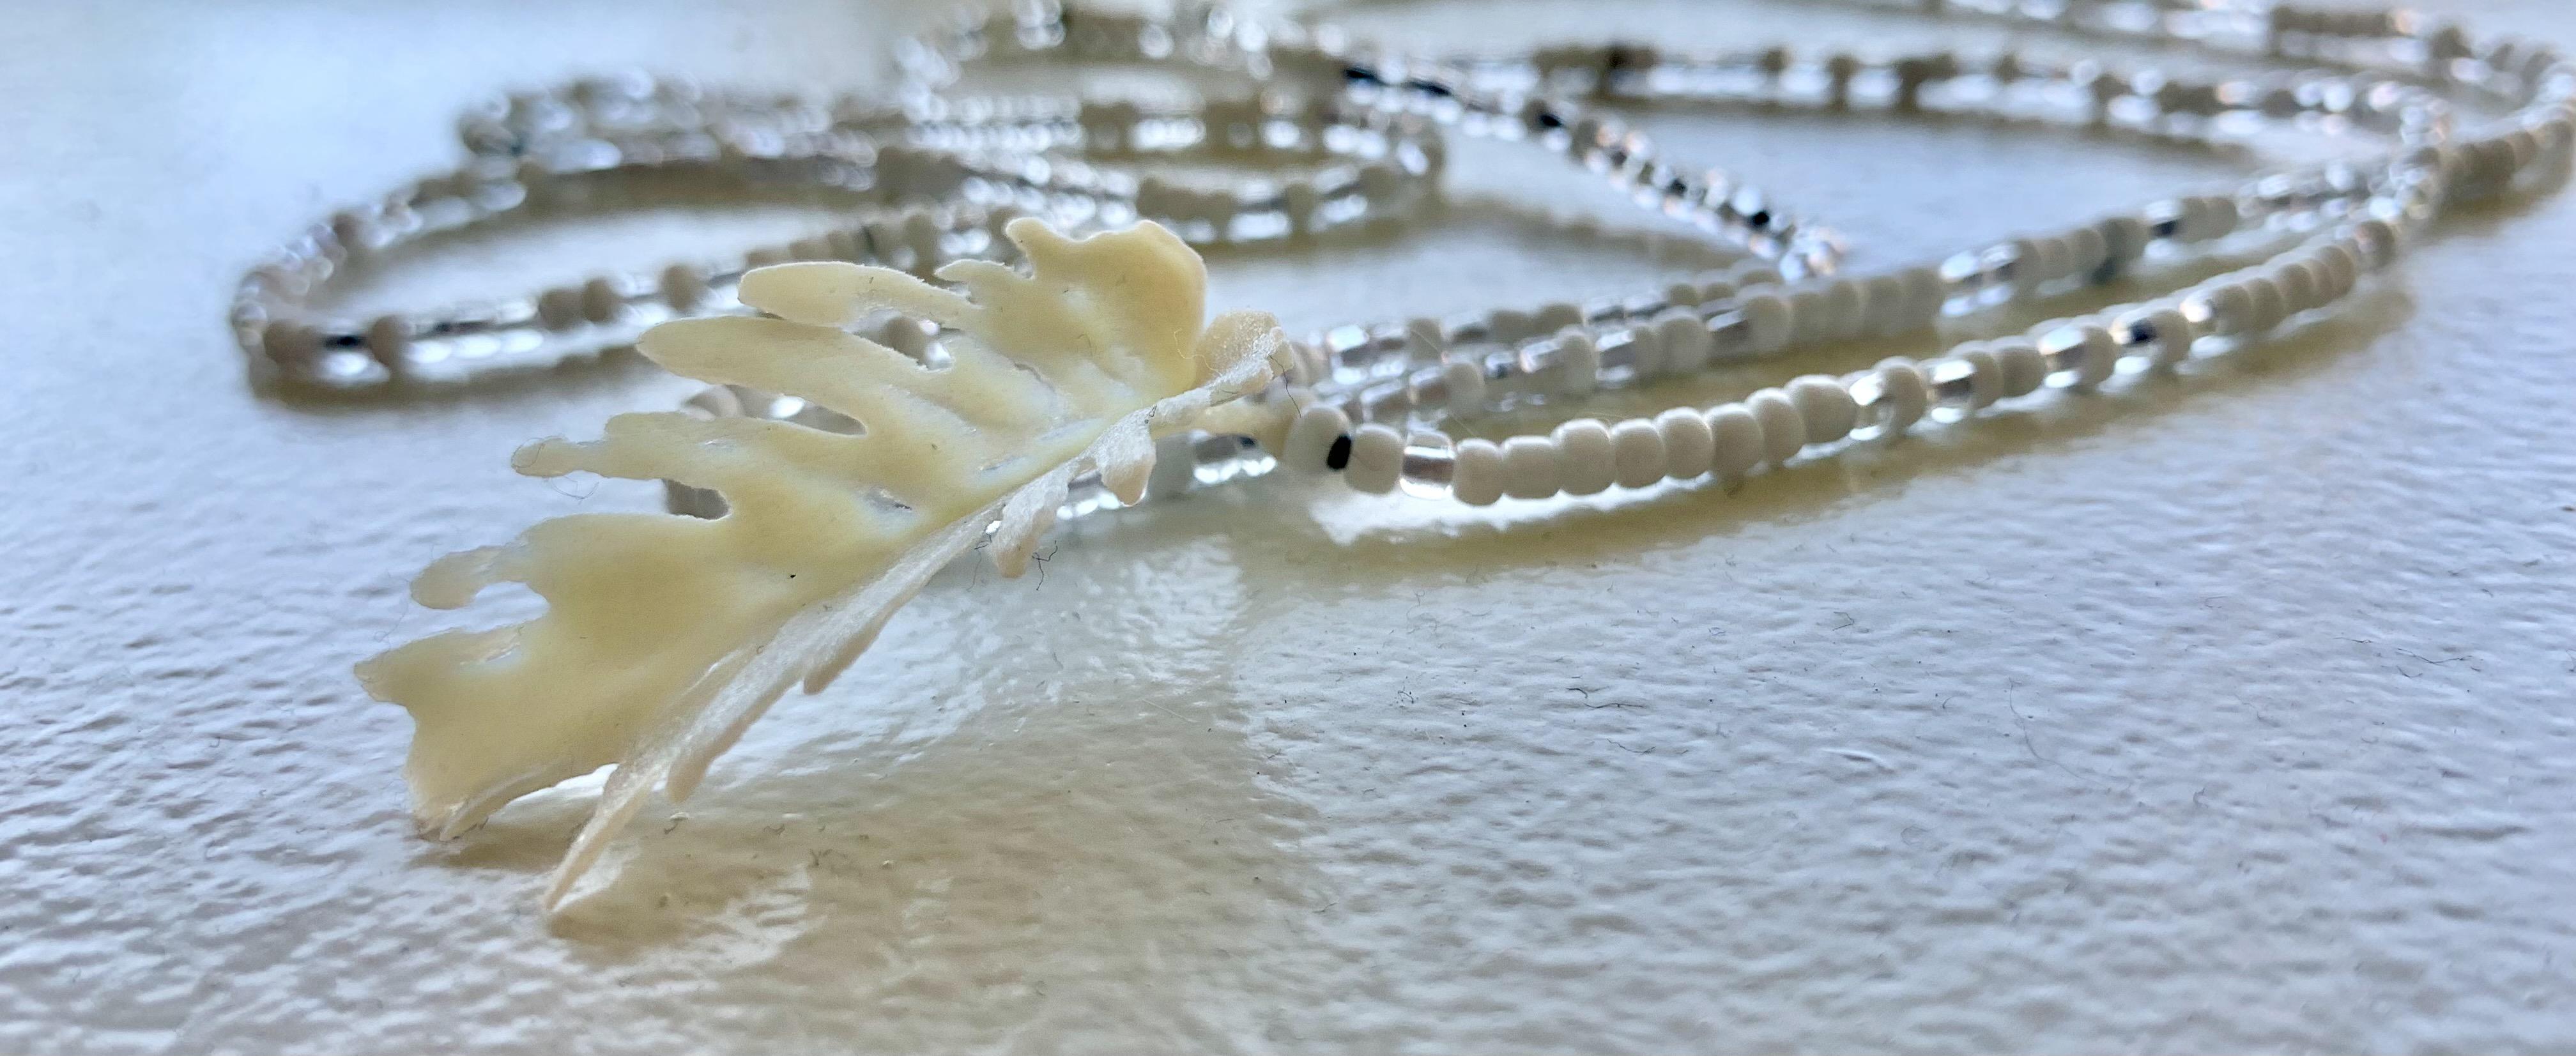
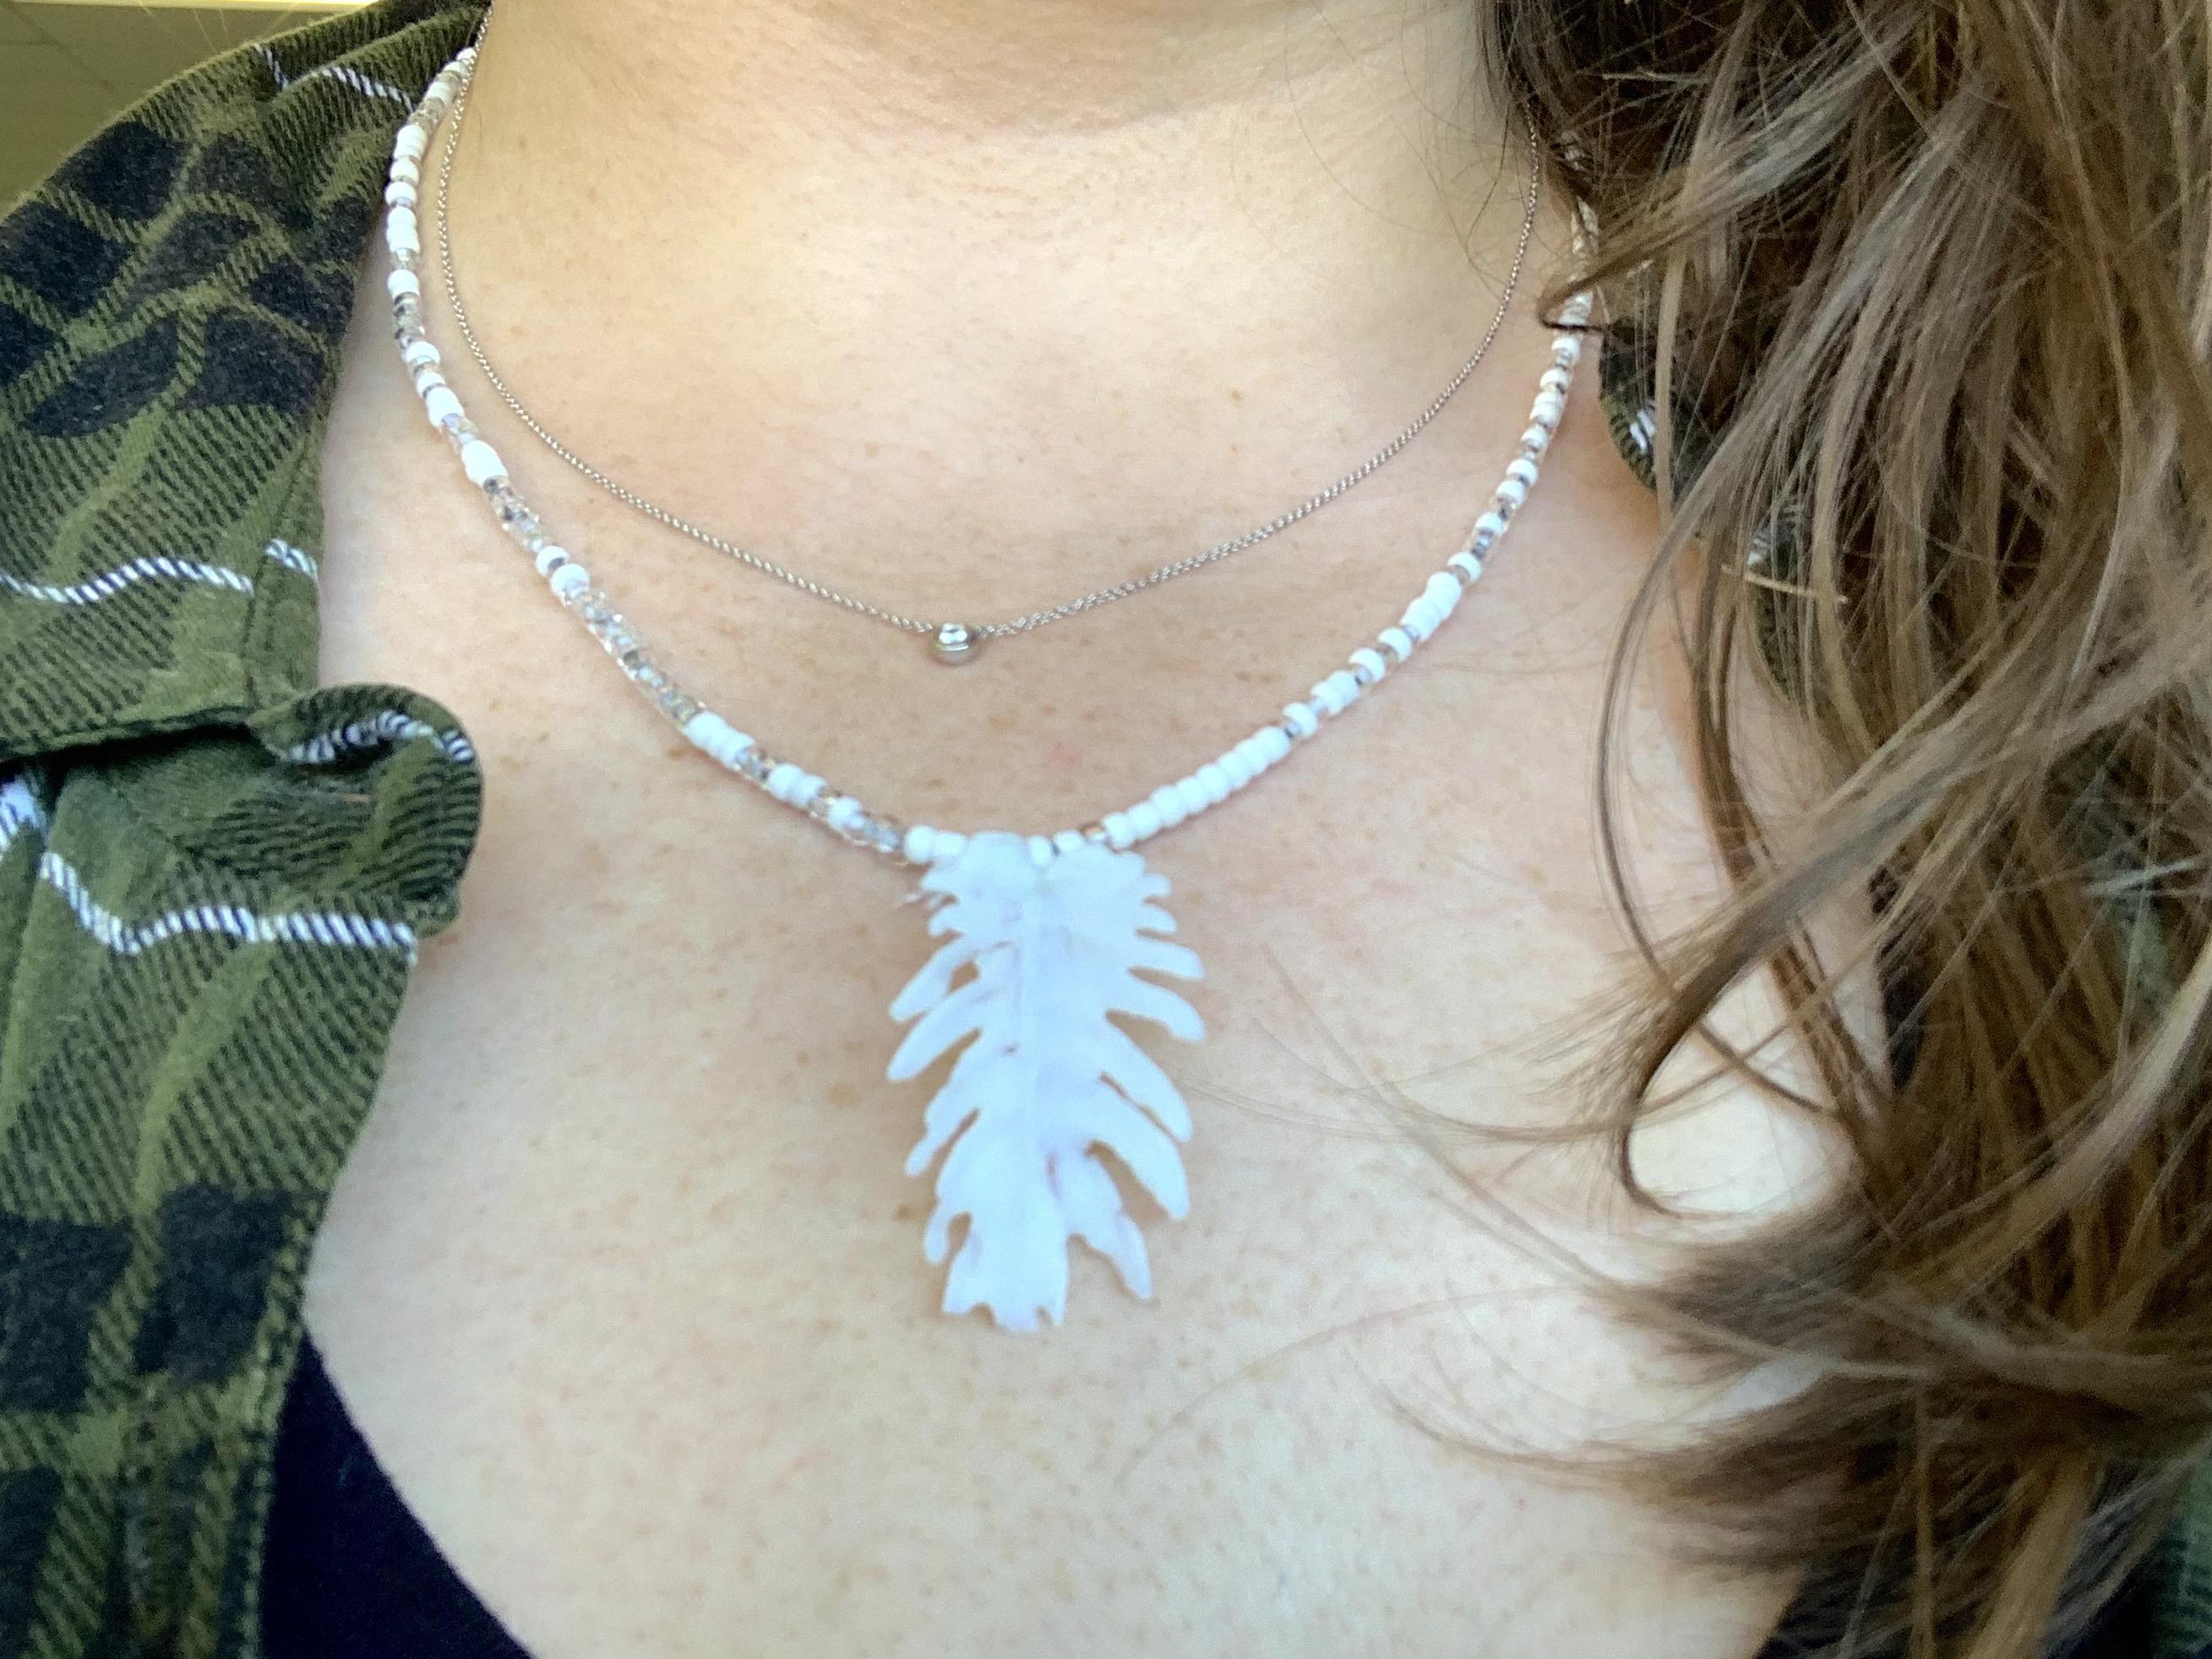
This leaf necklace was created with simple methods and processes that can easily be done at home. Learn about photographing for photogrammetry and preparing 3D files for print.
For this project I chose a leaf. Leaves are an integral part of a plant organism. They house a continuous vascular system that carries nutrients, water, oxygen, and carbohydrates to the rest of the plant. Leaves have a broad, expanded blade that houses cells that process sunlight through photosynthesis. Leaf texture can be smooth or rigid, with various venation (vein patterns) best suited to their environment.
Supplies
- White background
- Camera - phone camera is fine
- Camera stabilizer (optional but recommended)
- Metashape software (there is a free trial) https://www.agisoft.com
- Meshmixer (free) https://www.meshmixer.com
- Photoshop or other photo editing software (optional)
- Access to a 3D printer
Photography Setup
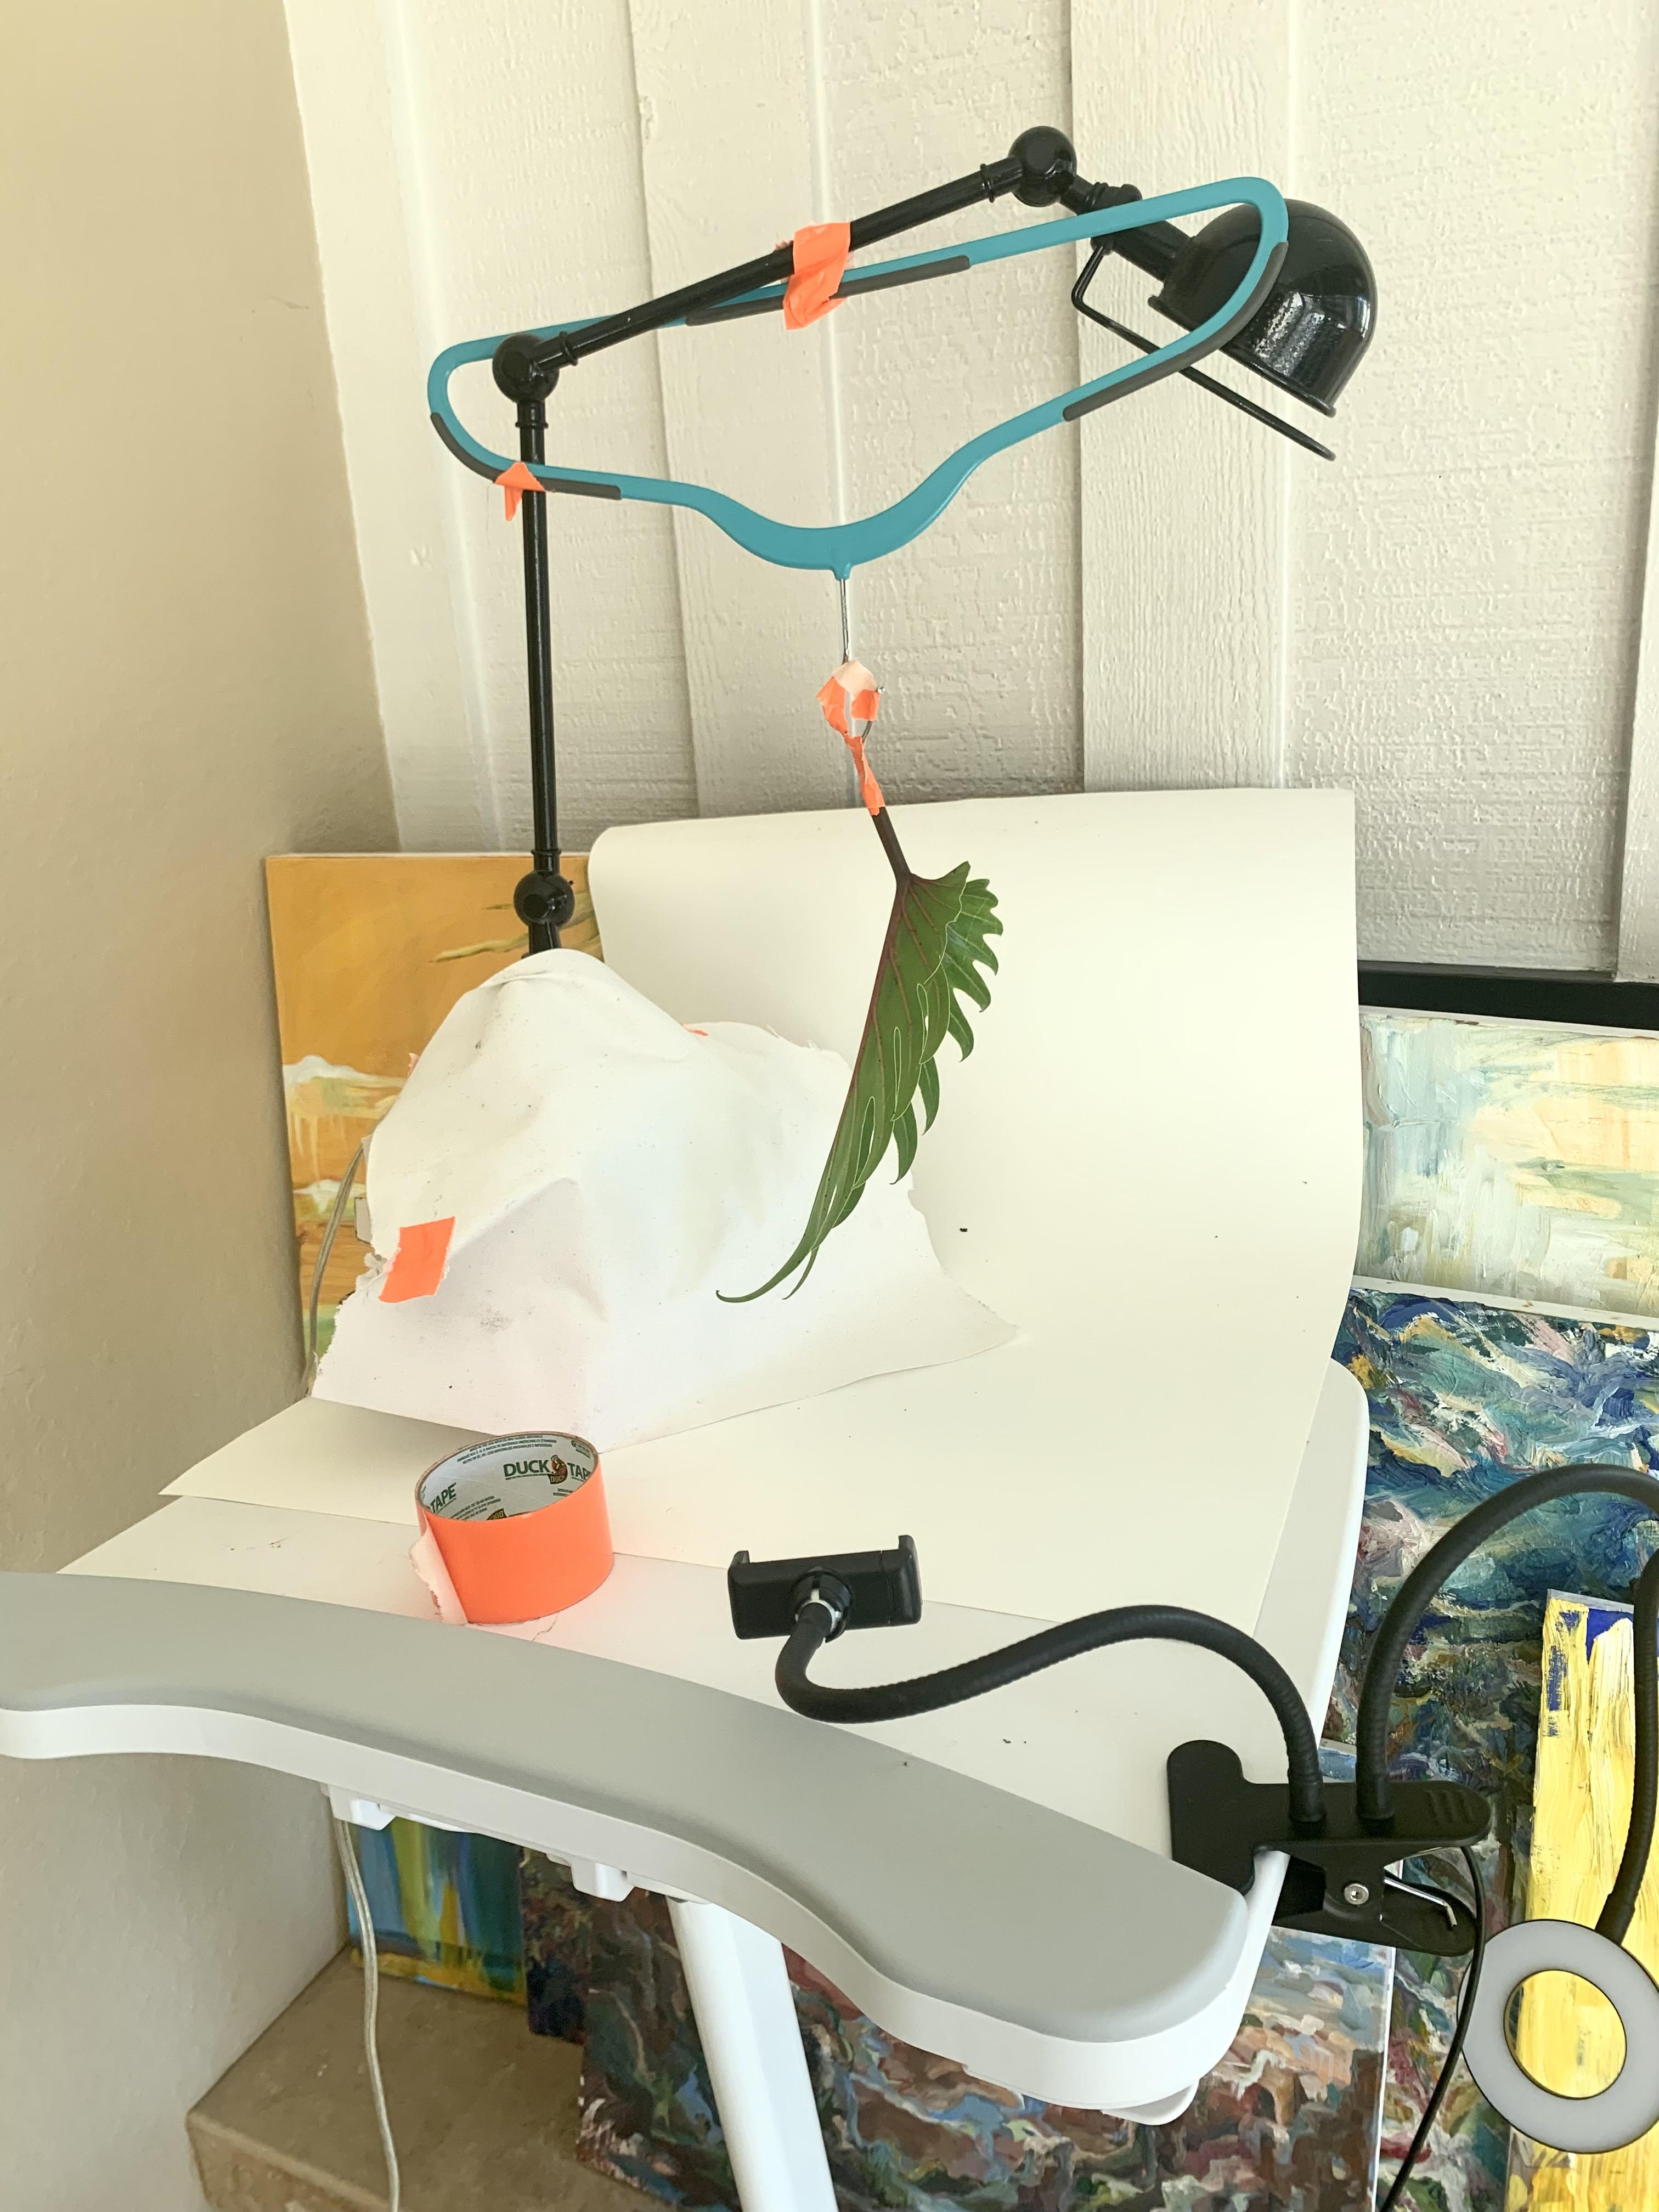
Find an area to photograph with as little background noise as possible. The area should be well-lit but with no harsh shadows. If your object must be hung up use something like the top of a hangar to attach. It is important that the object and camera stay in the same place for all of the photos for best results.
Photos
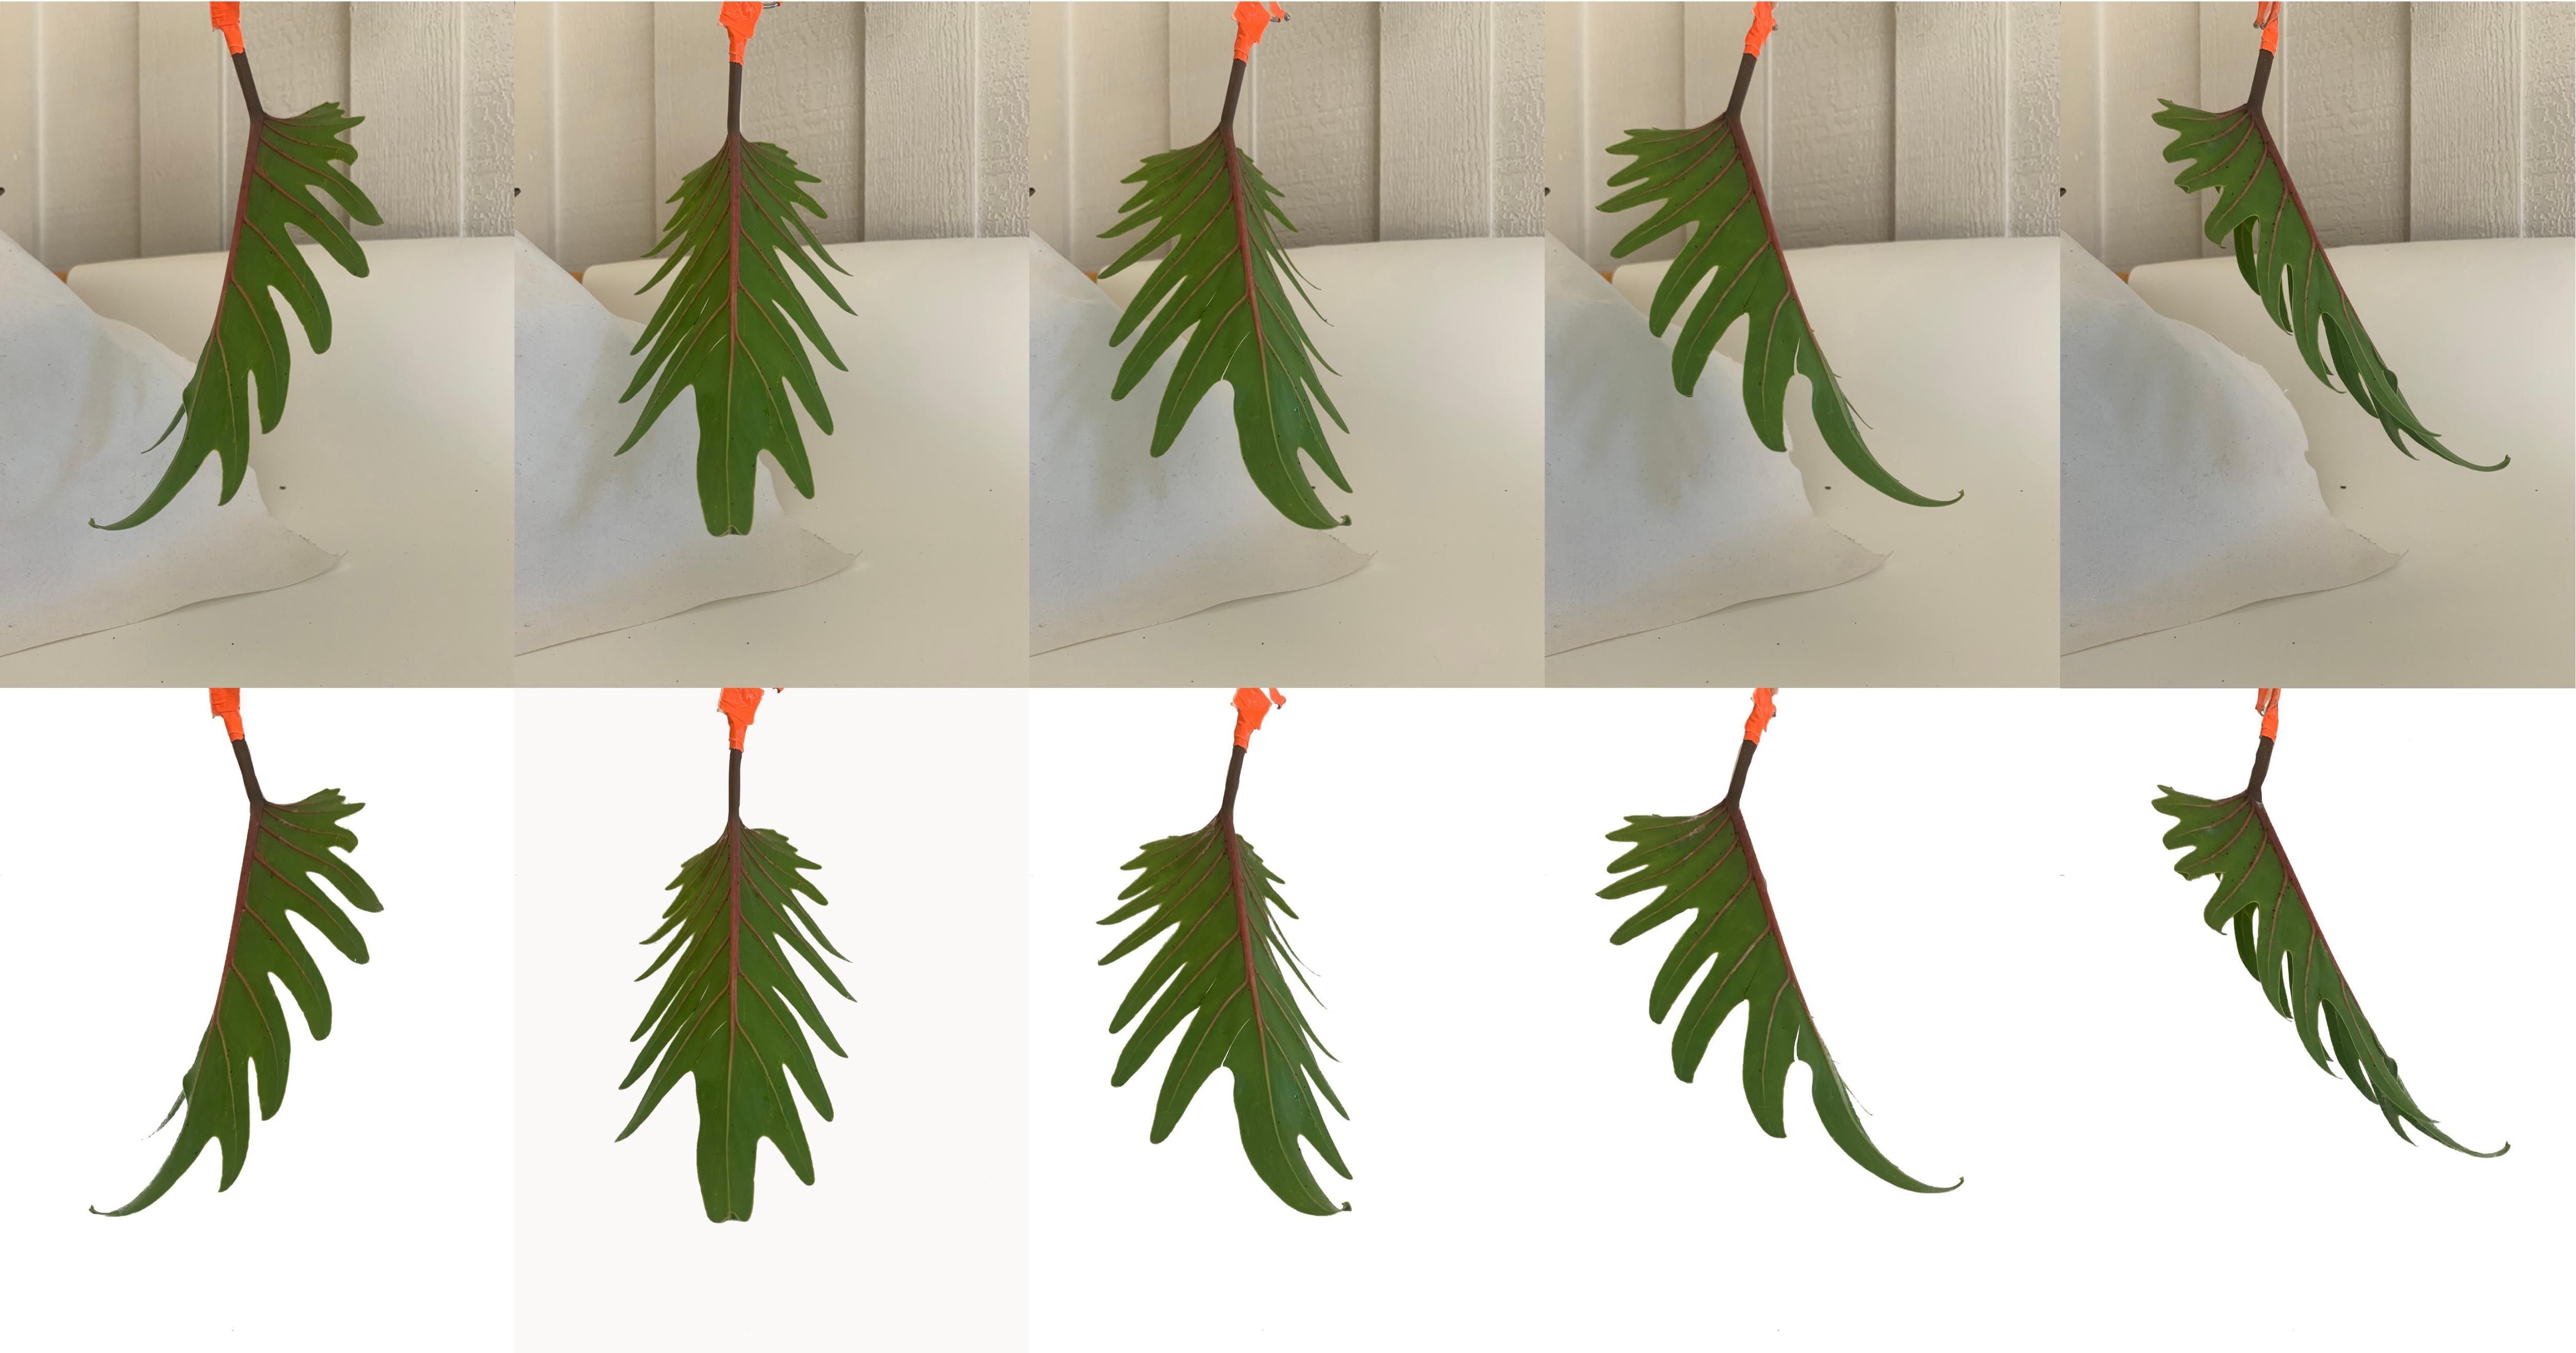
Take 30-40 images of your object, slowly rotating the object to get every angle. If the background is not mostly one shade of white cut out the background with photoshop if possible. This can be easily achieved with Select > Color Range to highlight your object.
Process Images in Megashape
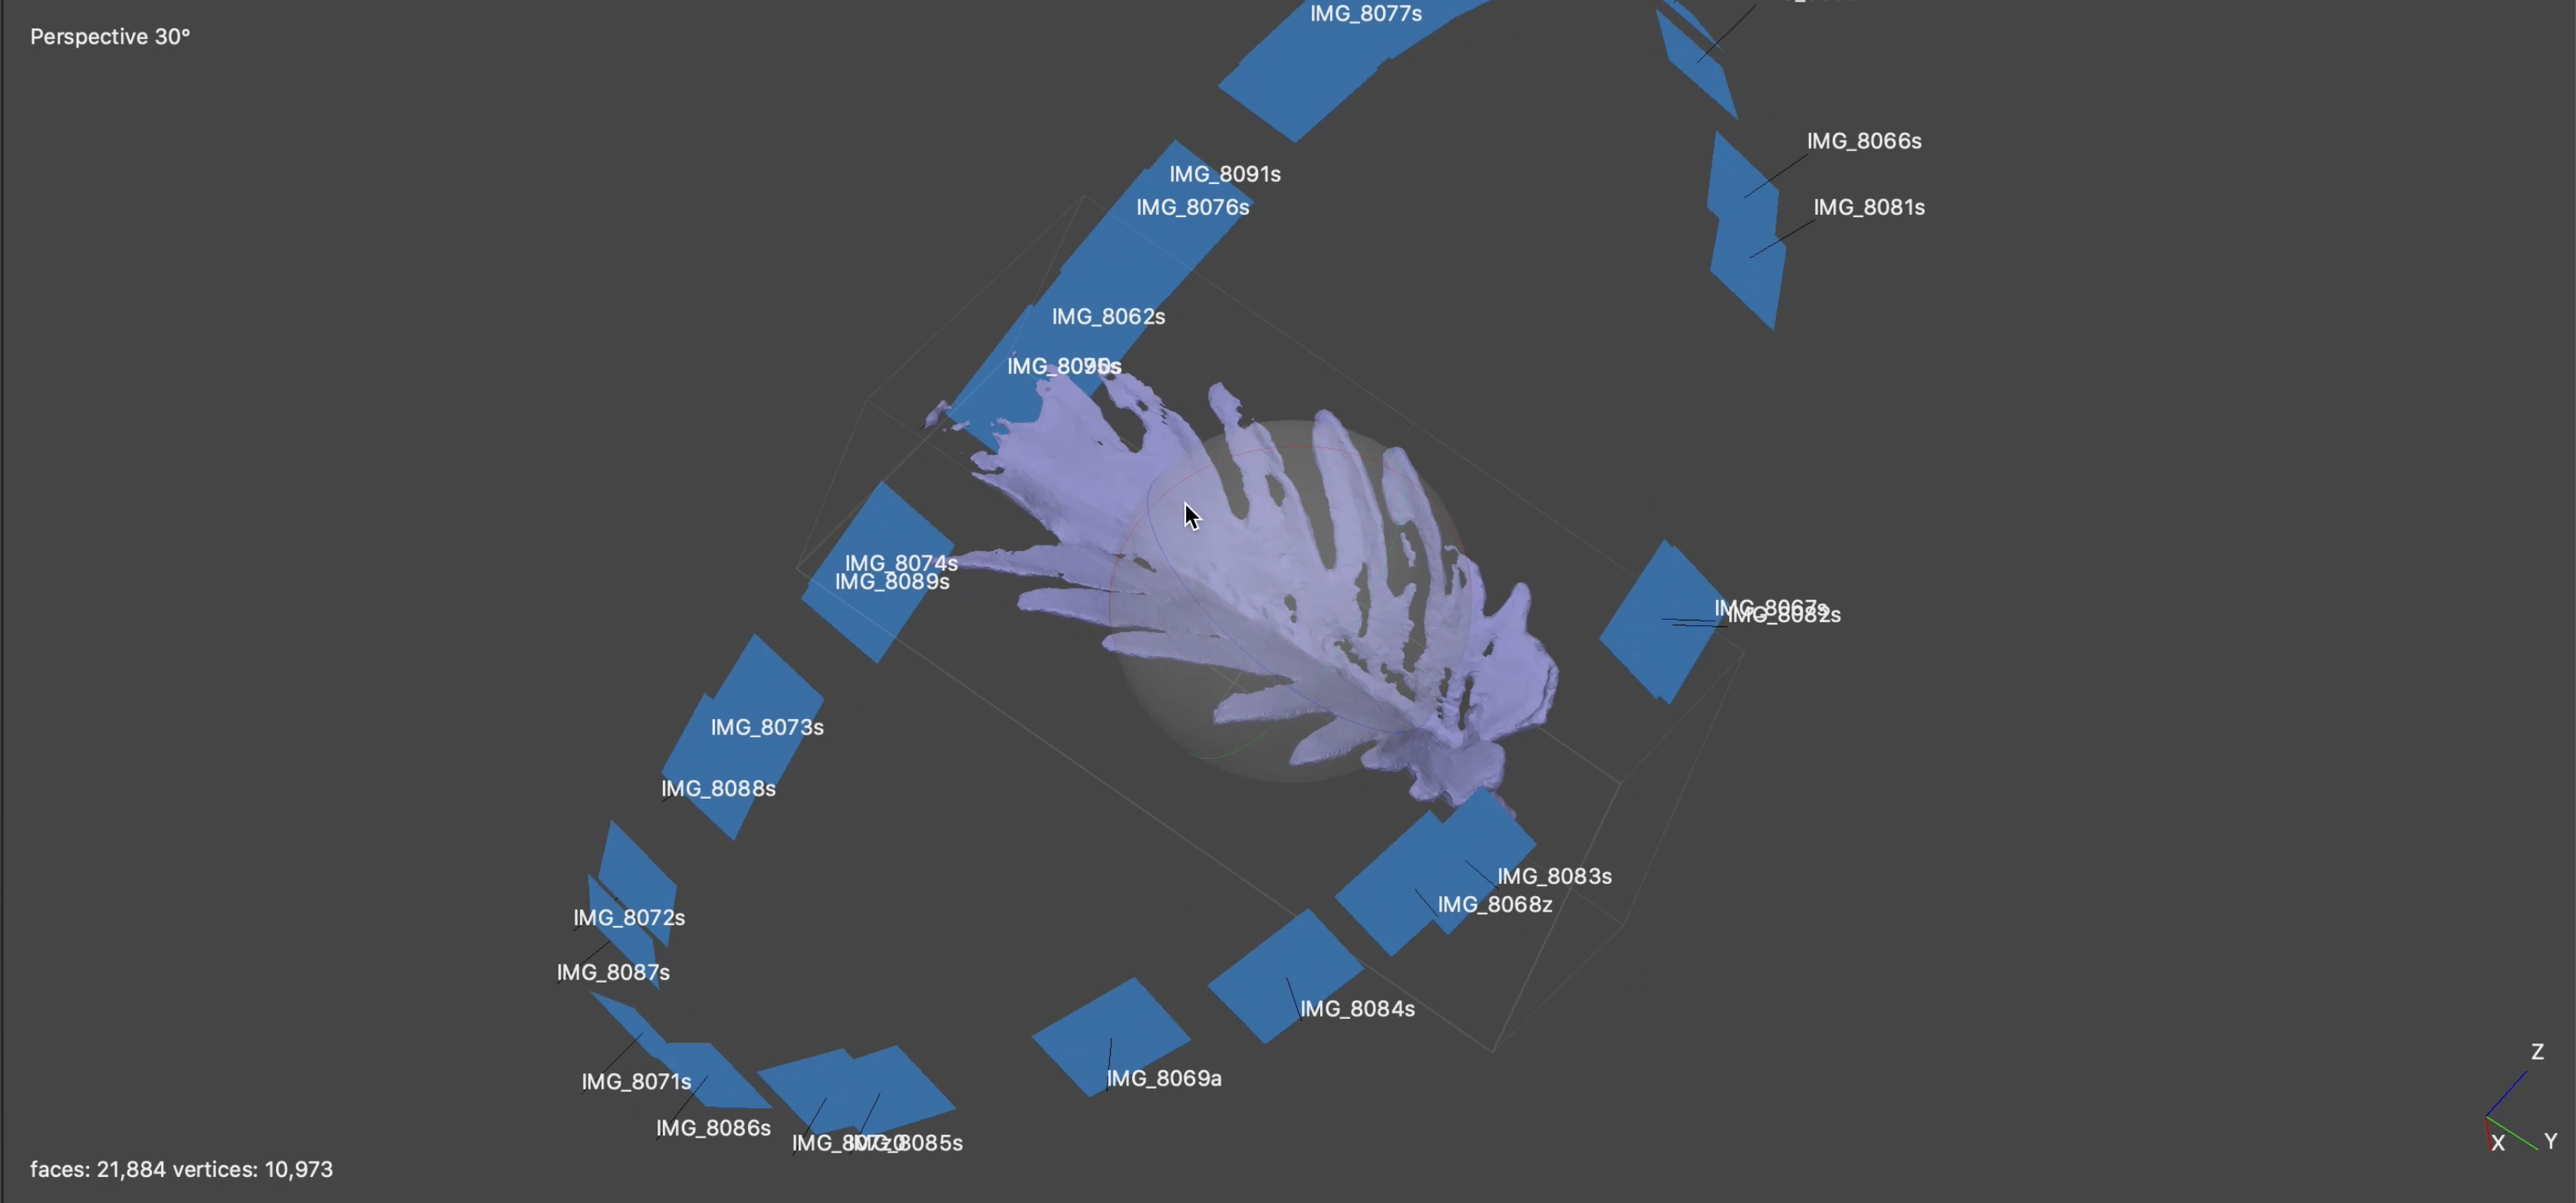
3a. To add photos select Add Photos... command from the Workflow menu.
3b. Select Align Photos command from the Workflow menu.
- Select Accuracy (high), Sequential processing, Key point limit 40,000, tie point limit 10,000
3c. After photo alignment is finished, refine bounding box position and orientation to fit the desired volume for reconstruction:
3d. Select Build Dense Cloud command from the Workflow menu. Set the following recommended values for the parameters in the Build Dense Cloud dialog.
- Quality, Medium, Depth filtering mild, click calculate point colors
3e. Select Build Mesh command from the Workflow menu. Set the following recommended values for the parameters in the Build Mesh dialog.
- Source data (depth maps), quality medium, face count mild
3f. Select Build Texture command from the Workflow menu. Set the following recommended values for the parameters in the Build Texture dialog.
- Texture type, diffuse map, select enable hole filling and ghosting filter
3g. Export model as an .stl file
For more information visit https://agisoft.freshdesk.com/support/solutions/articles/31000152092
Clean Up Your 3D File in Meshmixer
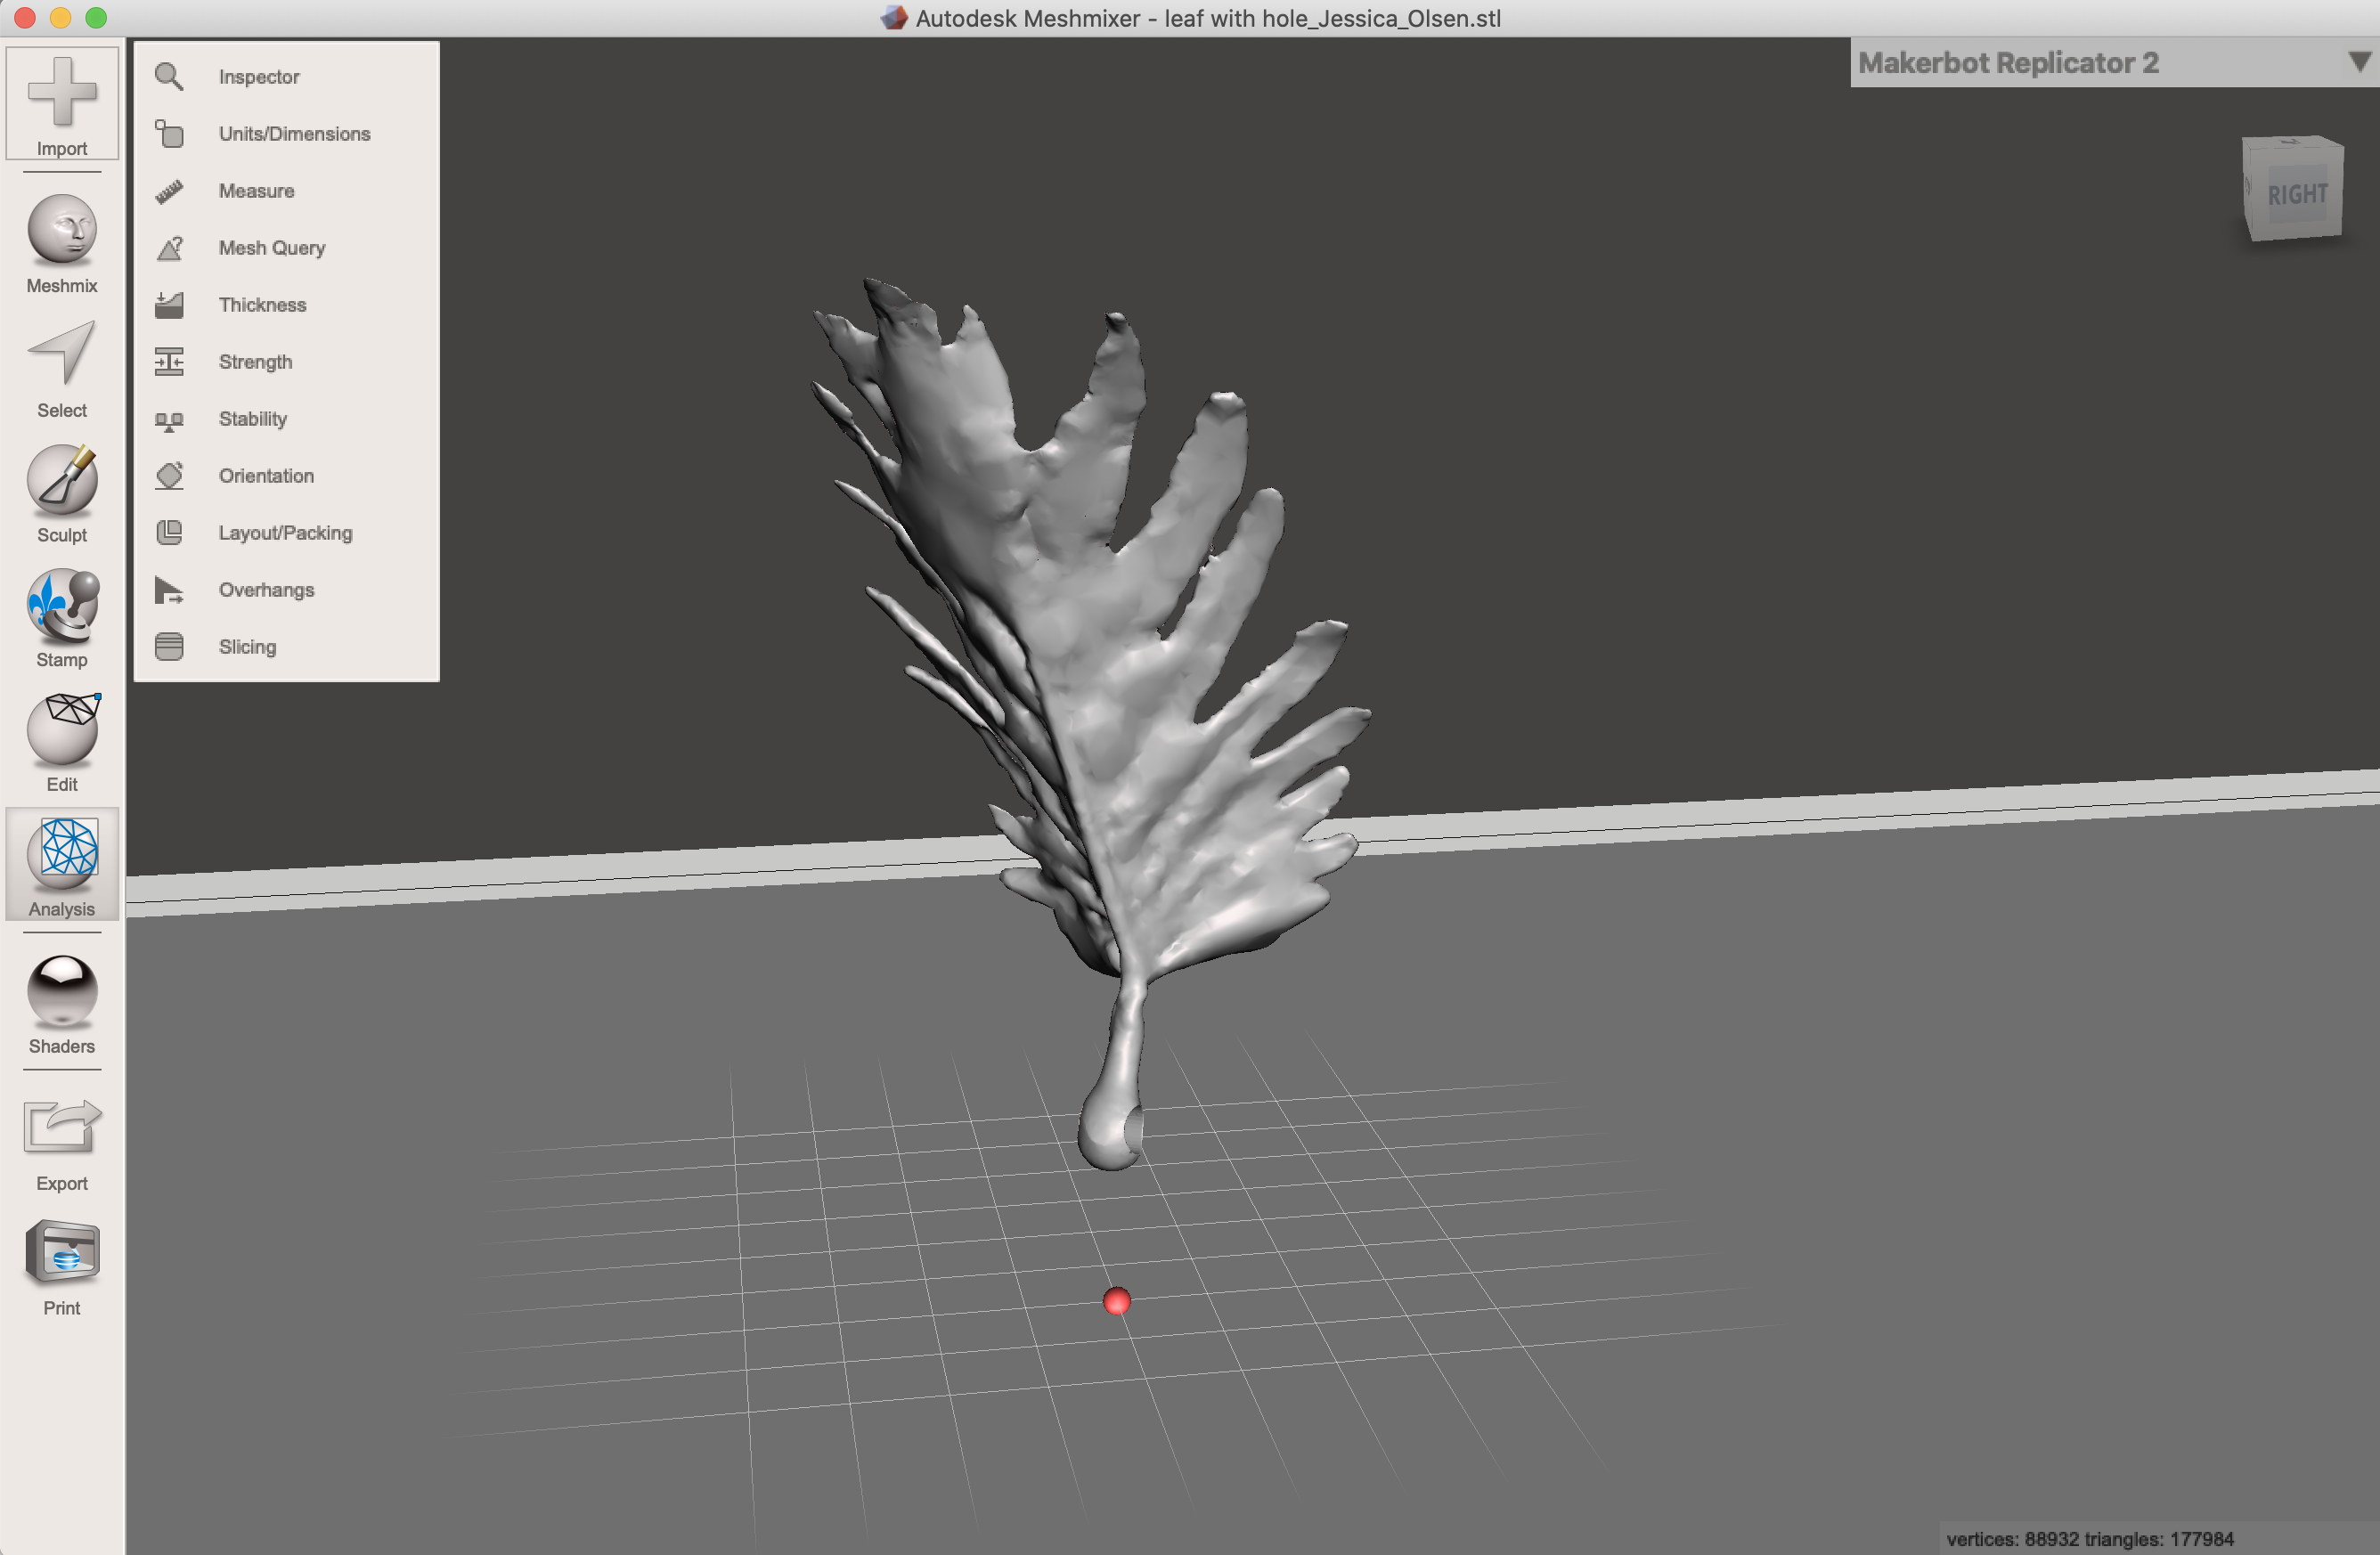
Clean up your file, smoothing out any jagged edges and removing any floating particles. Make sure to check that your object is water-tight by clicking Analysis > Inspector to check to make sure the object is printable, fix any spots that get highlighted with Repair All button. Also, make sure to check the size of your object is correct using Inspector > Units/Dimensions, millimeters is best. Add a small hole if you are planning on using your object for jewelry. Check out the linked videos for more help.
Printing
I printed my leaf using the Stratasys J750, this printer is able to produce fine details on very small objects.
Wear Your Jewelry!
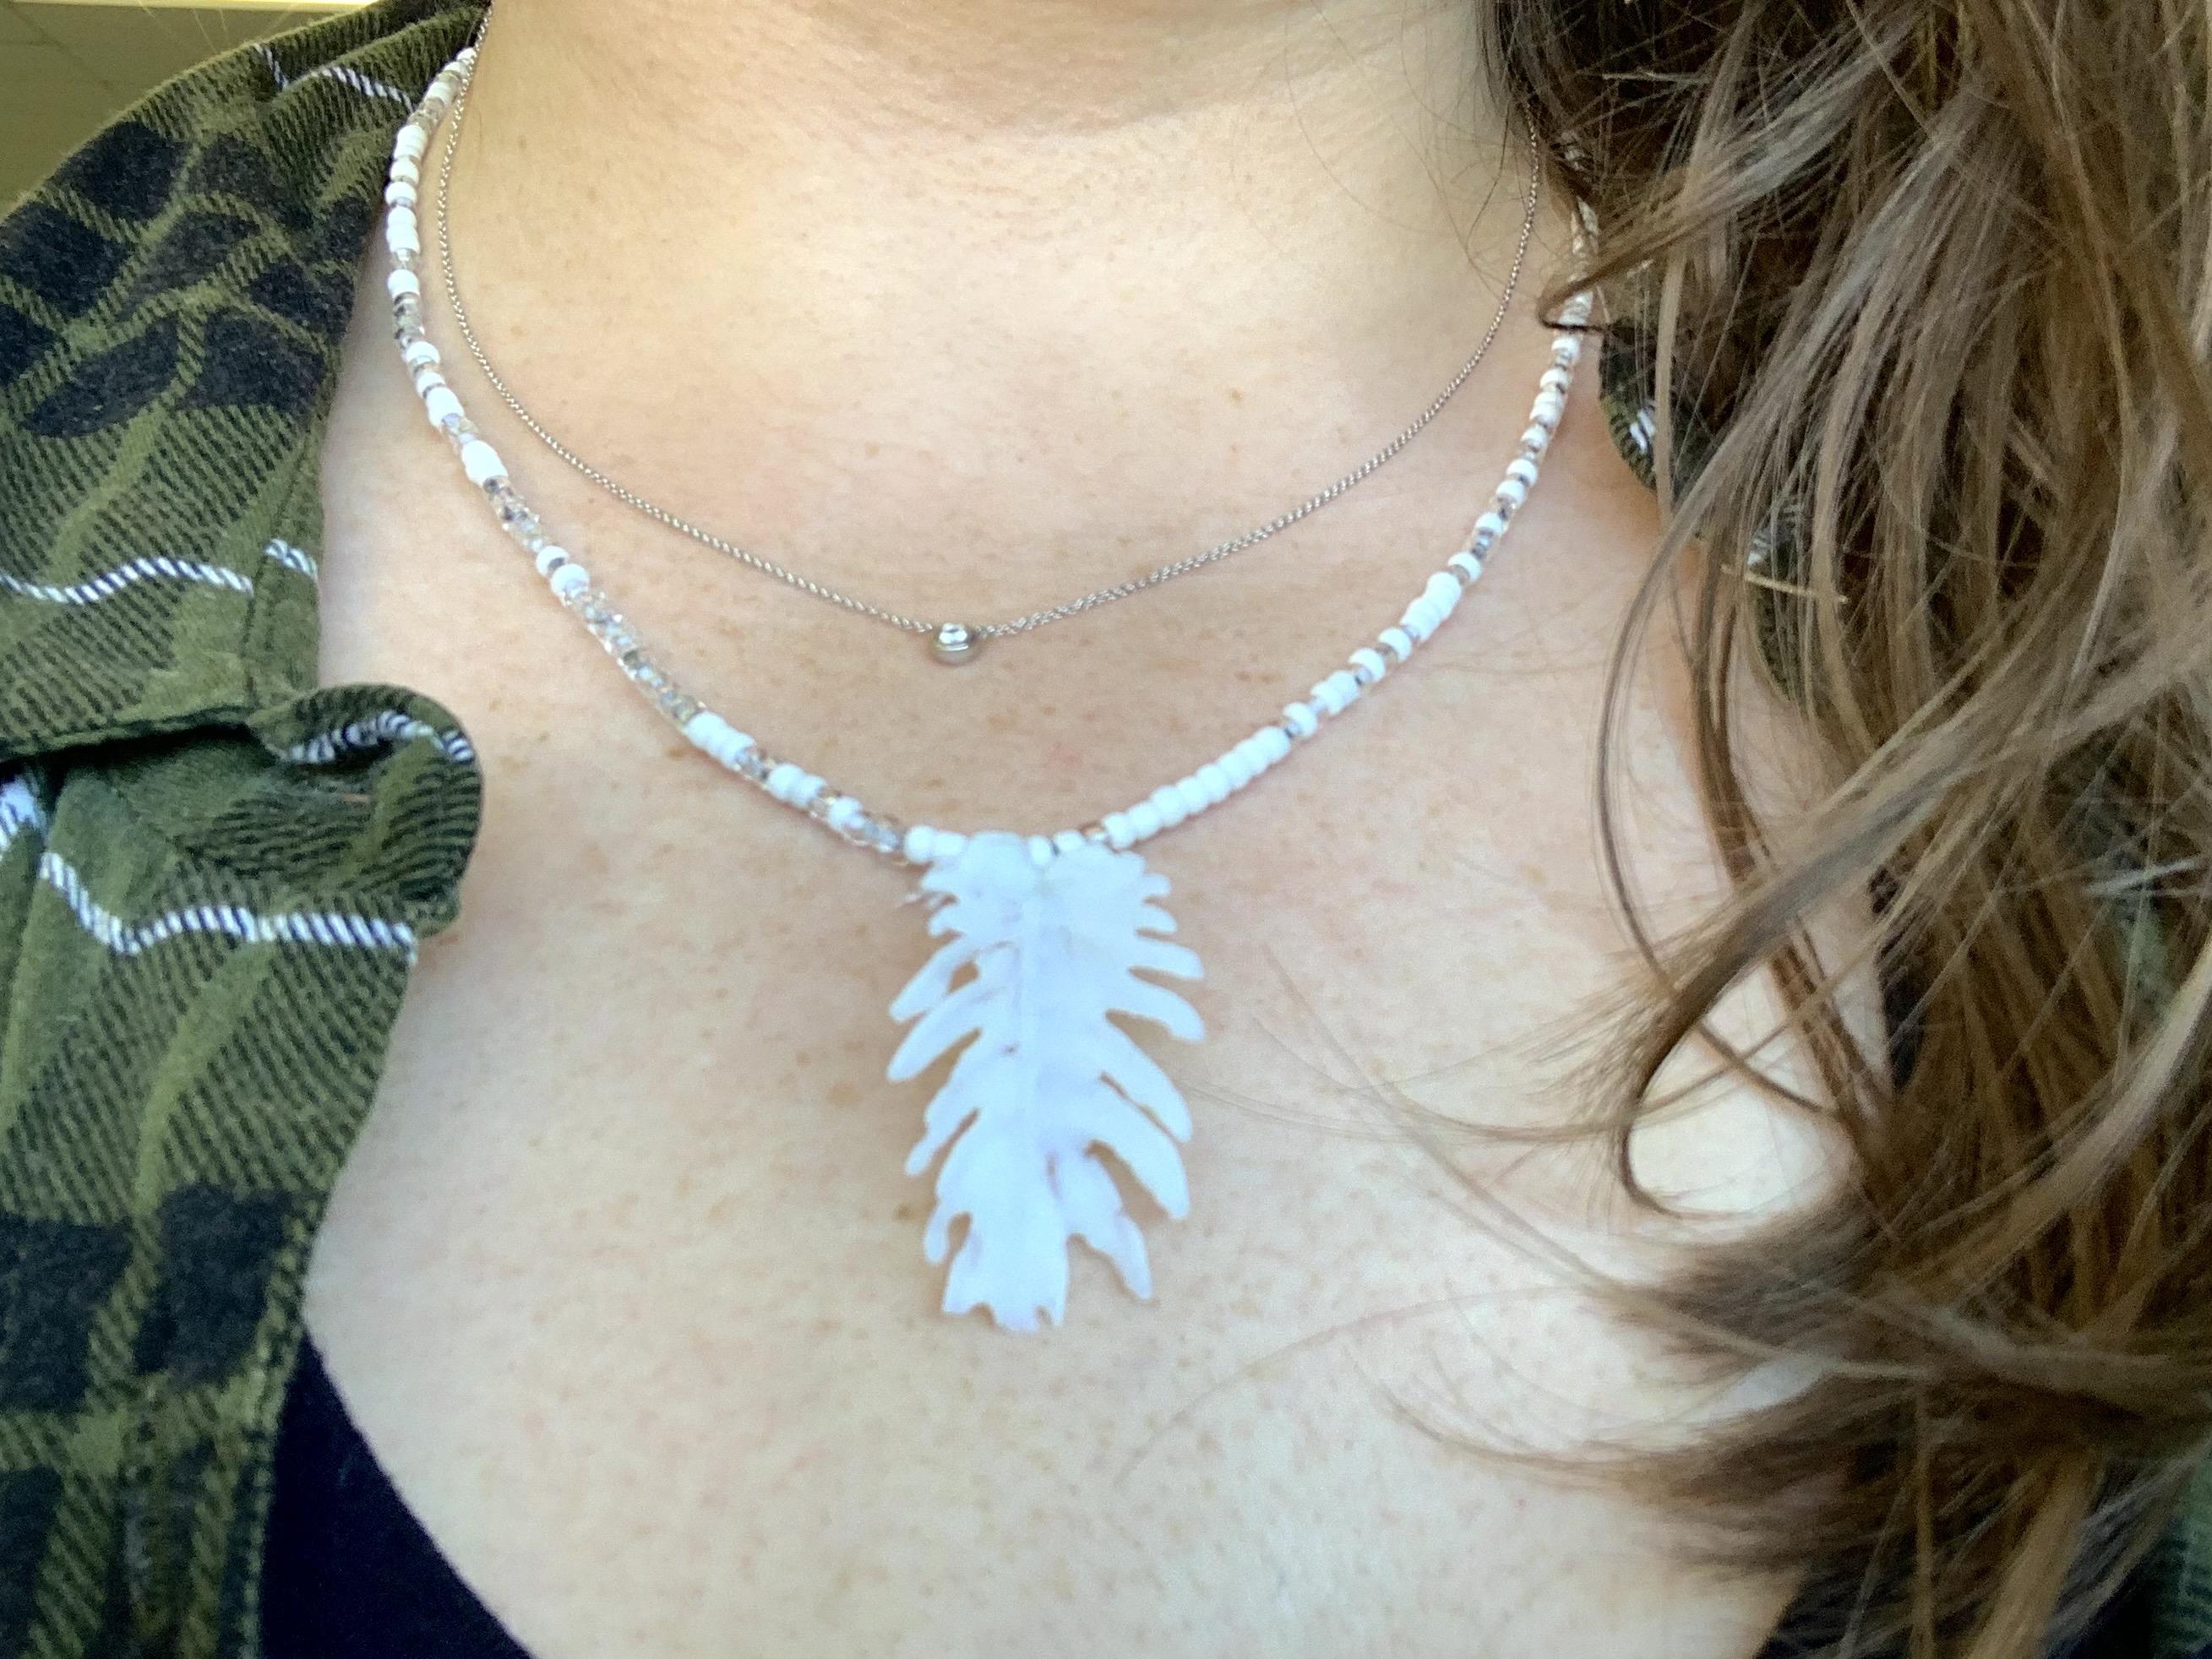
Add piece to a necklace or earring wire, congratulations, you're done!