Photo Realistic Blender Pumpkin
by tbrasselle in Workshop > 3D Printing
5851 Views, 9 Favorites, 0 Comments
Photo Realistic Blender Pumpkin

I am going to show you how I made this pumpkin scene in blender. Click the fist video to watch the animation and the second for a video of me making the scene.
Start Modeling the Pumkin


Start by adding a UV sphere with 100 segments and 36 rings. Press 7 and 5 to go to the top ortho. view. Next change the rotation point to 3d cursor, and make sure the sphere and cursor are at the origin. Hold ALT and select one set of verticies. press R to rotate it. you want to make about 20 sets of 3 lines. Next hold ALT and Shift while selecting the center line of each set. Then, press S to slightly scale in making the dents that are in a pumpkin. Finally add a sub-surf modifier.
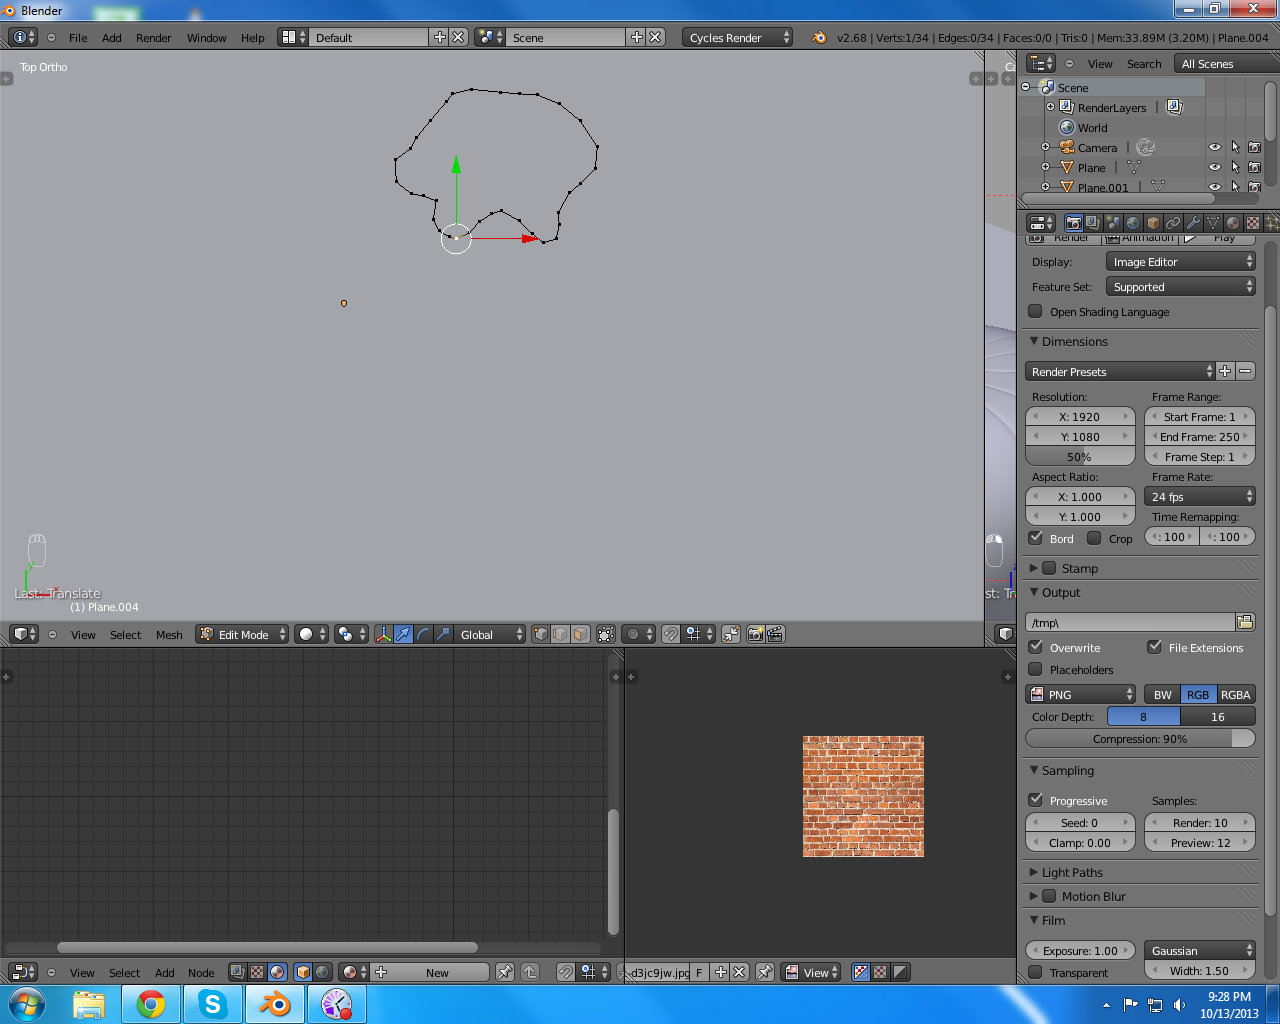
Add Natural Noise


Now drag the top and bottom down and up to make a pumpkin shape. Make sure the proportional editing tool is on and the correct size. Next you need to randomly slightly drag some vertices on the grooves to ad some variation in the texture.
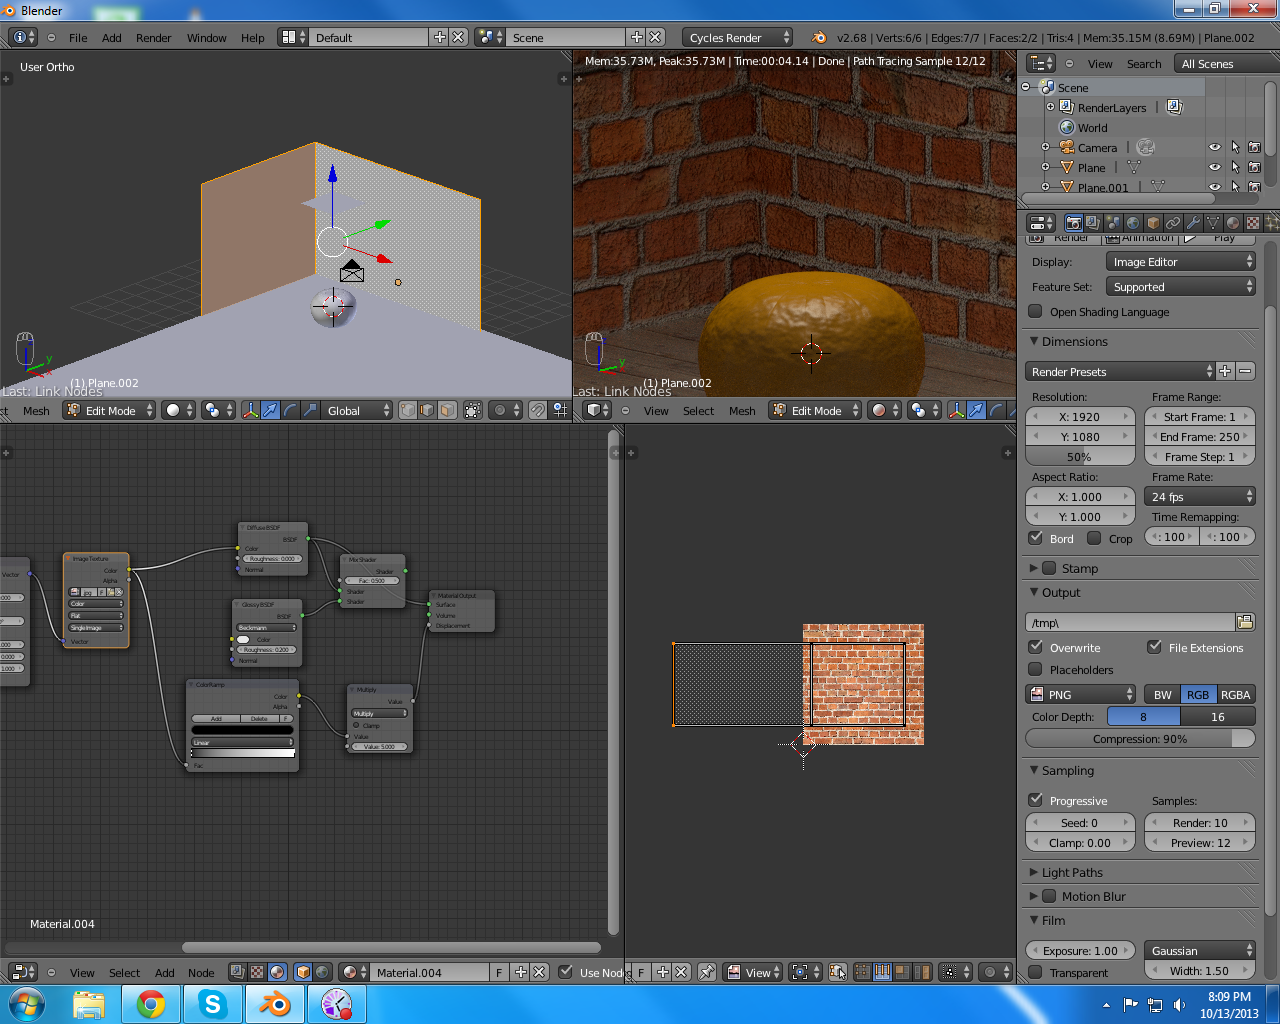
Using the Node Editor


Next split the screen and open a node editor in the bottom half of the screen. Add nodes to make something similar to what I have in the picture. it doesn't need to look perfect yet. After you add the floor and walls you can finish the texture and color.
Floor


Next add a plane and scale it about 15 times. After that, set up the node editor to use a image as the texture. I used a seamless wood deck texture for the color and the pump map.
Next add another plane. type R then X then 90 to rotate it around the X axis 90 degrees. Select the end line and press E then Y to extrude a plane on the y axis. Next, setup the node editor like the image. Us a UV map to map the image so it can be easily positioned to fit the scene.


Add a new plane then delete one vertex. Move them around to make the base of a stem. Then, extrude and scale it to make the 3d shape. After that use the proportional editing tool and the rotate tool to add a curve to the stem. Then position it over the pumpkin and ad a texture similar to the way you did the pumpkin.
Adding the Path


Add a path for the camera to follow. After moving the path to however you want your camera to move position the camera at the beginning of the path. Then select both and press CTRL + P and select Follow Path. You can then open a window and switch to the timeline mode, then slide the time to see how the camera will move.
Rendering
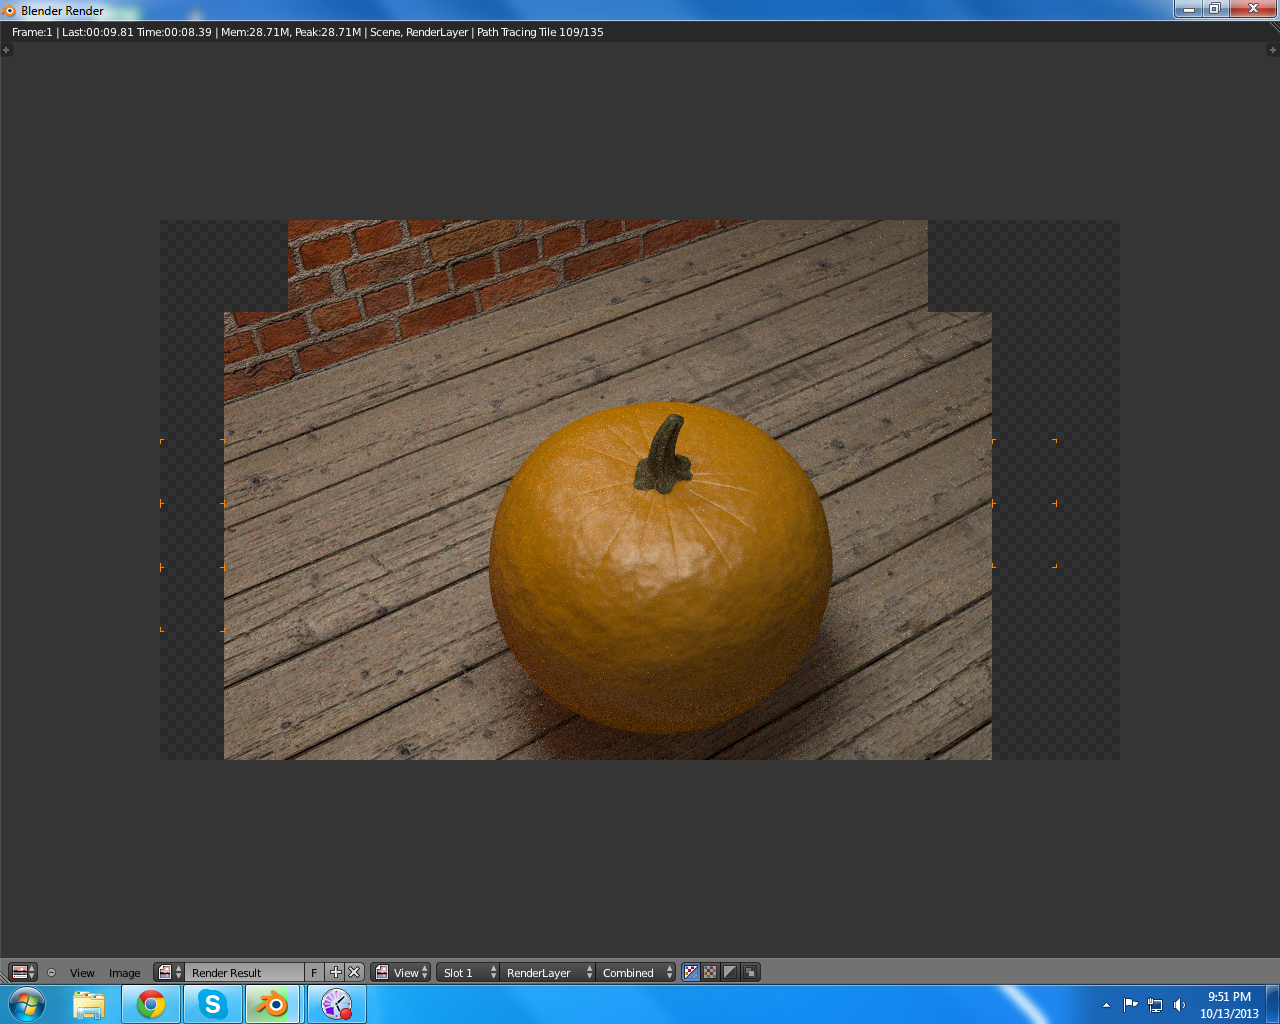

When you are finished if you are rendering a still image just press F12. If you are rending an animation it is normally best to render to a set of .png then convert that to a video. To do that just select the folder you want you pictures to go to (normally should be an empty folder) and press the animate button. You can now add more detail such as leaves or cut a face into and add a light inside making it look like a lit jack-o-lantern.