Photo in a Used Bottle As a Display
by mariawairisal240 in Craft > Reuse
199 Views, 0 Favorites, 0 Comments
Photo in a Used Bottle As a Display

Used glass bottles of used vodka are usually dumped and not needed when they can be made as interesting as possible, so today I'm going to show you how to use a used vodka glass bottle inside of this picture to make it look good
Supplies
For used bottles
1. vodka glass used bottles
2. Photo
3. Ice cream stick
4. Scissors
5. Wire
6. Glue
1. vodka glass used bottles
2. Photo
3. Ice cream stick
4. Scissors
5. Wire
6. Glue
How to Make Photo Frame

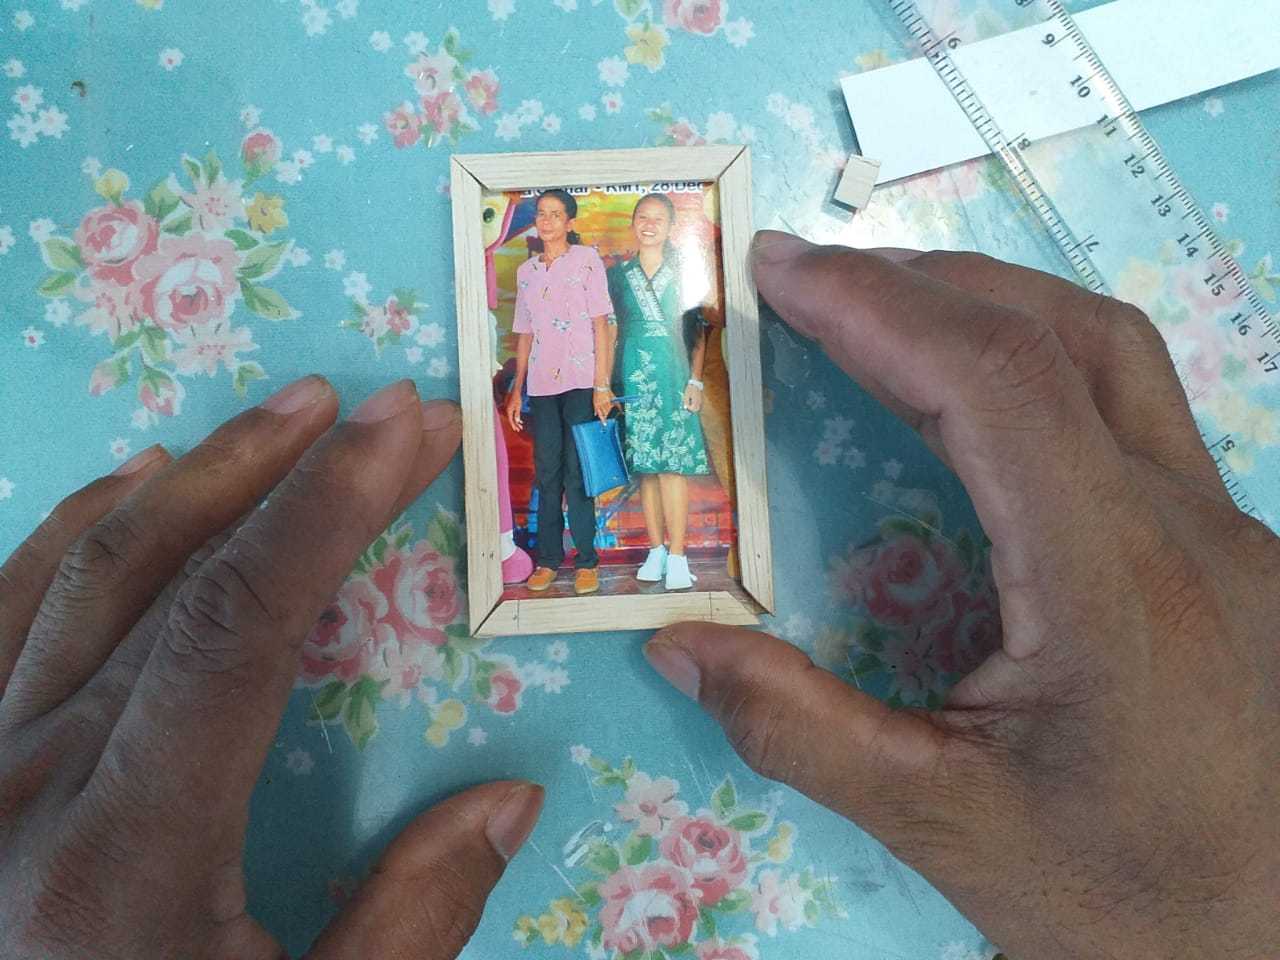
Provide 2 ice cream sticks for the outside and inside. For the outside, cut the curves. And for the inside, cut off part of the stick and then cut the end of the stick again sideways and glue the two of them.
Next

For the top of the frame, cut a small portion of the stick and then cut in a sideways and the inside is cut normally. And then glue both of the stick.
Scissors the Photo


After the frame is finished, scissors the photo that you want according to the frame size that has been made.
Insert the Frame One by One


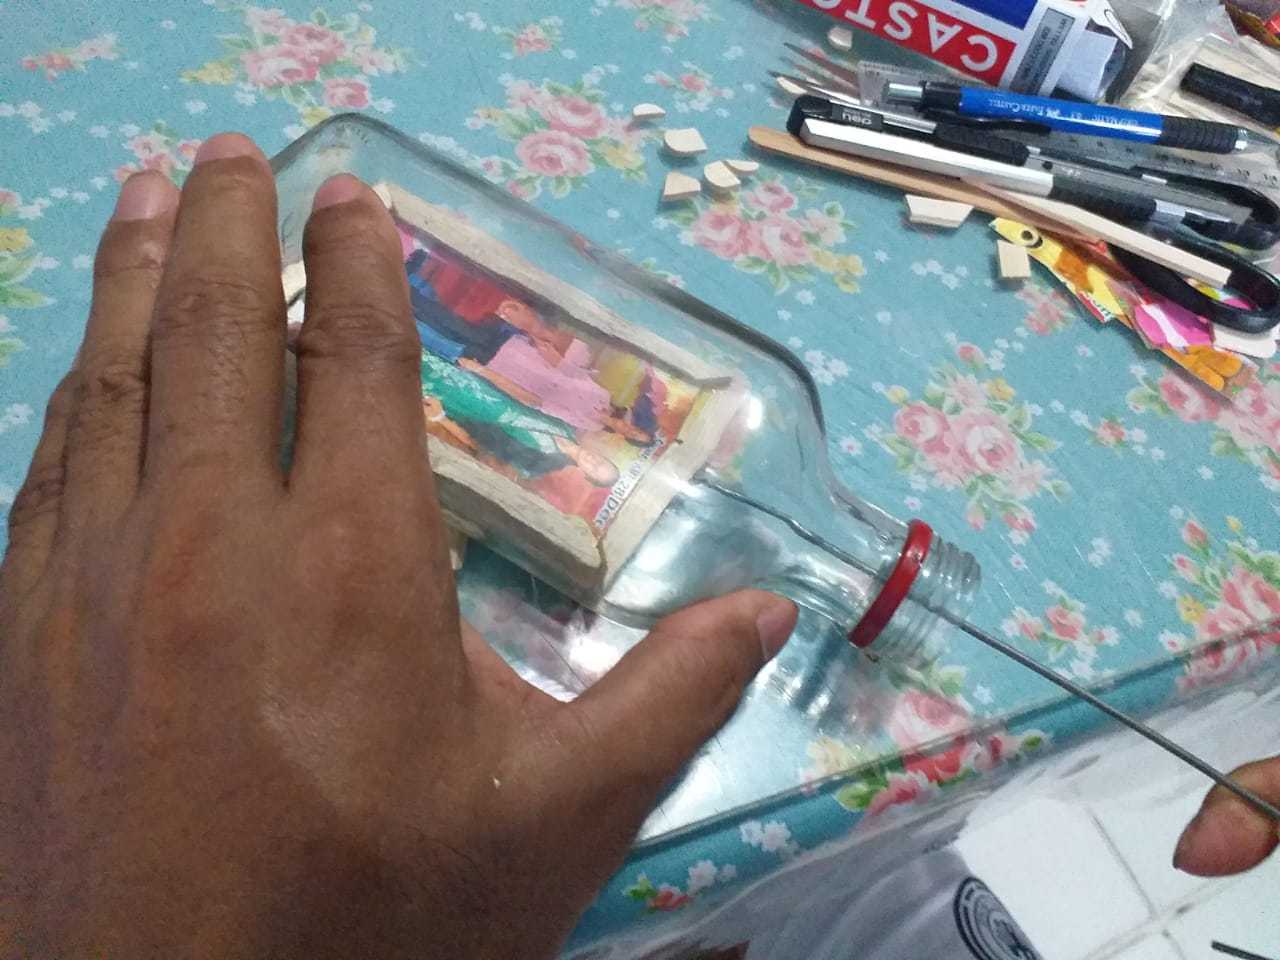
When everything is finished, insert the frame one by one into the bottle with the help of a wire and then glue it by placing glue on the wire to reach the left and right sides of the frame.
Insert the Photo


Before closing the top of the frame, insert the photo in the bottle then after that insert the top of the frame and placing glue again on the wire to the left and right sides.
The Photo Could Be a Display

This is the end result of making chairs for the support and the photos in the bottle.
For Support in This Photo to Look Good
Supplies
1. Stick
2. Glue
3. Cutter
1. Stick
2. Glue
3. Cutter
The Process on Support on the Bottle


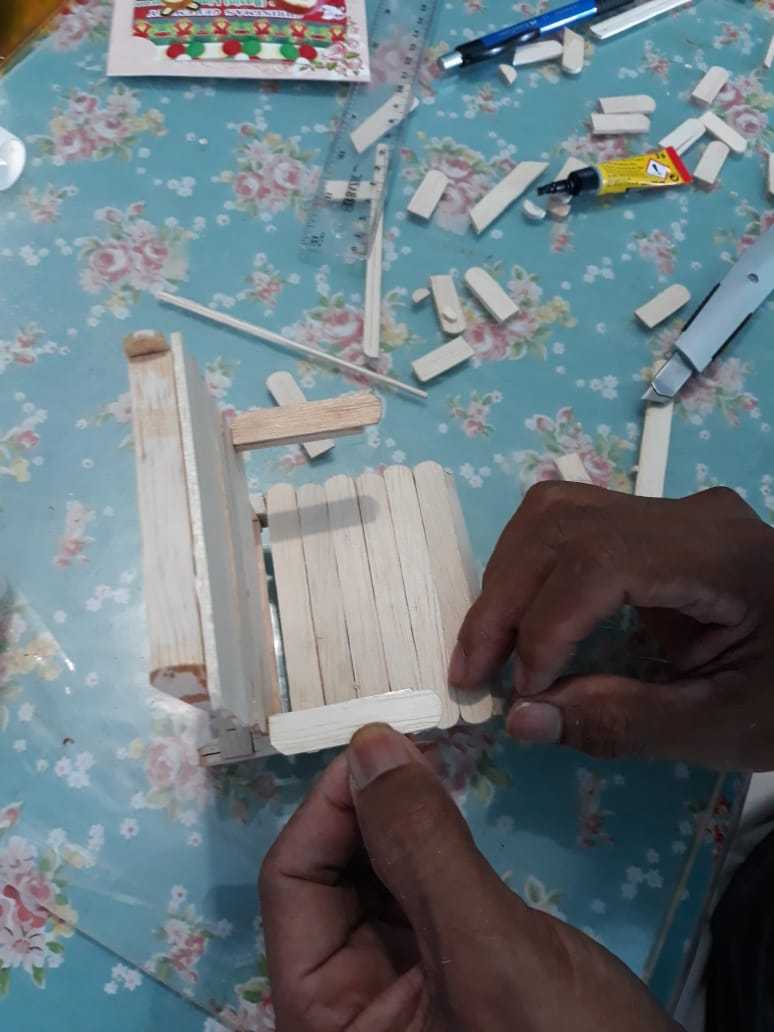
First, Provide 2 ice cream sticks and then cut into several parts by sloping them. After that, cut a small portion of the ice cream sticks and add the small pieces. Then close again by attaching the ice cream sticks that have been cut off at the edges.
Second


After that, glue the ice cream stick on the top and in front of it. And glue 2 ice cream sticks on the inside. Then cover the front by attaching some ice cream sticks on the top. For the part that is open, stick a small piece to close it.
Third


Glue the stick in the remaining part that is still open. After that, put some sticks on the top again.
Fourth


To make a chair handle, cut ice cream sticks like a small pencil and stick it. Also, cut the ice cream sticks in half and stick them to cover the small pieces.
Finished for the Support

After everything is finished, cut the ice cream sticks again into small pencils for the front and then stick them to hold the sticks on top. And the end result will be like this.