Photo VCarving on Melamine
by JJ Slabbert in Workshop > Woodworking
3978 Views, 11 Favorites, 0 Comments
Photo VCarving on Melamine
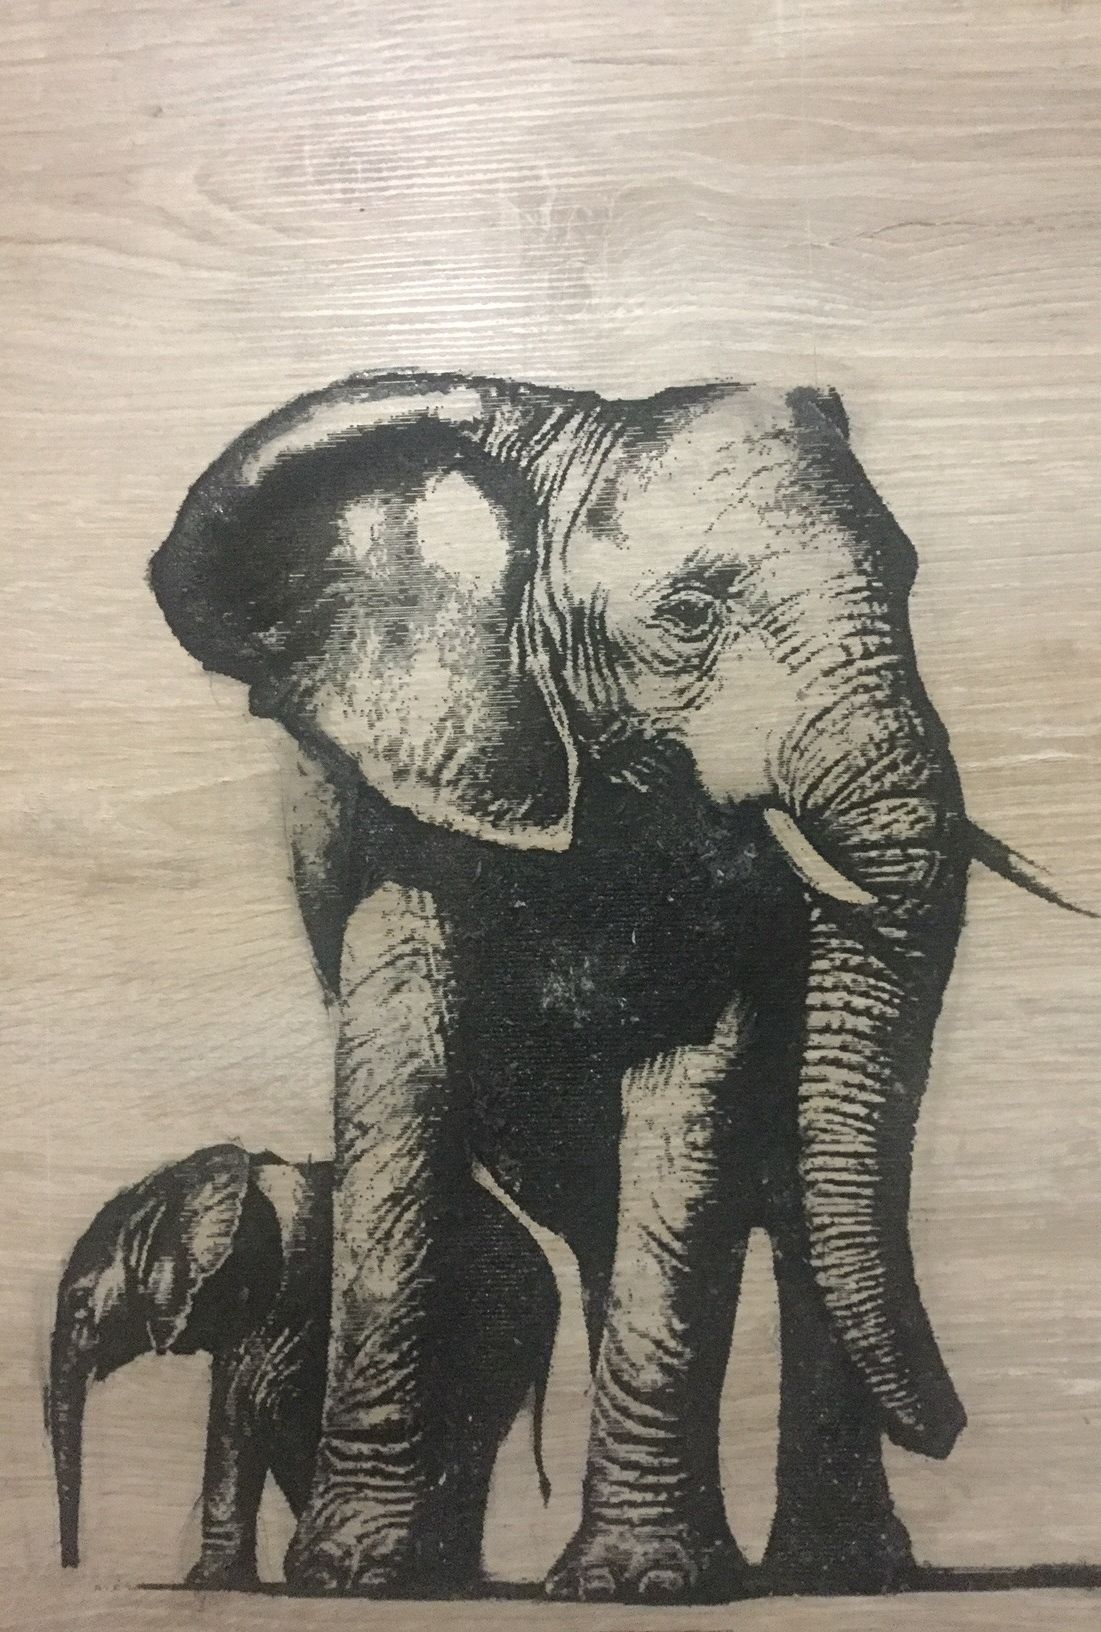
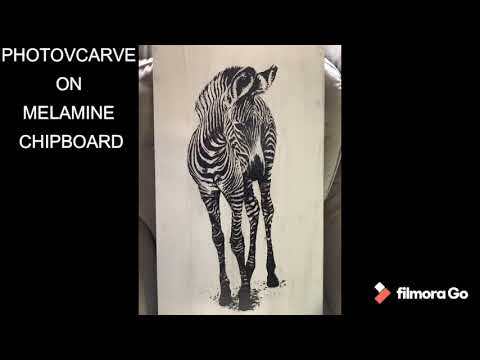
Vcarving Images on a CNC router is one of the fast and easy ways of engraving something beautiful on your CNC router. I plan to improve my kitchen and do some beautiful v carvings on the chipboard cabinets. Chipboard is cheap, easy to vcarve and paint can be easily removed from the laminated covers (You will later see why this is important)
TOOLS AND MATERIAL NEEDED
- CNC router. I used a CRON craft (Proudly South African), but any hobby CNC will do
- Vectric Photo Vcarve ( demo may do)
- 30 degrees v-cutter bit (normally used to mill a pcb)
- Chipboard
- Z-probe plate
- Thinners
- Black spray paint for light chipboard, white for dark chipboard to create proper contrast
- Oramask813 (optional) and scraper tool.
IMAGE EDITING

Chose your image or photo. I prefer high quality pencil drawings. Open your image in your favorite image editor, use the applicable filters and methods to increase the sharpness and lightning and contrast. I used gimp (I am not a photographer or graphical designer, but a hobbyist, so I do not spend to much on software). Save your work, but do not close it since you may have to fine tune some things.
CAM Work in Photo VCarve



Open Photo Vcarve. Load your image, make the back ground color transparent.
Go to Set Material Size in Photo Vcarve and select the size you want your cut to be. Click on apply
Go to Set Cutting Materials
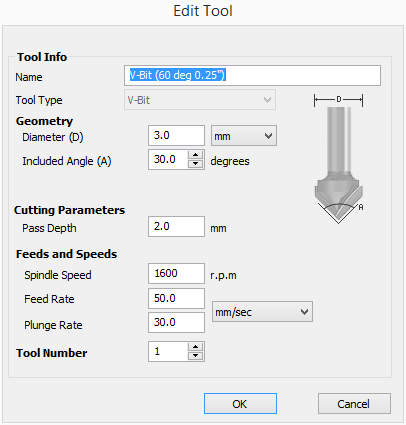
I do not think any bits in the Photo Vcarve tool-base is good, so open Edit and in the field Diameter tipe 3 mm and included angle 30°.
Select the line spacing so that you will have about 0.9 mm distance between lines.
You also may have to increase your contrast in the sliding bar.
Click calculate. VCarve will now calculate your tool paths and display more or less what will be engraved.
Go to preview and save tool path and save your tool-path with a suitable Post Processor.
ENGRAVE
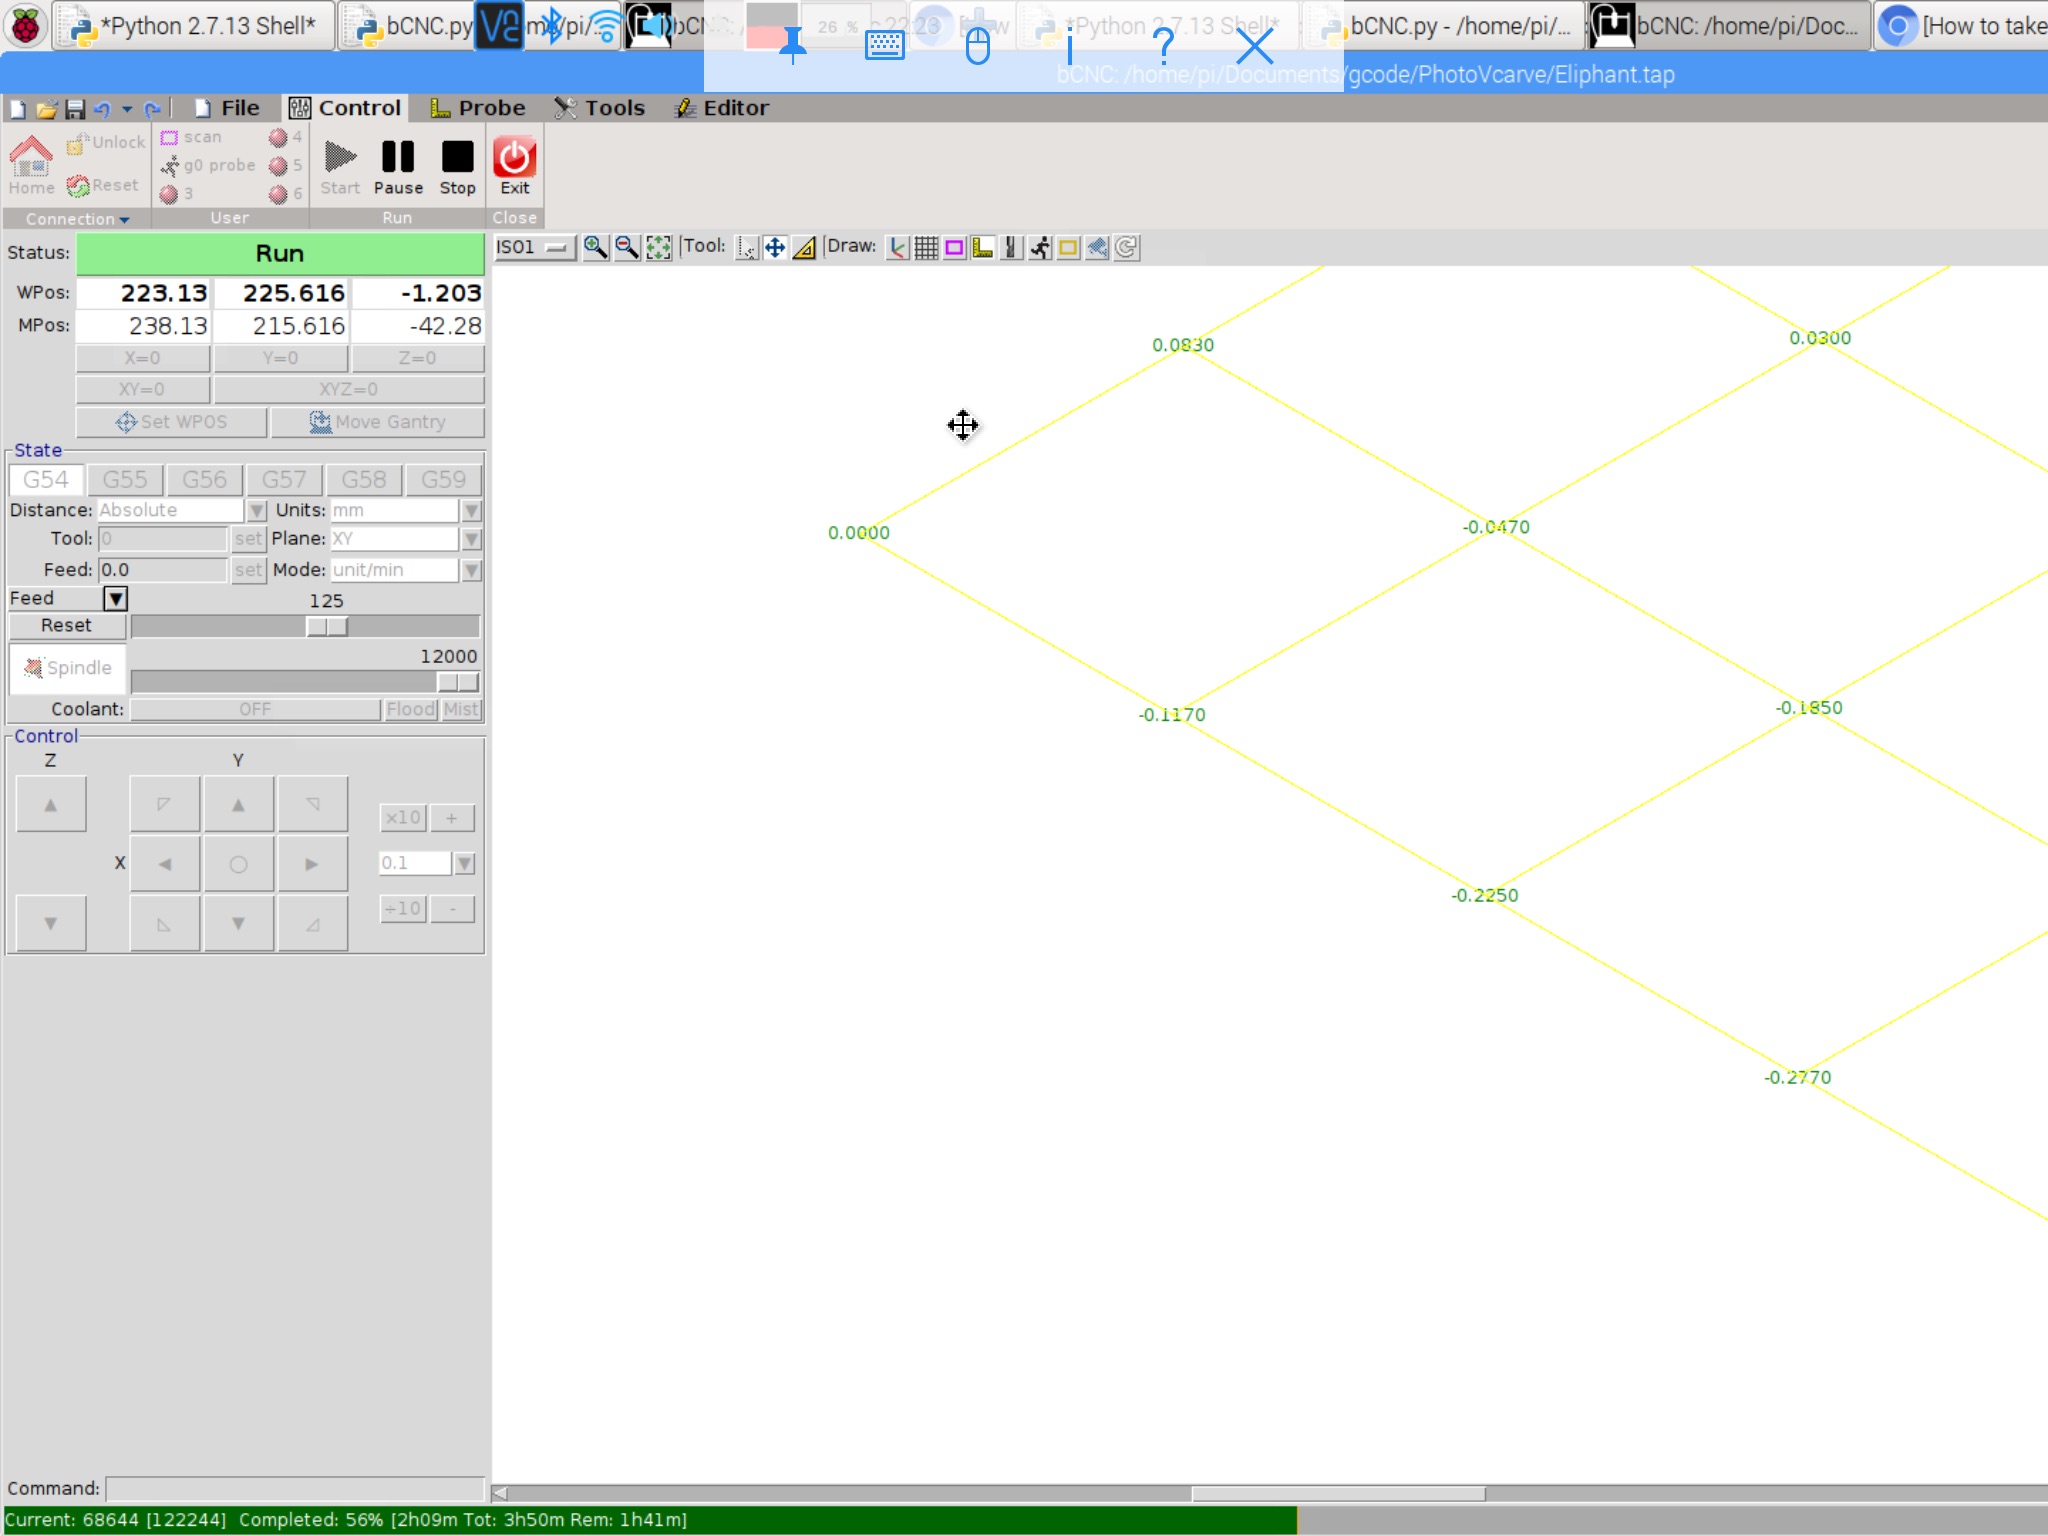
Open your gcode file (Tool-paths saved in Photo VCarve)in your GCODE sender. I used BCNC
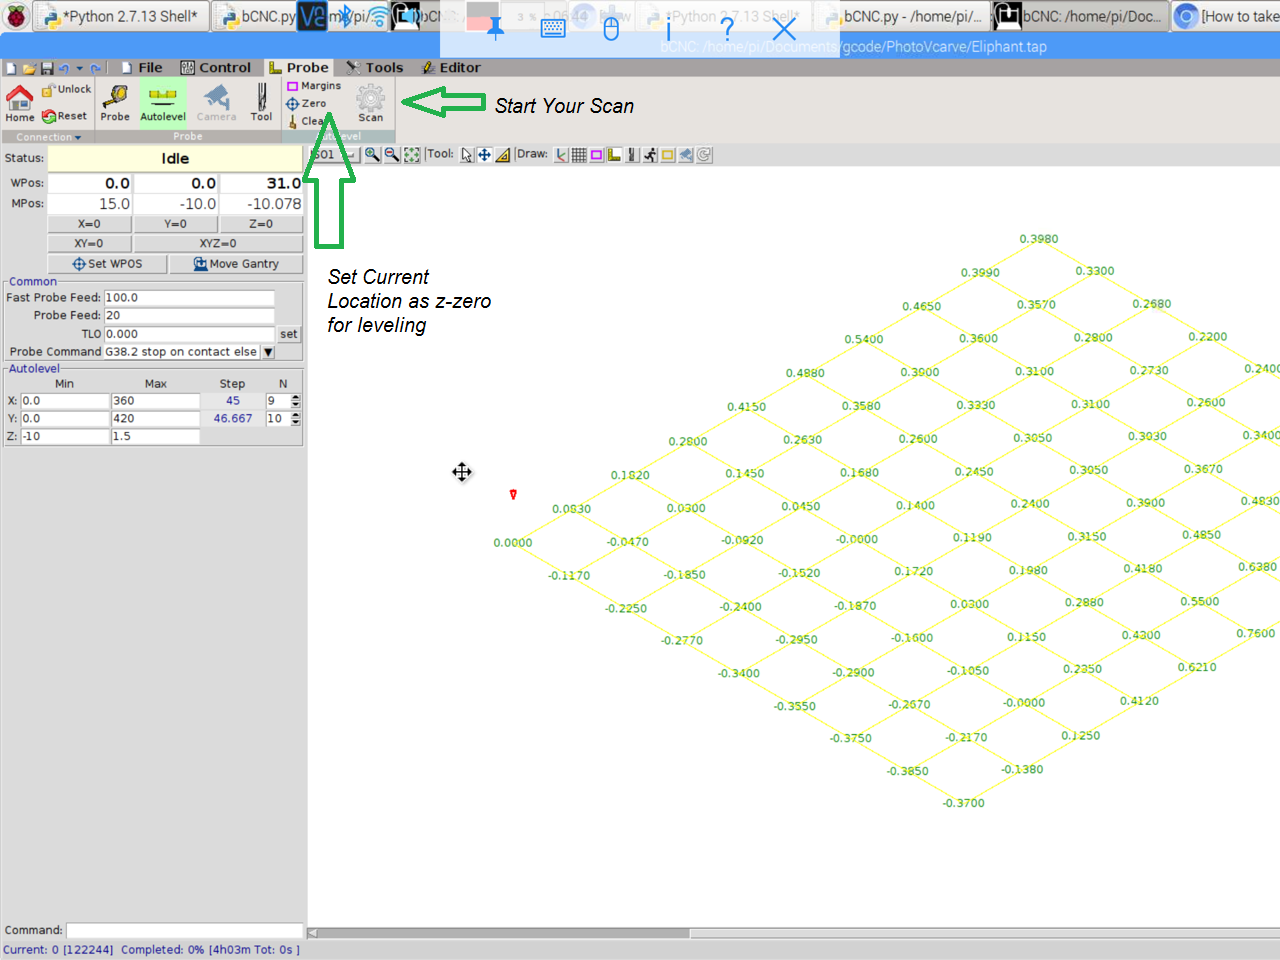
Make sure your chipboard is level. BCNC has an auto board leveling utility which is important, since the chipboard is not constant in thickness. You will need a z-probe for the auto level function. The auto level function will build a high map of your chipboard and automatically enhance the GCODE send to the controller. There is lots of YouTube videos on board leveling in BCNC. Here is the quick steps
- Make sure you are connected to your controller and that your Z-probe plate is connected to your controller.
- Make sure your spindle is of (Turn your spindle pot to zero). You do not want your spindle to run while the Z-probe plate is connected.
- Move your spindle and Z-probe plate to your X0 Y0 position. The mill point should just touch your Z-probe
- Zero your z-axis
- Move your z to 0.5mm
- Complete your feed rates: Fast=1000 and Slow =20 will do
- Complete the rest of the fields according to your board size, and how many probing points you think you may need.
- Start Probing (Scanning) using the SCAN button (See picture)
- Move your Z-probe plate when the spindle moves to the next probe point.
- After probing or scanning is finished, the spindle will move to X0 Y0
- Press the zero button as indicated on the picture
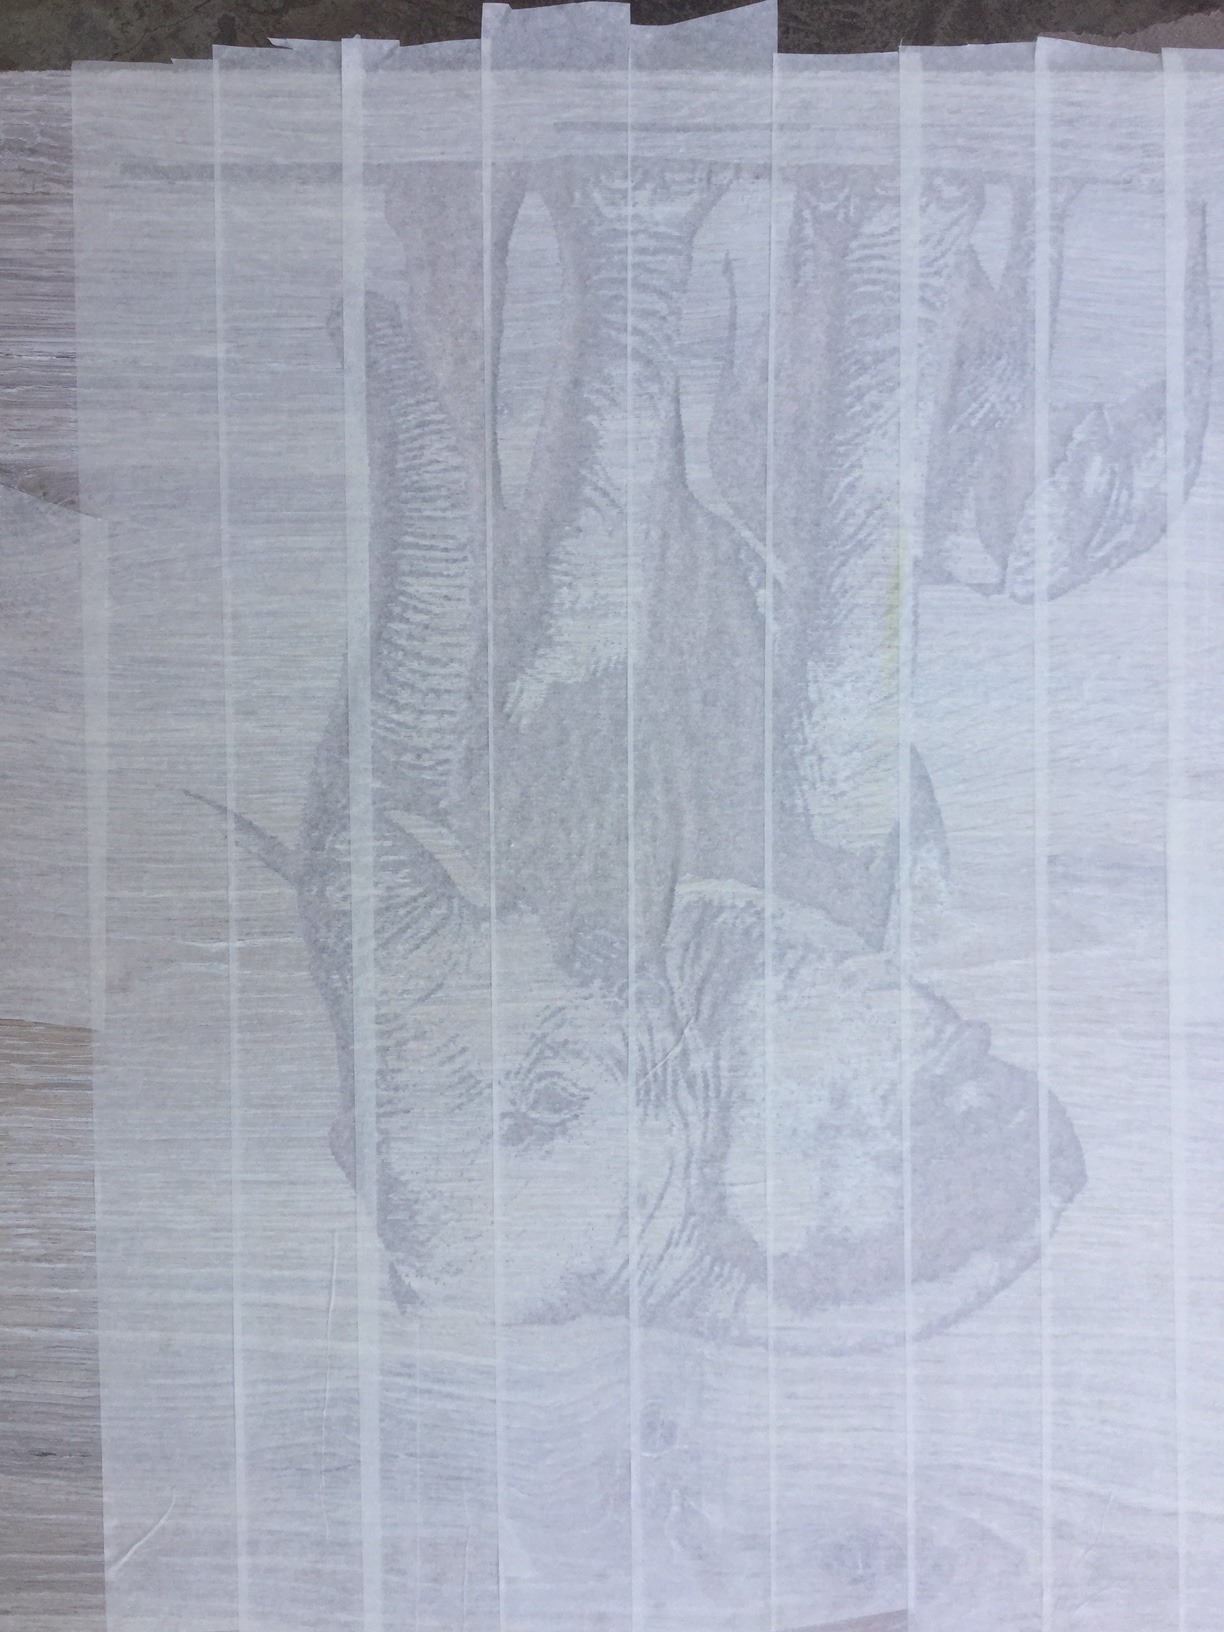
After leveling, apply the Oramask to the melamine and engrave your tool-paths. After the engraving is finished, remove all sawdust from your board.
FINISHING
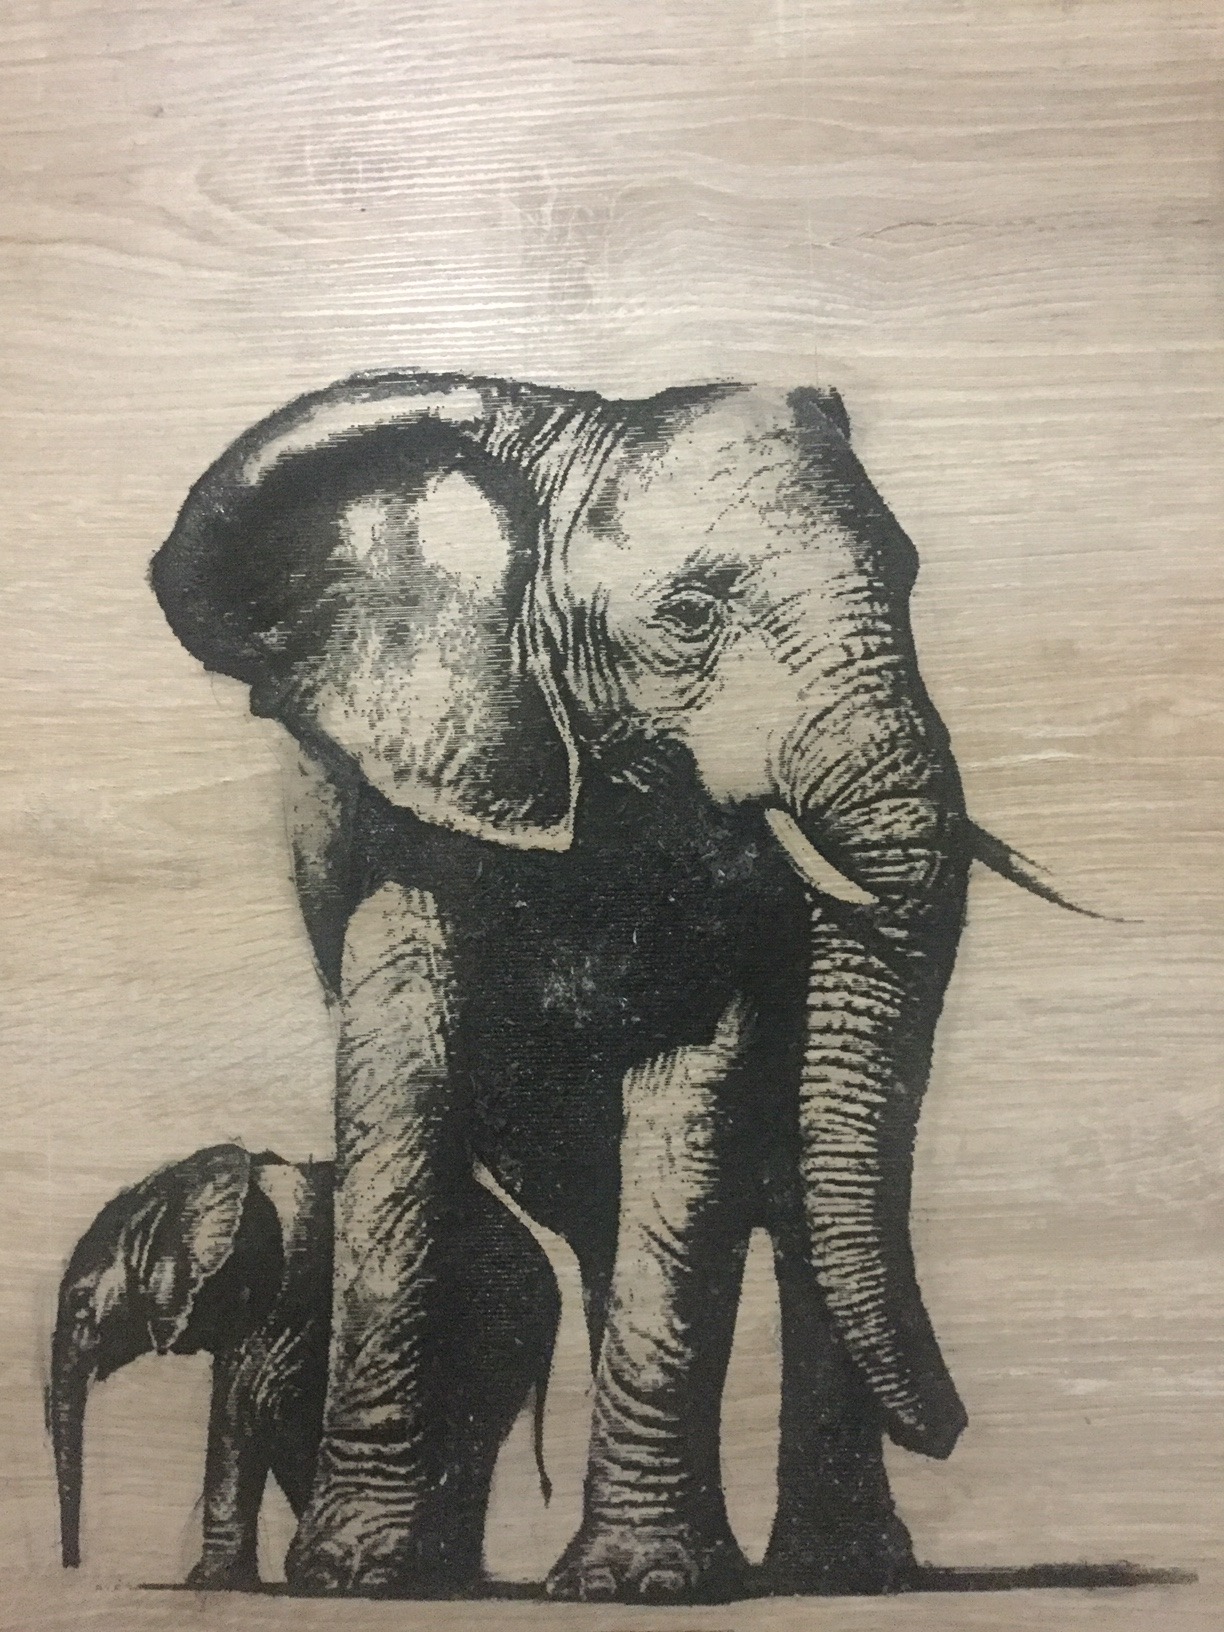
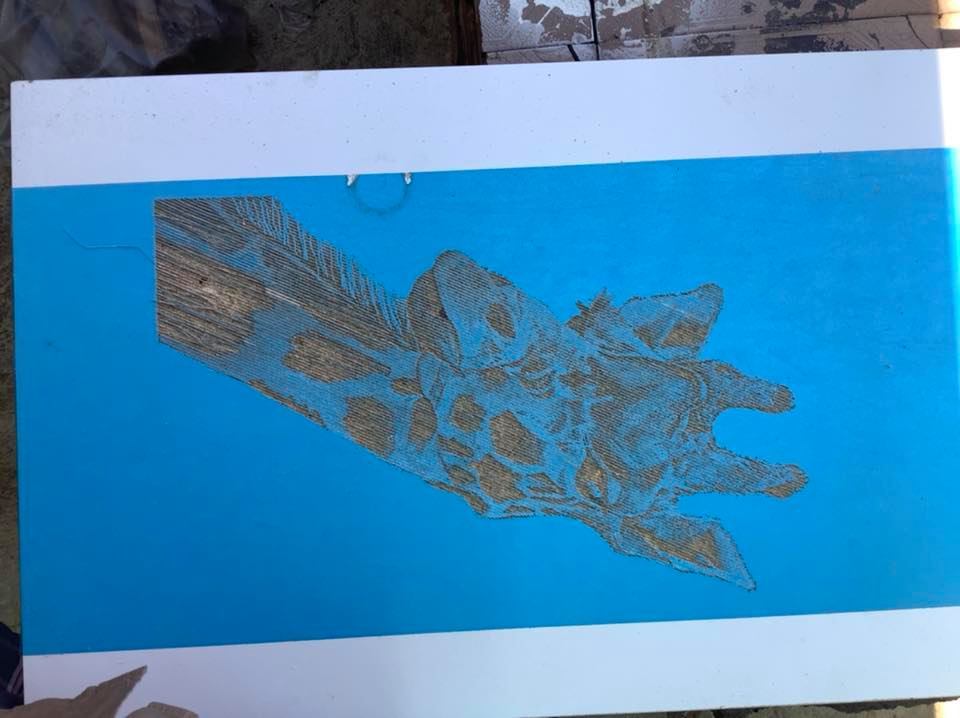
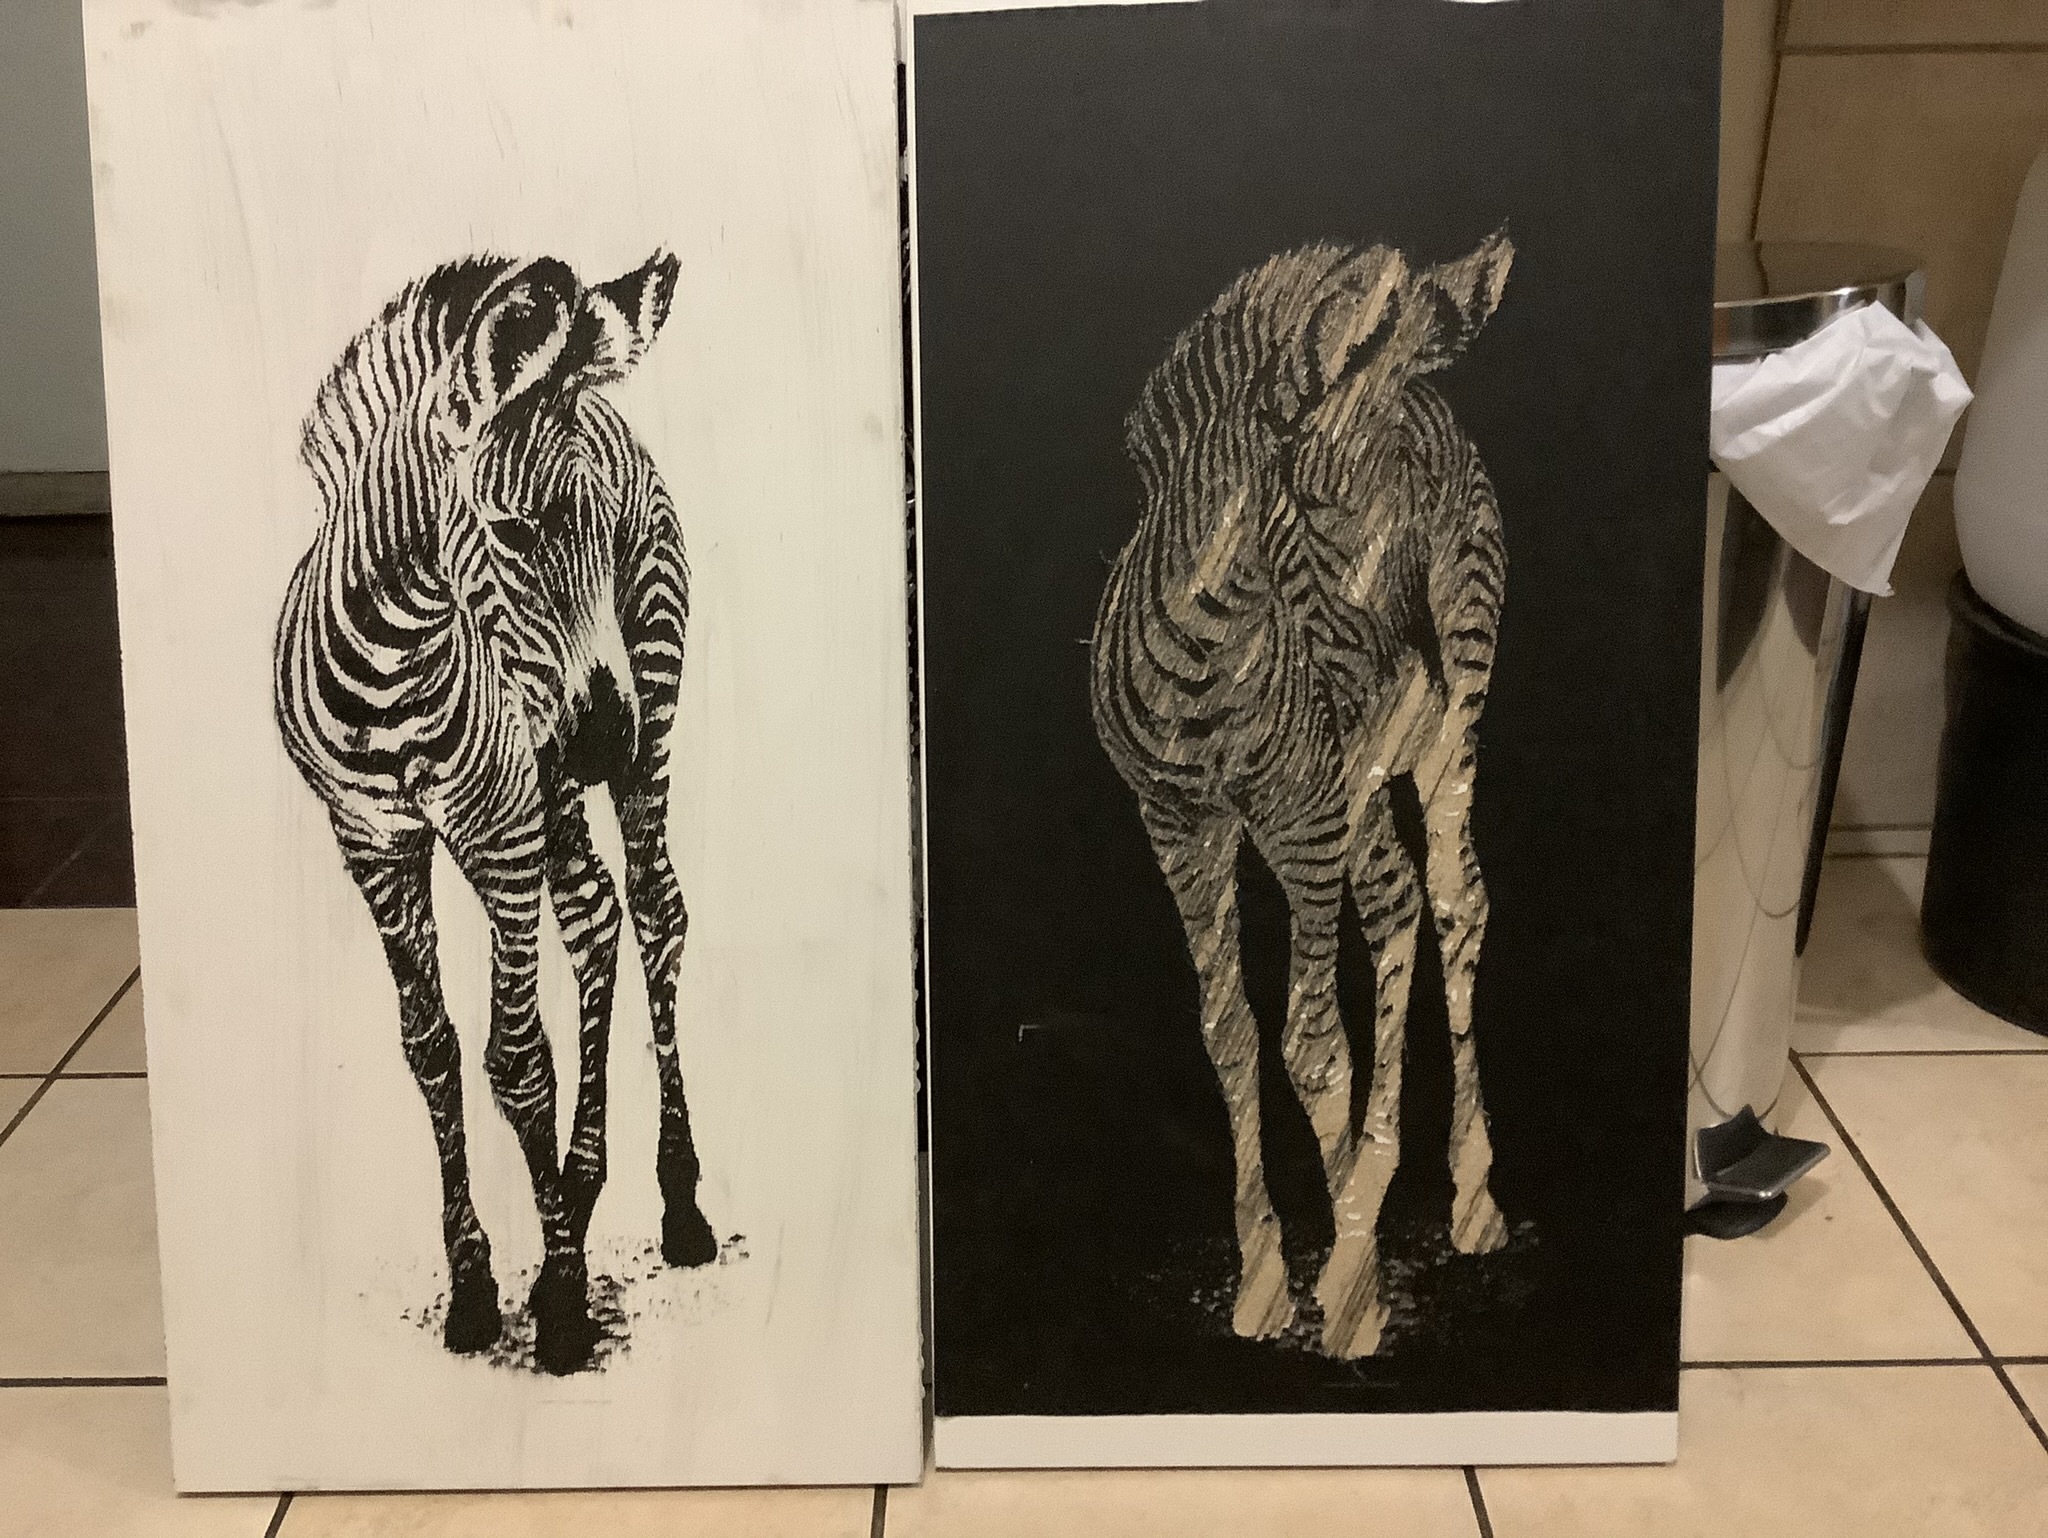
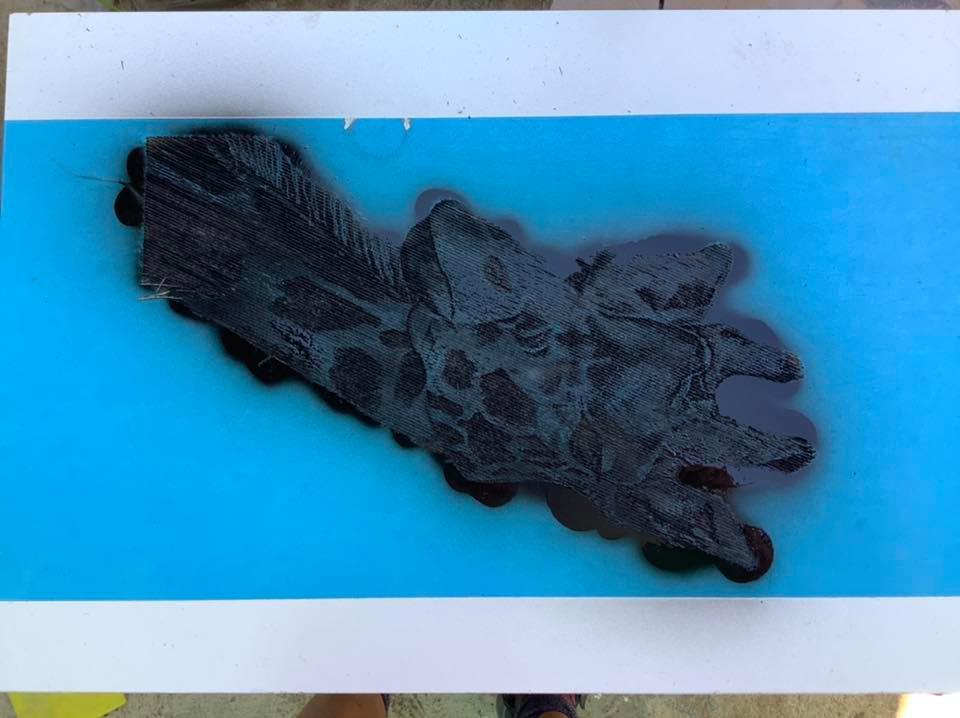
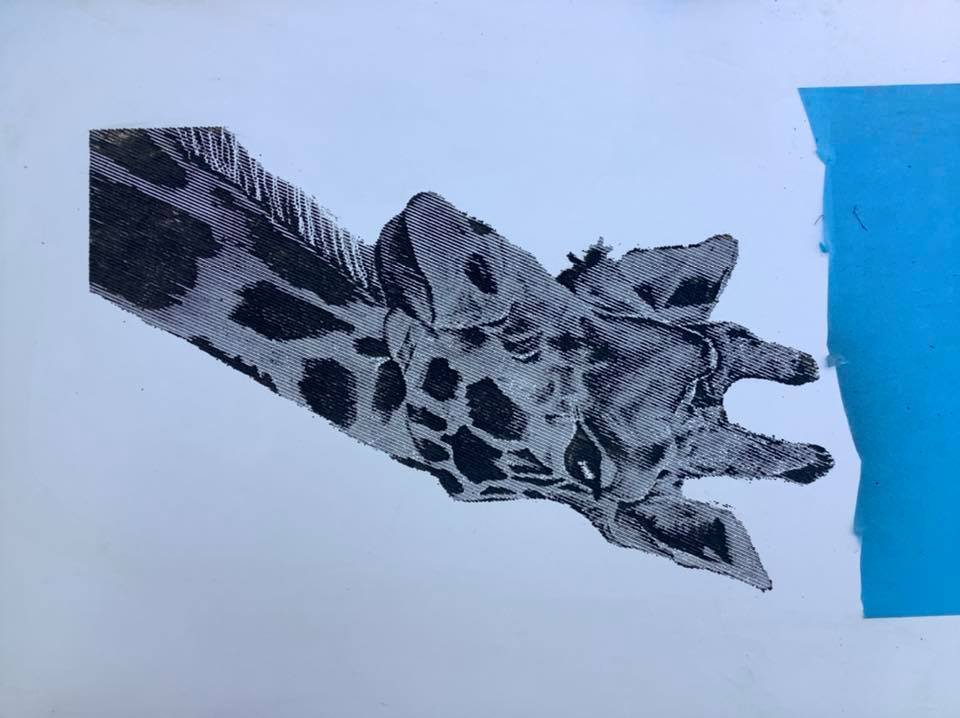
Spray-paint your board as fast as possible on the engraved area. Remove the paint from the areas not engraved with a cloth. You will have to use thinners and toilet paper to help. If you used Oramask, just remove the oramask (scraper tool may help) when the paint is dry.