Photo Red Eyes Removal Using GIMP
by x83p4x in Design > Digital Graphics
538 Views, 0 Favorites, 0 Comments
Photo Red Eyes Removal Using GIMP
Have you ever taken a photo in which the eyes turn out to be red and makes people look scary? With GIMP, you can remove the red eyes in simple steps.
GIMP stands for GNU Image Manipulation Program and is a free (open source) high quality photo manipulation program. It can be used on Mac, Windows, and Linux. It is the free alternative to Adobe Photoshop. When you open the program, it can be intimidating, but once you get used to it, then it becomes easy.
Supplies
The GIMP program installed on a computer.
A photo to remove the red eyes.
Step 1: Download and Install GIMP


- Visit www.gimp.org
- Click DOWNLOAD 2.10.22 to download the program.
- Once downloaded, click on gimp-2.10.22-setup.
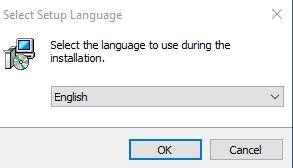
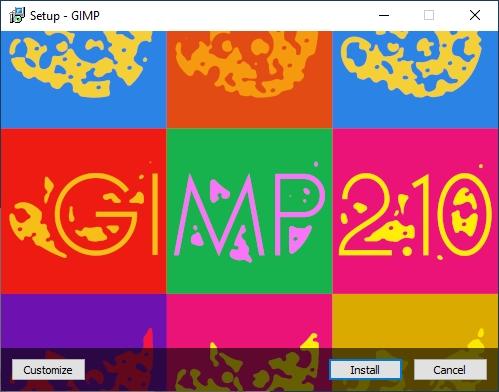
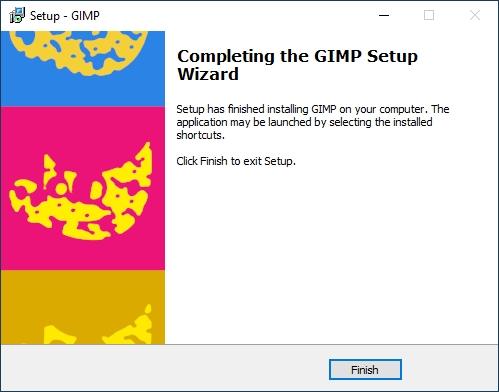
- Select the preferred language and click OK, Install, and then Finish.
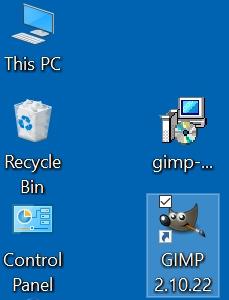
To open the program, go to your computer desktop and click on GIMP 2.10.22 icon.
Open Your Photo in Gimp
.jpg)
.jpg)
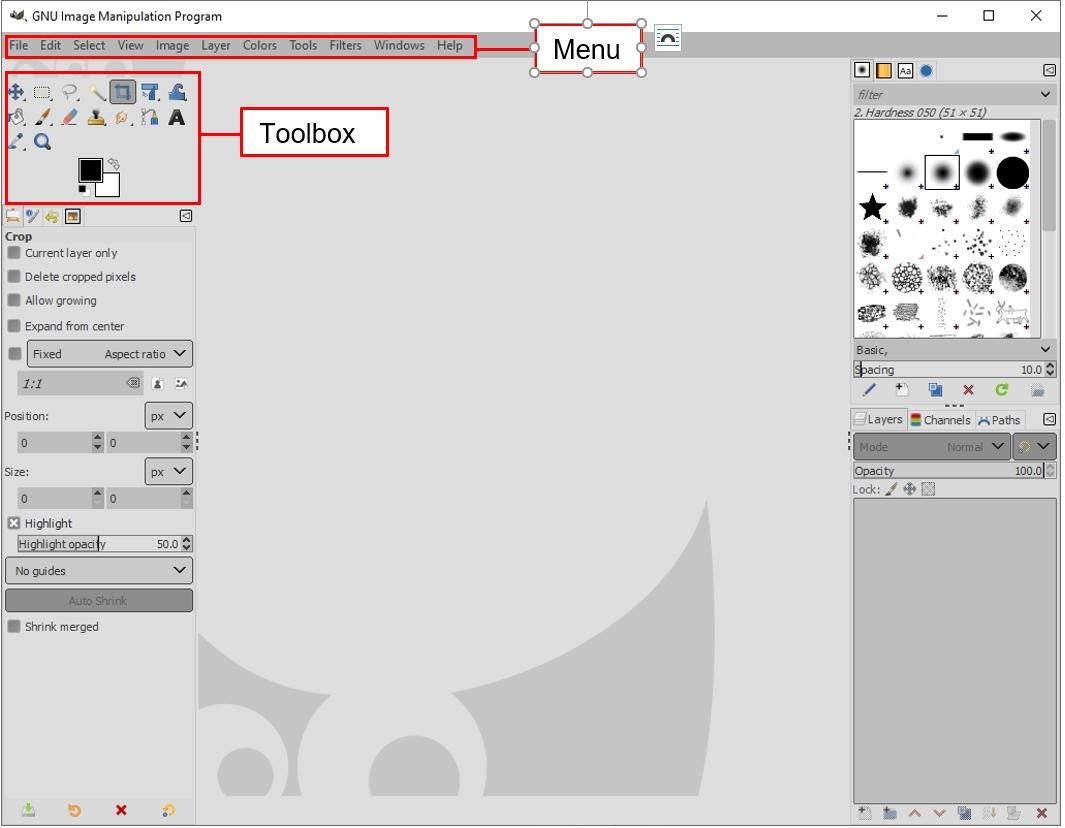
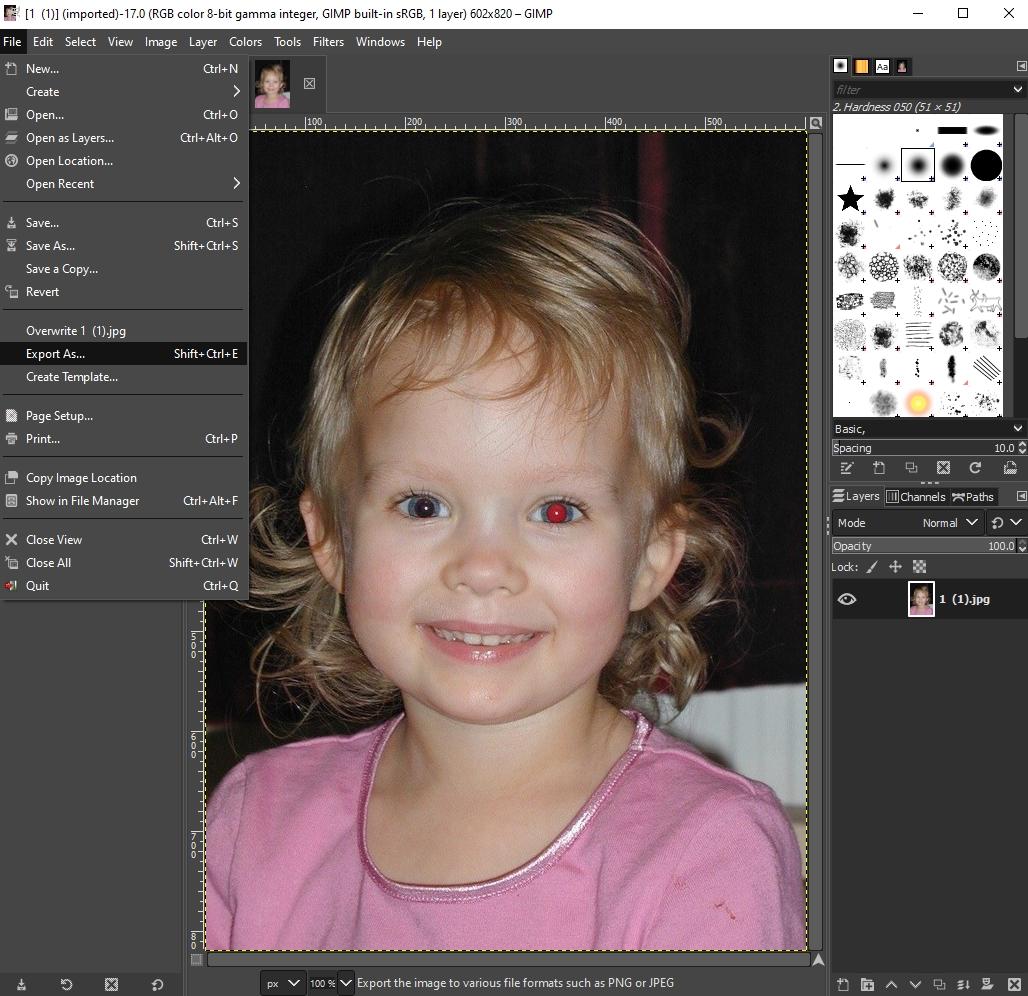
To open a photo in GIMP, click on File from the Menu at the top, a new Open Image window will open where can navigate to your photo, and then click Open
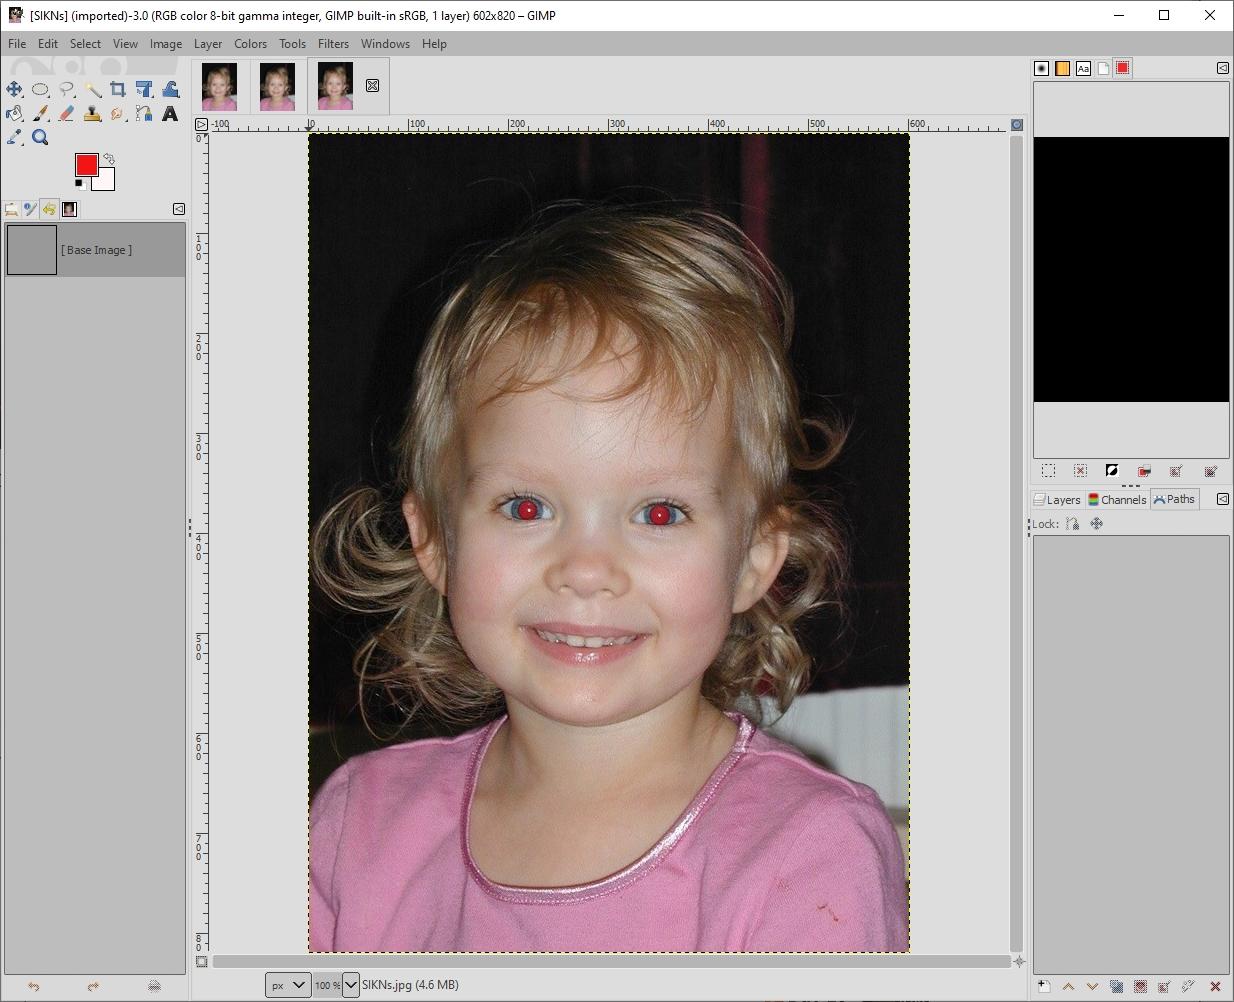
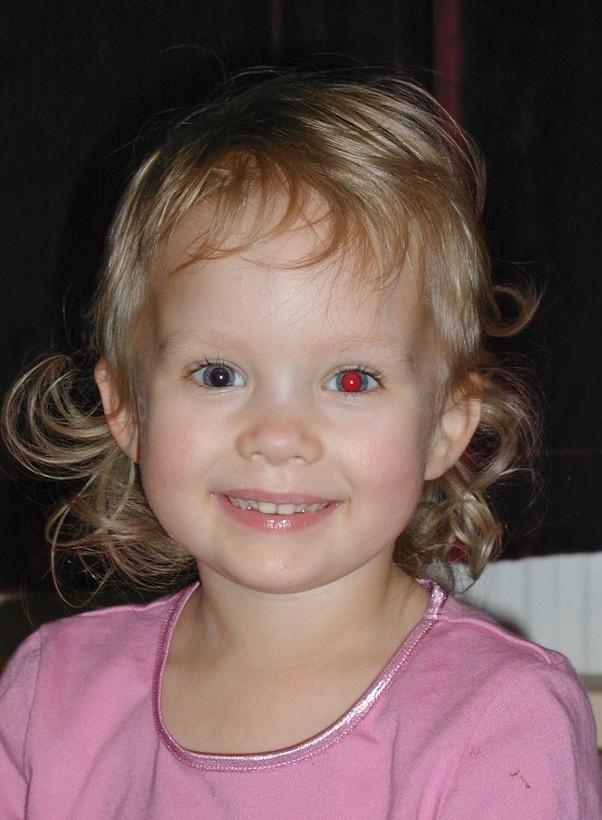
You can see the Original photo has the red eyes opened in GIMP.
Zoom Closer to the Eyes in the Photo
.jpg)
.jpg)
.jpg)
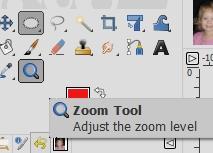
In this step, I zoomed on the eye so that it can easier to work on it. Select zoom from the Toolbox and click and drag a square over the eyes portion of the photo. However, this is not required.
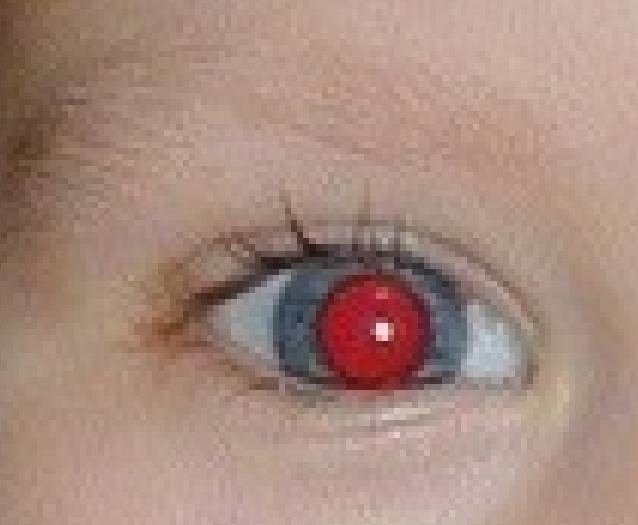
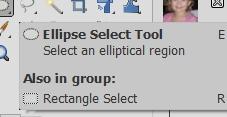
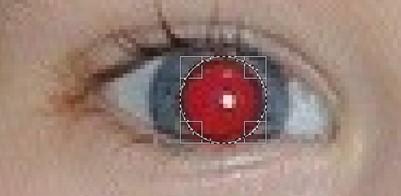
Next, to select the elliptical region, click on the Ellipse Select Tool icon from the Toolbox. Last, click and drag to draw a circle around the pupils.
To Remove the Red Eyes
.jpg)
.jpg)
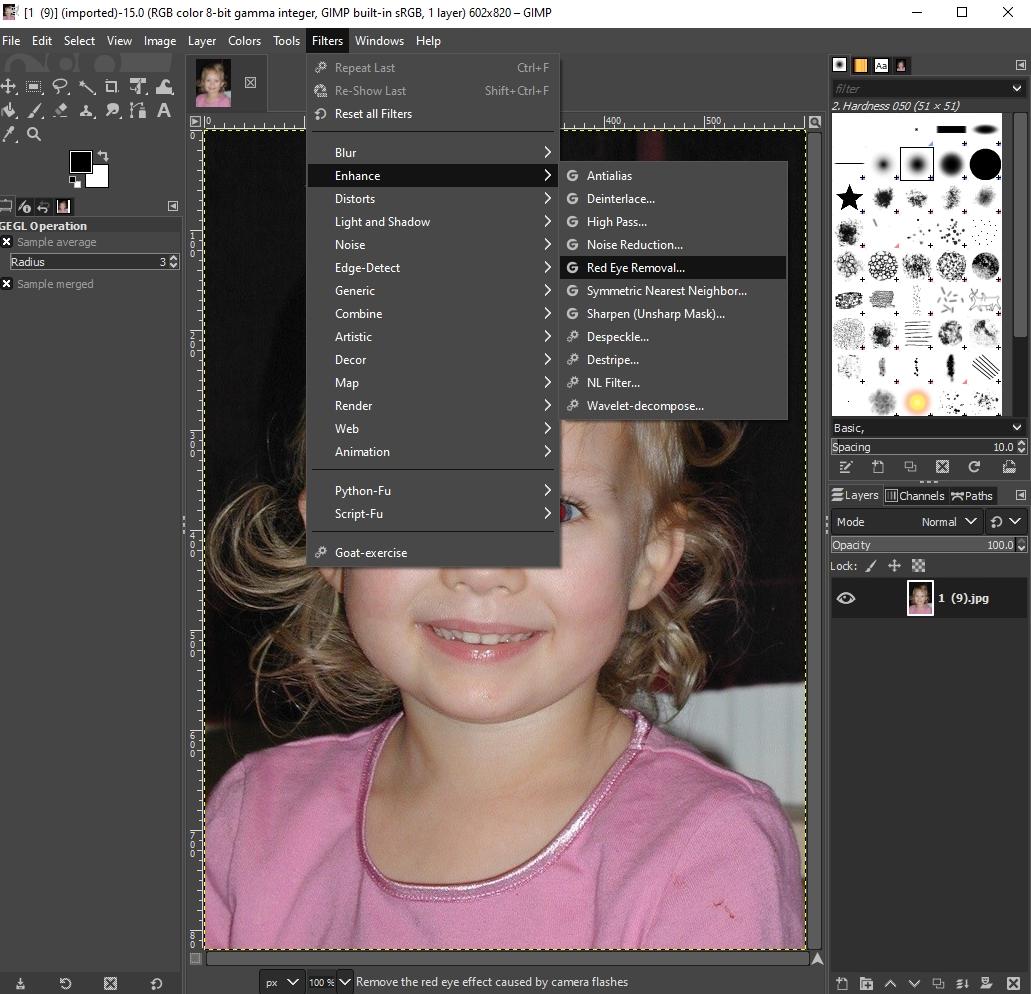
At this point, the eye(s) pupil should be selected from step 3. To remove the red eye, select Filters from Menu at the top, select Enhance, and then select Red Eye Removal from the drop-down menu.
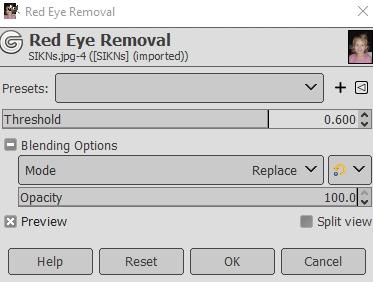
A new Red Eye Removal window will open, where you can select the Threshold, and then click OK. It is recommended that the threshold should be between 0.400 – 0.700.
Note: I chose to change one eye to show compare and contrast.
To Save to the Photo
.jpg)
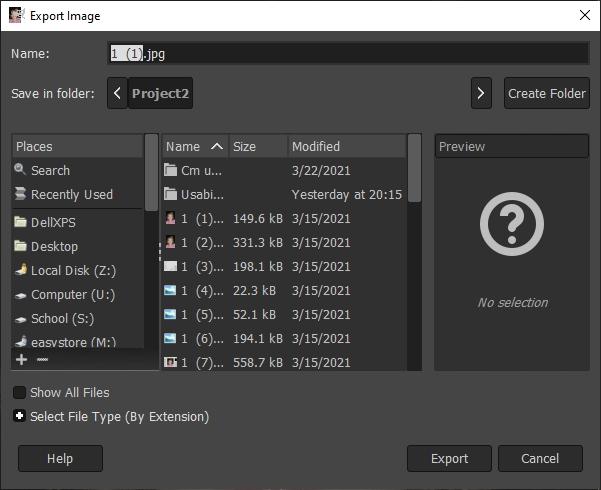
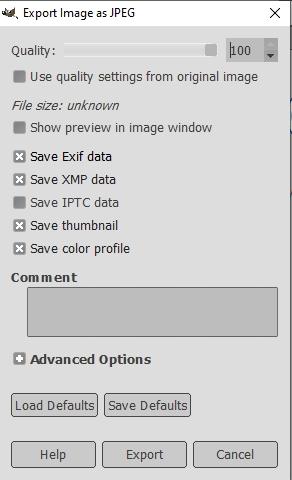
To export the edited photo, select File from the Menu on the top, and then select Export As or use the shortcut Shift+Ctrl+E. A new Export Image as JPEG Window will open where you can choose the photo quality by using the Quality slide bar, and then click Export. This also will result in a new Export Image window to open. In this new window, you can add the photo name and specify location to save the photo, and then Export.
Note: the photo quality will impact the photo size.
GIMP has many features: resize, crop, remove background and objects, change objects color, create GIF, create logo, photo enhancement, and many more other features.
To learn more visit GIMP Tutorials