Photo Frame With Epaper Color Display
by InterlinkKnight in Living > Decorating
818 Views, 3 Favorites, 0 Comments
Photo Frame With Epaper Color Display
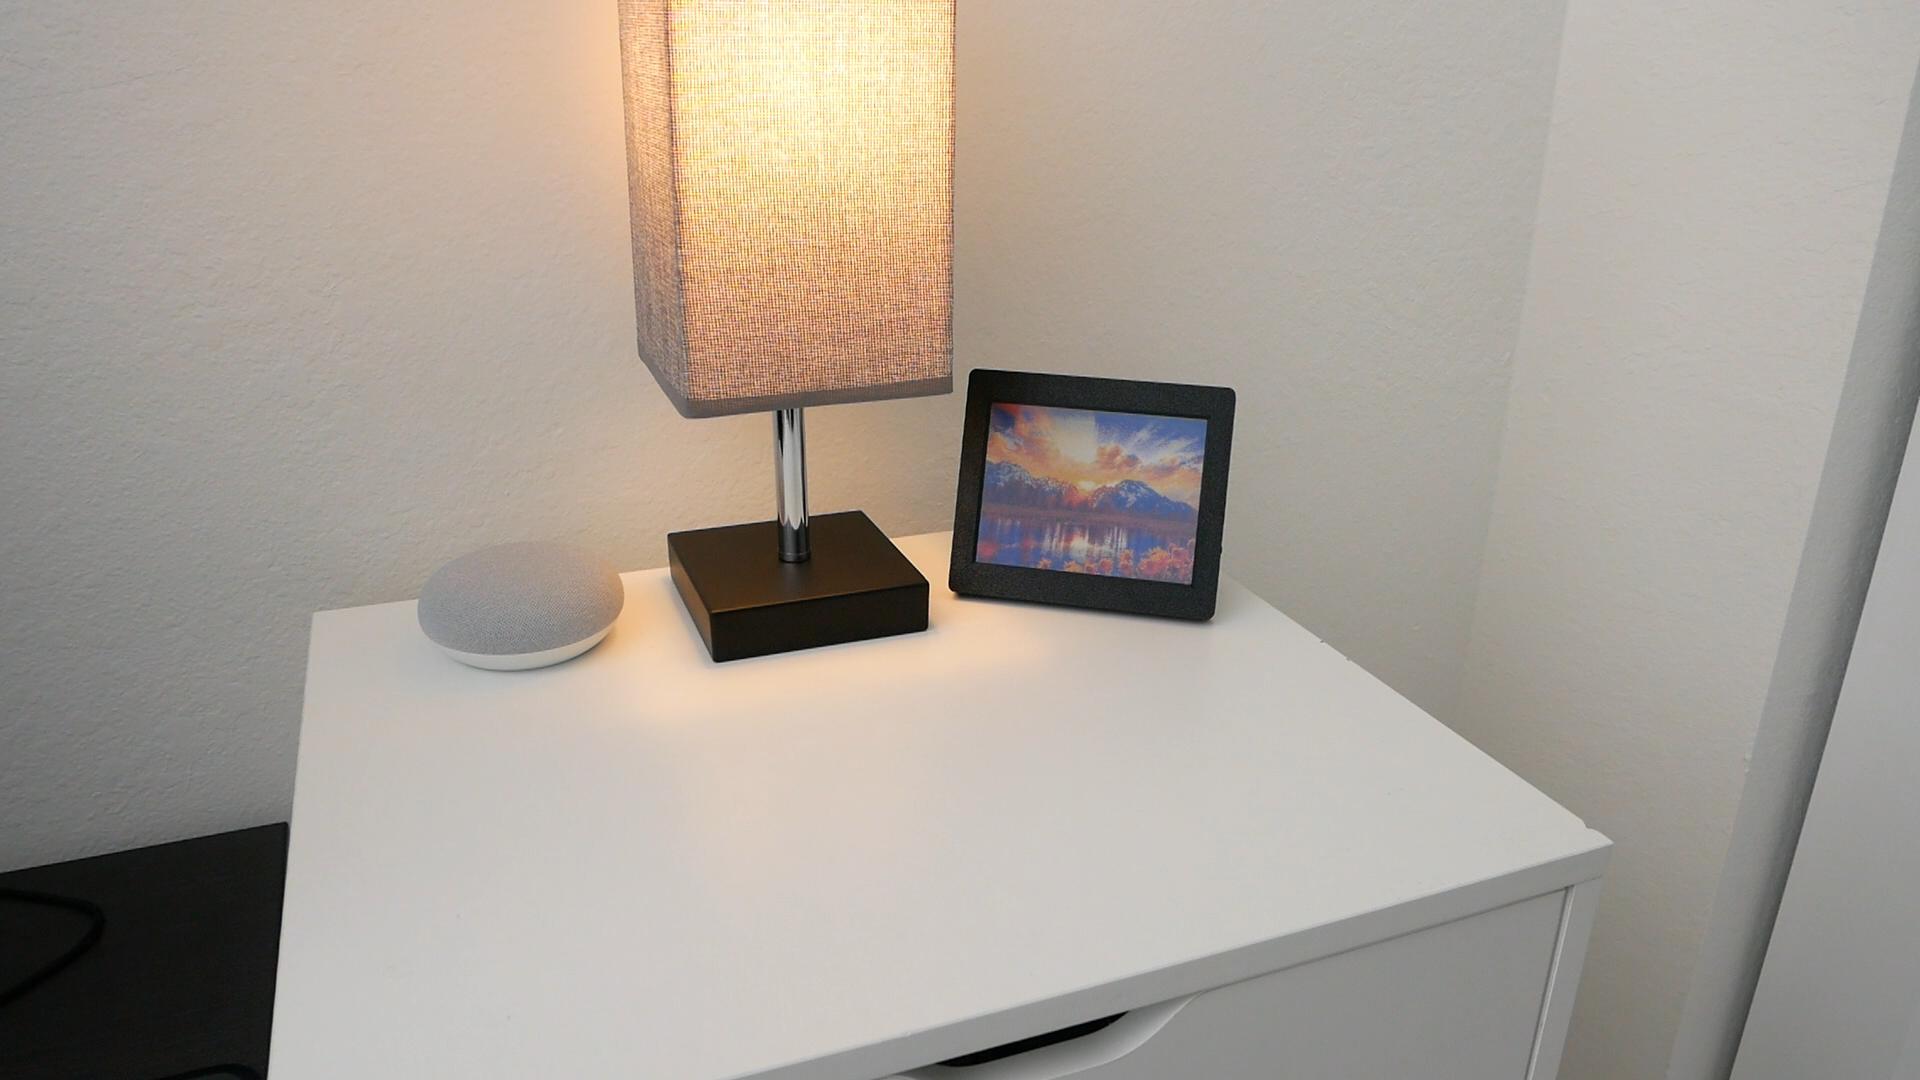
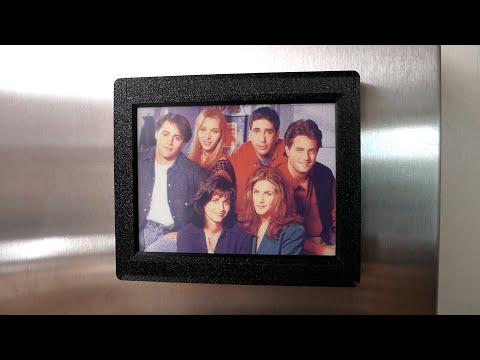
Finally, I got the chance to build a photo frame using a color e-paper display, and you can easily build it too. It's based on the Inkplate 6Color display made by a company called Soldered
Features:
- It loads the images inside the root directory of a microSD card formatted in FAT32 in a random sequence at the time of day it is set to wakeup.
- Images has to be 600x448 and with a file extension of BMP, JPG and PNG.
- Press WAKE UP button to refresh the screen with another image.
- It uses the internal RTC to keep the time so you should remember to install the CR2032 battery and to set the time correctly (see setup section of this sketch).
- Low battery indicator shows up in the corner if battery is getting too low. The threshold has debouncing.
- It prints a lot of relevant information about what the device is doing on the serial monitor.
- The sequence of image files is totally random, using as a seed a few floating analog inputs, the voltage of the battery and a counter that changes every cycle that it's stored in the EEPROM. The device remembers what was the last image so it doesn't repeat it in a row.
- USB C connector for charging battery.
Limitations:
- File name can be maximum 35 characters.
- Images should have a resolution of 600x448.
- File format: BMP, JPG or PNG.
- Place the images in the root directory, without any folder.
- Maximum amount of image allowed: 3000 files.
Supplies
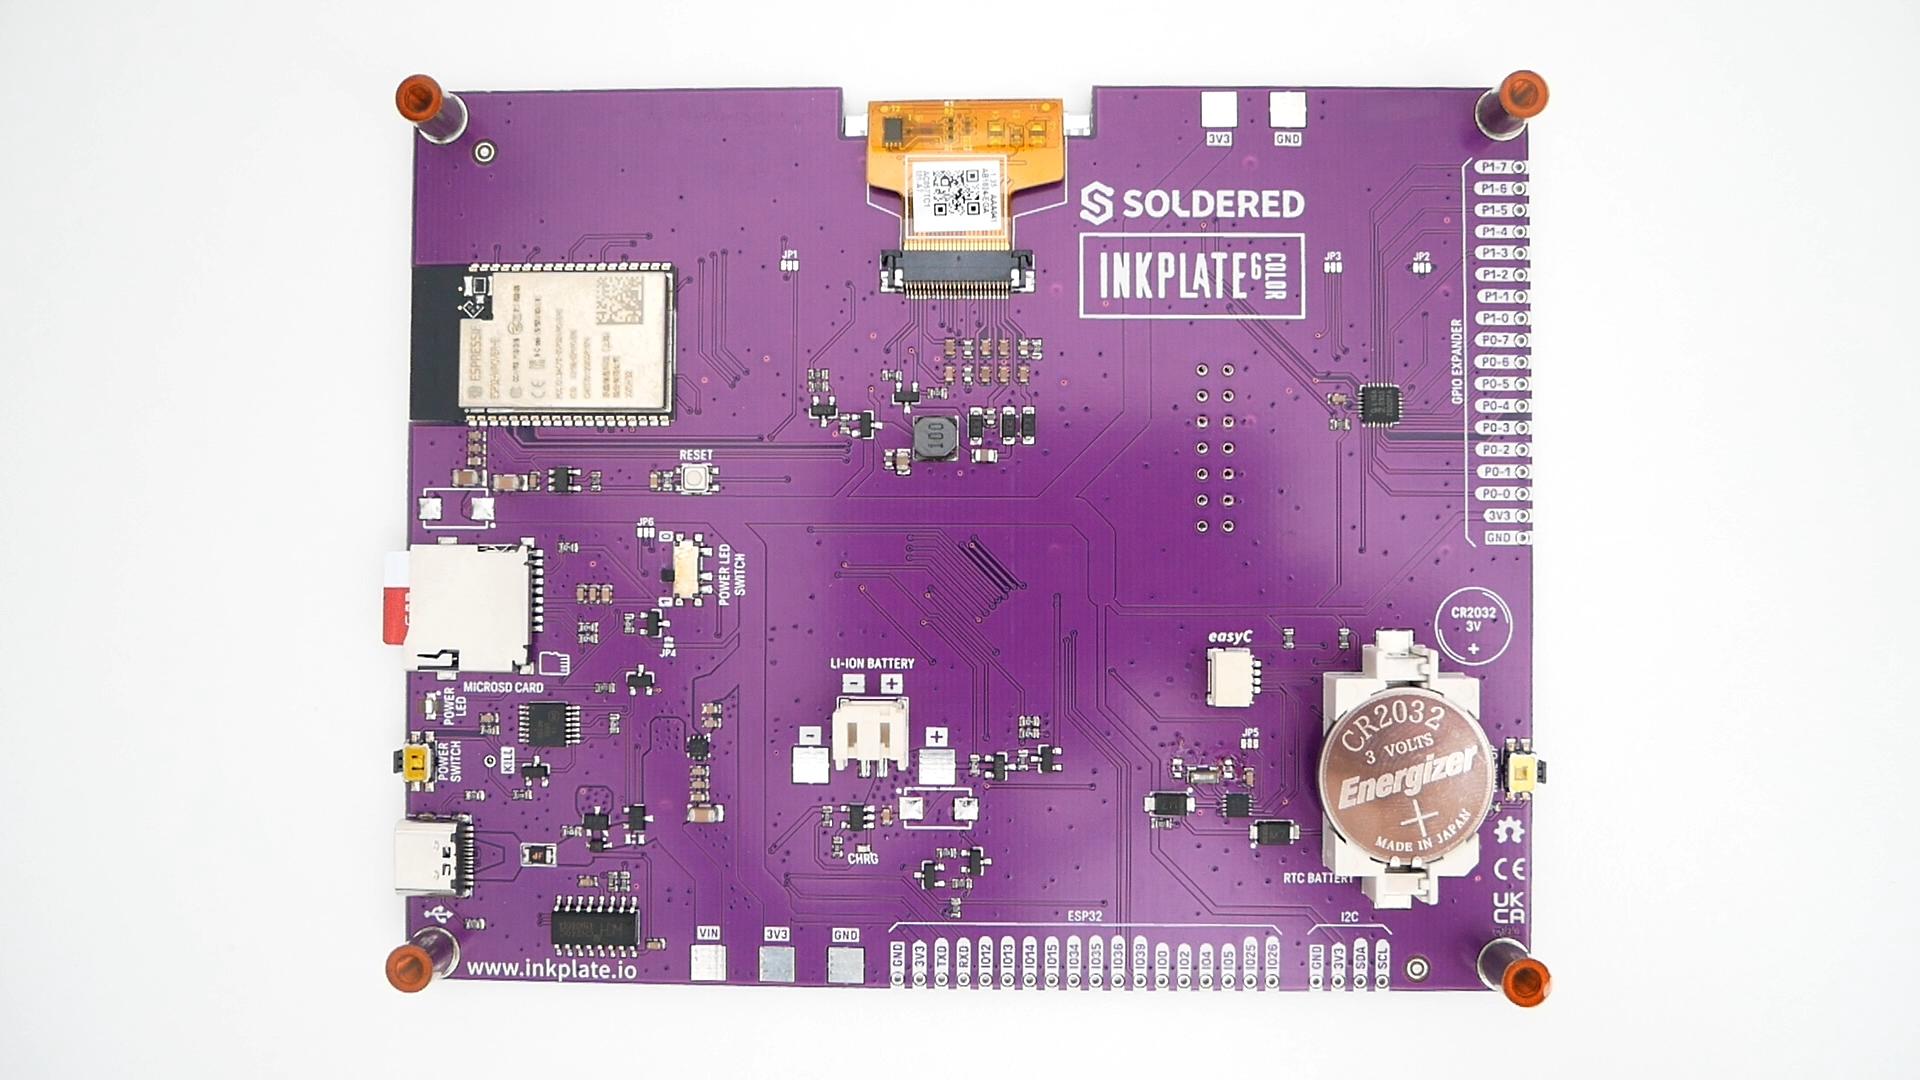
- Soldered Inkplate 6COLOR: https://soldered.com/product/inkplate-6color-color-e-paper-board-copy/
- 3D printed case: https://www.thingiverse.com/thing:6364840
- Battery 3.7V Lipo Battery 3000mAh: https://amzn.to/3Teh3AJ
- CR2032 battery: https://amzn.to/3PsRzN7
Note: As an Amazon Associate I earn from qualifying purchases.
Arduino Stuff
Download Arduino Sketch: https://drive.google.com/file/d/1TvlvhCKShVAT8agSL0VFaresiyX_Ca7M/view?usp=sharing
- In the Arduino IDE, go to File -> Preferences on Windows, and on OS X go to Arduino -> Preferences.
- You will see a field Additional Boards Manager URLs. Copy the following text there: https://raw.githubusercontent.com/e-radionicacom/Croduino-Board-Definitions-for-Arduino-IDE/master/package_Croduino_Boards_index.json
- Go to Tools -> Boards -> Boards Manager.
- In new window, enter “Inkplate” into search field. One option will appear, select “Install” next to it.
- Select "Soldered Inkplate 6COLOR" from Tools -> Board menu.
Now you should be able to upload the sketch to the Inkplate 6COLOR
Install Battery
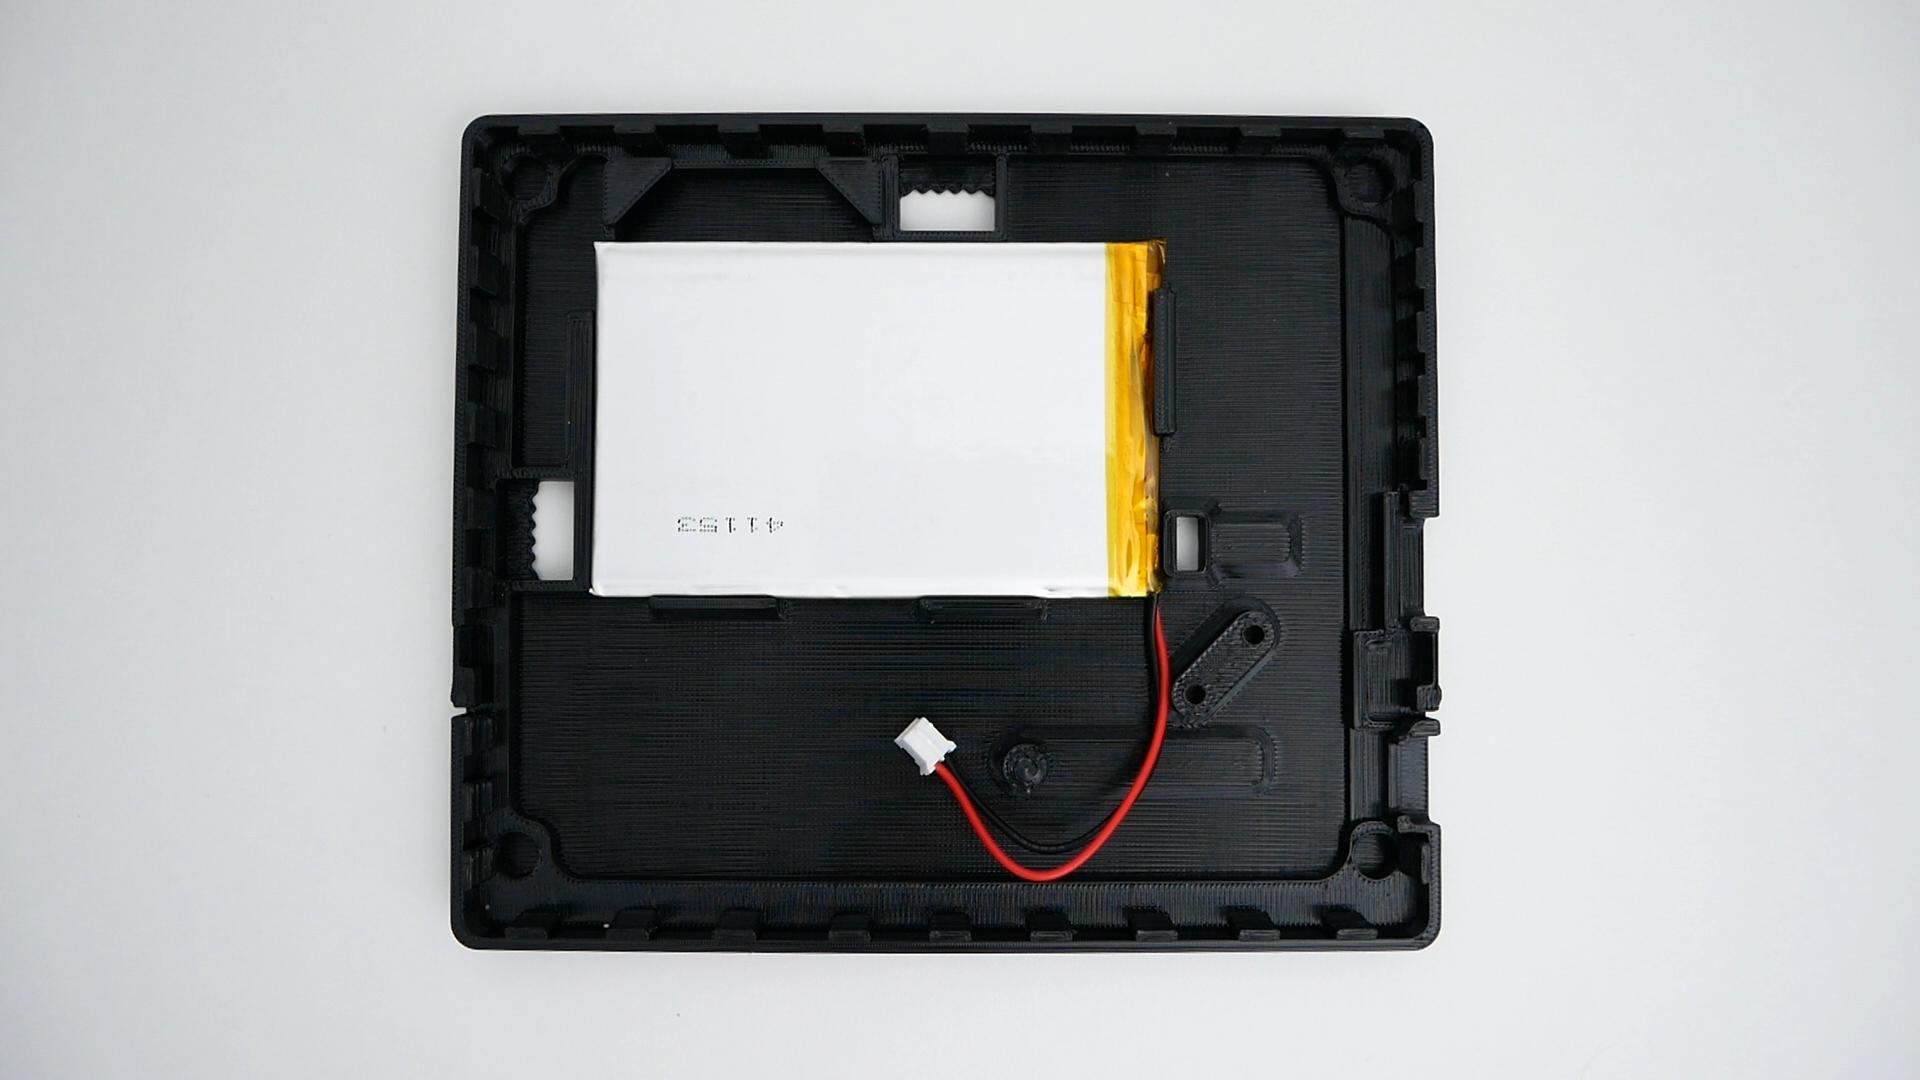
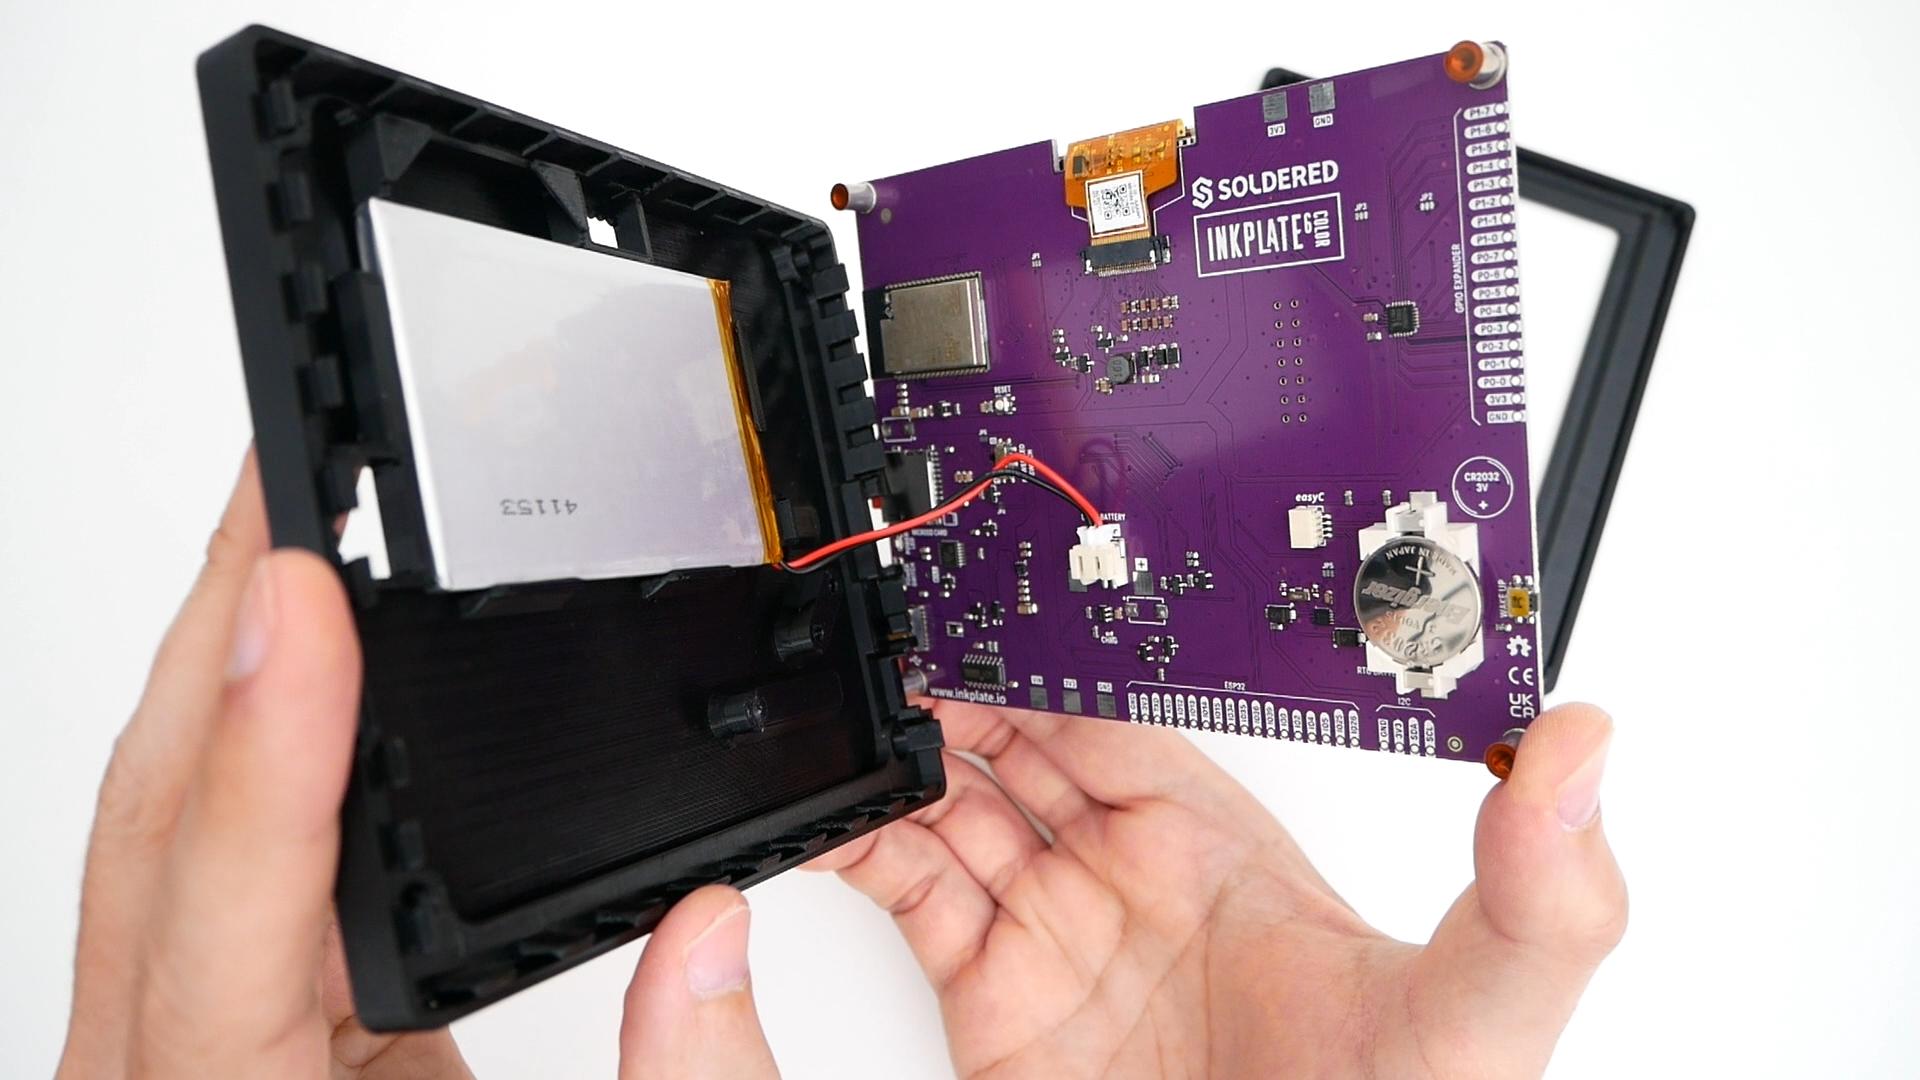
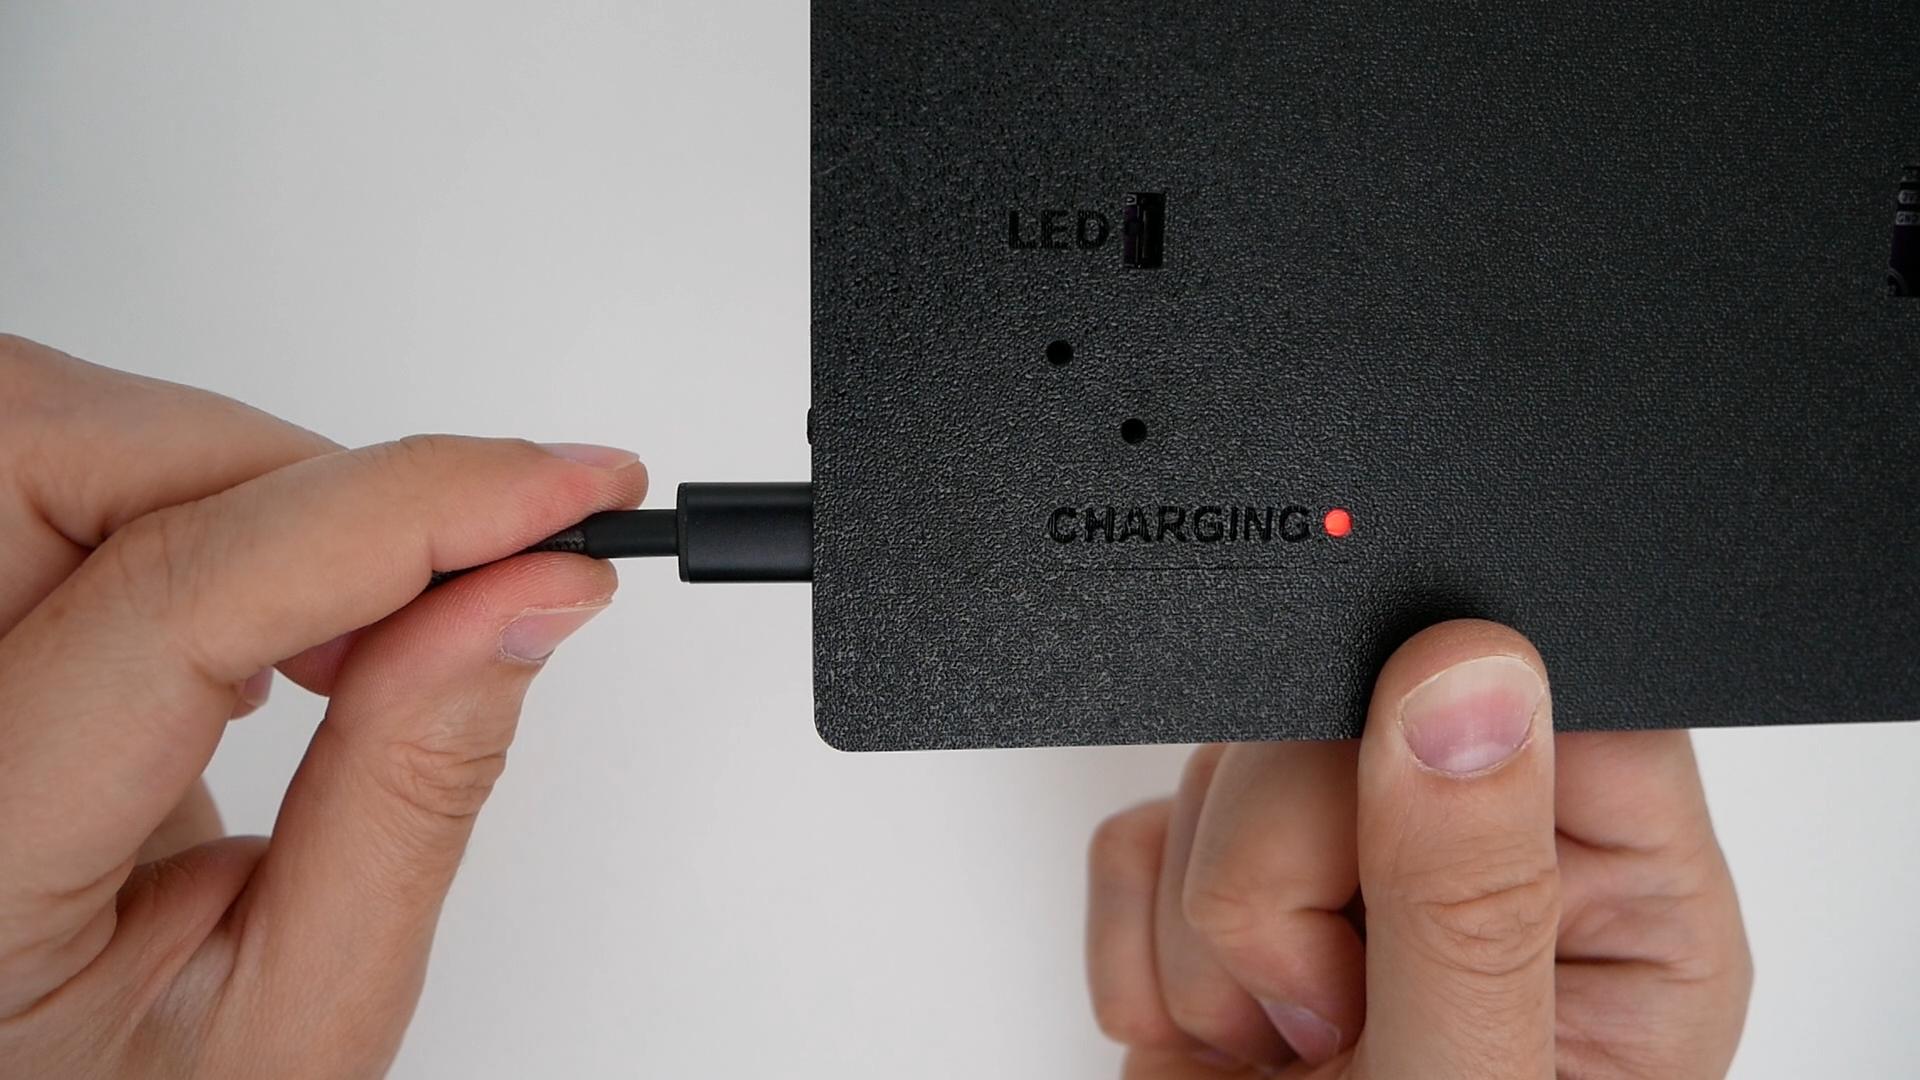
Having the 3D printed case, install the main battery and test that it charges.
RTC
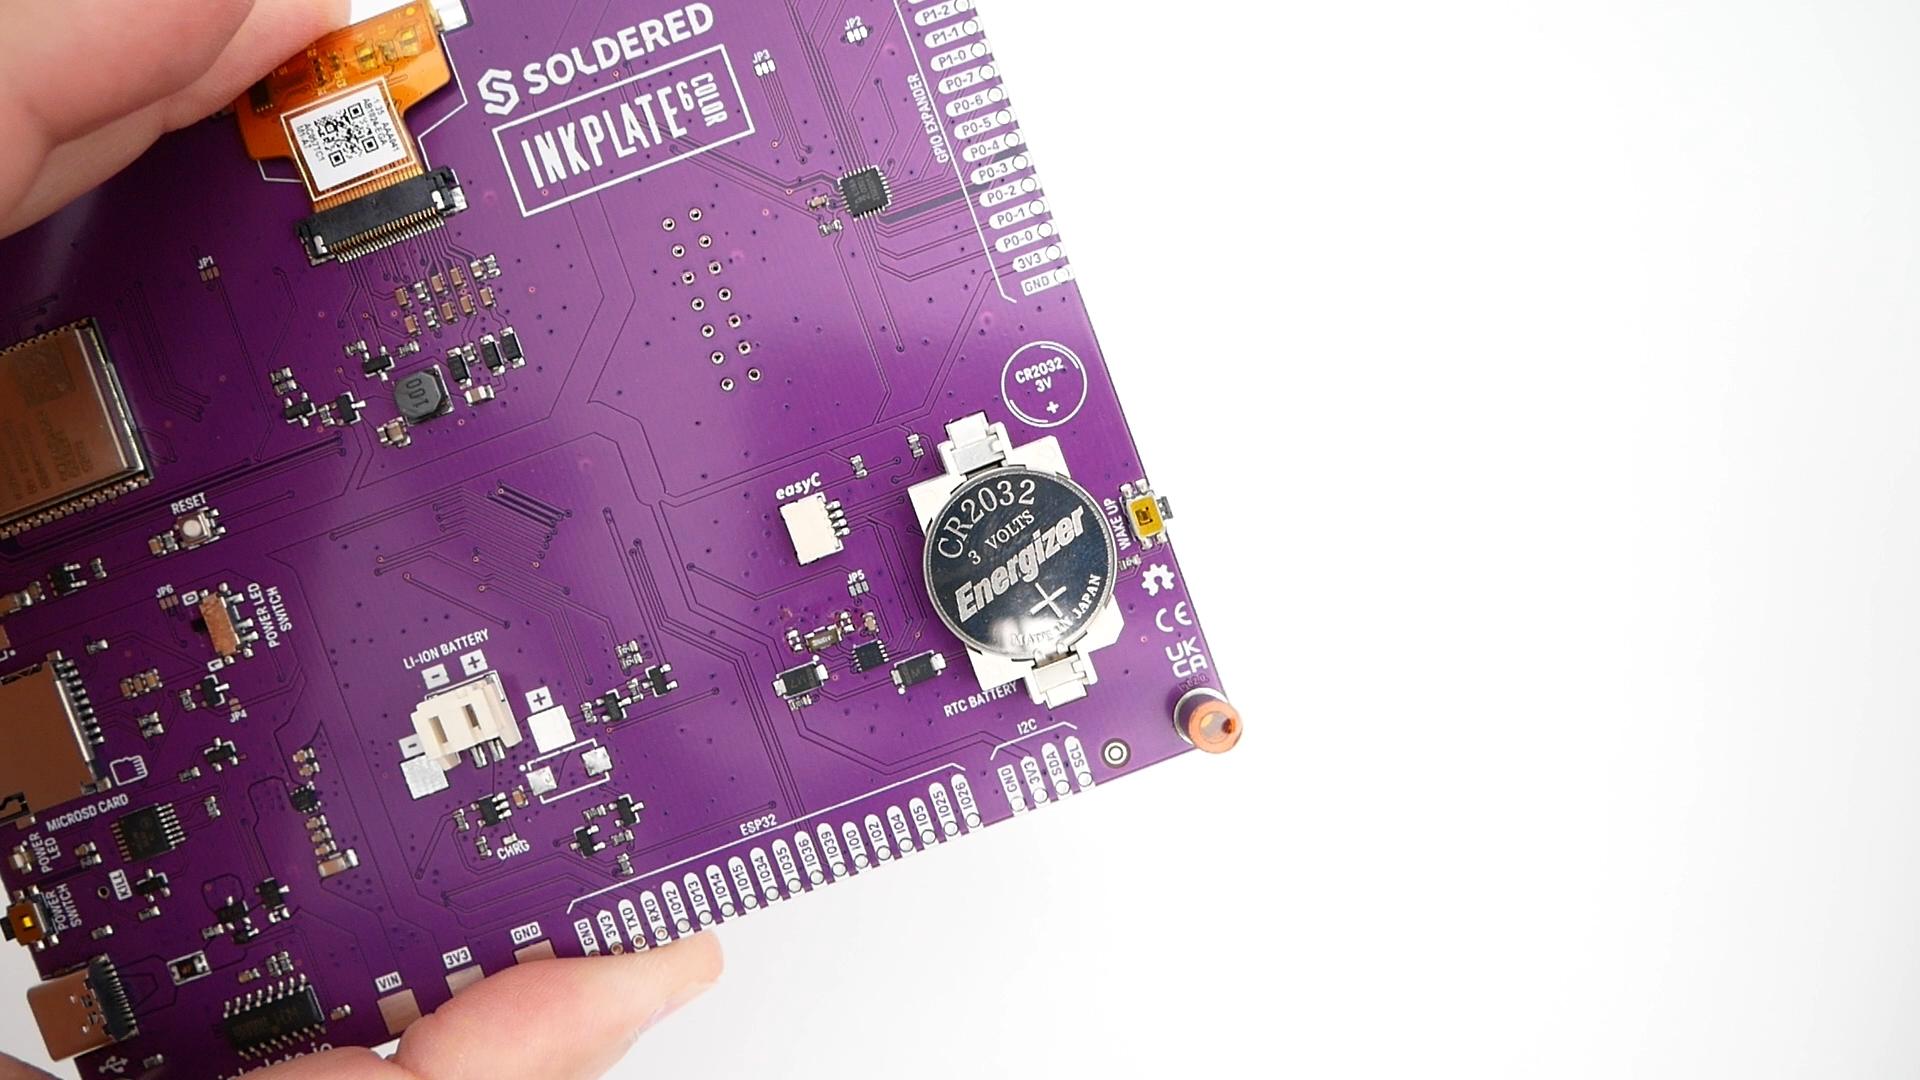
Install the coin battery (CR2032) for the Real Time Clock (RTC).
In the setup section in the sketch there is a part to set the time. Run that with the correct time and then comment those lines so it never runs it in normal operation. Check that it keeps the time even after powering the board OFF.
Photos
Load all your photos in a microSD card and enjoy.
Remember that it has to be in the root directory of a microSD card formatted in FAT32.
The resolution of the photos has to be 600x448 and with a file extension of BMP, JPG and PNG.