Photo Cube in Resin
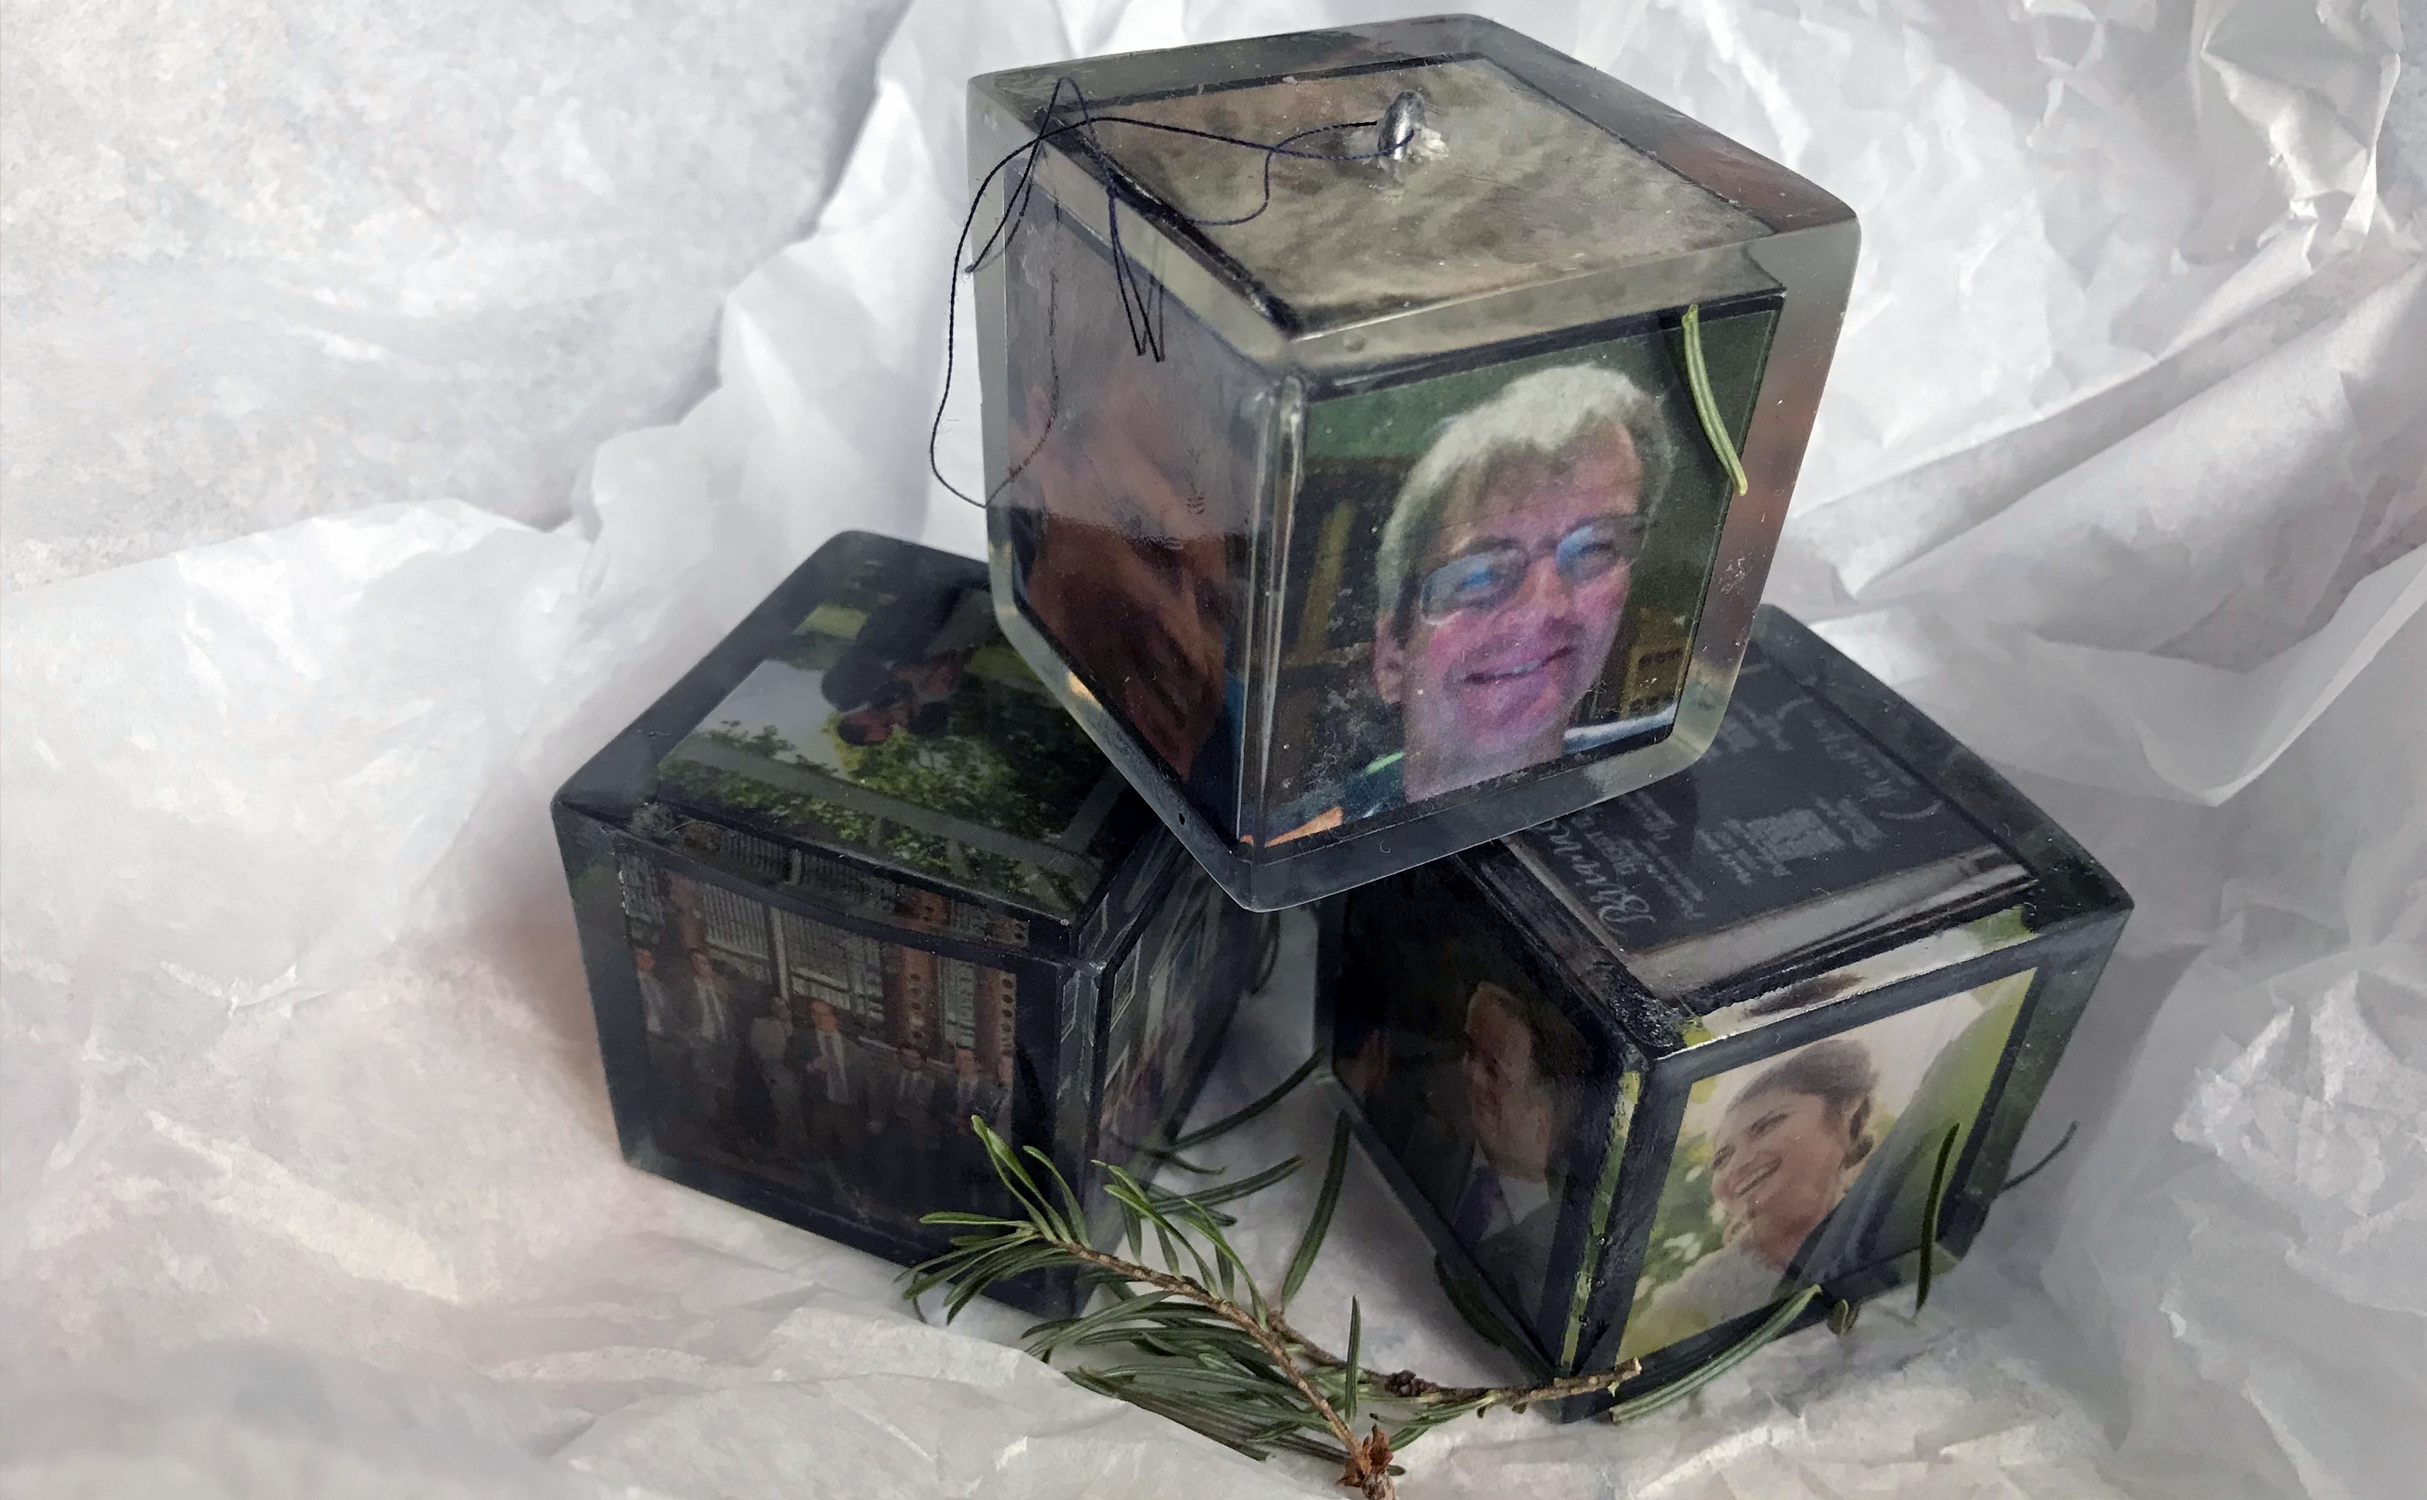

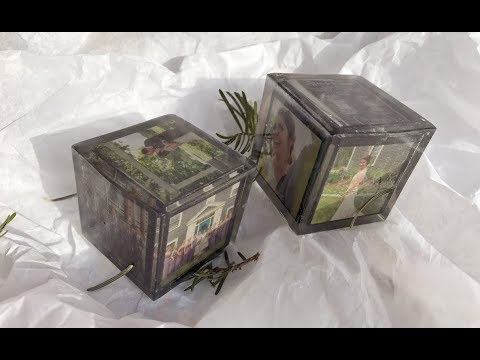
After thoroughly searching Instructables I was surprised that I was unable to find instructions on making a picture cube embedded in resin quite like the one I needed for this Christmas. This I knew would be the perfect gift for my family members as it fits nicely with The Mad Wrapper's 2017 (quirky) augmented reality theme and works well for post-wedding gifts to grandma and others. It seemed like a great opportunity for a new Instructable so I began taking pictures and filming video.
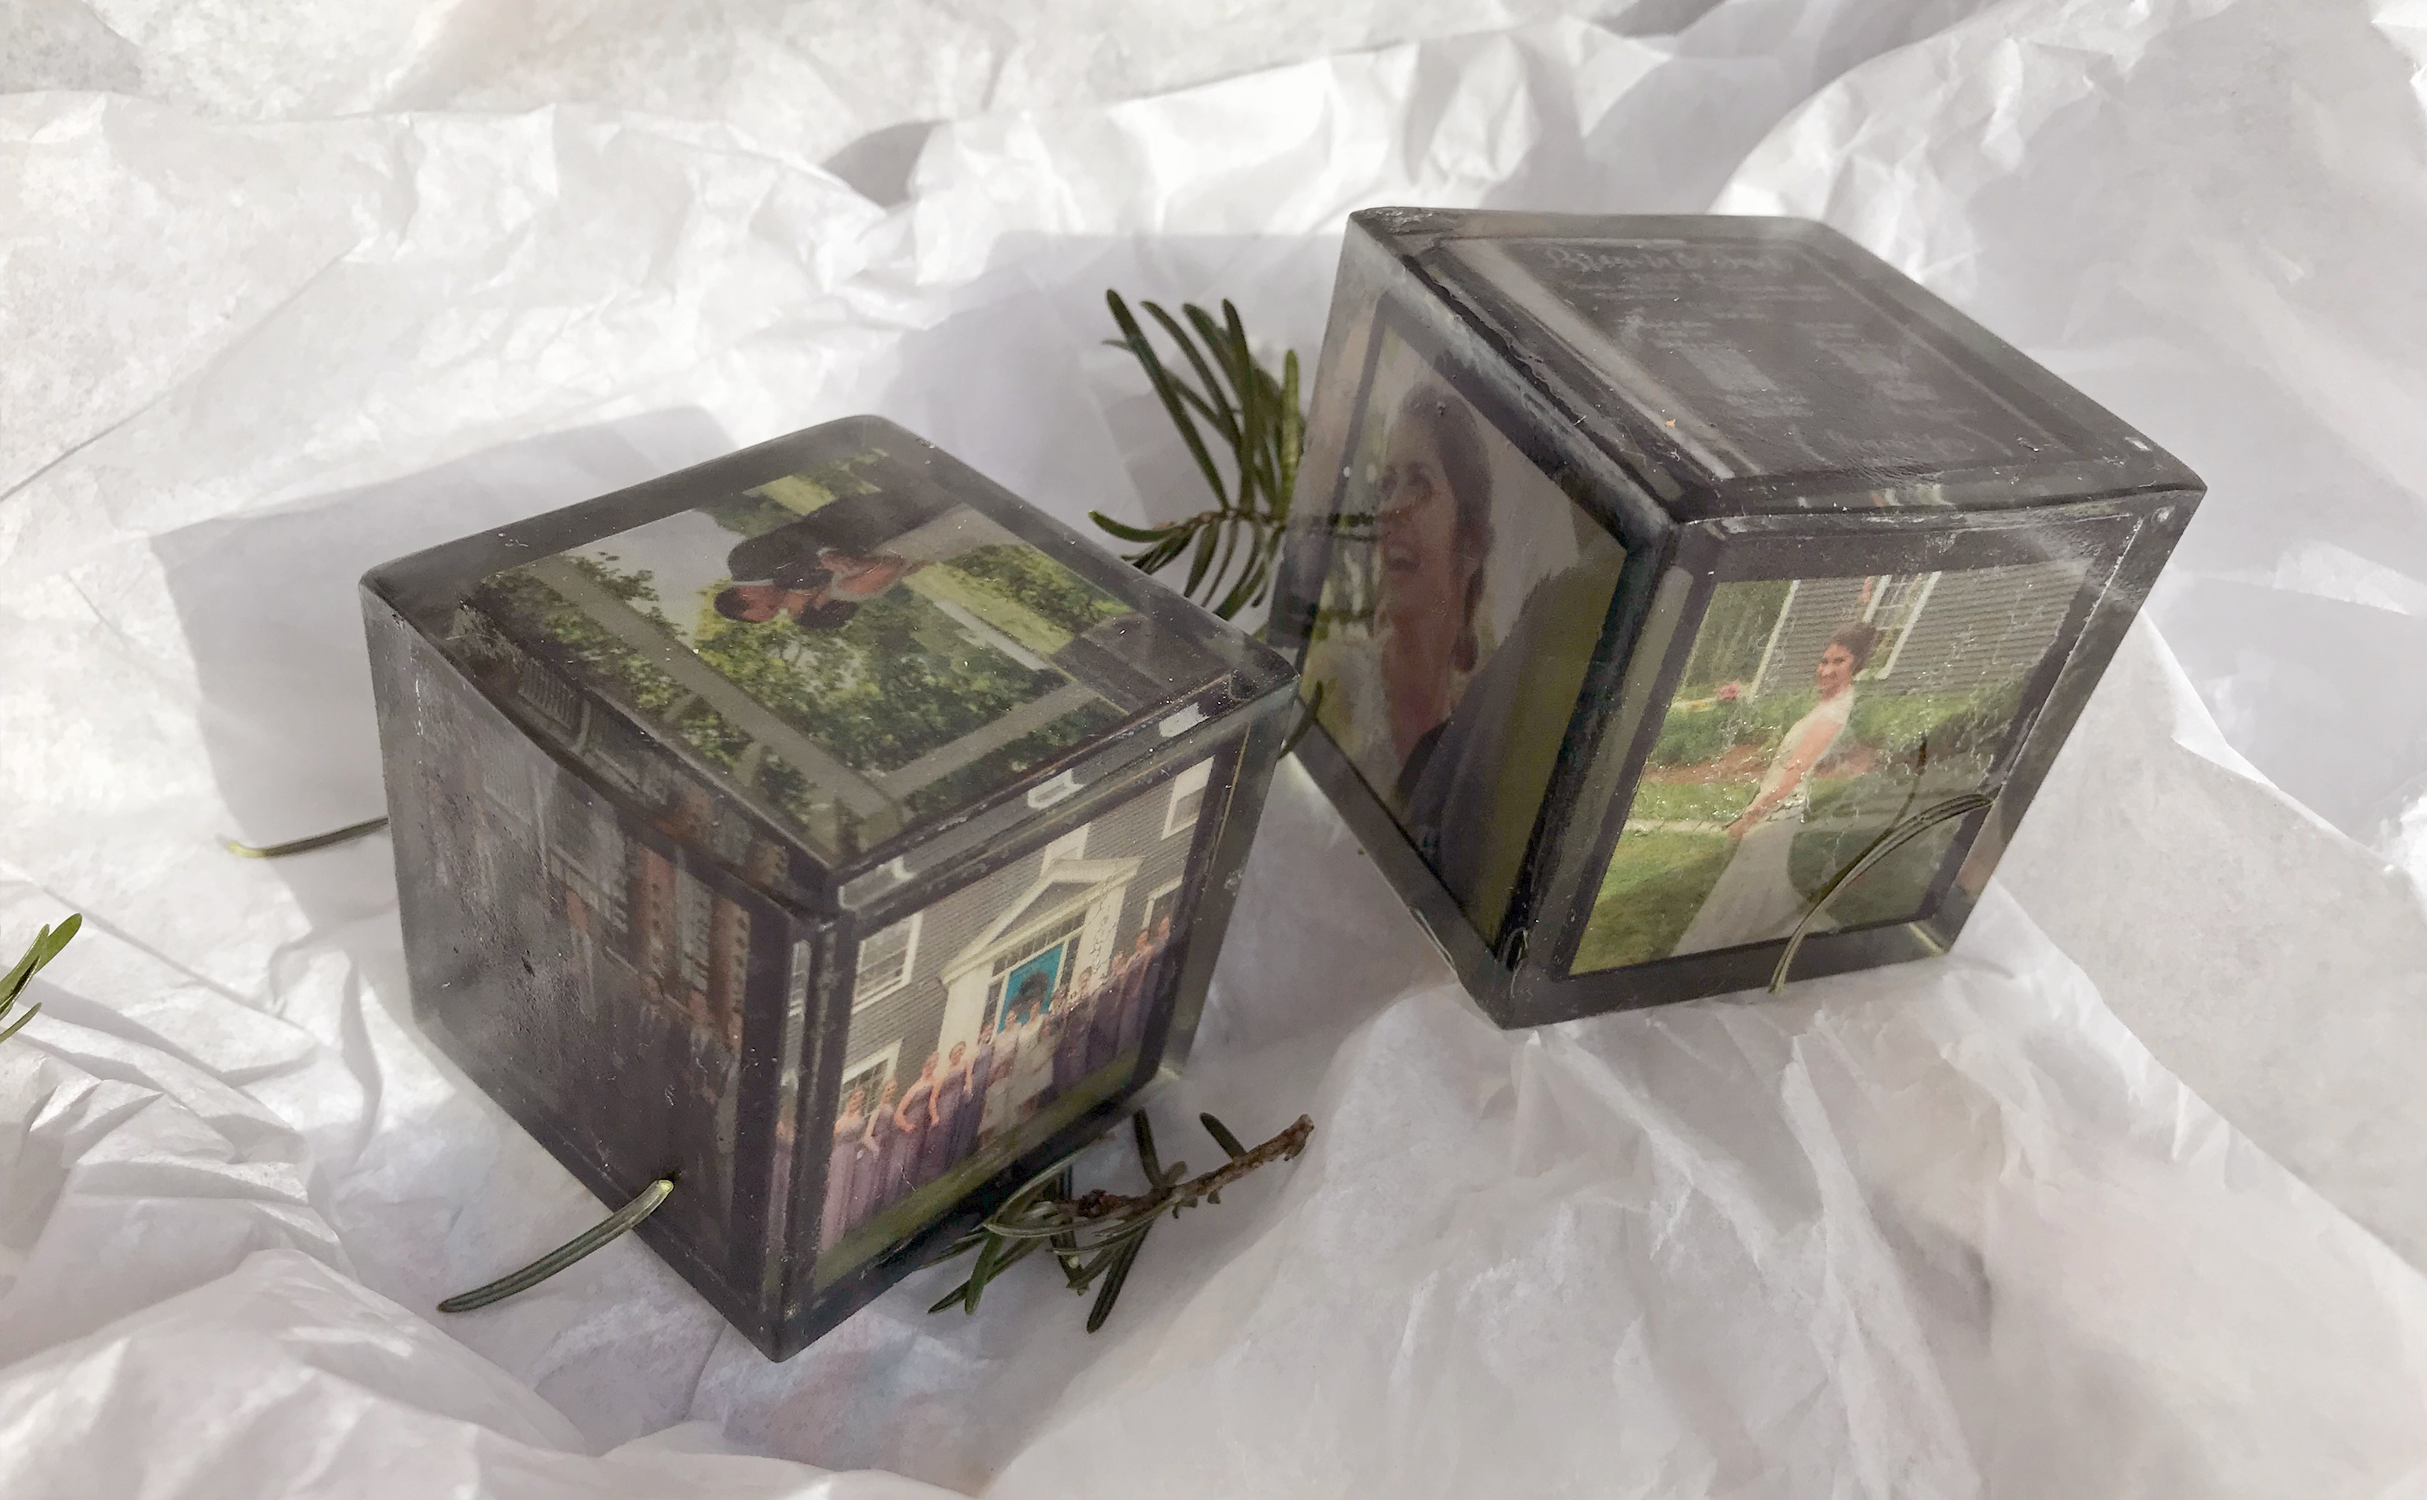
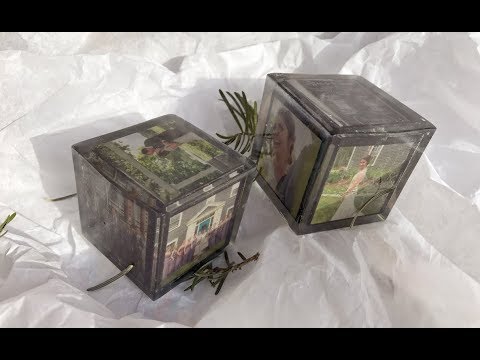
I created a couple of variations of a 1-3/4 inch photo cube:
- I made a beautiful set of cubes with images from my daughter's wedding that summer.
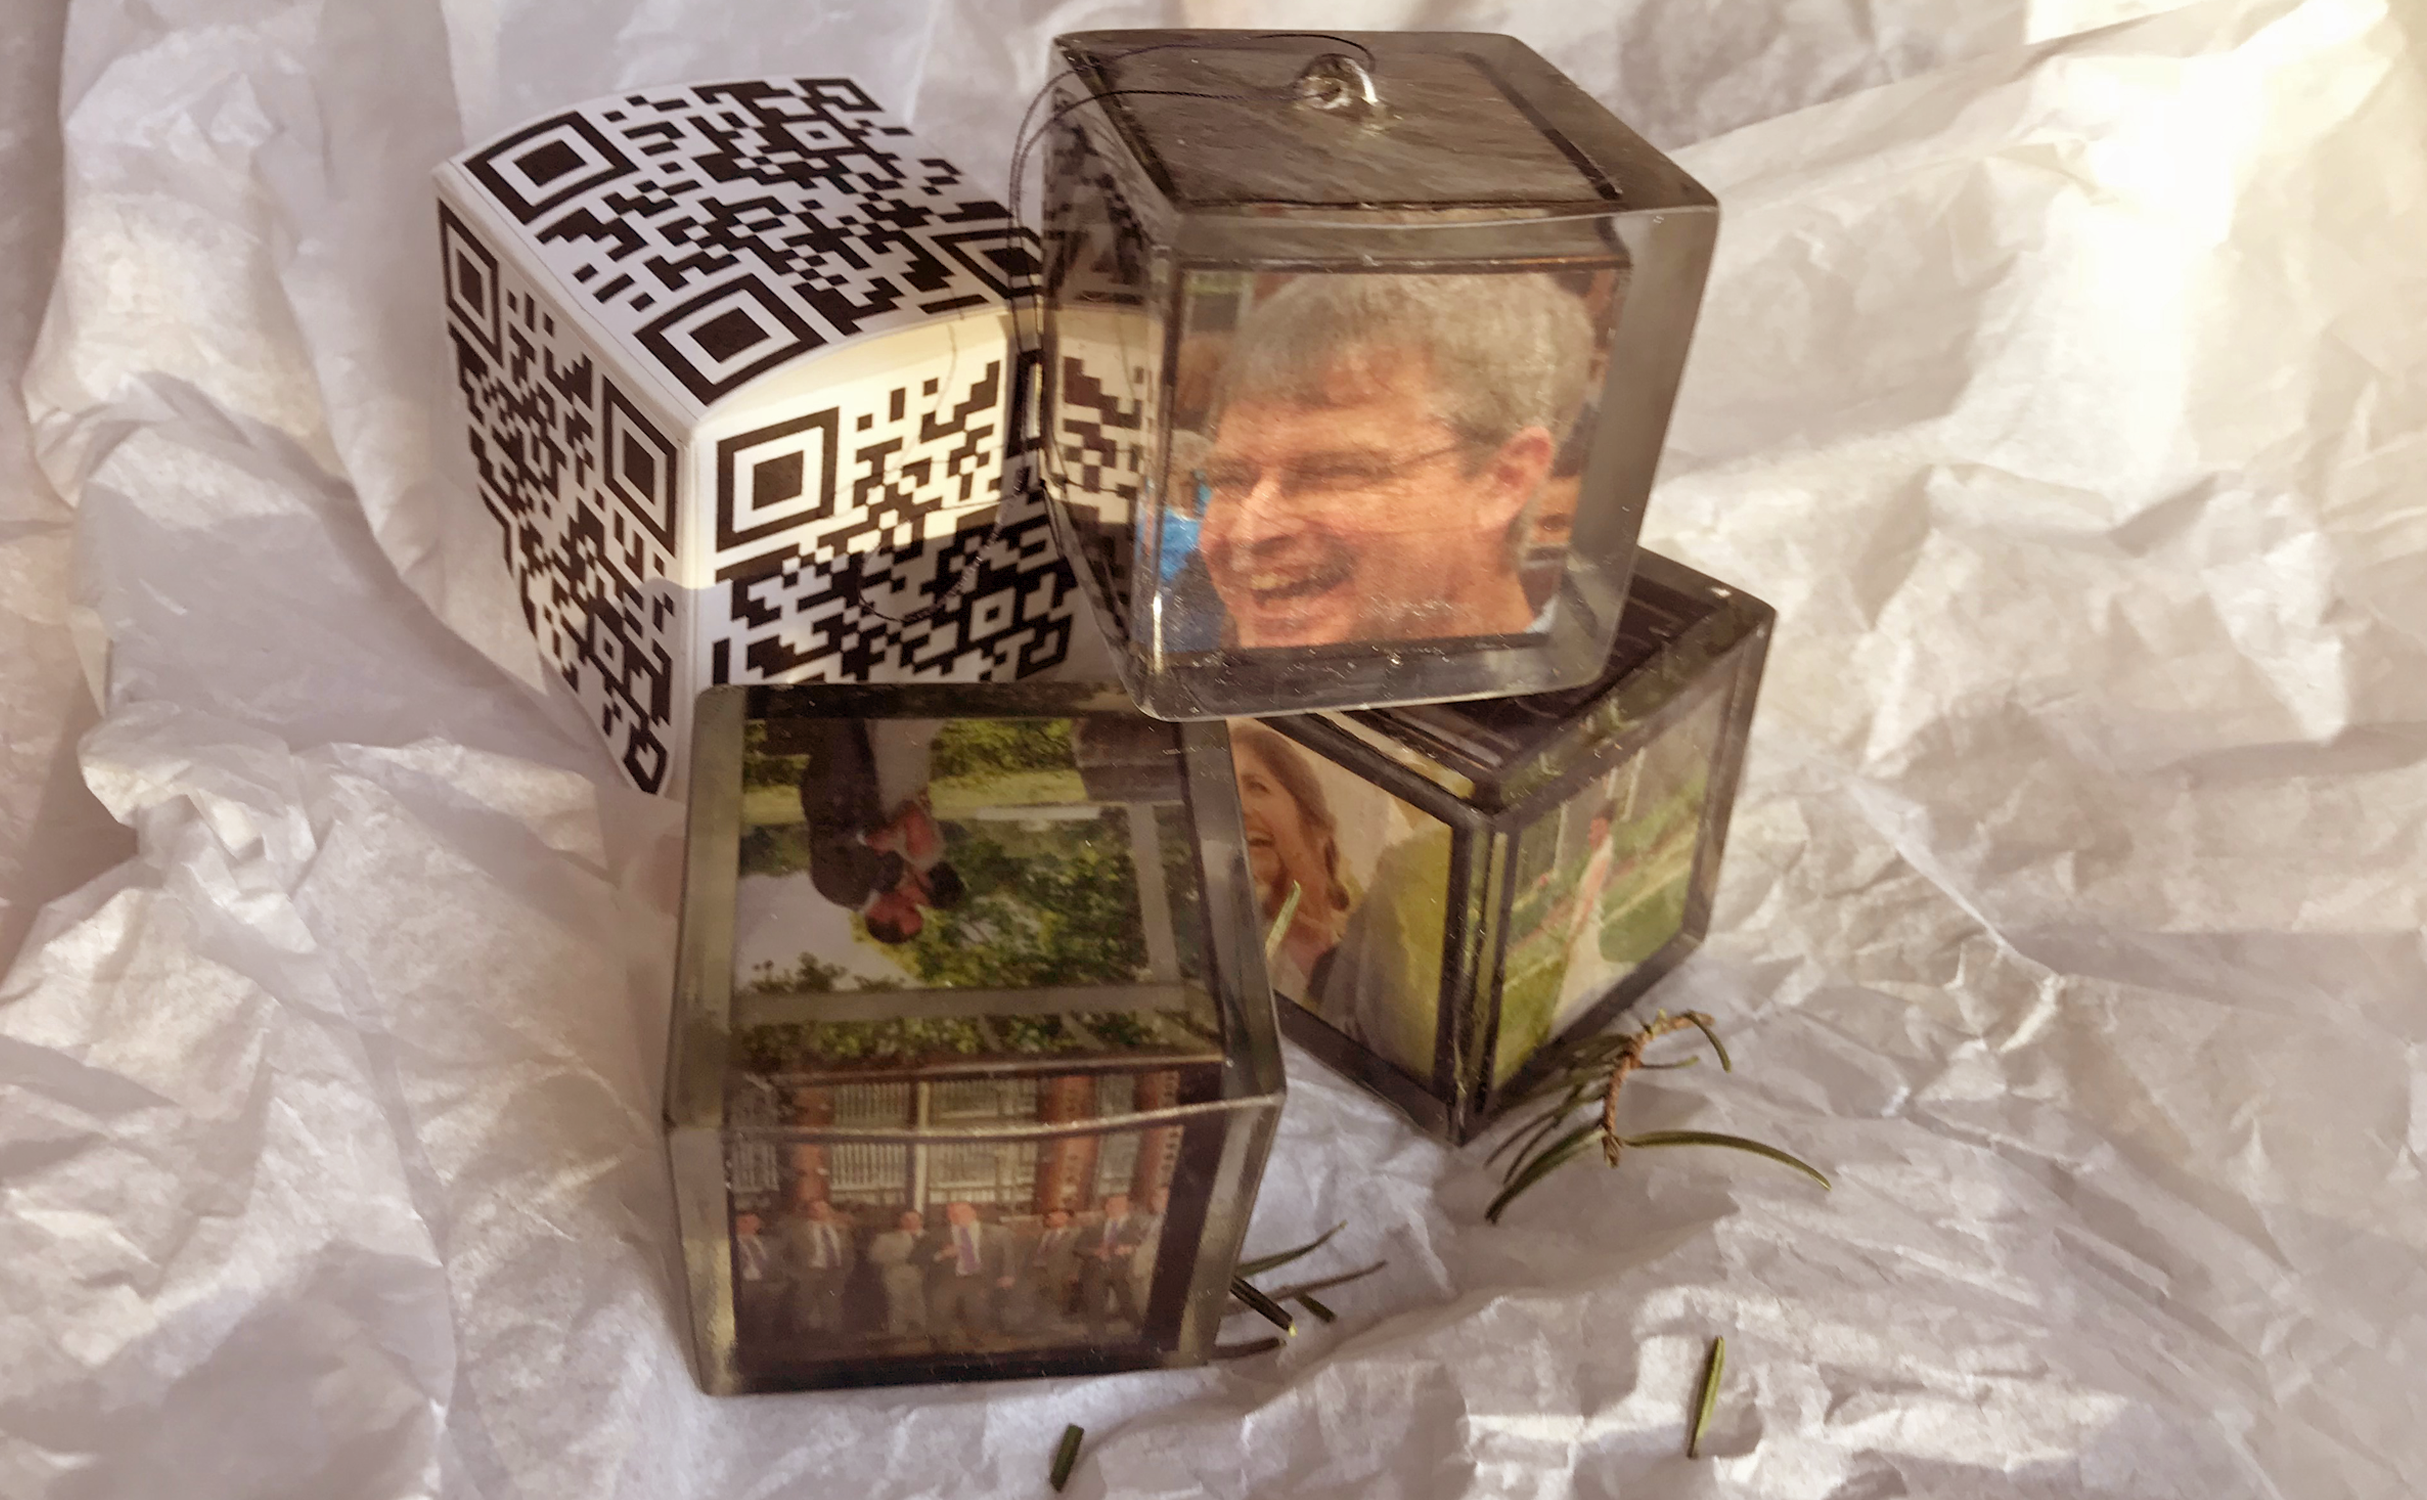
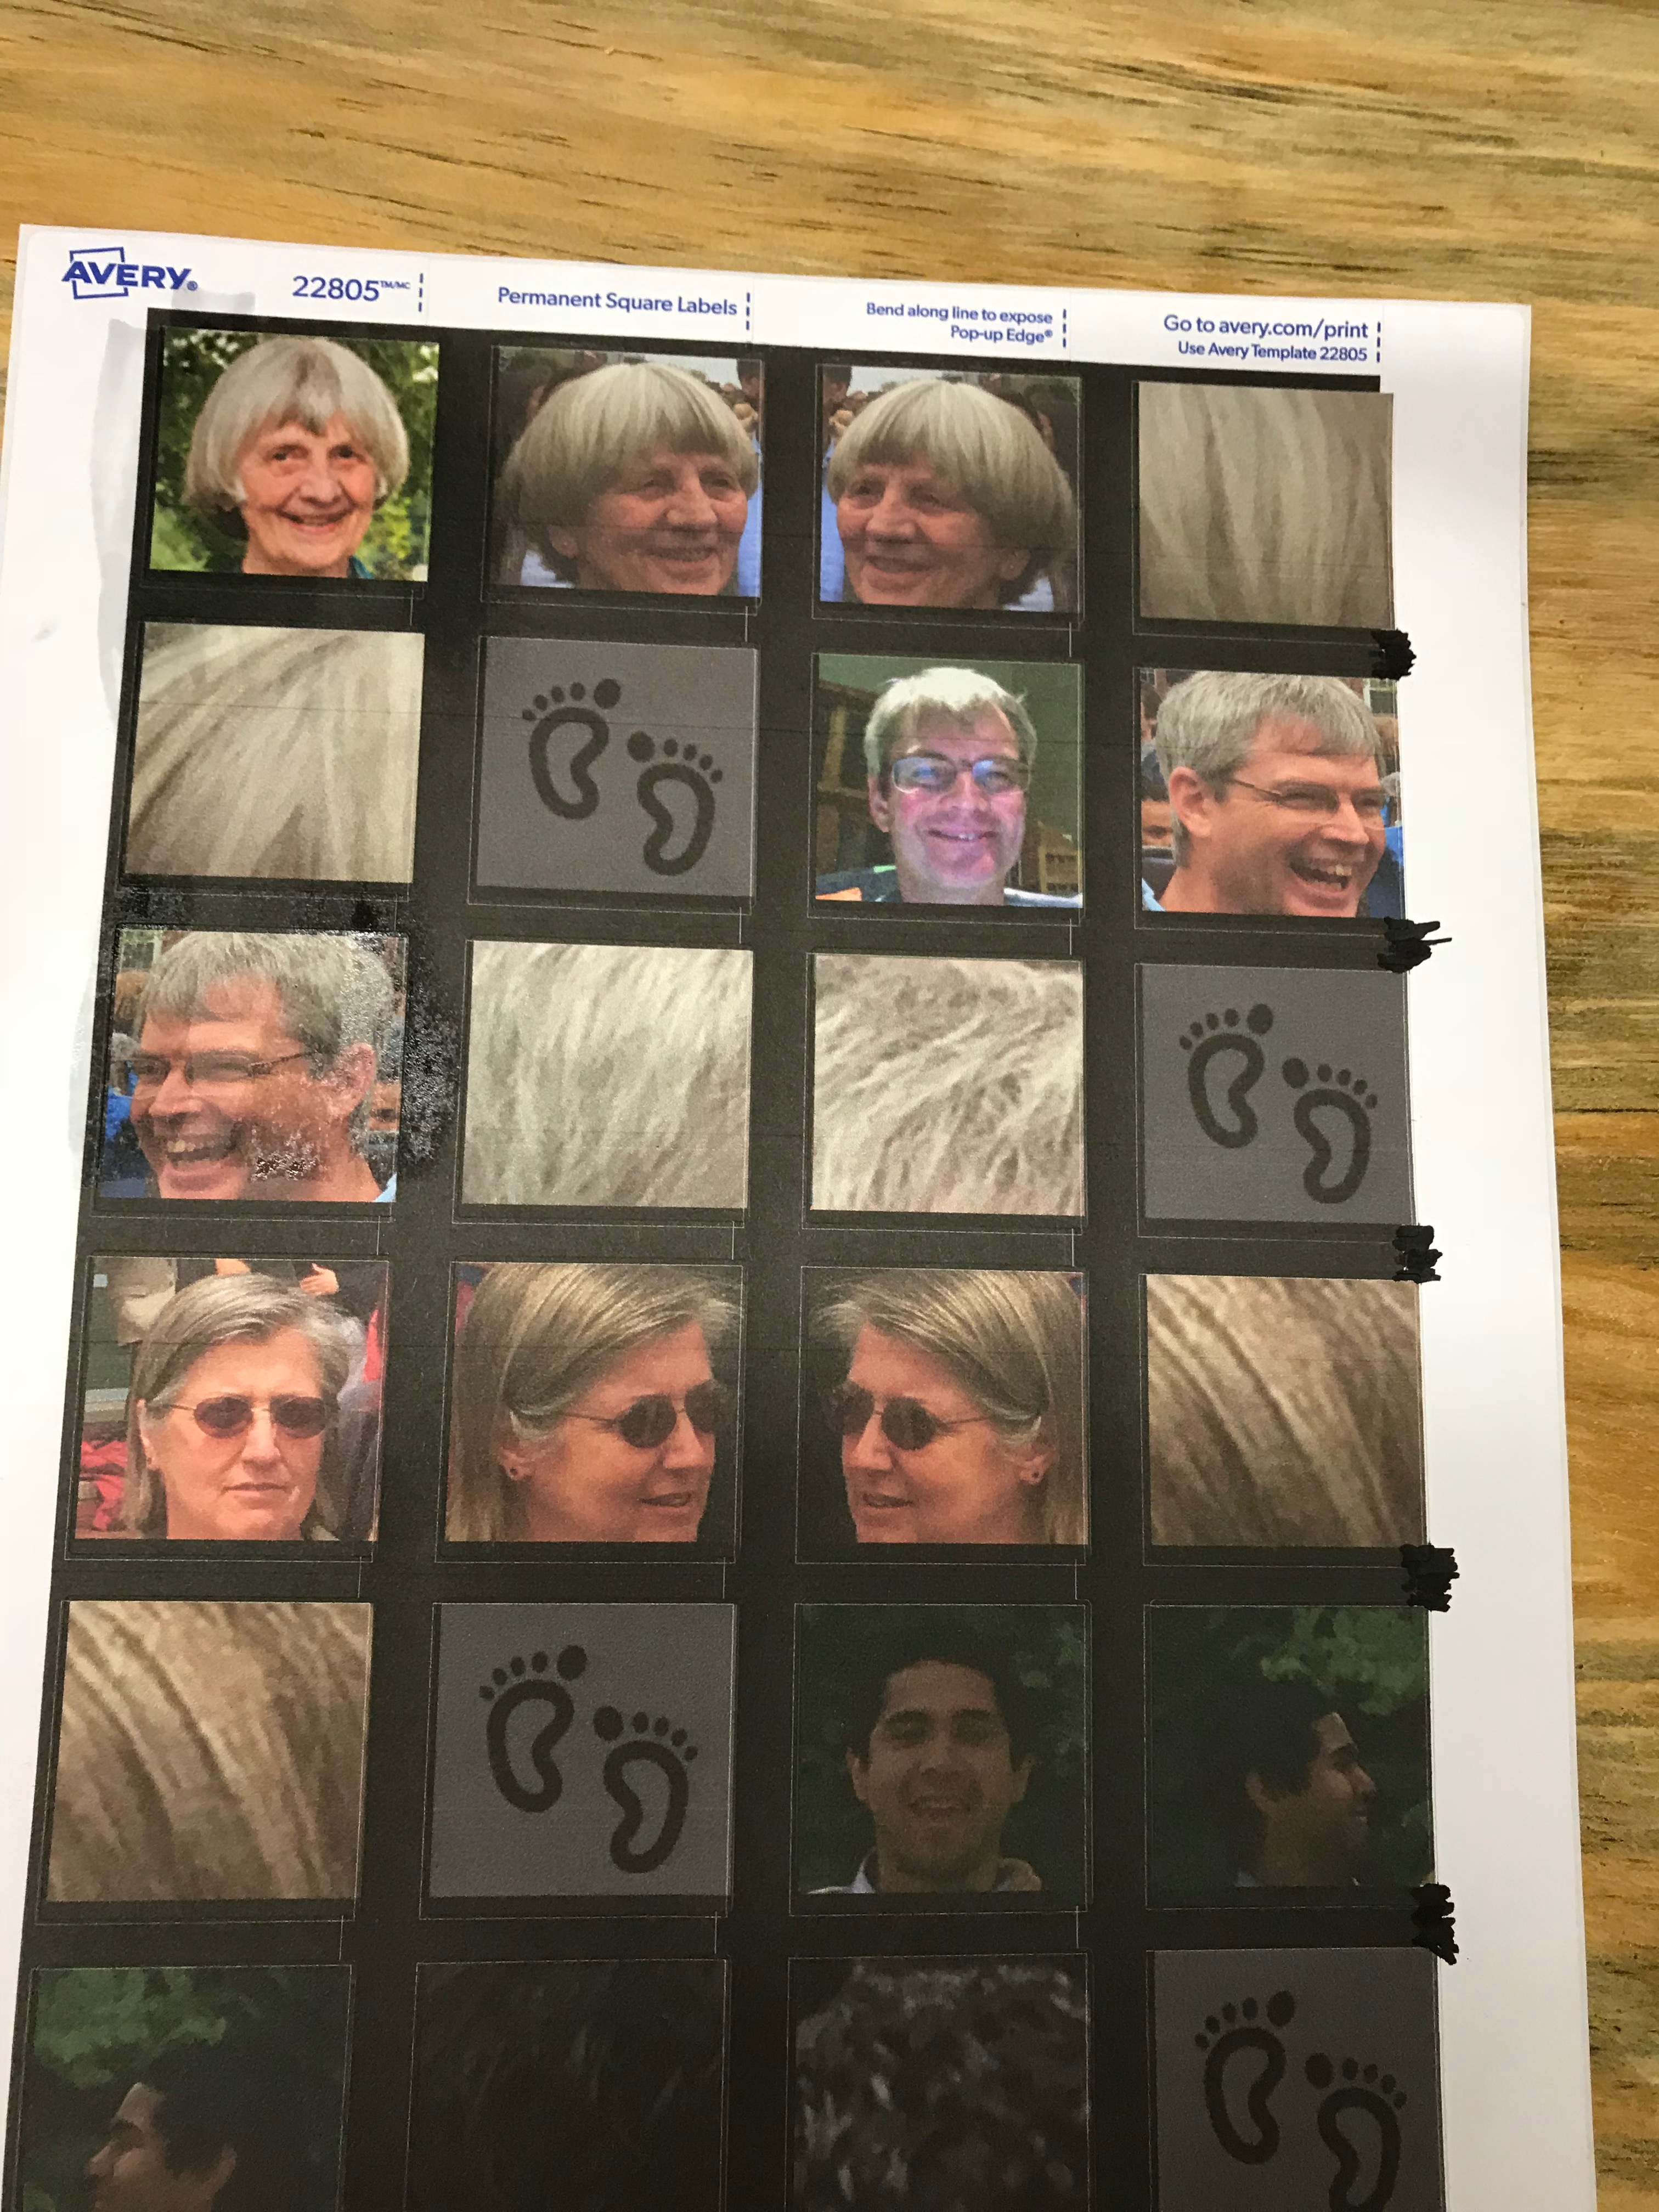
- I created a series of rather whimsical "blockhead" ornaments for every person in the family. Front and profile head-shots of a person are displayed on the front three sides. Images of hair and feet show up on the back, top, and bottom surfaces to complete the blockhead.
After many iterations on the process, I think I have settled on a method that I am happy with. This is what I will document.
[A note from The Mad Wrapper: If you skip forward to the final step of this Instructable, you will discover that this cube thing goes far beyond what you might imagine! There is an augmented reality iPhone app used to disperse the gifts. Not technically part of this Instructable but quite fun and worth exploring nonetheless.]
Supplies
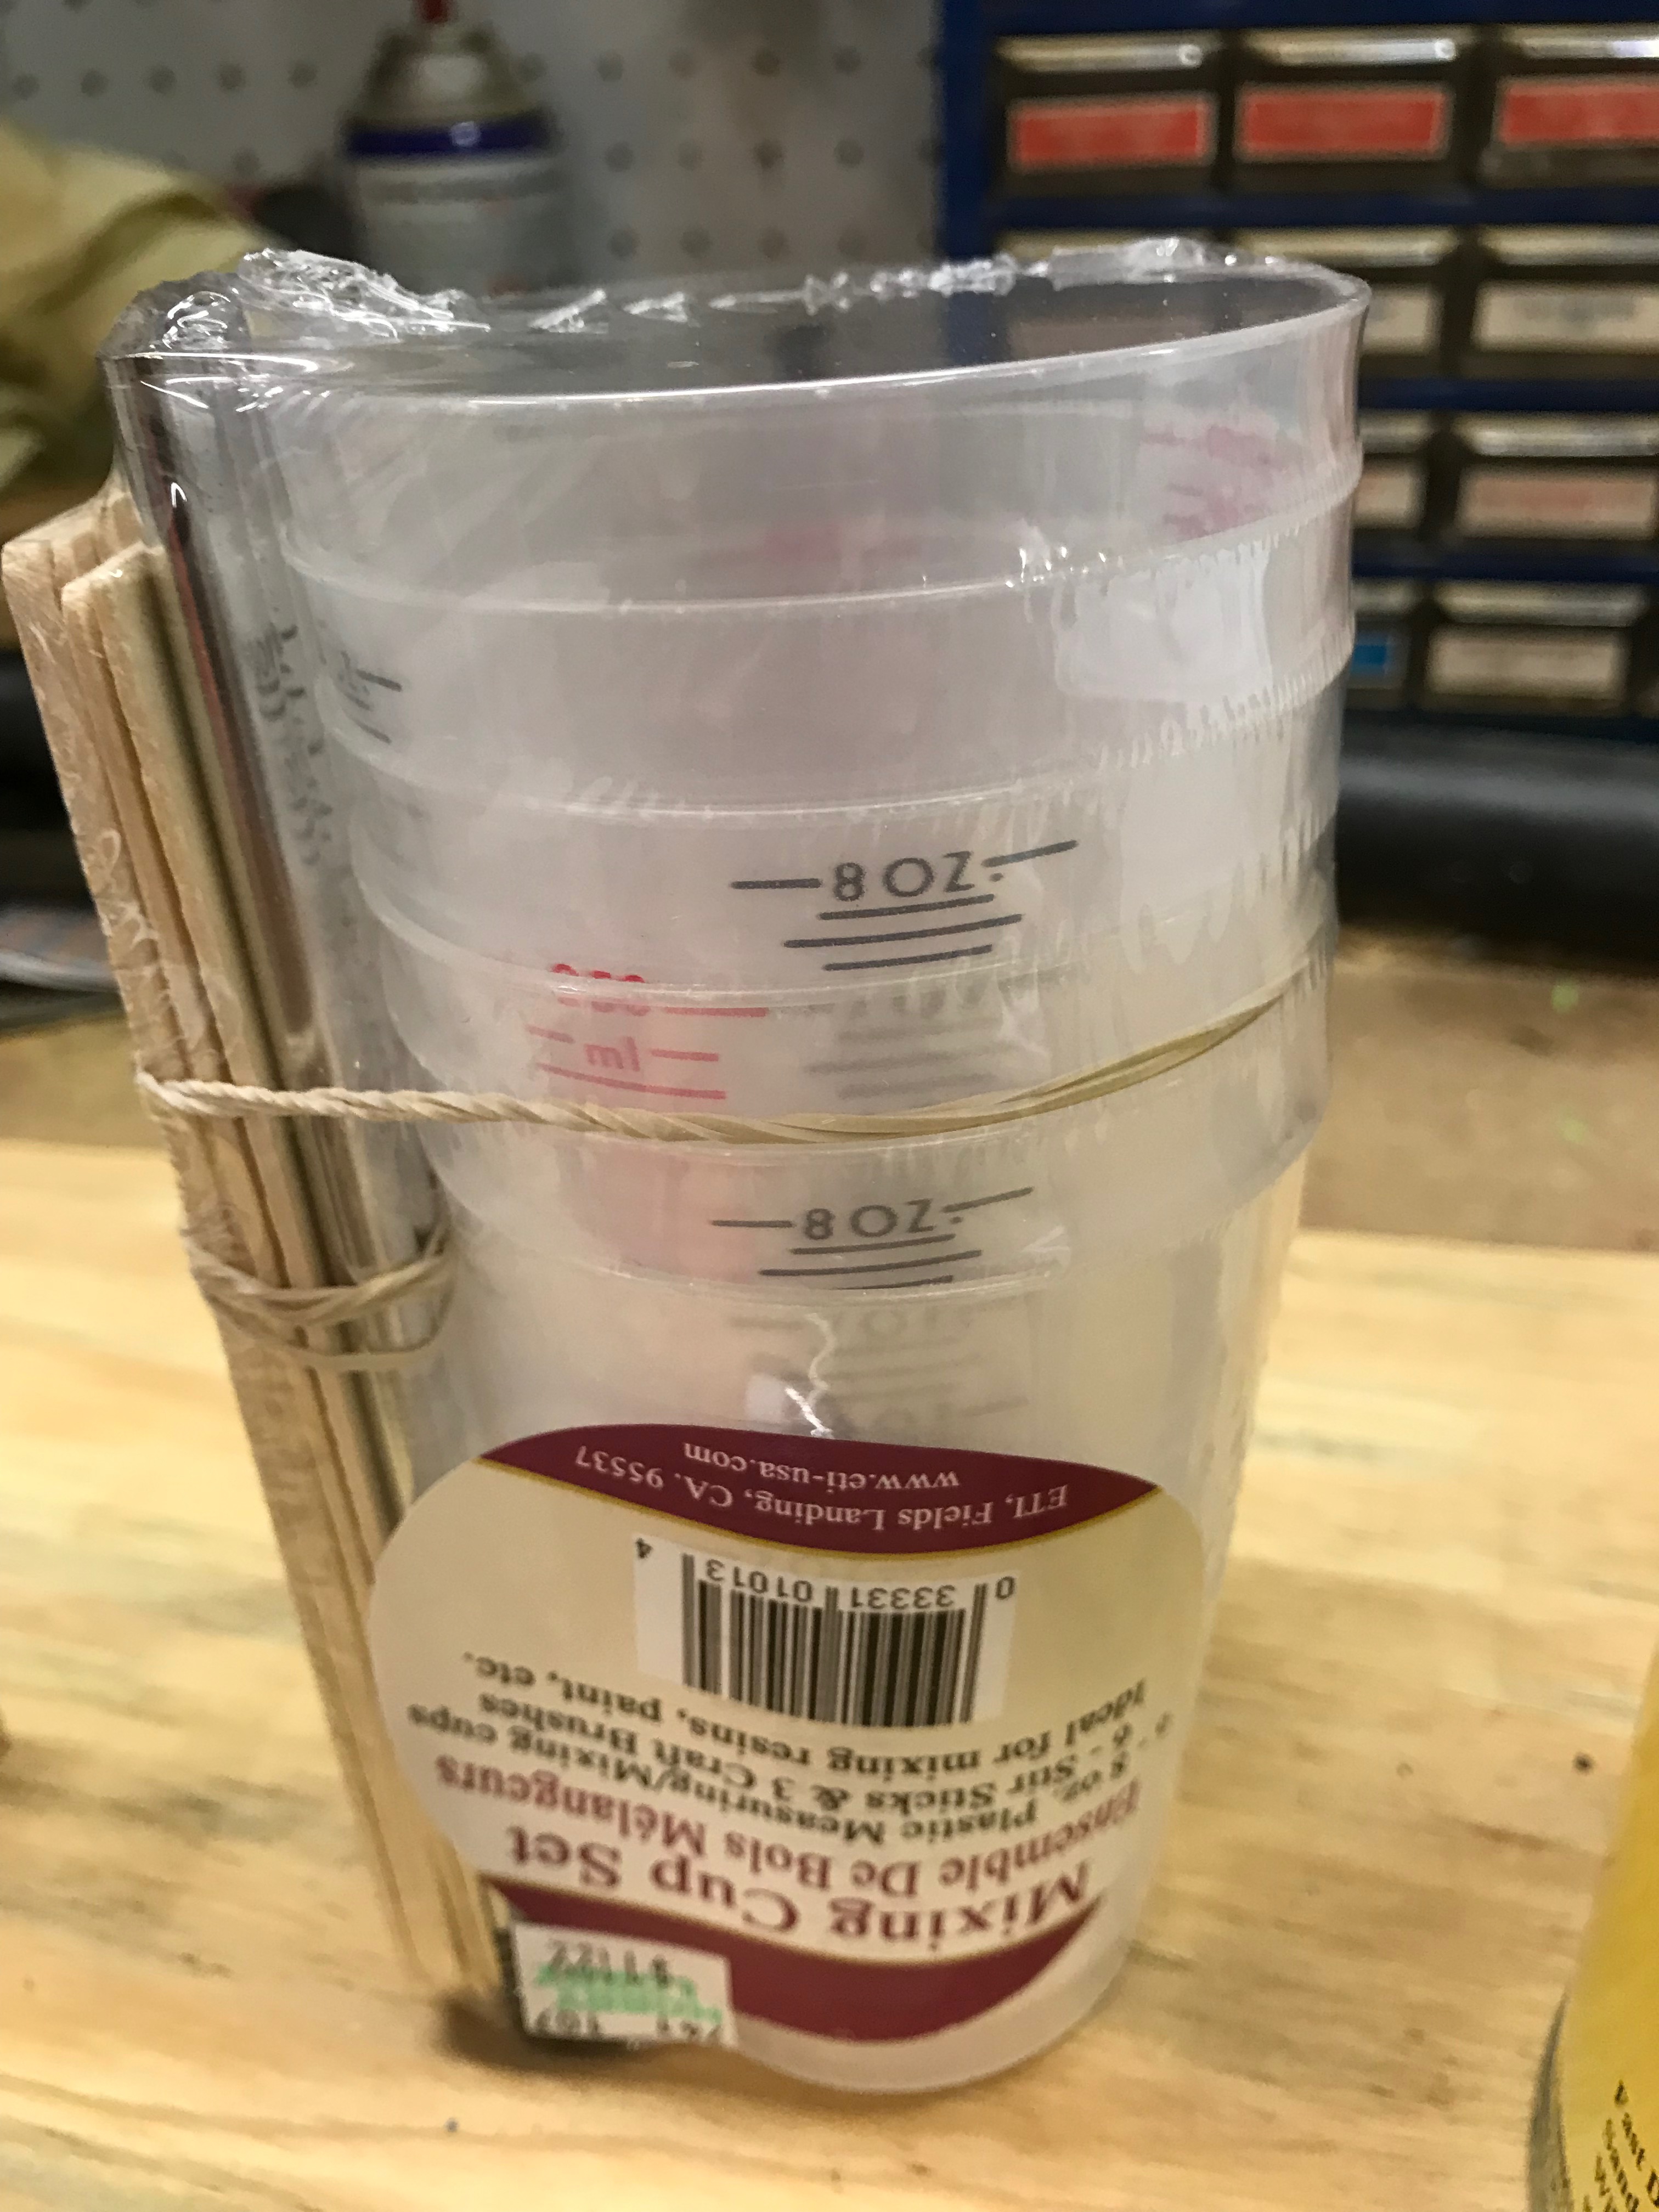
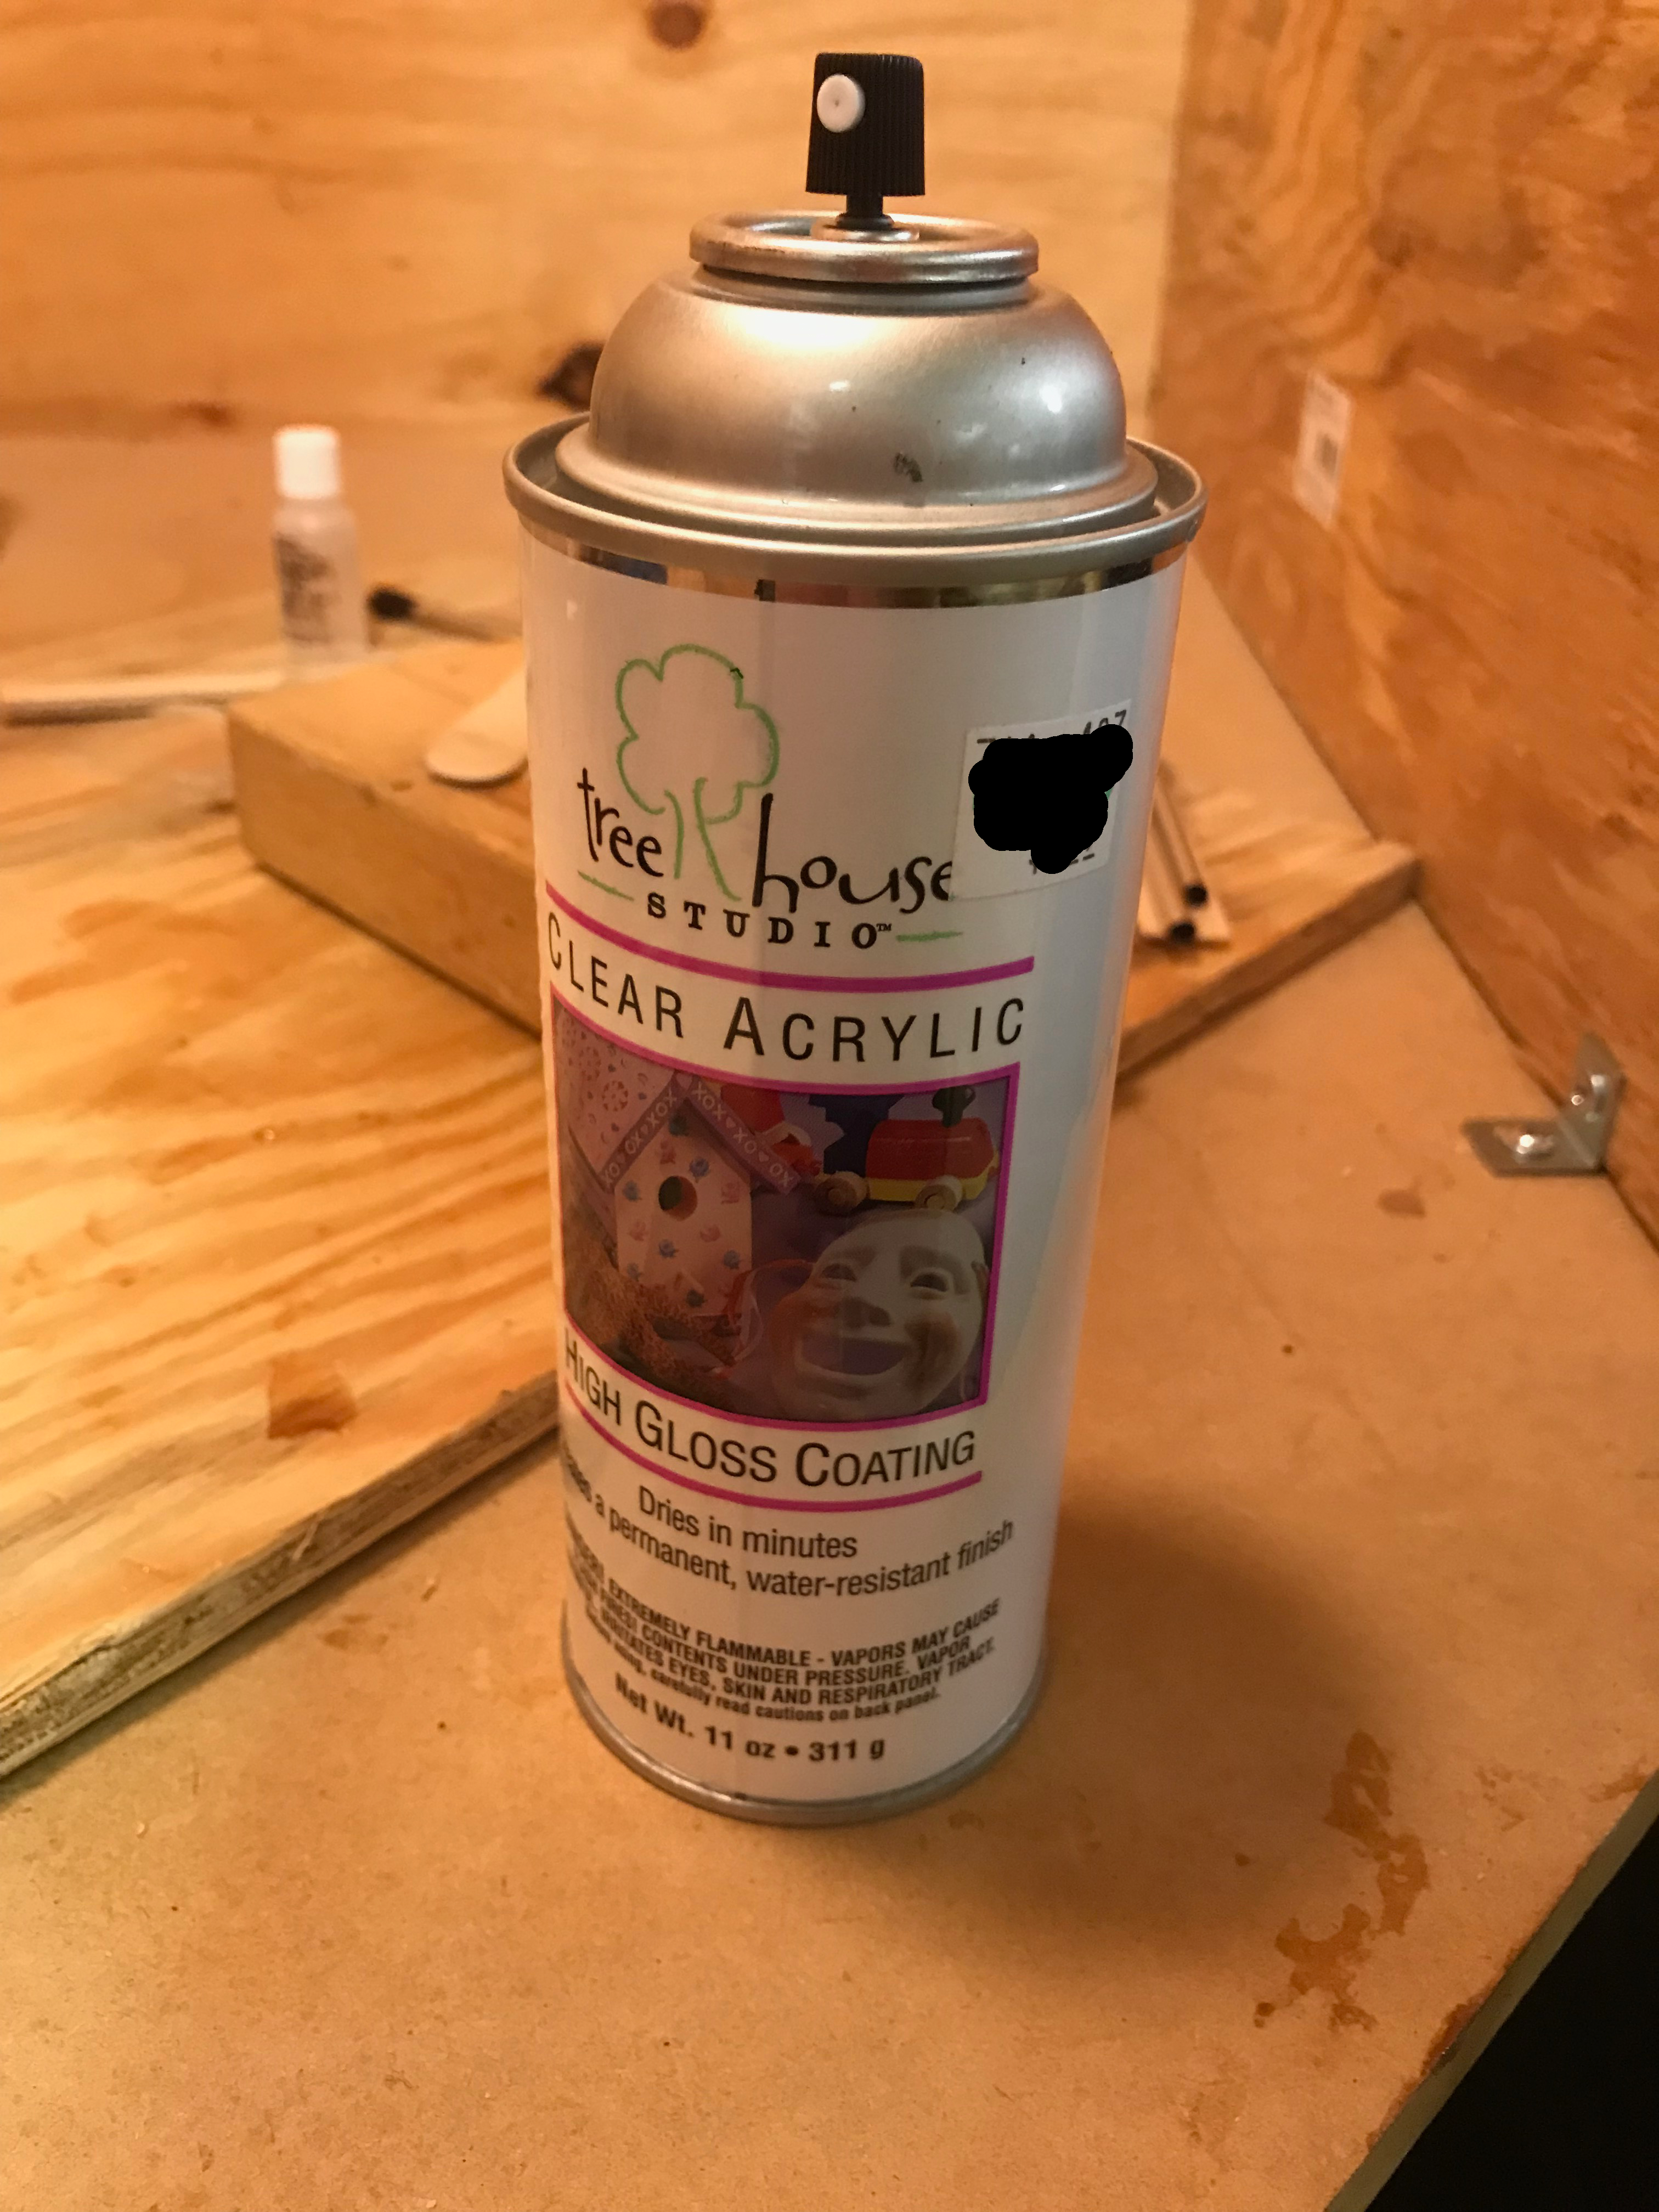
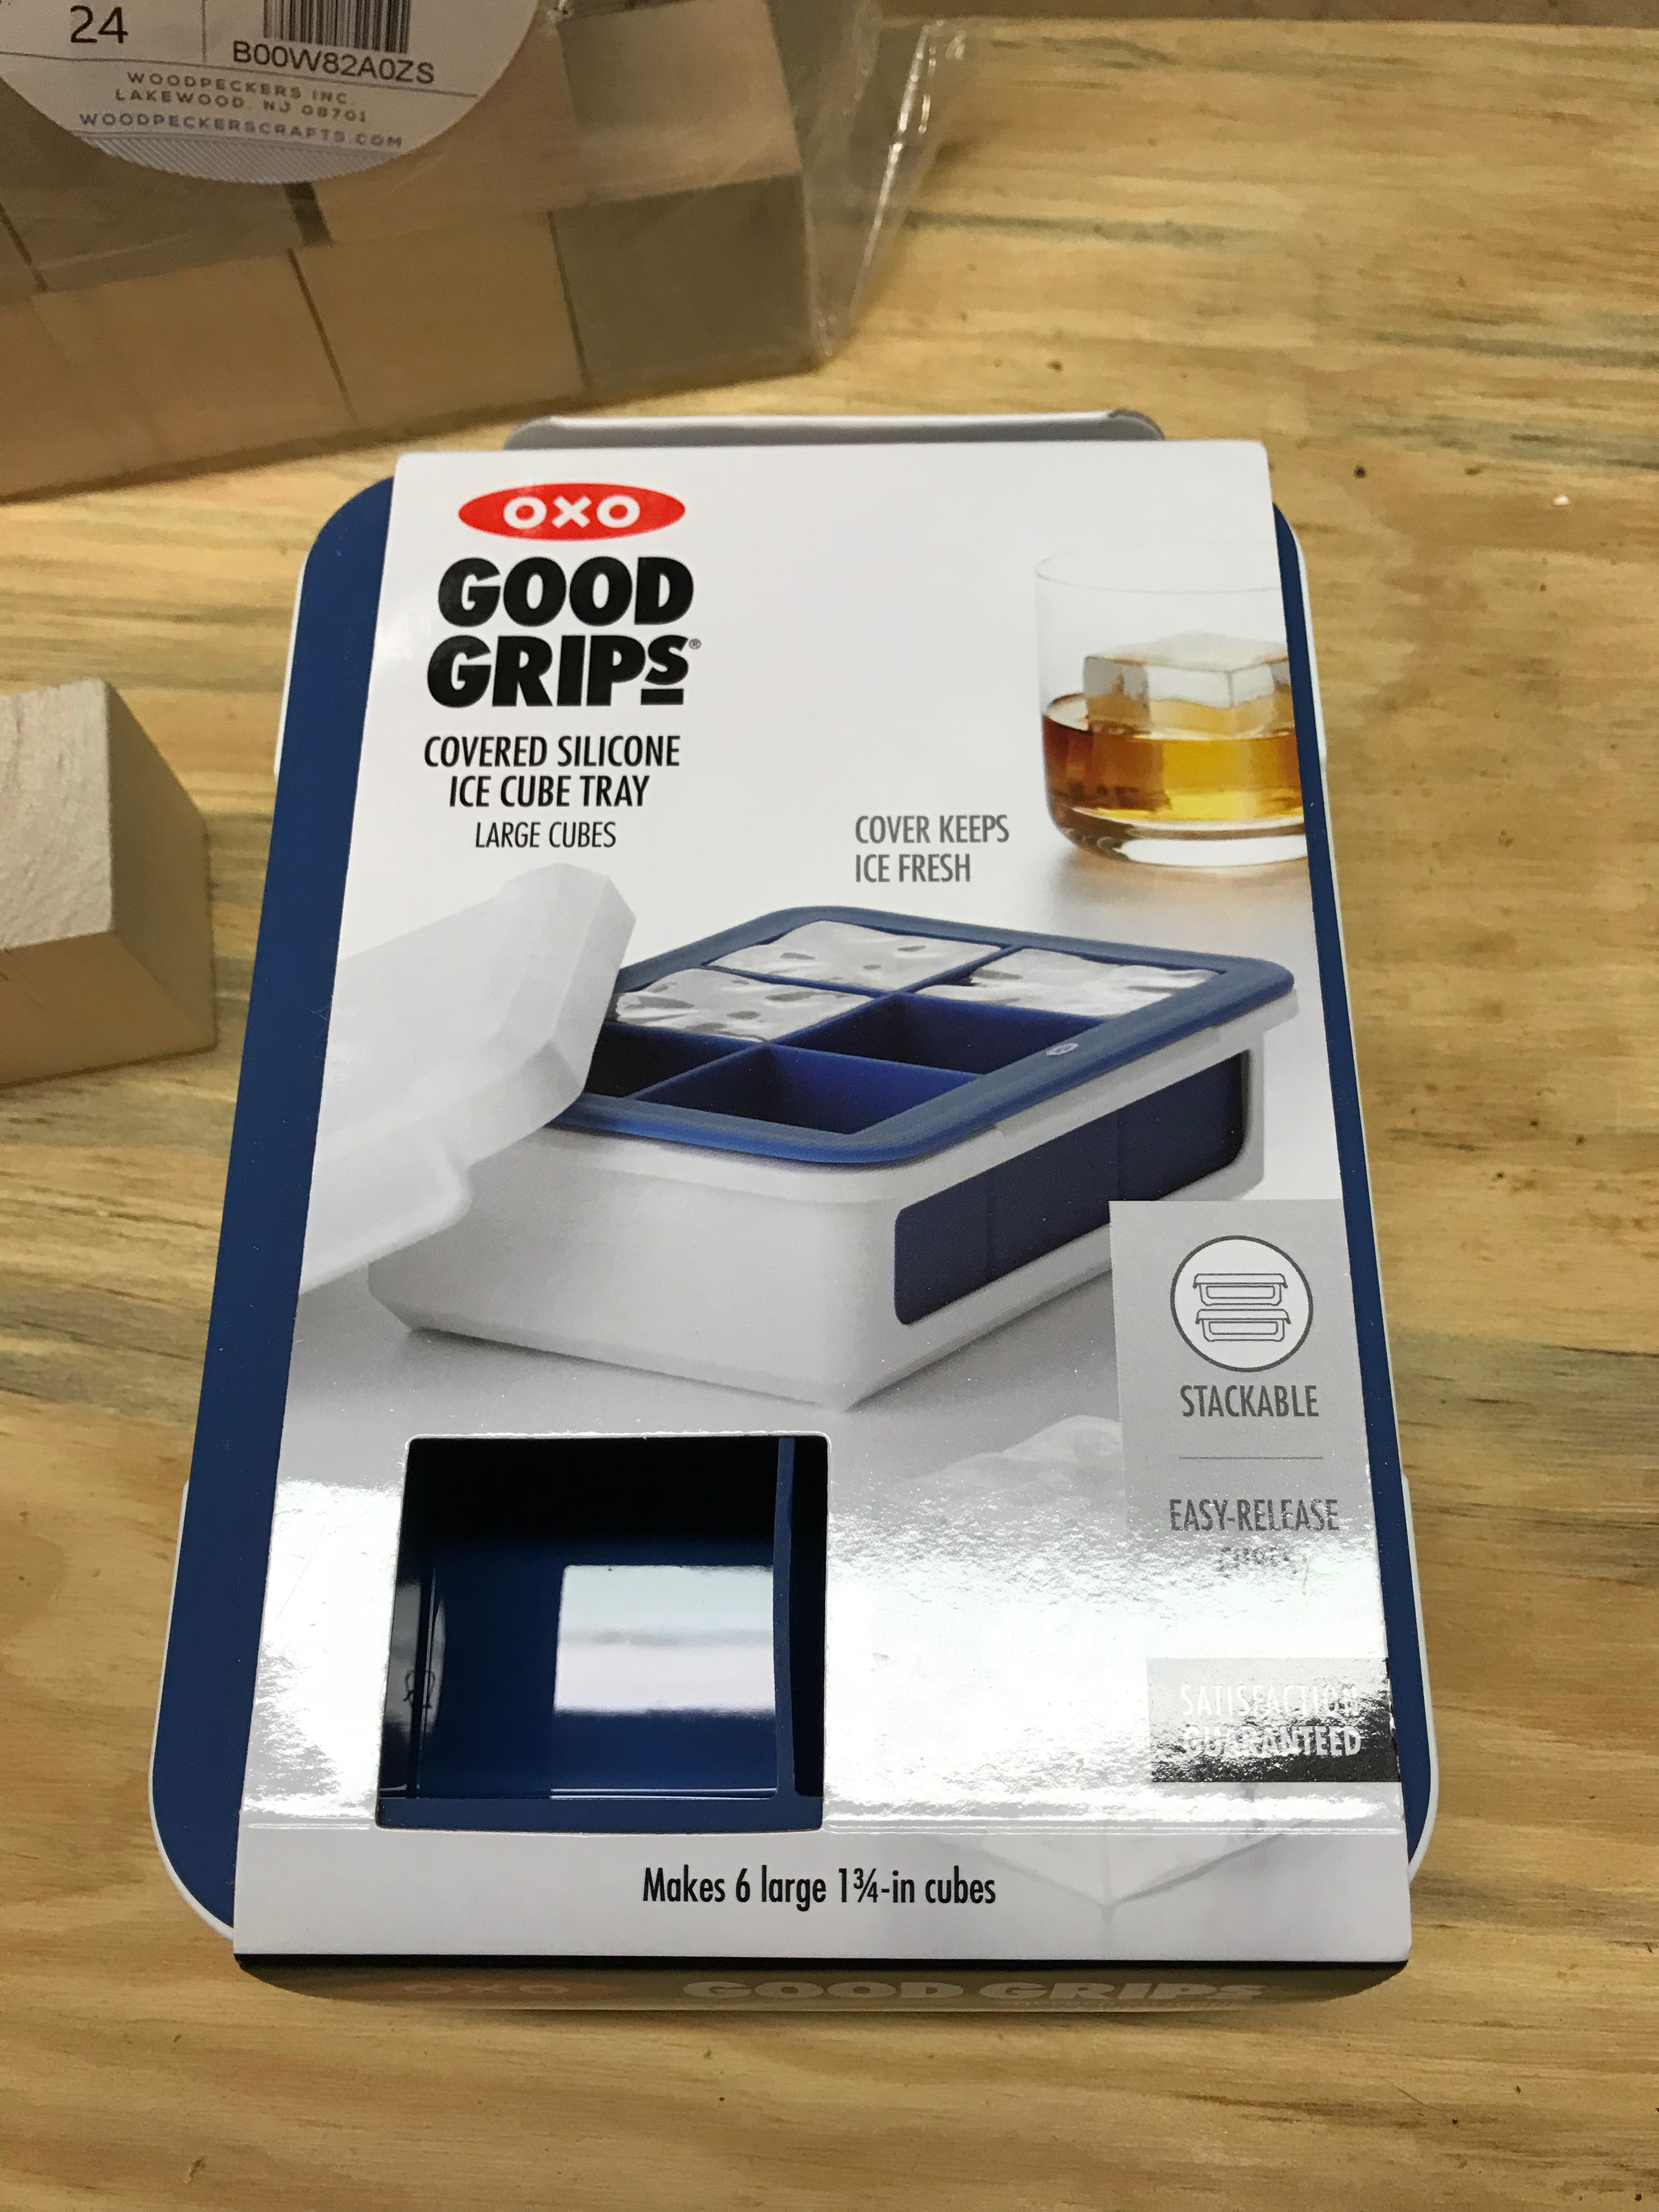
You will need:
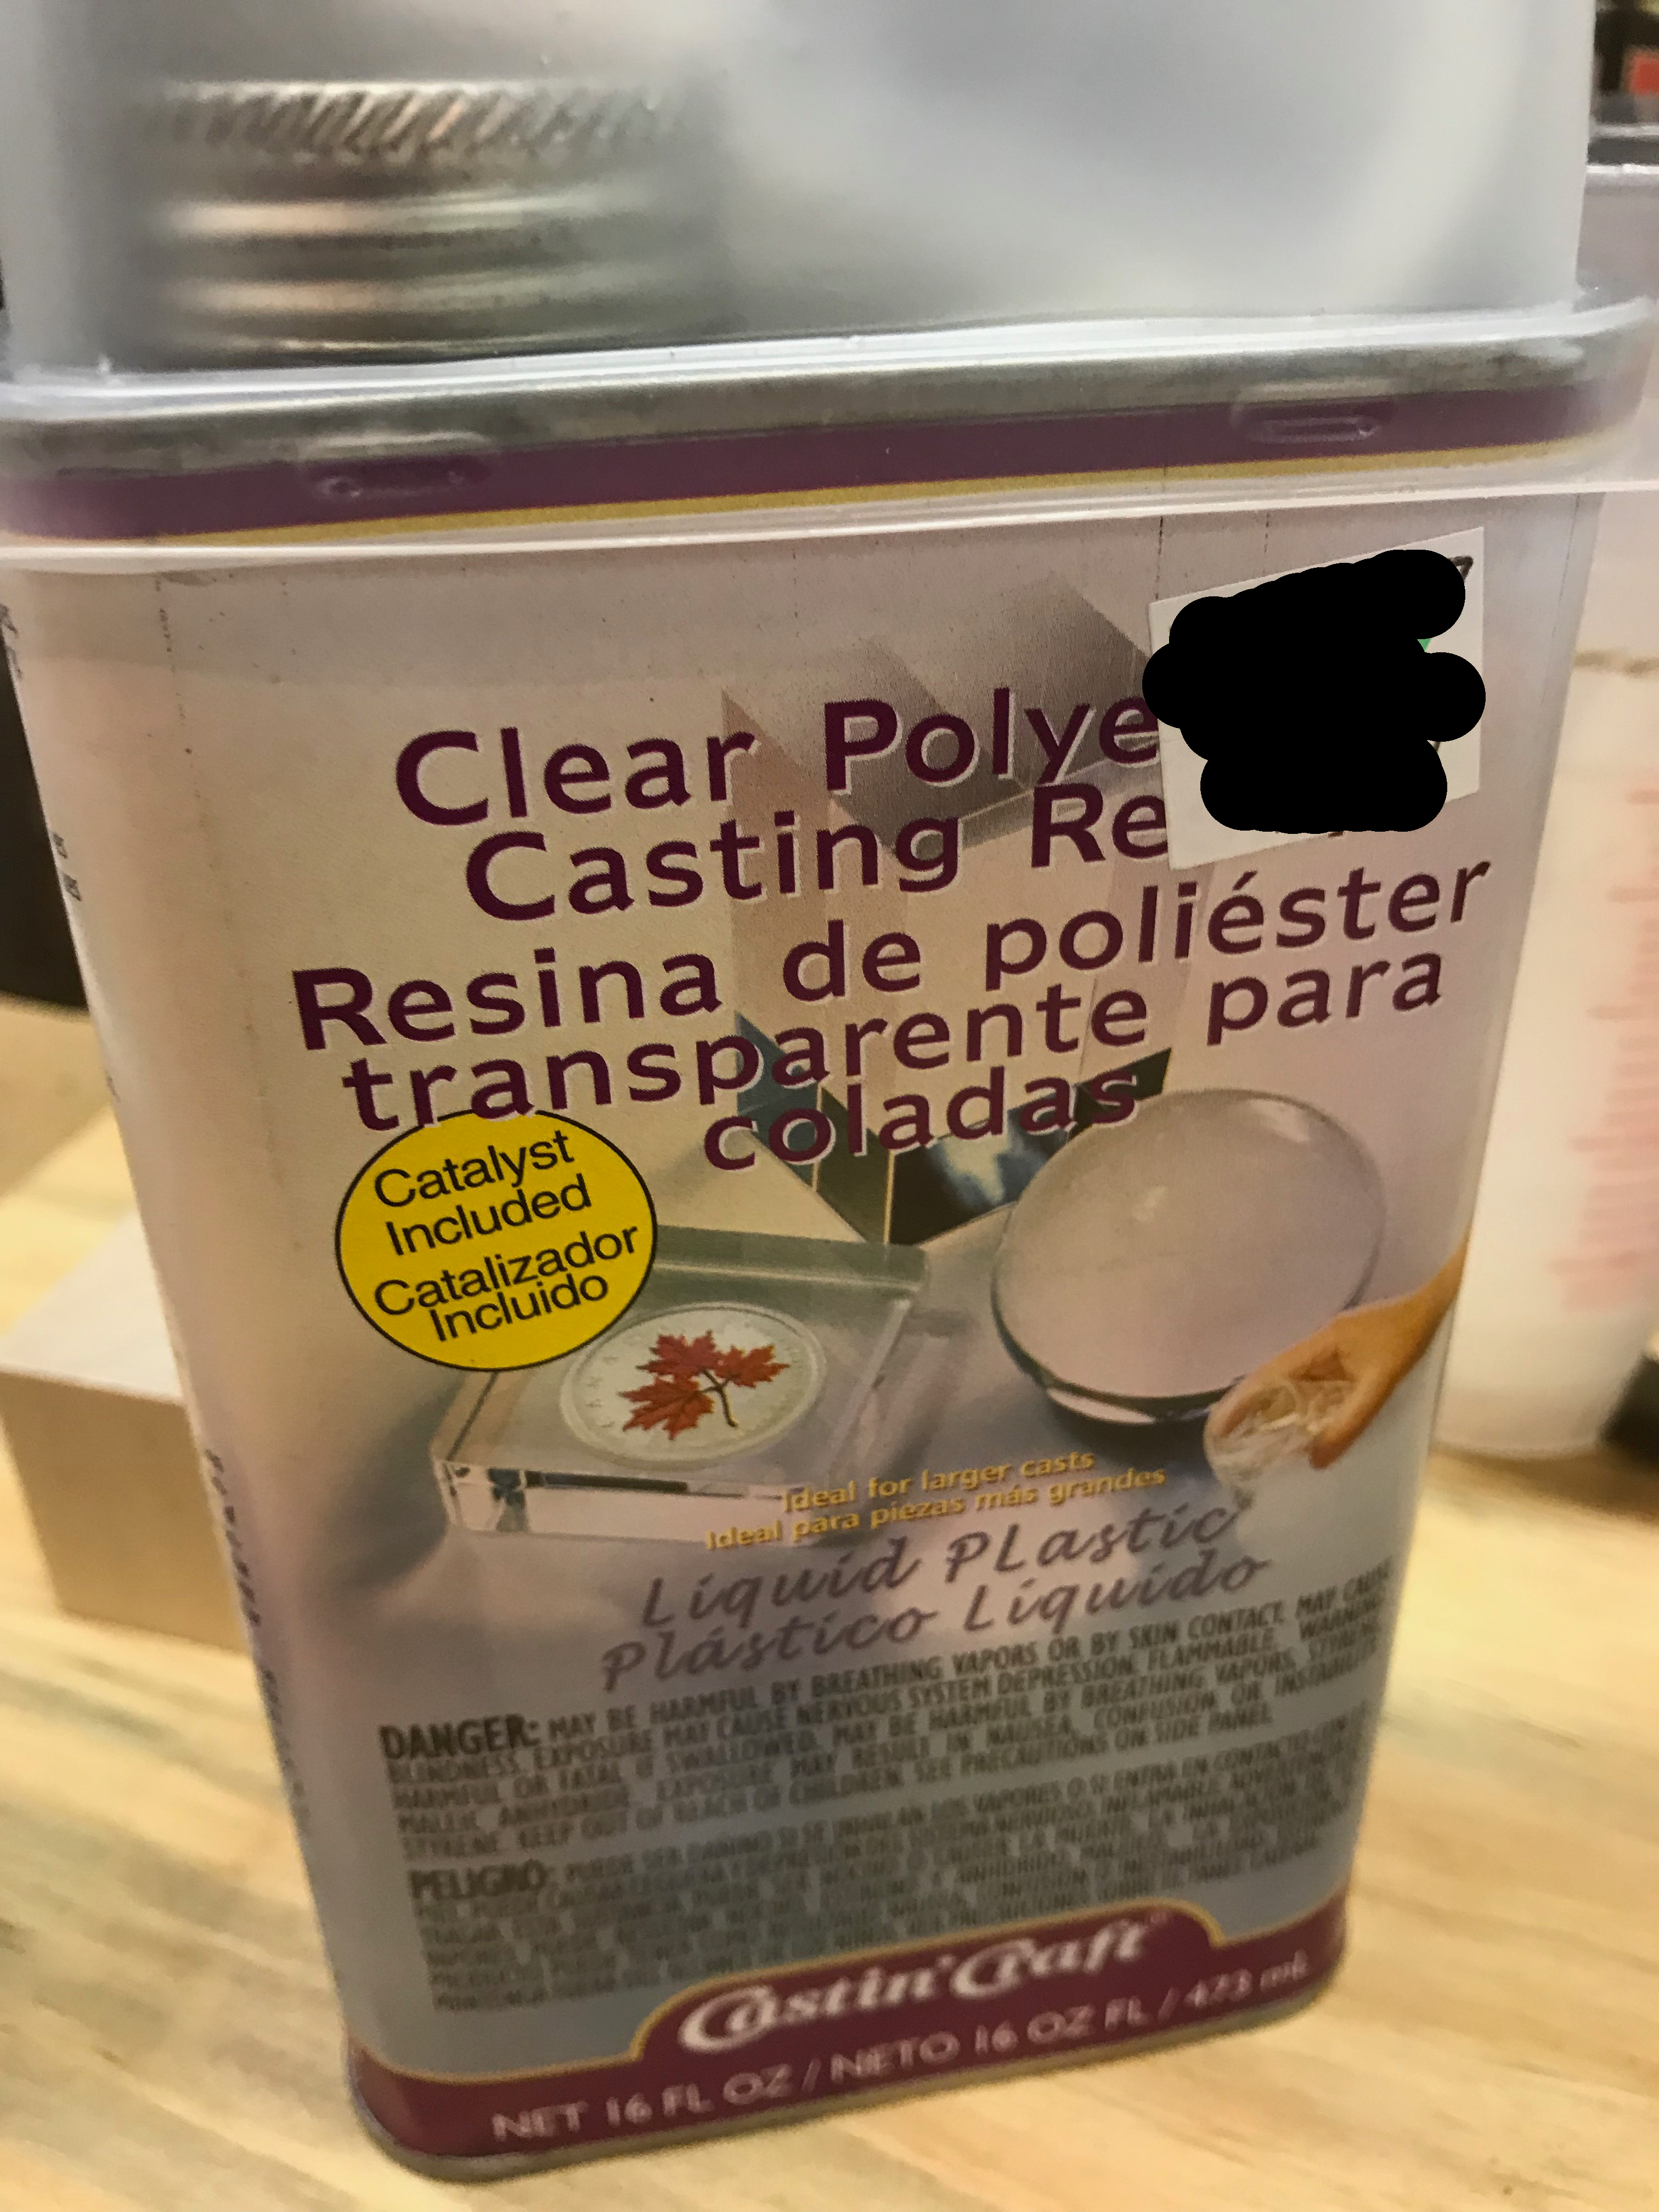
- Clear Polyester Casting Resin (Castn' Craft)
- Clear Acrylic High Gloss Coating (Tree House Studio)
- Stirring cups (Castn' Craft)
- Wooden stirring sticks (Castn' Craft)
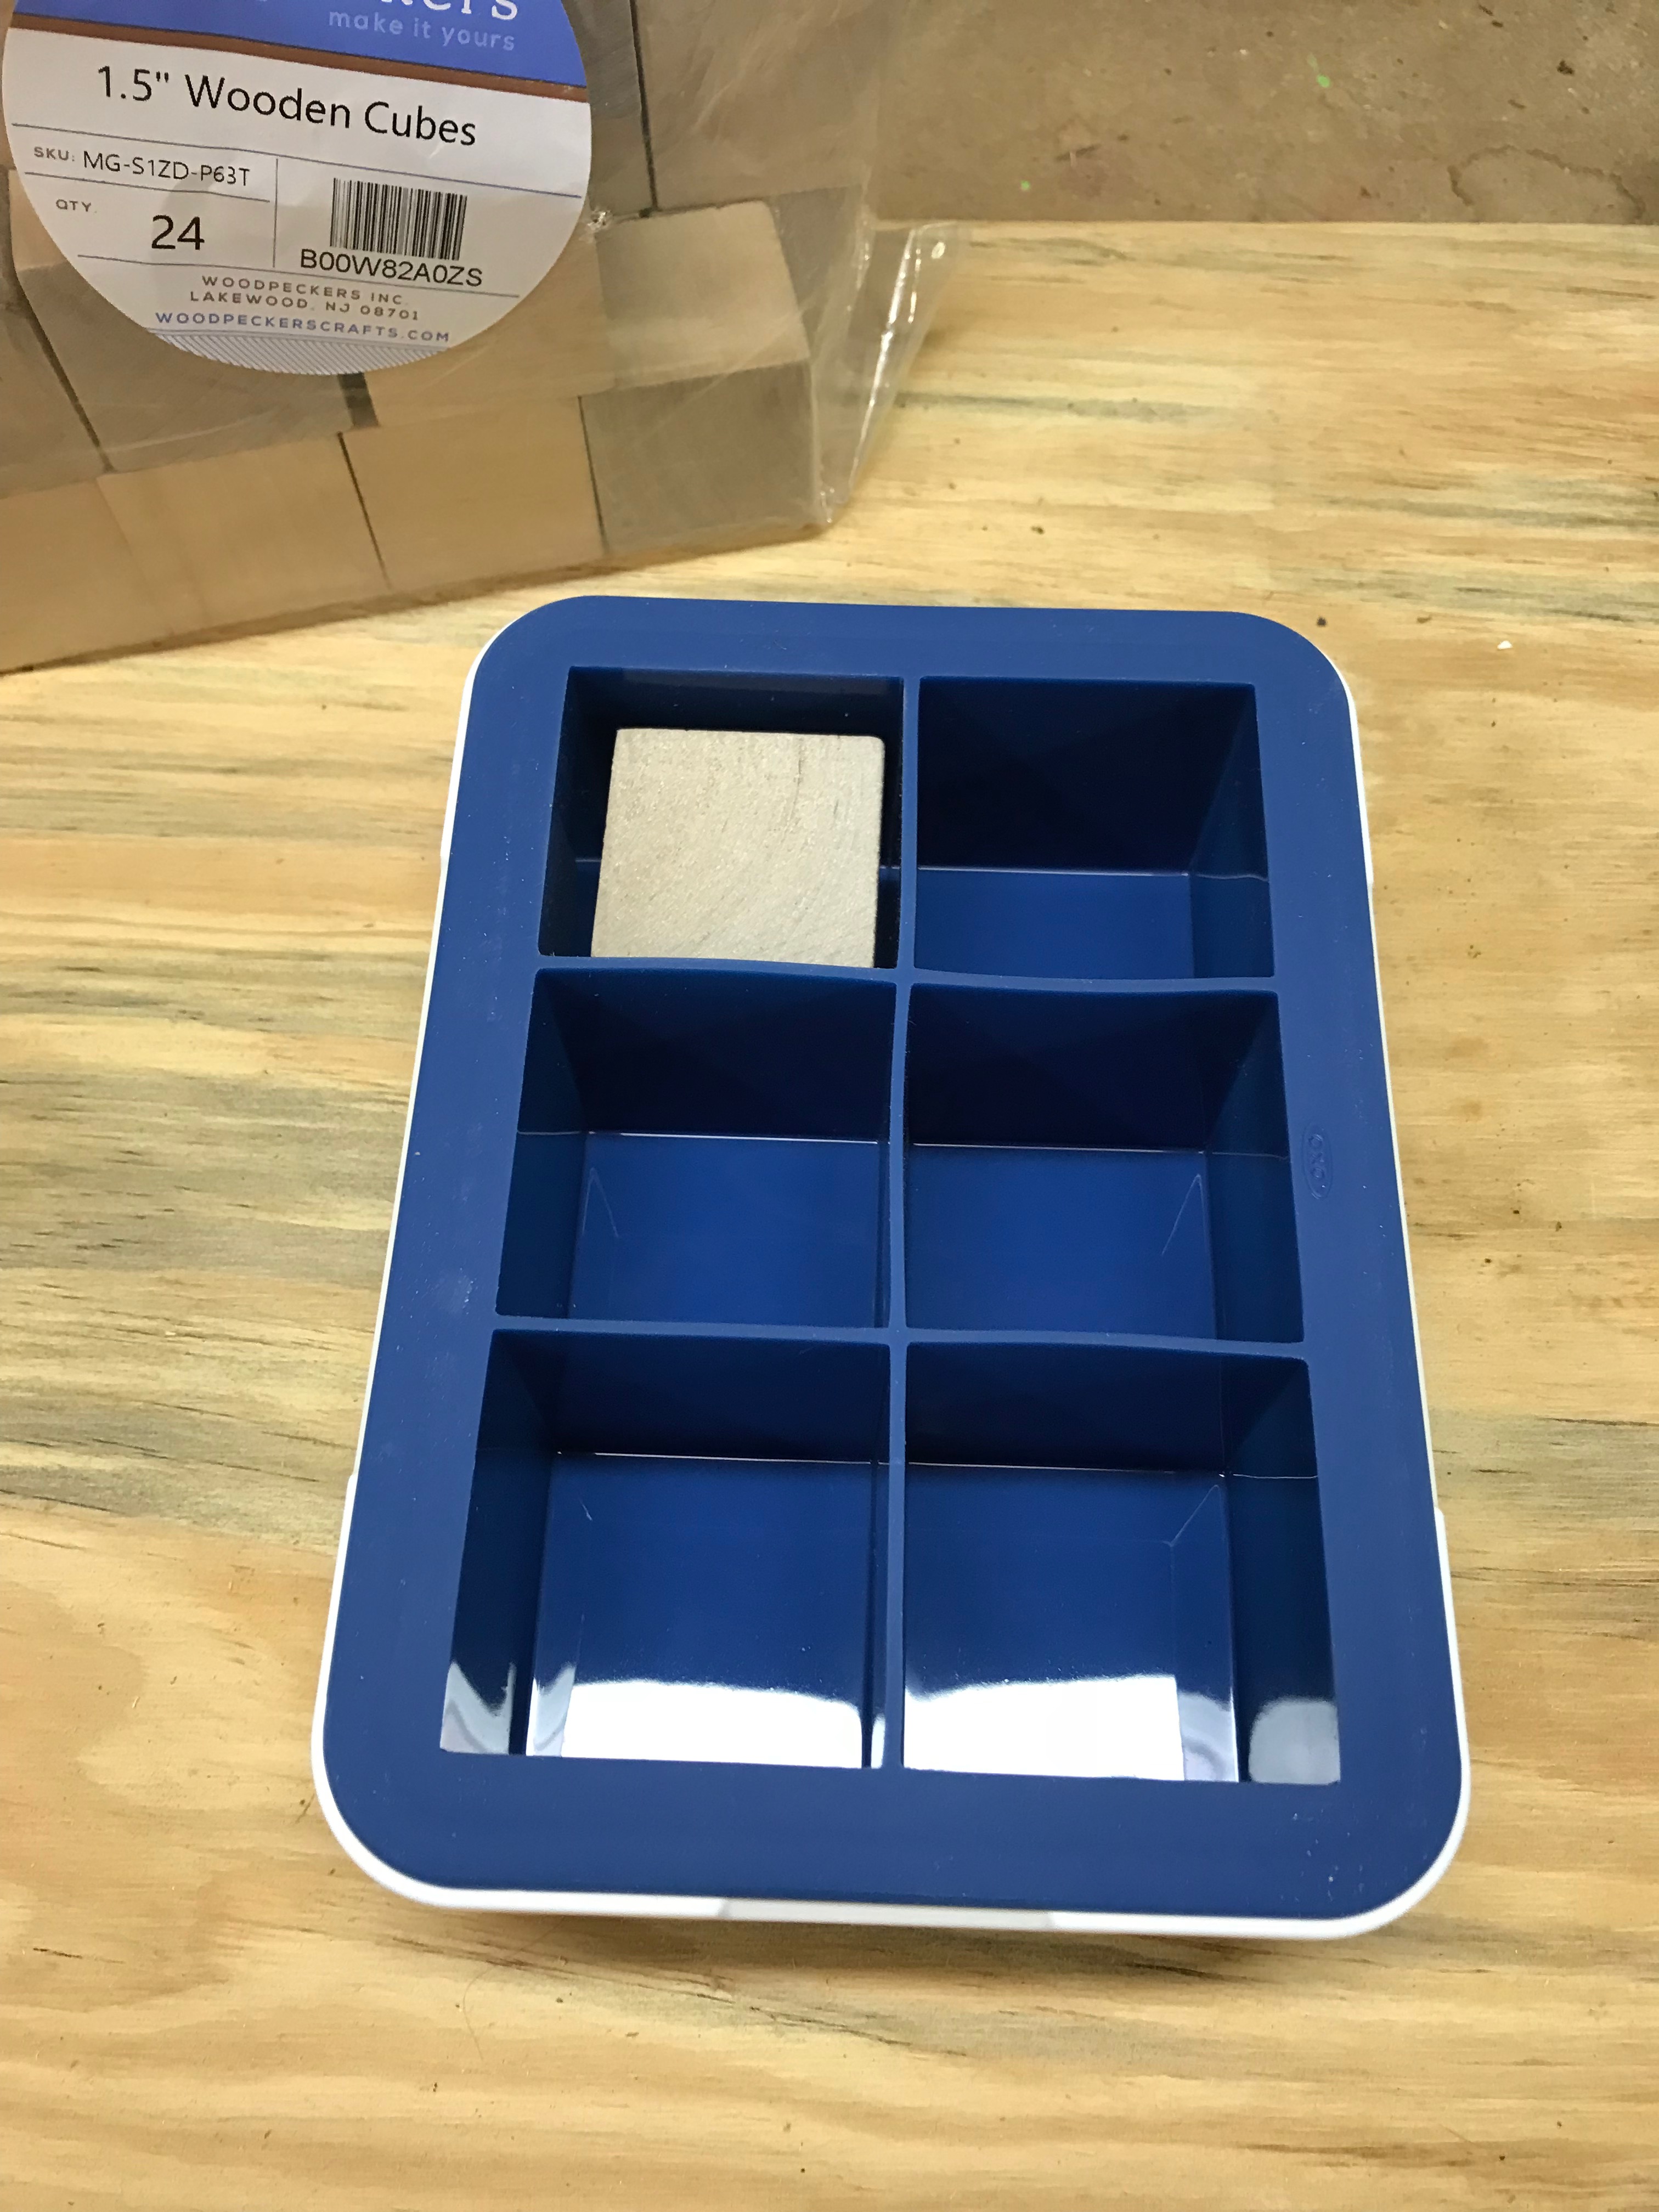
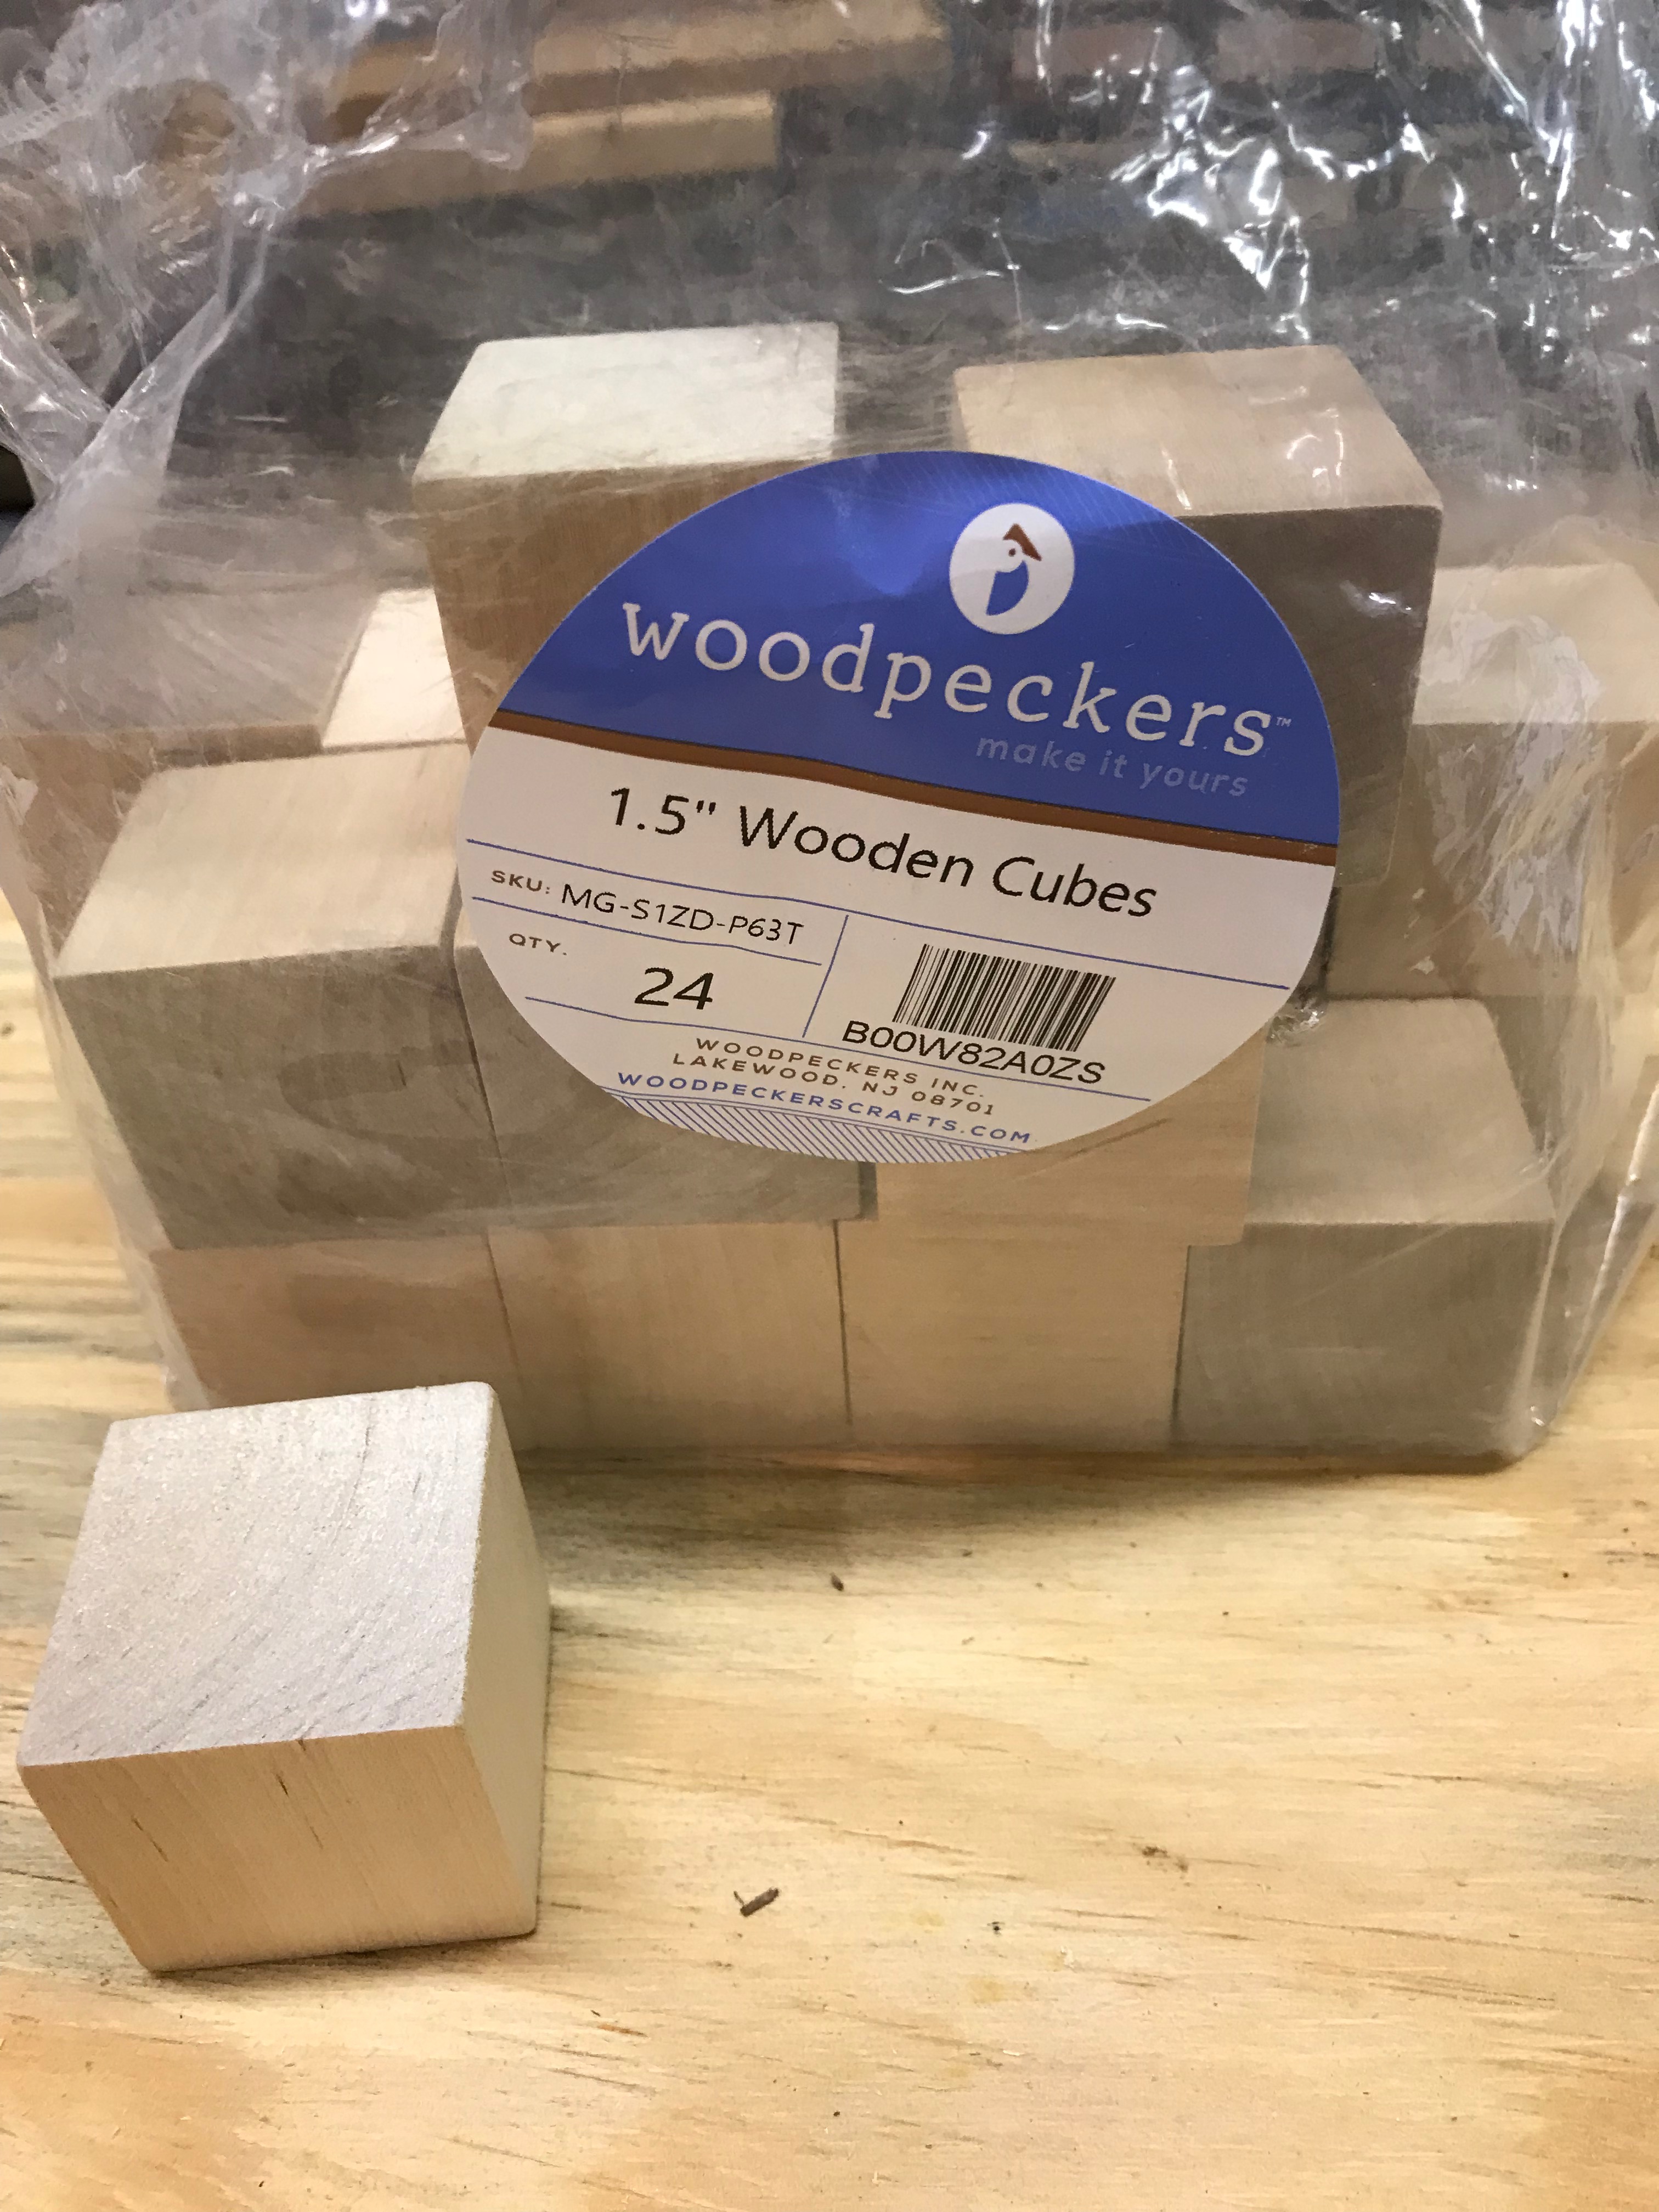
- 1.5x1.5x1.5 inch wooden blocks - typically poplar or maple (Woodpeckers)
- Optionally you can cut your own from a length if 1.5 inch poplar found cheap from the local hardware store or lumber yard.
- 1-3/4 inch ice cube tray (OXO Good Grips)
- staples (if making ornamentes)
- drill (optional if making ornaments)
- 1/16 inch bit
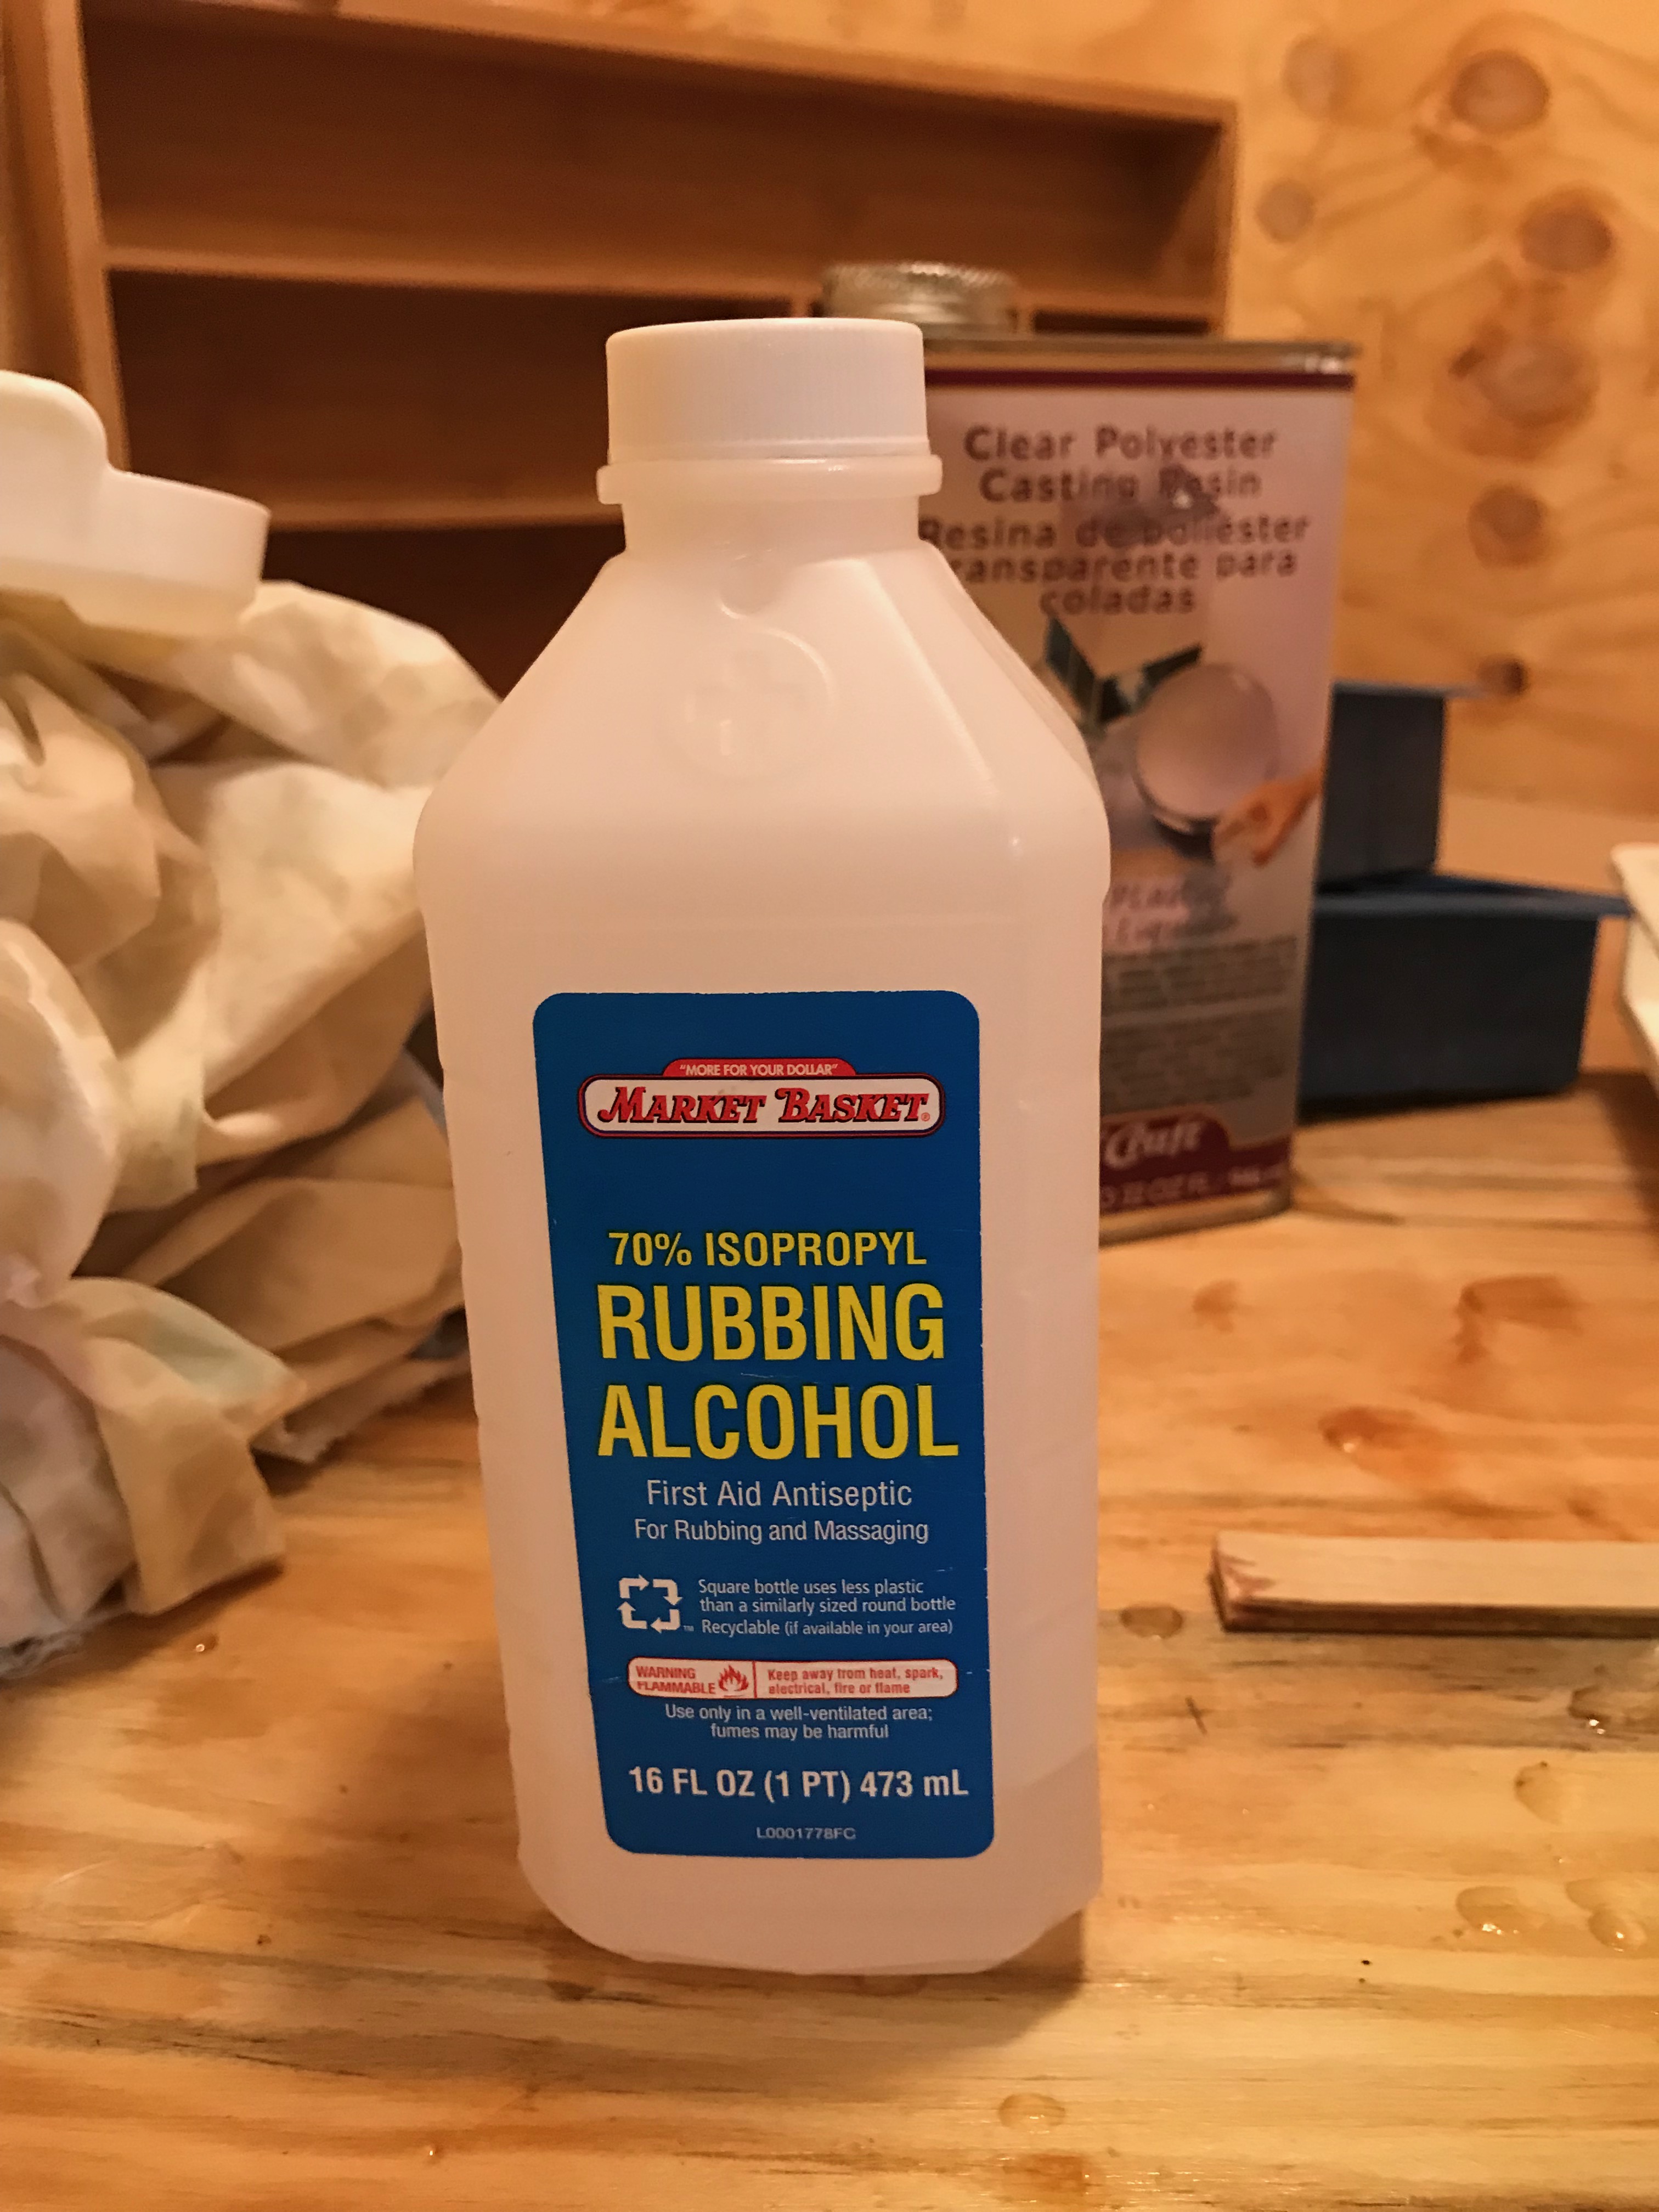
- Isopropyl rubbing alcohol for cleanup
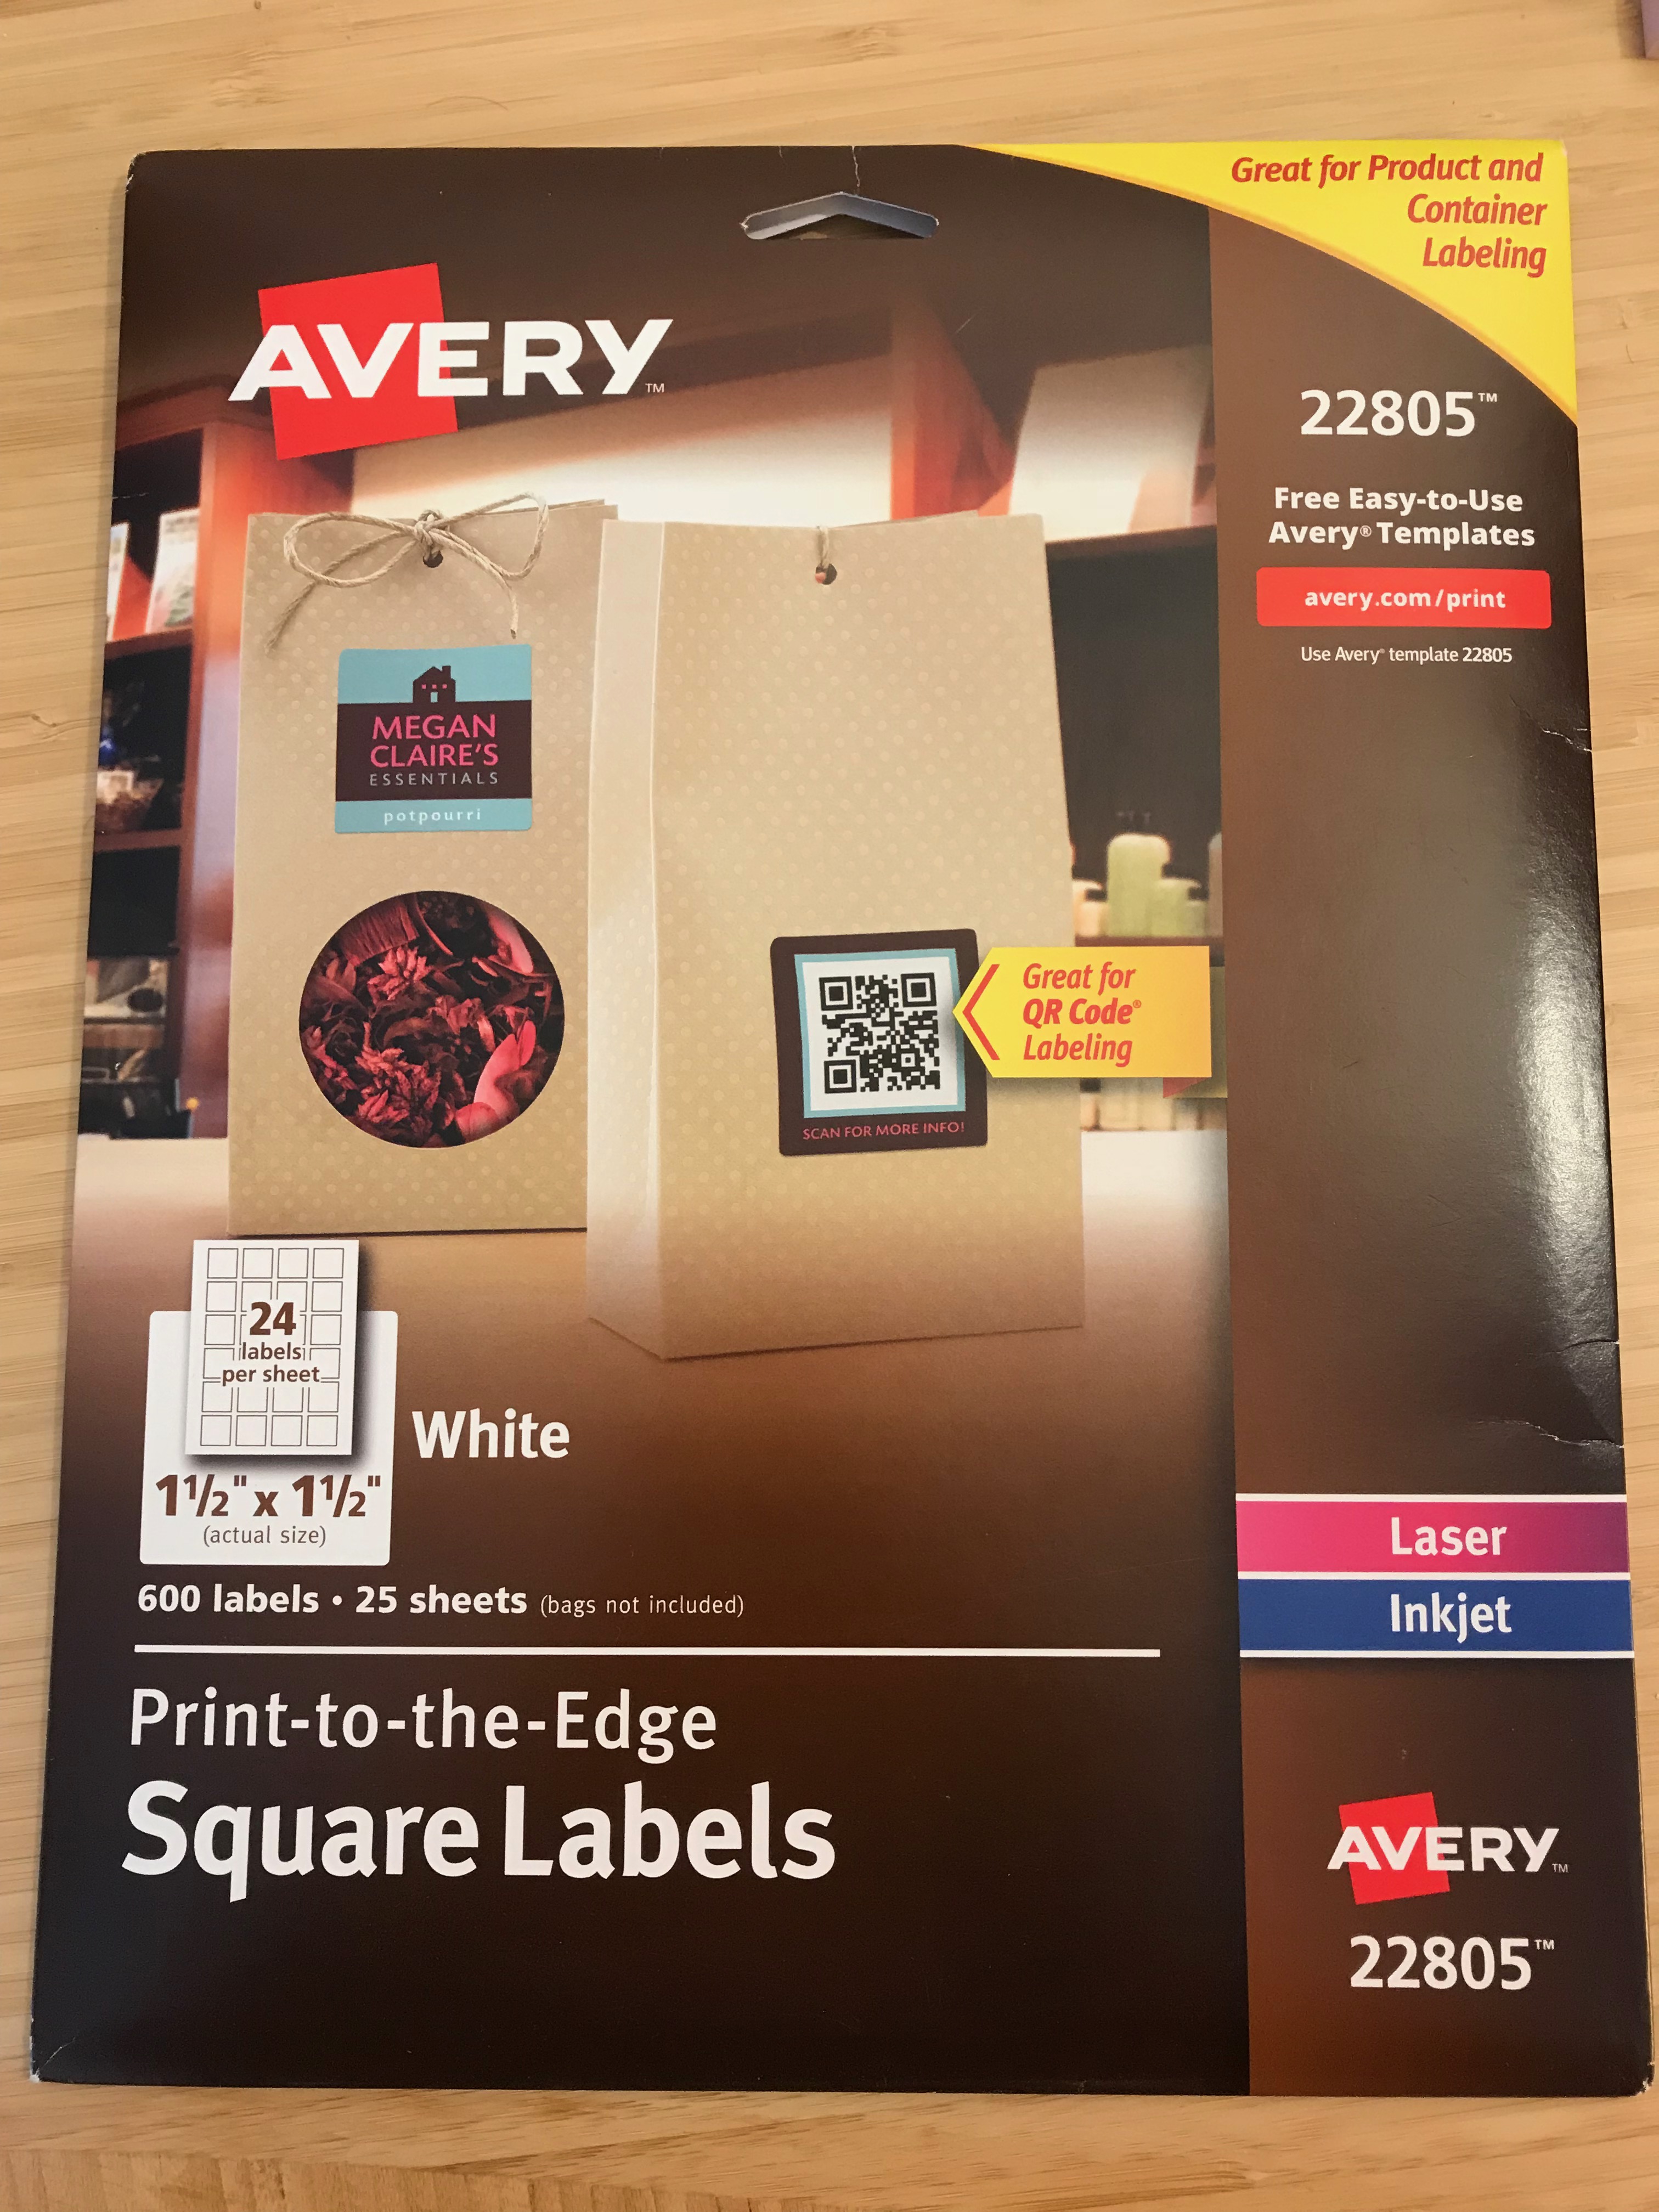
- Avery 22805 square labels (1.5x1.5 inch stickers often used for QR codes)
- Ventilation!
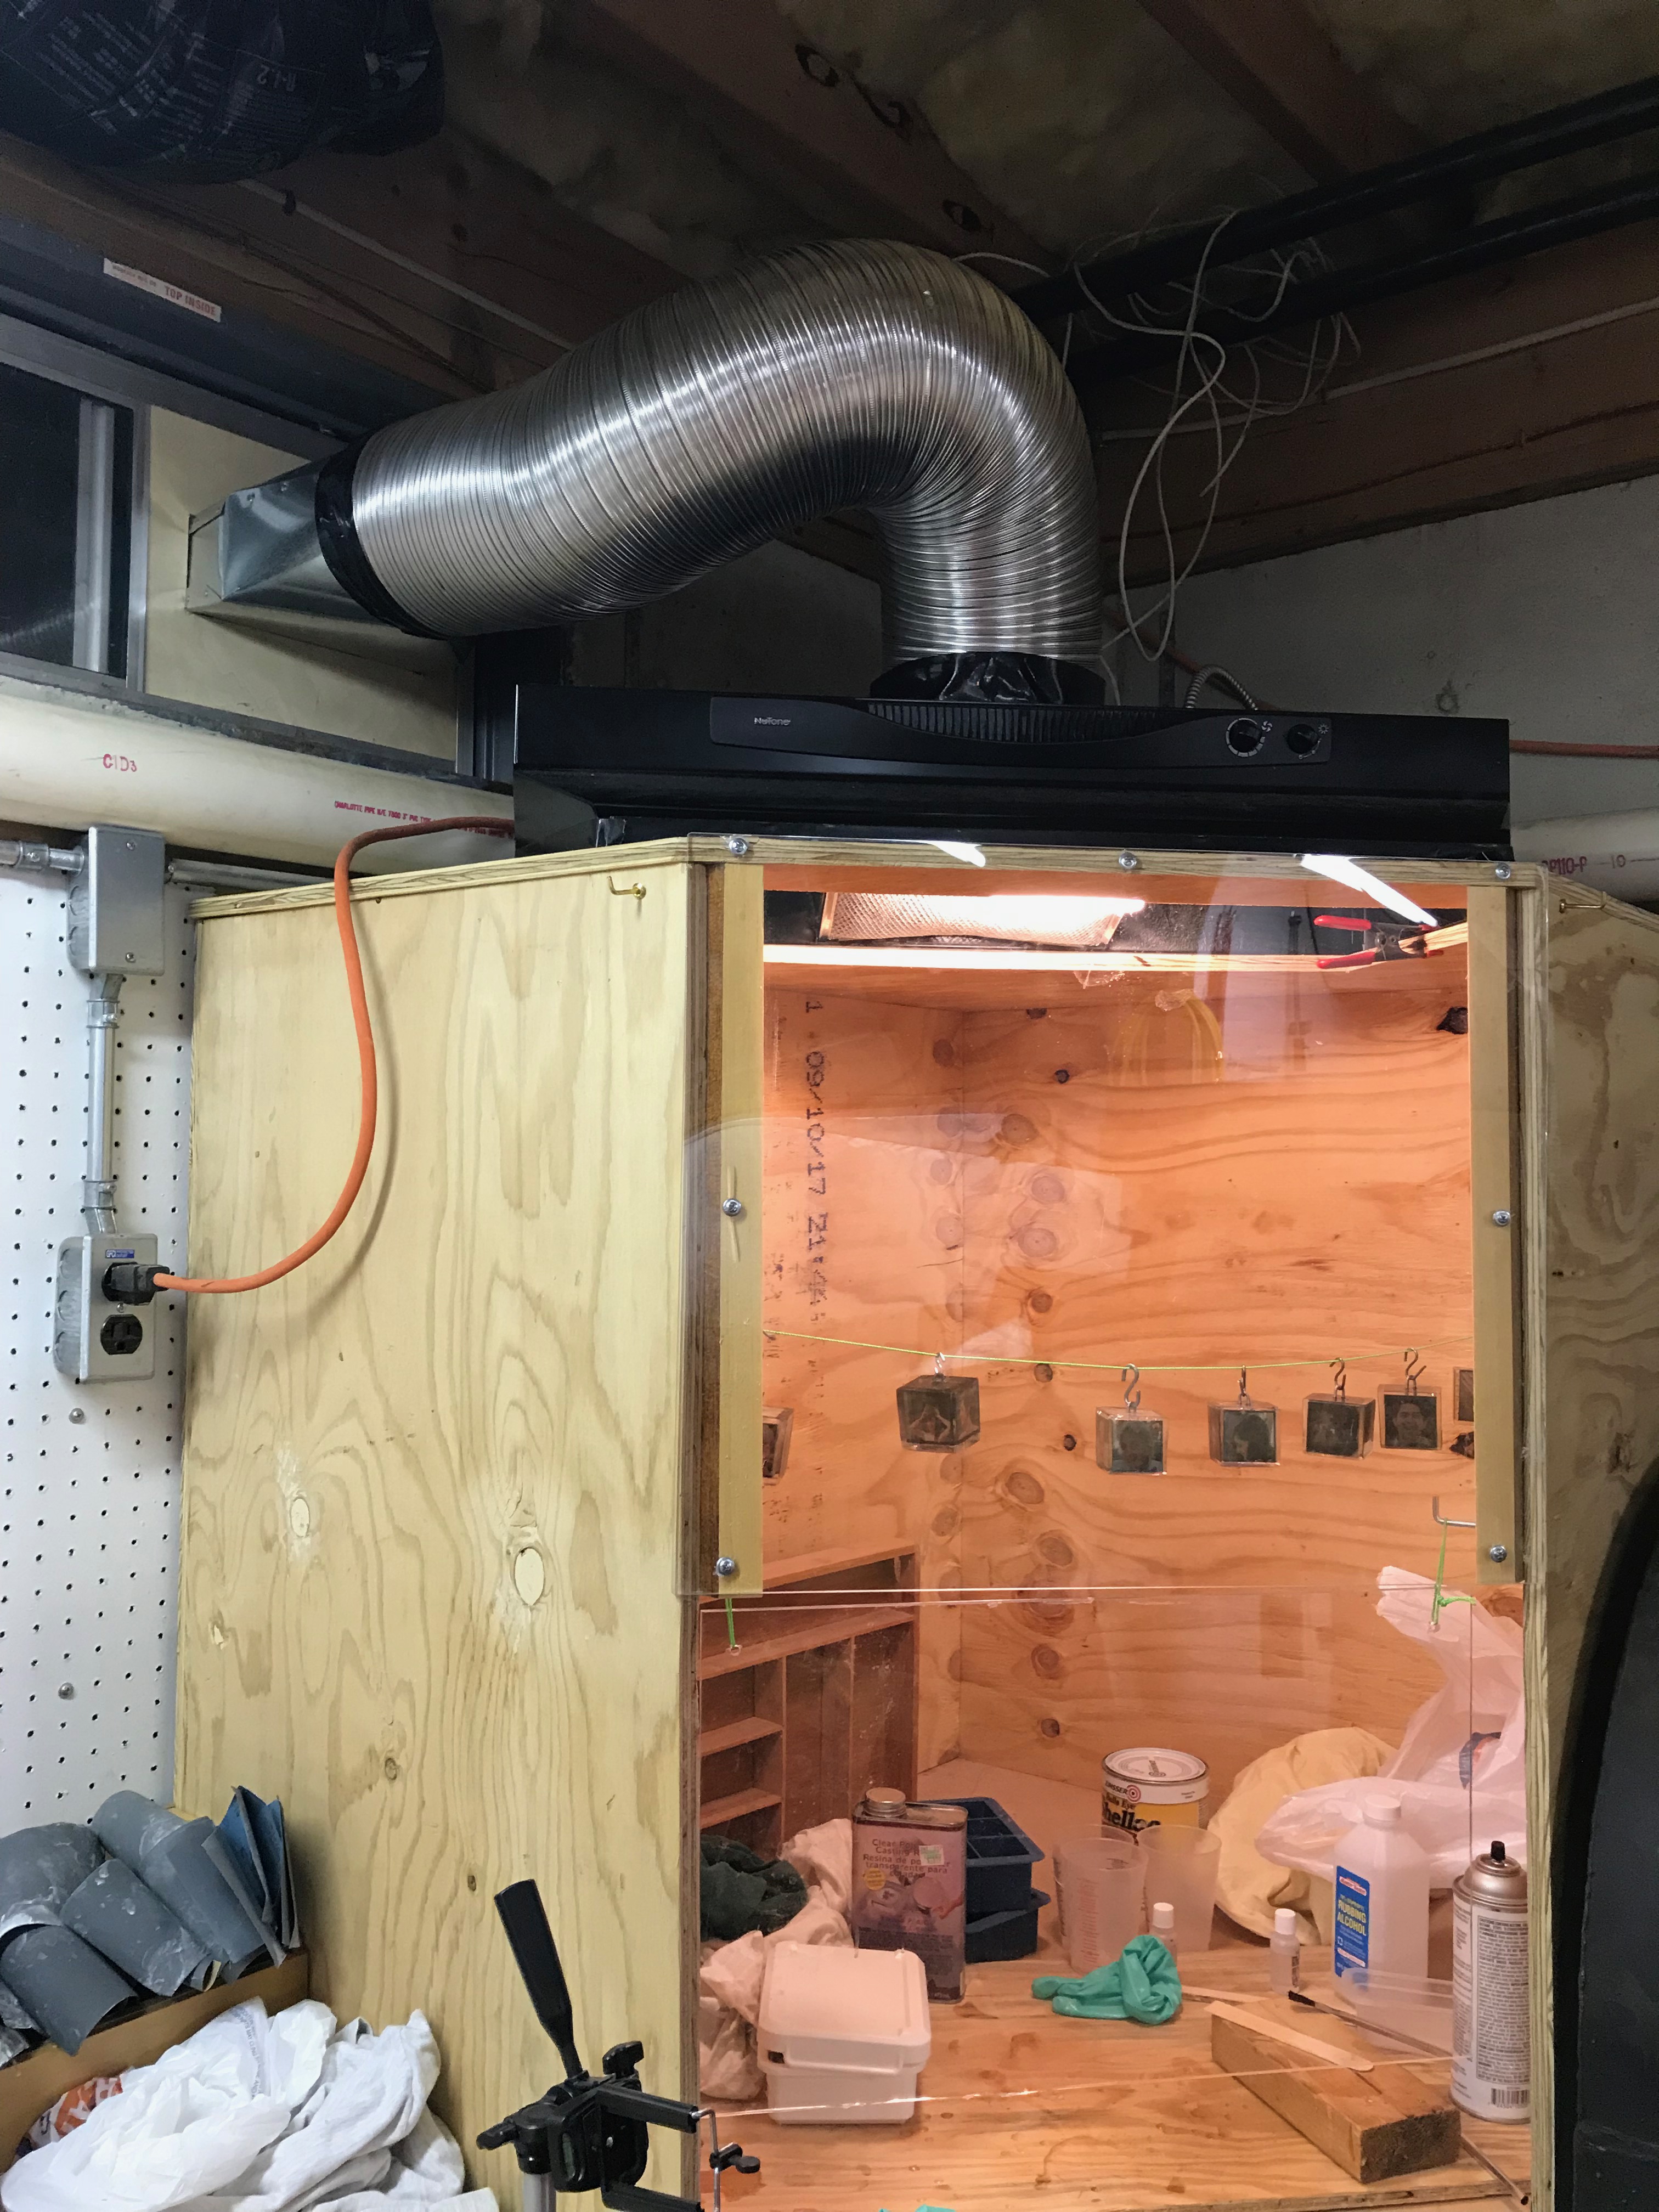
- If you can't work outside in your garage, shed, or other open-air area, you will need some way to vent the fumes from your room. For this project I mounted a kitchen hood fan on top of a plywood work area I built on top of my basement workbench. The Instructable Building a Small Fume Hood for Stinky Projects was very helpful here.
- Sandpaper
- 120, 220, 320, 400, 600, 800, 1000, 1200, 1500, 2000, 2500, 3000 grit
- (You may need extra 120 grit paper if you are making a lot of cubes)
- You can probably skip some of the intermediate sizes as long as you finish with 3000 grit or higher.
Cutting 1.5 Inch Wooden Blocks (optional Step)
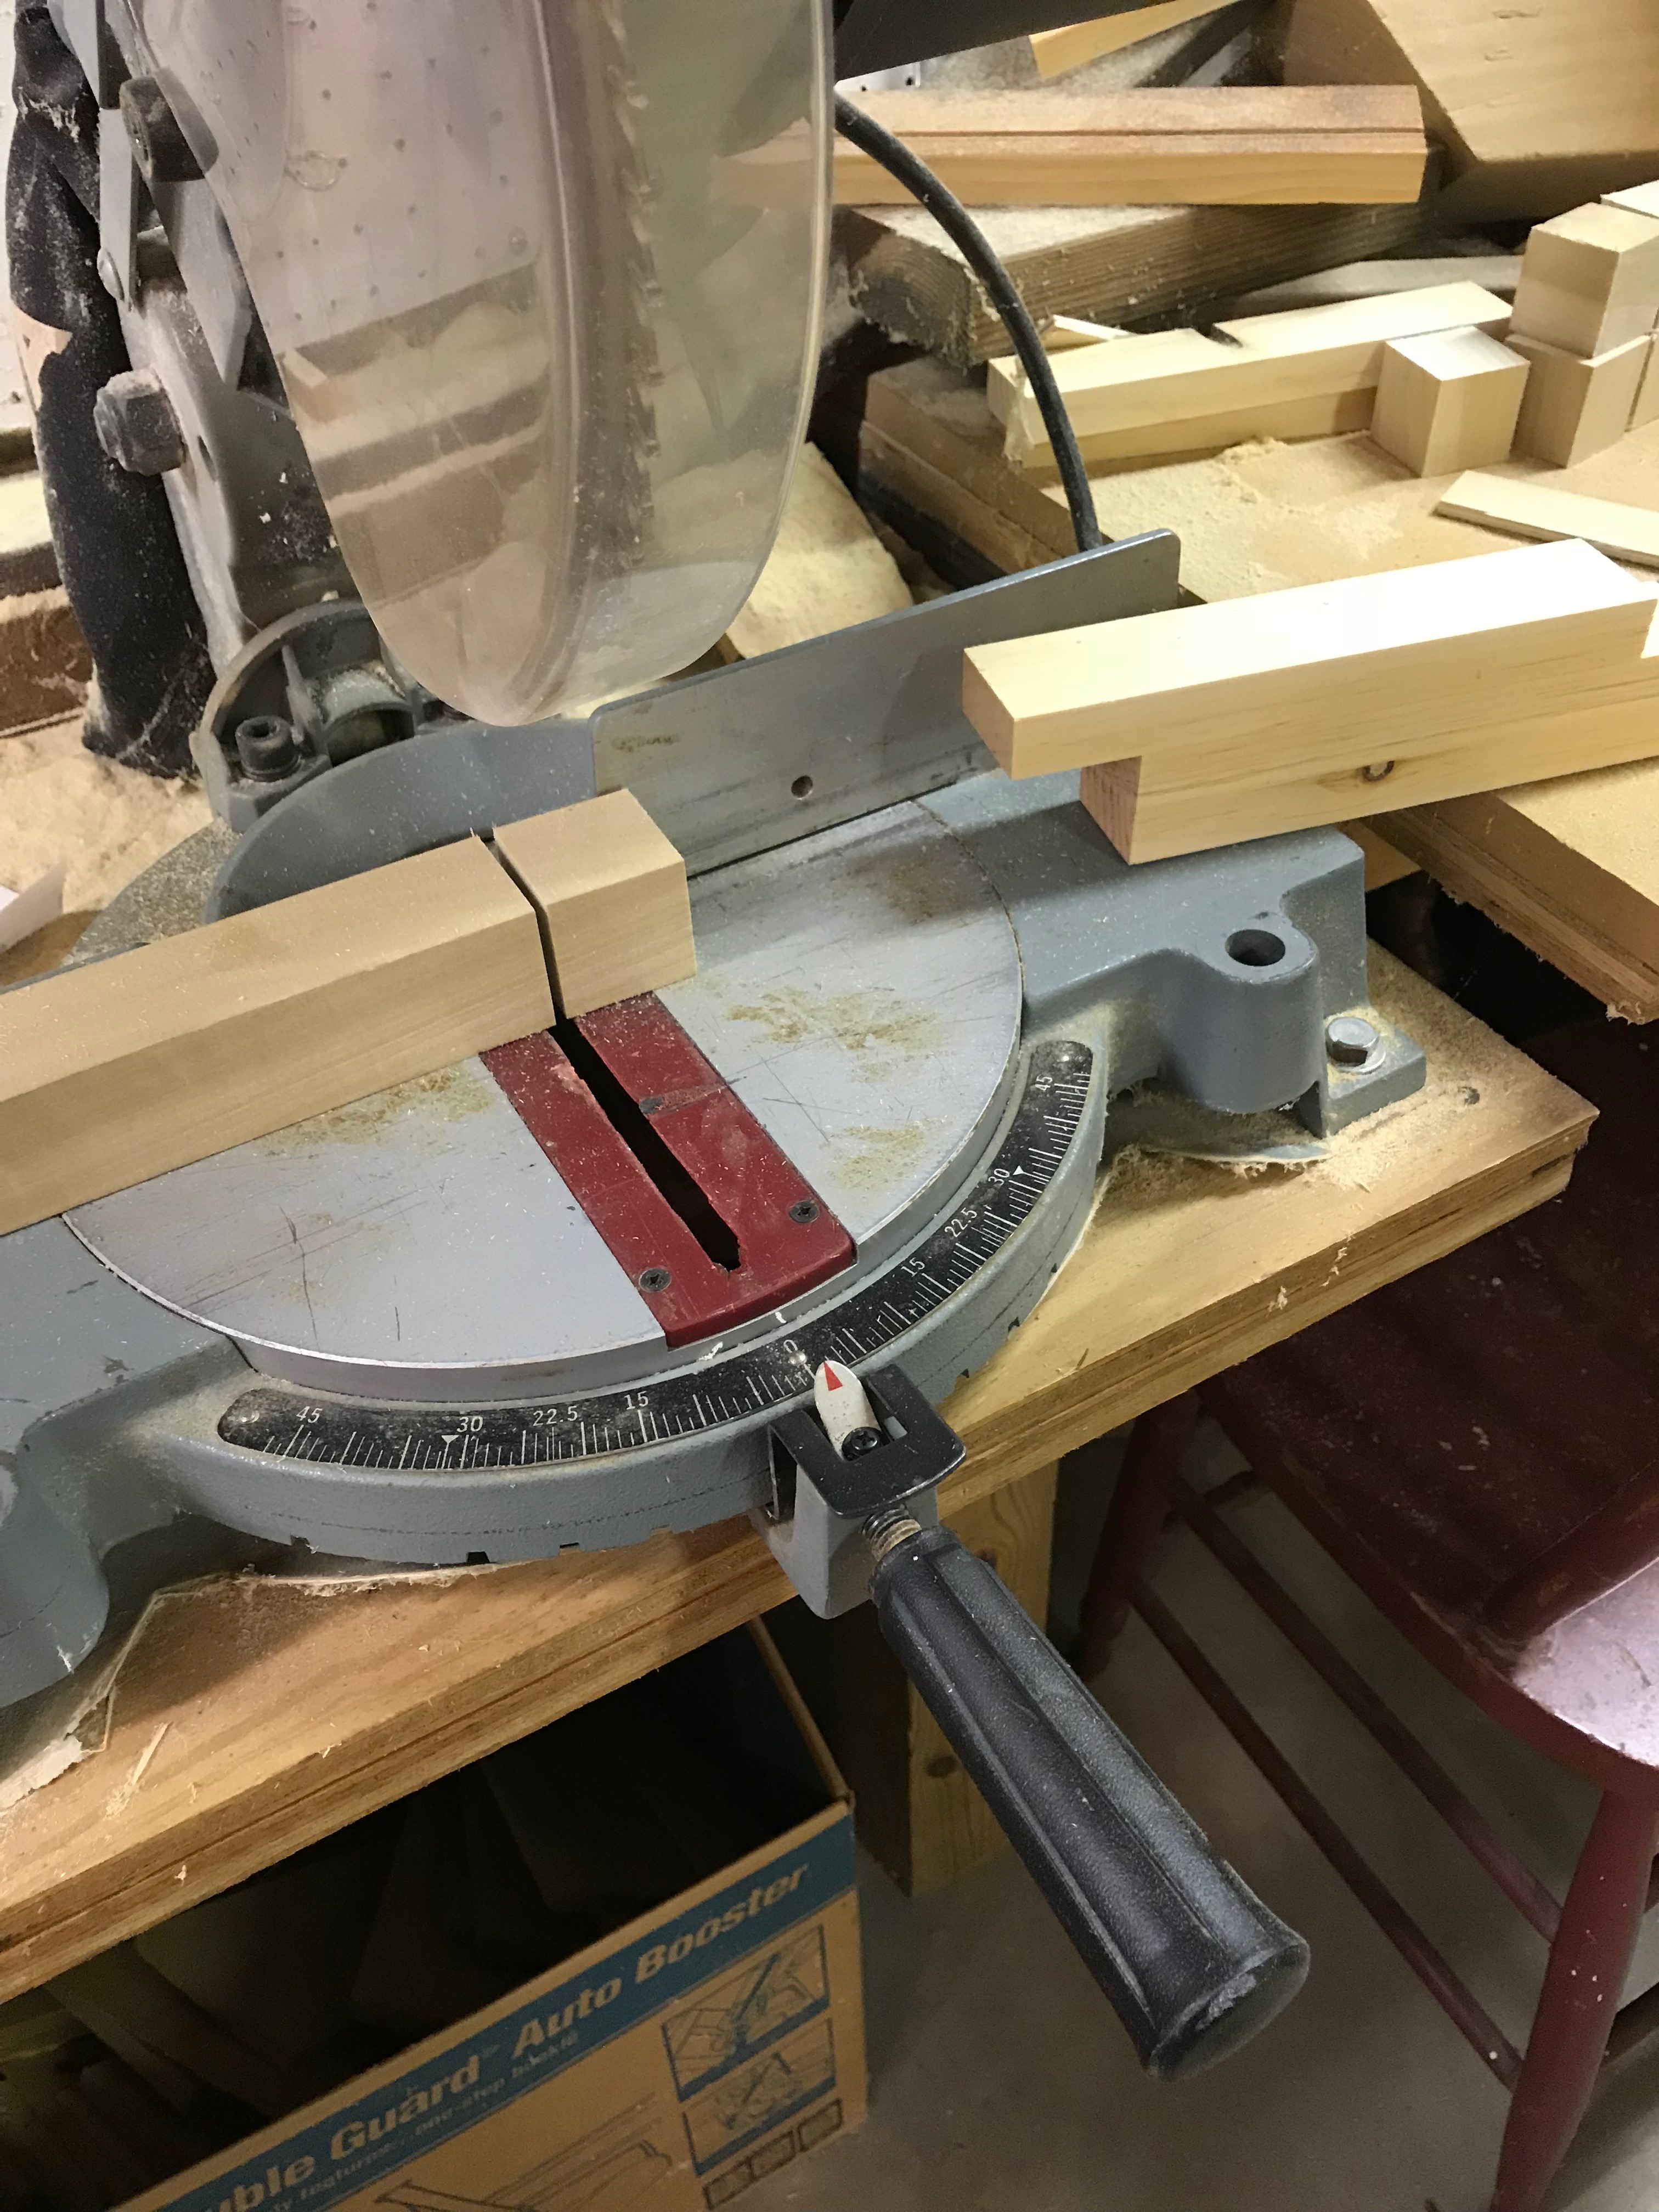
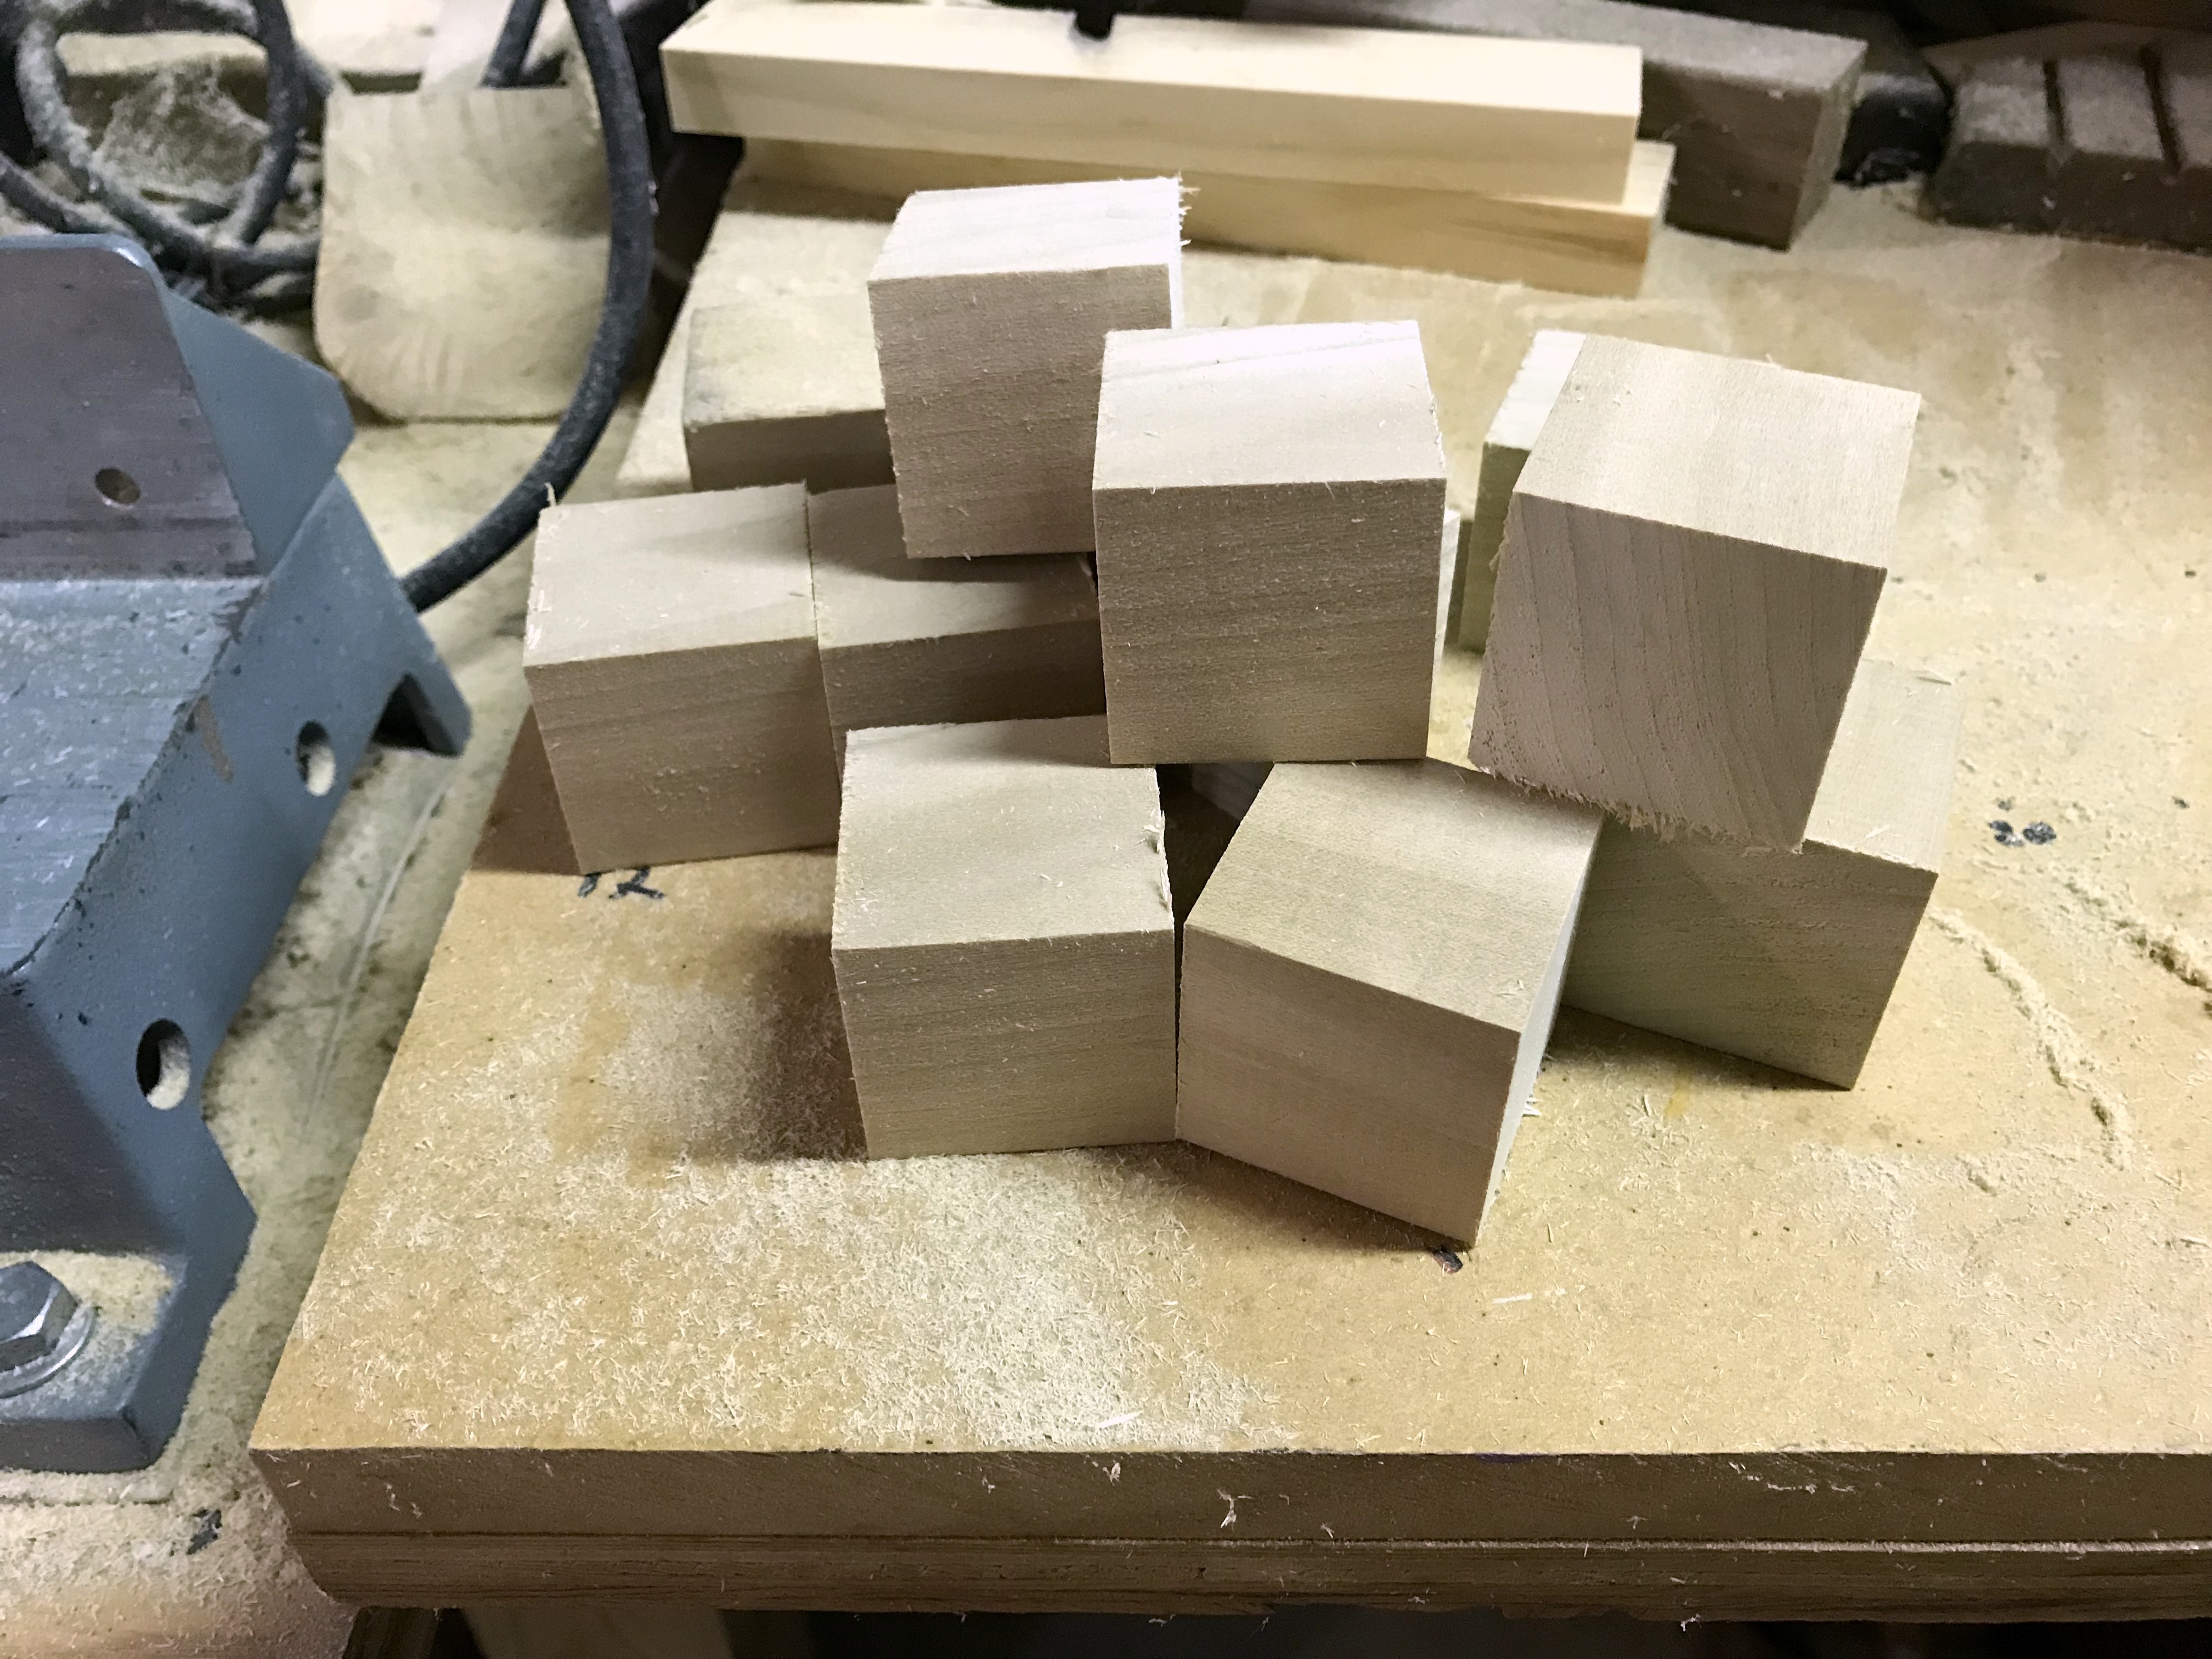
Wooden blocks are easy to find and relatively cheap in most craft stores and on shopping websites but they are also easy to make if you have access to a chop saw. Your local building supply store, hardware store, or lumber yard will almost certainly carry 3-foot lengths of 1.5 inch poplar or maple or another hardwood. With just a few swipes of the saw you can create as many 1.5 inch cubes as you may need.
To make this easy for myself, I created a quick jig by nailing a together few 3/4 inch pieces of pine in the shape of a "Z".
- Two pieces are aligned and nailed together to make a 1.5x1.5 inch face.
- A third piece extends 1.5 inches beyond to make an overhang for marking the cut line.
- Simply butt the end of the jig against the saw blade.
- Then slide the piece you want to cut into position.
- Hold the piece in place.
- Remove the jig.
- Cut.
- A perfect cube every time!
You may need to lightly sand the edges depending on how sharp your saw blade is. But don't go overboard. It will all be hidden underneath stickers and resin.
Print a Sheet of Labels
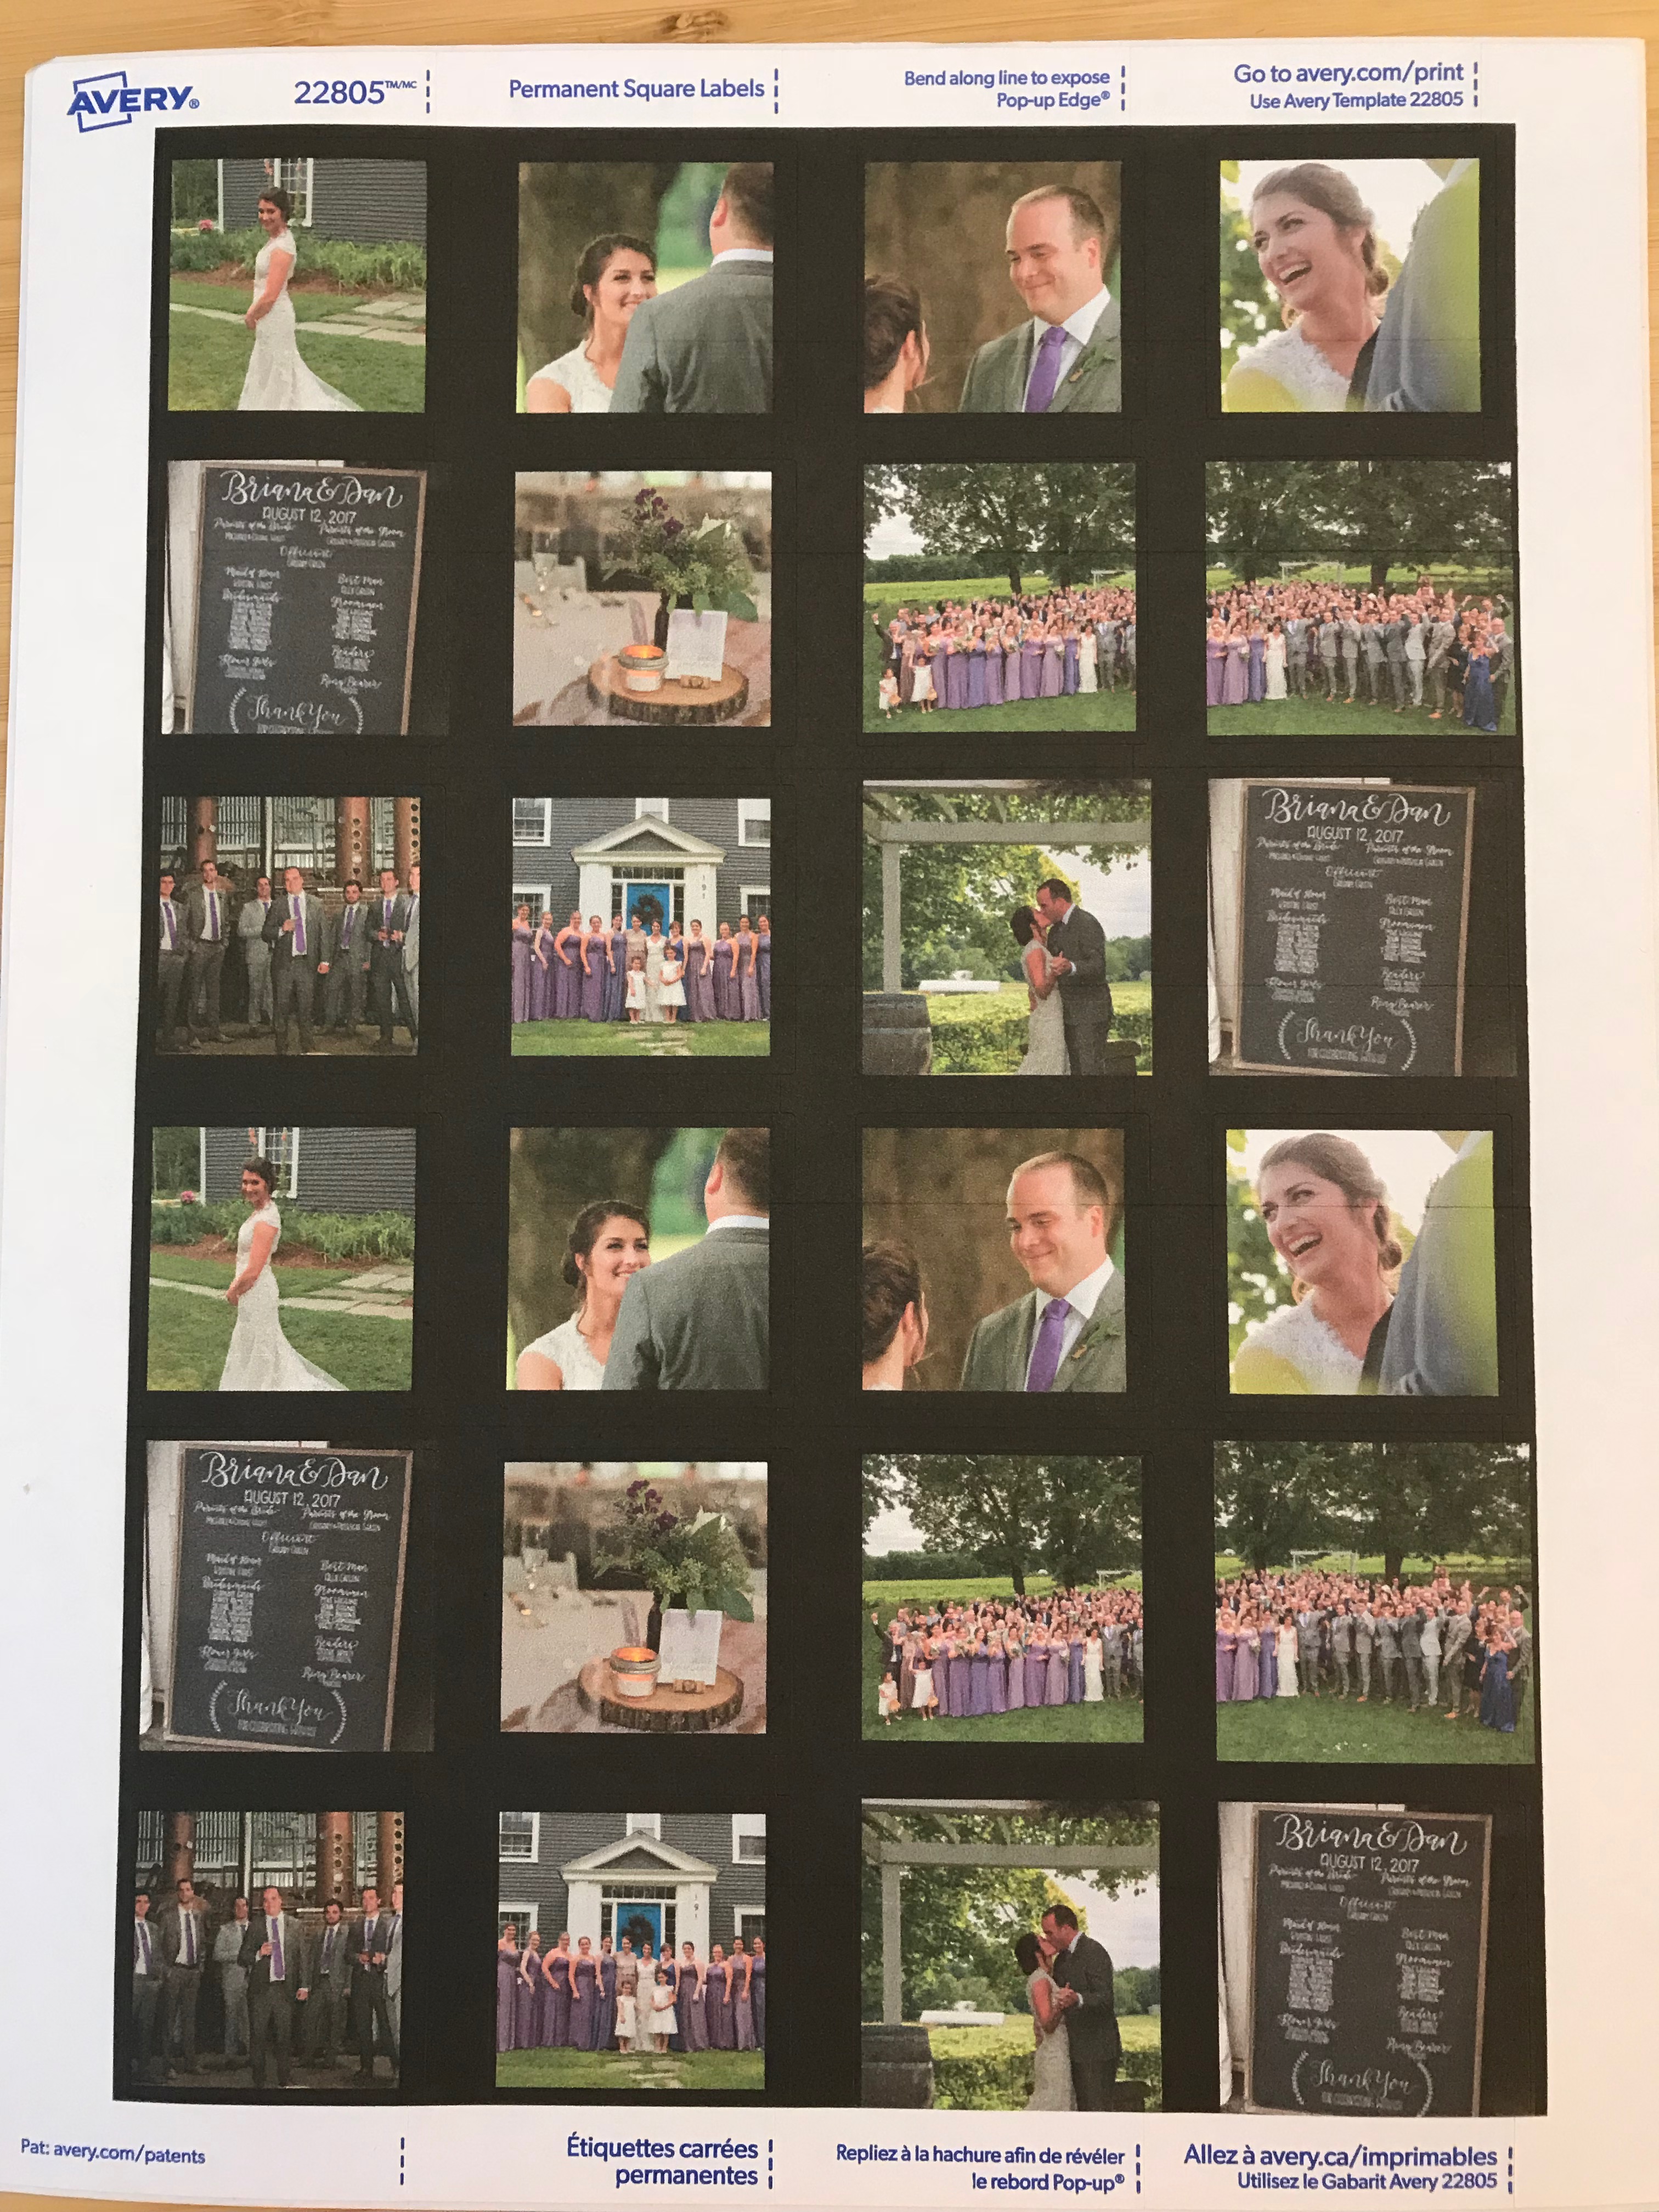
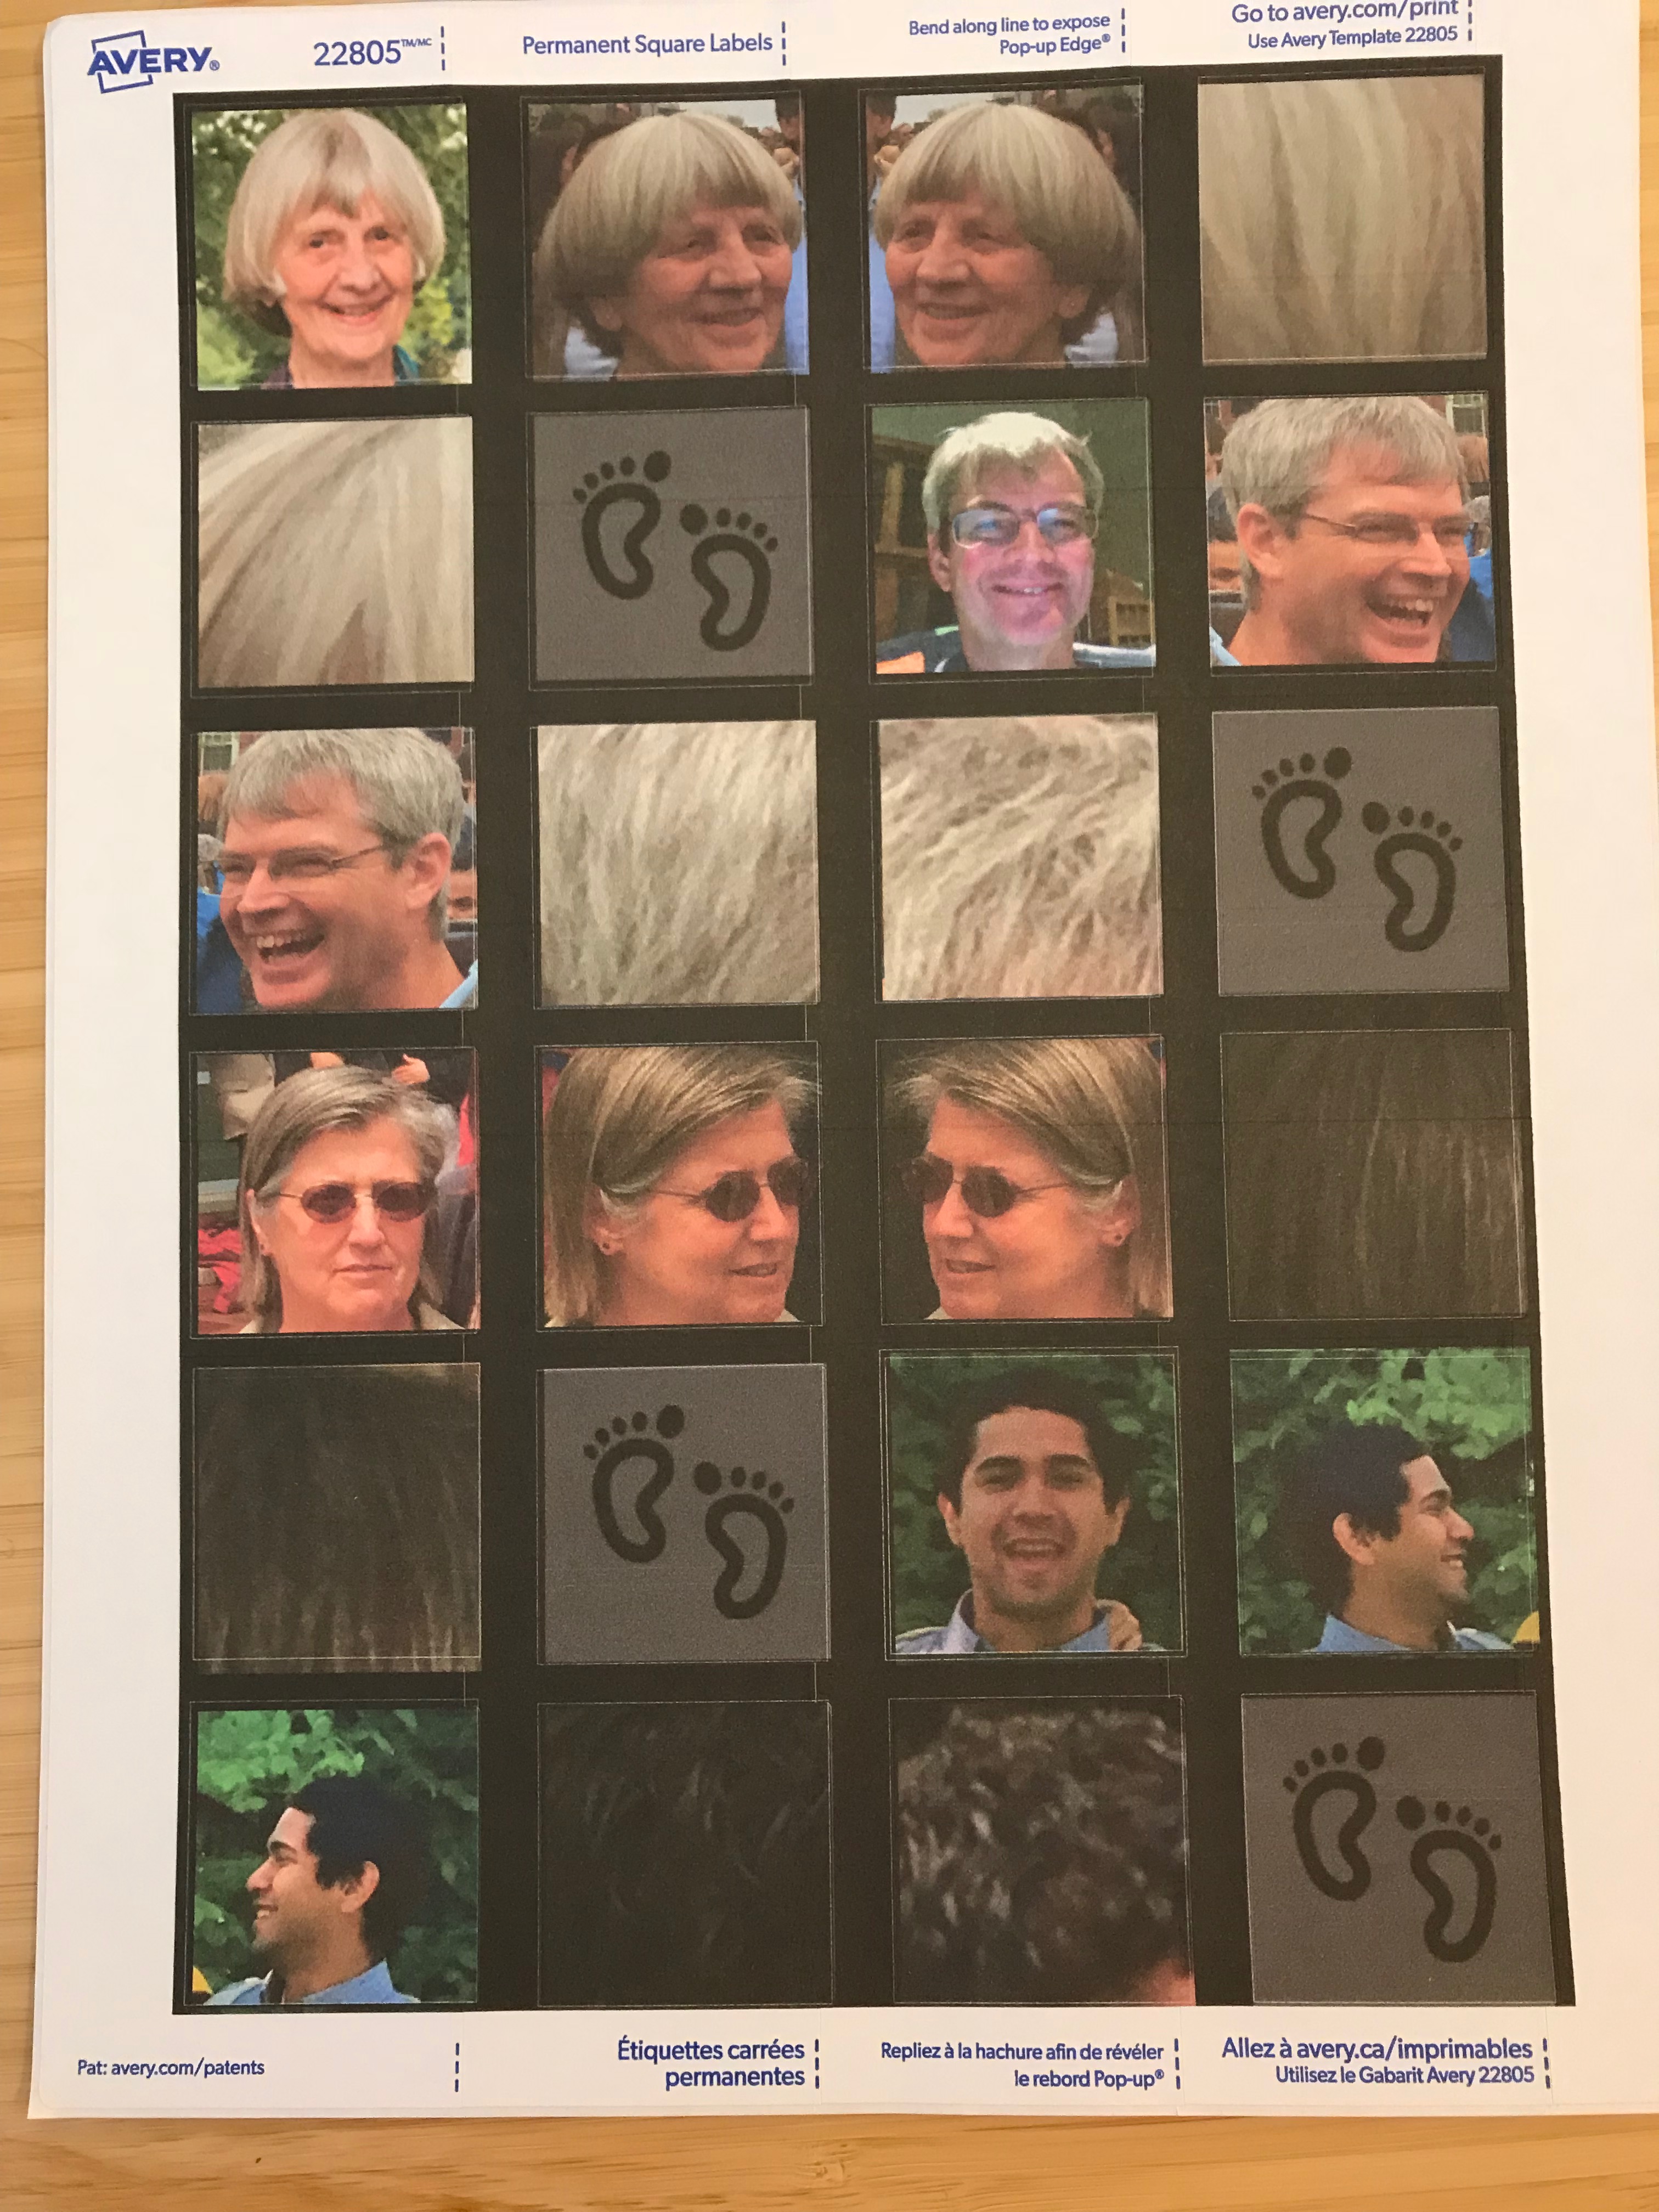

Using Adobe PhotoShop I generated six 300-pixel square images for each cube.
- Create a new PhotoShop document
- New
- Blank File
- Width: 300 pixels
- Height: 300 pixels
- Resolution: 72 pixels per inch
- Transparent background
- Import the six images you want to use for the six sides of the cube by dragging/dropping the JPG or PNG images into PhotoShop
- Go to the tab that contains a full image and "Select All".
- Switch to the PhotoShop project you recently created.
- "Paste" to create a new layer.
- Now scale your selection so the square portion fits nicely.
- You likely will need to zoom out quite a bit in order to find the lower-right corner of the image you want to scale. This is because the original image is probably a much higher resolution that the 72 pixel/inch setting on the PhotoShop project.
- For Blockhead ornament face images I typically reused a left or right profile of the person's head by creating a new mirror image layer:
- Select the layer of the side of the person's face
- Duplicate the layer
- Make sure the new layer is visible and selected
- possibly hide other layers in front of the one you are working with
- select the layer you are working with.
- Click the menu option:
- Image
- Rotate
- Flip Layer Horizontal
- After all six layers are complete save each one as a .png or .jpg image
- Hide all layers except the one you need to save
- Save for web
- File
- Save For Web...
- Save
- Now create a Microsoft Word Document using Avery Template 22805
- From your browser download Template 22805 from Avery Website. I selected the .docx version for Microsoft Word. There are other options.
- Open the downloaded template document in Microsoft Word and "save as" the file you want to call it and in a place you can find in the future. For example maybe you want to call in cubestickers.docx in your Documents folder.
- Now make the entire background black. If any sticker is misaligned (and many of mine were), I found that the default white background made a very strange frame embedded inside the resin. Black borders look much better.
- Click on an outside edge of the document.
- Menu option Select All:
- Edit
- Select All
- Make the background black
- Format
- Borders and Shading
- Shading tab
- Select the color black (default is "no fill")
- "OK"
- Now drag/drop each image you saved from PhotoShop into a square in the document until all squares are filled.
- Note, if you are not using all the stickers on the page, consider changing the background of those squares to white or "no fill" to avoid wasting your black ink.
- Remove all paper from your printer tray in your printer.
- Place one sheet of labels into the tray (typically face-down and top-in but this depends on what kind of printer you have).
- I found it best to print one sheet at a time. Occasionally the second sheet of labels will catch on the first sheet and dragged prematurely into the printer ruining both sets of labels.
- Print (single sided) only the page you are interested in printing. If you have created multiple pages, set the print range to print only one page before printing.
Decorating the Cube
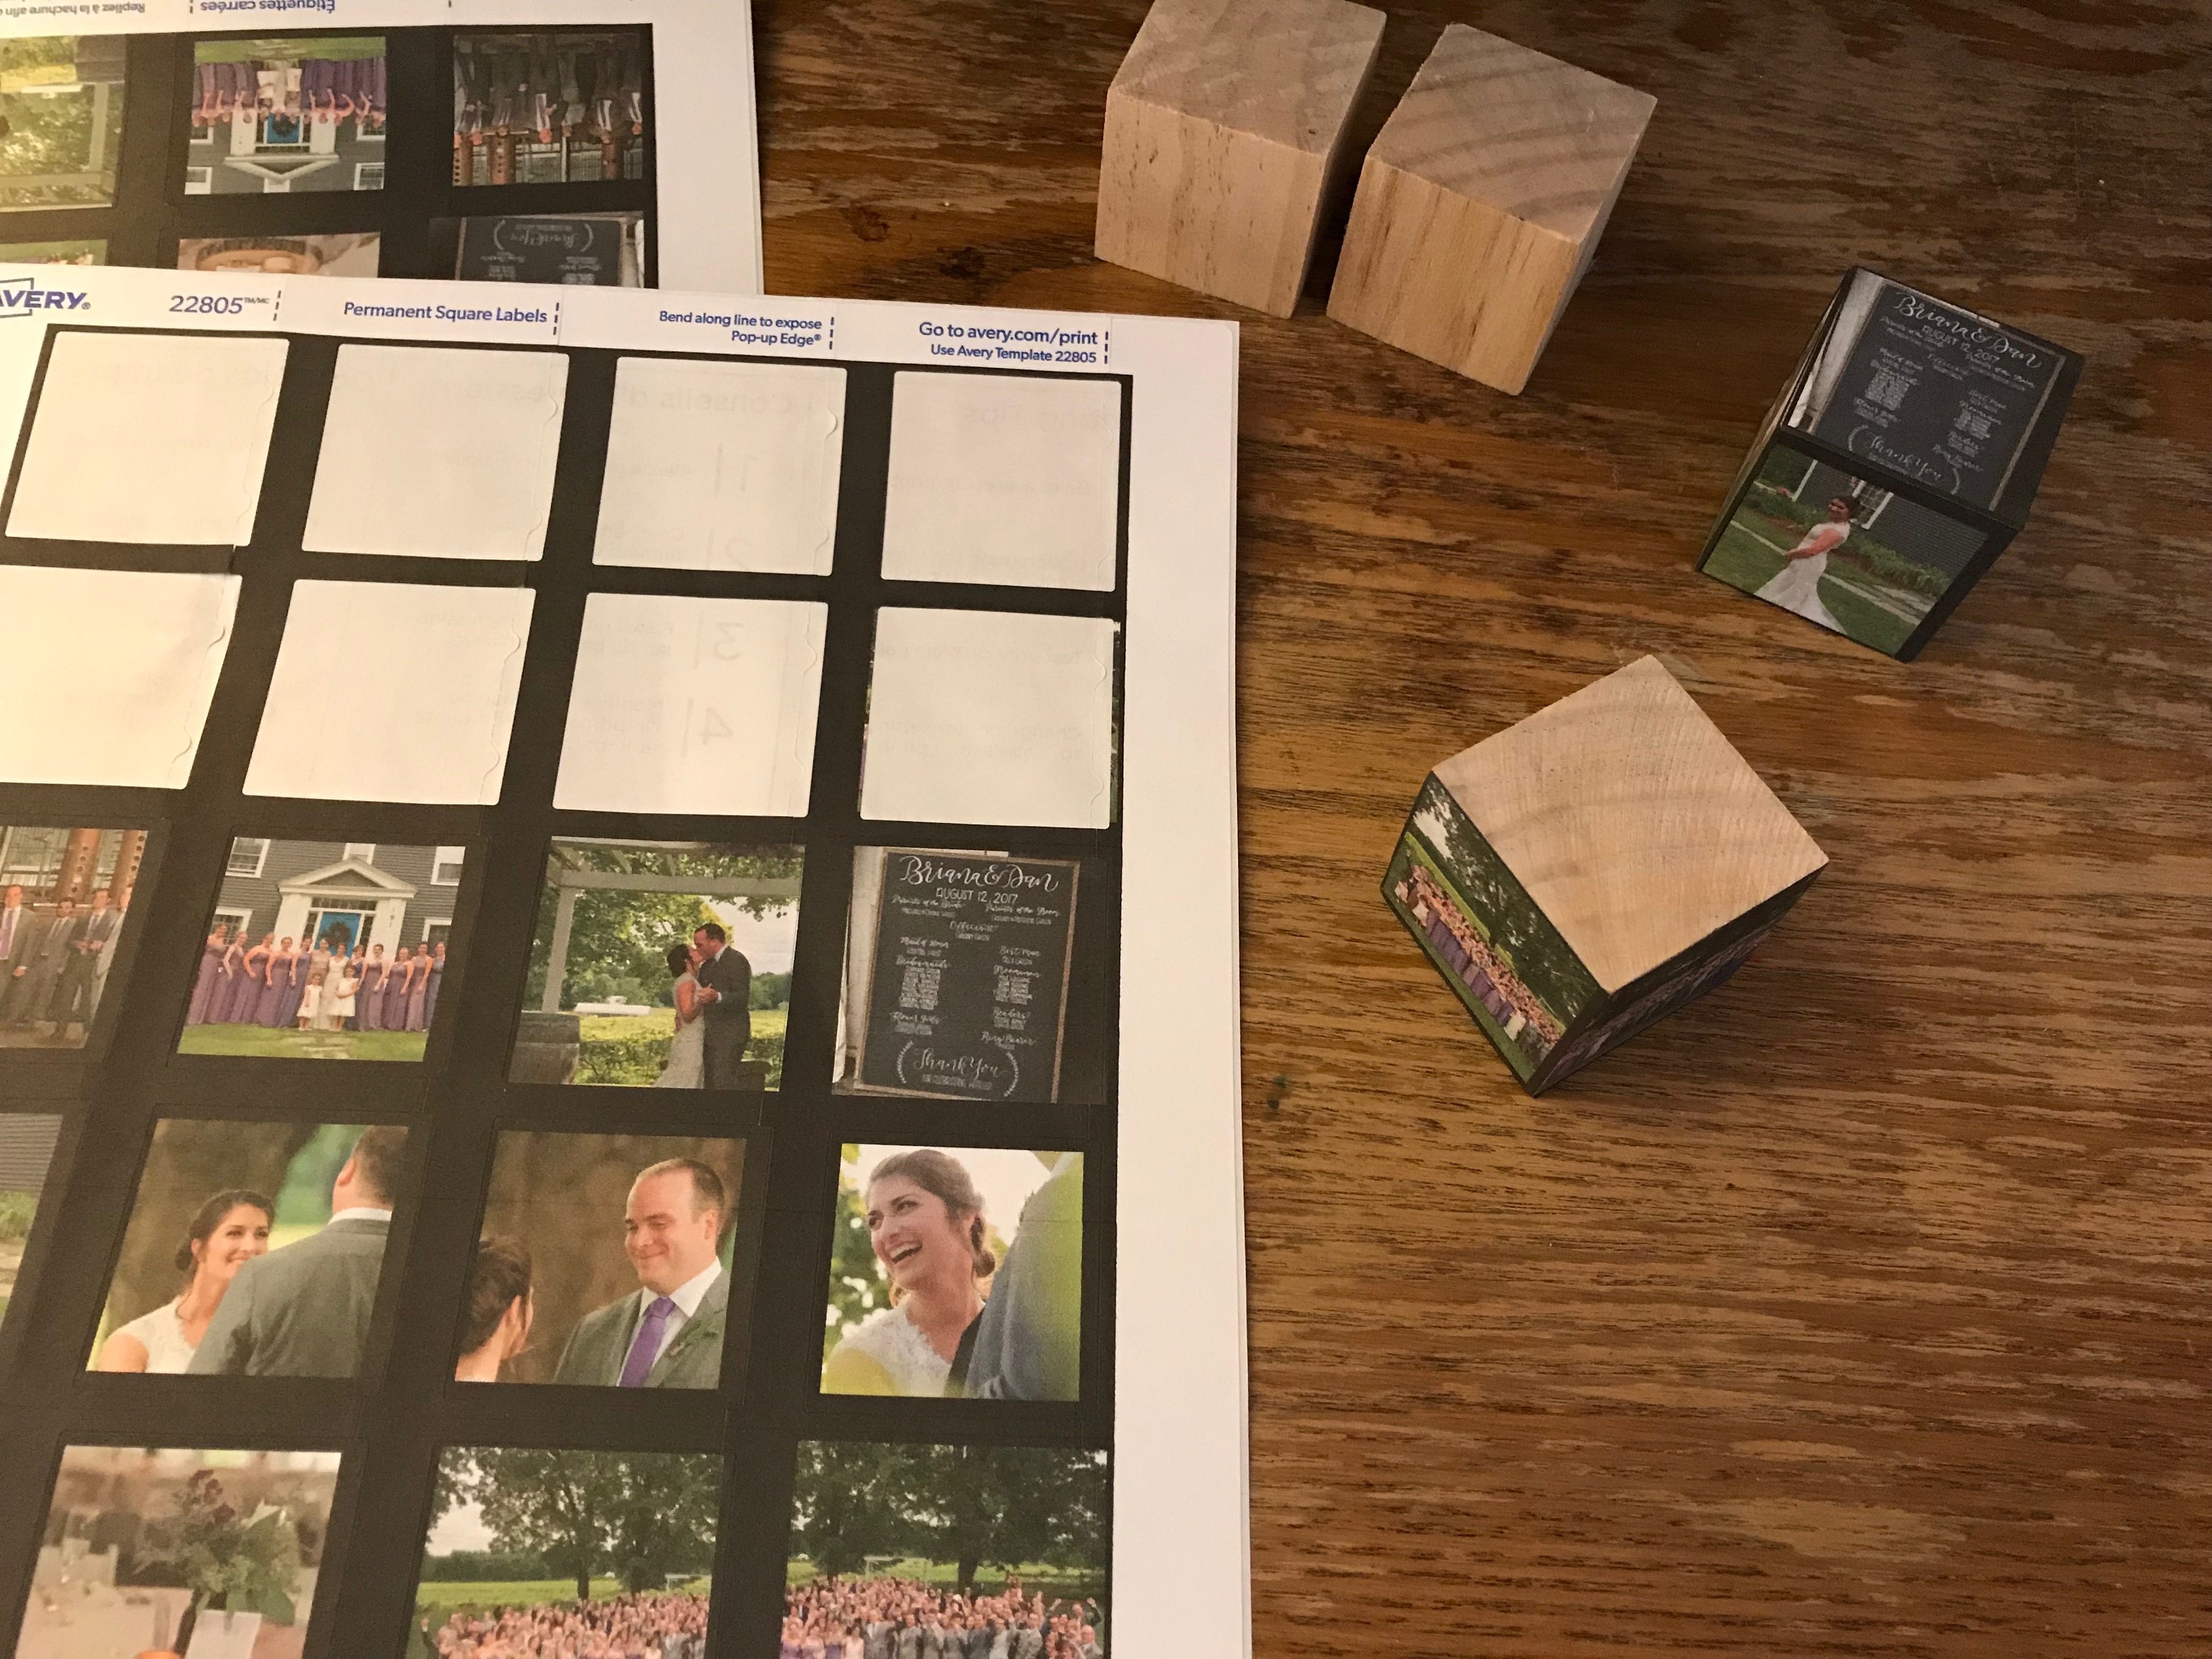
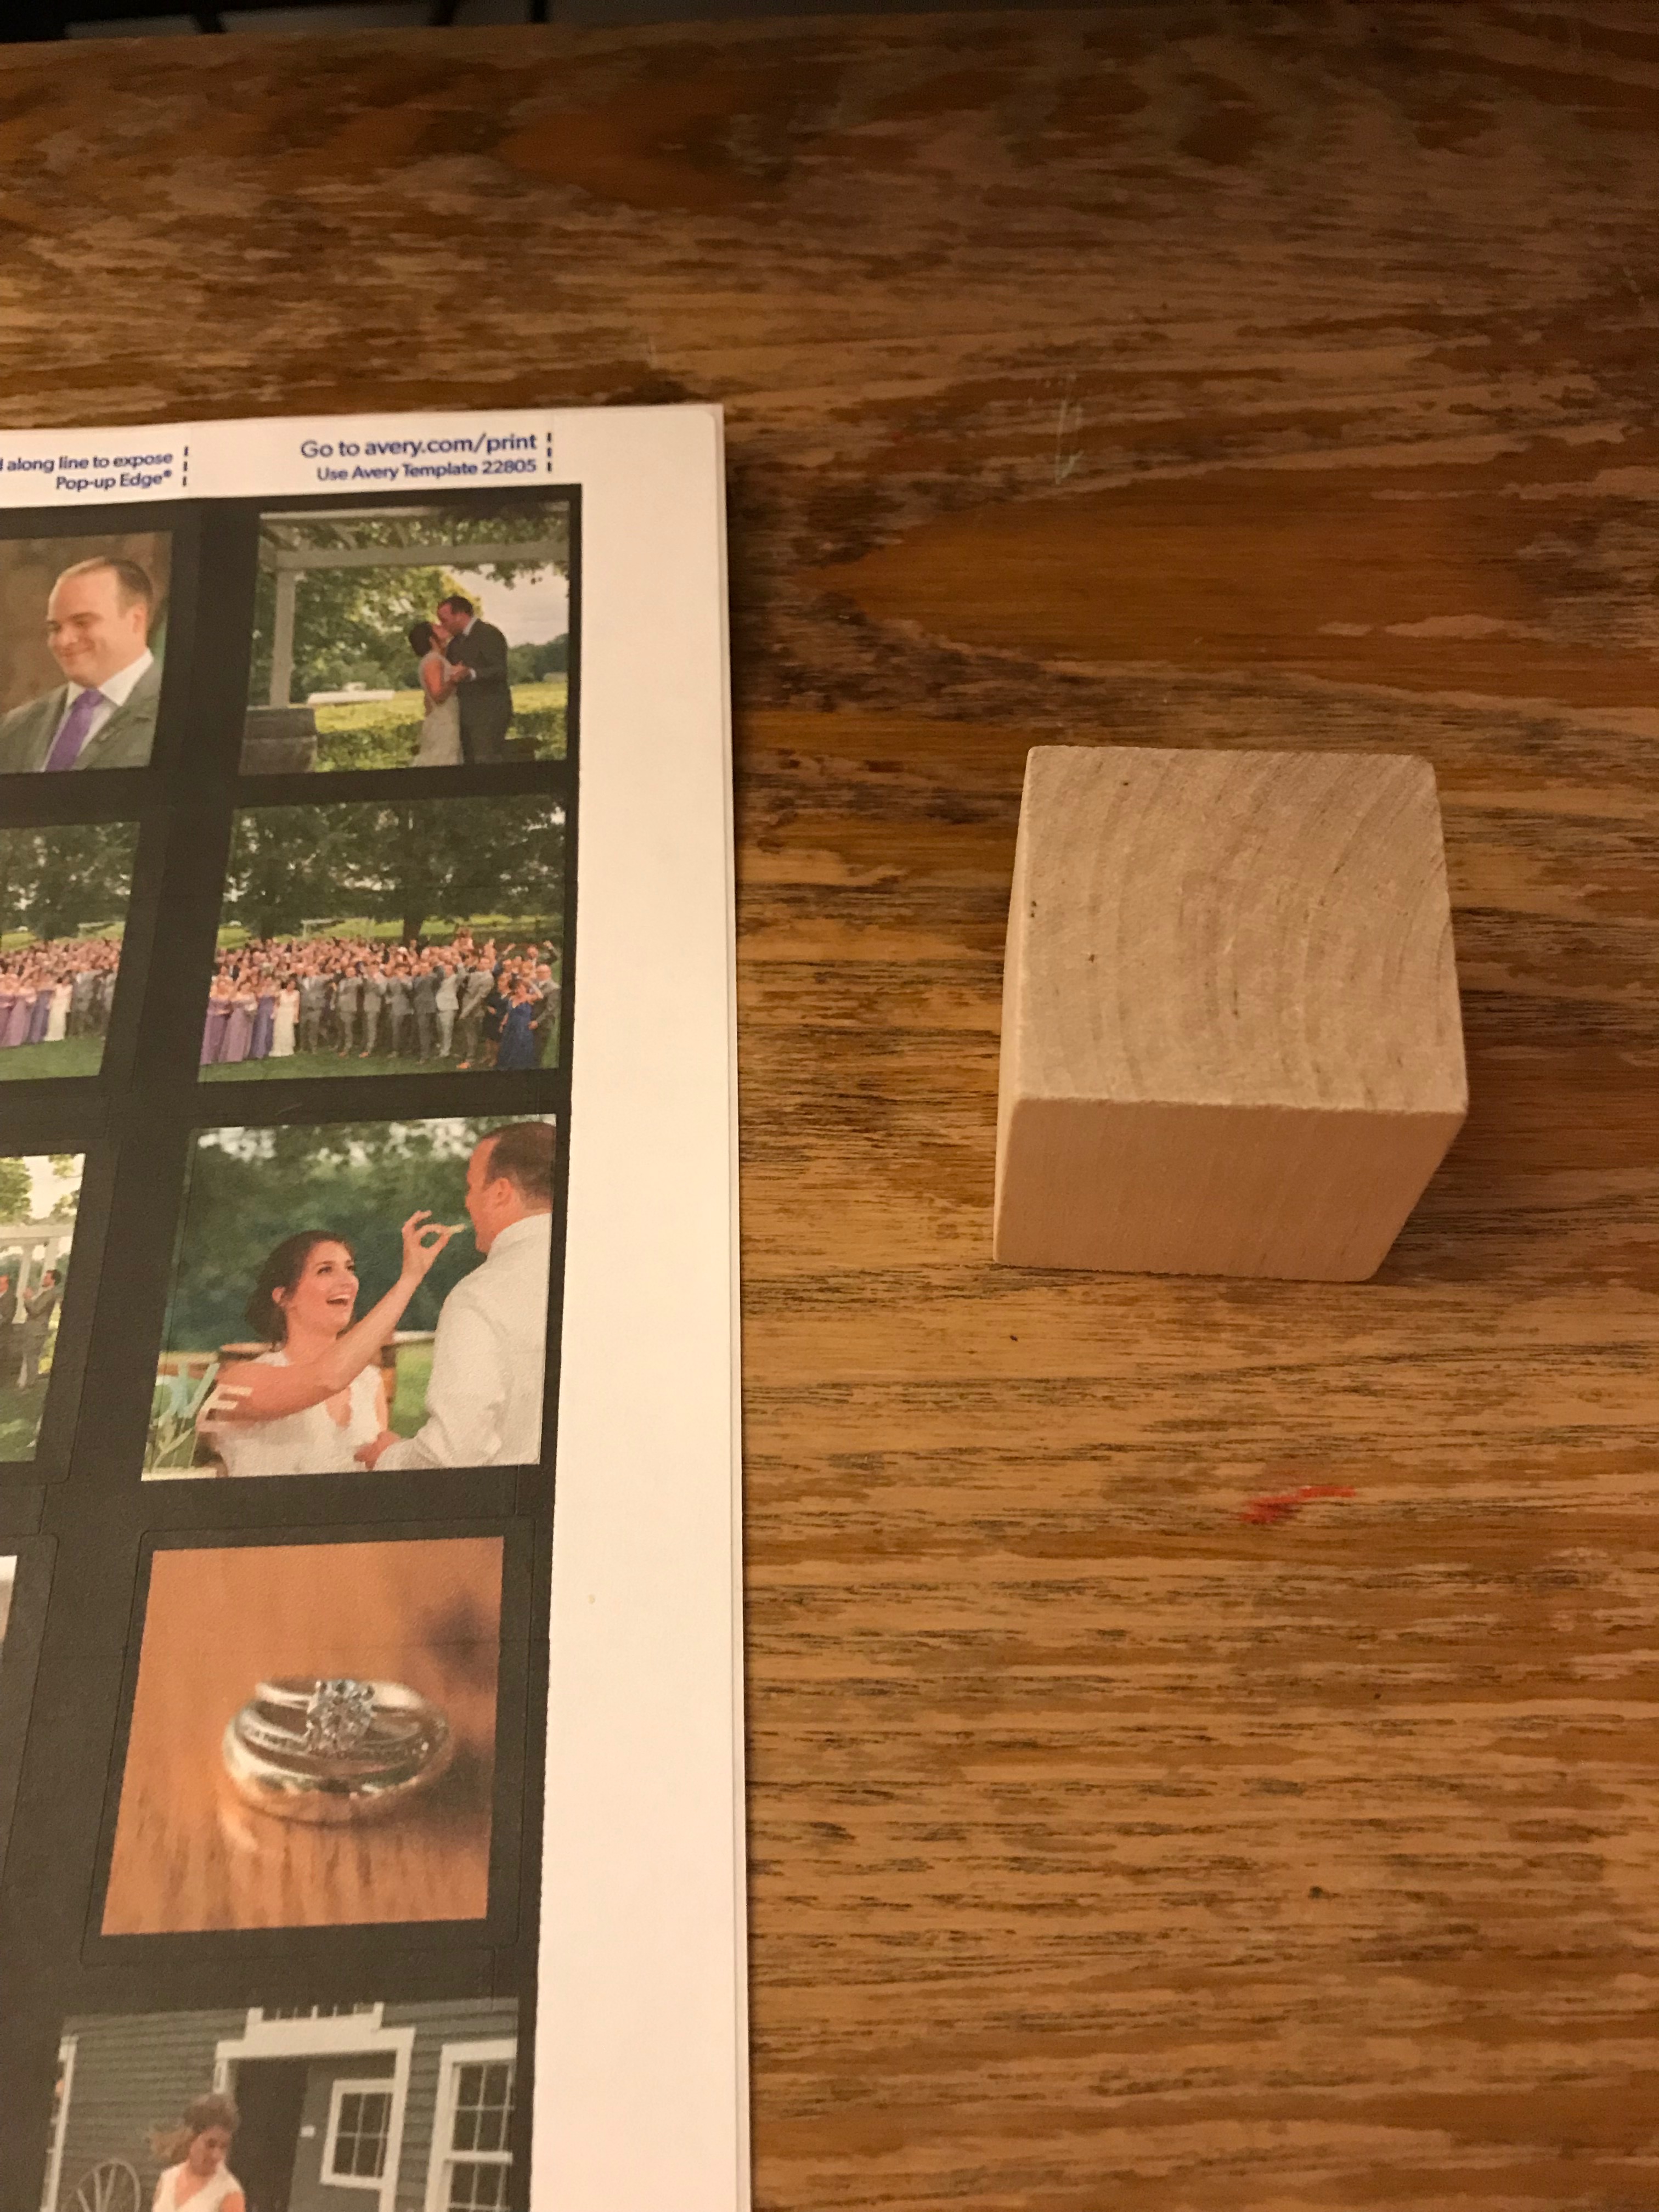
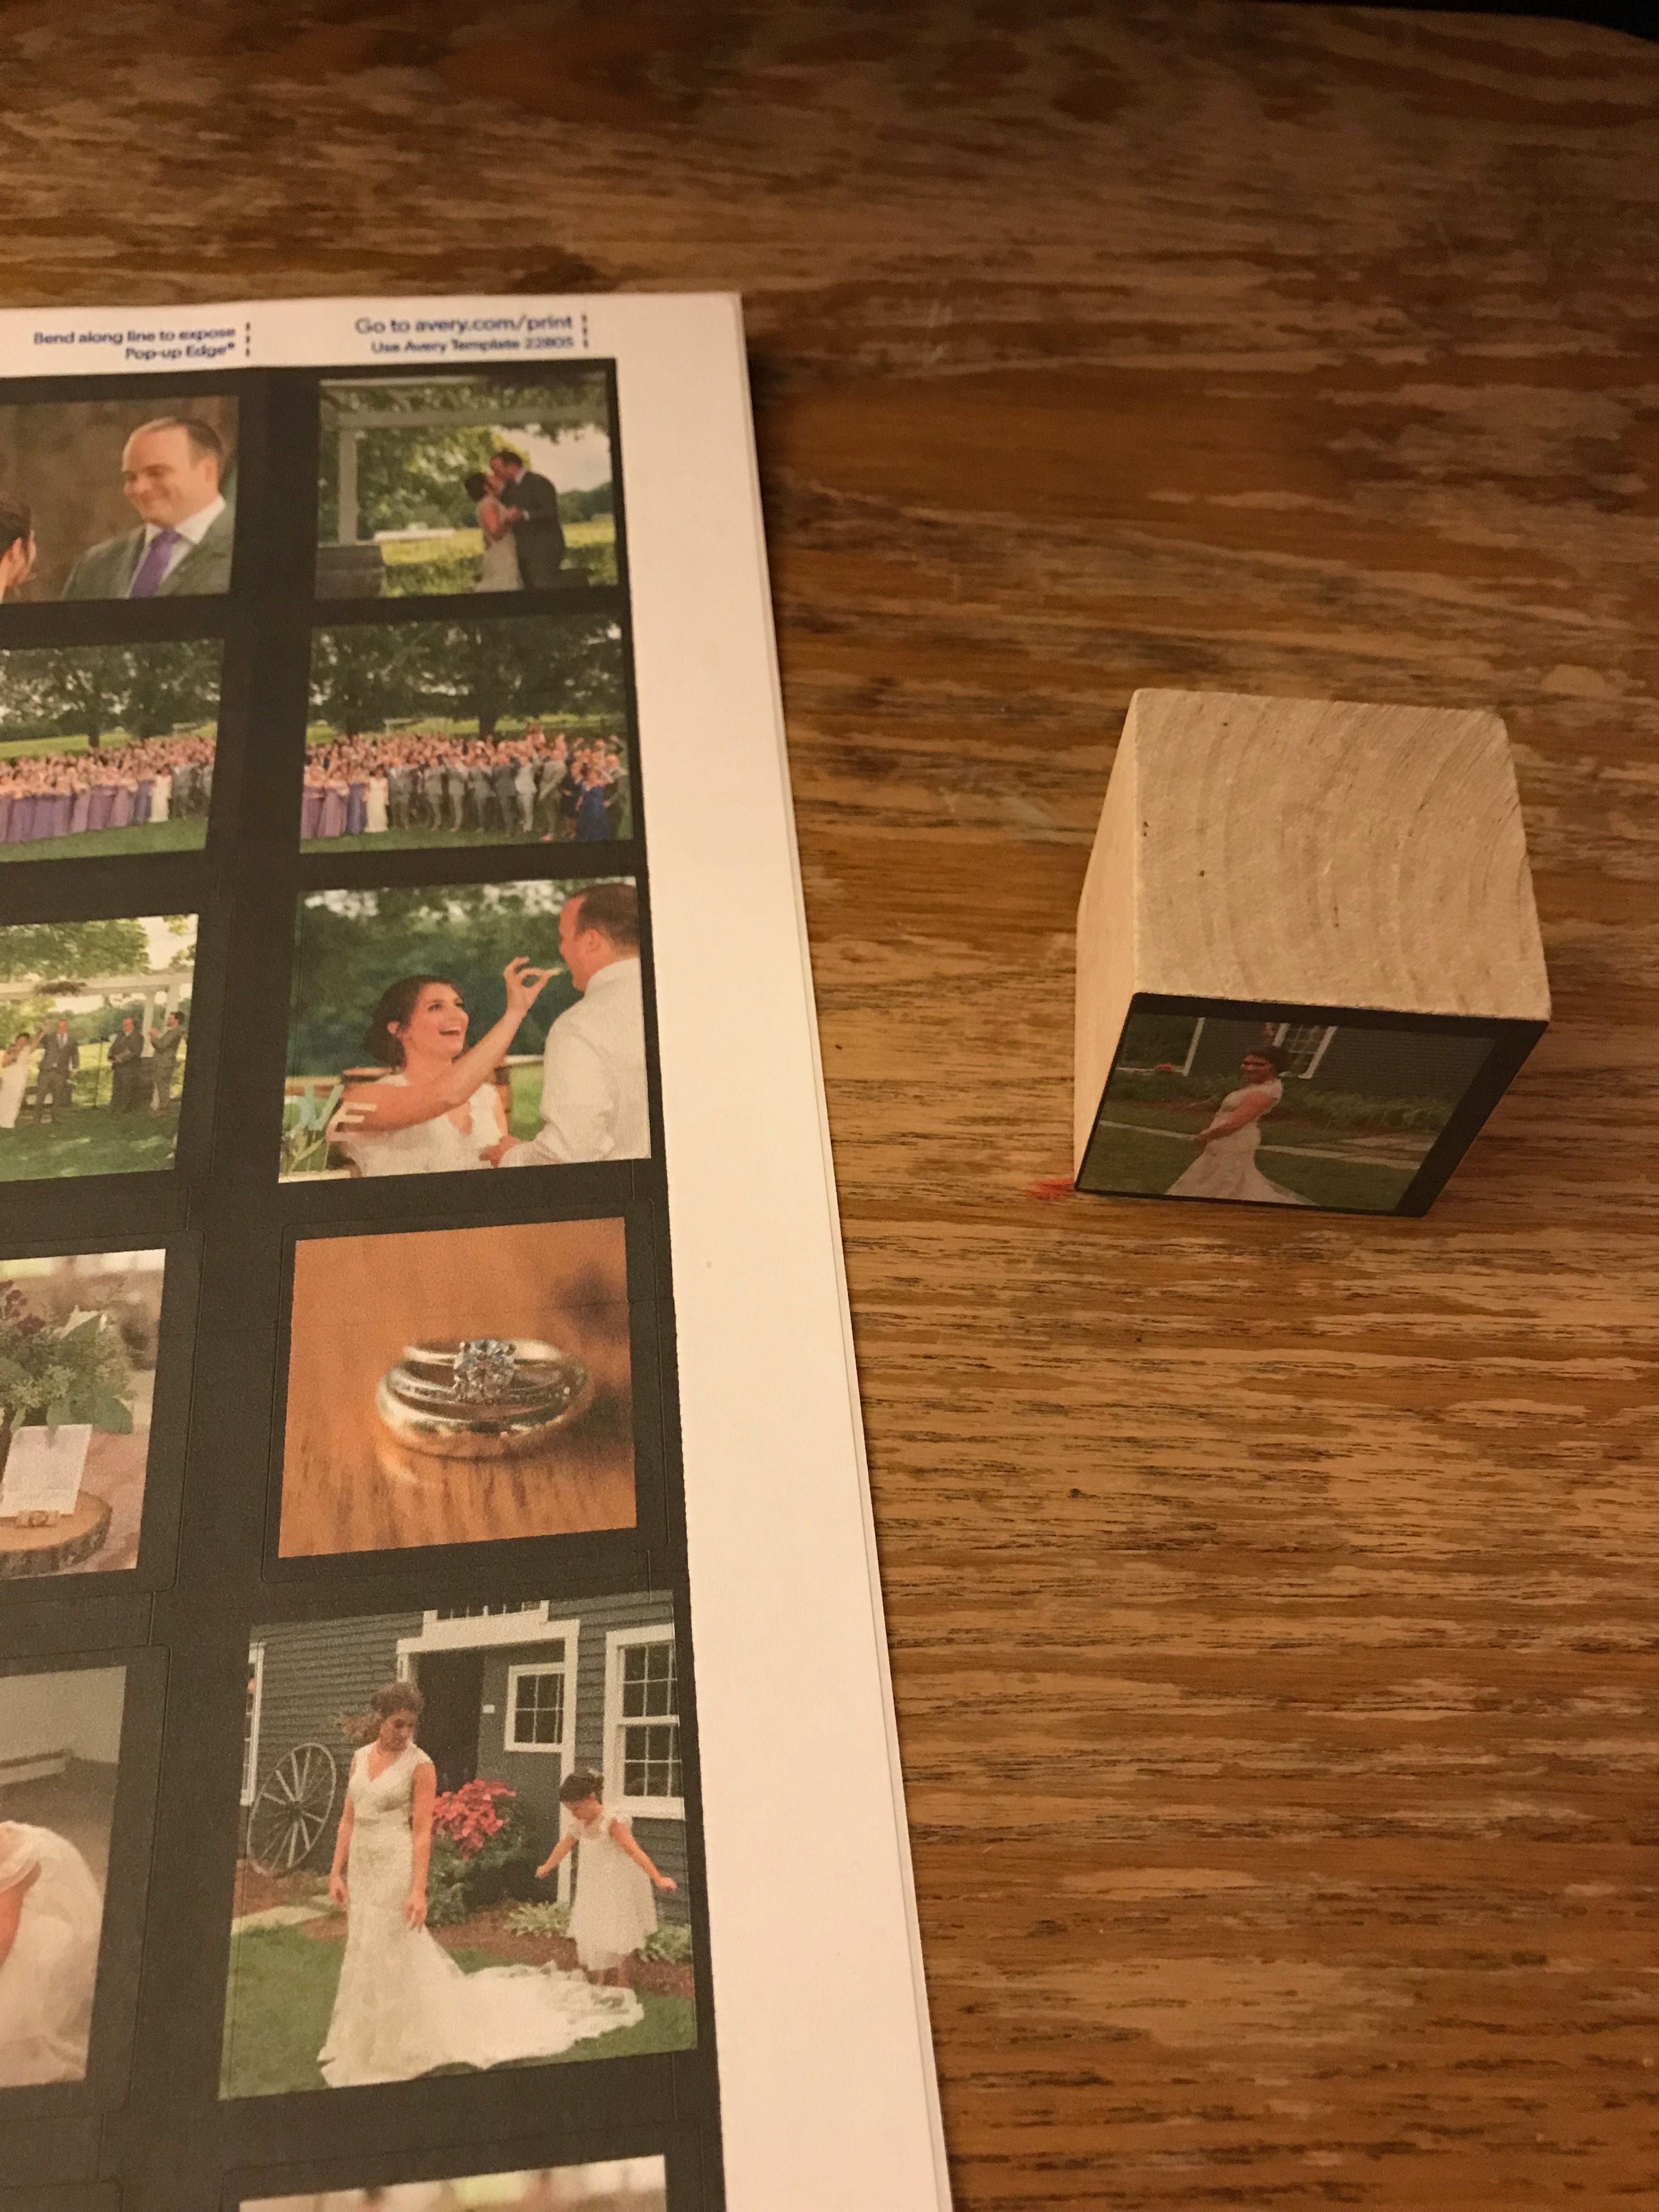
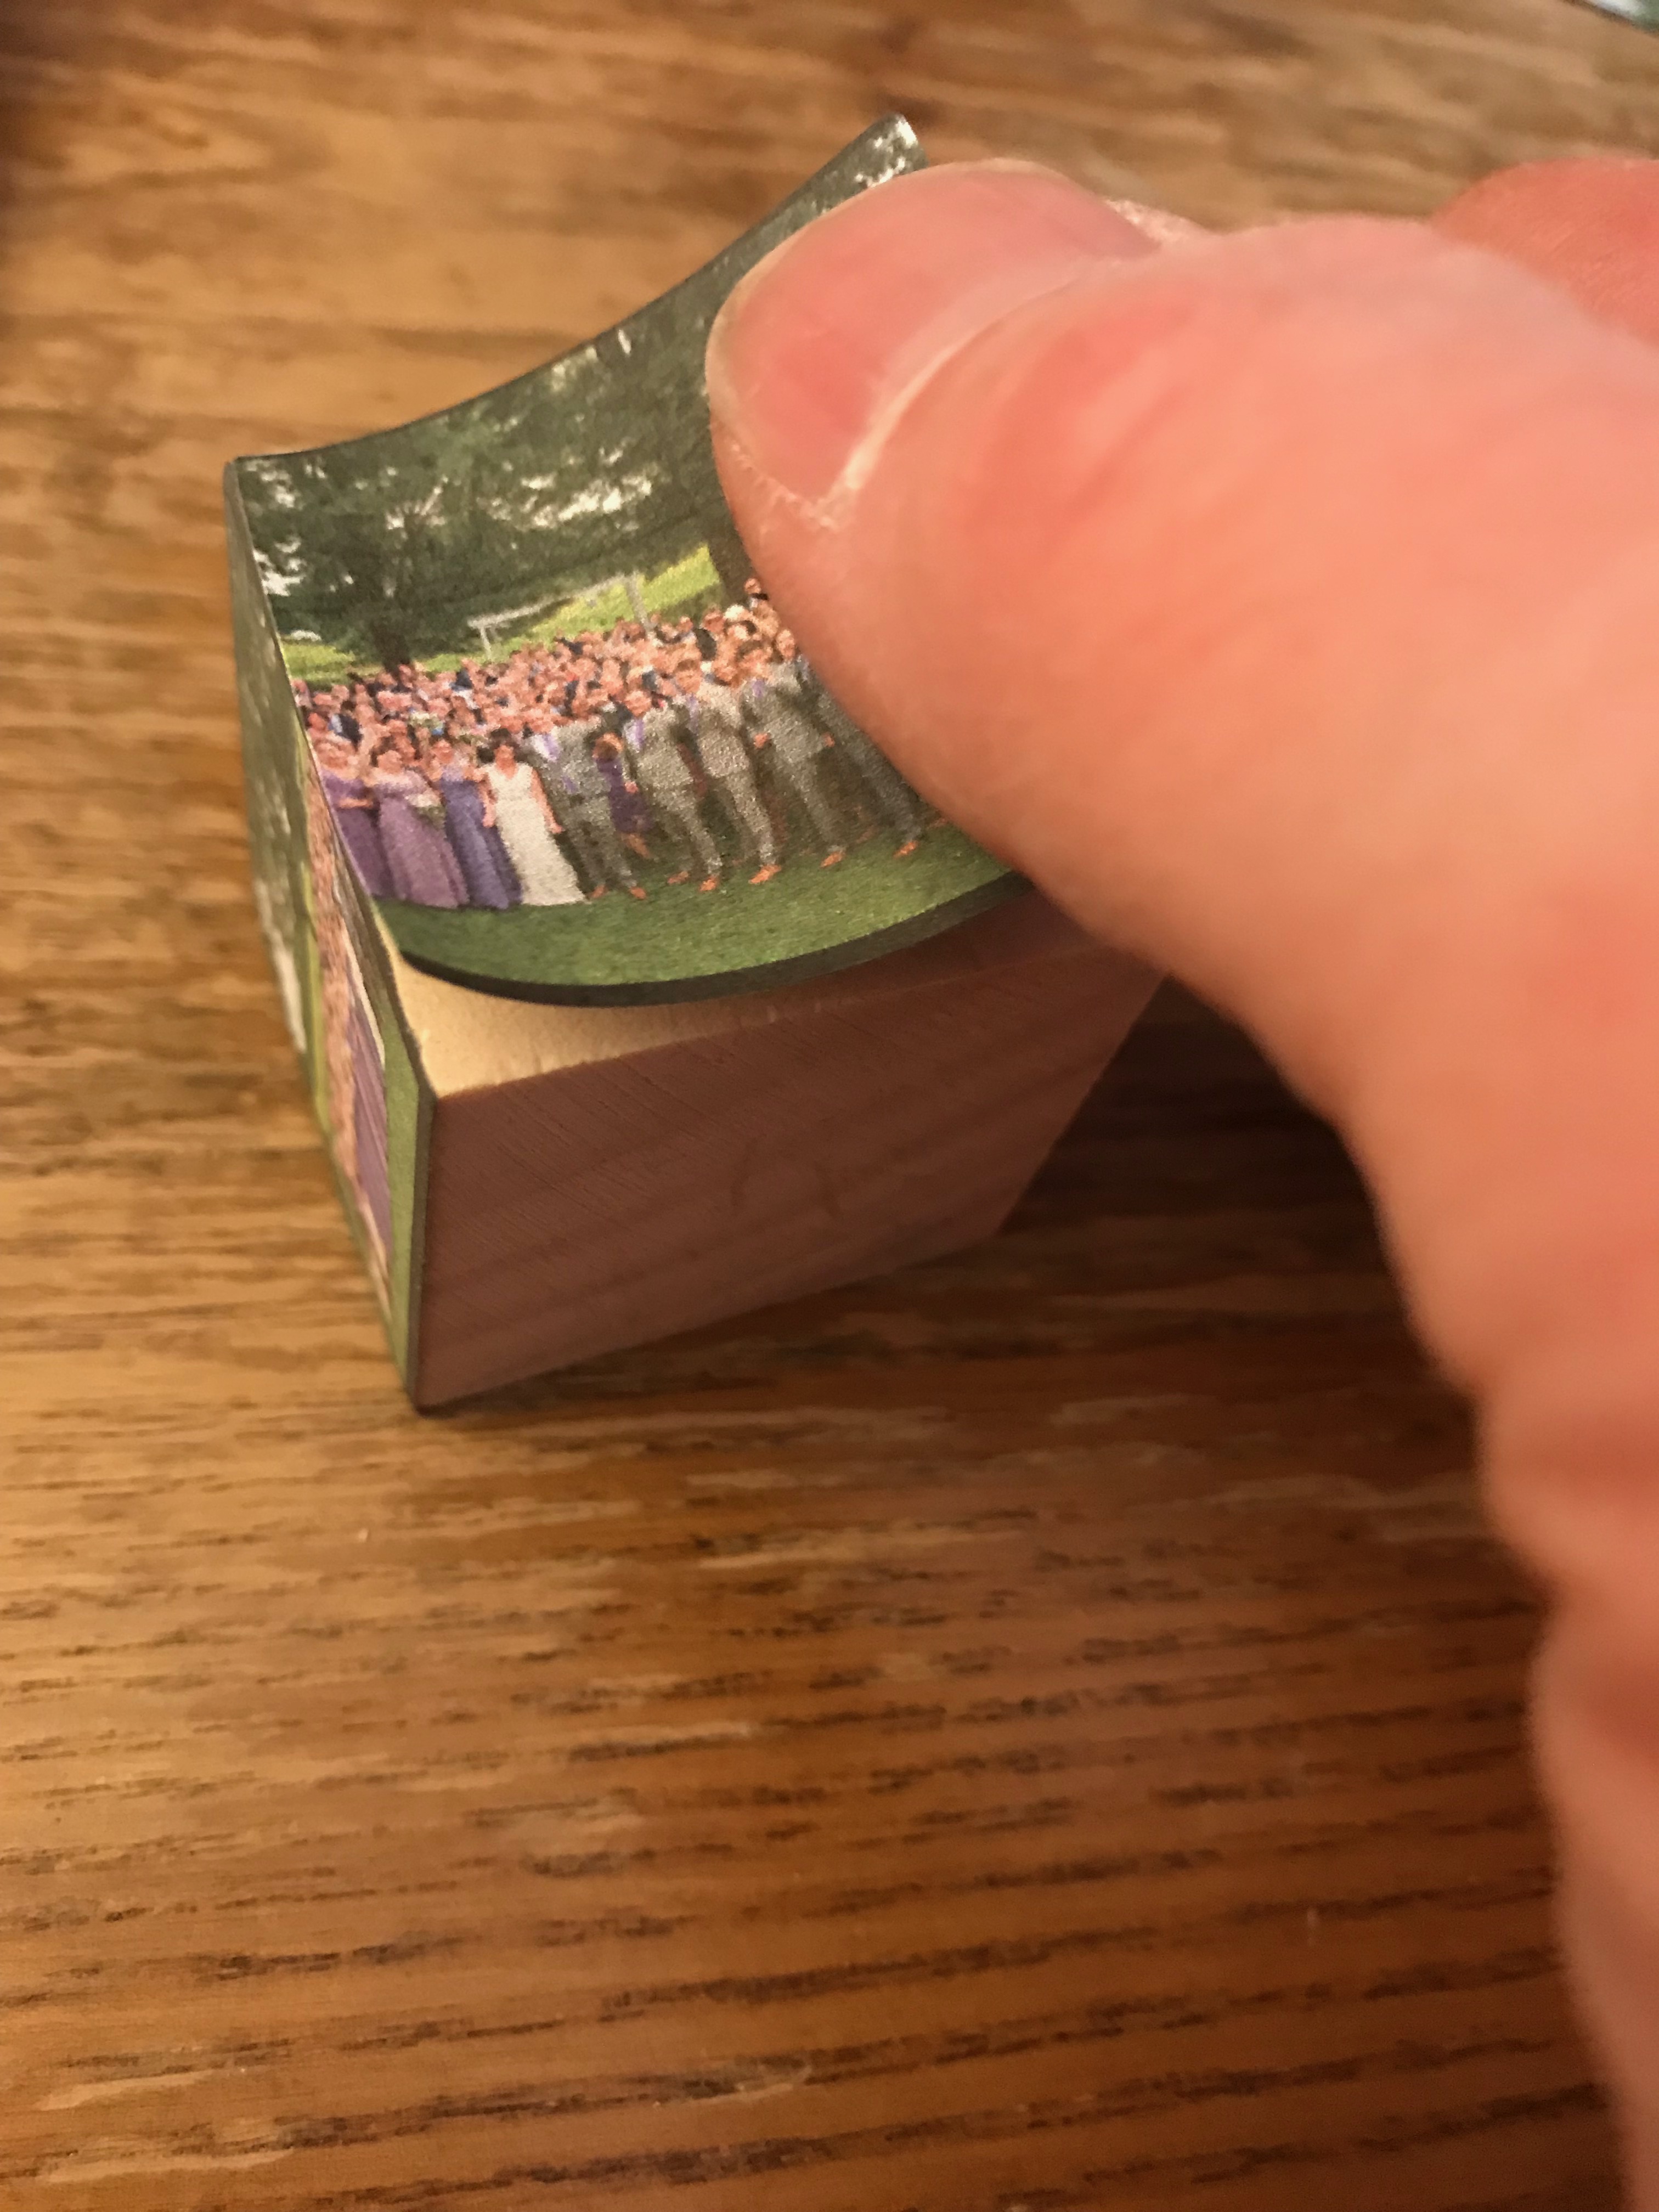
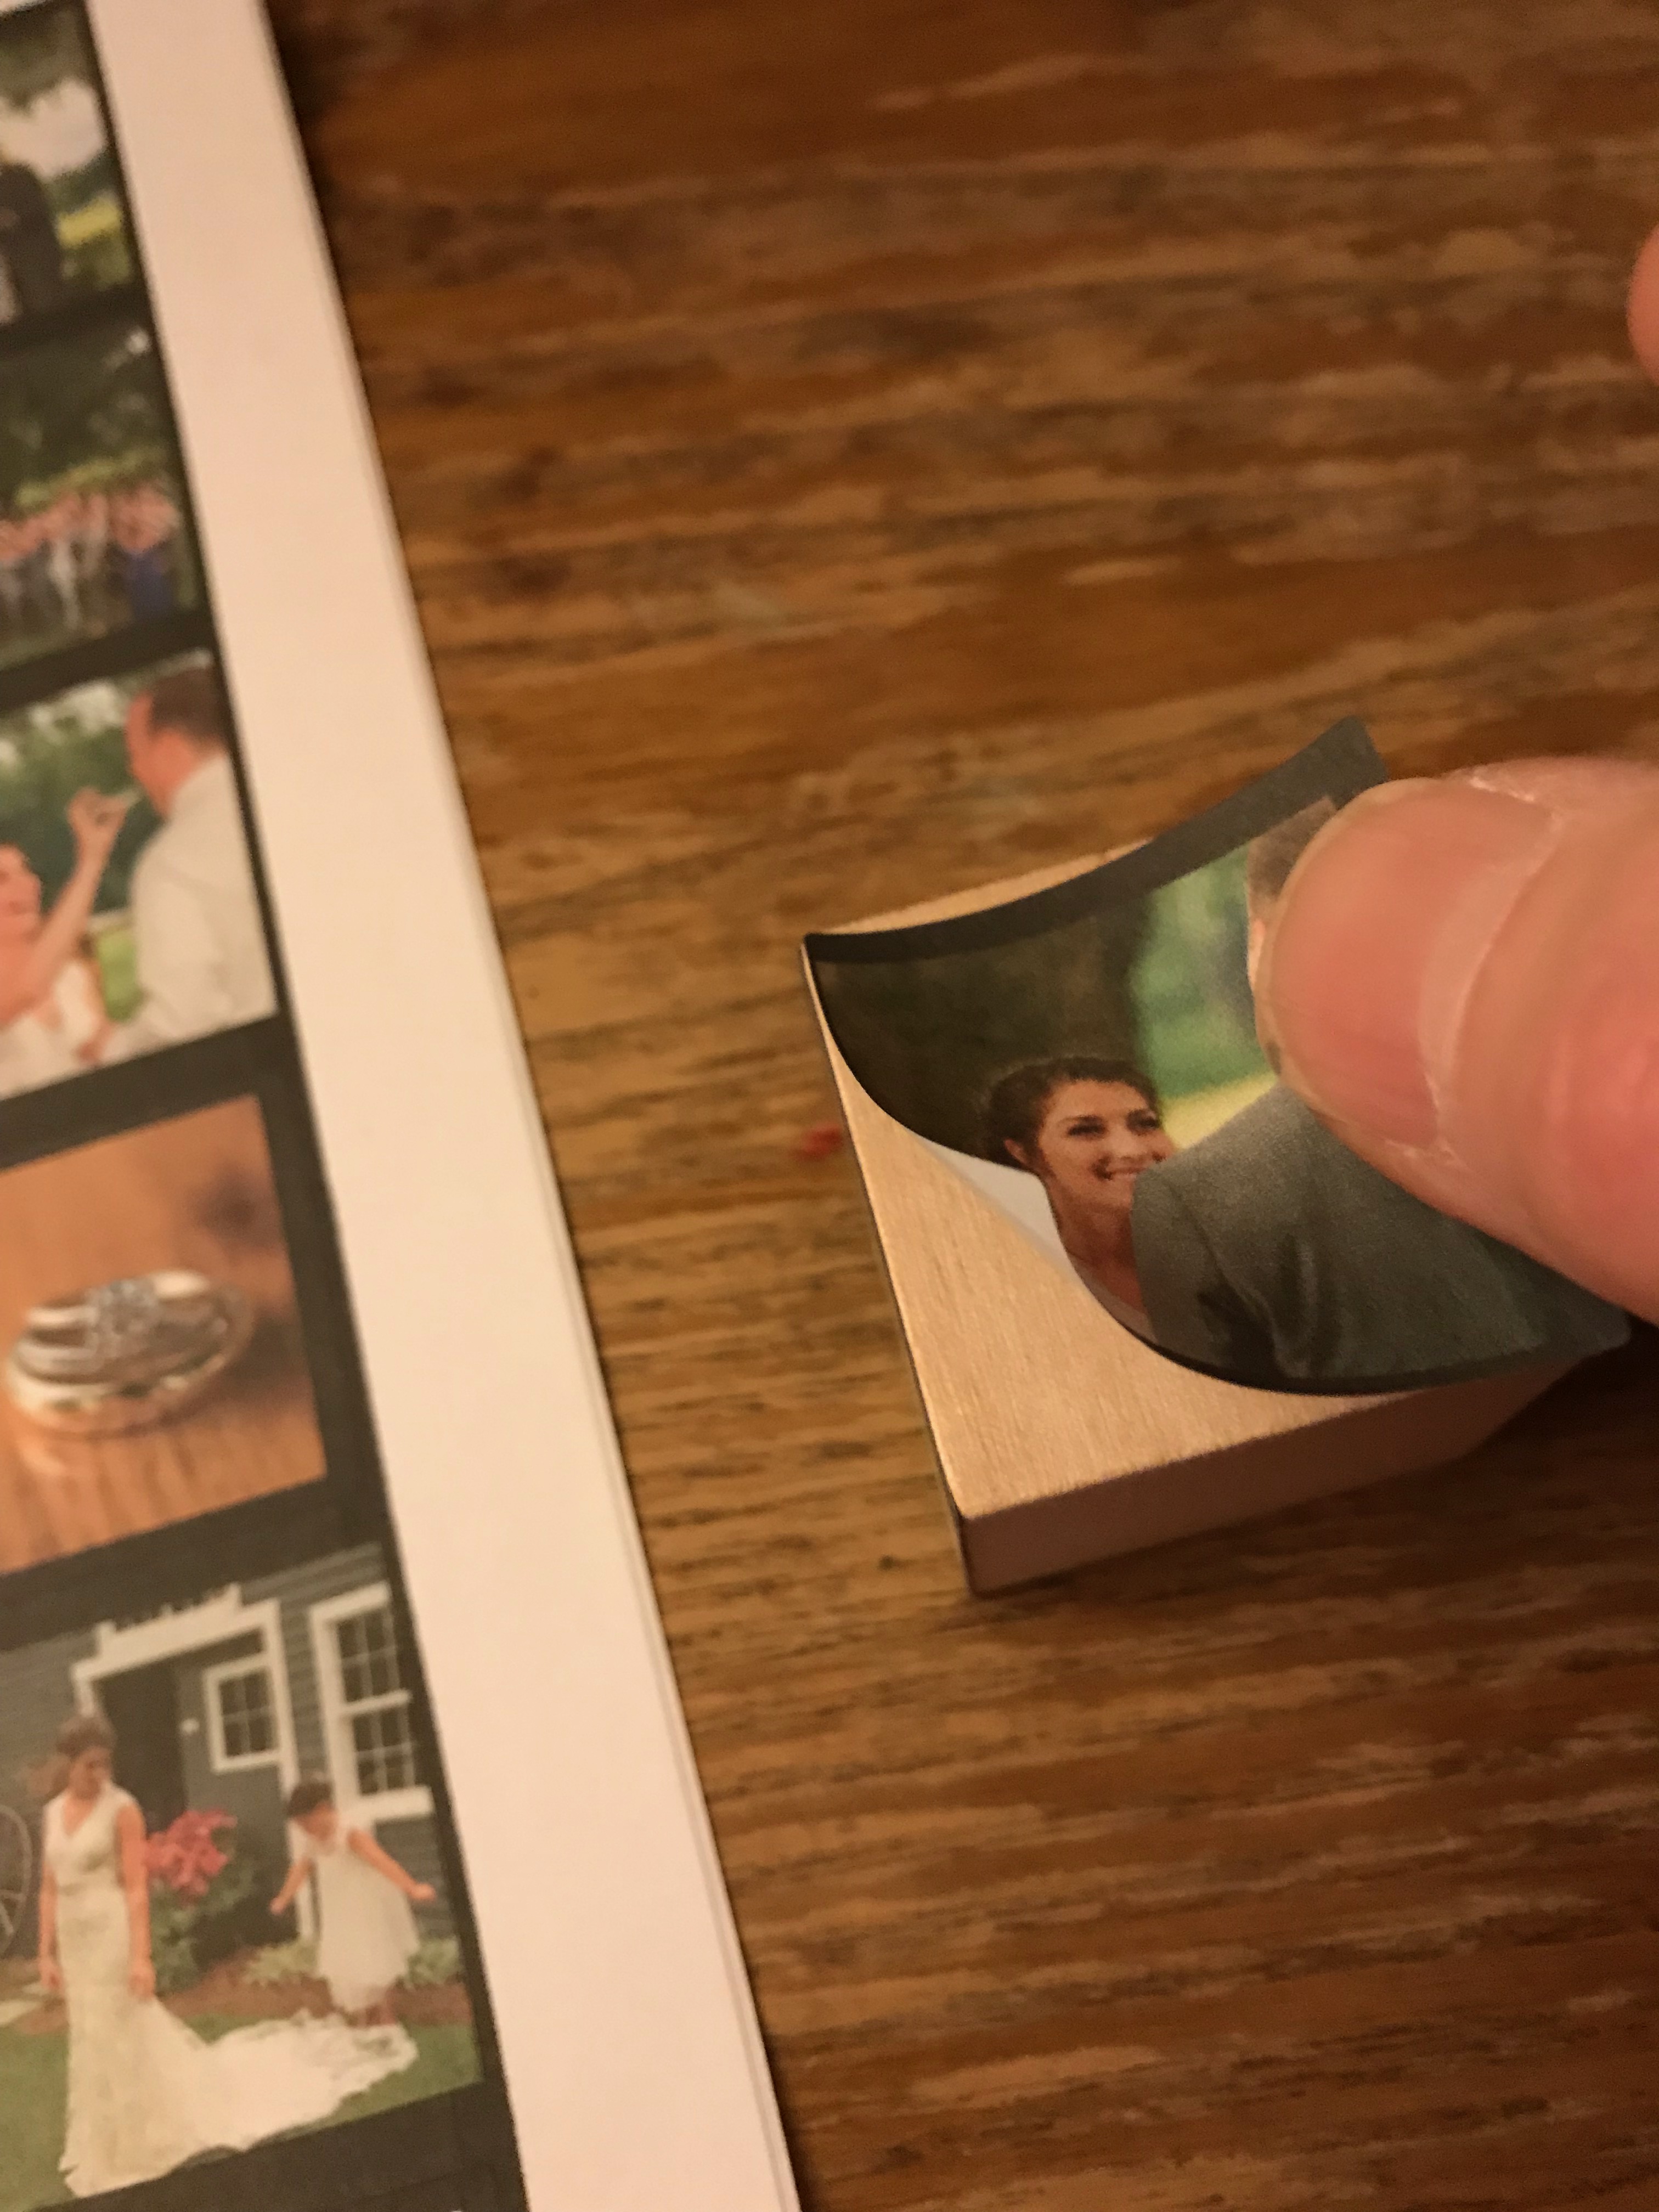
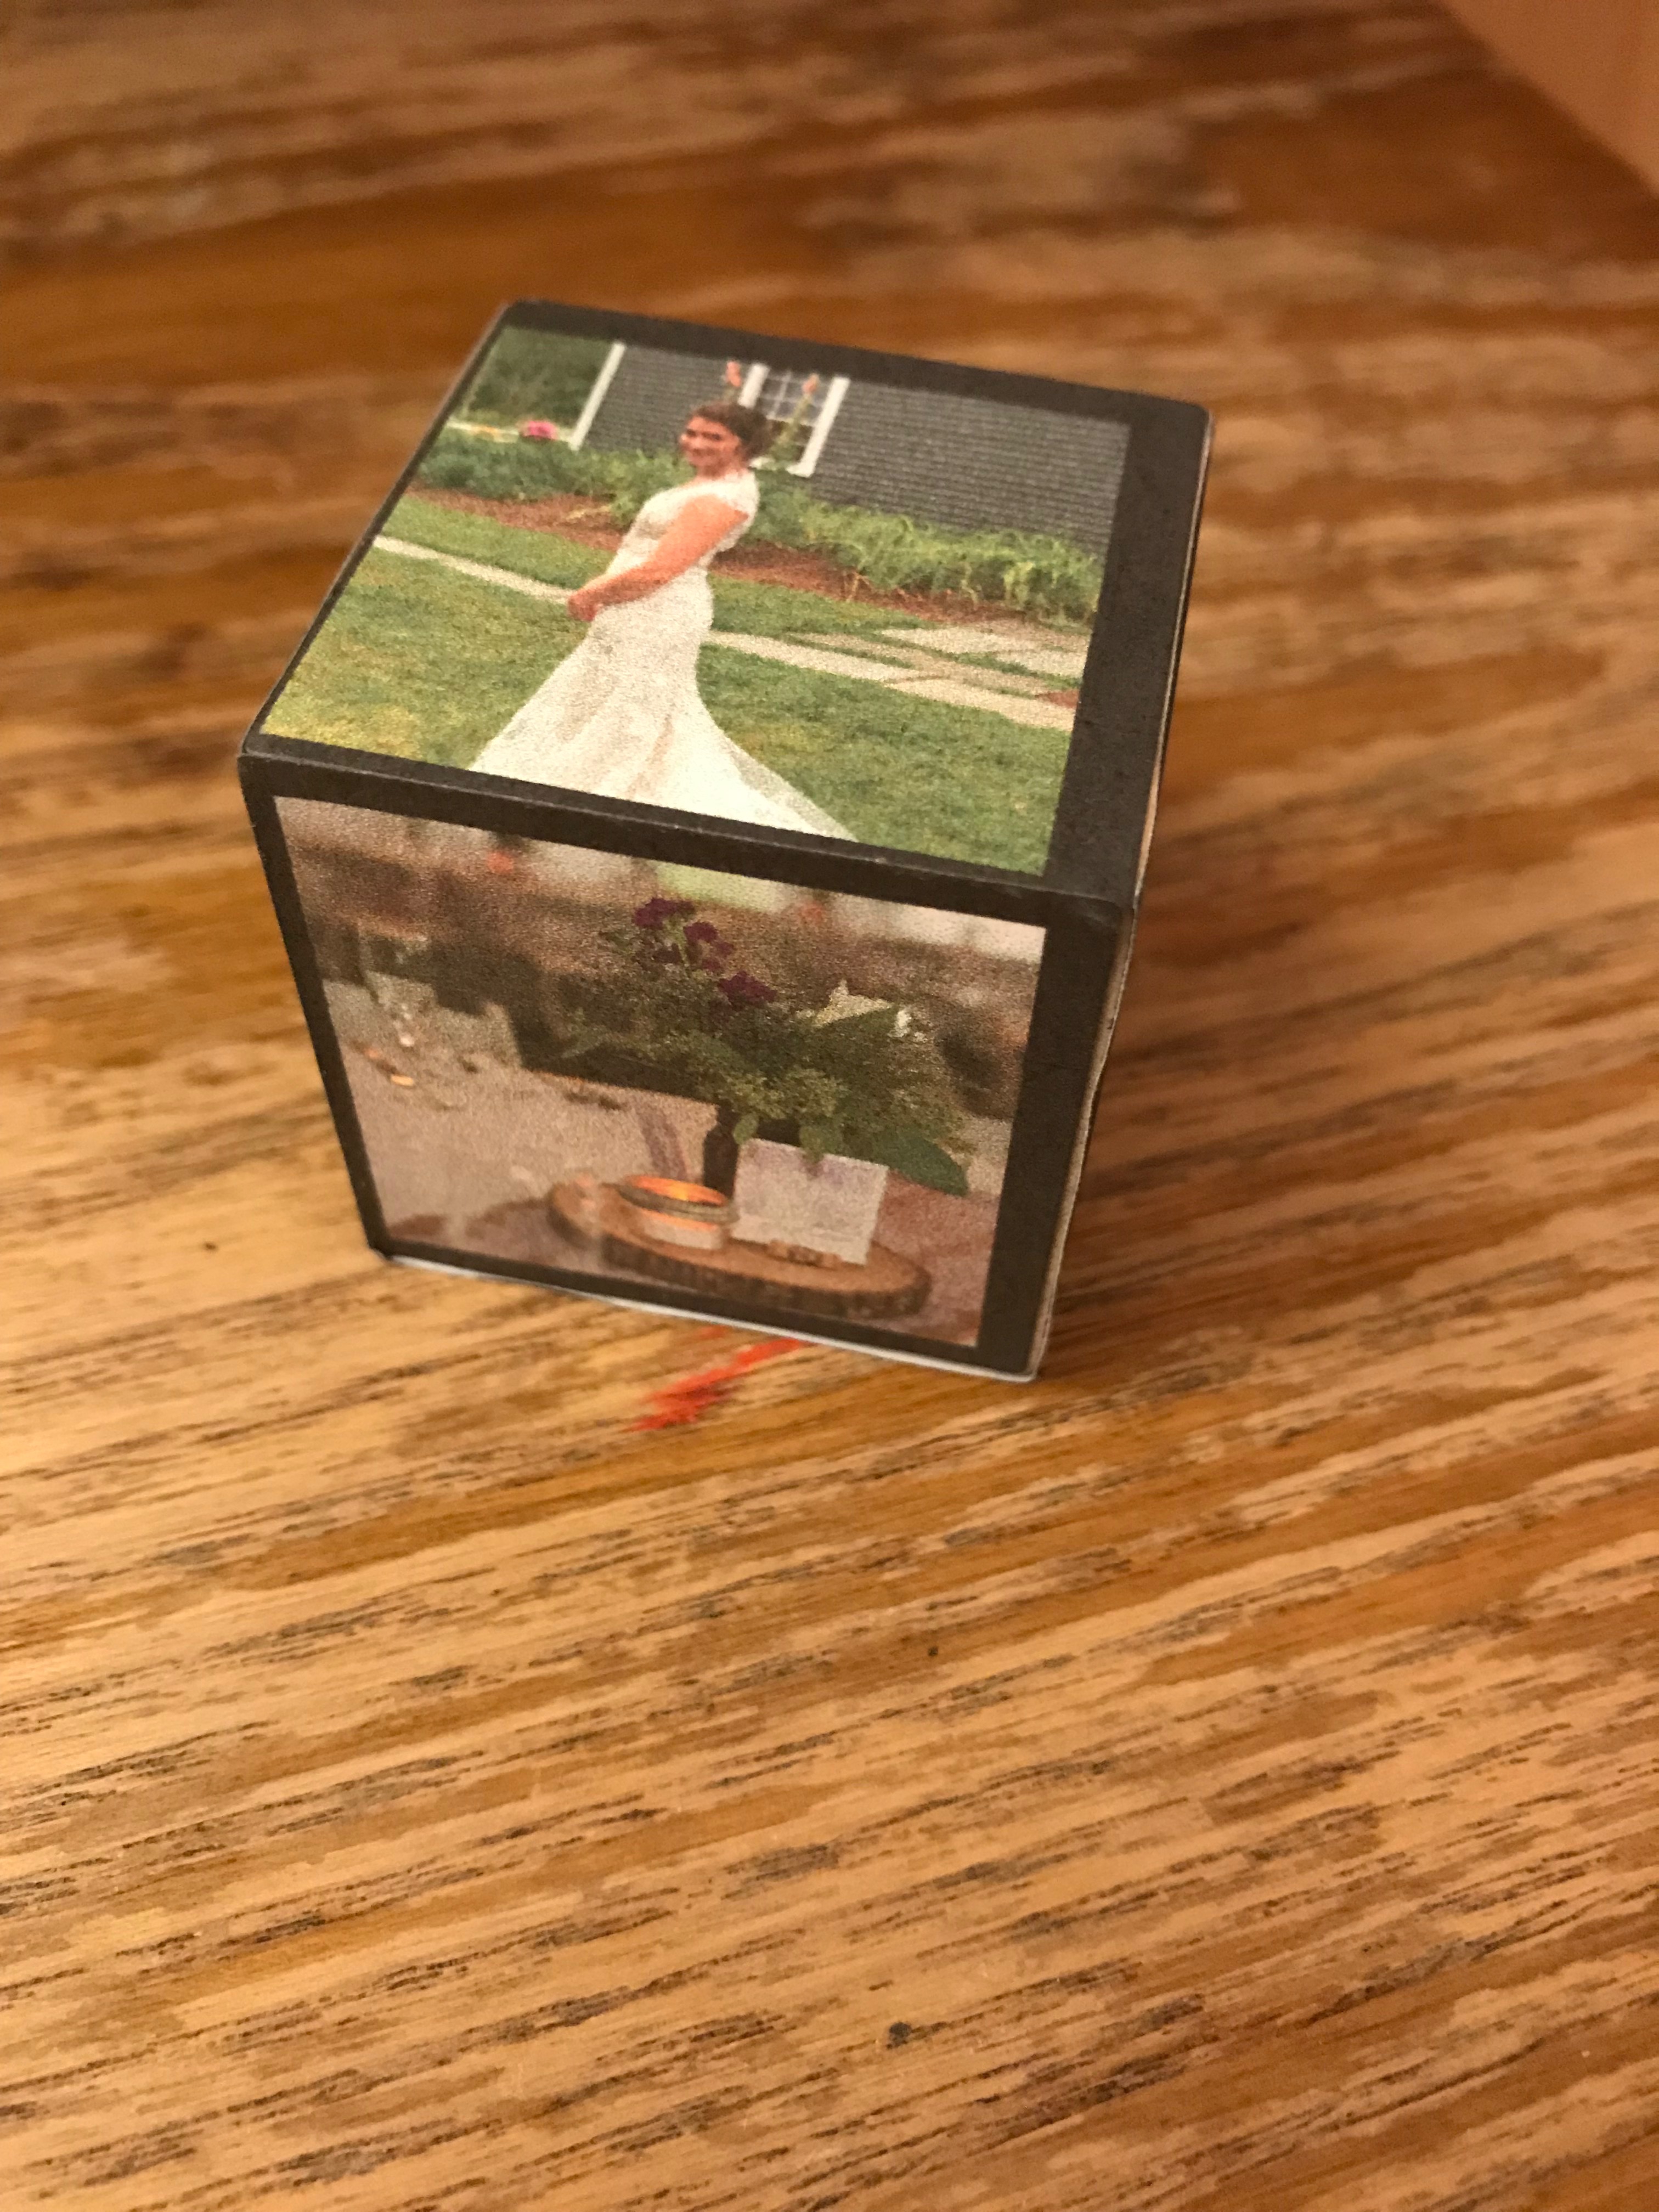
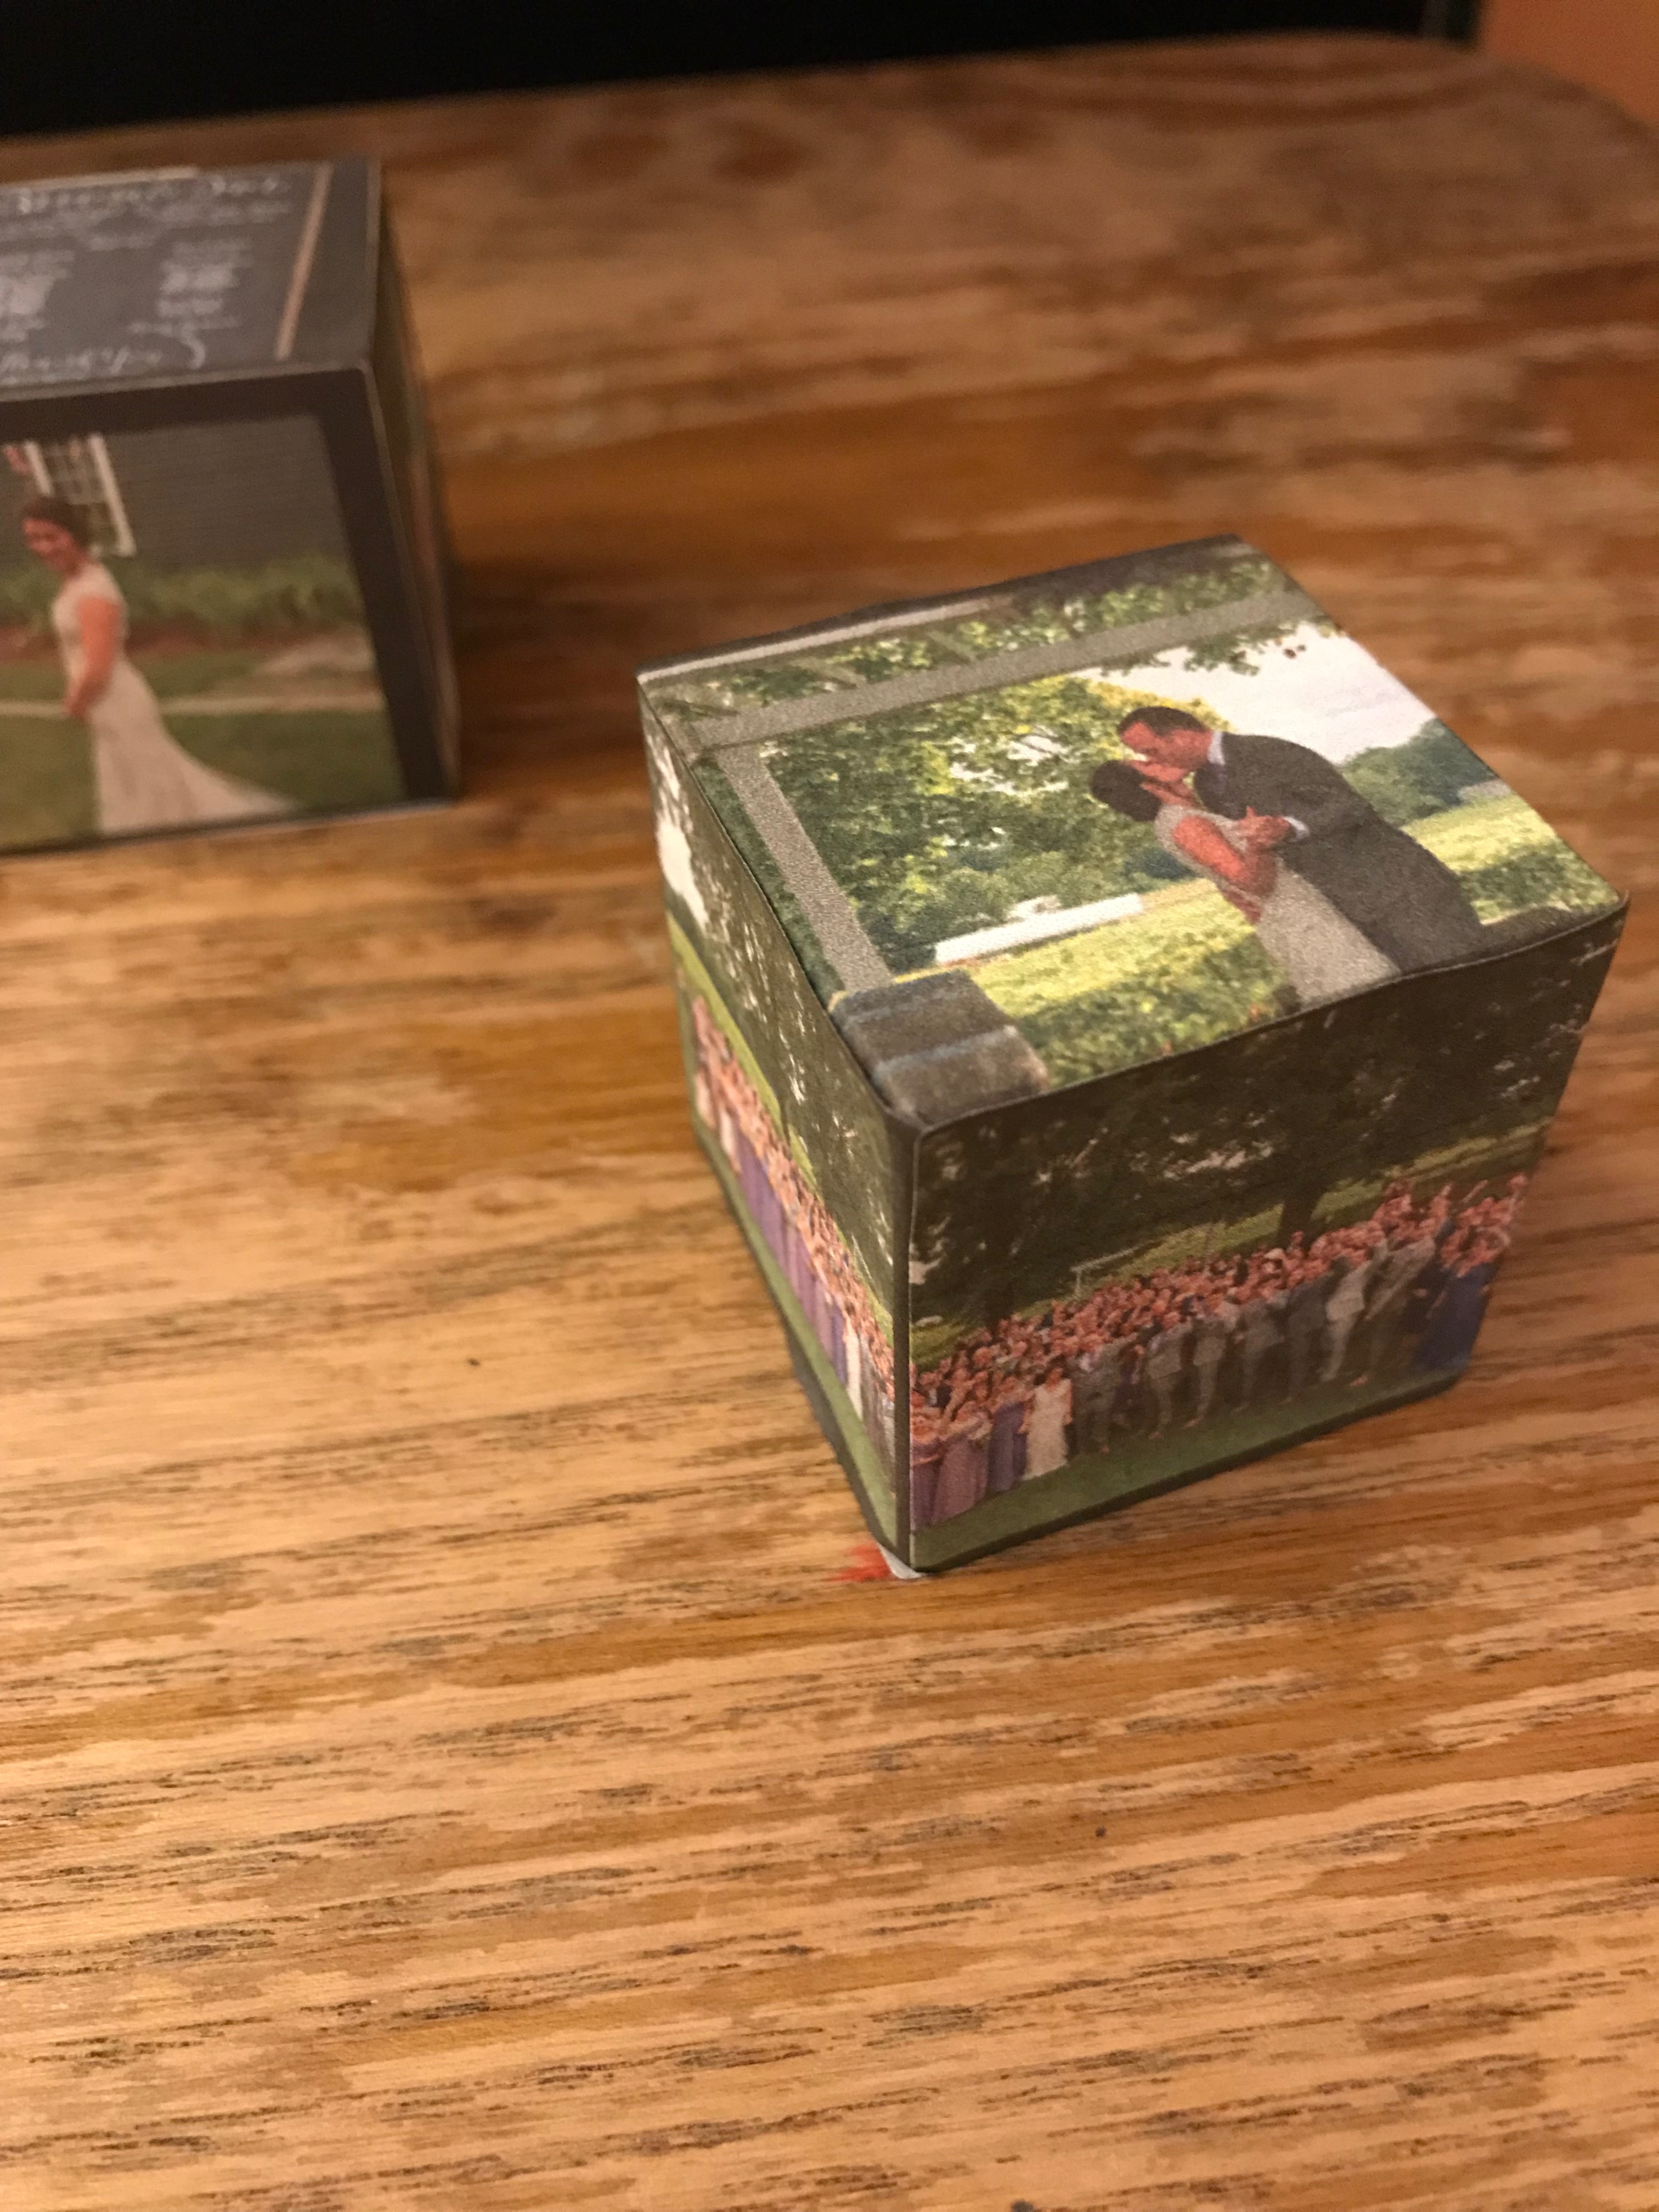
Simply peel off six stickers and place them on sides of your cube. (If you are adding a hook on top, make sure the top is the end-grain. Think of how a stump might stand in your yard revealing the tree rings on top. Make sure the blocks stand like little stumps.)
- Set the block on its side so the grain is pointing away from you.
- Place the front label onto the face of the block along the grain.
- Smooth it down.
- If any edge overhangs the block, wrap it around to the neighboring side and smooth that down with your finger nail.
- Work your way around the block until all four sides are decorated.
- Finish by placing the top and bottom images to the end-grain top and bottom.
(Note, if you are short on time and need a simple project, this could be your final step. Done! Not bad.)
Add a Hook (Ornament Option)
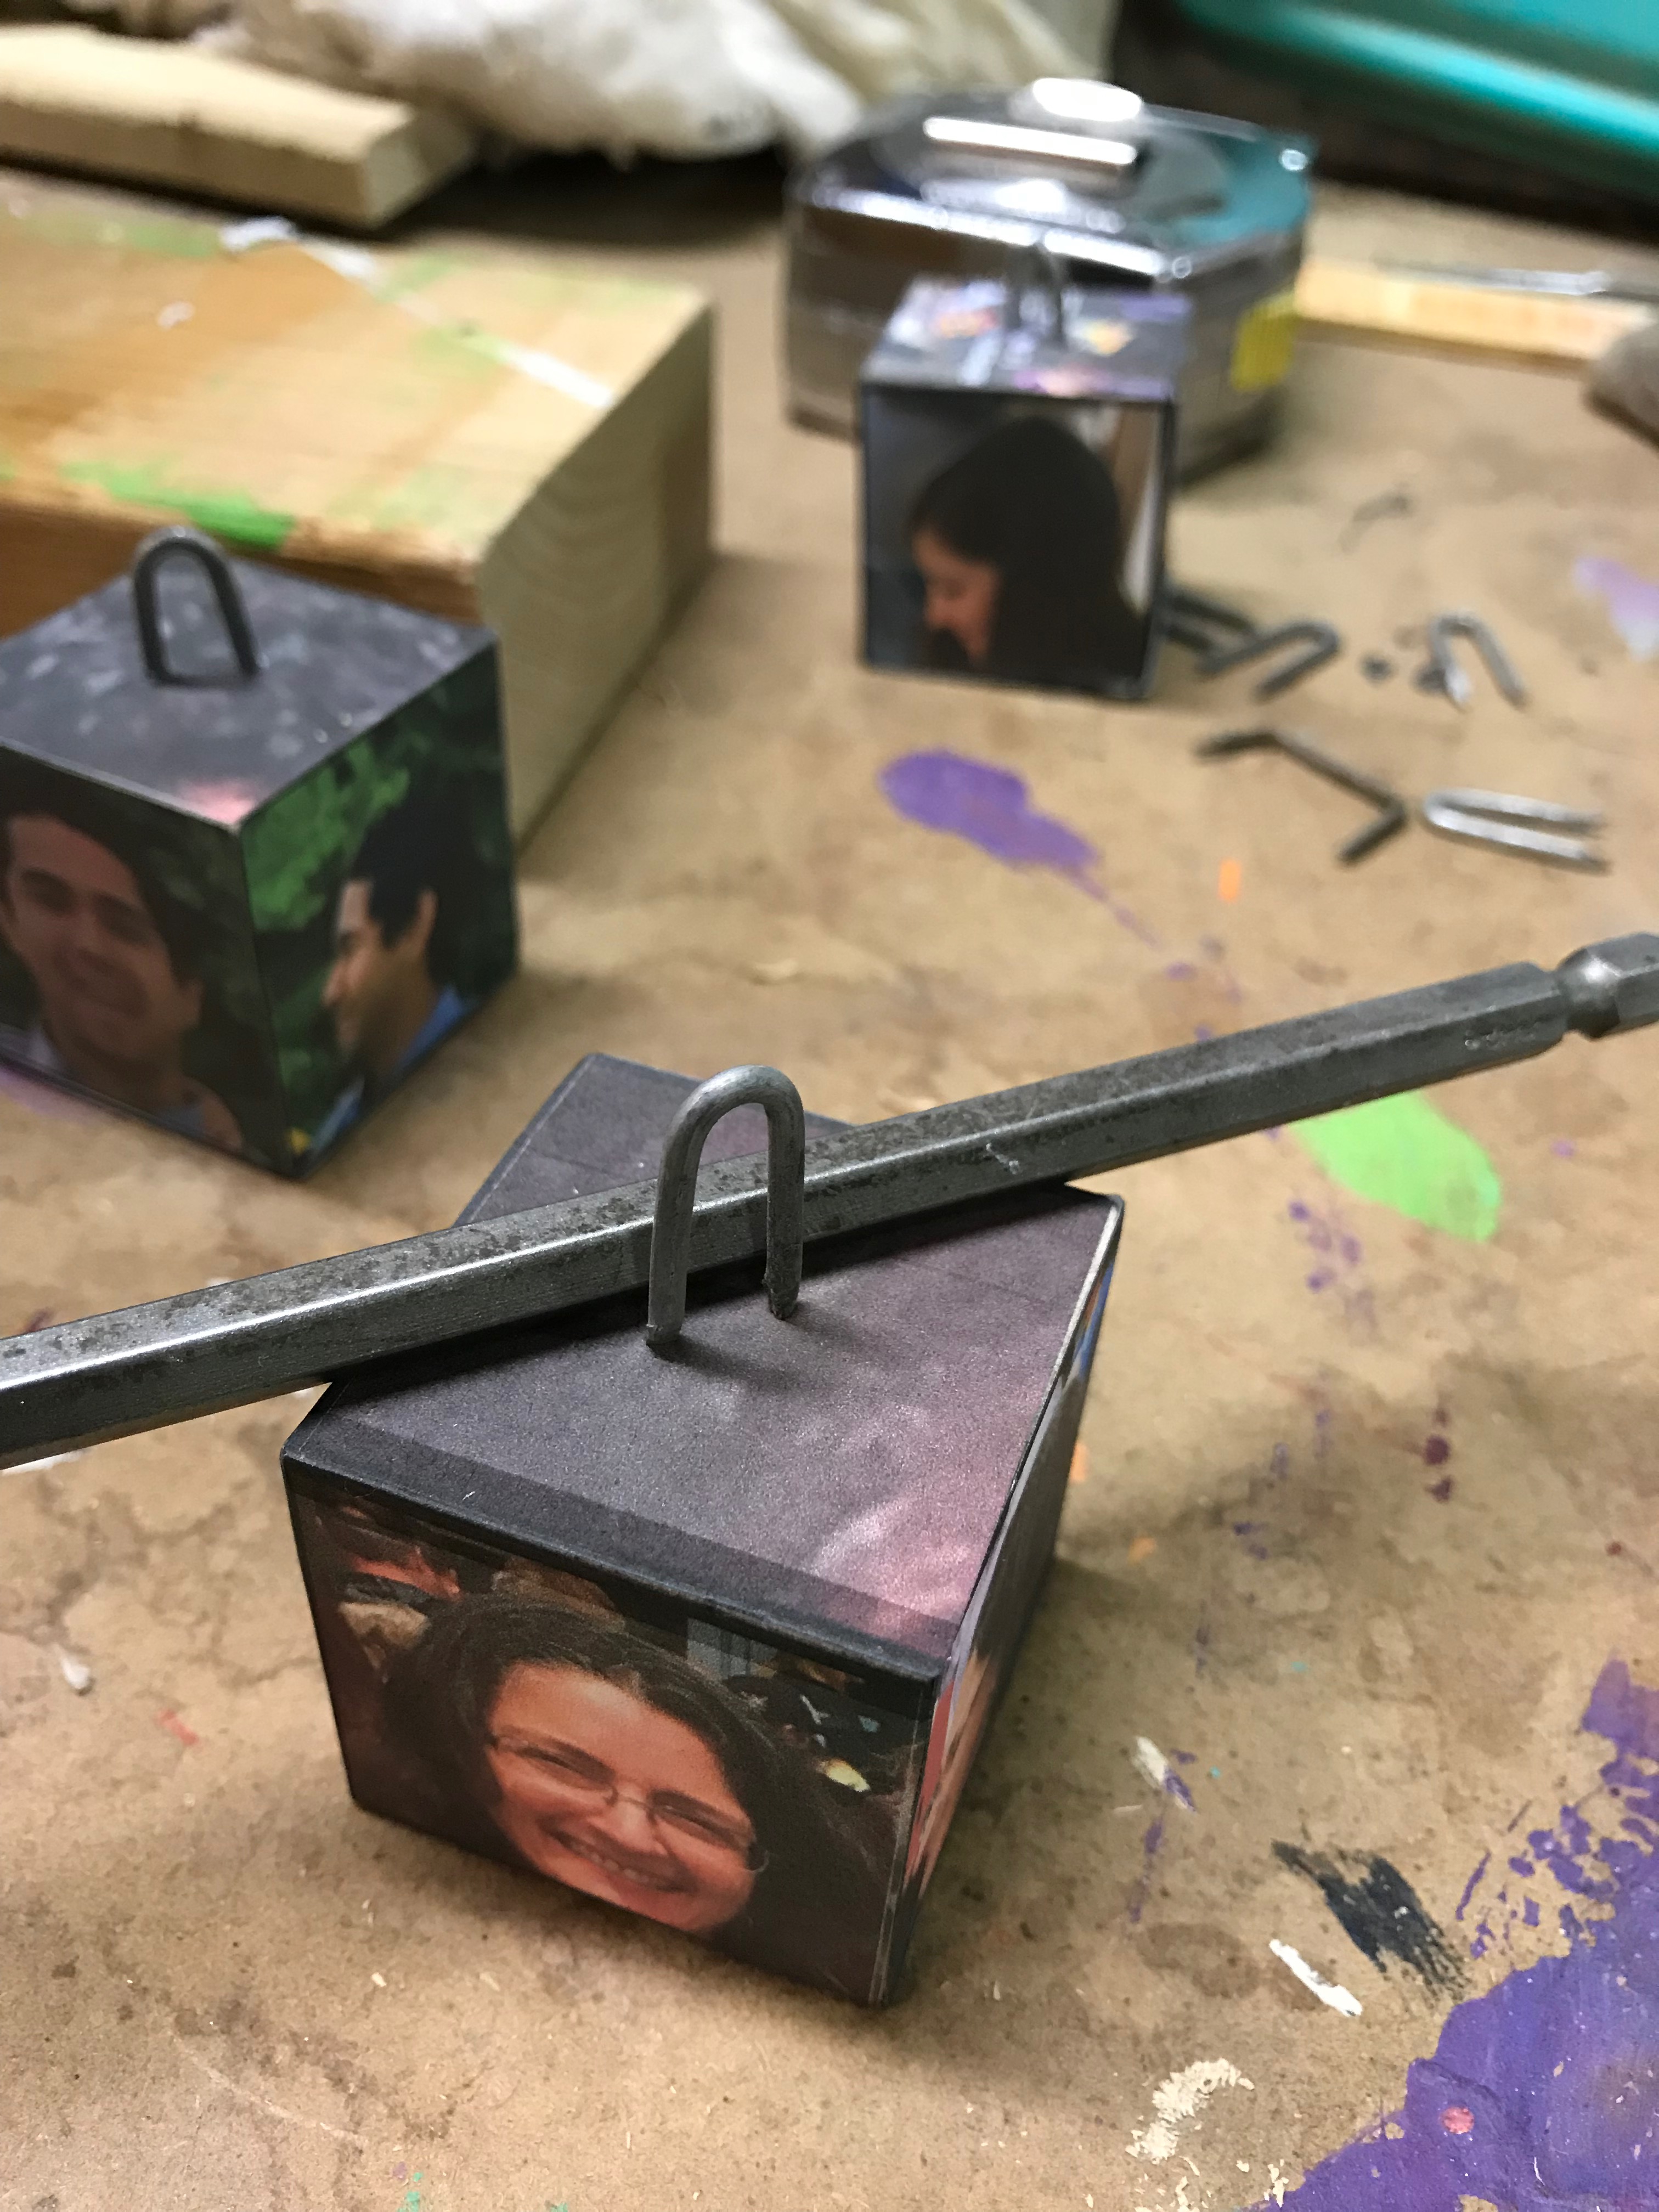
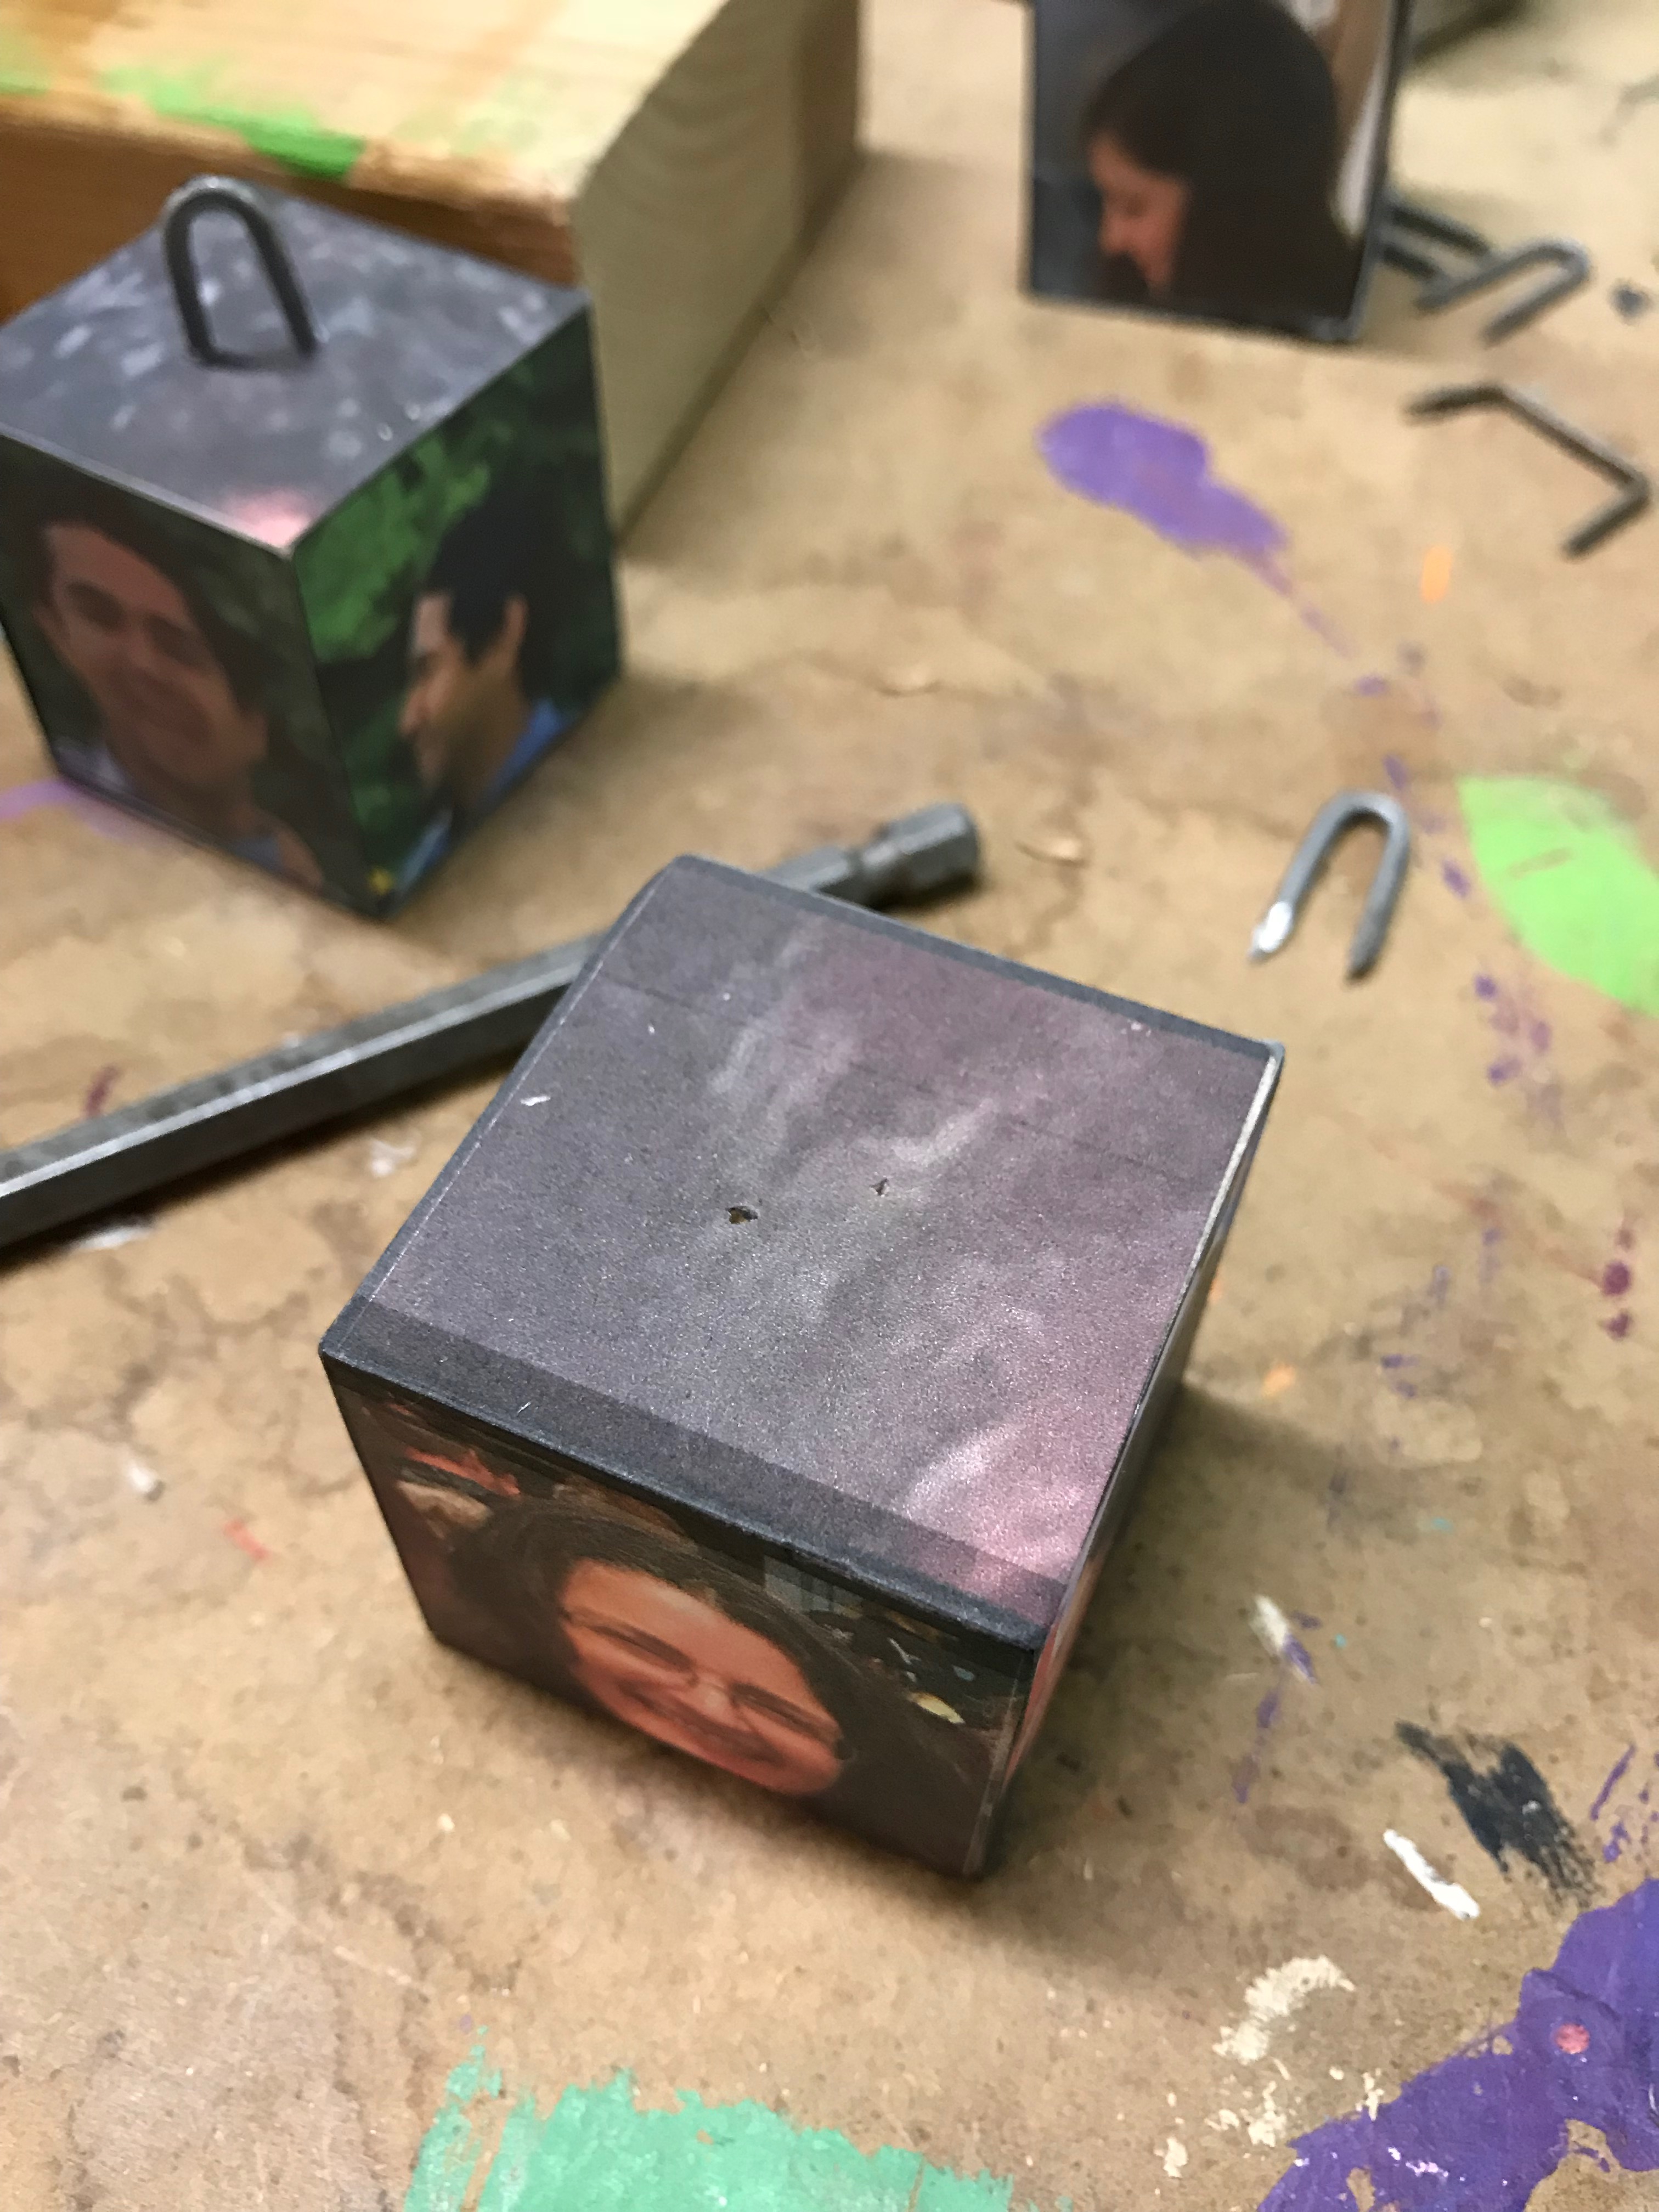
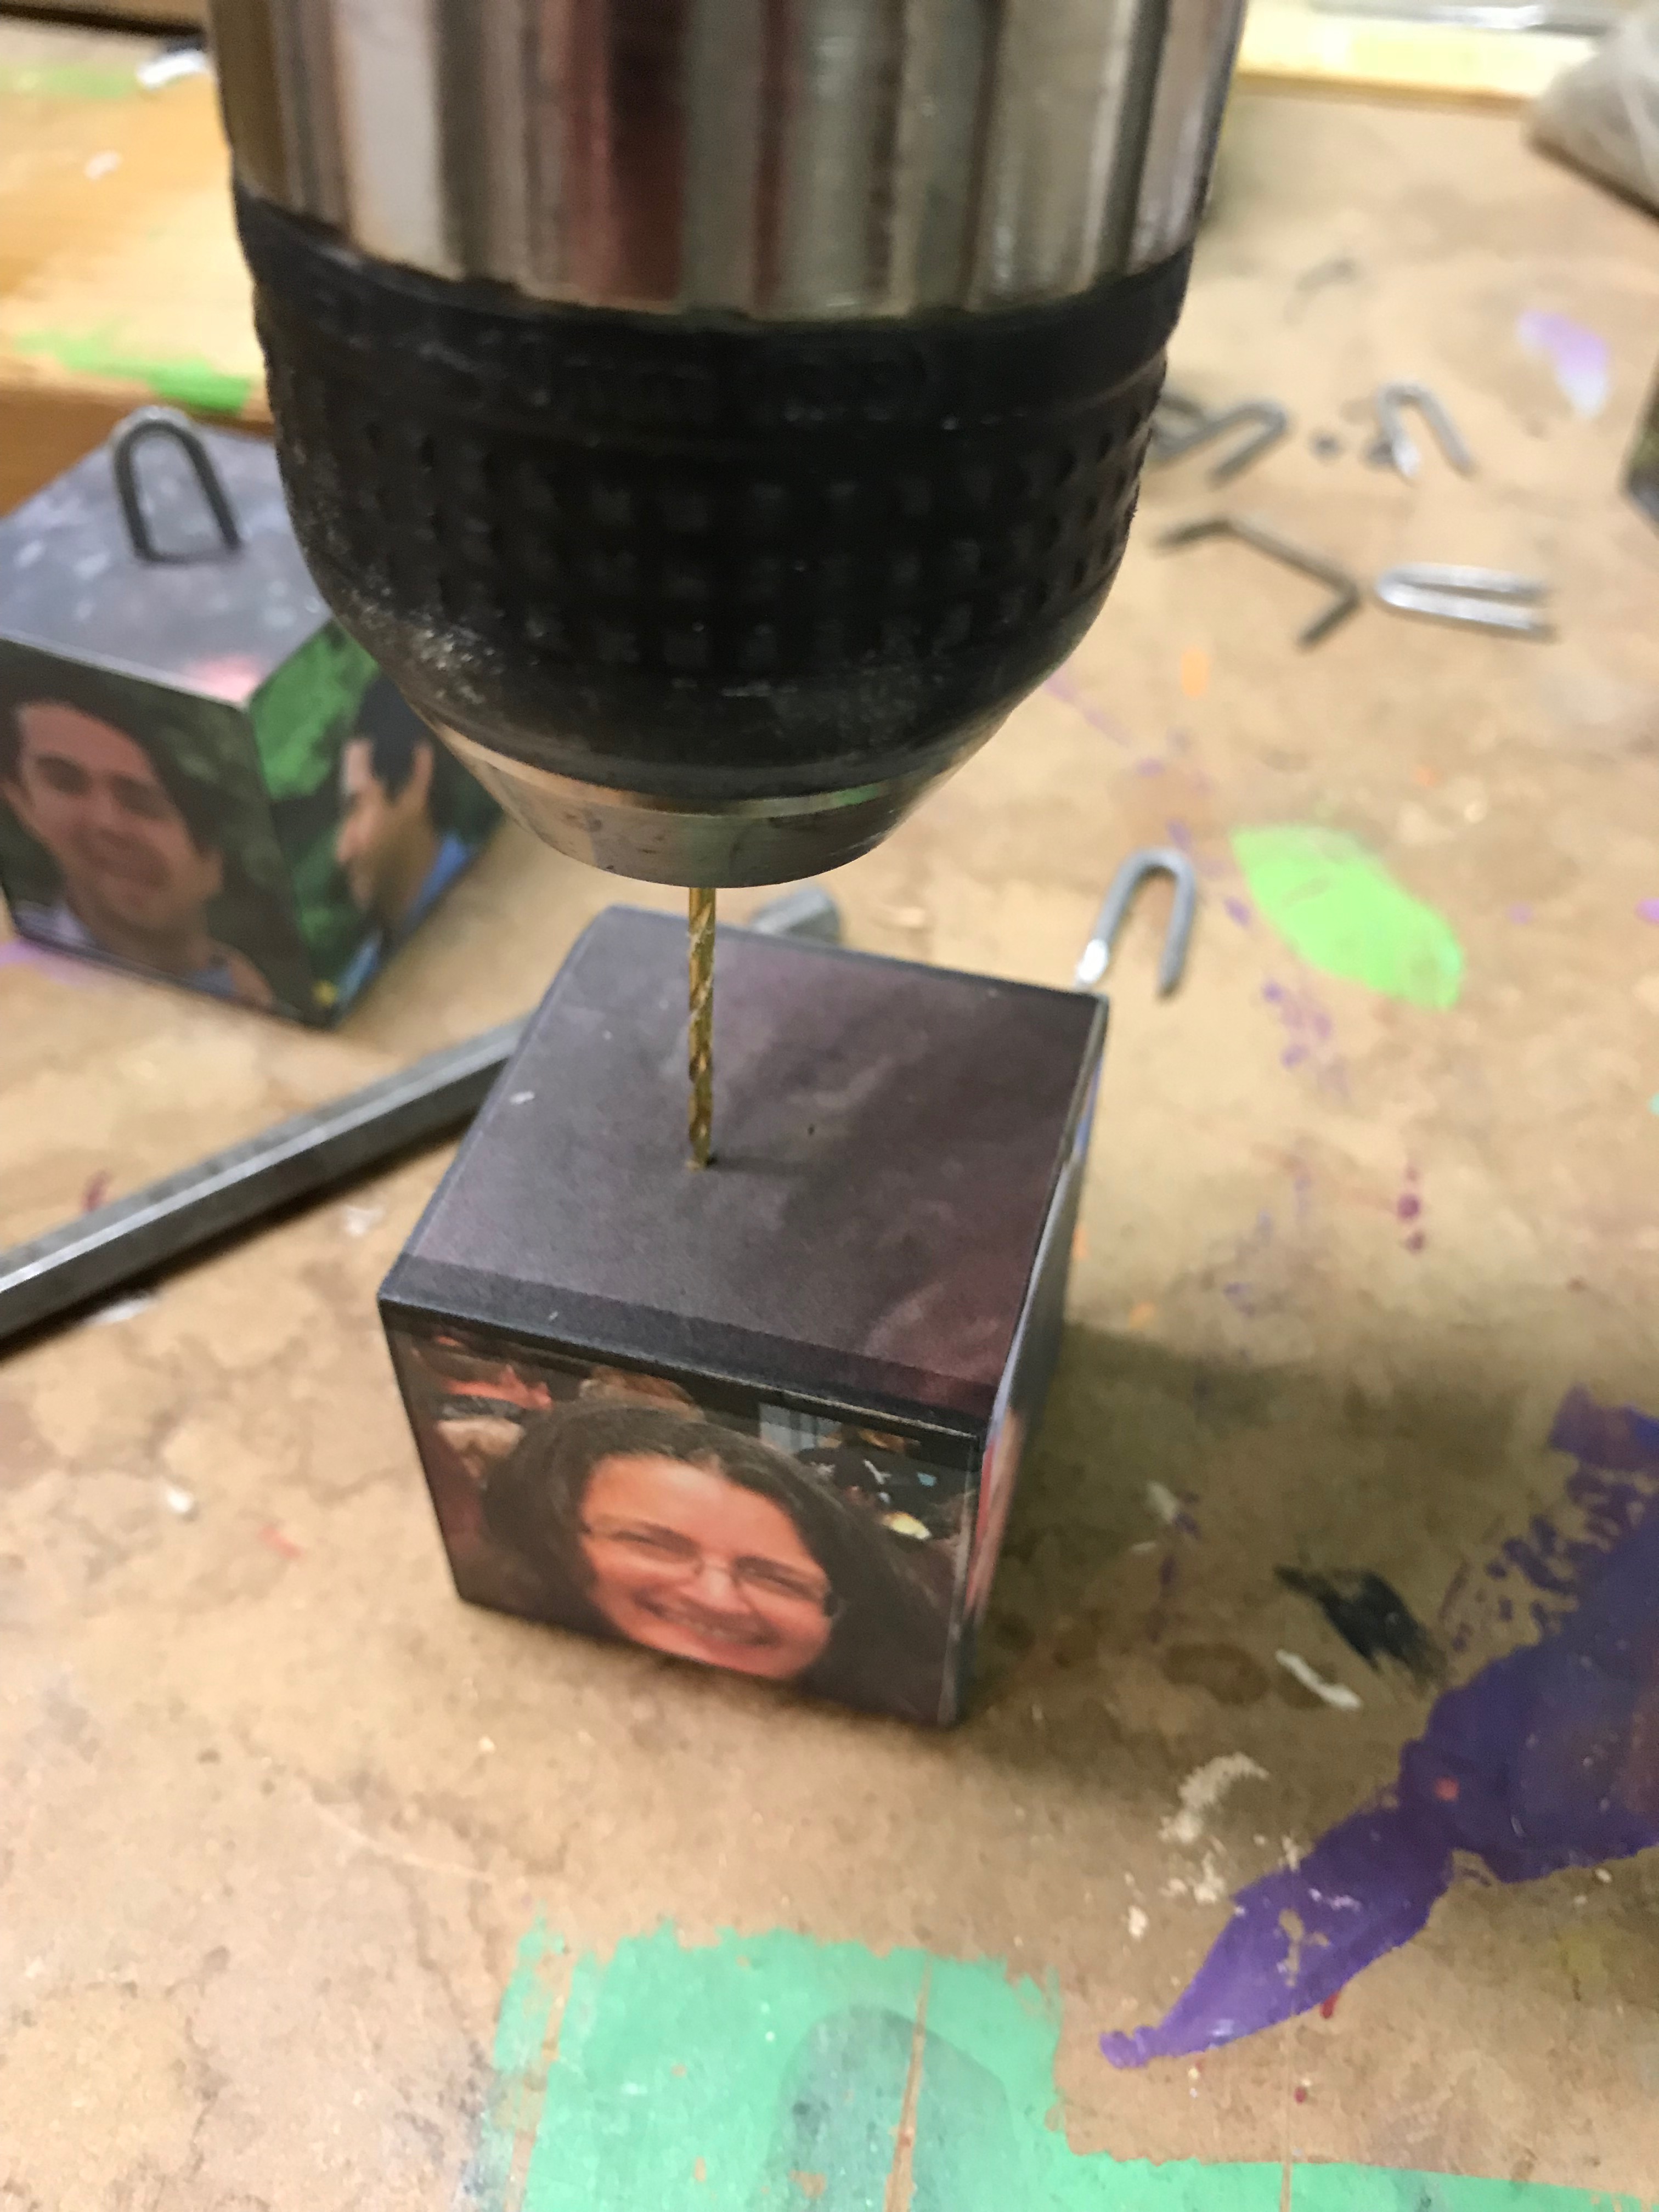
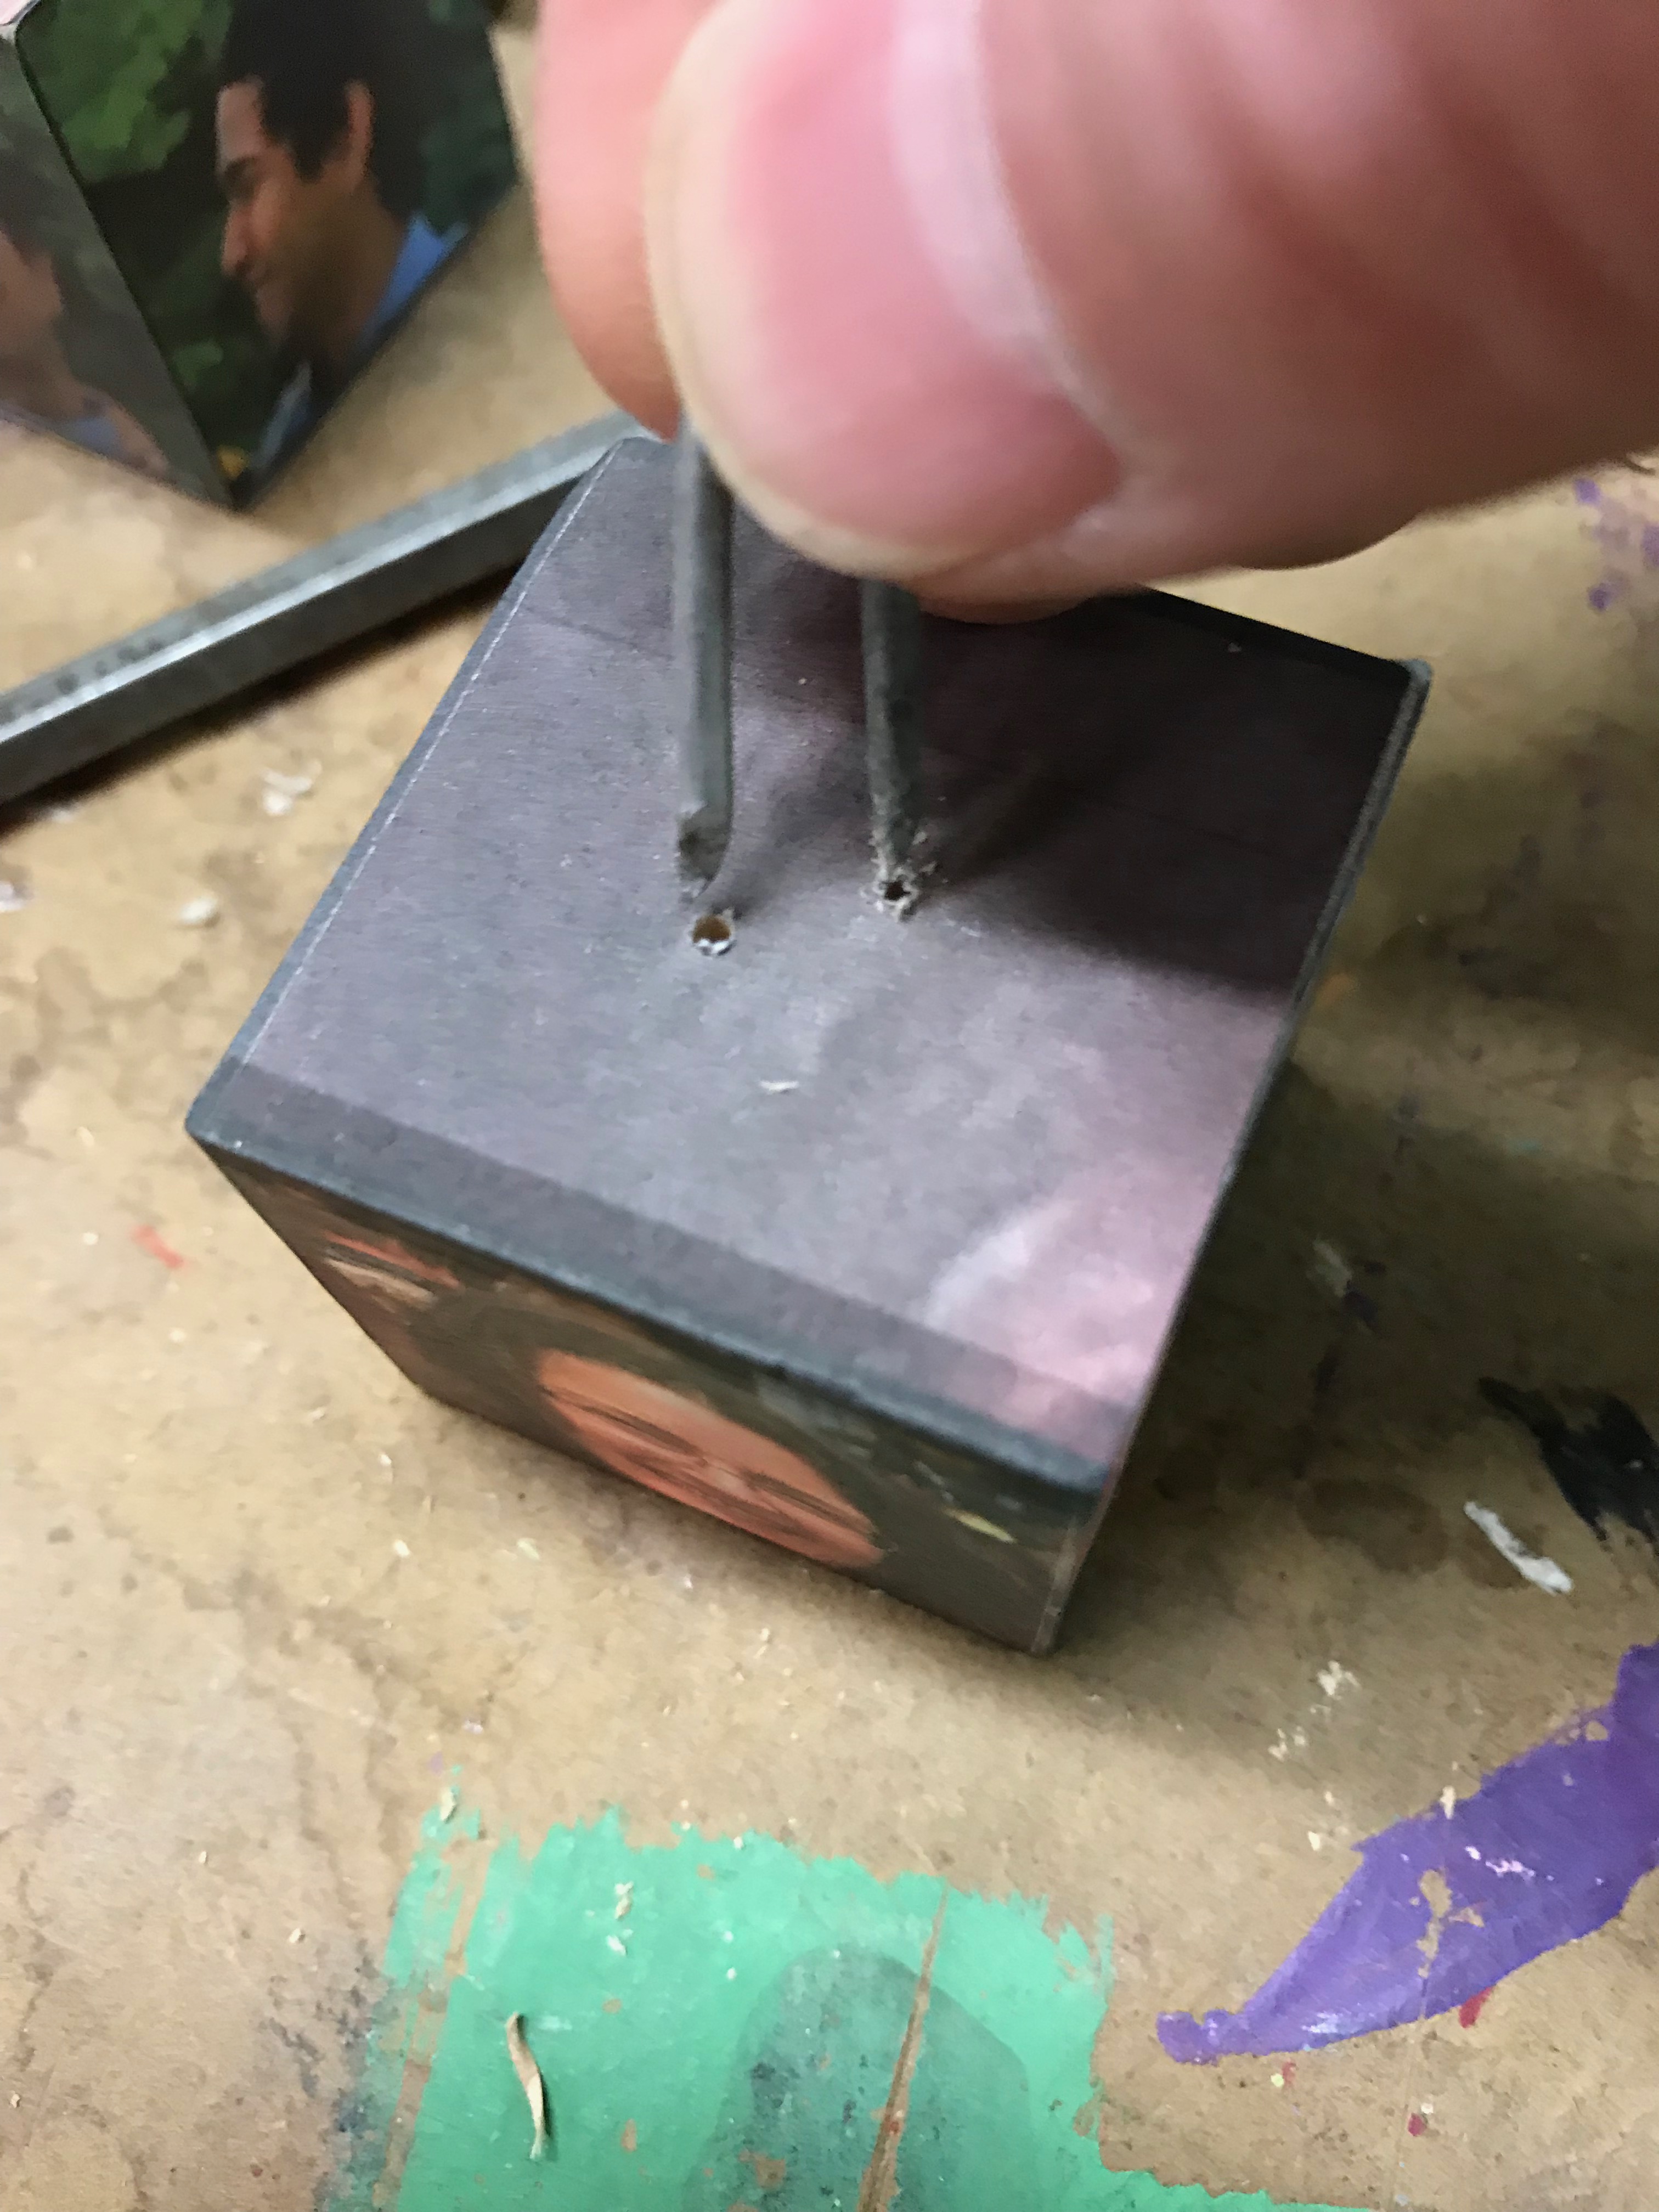
[Skip this step if you are not creating an ornament since there is no hook on your cube.]
I found a box of staples typically used for hanging small-gauge telephone wire for the inside walls of a house. These are completely overkill for the weight that they need to bare but, for me, they were free so I used them. You may want to use a more delicate version of a staple for your hook. You will find plenty of options at any hardware store.
- Lay a straight edge from corner to corner across the top of your ornament.
- Do not hammer the staple all the way in now, you will split the block.
- Place a staple centered next to the straight edge and tap it lightly with a hammer. Once. This marks the holes for drilling.
- Remove the staple
- Drill two 1/16 inch holes into the top.
- Now tap the staple solidly into the holes leaving about half an inch of loop showing.
Protect Paper With Enamel Gloss
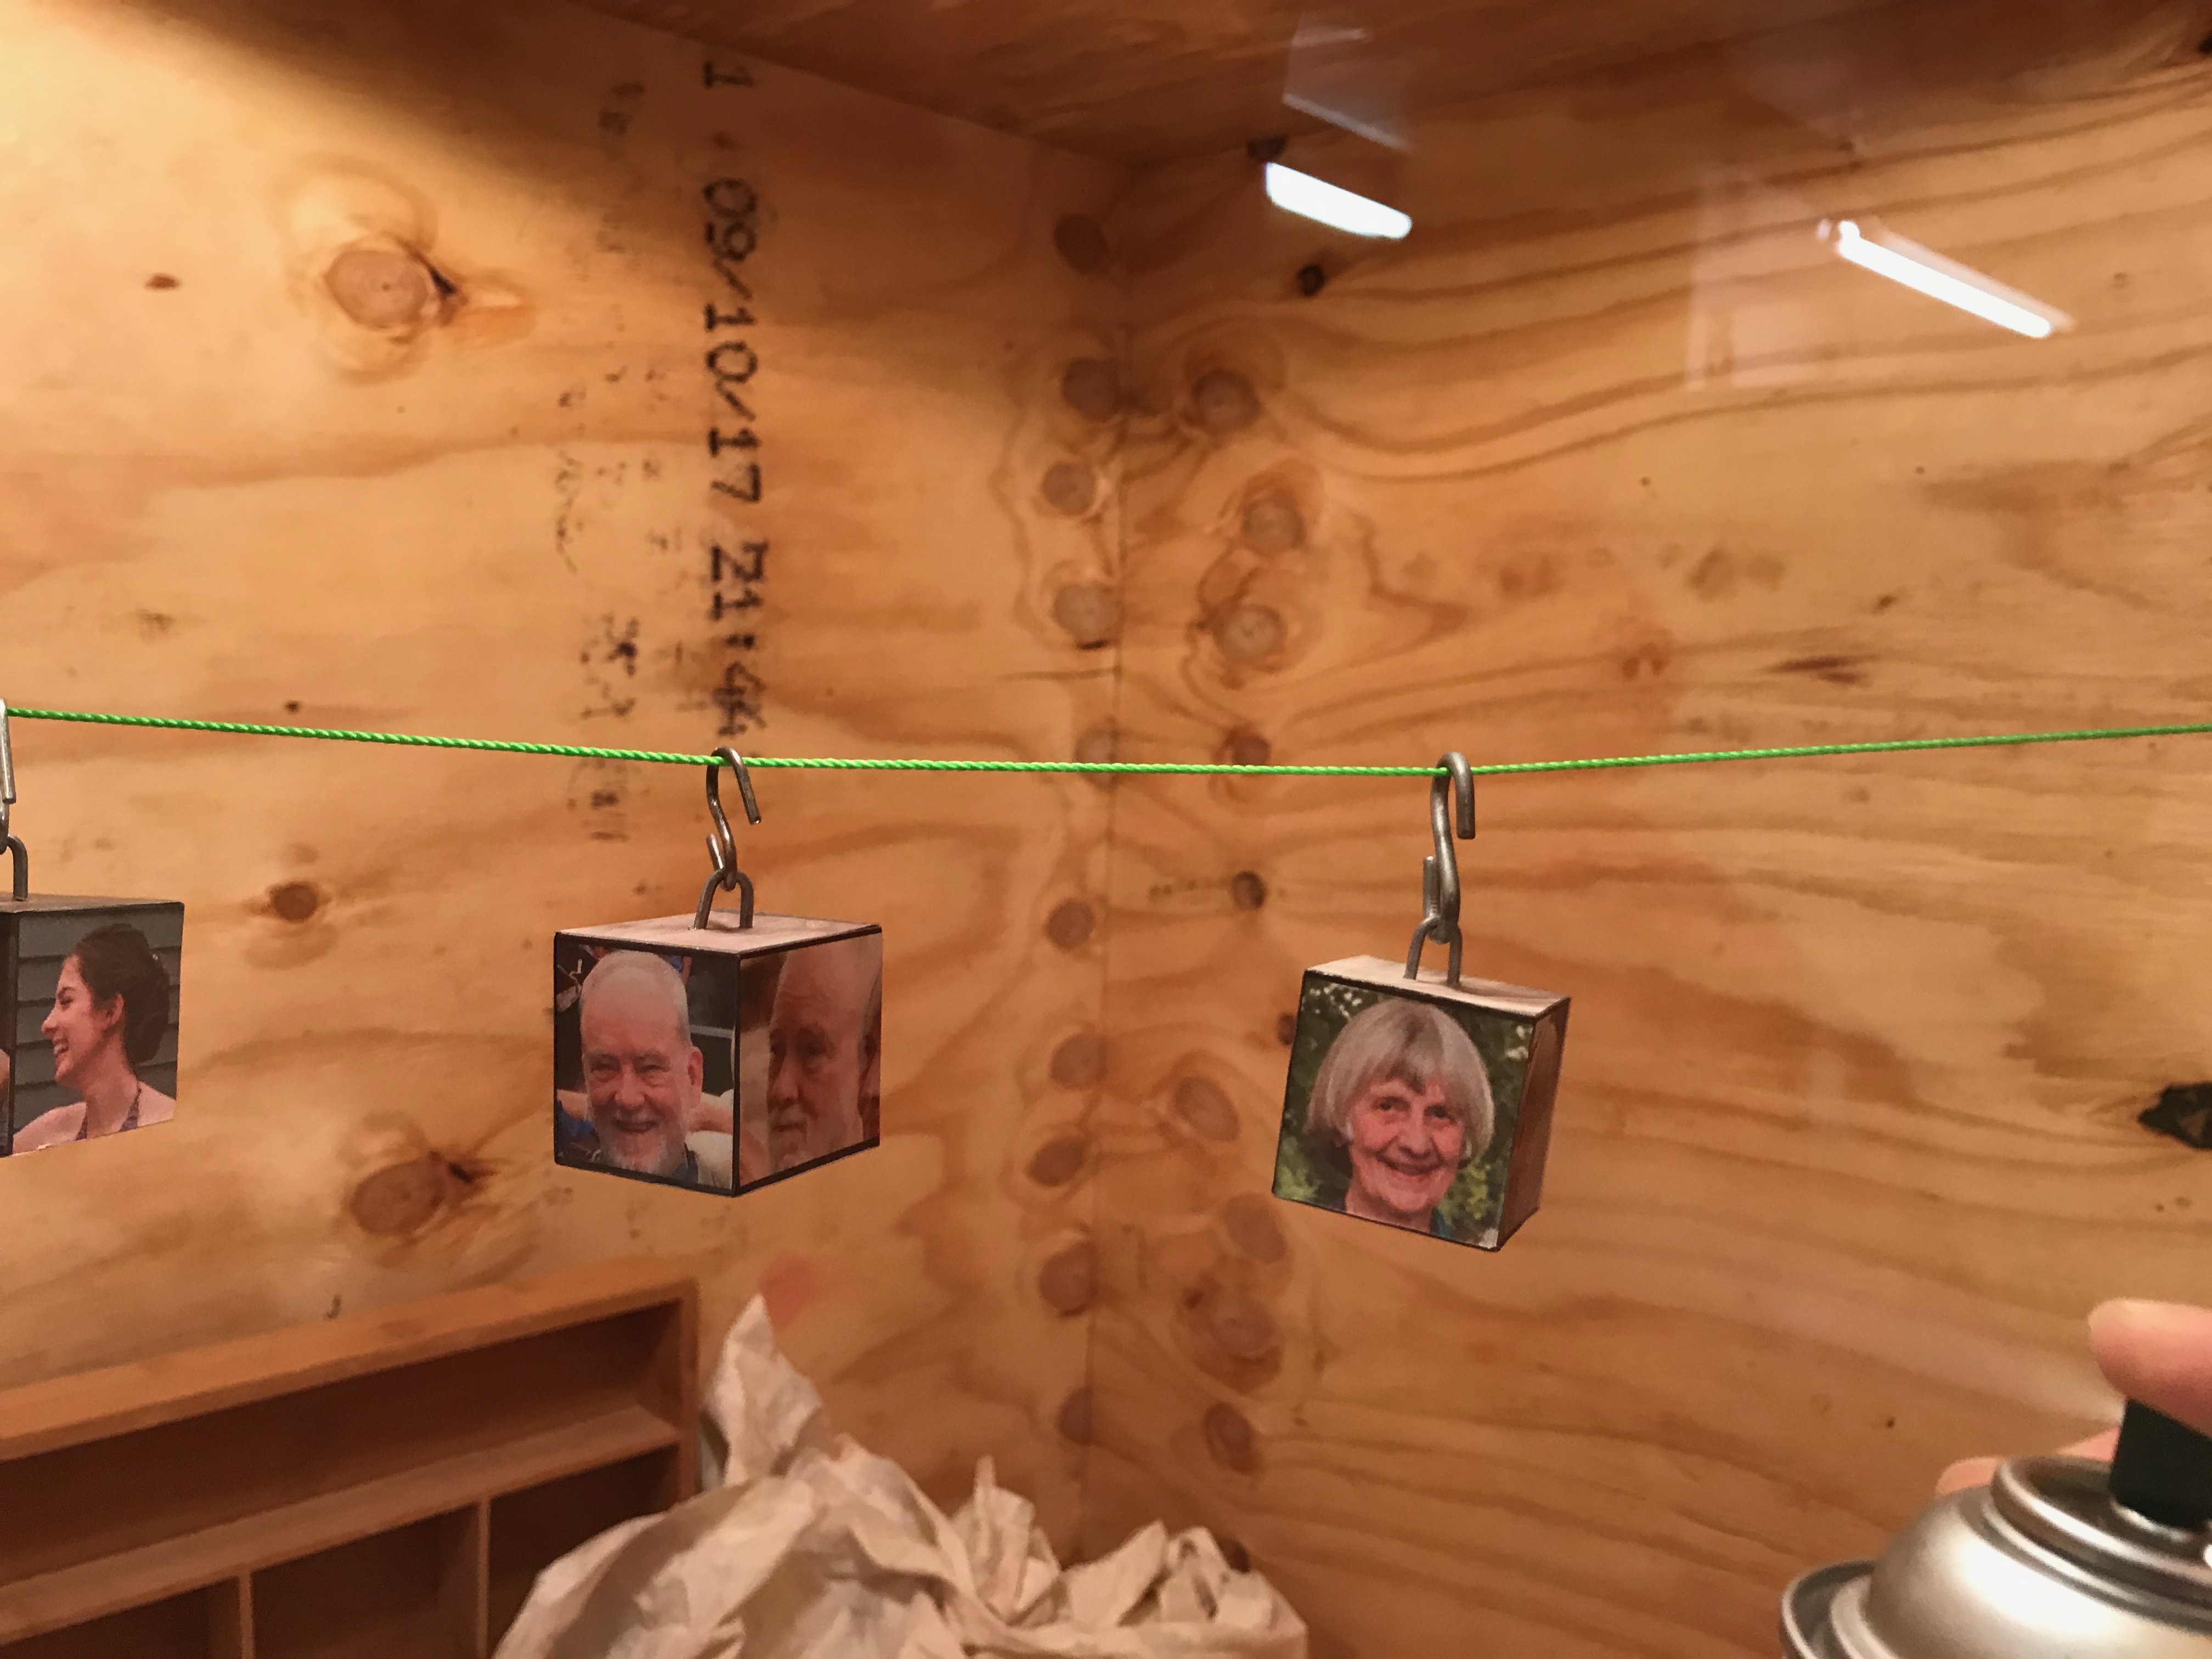
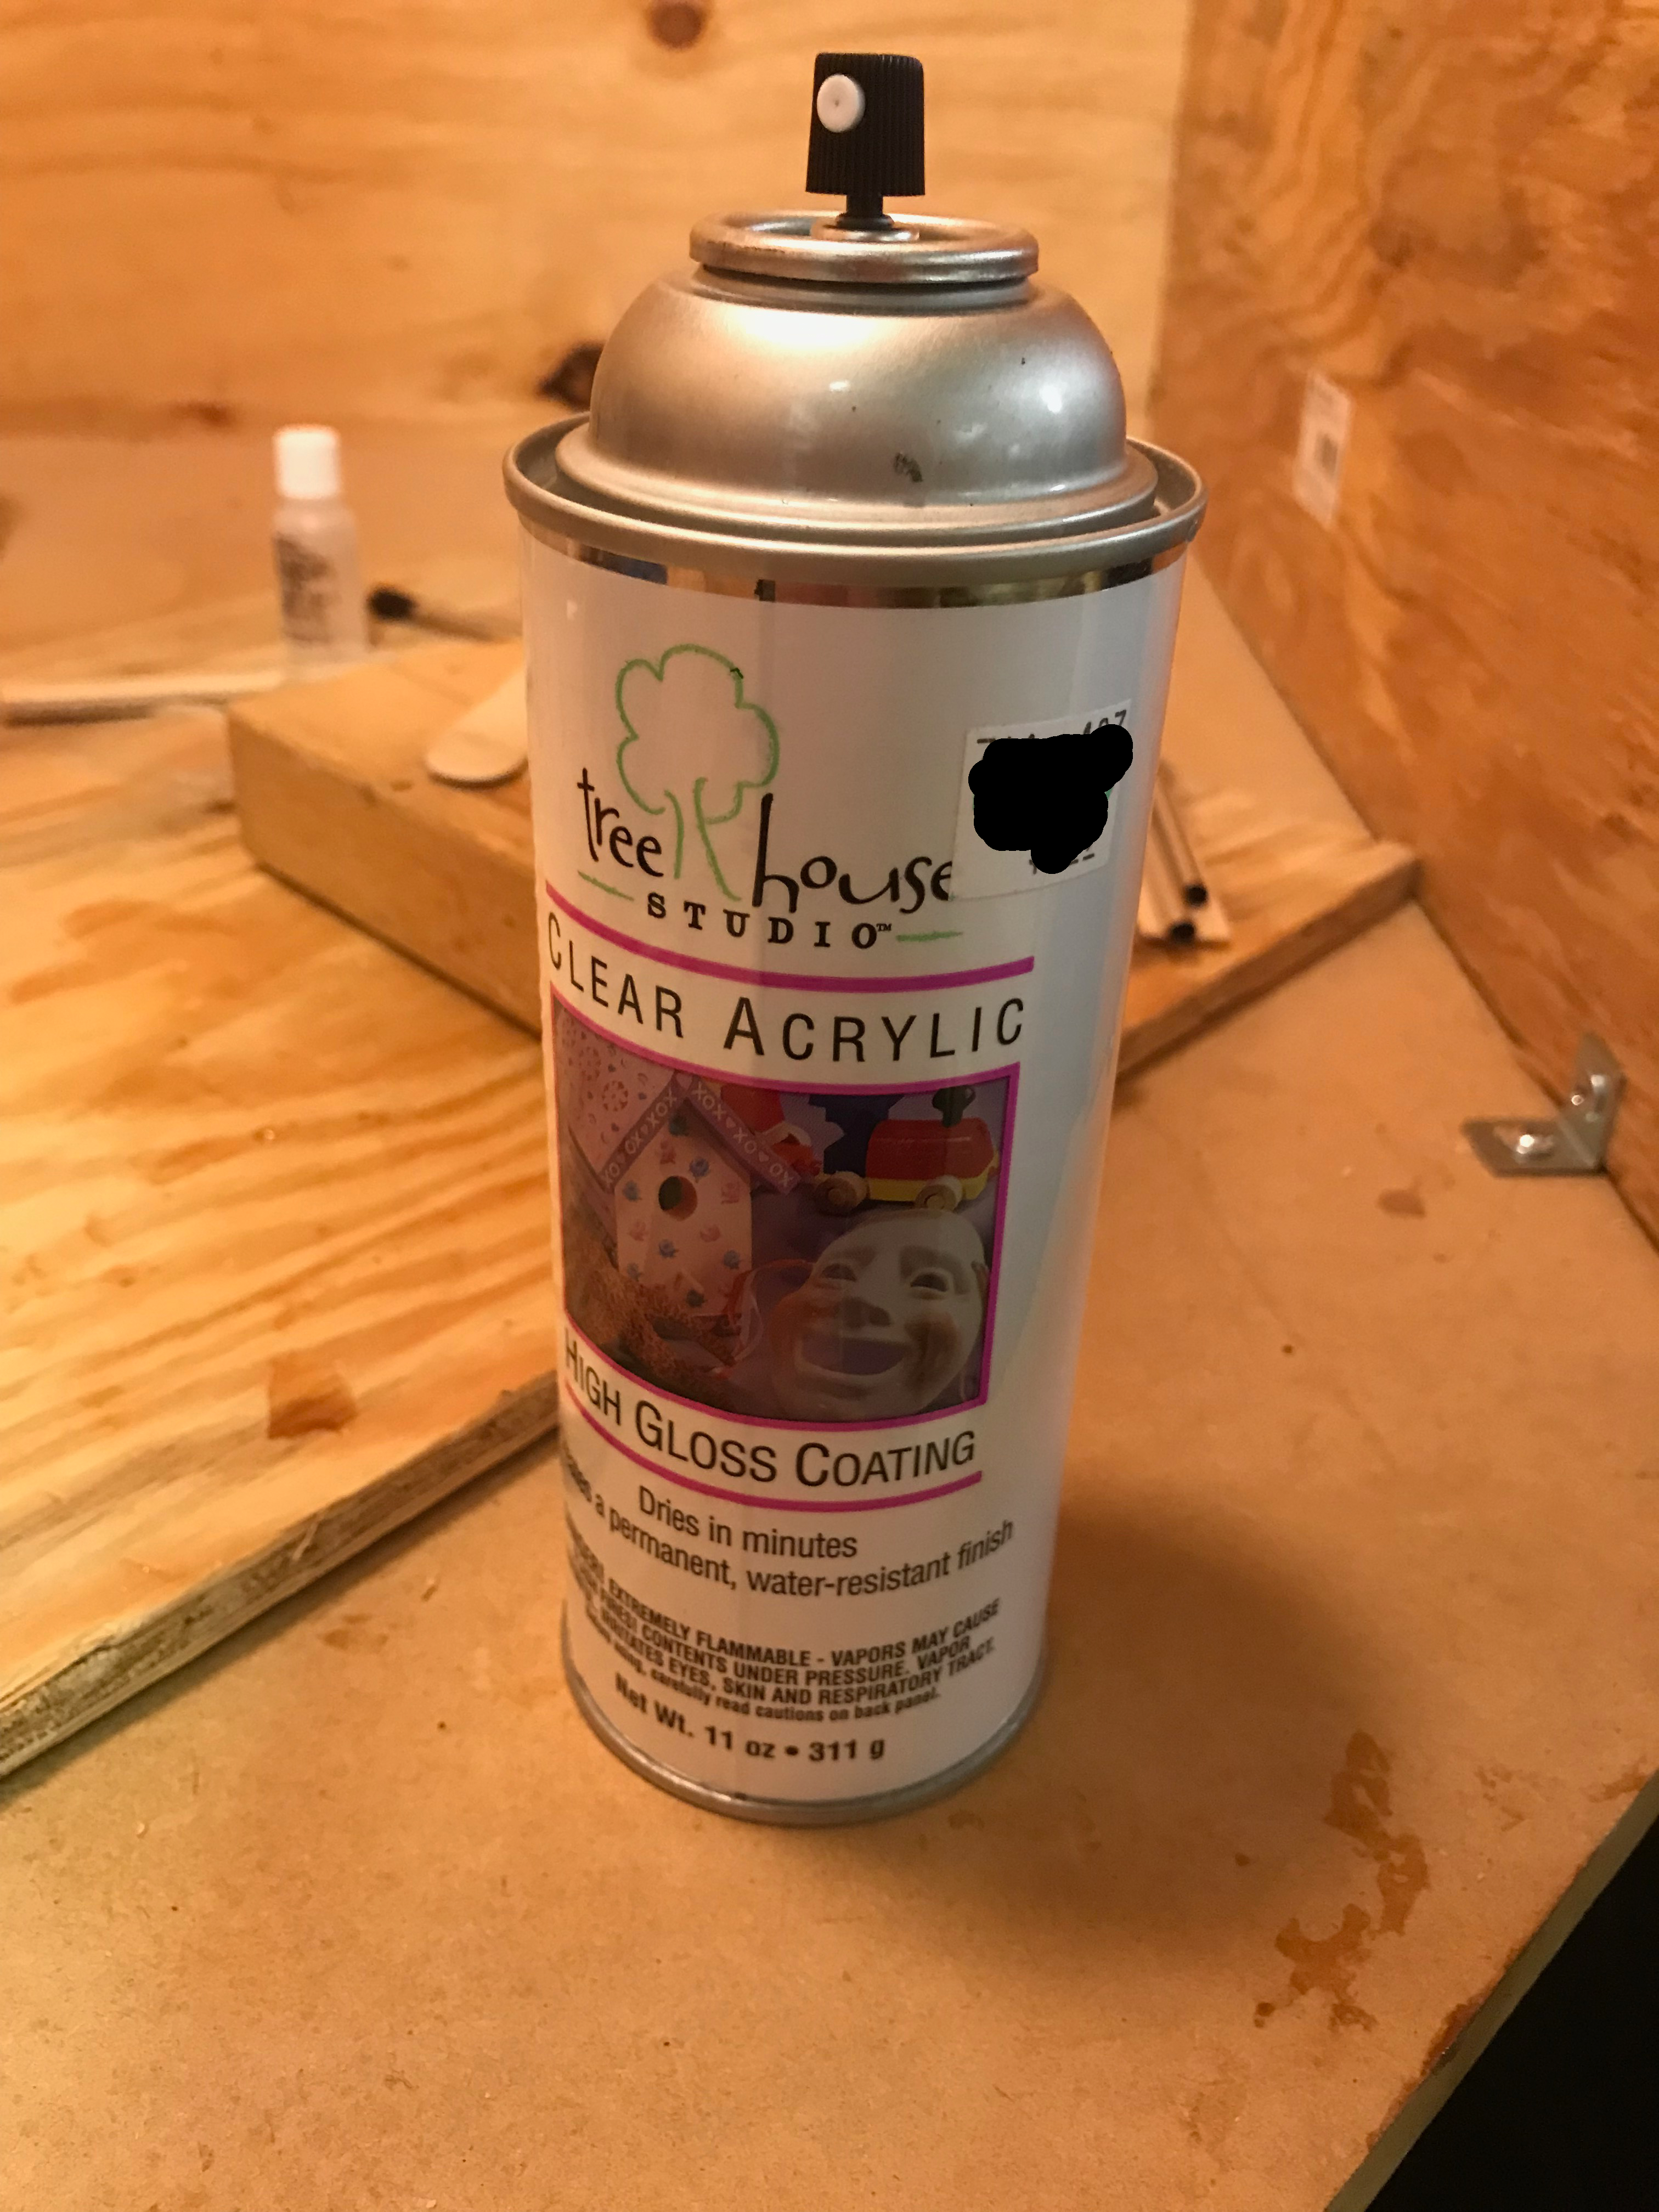
Spray all 6 sides with Acrylic coating to protect the paper from the effects of hardening resin.
I sprayed a second coat about an hour after the first then let that sit a day to dry. (But I think it was dry well before the 24 hours I gave it. Feel free to experiment with shorter dry times if you want.)
Pouring the Base Layer of Resin
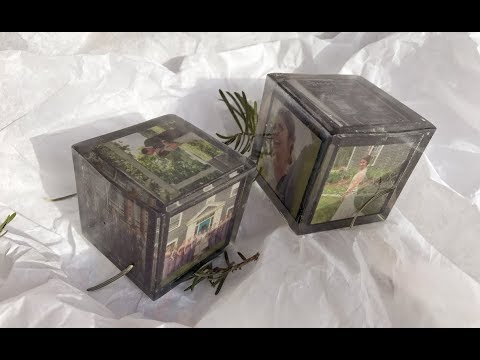
You will need:
- 1/4 oz of resin per cube (7 ml)
- 3 drops of hardener per cube depending on room temperature
The temperature in my room was quite low (under 70F or 30C) so I needed to add more drops of hardener than the instructions indicated. Read through the instructions for the resin you are using. You will likely need to adjust according to your conditions.
Make sure to mix it well!
Simple steps:
- Using a wooden stirring stick, mix thoroughly for at least 1 minute. You need to make sure that every molecule of hardener mixes with every molecule of resin.
- Pour a thin layer of resin at the bottom of the ice cube tray
- Let it sit an hour to gel. (Hardening time varies depending on room temperature.)
Pouring the Middle Layer of Resin
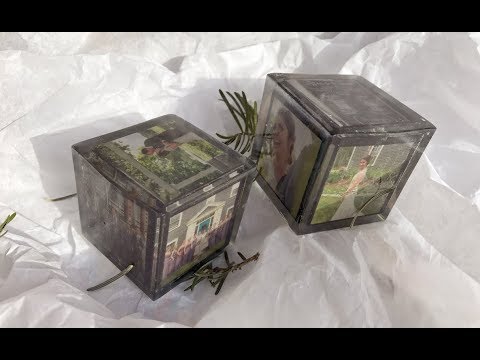
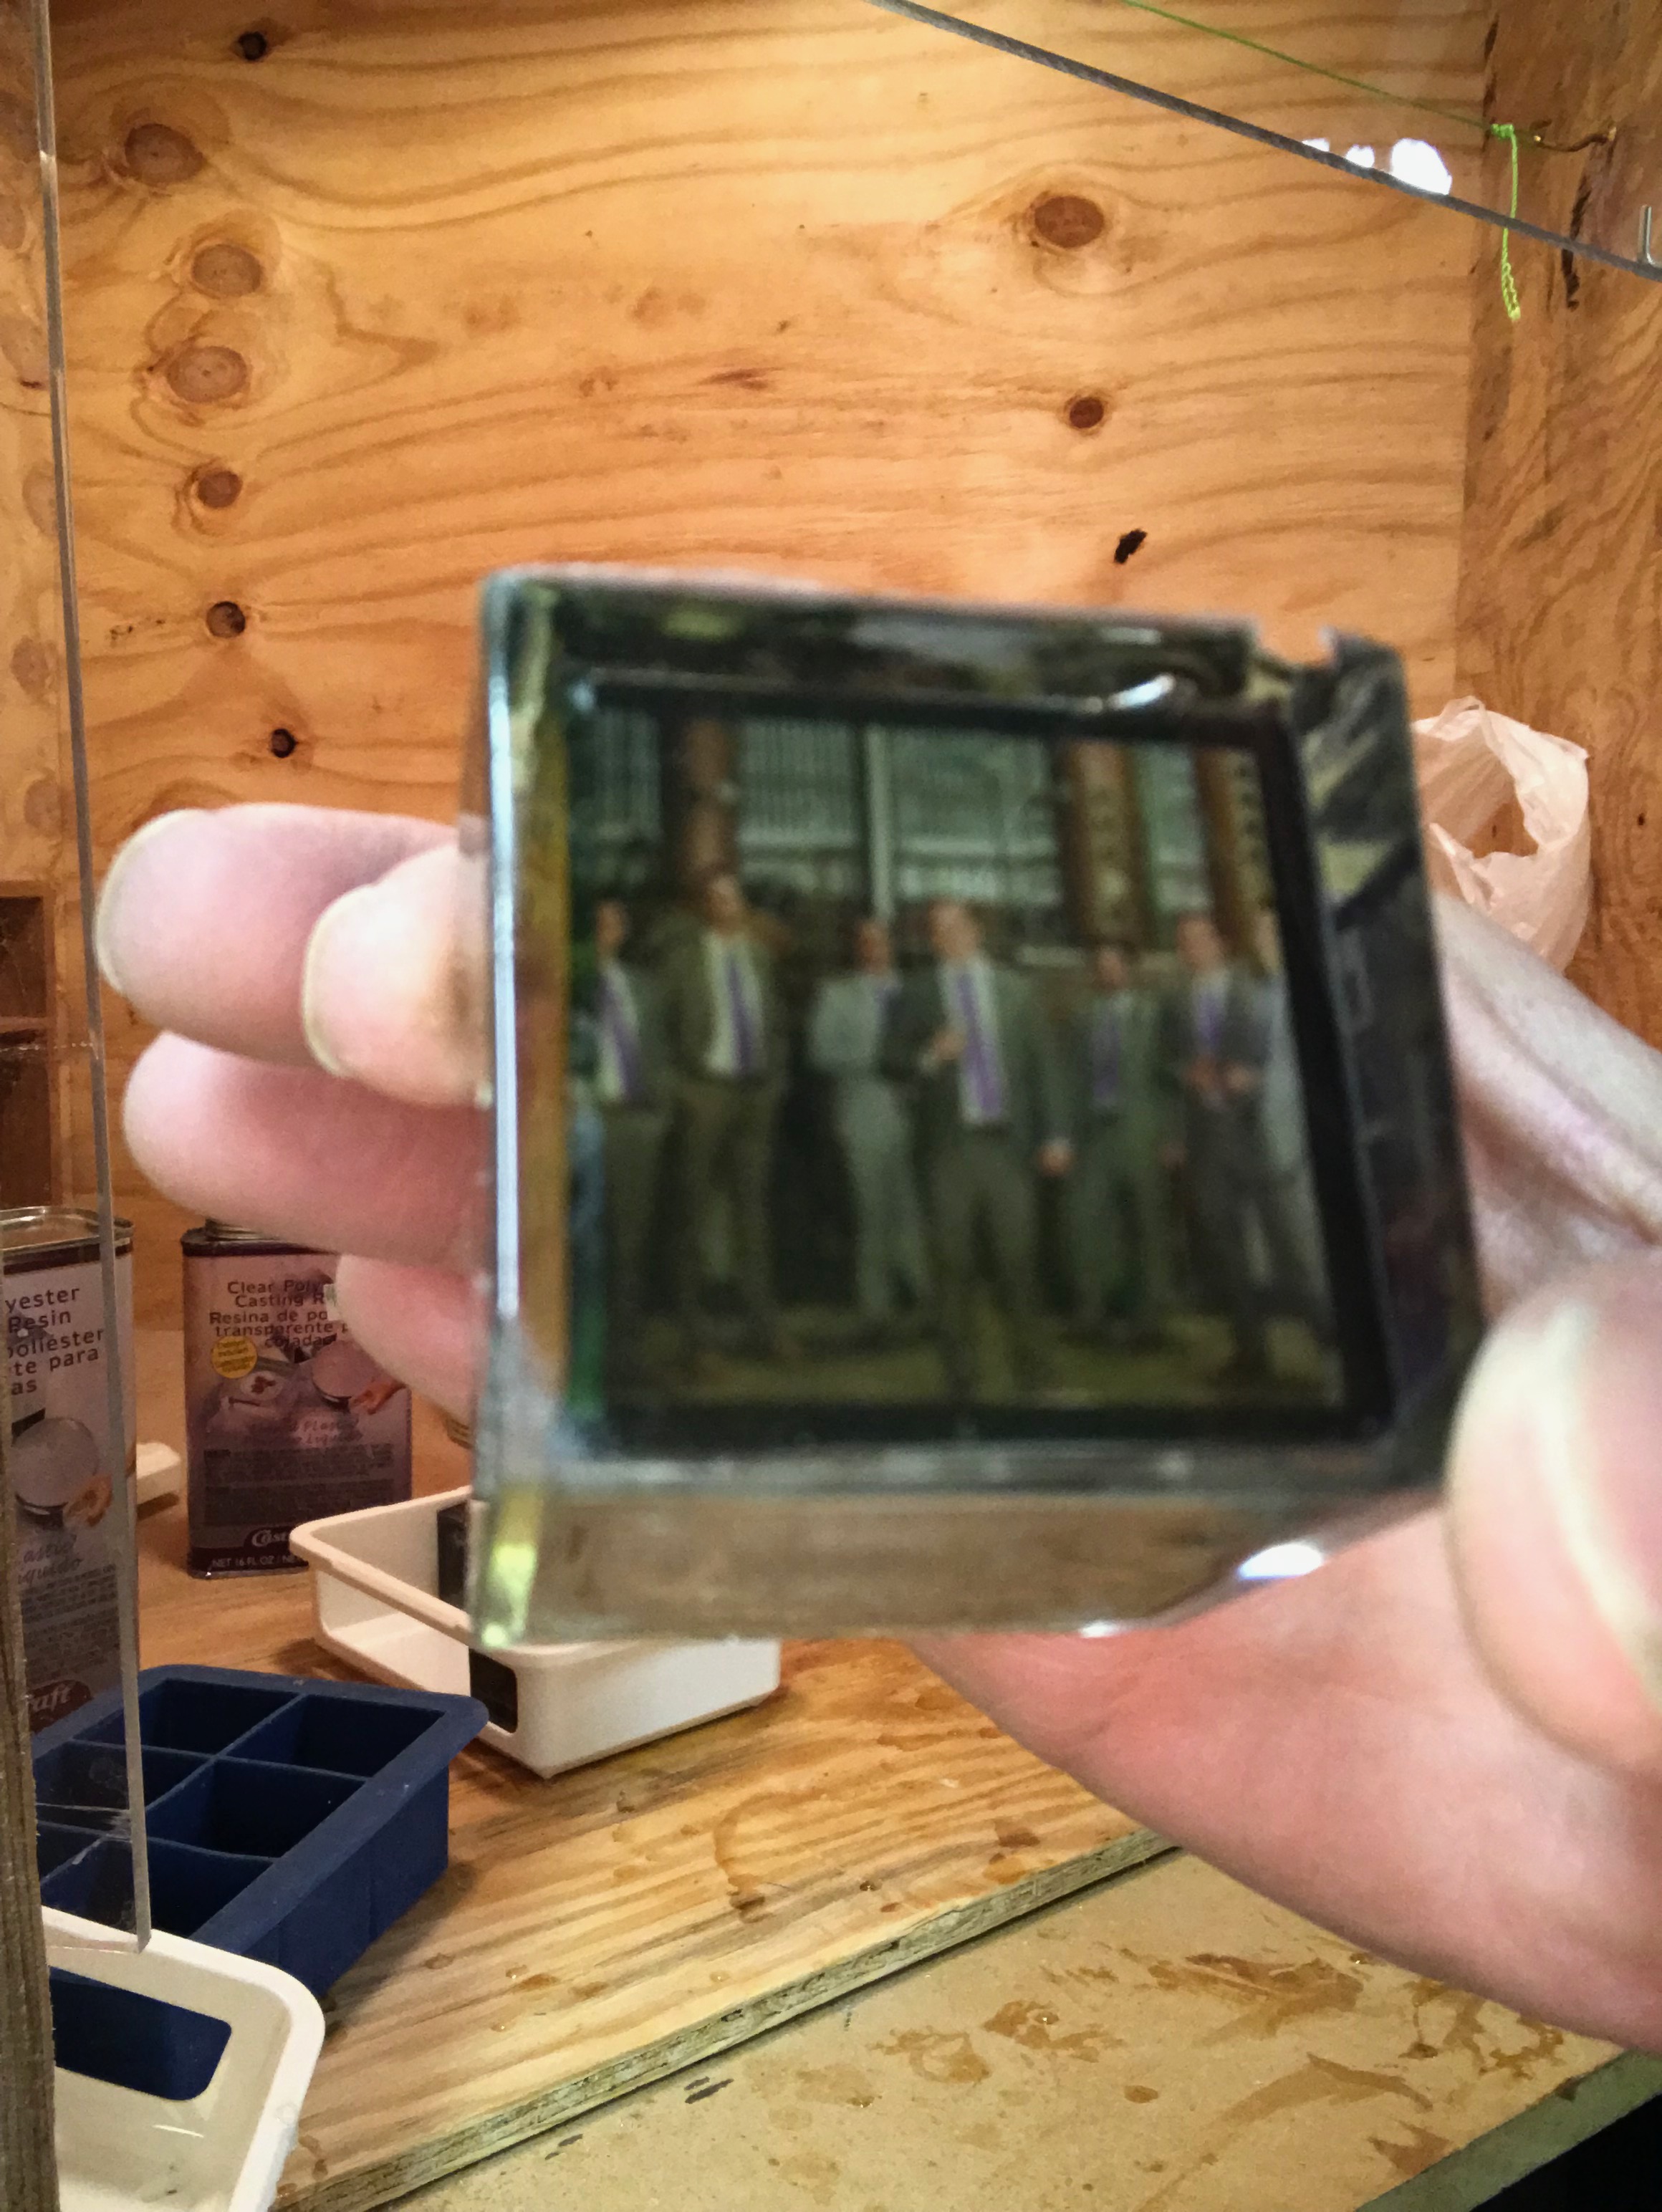
Important! Wood floats! Do not fill your mold completely during this step.
You will need:
- 1/4 oz of resin per cube (7 ml)
- 3 drops of hardener per cube depending on room temperature (my temperature was under 70 degrees F, or 20 C)
There are a few important not-obvious details to note during this step.
- Pour a very thin layer of resin into the mold above the gelled first layer before placing the wooden cube into the tray. If you simply place the cube into the mold on top of layer-one, an ugly bubble will likely form under your cube.
- Immediately place the wooden cube on top if this liquid resin and center it.
- Now finish pouring resin down the sides of your block. Pour only enough resin to hold the block in place after it hardens. About a quarter to half way up the side should be plenty.
Important! Wood floats! Do not fill your mold completely during this step.
Wait an hour until the resin partly hardens into the consistency of jello before pouring the final layer. The hardening time varies depending on the temperature of the room.
Pouring the Top Layer of Resin
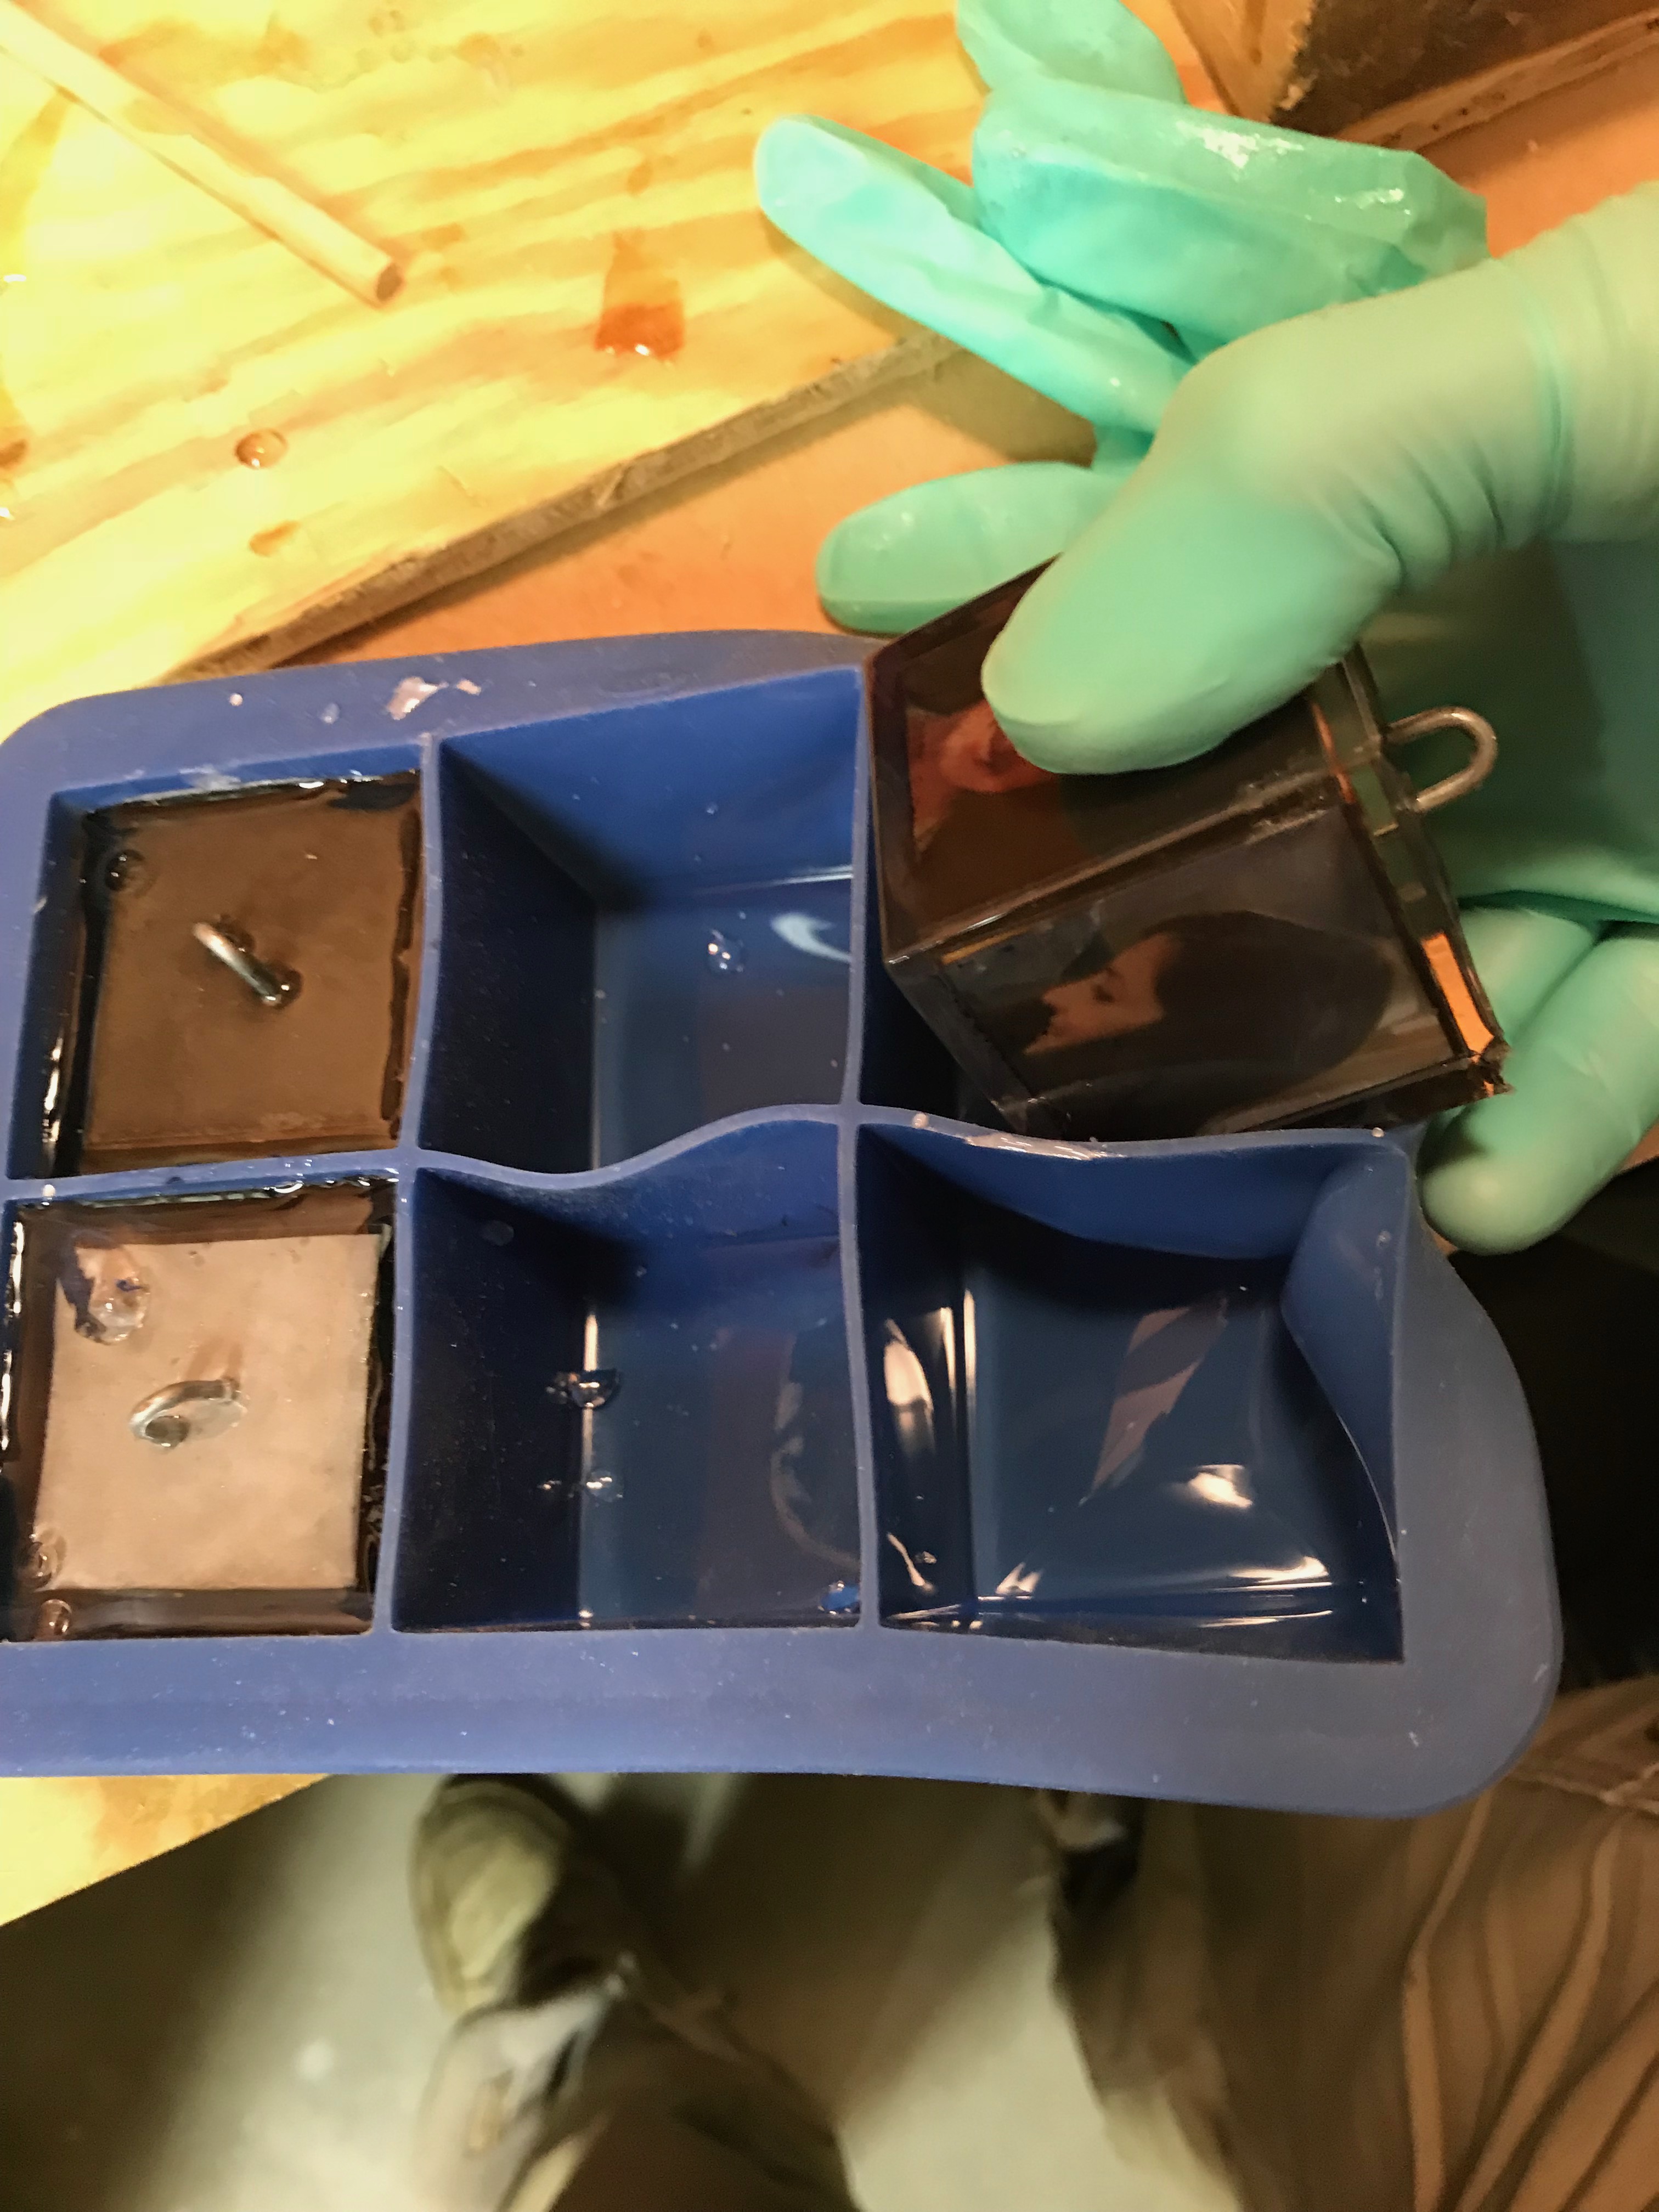
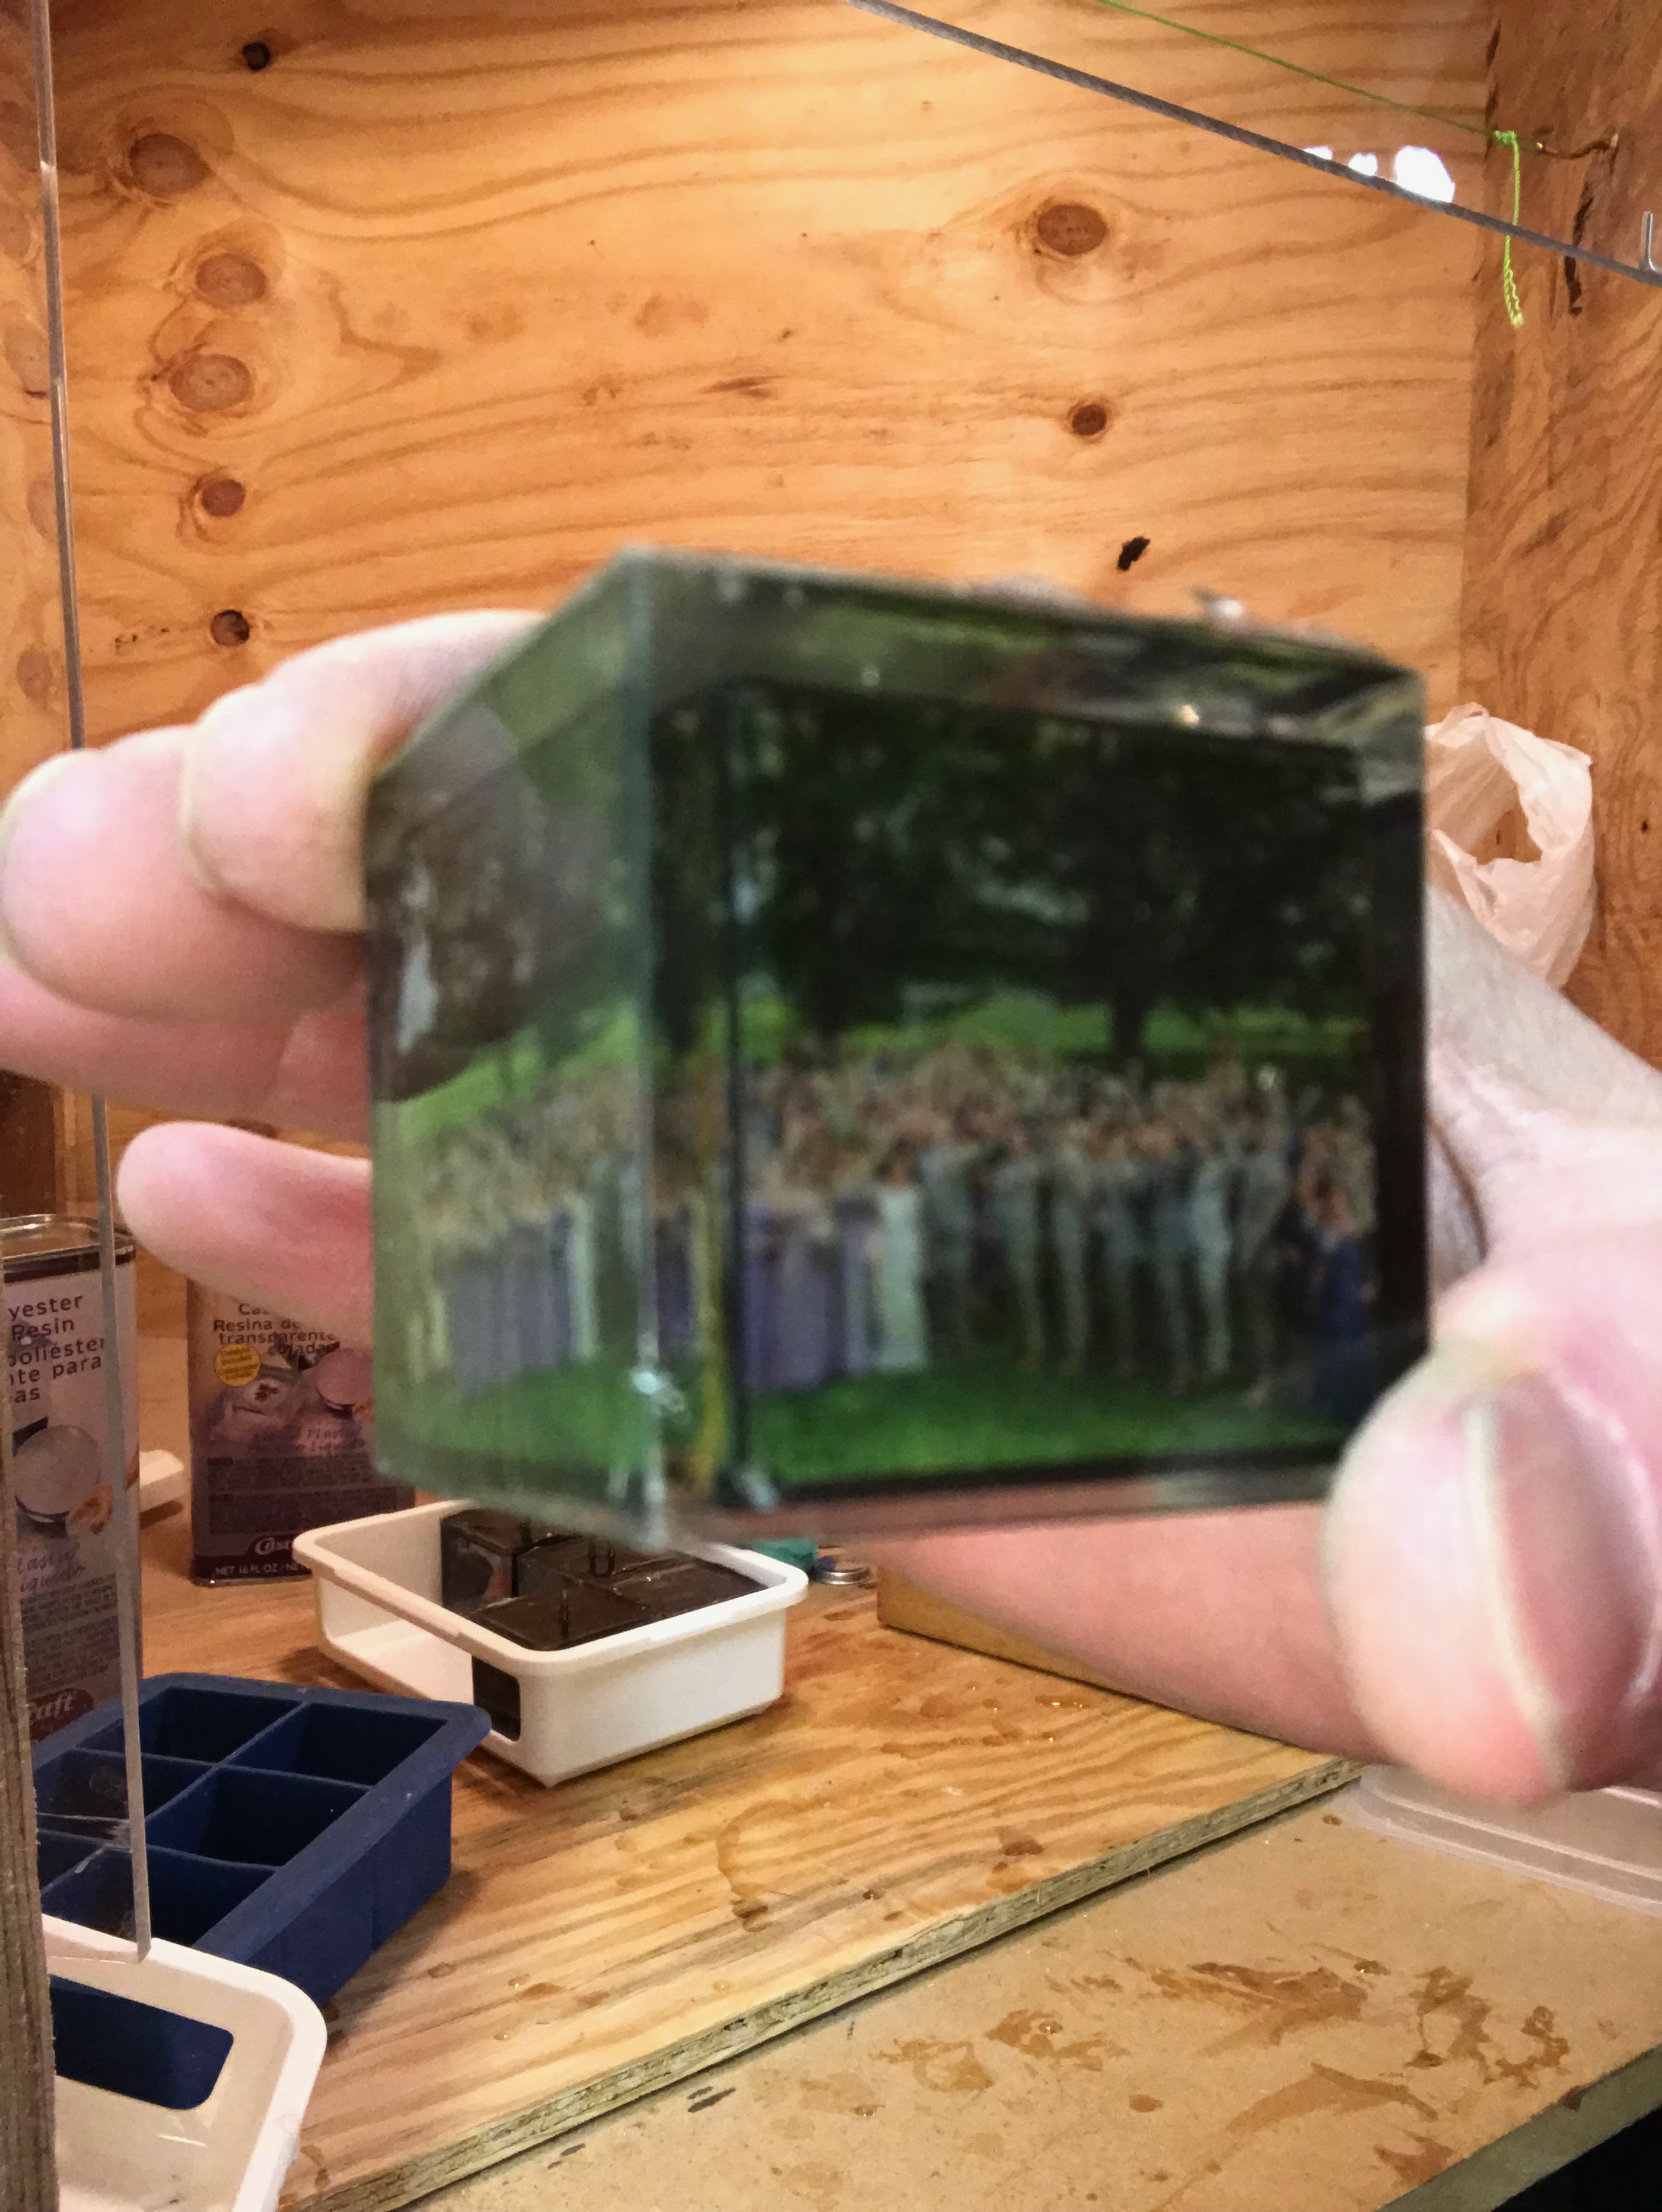
You will need:
- 1 oz of resin per cube (30 ml)
- 6 drops of hardener per cube depending on room temperature (my temperature was under 70 degrees F or 20 C)
Simple steps:
- Simply fill the resin up and over the top of your wooden block to finish the pouring process.
- Wait a day or two until the surface is not sticky. (Hardening time varies depending on room temperature.)
- Test hardness using your the back of your knuckle so you do not add fingerprints to a partly hardened surface.
Sanding It Smooth
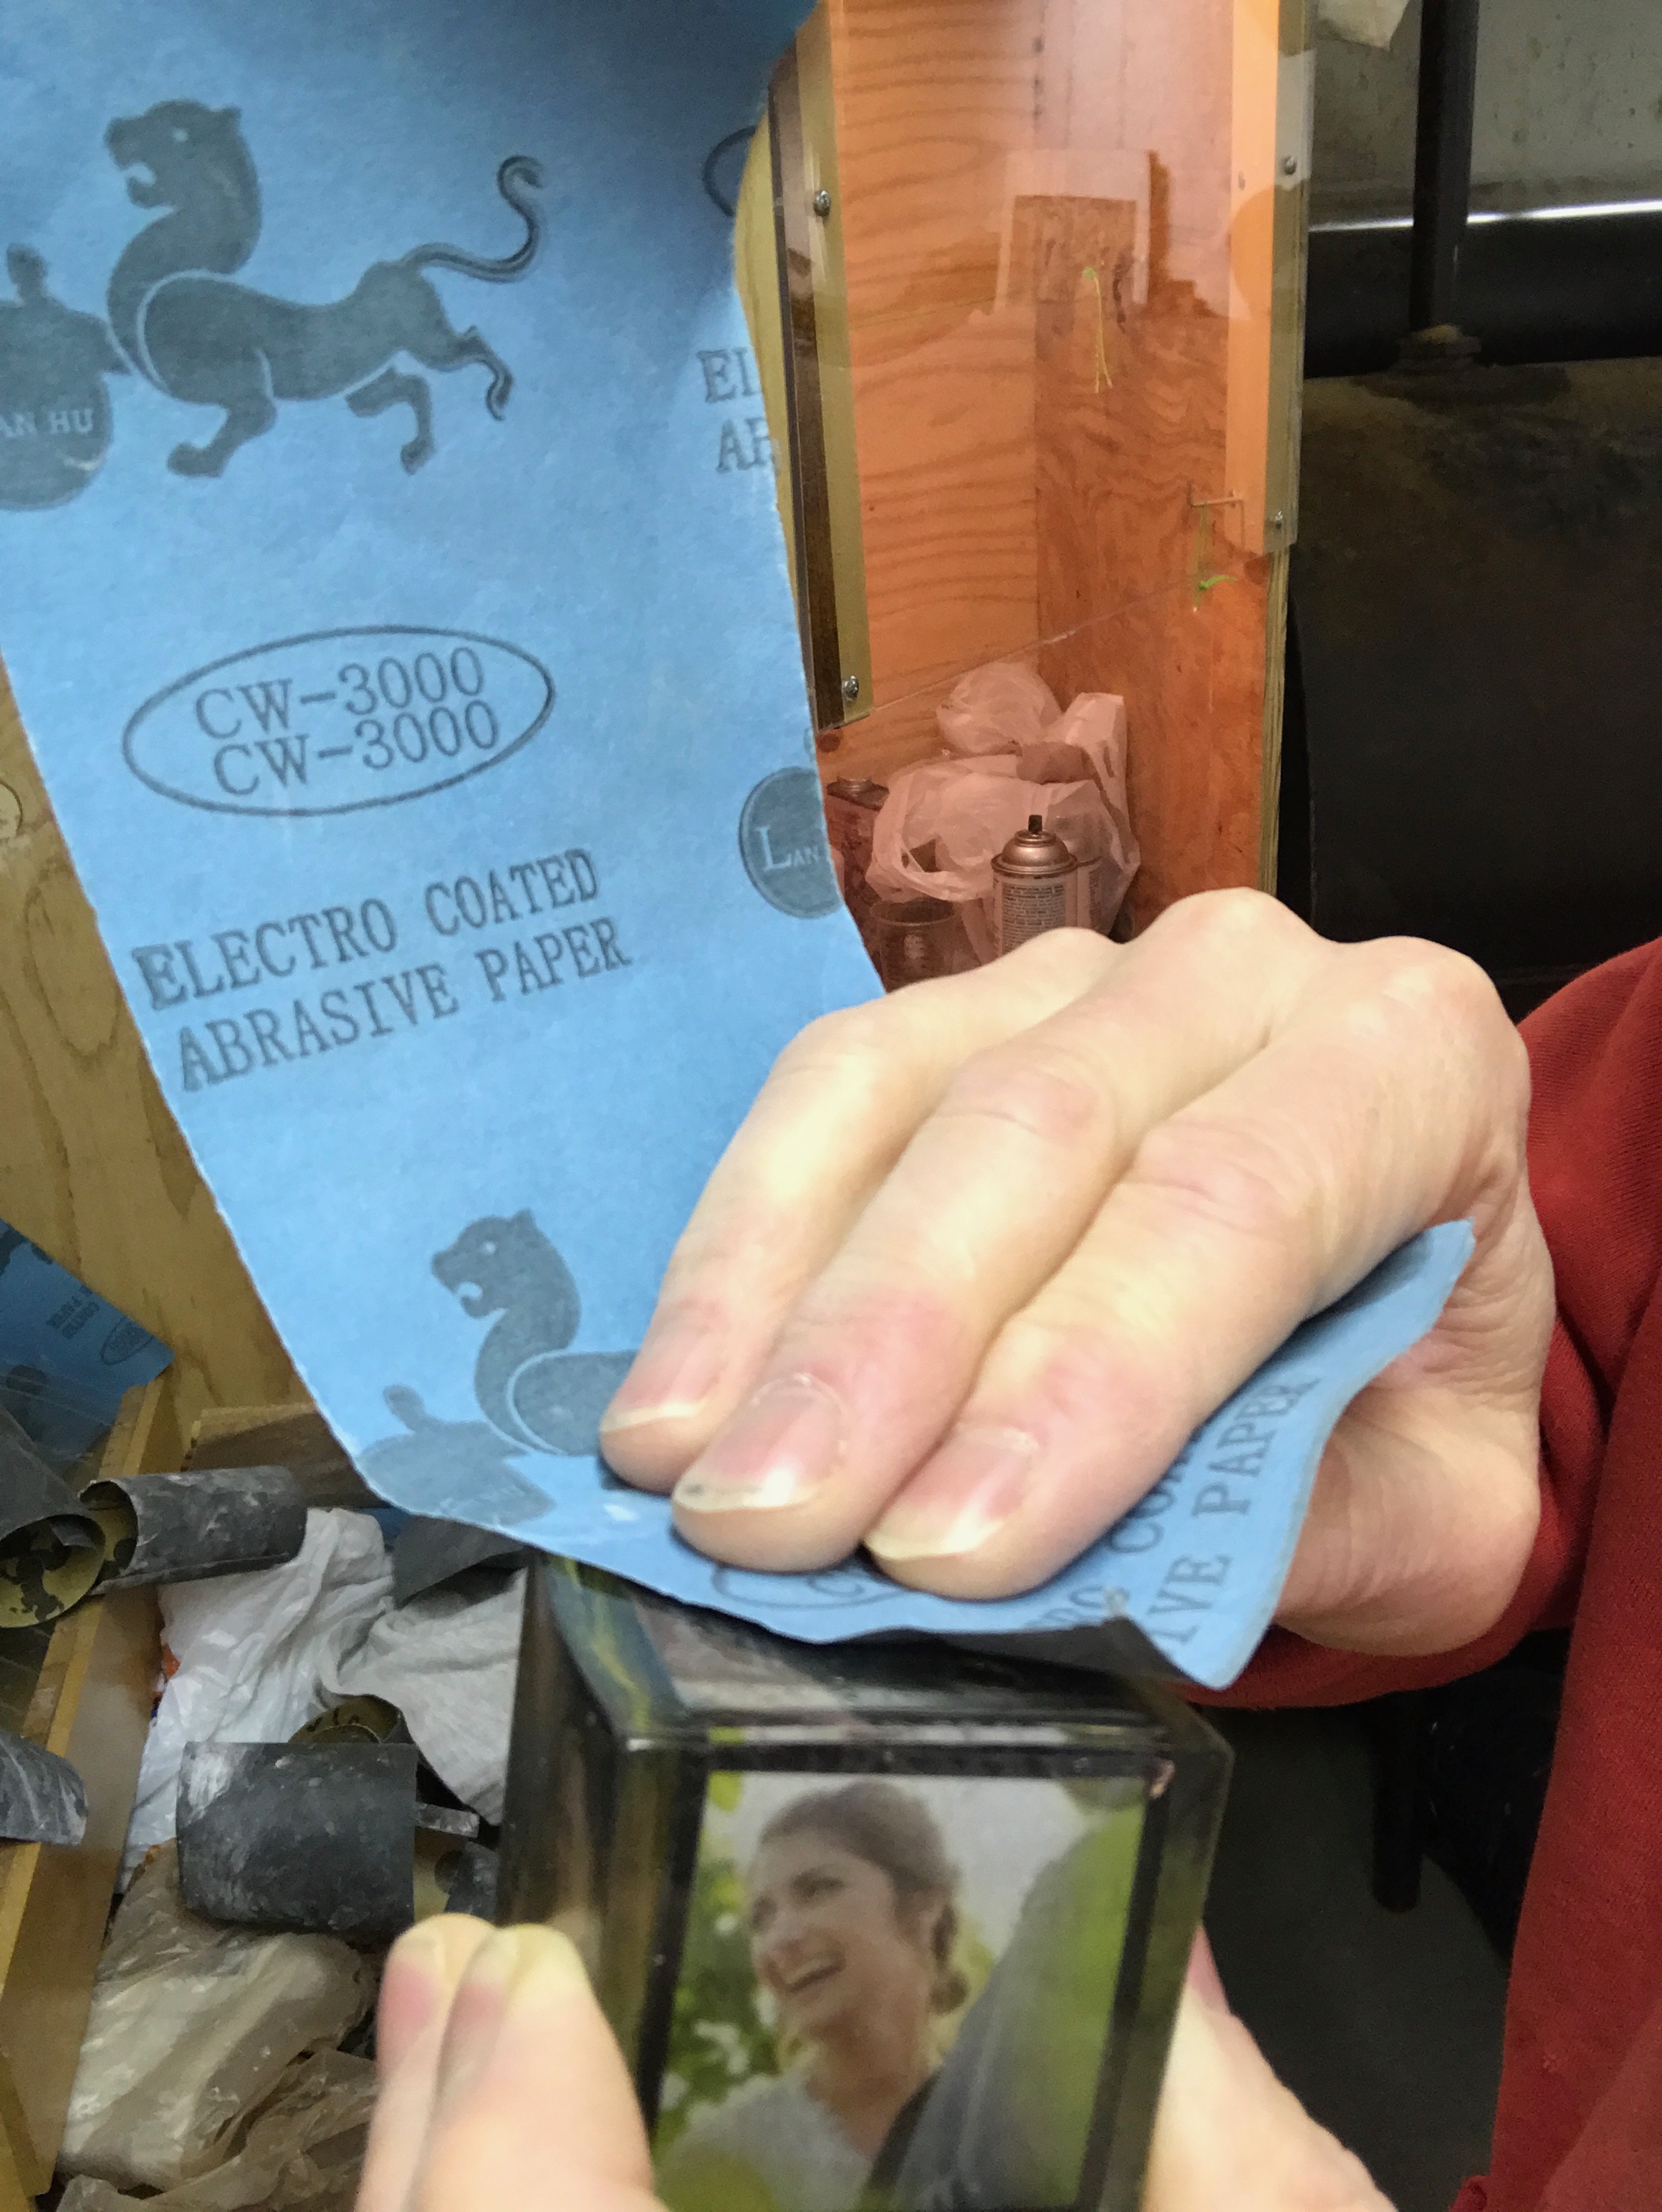

After removing your cube from the mold inspect for sharp edges and bumpy top. Most of my cubes came out very rough on top but quite smooth on the other 5 sides. Mine required a lot of effort in smoothing the top and almost no effort on the sides.
It took me about 15-20 minutes to fully sand down a cube with an irregular top. More than half that time was spent using 120 grit sandpaper.
You will need:
- Sandpaper grits: 120, 220, 320, 400, 600, 800, 1000, 1200, 1500, 2000, 2500, 3000
- But I think you can probably skip some of the finer grits of paper as long as you finish with 3000 grit or higher.
- Shallow pan or tray to hold water
- Water source (gallon jug or nearby faucet)
- A place to dispose dirty water (2-gallon bucket or sink)
Some blocks needed sanding all around but typically I only needed to sand the top surface. The top is typically quite irregular with sharp edges when it exits the mold. Half my time is usually spent with 120 grit sandpaper to flatten this out (often about 10 minutes but sometimes less). The finer grit sanding takes much less time (15-60 seconds for each layer).
Throughout all the sanding process do this:
- Dip the cube into water whenever the cube surface begins to dry.
- Keep the water clean. Dump it often and keep it fresh.
- Fine bits of resin will float around in the water and mess up the areas of your block that you do not intend to sand. Dirty water may result in an unplanned sanding of the 5 previously perfectly smooth surfaces.
- Bits of black sandpaper will find their way into the tray of water. If your water is dirty, you may find yourself digging out specs of black gunk from the sides of your otherwise beautiful cube.
Here are the steps:
- 120 grit sandpaper. (10-15 minutes) It takes a long time to remove all those bumps and ridges.
- 220 grit paper (1 minute or so)
- 320 grit (30 seconds)
- 400 grit (30 seconds)
- 600 grit (15-30 seconds)
- 800 grit (15 seconds)
- 1000 grit (15 seconds)
- 1200 grit (15 seconds)
- 1500 grit (15 seconds)
- 2000 grit (15 seconds)
- 2500 grit (15 seconds)
- 3000 grit (30 seconds)
A Finish Coat of Gloss
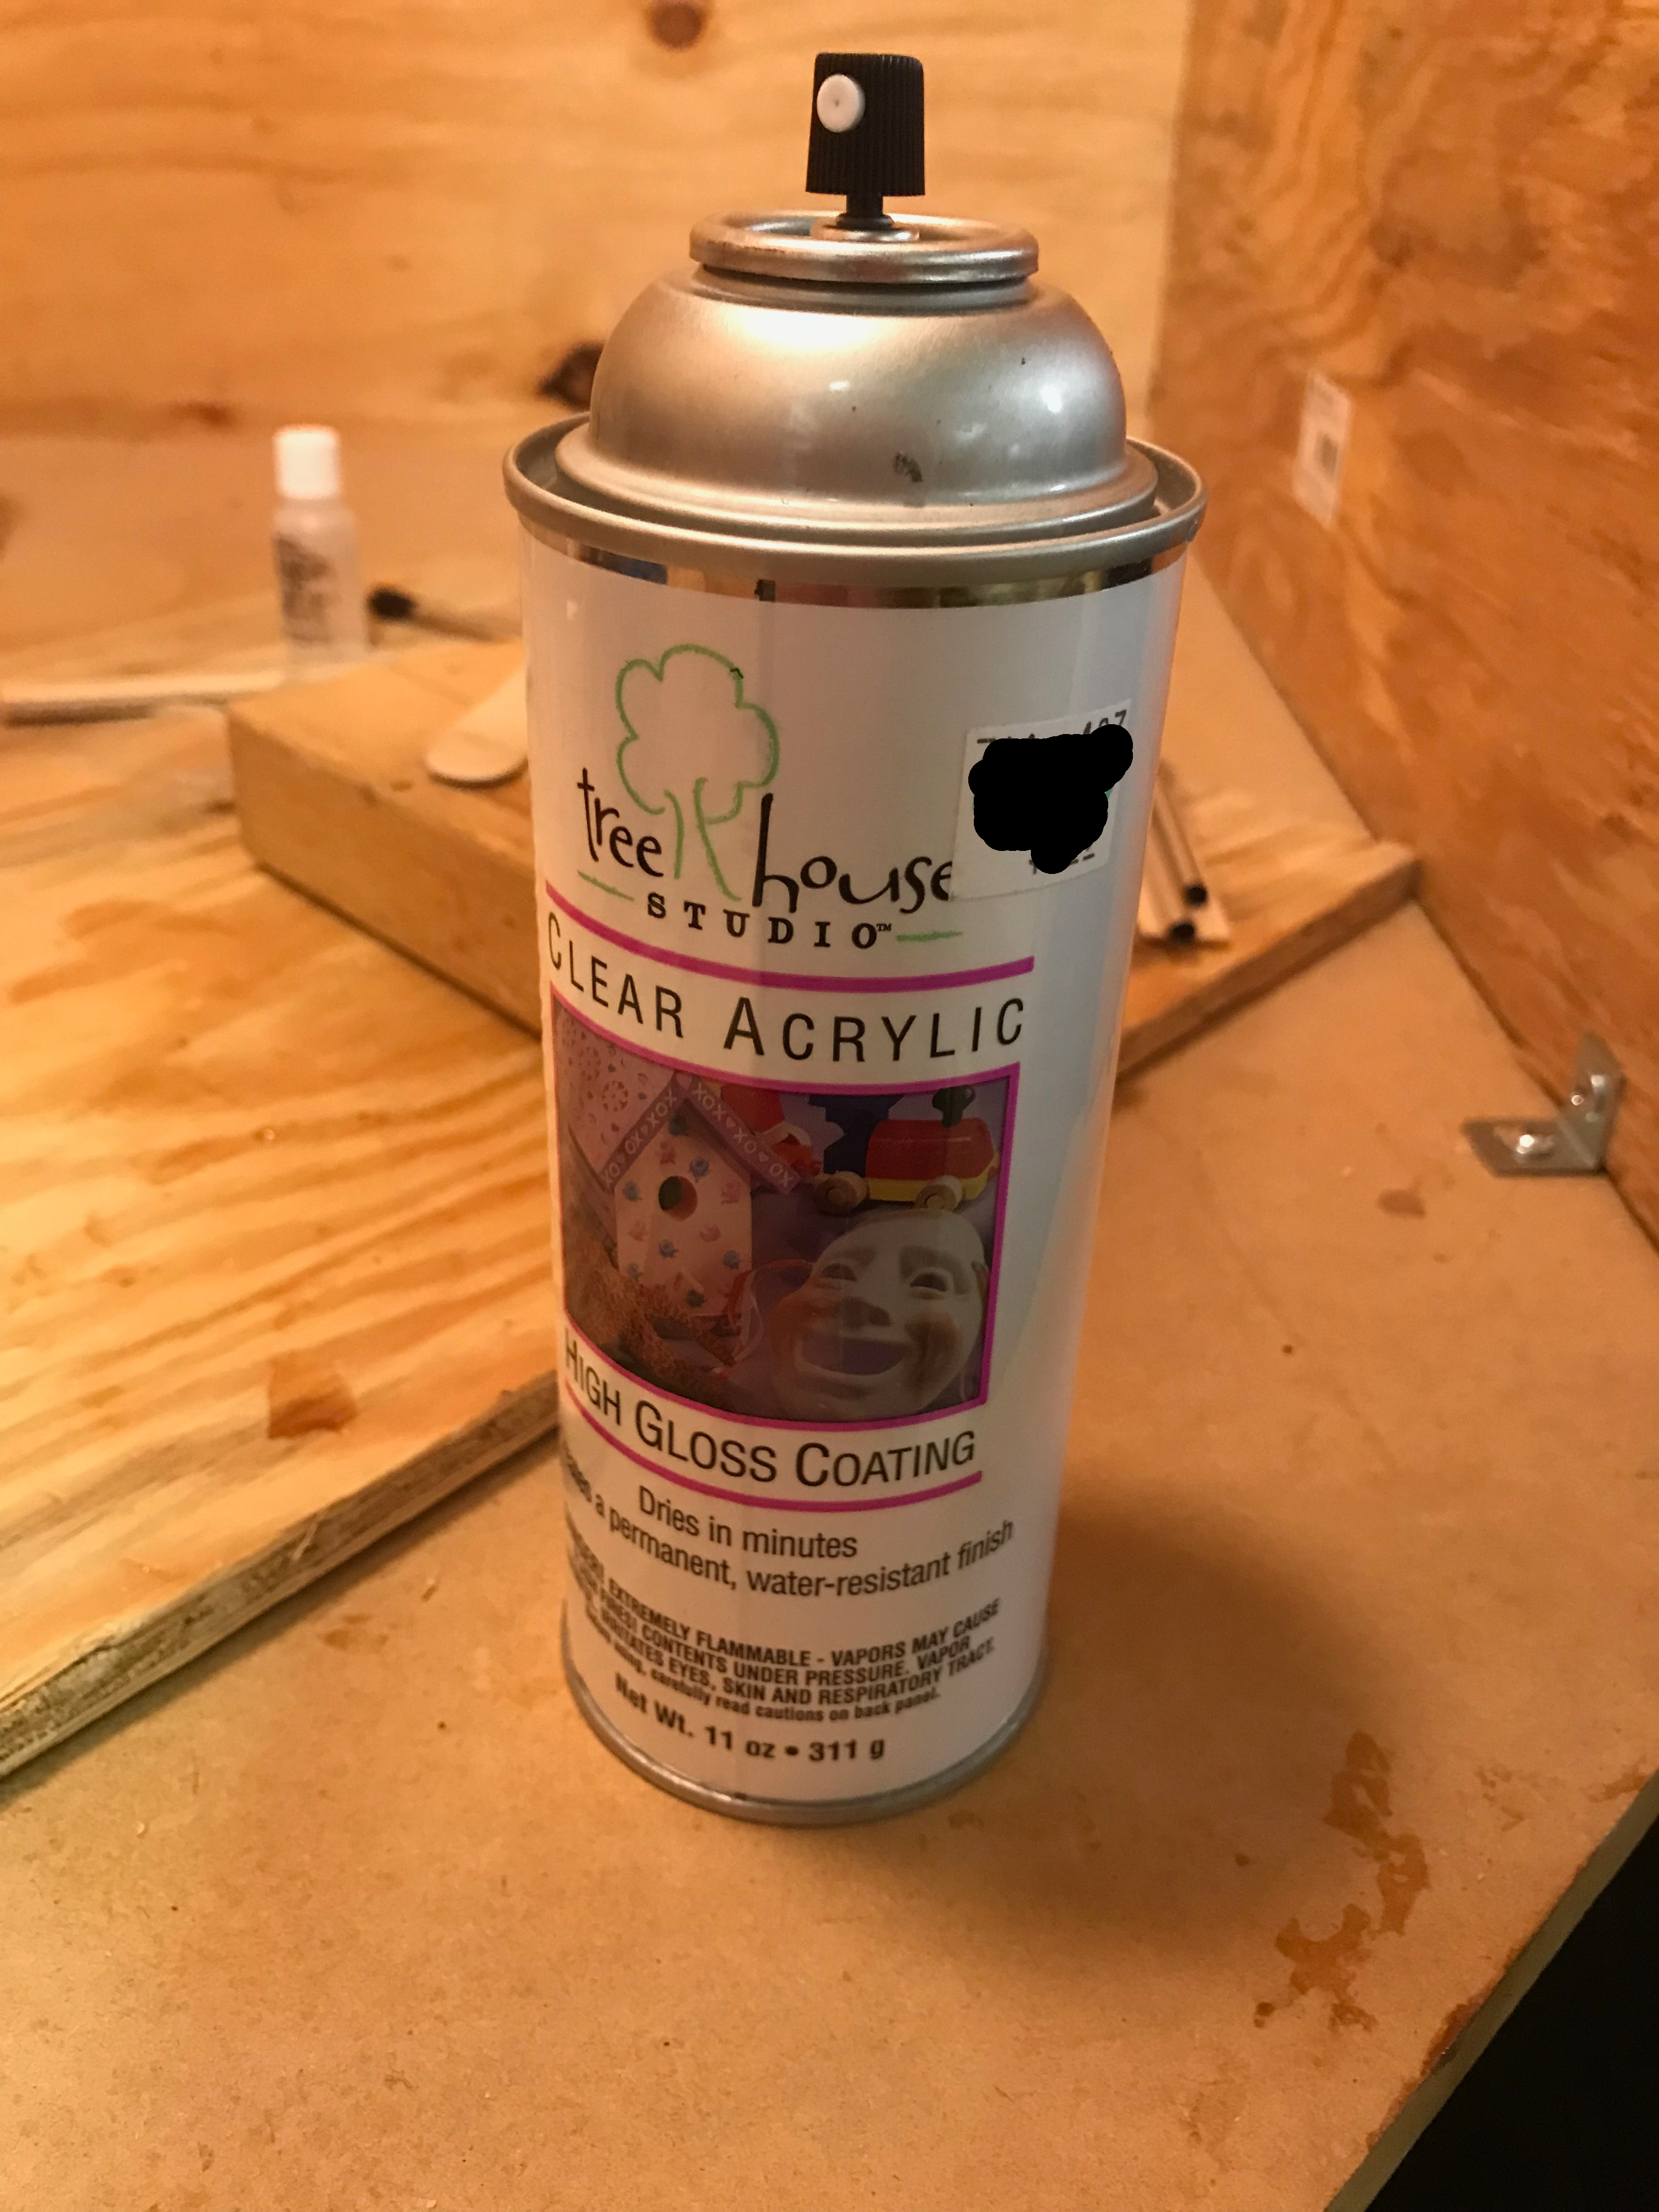
Sanding left the surface smooth but with a matt finish. You will want a gloss finish on this project. I simply sprayed a thin coat of clear acrylic high gloss coating onto each sanded side, and sometimes onto the other surfaces as well. In some cases I needed a second coat. A second coat can be applied after half an hour to an hour. But let it dry at least a day before the cube is ready to wrap or give away.
Done!
Quirks, Blunders, and Variants
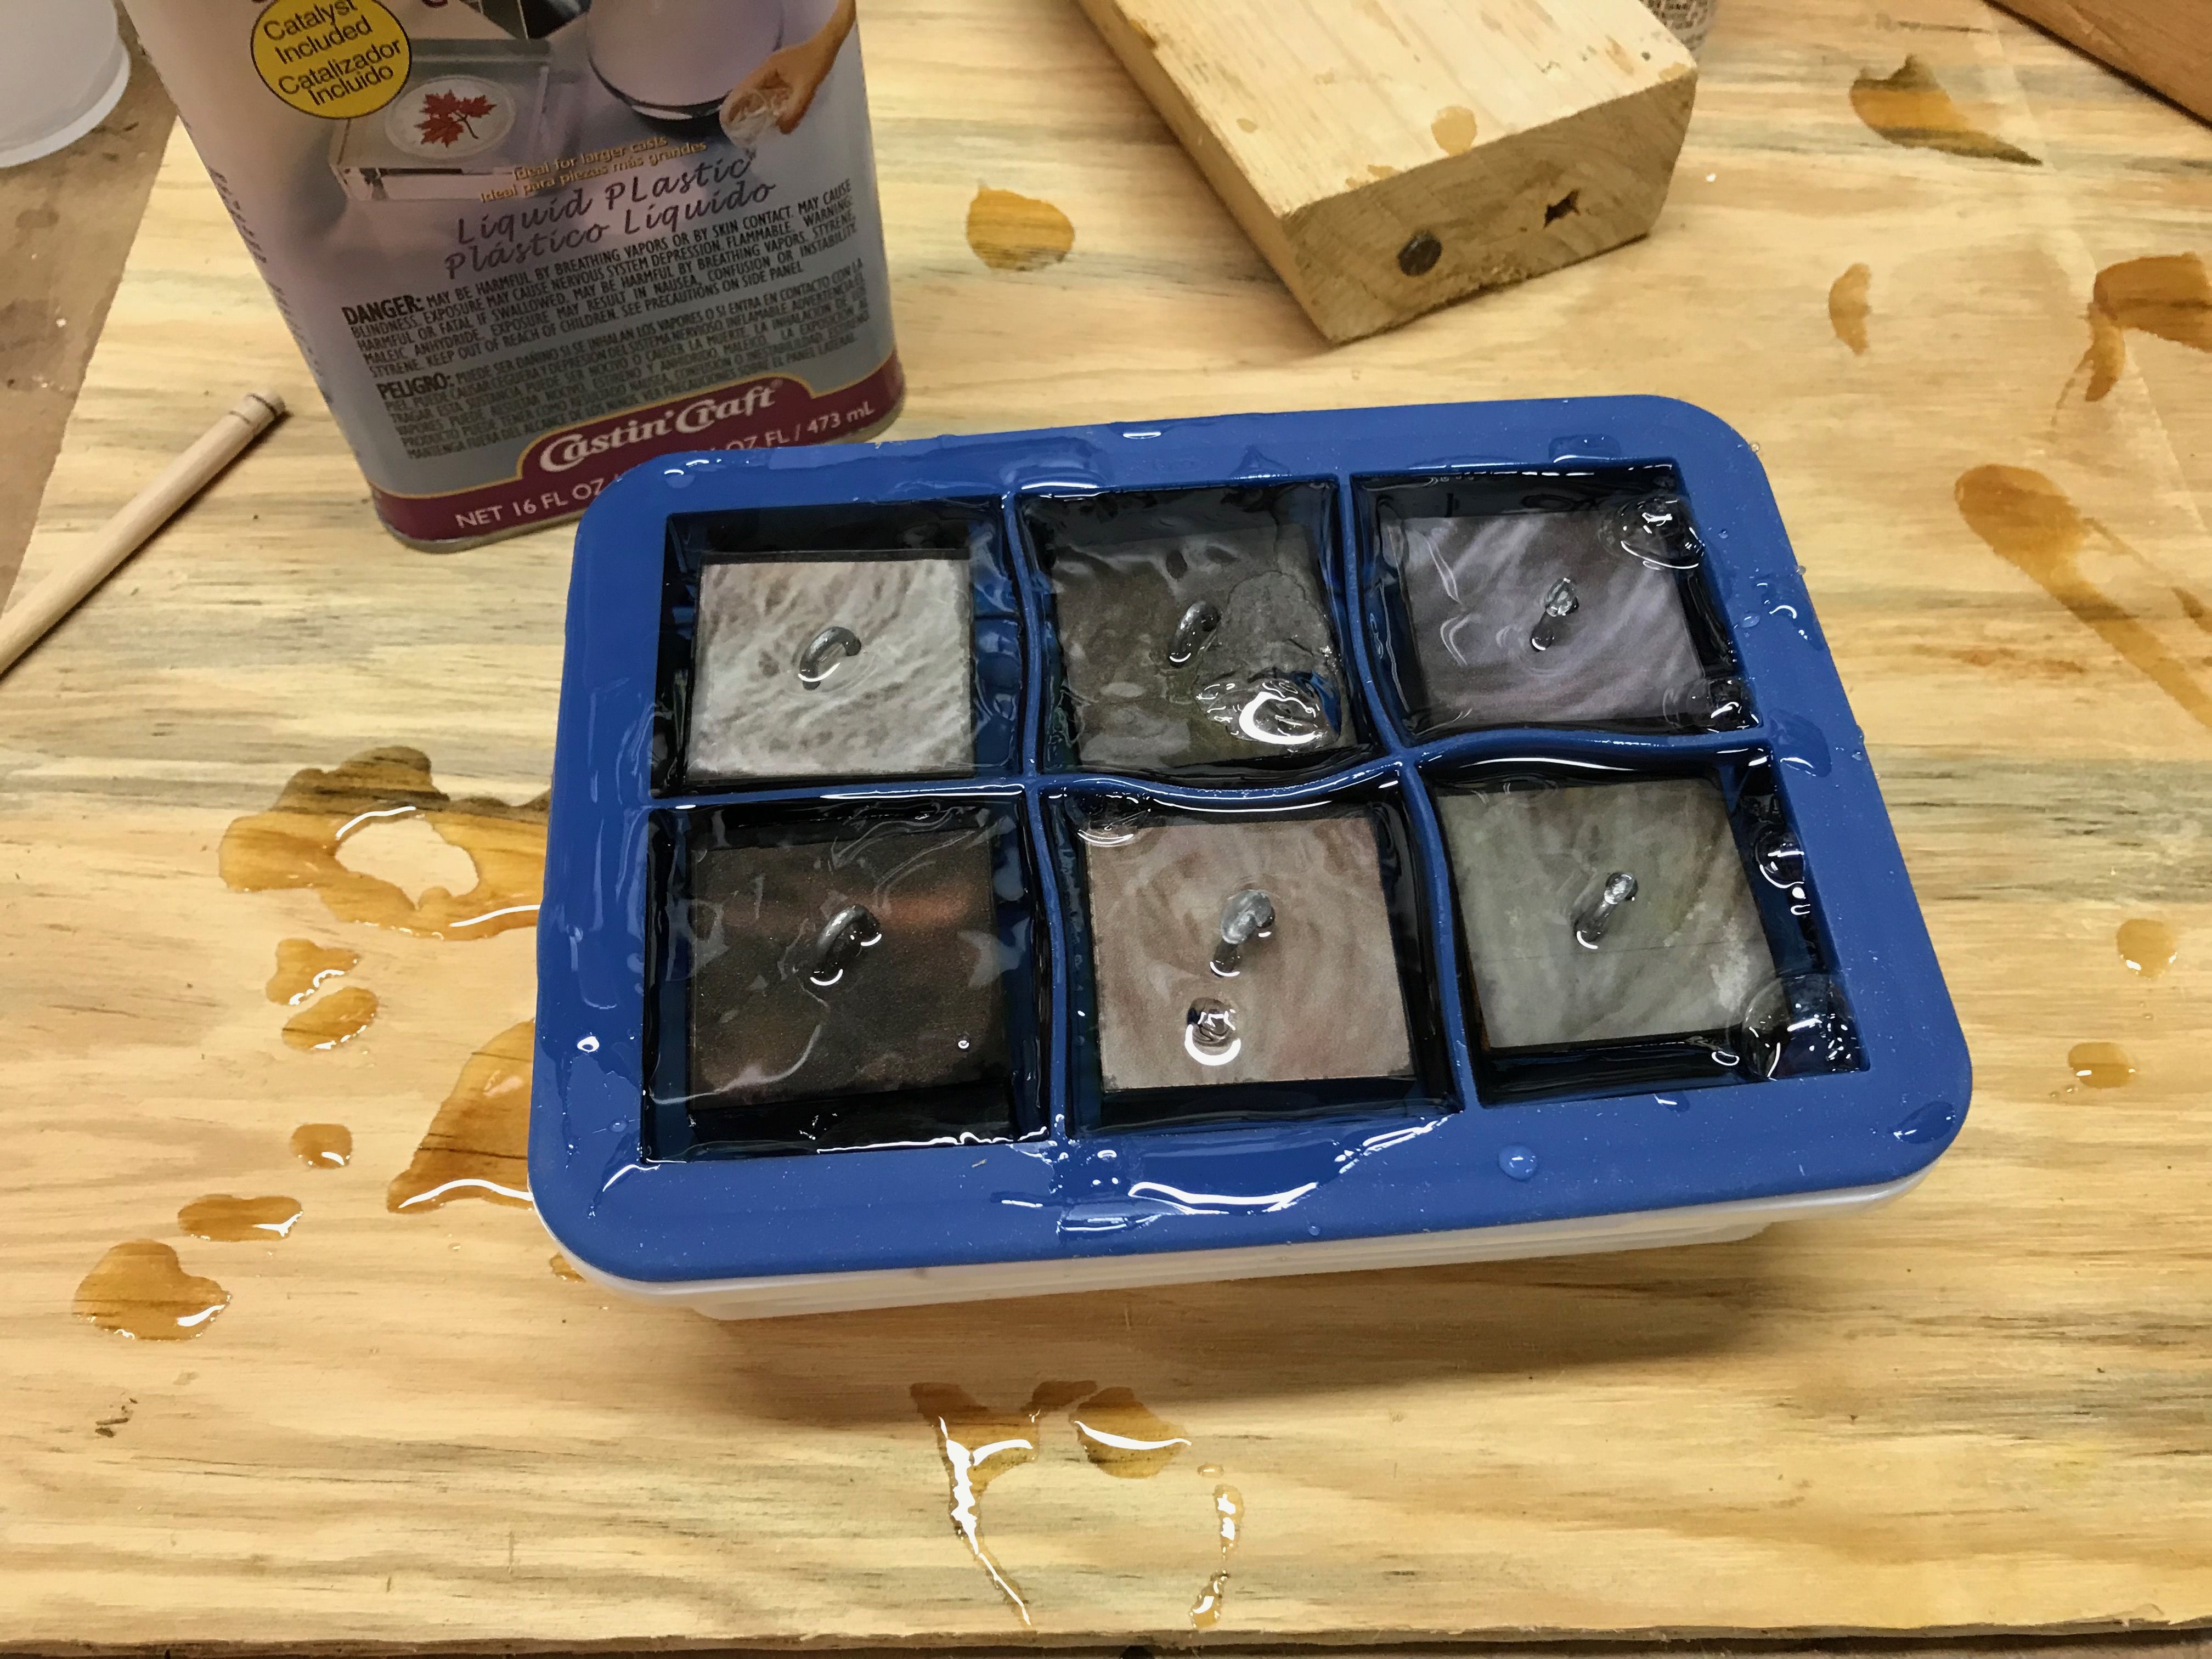
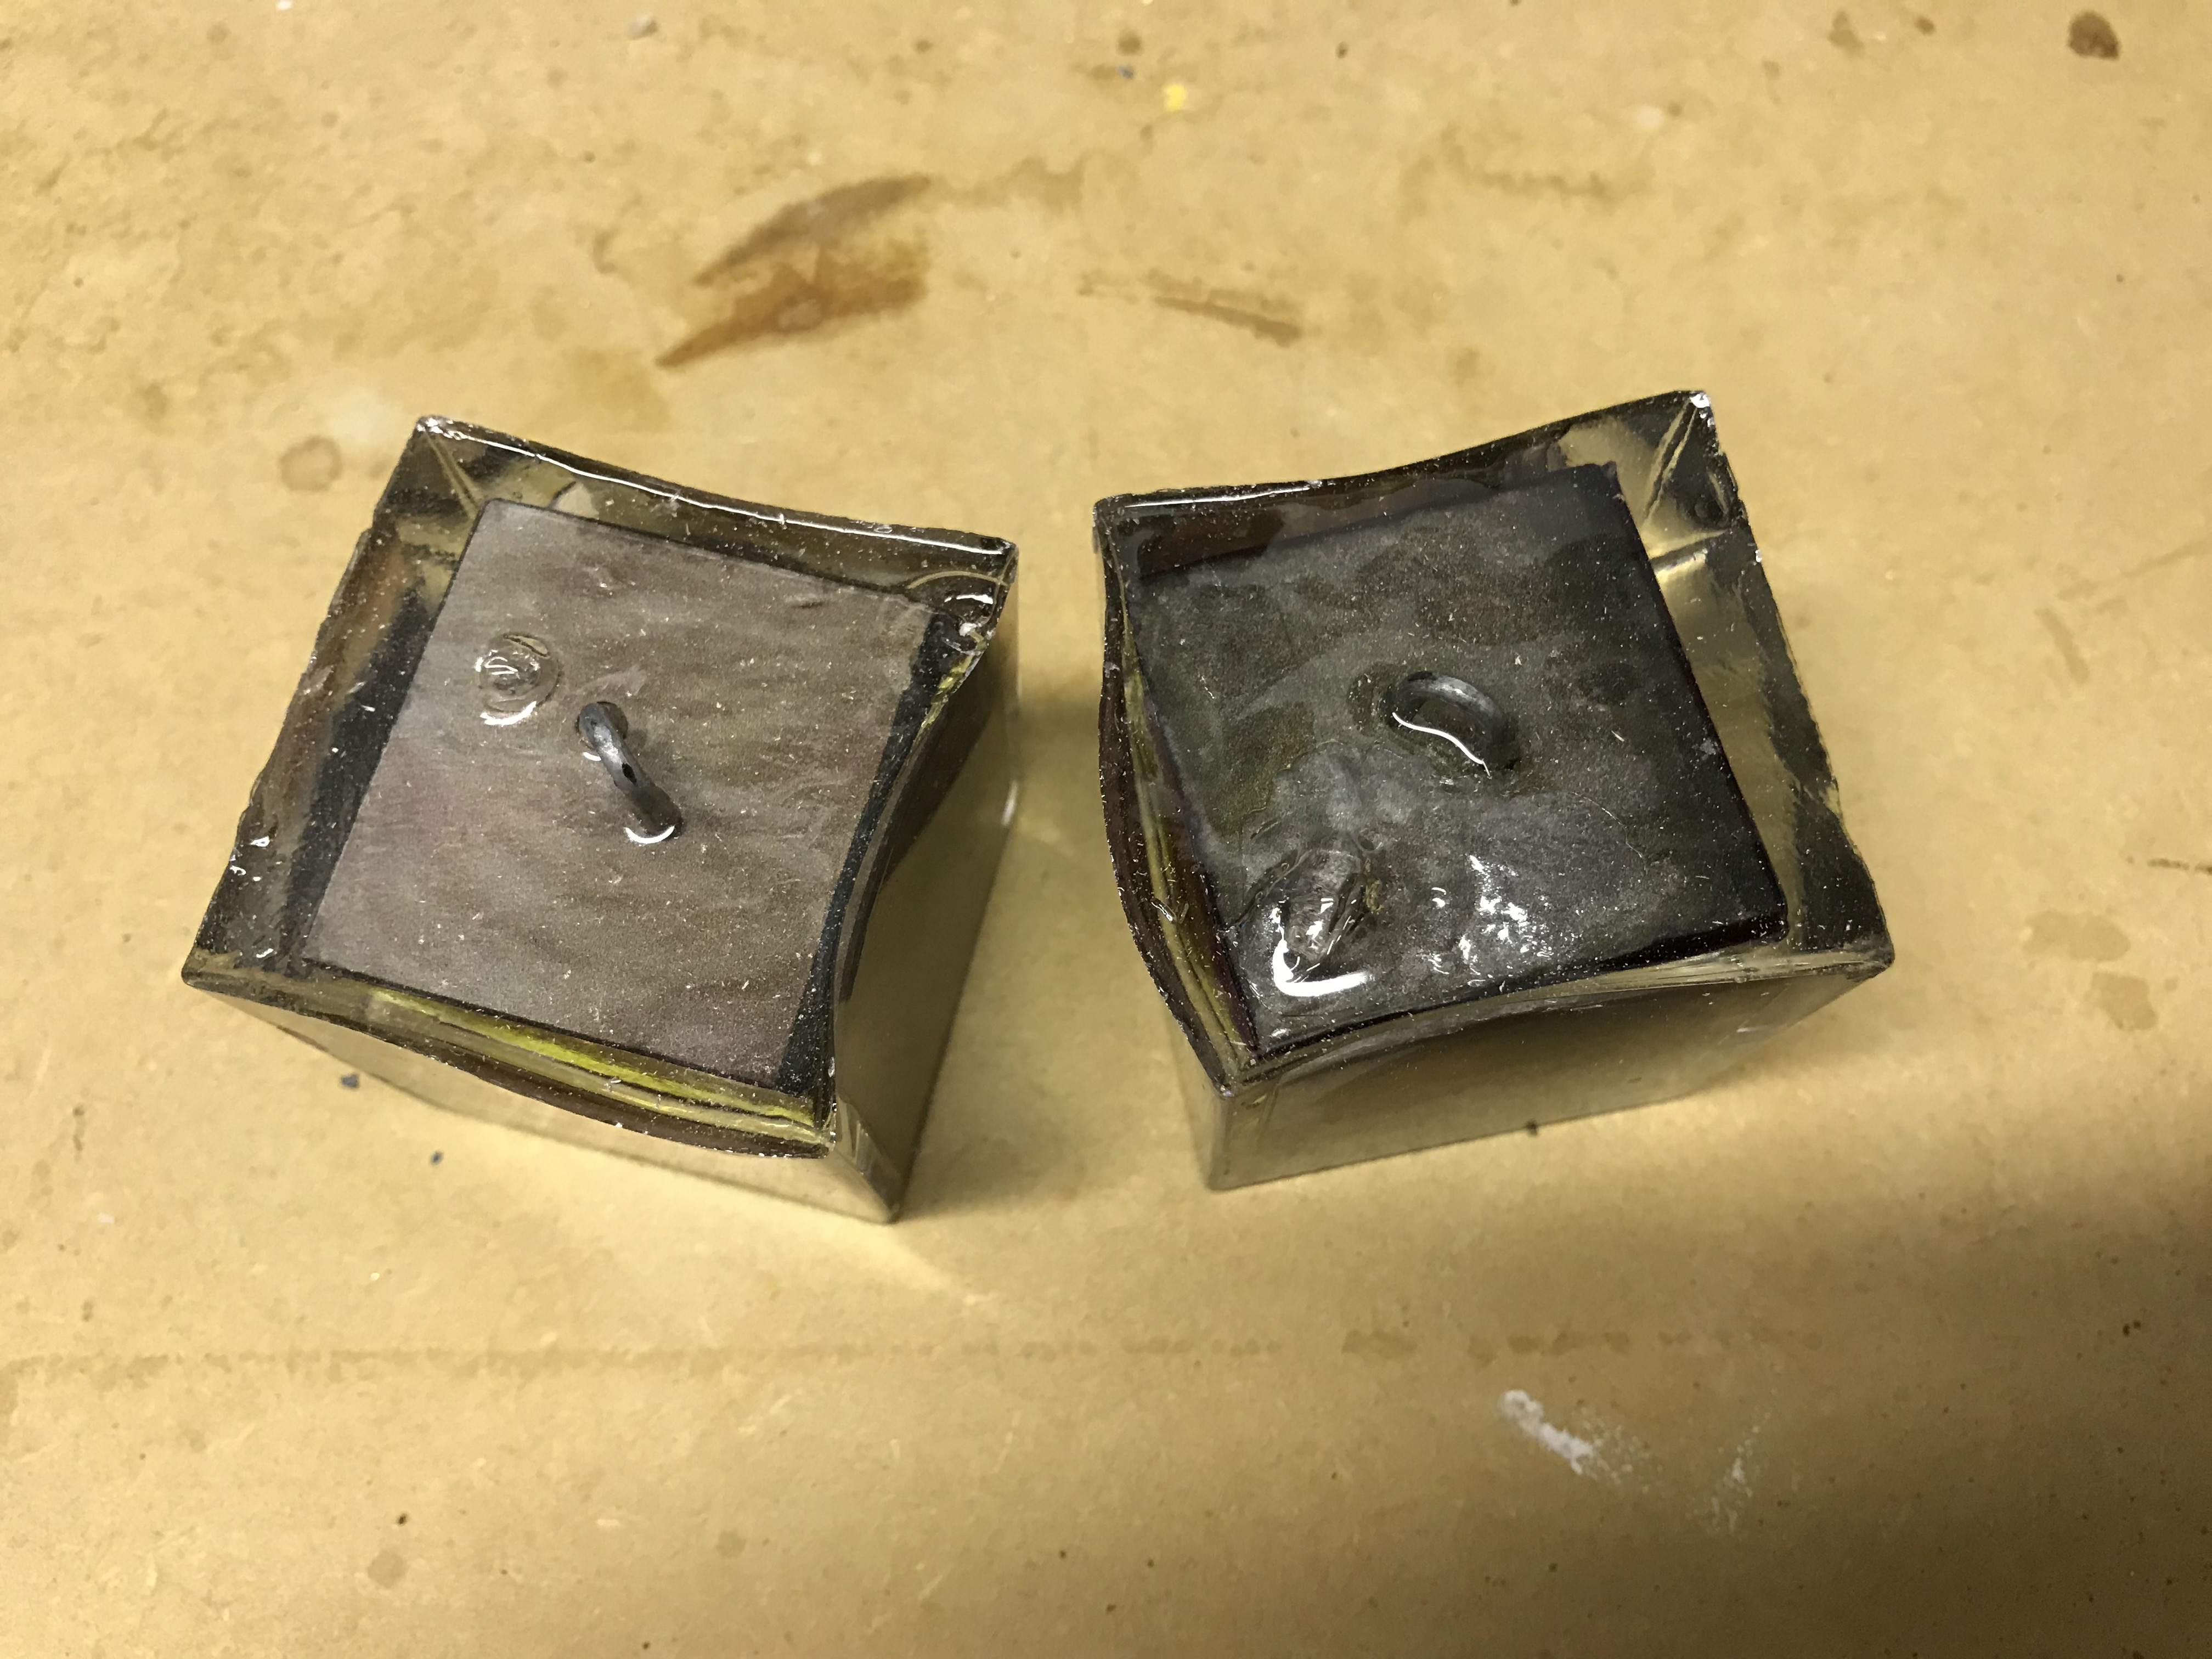
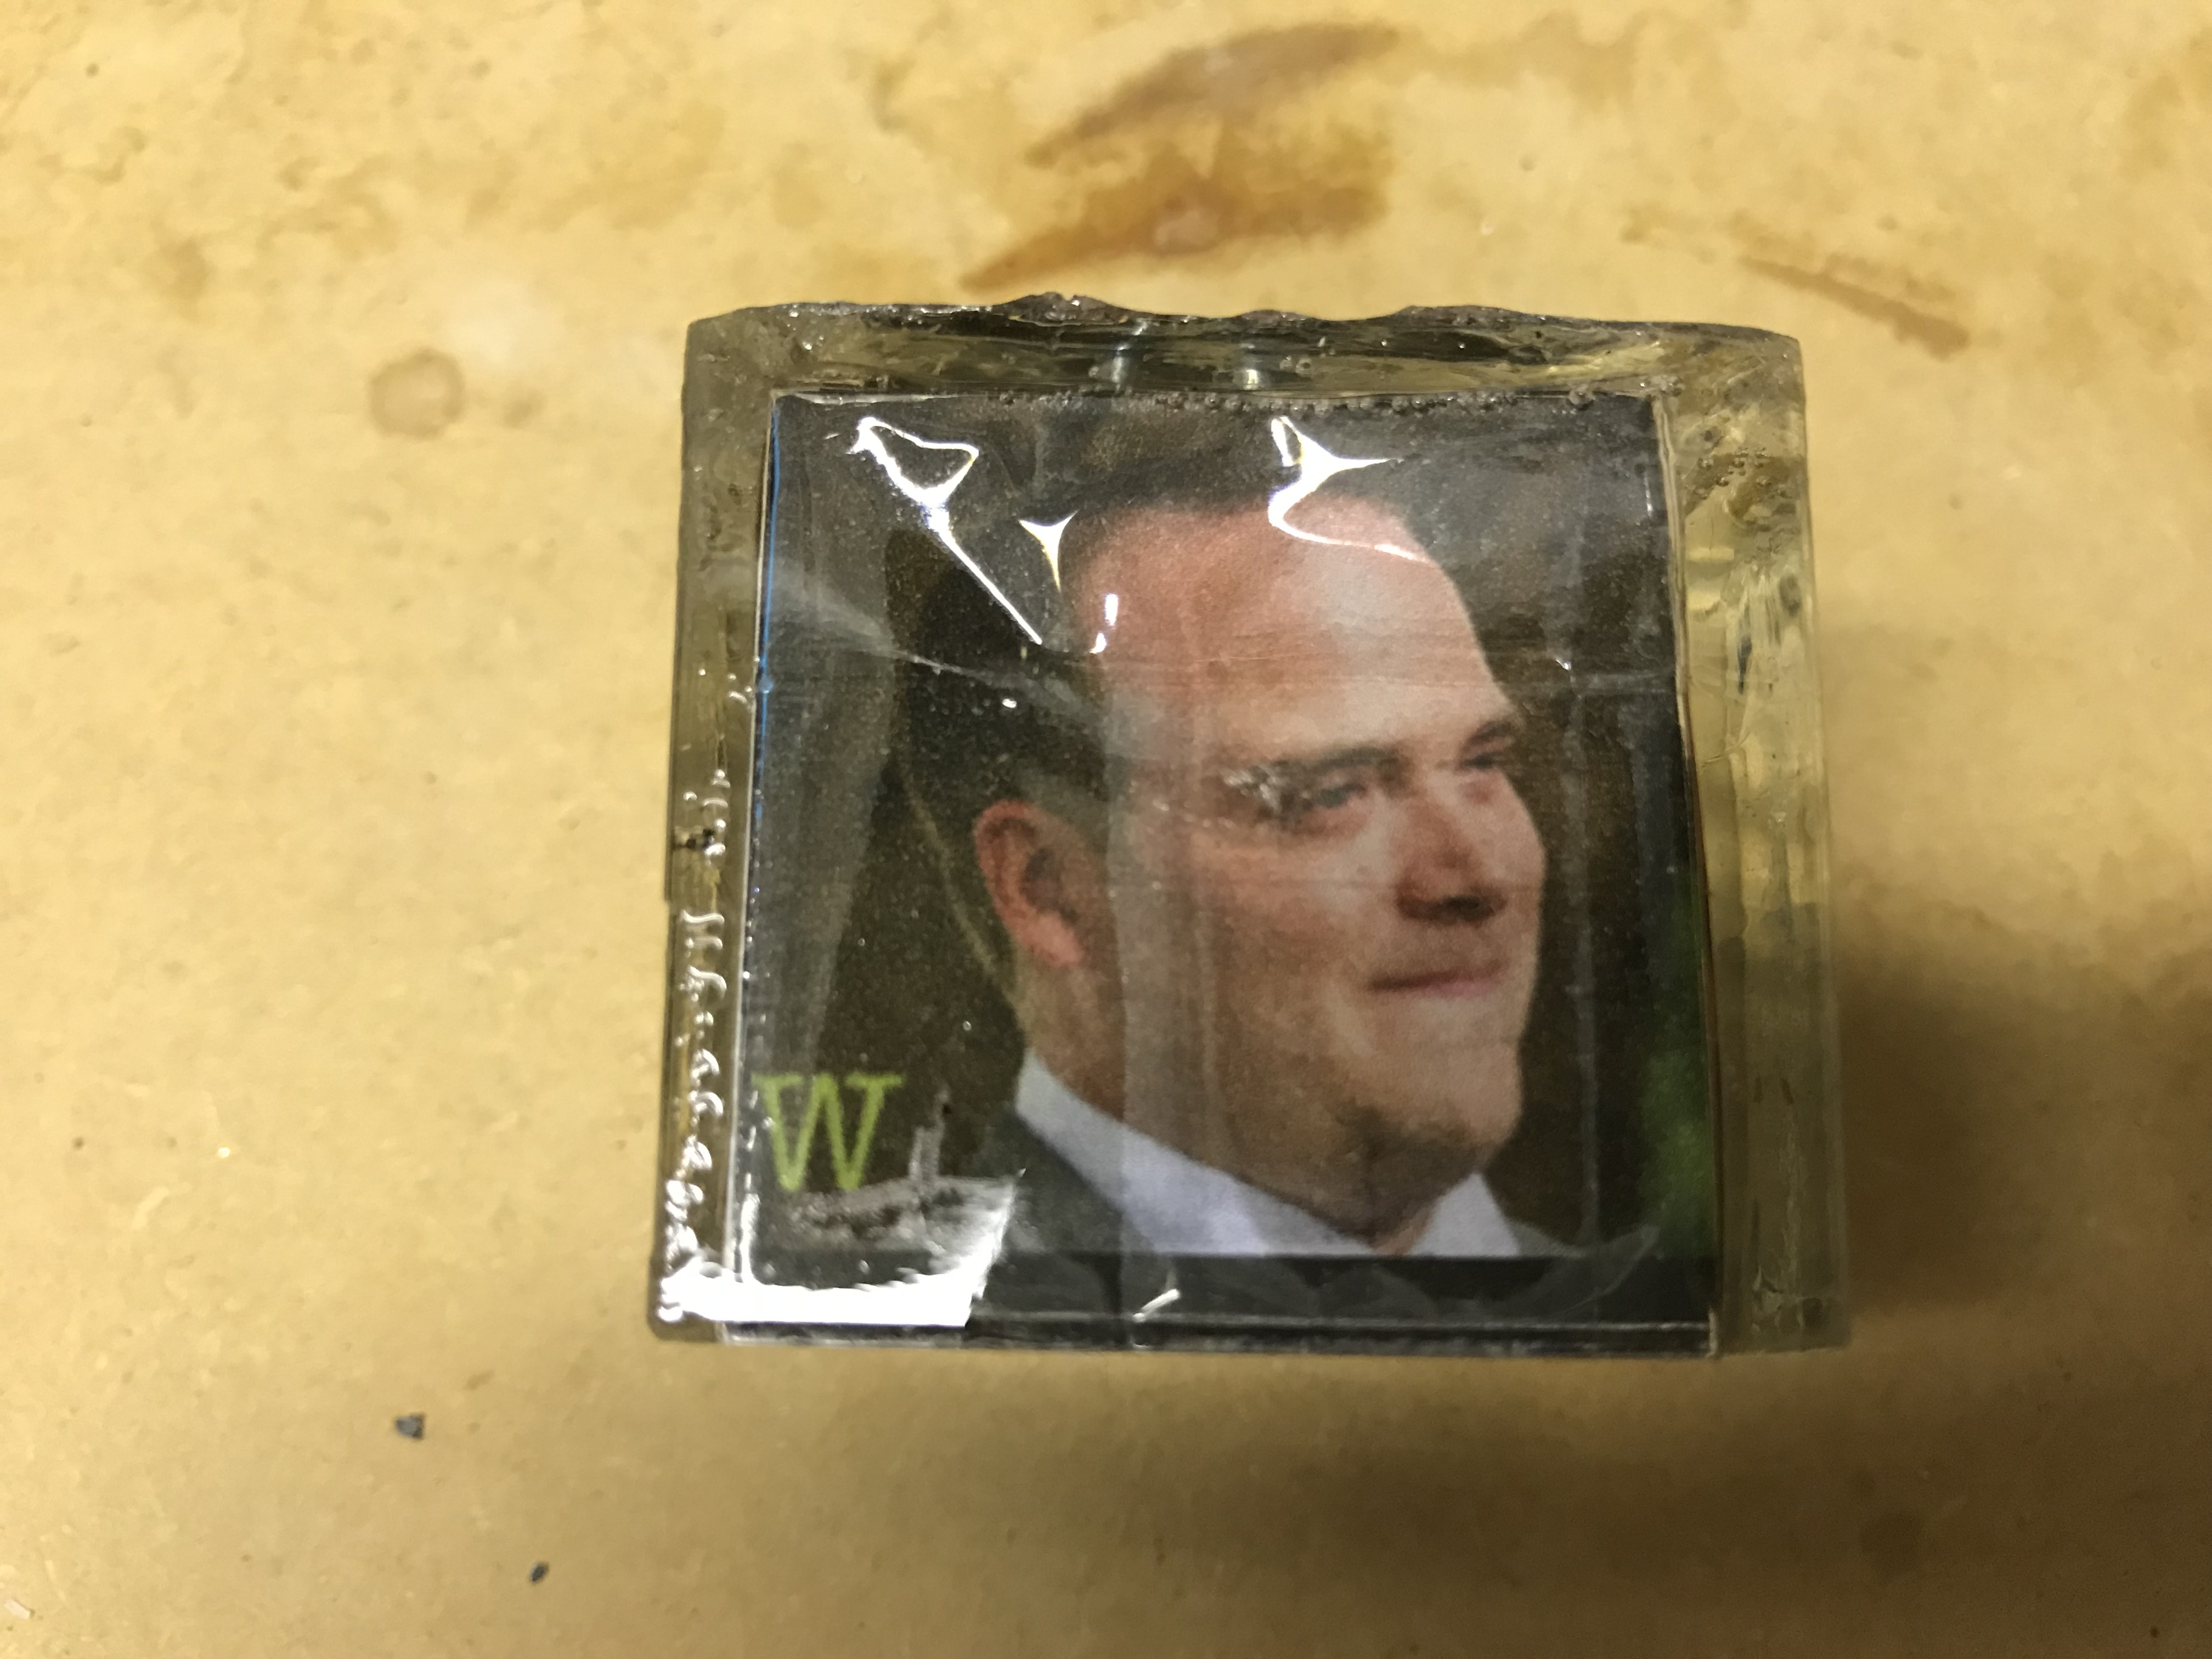
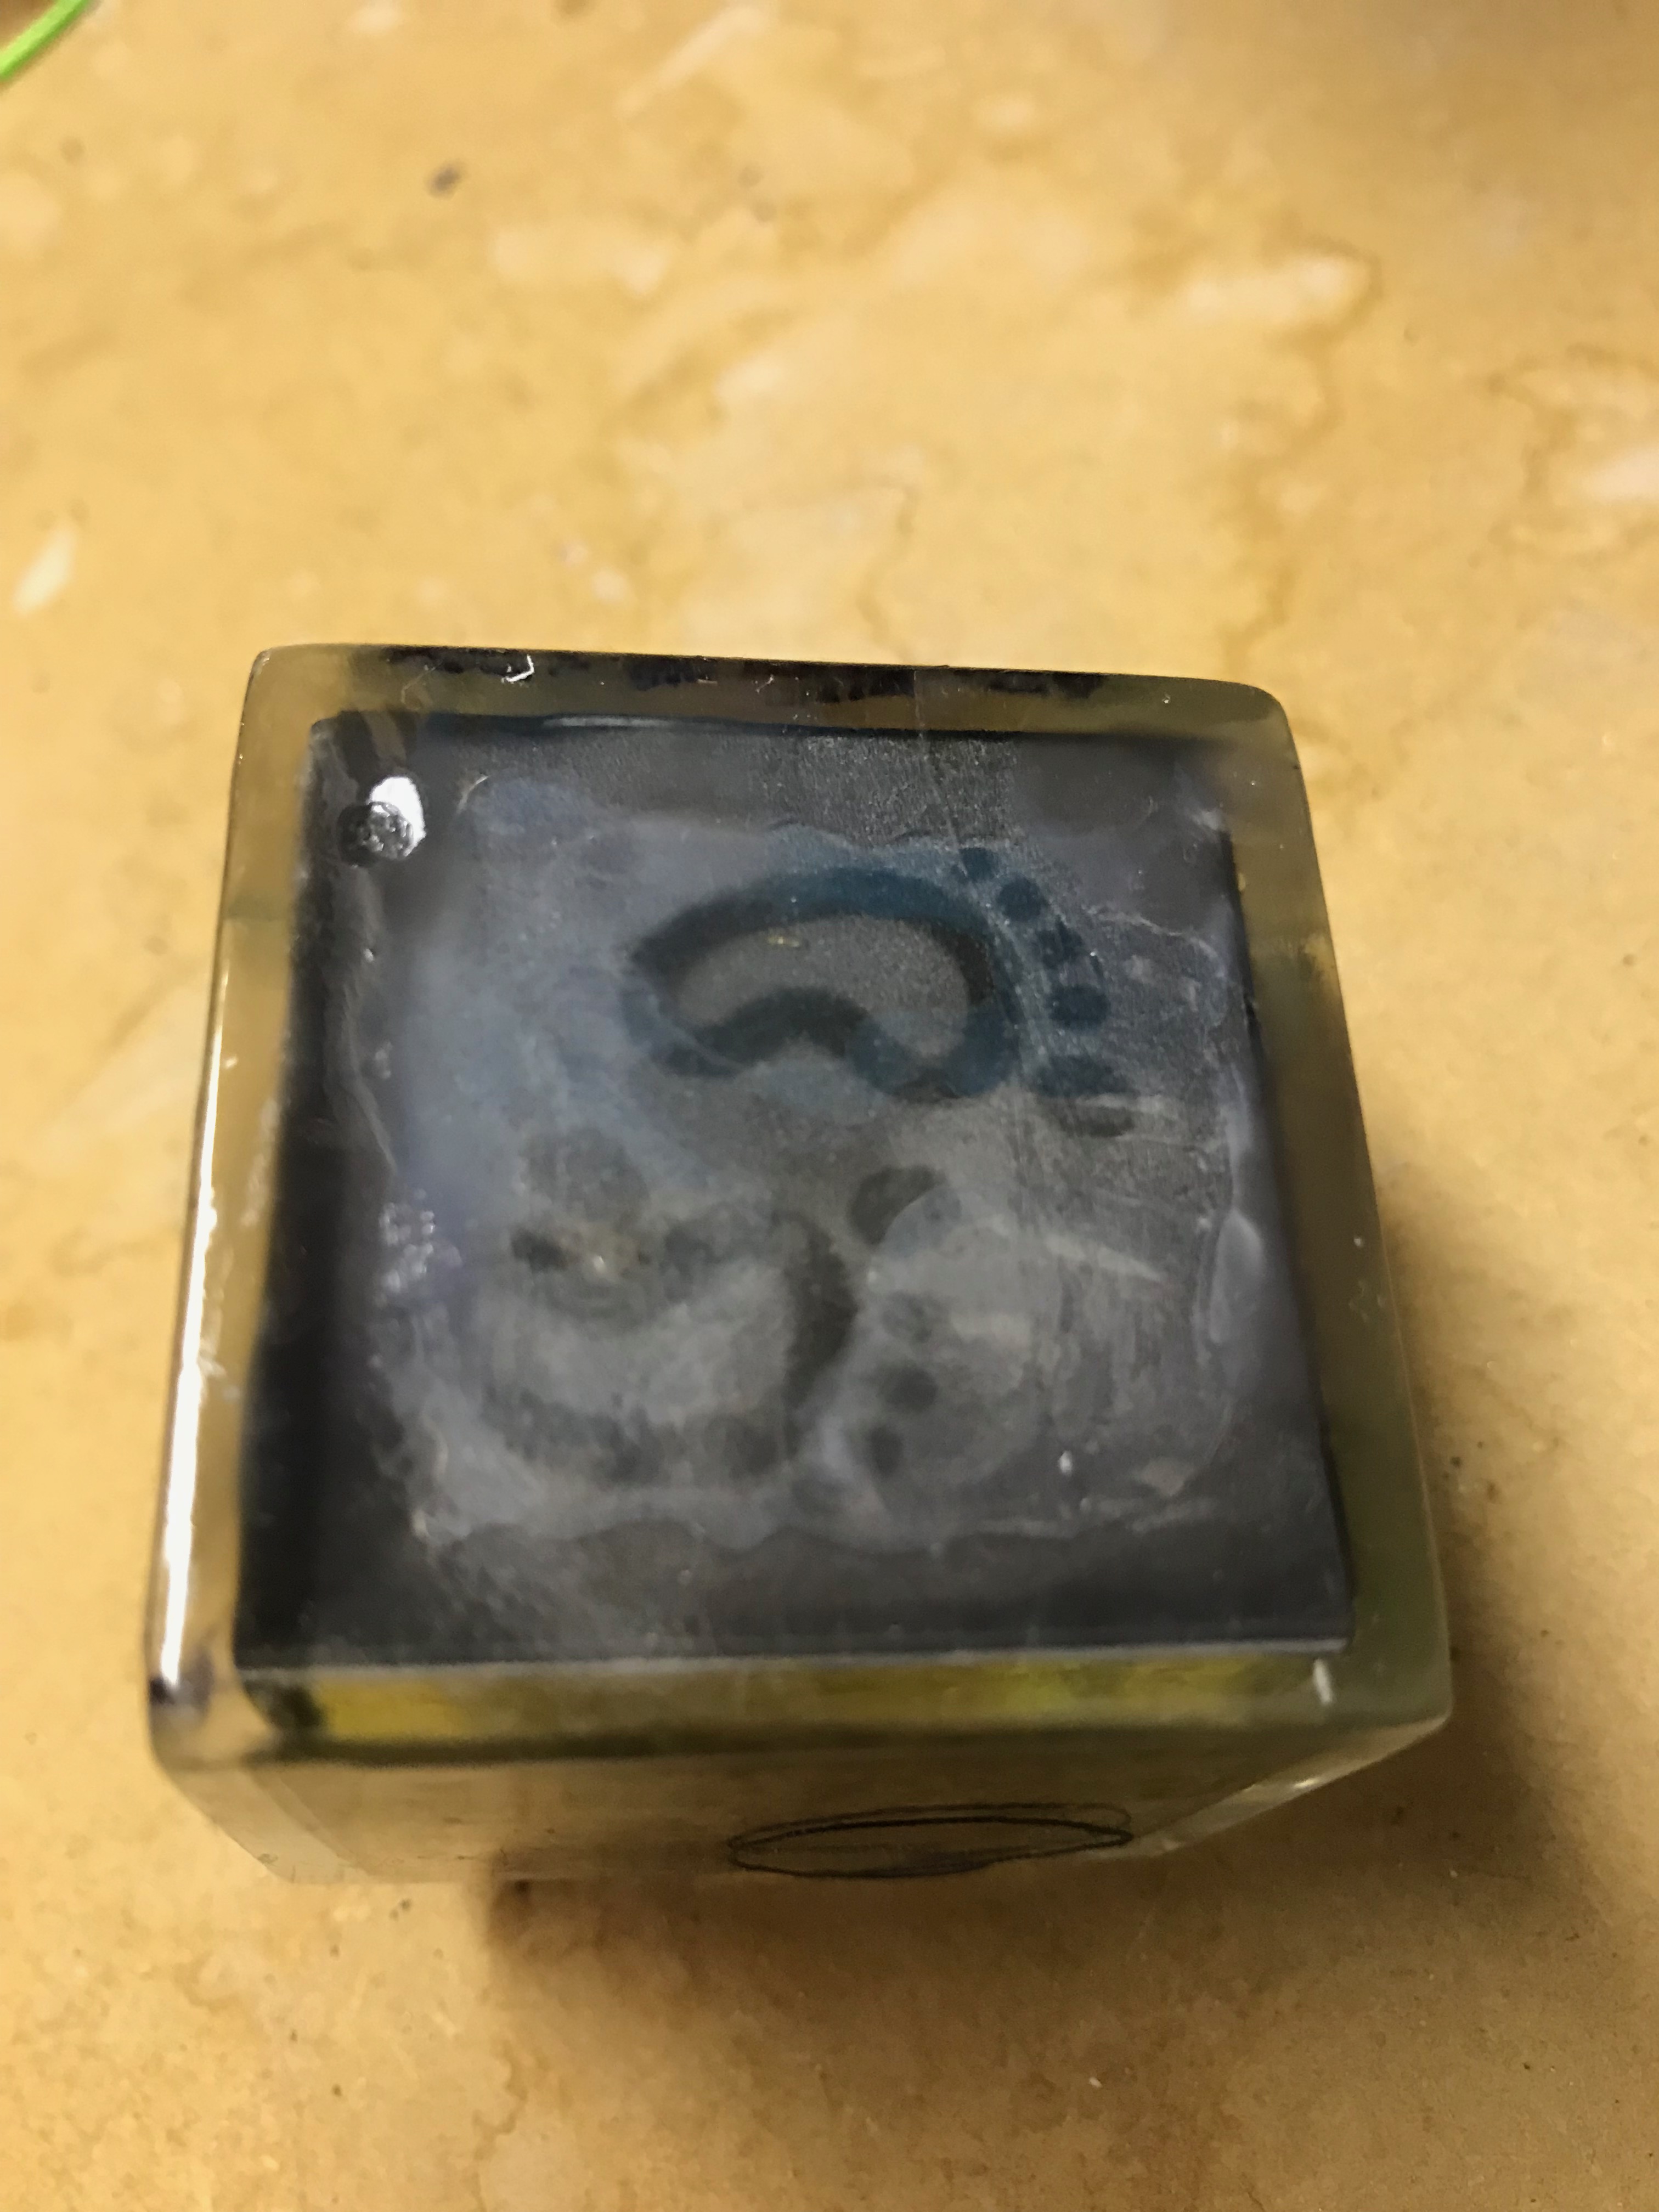
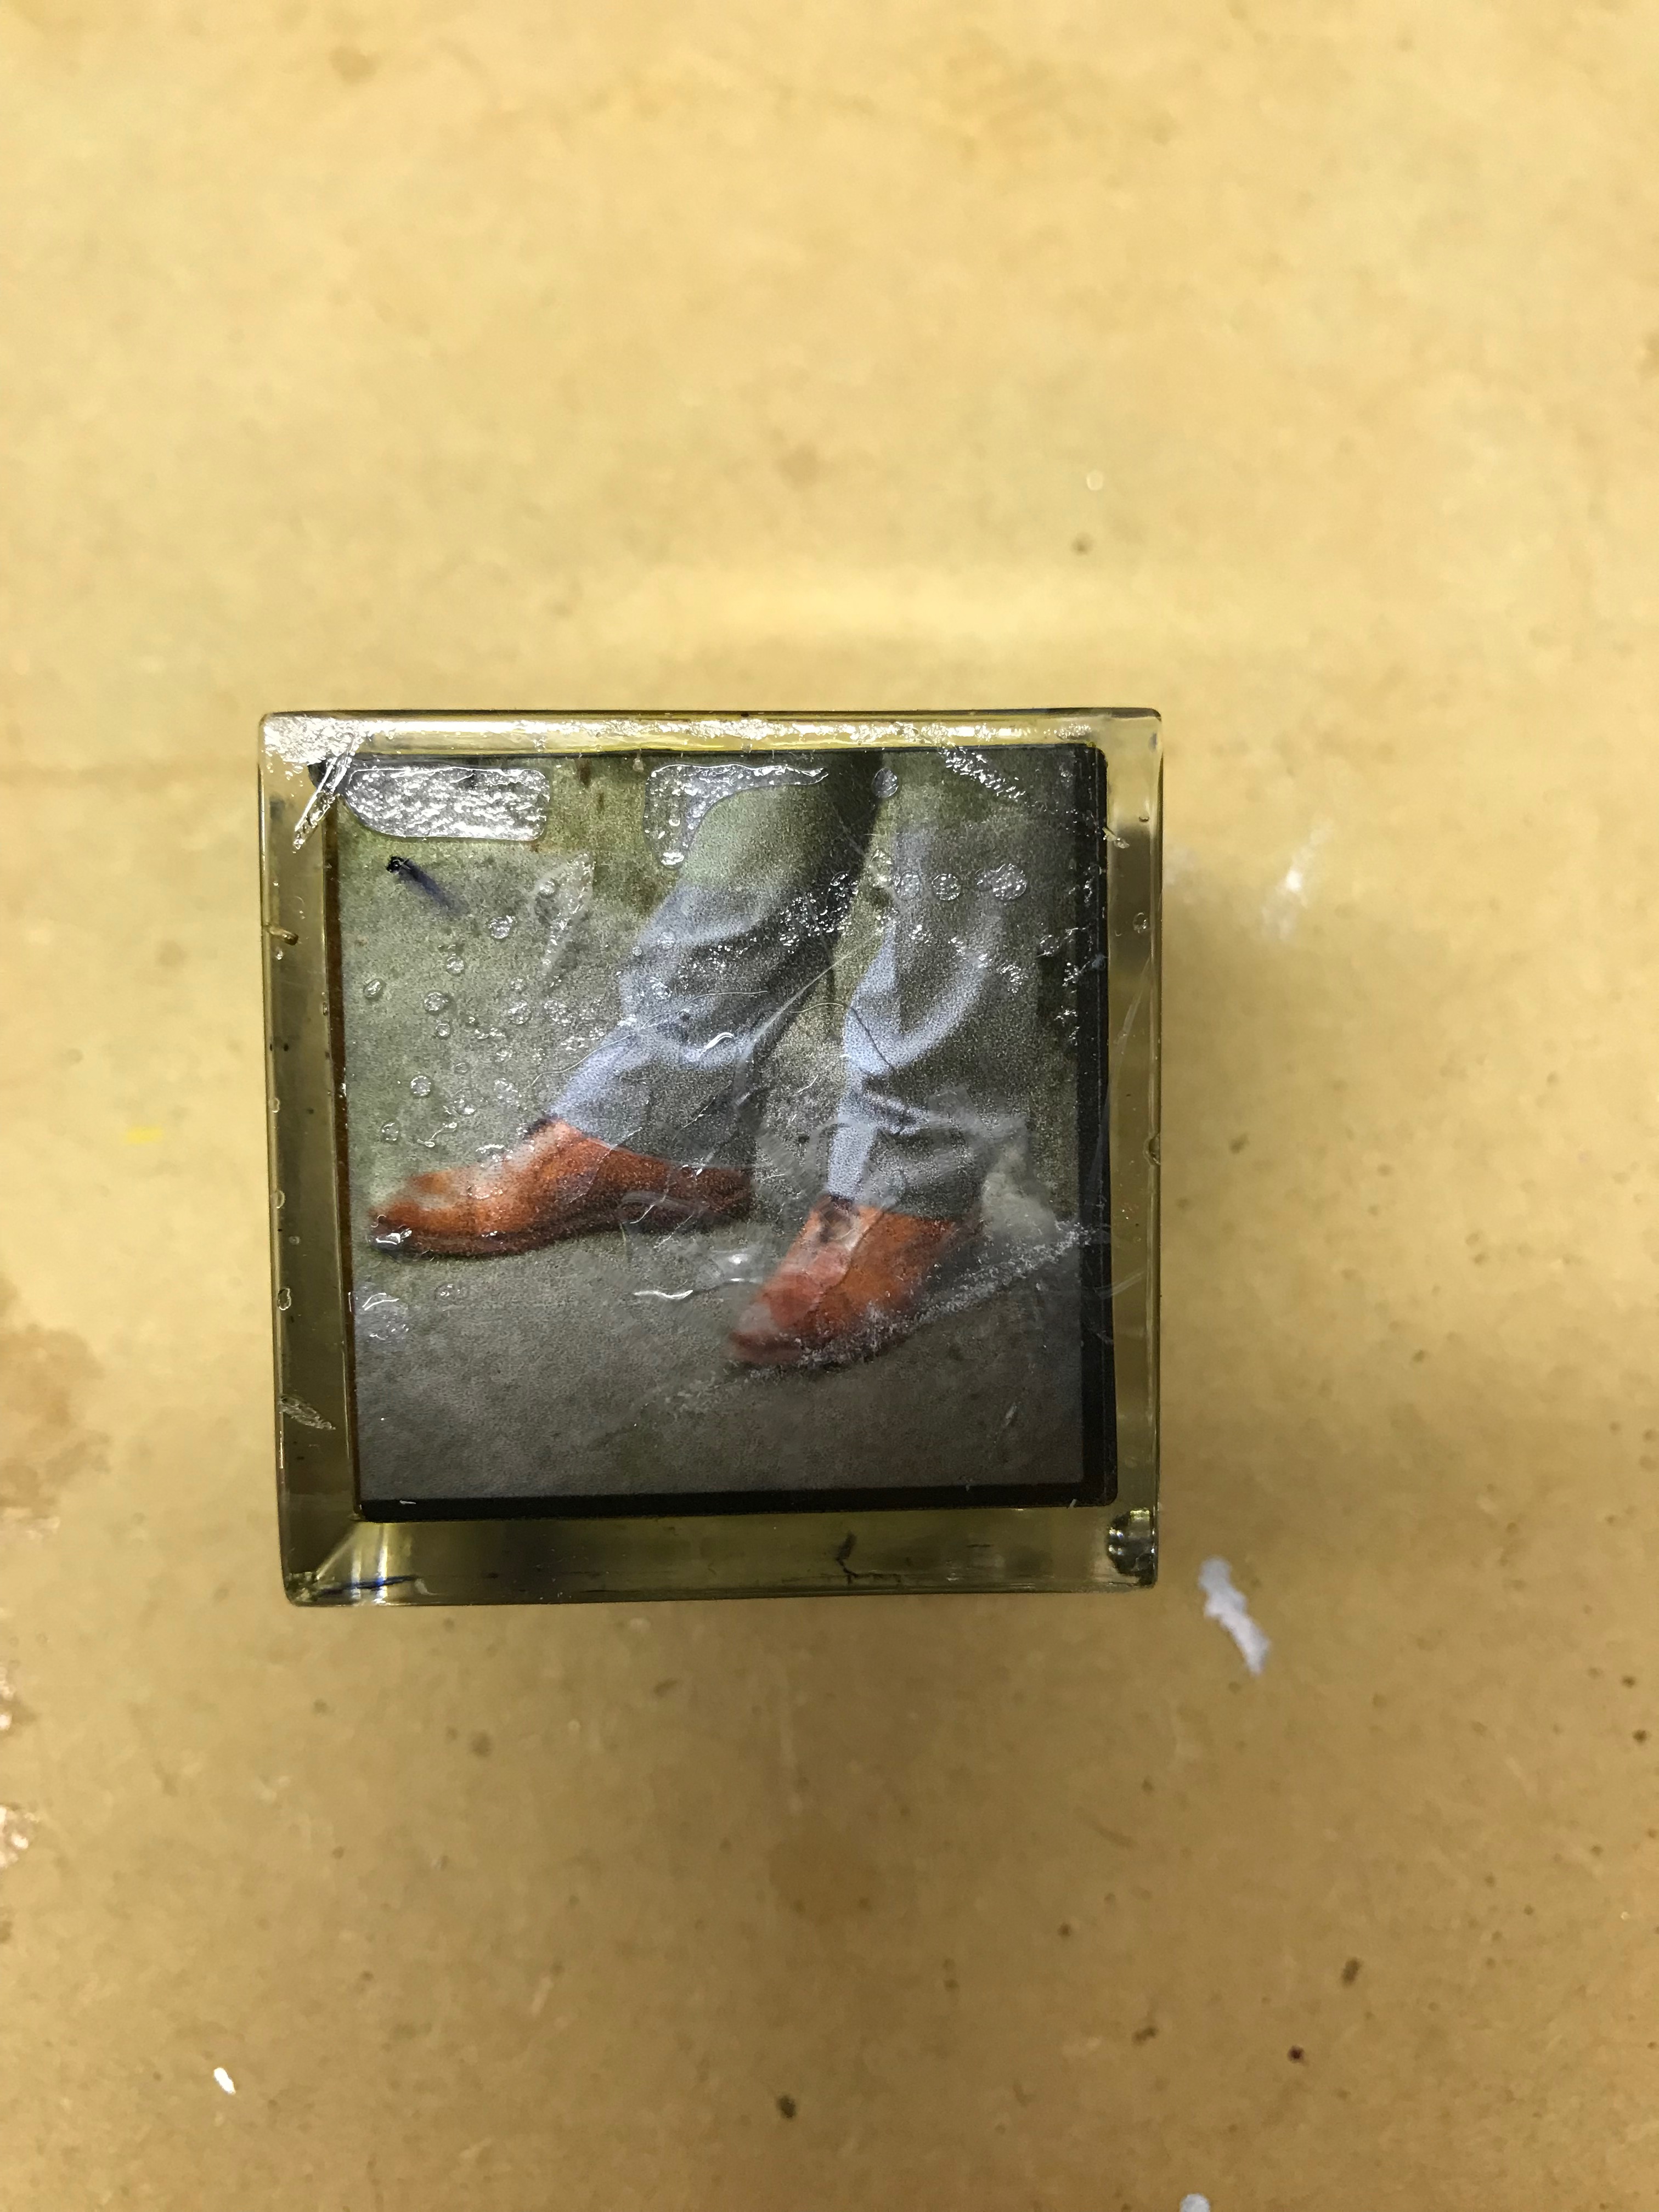
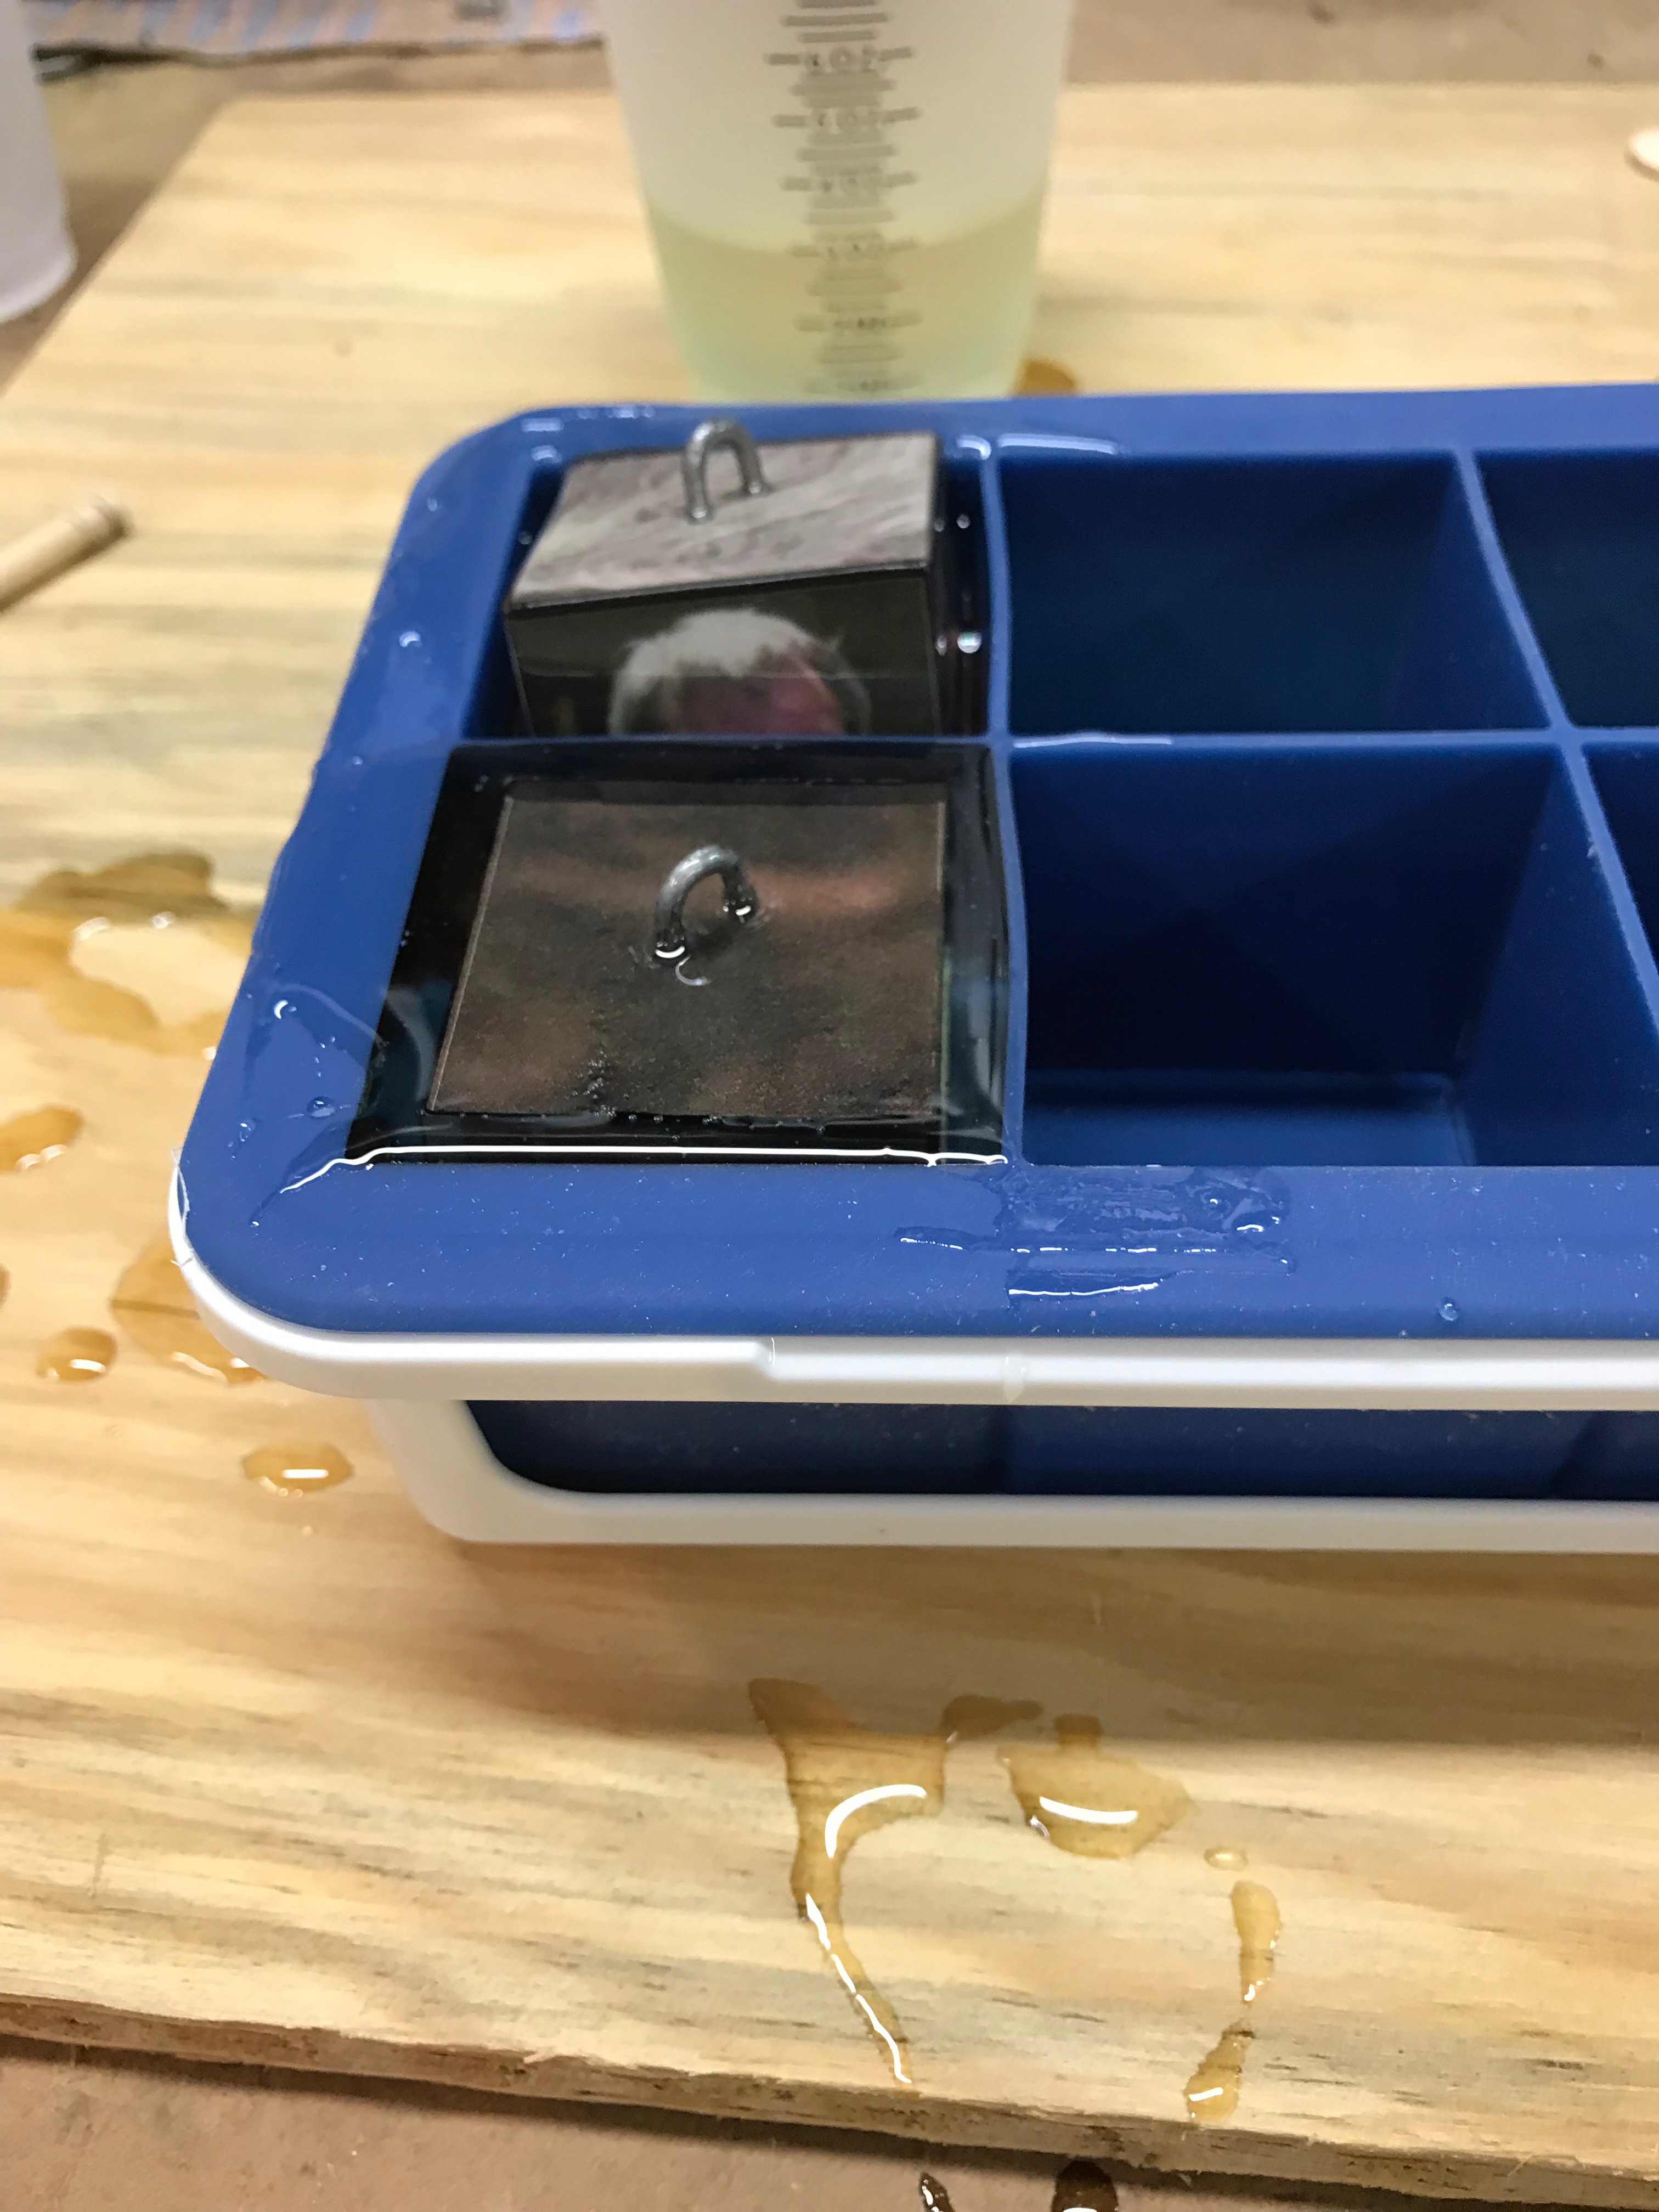
I made a lot of mistakes before I finally arrived at a set of steps that I am now happy with. Here are some of the problems or surprises that I encountered along the way.
- If you use the center two slots in the six-slot tray, you will get some funky wavy cubes. The tray dividers are made from flexible silicone which means they will yield to the slow flow of the liquid as it begins to harden. I found it best to use only the outer four corners of the tray.
- As an experiment I tried sealing the inkjet printed paper with clear mailing tape. Well, as the resin begins to harden, the chemical reaction generates heat which will mess with the shape of the embedded plastic tape. This results in wrinkles and bubbles as the tape separates from the paper it was initially stuck to.
- If you set the wooden block directly on top of the first layer of partially hardened resin, a bubble will form trapped at the base of the block. Some of these bubbles take shape as ugly milky white blobs. Some of these bubbles look like flakes of mica crystal trapped in the cube. When pouring the second layer always pour a very thin puddle on top of the first layer immediately before placing the block into the tray.
- Wooden blocks float! If you attempt to fill the entire tray section with resin when pouring the second layer, the wooden block will float at a strange angle high above the surface of resin -- not the effect you are hoping for. The seconds layer of resin should be poured no higher than about half way up the side.
- Make sure to drill holes before pounding a staple into the wooden block. You will likely split the wood if you are not careful. (Or maybe use a more delicate staple than the one I found for free in my workshop bin.)
Blockhead: a Presentation Twice Beyond Infinity

Ok. So. If you follow The Mad Wrapper, you will know that there is always more going on under the surface than initially suspected. This year is no exception.
Yes, the steps in this Instructable are done and complete. Hopefully you have enough information to successfully make your own picture cube. But half the story is yet to be told. It is a meta-story of augmented reality, laughter, and delight, wrapped up into a pretty much useless iPhone app. (Useless unless you happen to be one of the unlucky members of my family on Christmas morning). You can go to the website madwrapper.com to get a full story. The app is TWM Blockhead and can be found on the Apple App Store.
I will summarize.
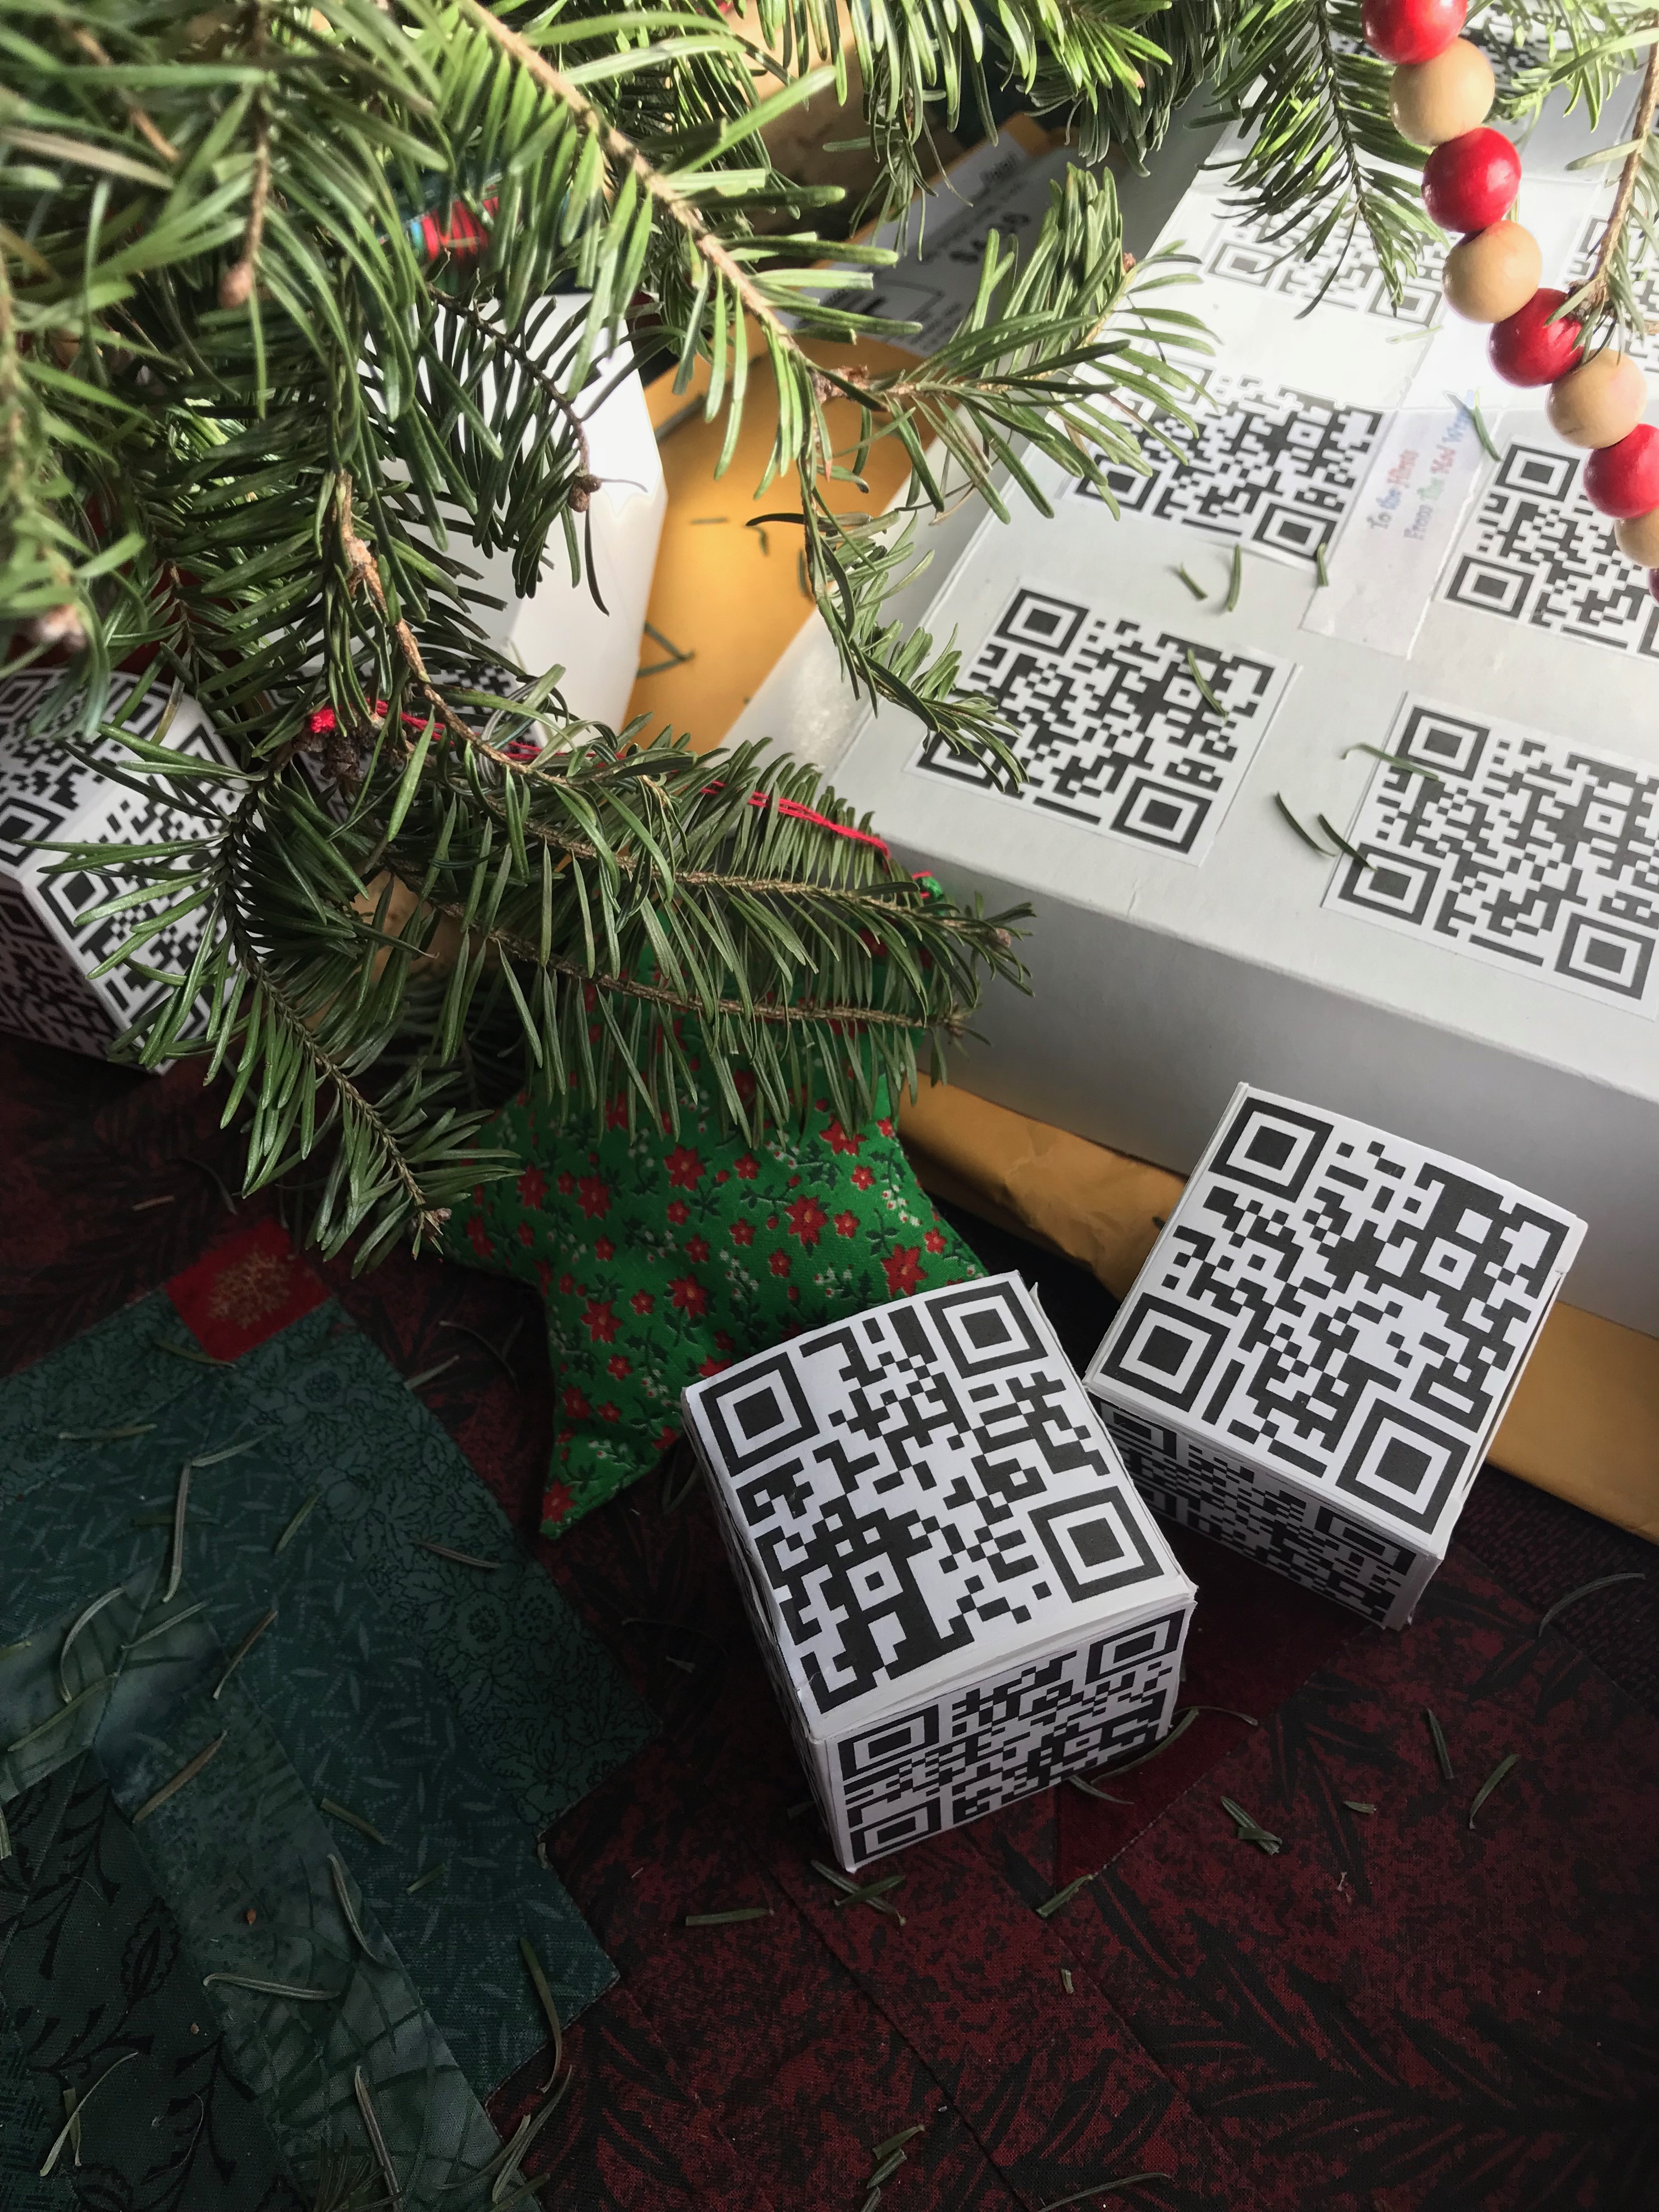
Under the tree of 2017 is found a dozen small 2-inch cube boxes covered by QR codes. (Inside each box is a resin picture cube ornament as described in this Instructable, but guests to not know this yet.)
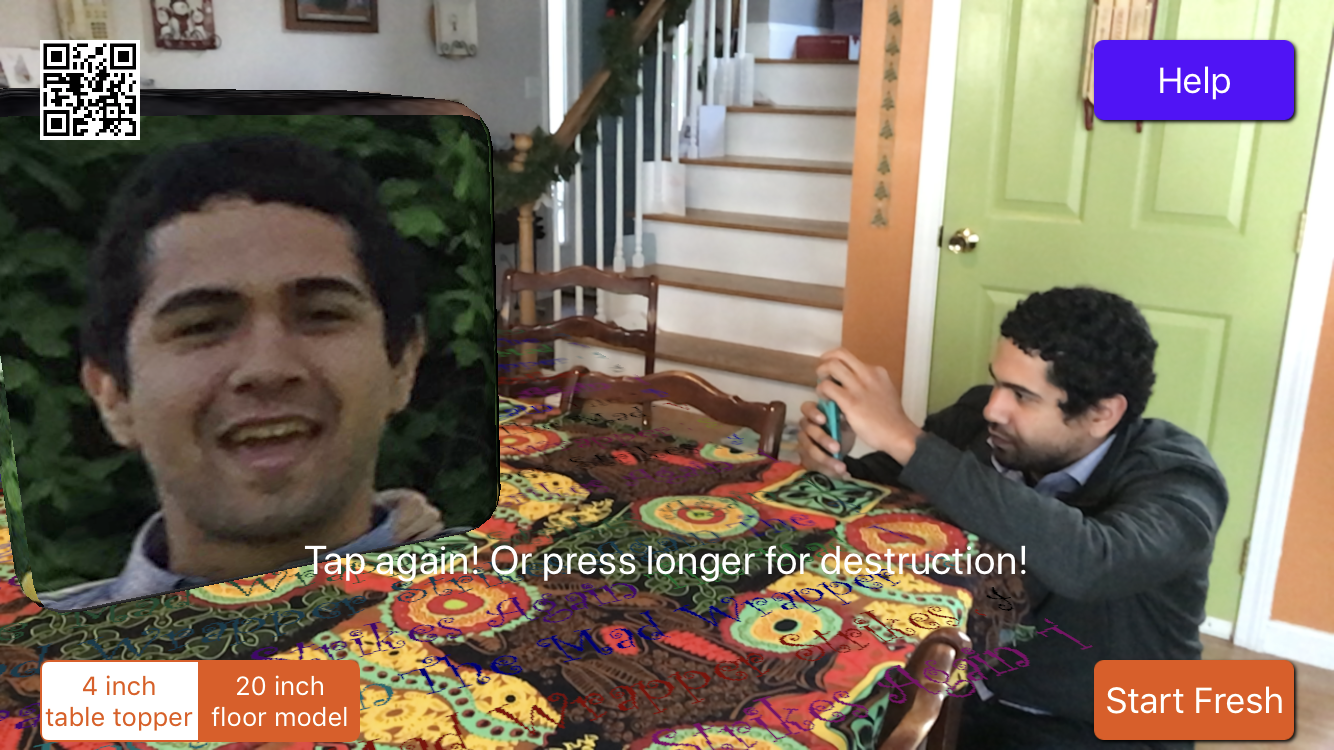
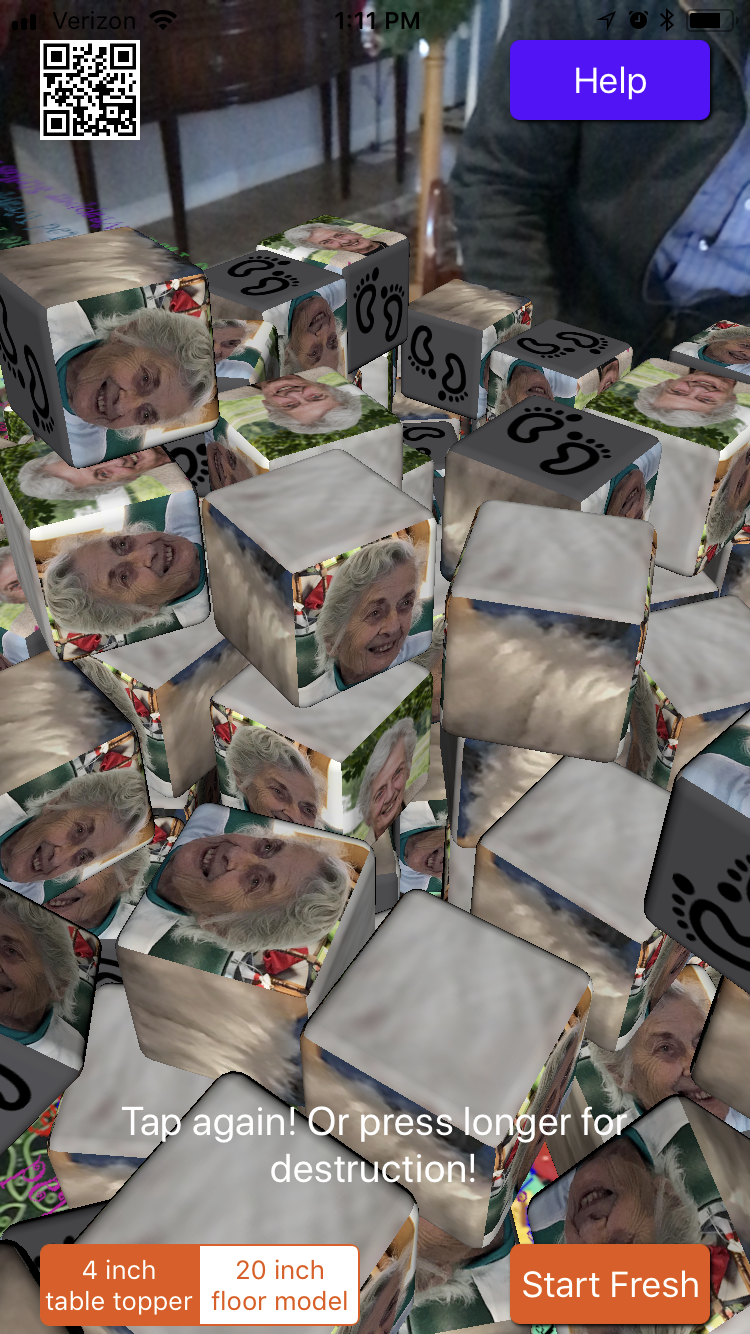
A member of my family will scan the QR coded box from his or her iPhone then tap the screen. Like giant hail from the sky, a computer generated cube drops into view, falls onto the table, and comes to rest next to the unopened box decorated with QR code.
This computer generated cube is (of course) a blockhead image of a person in the room. And (of course) matches the resin picture cube found inside the little tiny QR box.
Everyone gets a resin blockhead rendering of himself/herself. Everyone gets a turn tapping on the iPhone screen to watch himself/herself fall from the sky and come to rest onto the table then open their special gift.
Very meta. Very geek!
They say presentation is everything. This is beyond everything.