Photo Blending Modes
All photo editors provide you with a set of "one-click tools", such as "Levels, Hue/Saturation", and "Contrast/Brightness", that make photo-editing easy. But are you getting optimum results ?
This instructable explains how to obtain optimum results through the use of "blending modes".
Just as a food processor needs two ingredients before they can be "blended", photo blending requires two photo "blend" layers
When a blending mode is selected, each pixel in the top "blend" layer is modified by the corresponding pixel in the underlying "base" layer in accordance with a mathematical formula.
Let's have a look at some of them in action …
Before We Start
[ All images comprise RGB pixel values that range from 0,0,0 (black) to 255,255,255 (white). Behind the scenes, different blending modes apply different formulas to the image pixels. If you don't like a result from one blending mode simply click on another … you can't do any damage. ]
Open an image in Photoshop®, or Photoshop Elements®, and duplicate it by pressing the "CTRL-J" keys. Two layers should be visible in the "layers" palette.
If you can't see the "Layers" palette then click "Windows|Layers" in the tool-bar. "Click" the top layer with your mouse to "select" it. The "selected" layer will appear darker.
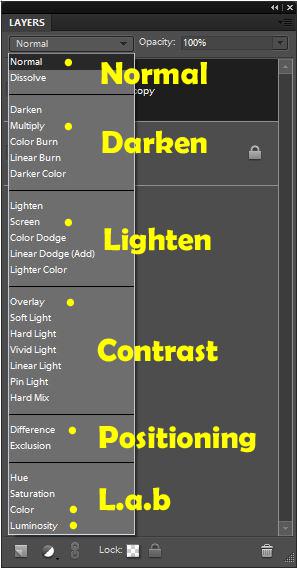
Now click the small "down-arrow" to the right of the word "Normal". A list of blending options will appear as shown in the opening photo.
"Click" each of the blending modes in turn to see its effect. Blending modes are non-destructive so don't be scared to click them. To remove an effect simply click "Normal".
Not all of the blending modes are suitable for photography as Photoshop® (Elements®) is also used by graphics artists and designers. The following discussion focuses on the blending modes that are useful for improving your photos..
Groups
[ The "labels" in the opening photo are arbitrary and reflect my view-point. The yellow "dots" indicate which of the modes I commonly use. ]
Something not immediately obvious when looking at the pull-down list of blending options is that they are grouped (partitioned) by function:
- Modes that "darken" start with a blending mode called “Darken”.
- Modes that "lighten" start with a blending mode called “Lighten”.
- Modes that affect the "contrast" start with a blending mode called “Overlay”.
- The "Difference" mode is useful for joining panoramas as the screen goes "black" when the overlaps are perfect. Once "positioned" you simply change the blending mode back to "normal".
- The "Color" and "Luminosity" blending modes equate to the L.a.b color model [1] and are useful for color separation, or avoiding color artifacts when sharpening.
Let's have a look at each of these modes in action.
[1] The L.a.b. color model is described in my instructable https://www.instructables.com/id/Photo-Editing-2/
Multiply
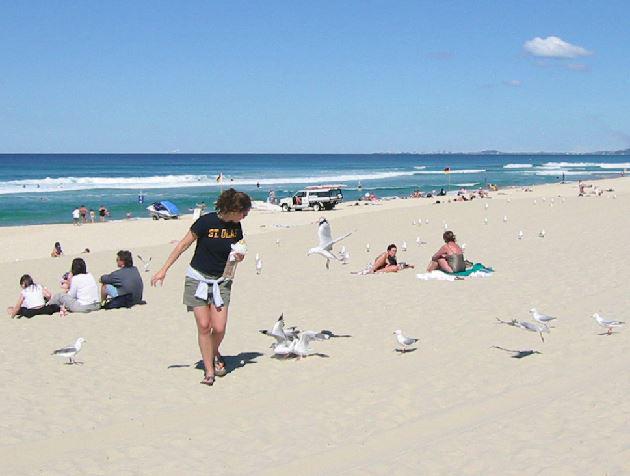
The easiest mode to understand is "Multiply" which multiplies each of the corresponding pixel values together and divides the result by 255. The final result is always darker.
- Black stays black (0x0/255=0)
- Mid-grey gets darker (128x128/255=64)
- White stays white (255x255/255=255)
Method
The first photo shows a high-key beach scene.
The sand details are difficult to see. Let's fix this:
- Duplicate the first image by pressing the "Ctrl-J" keys
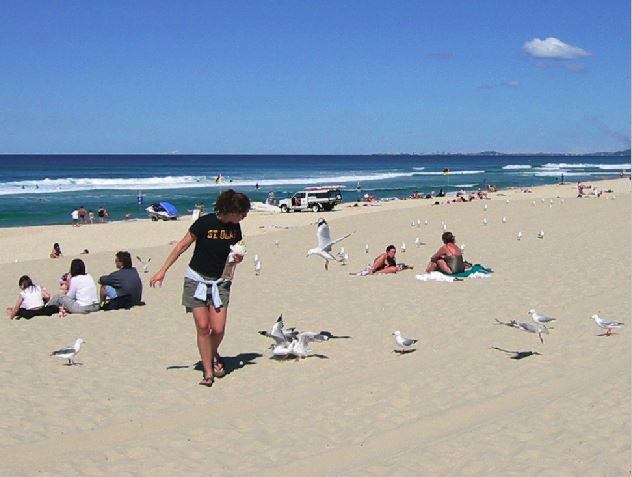
- Now set the blending mode changed to "Multiply". Notice how the image has been "darkened".
- The amount of darkening was controlled by reducing the opacity of the "blend" layer to 60%.
This result is not possible using (Enhance|Adjust Lighting|Brightness/Contrast) from the pull-down menus as that tool affects the entire image.
To achieve the same effect using "Levels" would require that you move the "mid-tone" slider to the right.
Screen
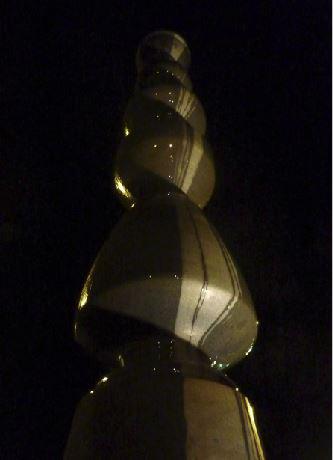
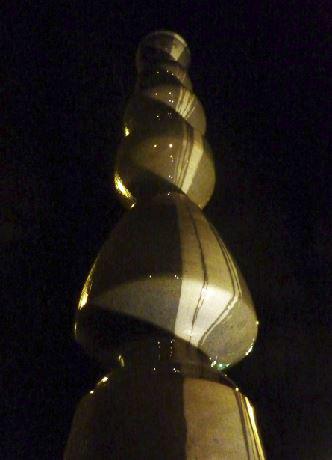
[ The "screen" blending mode is similar to shining two projectors onto a projection screen. ]
“Screen” has the opposite effect to “Multiply” and is useful for lightening images.
The effect of “Screen” is similar to projecting two images onto a "movie screen". If the images are identical, and perfectly superimposed, then the final image will be brighter because more light is falling on the screen.
The original image is rather dark. There are two ways to "lighten it."
One is to use "Levels" or "Curves".
Another is to duplicate the image by pressing "CTRL-J" and applying a blending mode of "Screen".
Overlay
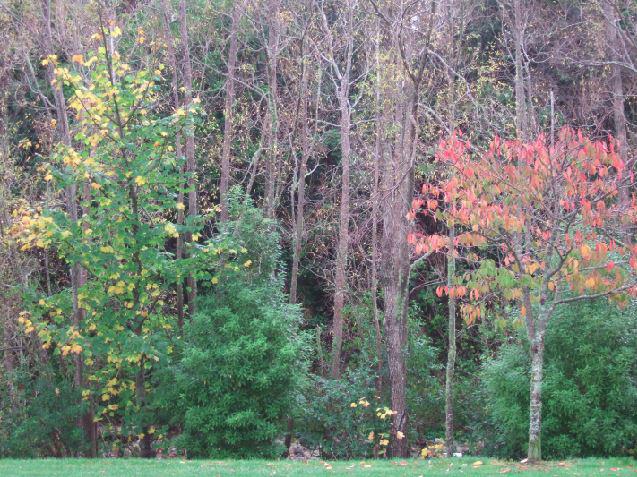
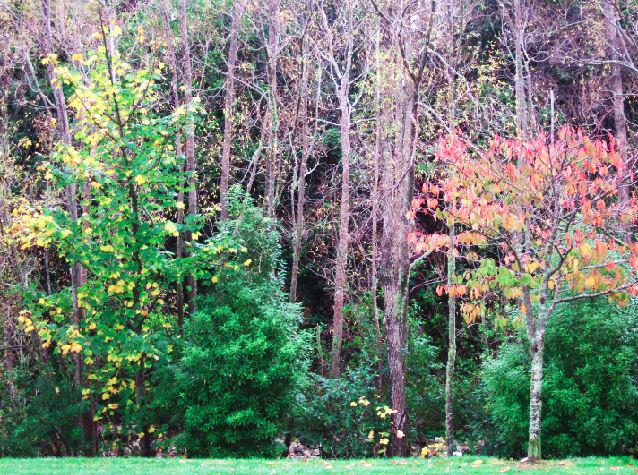
[ The important thing to realize when using the "overlay" blending mode is that 50% gray does not affect the image. Reducing the gray "lightens" the image … darkening the gray "darkens" the image. ]
“Overlay” affects the "contrast" by darkening ("Multiplying") the parts of an image which have a numerical value less that 128 and lightening ("Screening") the parts of an image which have a numerical value greater than 128. Mid-gray (128) has no effect on the image.
There are two major things wrong with the first image. There is a lack of "contrast" and the colors are "flat" due to the lighting.
Both faults can be corrected by duplicating the image and applying a blending mode of "Overlay" to the blend layer.
A blending mode of "Overlay" increases the contrast and at the same time increases the slope of each color channel thereby increasing the color saturation.
Overlay Sharpening

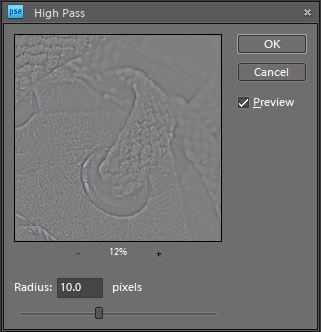
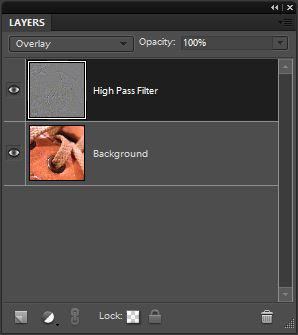

The "overlay" blending mode can also be used for sharpening!
If you add a "mid-gray" (RGB 128,128,128) fill layer above an image and change the blending mode to "overlay" nothing will appear to happen.
This is because the "overlay" blending mode "screens" tones greater than "128" and "multiplies" tones less than "128". Since every pixel in the fill layer is "128,128,128" nothing happens.
But what happens if we draw the image outlines on this fill layer using shades of "gray" as shown in the second image The local contrast will be altered where-ever an outline appears creating the illusion (last image) that the image is sharper.
Method
To sharpen an image using this method:
- press "Ctrl-J" to duplicate the image.
- With the top layer selected click "Filter|Other|High Pass" from the drop-down menus.
- Now increase the "Radius" (second image) until the image outlines appear.
- Click "OK" and change the blending mode to "Overlay" (third image) … done.
Difference
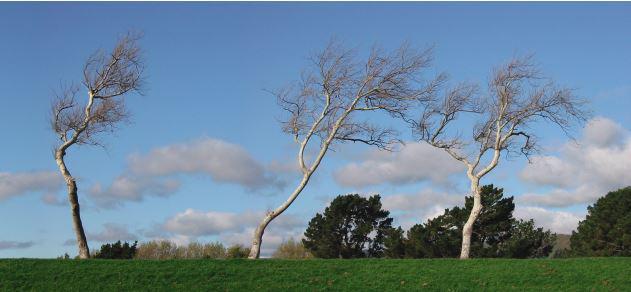
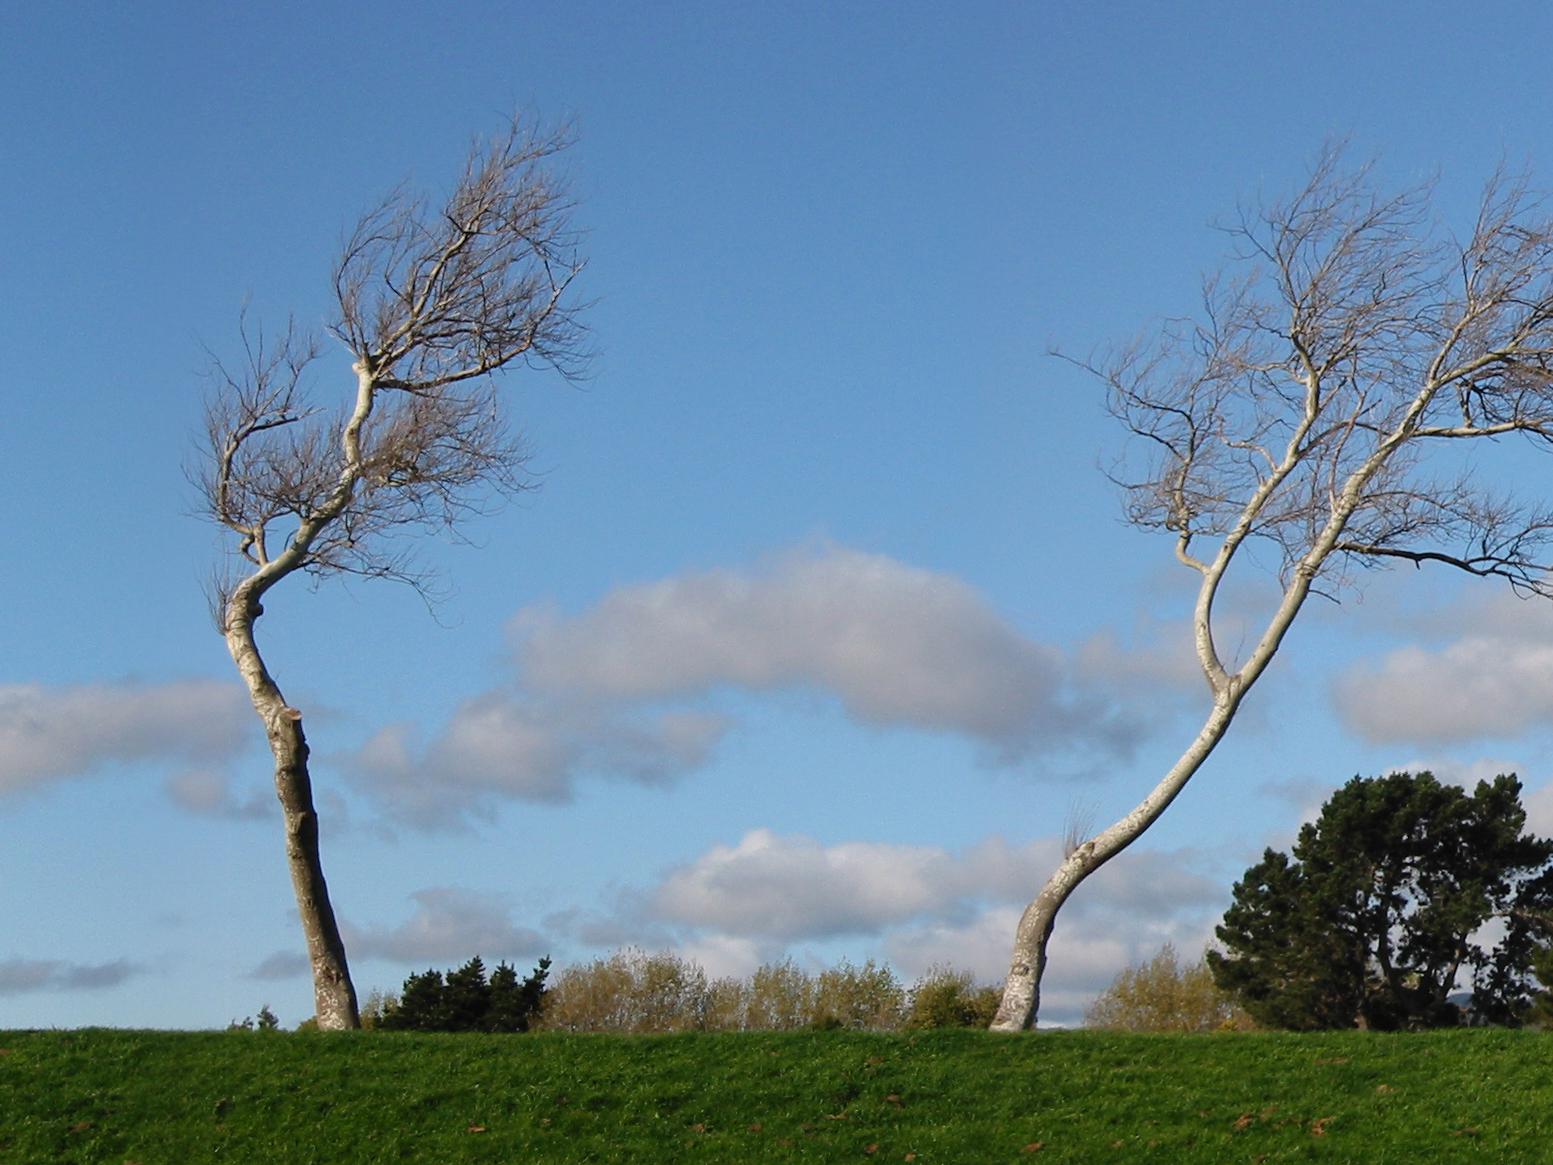
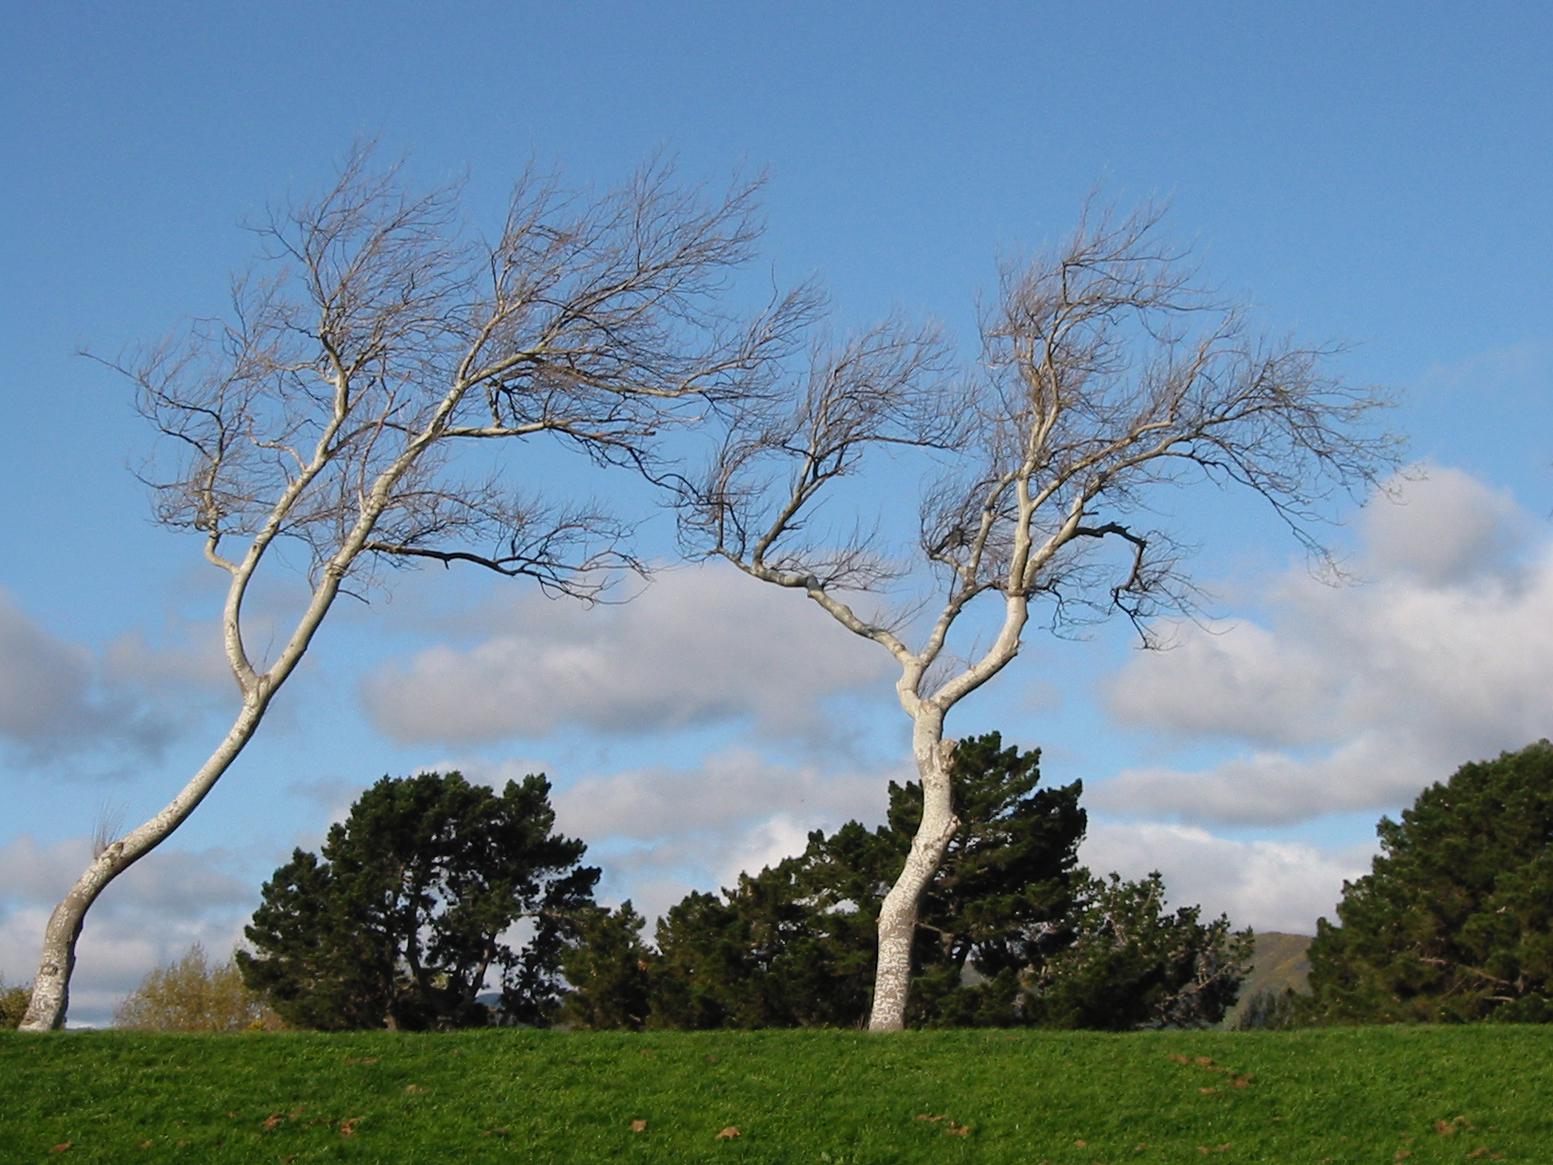
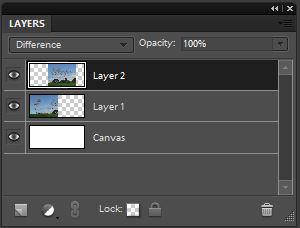
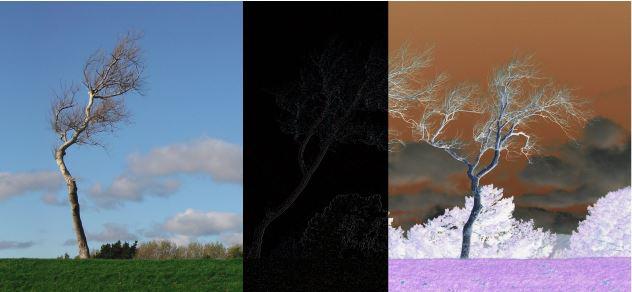
Let's create a landscape by joining two "4x3" images.
The first thing you need to do is create a blank canvas with a horizontal dimension at least twice the length of a single image.
Next open both images and, with the "move" tool selected, drag each image onto the canvas. Select the top layer and set the blending mode to "difference" as shown in the fourth image.
Now use your arrow keys to move the photos until they overlap. The area of interest will go completely black when the images are perfectly aligned as shown in the last image.
Once the images have been aligned change the blending mode back to "Normal". The finished panorama is shown in the first image.
Removing Color Noise
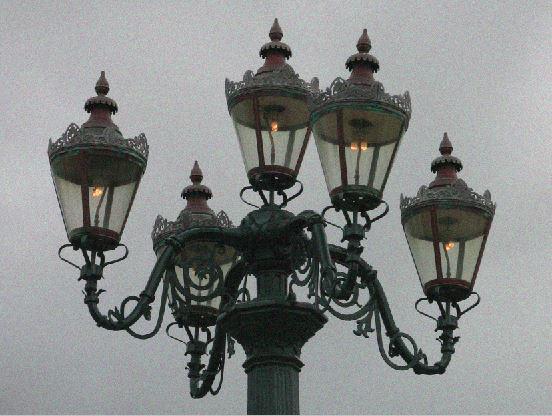
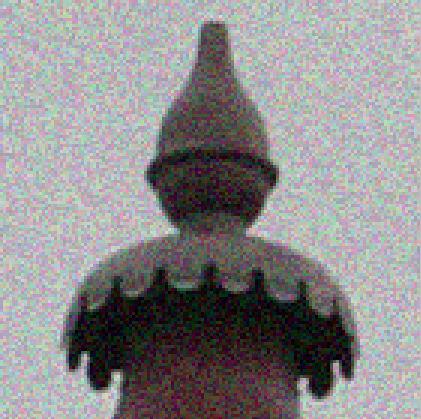
[ The following example demonstrates that blurring the color channel doesn't affect the detail. ]
High ISO photos often have a confetti-like colored speckle to them called "high ISO noise". Quite often this noise will disappear in the printing process due to "color bleed" but if it doesn't then it can be quite distracting. So how do we get rid of it. The short answer is that "you can't" … but we can make it less noticeable.
A color image is a bit like a comic book where most of the detail is contained in the "black & white" drawing (think "luminosity").
The "color", however, is low definition which means that you can go "over the edges" without detracting from the final image. The following method utilizes the fact that all images can be split into two components … "luminosity" and "color".
Let's see this in action …
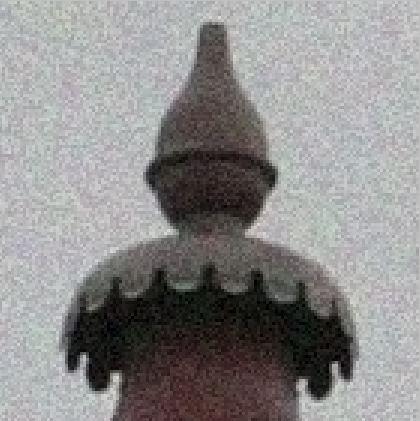
The first image looks okay at this resolution but if we "pixel peep" we can see some color noise as shown in the second image.
A simple method for removing this noise is to duplicate the image by pressing "Ctrl-J" and adding a 4 pixel gaussian blur as shown in the third image.
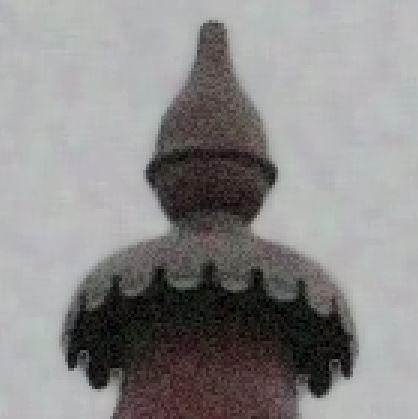
The blending mode for the third image is "normal" which means that the "Gaussian Blur" is being equally applied to both the luminosity" and the "color" channels. If we change the blending mode to "color" then only the color information will be blurred and the detail will reappear as shown in the fourth image.
If you compare the second and fourth images you will see that the color noise has been completely removed. Unfortunately there is a trace of luminosity noise which needs to be removed.
One method of removing the "luminosity" noise (at the risk of loosing some detail) is to apply a small (say 2-pixel) blur to the entire image and rely on the fact that the eye is quite tolerant to what remains as shown in the last photo.
Color Separation
This process uses the "color" and "luminosity" blending modes and is fully described in my instructable https://www.instructables.com/id/Photo-Editing-2/
Summary
The above edits demonstrate an alternate method of editing whereby we duplicate an image and apply a blending mode to improve the original image.
So which method is best … "blending" or using tools such as "Levels, Hue/Saturation", and "Contrast/Brightness"?
If you are new to Photoshop® (Elements®) then you will probably feel more comfortable using the tools as each has a meaningful name. Just remember that some of these tools are destructive so always work on a copy of your original image.
From my perspective blending modes are slightly easier to use as:
- you only need to have your layers palette open
- there is no need to go through the menus searching for tools as the workflow is always the same … duplicate (Ctrl+J), apply a blending mode, change the opacity, then combine the edits using "stamp visible" [1].
- the process is non-destructive (unless you merge all layers)
- you can quickly undo a mistake or, more important, you can try several different editing versions and pick the best by toggling the "stamp visibles" on and off.
Once you have finished editing save your image using "Save As" and a different filename.
[1] "Stamp Visible" collates all of your editing steps into a single image when you press the "ctrl + shift + alt + E" keys at the same time.
Click here to view my other instructables.