Phone-to-Arcade-Race-Game Converter
by M3IN in Workshop > 3D Printing
838 Views, 11 Favorites, 0 Comments
Phone-to-Arcade-Race-Game Converter
Hello, my name is Merlin and this is my first contest I’m taking part in. 2 years ago, I fell in love with 3d modelling. I started my journey with “Tinkercad” but with the limited possibilities, I quickly grew out of it. I was looking for a new way to materialize my ideas, I stumbled across Fusion 360 and it was all i needed. On Christmas my parents got me my first 3d printer the “da Vinci mini w+”. In no time I started printing all sorts of stuff. After a while I was looking for a better printer and the next summer, I worked hard to raise money to buy the “Creality K1”. One day, I was looking for a new project and then I came across Instructables that have many cool features. I was fascinated about the contest part of this platform. I was hooked to compete in one and here I am.
After many, many prototypes of arcade stations until I came up with this fantastic idea: How about turning my smartphone into a mobile retro arcade experience.
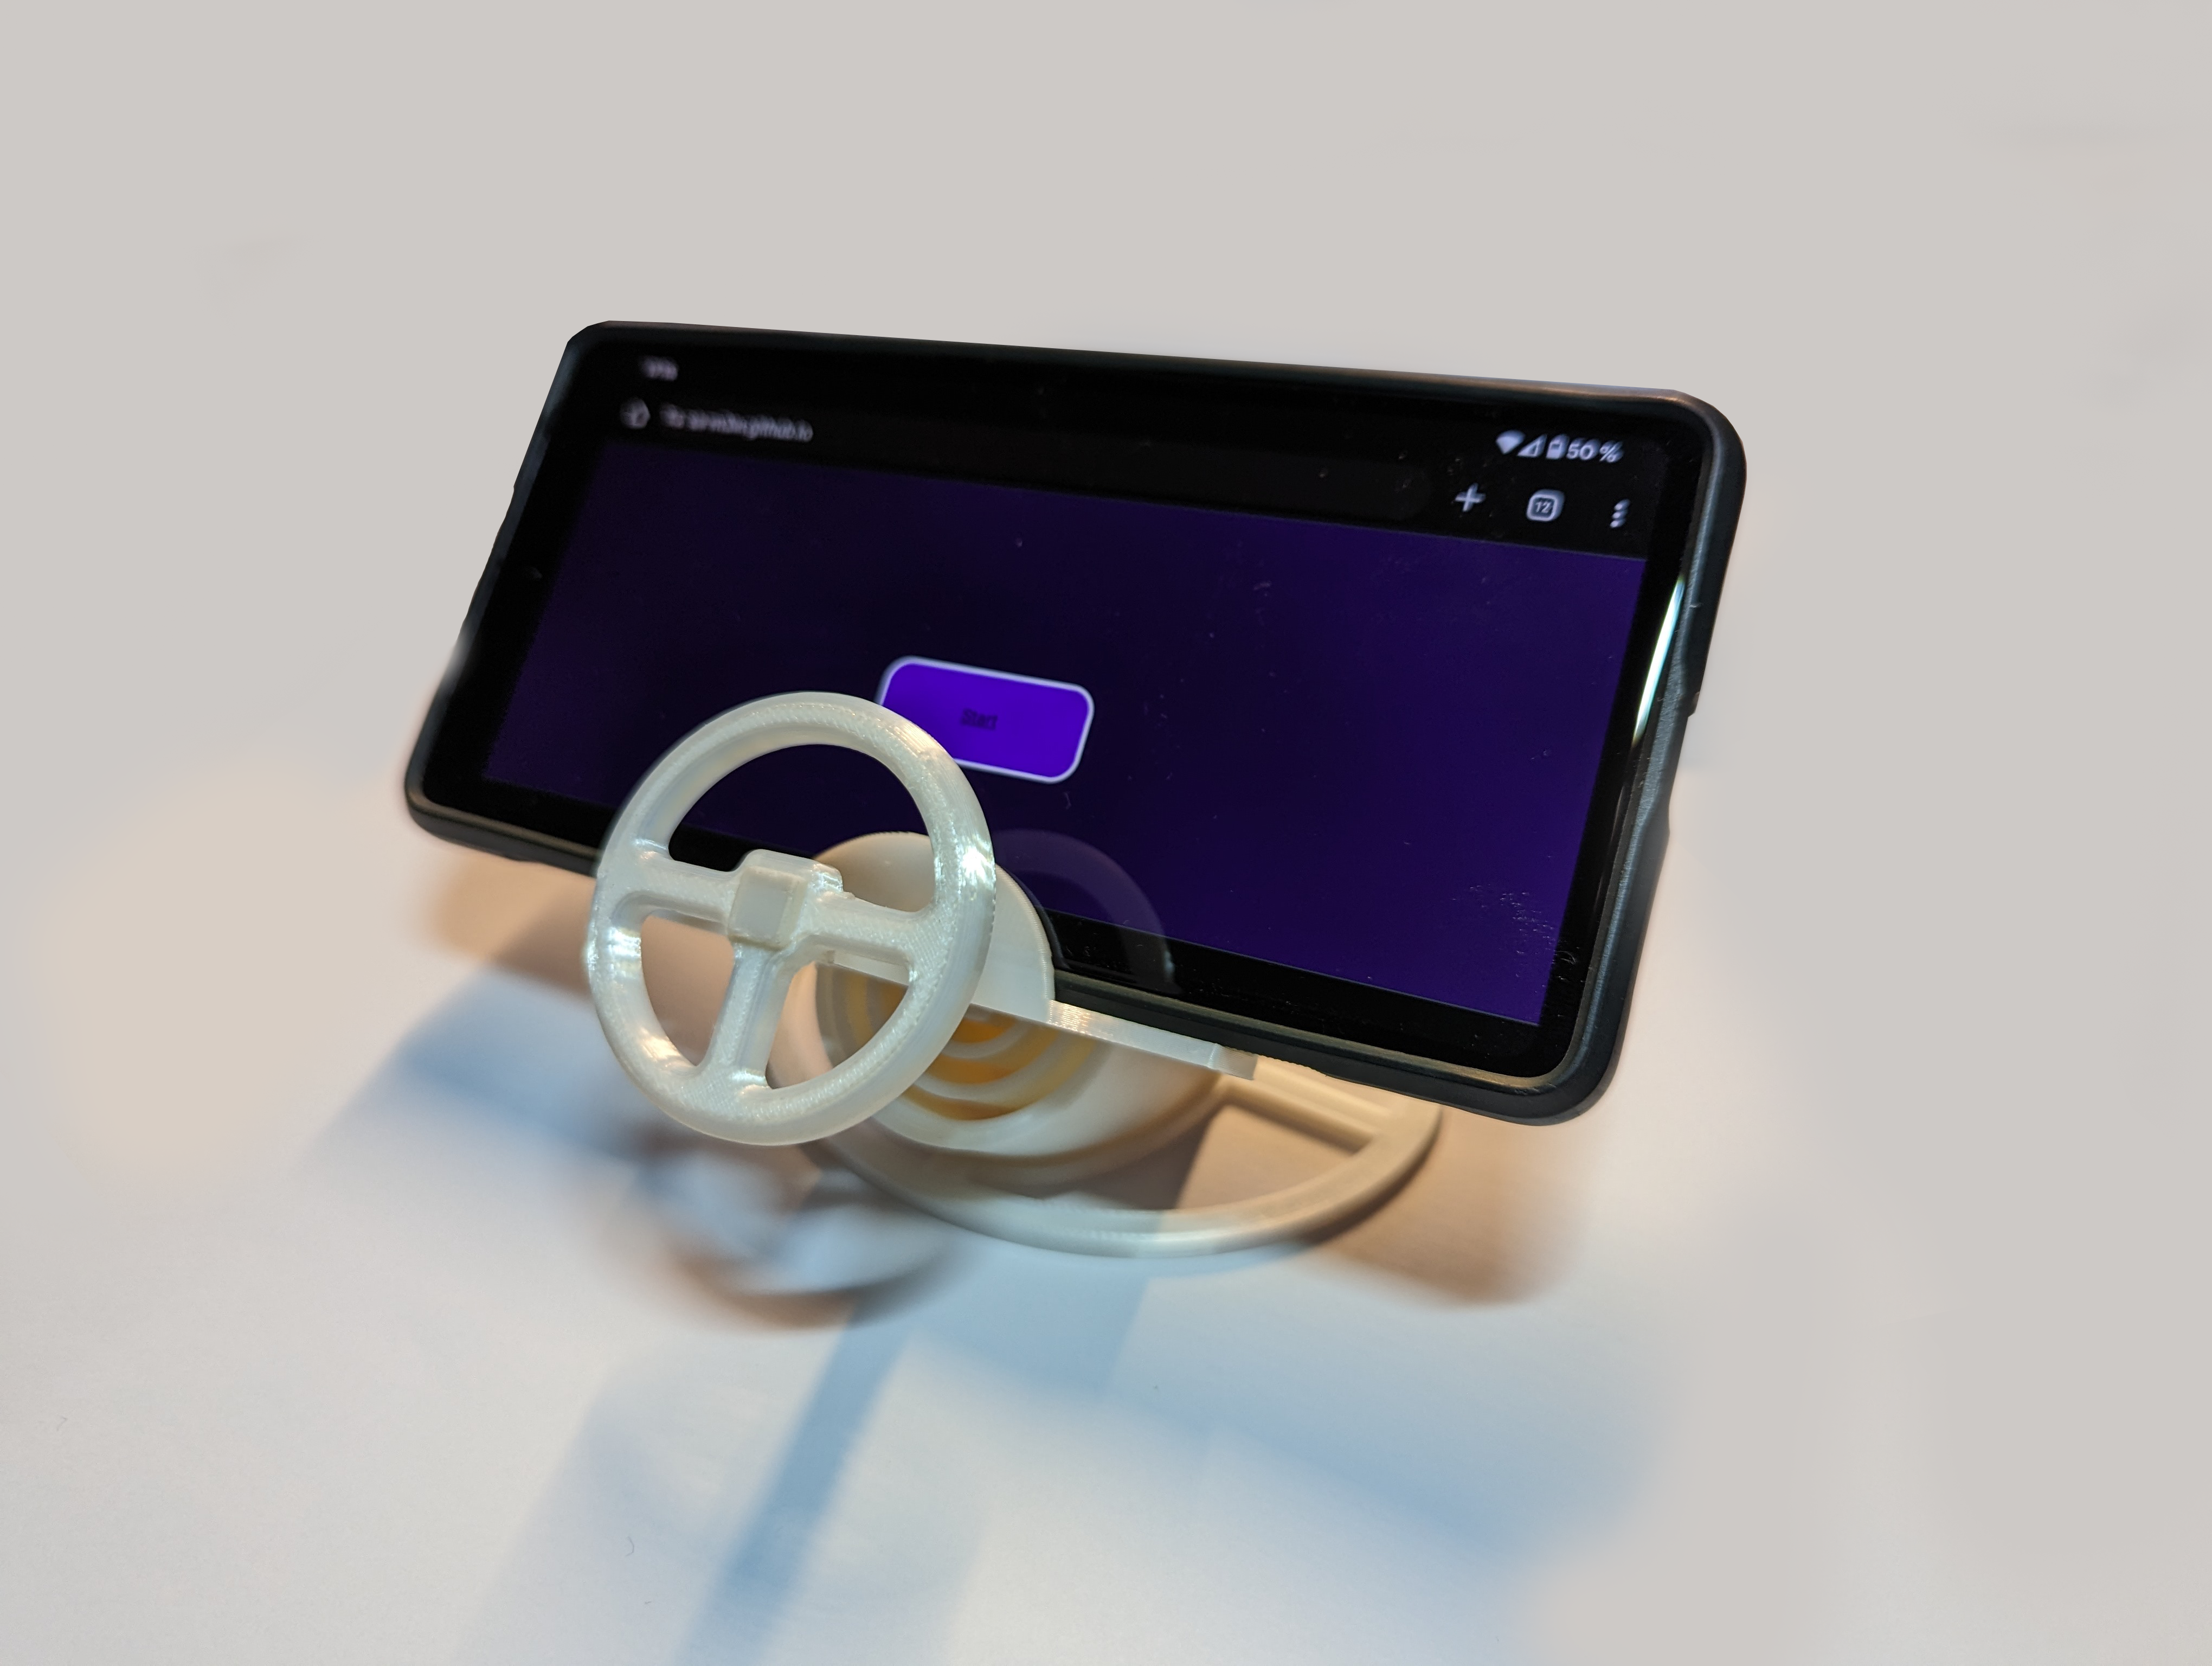
It's a Phone-to-Arcade-Race-Game converter: a steering wheel that can control a simple web game and gives the wanted arcade feeling your looking for.
Downloads
Supplies
- 3d Printer
- Mobile Phone
- Glue (optional)
The Main Body and Base in Fusion 360
After the initial prototype, I realized that even a slight tilt or imbalance could cause the phone to tip over. To address this issue, a spring mechanism is essential to maintain the phone's stability. The decision to design the body and stand separately was driven by the need for an angle exceeding 45 degrees, which could pose challenges during the printing process.
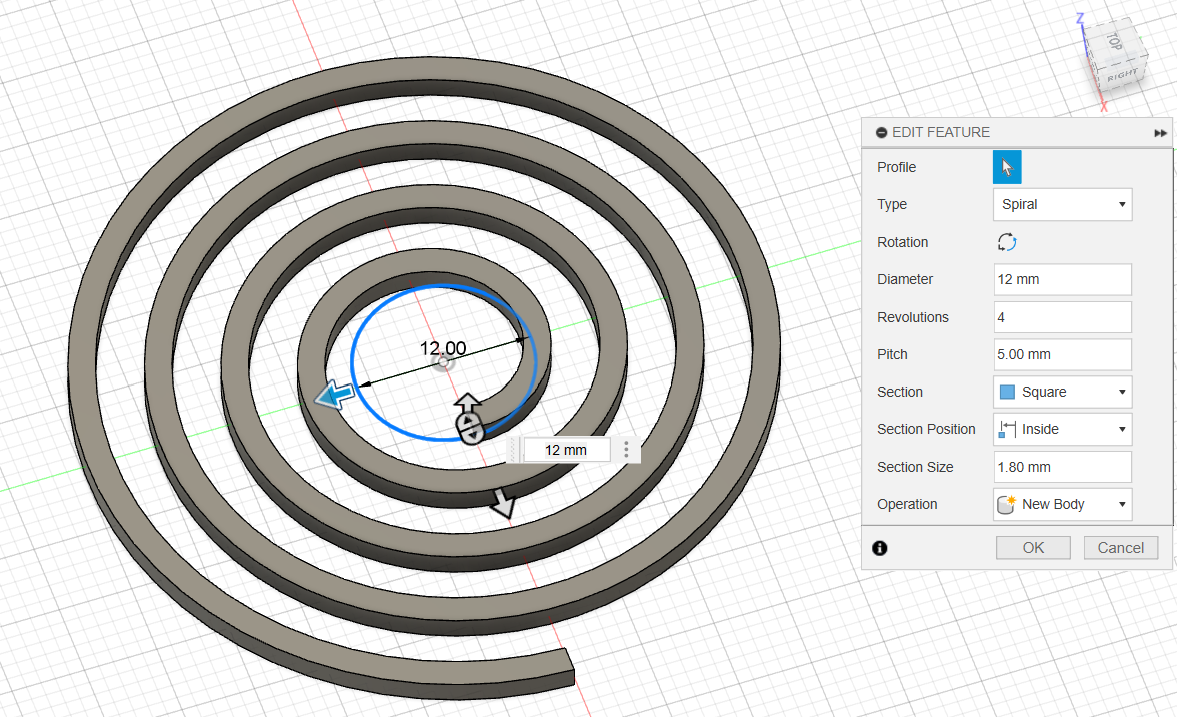
Here are the steps to create the spring:
- Go to the "create" drop-down menu and select the "coil" tool. Use the exact measurements outlined in picture 1.
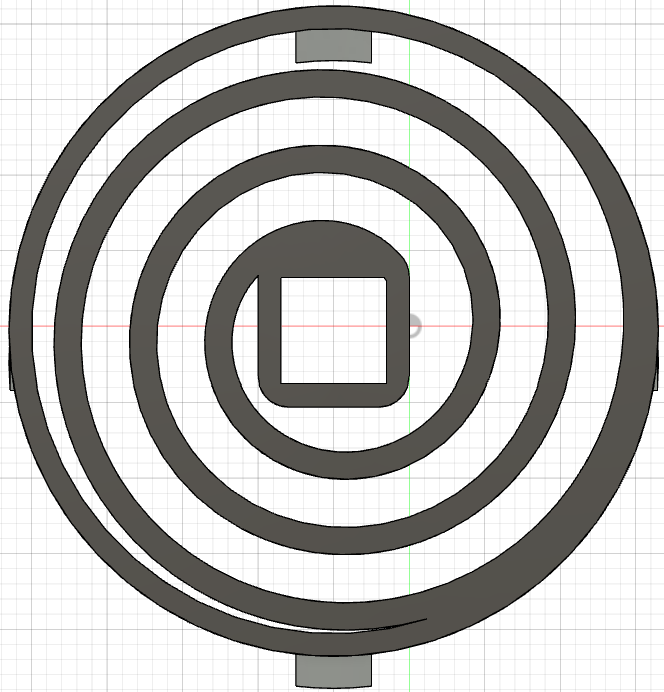
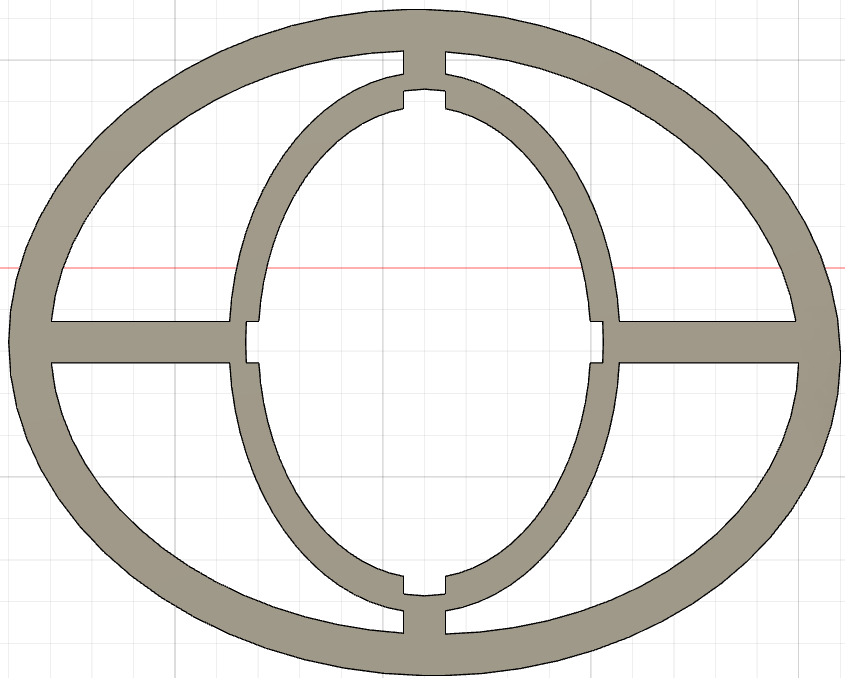
- Draw a circle around to represent the wall, ensuring a thickness of 1.5 mm. Don't forget the central cutout (7mm * 7mm) for the steering wheel.
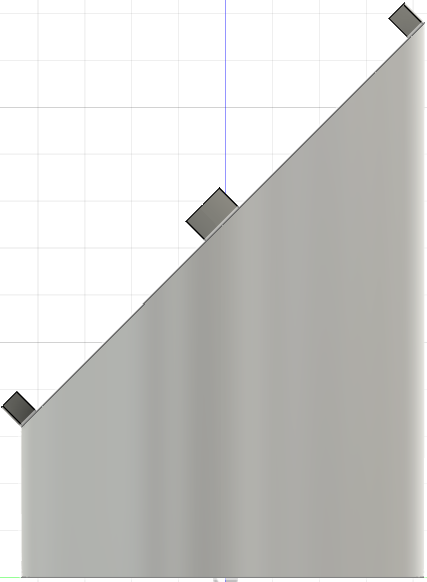
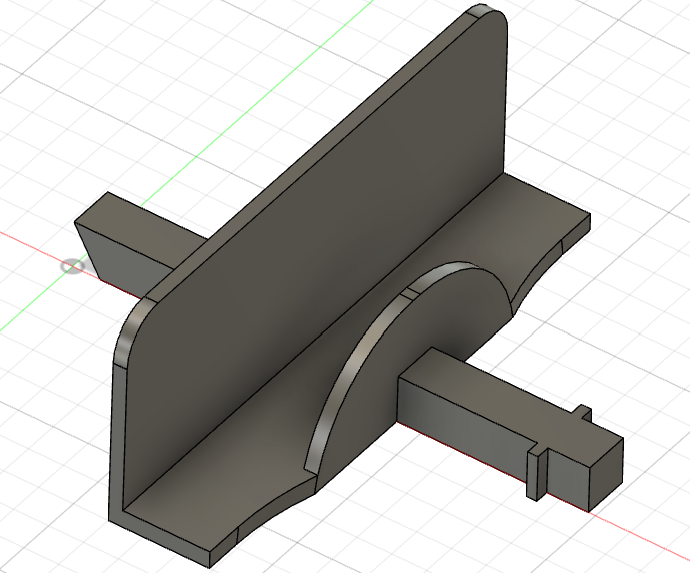
- Cut the top and create extensions for the base, using an angle of about 50°.
For the base:
- Design an ellipse that matches the cut side of the spring, incorporating the necessary cutouts. Additionally, create a supportive base as depicted in picture four.
The Steering Wheel / Holder
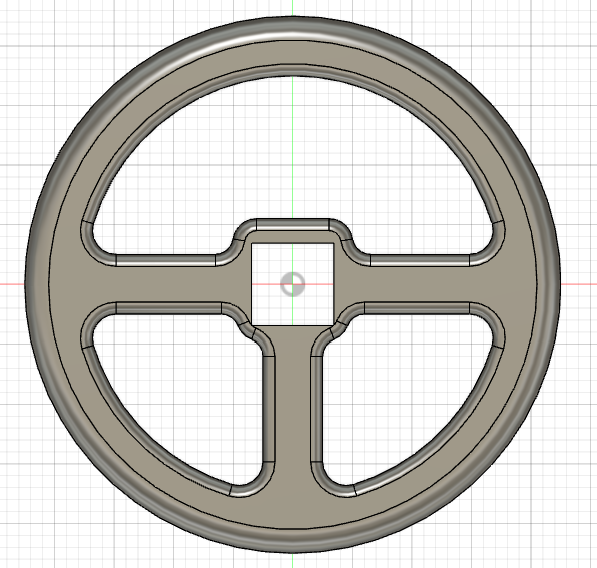
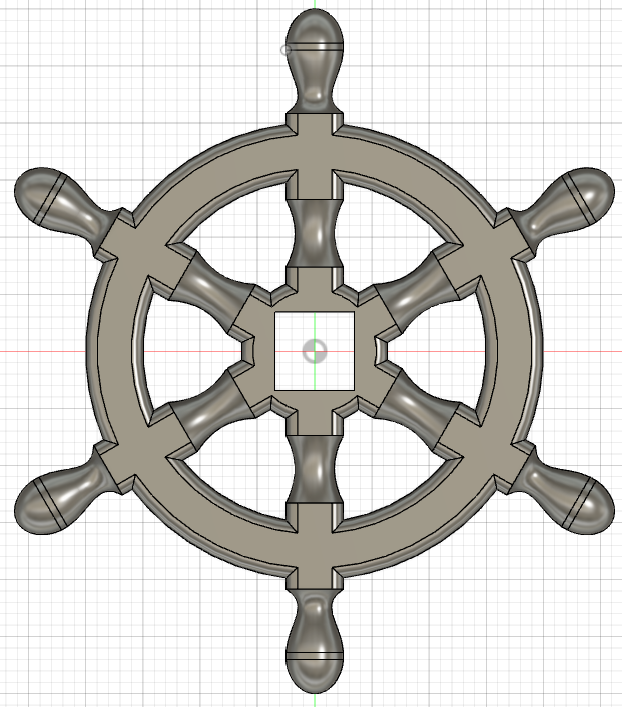
I designed a print-in-place holder specifically for the steering wheel. At the very front, you can conveniently put on one of my steering wheels, but I challange you to take on the challenge and craft your own! To limit the movement, I placed two stoppers for the steering wheel, preventing it from slipping further back than intended. This feature makes the hole build more fun special.
Print and Test
Now it's time to print the Parts. (for me about 1:30 h)
As a bonus I created a little web game. Which I am hosting on Github.
StartScreen (sir-m3in.github.io)
I've tested it on the Google Pixel 7.
Github link: SIR-M3IN/SIR-M3IN.github.io
You have to try it out yourself!