Phone Controlled Garage Door, Powered by Intel Edison Blynk & Arduino
by Ekras in Circuits > Microcontrollers
3307 Views, 32 Favorites, 0 Comments
Phone Controlled Garage Door, Powered by Intel Edison Blynk & Arduino
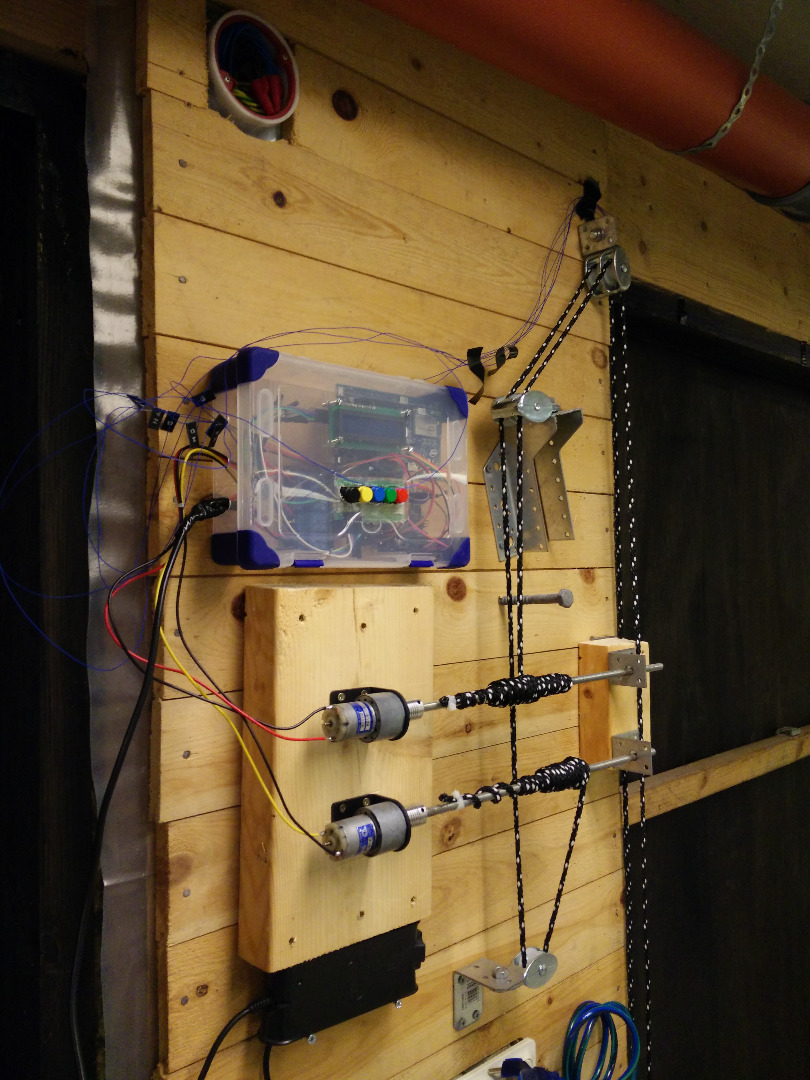
Automated products has become more and more common and solutions that are cheap exists in some areas, an example could be indoor lightning or automated timers. But if you want a garage door that can be opened with a phone and don't want to pay for new doors. Then why not modify them yourself?
Now I will show you how I used Intel Edison and the Blynk app to control my homemade garage doors.
Step 1: Get the Hardware and Tools Needed

For this project you will need an Intel Edison board or any other micro-controller with WiFi capabilities. The Blynk app is still developing and does not yet support "long loops". The Blynk app needs to check WiFi every 10s or so, and it takes 6s for it to run all the checks. Therefor we also need another micro-controller beside the Intel Edison. For this we use an Arduino Uno.
- Intel Edison
- 2x High torque motors
- 2x Couppligns
- 2x rods (for the pully system)
- 6x Pulleys (might need less if you use them smart)
- 1x Rope (15meter)
- 4x Relays
- 1x Power-supply (capable of supporting the motors)
- 1x Power-supply or buck-converter for powering the Intel Edison.
- 1x Project enclosure
- 1x Seven-segment display
- 1x Arduino
- Lots of signal cables + power cables.
Step 2: Programming the Intel Edison
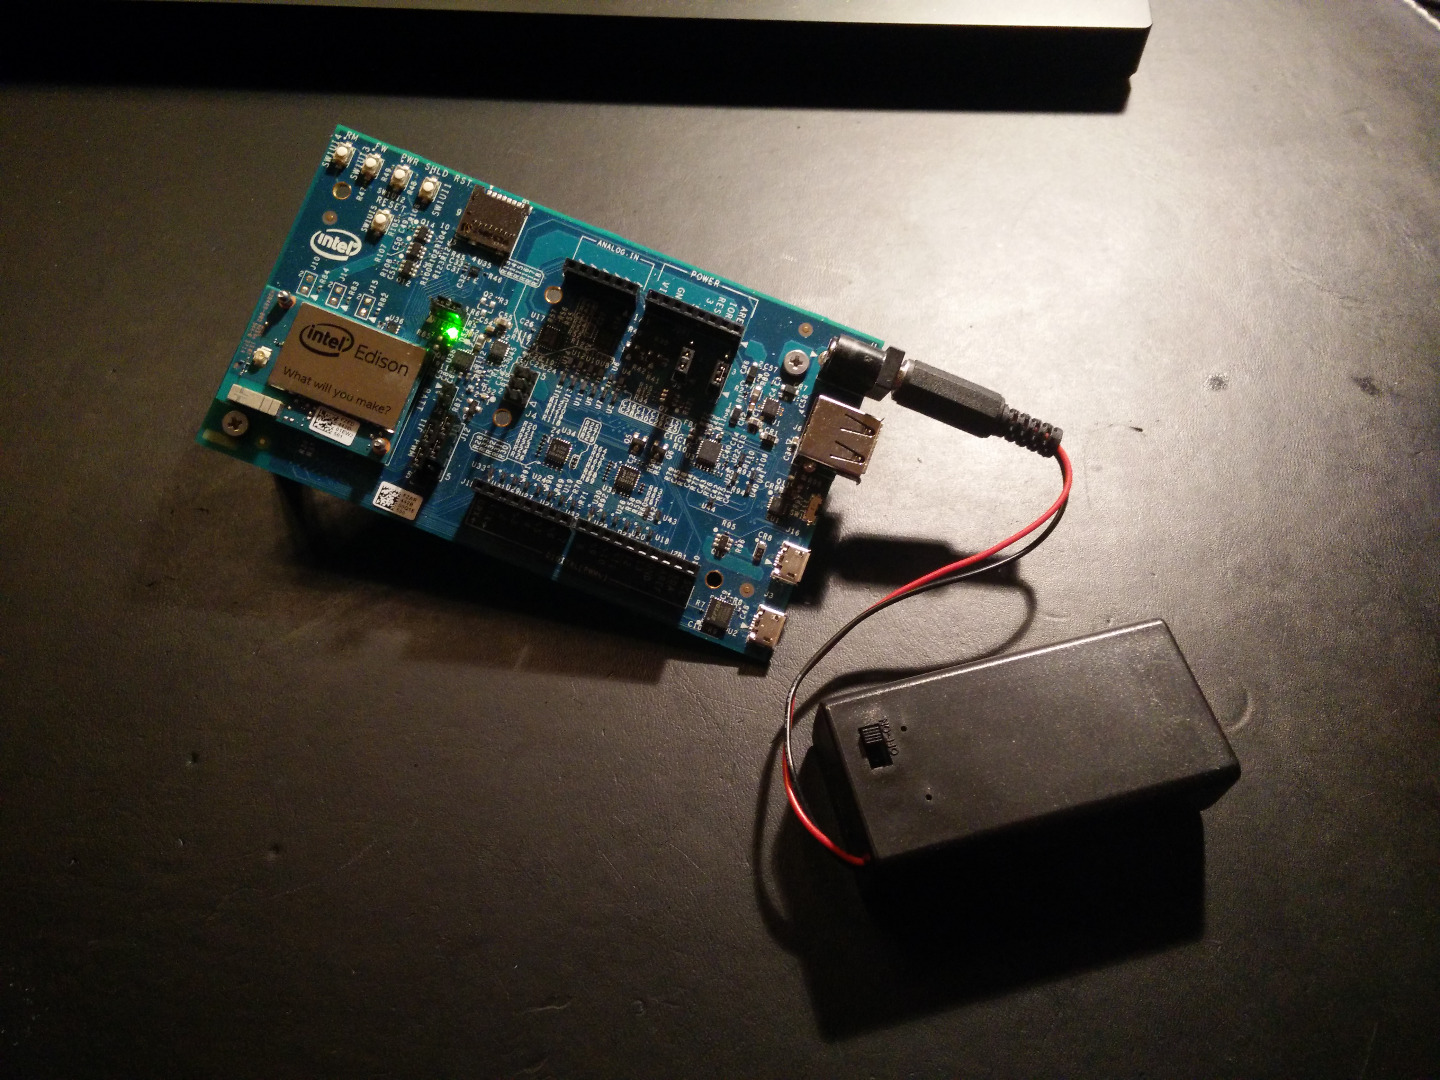
Now it is time to program the Intel Edison. If you are new to the board the it is recommended to check out the how to on Intel's site and there YouTube tutorial. Sparkfun also has a pretty good tutorial, check them out.
Intel Written Tutorial Sparkfun YouTube Intel YouTube
If you are using Windows you might get an error when installing with the installer. The problem is occurring when the installer tries to update the Intel Edison board, it fails and it is then impossible to try to redo the process. Luckily it is an easy way to update the board manually with the help of a program called "Flash Tool Lite" that Intel also provides. I will put the link below if someone should have the same problem.
Because the Blynk app limits the time the micro-controller can run loops and we needs therefor 2 micro-controllers. This is a noticeable flaw with the app, but I believe it is something that the Blynk team will fix in the future. So for the time being, the code for checking the doors will run in the Arduino and the Blynk program will run on the Intel Edsion. when the Blynk team have updated there app so that it does not limit the use of long loops, then all the code could be run on the Edison instead. Removing the need for the Arduino in this project.
The Code implements a menu for controlling the doors manually on the control panel. The menu has 7 options to choose from.
-
Auto Open/Close (Runs the program to open the doors if closed, or close them if open)
-
Man Open Left (manually opens left door)
-
Man Close Left
-
Man Open Right
-
Man Close Right
-
Open? (Sets the doors as open, necessary on startup)
-
Closed? (Sets the doors as closed, necessary on startup)
When the boards looses power they will forget where the doors is and there is therefor necessary to have the menu options 6&7. On under normal operation only option 1 will be used.
The Blynk app
A standard program that will be used to talk to the Blynk app, can be downloaded on Blynk's homepage. In this project a slightly modified version will be used.
#define BLYNK_PRINT Serial    // Comment this out to disable prints and save space<br>#include <SPI.h>
#include <WiFi.h>
#include <BlynkSimpleIntelEdisonWiFi.h>

// You should get Auth Token in the Blynk App.
// Go to the Project Settings (nut icon).
char auth[] = "xxxxxxxxxxxxxxxxxxxxxxxxxxx";// Your WiFi credentials
char ssid[] = "NameOfNetwork";
char pass[] = "PasswordToNetwork";        // Set to "" for open networksvoid

setup()
{
  pinMode(13,OUTPUT);
  digitalWrite(13, HIGH);
  Serial.begin(9600);
  Blynk.begin(auth, ssid, pass);
}

//This will run when Viritual button "V1" is pushed on the app
BLYNK_WRITE(V1) //Signals the other micro-controller to change position of the doors
{
  digitalWrite(13, LOW);
  delay(1000);
  digitalWrite(13, HIGH);
}

void loop()
{
  Blynk.run();
}
The file with the code that will run on the other micro-controller is called CarPort1_6.ino. Some of the comments in that one is in Swedish.
Downloads
Setting Up the Blynk App
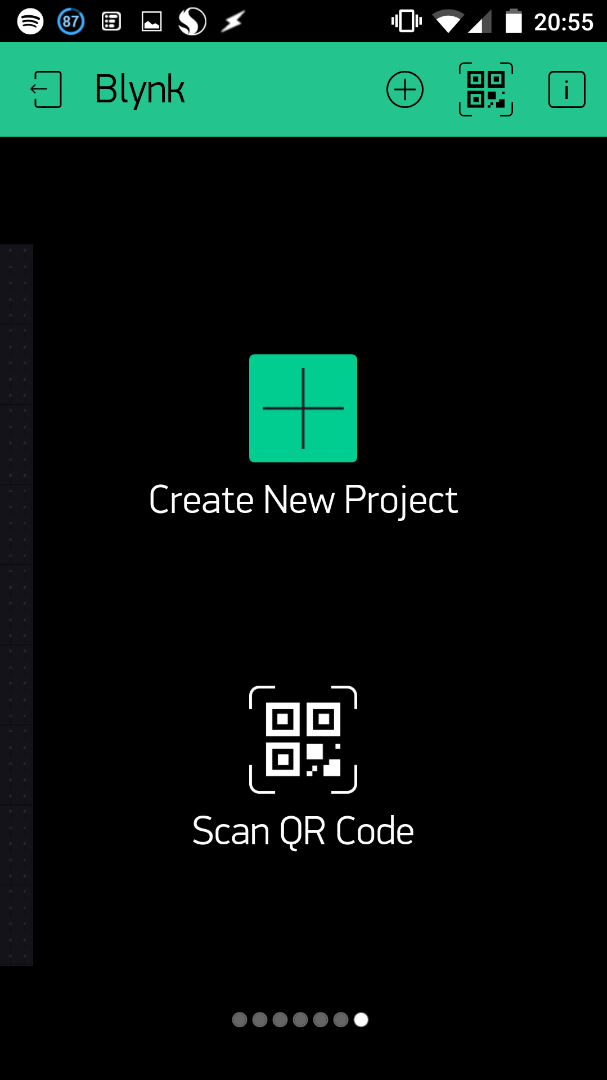
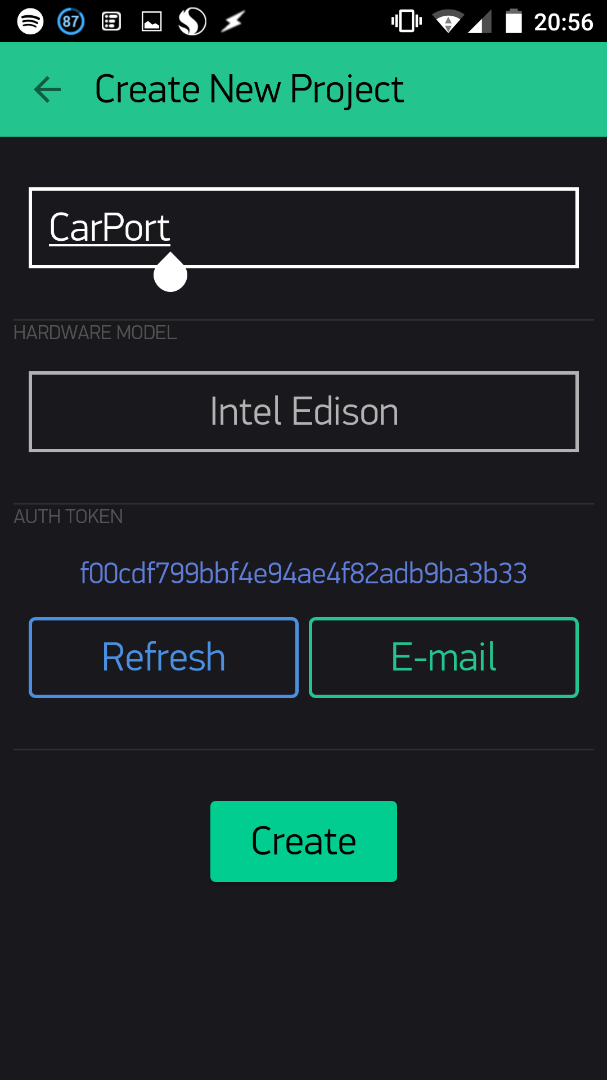
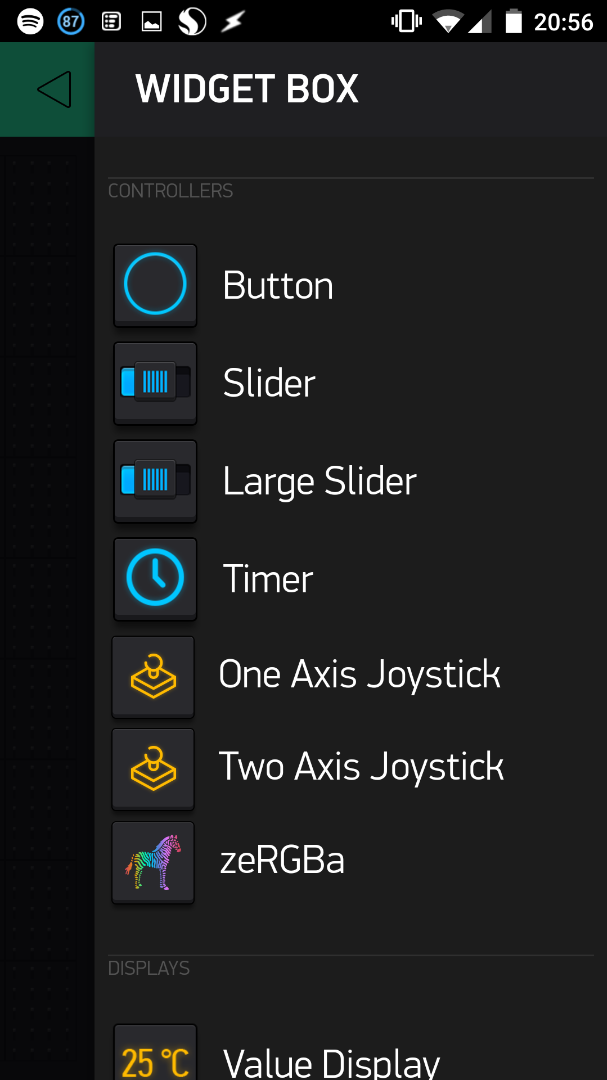
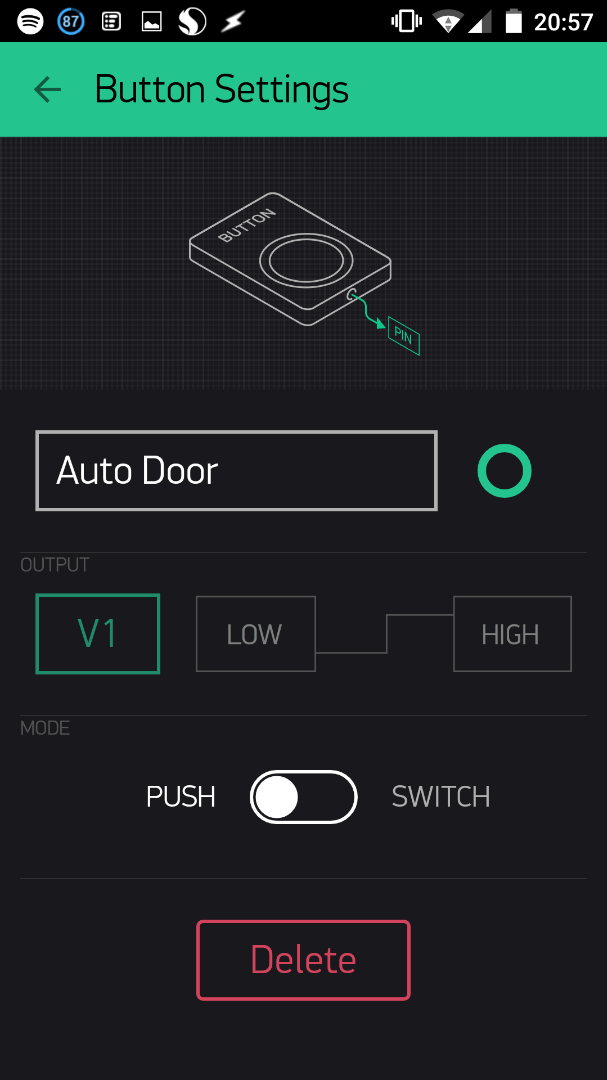
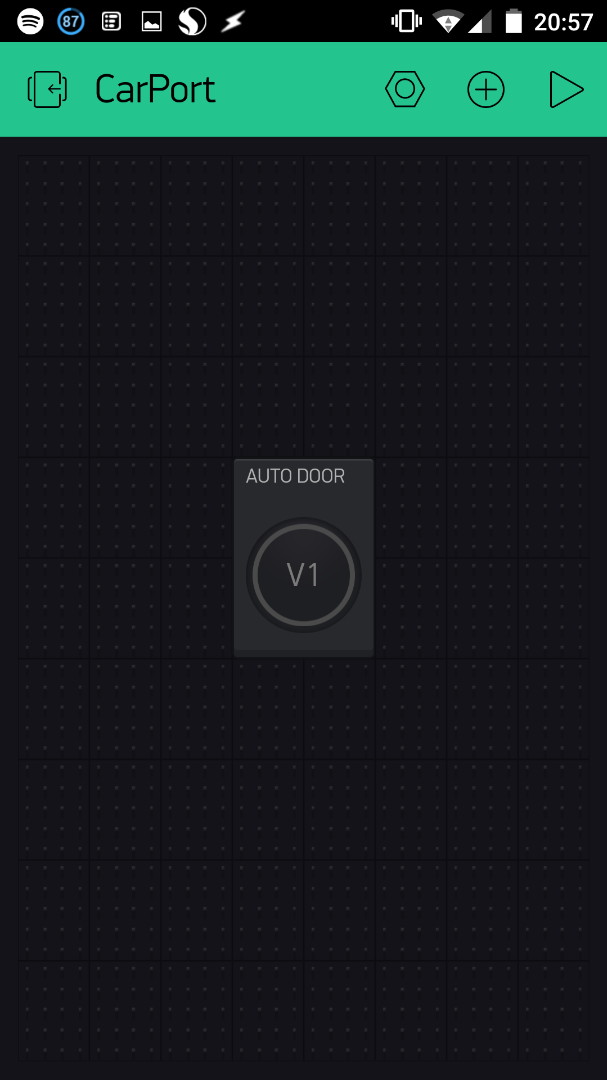
First you will have to download the app from your phones store, it works with both iOS and Android. The Blynk app is free, but it will be in app purchases in the future (The app was kickstarter founded).
Then create your account, the app uses a server to make the handshakes with the micro-controllers. You could run your own servers if you want. but the Blynk servers work fine and there free.
Then you need to create your project and make a button. Do not forget to send the Authentication token to your email and copy into the code on the Intel Edison.
Then It is just a matter of starting the project that you made with the arrow in the upper right corner and use the button to control the Intel Edison over Internet.
Mounting the Hardware in the Enclosure
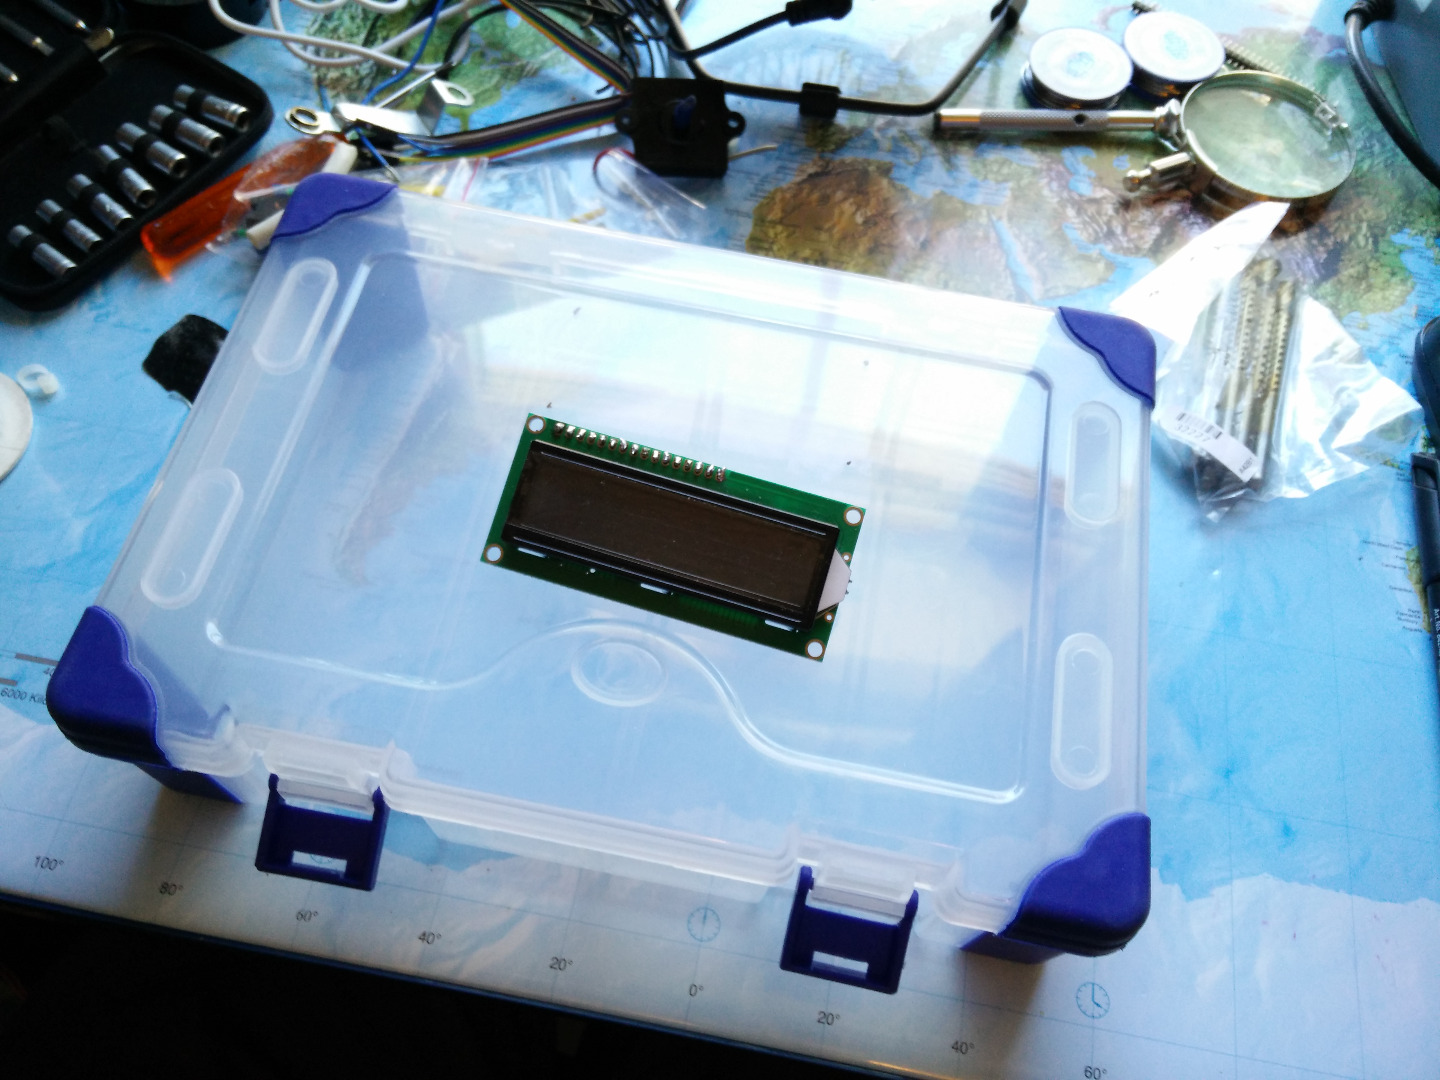
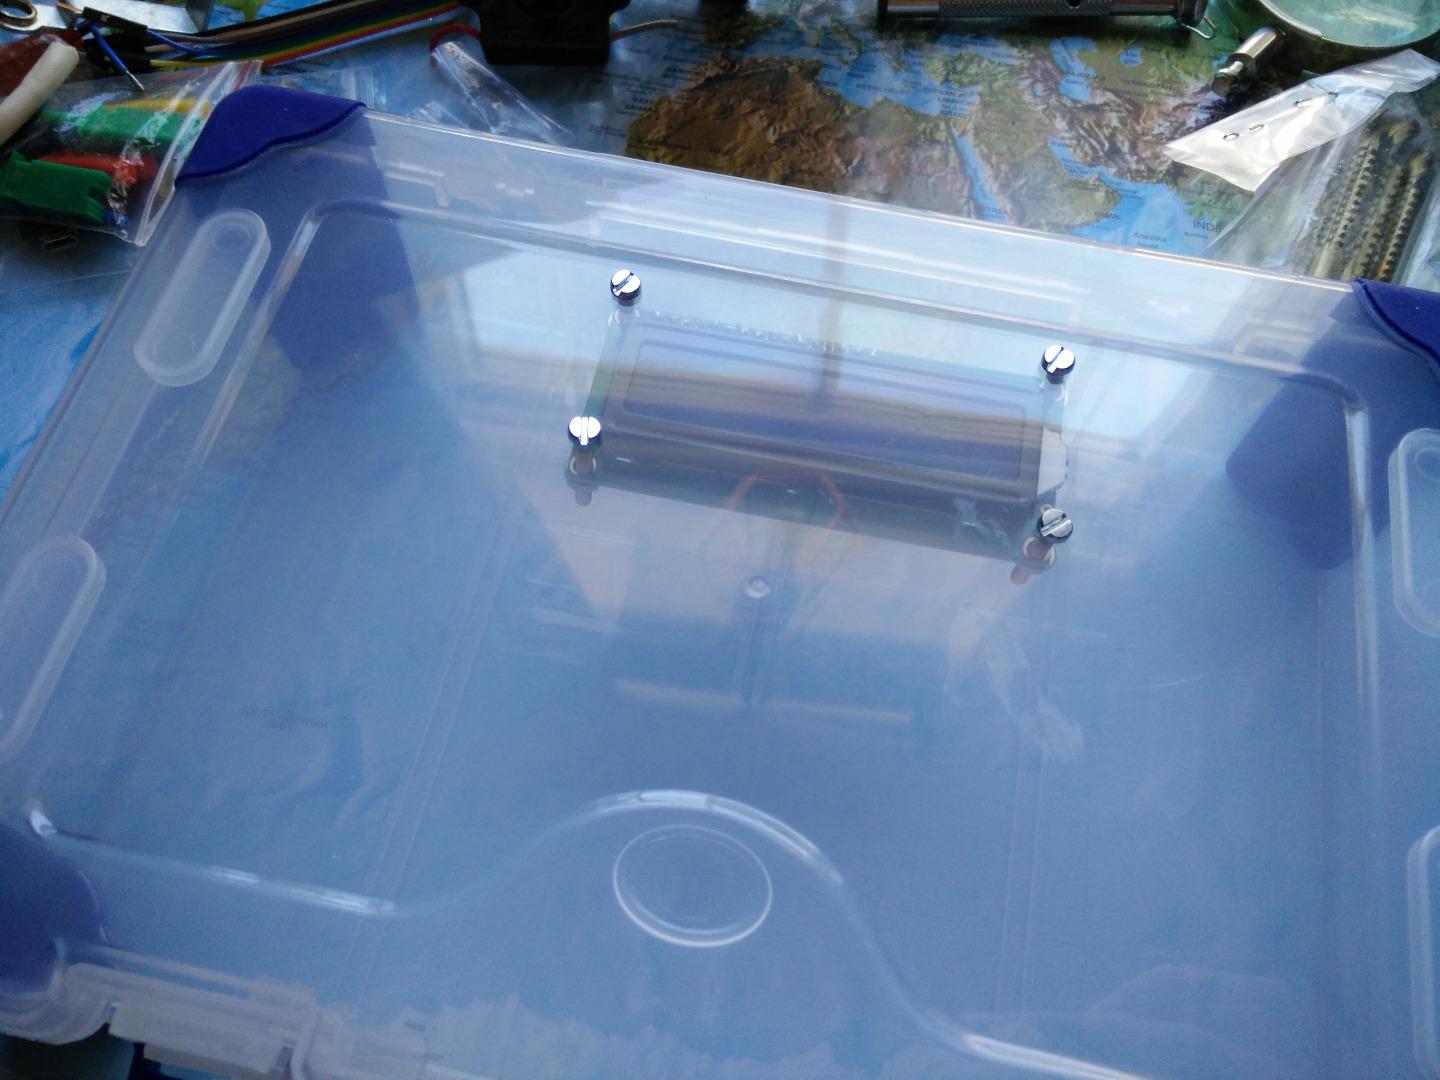
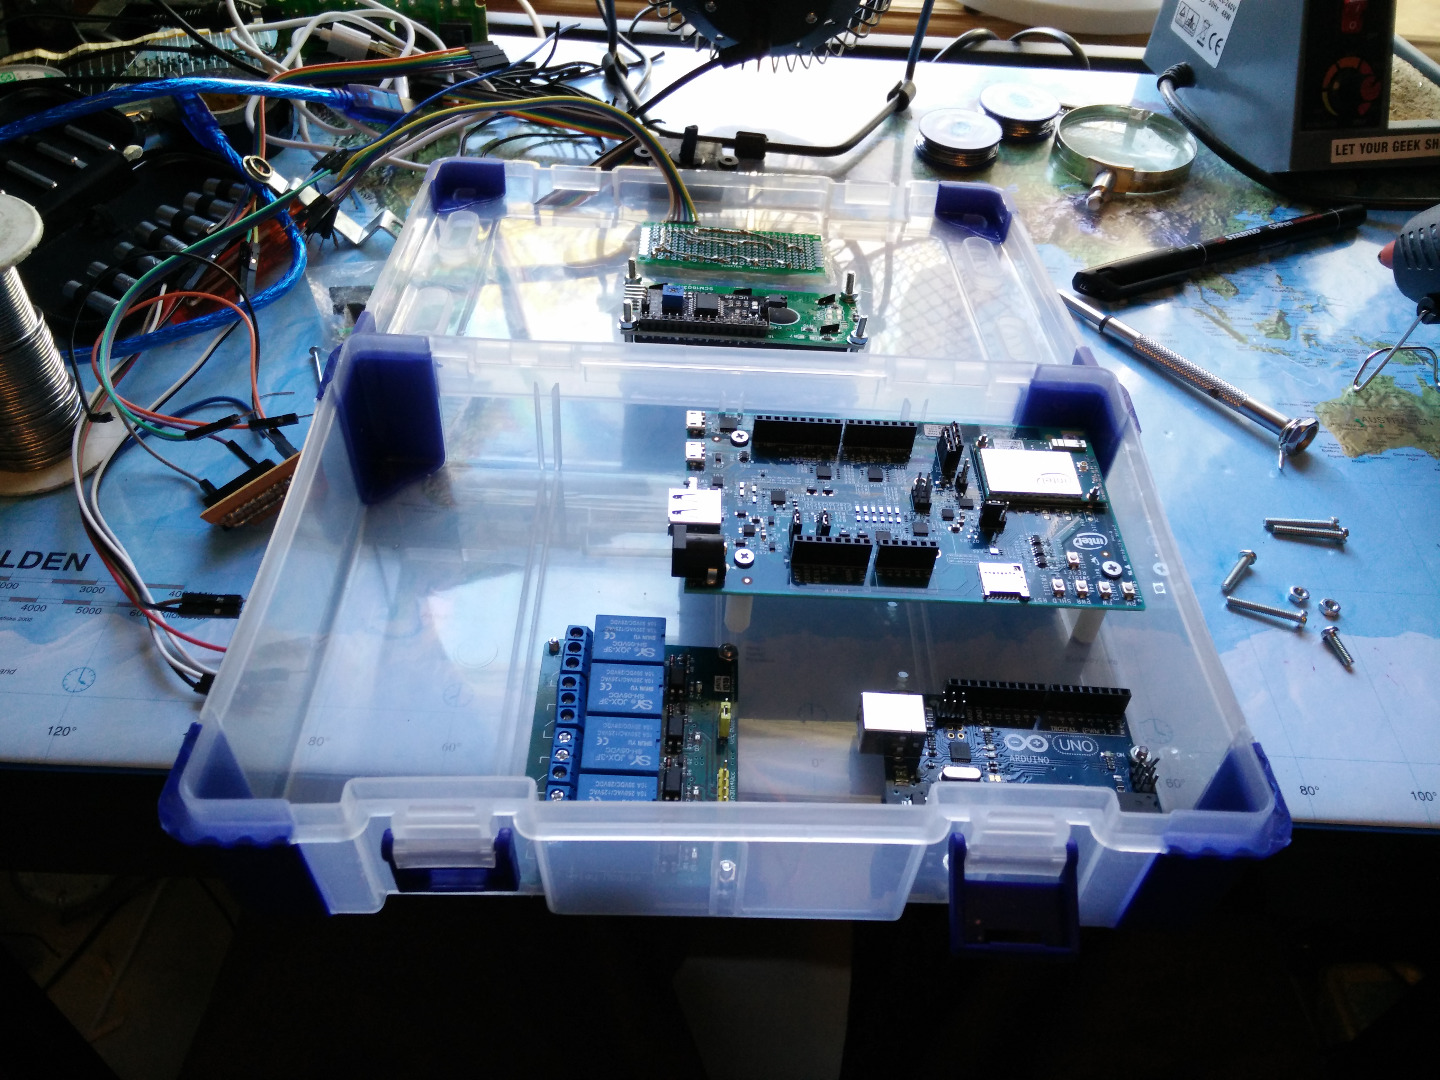
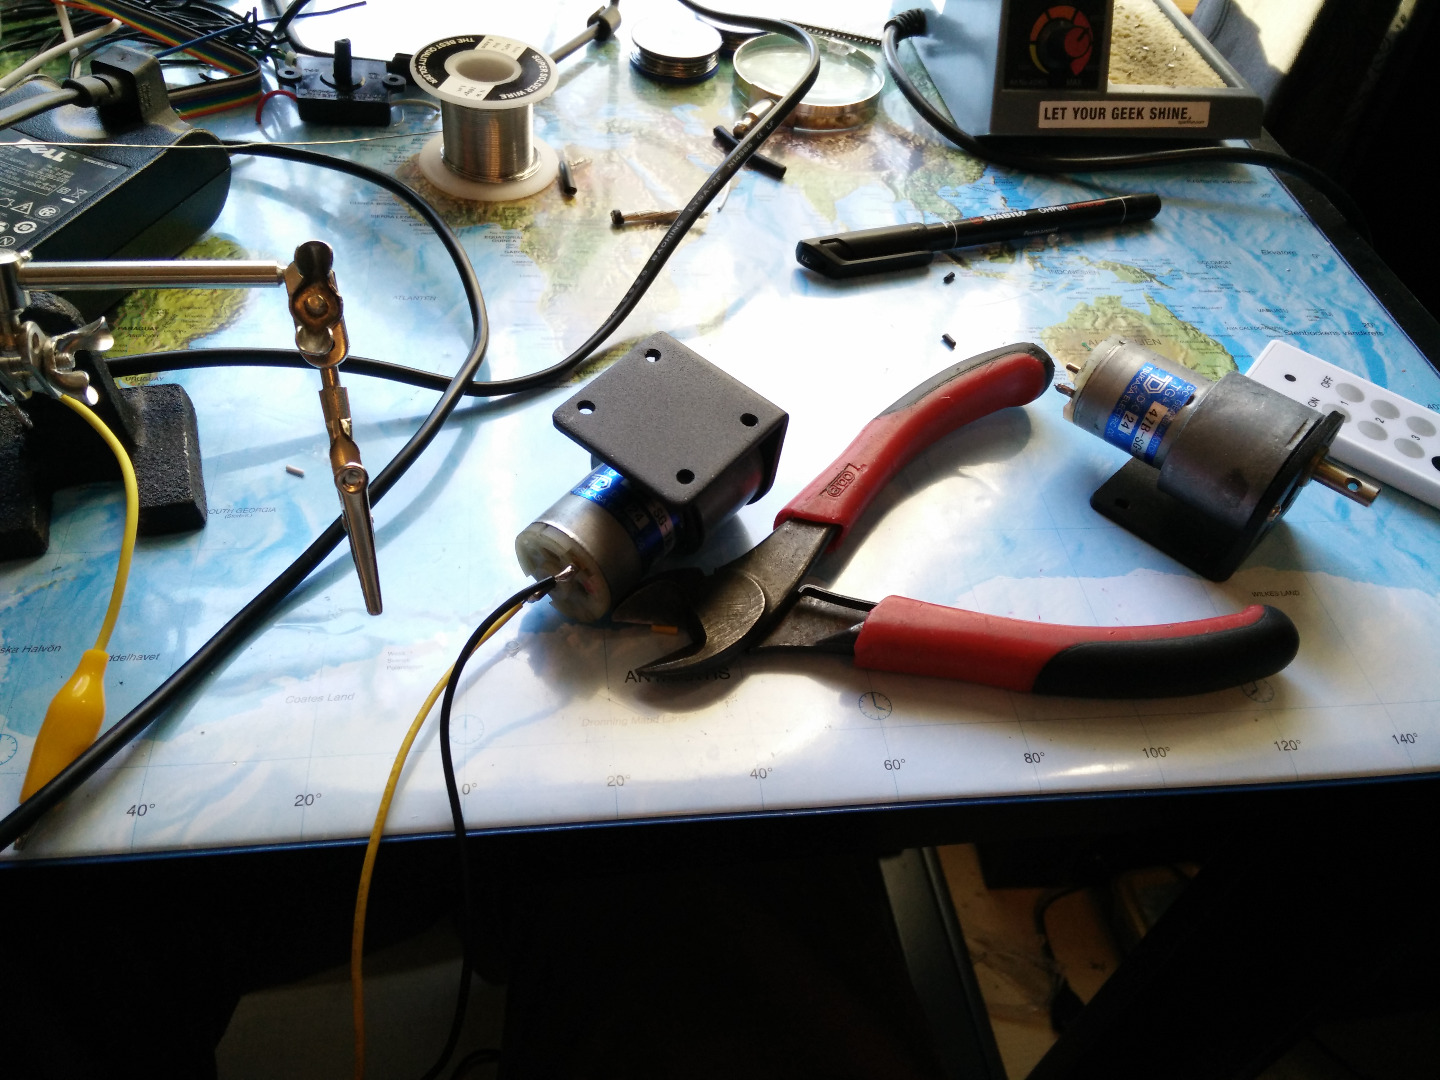
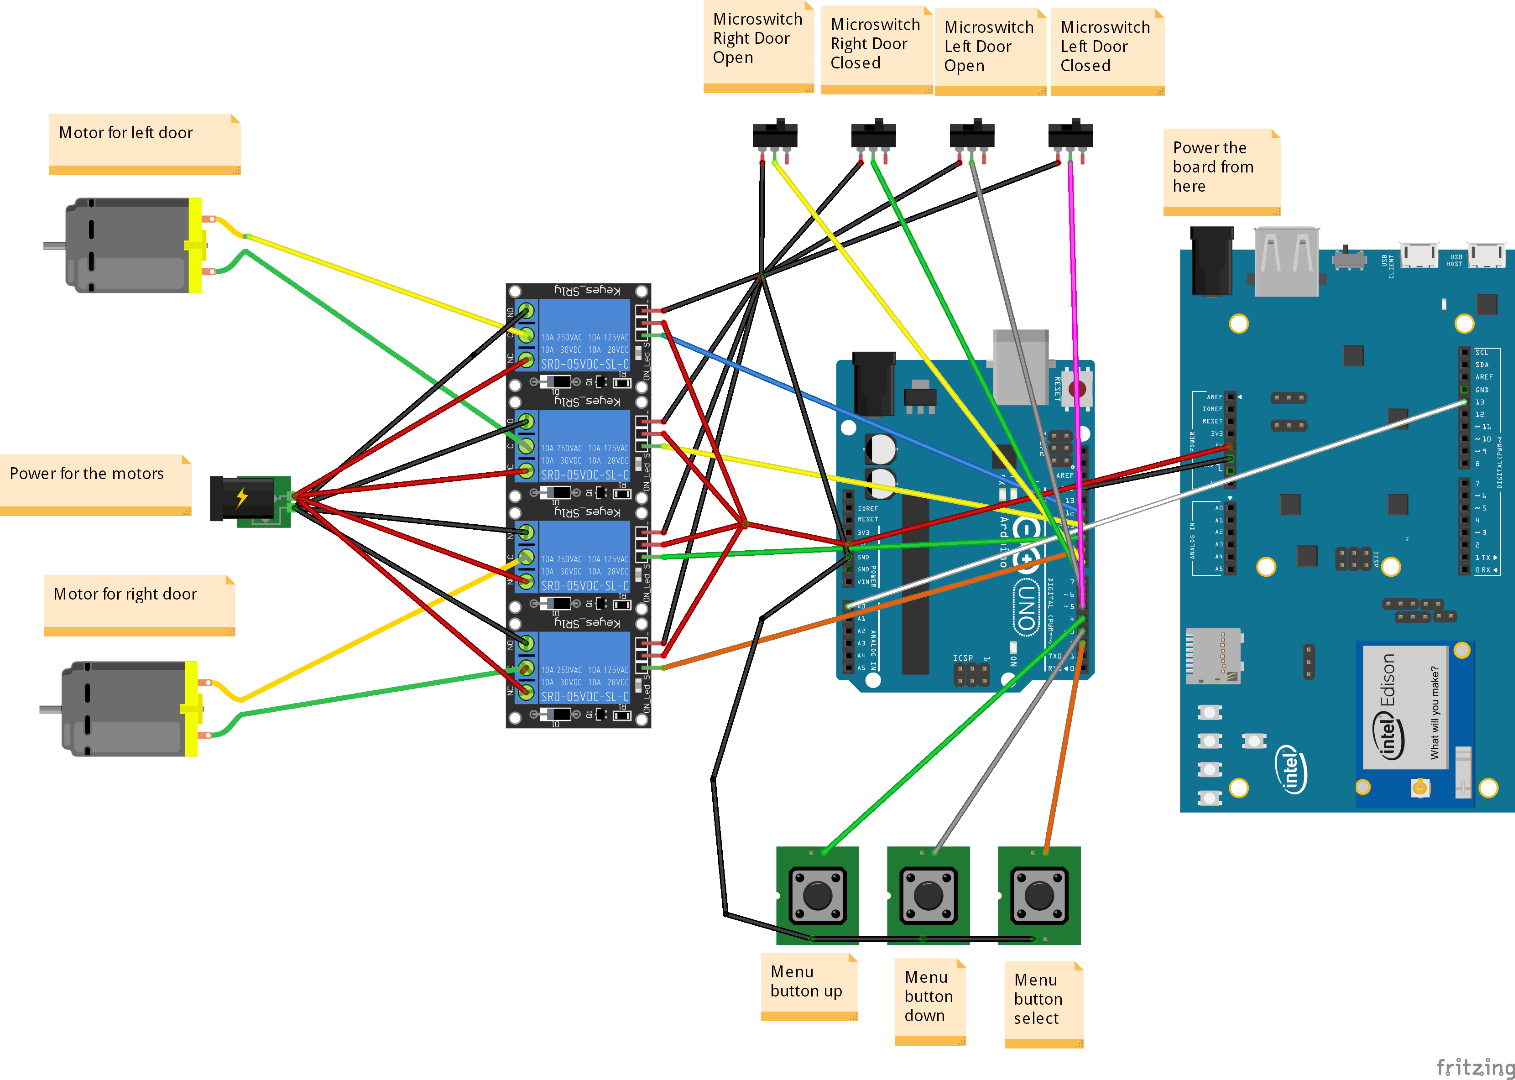
Now we need to mount the micro-controllers, the relay-board, the buttons and the LCD in the enclosure. When that is done It is time to connect the cables from the micro-controllers to the relay-board and to the buttons and the screen.
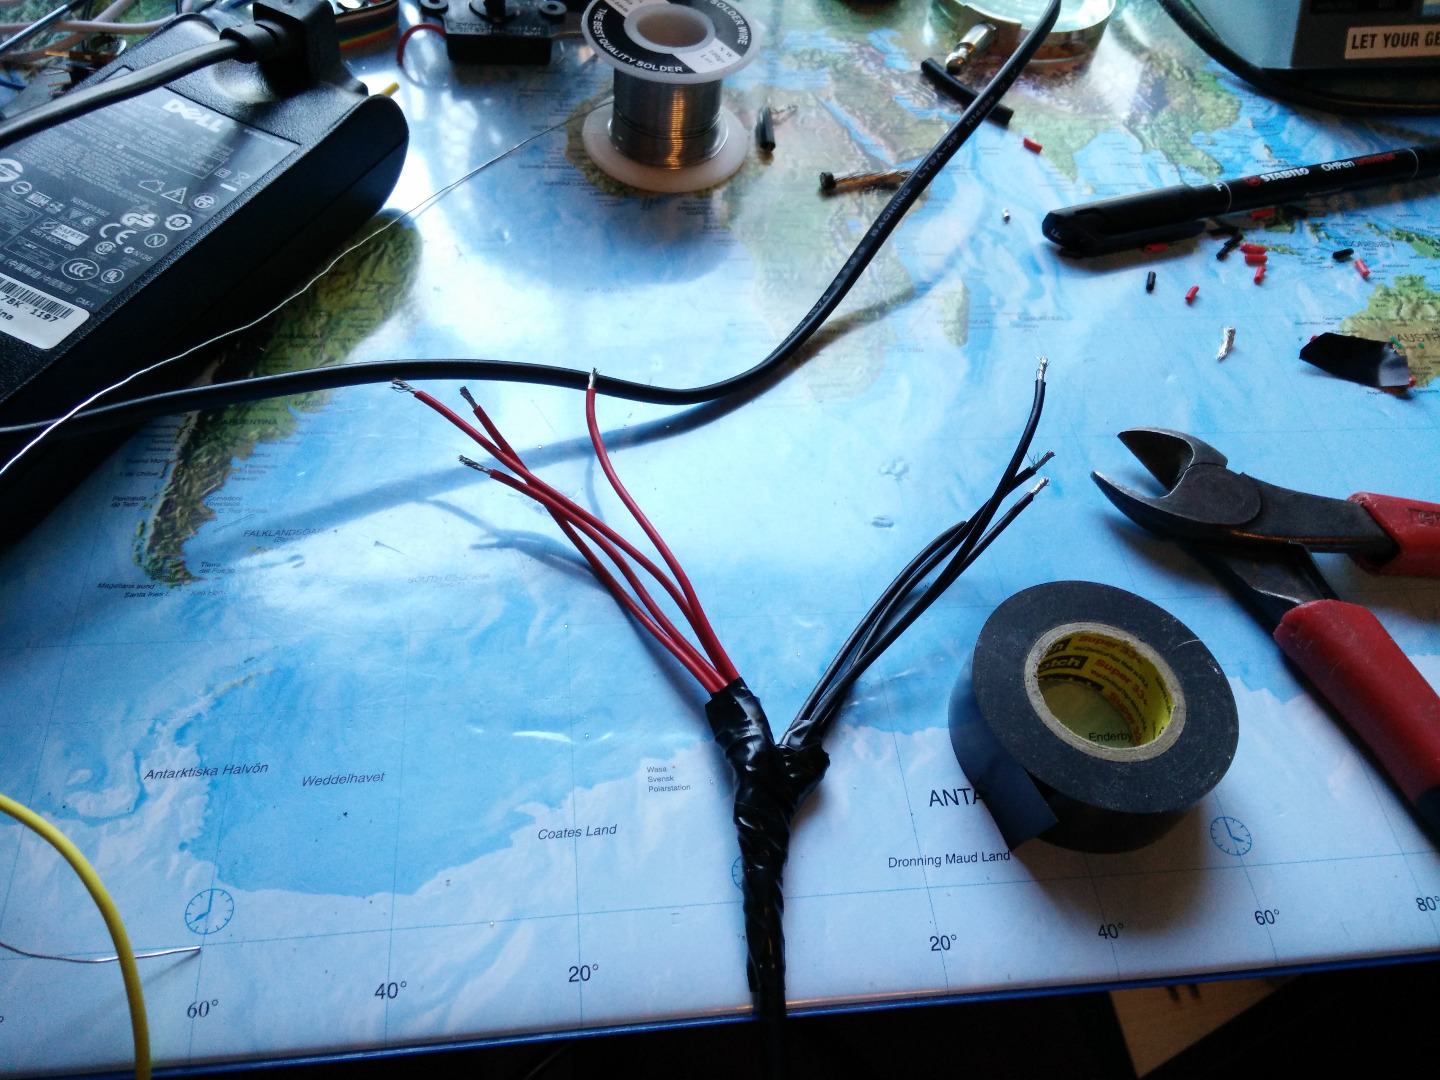
Next up is the power for the motors and of course the motors themselves.
Up on the Wall!

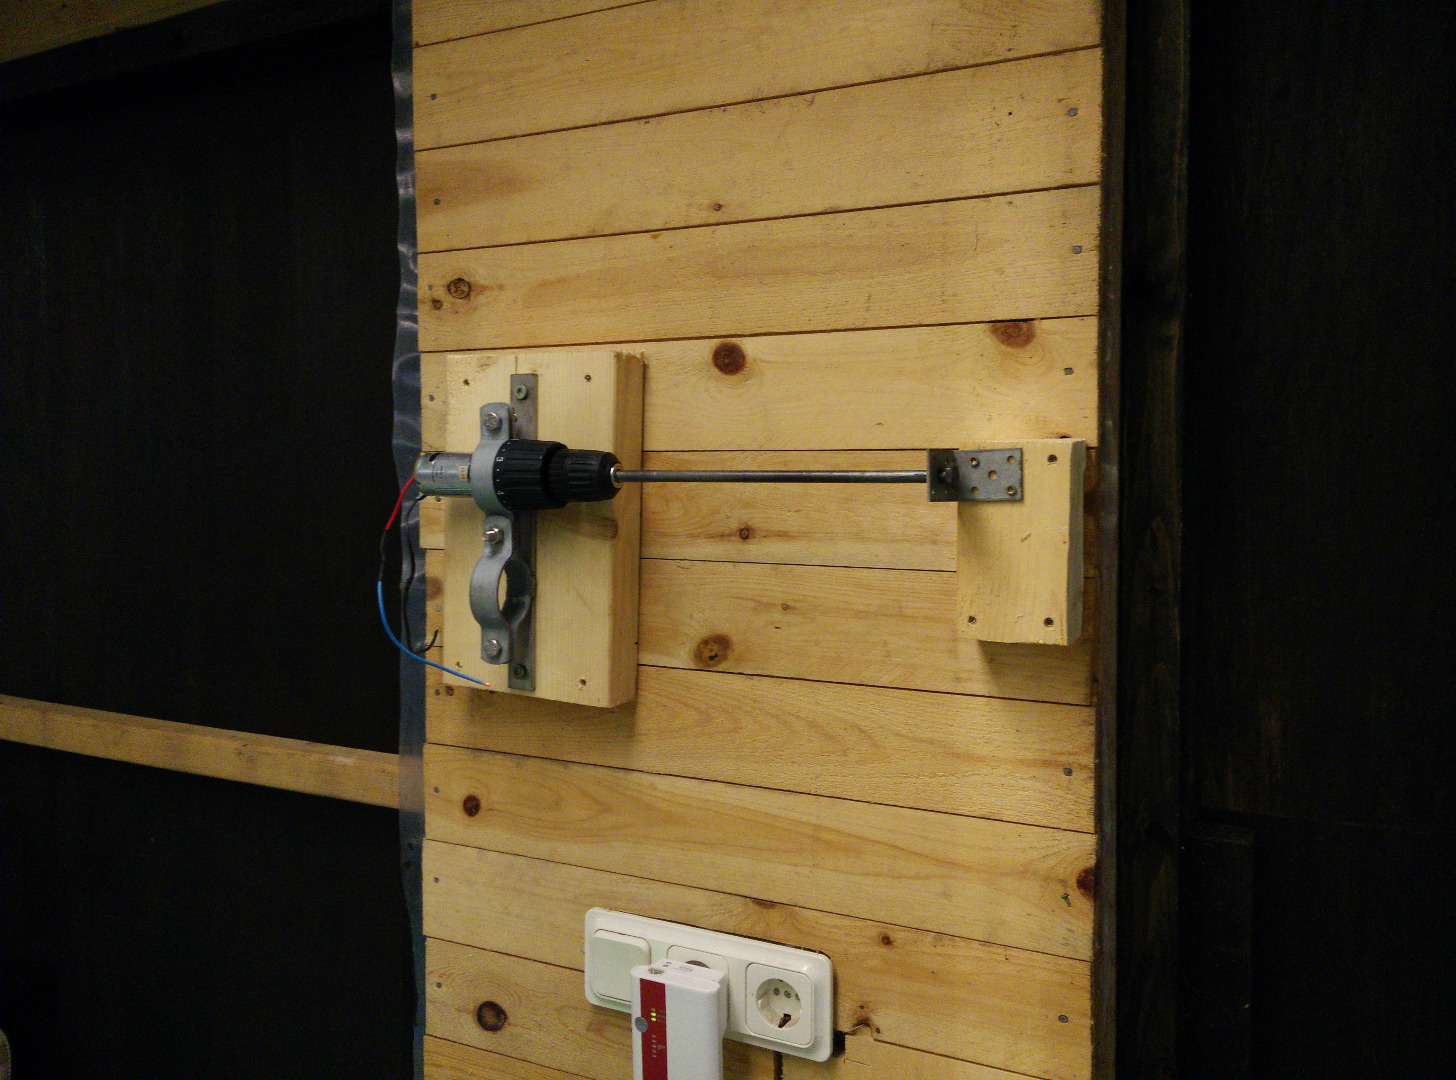
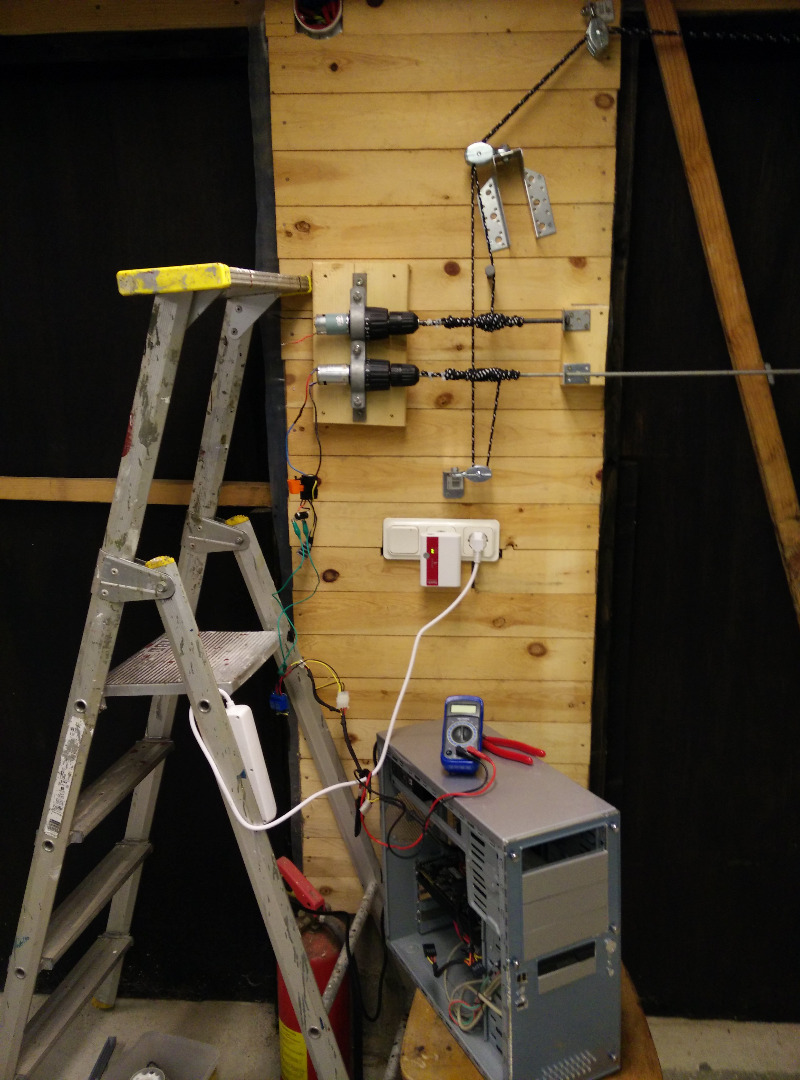
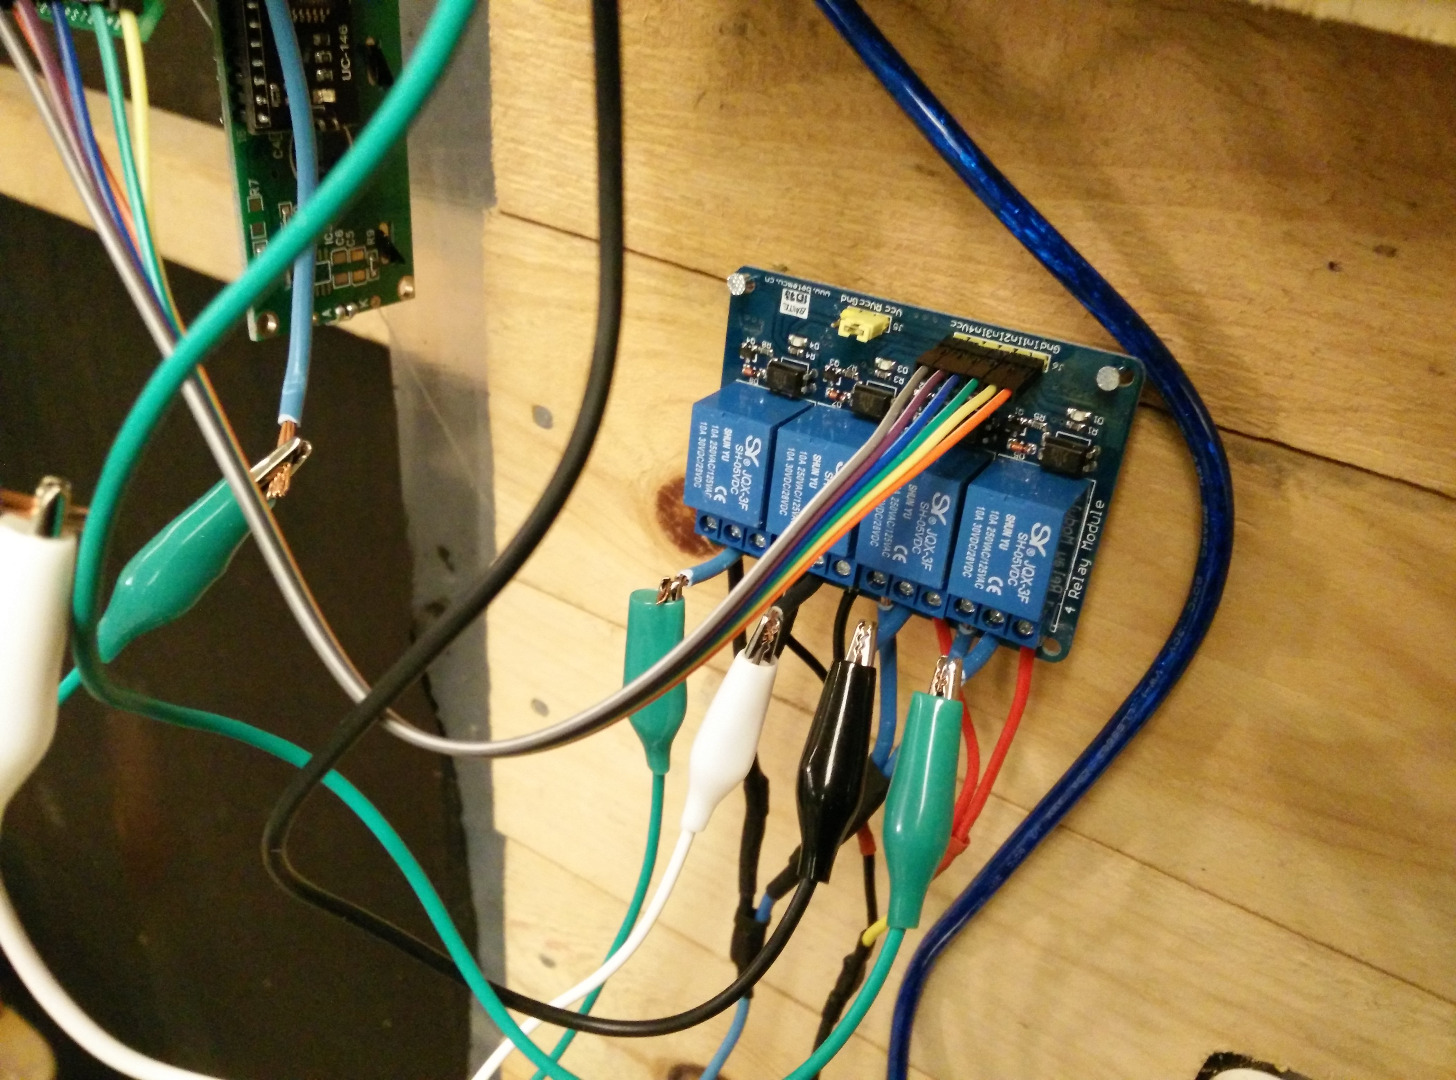
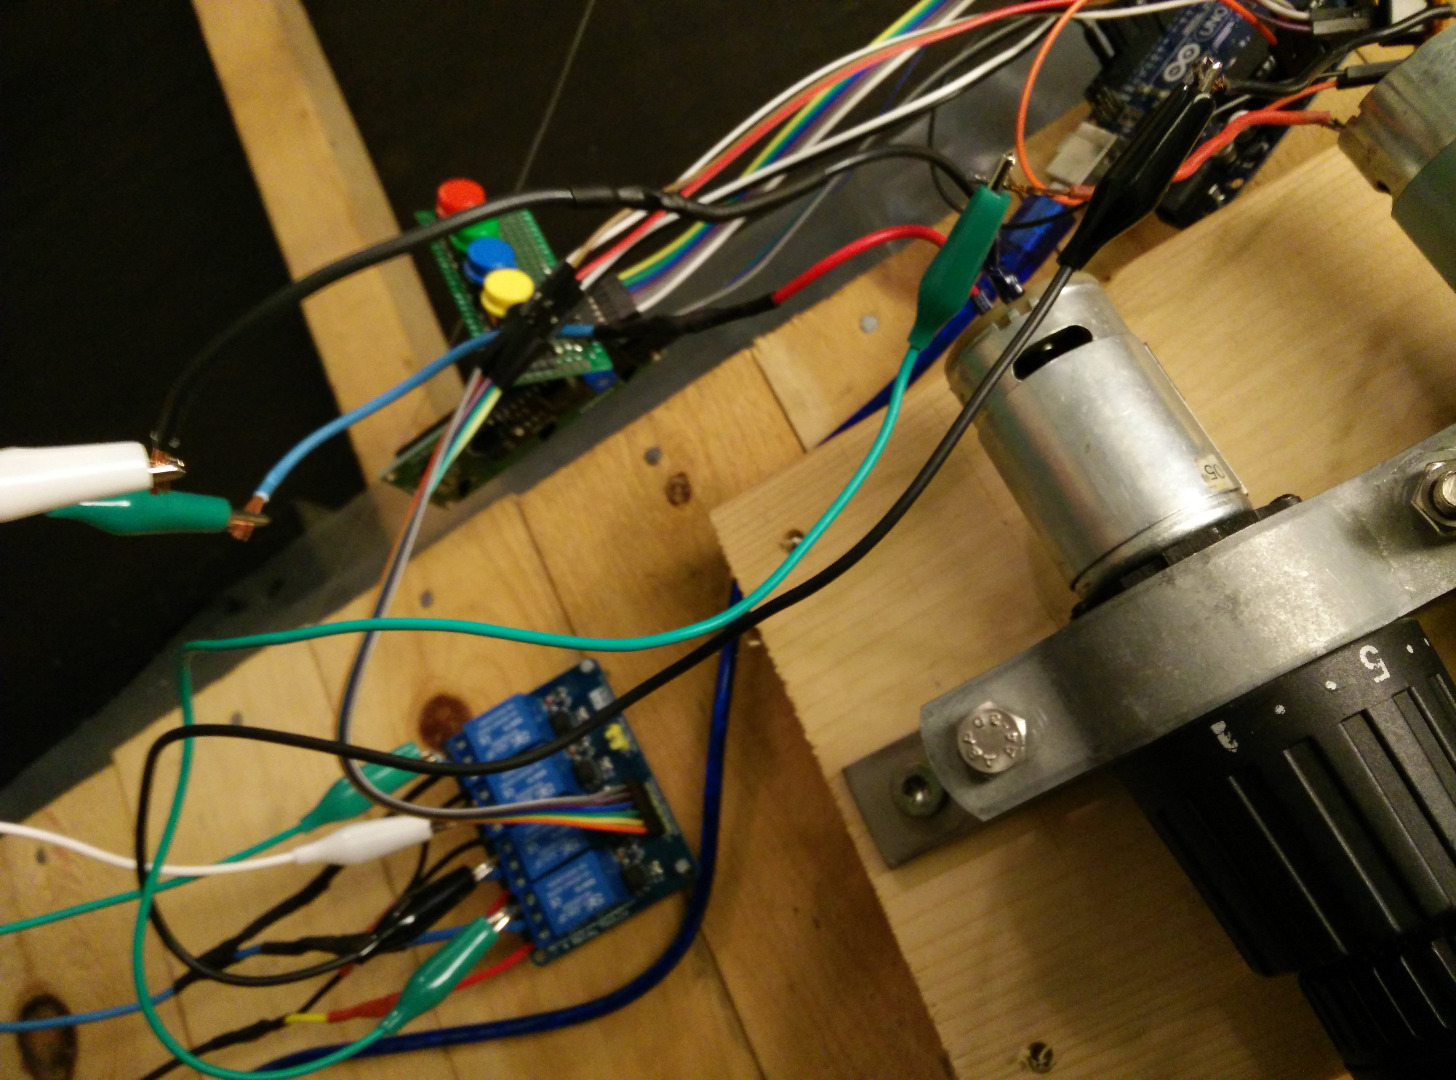
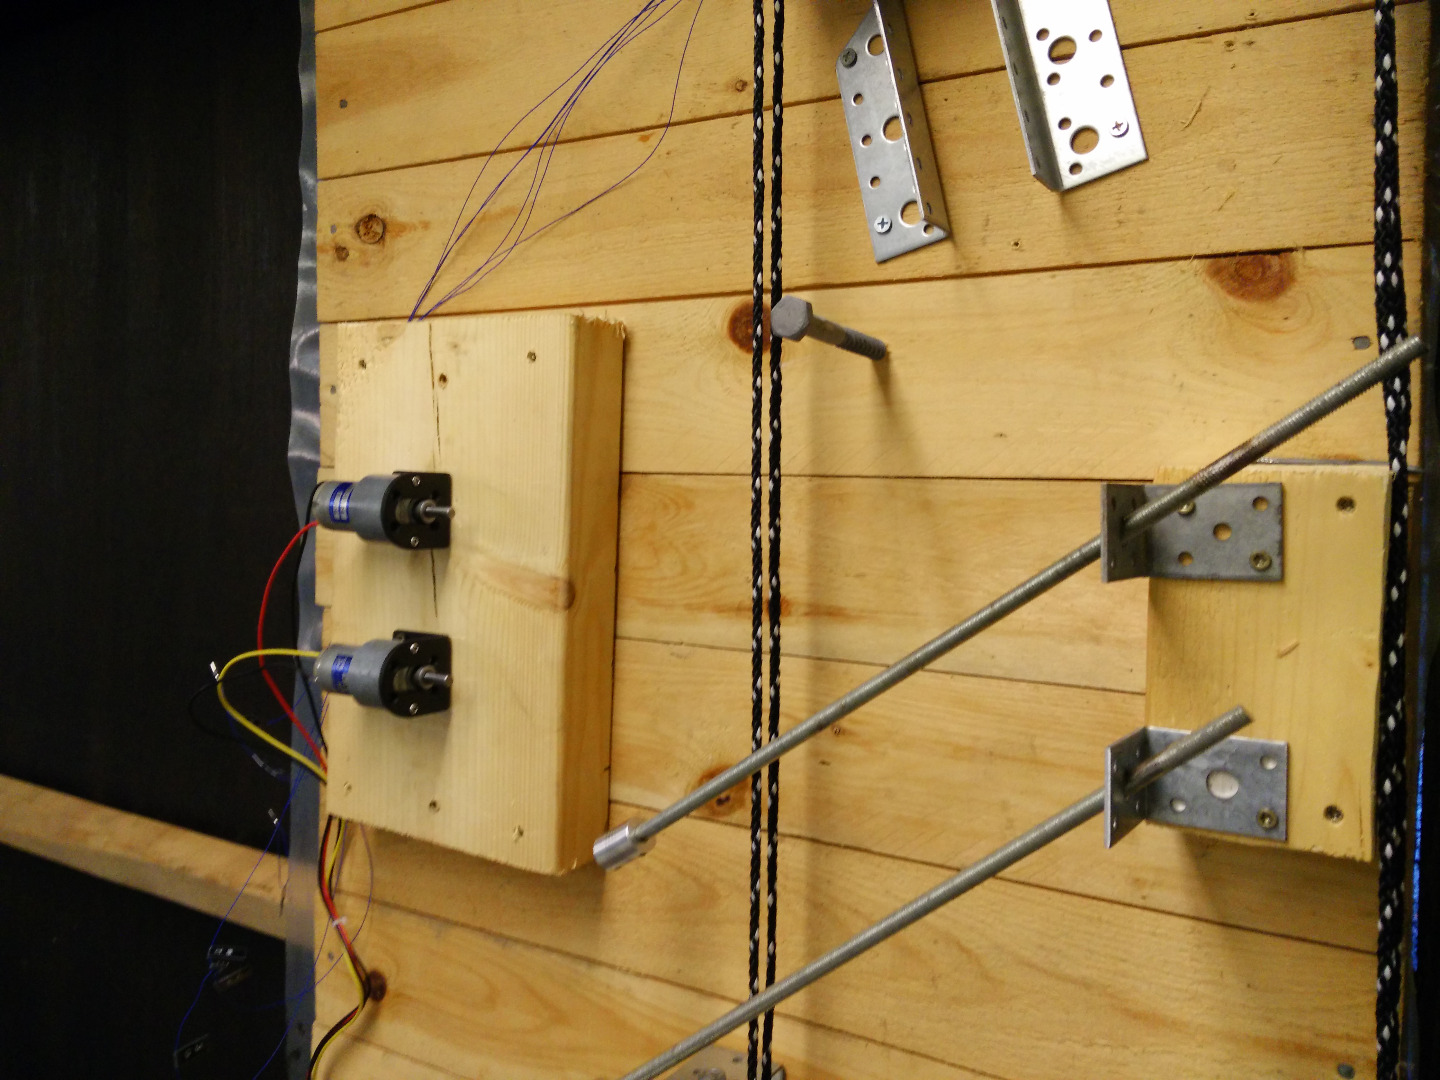
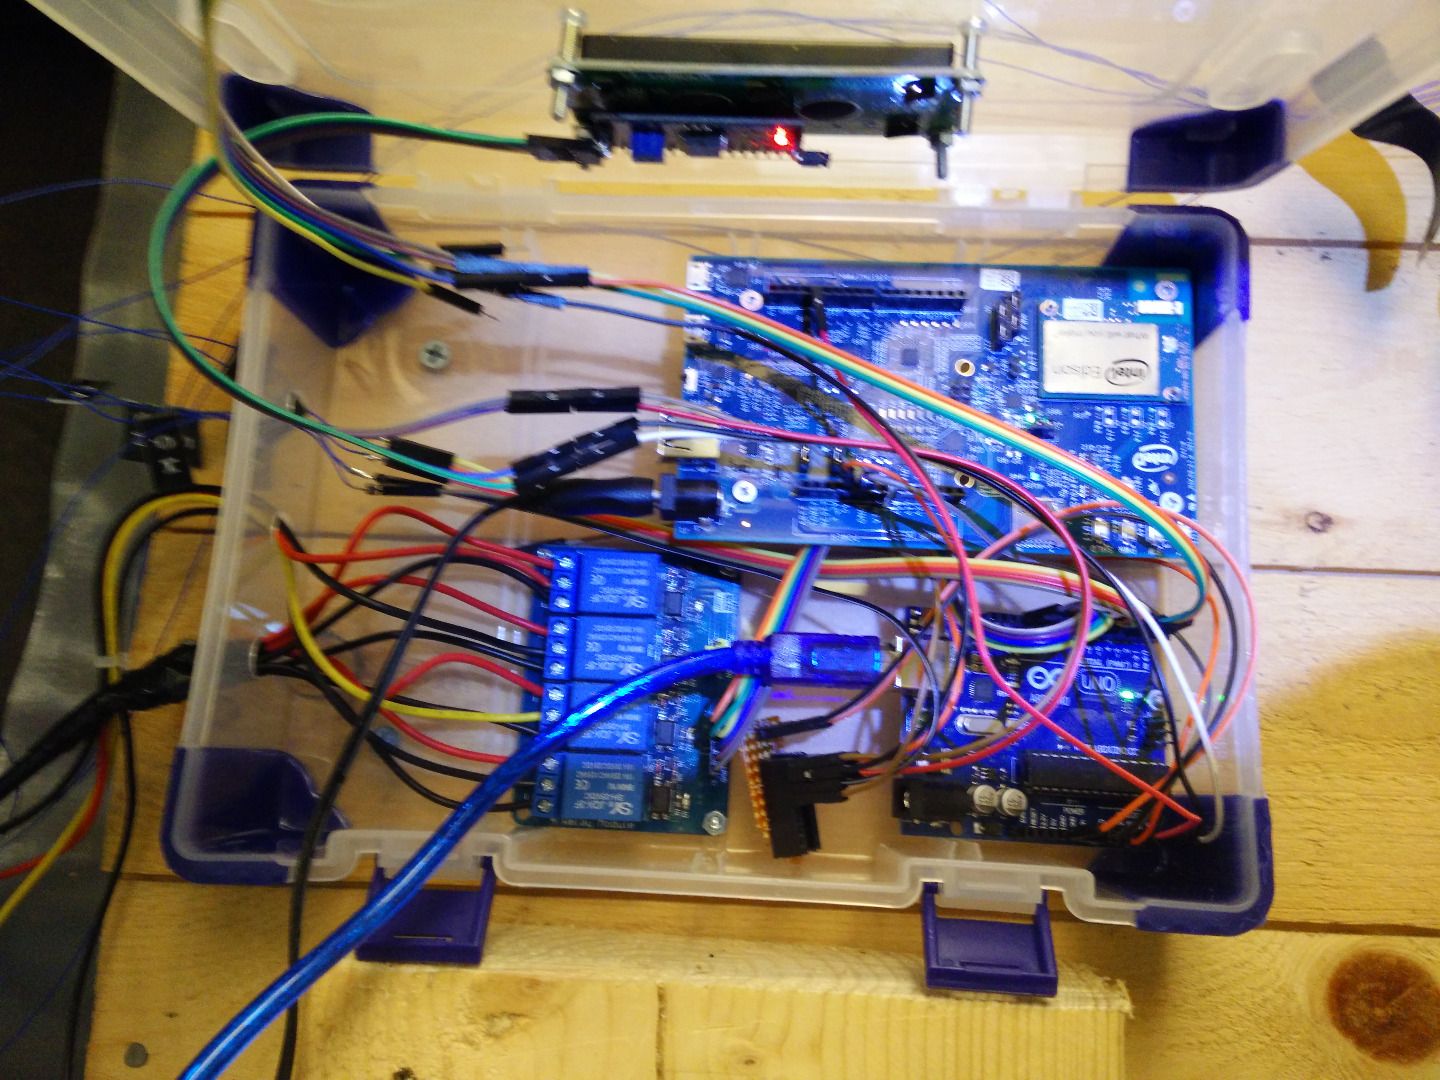
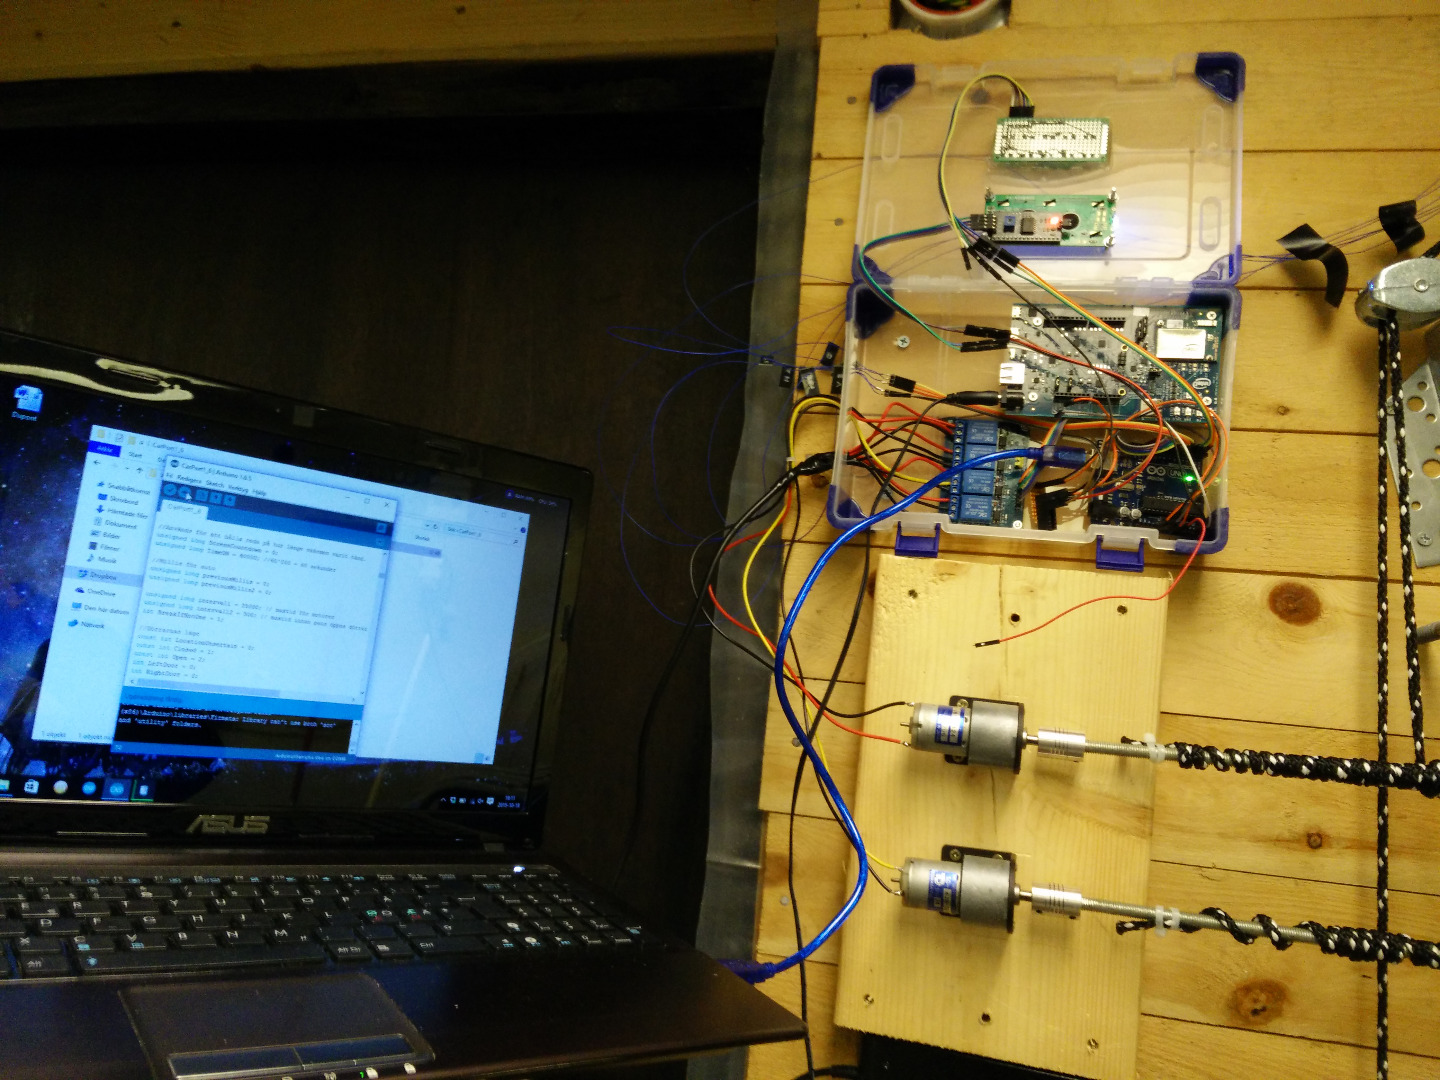

Now all that is left is to mount it to the wall and run the program!
It works like a charm. I have not implemented a lock for the door. I guess that will be my next project. :)
I hope you liked this indestructible.
If you would like to see it run: Homemade CarPort made with Intel Edison and Blynk