Perspective (POV) Rig for IPhone 4
by andrewt in Workshop > 3D Printing
20174 Views, 52 Favorites, 0 Comments
Perspective (POV) Rig for IPhone 4
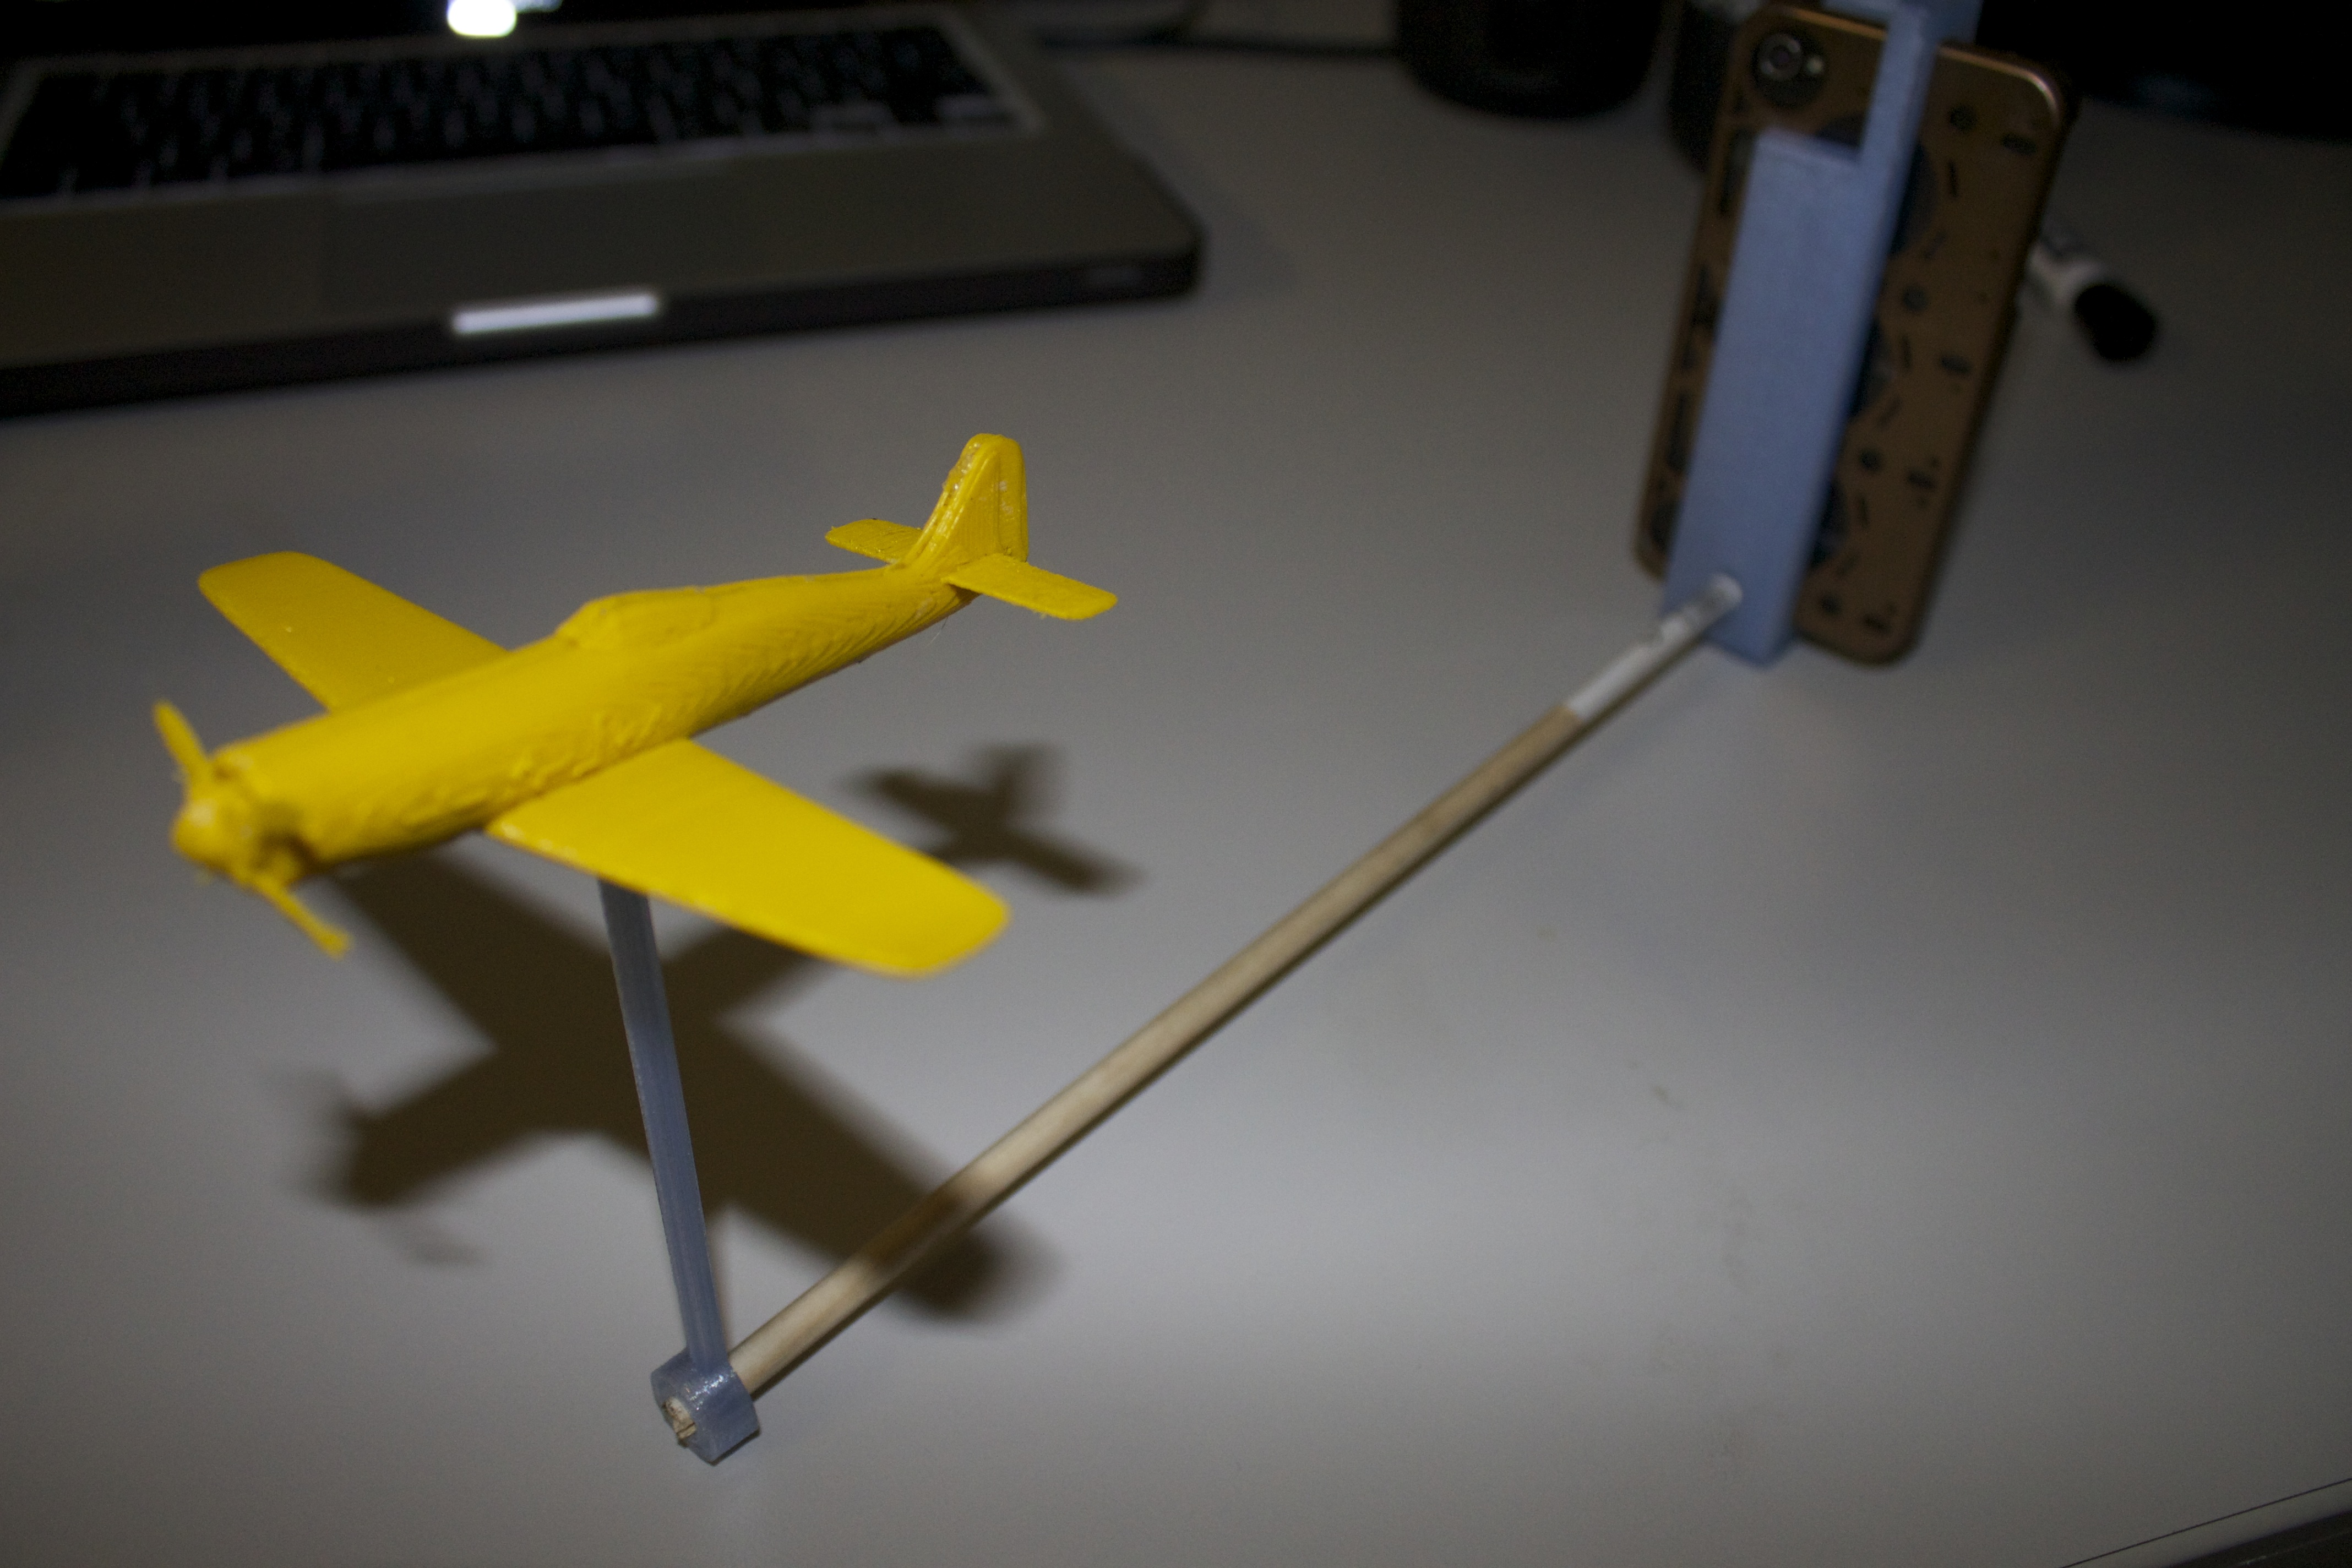
There are a lot of things out there for 3D printing. Lots of airplanes, monsters and vehicles, but at their current scale, they're really just toys. I don't think that's a bad thing, tho.
I wanted to play with some models and make some videos from the perspective of a plane. So I made a clip that fits on my phone, connects with a 1/4" dowel to a sliding post for a model.
The clip-and-post design allows a 3D printed model to stay in the frame of the iPhone camera. The concept is pretty simple, it just holds the model in front of the phone's camera.
Choose Your Vessel.
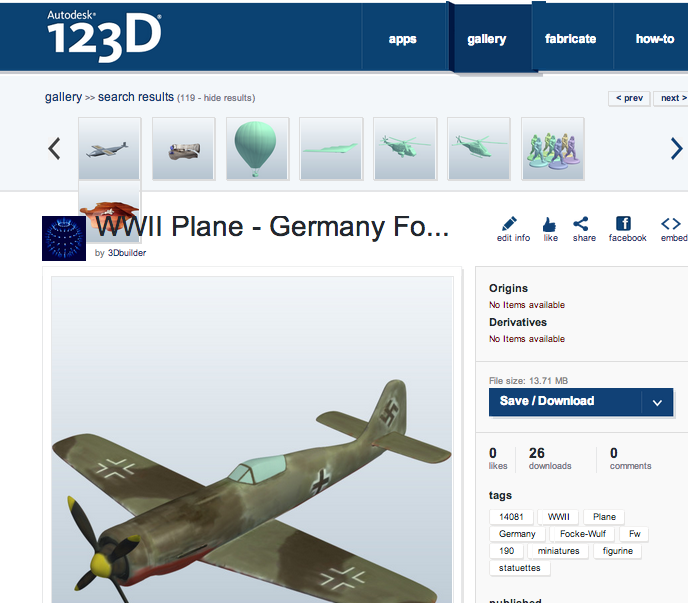
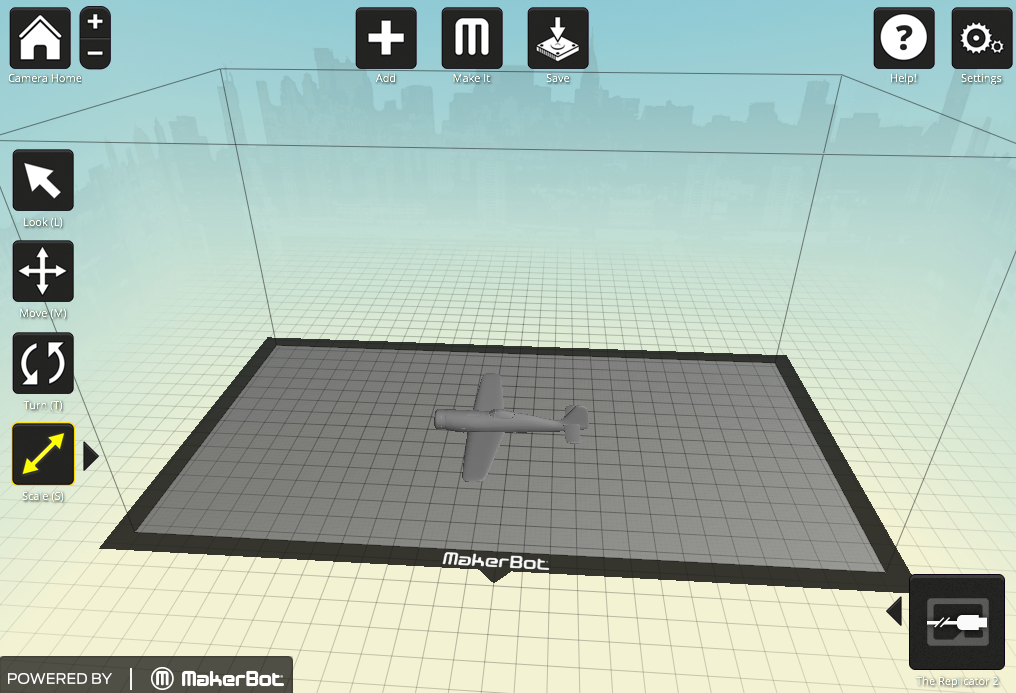
I went the quick way by looking through the 123D Gallery and Thingiverse to find some models that would print out on a MakerBot easily. I ended up with a straight forward WWII plane that I chopped in half using MeshMixer (http://meshmixer.com/). This allowed me to print it without using very much support material.
Here's the model in 3D.
Here's the model in 3D.
Build Your Dock.
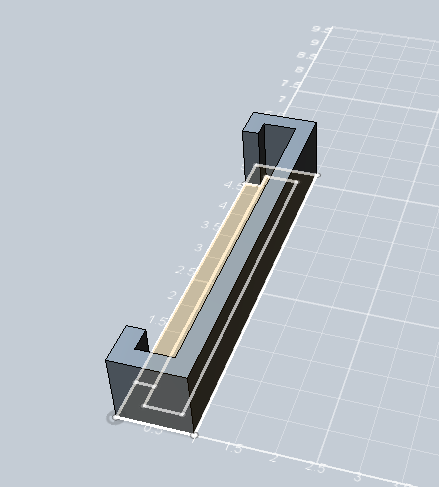
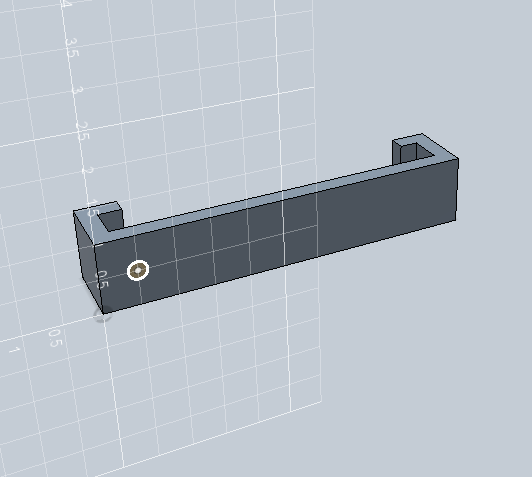
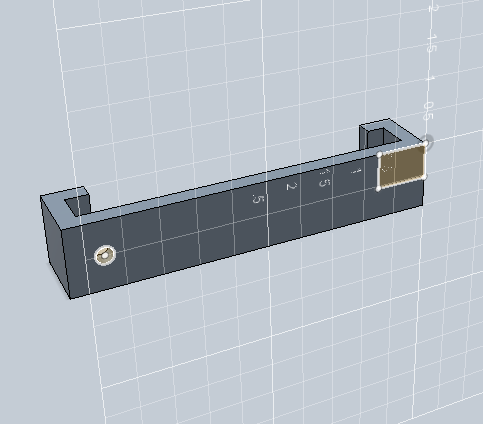
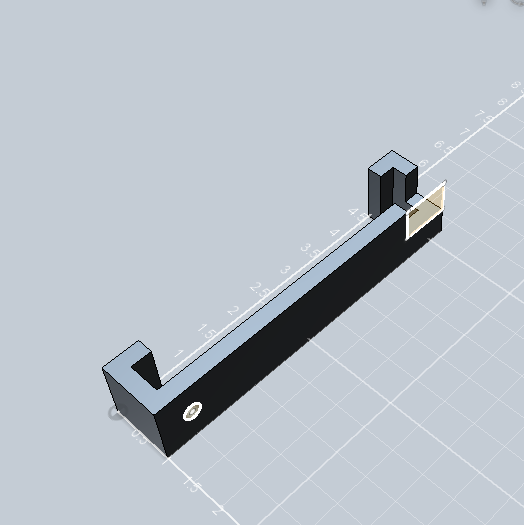
By "Dock", I mean the clip that fits onto your phone, and the post that attaches to the vessel. Here's the editable file.
I wanted one that would fit on my phone without having to take off the existing case. Constantly taking it out gets old, so I based my clip model on slightly larger phone dimensions.
The clip is really just a series of extrusions:
1. Sketch the outside dimensions of the phone, creating a profile.(depth and height)
2. I built a .25" shell using the Offset tool. Select the phone profile sketch and use the tool (under the sketch dropdown icon). That should effectively give you 2 concentric rectangles.
3. If you imagine that your phone fits inside the inner rectangle, you can imagine where the lip should end when it wraps around the phone. I did .5", arbitrarily. Then, using the Polyline tool (again, under the Sketch dropdown), you can create the terminations. (See first image)
4. Then, using the Extrude feature (under Construction), select the area of your sketch that we built. It should make a tall 'C'. I extruded it 1". If that looks good, hit Enter to commit.
5. Create a hole for the dowel. Since we're using 1/4" rod, I wanted to size it down a tiny bit to be snug. Go to Sketch>Circle tool and select the back of the 'C' as the plane to start sketching on. Be careful, sometimes the Circle sketch tool defaults to radius, not diameter. Size the circle to .24", hit Enter to commit.
6. Now you can do another extrusion, but this time, use the option to Cut, rather than the default, New Solid. You can drag the extrusion through the clip, or set it precisely to cut through .25".
7. Lastly, I knew that I wanted the dowel to be right under the camera, so I cut out a section to let the camera peek through. Do another extrusion (1.25" x .5" was fine for me). This will allow the clip to fit over the camera section without obstructing the lens.
Build the Post.
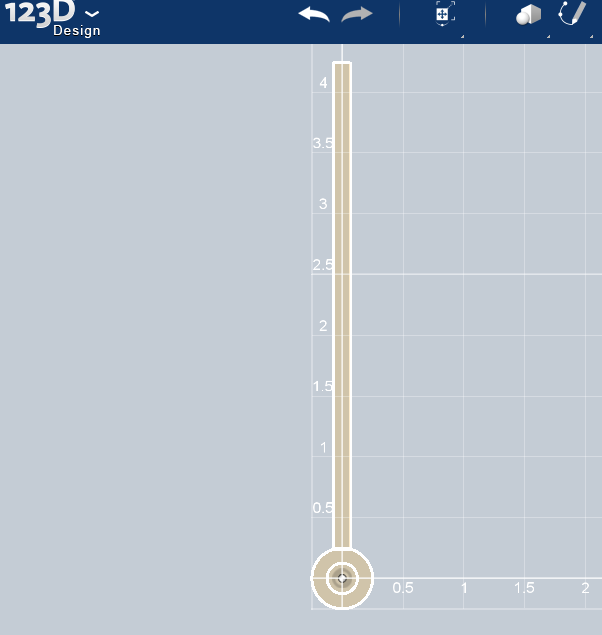
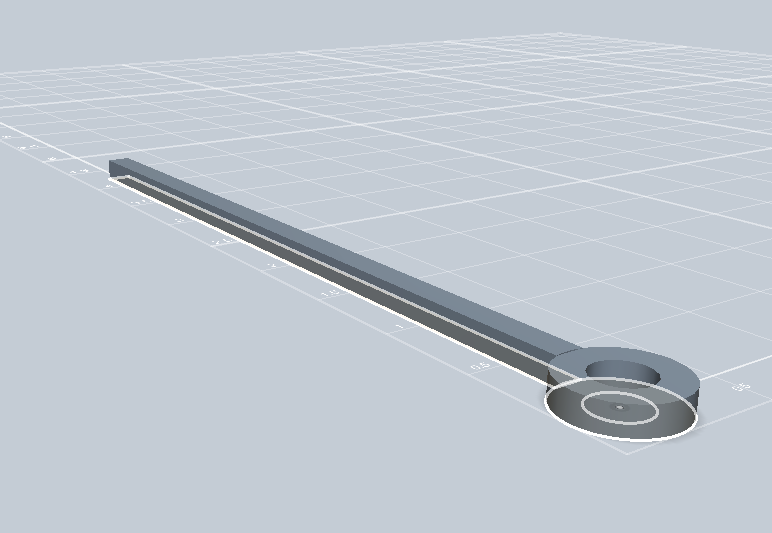
This one's simple:
1. I know it has to fit over a .25" dowel, and about 4" tall to be in the center of the frame.
2. Using the Sketch tool, sketch a .24" circle and use the Offset tool, like we did earlier. It should make a little donut.
3. Sketch a rectangle .125" x 4" going straight out of the circle.
4. Select the outer circle and the long post, Extrude to .125" and you're done!
Print Your Vessel and the Dock.
Getting a good print from a Makerbot is its own Instructable, so I'll defer you to others out there for that.
I used bright yellow filament for the plane and (hypothetically) clear PLA for the post.
OR you could get crazy and have it printed in full-color by Sculpteo or iMaterialise.
I used bright yellow filament for the plane and (hypothetically) clear PLA for the post.
OR you could get crazy and have it printed in full-color by Sculpteo or iMaterialise.
Clean It Up and Mount It.
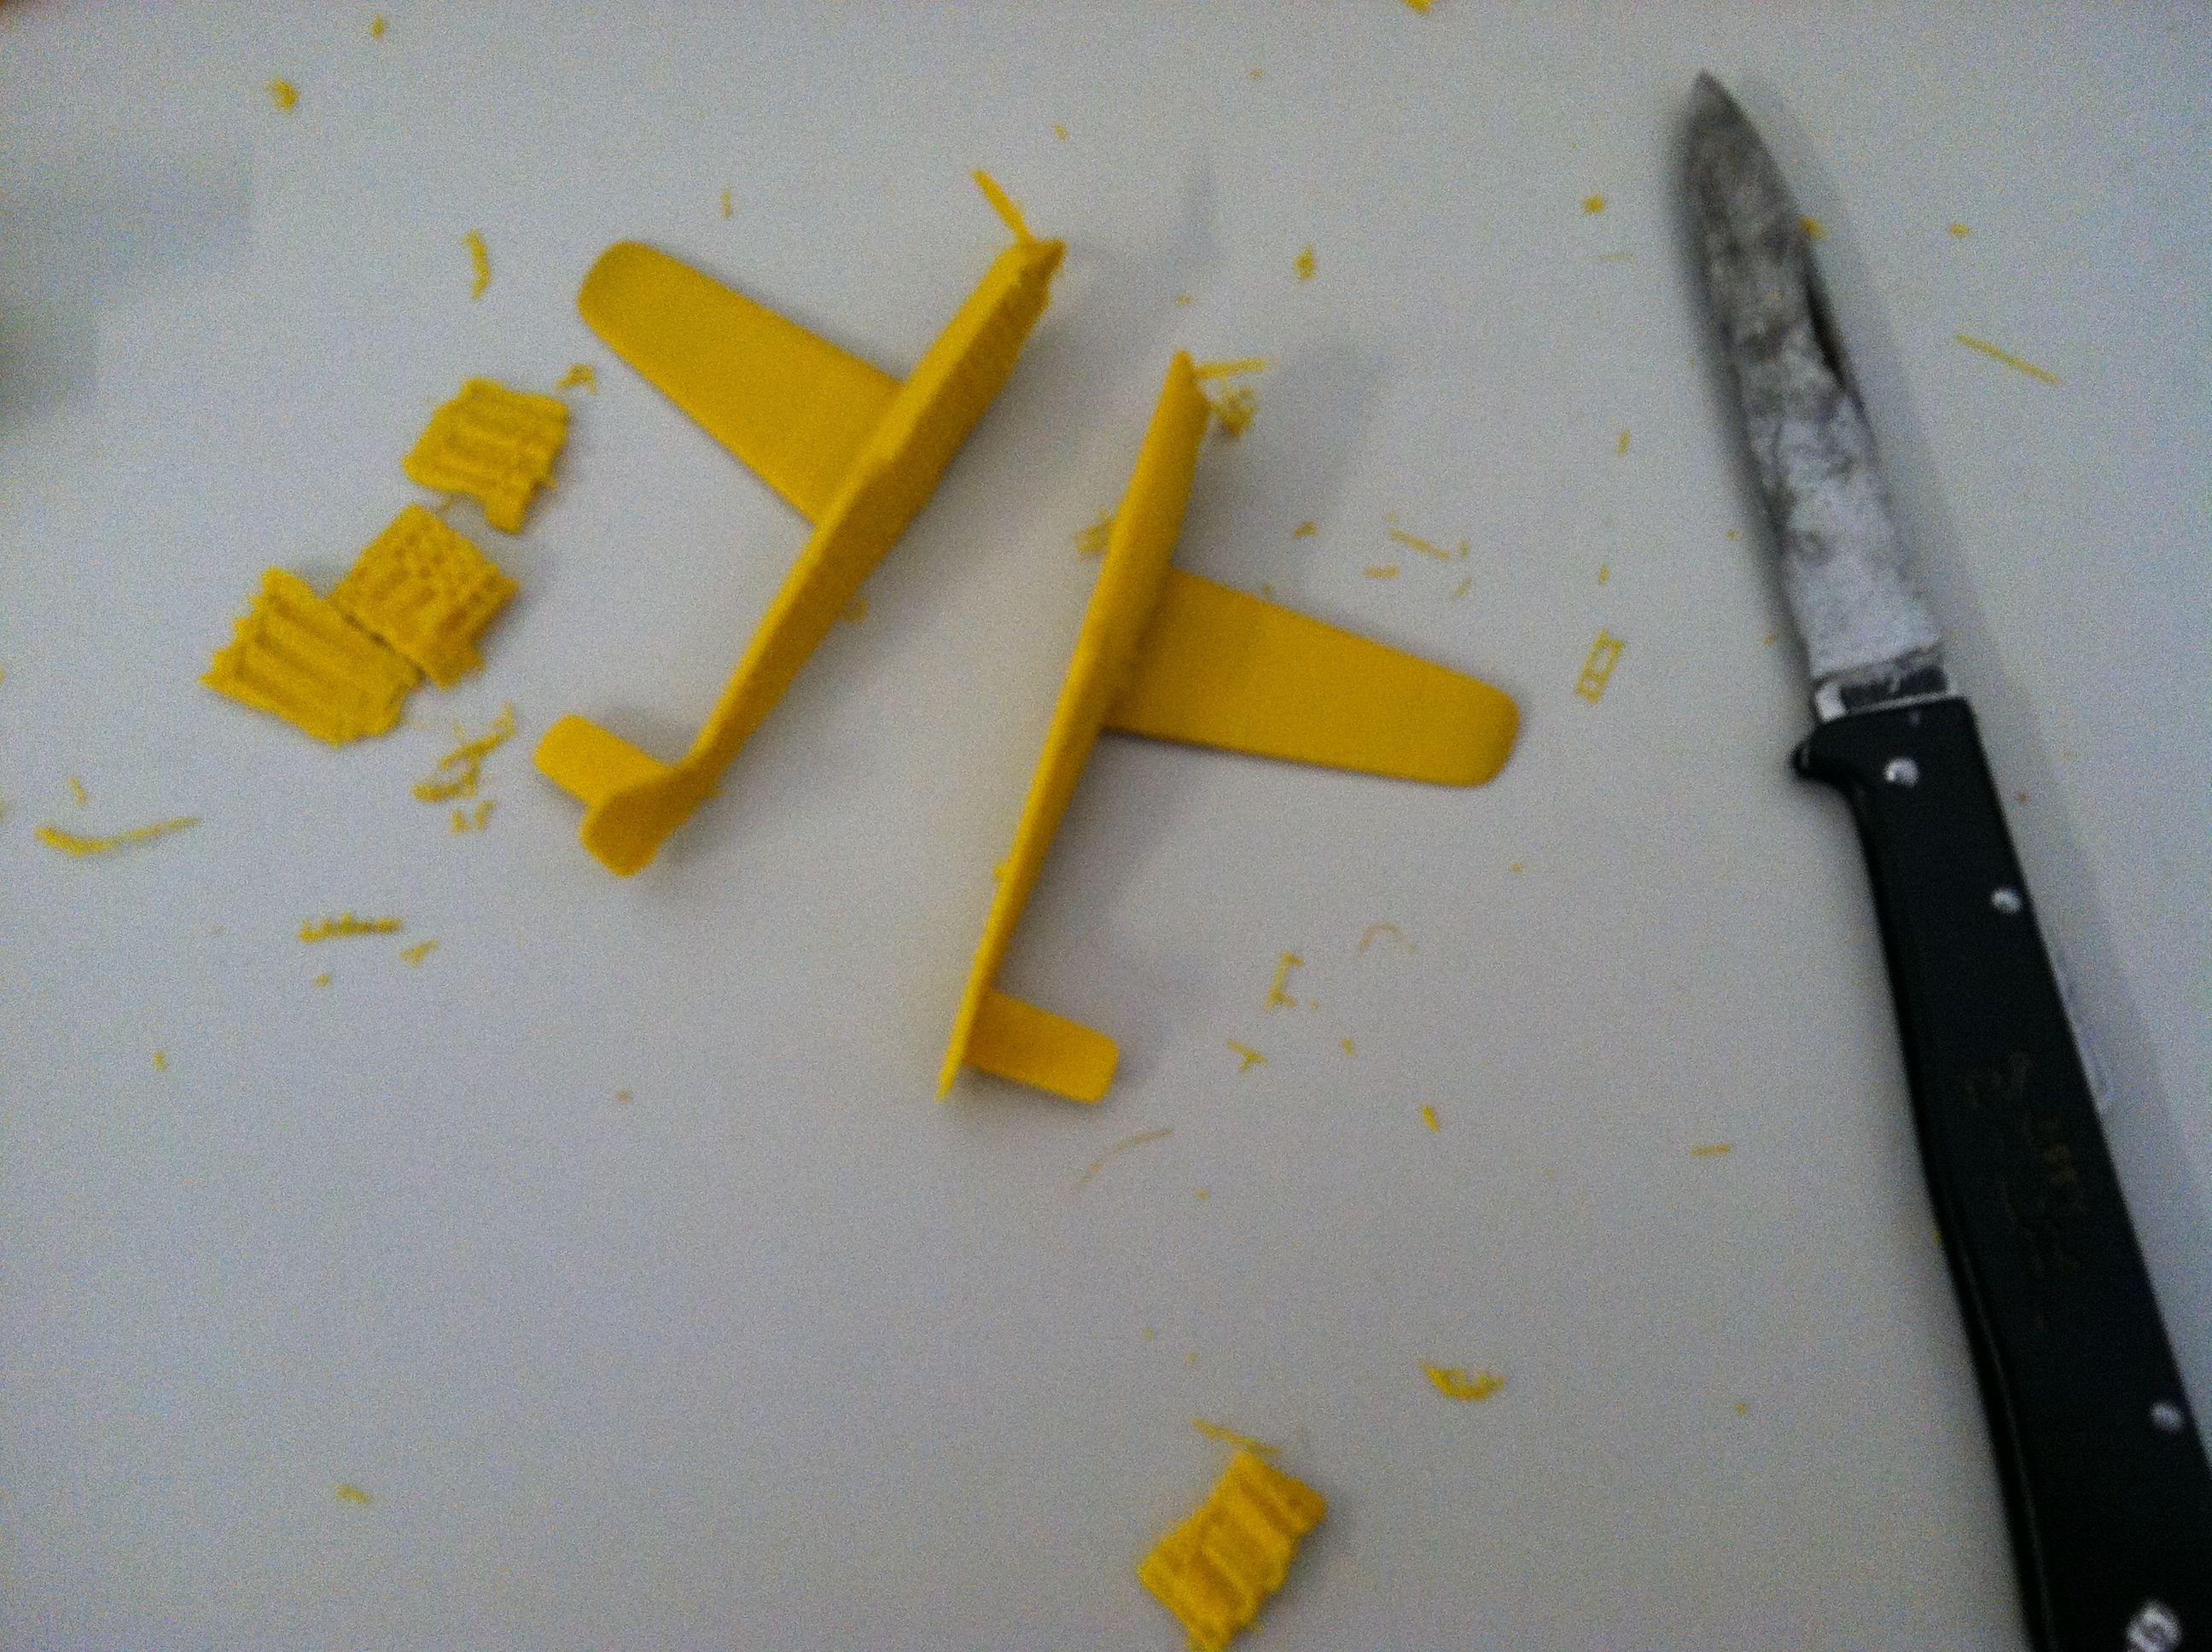
In my case, the plane I chose from the 123D Gallery required a slice down the center axis to print without support material. It's possible to just build a model with no under/over-cutting that would be okay to print straight out.
Since I printed the plane in 2 halves, I needed to scrape off the support material and glue it together.
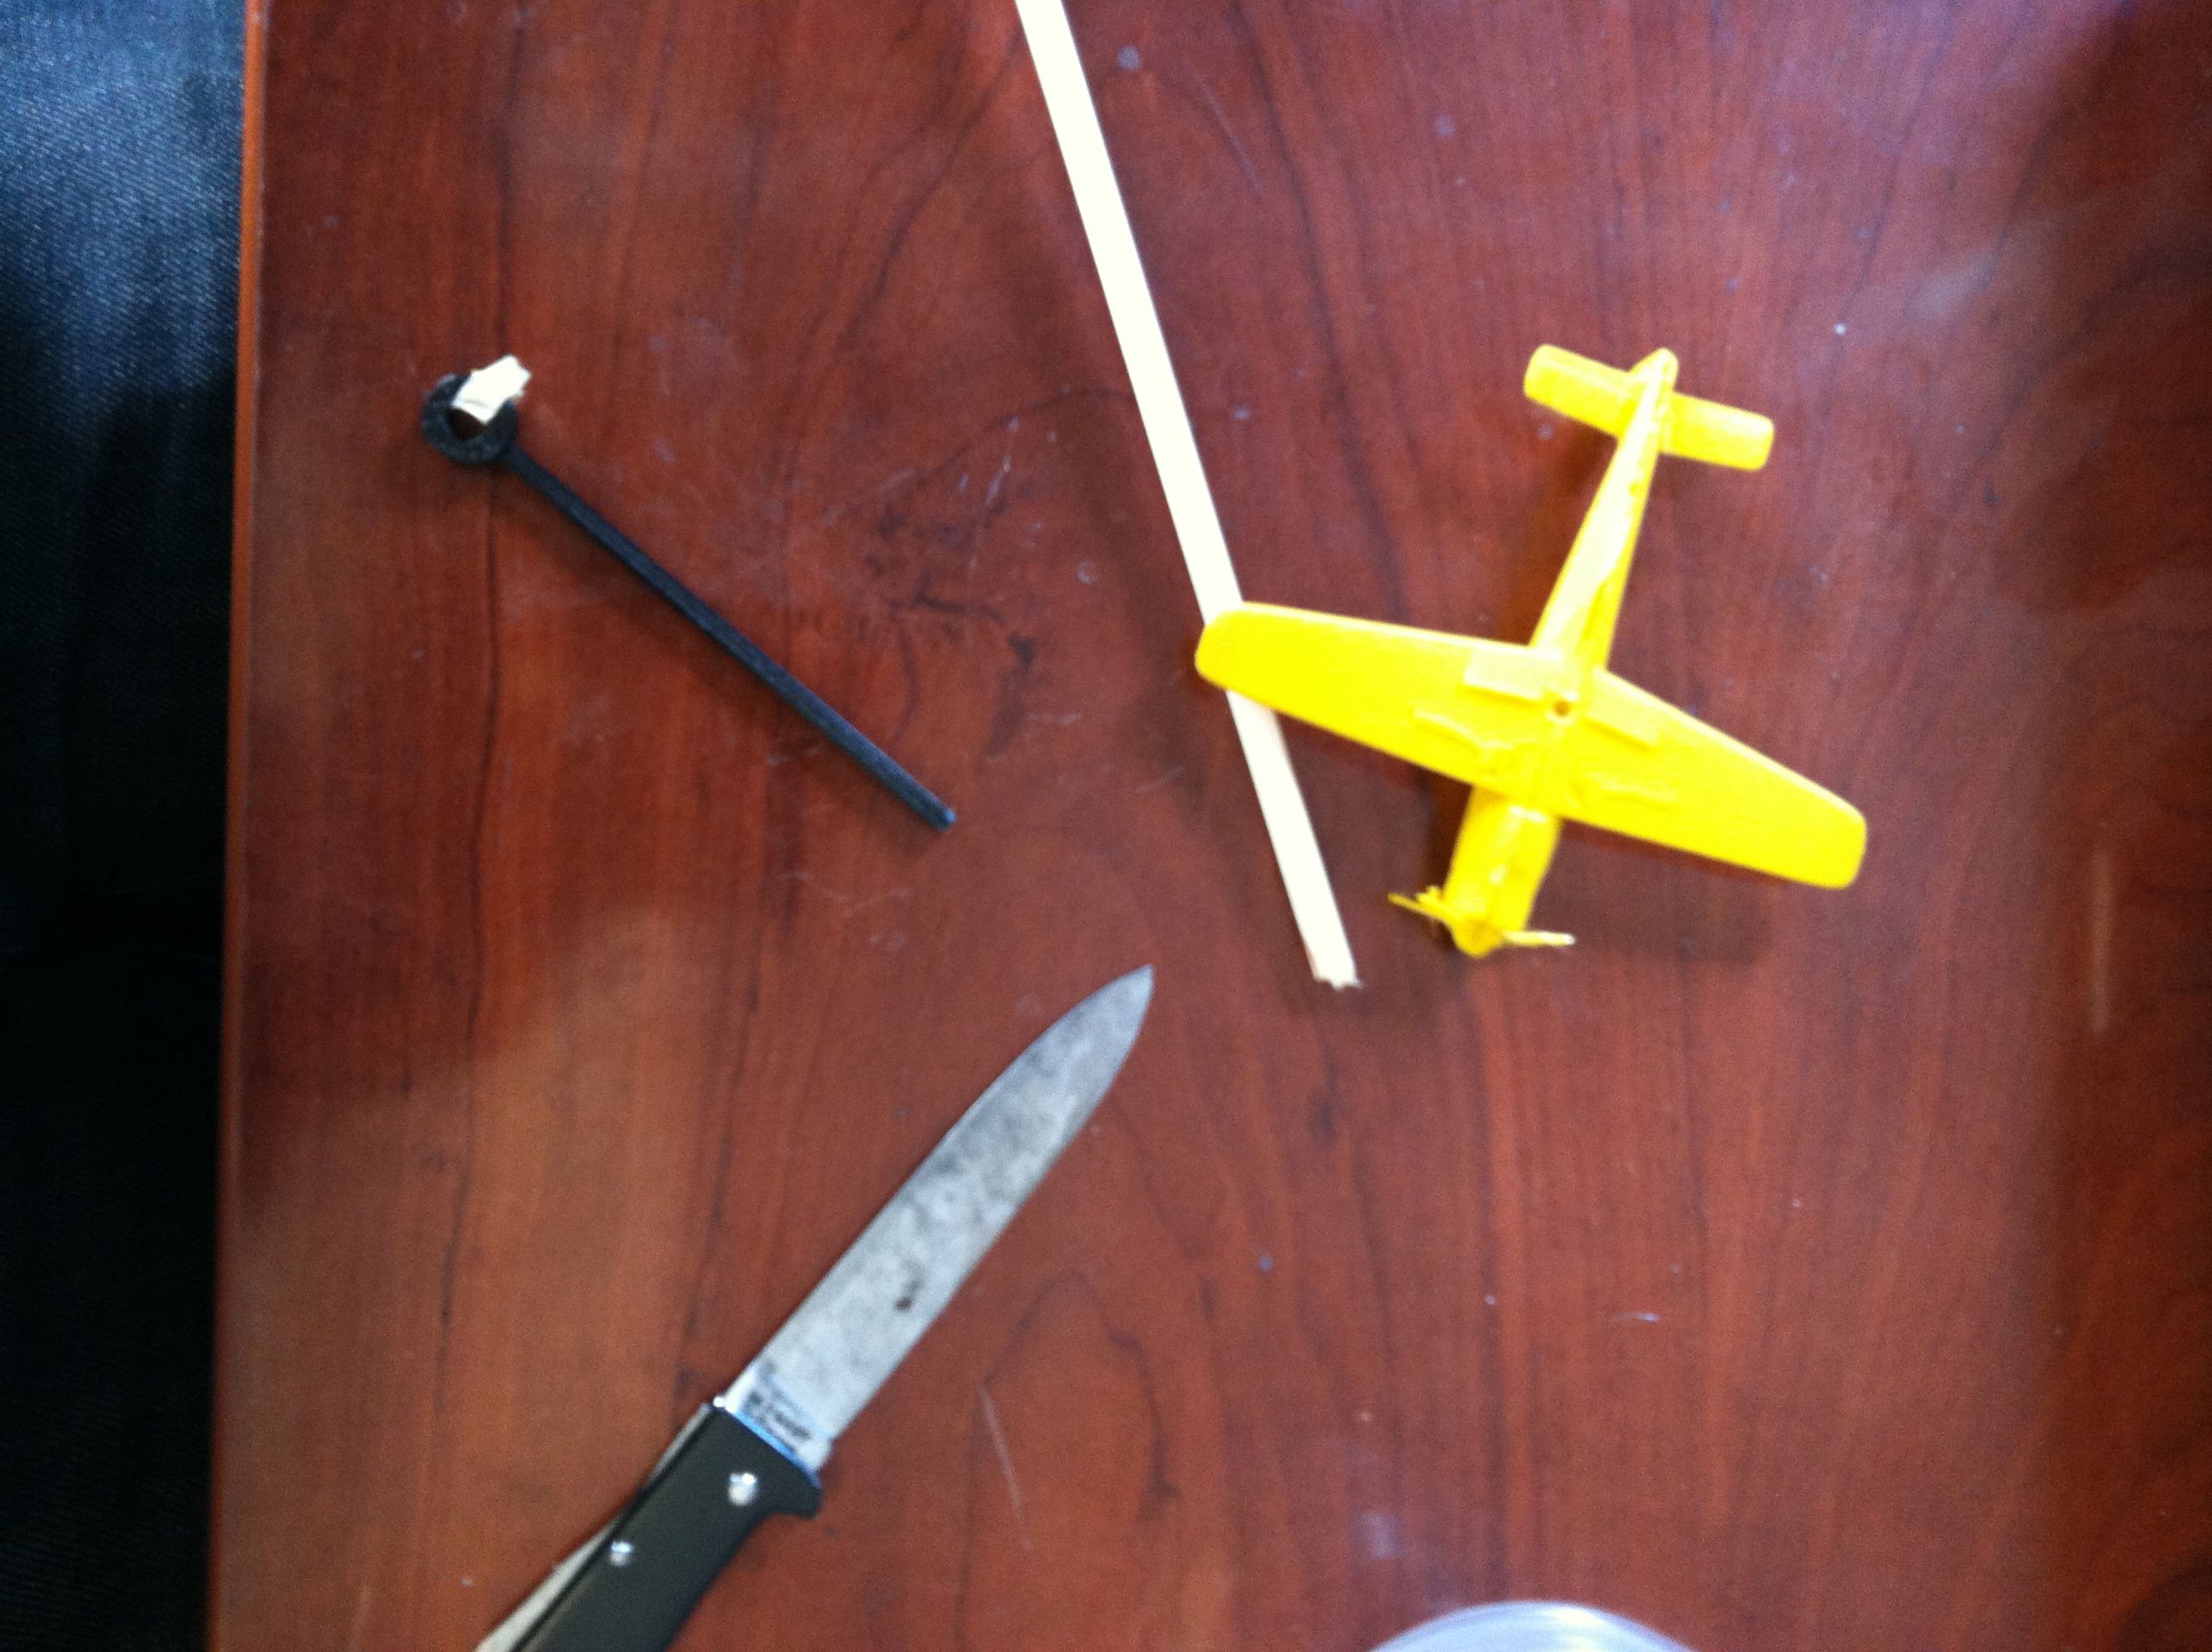
Then, I used a 1/8" drill bit to put a hole in the underside of the plane. Because the post is square, I shaved off a bit of the corners with a pocketknife and shoved it into the hole I drilled.
Stab the clip with a 1 foot length of 1/4" dowel (you may need to wrap the end of the post in masking tape if it's too loose to fit, you can't really trust the dowel to be exactly 1/4").
Fly, Man! FLY!!

You'll have to experiment with dowel length and angle of the plane on the post. The video feature on an iPhone likes to zoom in for some reason, and that drastically changes where the vessel fits in the frame. Otherwise, you can use an app like SocialCam to put cool effects (and it doesn't zoom).
Here's some video that I did at the Autodesk Gallery's Design Night:
I'm doing some prints of a little flying guy later, I thought it'd be cool to have a little superman video.
Here's some video that I did at the Autodesk Gallery's Design Night:
I'm doing some prints of a little flying guy later, I thought it'd be cool to have a little superman video.