Personalize Your Wooden Phone Cover
by RubenRosseel in Workshop > Laser Cutting
34317 Views, 205 Favorites, 0 Comments
Personalize Your Wooden Phone Cover
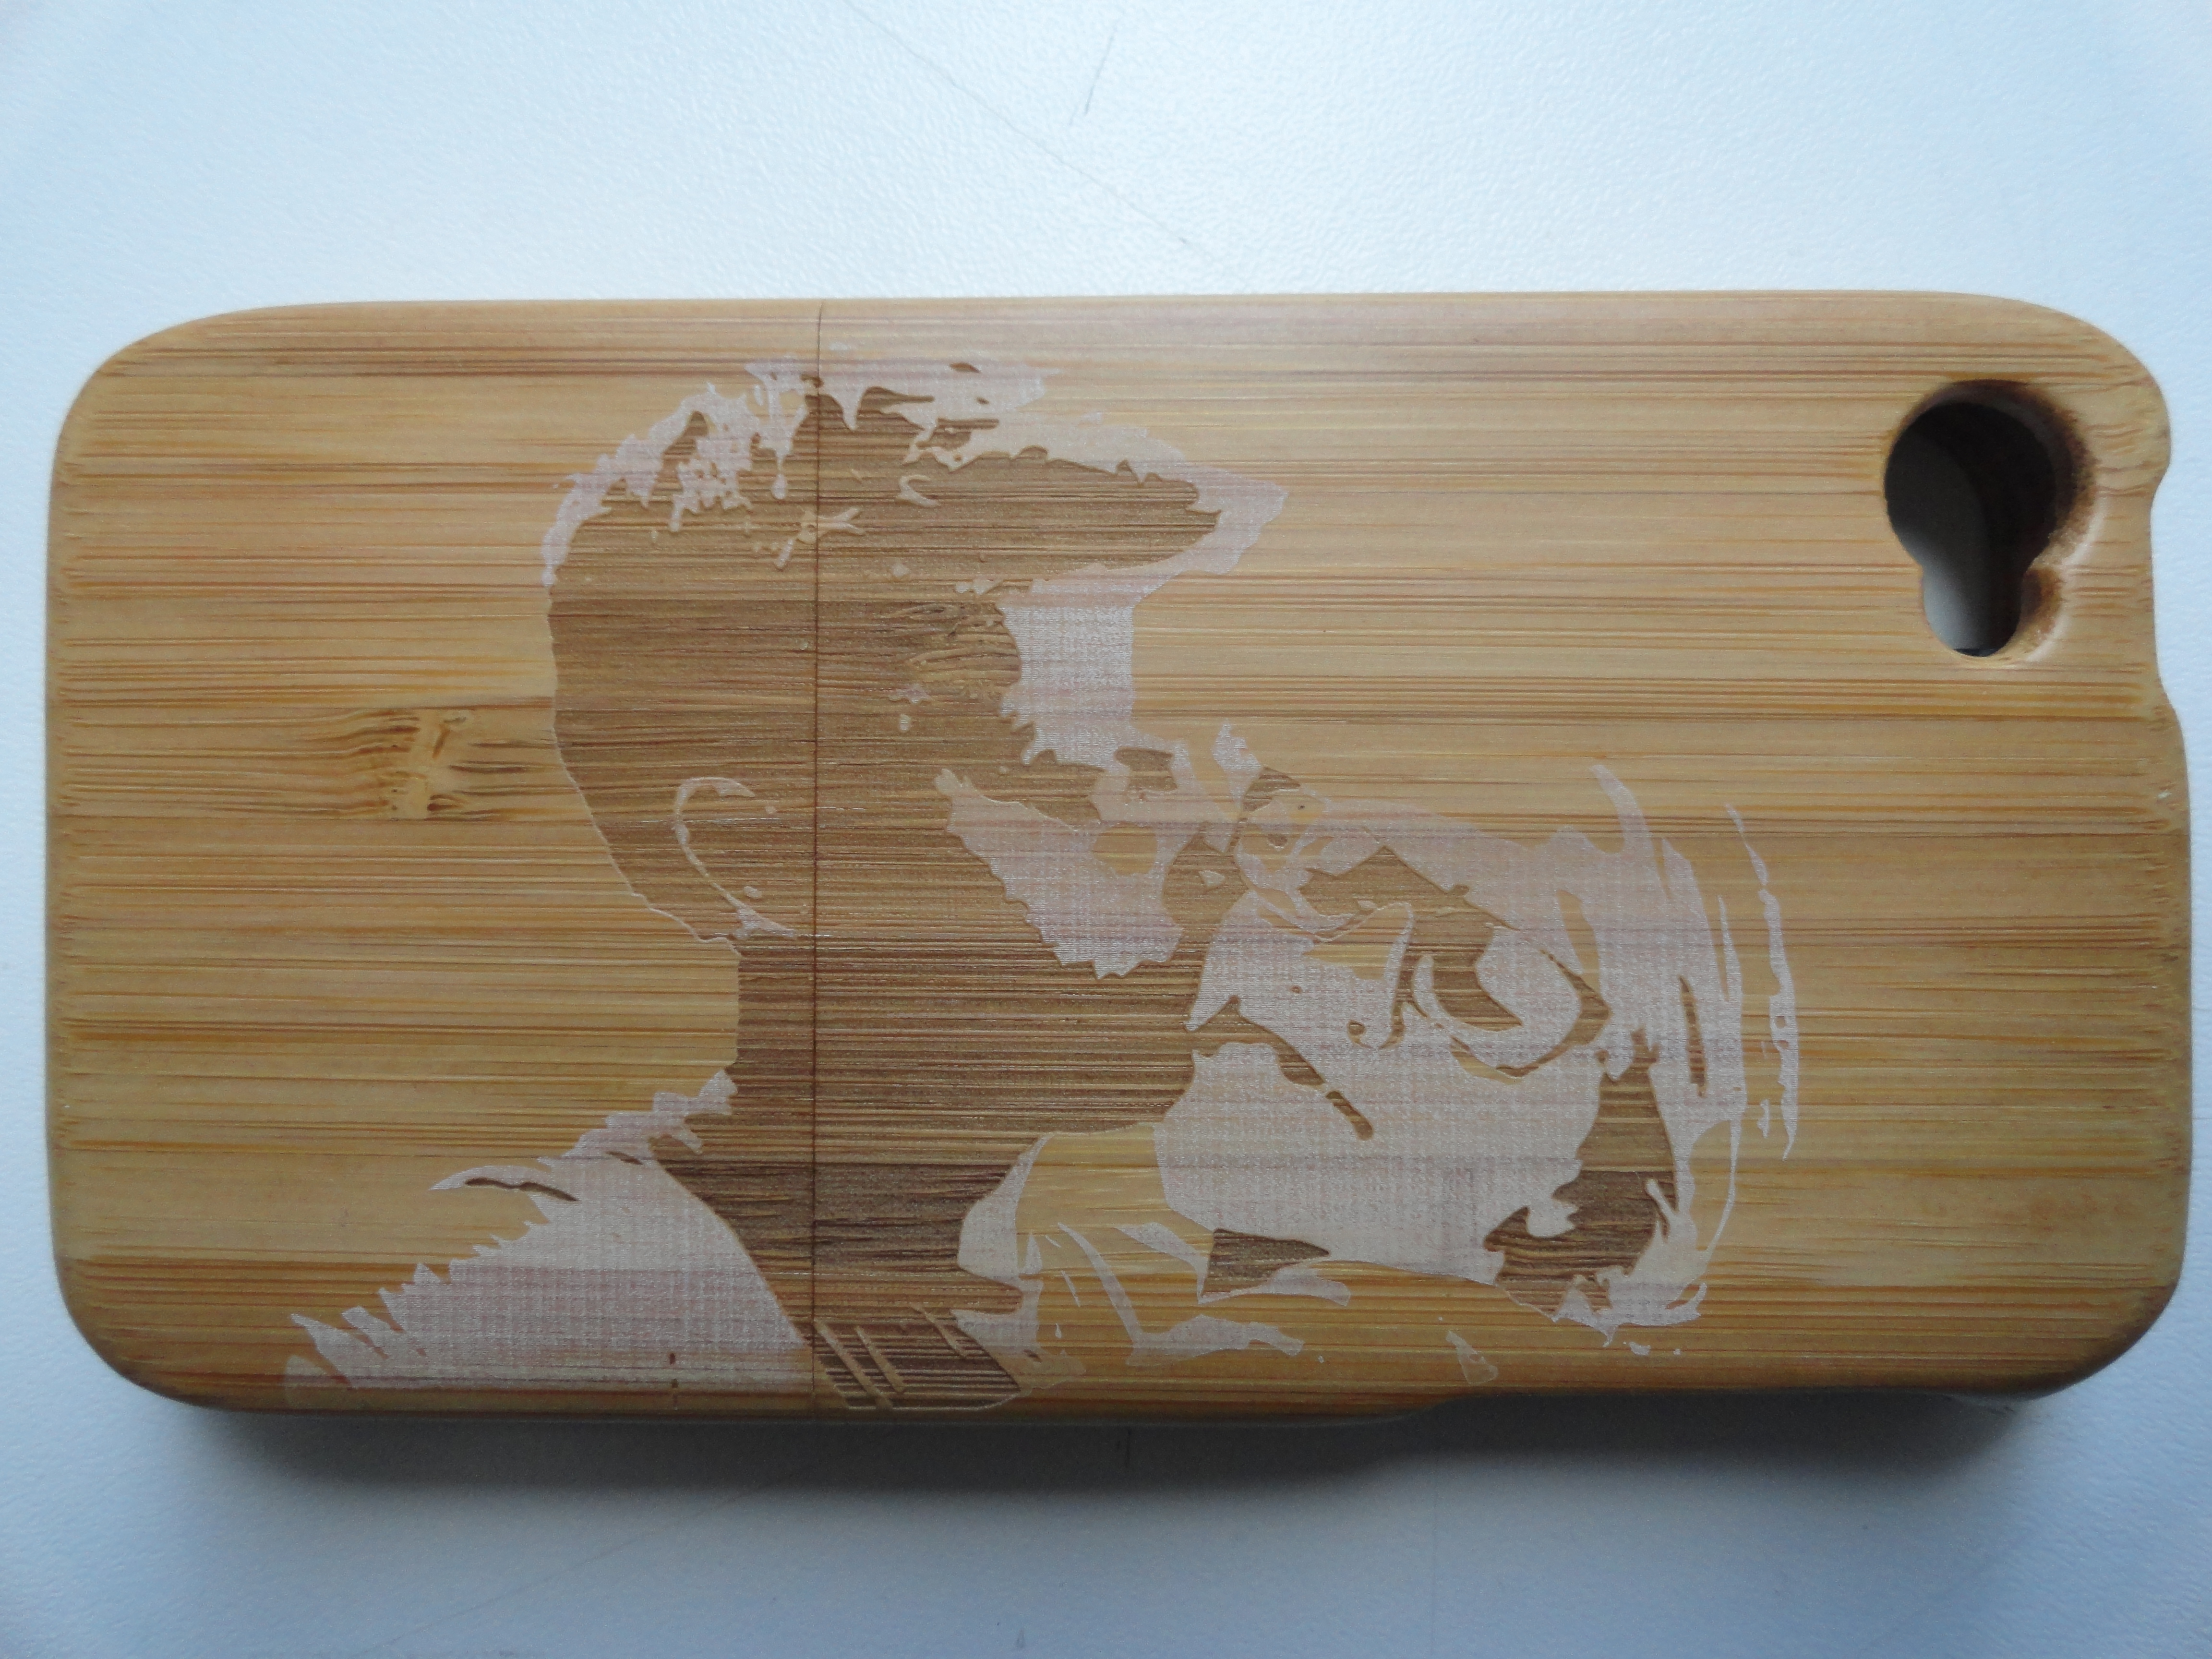
A few weeks ago I bought a bamboo iphone cover for my girlfriend. She was searching for a while, so I bought it as a surprise. But I wanted to make it more personal ...
Have fun personalizing your cover !!
Have fun personalizing your cover !!
Find the Right Picture
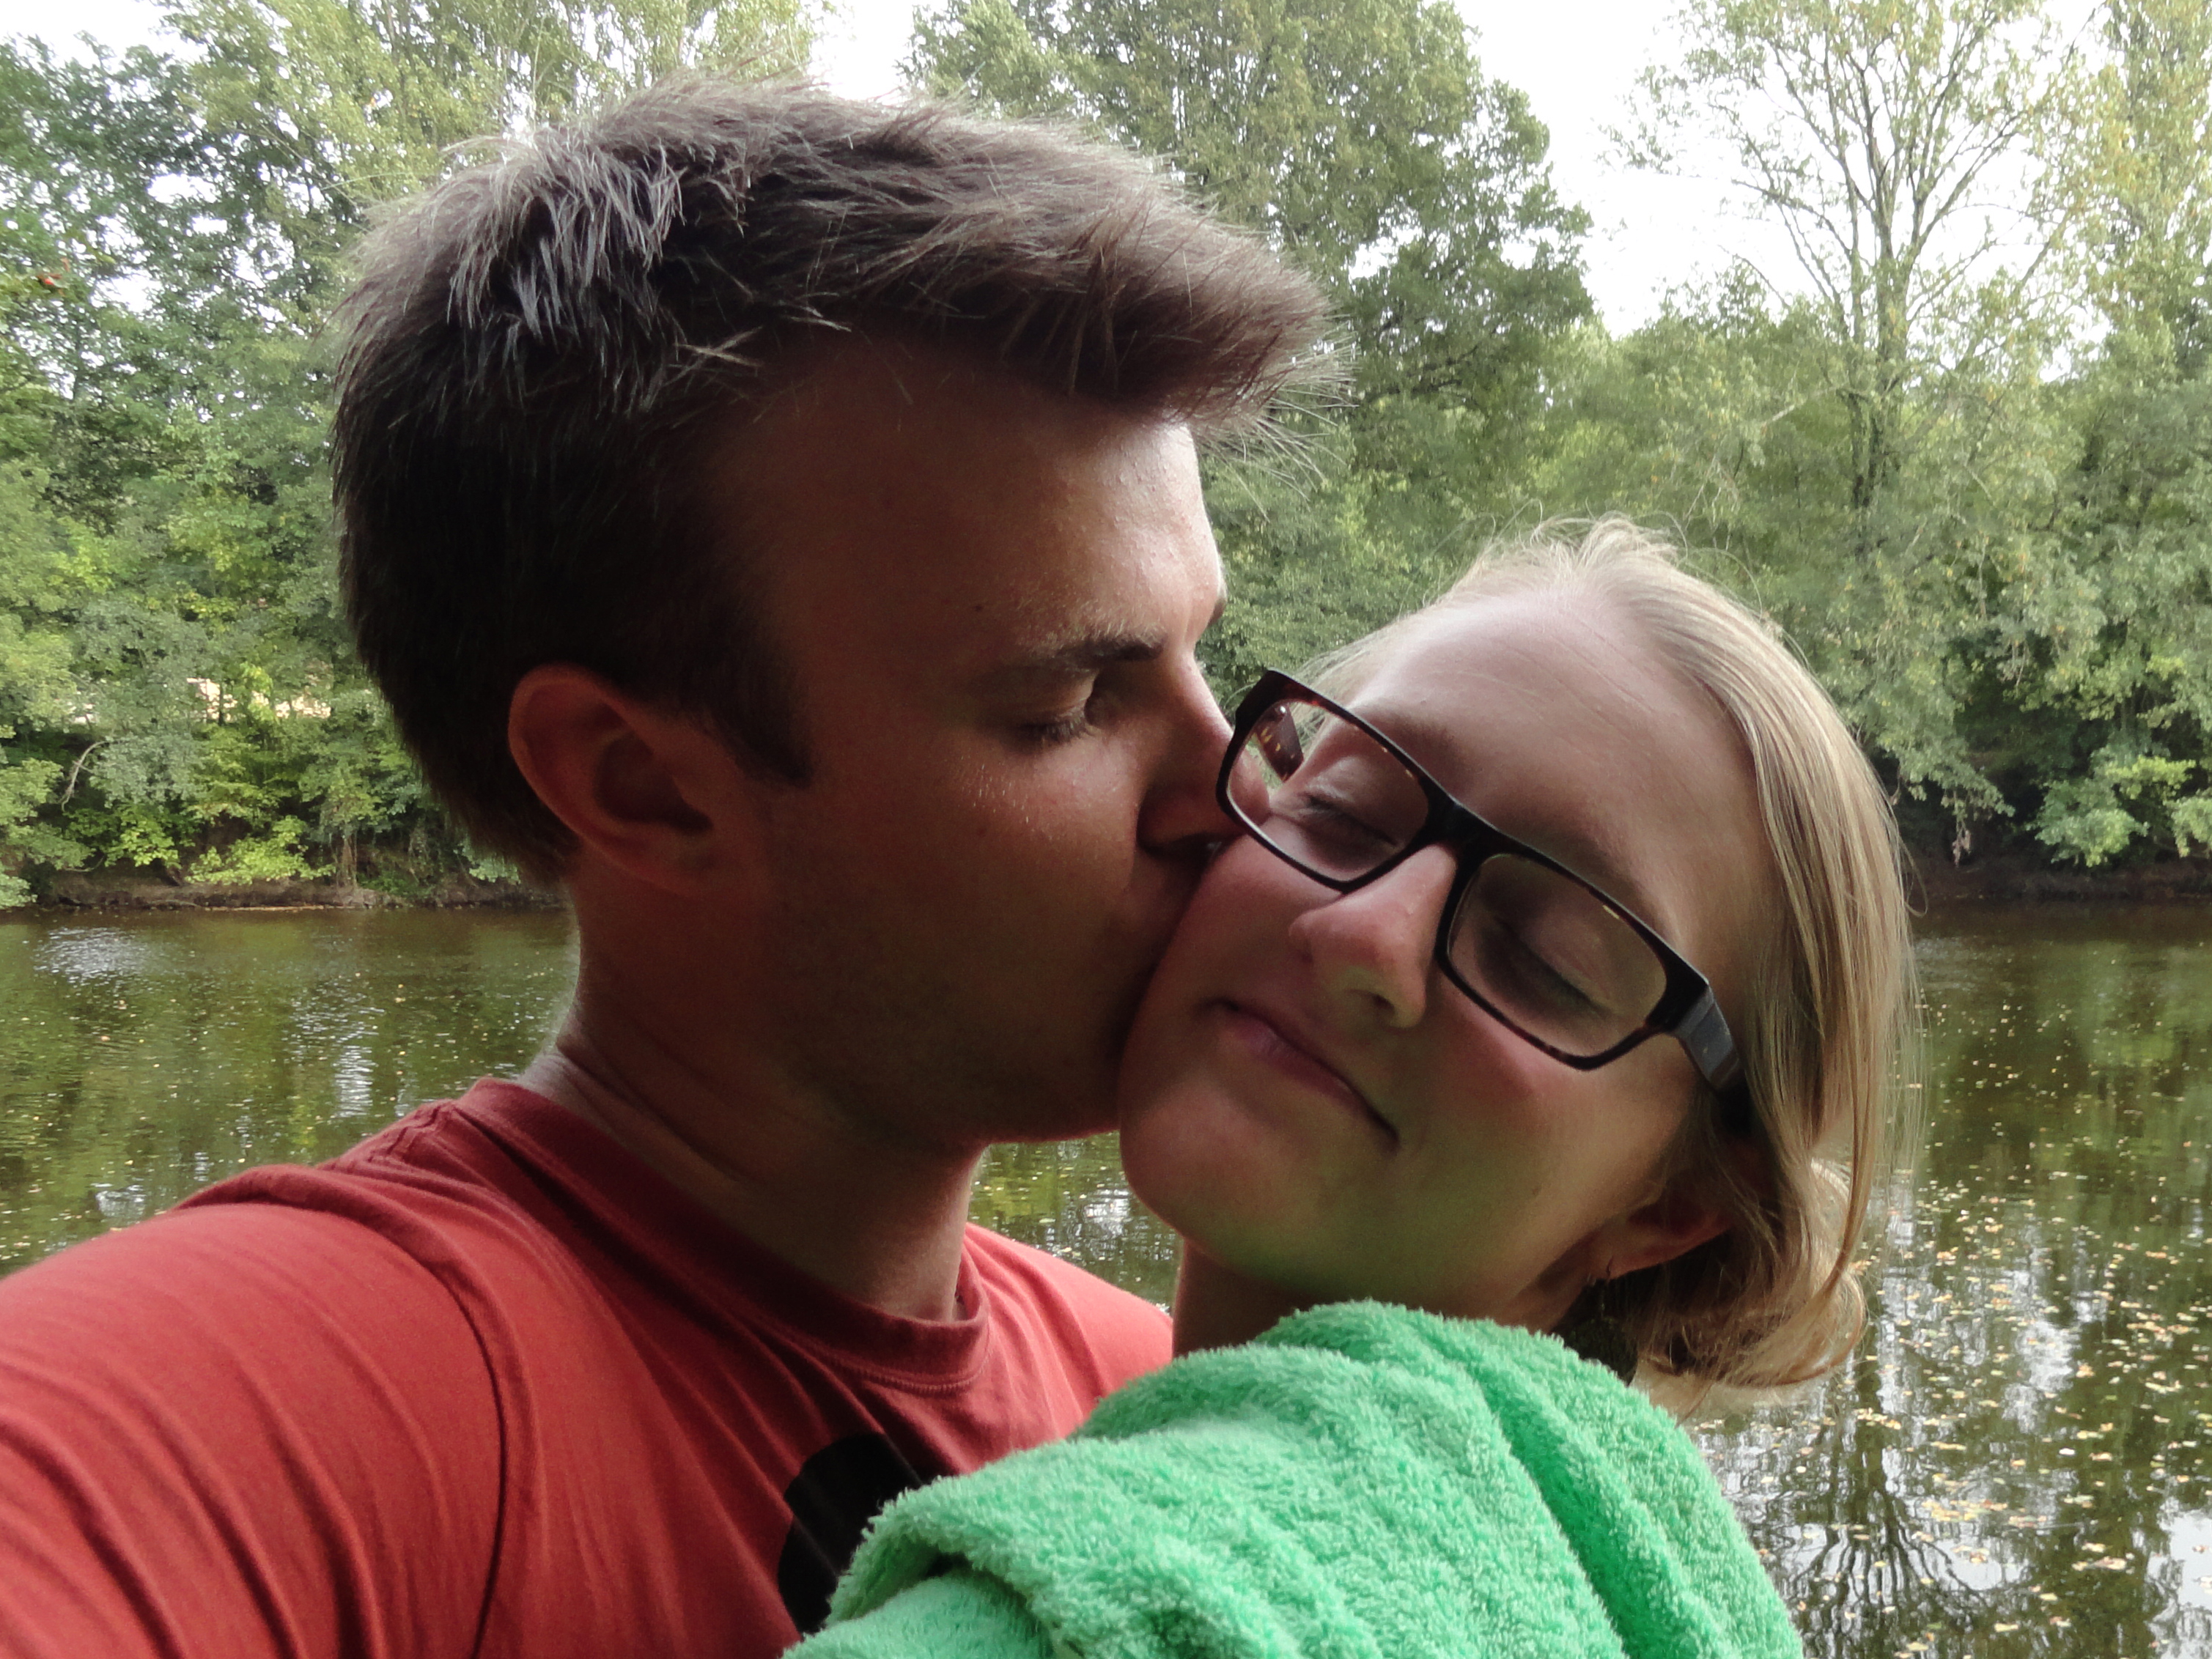
When looking for a picture, it is important that there is a lot of contrast. It is best to take a picture where the face is partially illuminated by the sun, but where shade is also present.
Pop-art Editor
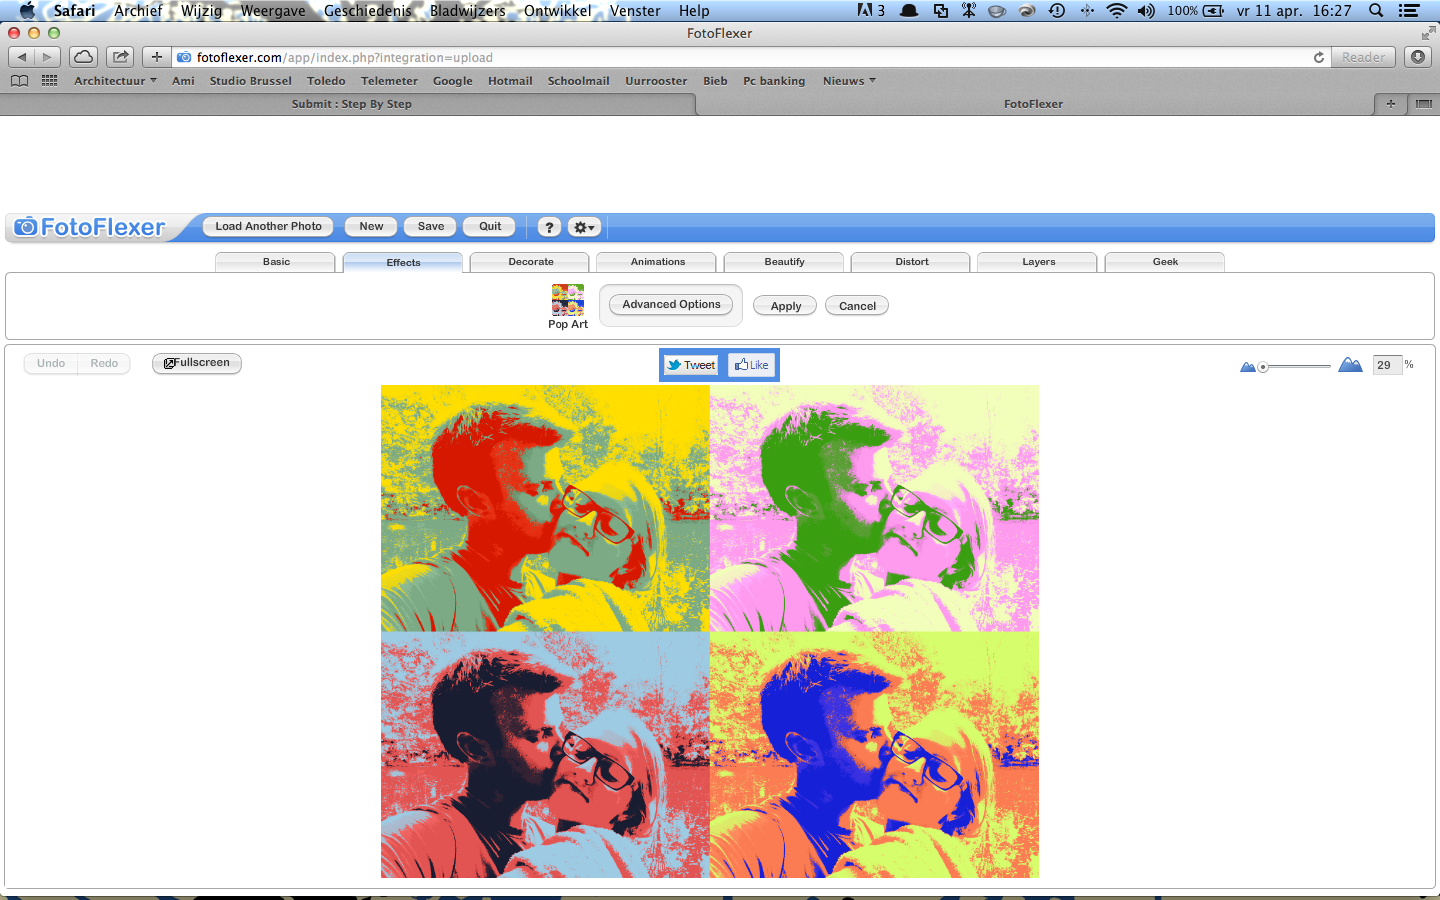
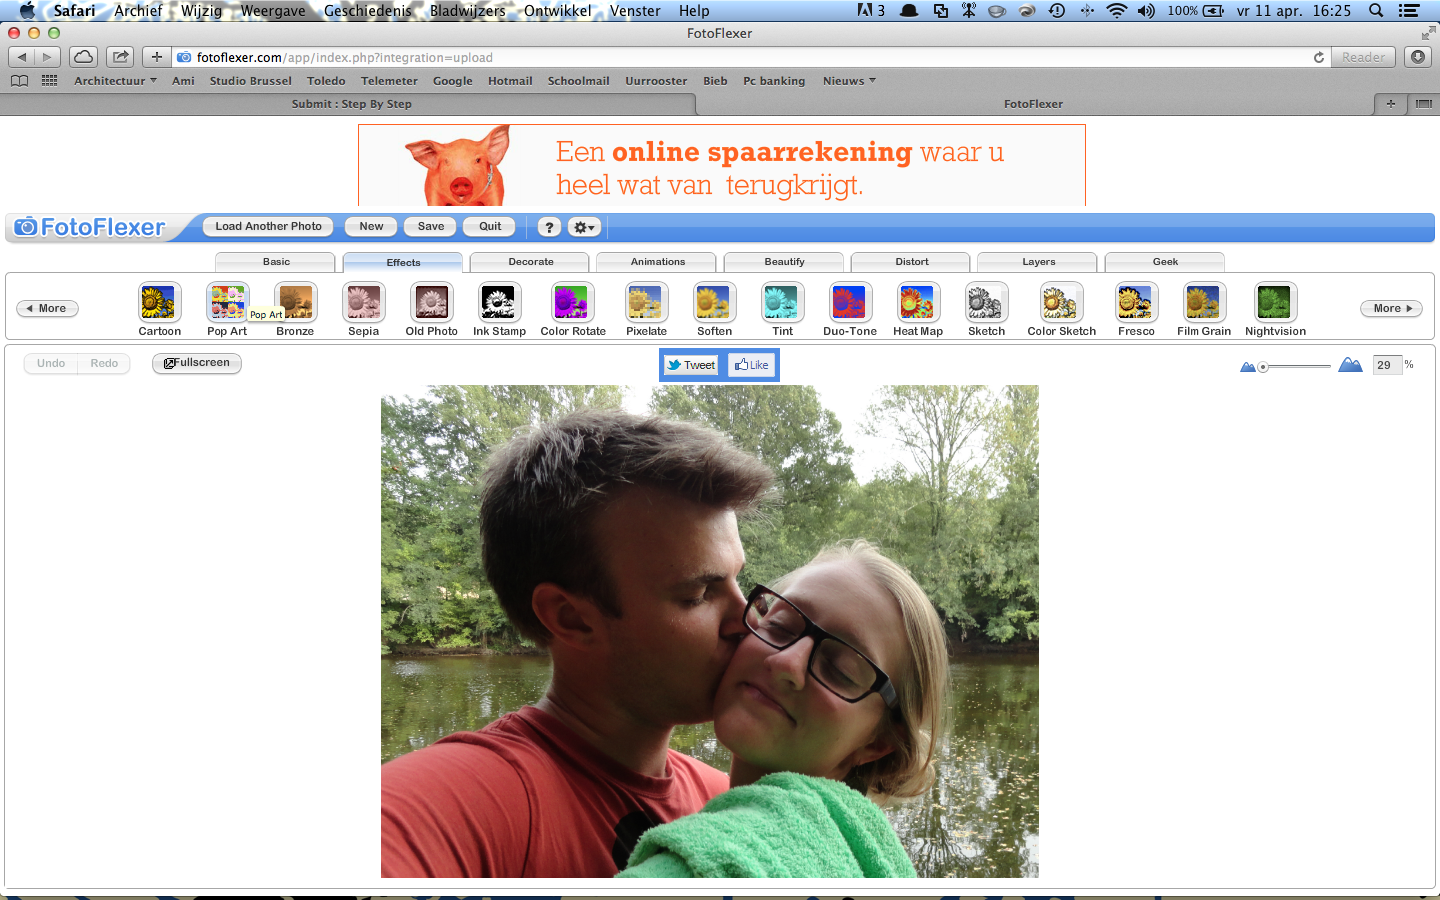
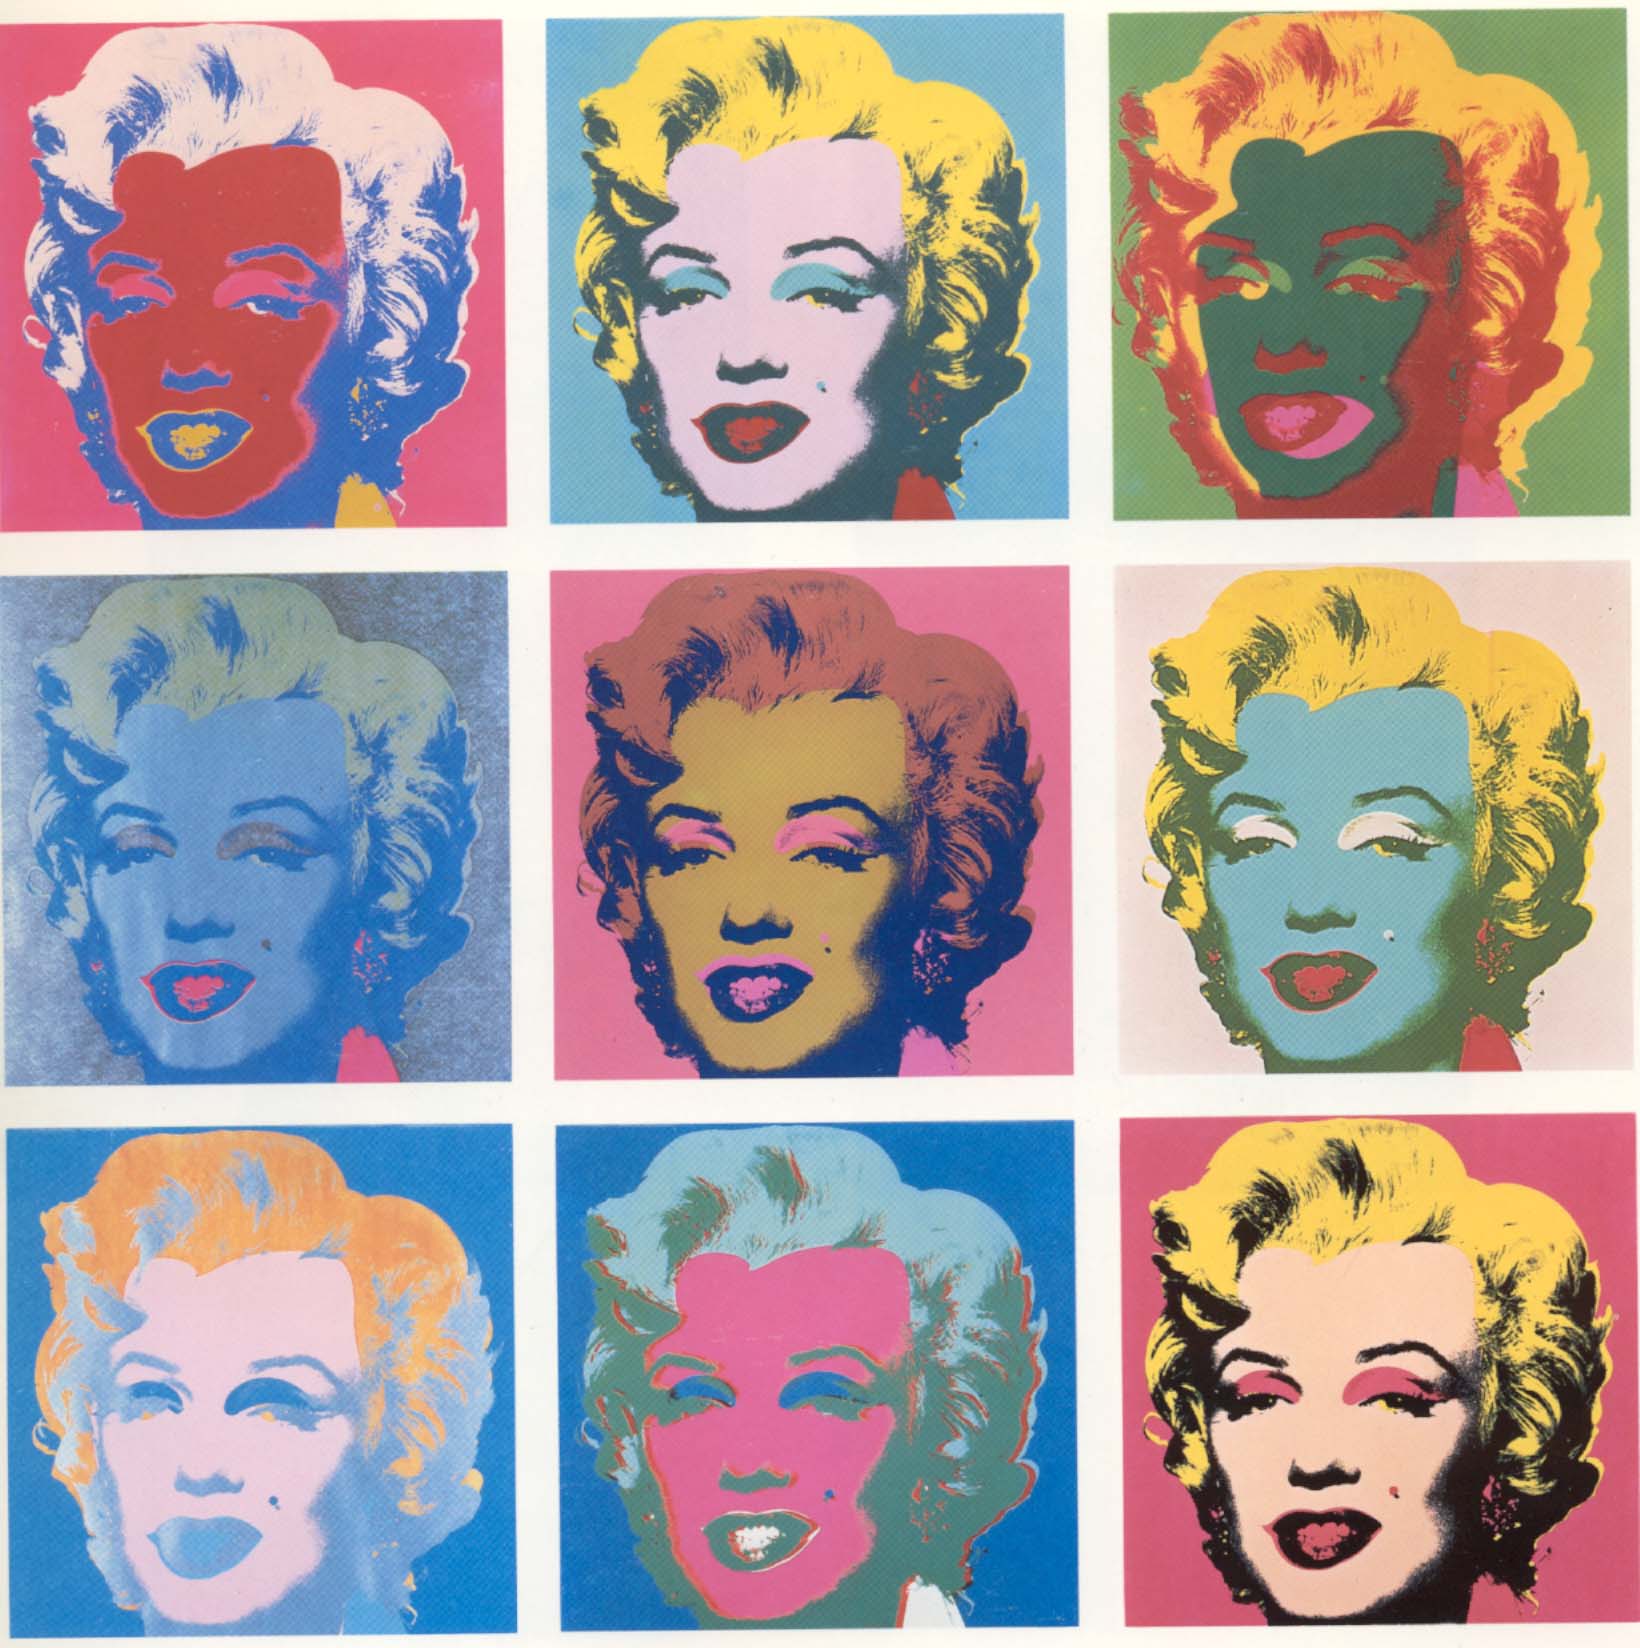
Lasercutting is not the same as printing. If you lasercut a picture, you actually engrave a small layer off, so the only difference in color/shade is that between the engraved and the not engraved. If you can engrave deep enough, a second shade is possible sometimes, but that is the maximum.
So what you have to accomplish is a simplified photo that consist out of 2, max 3 kinds of color. Great examples we find in pop-art pictures (think Marilyn Monroe or Che). So for the first step in simplifying the photo I used an online photo editor that converts pictures into pop-art. I used FotoFlexer.
Just upload the photo, use the pop-art effect and download it again.
Photoshop
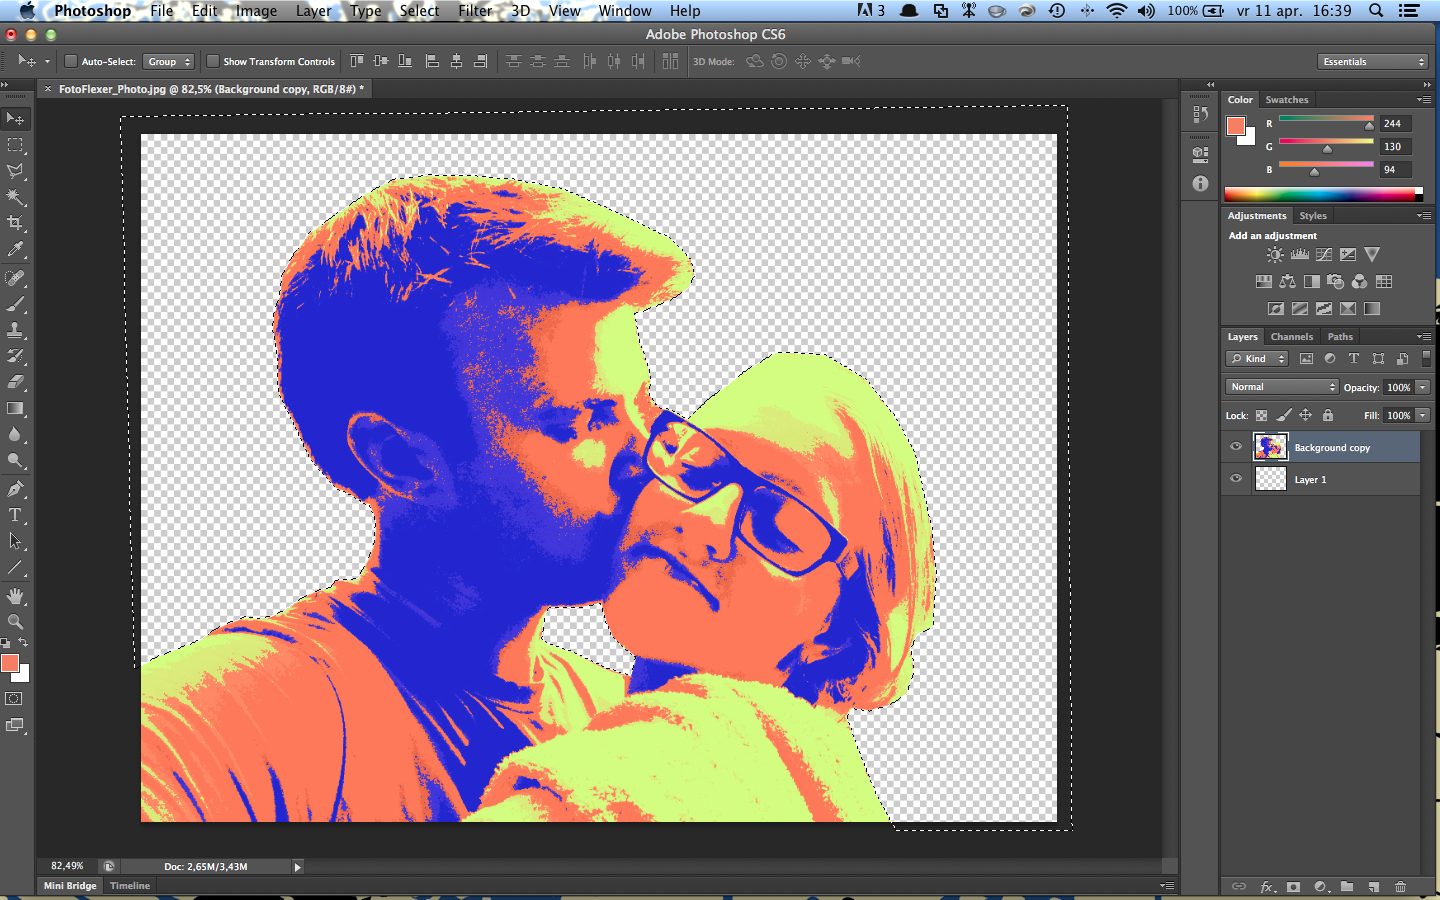
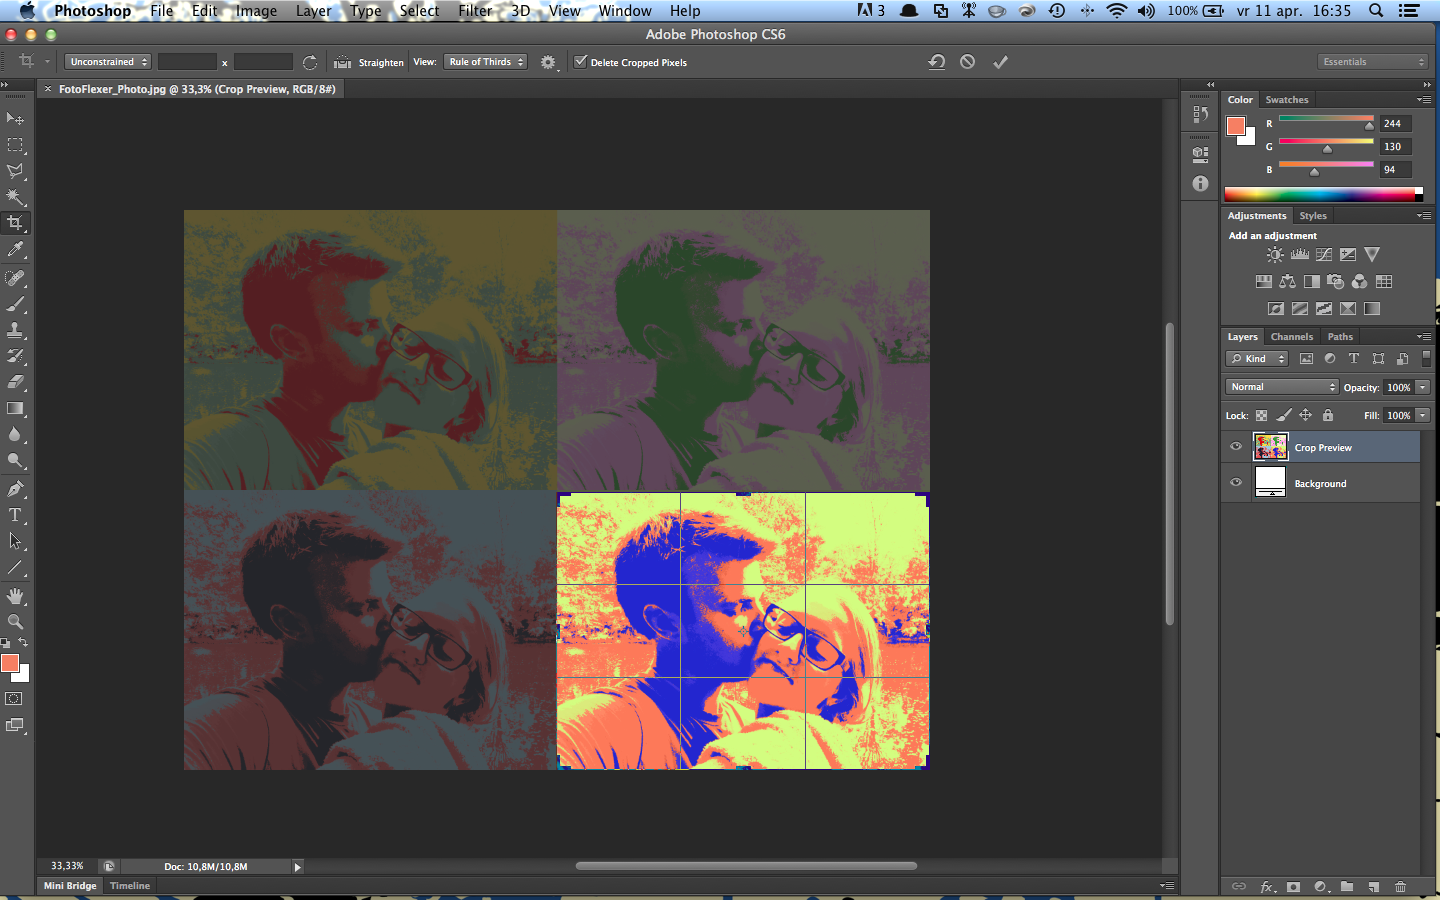
The pop-art editor creates the photo 4 times in different colors, so I used photoshop to cut out one of the pictures.
After that I removed all the 'noise' in the background because i don't want that to be engraved. (select the background with the lasso tool and just erase it)
Save the picture as a .tiff file, this remembers what you have erased (not necessary, just handy).
After that I removed all the 'noise' in the background because i don't want that to be engraved. (select the background with the lasso tool and just erase it)
Save the picture as a .tiff file, this remembers what you have erased (not necessary, just handy).
Illustrator 'image Trace'
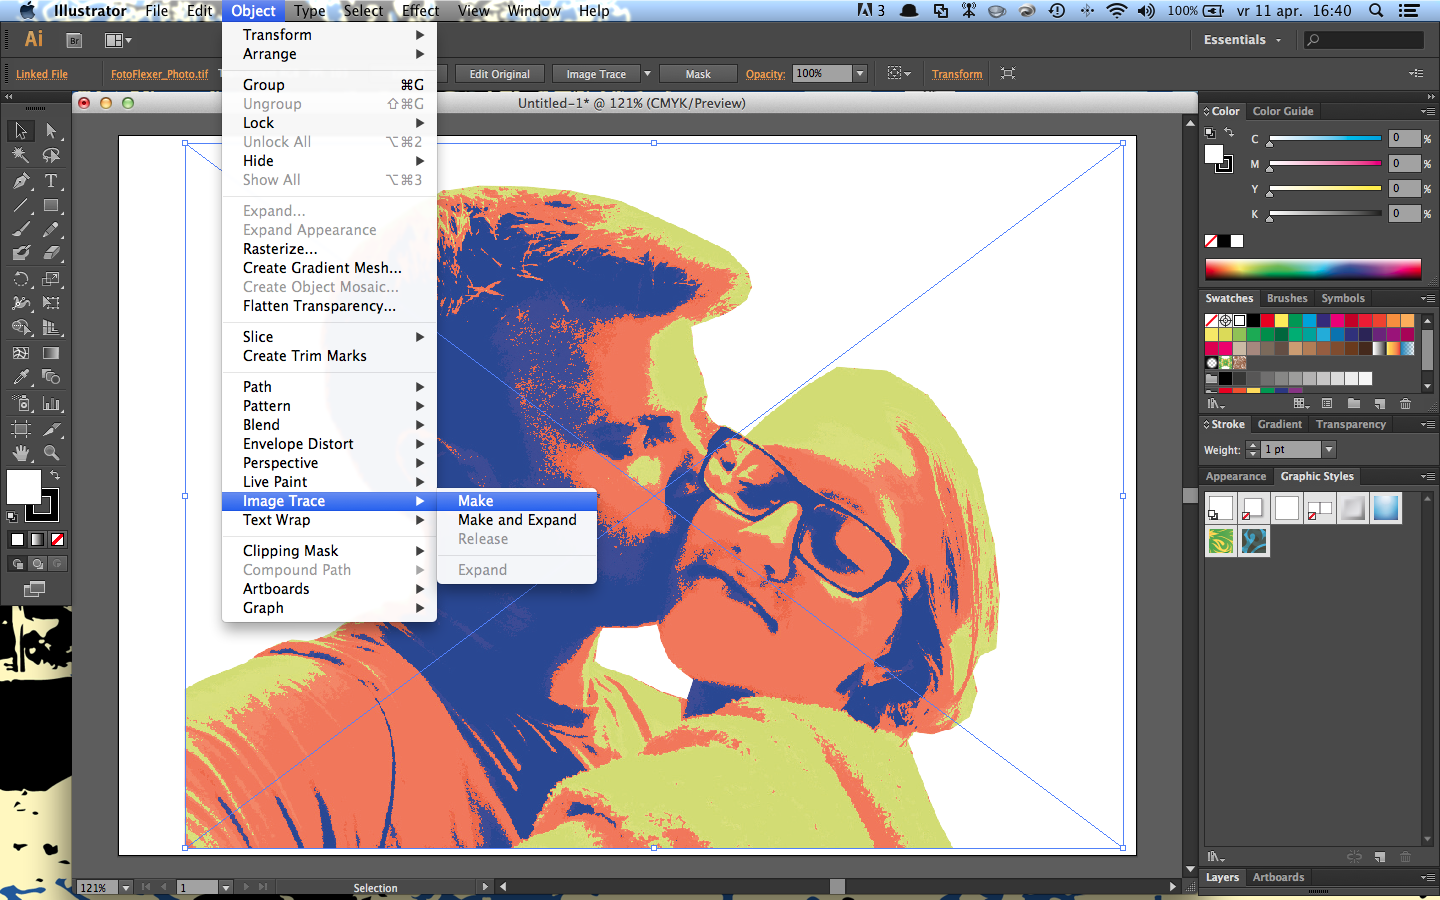
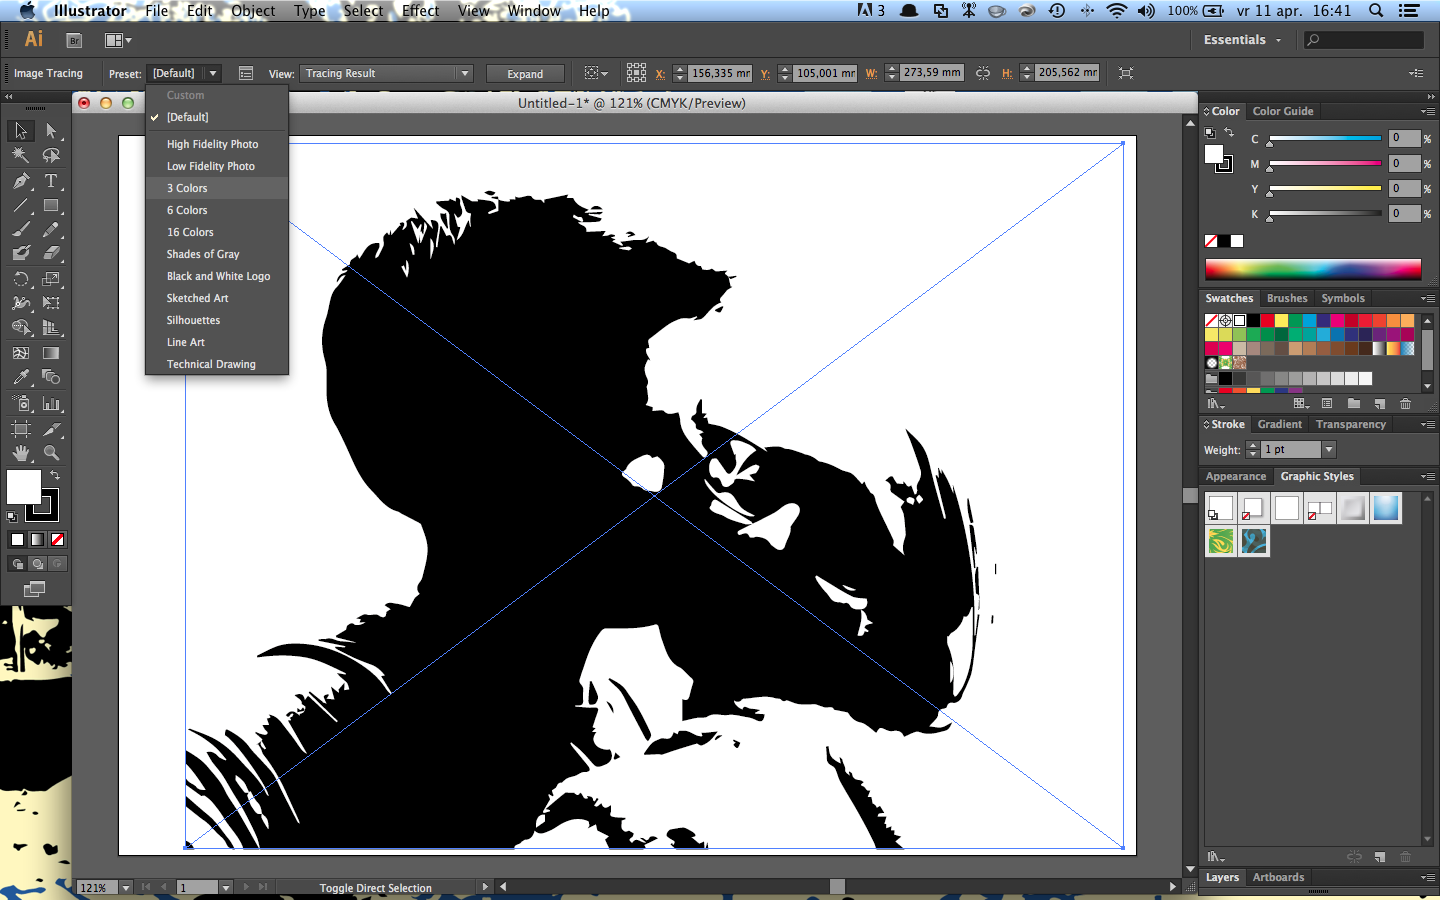
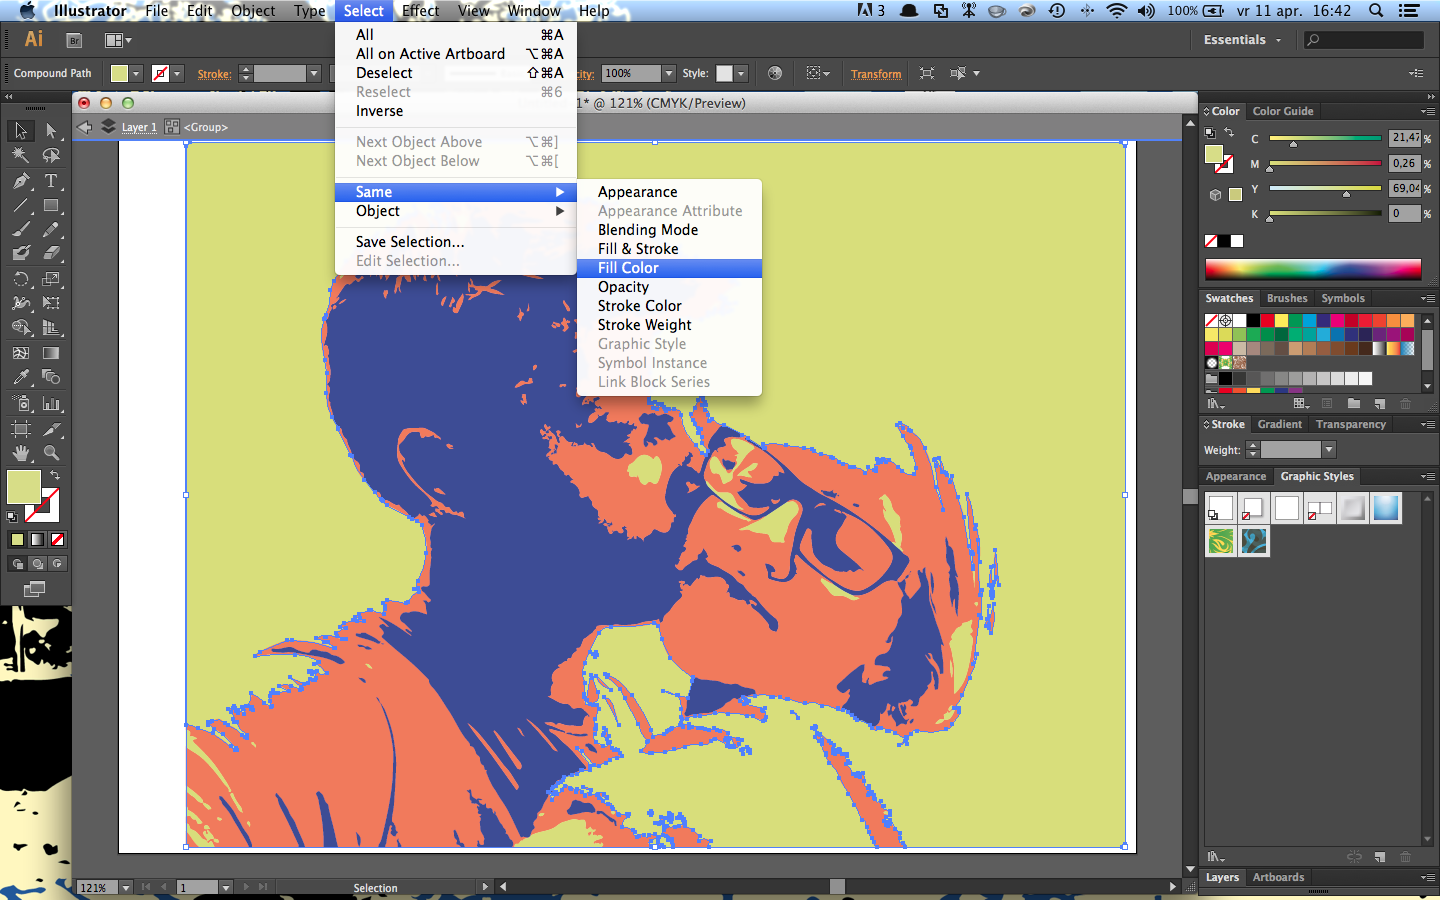
Because of the pop-art editor we have 3 kinds of color, but there are different shades in each color. To correct that I use Illustrator. In this program you have a handy tool called 'image trace'. This analyses the picture and converts it to 1, 3 or 6 even color planes.
This is what you have to do:
1. open a new file in illustrator (A4 landscape)
2. drag the image into the file
3. select the image and go to 'object' - 'image trace' - 'make'
4. choose '3 colors' in the preset
5. press 'expand'
6. remove the lightest color by selecting one plane, then go to 'select' - 'same' - 'fill color' and delete all the selected planes
Illustrator Final Steps
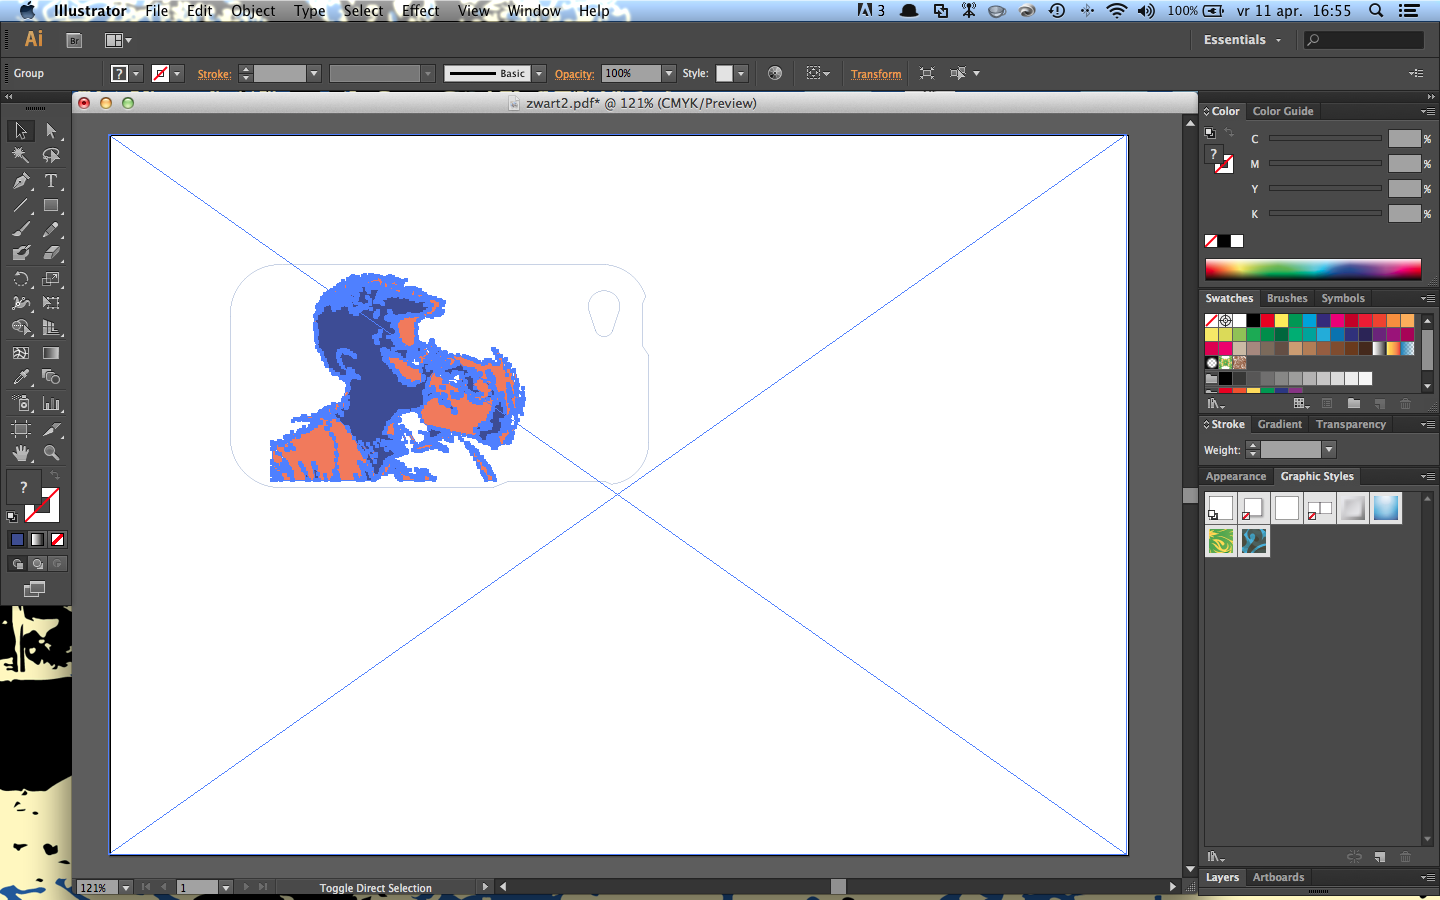
After tracing the image we now have to resize it so it will fit the cover. I attached the contours of an Iphone 4s cover, if you have another phone just search for a lifelike sized image on the web. (I measured the phone and drew it in auto cad)
Perform the following steps:
1. Drag the file with the contours in the illustrator file
2. scale the photo until it fits on the phone
3. now you have to save the file 3 times as .pdf:
- one with only the cover contours for outlining
- one with only one of the colors
(select it all and make it black before you save it)
- one with the other color (again make it black before you save it)
Lasercut
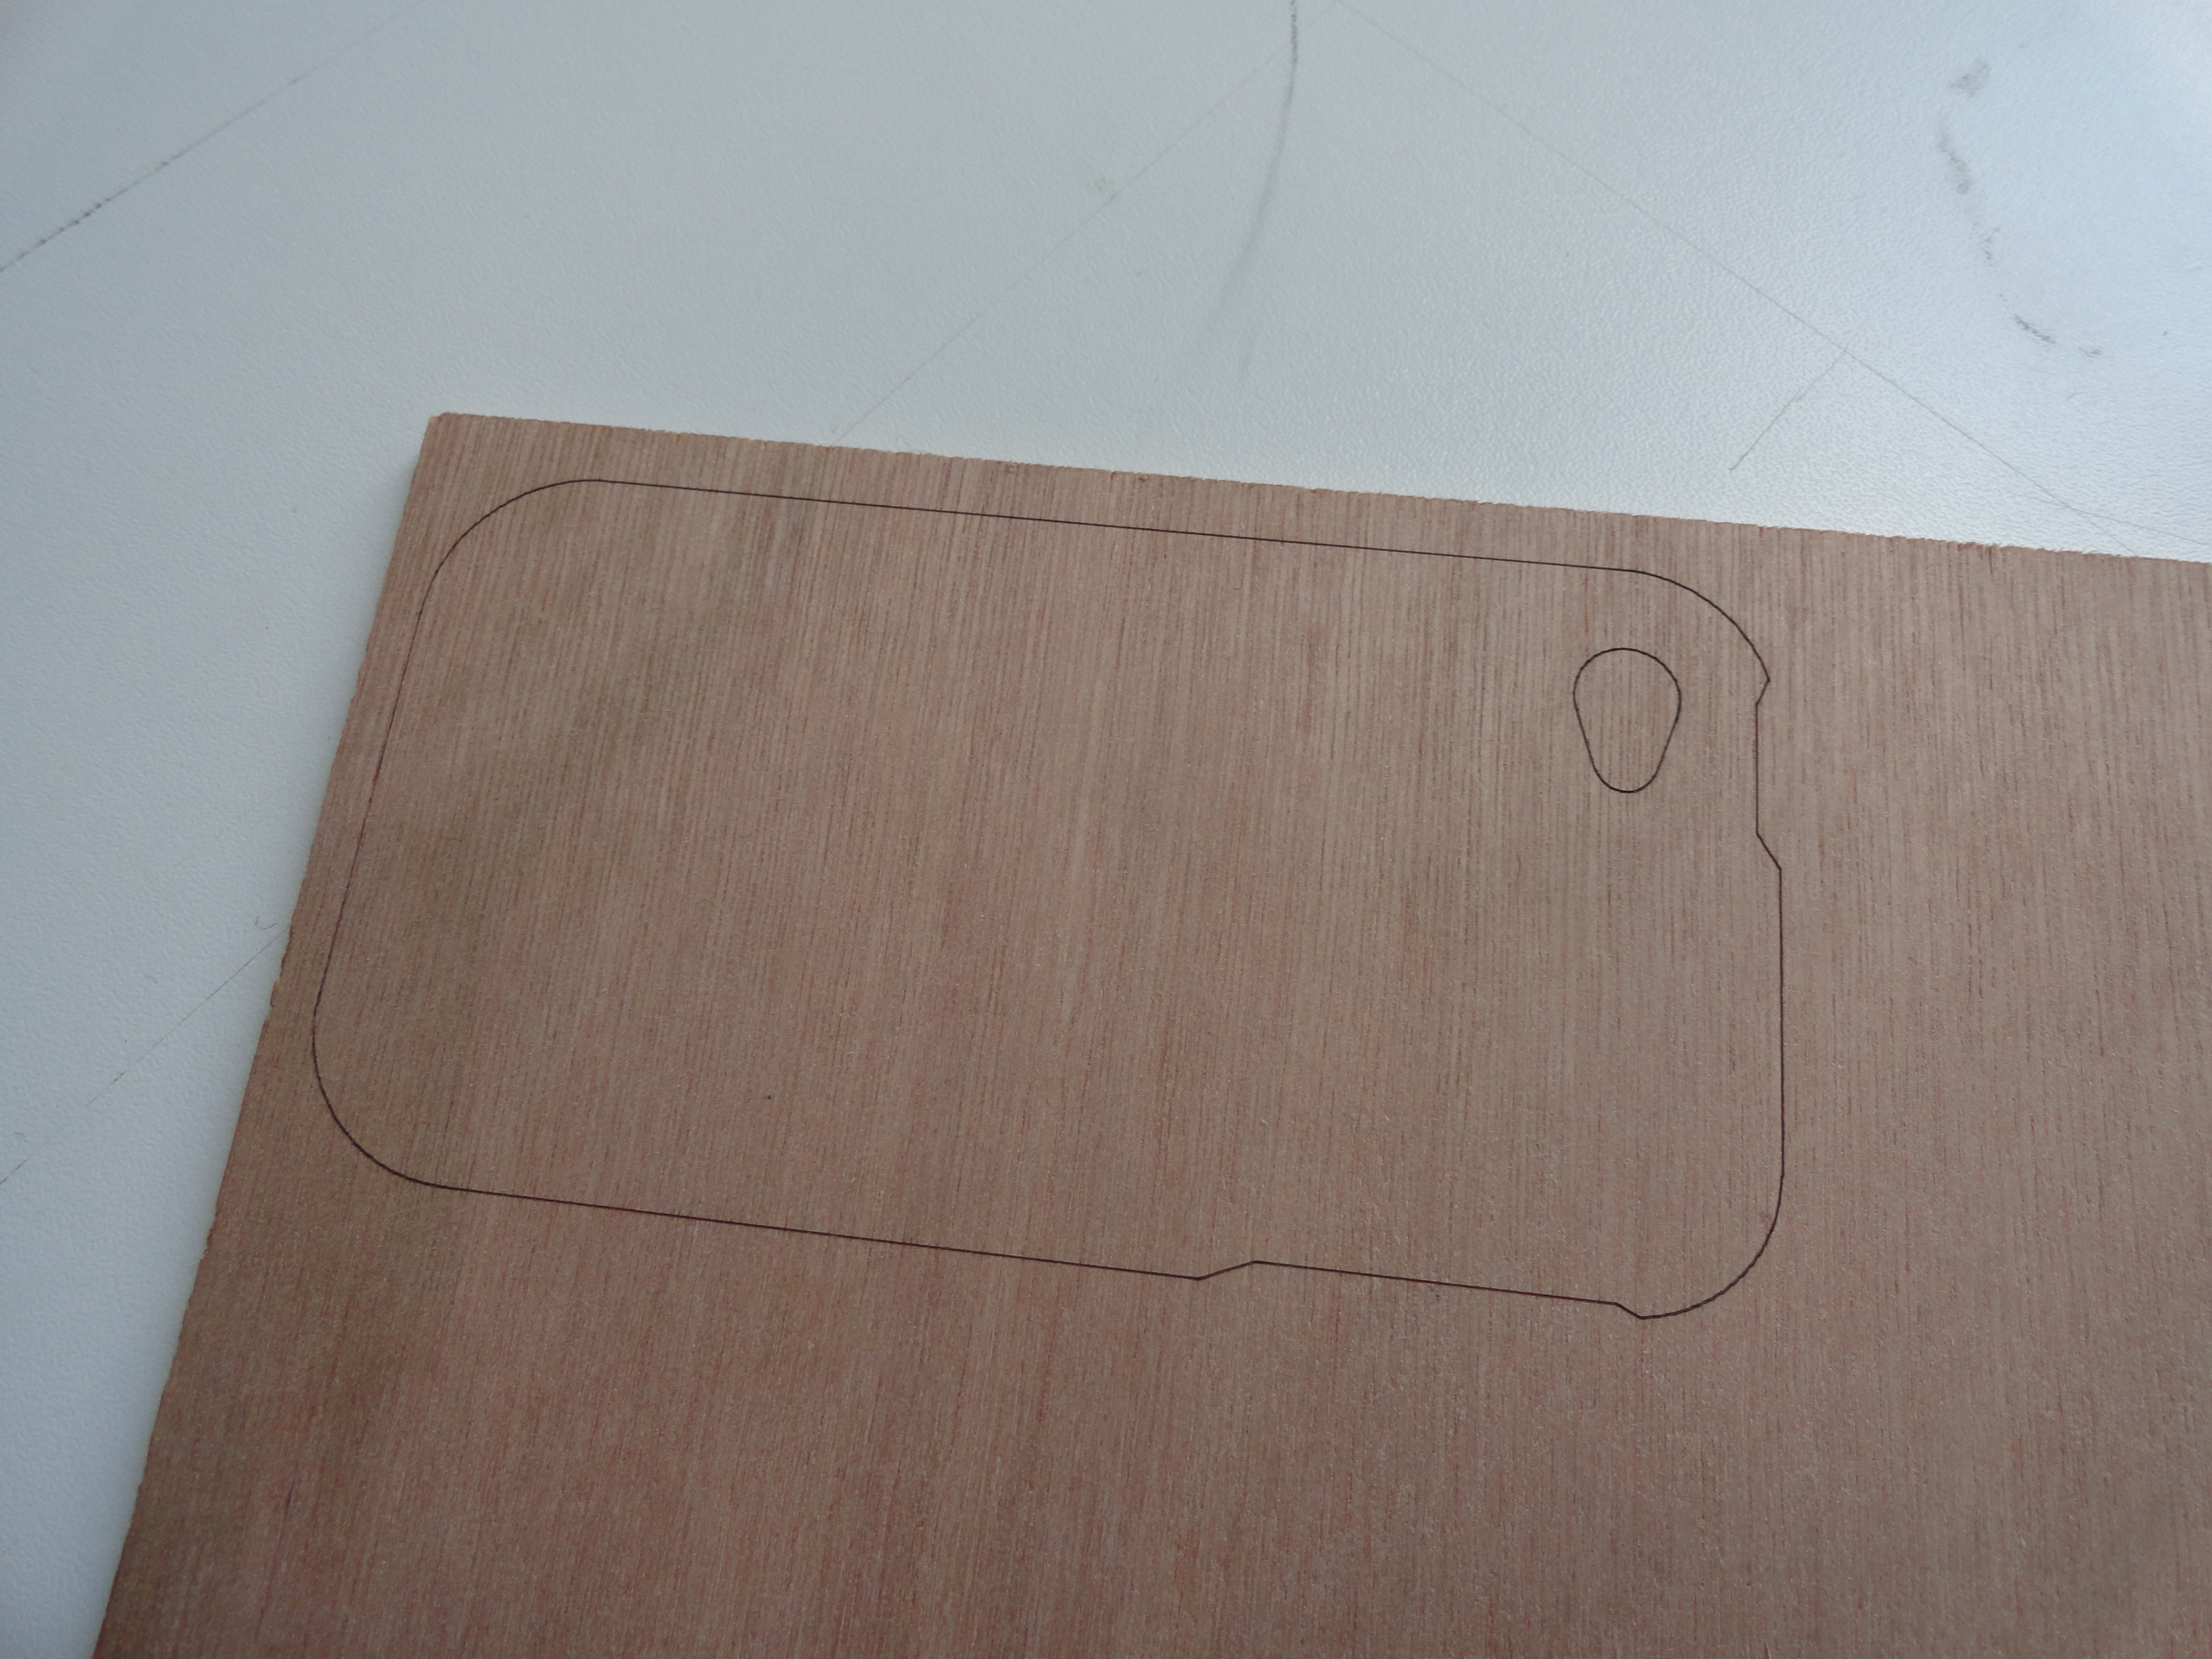
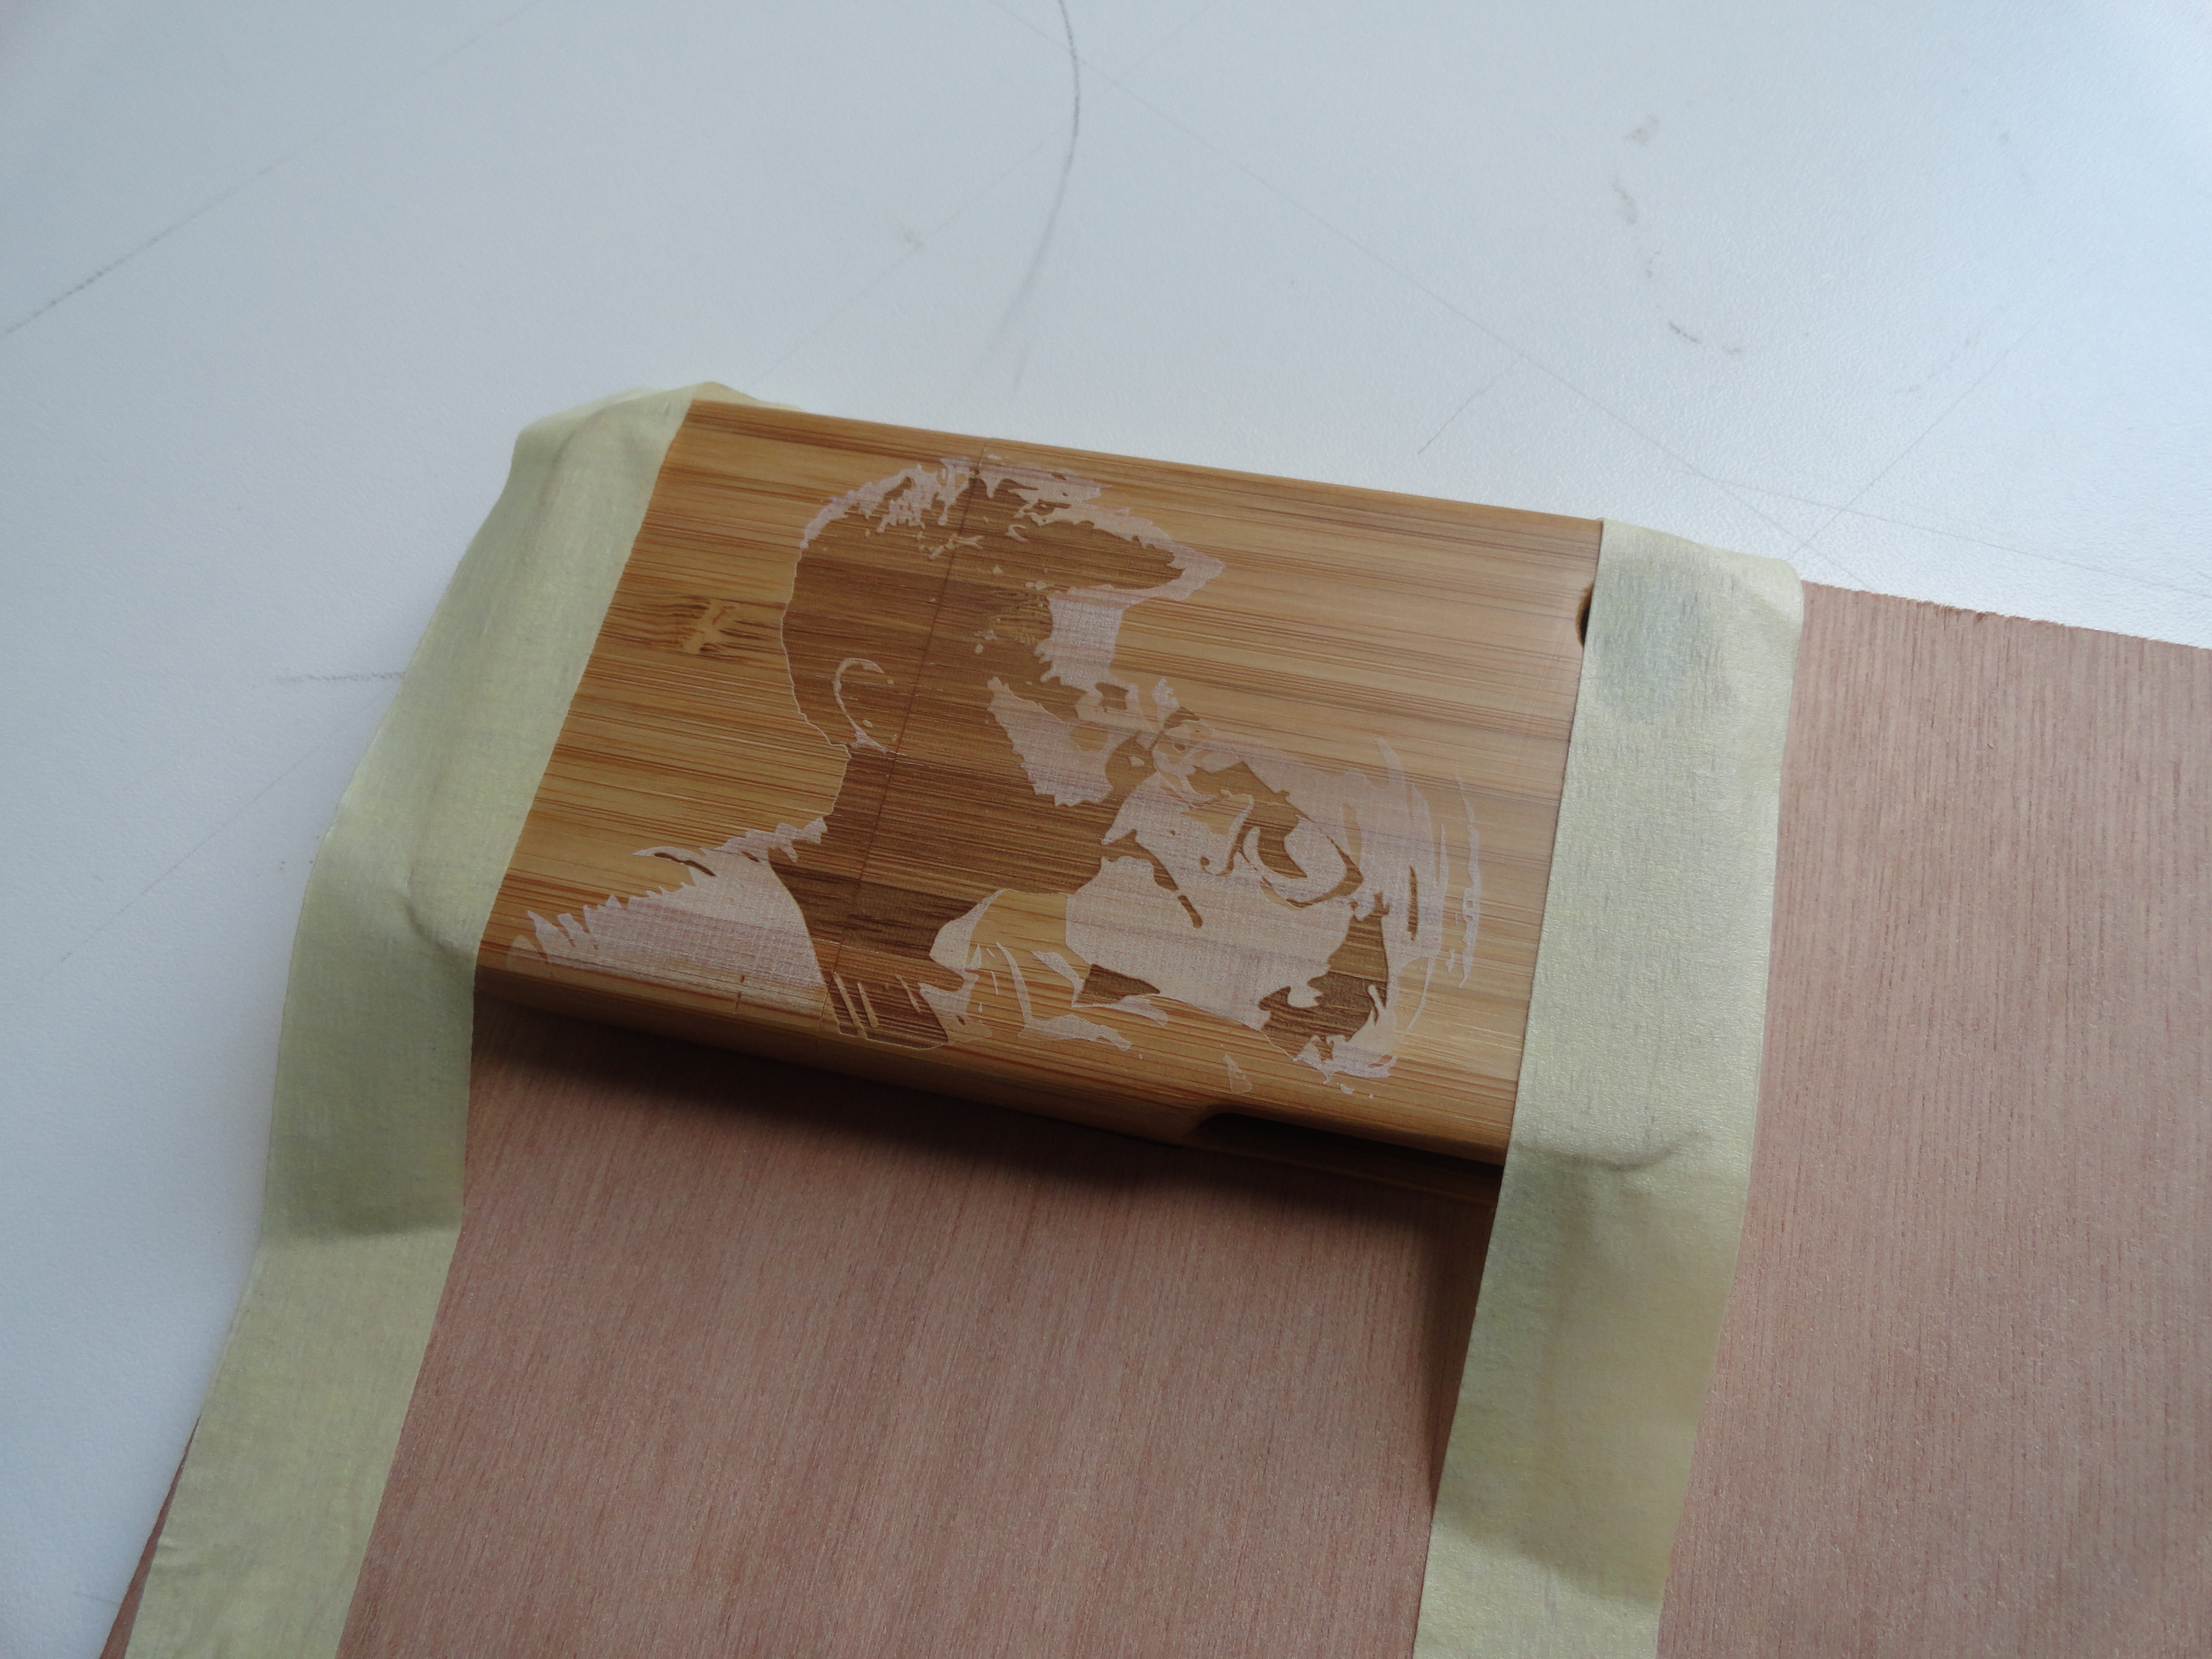
You have to lasercut in the following order:
1. place a piece of plywood in the corner of the cutter and engrave the contours of the phone
2. outline the cover on the contours, tape it to the wood so it won't shift and place the plywood back in the corner
3. engrave the first part, START VERY LIGHT, if it's not deep enough you can do it over again (light means a high speed)
4. engrave the second part at half of the speed (so it's double as deep)
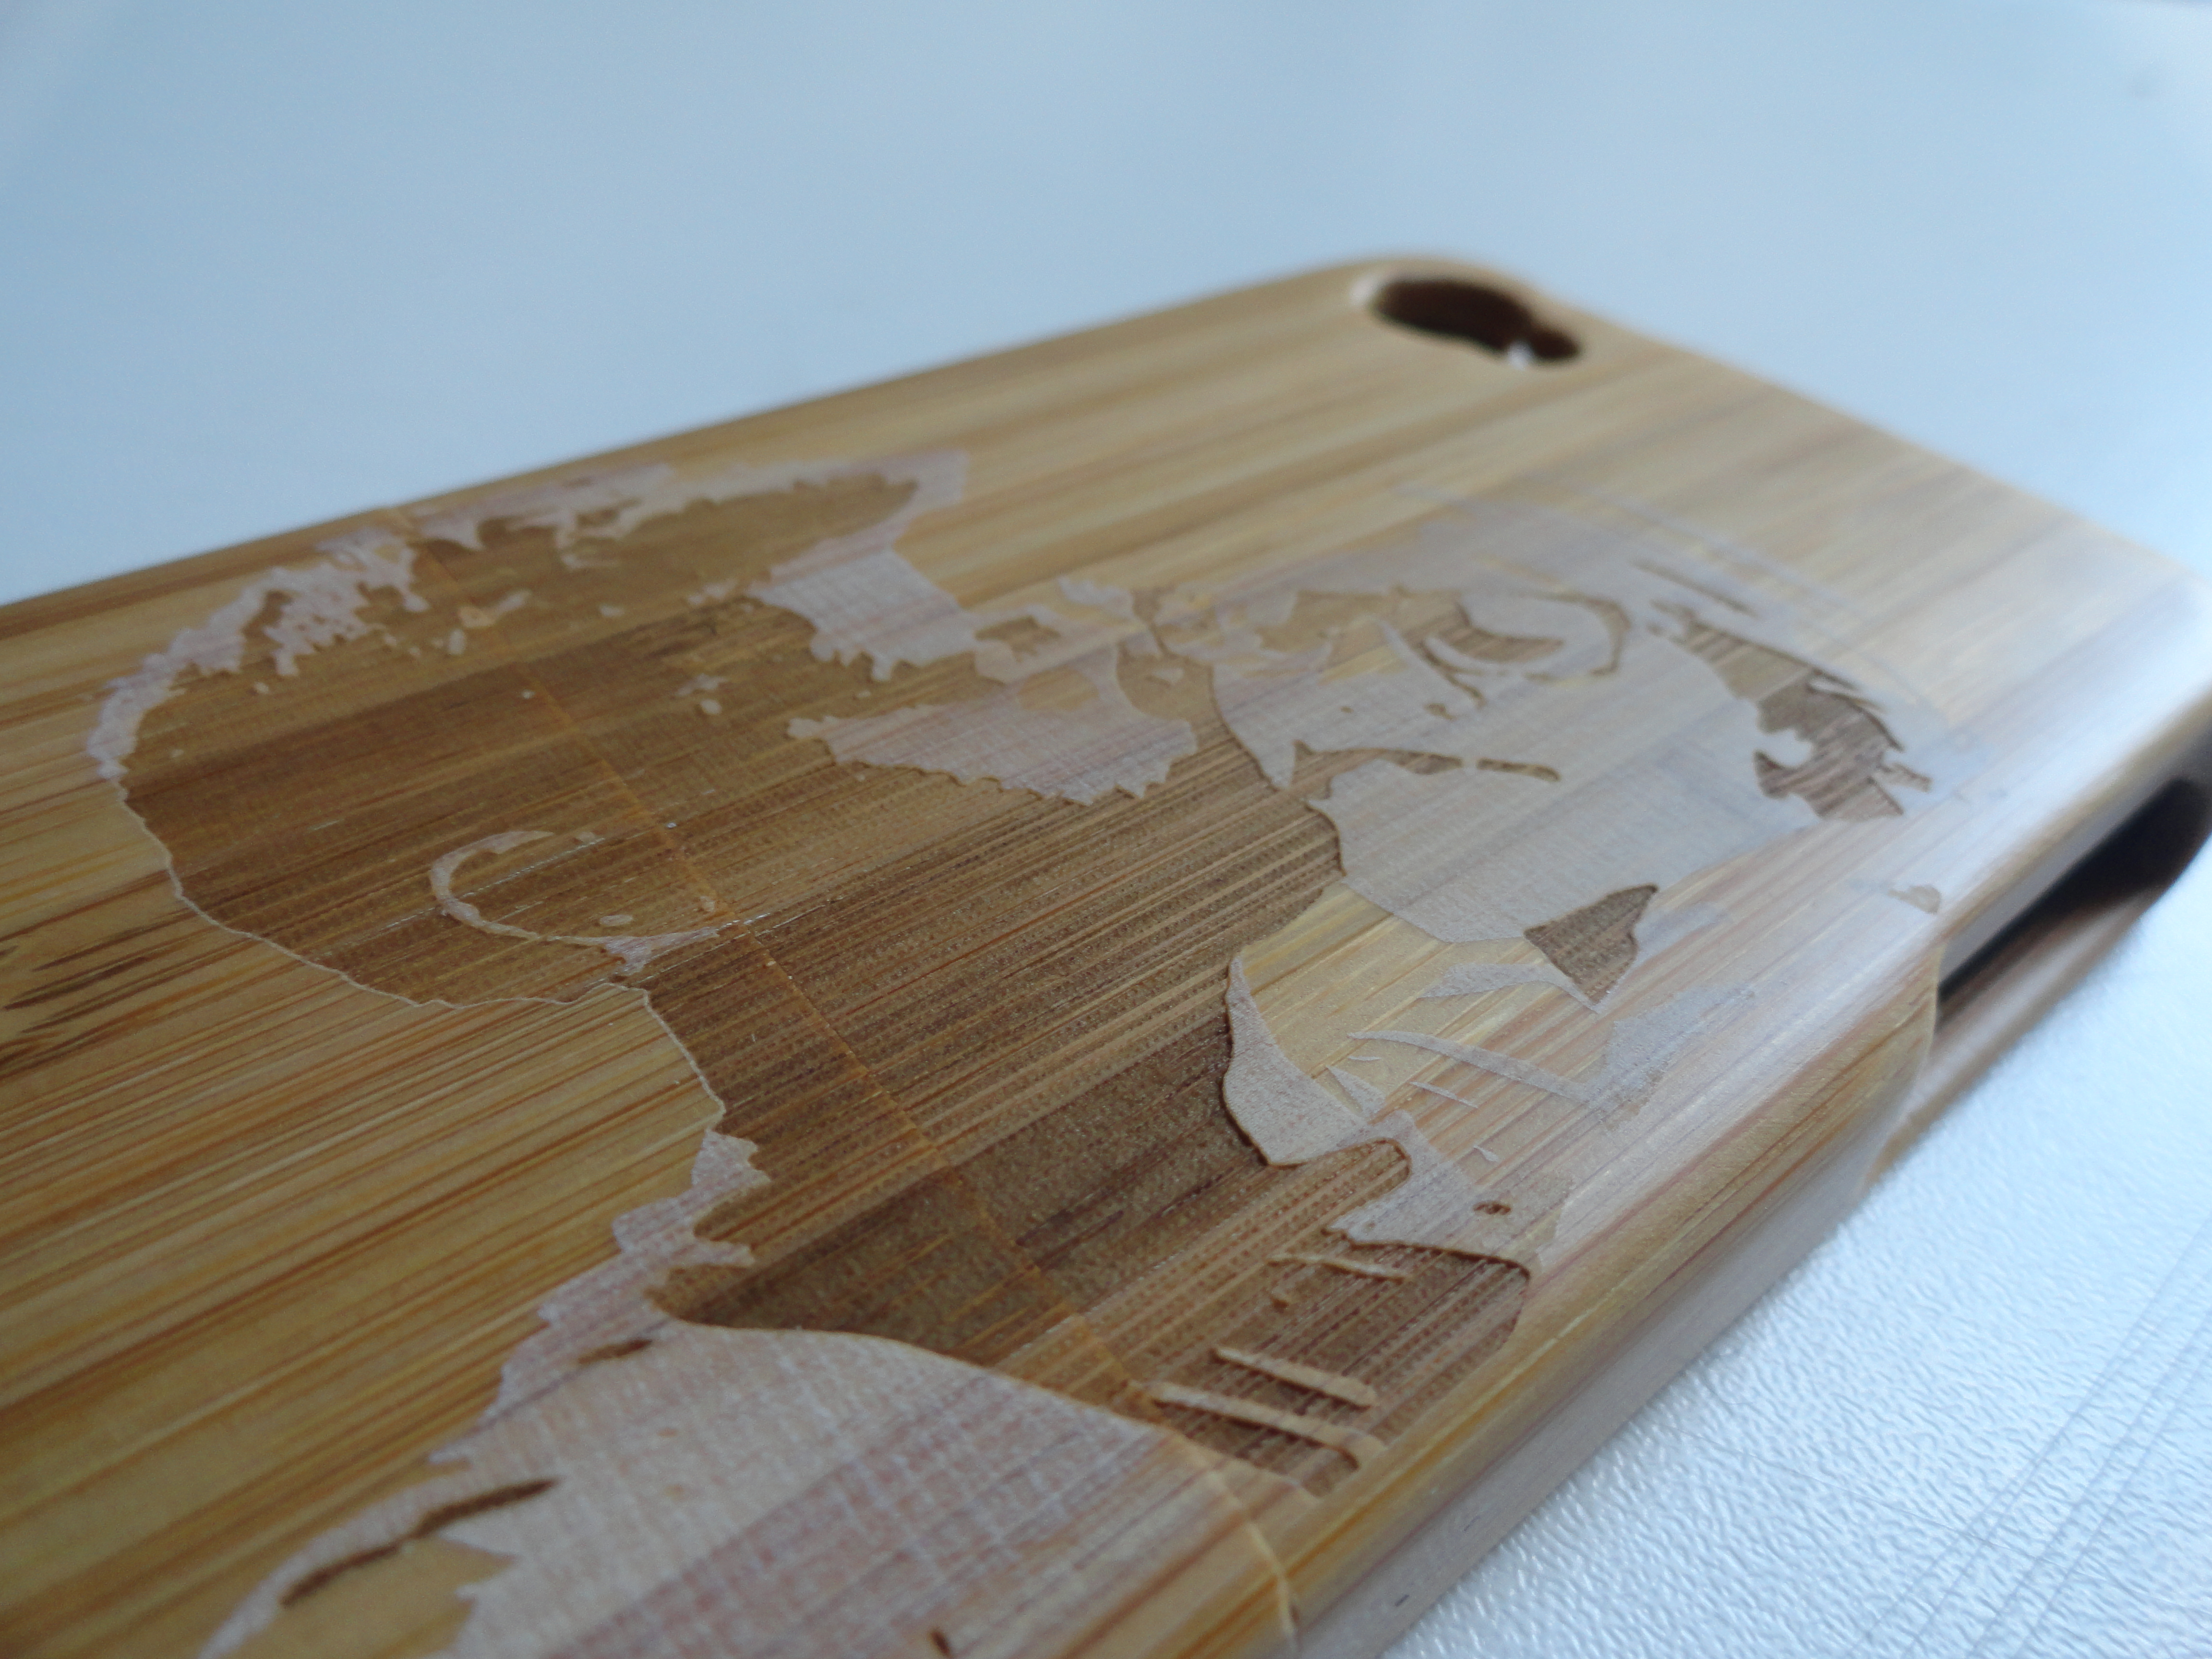
Here the first engraving is so light that it just mattified the varnish on the cover. As a result, the contrast between the two tones is even greater.
Your cover is done !! Now your phone is protected AND personal !
(You can also engrave letters, very easy ! Just use illustrator to type something in the contours)