Personalize Your Anodized Flashlights With a Laser-engraver at TechShop
by babylonfive in Circuits > Electronics
5171 Views, 11 Favorites, 0 Comments
Personalize Your Anodized Flashlights With a Laser-engraver at TechShop
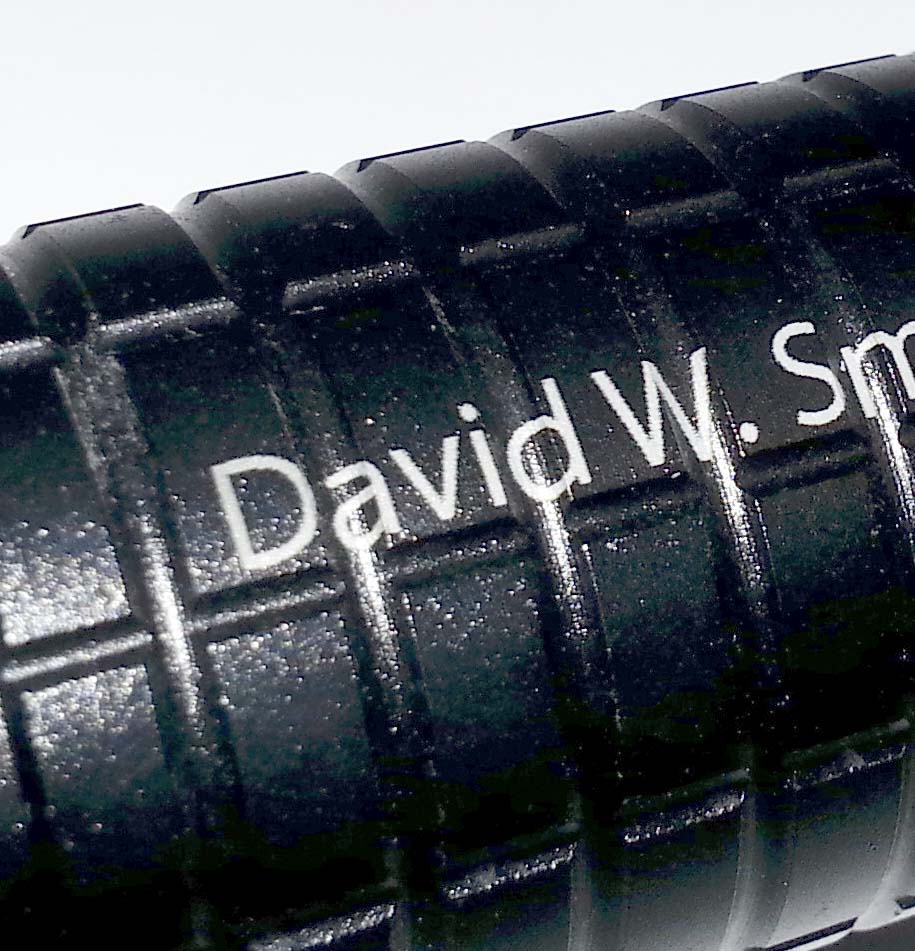
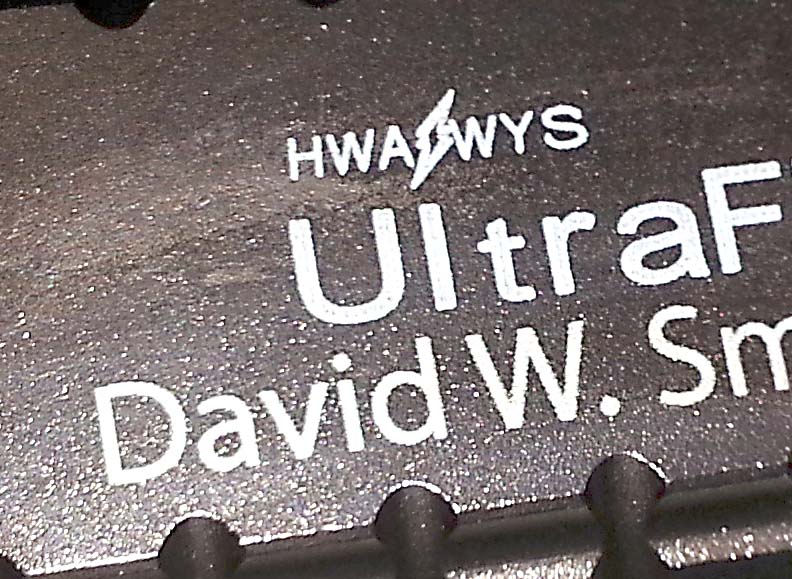
Anyone might have flashlights or other anodized aluminum items they wish to engrave. This Instructable shows how to mark anodized aluminum flashlights - both flat and curved.
This work was done at TechShop, in Round Rock, Texas!
First, Create Your Personalized Marking Artwork
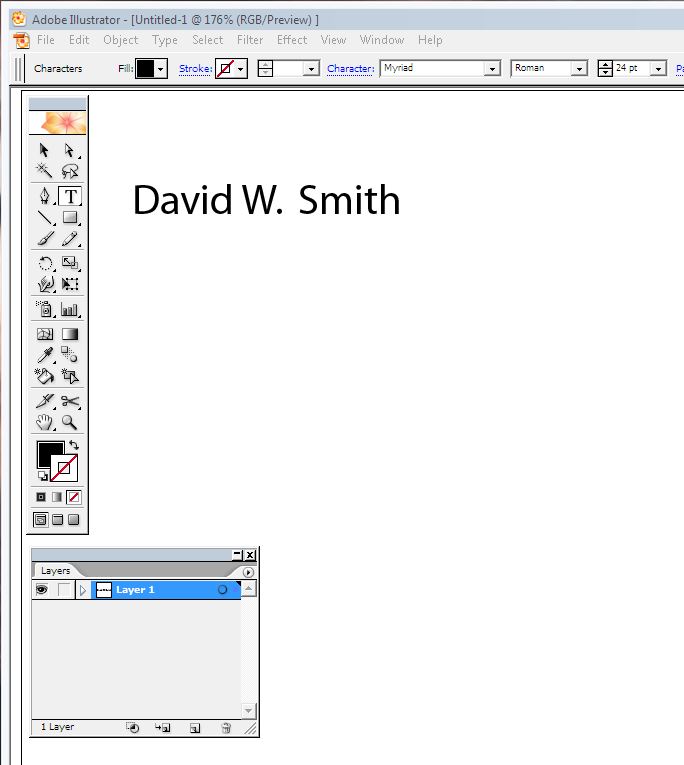
Draw your marking design in a drawing package, like Adobe Illustrator or CorelDRAW. Either one can output the proper format files. I chose Illustrator because I have it and am experienced with it.
- Set your drawing package to RGB color, not CMYK. This is critical to the laser (any CNC device) interpreting your lines for various purposes - engraving is 'coded' by the color we choose (note metal can't be cut by low-power lasers like the TROTEC at TechShop).
- Measure the material to be engraved - make sure you understand the exact location and shape of the space
- Create the text or graphics you want to engrave. Use pure black (#000000 RGB) for this text, as the standard for engraving.
- Consider setting 'Grid' on so that as you adjust layers they will snap to the nearest gridline and assure proper association of multiple text entries as well as matching your known dimensions.
- Save your design. If you use another application that isn't present on the laser cutter computer (TechShop has Illustrator and CorelDRAW as well as others - check with them) you might want to export in a portable format for vectors, like DXF. Otherwise use the normal saving format.
Note that TechShop provides many apps for driving the laser cutter/engraver and the drivers, allowing direct output from those apps to the engraver. This means you can bring your native format files for these programs, such as AutoCAD, Illustrator, CorelDRAW etc. Check with your TechShop or other provider of equipment time to see what apps they support, or if you must bring an intermediate format.
Next, Consider the Location to Engrave - Flat or Curved - and the Width of the Marking

TechShop provides complete classes and instruction for the laser engraver, including flat engraving and also rotational engraving - the latter is a method of holding the rotating cylindrical items instead of moving the Y-dimension, allowing engraving around bottles, glasses etc. In this case of personalized engraving, I'm showing a method that can utilize the normal laser head X-Y method, without the need for the rotational attachment.
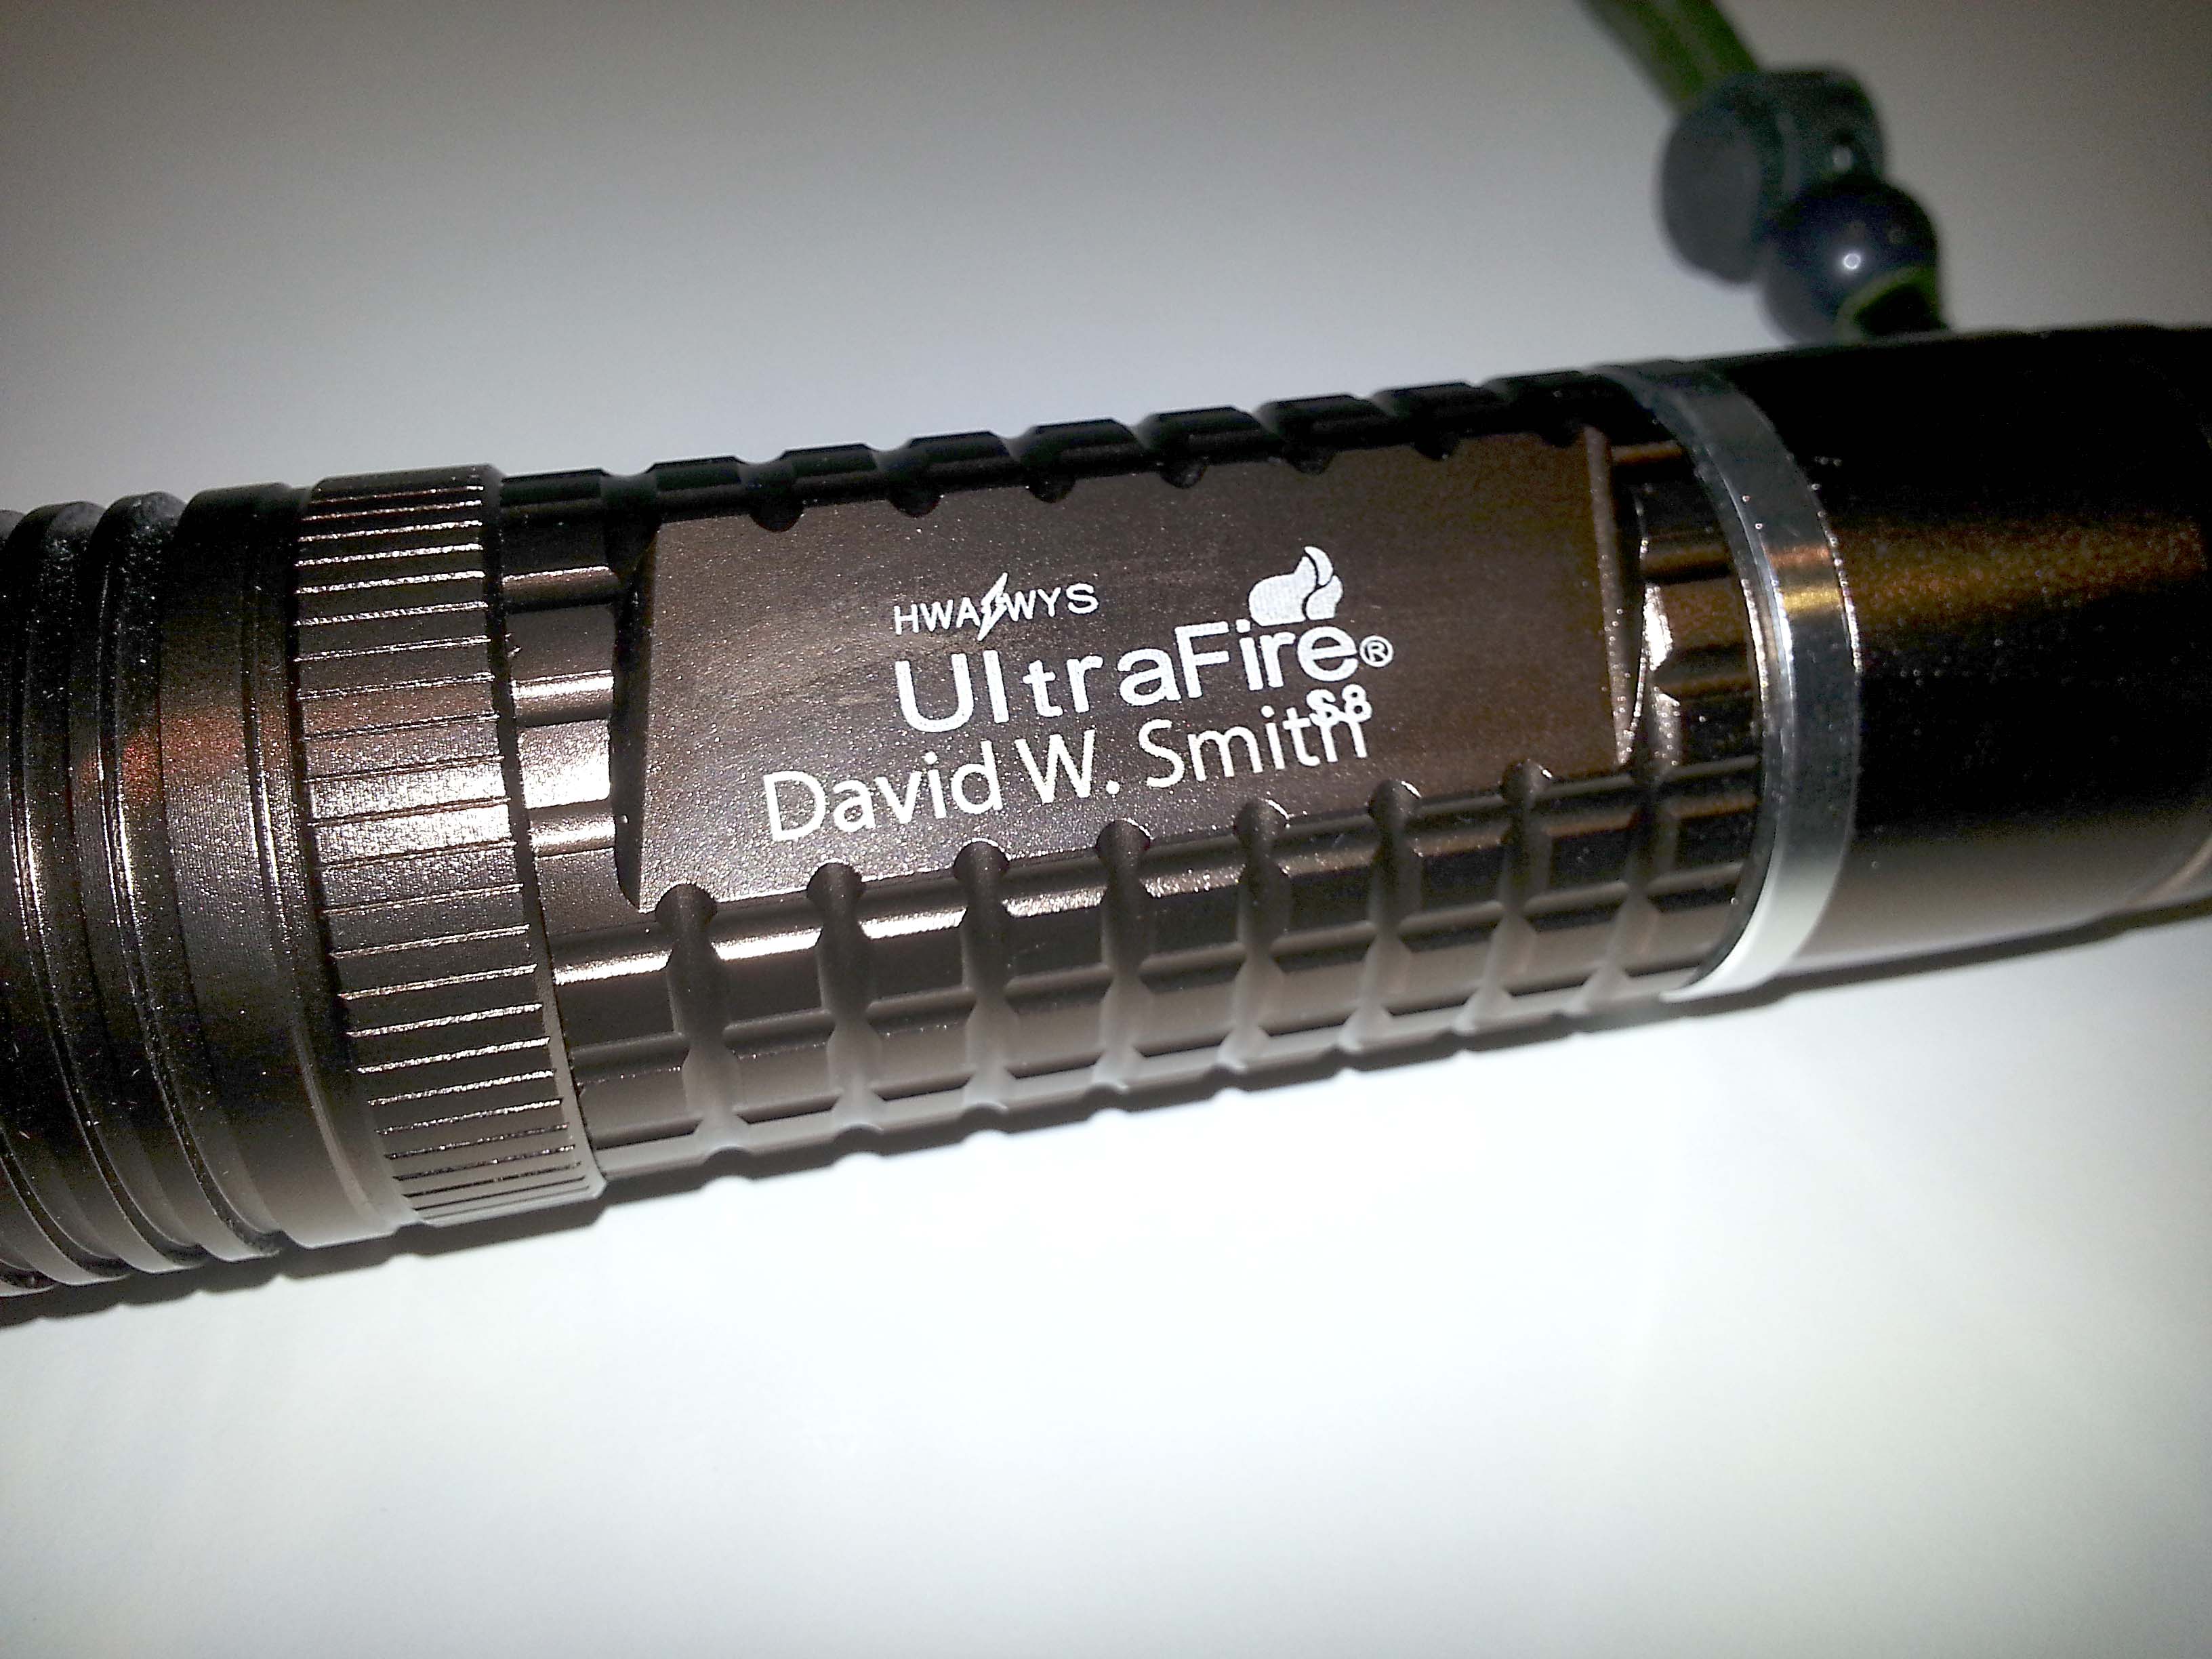
Essentially we will engrave the flashlights and other items of this type as if they were flat. This will require assuring that the area to be engraved will be within 1mm or so of the highest surface. As in my case, one flashlights only varied in height a vary small amount over the width of the engraving, and the other one had a flat spot on the surface perfect for engraving (and already had an engraving on it).
As long as the surface varies in height only a small amount, the engraving will work. Have a look at this picture, showing a cylindrical shape and machined grooves, yet it still engraved/marked very nicely.
Load the Data File and Position the Item to Mark

TechShop provides complete classes and instruction for the laser engraver, including how to position items, set focus, safety data and how the driver works. Please review all these details to set the procedure for your specific setup.
- Load the data file for the engraving. Make sure the file format for color is still RGB (Not CMYK)
- Make sure the text (and graphics) are selected to be BLACK (#000000), as this is the standard with most lasers for engraving (rather than cutting).
- Select PRINT in the application, and move to the laser driver controls in the Print dialog.
- Set the driver to interpret BLACK as Engrave, and set the engrave speed and power as indicated by the specific 'cheat sheet' for that laser -- in my case I engraved with a TROTEC 80W system, and used 100% power, 75 in/sec and 1000 pulses/sec. Please try your settings with a very small mark first (perhaps in a hidden or unused location) to see if it works for you, before doing the full mark
- Position the item to mark on the laser bed and make sure the upper surface to mark (curved or flat) is absolutely level with the bed. As I've mentioned before, small variation is OK, but the flatter the better.
- Manually move the laser head until its positioned in the correct location - most engravers have a red laser dot to be sure of the location. Close the lid.
- Back at the driver on the computer, move the marking text or graphic to the correct place with respect to the current head location (shown by a crosshairs on the TROTEC driver screen), so that the mark will position correctly on the item to be personalized.
Mark the Item!
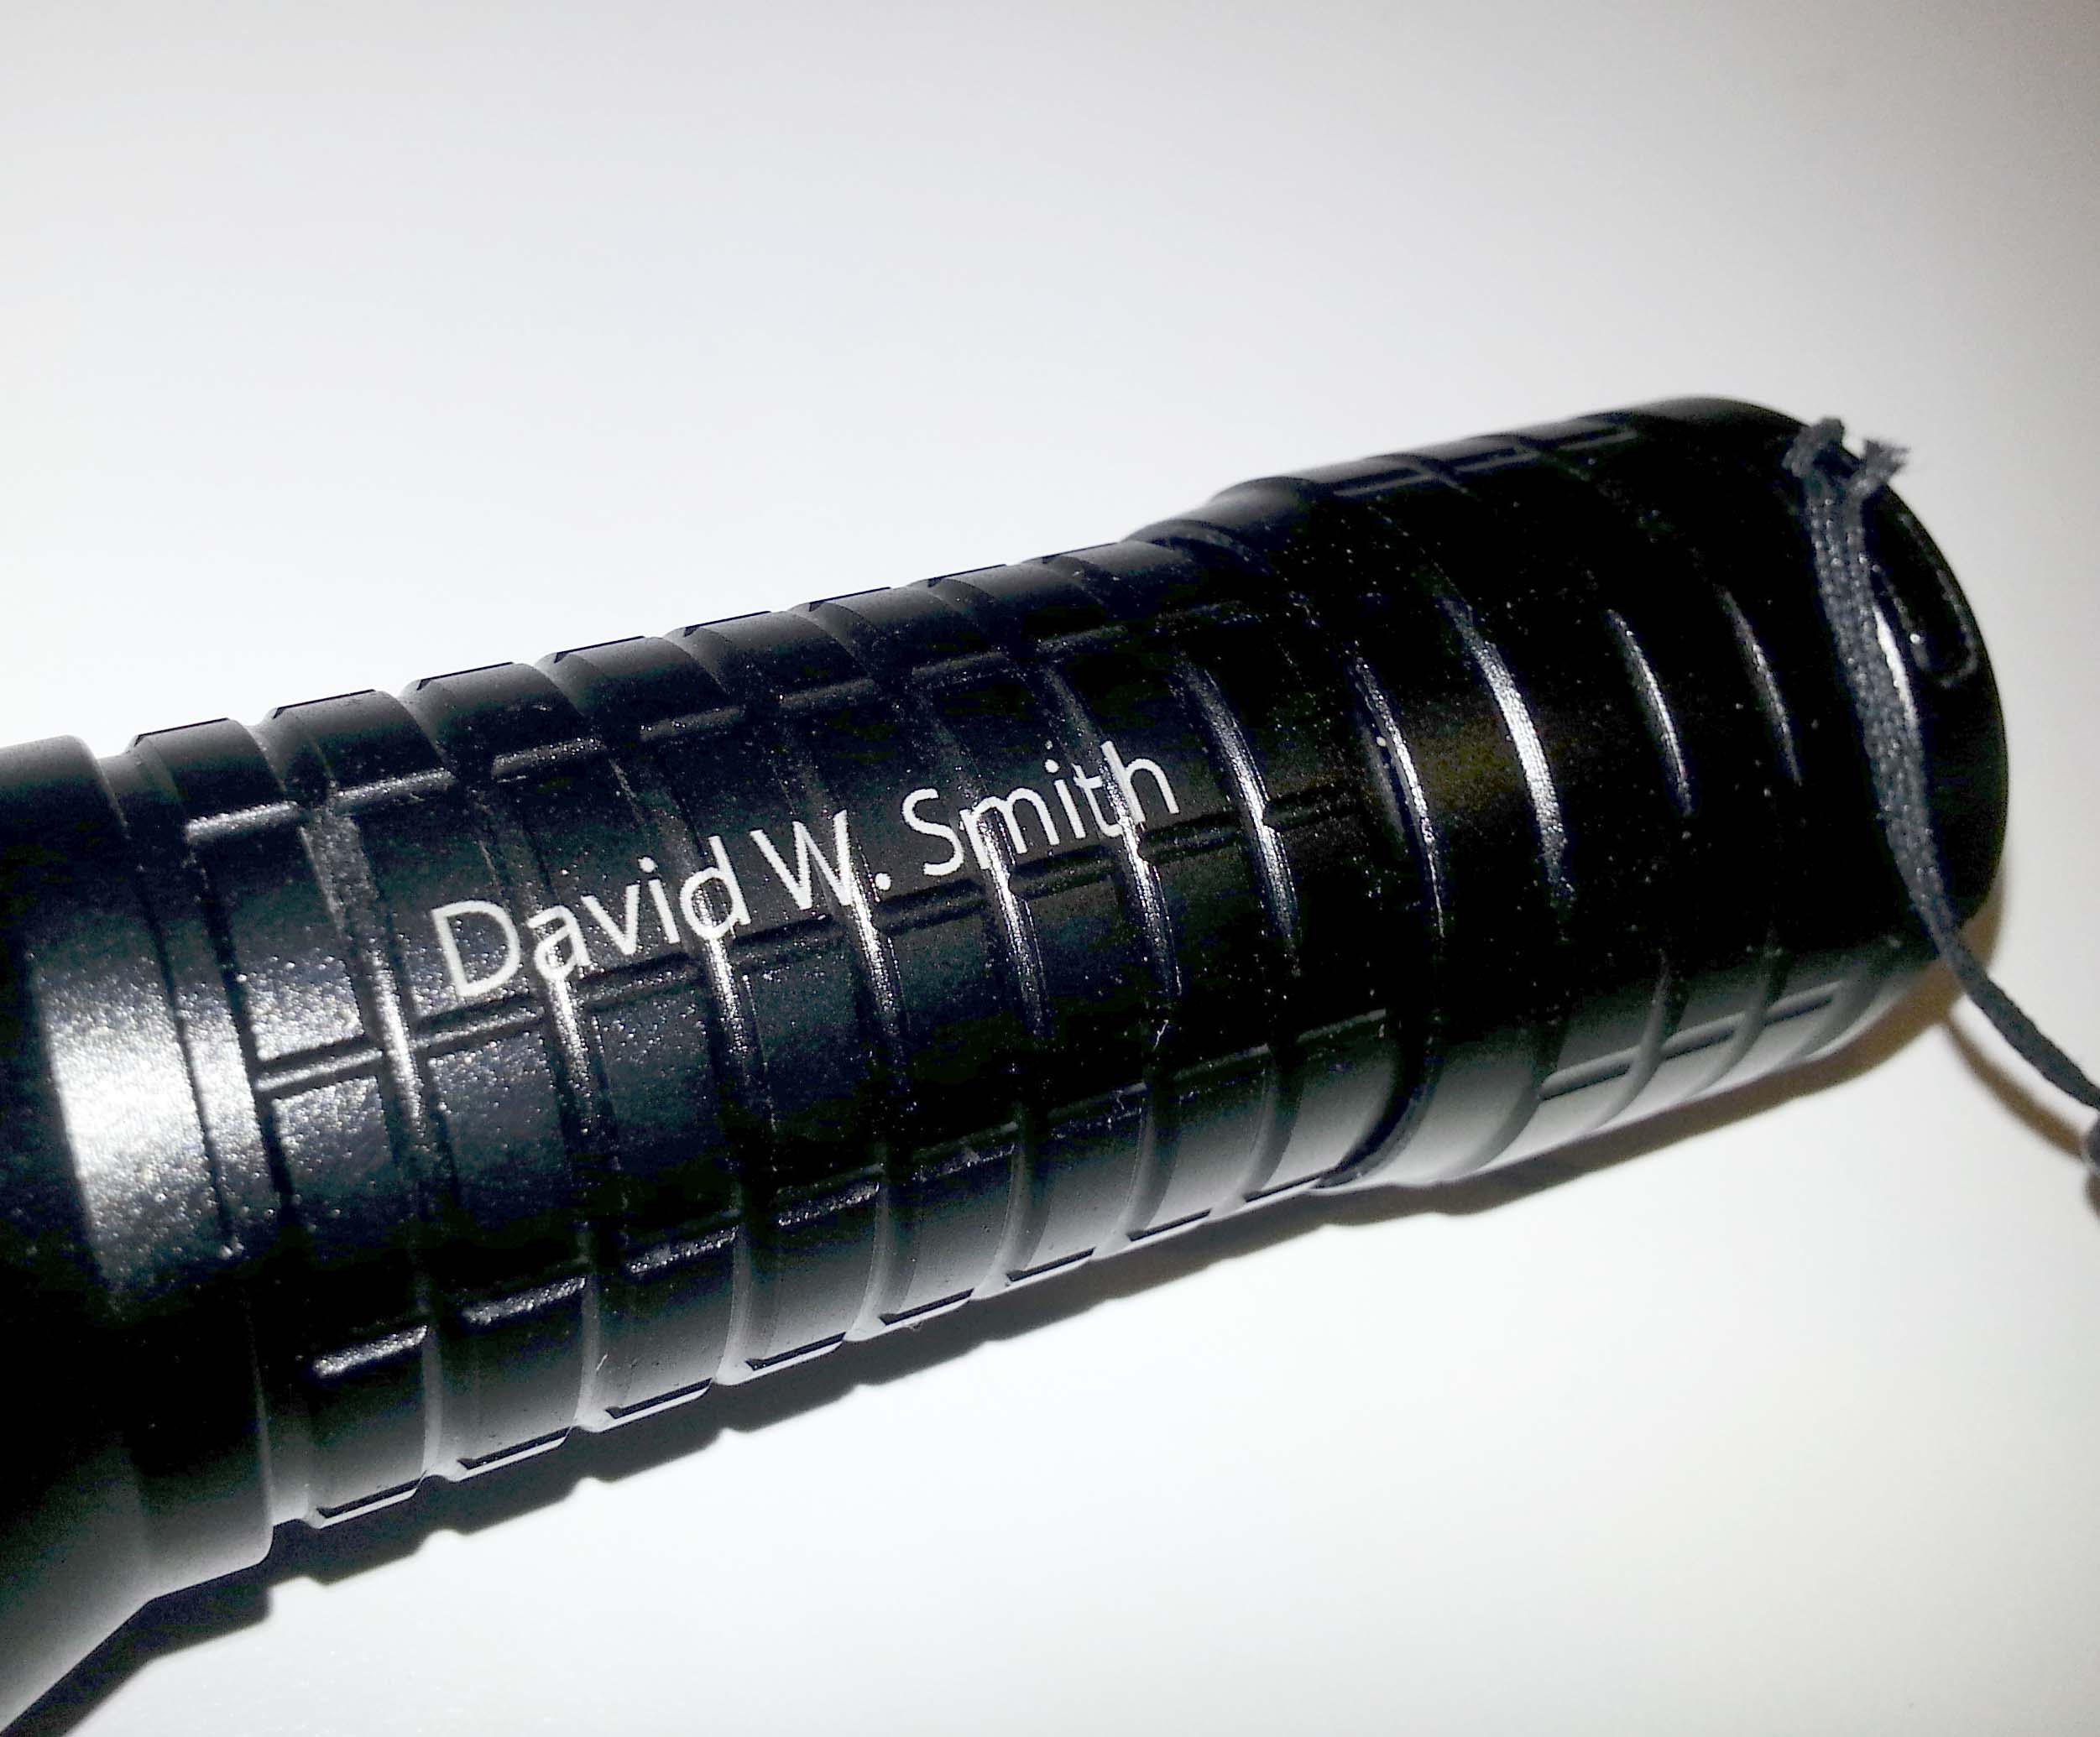


Hit print and begin the marking!
Have a look at these flashlights I marked successfully, with little effort or time.
Remember that shiny unpainted or non-anodized metal surfaces are not usually approved for laser marking with this kind of machine, because of reflection damage. Please check with your instructions or your equipment supplier to be sure.