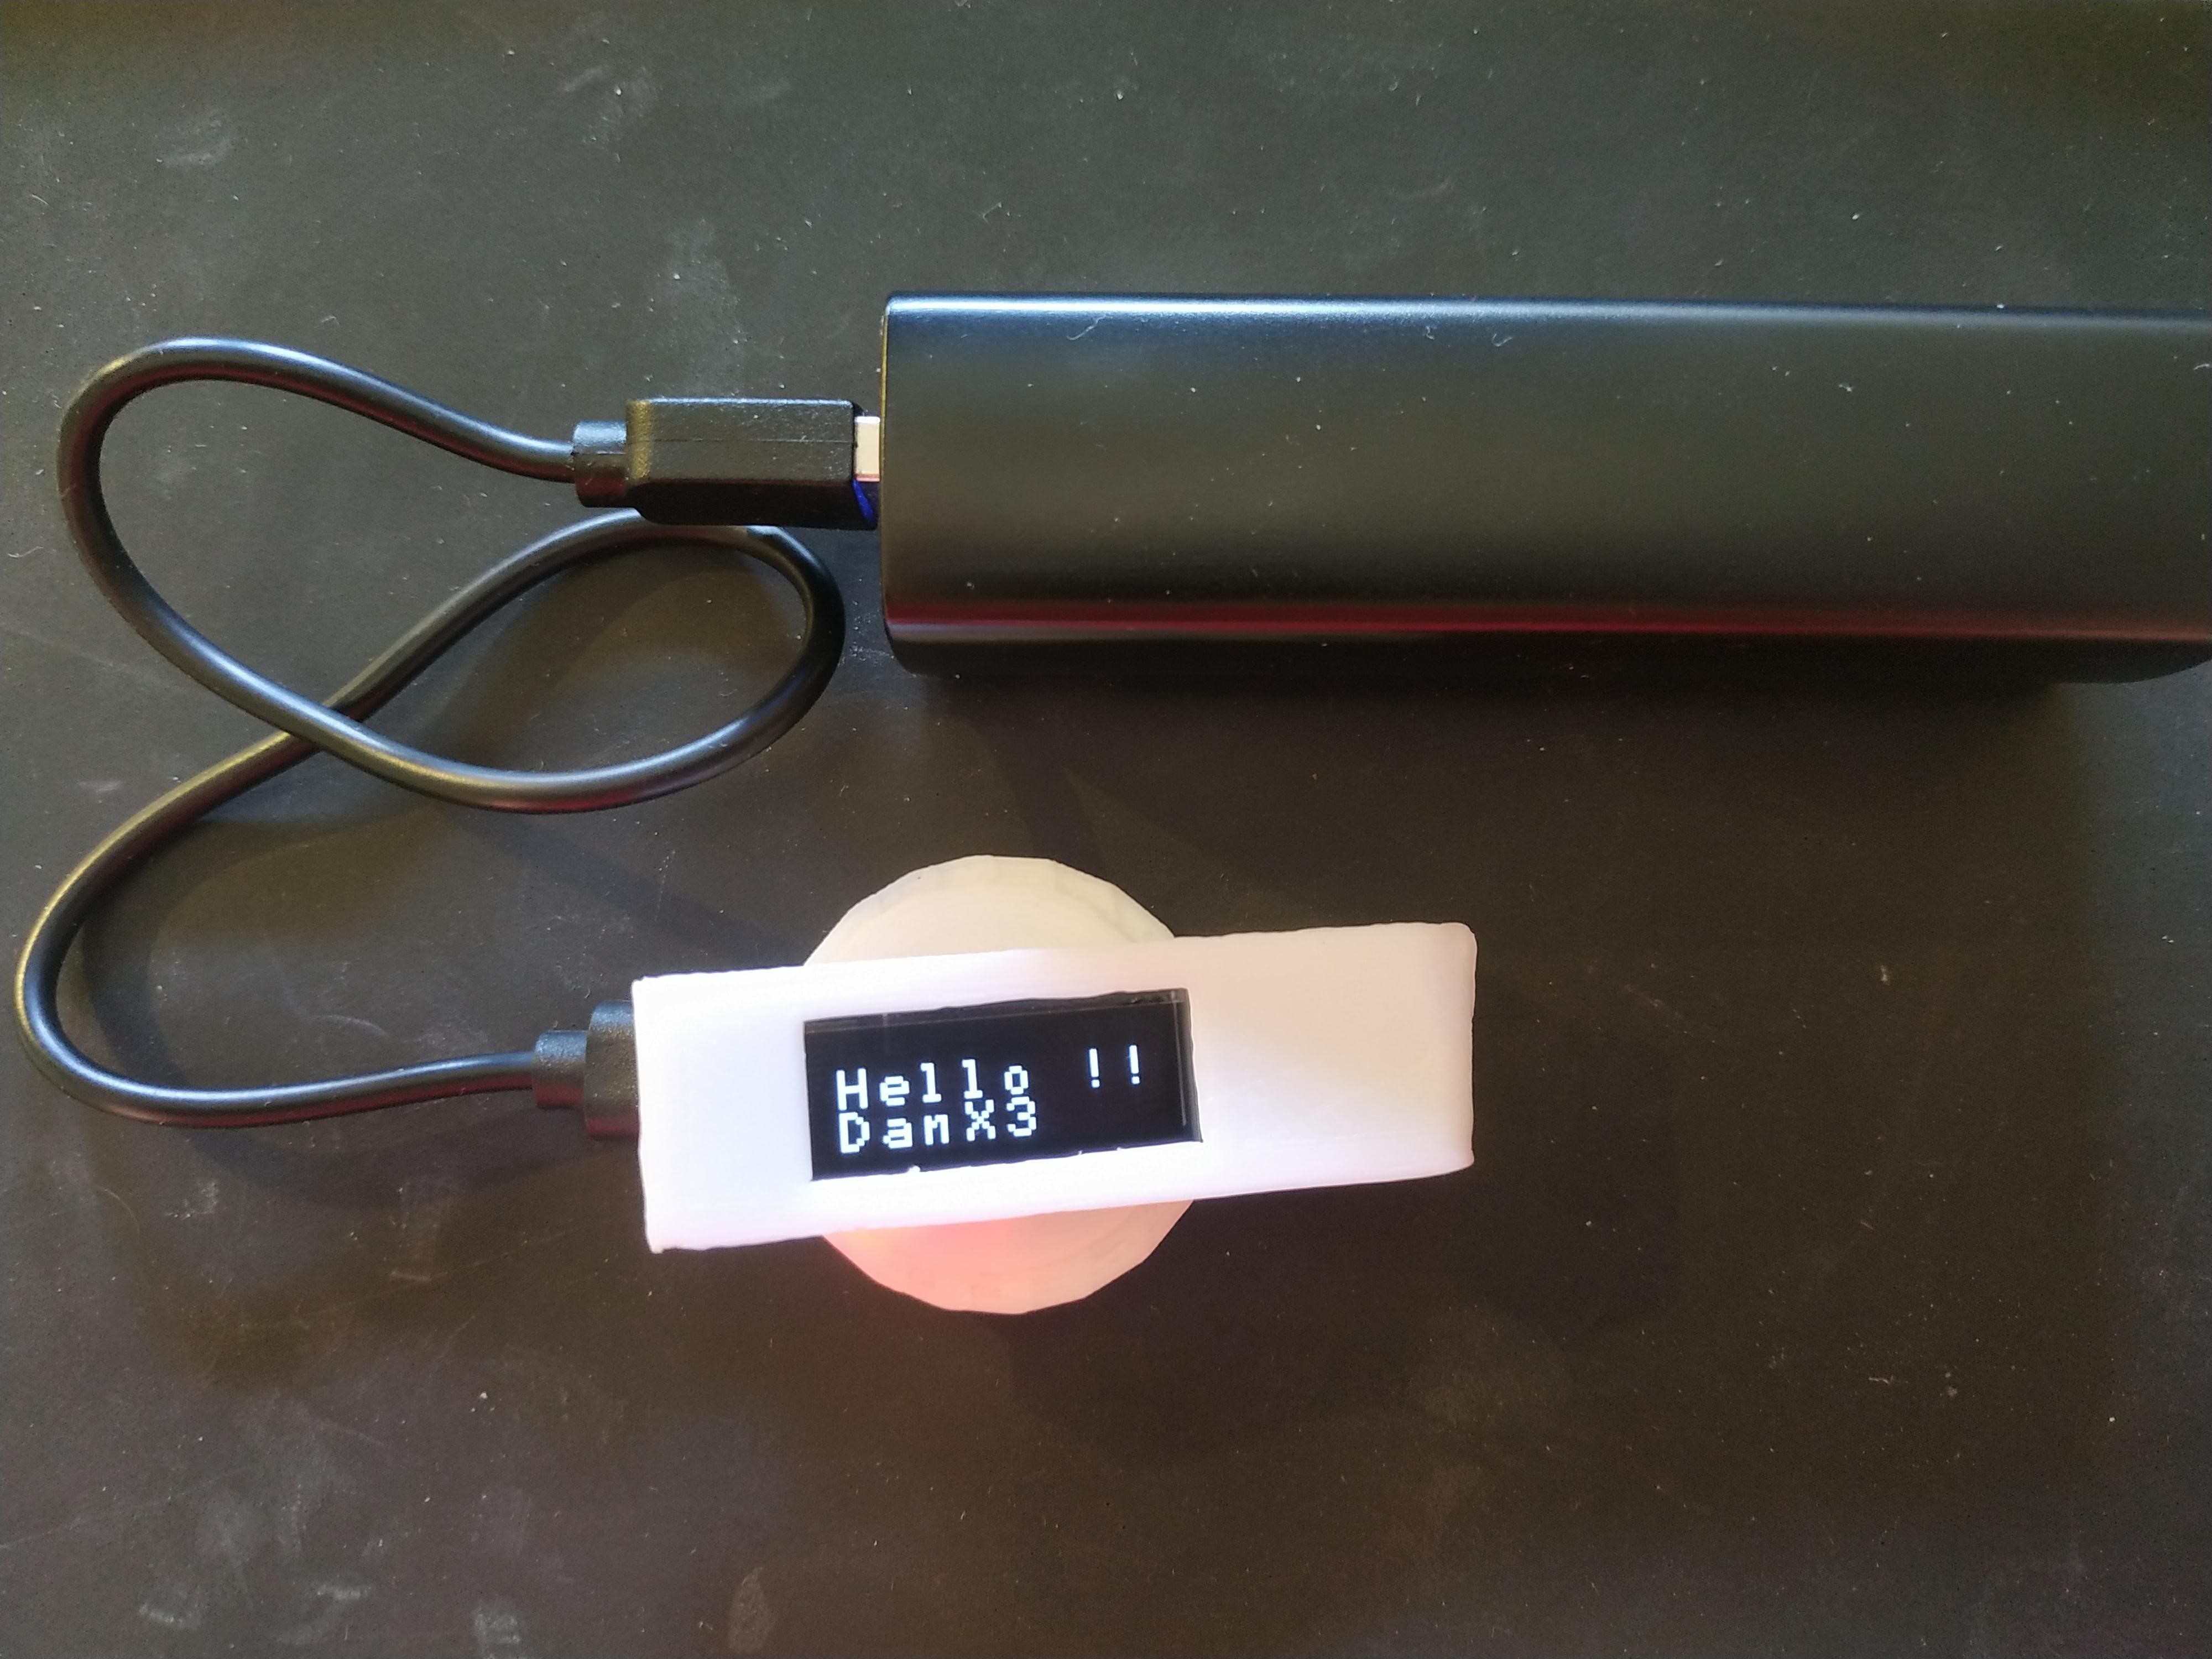
Persona Project


"Persona Project" electronic weareable device tag who can show your name for meetings, commercial presentations or funny messages for events.
- Can show messages to your friend, customers, waiters, presentations
- Loop messages
- 3 type of diferent texts sizes: 4linesx16chars, 2x8 and 1x4
- Text with flashes
- Lightweight
- You can wear it on your tie, shirt, pocket...
- Very low power consumption
- Can be powered with your phone directly, or an external powerbank.
- Low cost
- Easy to build
- Easy mod for other power sources like Lipo battery or twin CR-2032
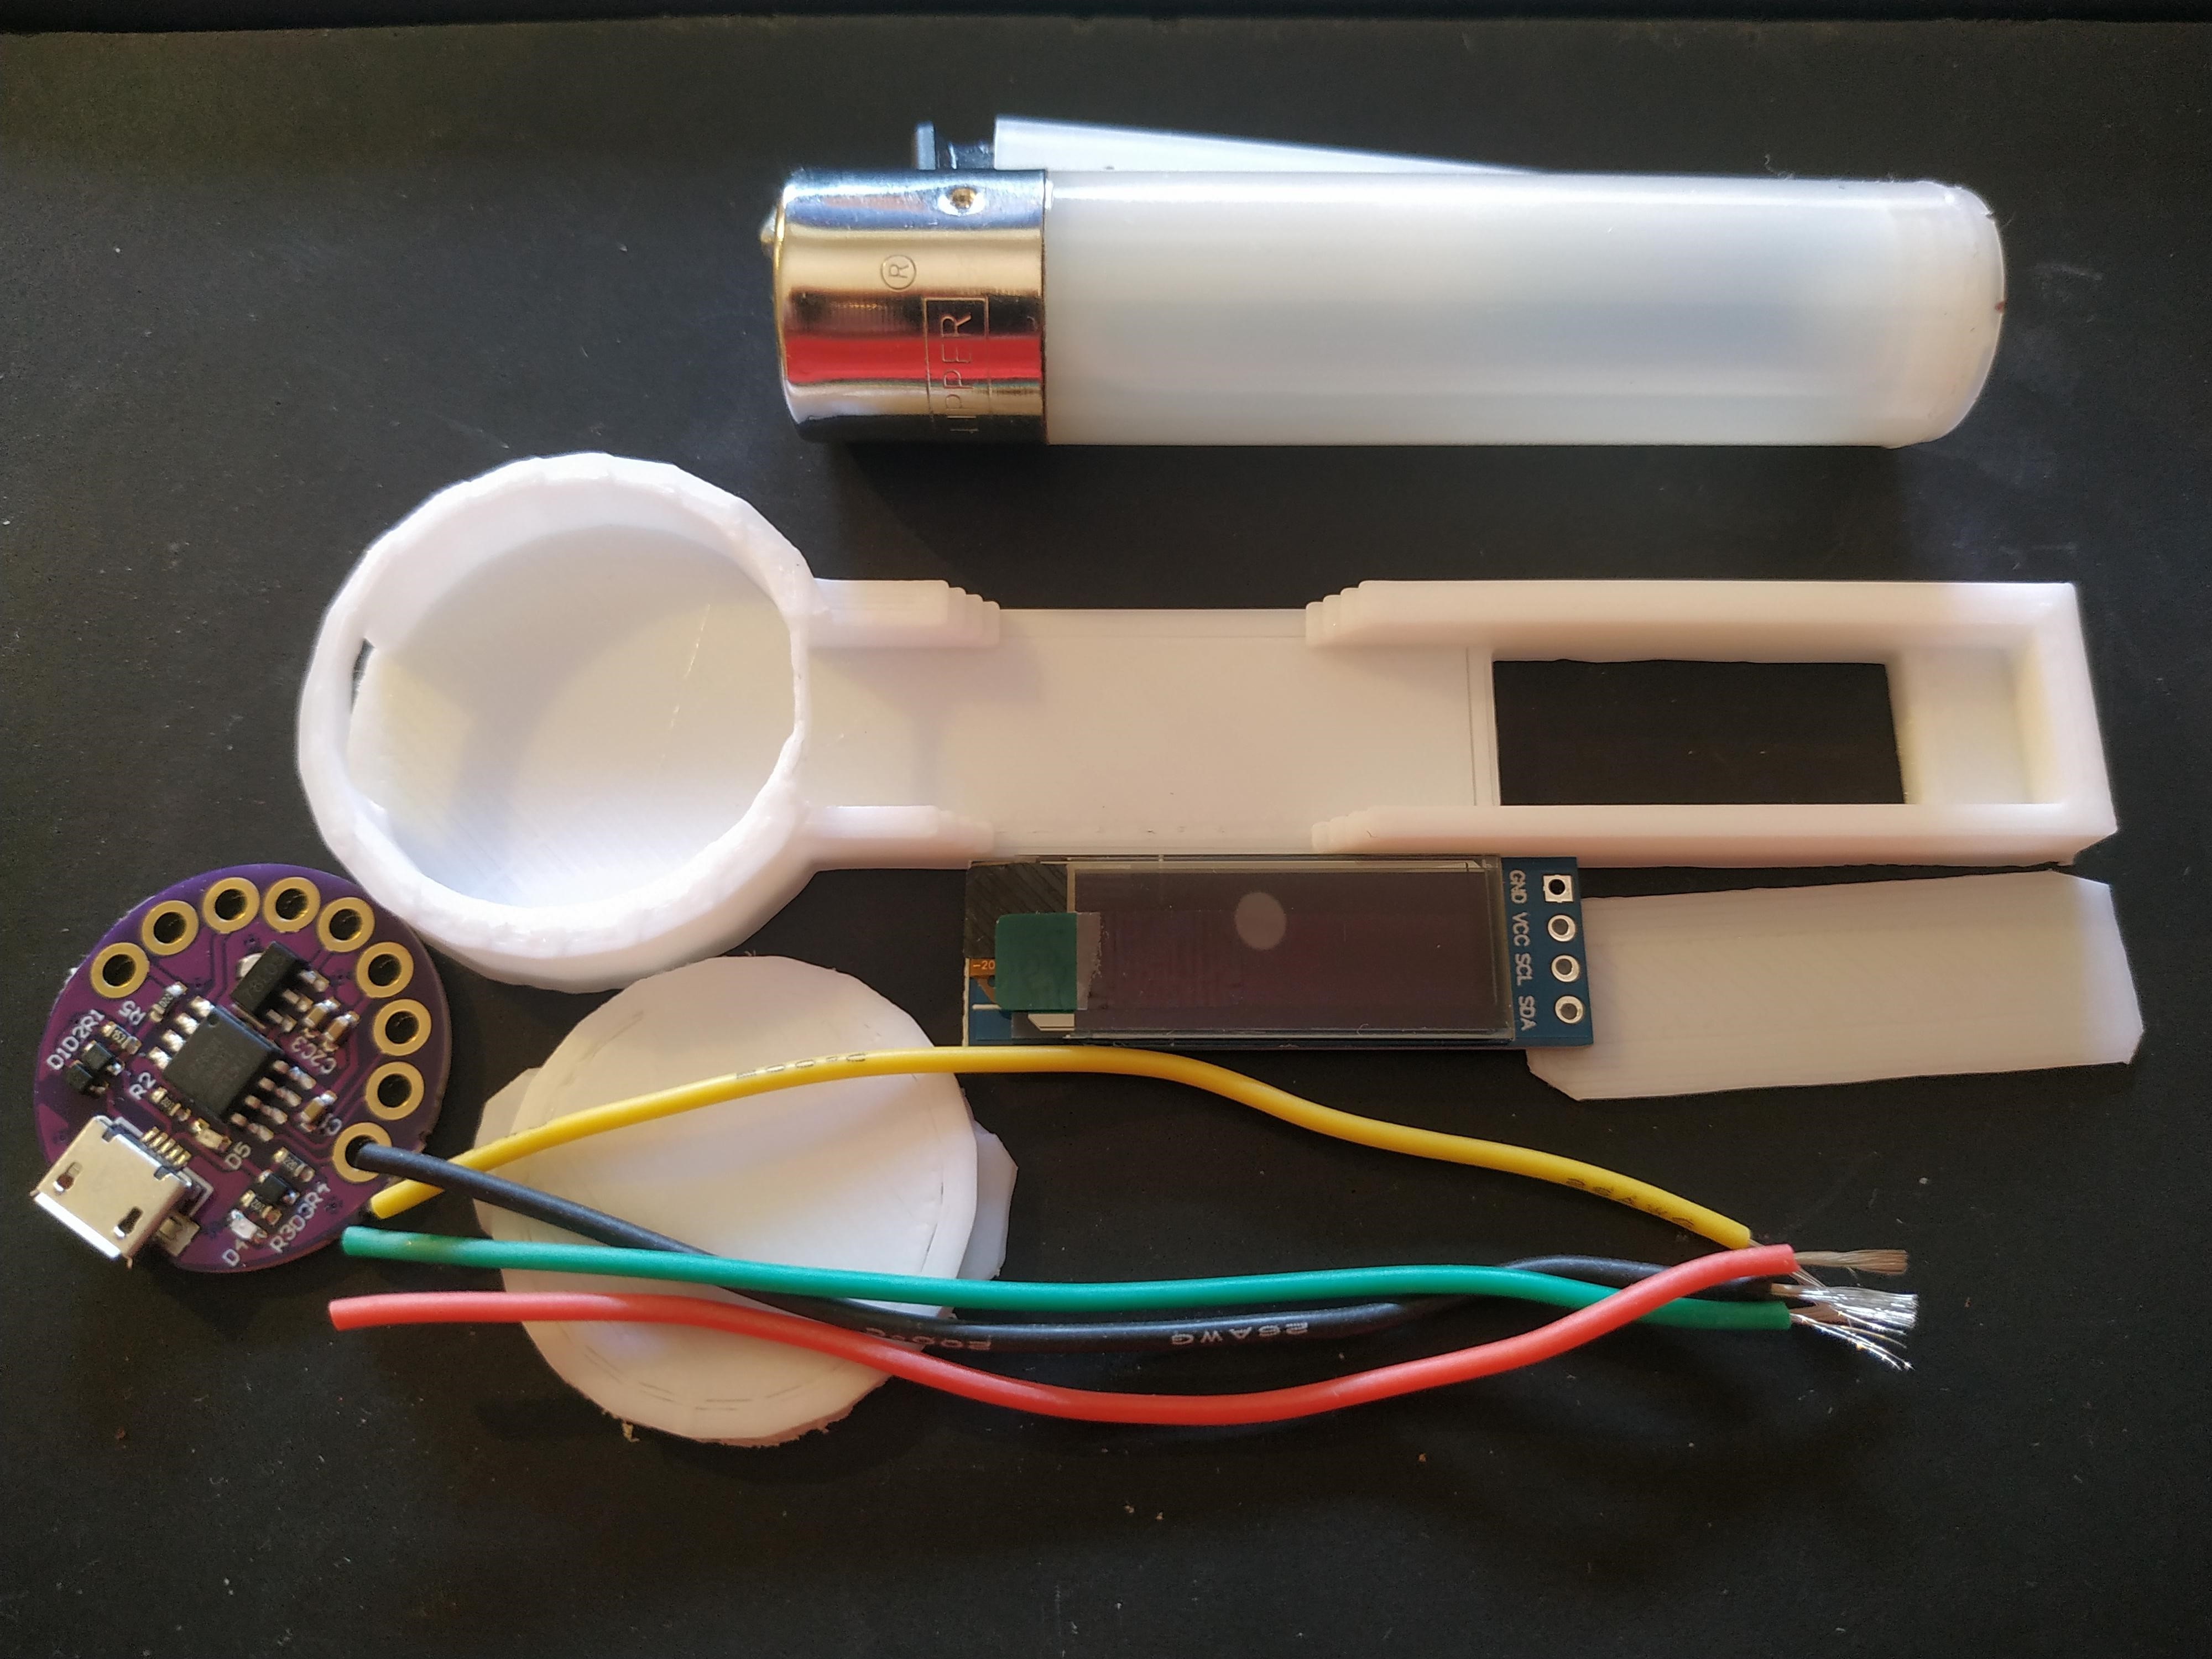
Supplies
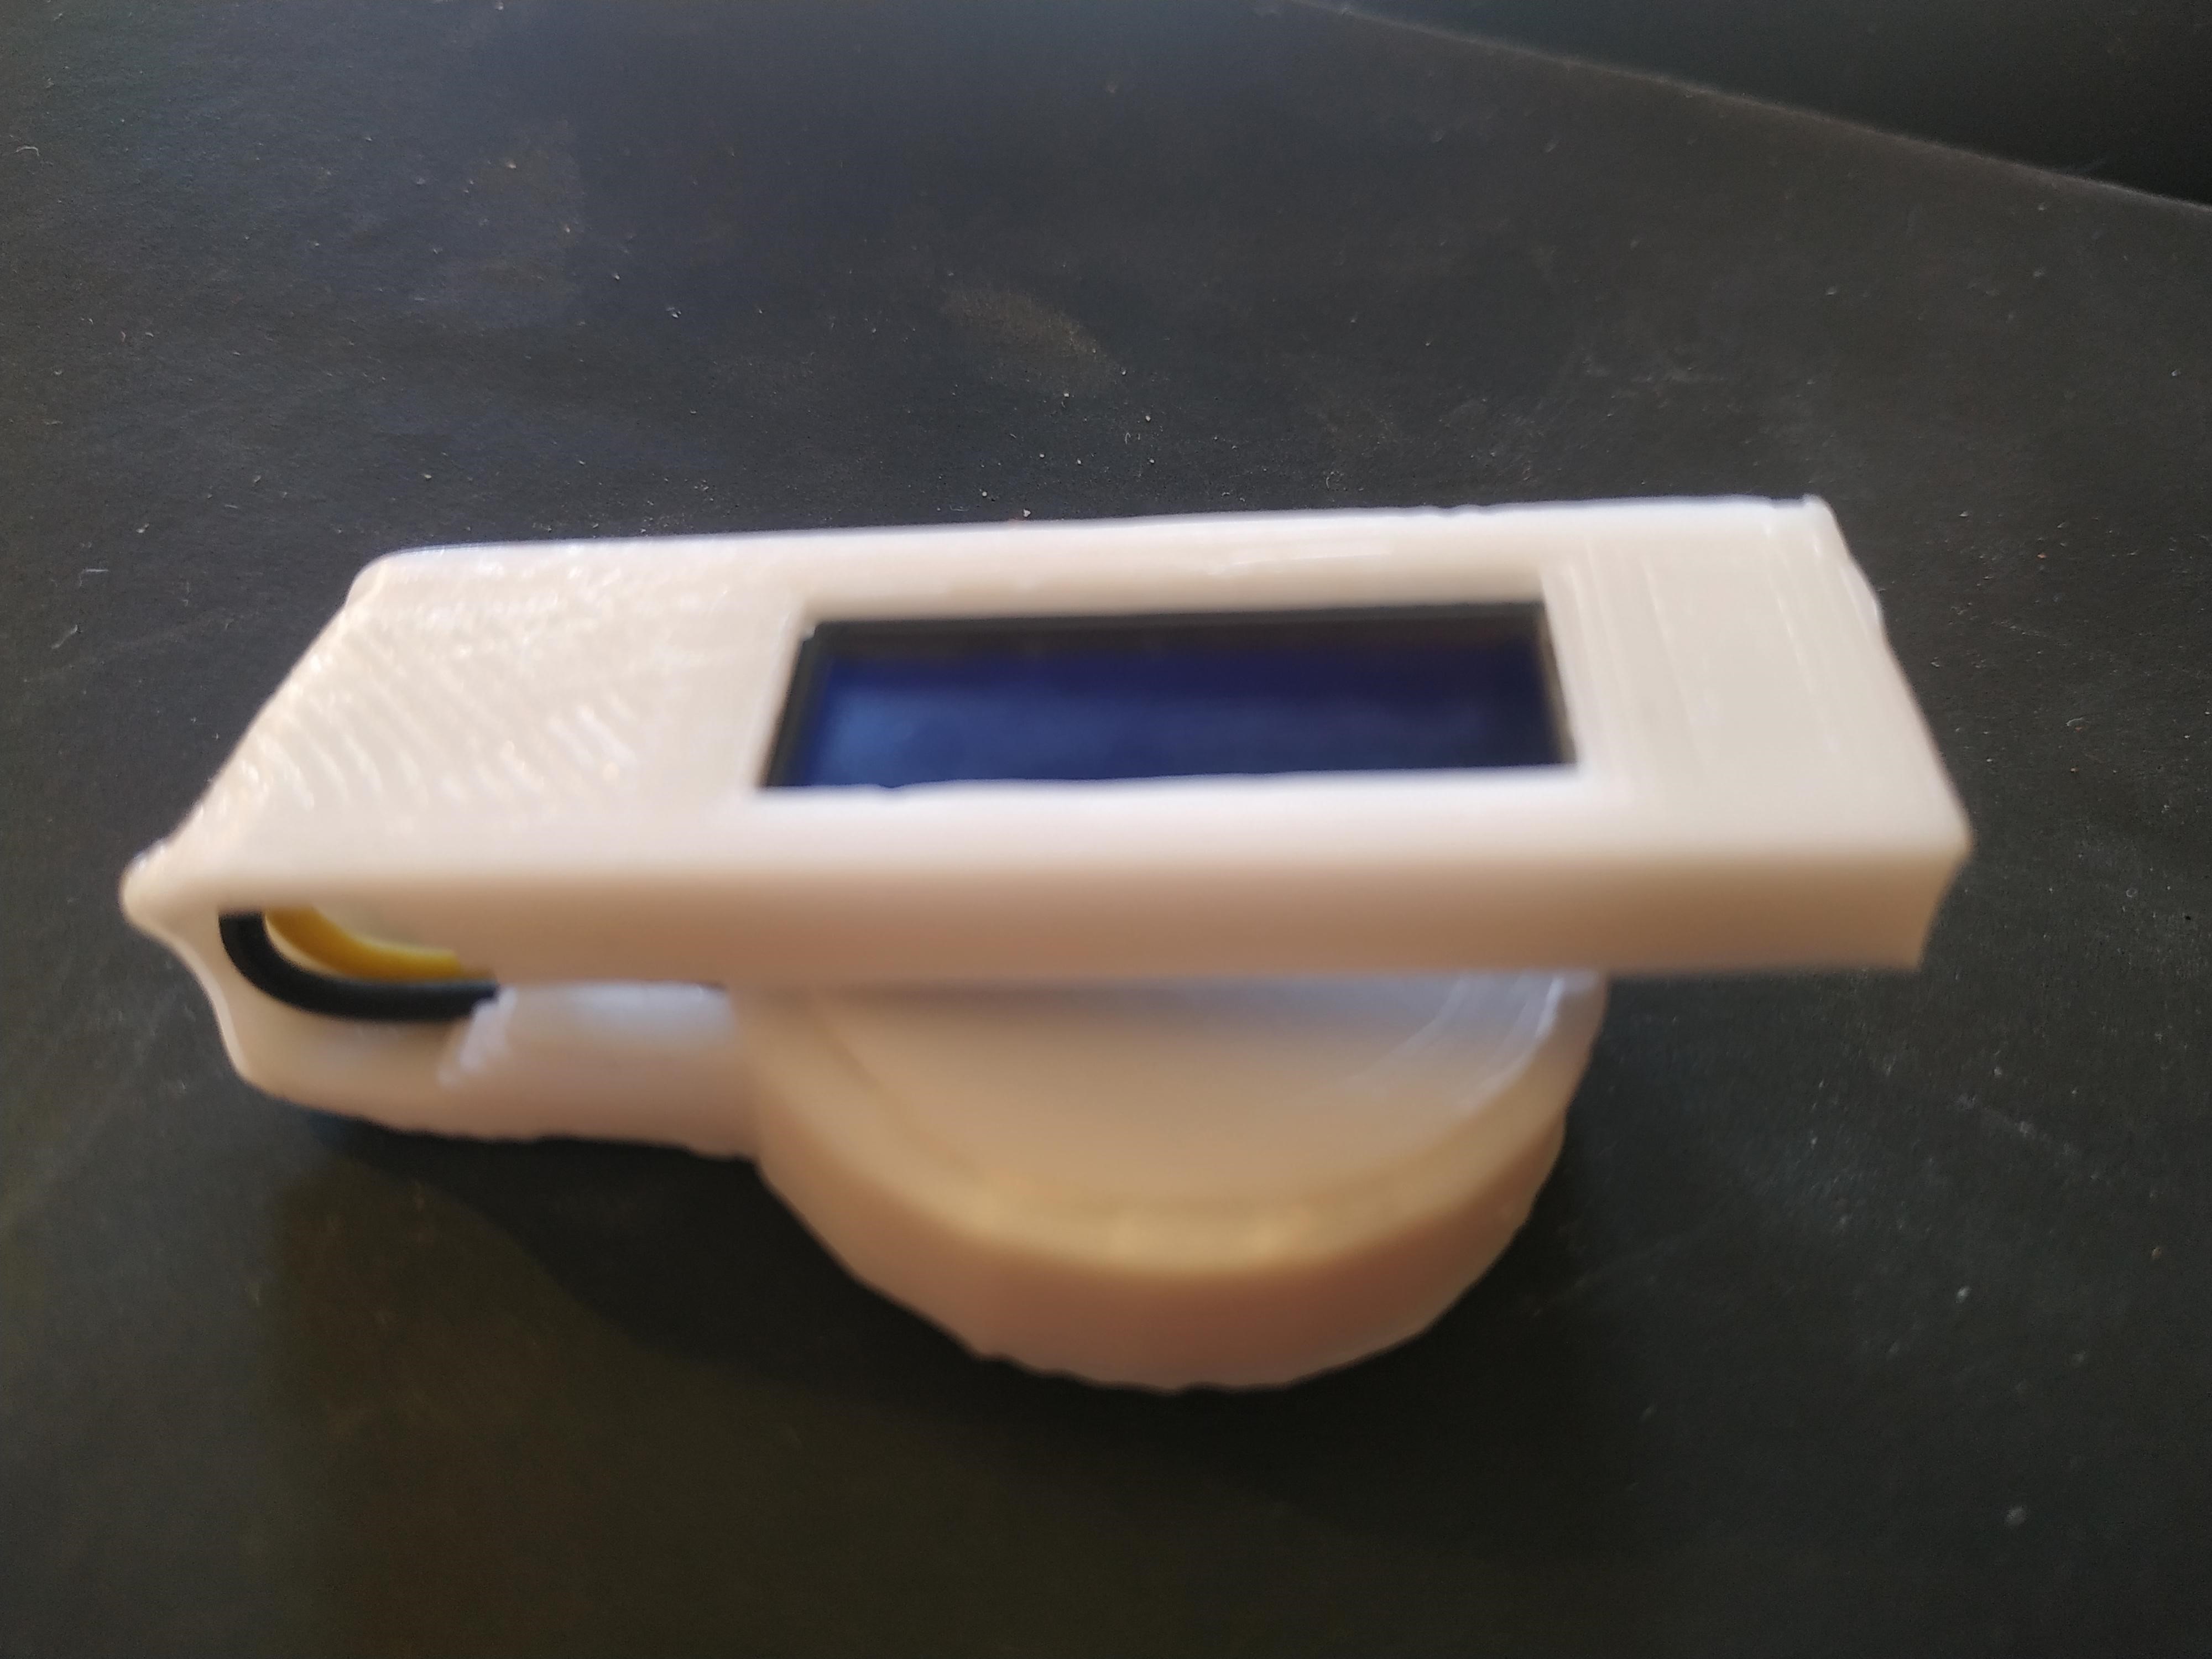
Print the Case
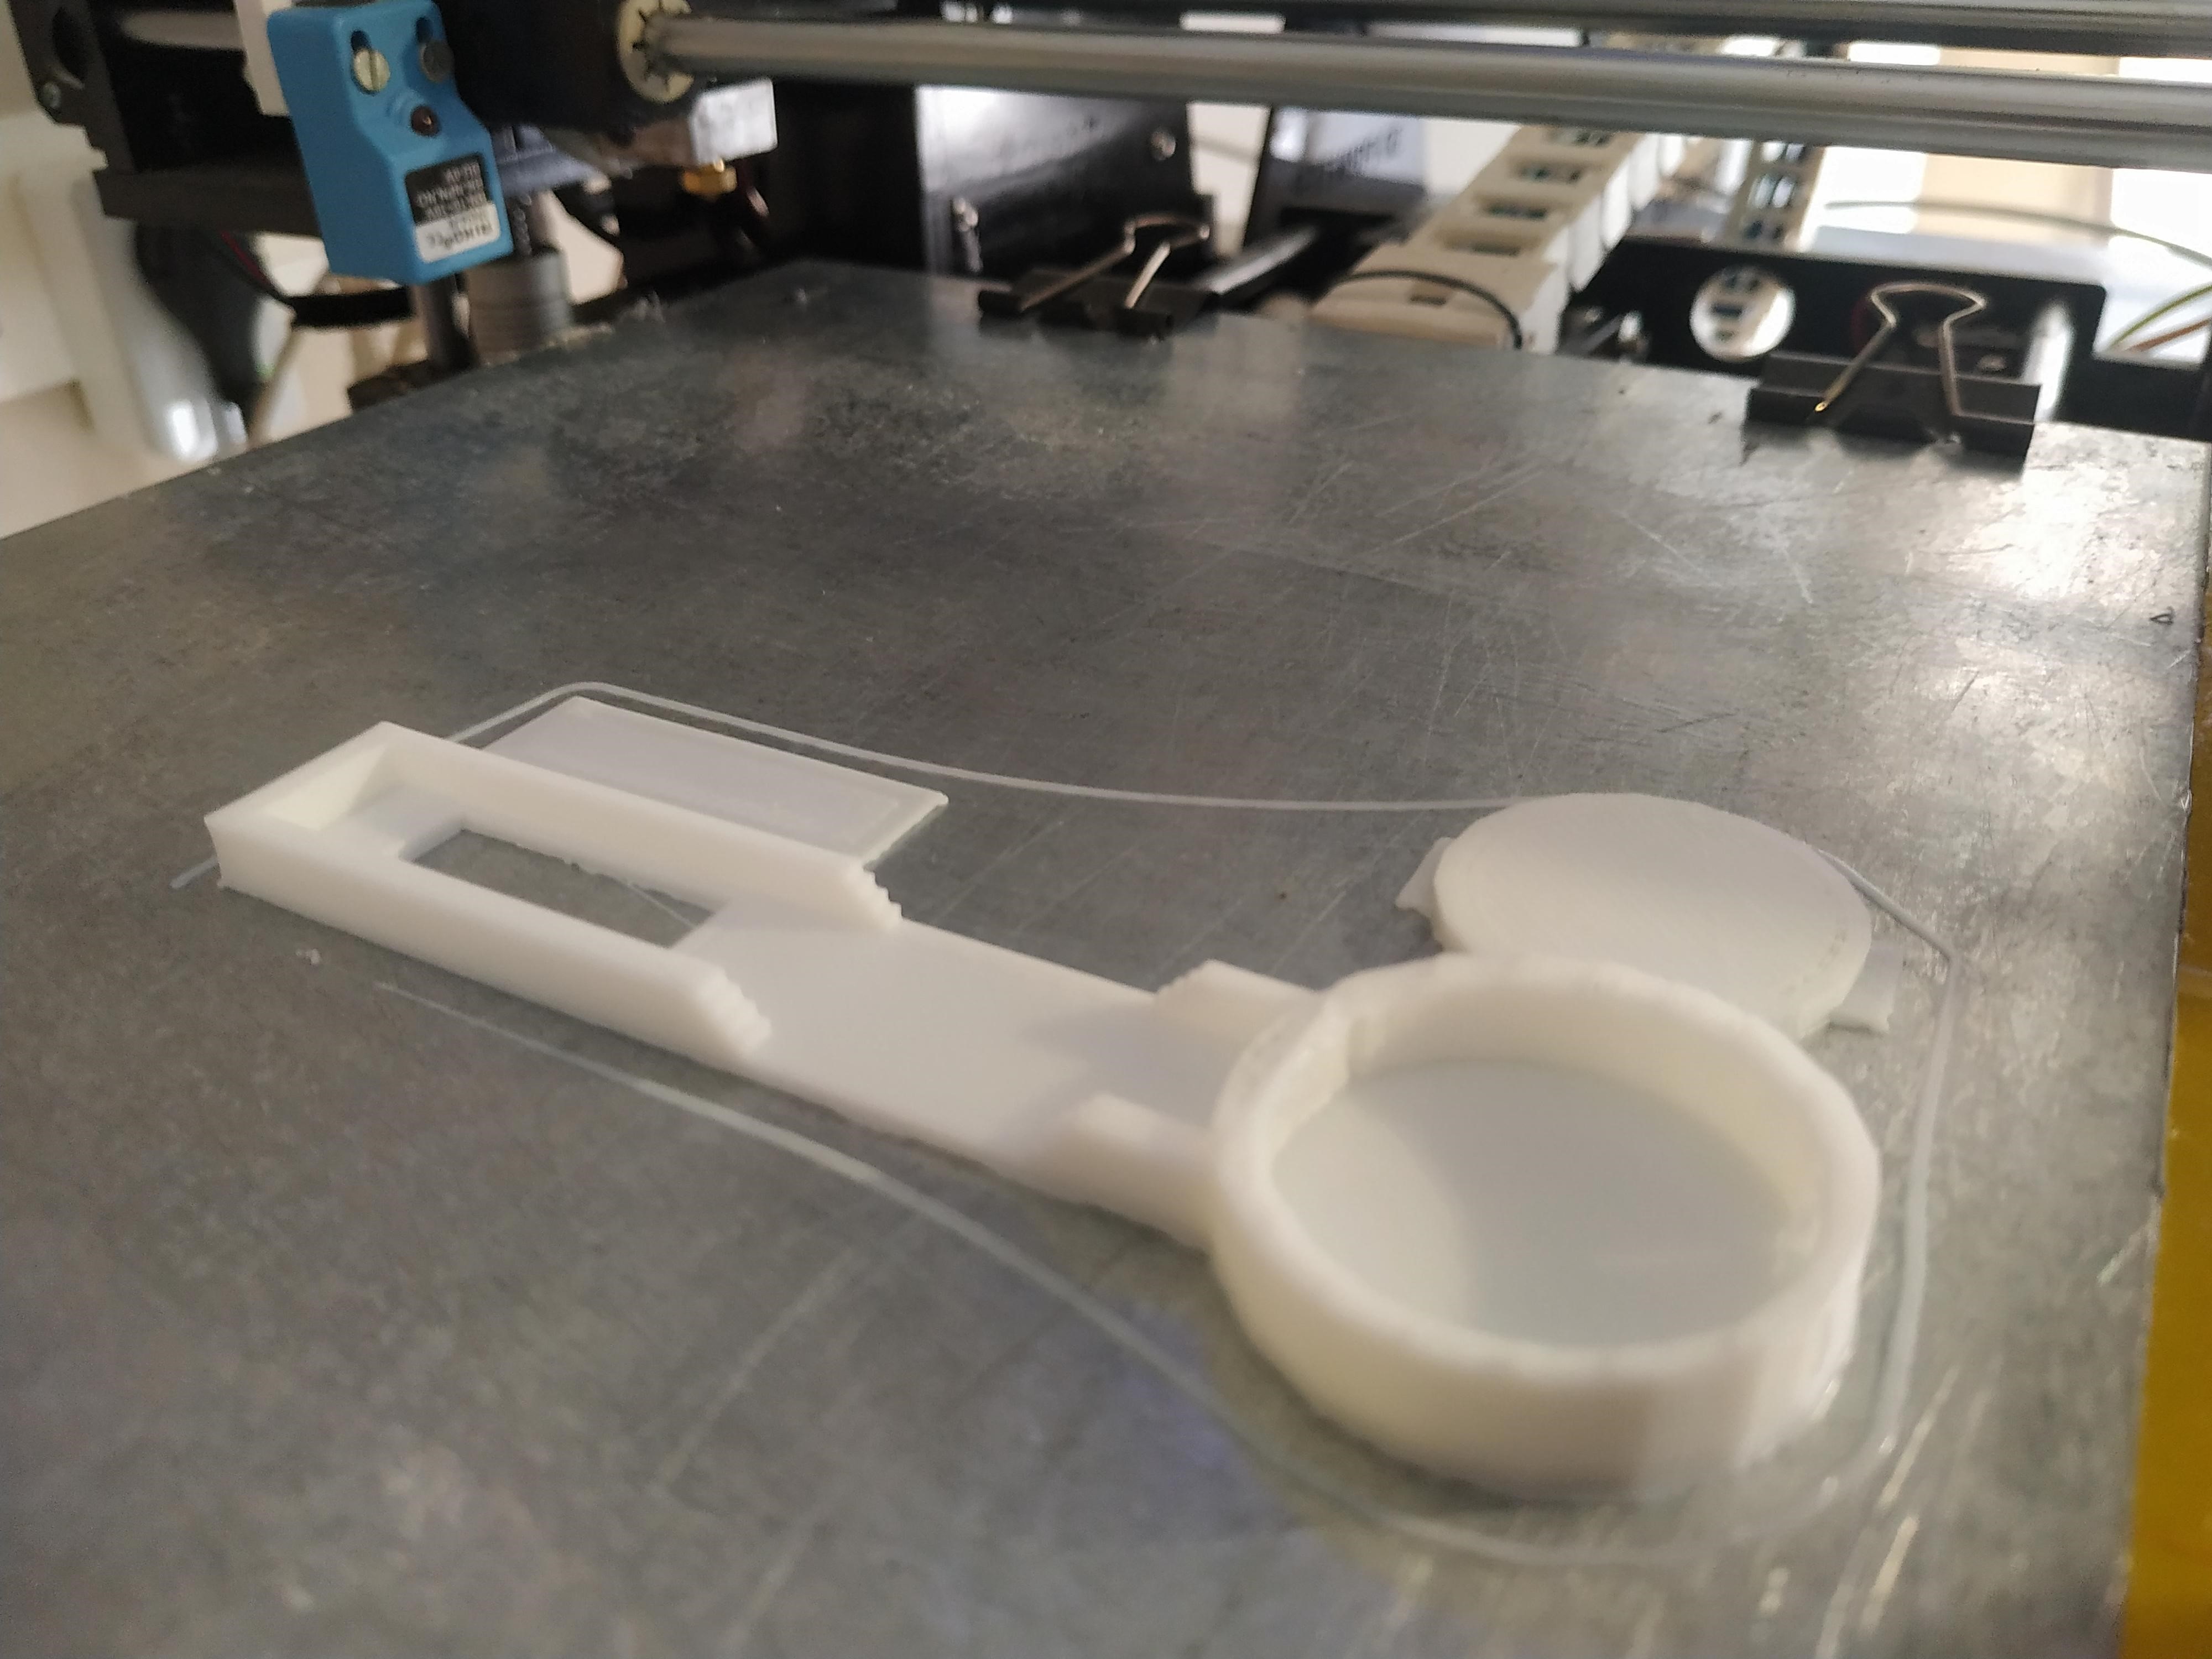
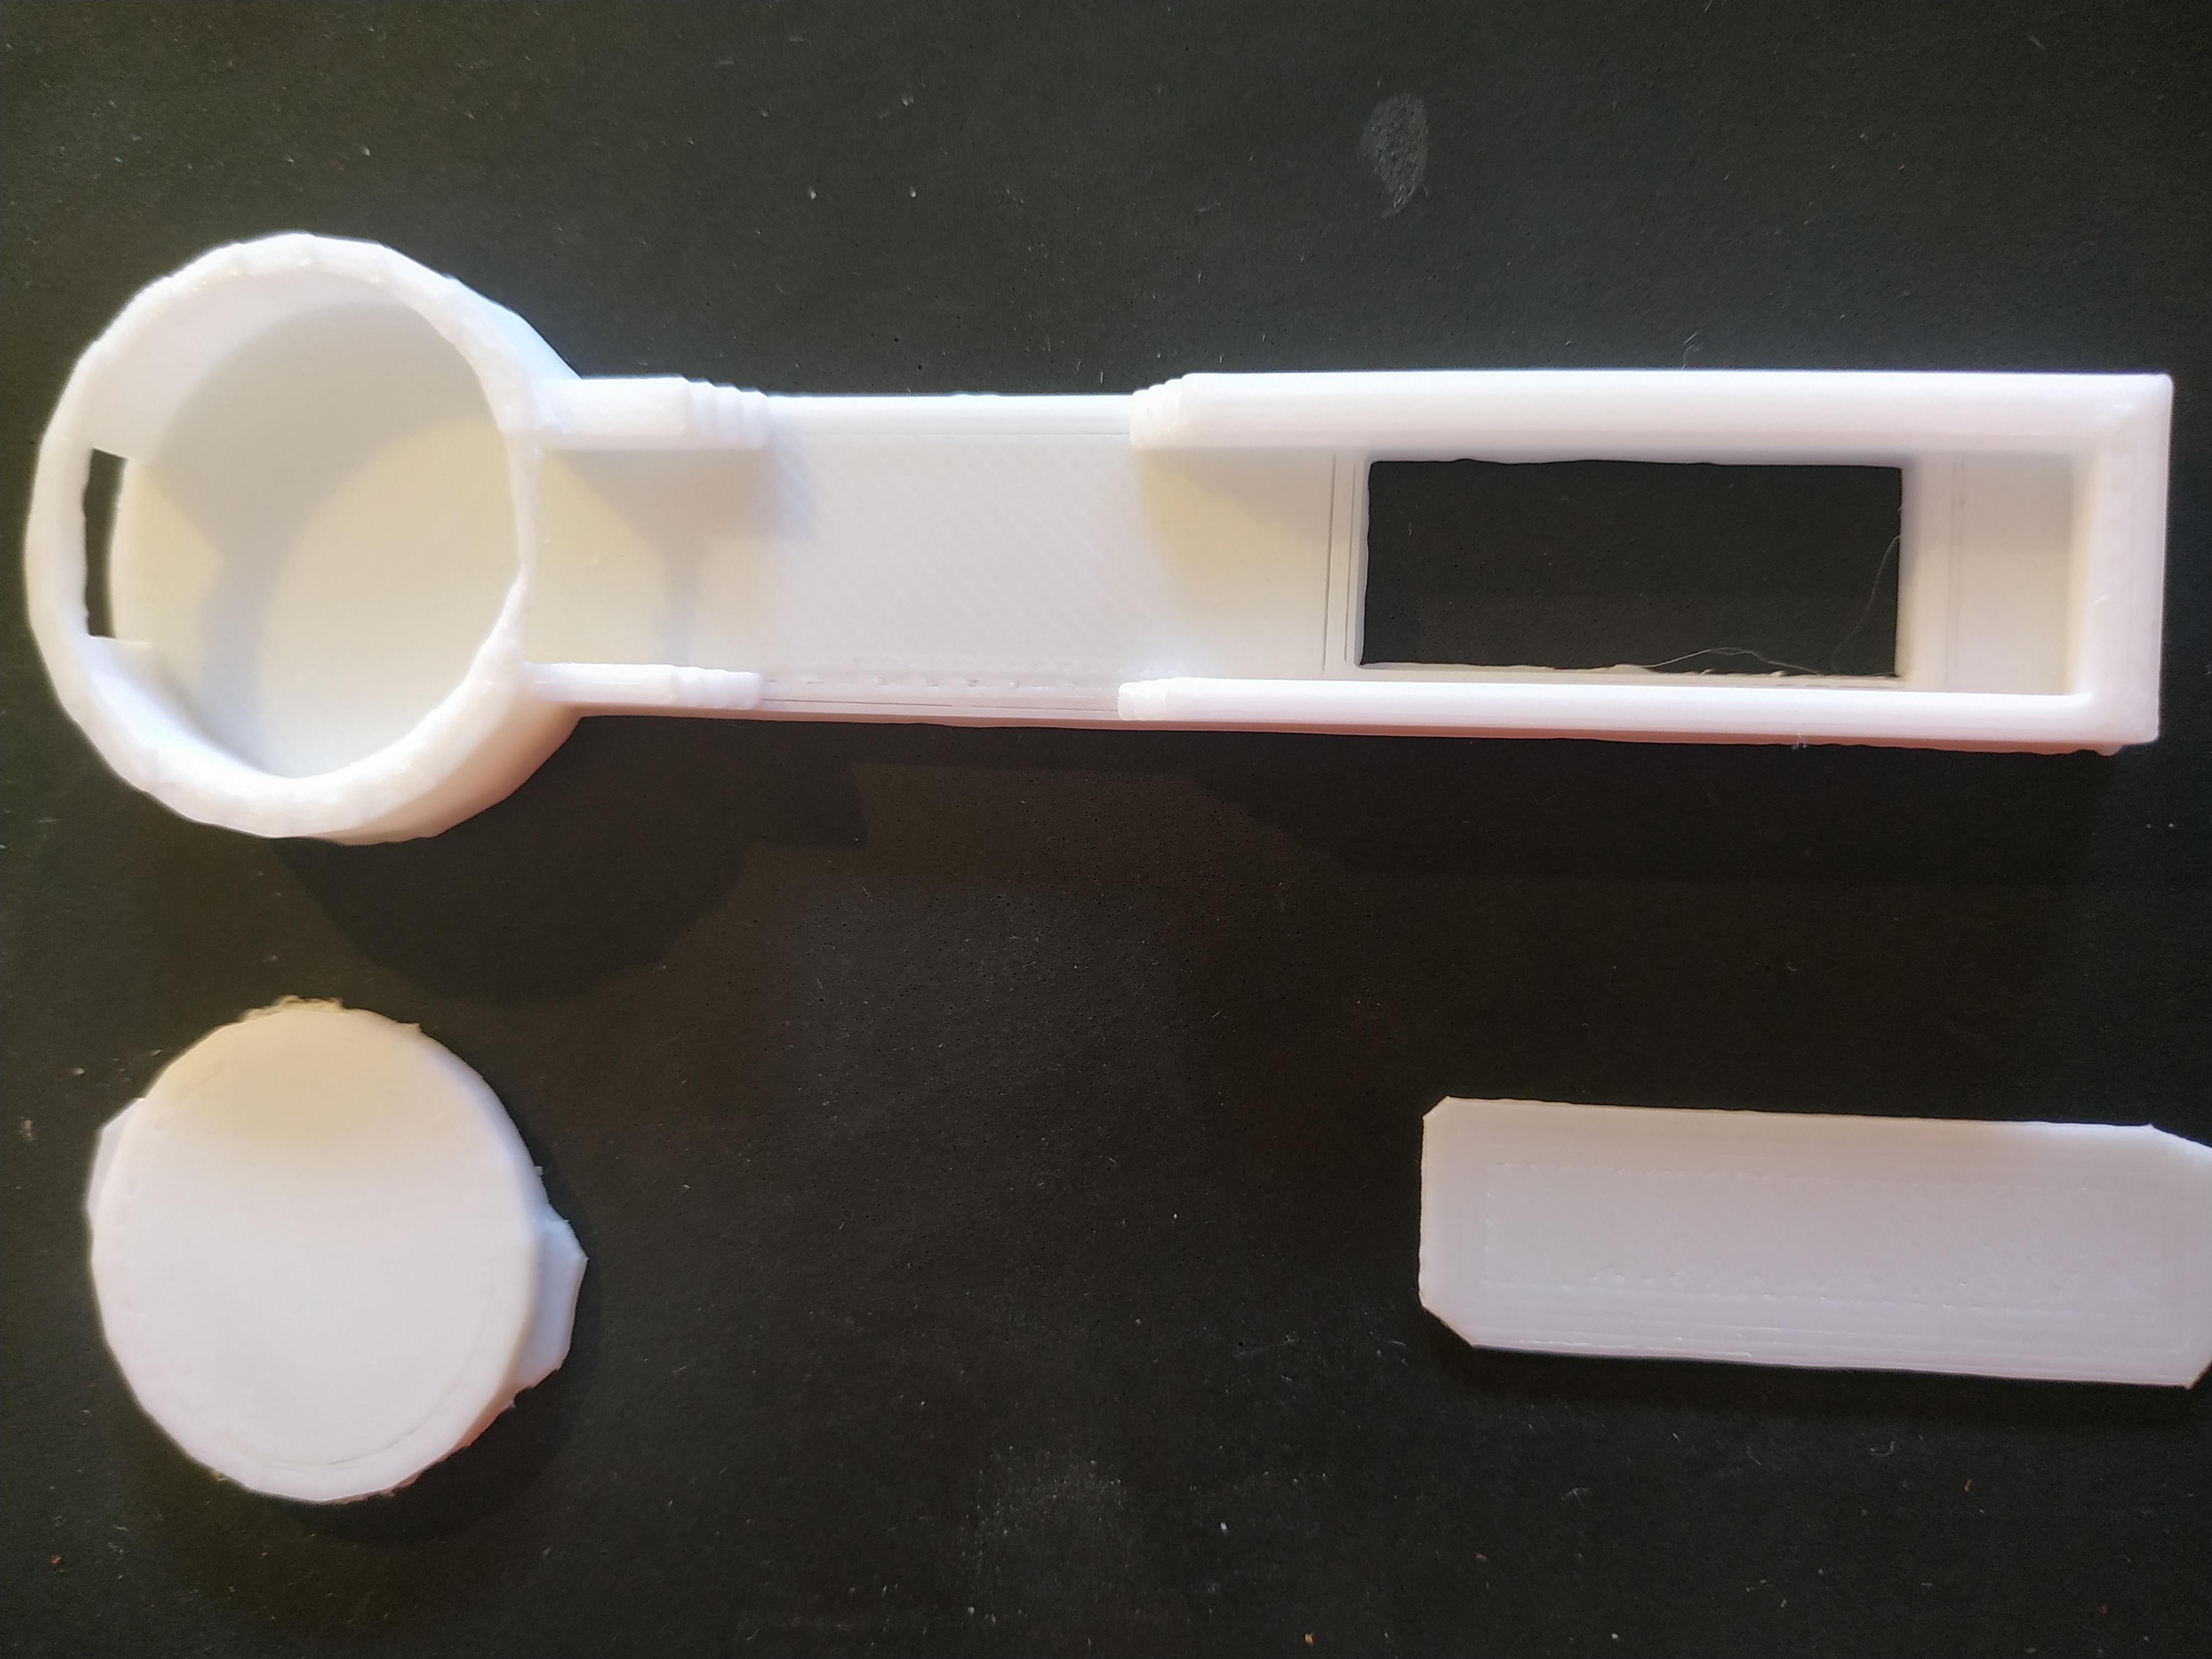
Print the case with 3d printer. Using PLA filament.
You can download my model from this TinkerCad url.
Prepare Supplies
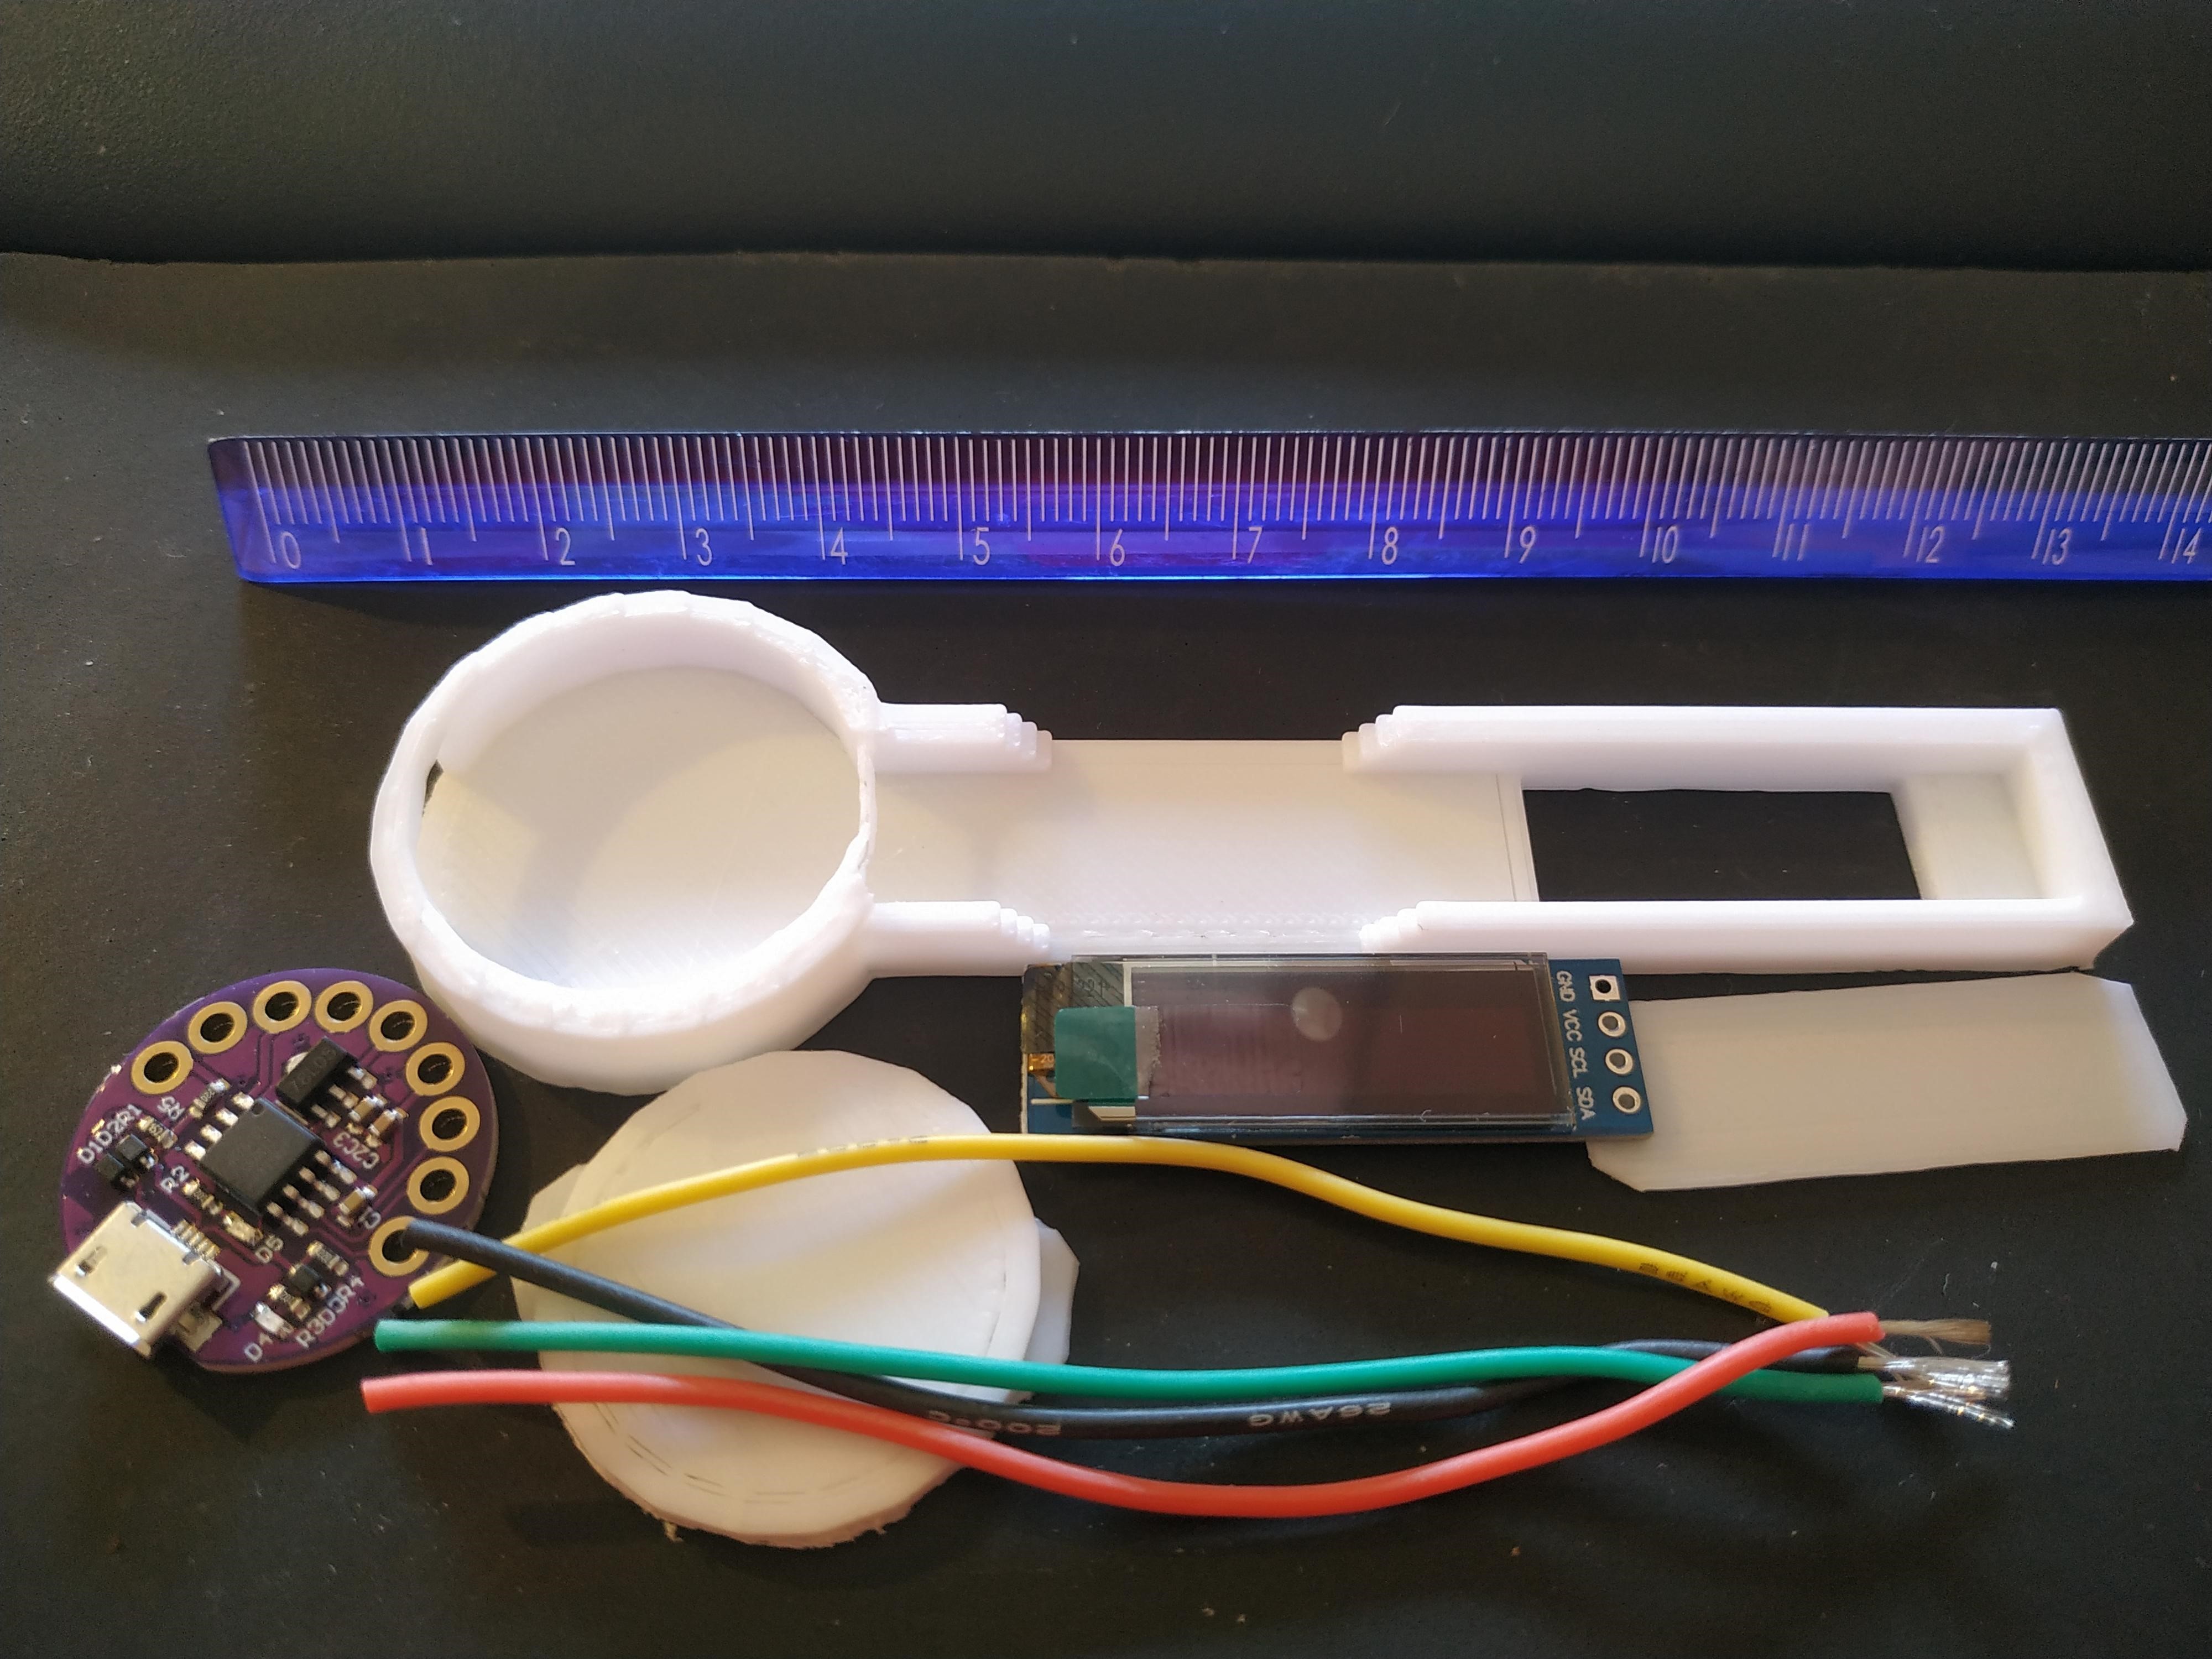
Cut wires about 4 inch (10 cm).
Is better idea to use silicon quality wires.
(note: the rule is in cm)
Use Your Solder
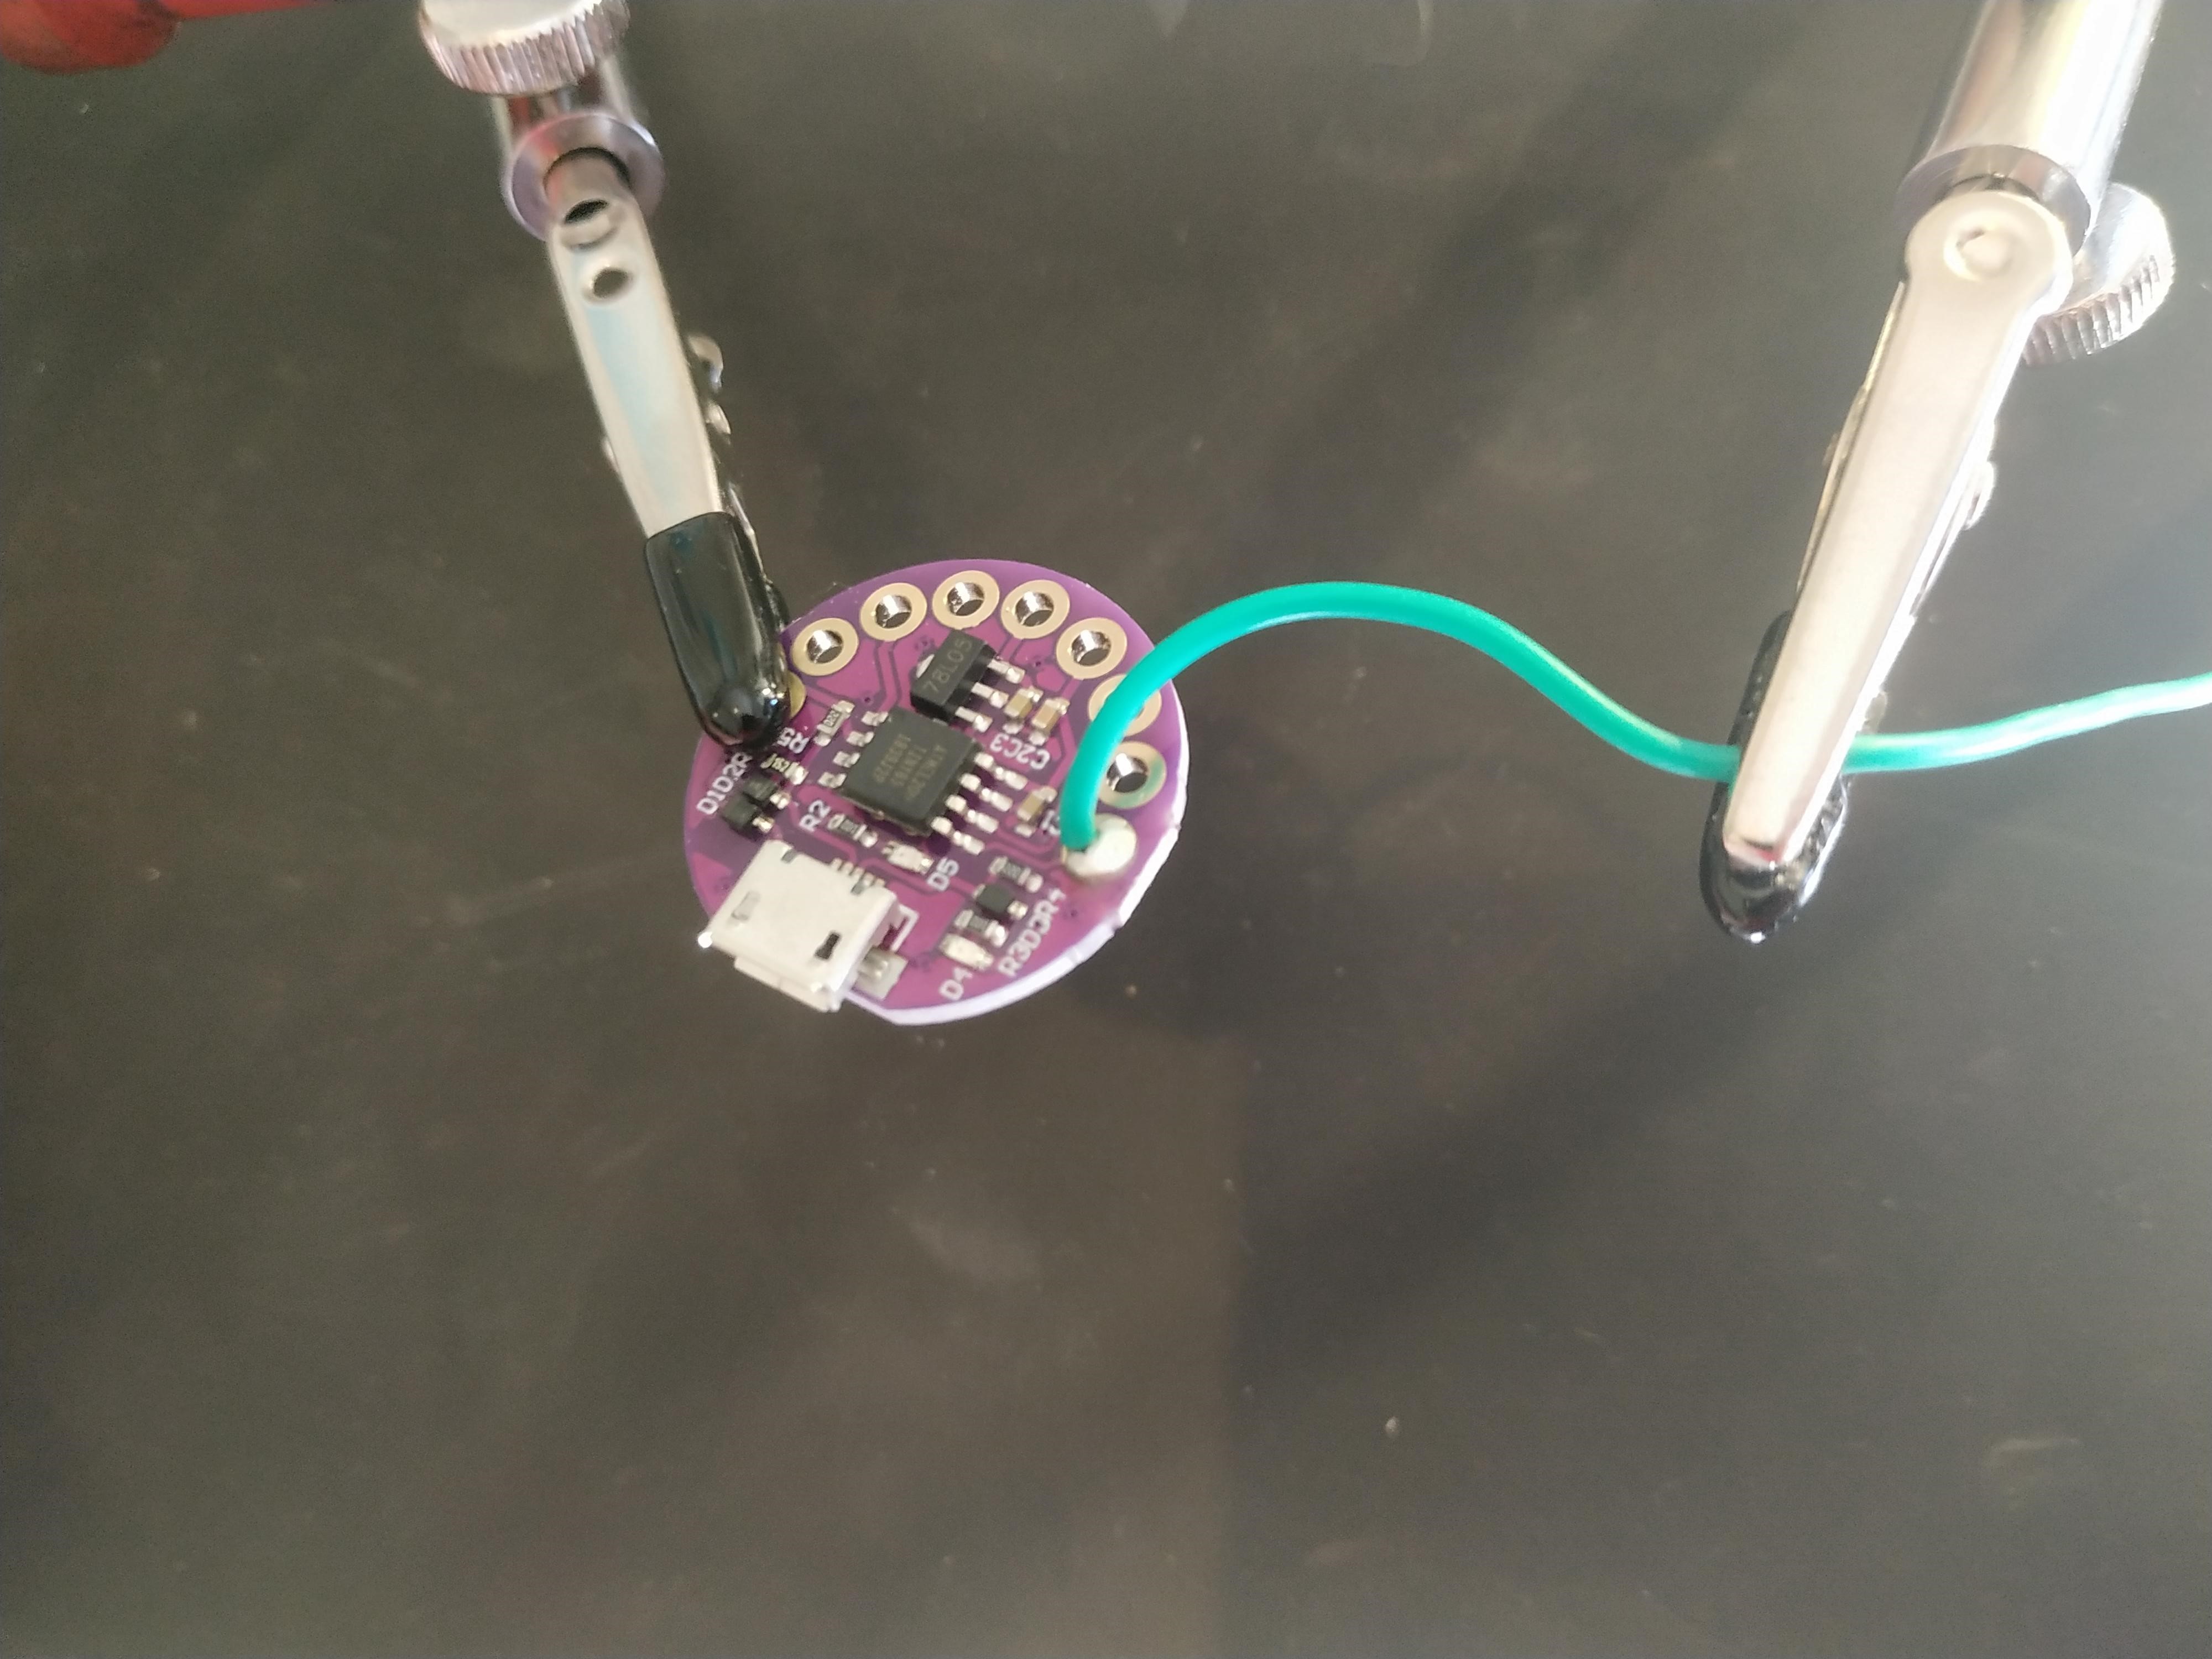
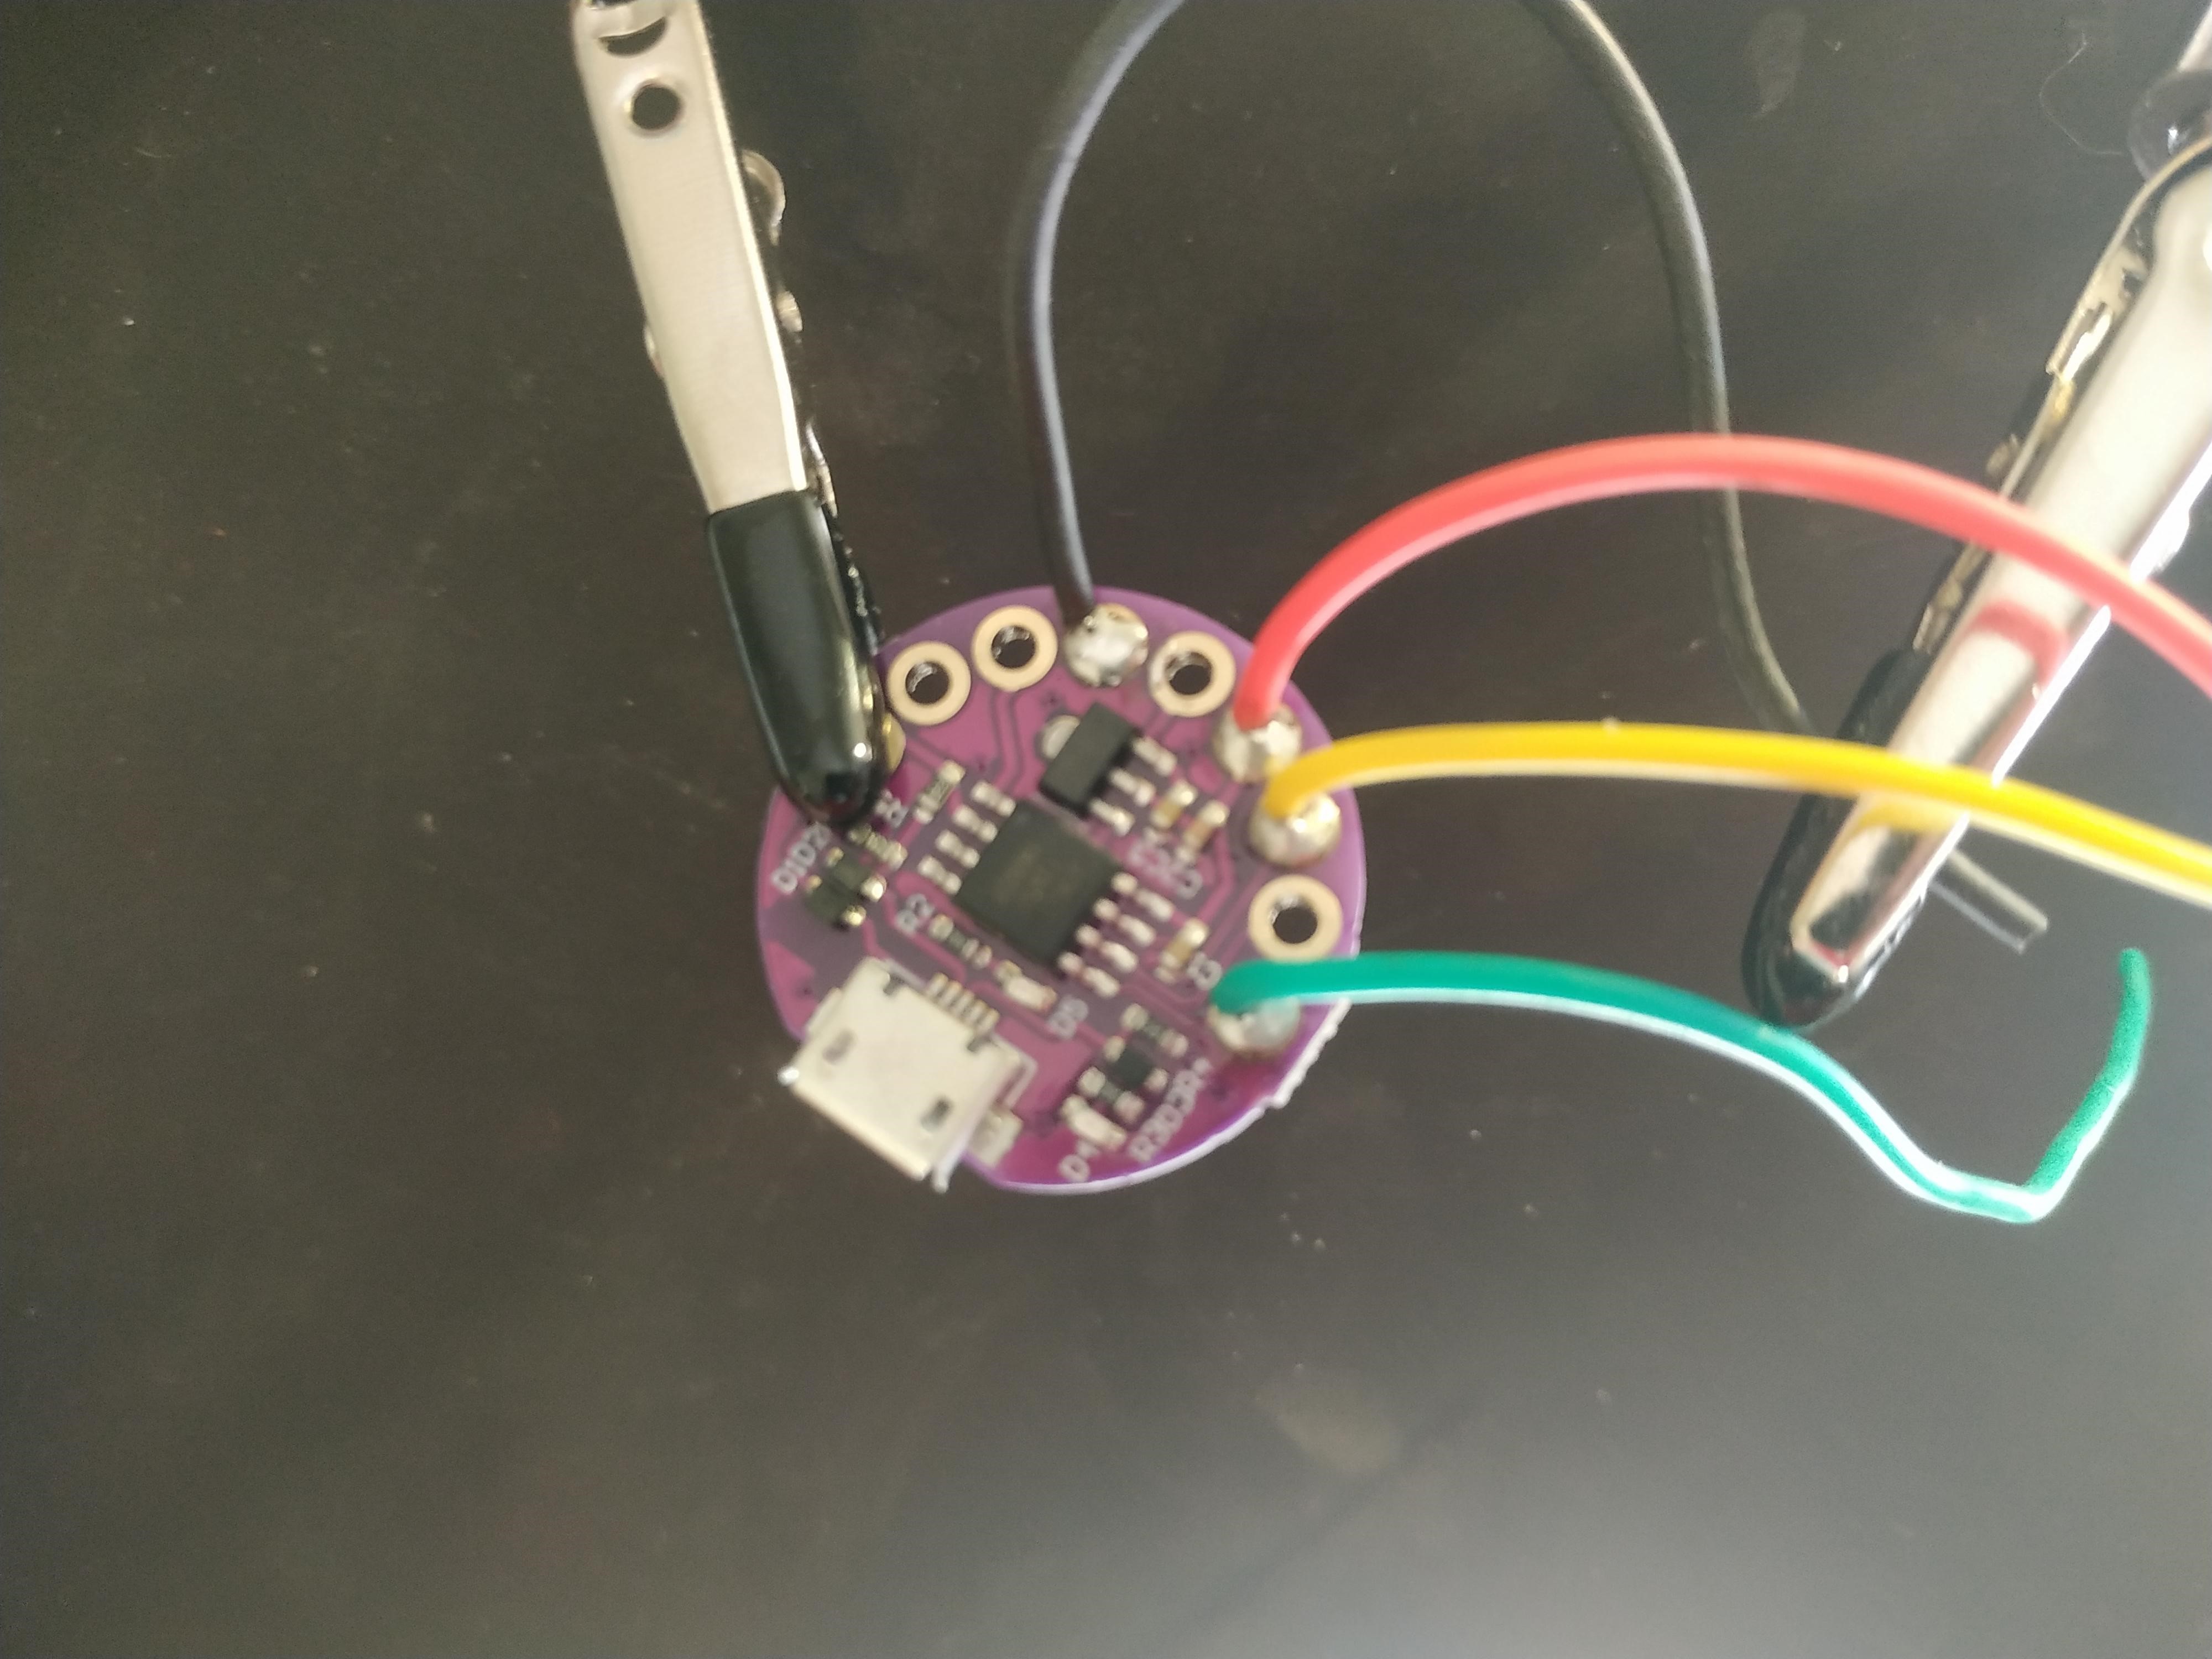
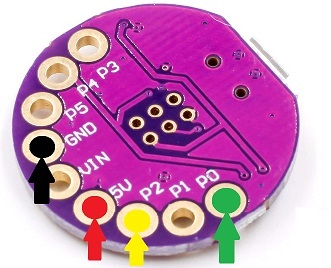
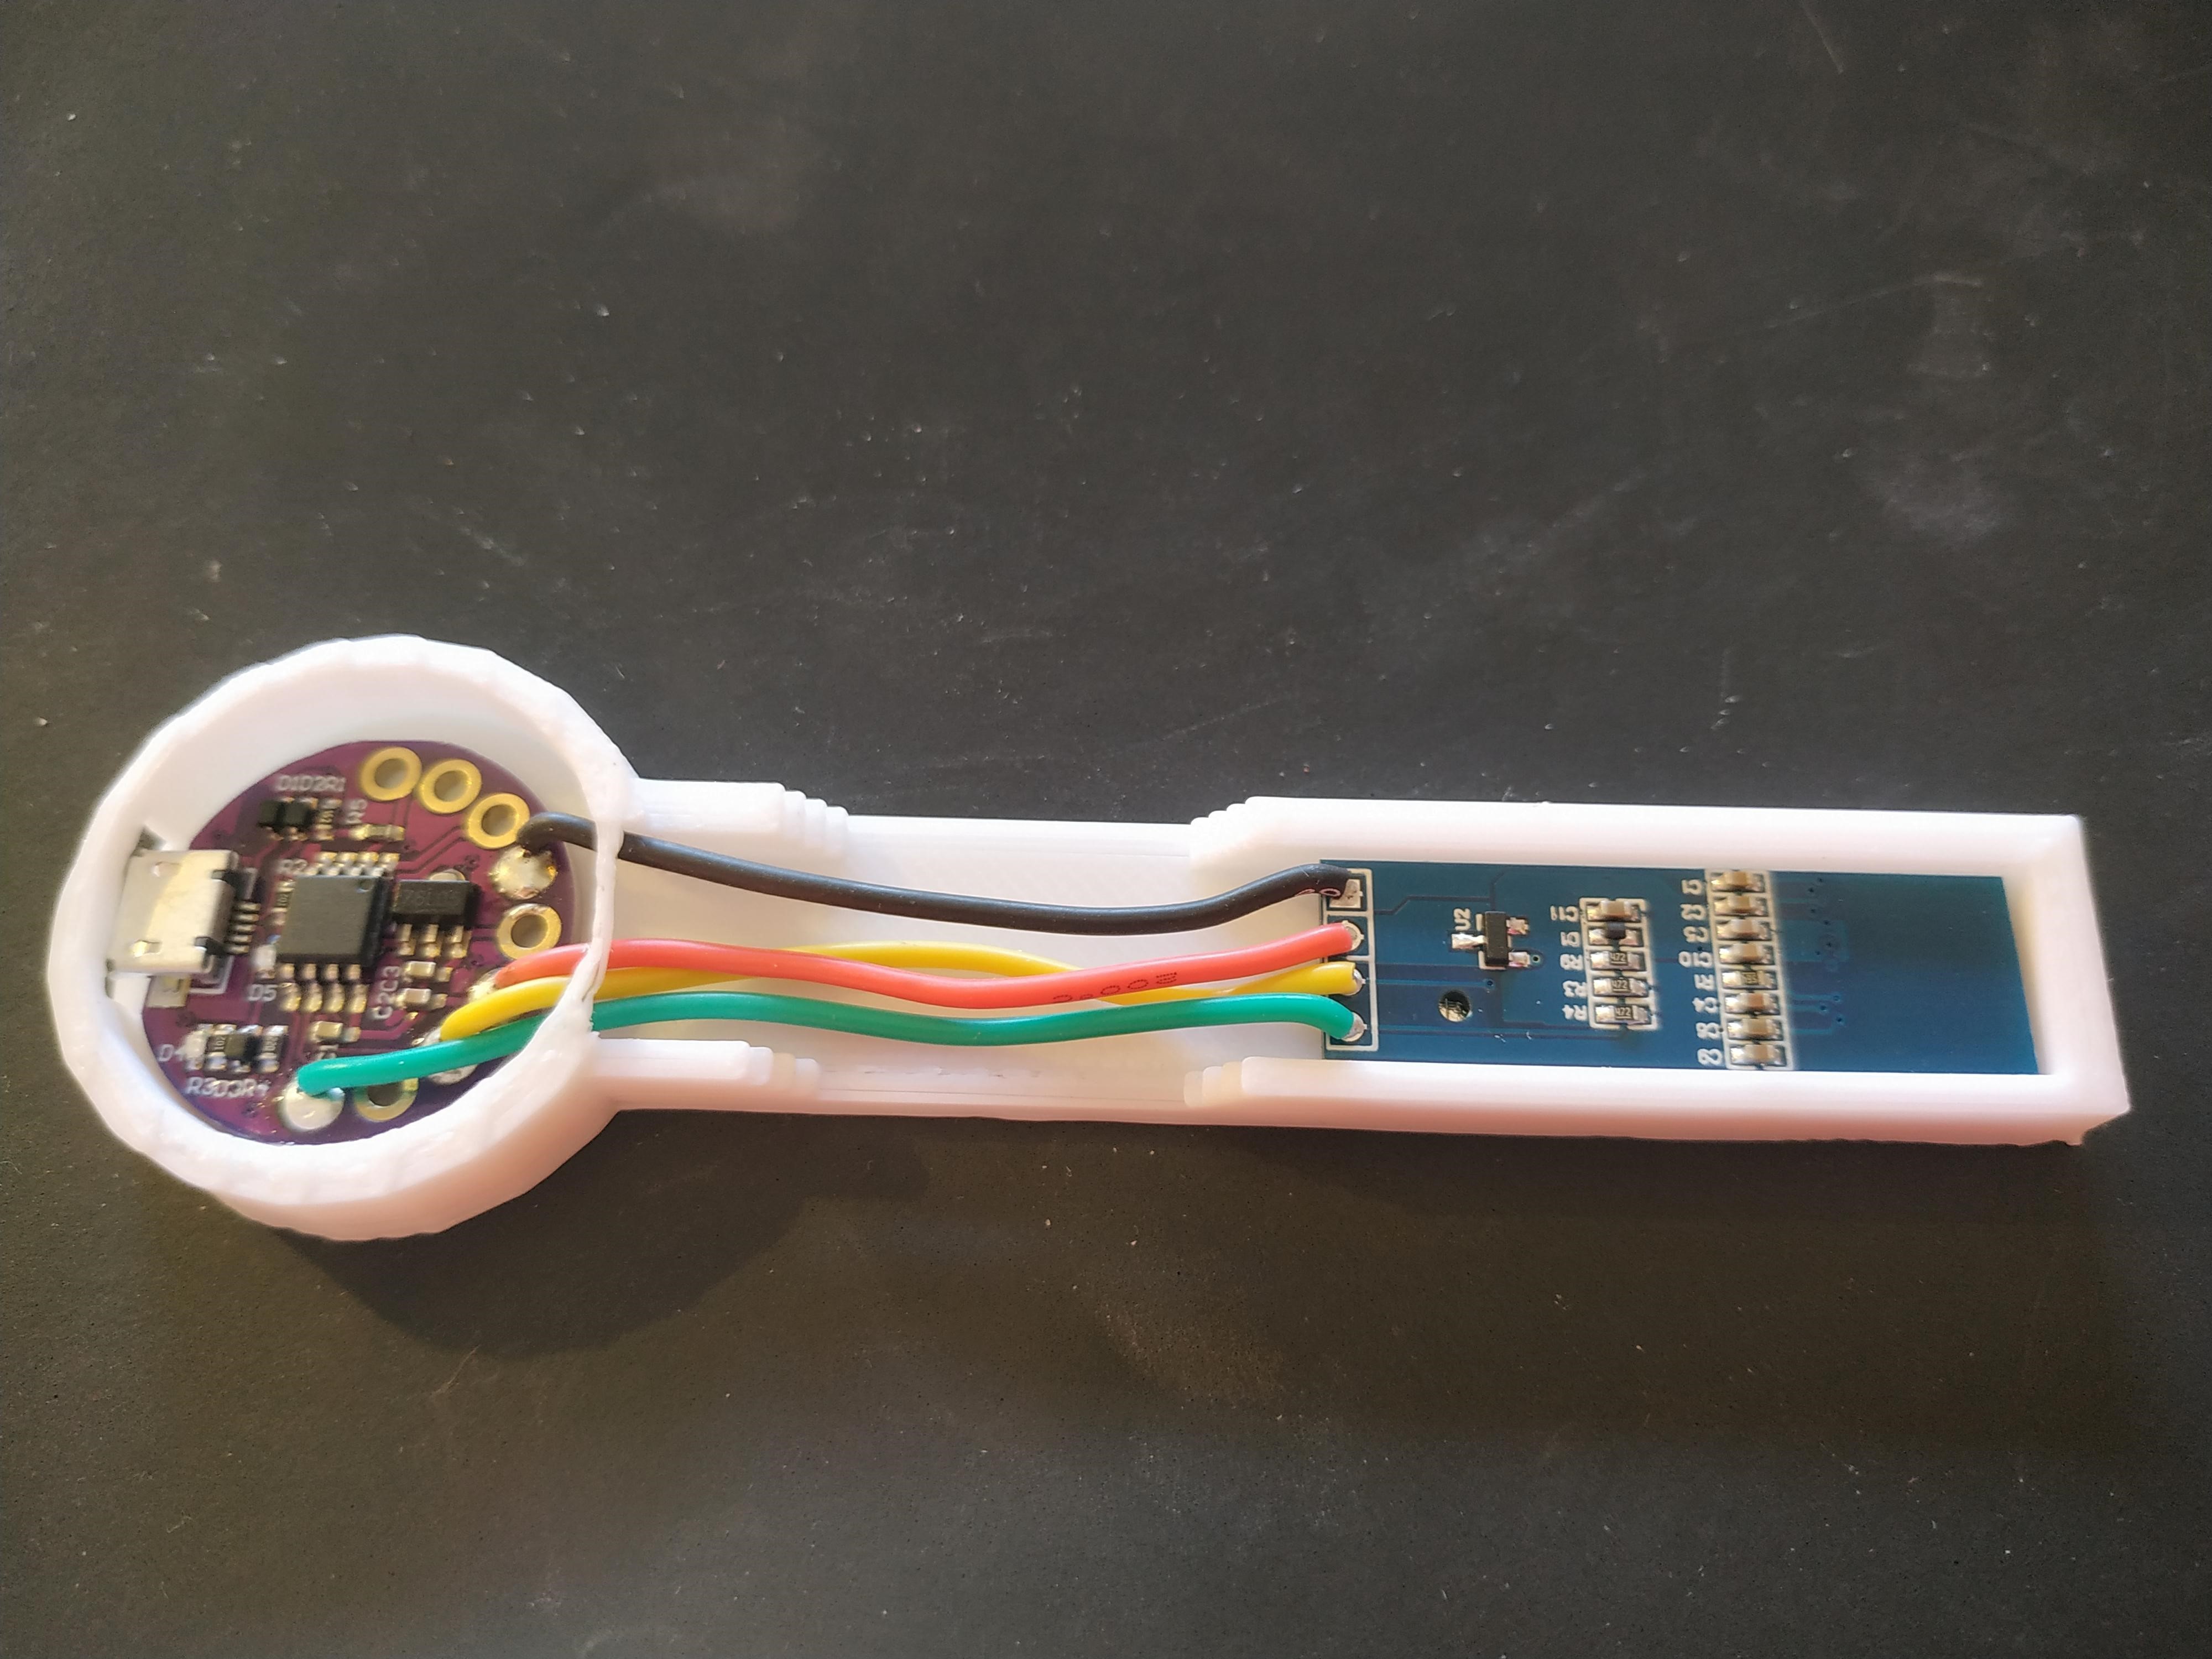
Pay attention with wire colors and the order:
- Green to pin "P0"
- Yellow to pin "P2"
- Red to pin "5V"
- Black to pin "GND"
Measure, Cut and Weld OLED Display
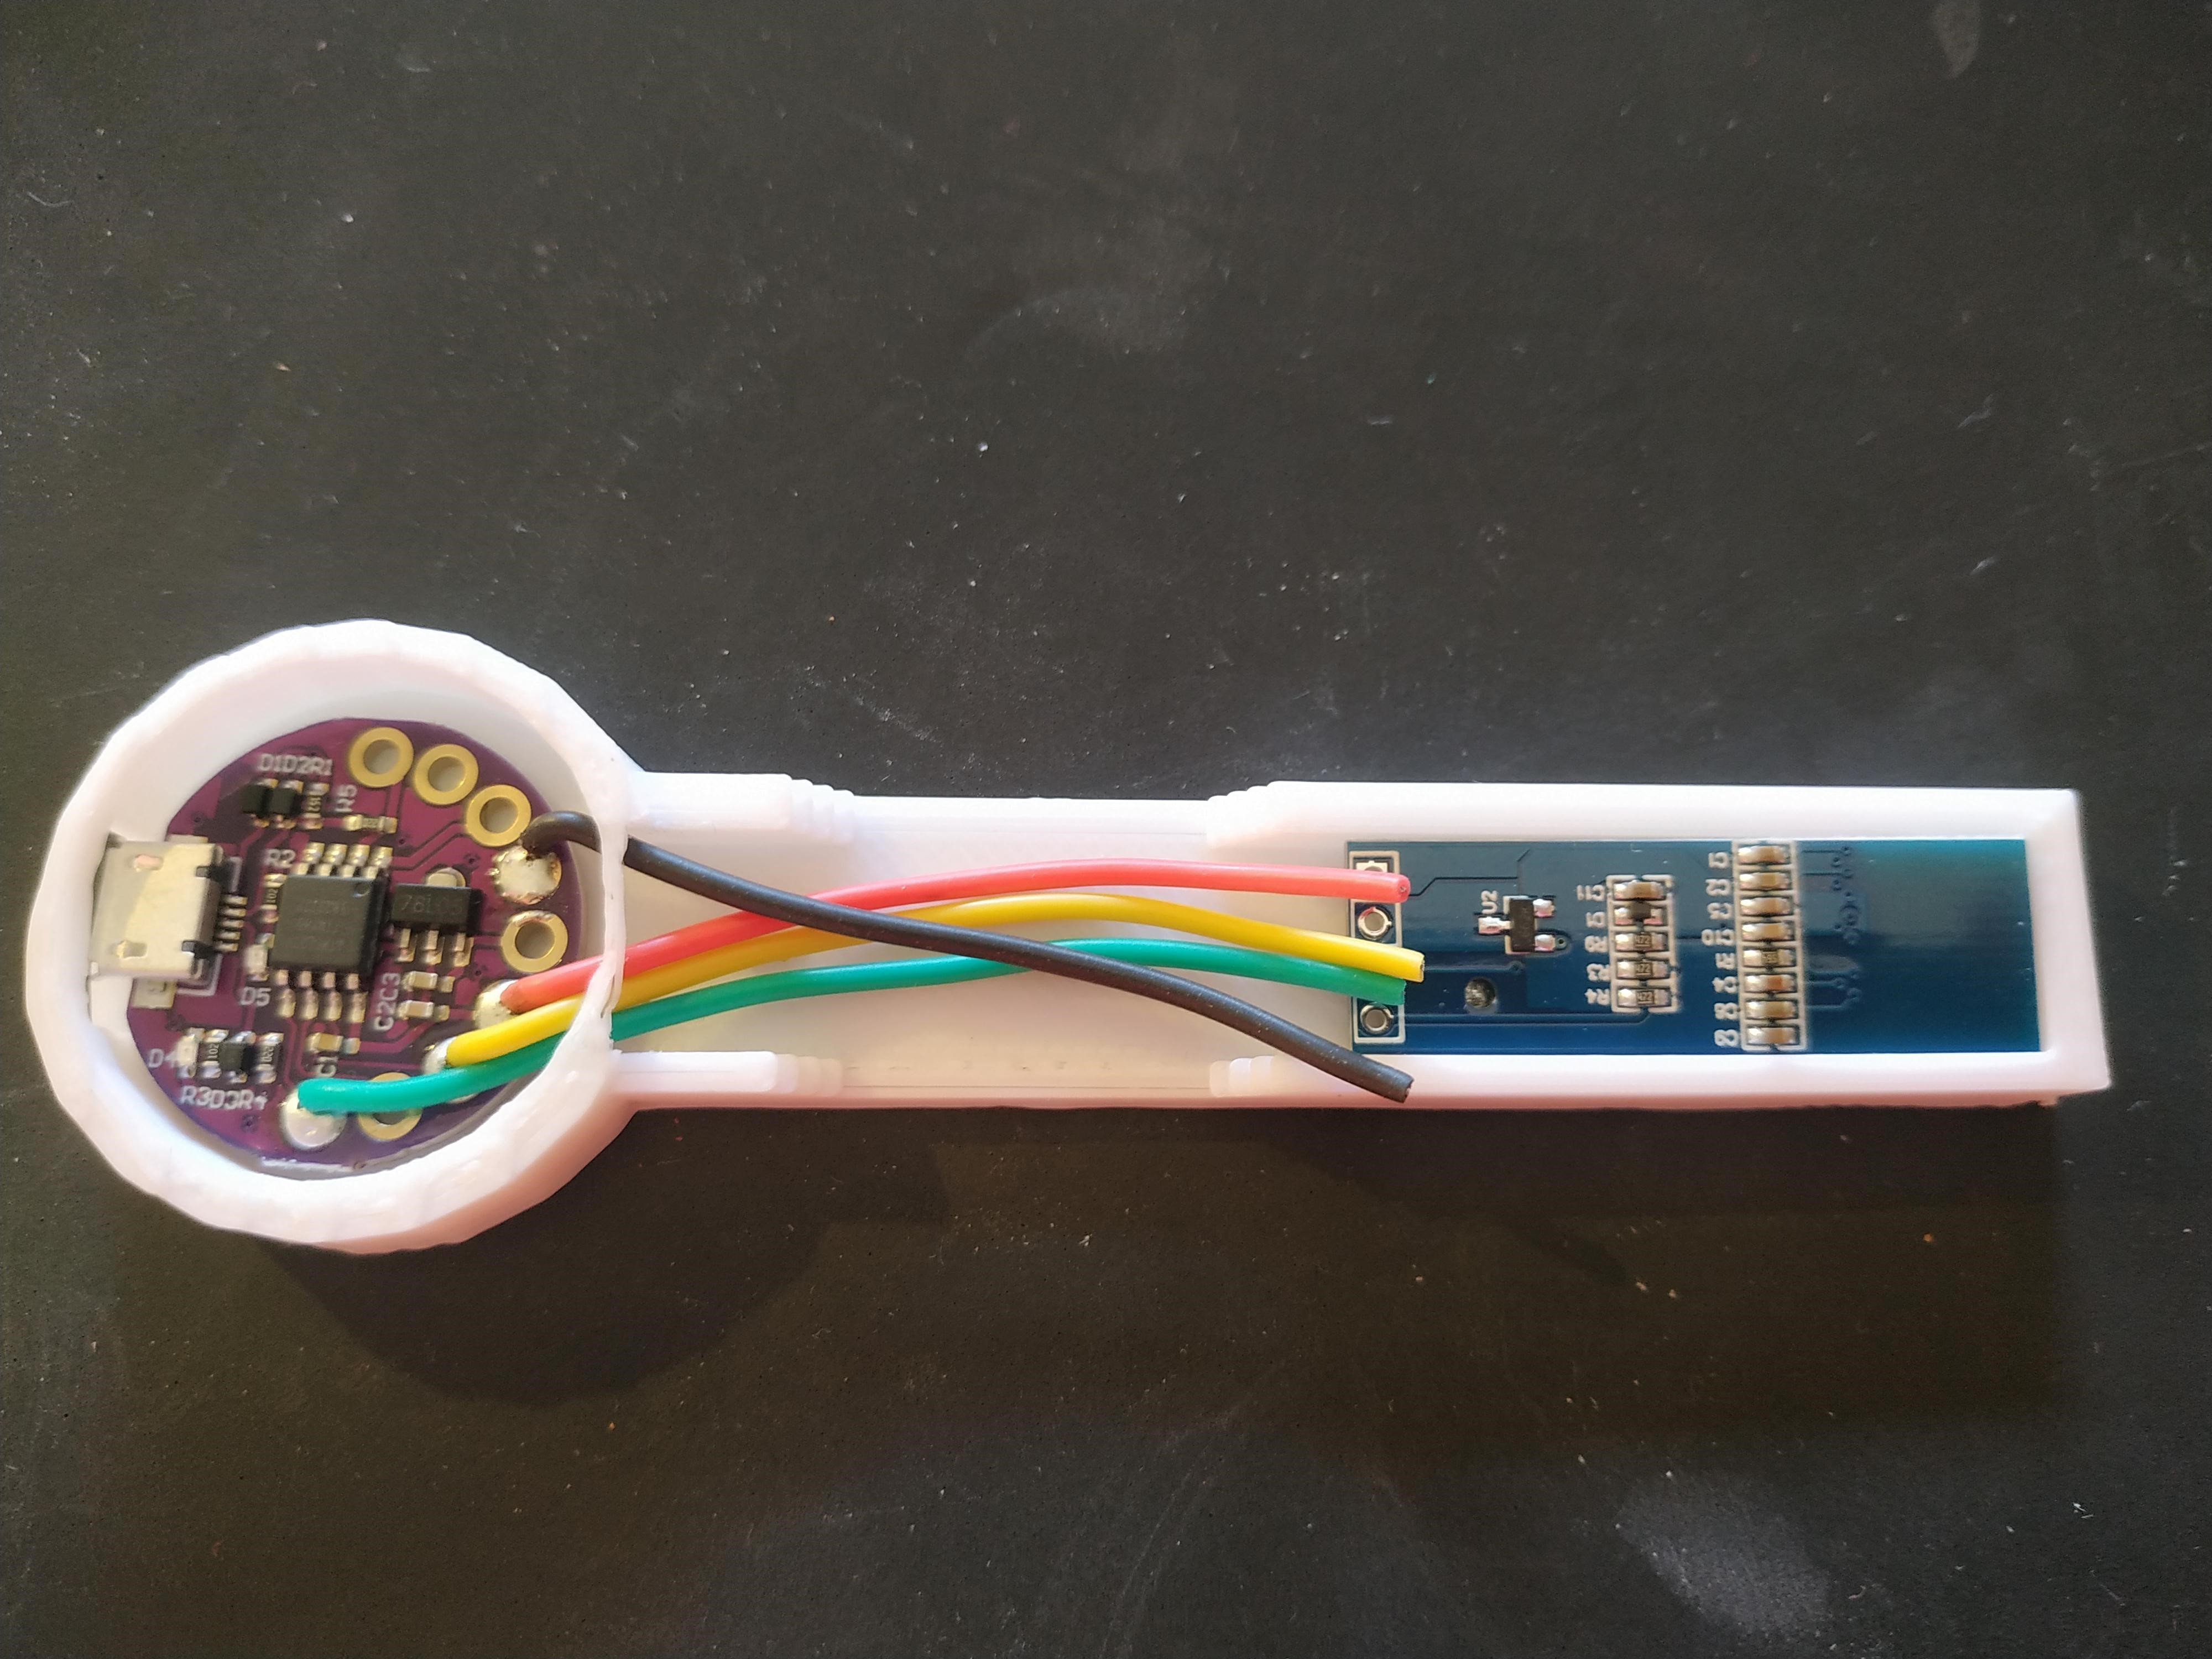
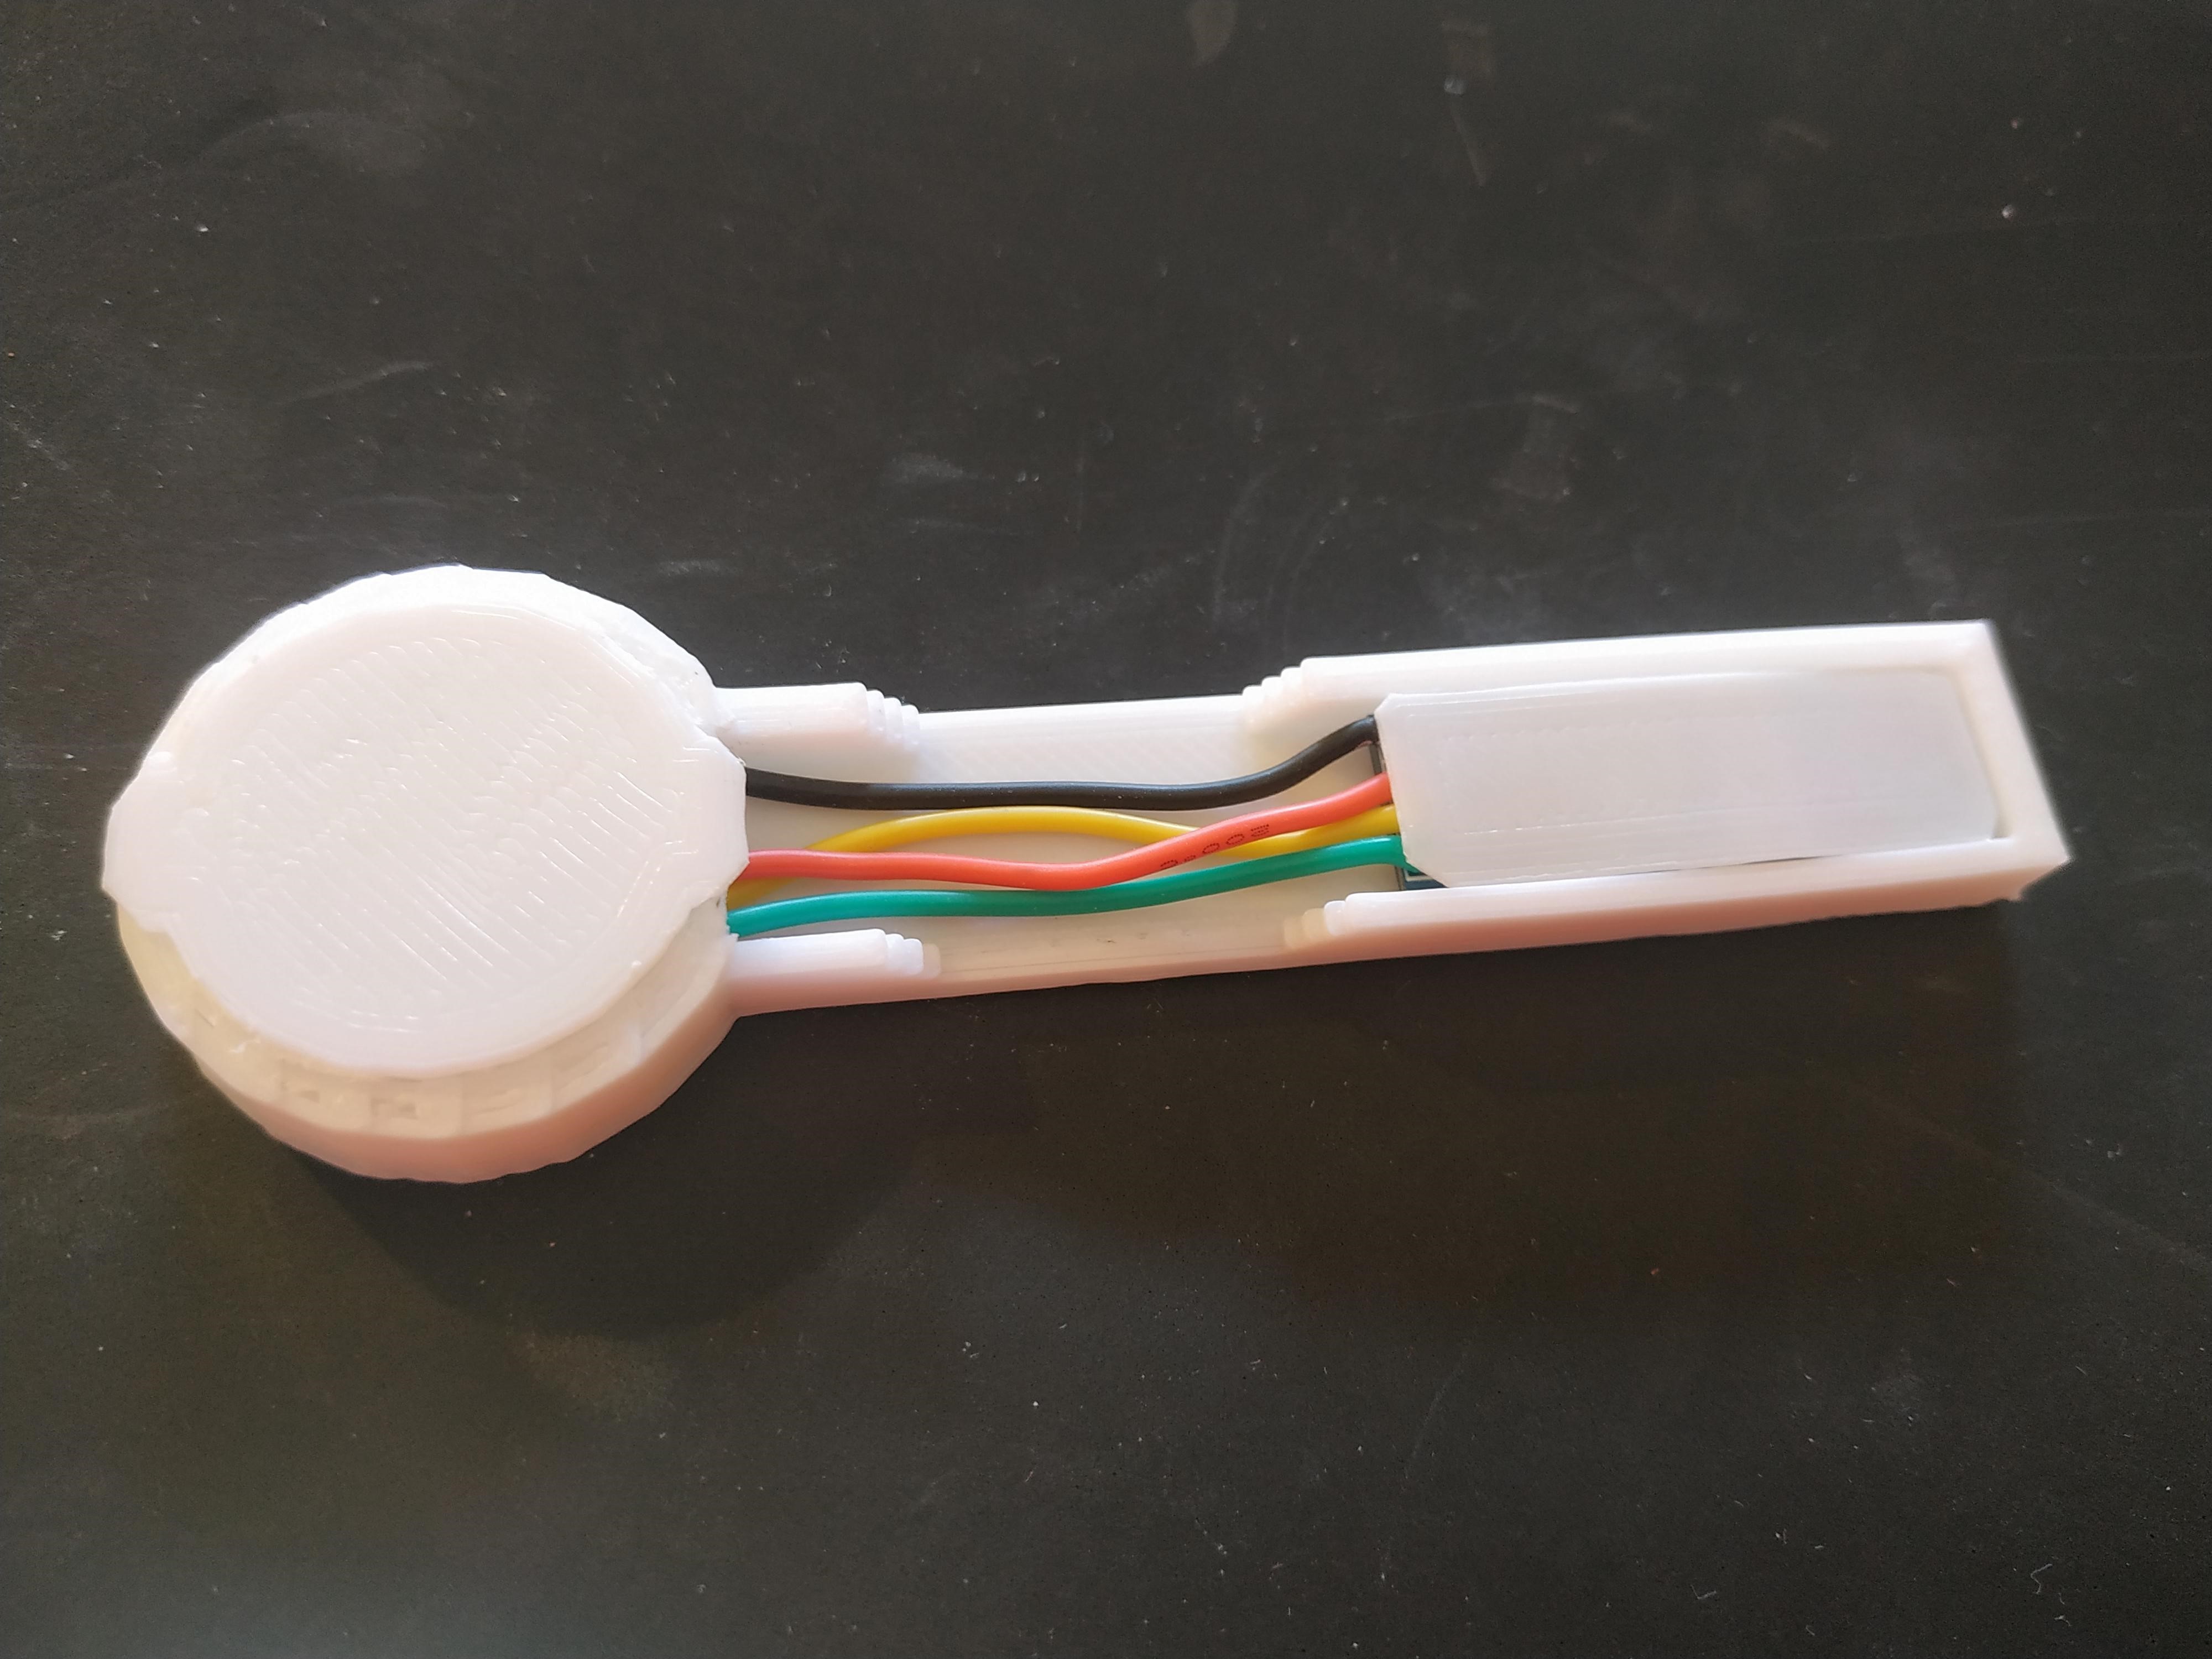
Cut wires and strip, weld cables same order and put covers to close the device
Fold With Solder Heat
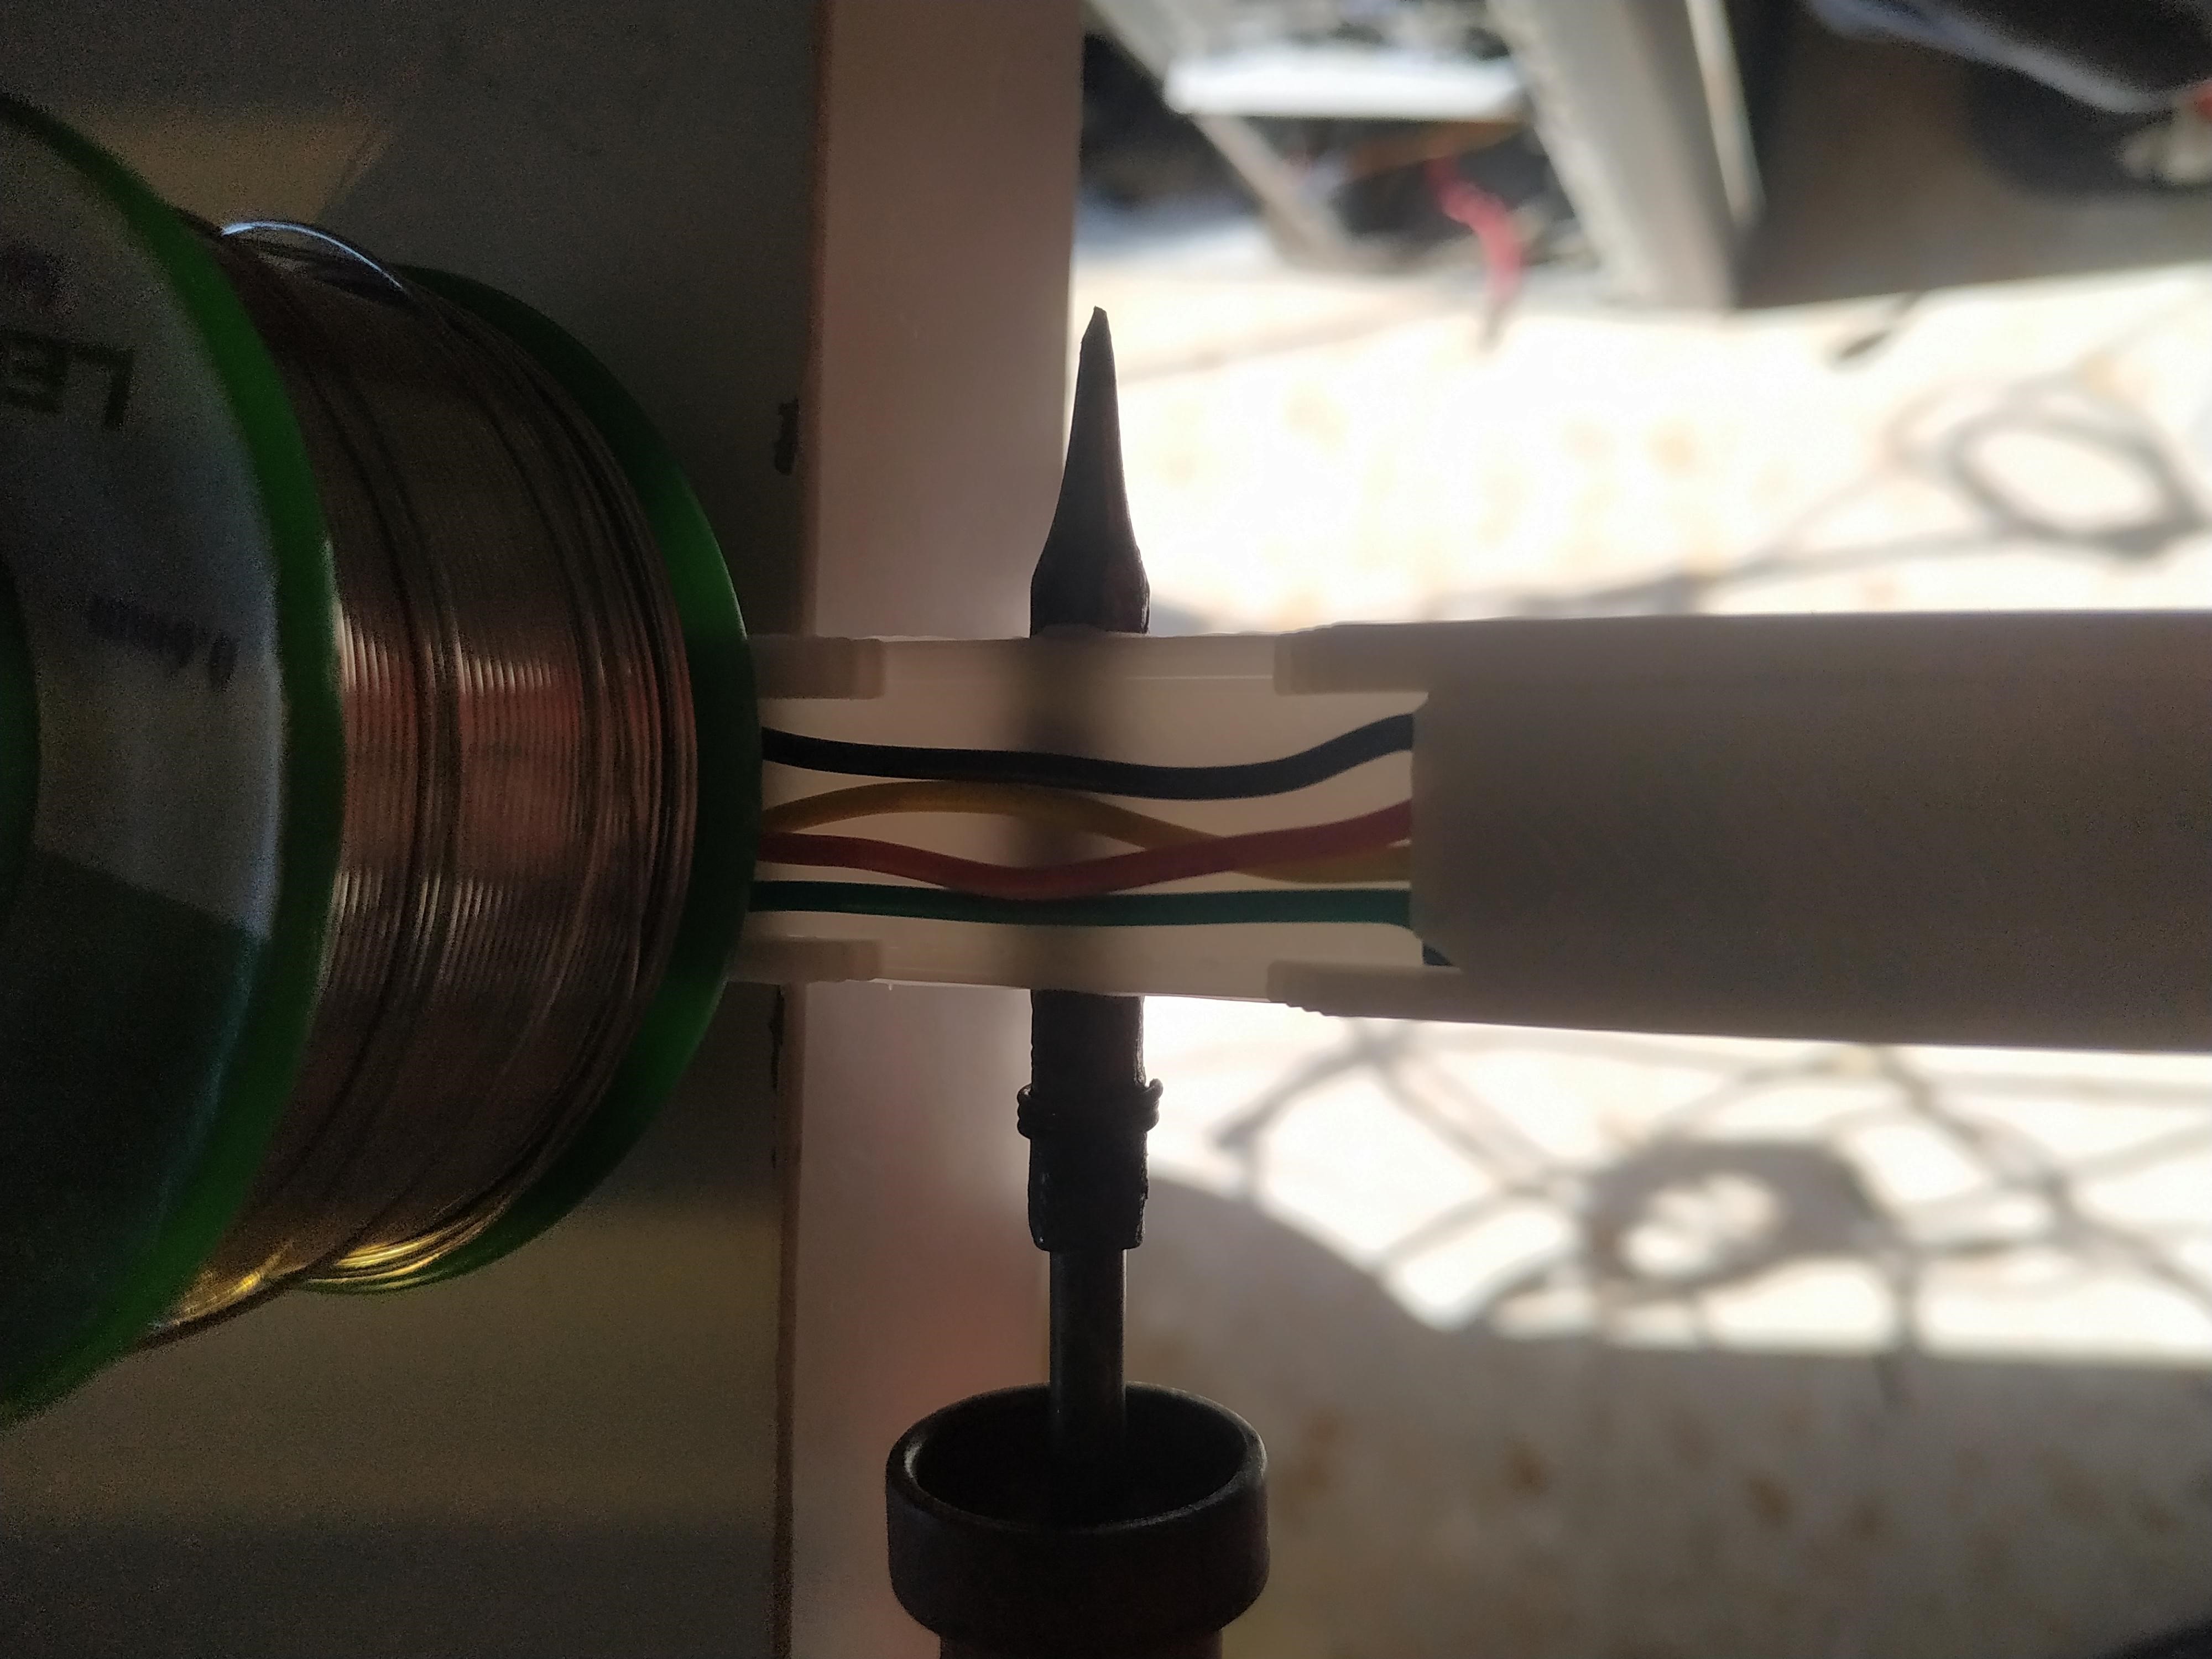
Close solder to middle of frontal cap and apply hot. Fold carefully. Don't overheat the PLA plastic. Be patient :)
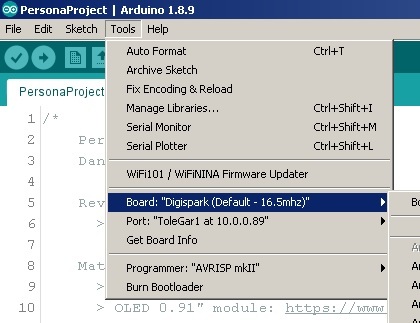
Upload Program With Arduino IDE
- Unzip attached file PersonaProject.rar
- Open Arduino IDE
- Open the PersonaProject.ino file who is located into the PersonaProject folder
- Set board to Digispark (default - 16.5mhz)
- Compile&send
- Enjoy
If need Digispark ATTiny85 Nano drivers or Arduino libraries,
Plz, vote my instructable Wearables Contest 2020.