Peroro Backpack

I made a completely hand sewn recreation of Hifumi Ajitani's bag from Blue Archive which can also take the form of a pillow. This was intended for both cosplay and collection/merchandise purposes. After all, most people wouldn't use cosplay bags for actual use so why not just make it a cuddly pillow, a massive plush if you wish.
Supplies
Materials:
- Cloths - These are the main materials which were used for the bag itself
- Canvas (or any sturdy material; color doesn't matter) - used inside to make the pillow inside that's attached to the back's hard base and back.
- Neoprene (or any soft material; optional; color doesn't matter) - can be used inside pockets for a softer feel inside; also can be used between the inner and outer layer to make the bag itself softer.
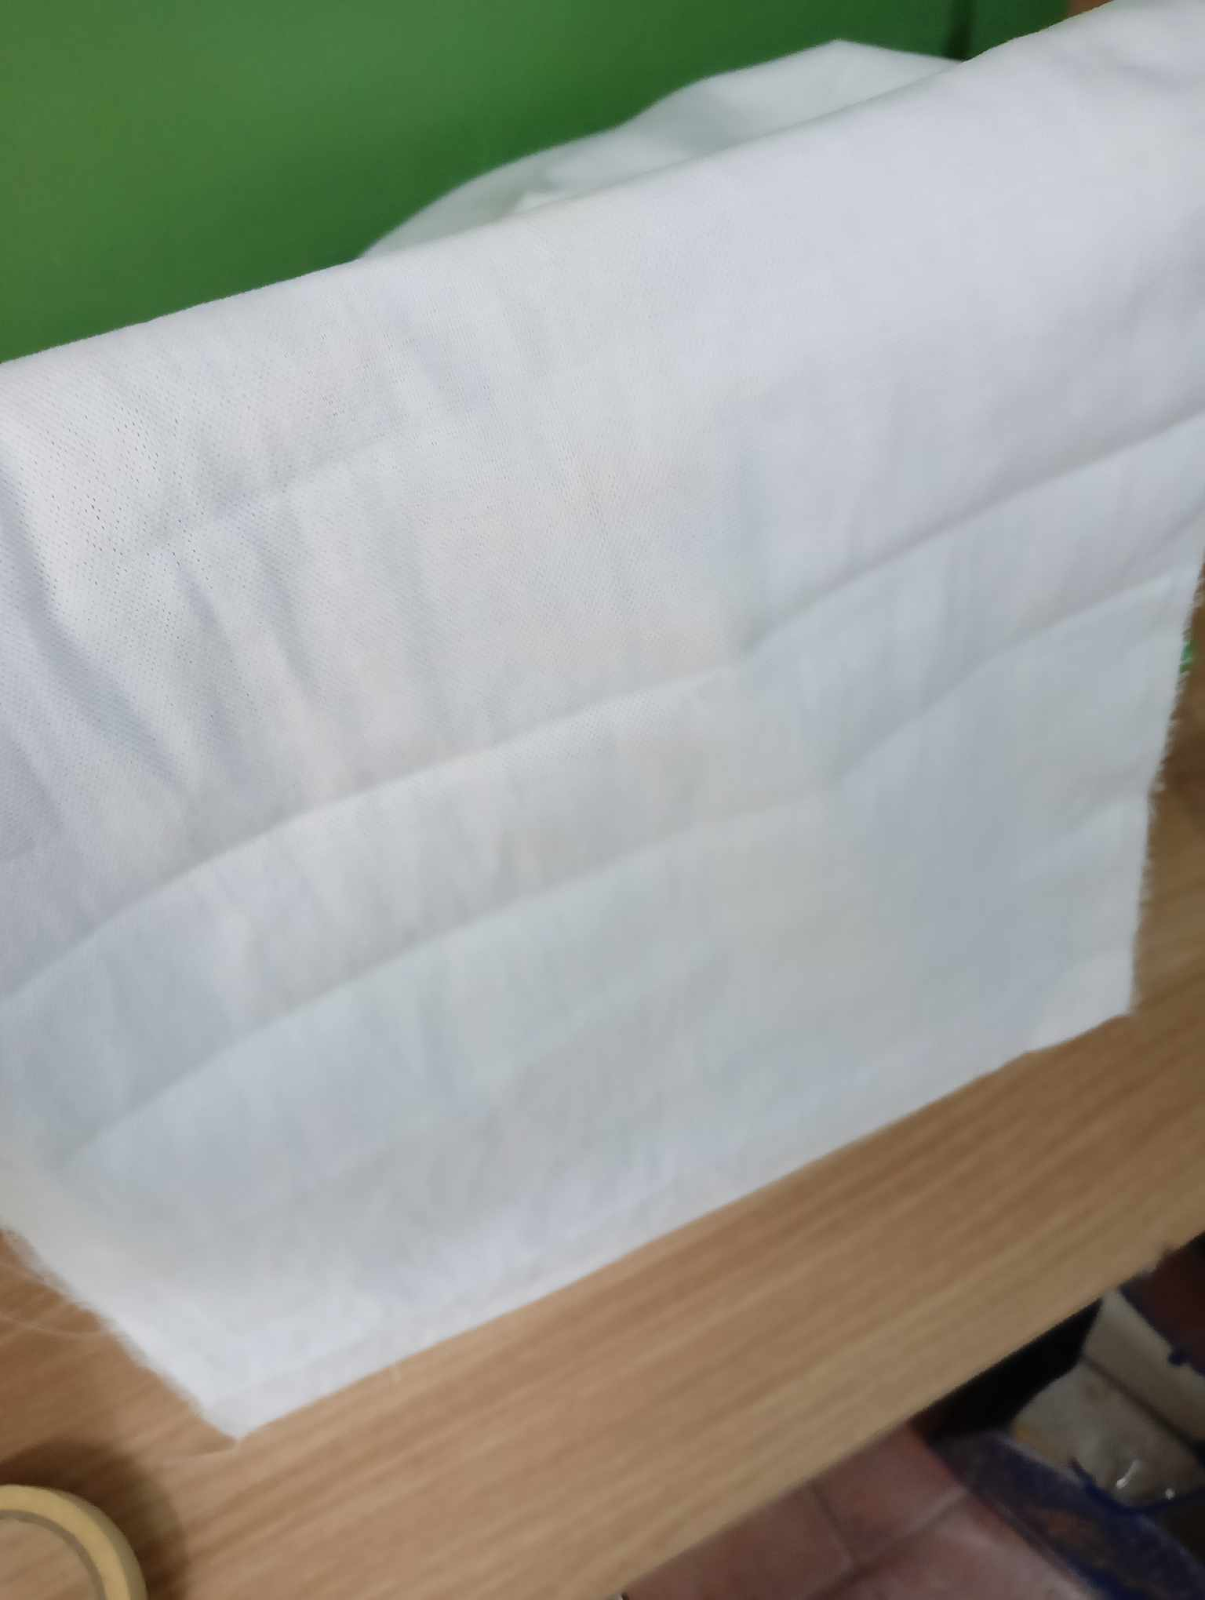
- Fleece (or any soft white material like Canadian cotton) - for proper color, feel, and appearance
- Others
- Eco bag - used for Peroro's feet.
- Felt - used for Peroro's comb (hard; black and yellow), blush (any; pink), beak (hard; black and yellow), tongue (any; pink), and eyes (any; black and white).
- Canadian cotton (again) - can used for eyes with pentel pen.
- Fleece (again) - used for Peroro's wings.
- Fiberfill - used for filling the pillow, feet, and wings.
- Nylon strap - used for bag's strap
- Bag adjuster - also for the strap
- Any hard board-like material (cardboard, cintra, board paper and cartolina if double stacked, or others) - The inner layer of cloth and the nylon straps will be sewn/stapled onto this.
- Glue - used later on to attach the hard board-like material
- Thread (any; black, white, pink, and yellow) - for sewing (obviously); use each colored thread when sewing a piece of that color
- Staples (optional) - only if you plan to staple on the bag straps with a stapler or staple gun
Tools:
- Standard sewing set
- Needles
- Ruler / Measuring Tape
- Scissors and/or (rotary) cutter
- Optional sewing tools (but really helps)
- Tailor's chalk
- Sewing pins
- Threader
- Other (optional)
- Stapler / staple gun
Creating the Base
Ideally, unlike me, first have all your materials before starting. If you do, then start by making out the ideal height, width, and thickness of the bag.
You can then choose to make the base and back, or the first layer of the bag (the pillow).
To make the base and back, start with your hard board-like material. The back should measure the same as the bag's height and width while the base should be the same as its width and thickness. You can use either a scissor or a cutter to go and cut down the material to size, whichever is easier. If using thinner material like board paper or cartolina, you can glue them together to make them sturdier.
An important part, and why you want to have complete materials before starting, is to attach the nylon straps onto the base and back. It's up to you how long you would want to make those nylon strips and you'll need 4 pieces. Usually, the bottom pieces, the adjustable ones, are going to be the longer ones. Before attaching, make sure to burn one of the ends for all of the straps, the side that isn't burned is the part that will be attached to the bag. If your material is soft enough, you may be able to sew it, albeit with some trouble. Otherwise, you can use a stapler / staple gun and just bend it on the other side to firmly secure the straps. More on the straps later.
For the pillow part, it should ideally be made out of six pieces of cloth which you will then sew together to form it. For this, I'd used canvas. As you'd probably expect, it'd kinda be just like each of the faces of a cube or rectangular prism, with each piece being the size of each face of the bag with a bit of extra material if you want to be safe. You then cut the locations wherein you want to place the straps later on, and then sew or staple the segment for the back onto the hard back made with the board-like materials.
In any case, this is kind of how it looks like with only the back and front. In this example, the front face is also the top and bottom, and the sides were not added yet. This is because at the time I still didn't have any filler.
Creating the Pillow

Now that you have the base of the bag prepared and some of your cloth attached, you can start on the pillow part.
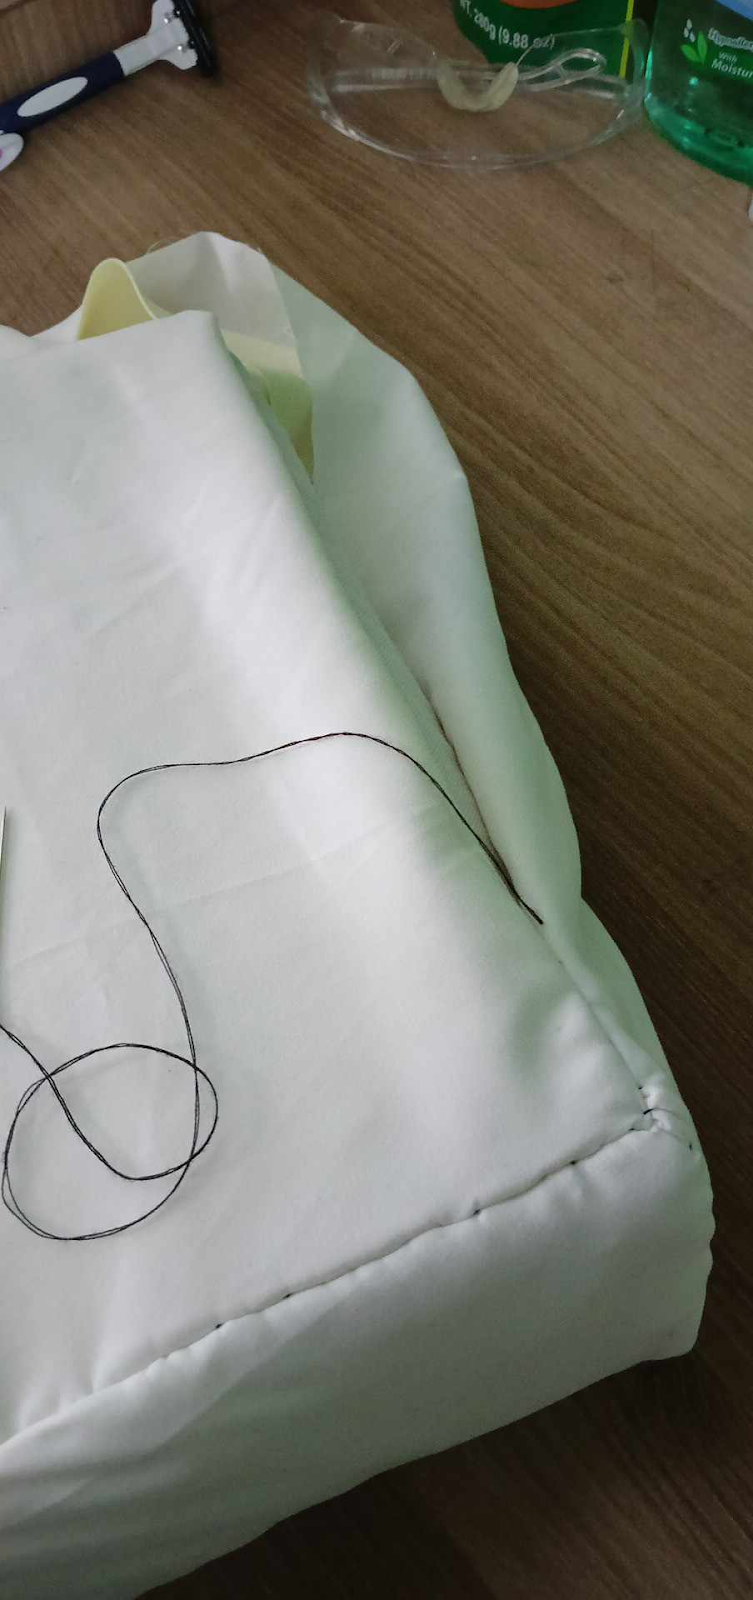
First, do partially complete pillow. Sew everything together except for one side. Ideally, you probably want to leave the top open but I personally I left the right side open. Now align the bag such that the open side is facing up to make it easier to stuff, then drop in as much filling as you'd want. Not too much though as this'd make the bag hard. Try squishing it while you're at it to gauge how filled it was and whether it was getting too hard. If you put too little though, the bag won't have much shape and there'd be nothing to hug and squish.
Adding the Middle/soft Layer (Optional)
This is to help make your bag feel soft/squishier. In the picture below, I'd used neoprene and Canadian cotton, although the Canadian cotton is kind of irrelevant. It's the neoprene which was important to use. This can be done similarly to earlier. Make sure you leave you also cut it in the same segments wherein the straps are meant to be. Additionally, to prevent it from moving too much and possibly damaging the parts wherein the straps are, also sew the middle layer onto the first layer.
Adding the Outer/appearance Layer
This is now the layer with the material of choice for the bag's appearance. This can be done with materials like Canadian cotton or fleece, like I did. This is just like the other as well. To be honest, nothing much to say. About the same dimensions, a bit extra since it'd be thicker with the previous layers now, and cut the parts where the straps will be.
However, if you plan to have pockets, then you'd have to sew that on to the side the pocket is for before sewing that side of the bag, onto the bag itself completely. Make sure you add extra material on all sides to make sure that there's enough material for you to actually put stuff inside. Additionally, the pocket should ideally be sewn onto the side of the cloth which will be inside the bag instead of externally shown, so that the sewing wouldn't be seen.
Fixing the Straps

Finally something new to do. Firstly, get a bag adjuster and put the nylon straps like shown below. The top straps are only attached to one end of the adjuster, and the bottom straps go through the center, and will be used to adjust the straps. This should then look like below.
Afterwards, the top straps will be sewn into itself to lock it in place, as its not meant to be adjusted. Meanwhile, the bottom straps, are meant to sewn into itself but only on the end, preventing it from slipping out when adjusting it. This can also be seen on the image above.
Adding the Finer Details

From the comb, the eyes (though I actually used cloth for this and pentel pen), the beak, mouth, and then the tongue, all of these will be using felt of different colors based on what's needed, If they're just attached to the bag itself, they can be soft, but otherwise, they'd have to be hard felt. There's nothing really special to say about all these parts. An alternative to using felt for the eyes which I've done is using cloth, specifically I used Canadian cotton. For the eye itself it was the cloth and then the eyeballs were drawn on using pentel pen.
For the wings and feet, these will uniquely be actually stuffed (you could with the tongue too I suppose but this will be hard if using felt). So for the wings, I actually used fleece again and then the feet used an eco bag which I decided to reuse.
And once those are all added, congrats. You now have a Peroro bag.